Hi @pacificmeister, seems I have no access to parametric prop 4 and 3 blades ?
Can anyone share them again ?
Thanks !
Hi @pacificmeister, seems I have no access to parametric prop 4 and 3 blades ?
Can anyone share them again ?
Thanks !
Hi @Sliman_O, thanks for pointing this out. I recently moved my Fusion repository and all links broke, I forgot about all the links here ![]() . I am fixing things as they come up, please keep asking if something isn’t there. I just updated the old parametric duct/prop design links, here: Fusion, hope this helps.
. I am fixing things as they come up, please keep asking if something isn’t there. I just updated the old parametric duct/prop design links, here: Fusion, hope this helps.
Thank you very much ! It sure helps 
I would also like to thank @sat_be for sharing it too in the meantime 
Hi Guys,
Thanks again @pacificmeister your work is totally crazy !!
I got a problem when I downloaded the duckt and the blade. It’s completely oversize, like 1 meter diameter.
Any tips to fix it ? I’m using Fusion 360 also.
Cheers from France
Yep, just scale down by 10. STLs don’t encode units and Fusion saves mm. Your slicer probably assumes cm.
Do I understand correctly that the STL files in the open source downloads are in mm? If so, is that all I need to tell somebody with a 3D printer or do I need to get exact dimensions from Fusion 360?
Sorry…I’ve never printed something on a 3D printer before.
You’ll review the part just before printing it by slicing it with your printer’s preferences. So, basically even if you mix things up you still can apply a scale factor on cura (software to slice your part in .gcode for your printer). You don’t have to worry then
New to the forum and am working to follow and tweak the Pacificmeister Rev 3 build. I want to buy a 3d printer that will be able to print the size of parts required in Rev 3. I notice via youtube video part 8 that the 3D printer used to make these parts is commercial and located at Pier 9. Any suggestions for which printer to buy to make sure I can print these parts on my own? Thanks!
An Creality Ender 3 will print all, at reasonable costs. Youtube is full of reviews, tutorials and tips.
Yes she is a good girl:ok_hand: lot of working Time 2 years without problem no need Big tunning and update specialy if you buy the New ender 3:ok_hand:when you understand the basic tips …(ok it’s an other hobby again:laughing:) like slow print for quality ,times to read a lot or see tuto ,a bed in glass half polished with a little bit of water with sugar  when the bed is hot you have the best economical ans dry sticky support…and yes the 2 first layers are the most important thing for the rest of the story
@Manu Thank you for the open source Gong files. other than the mast clamps, are your pieces all compatible or the same as the pacificmeister files? Im wondering if the threads will fit
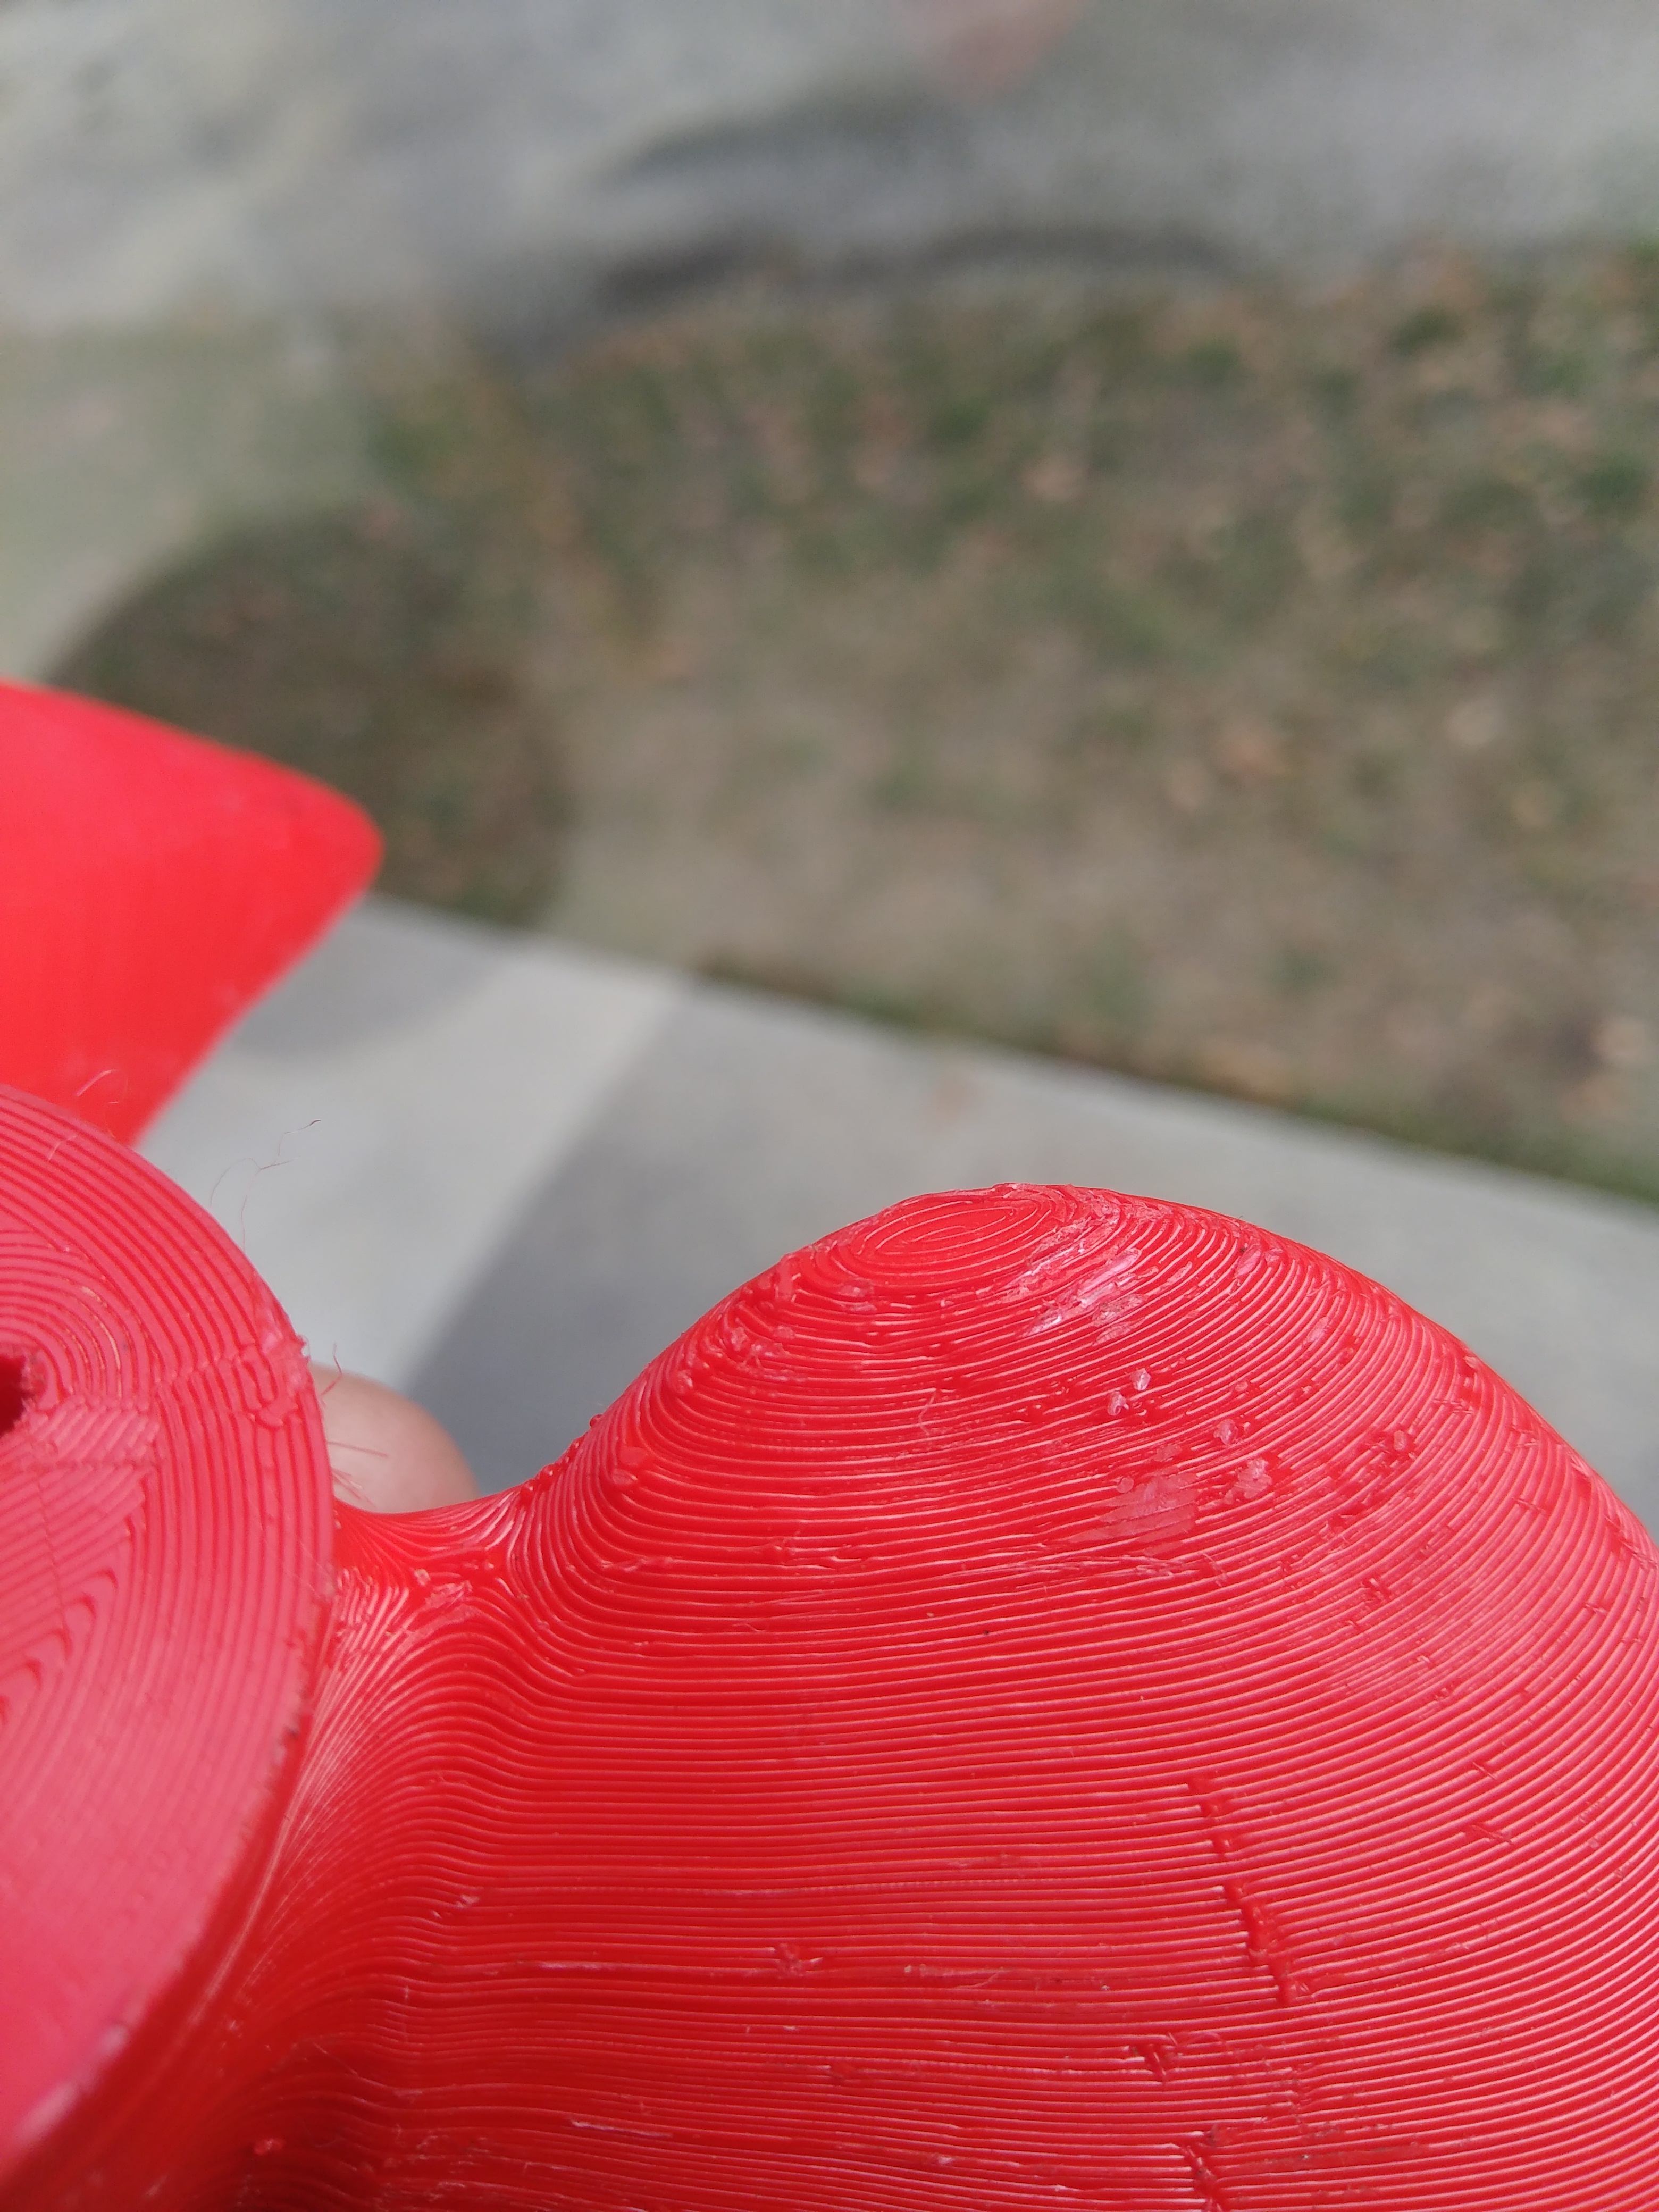
@JvdZ I started my para prop print v3 on the creality ender v2 tonight. It seems to be sagging and lots of spaghetti strings. I think it’s because of the under cut of the prop. Do I need to add supports? any ideas for a fix? Thanks!!
Yes, you will need supports for the prop. Try out some test prints and tutorials before you do the PM prints. You will gain 3Dprint knowledge fast in this way.
@JvdZ Thanks. I have been reading and researching. For the prop, i set 100% infill line pattern, 0.2 layer height, 0.2 initial layer height. Support: placement - everywhere, pattern - zigzag, support density -12%.
It seems to be better from a support standpoint, but now my initial layers dont seem to be nearly as tight. Agh! Back to drawing board
Yes of course
i use cura 4.5 so i use support After 60 degres use ceiling support who was good for separate After the print, and was good generated by default setting ,choose under 0.16 or 0.2 max layer height print speed before 40 mm/s slow speed for quality print👌
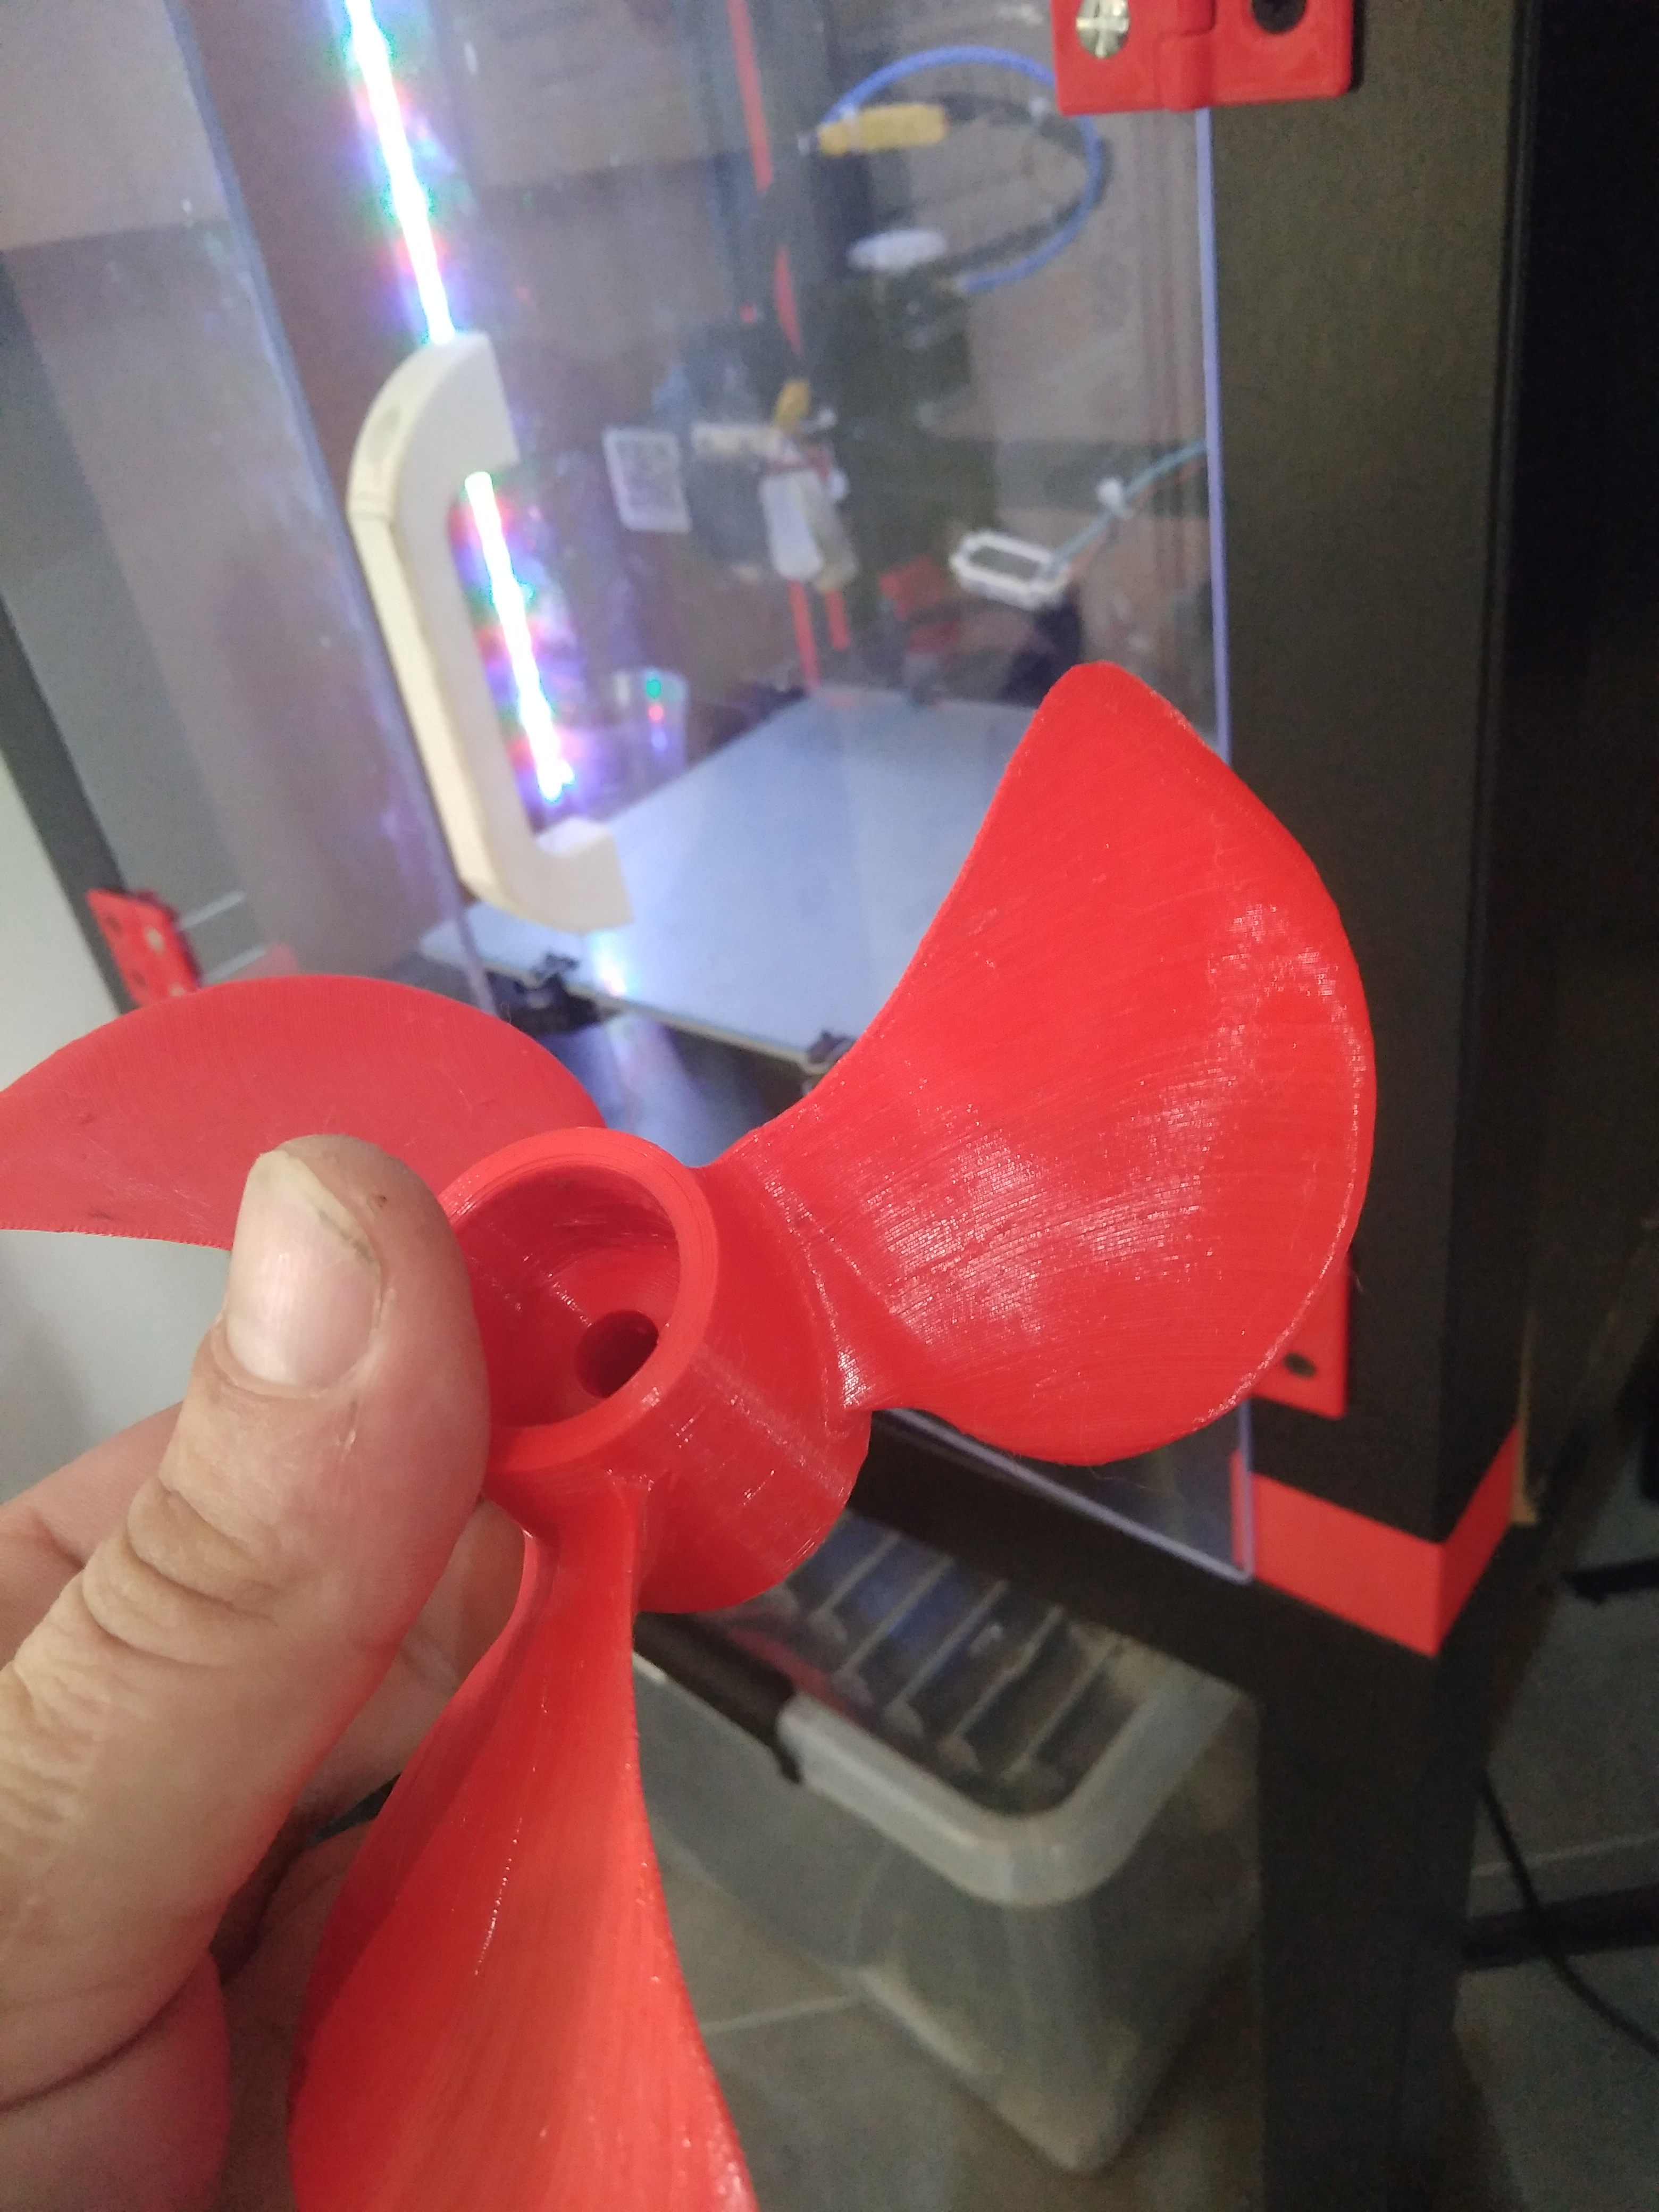
We use 0% infill with a minimum quantity of 10 hall with concentric filling. it replace the infill!
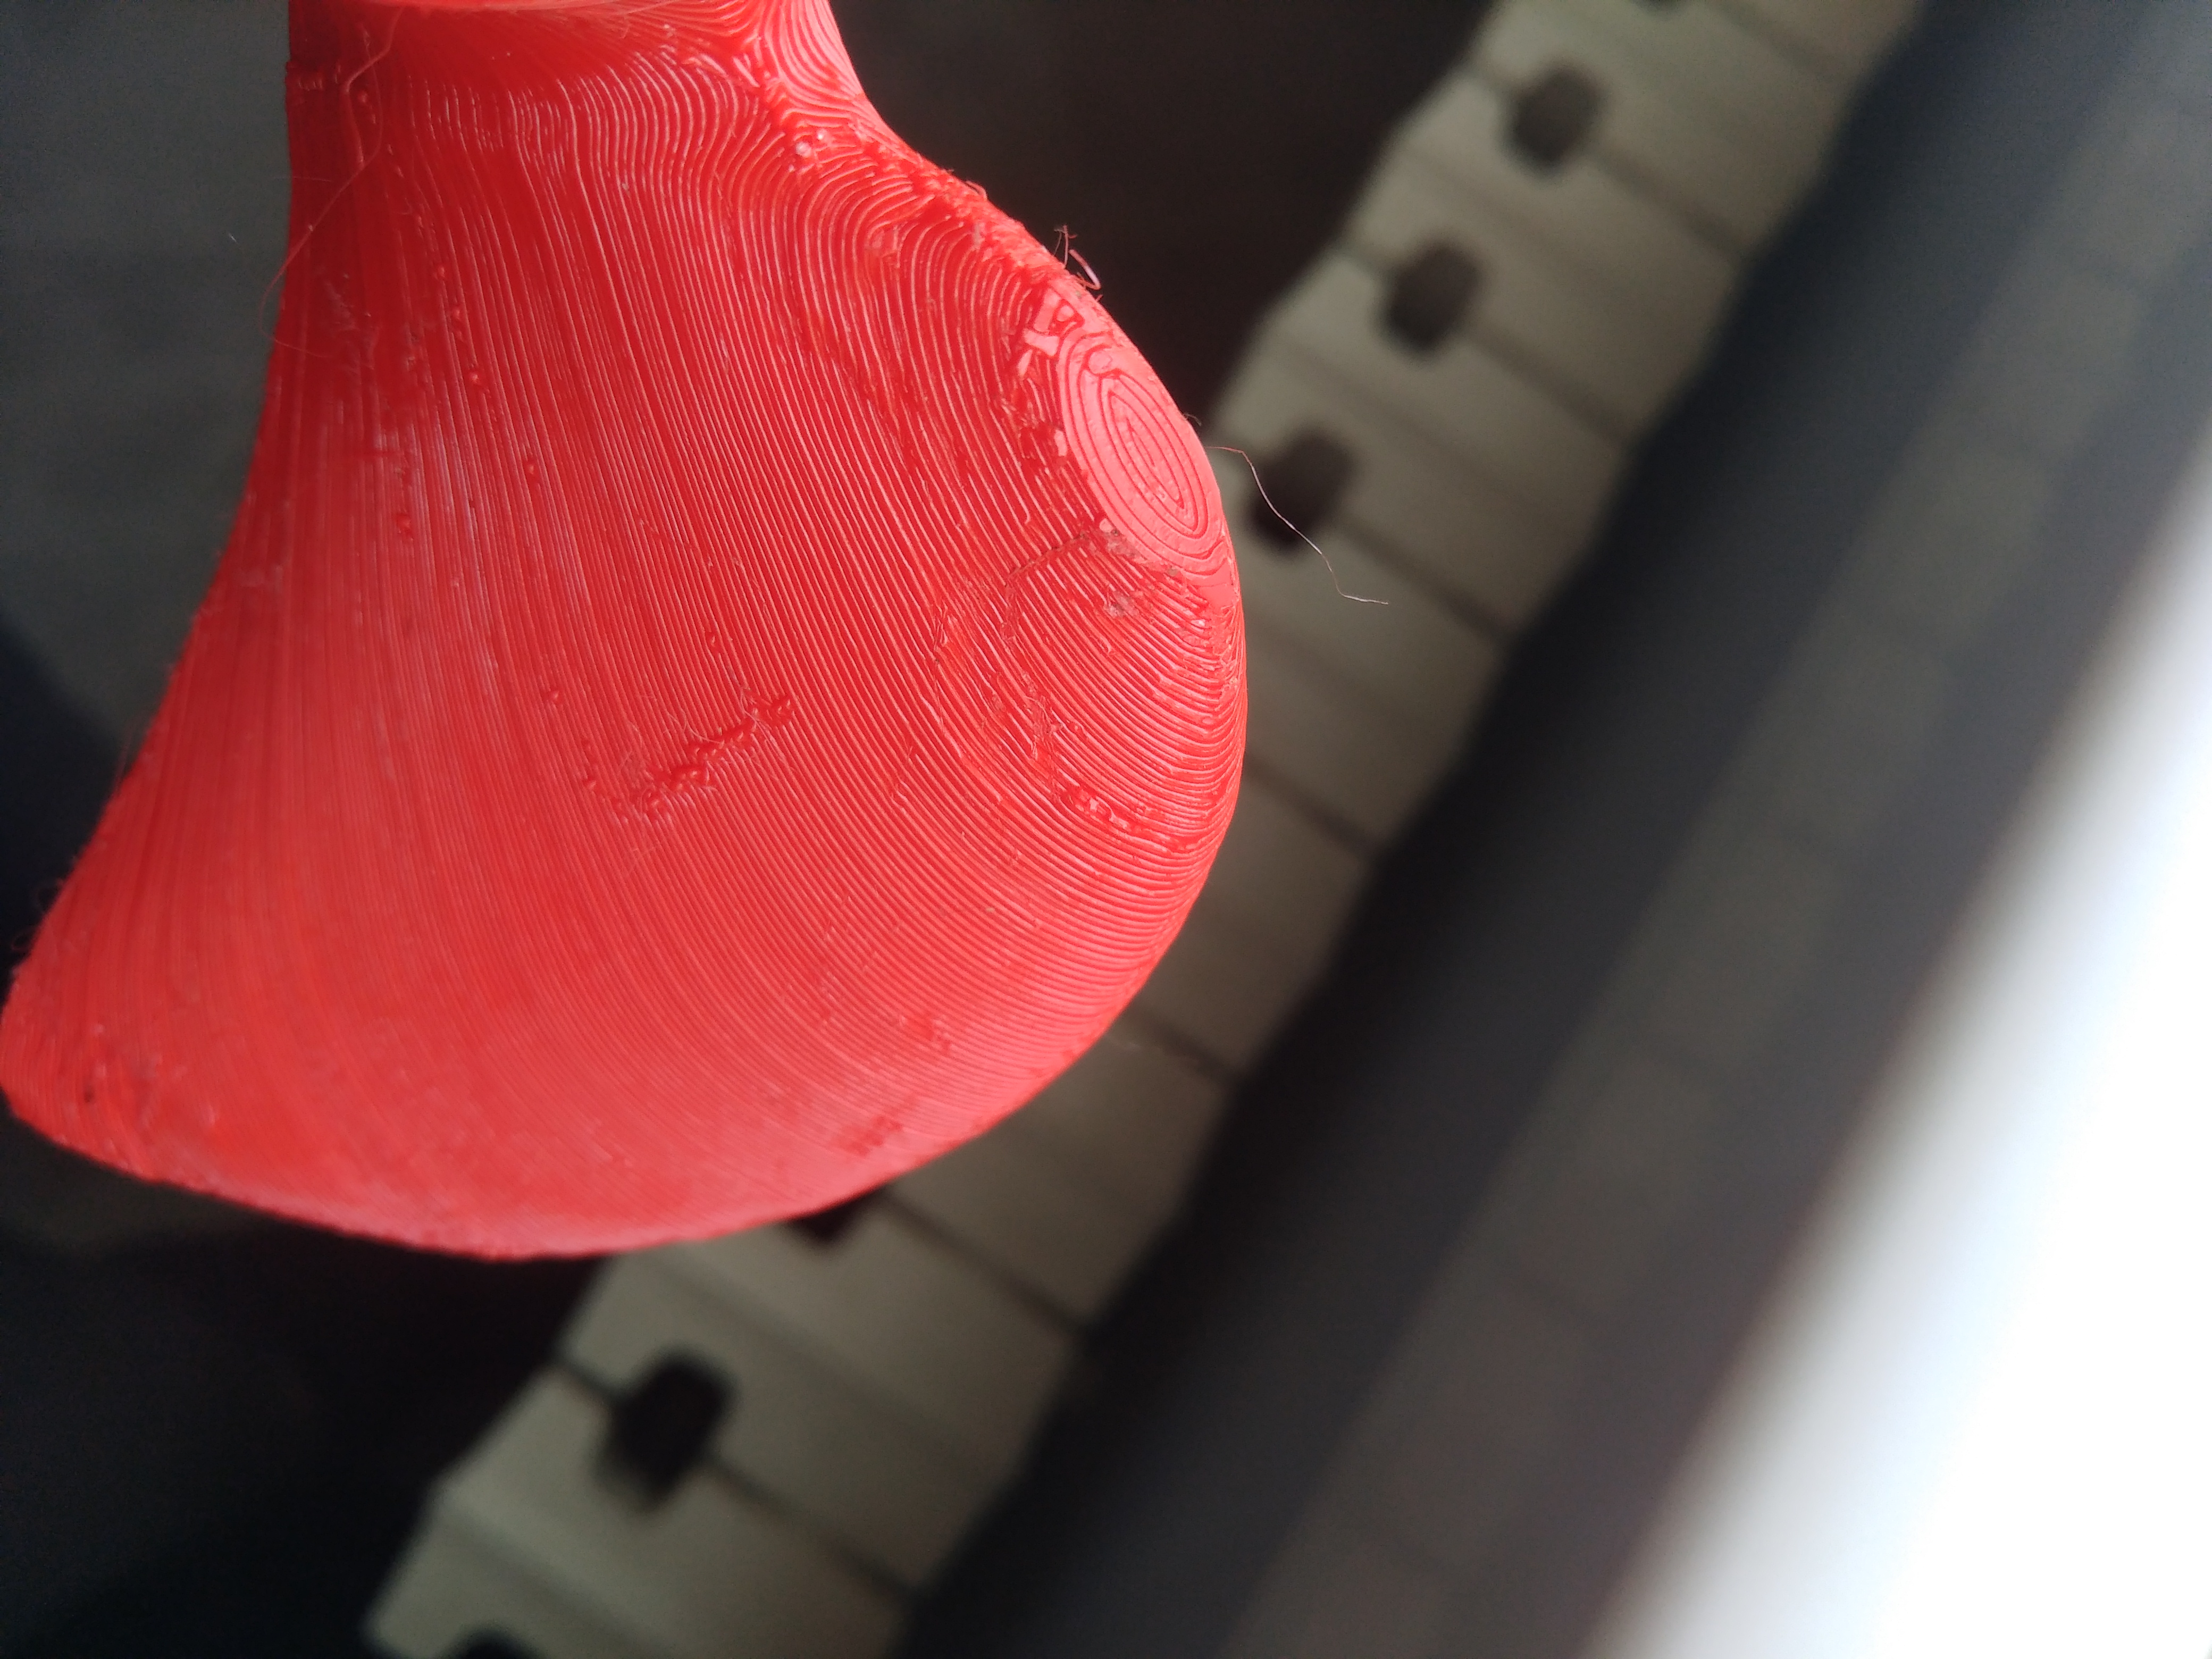
In pla standard bed at 50 55 c degré and 200 205 for the nozze  the print don’t need support if the pitch is not agressiv and if the base of the props touch the bed for this model i used it but i see it Can be printed without this is the last print since the day before 12 hours with support you can see the starting on my print who touch the
Thanks Sniper! Do you epoxy or resin any of your parts? I have all of my propulsion parts printed at this point.
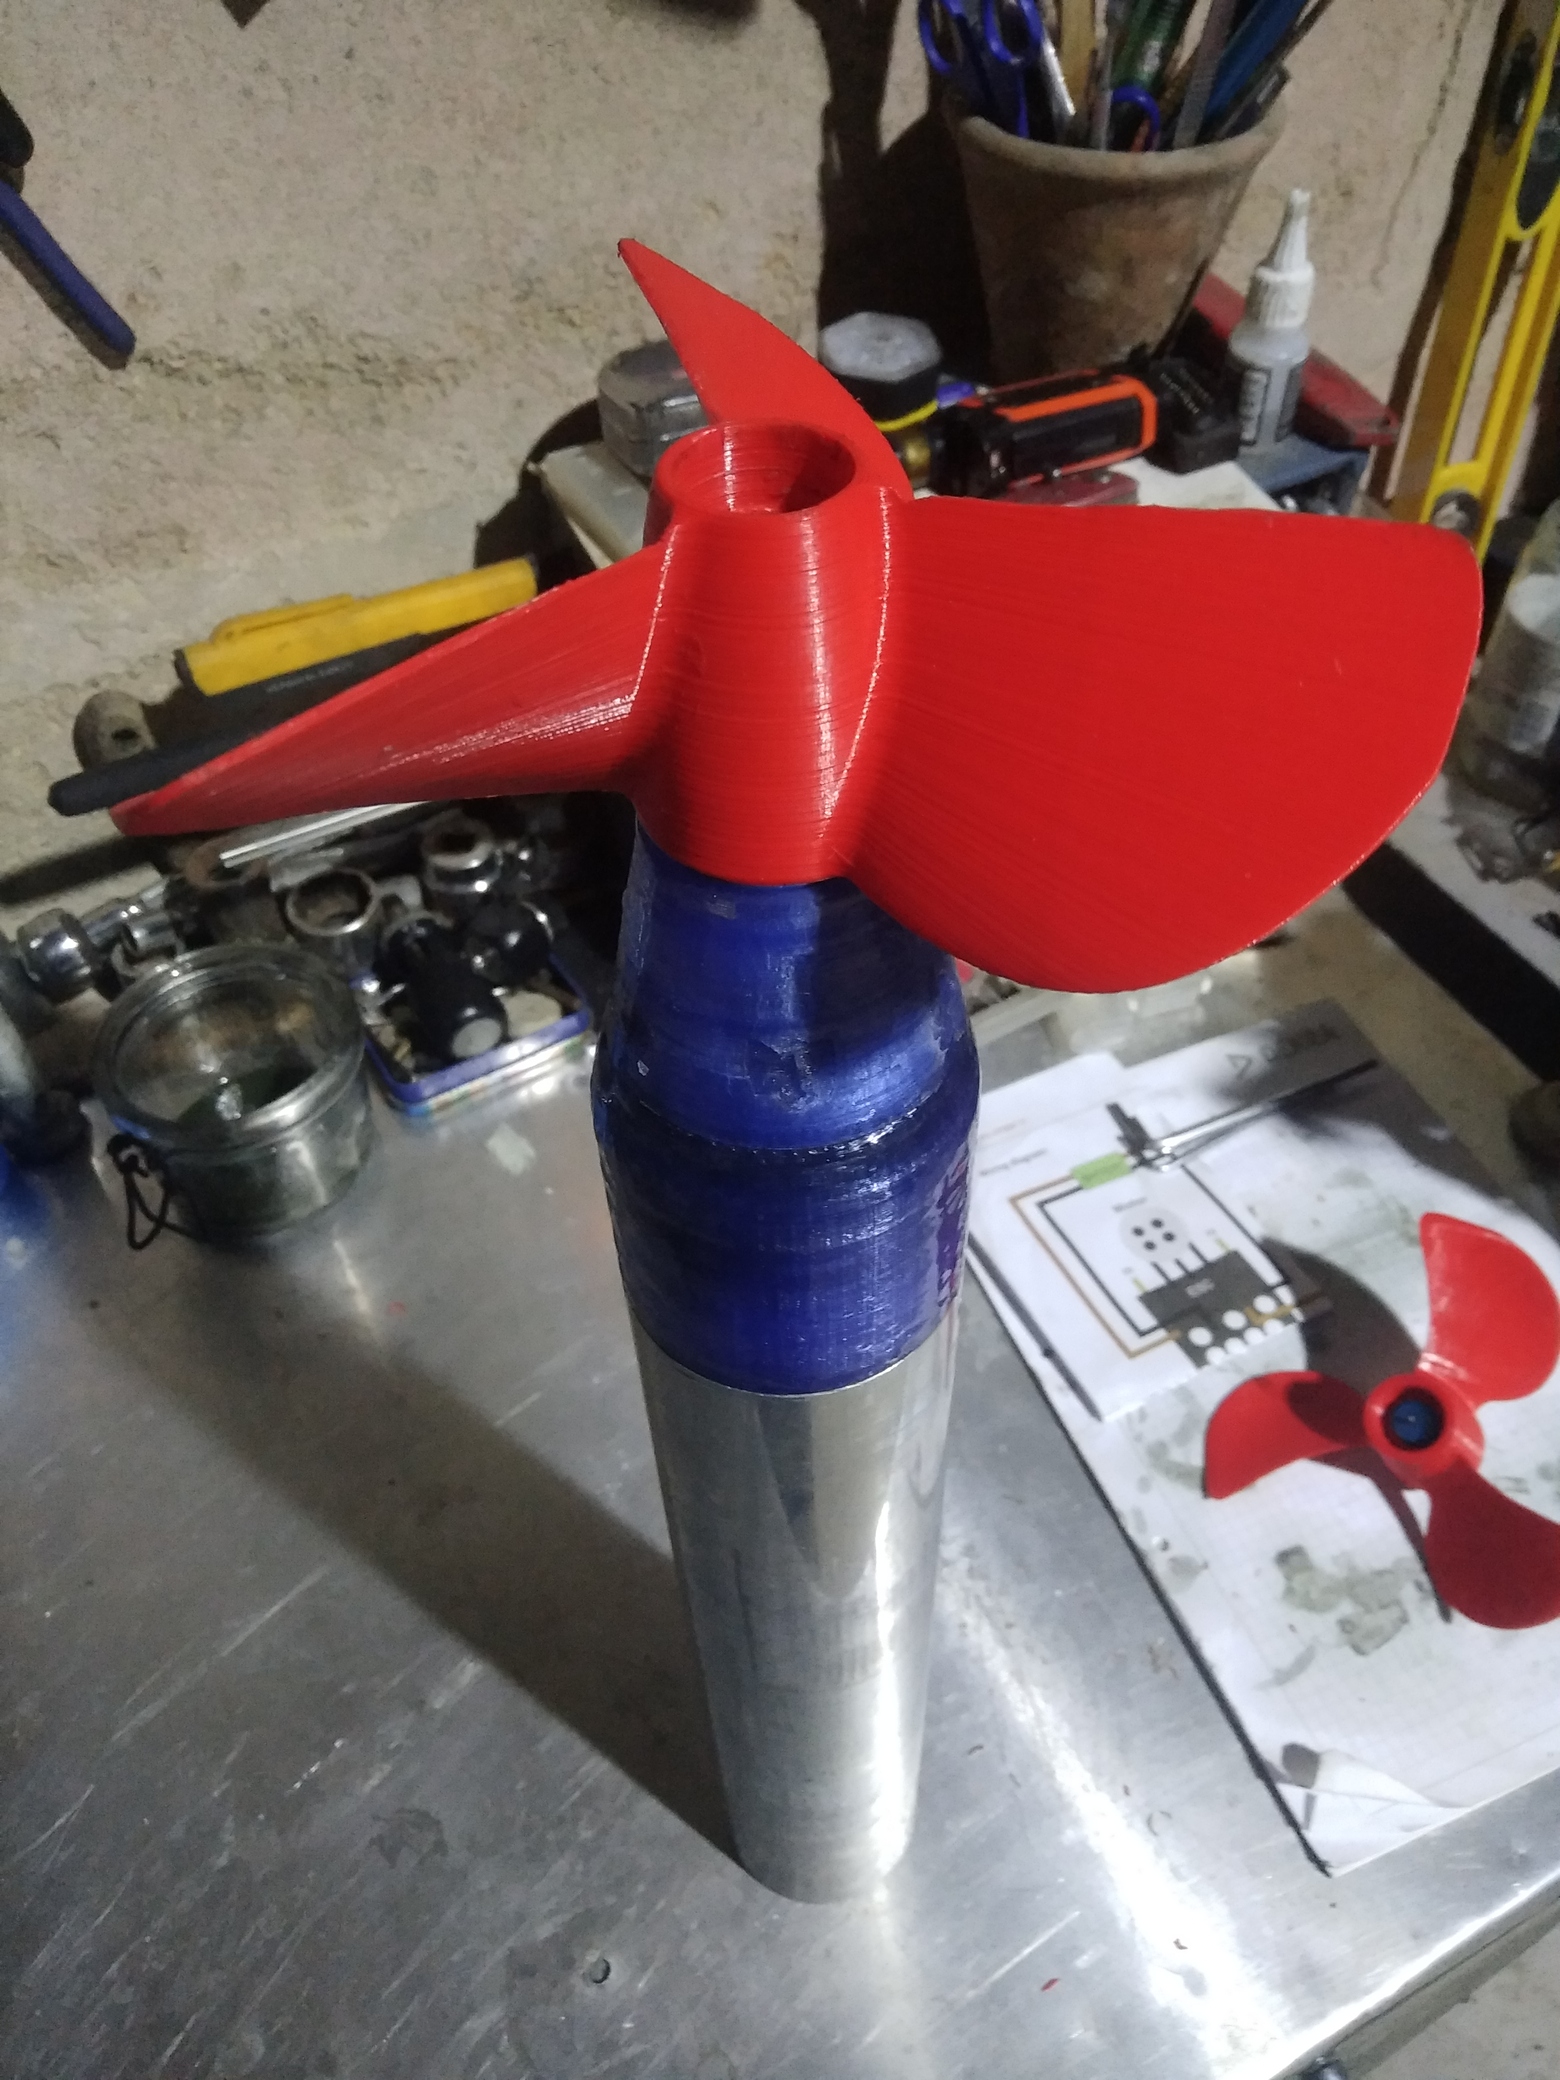
just a 2k varnish for balanced the props it’s just for testing the ampli and it’s working …and another with epoxy but it’s a little bit difficult to balance to sanding down the epoxy …
i finish to epoxy it when i find the better result like down 45 amp for my gear set up!
the first PM props design is not very efficient, the last you see is better, but i need to record ampli log to show the difference between all props because now i print the guldsteen design and i’m impressed to test it👌! Hight pitch
Hi Guys,
I need some help please, i can´t downlaod the file for the EngineGearboxMount.
Does anyone have this file and would kindly post it here so that I can download it?
Thanks you