Did you guys managed to get the max theoretical output power of this motor ? I dont mean to criticize but here is the deal :
70 mm and 130mm can does not allow you to push more than 7kw peak on it. This is proven with simulated electromagnetic field of the stator 

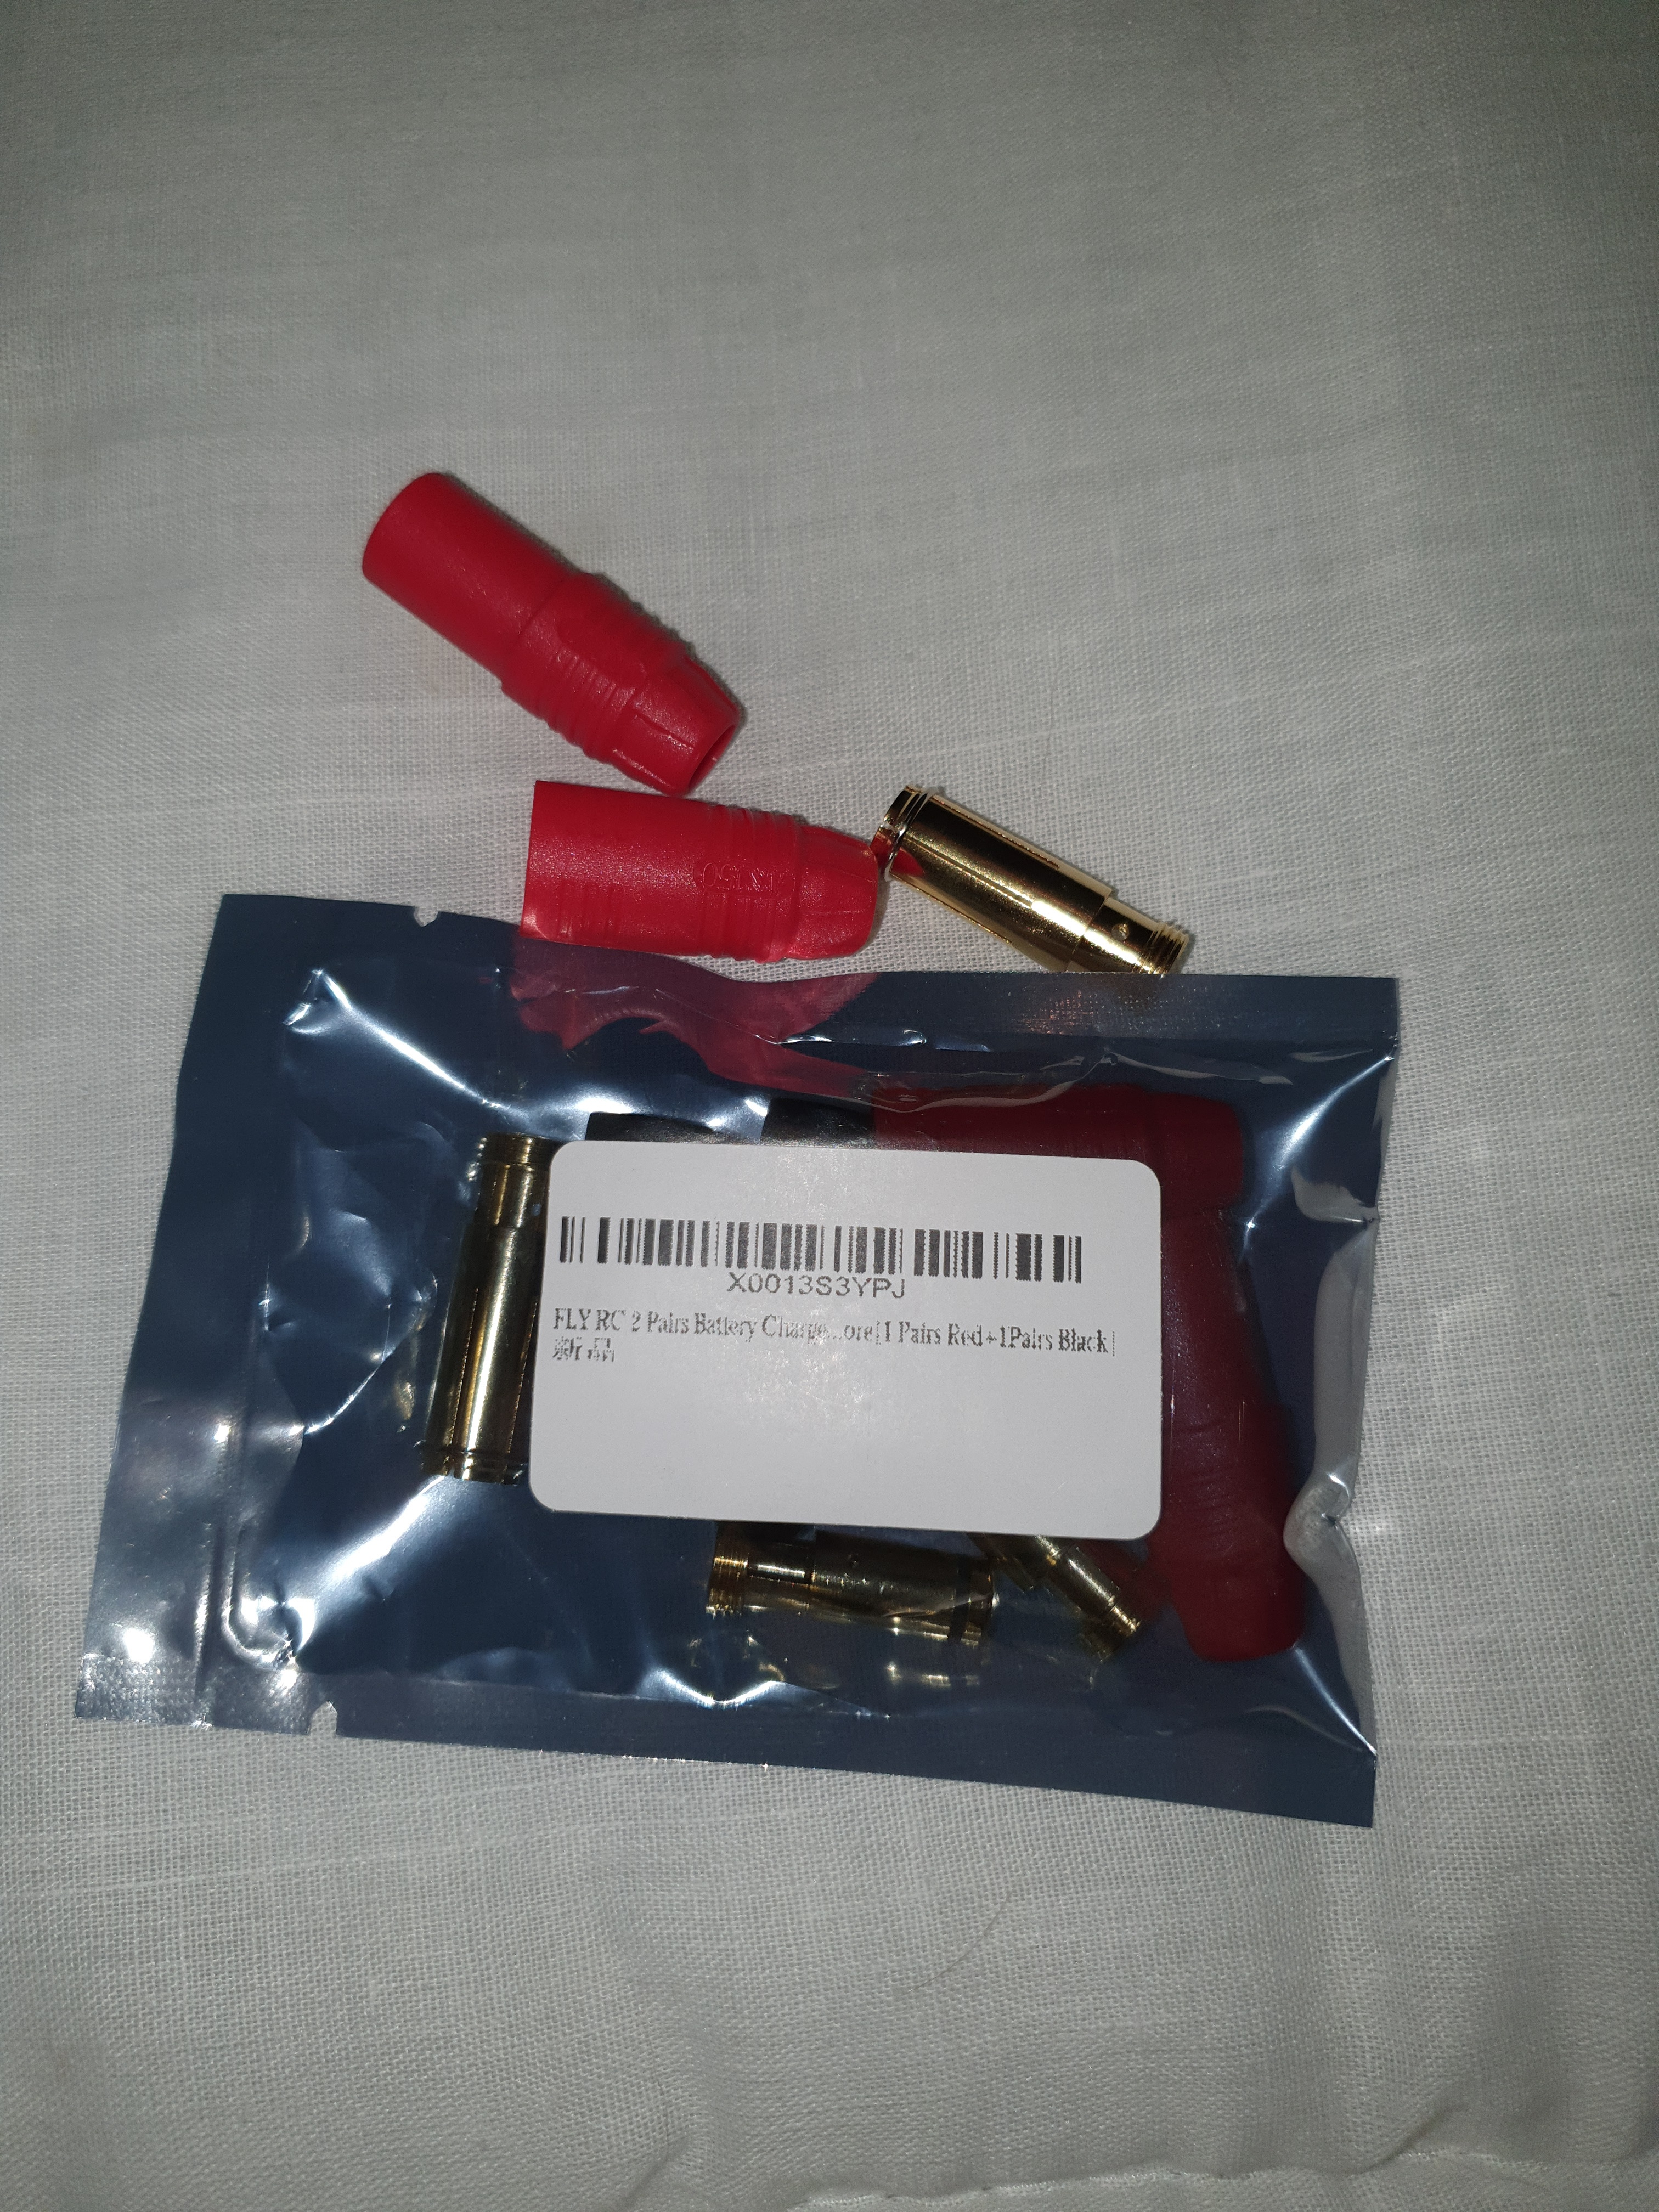
Plus, this motor only comes with 10 awg wires 
It works for @jnobile and was cheaper than the rest…said id give it a go. @jnobile did yours come with 10 awg wires?
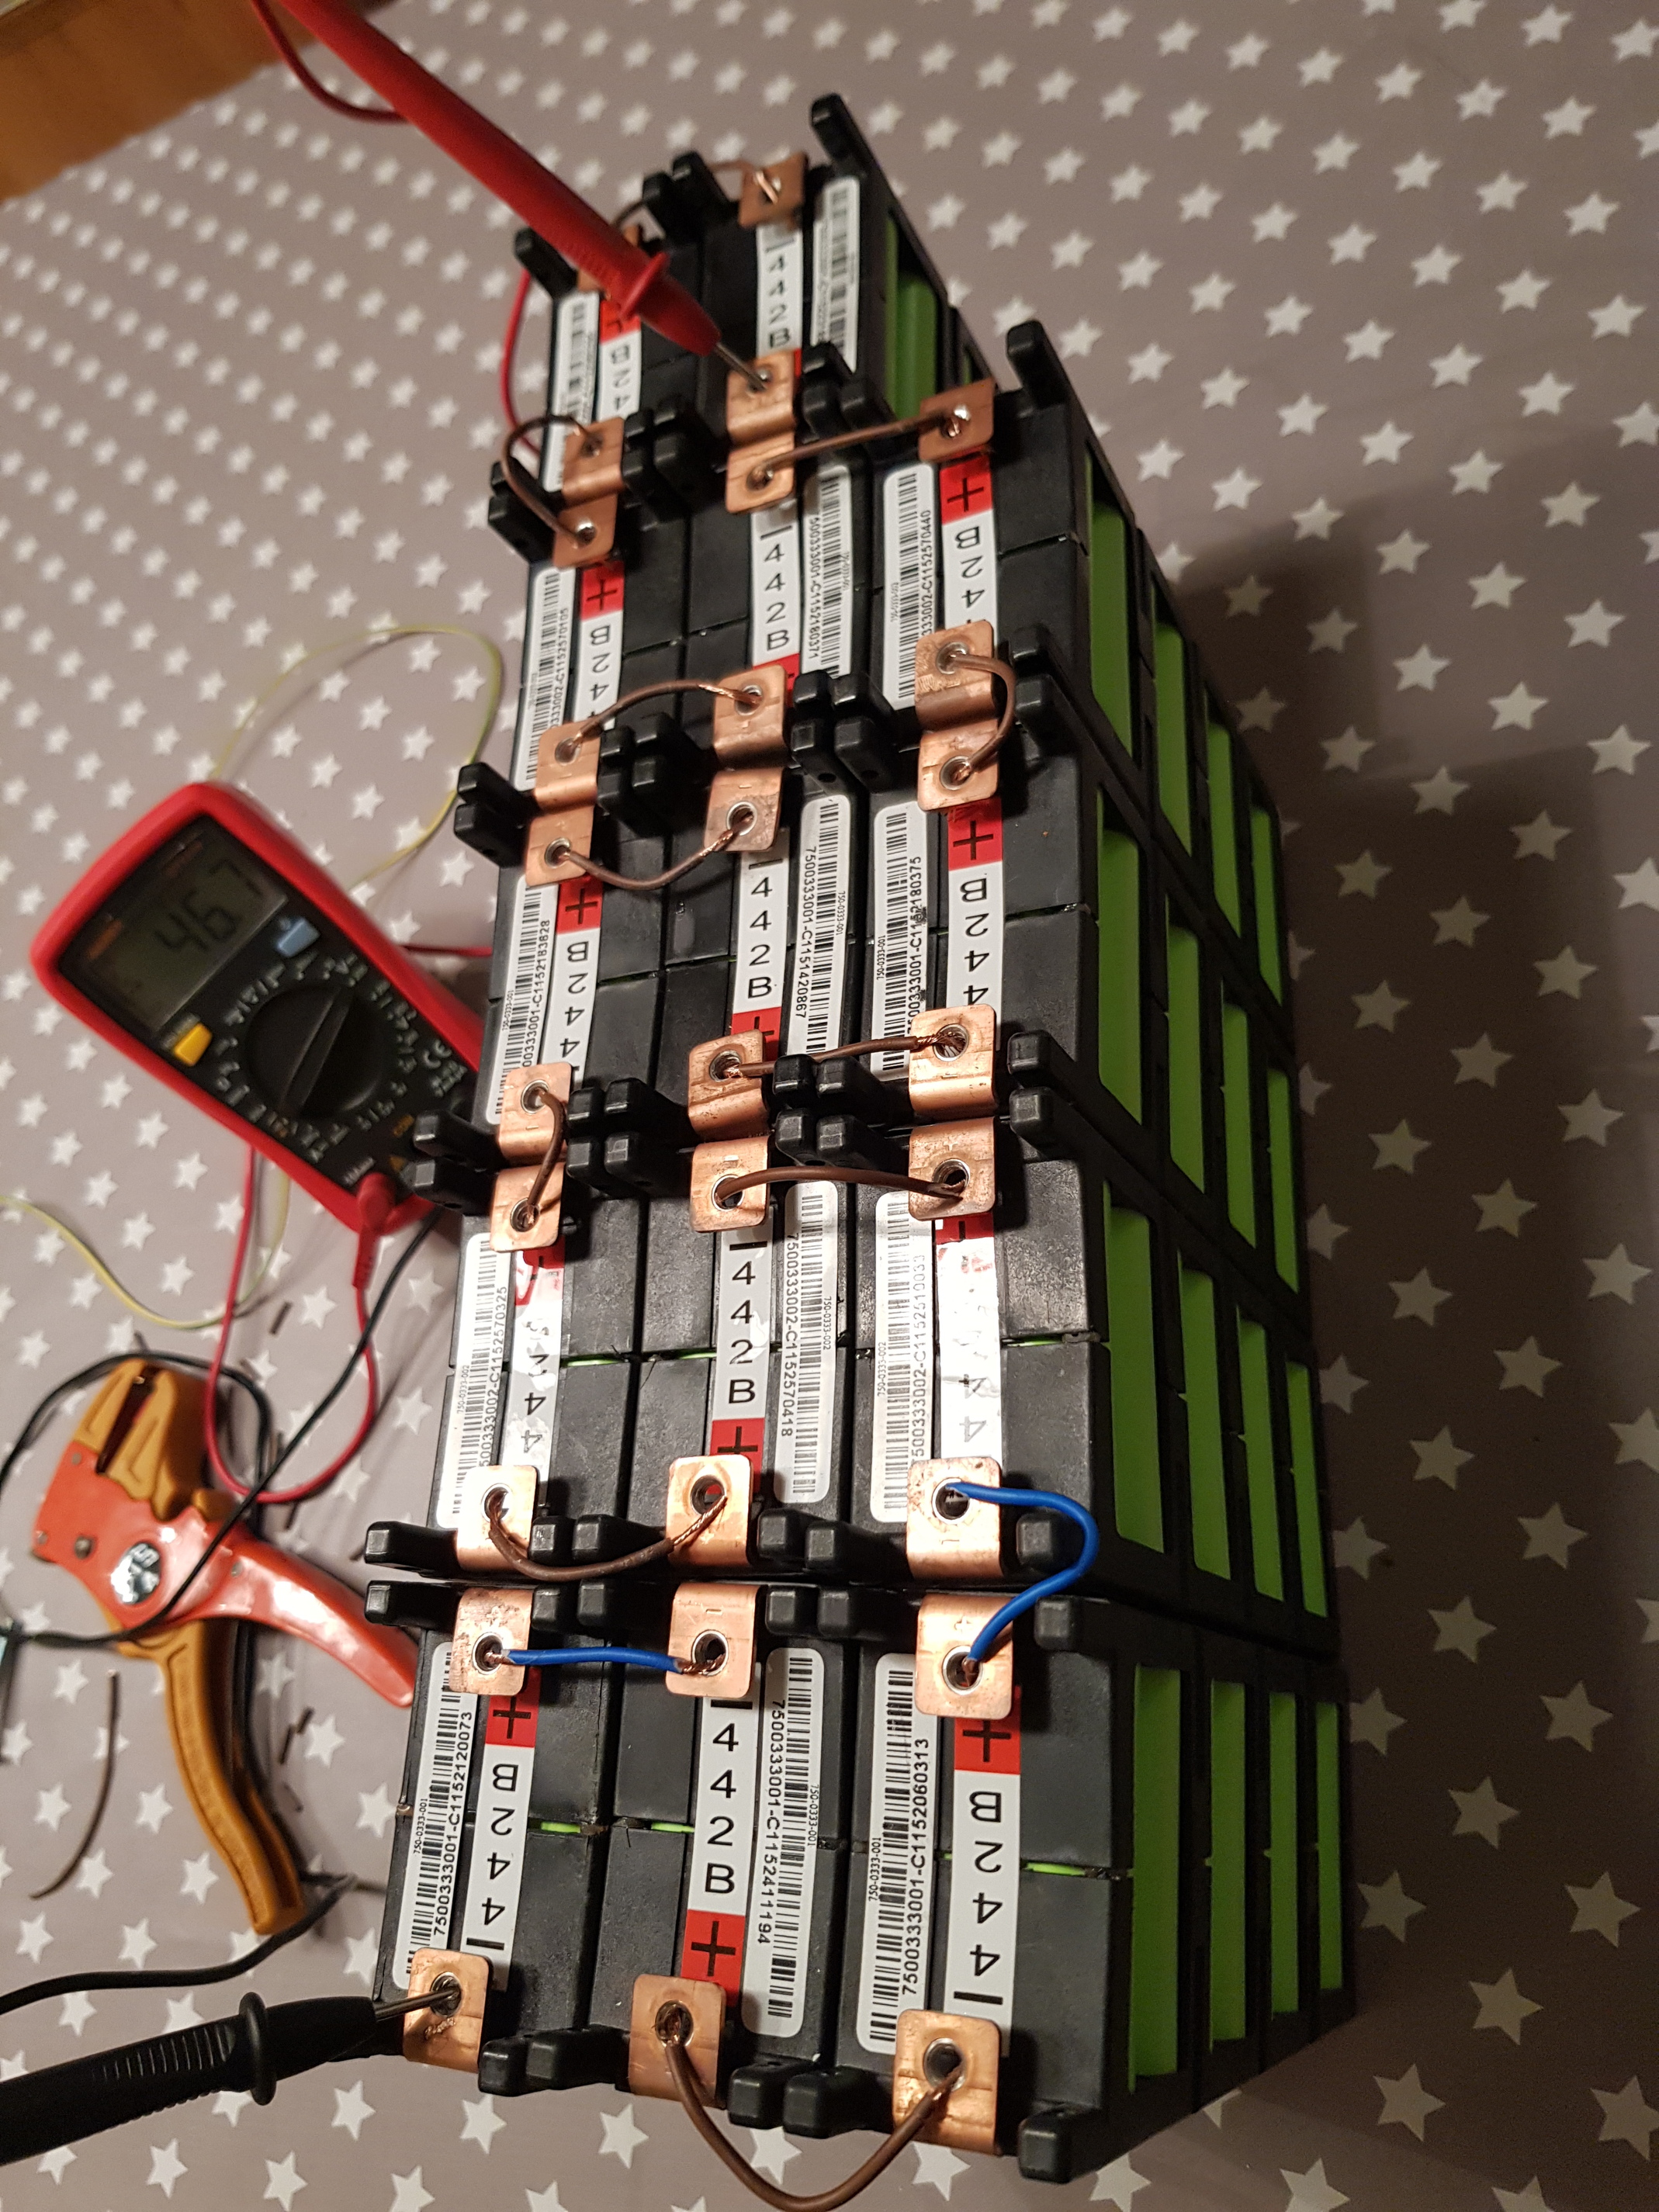
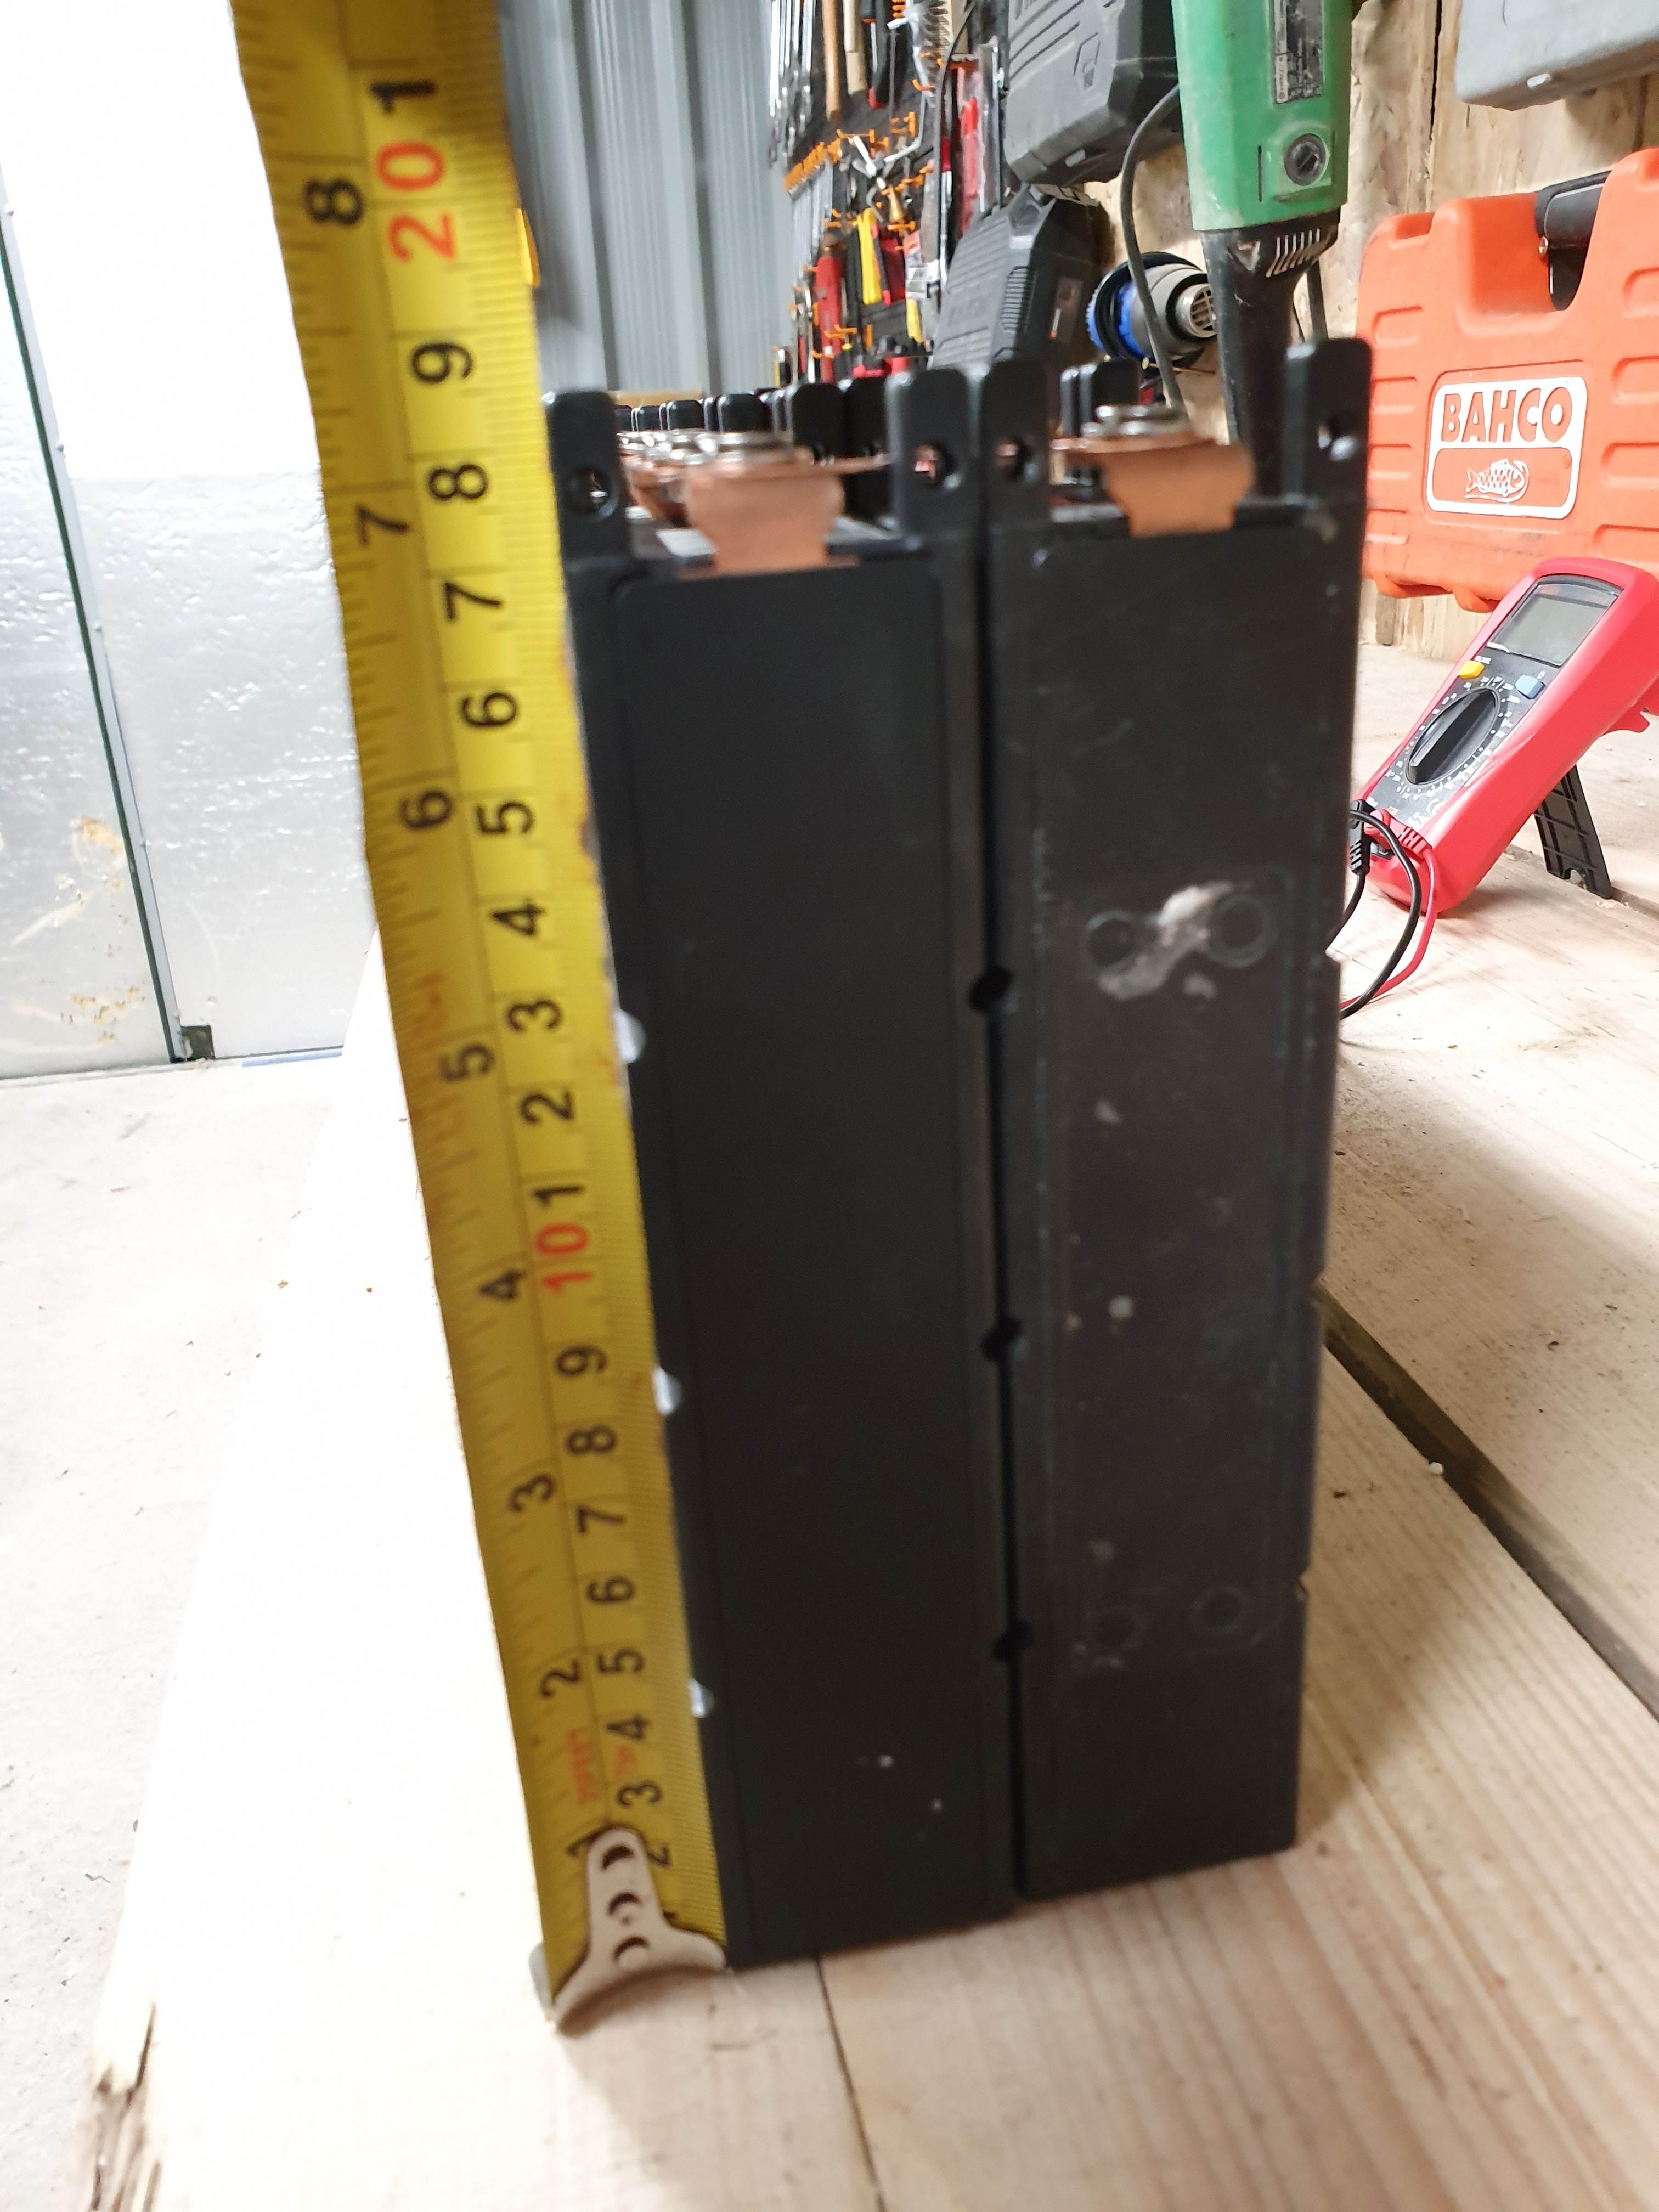
So I got a chance to open up the battery packs and quickly assemble them just so I could see.
Briefly plugged in the charger too and attached it just to see and besides the tiny wire I used (all I had for tonight) smoking…def not built to take 10A , it was all good.

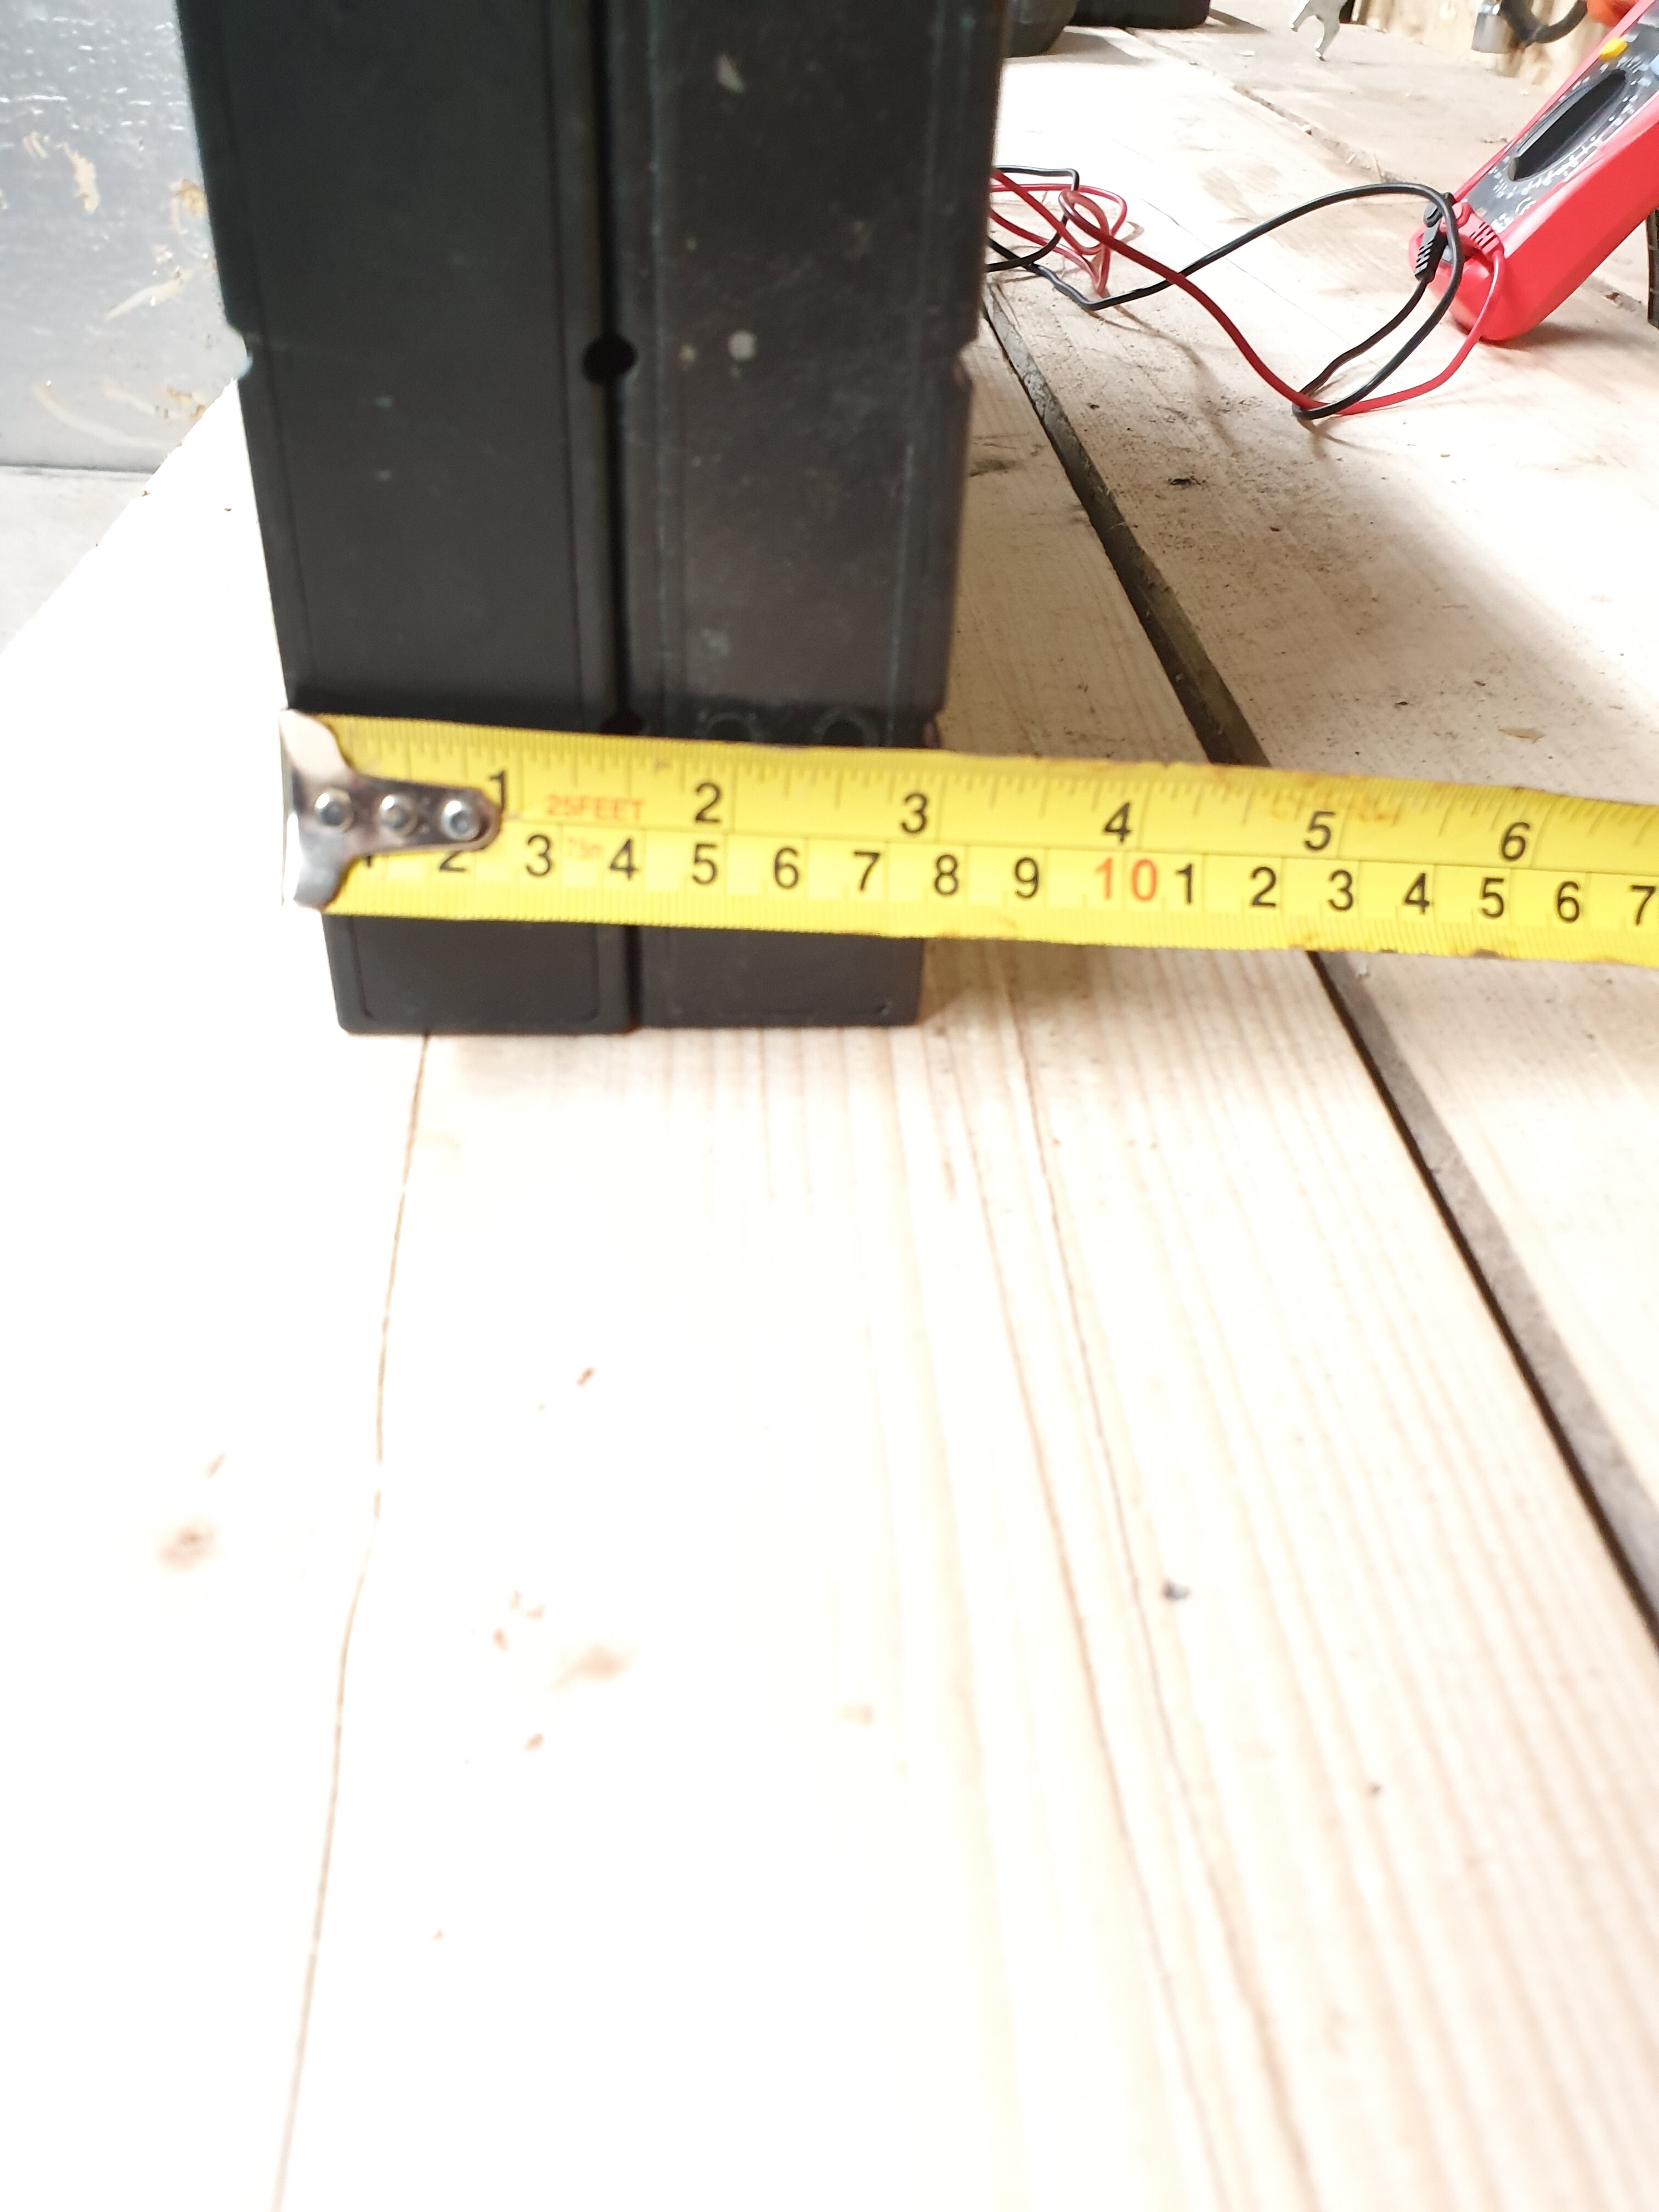
Probably gonna assemble in 2 stacked rather than 3 and make it longer but i’ll have a think.
Hoping ESC is due tomorrow and remote next week.
Very Happy…course cant check Ah of the batterys yet so 
1 Like
The 100kV motor came with larger wires than the 150kV version, which makes sense, although I don’t recall what size either of them they are.
1 Like
My system needs ~3kW to get up on the foil and ~1.8kW to remain foiling, so I am getting what I need (from the 100kV motor) for the top half of the battery (50-45V). Below 45V is hard to get started, especially in fresh water.
1 Like
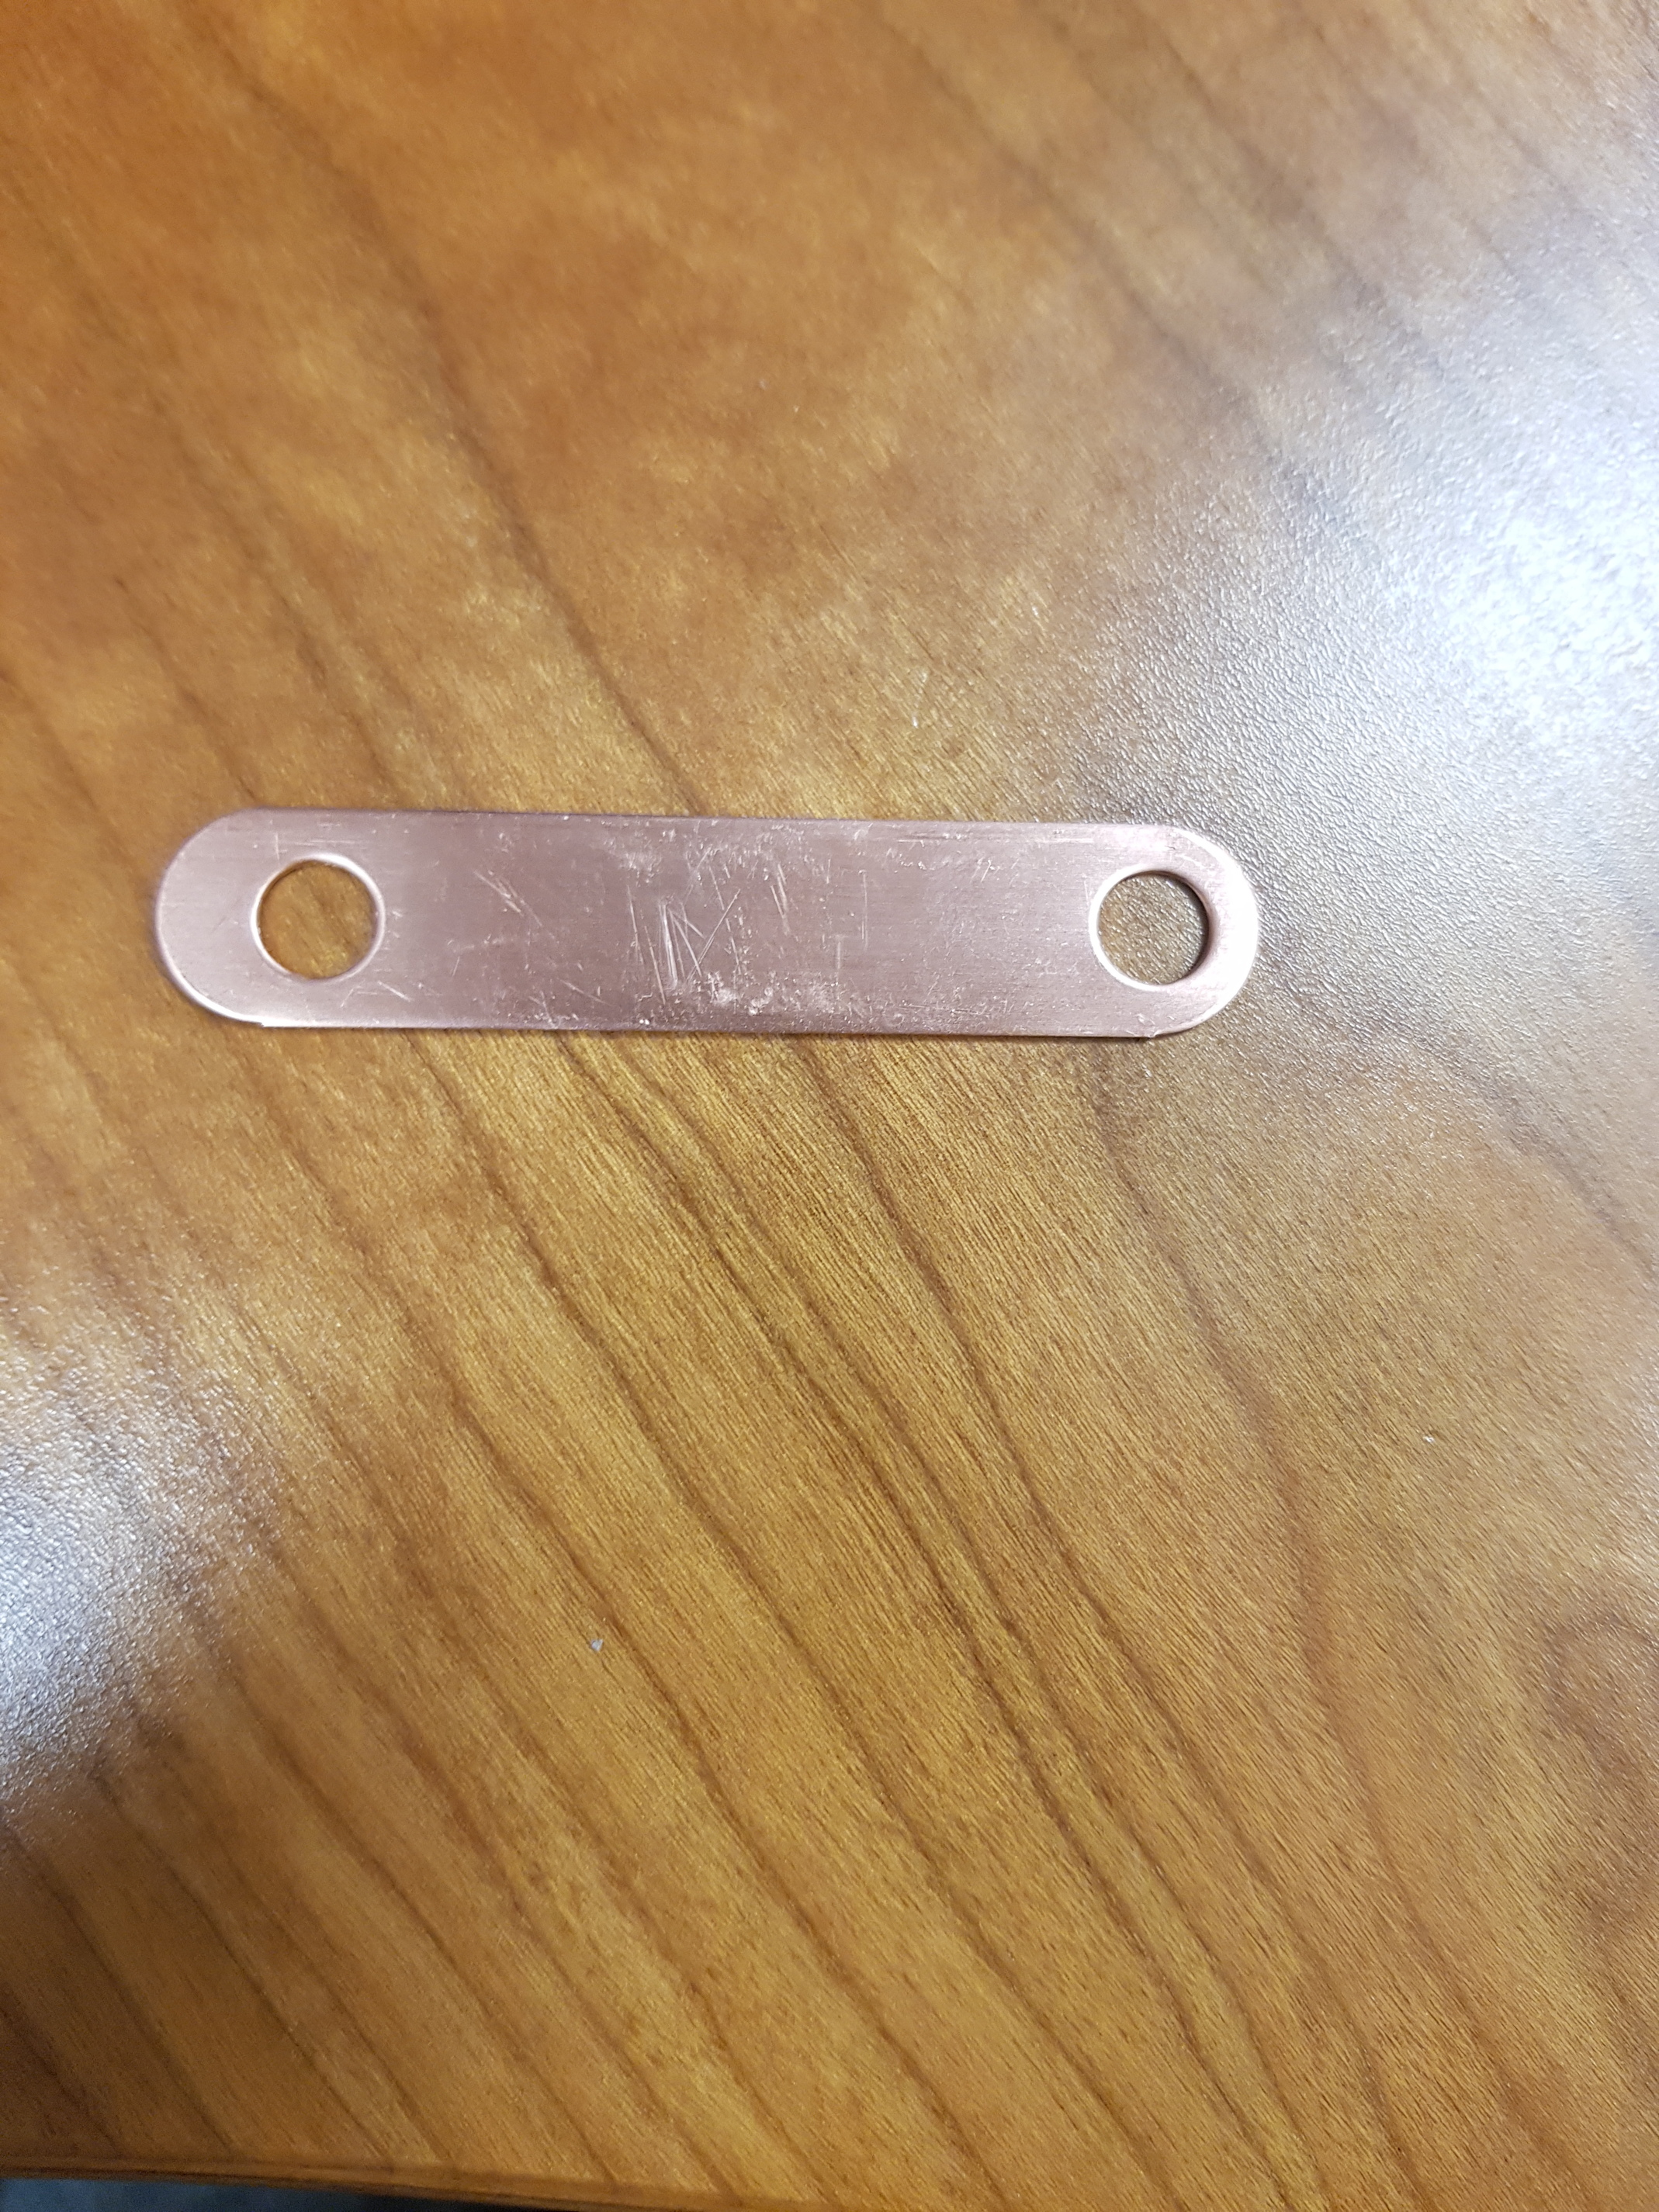
Gonna use these copper strips cut down to connect my battery terminals and assemble the pack. They are copper earth straps for electrical containment. 100 of them for €40 comes with a 6mm hole. Can be bent, cut, drilled, shaped and soldered. Should work nicely for my battery terminals
1 Like
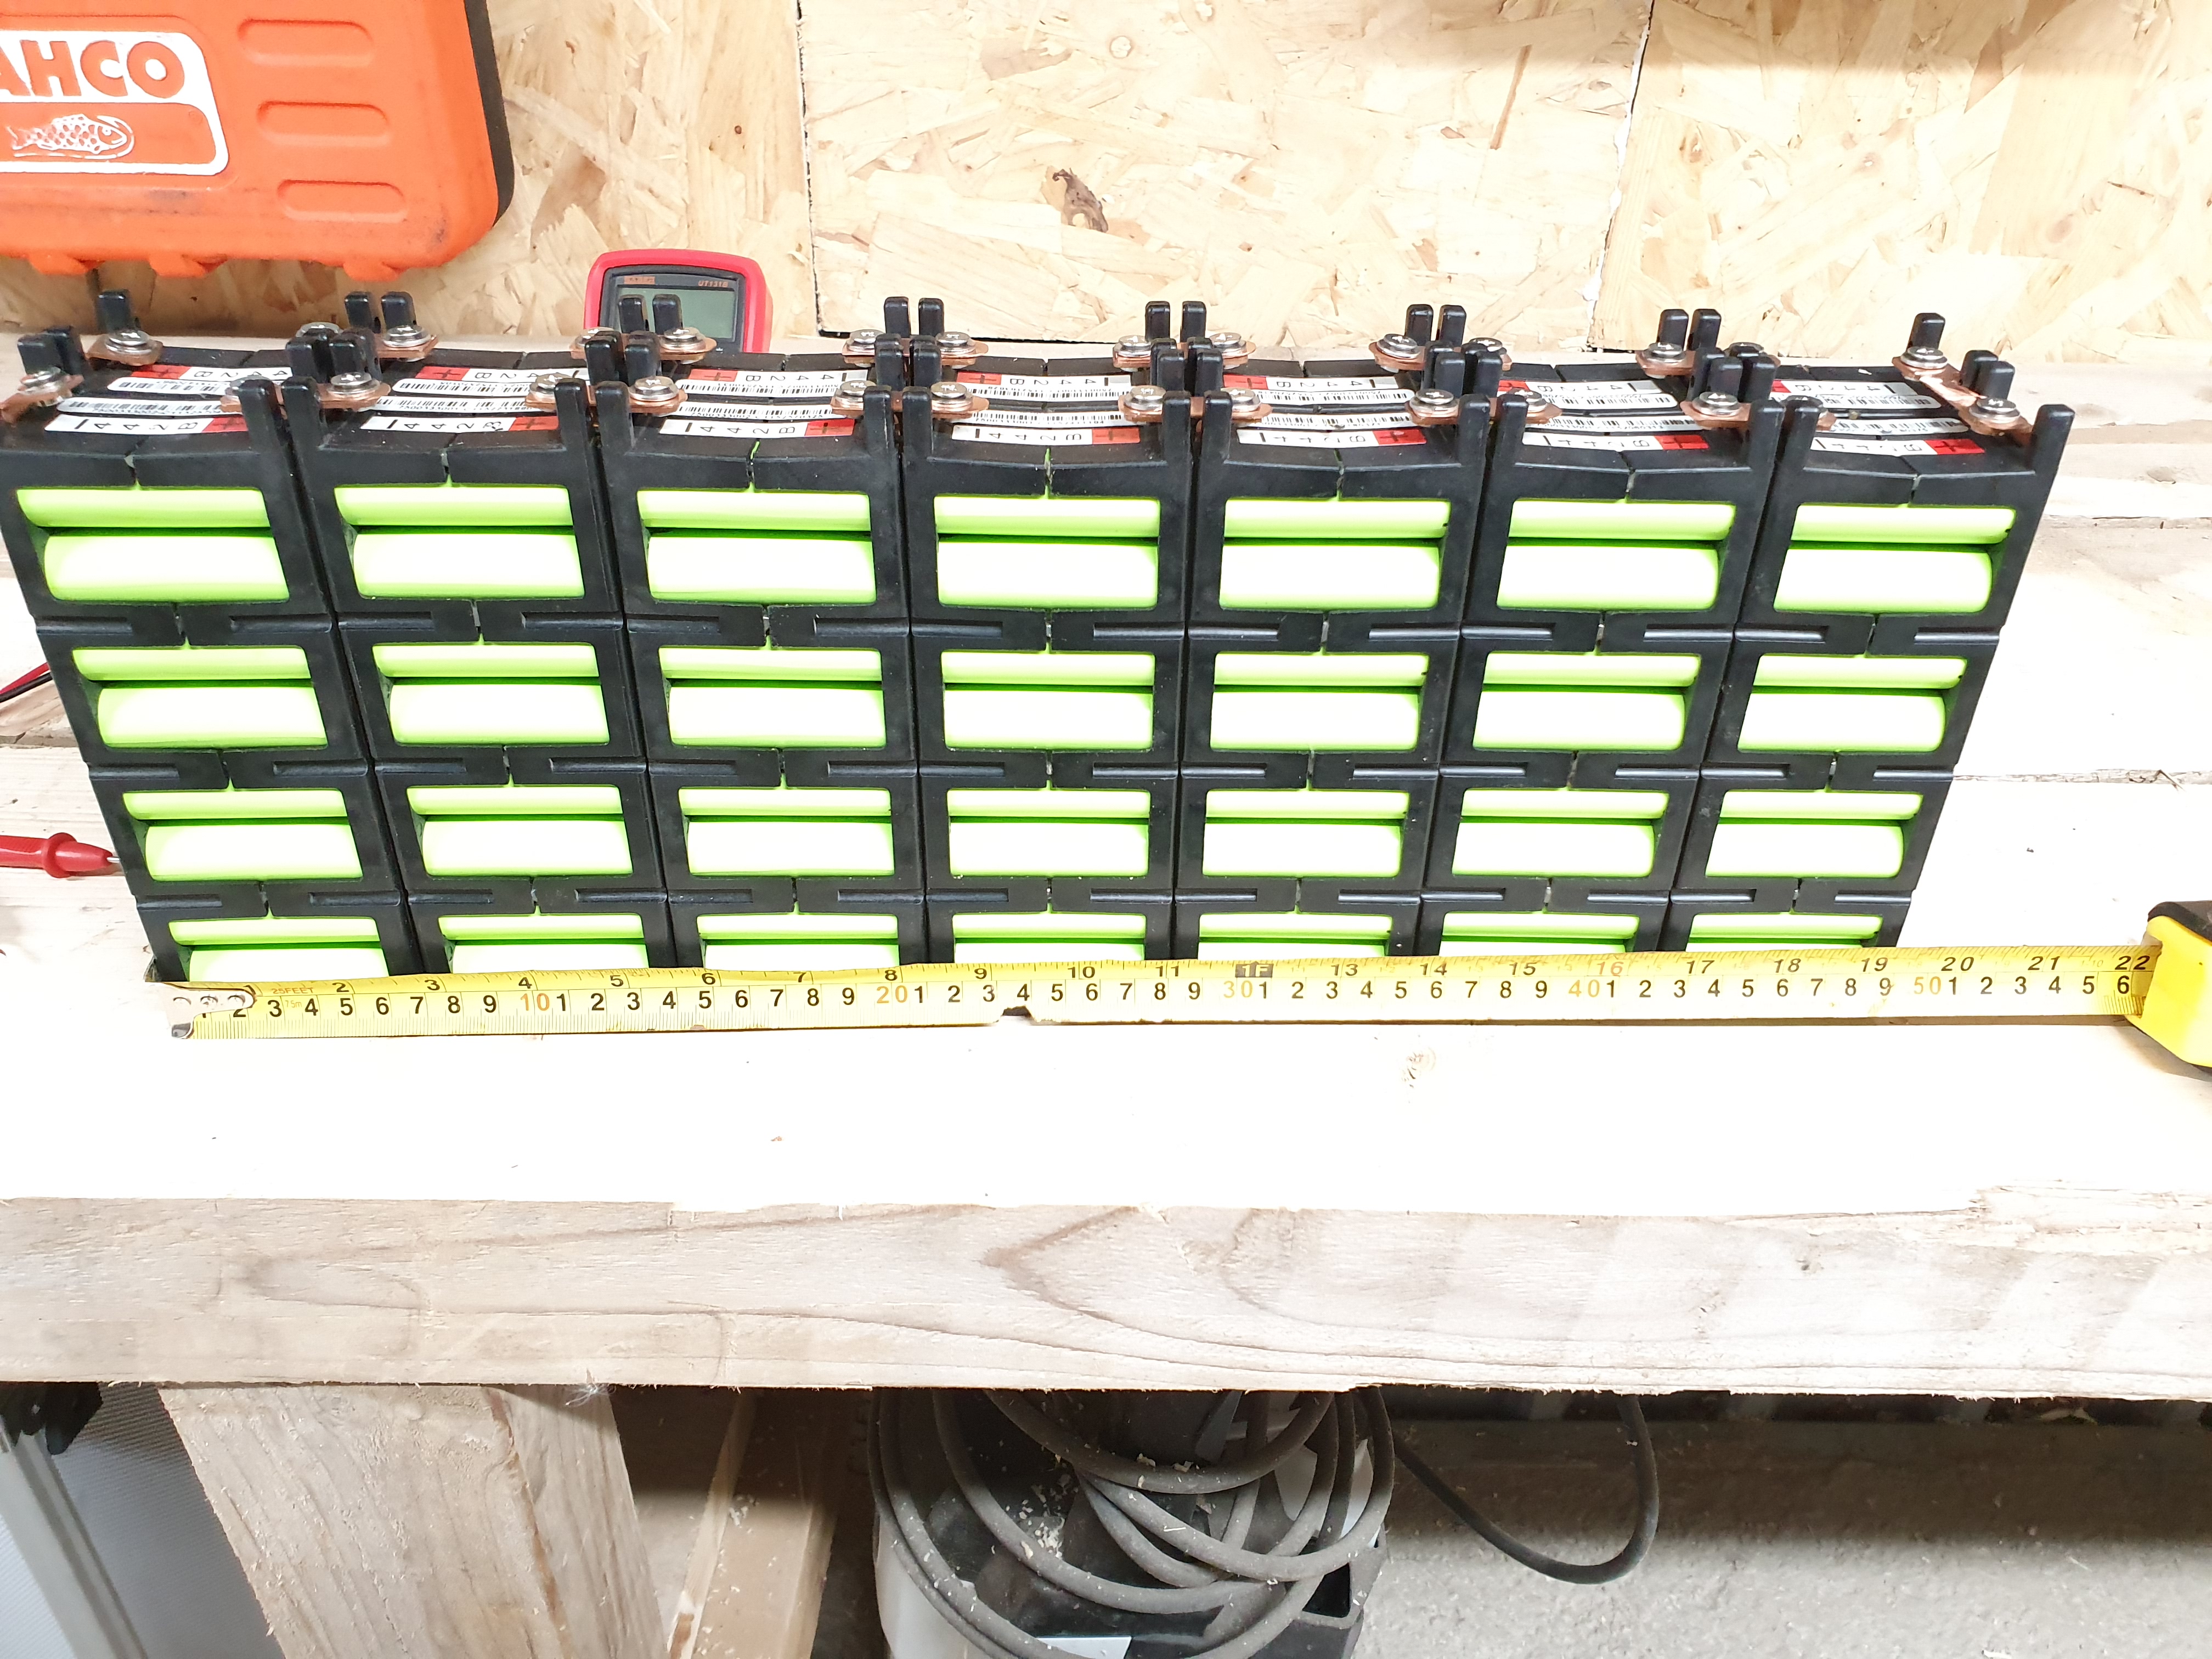
So my next little update. Battery slightly less crudely assembled:
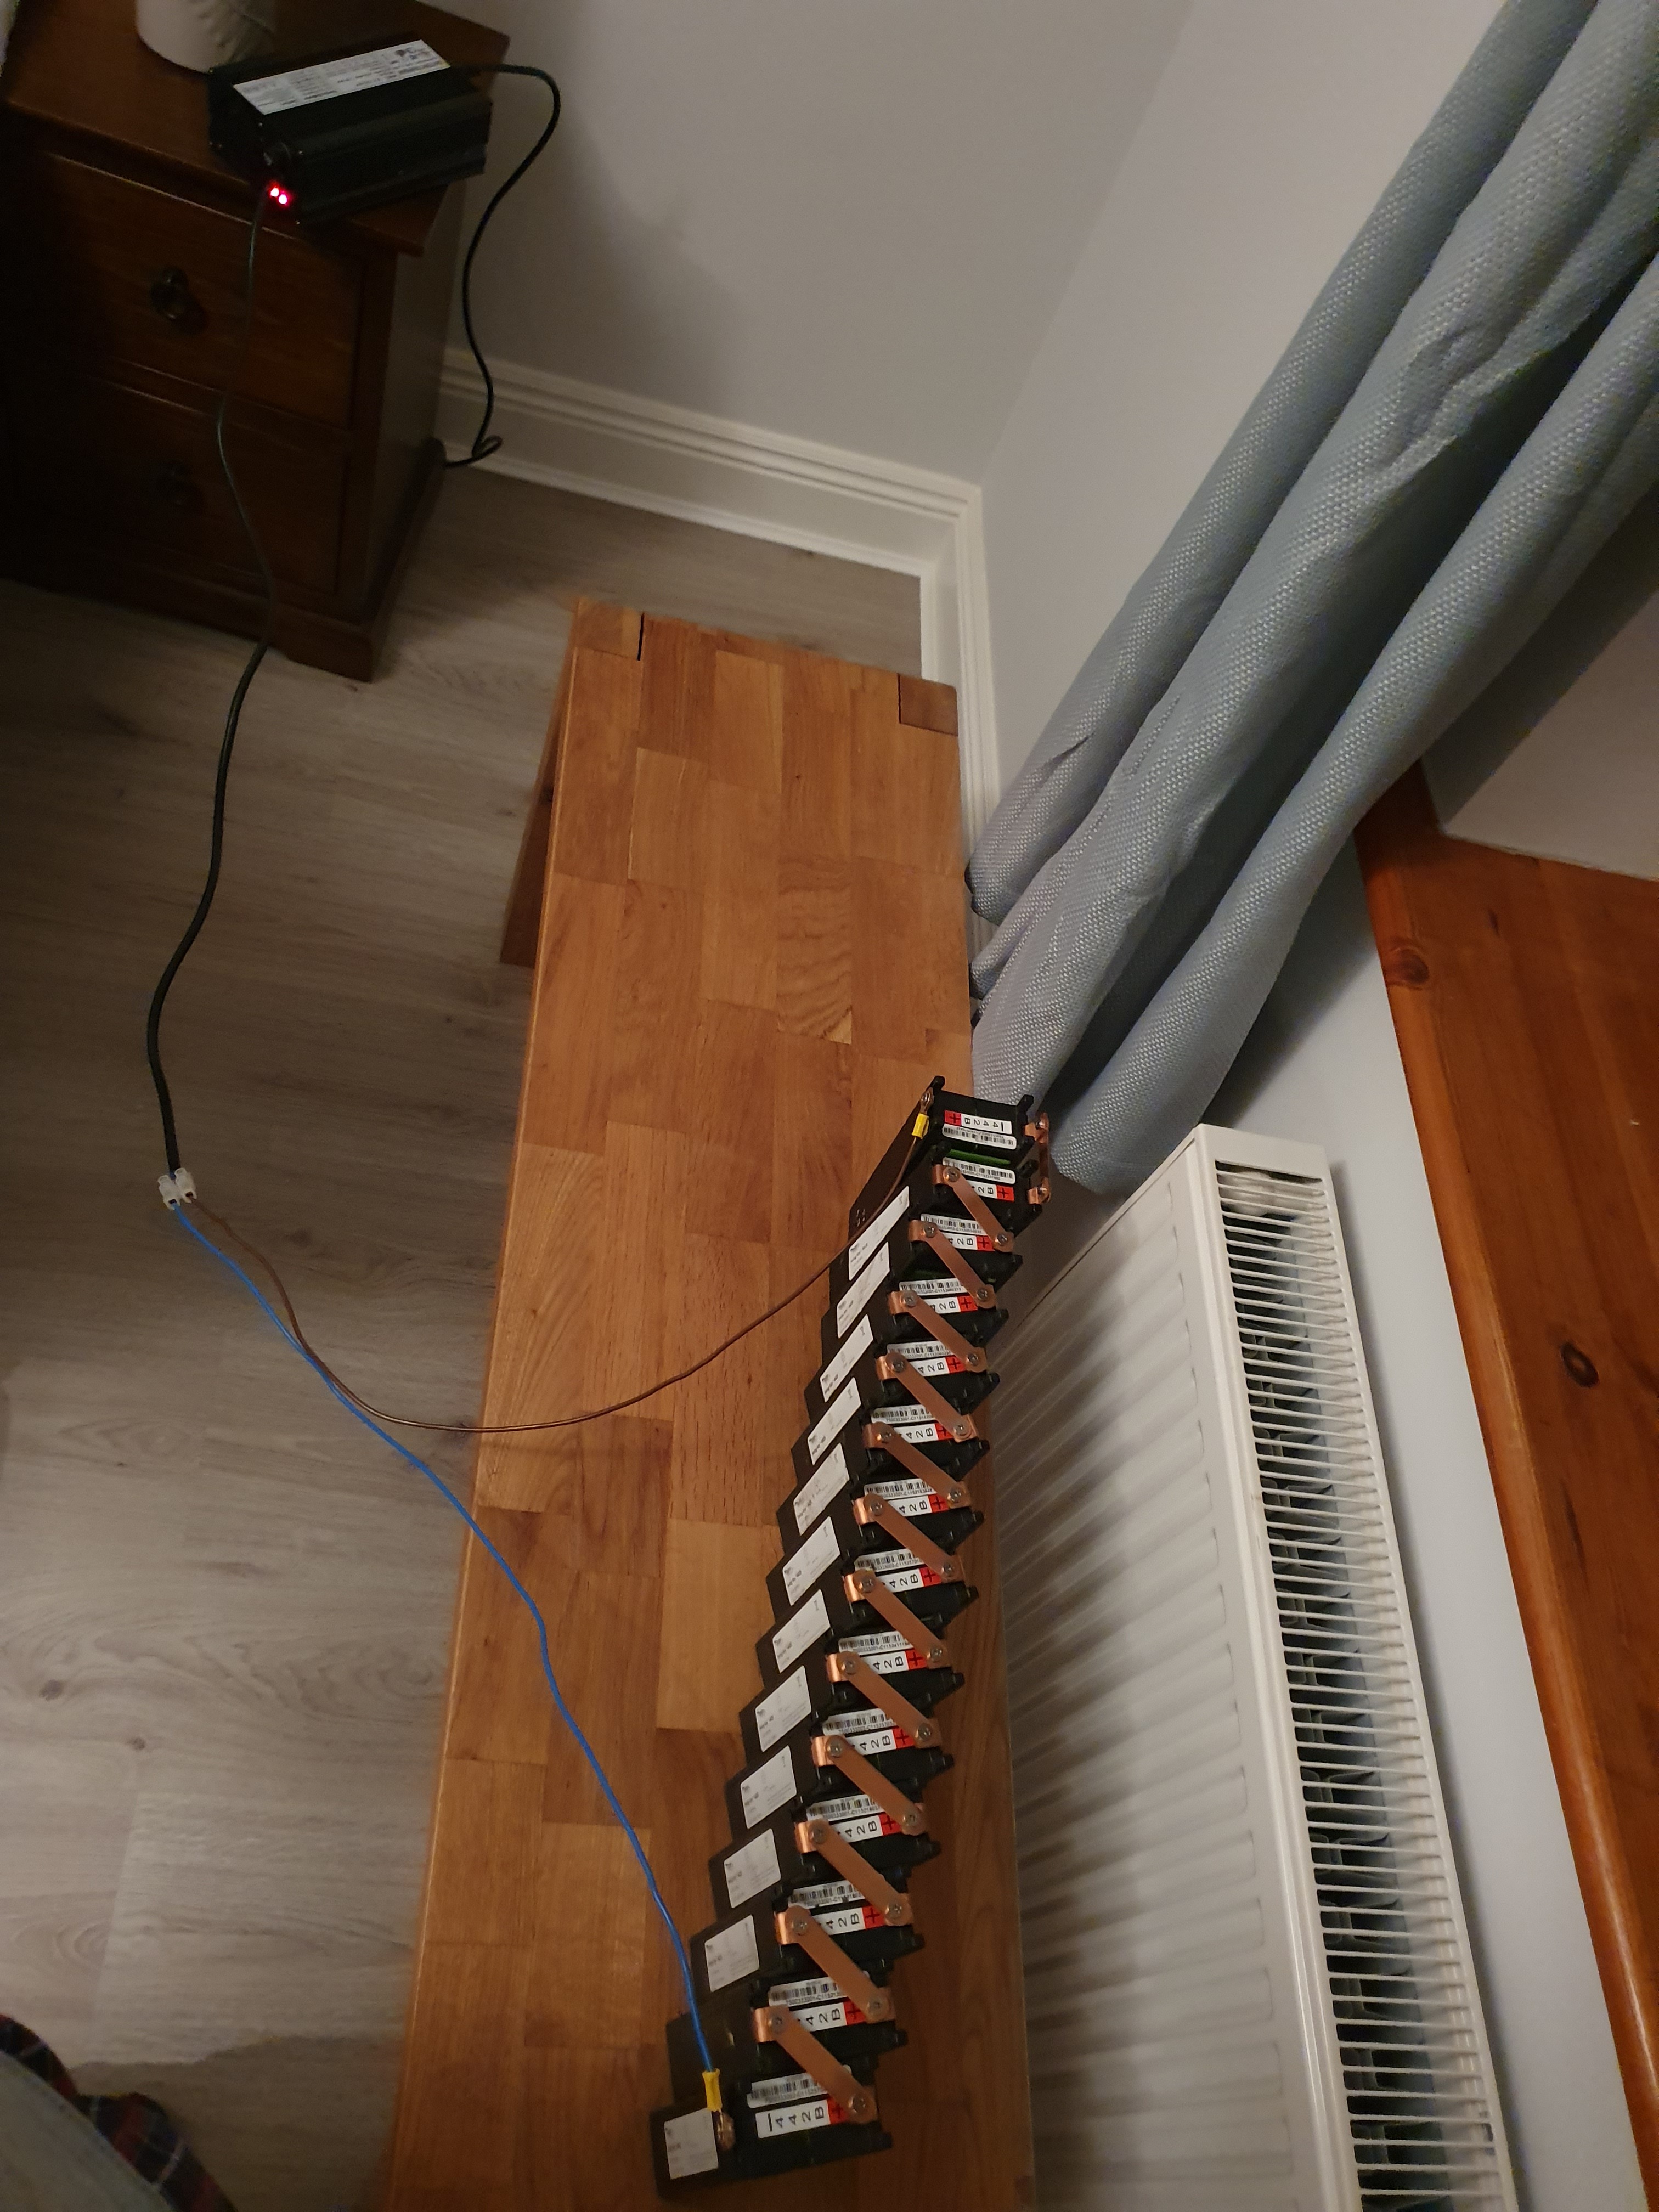

Be careful when assembling - I’ve a shaky hand and this is the result!:
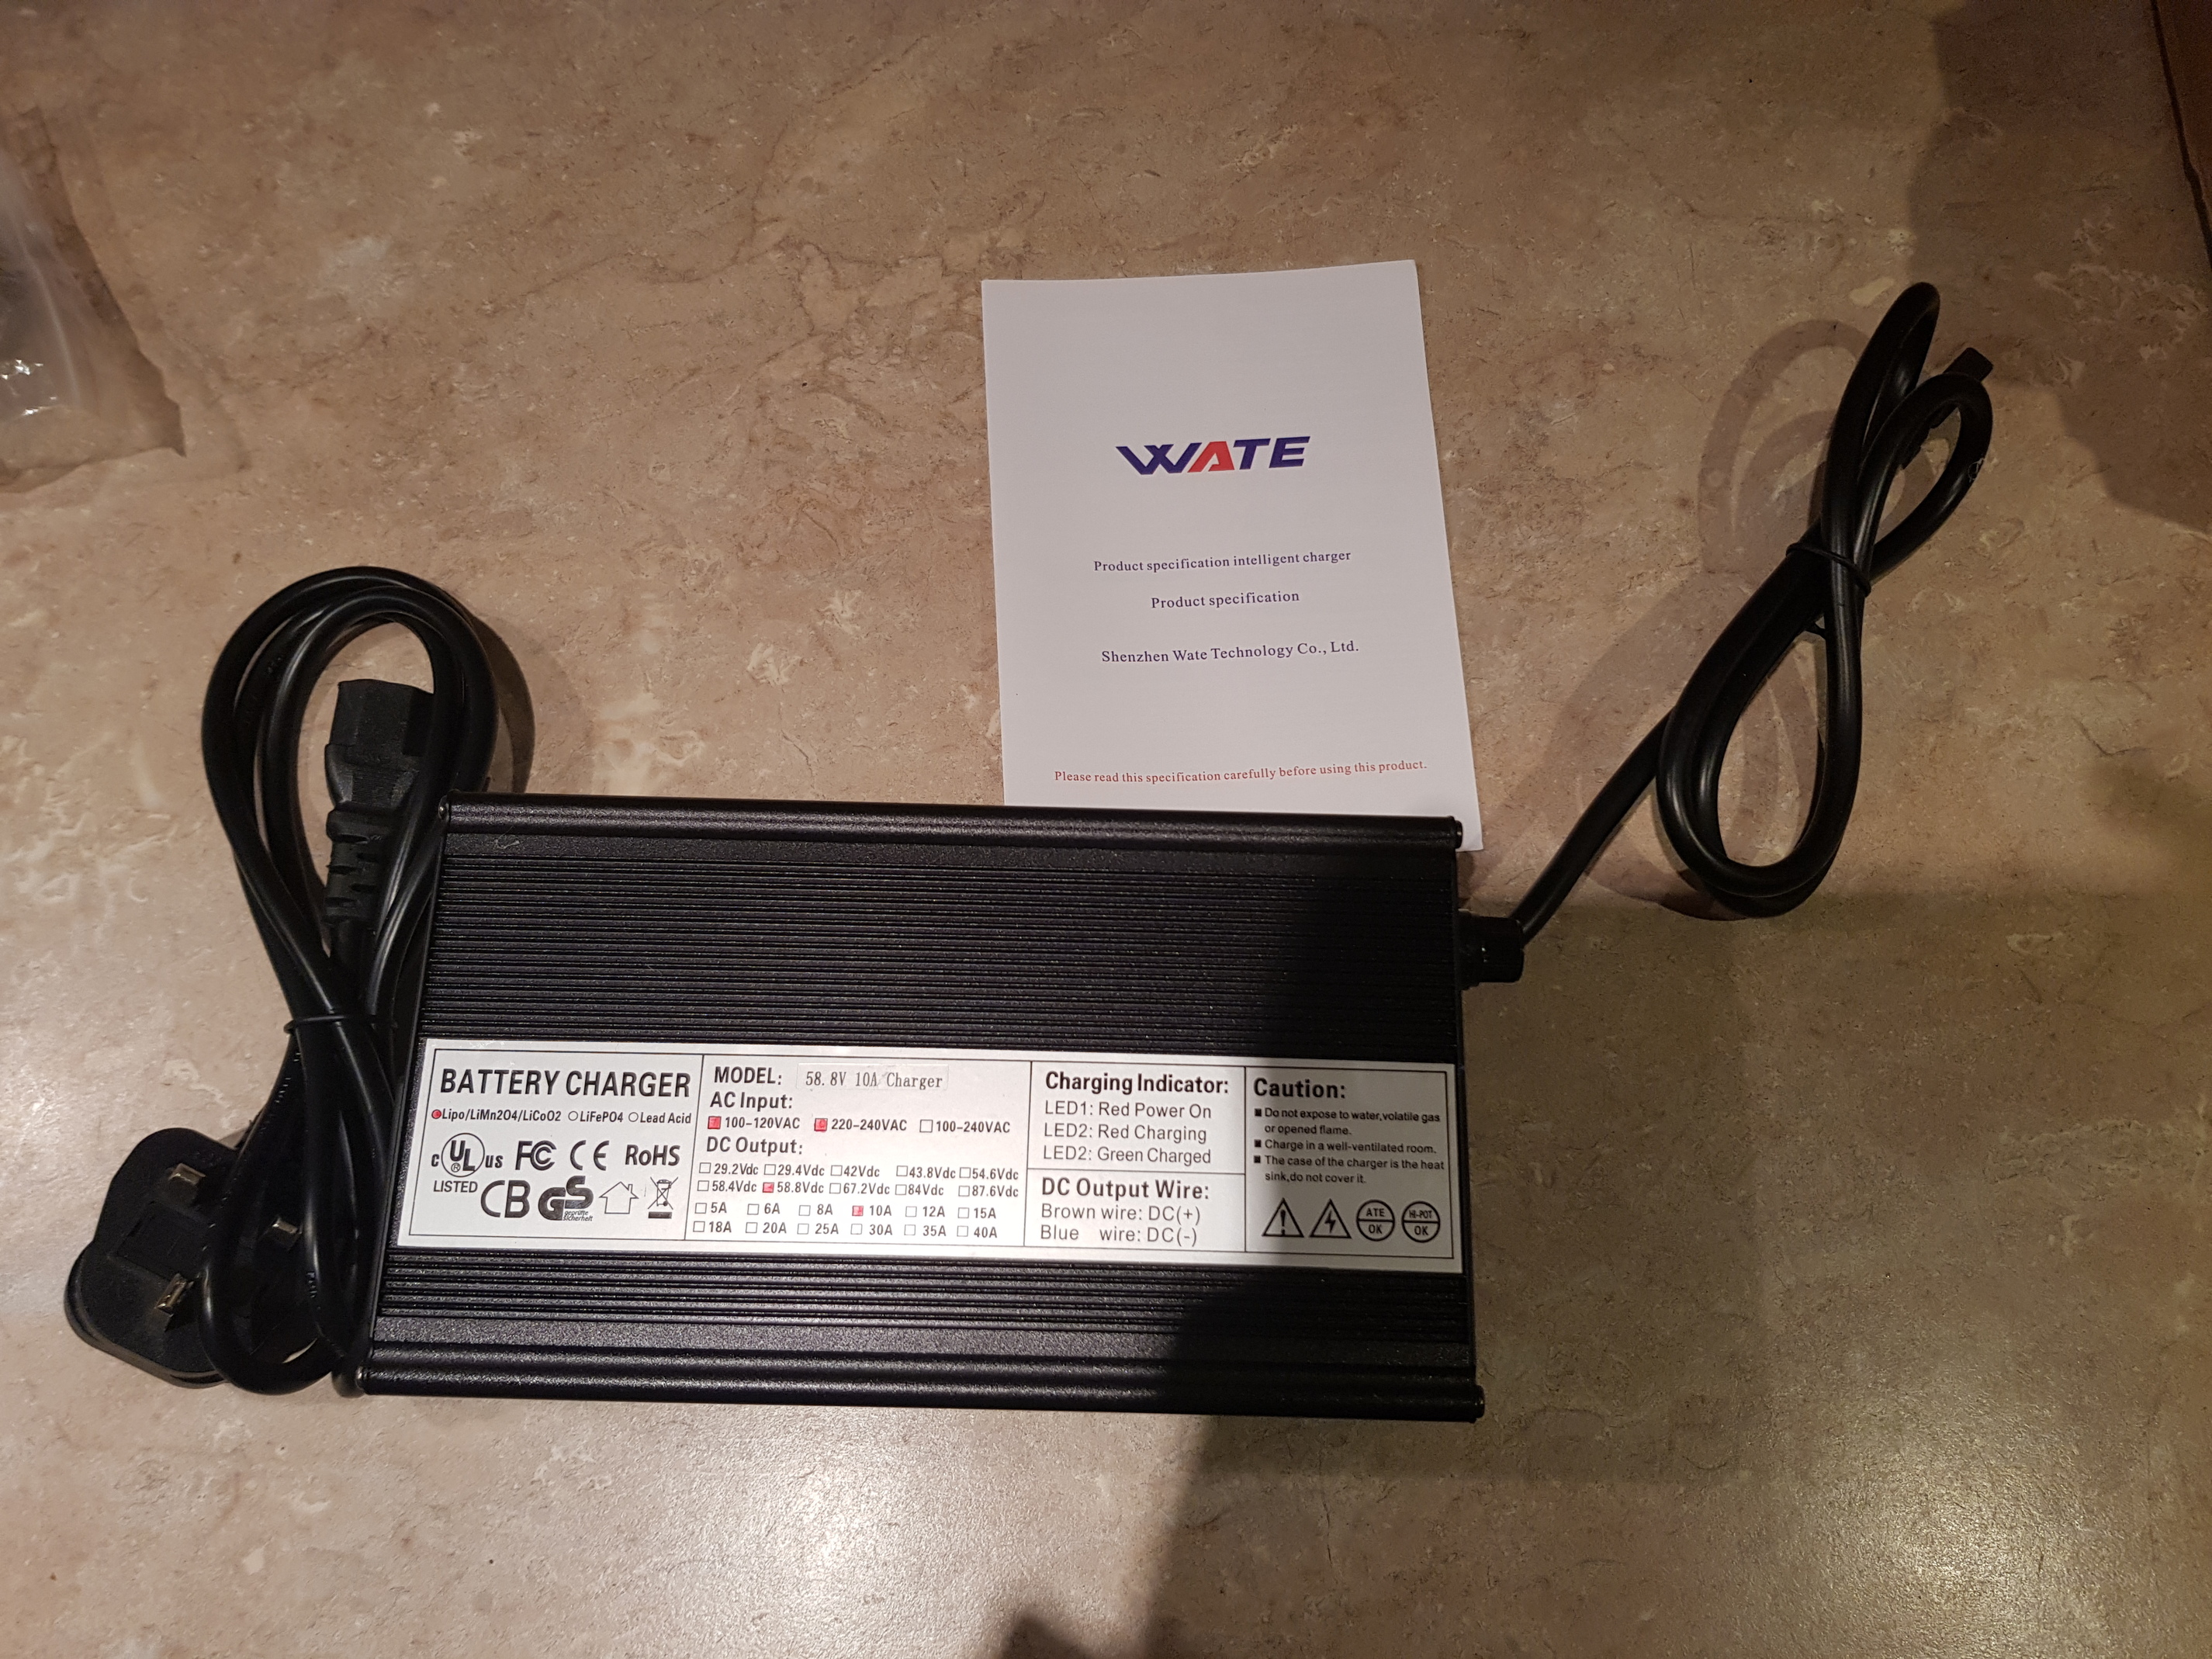
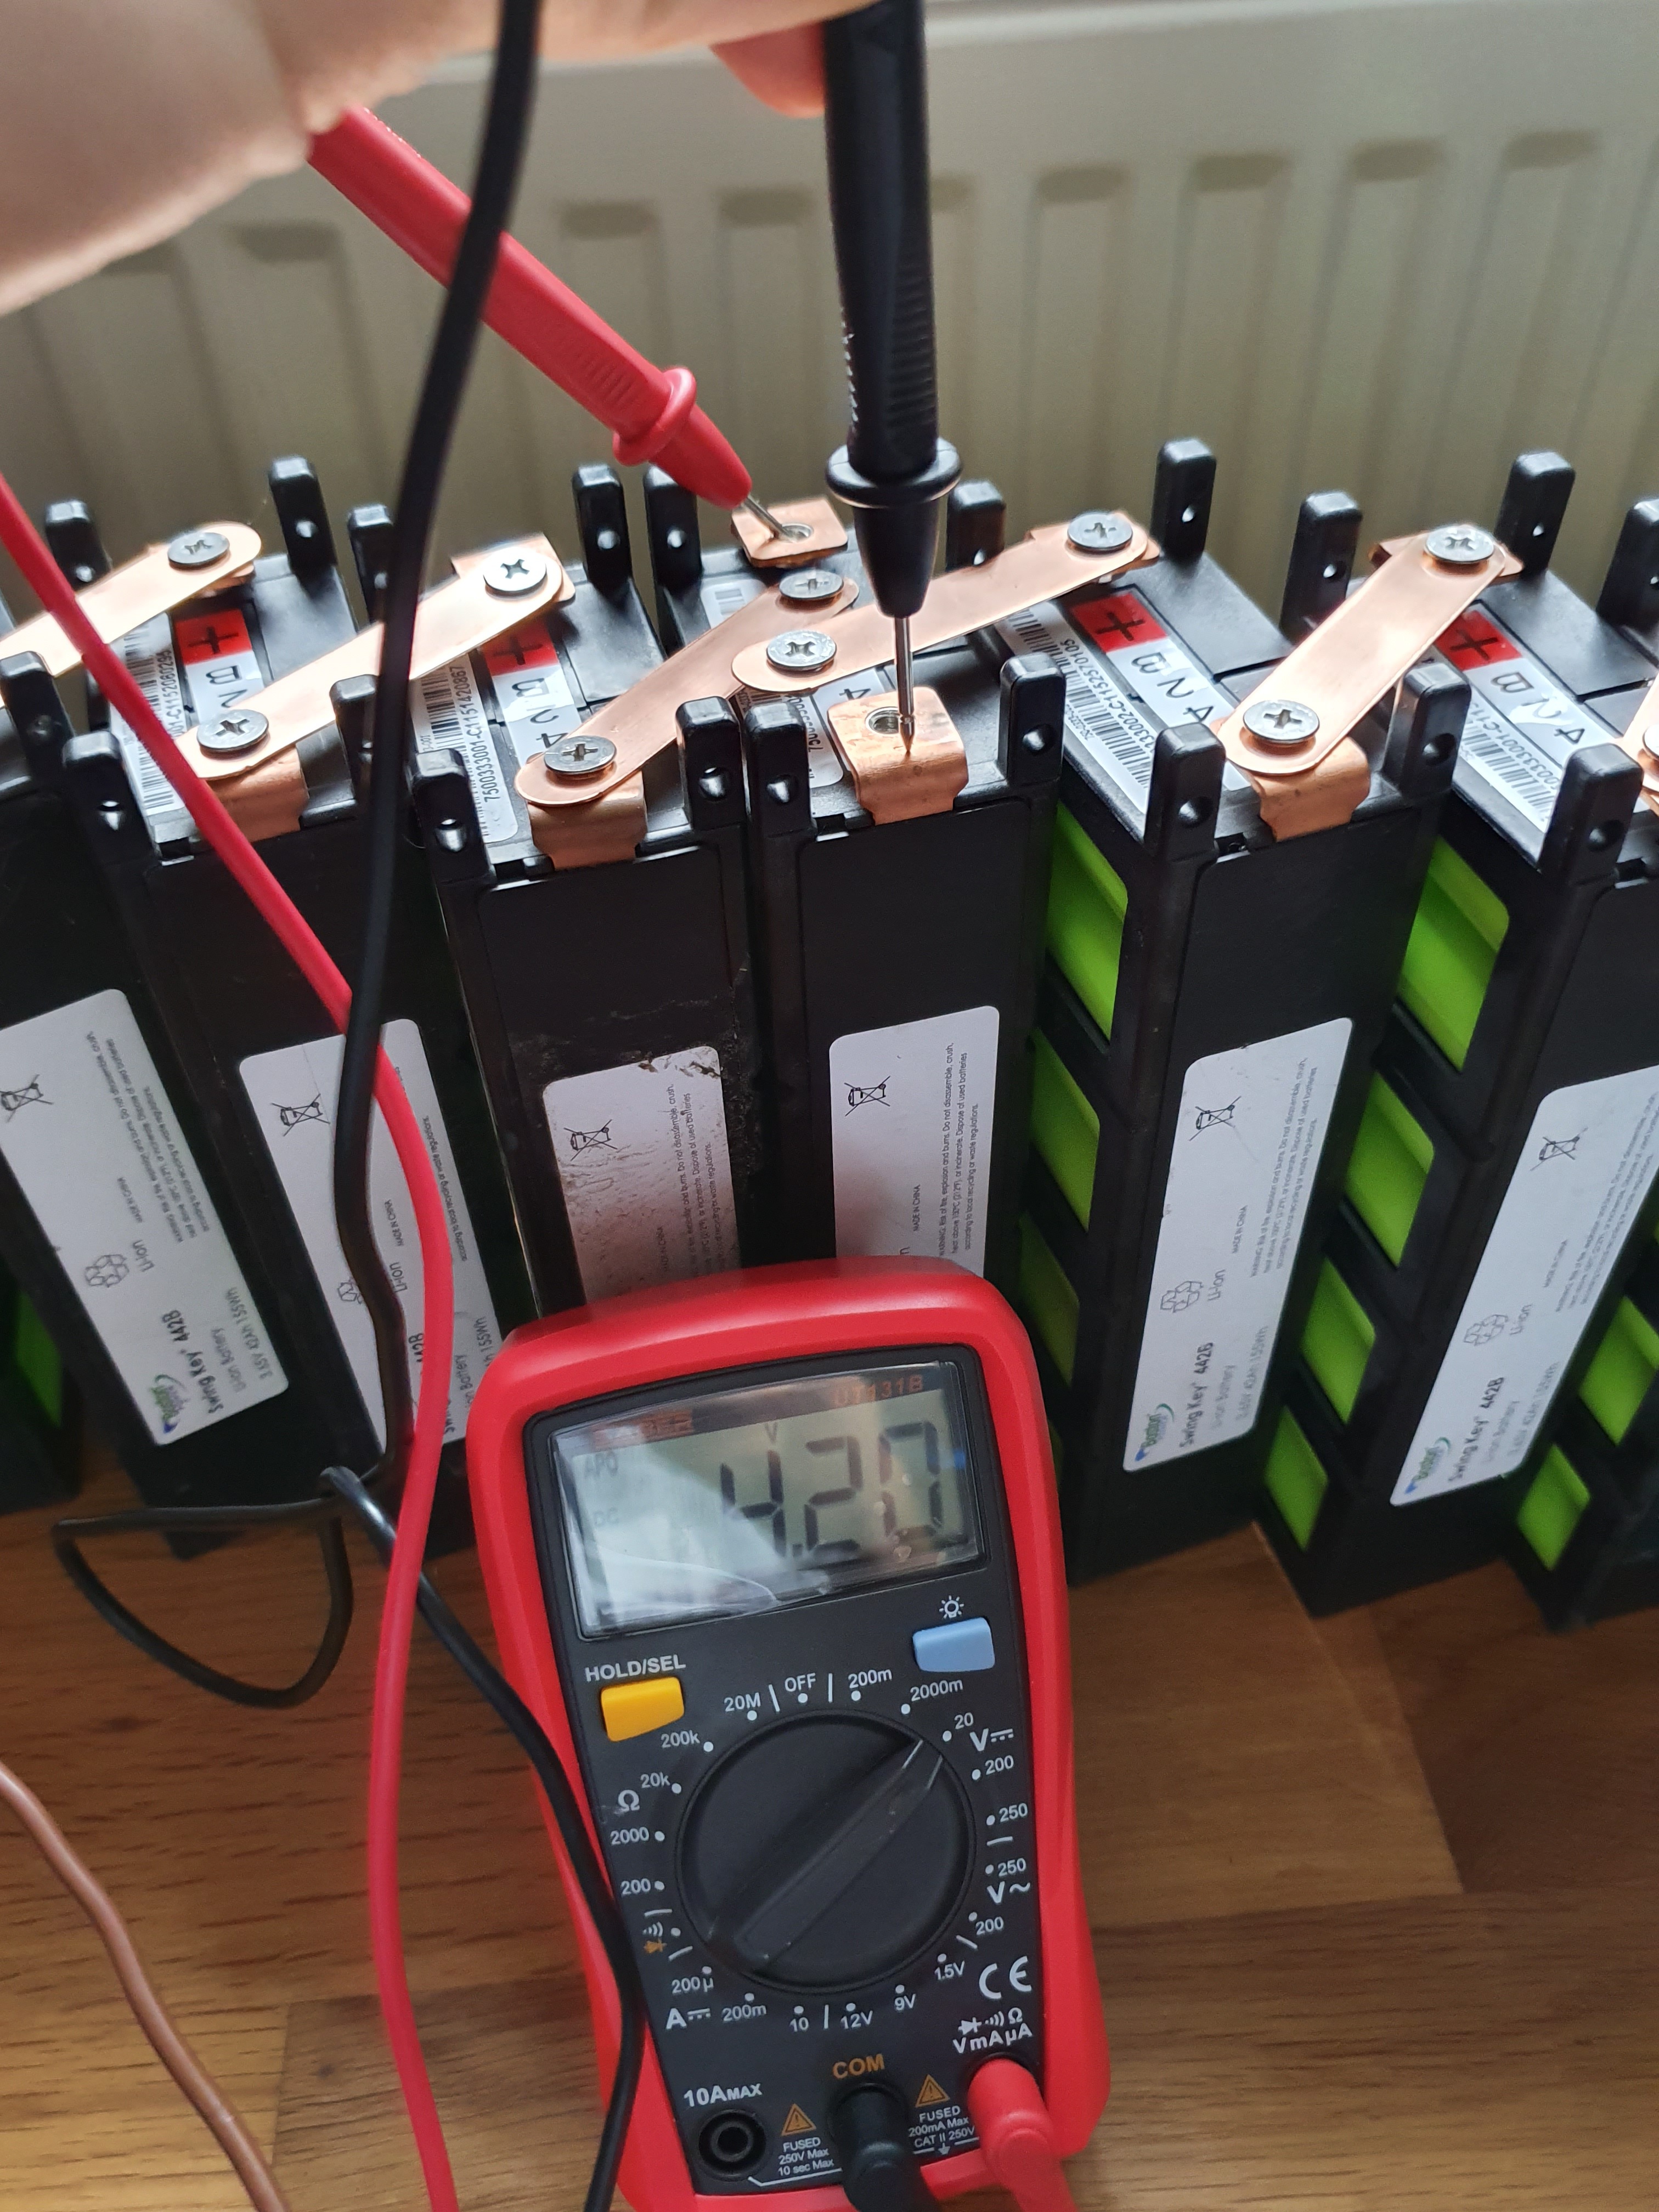
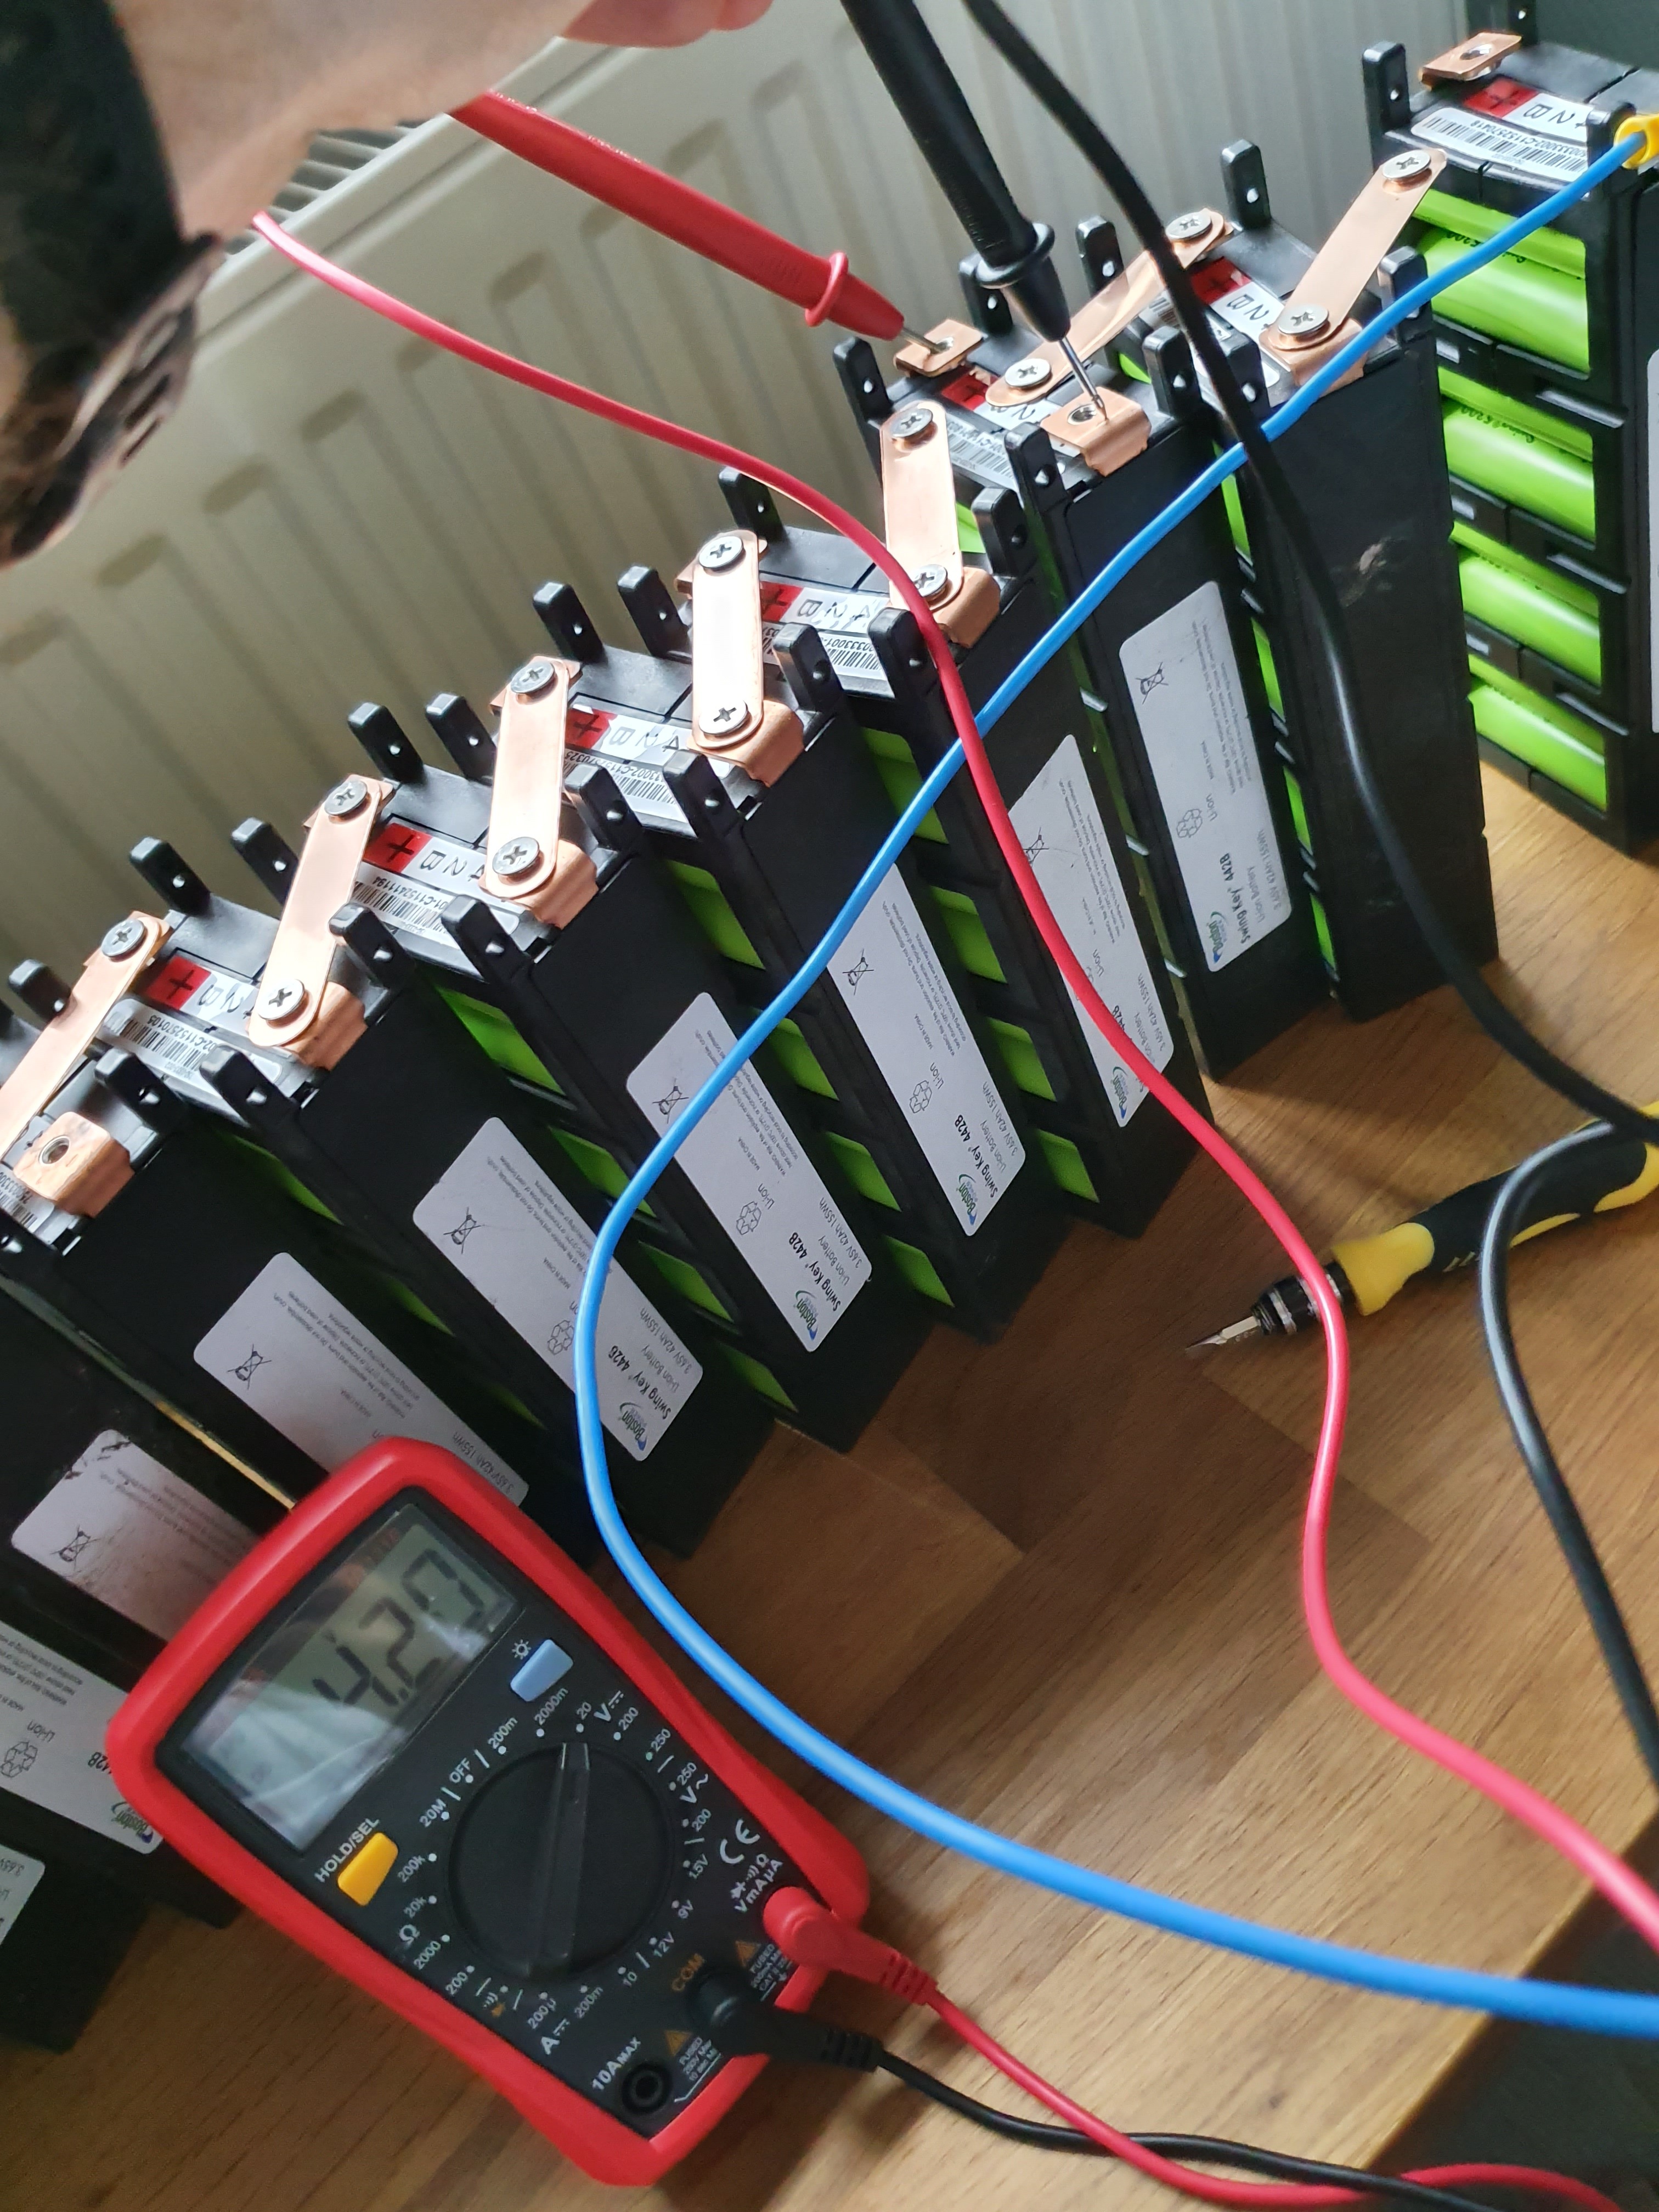
So first charge was a success - haven’t tested discharge but charger cut off at correct voltage and checked with multimeter so happy as I can be. Now moved to charging and storage outside in my shed in middle of floor away from anything.
Battery finally assembled - waiting to seal it up once I decide on cable connections & electronics layout etc. !
I’m also after getting a better Multi Meter as I’m not so sure on the accracy of my current €9.99 one. Some more stuff has arrived and I’ll update in next post.
That battery is ginormous!
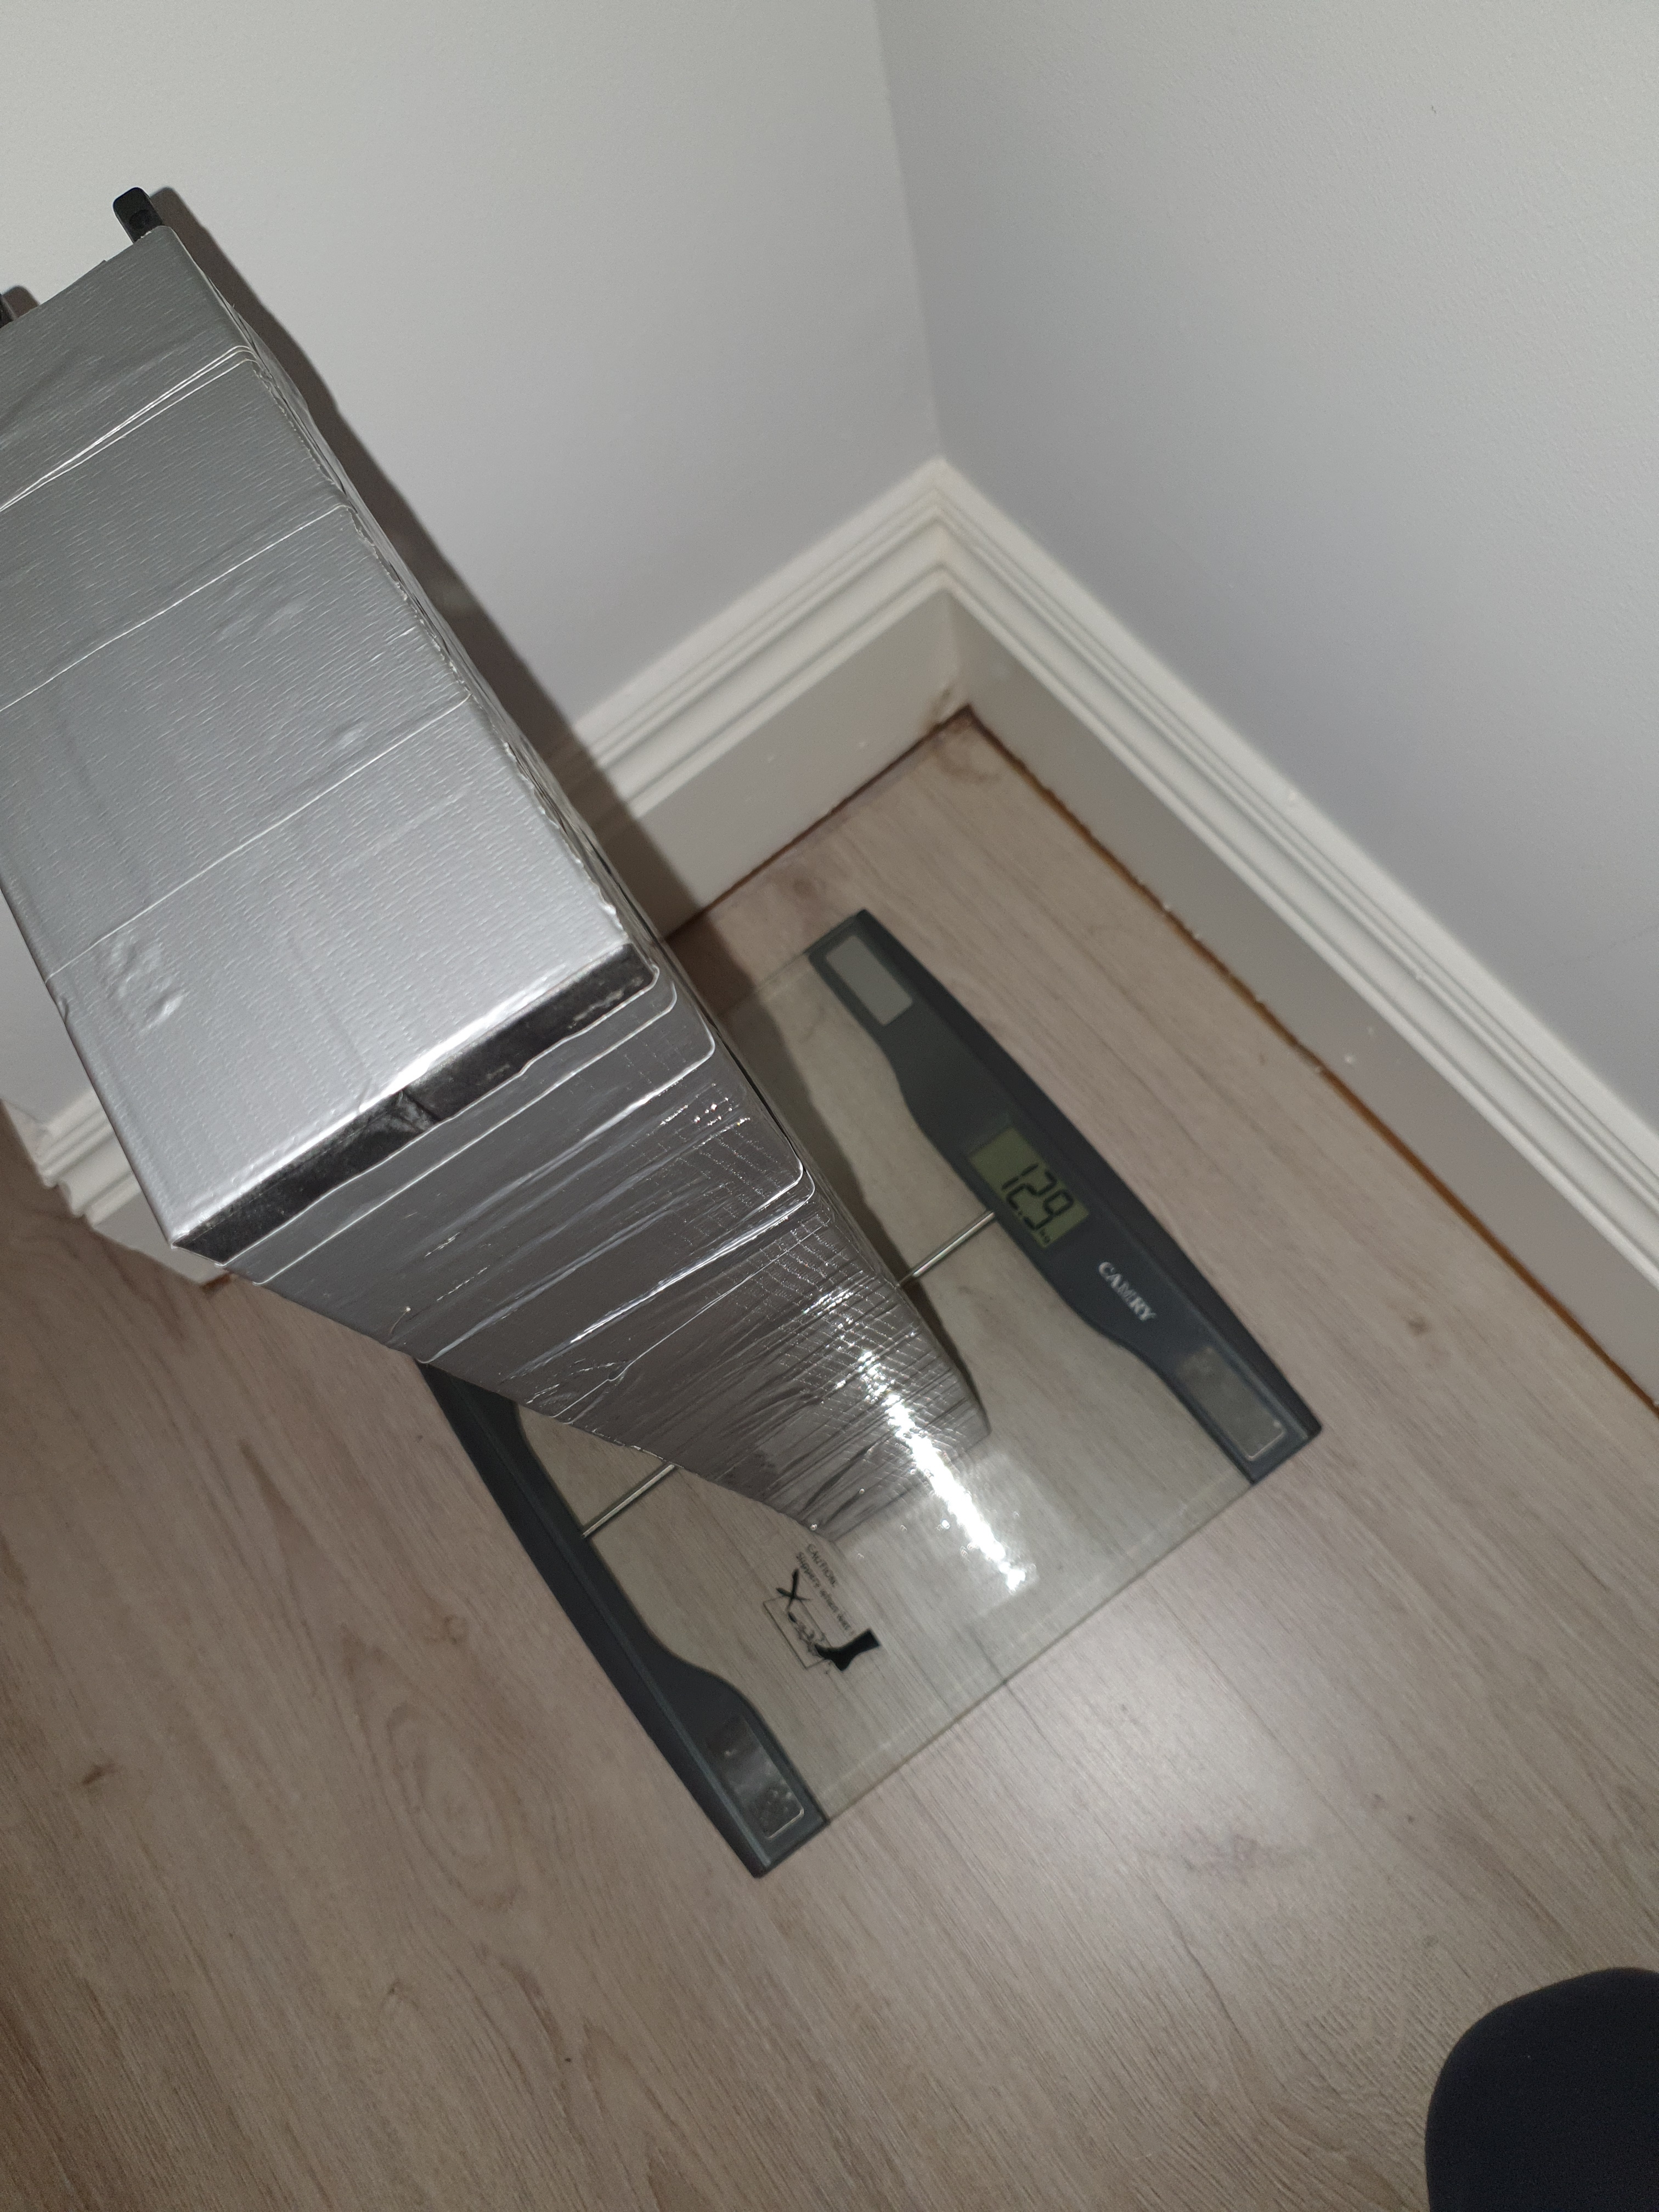
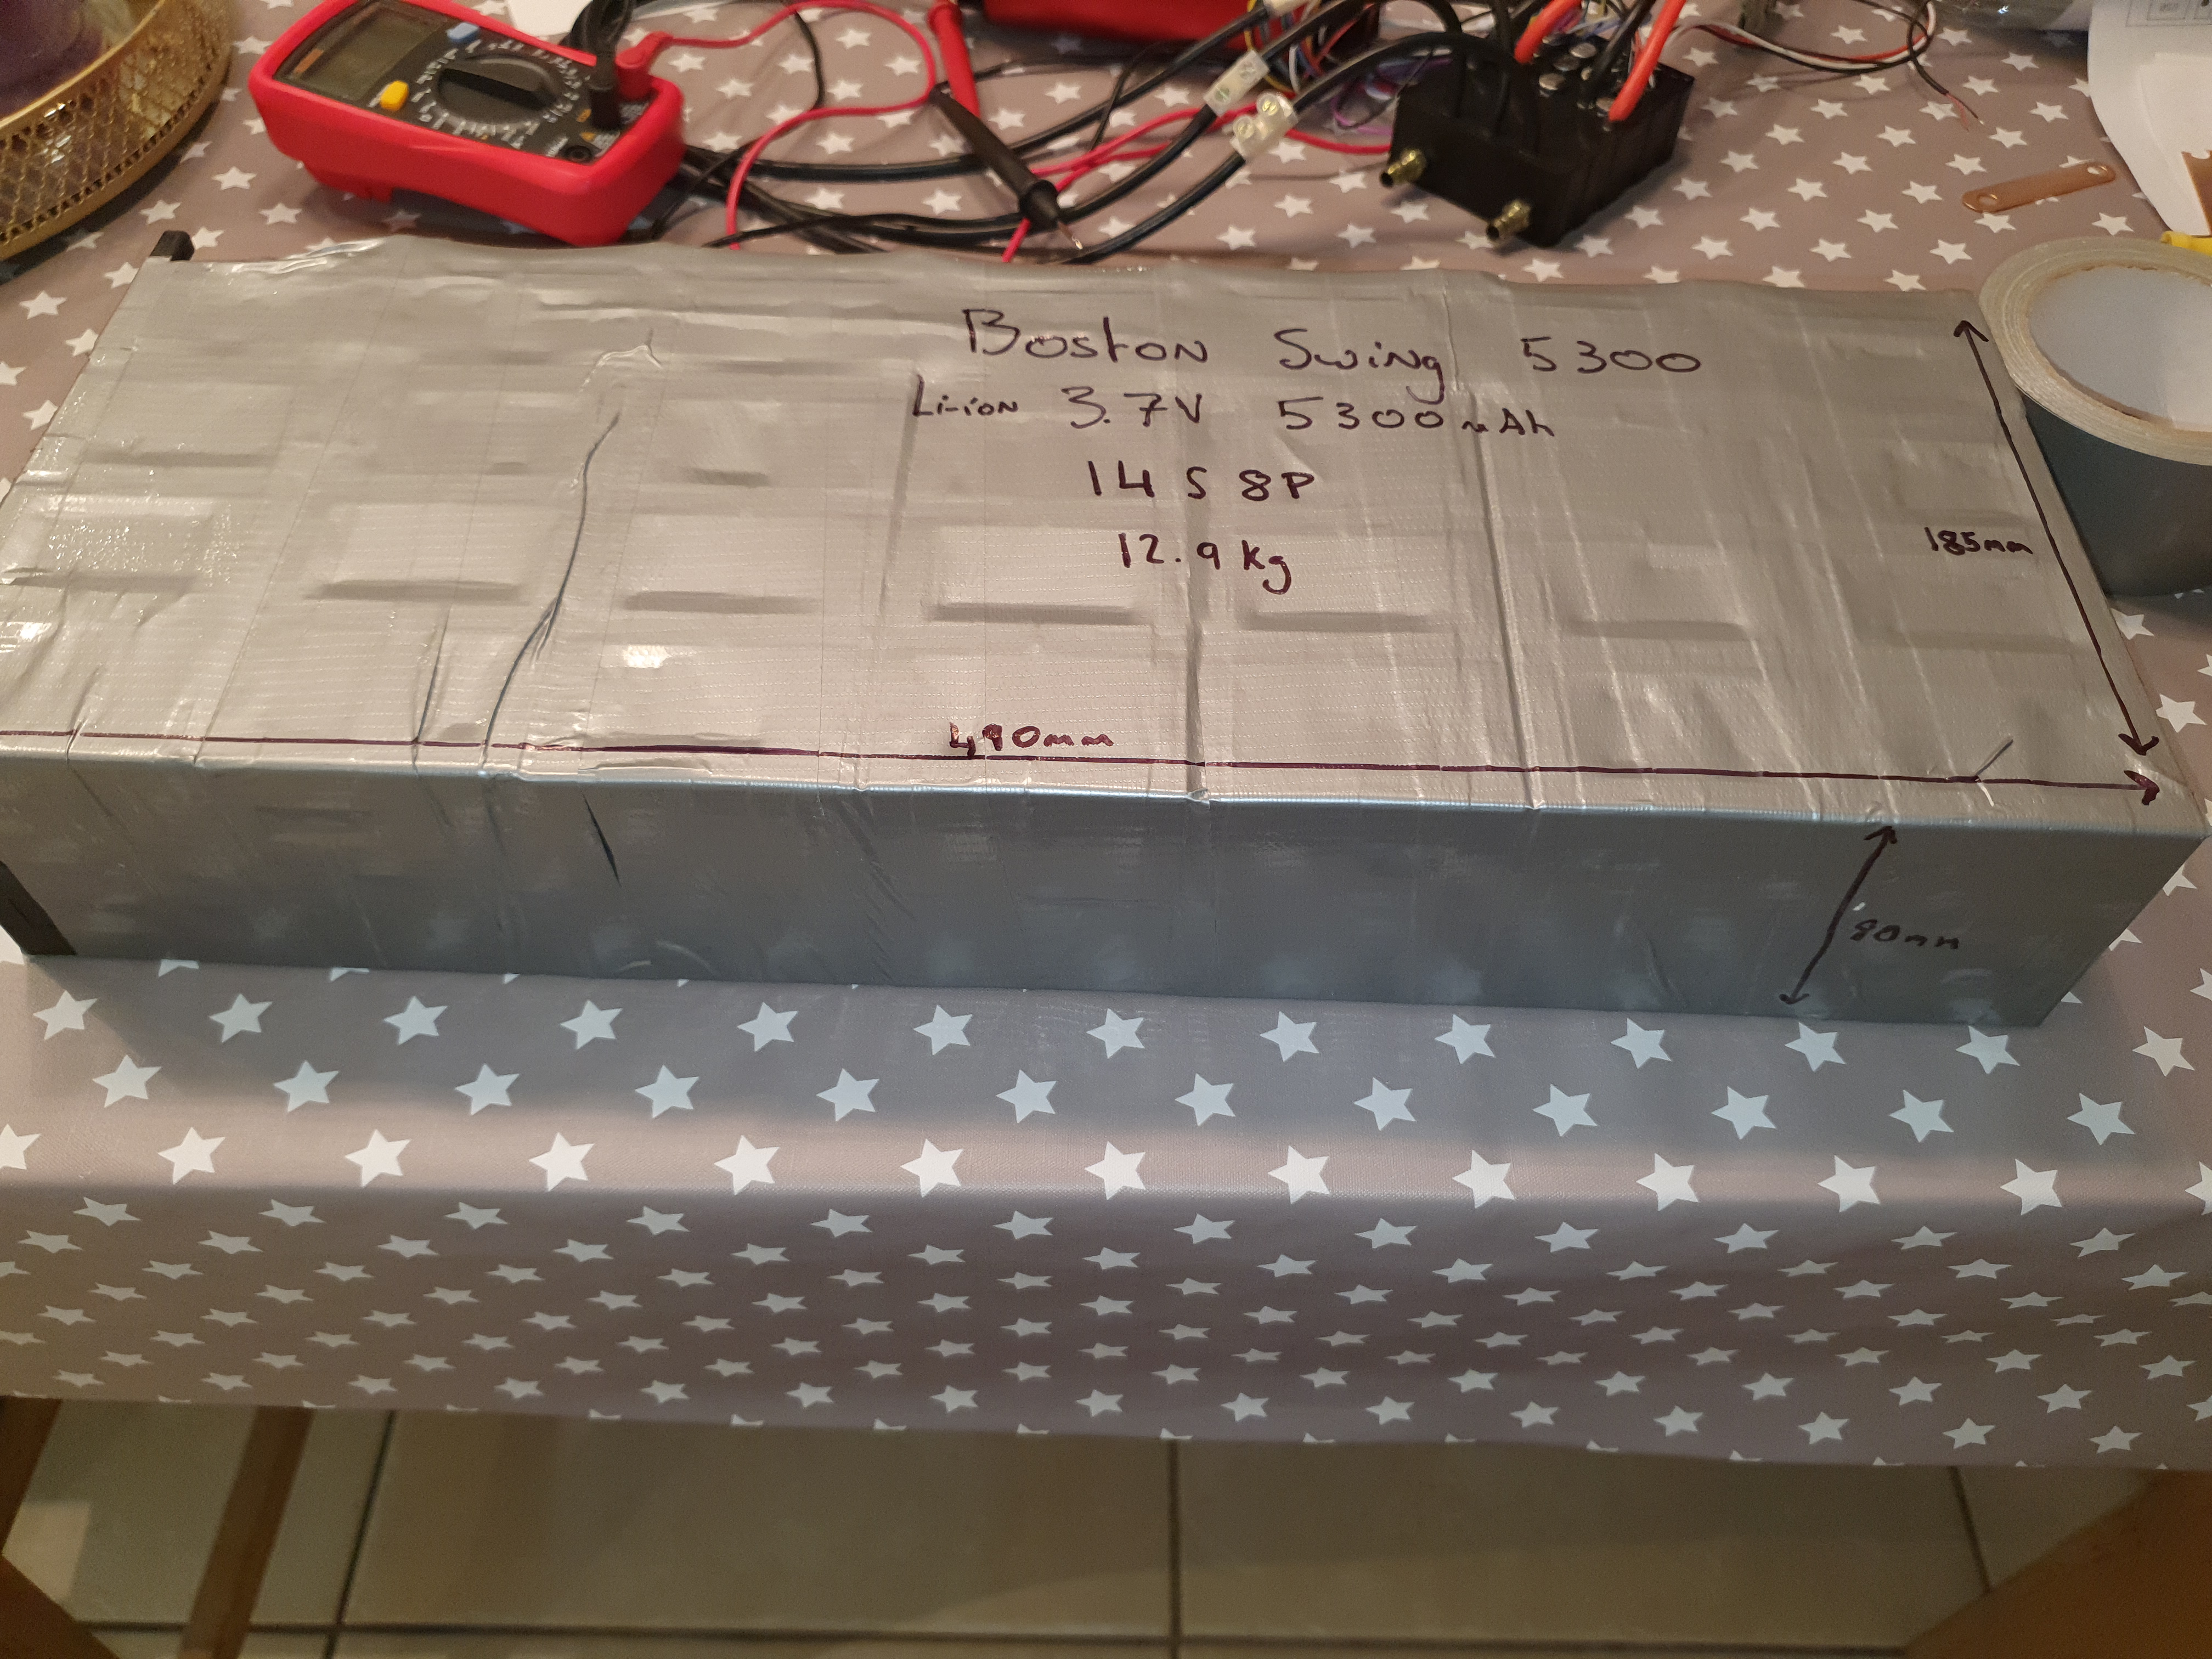
12.67kg…plus the heat shrink/wrap once I do that. I could re-configure it a few different ways but this seems best to fit with the second hand cut in half windsurfer I have.
That is a ticking bomb right there! please do yourself and your family a favor and buy a bms and isolate all the contacts! All it needs is dropping a screw driver or piece of metal while you are tired …
1 Like
Took some more advice and put the battery a bit safer for now anyway, waiting on some large heat shrink and the cables to finalise it
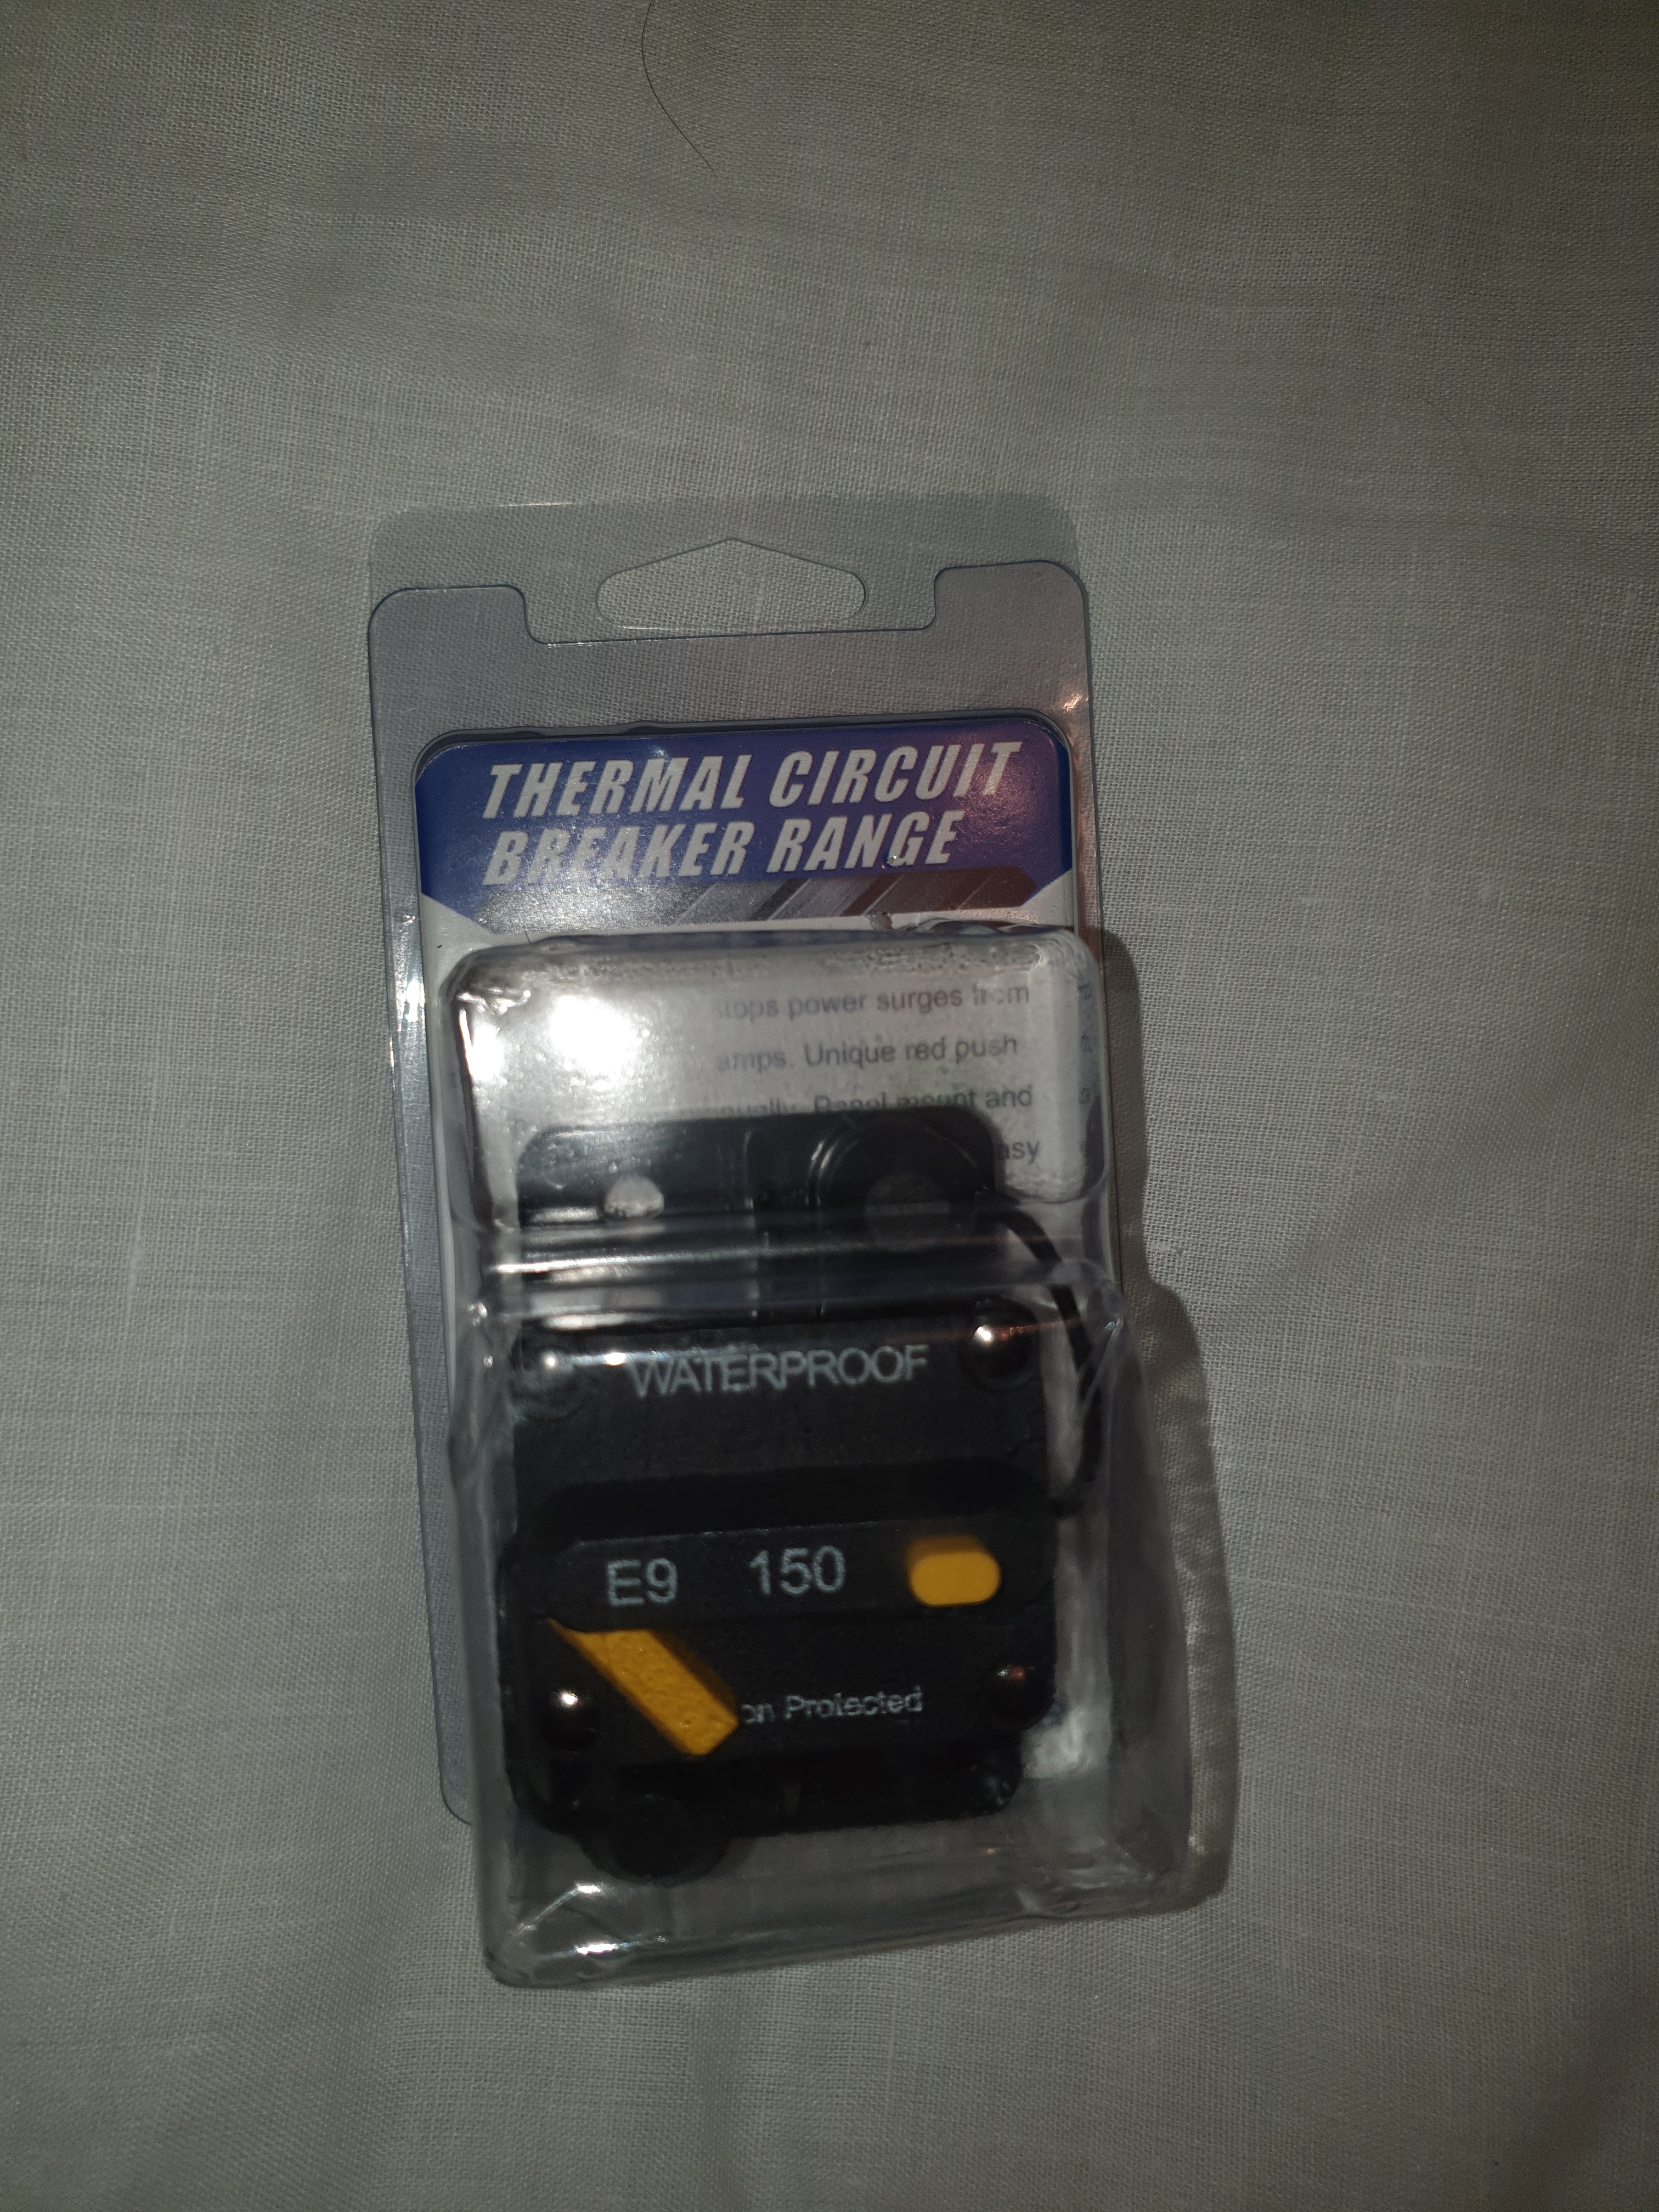
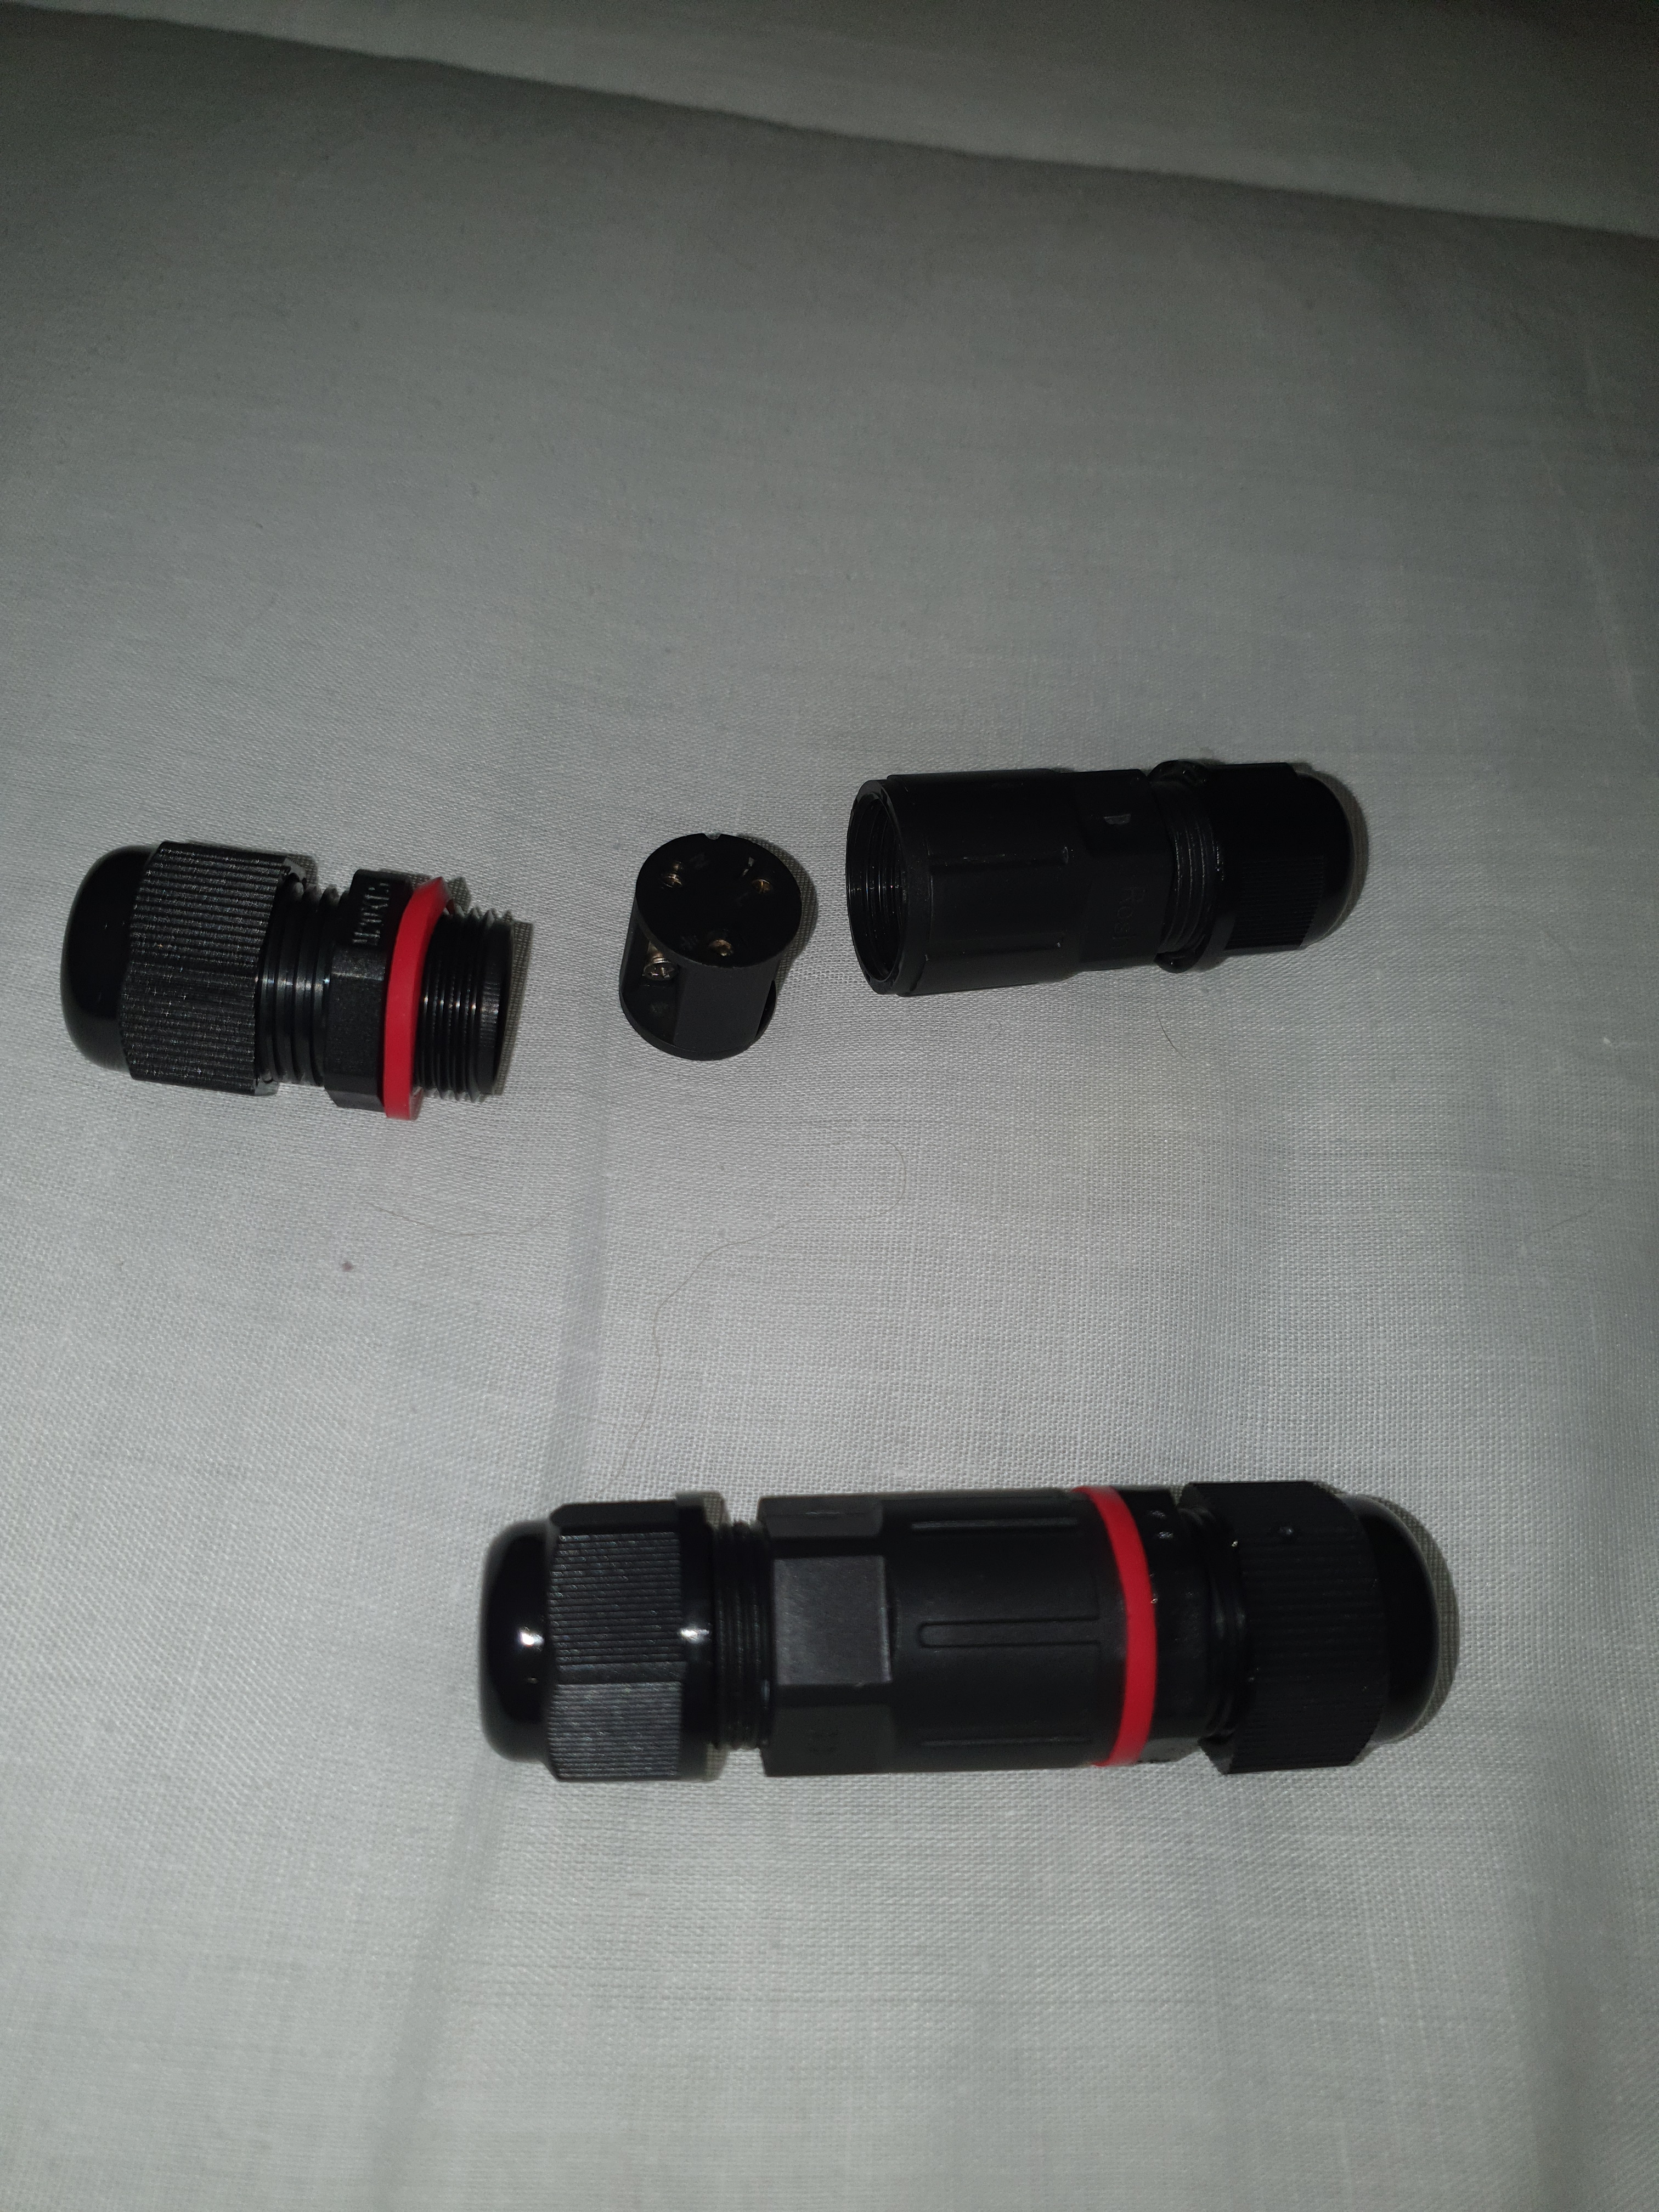
Few other items have arrived:
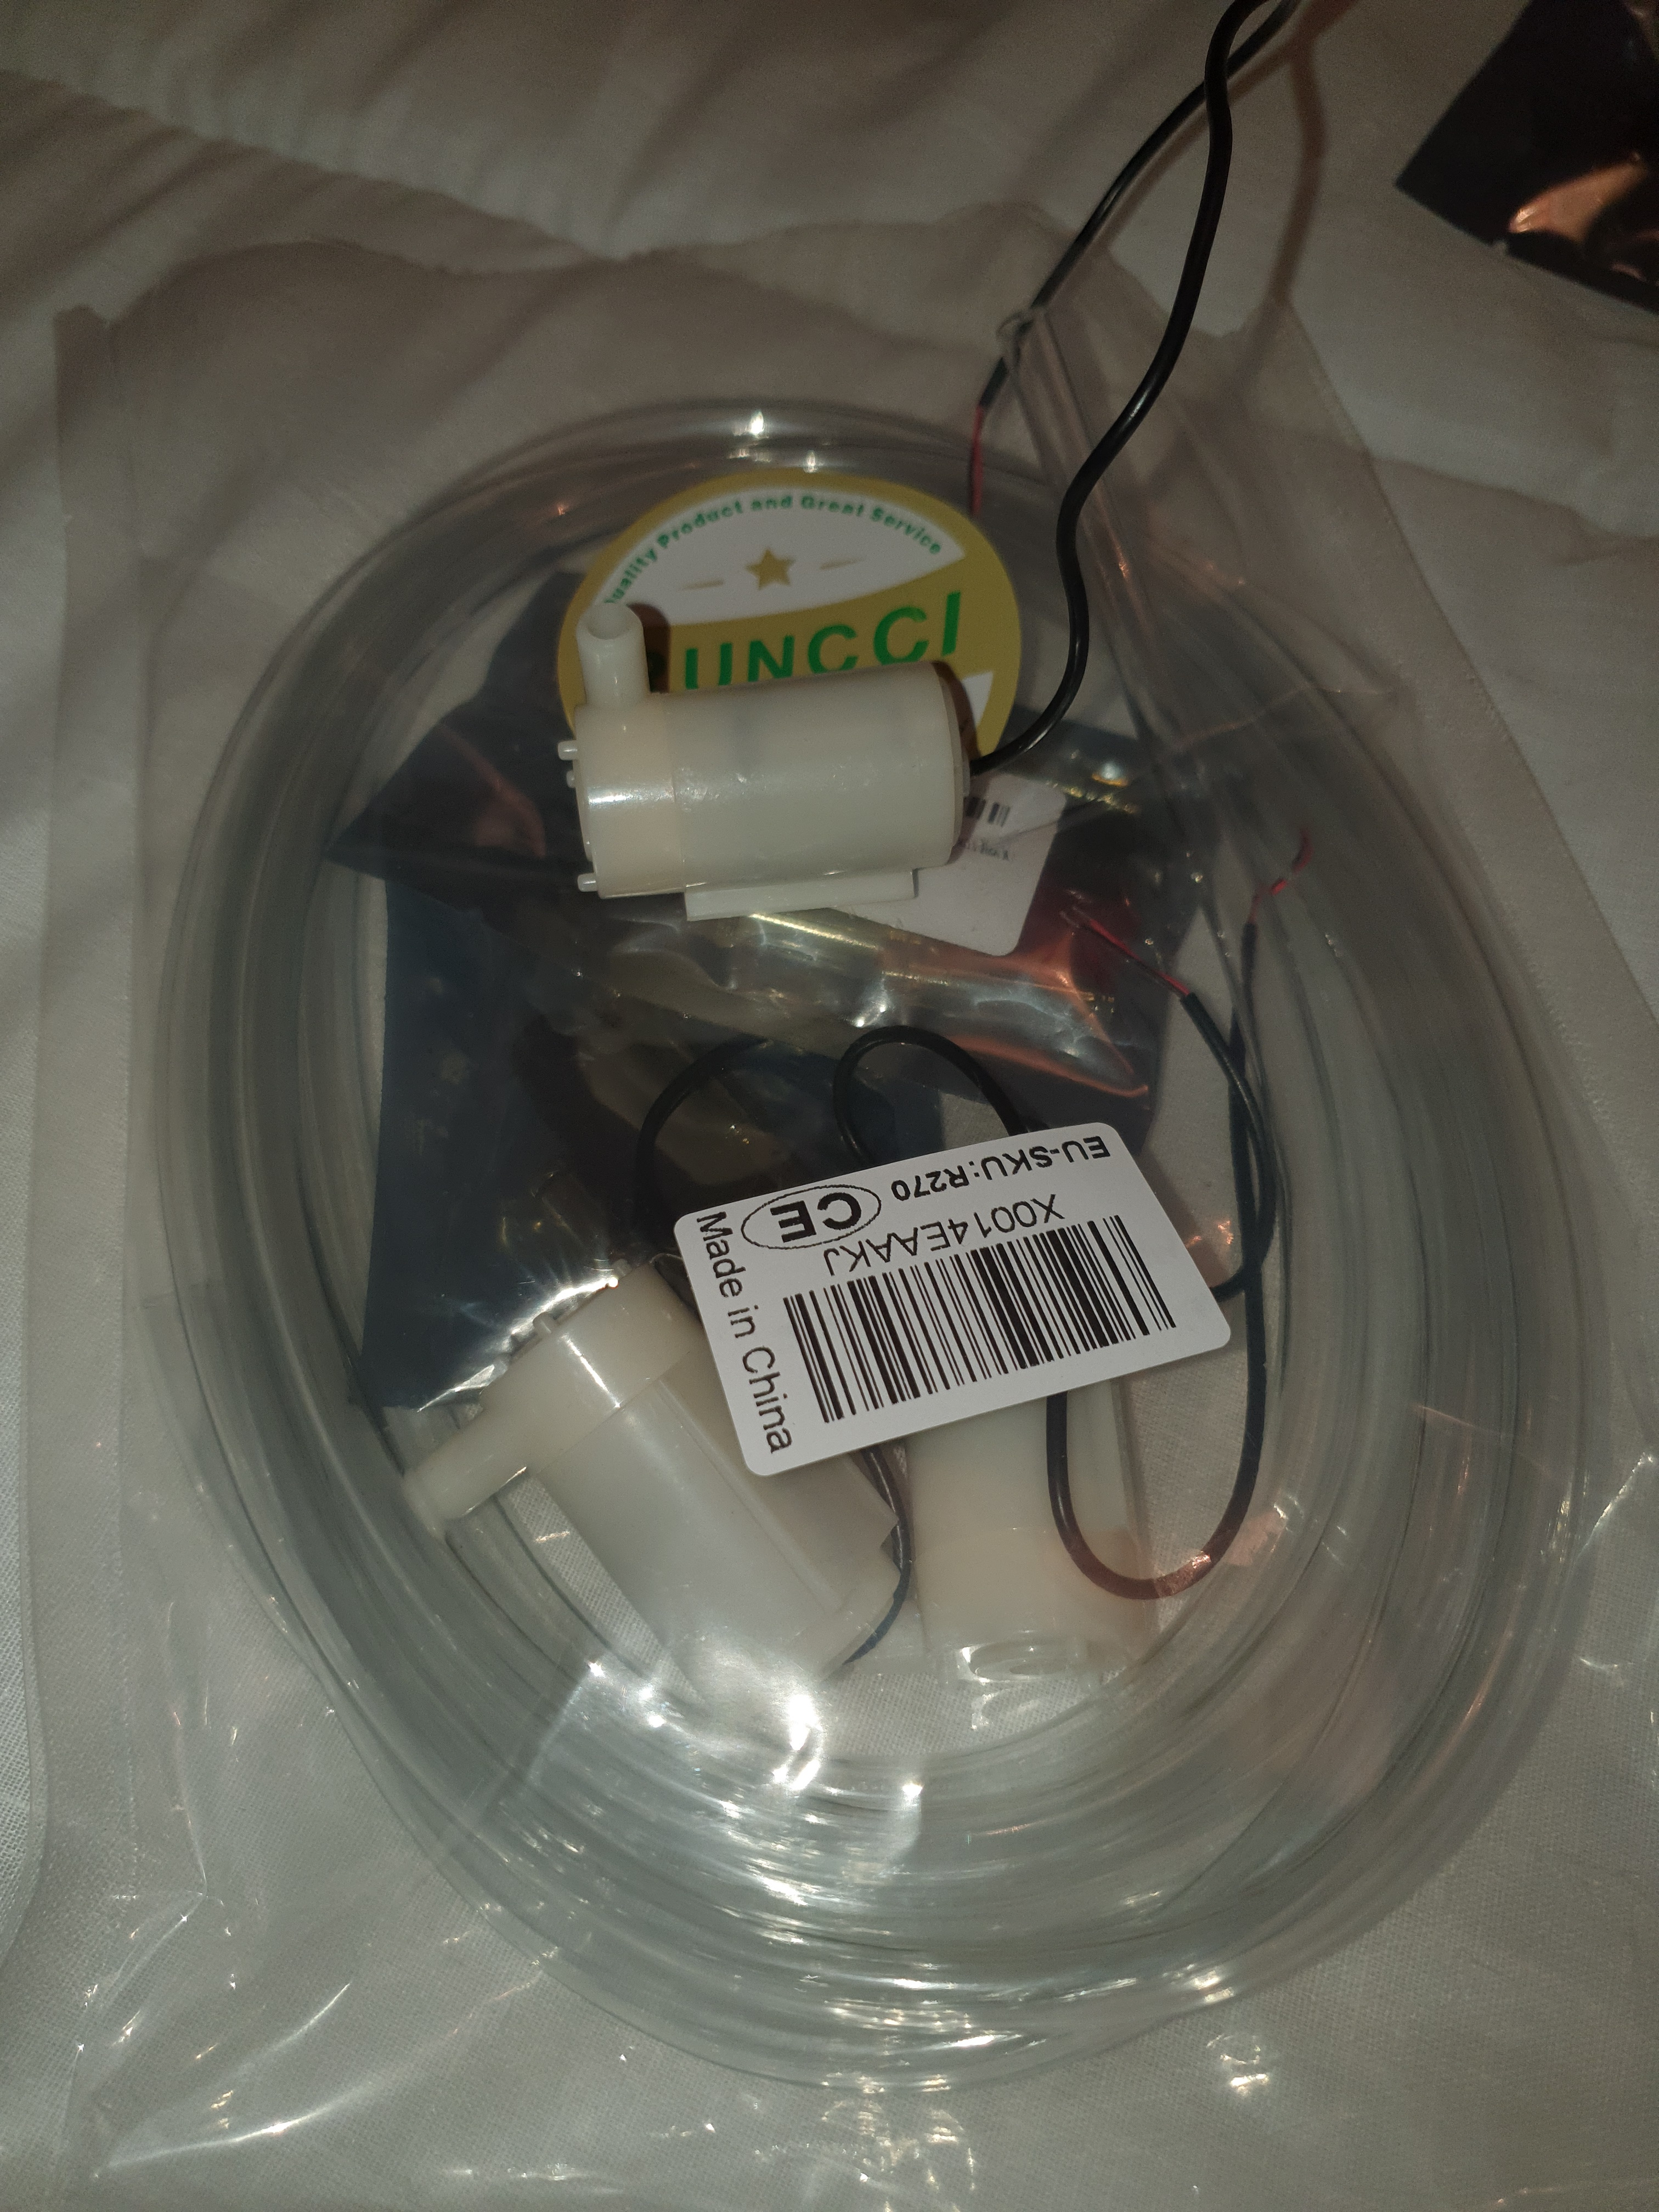
I dont think im going to use the pump as Im hoping to go for forced cooling but we’ll see.
just to let you know i used last year battery module bolt together tight and even glued, with heat water crash and board bouncing on water, bolt on the terminal got loose everytime after 20 min of ride and crash
battery modules need to be very secured together and not only with the bolts of terminal serie plate
Thanks @Alexandre, ive all 14 modules glued together, Ive then taped all connectors and screws down and wrapped the whole thing in high quality duct tape. And ill be finally double insulating it tight with heat shrink. Hopefully its enough! 
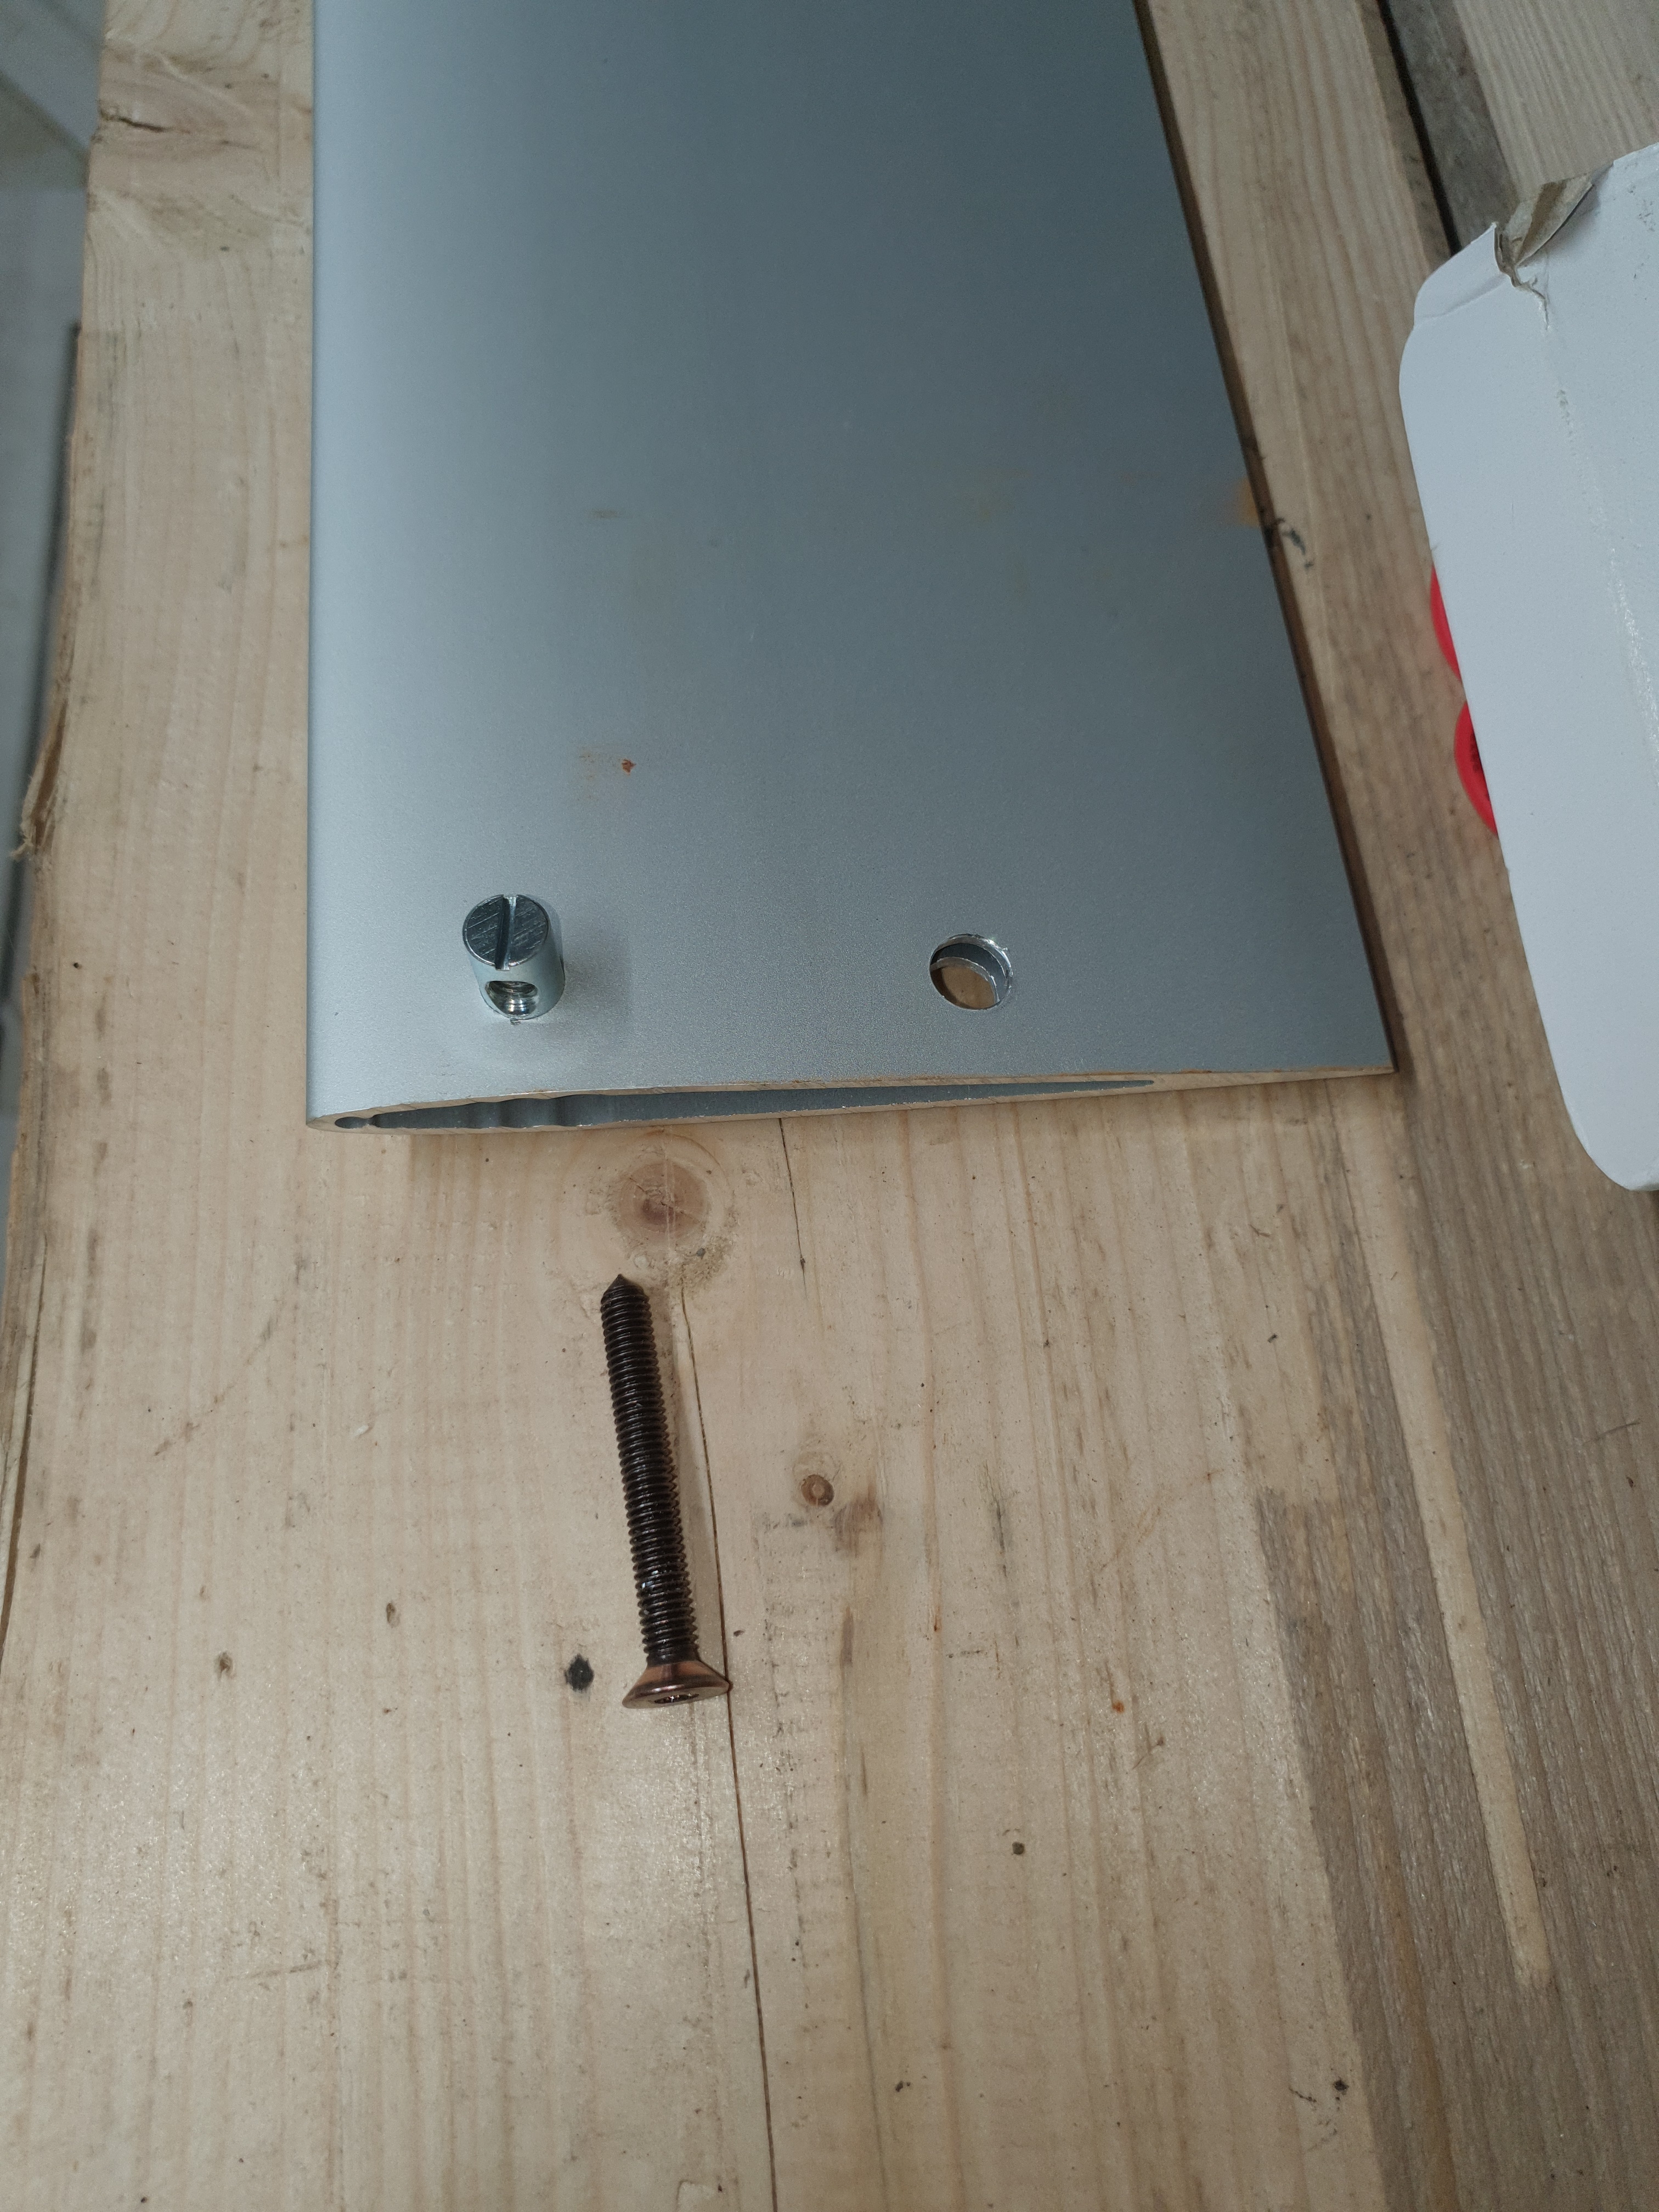
So as ye know my thing was mainly cost so Ive been looking at ways to save on items. With that in mind I purchased the Windknife FF13 for £45 and a 20x20 Aluminium Extrusion
I was strugging to see how I was going to join the mast to the fuselage and same with the mast to the board.
After inspiration one night building some IKEA furniture I discovered these - Barrel Nuts. Resulting in the below trial this evening.
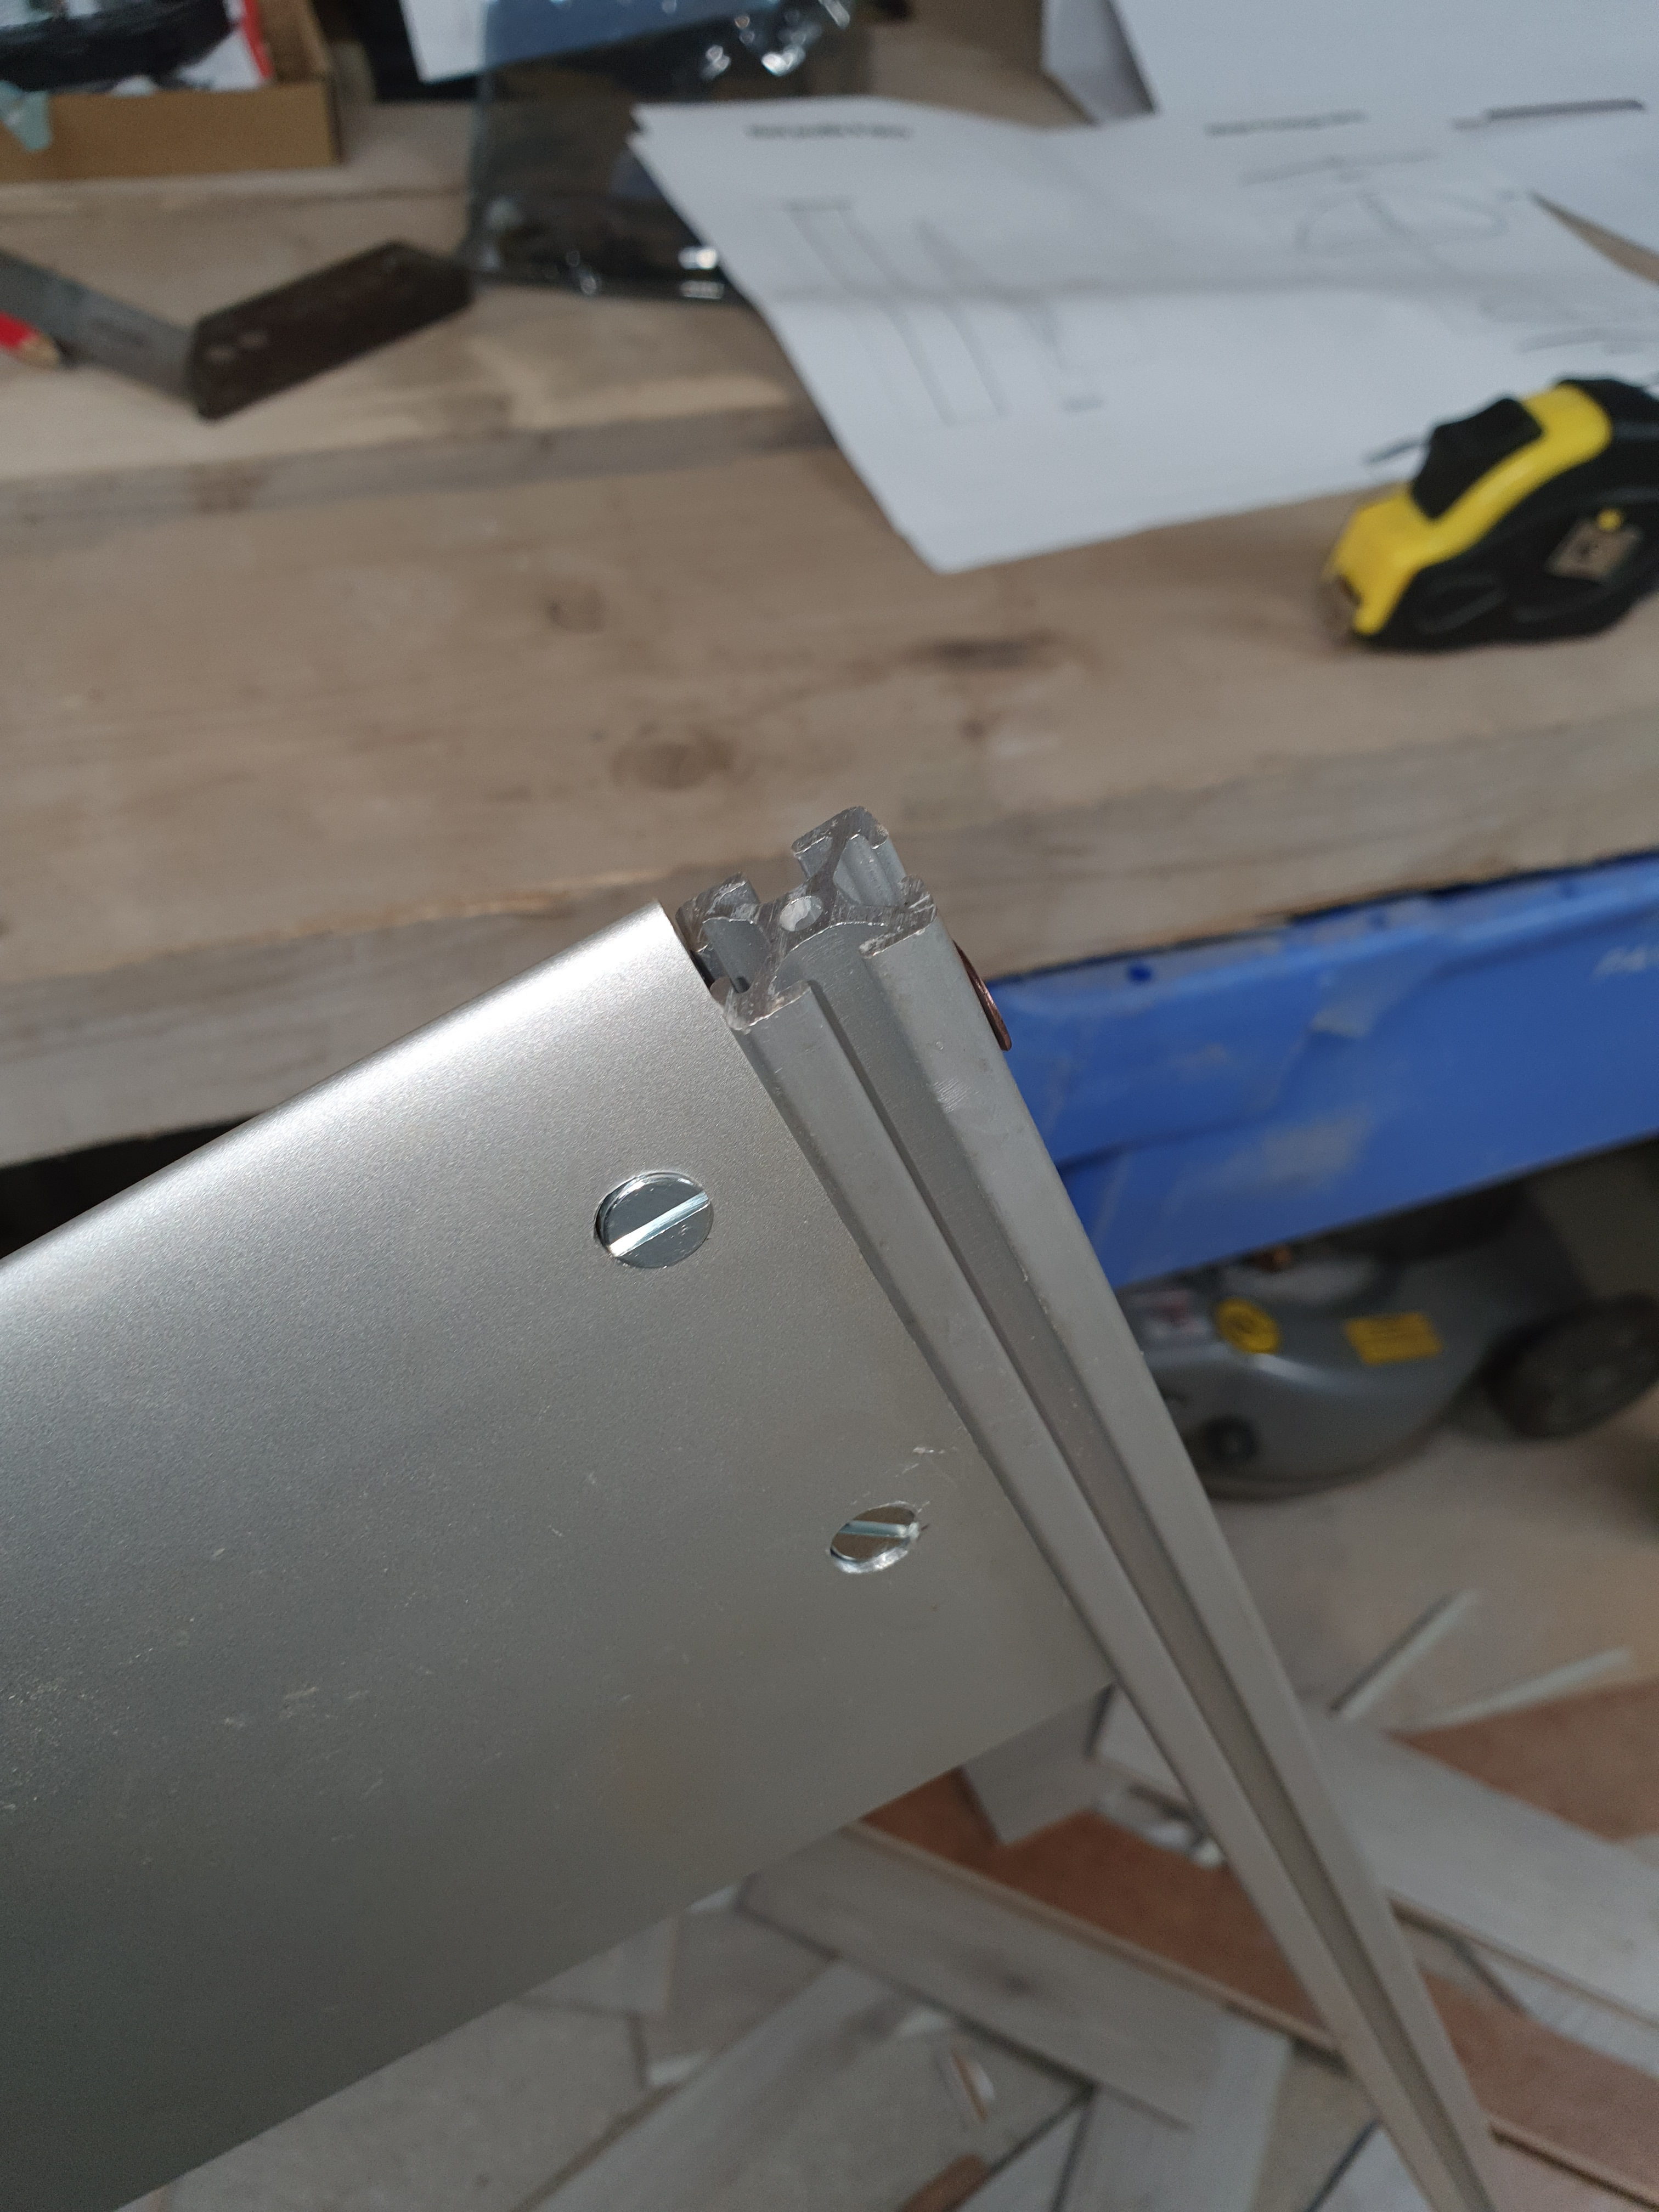
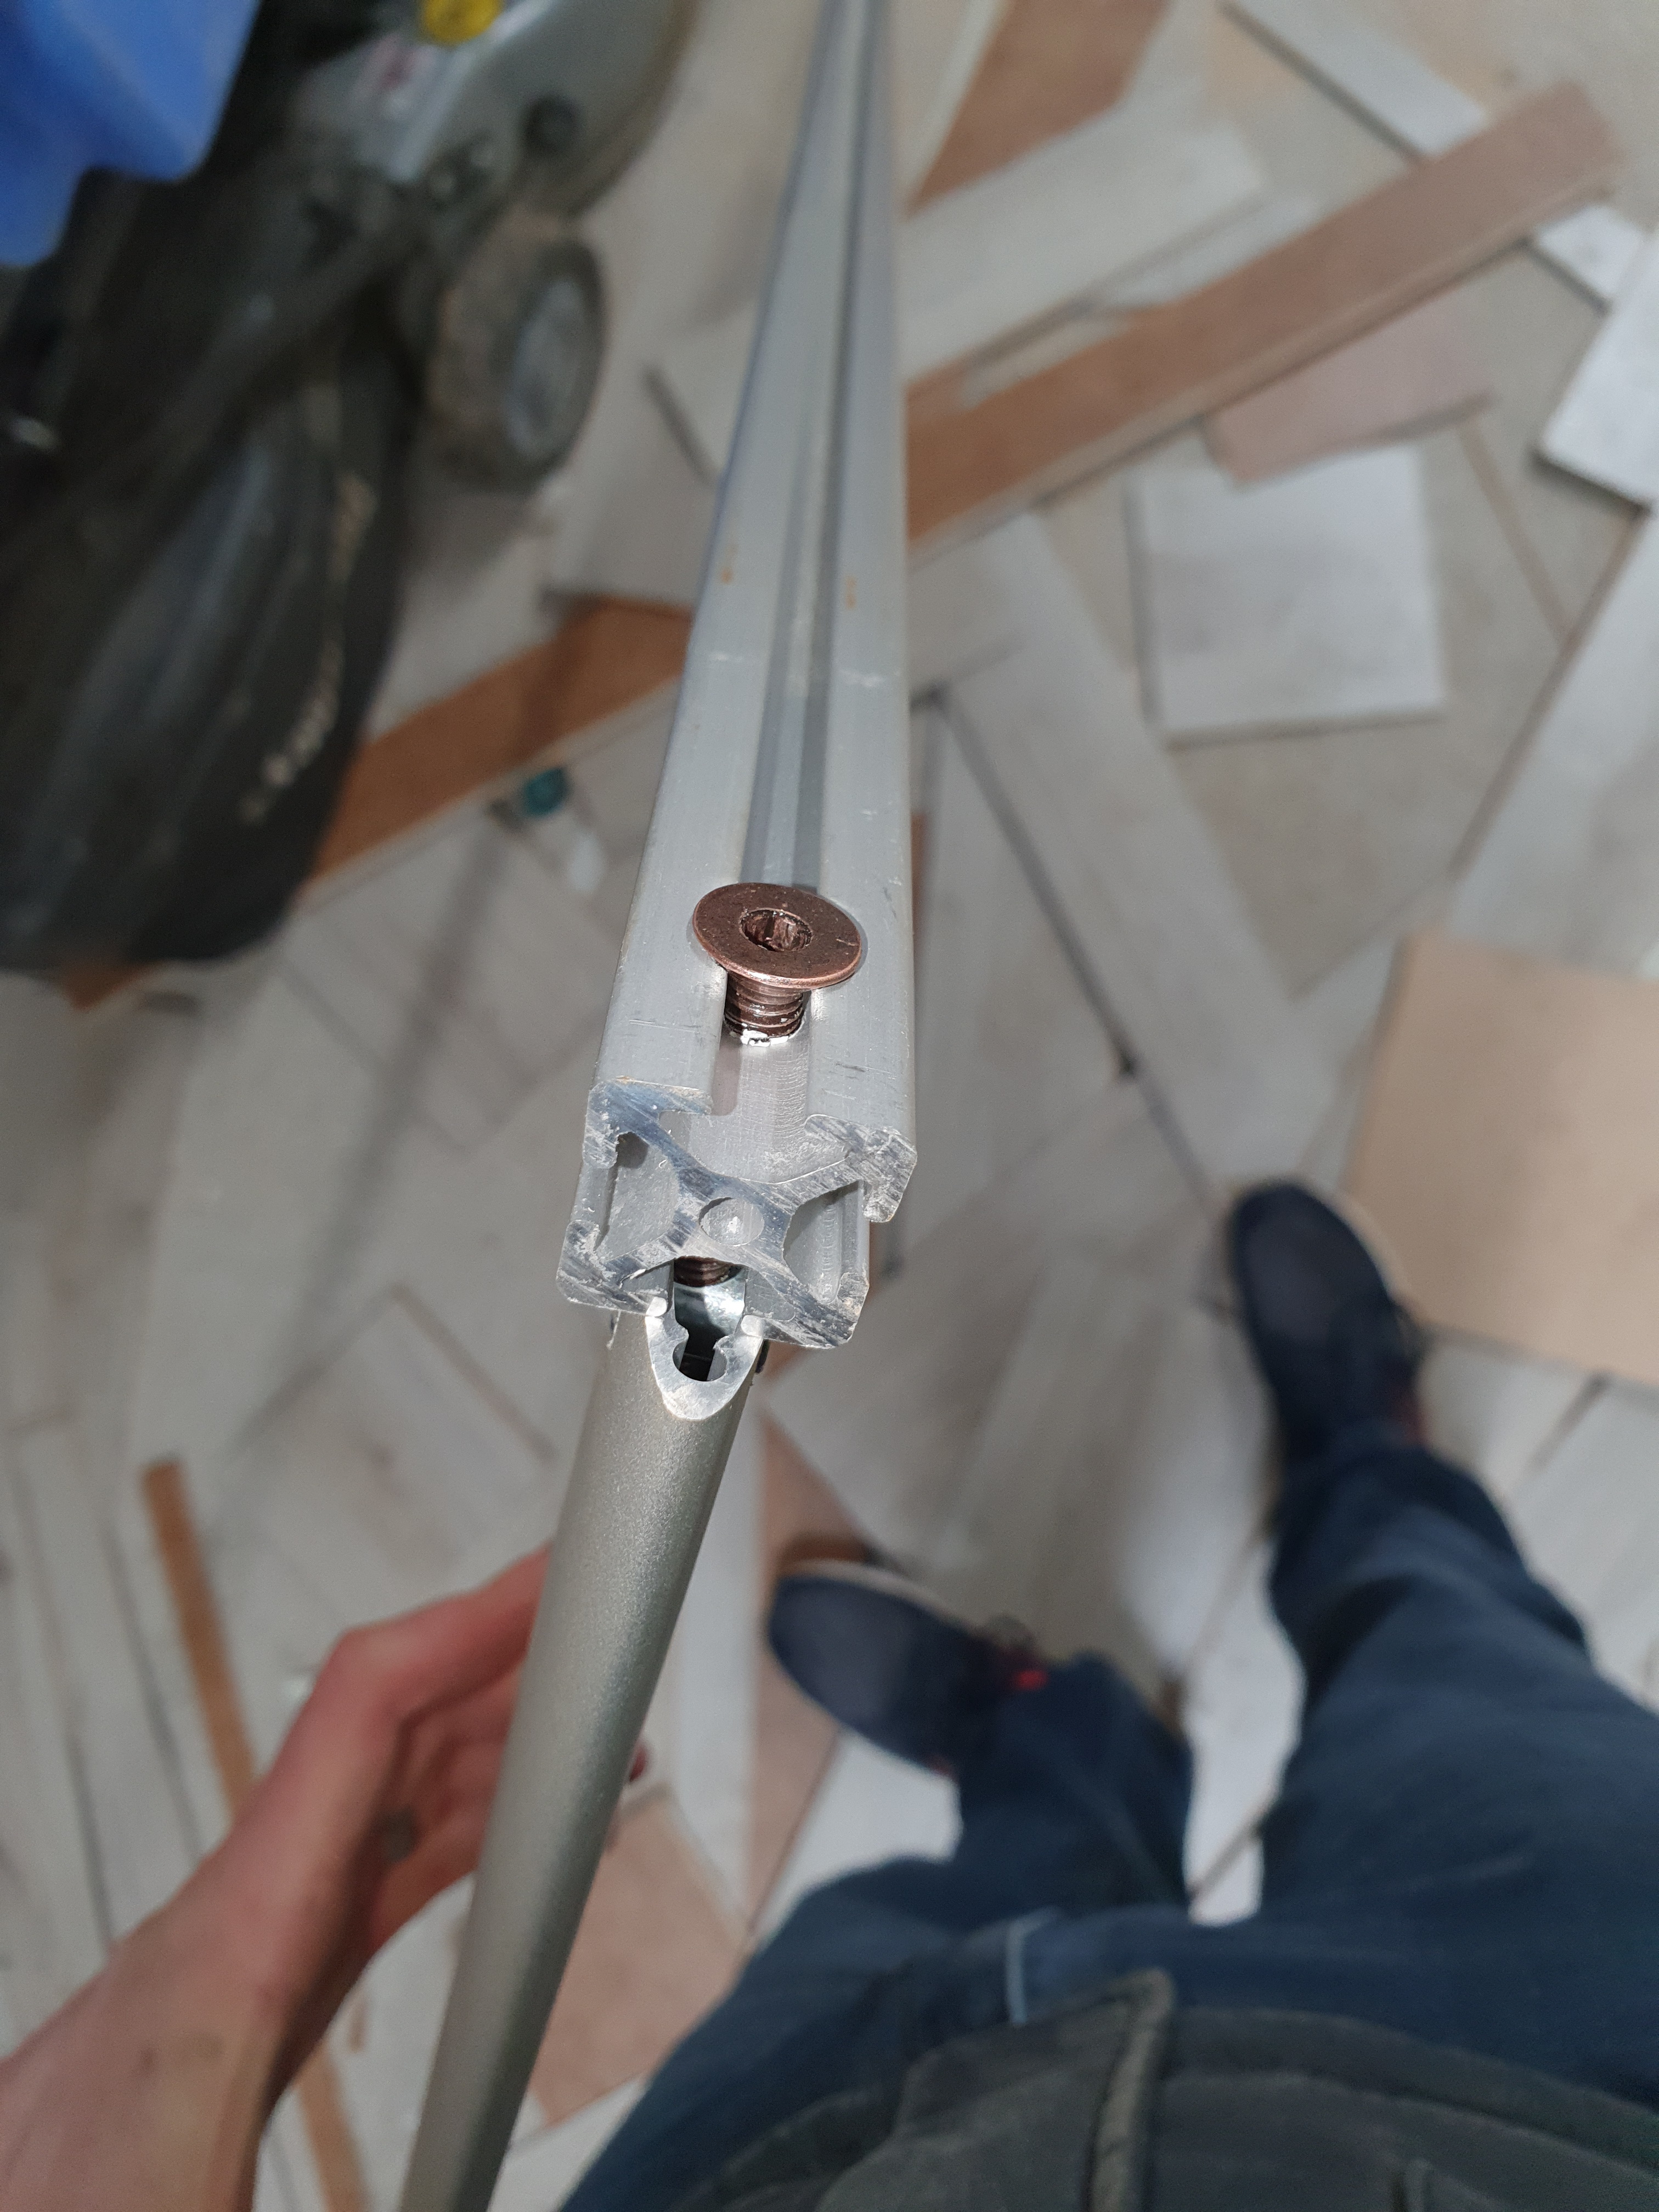
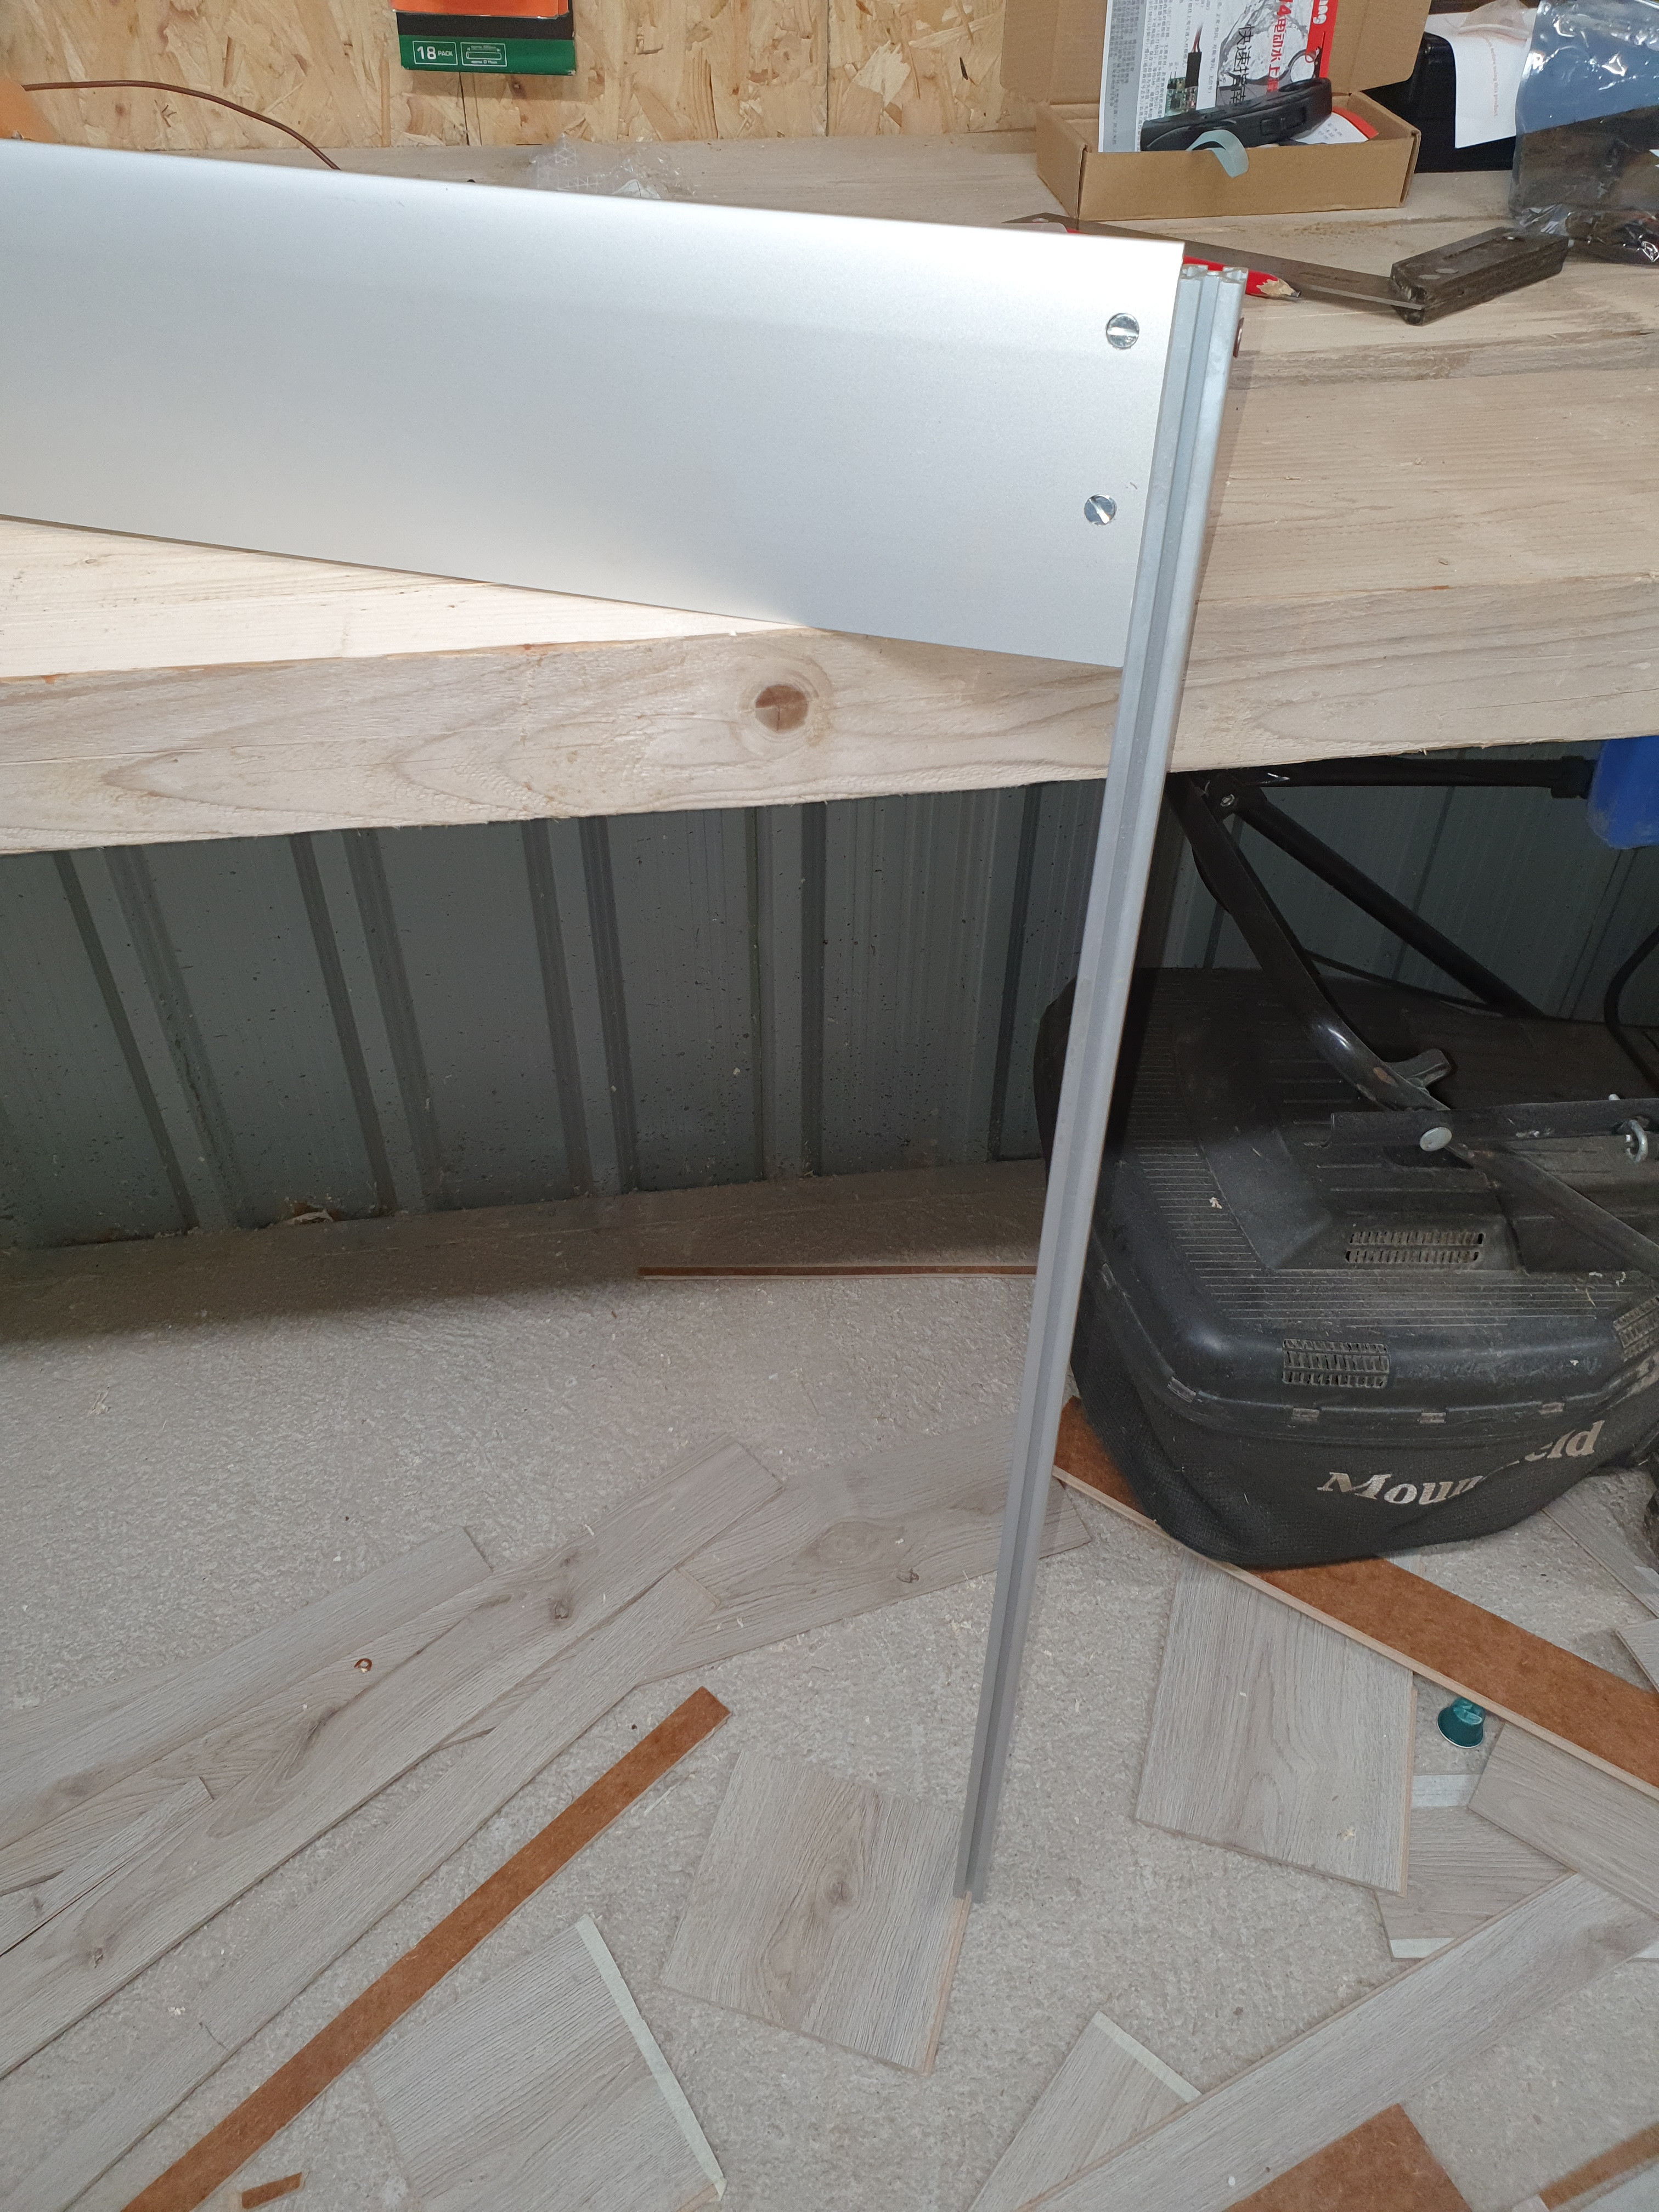
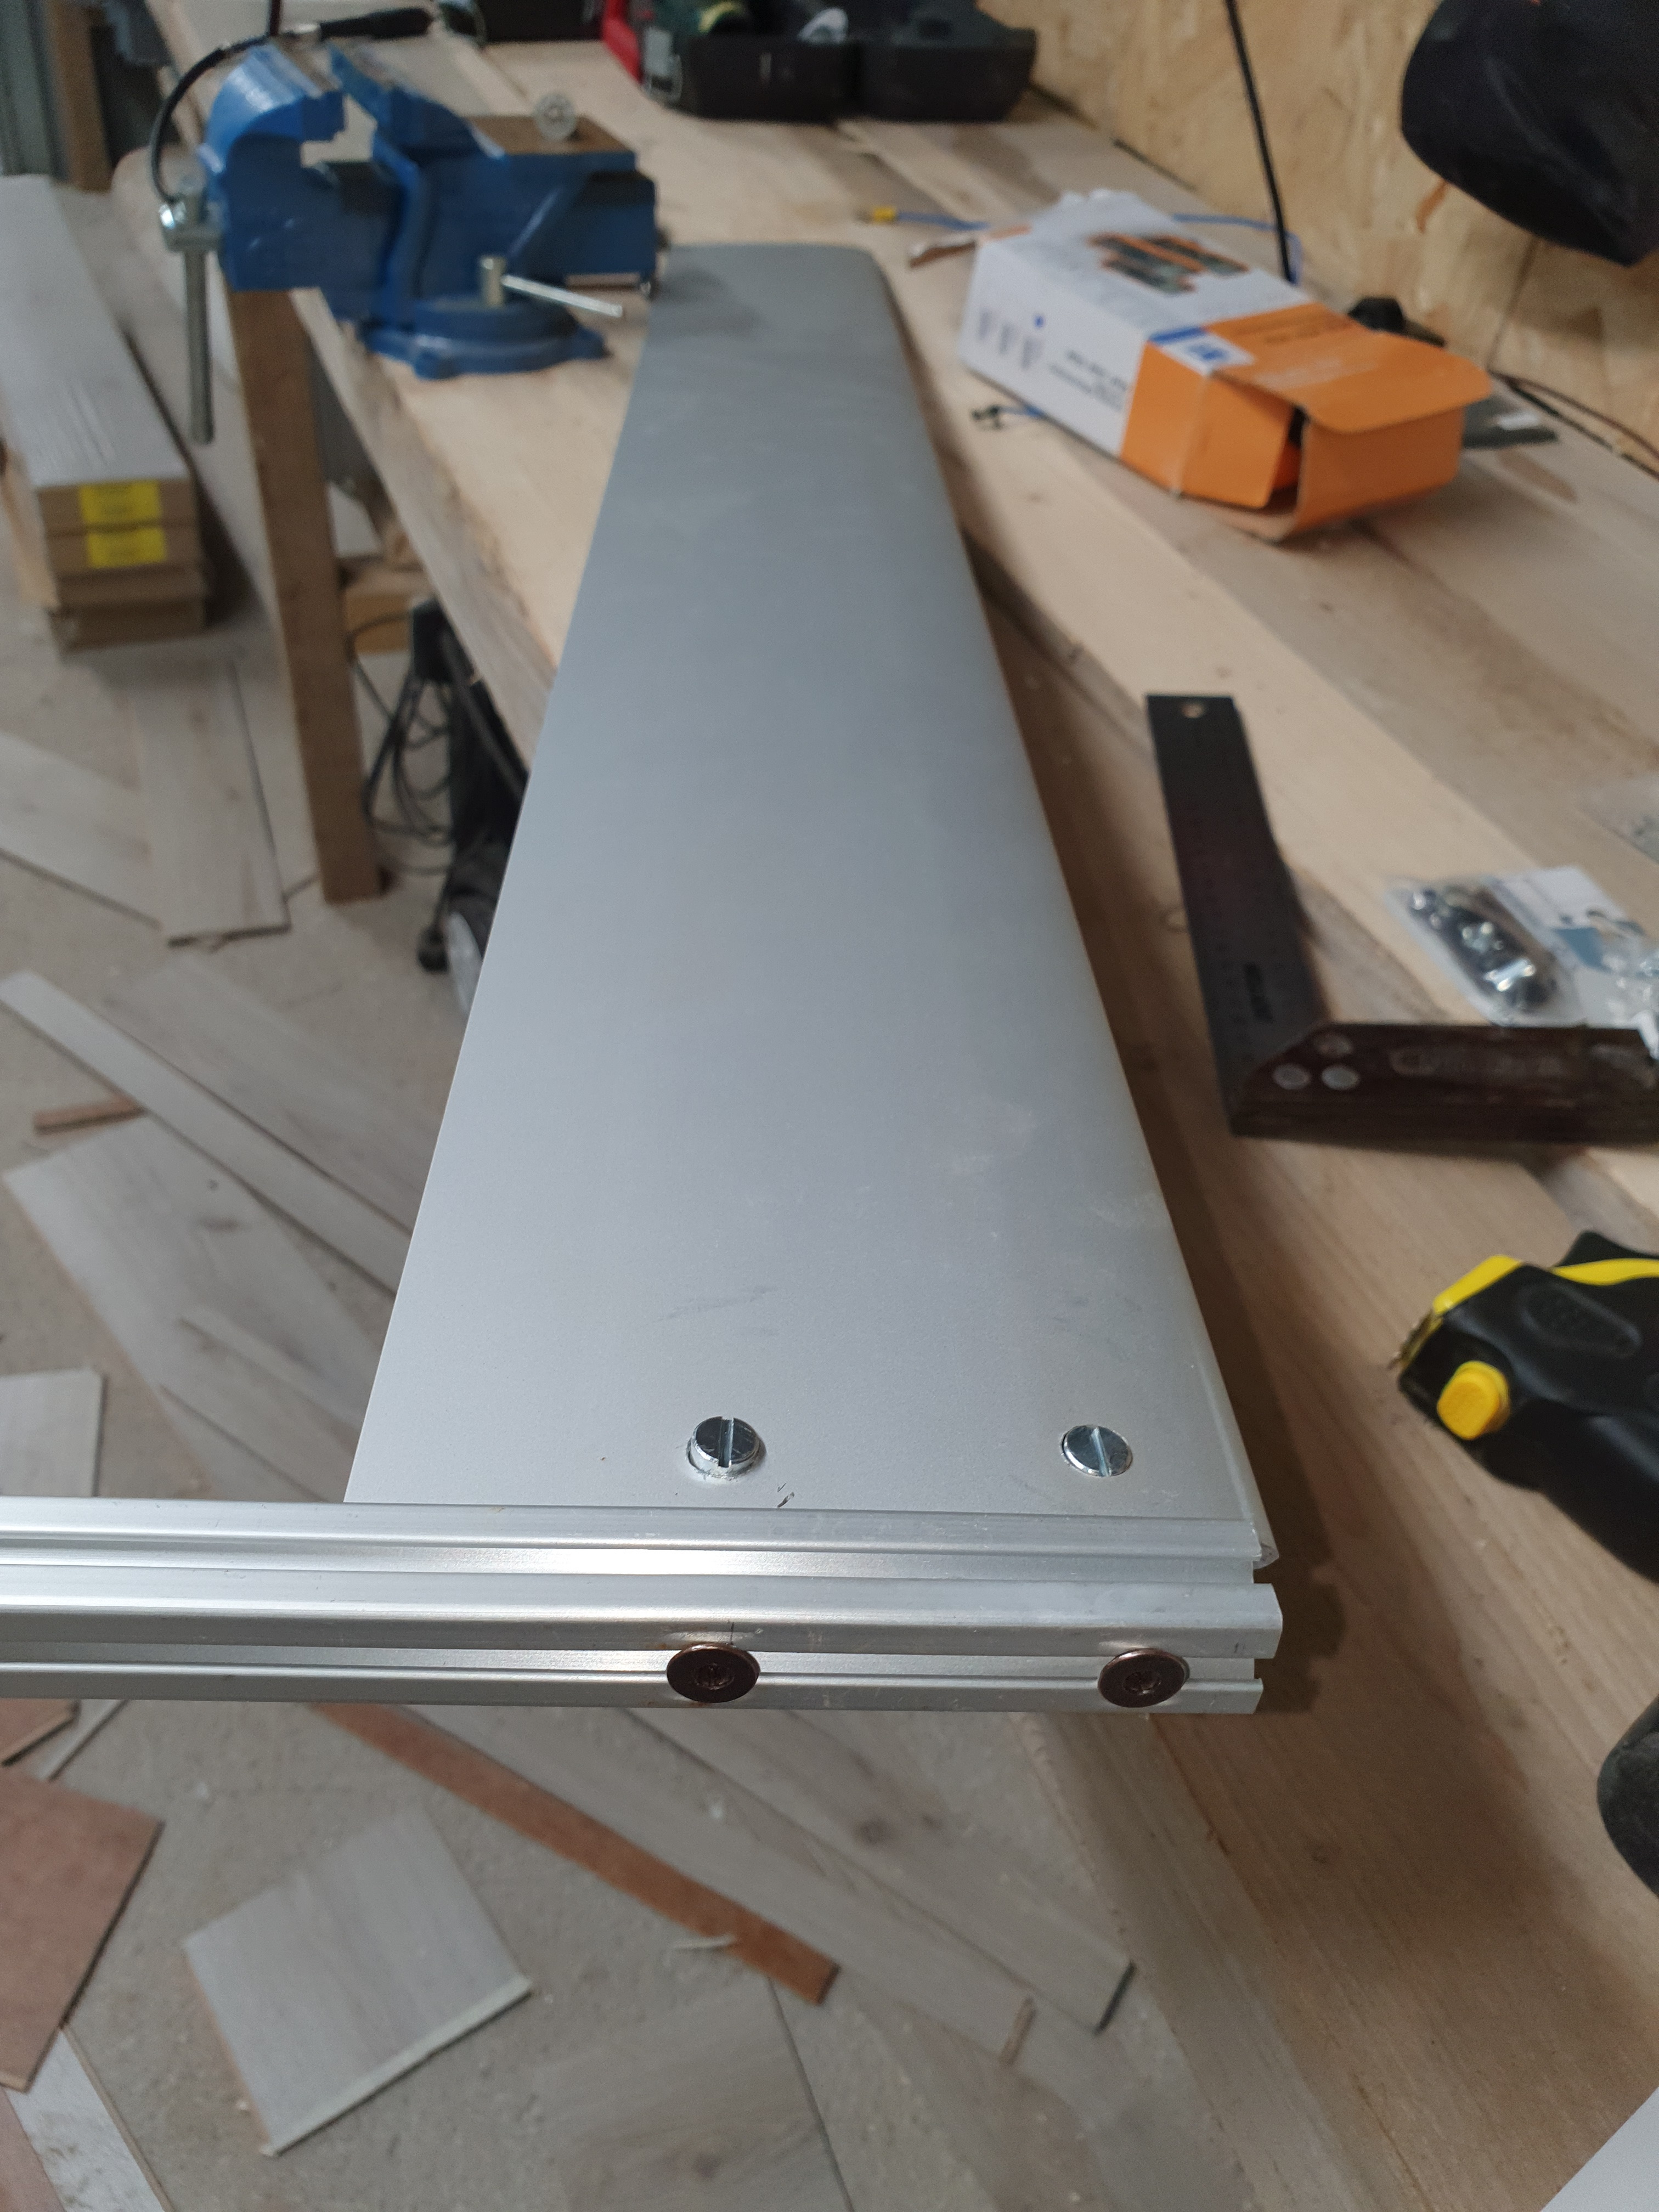
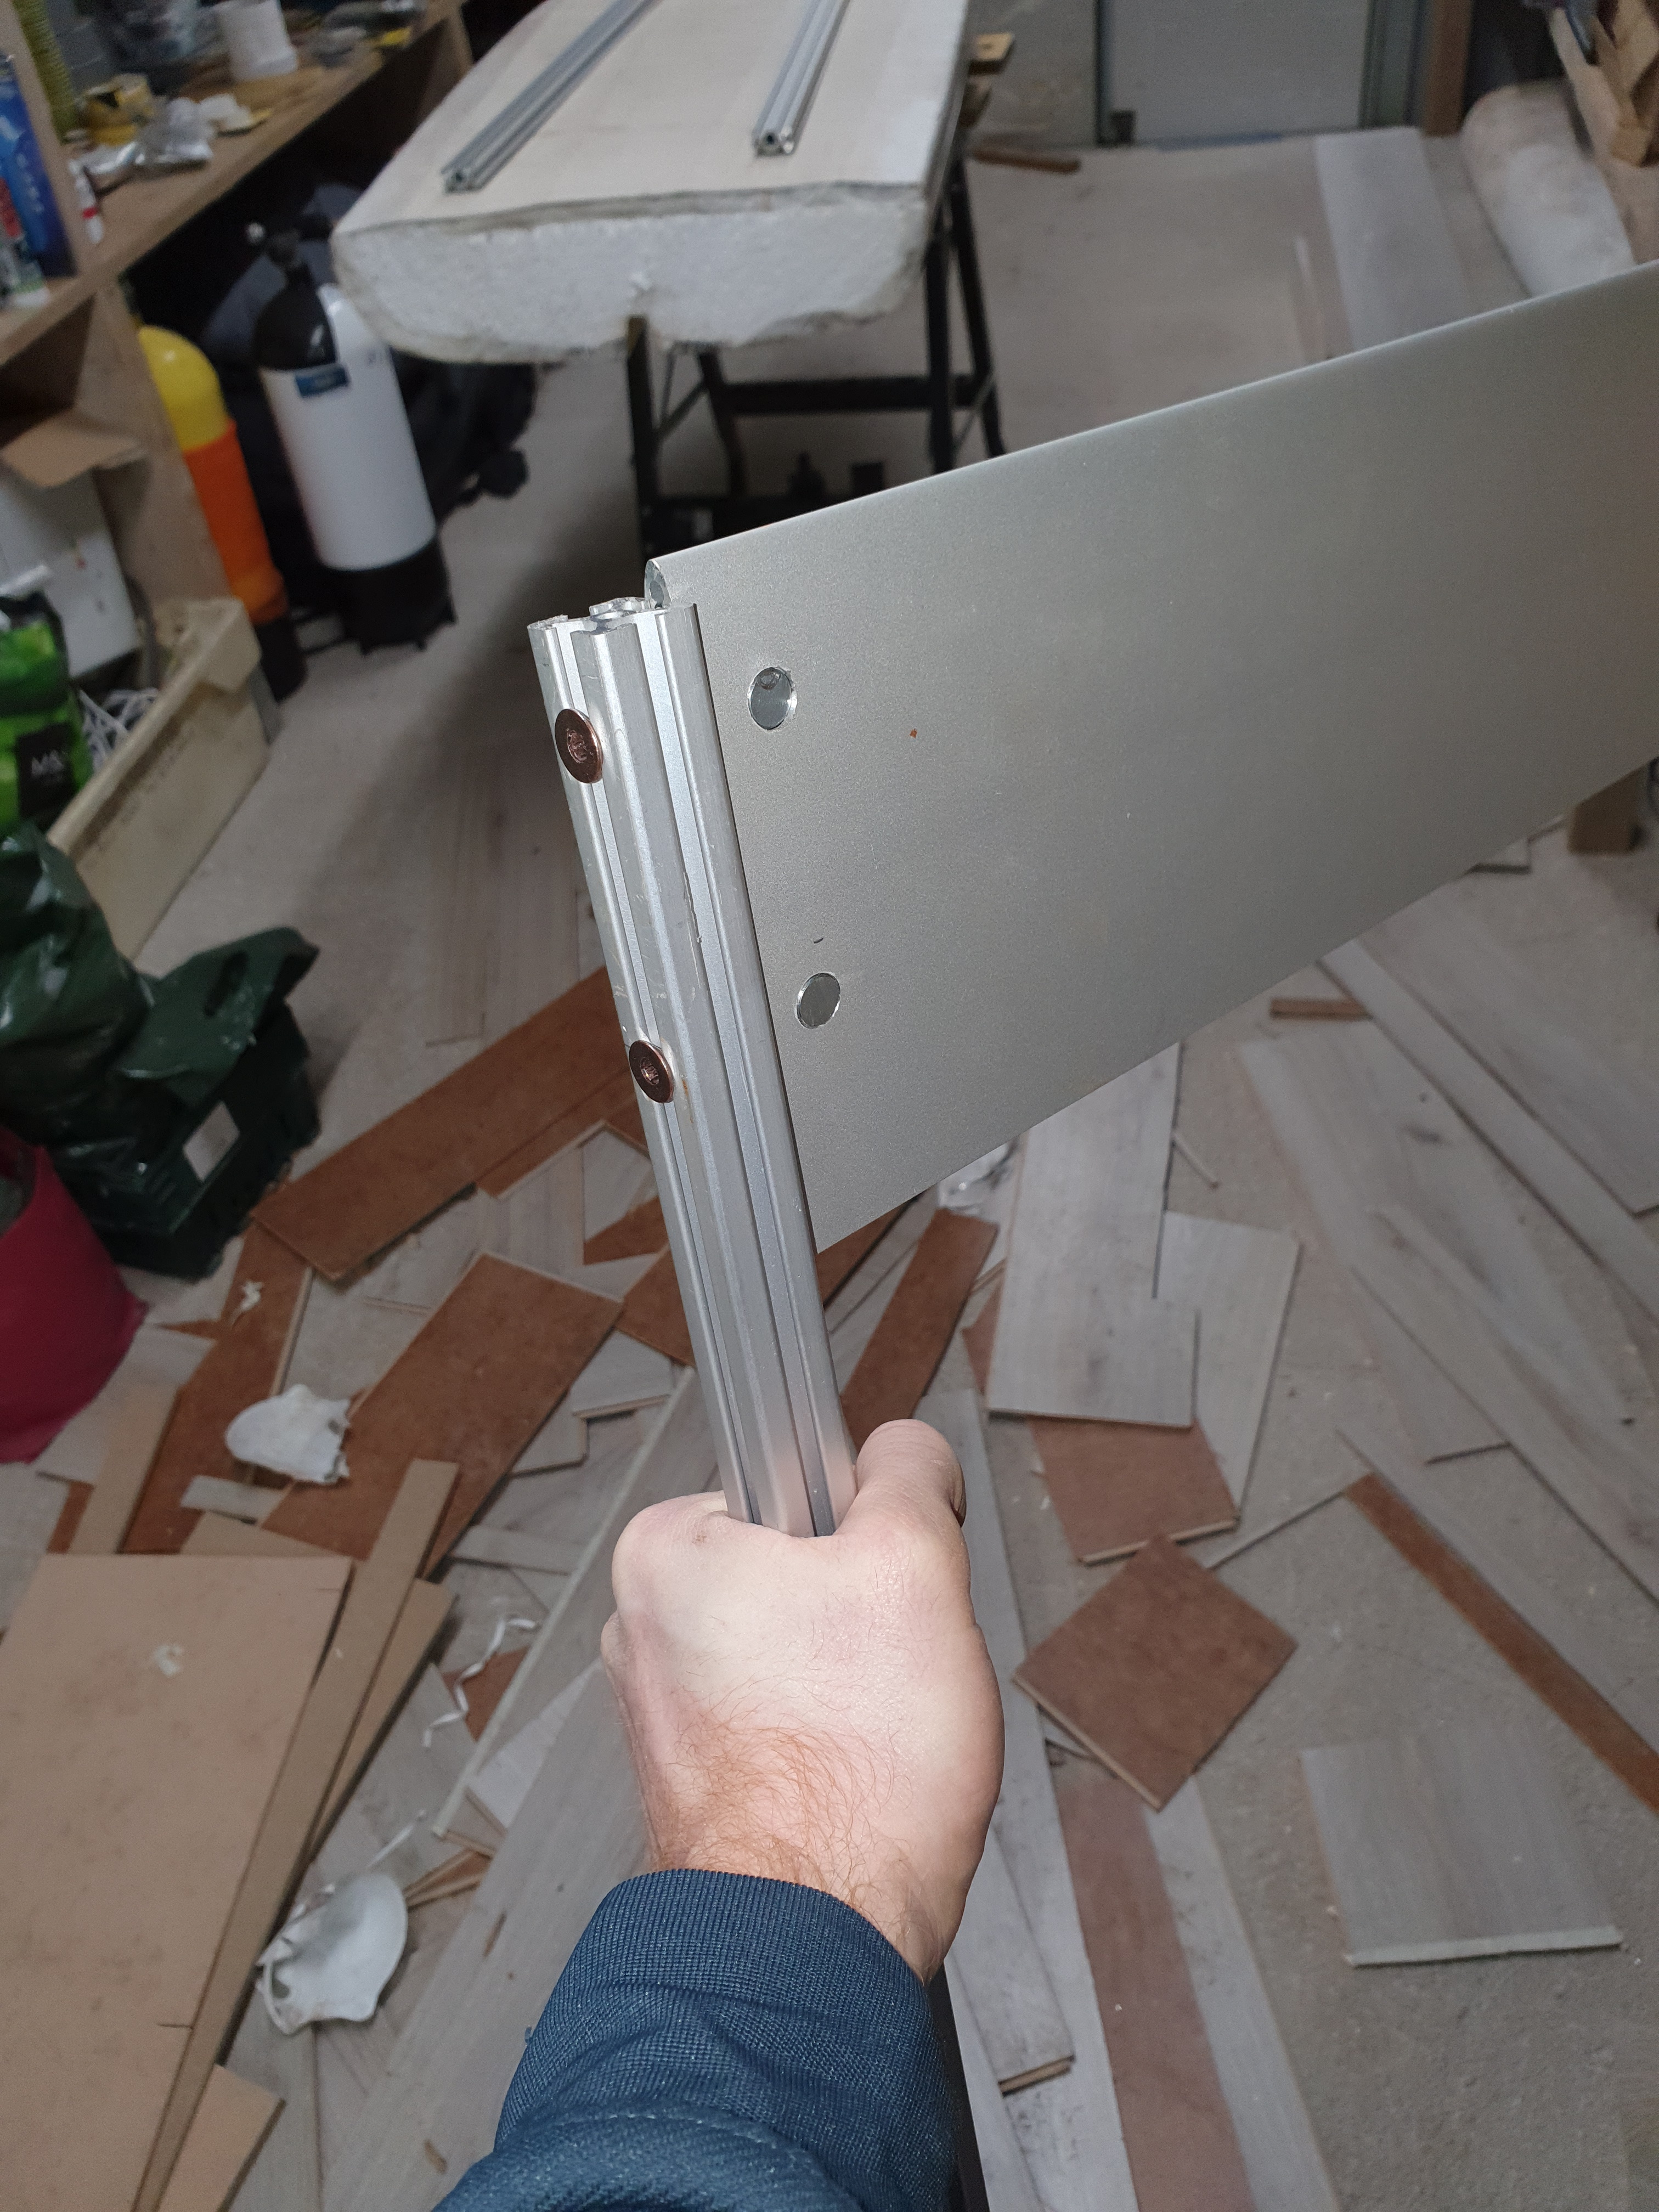
Its as solid as any other foil I’ve come across.
I plan to re-inforce the joint with Aluminium Welding Rods - Youtube Link
Im also going to fill the base of the mast with Steel Putty and/or Epoxy up past the Barrel Nuts for a bit of extra strenght and sealant.
Ill also probably file the nut towards the back down to make it more streamlined.
Im planning on using the same technique to join the mast to the board.
Let me know if you guys think I can add any more or do it bettter.Should I be going for 3 bolts? Ive only 55mm between the nut centres at the minute but i dont want to create a weak point with a 3rd hole
1 Like
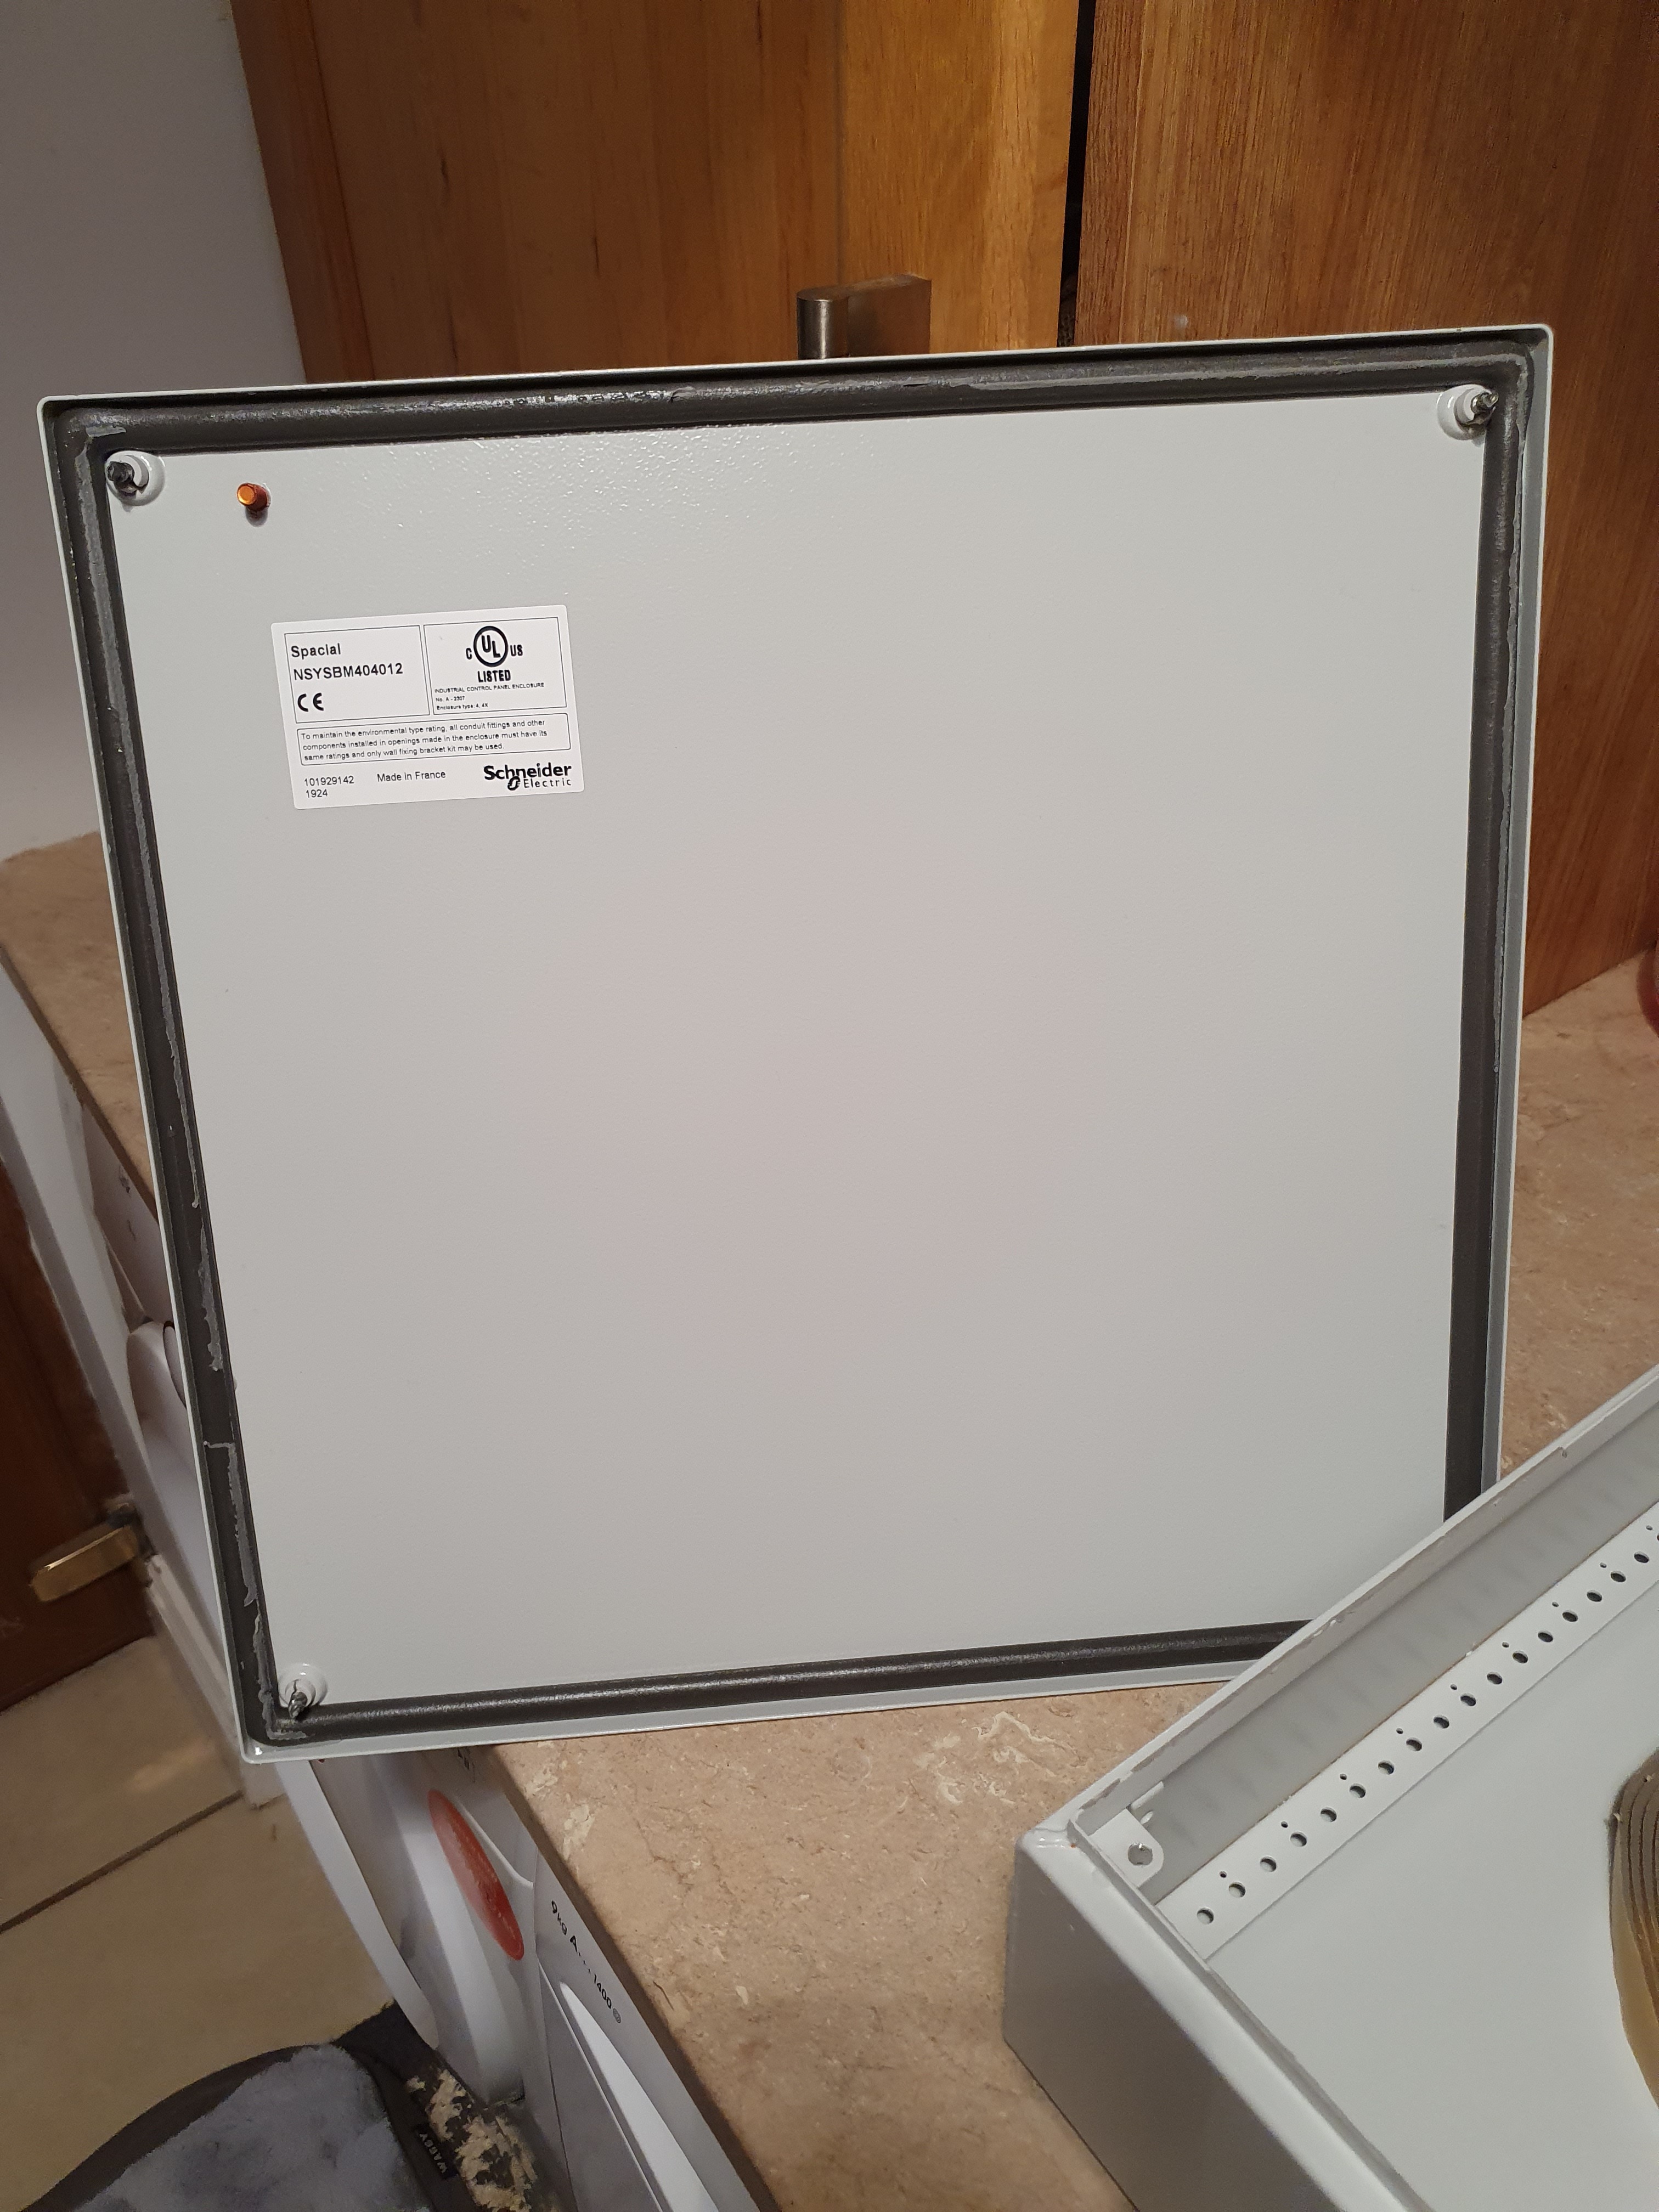
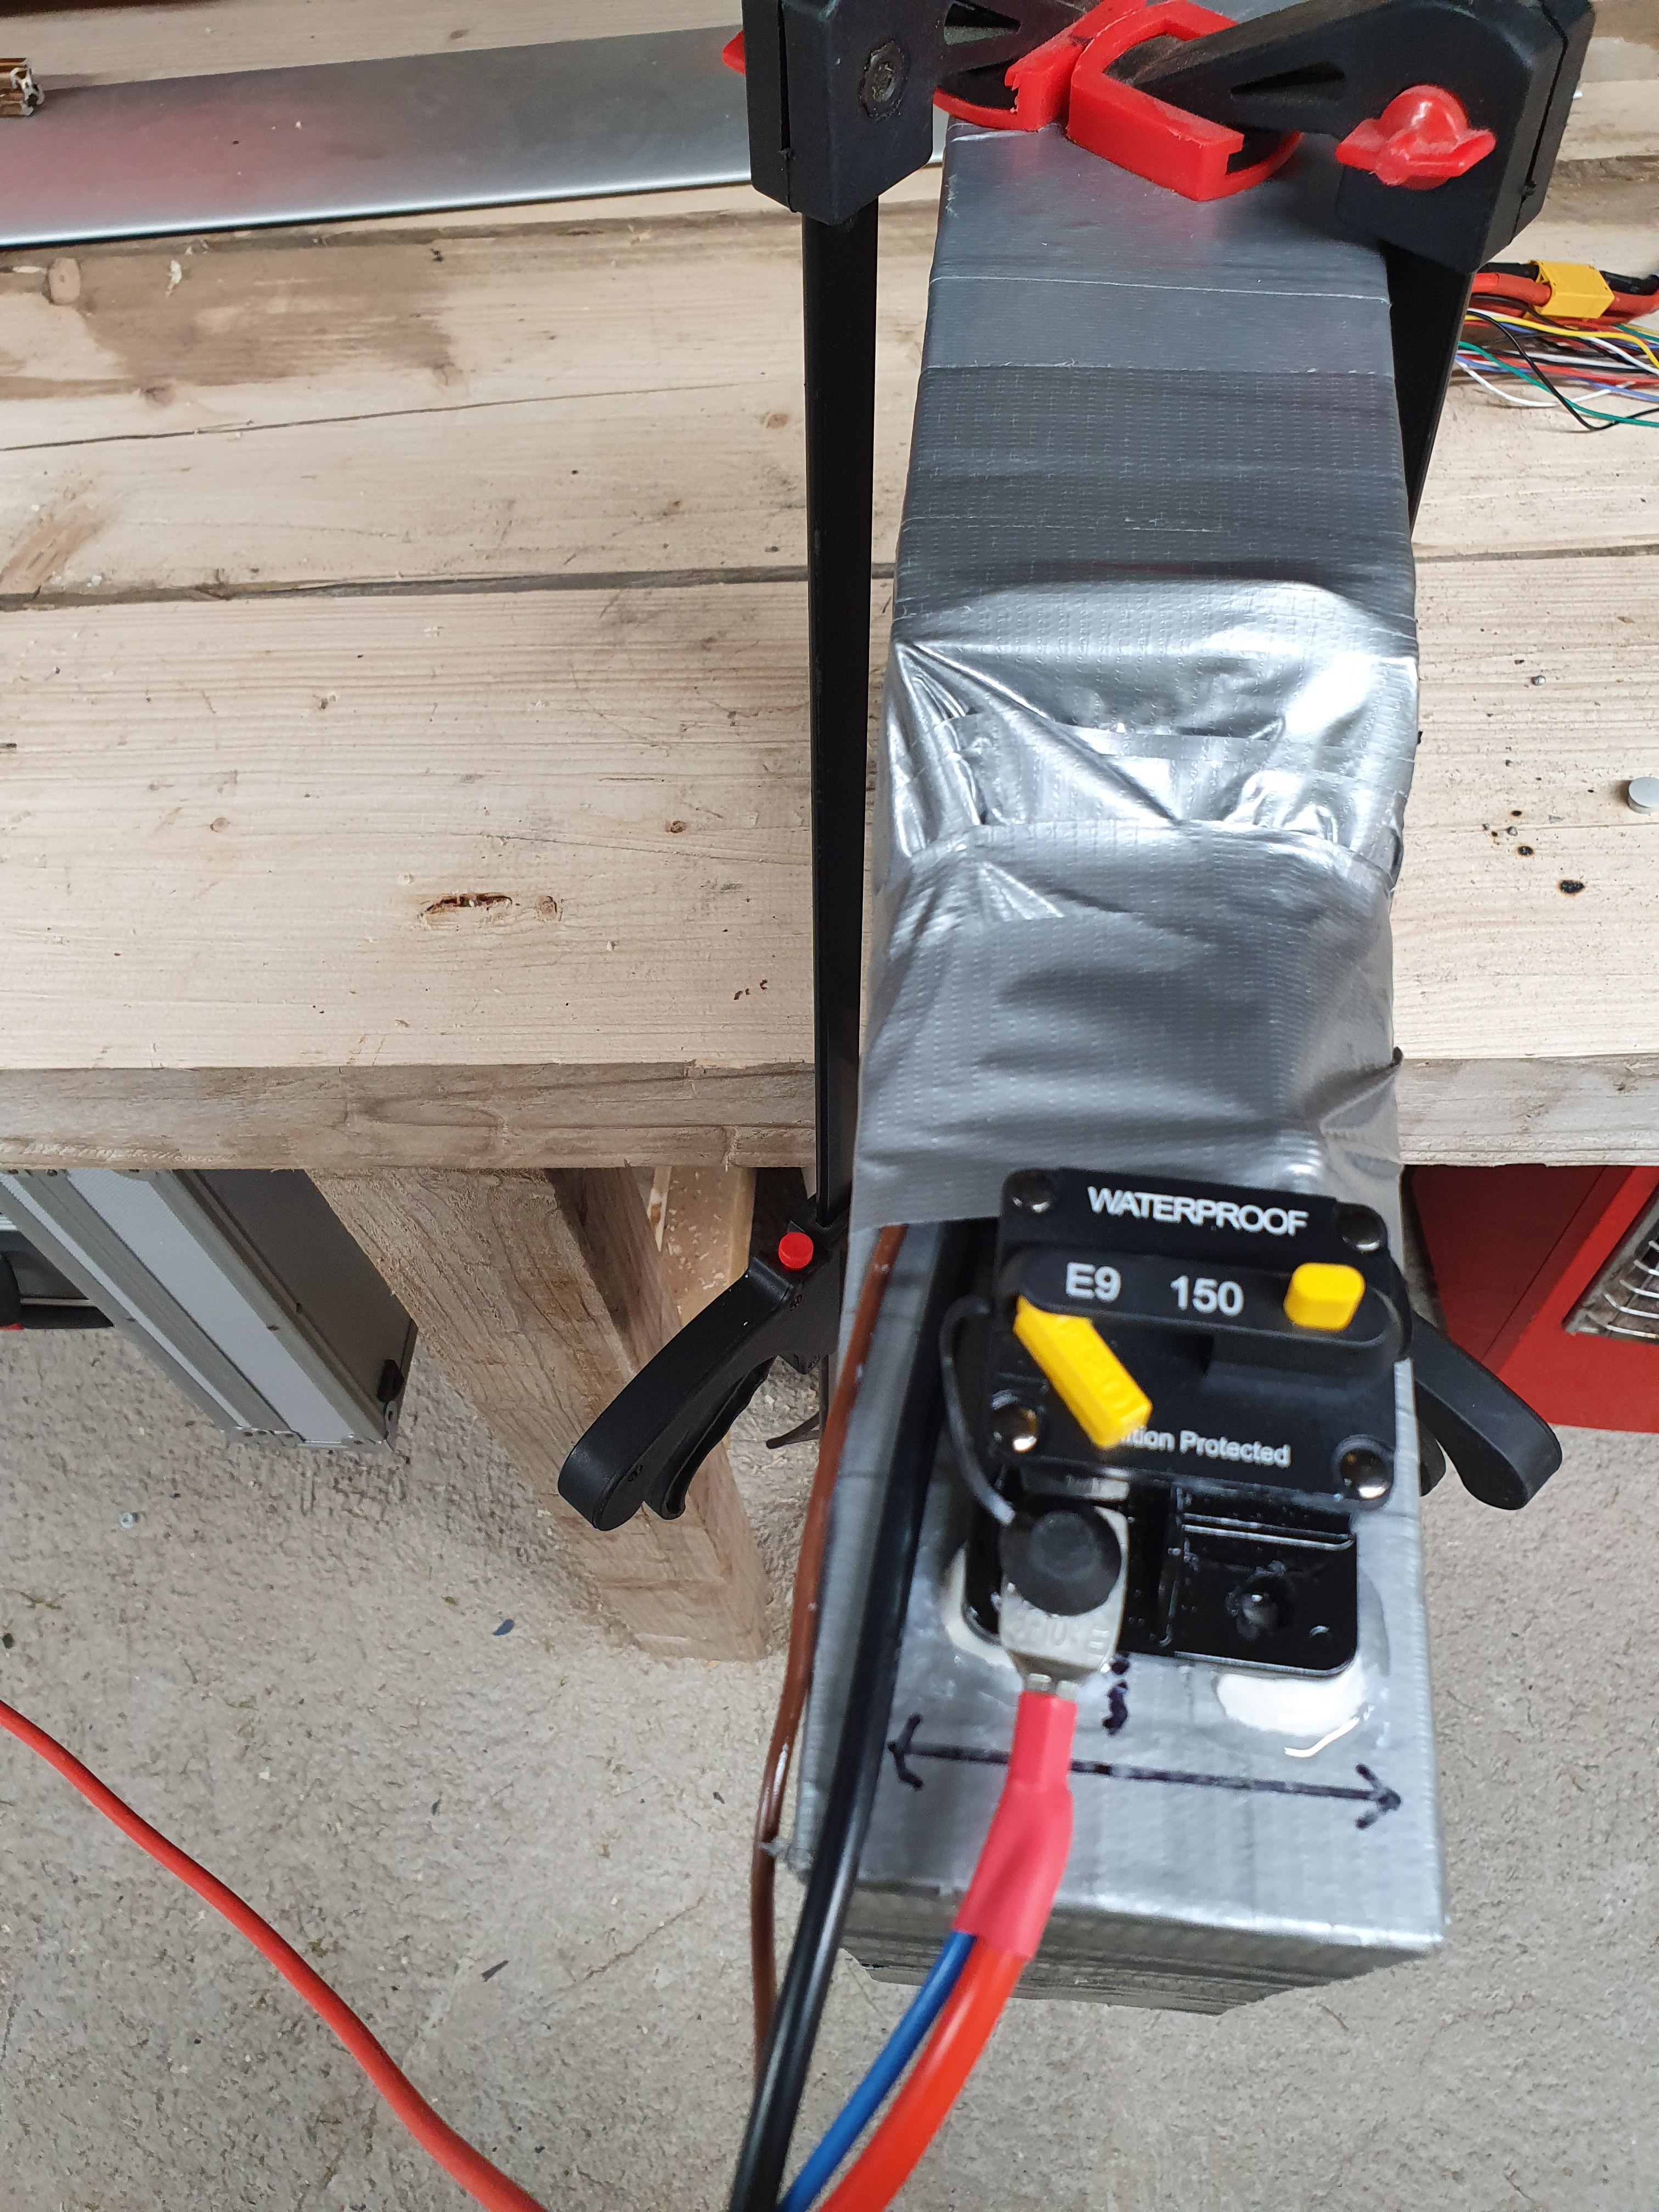
So finally my box has arrived. 400x400x120 and I decided to do a 24hr waterproof test.
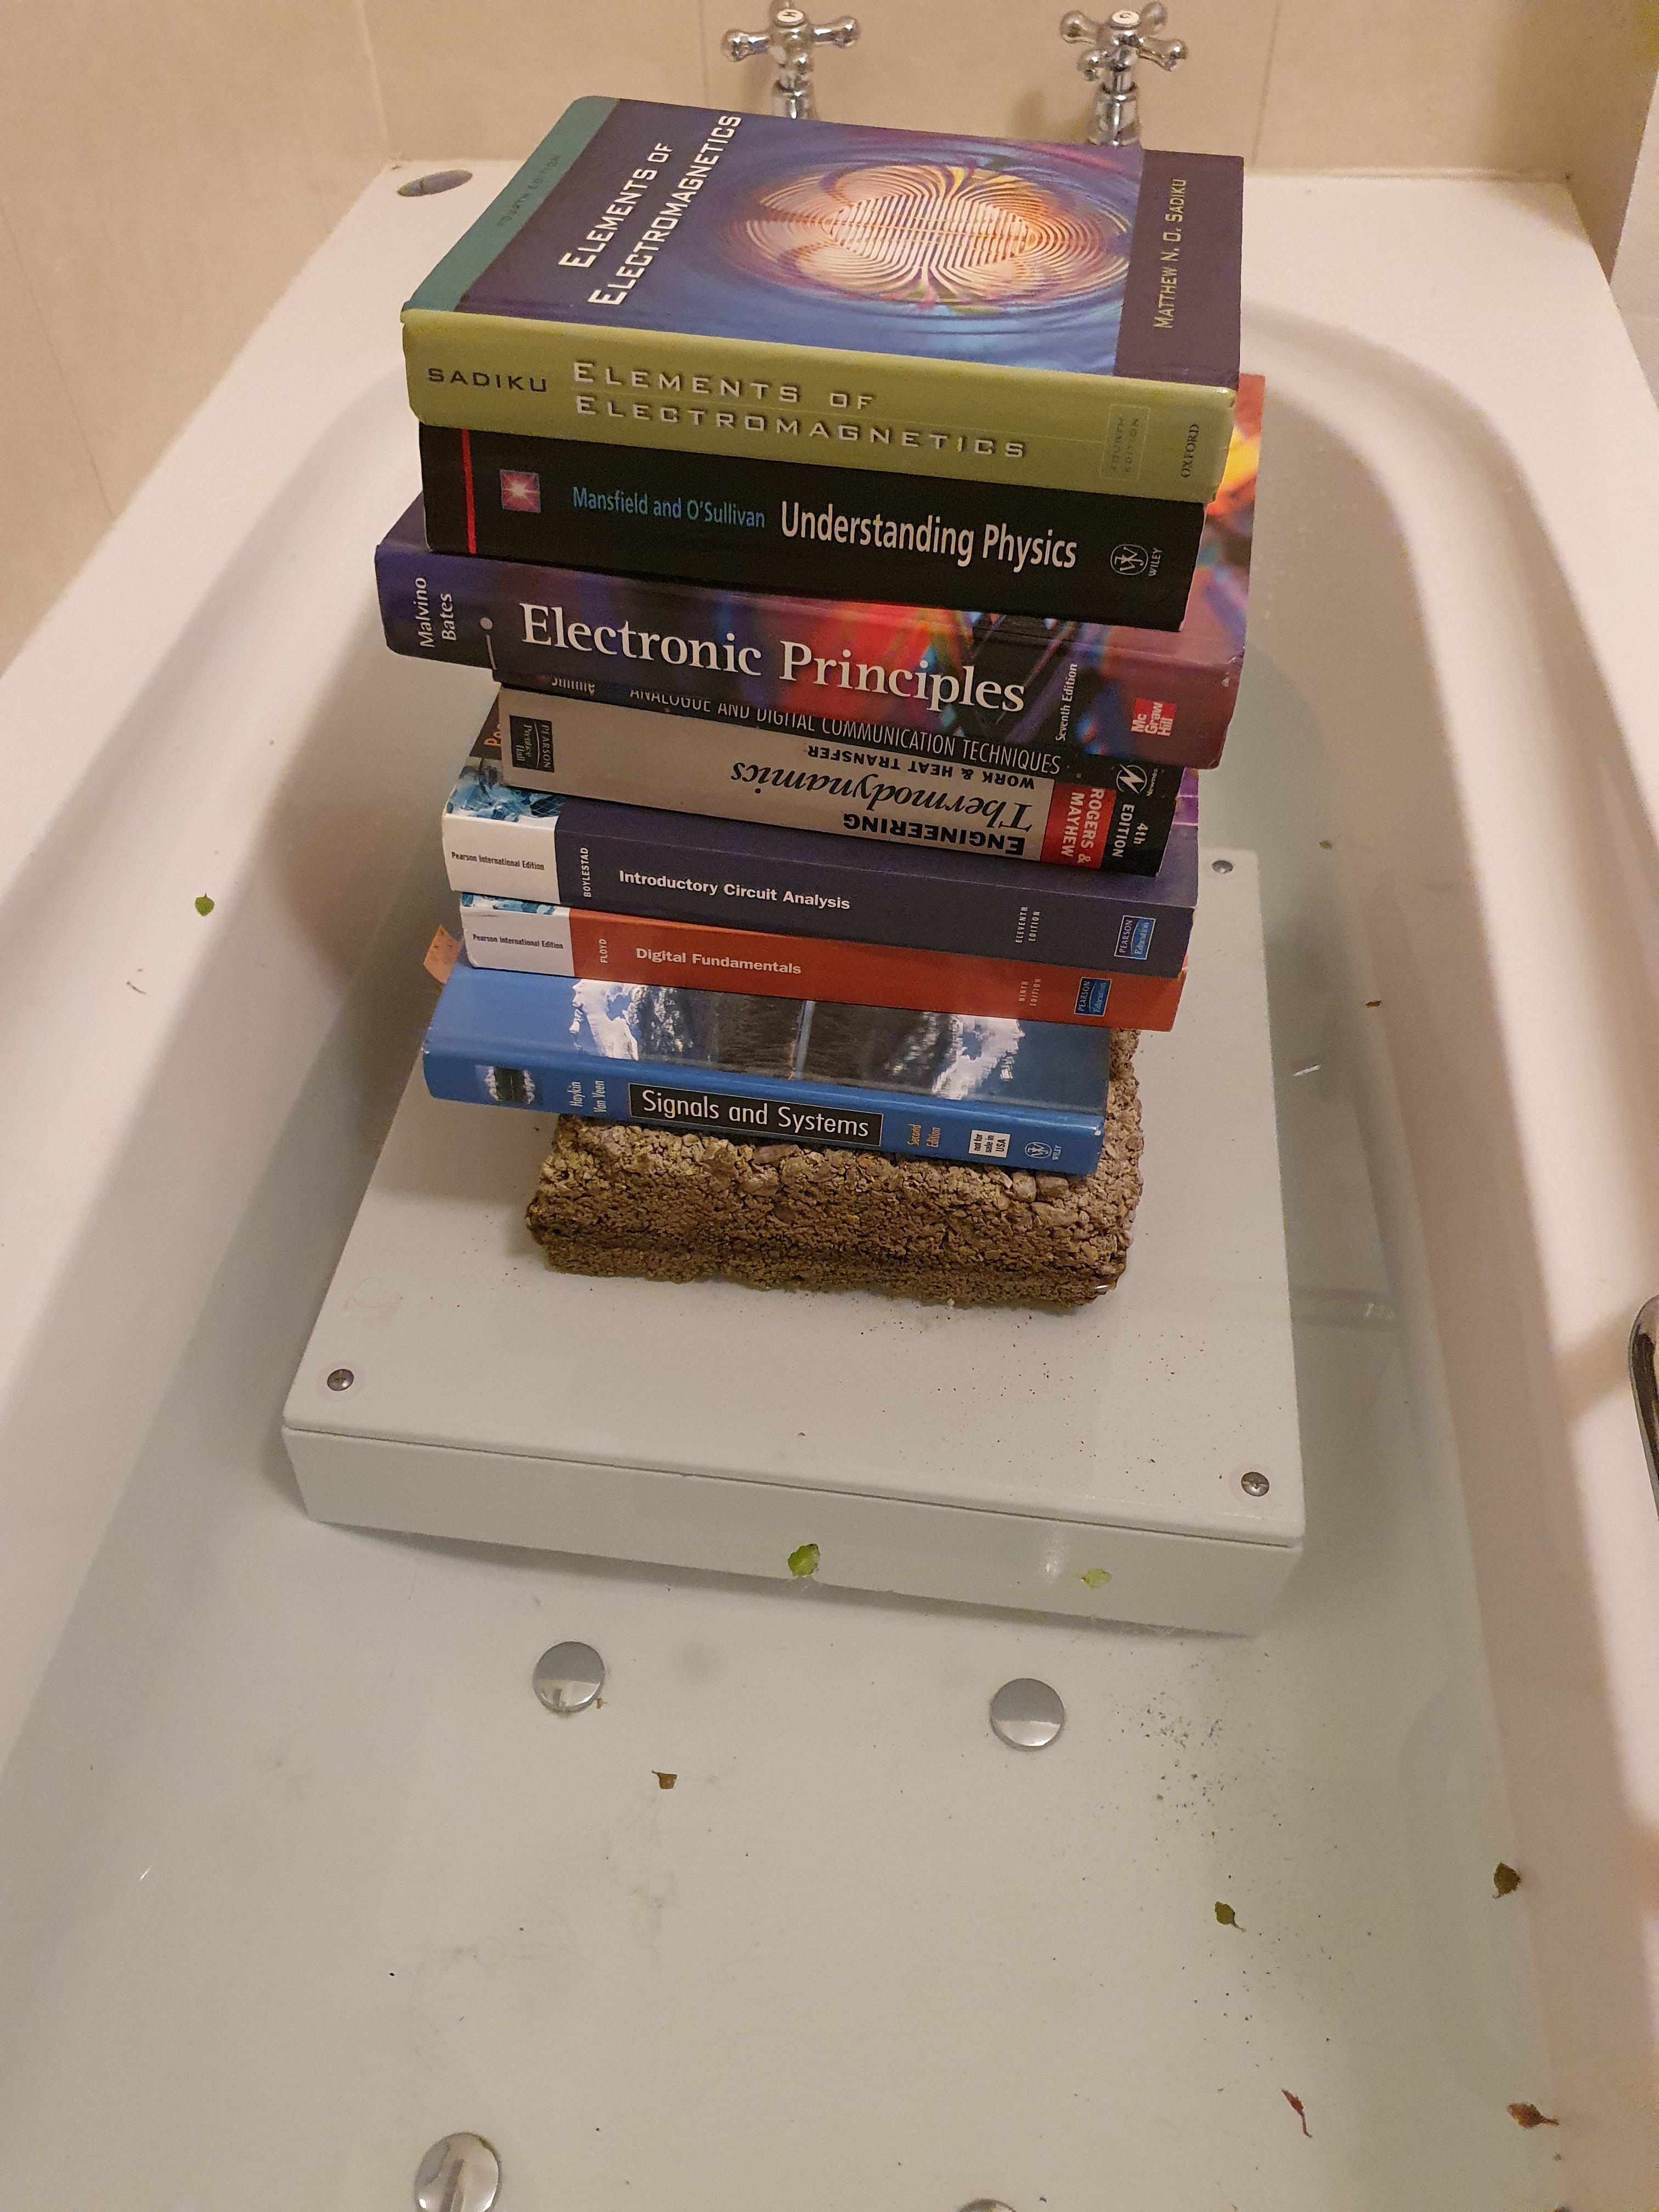
Best use of the college books since I finished!!!
Unfortunatly about 2 to 3mm of water was in the box
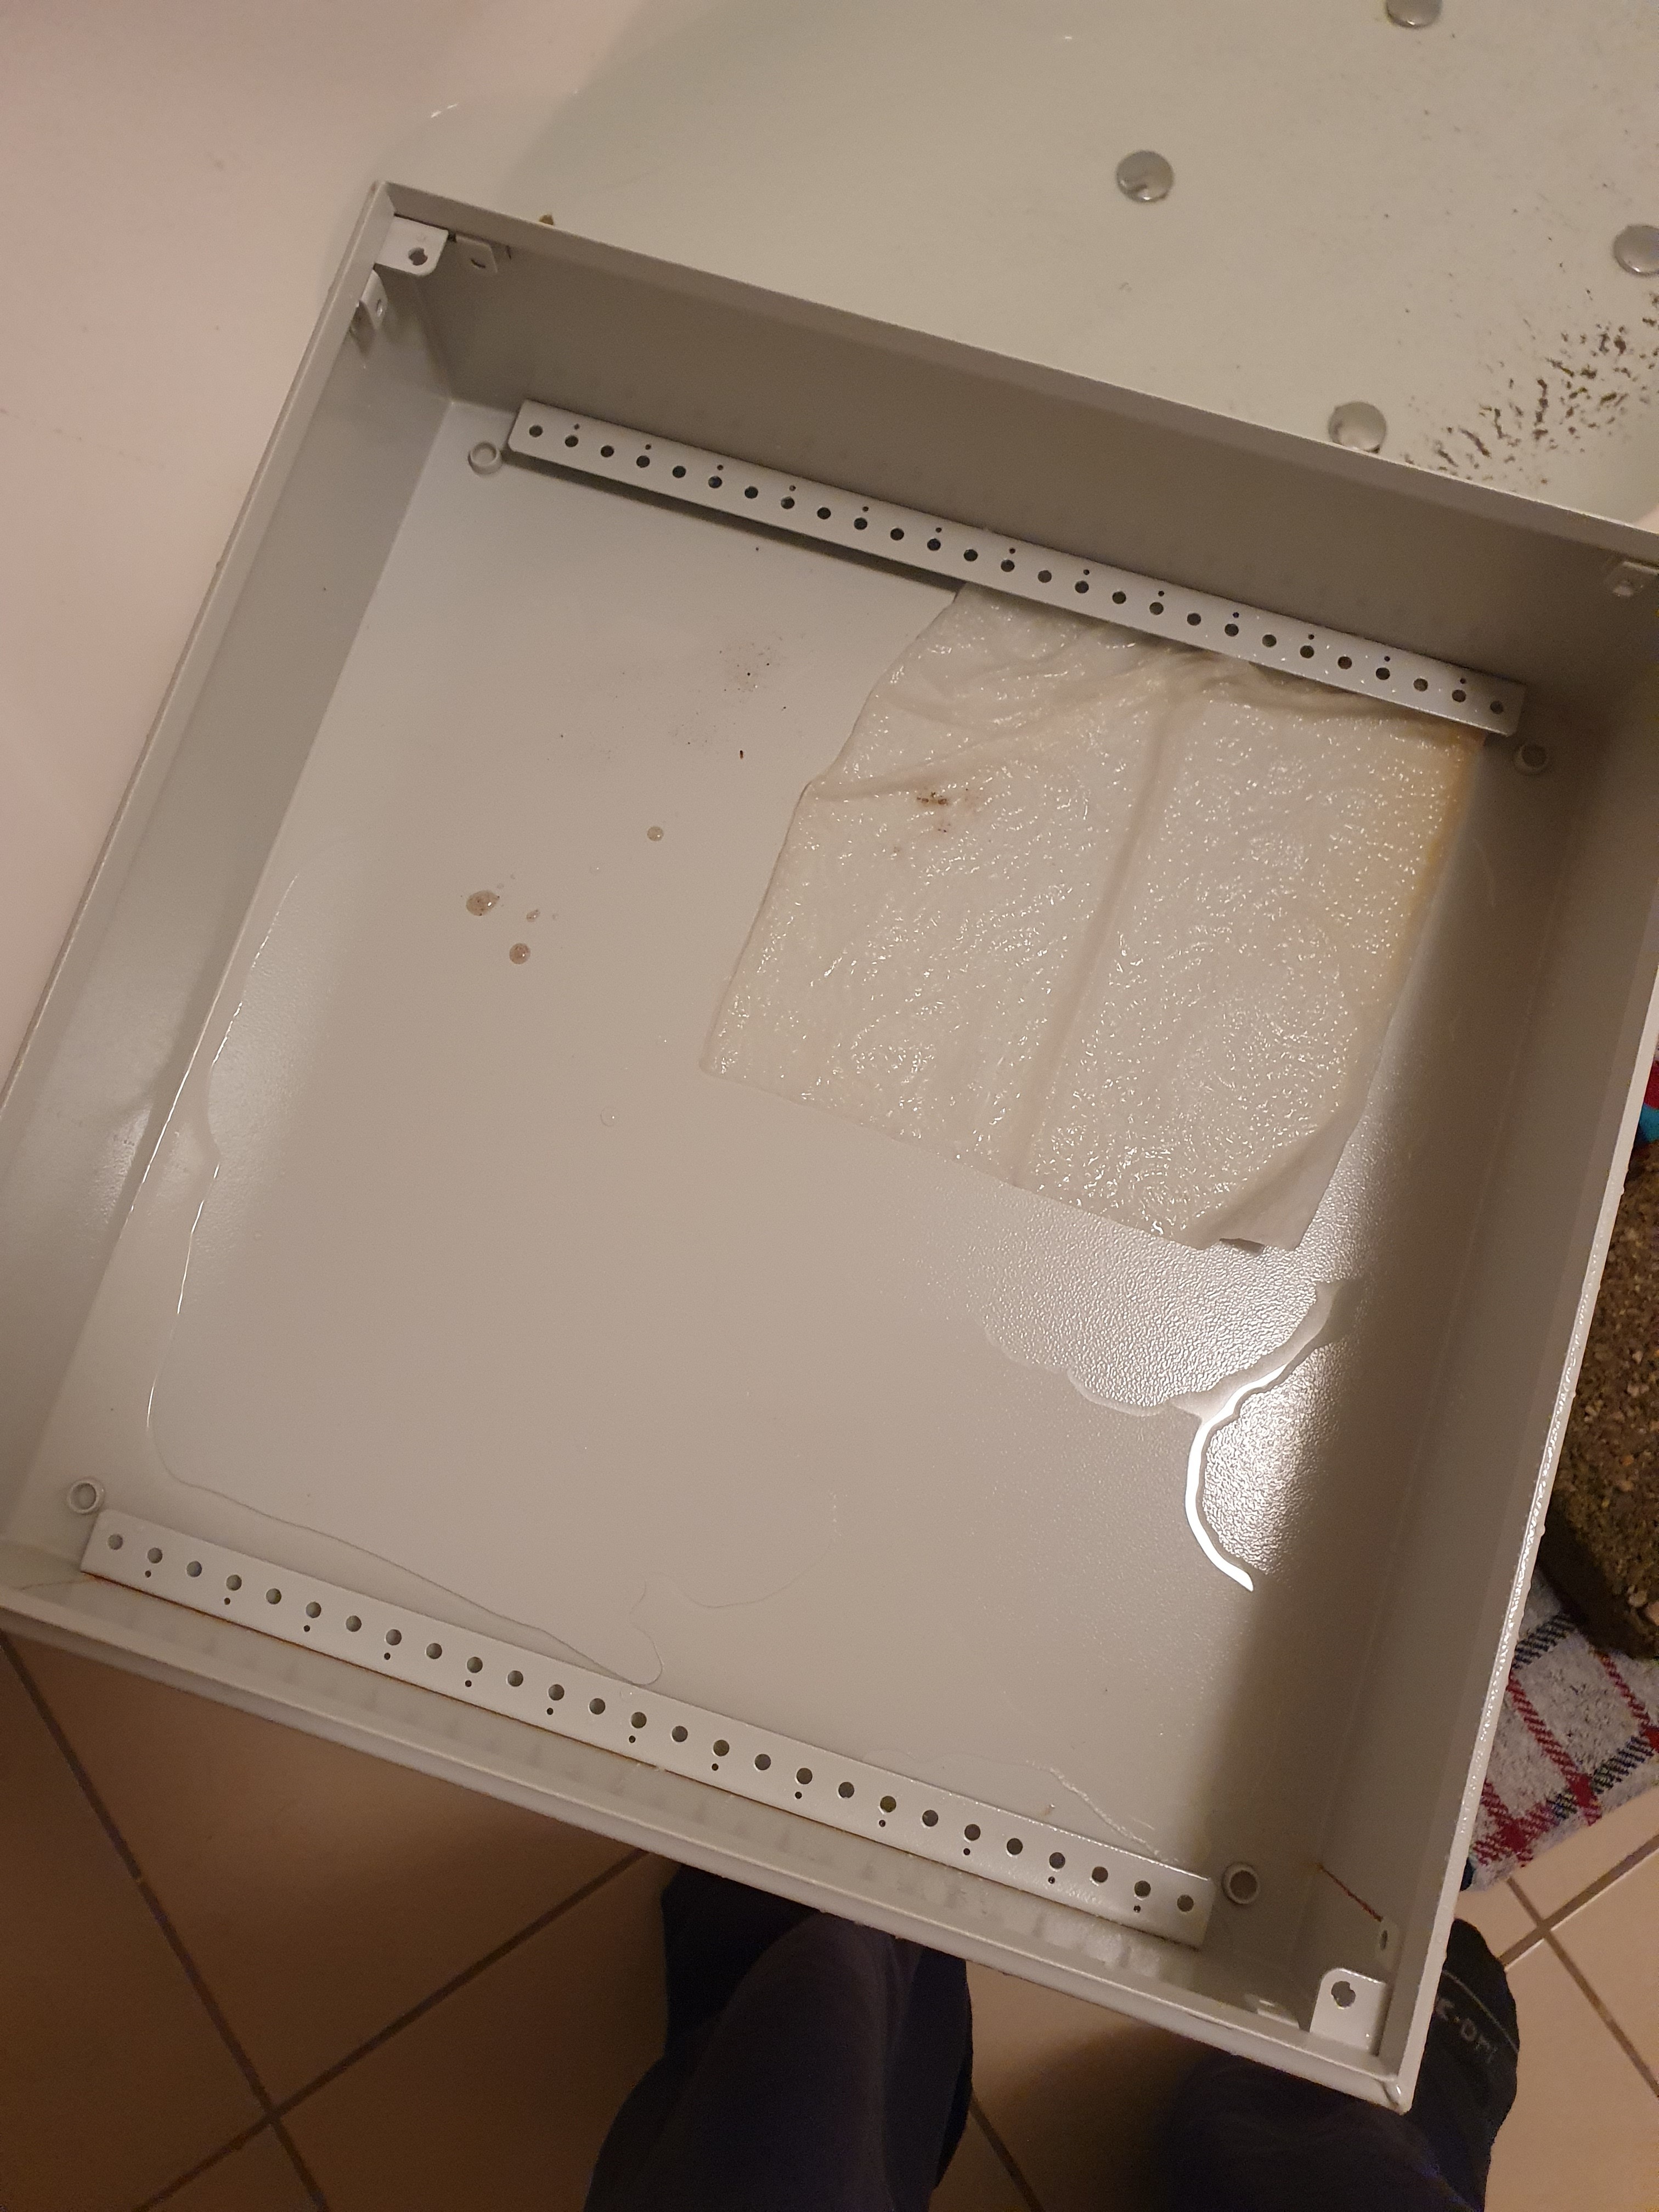
I did expect it as its only IP65.
Ill be doing some water proofing tomorrow and will try again.
Also a sample layout
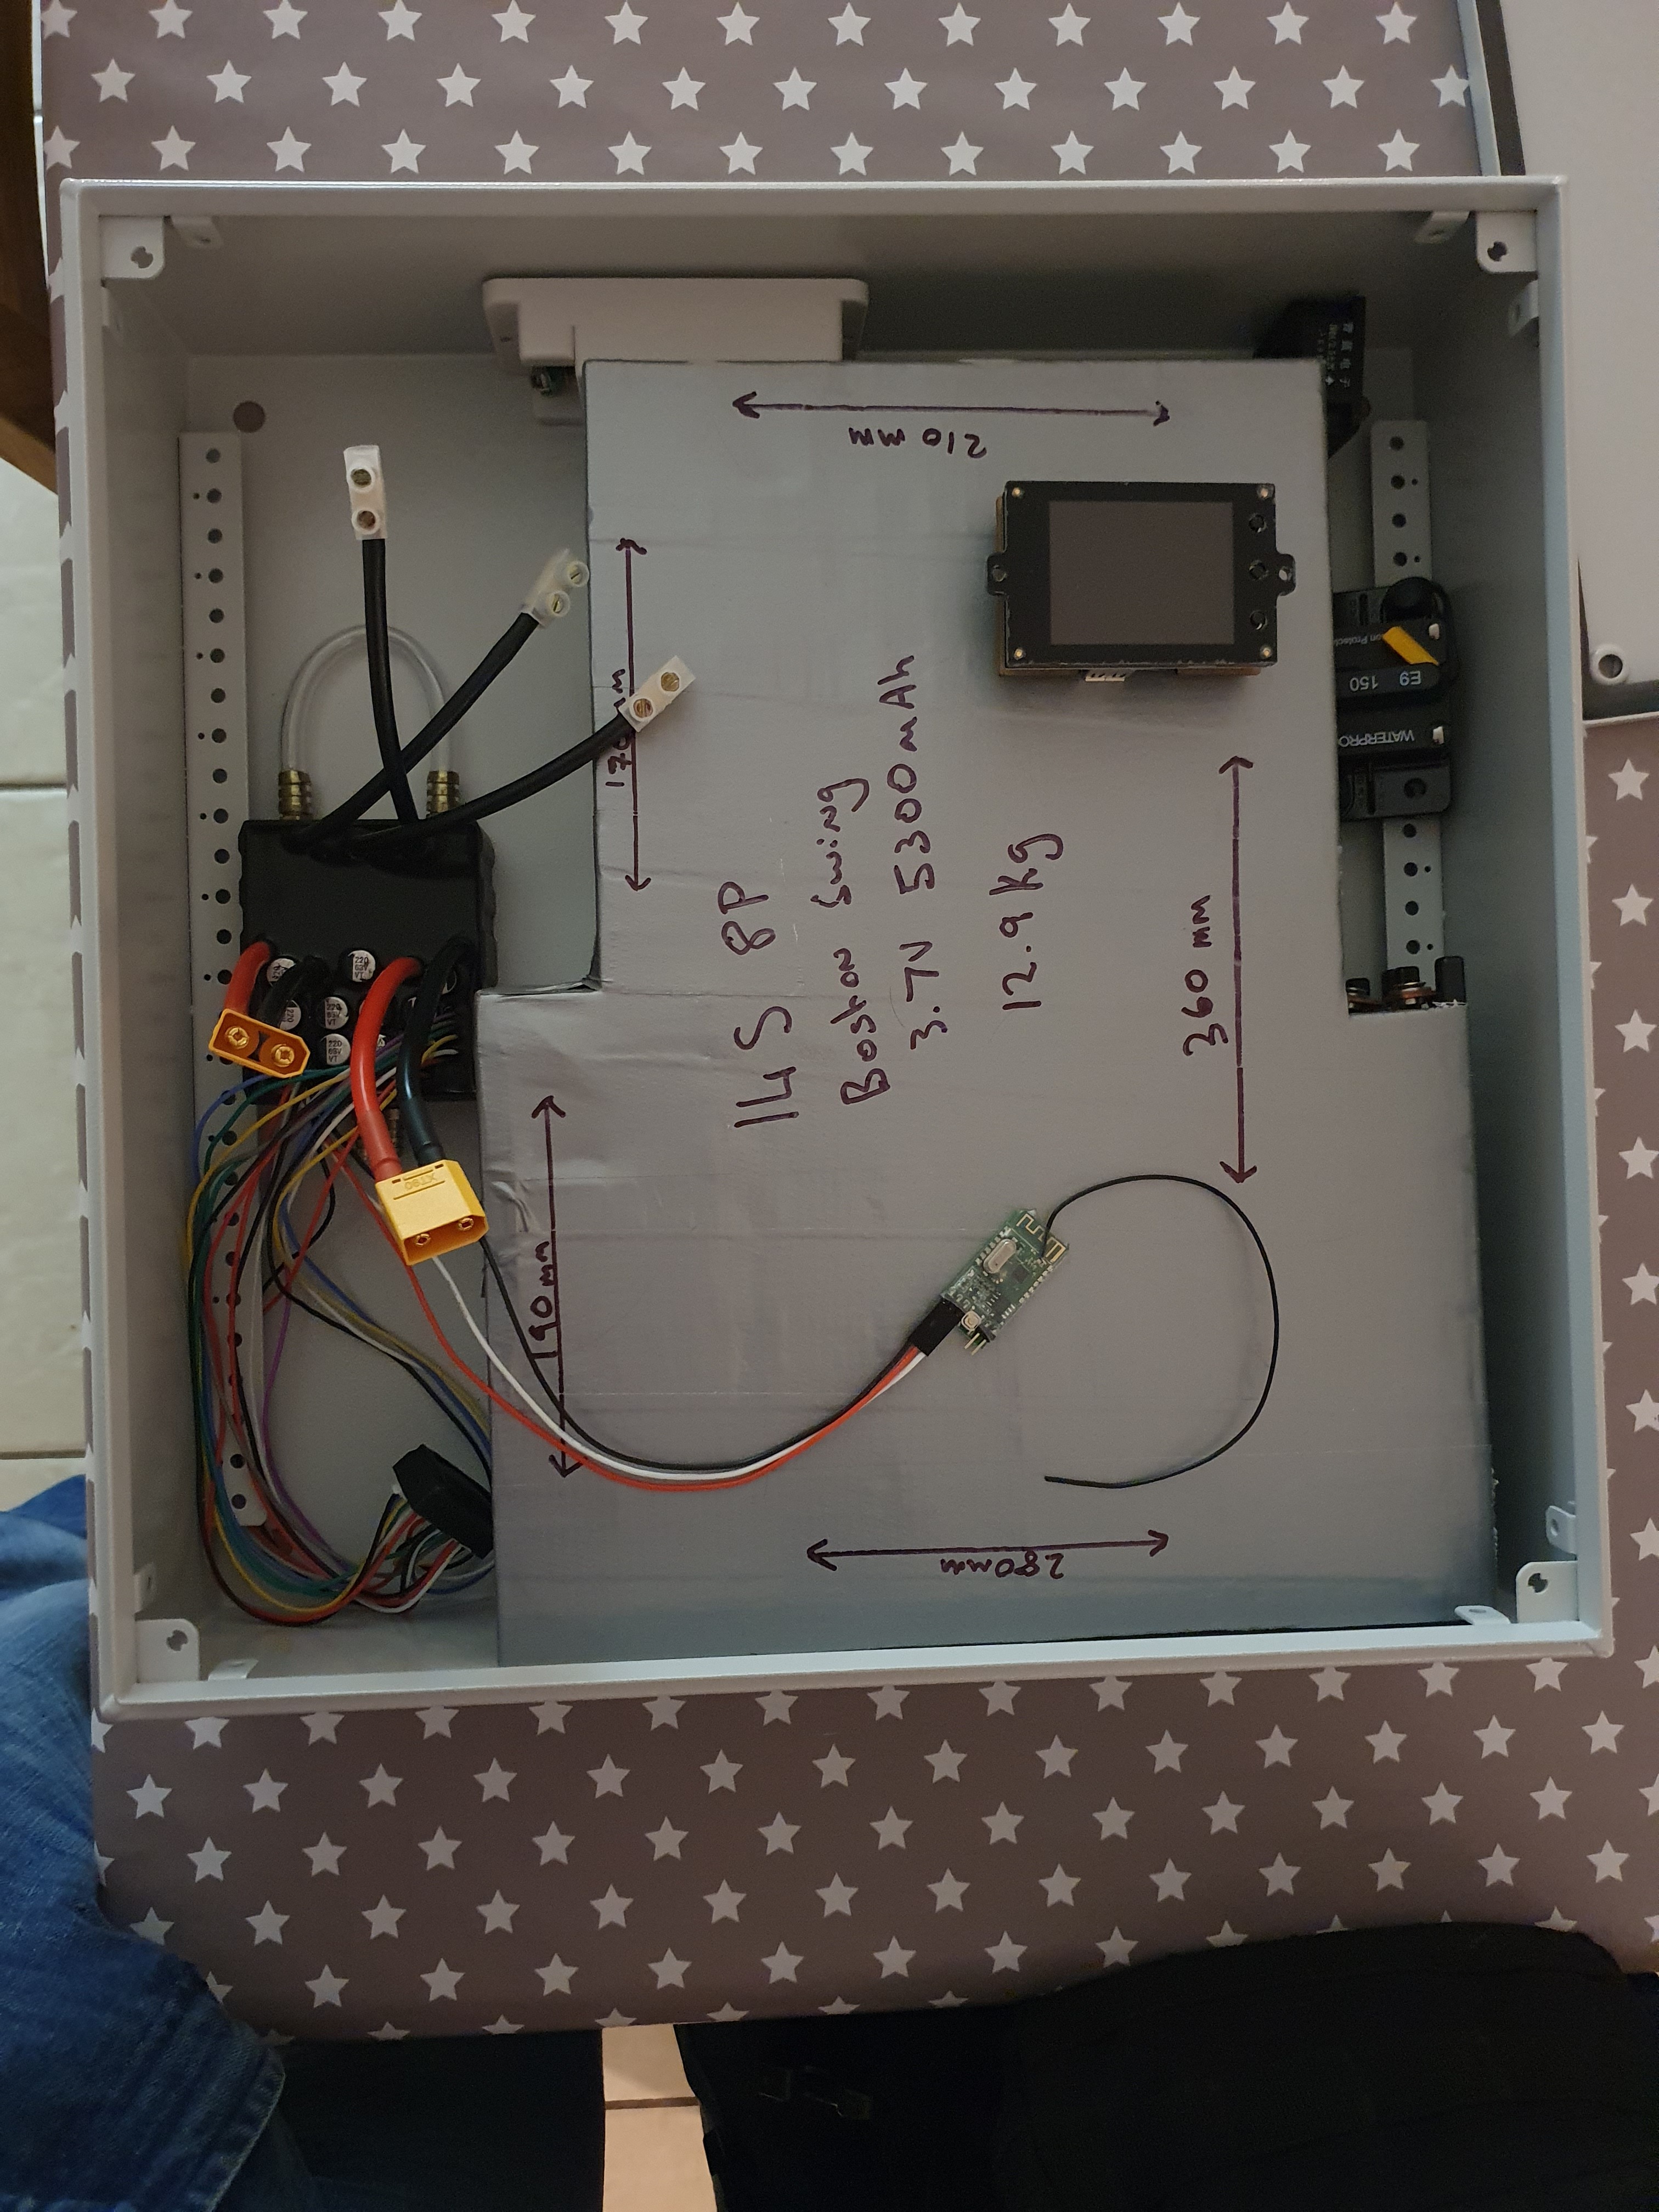
Ignore the display, that’ll be some place else - TBC
So i had a few issues getting the box waterproof but thanks to Waterweld I managed to seal all the holes and it’s survived a 24hr test in the bath submerged. Followed by the bath jets for 20 minutes and a hosing down from the shower so Im about as happy as I can be with the enclosure right now.
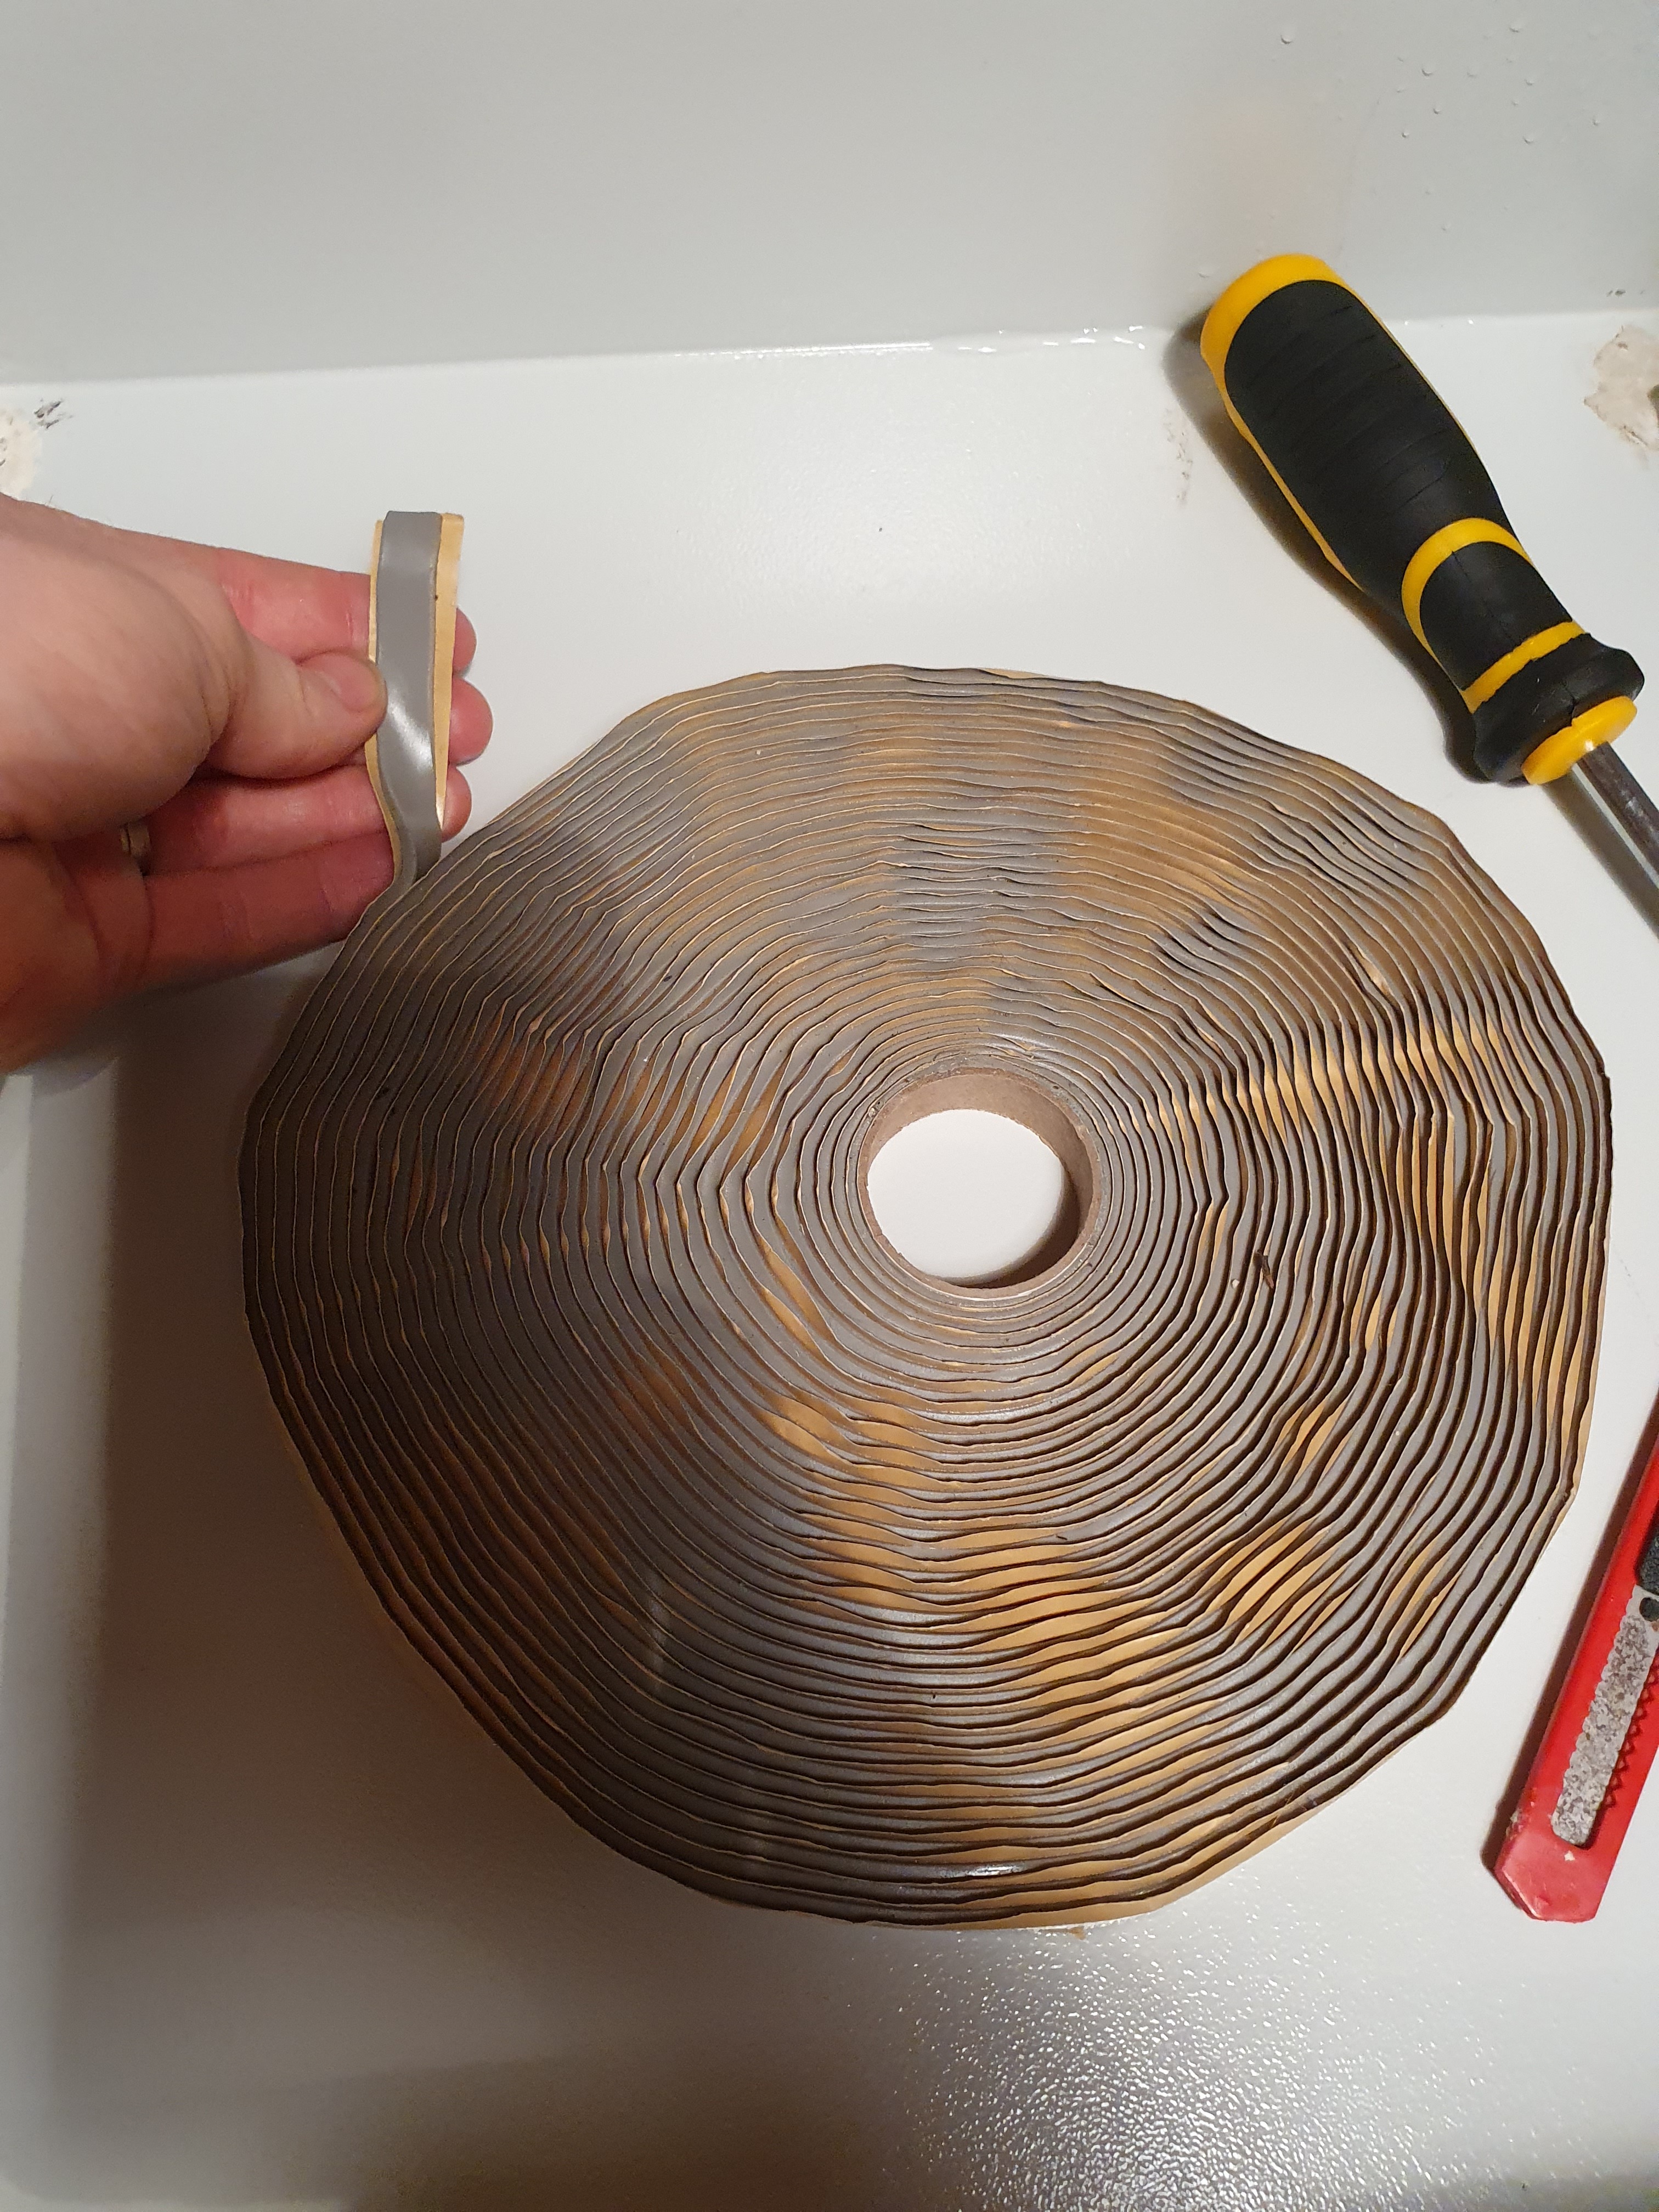
I also added some of this stuff - Butyl Strip its rubbery and sticky, helps create a great seal against the existing lid seal
So after finishing and waterproofing the box I wanted to add a water sensor. Searched the forum and infairness @Jezza came up trumps with the Velleman MK108 Water Alarm Mini Kit
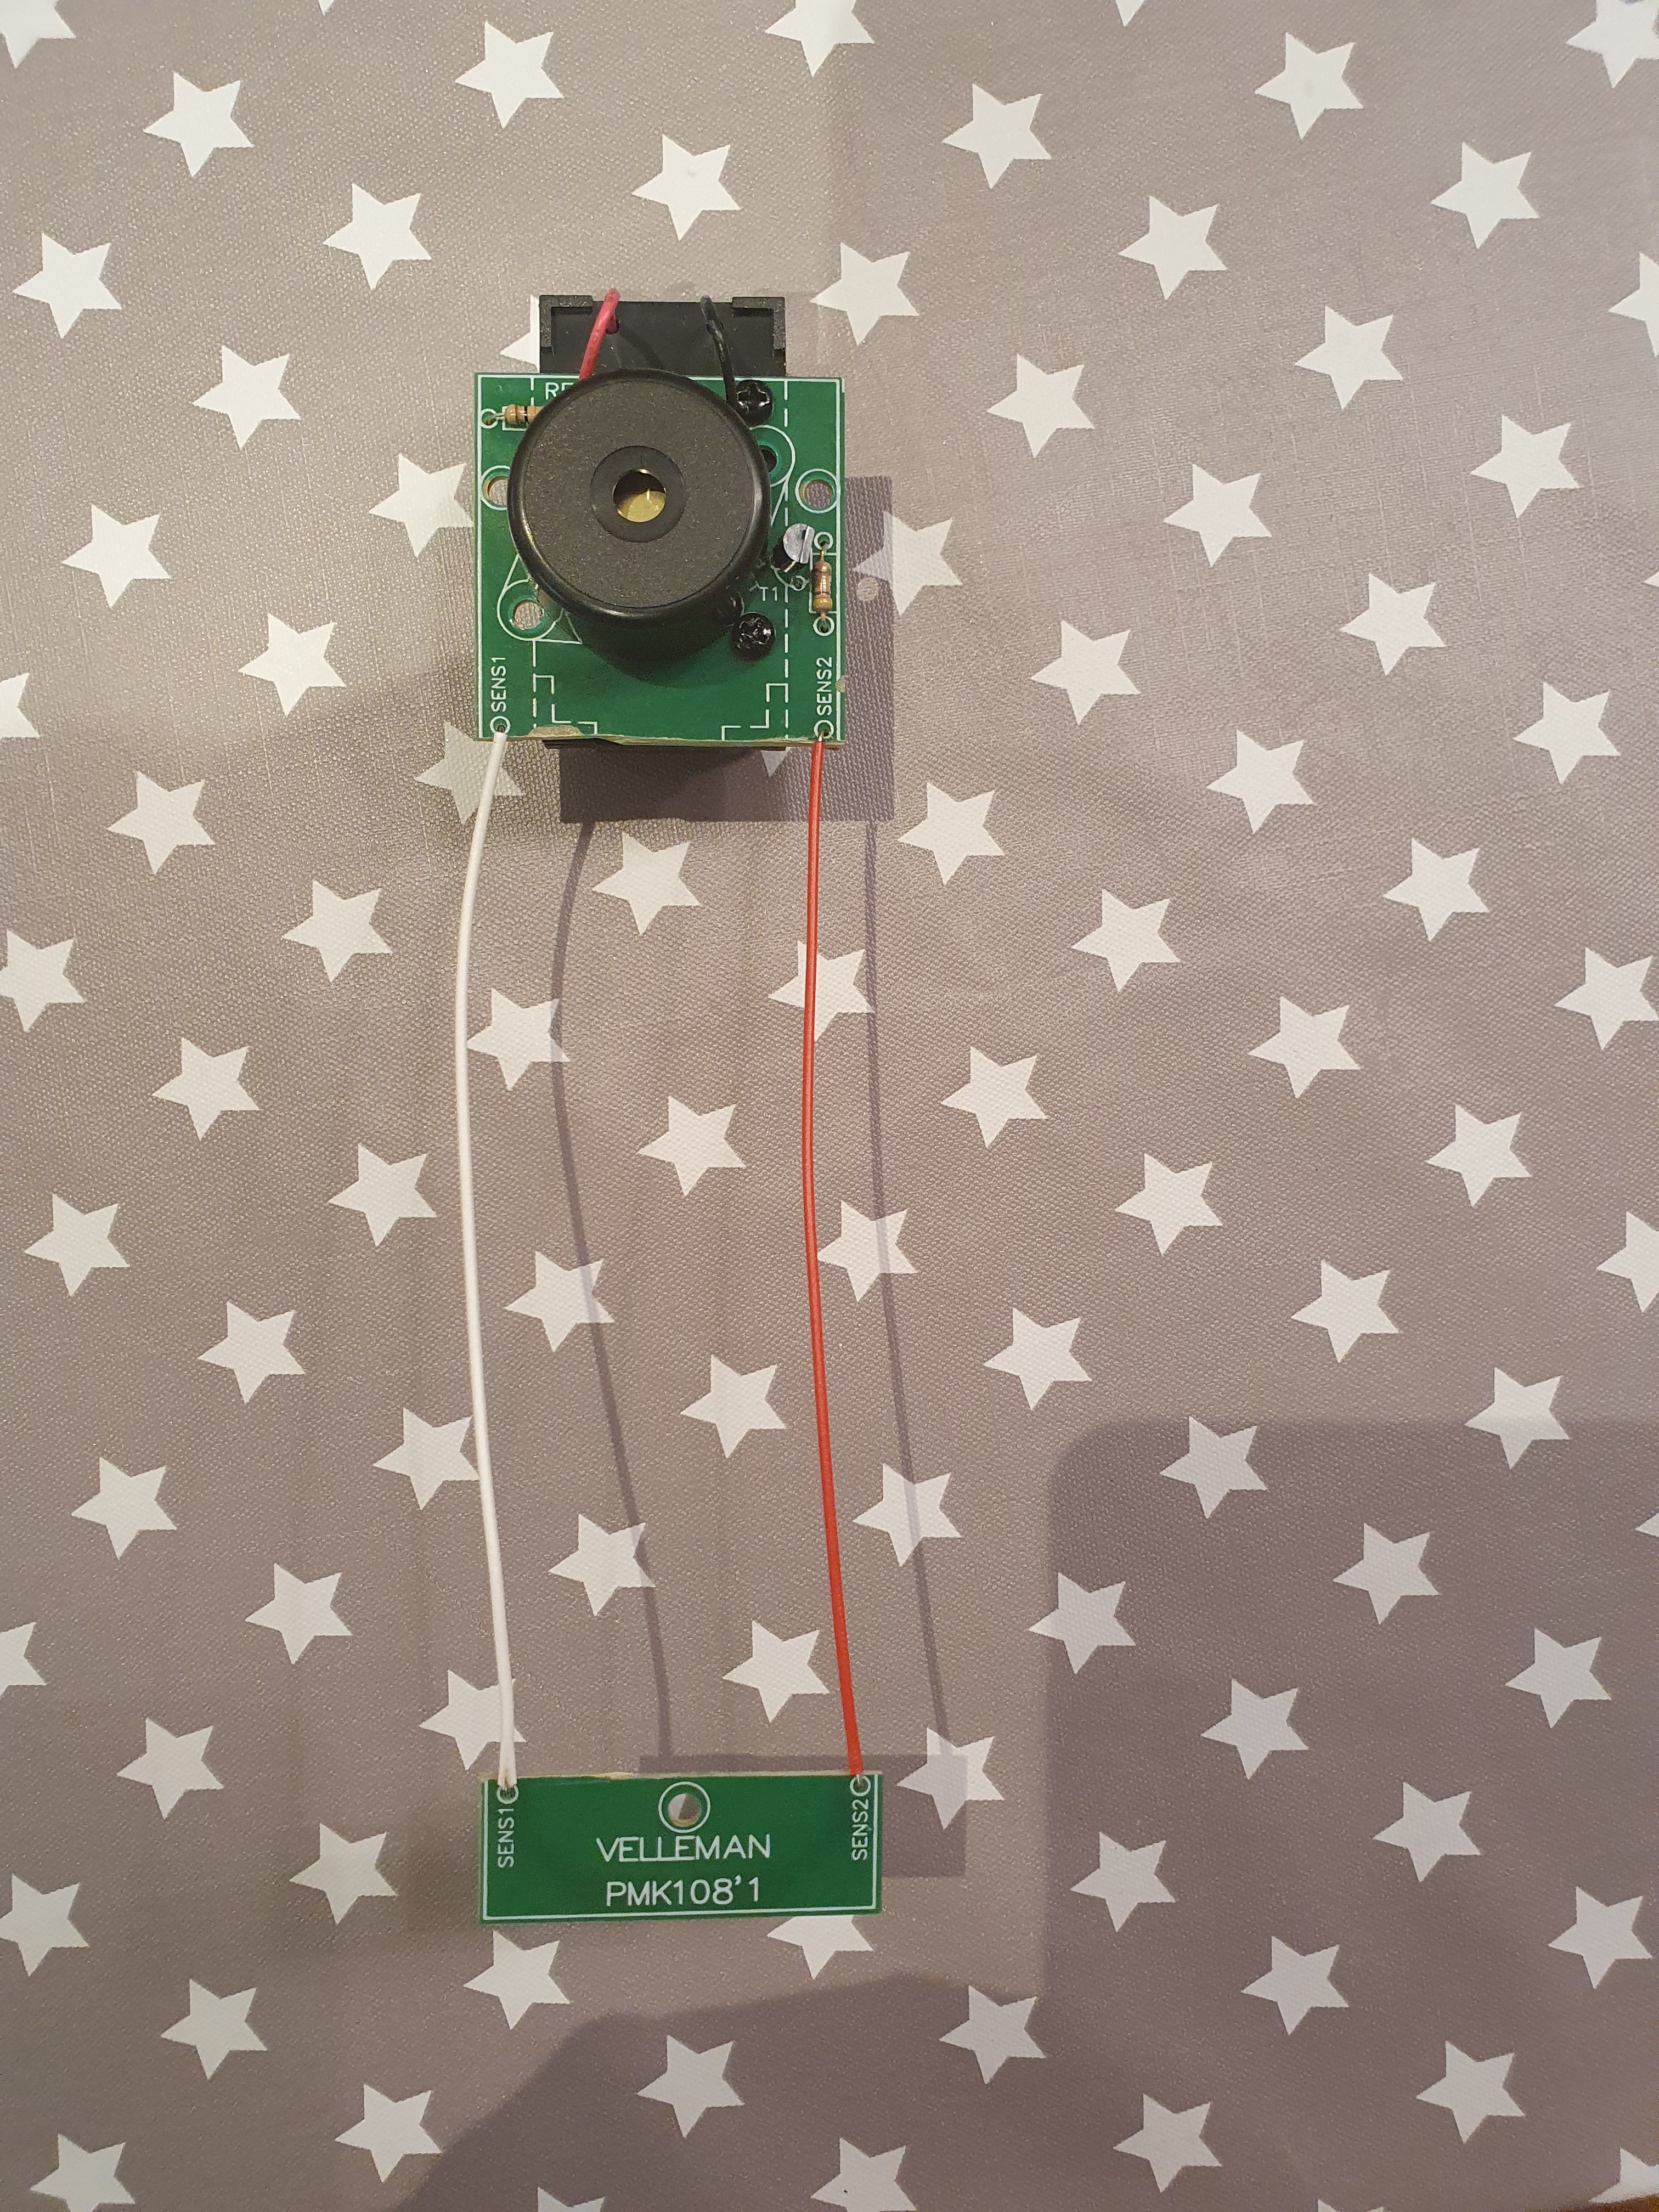
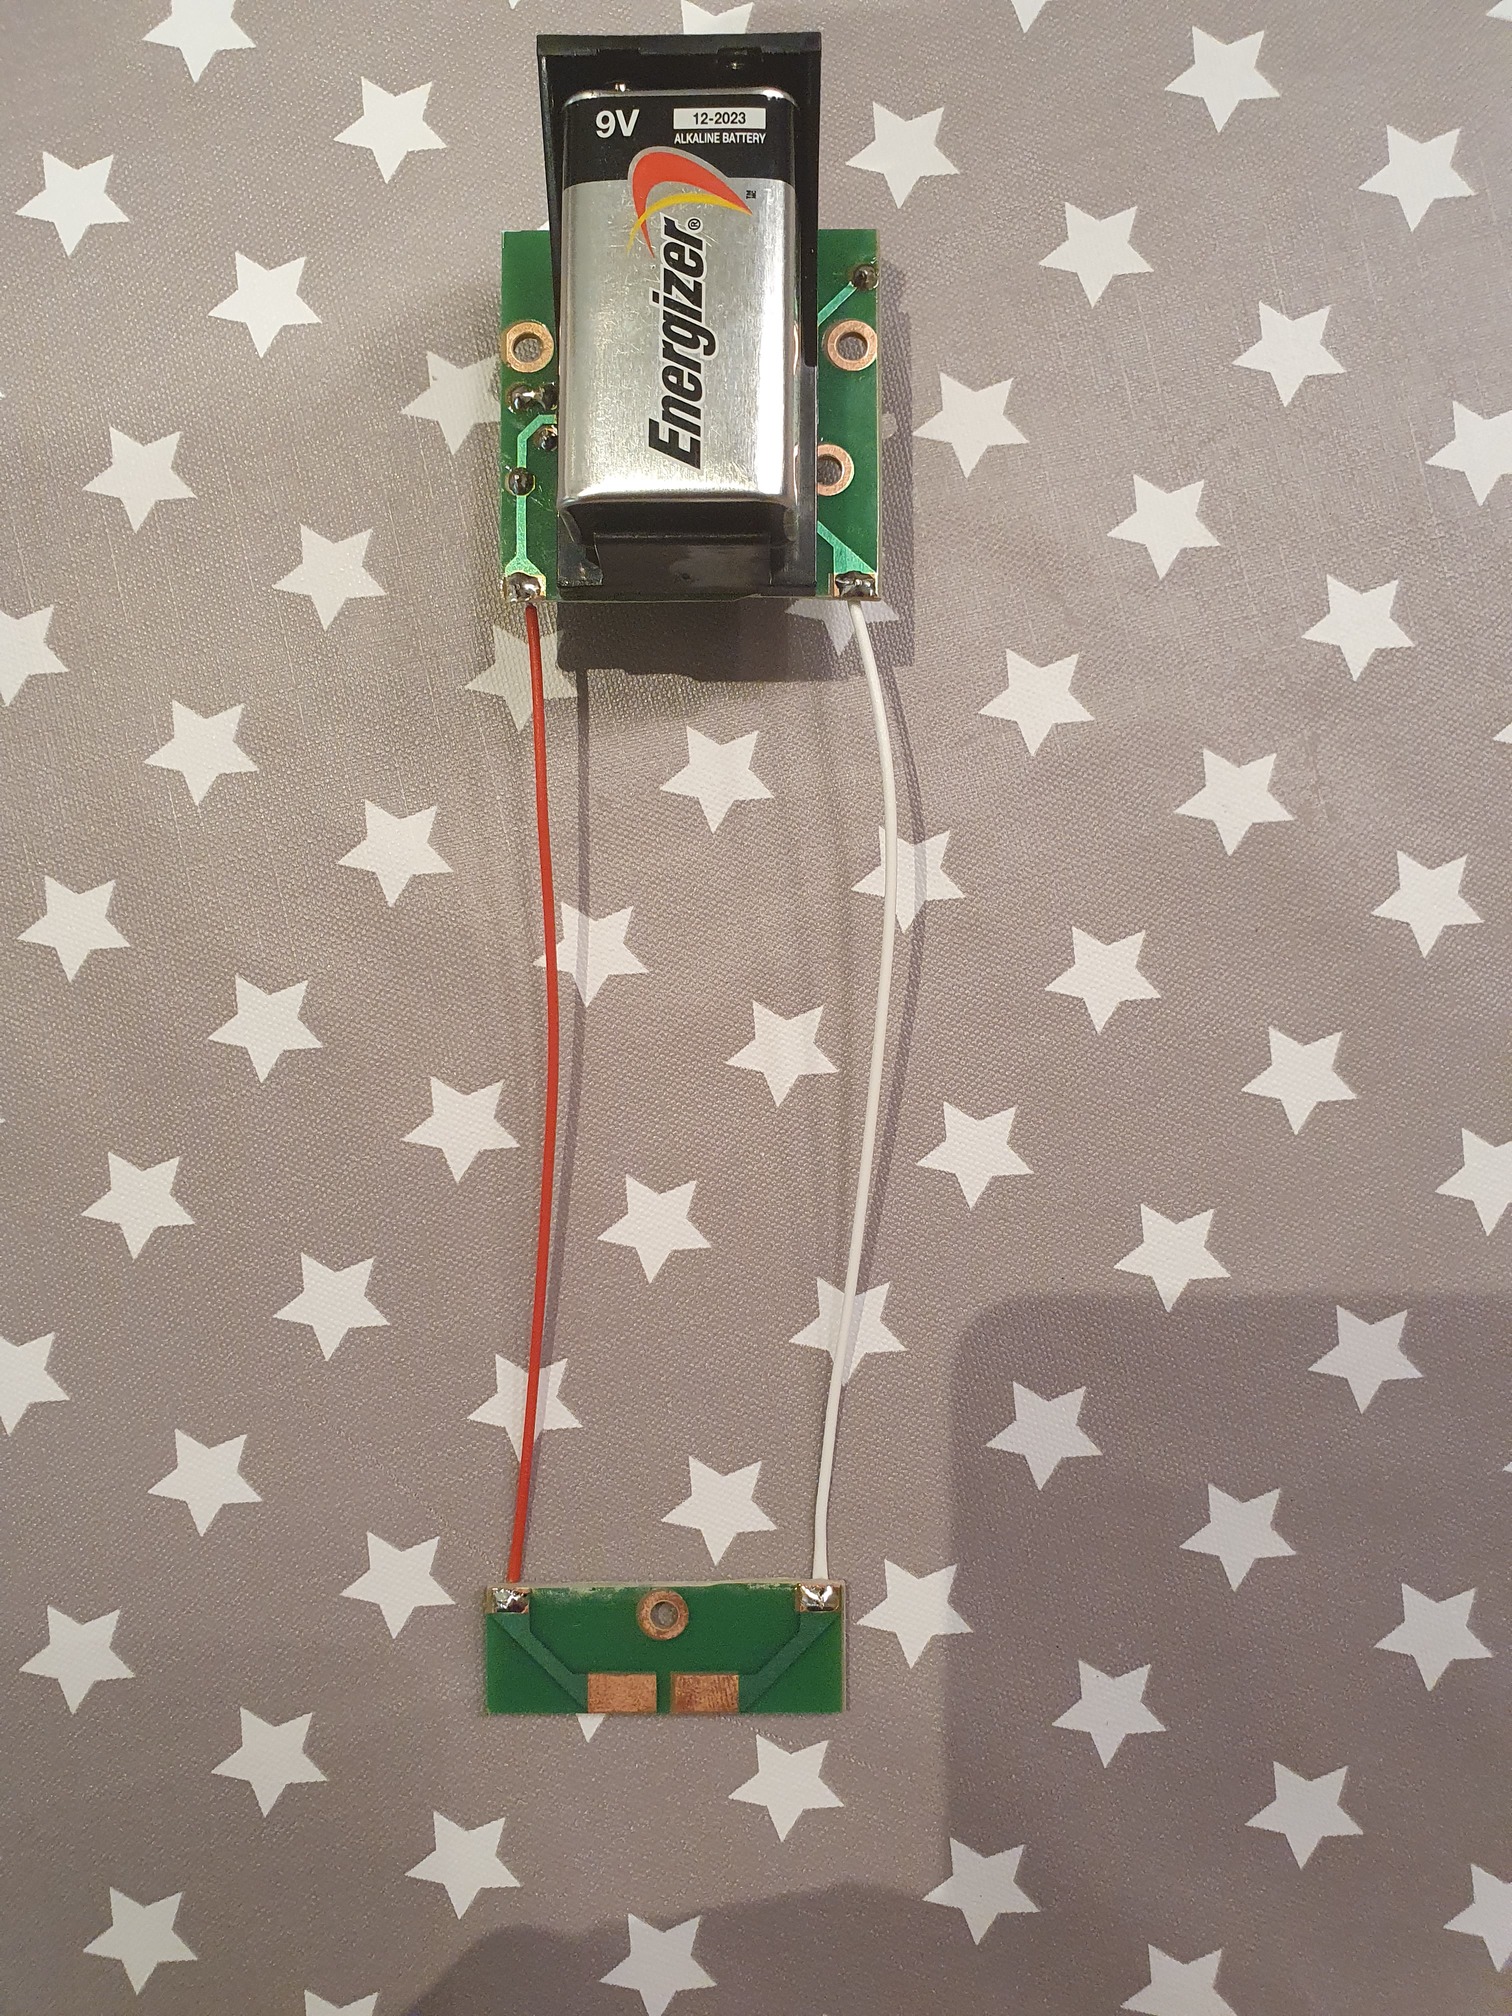
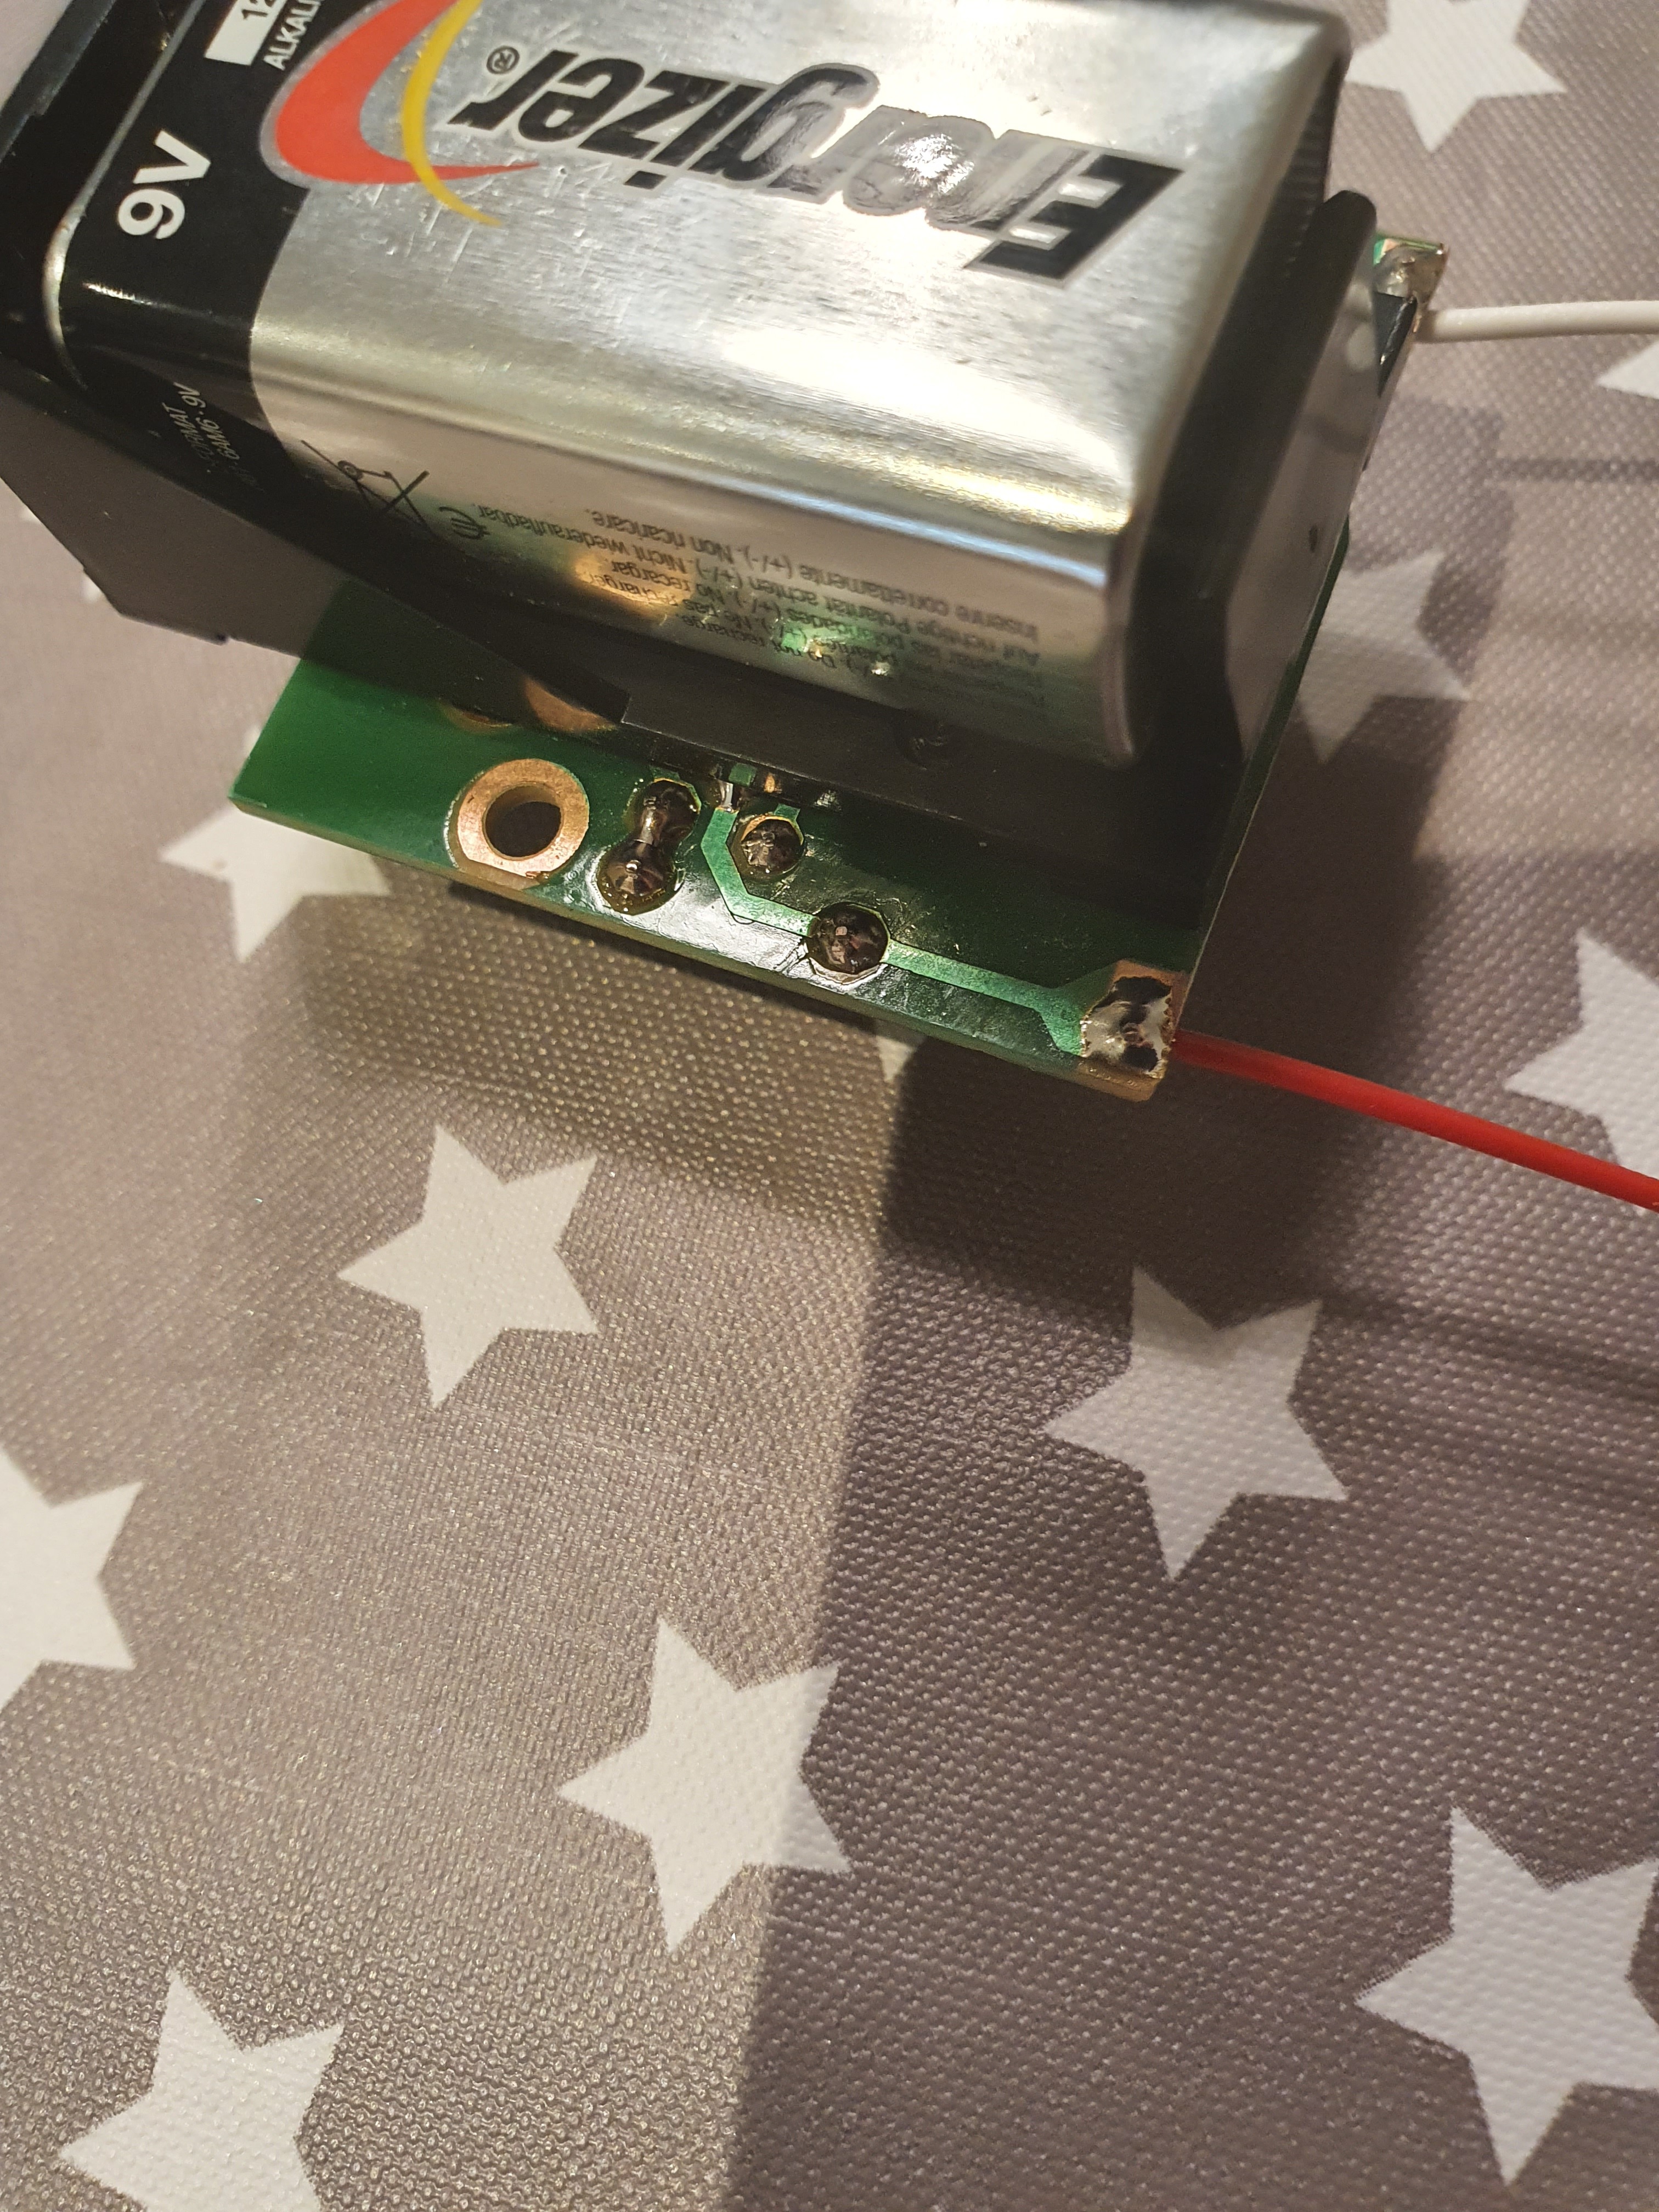
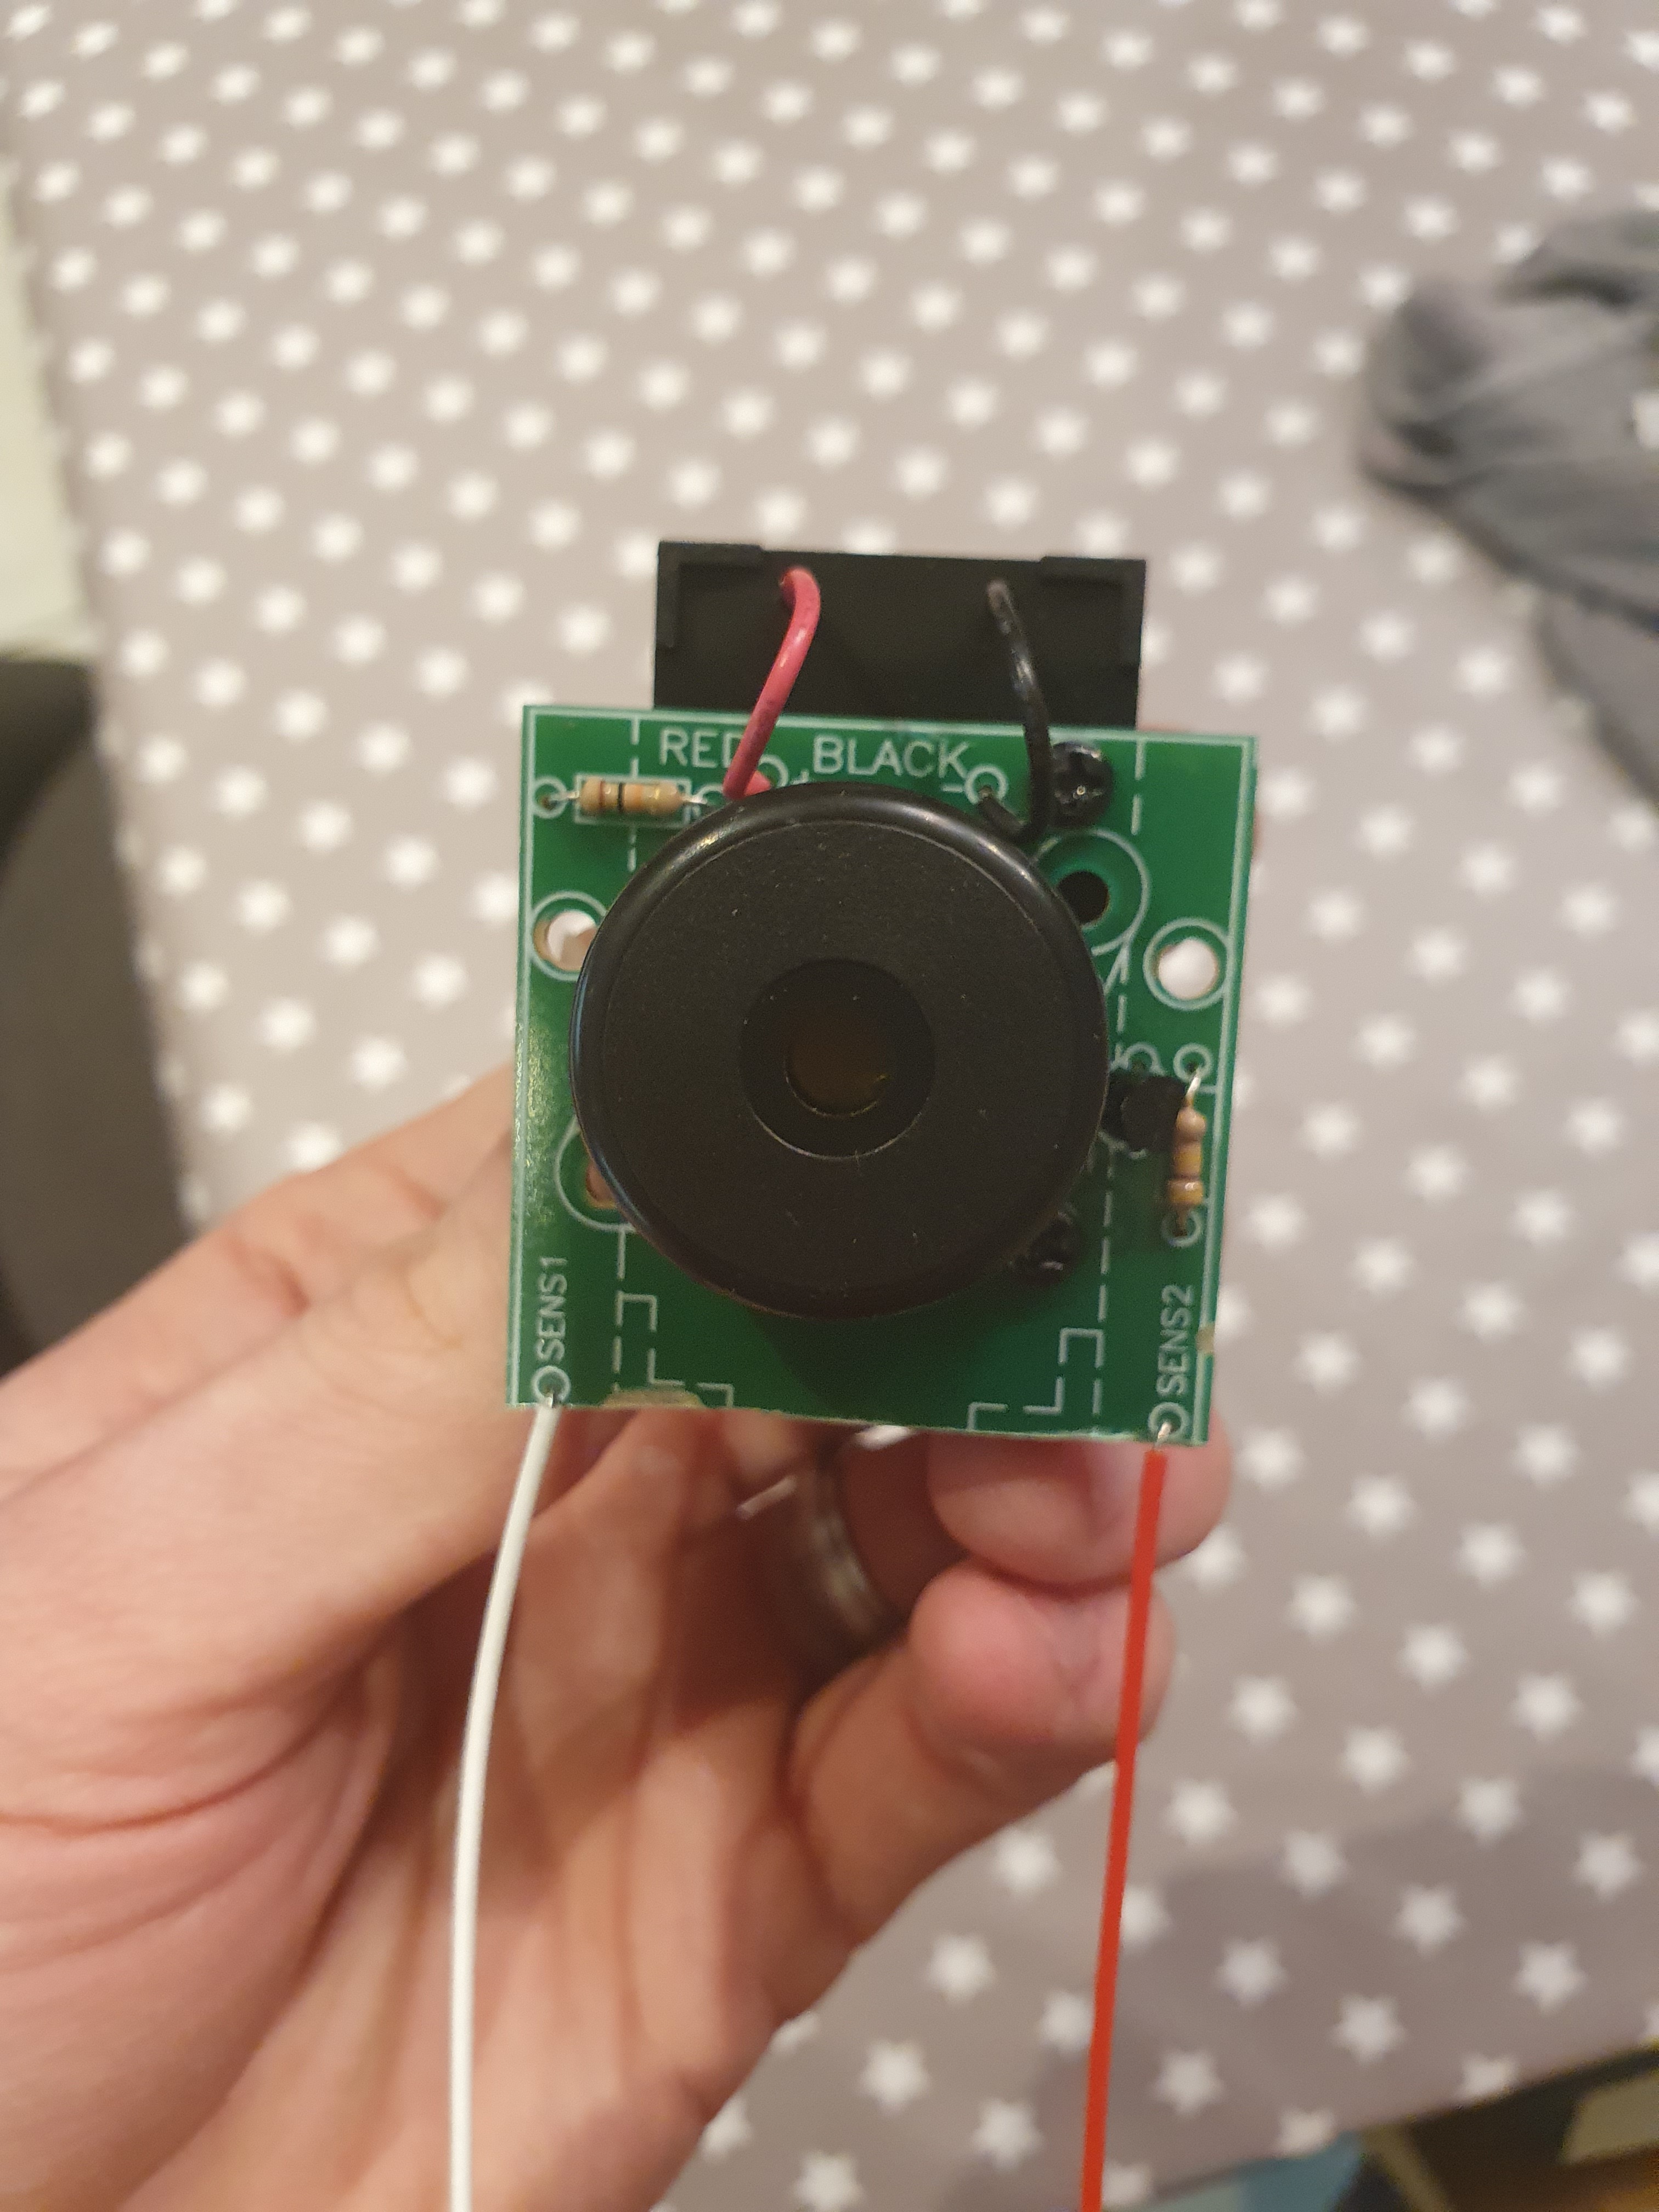
Its really easy to solder - even with a shaky hand. I use the Parkside Soldering Iorn - its an amazon link but I got it from Lidl a few years ago. Works like a charm on PCB but not so much for thinning cables etc.
1 Like
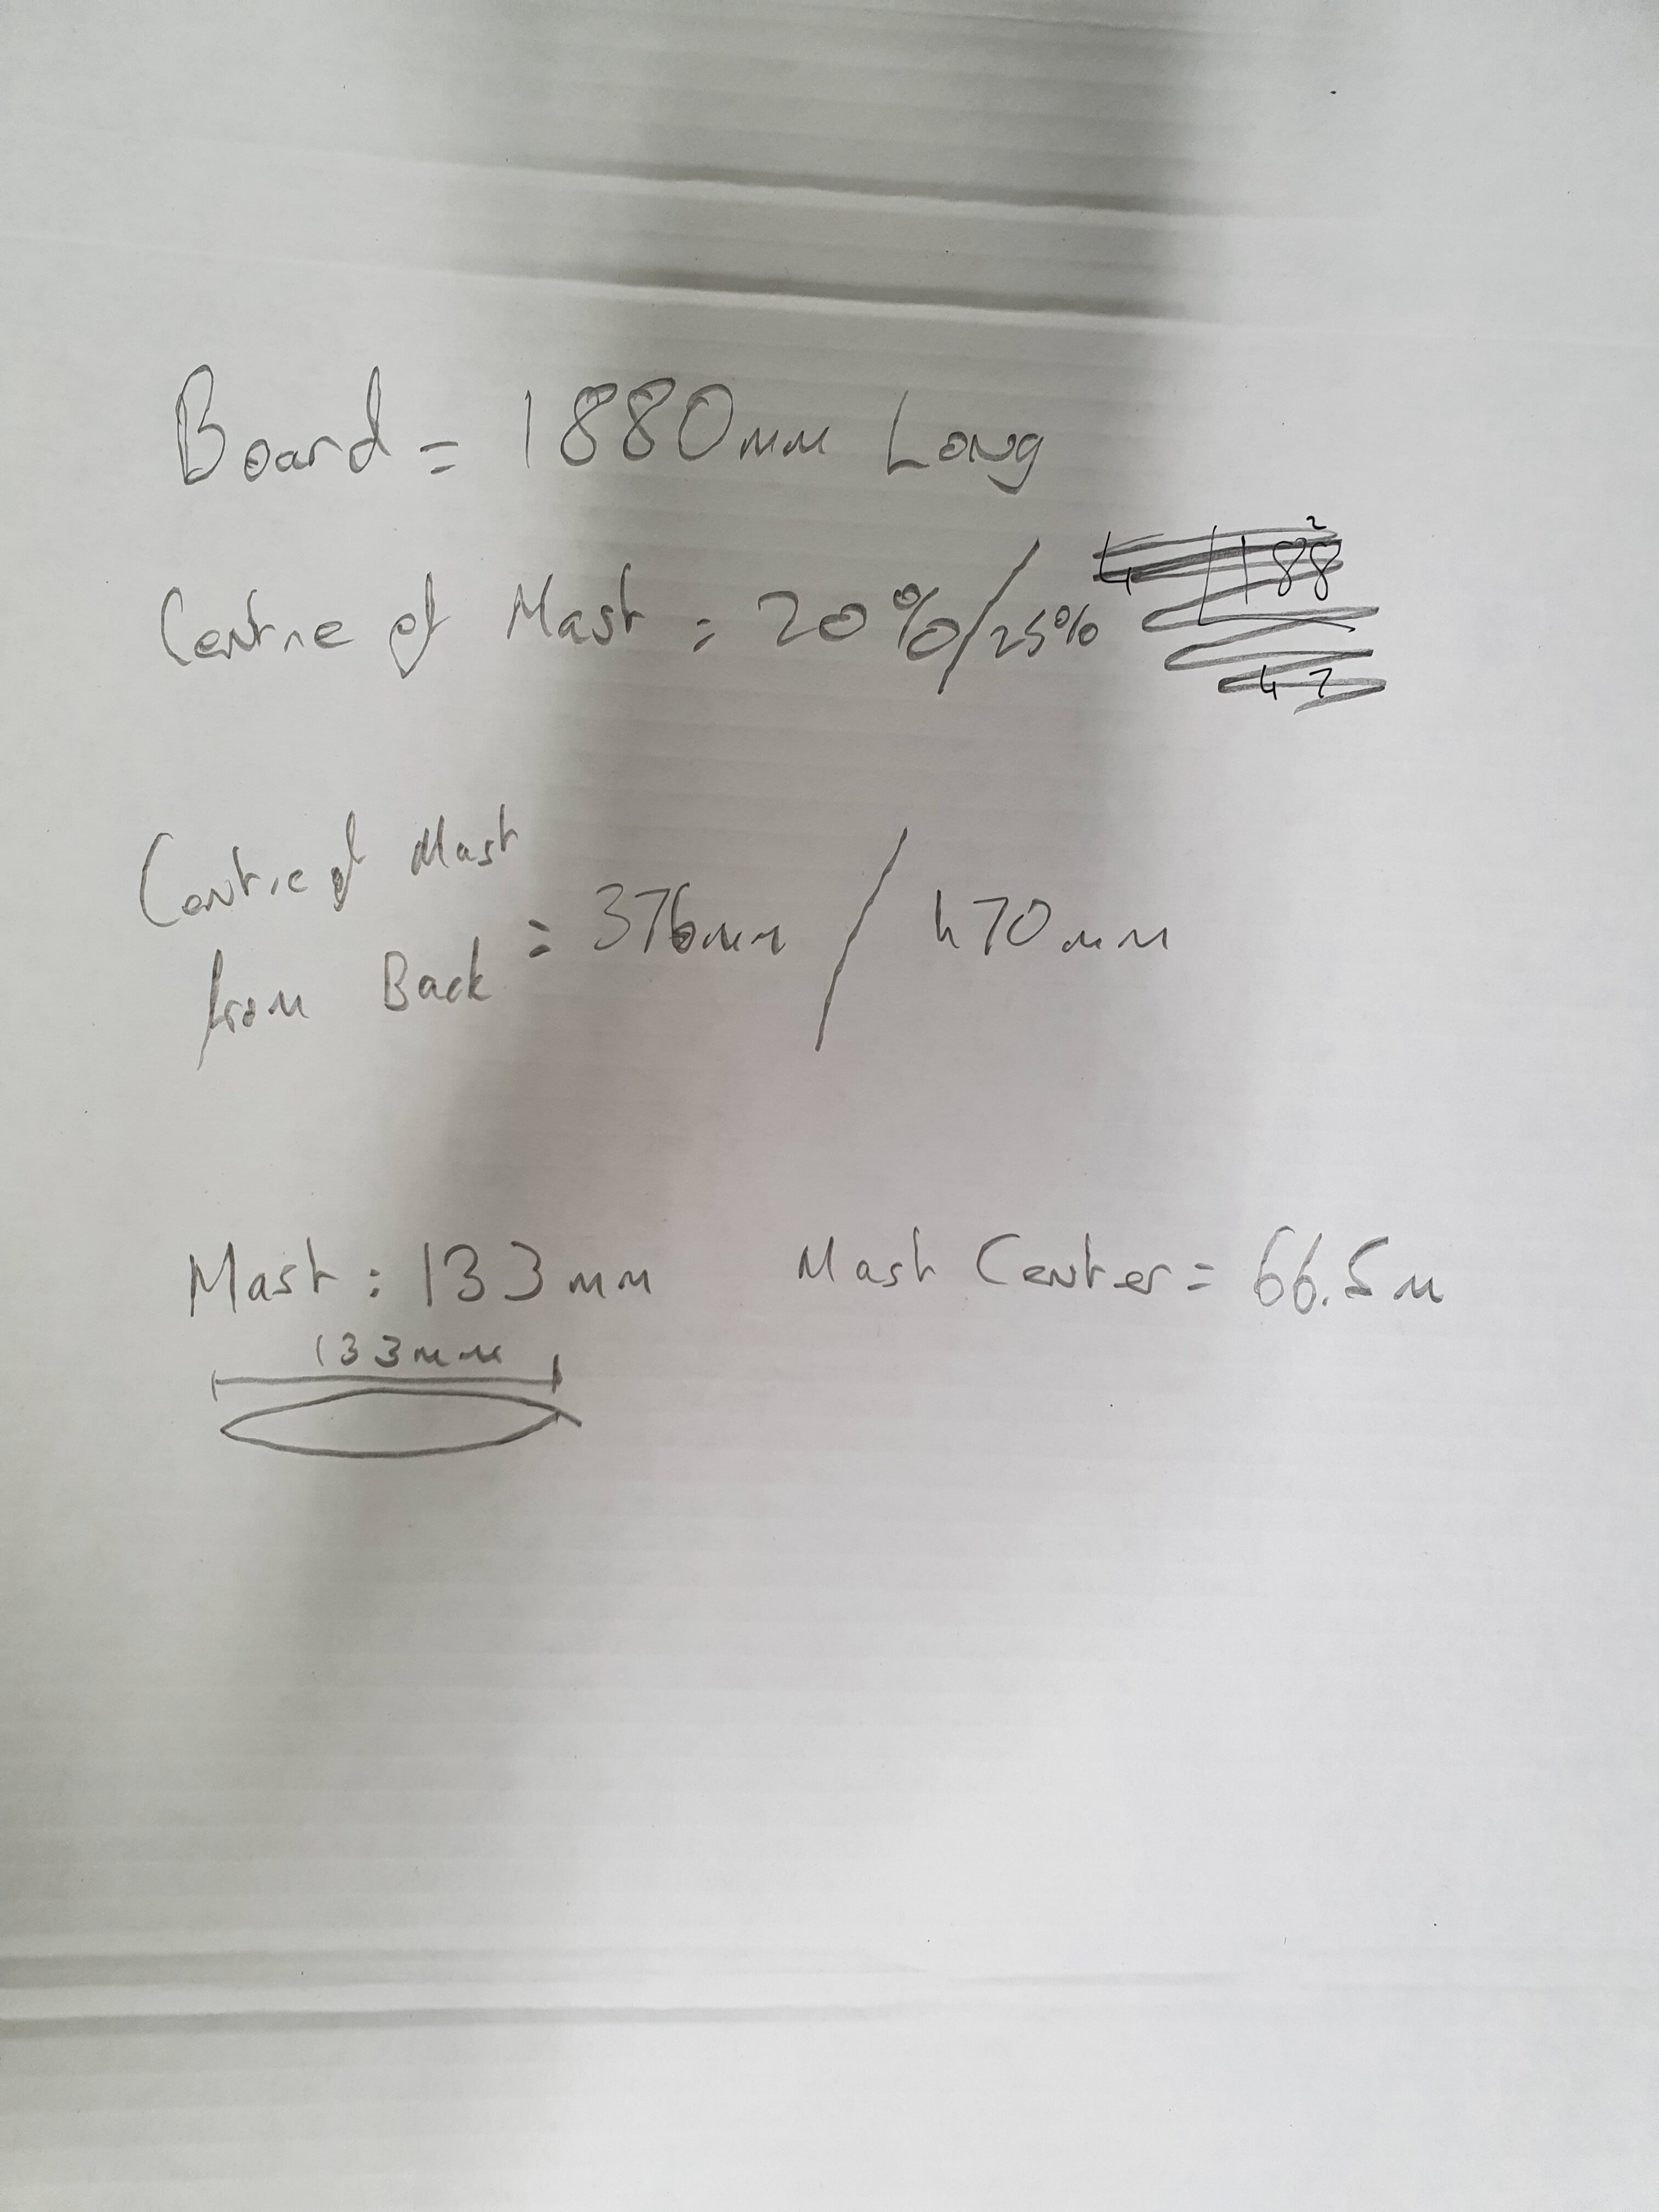
So finally got a few hours and had a go at the battery and the mast. Im strugging to pick the mast position. I think it looks right at 20% - 25% means the rear foil will be under the board. From the ones ive seen ut should be behind. Is this correct?
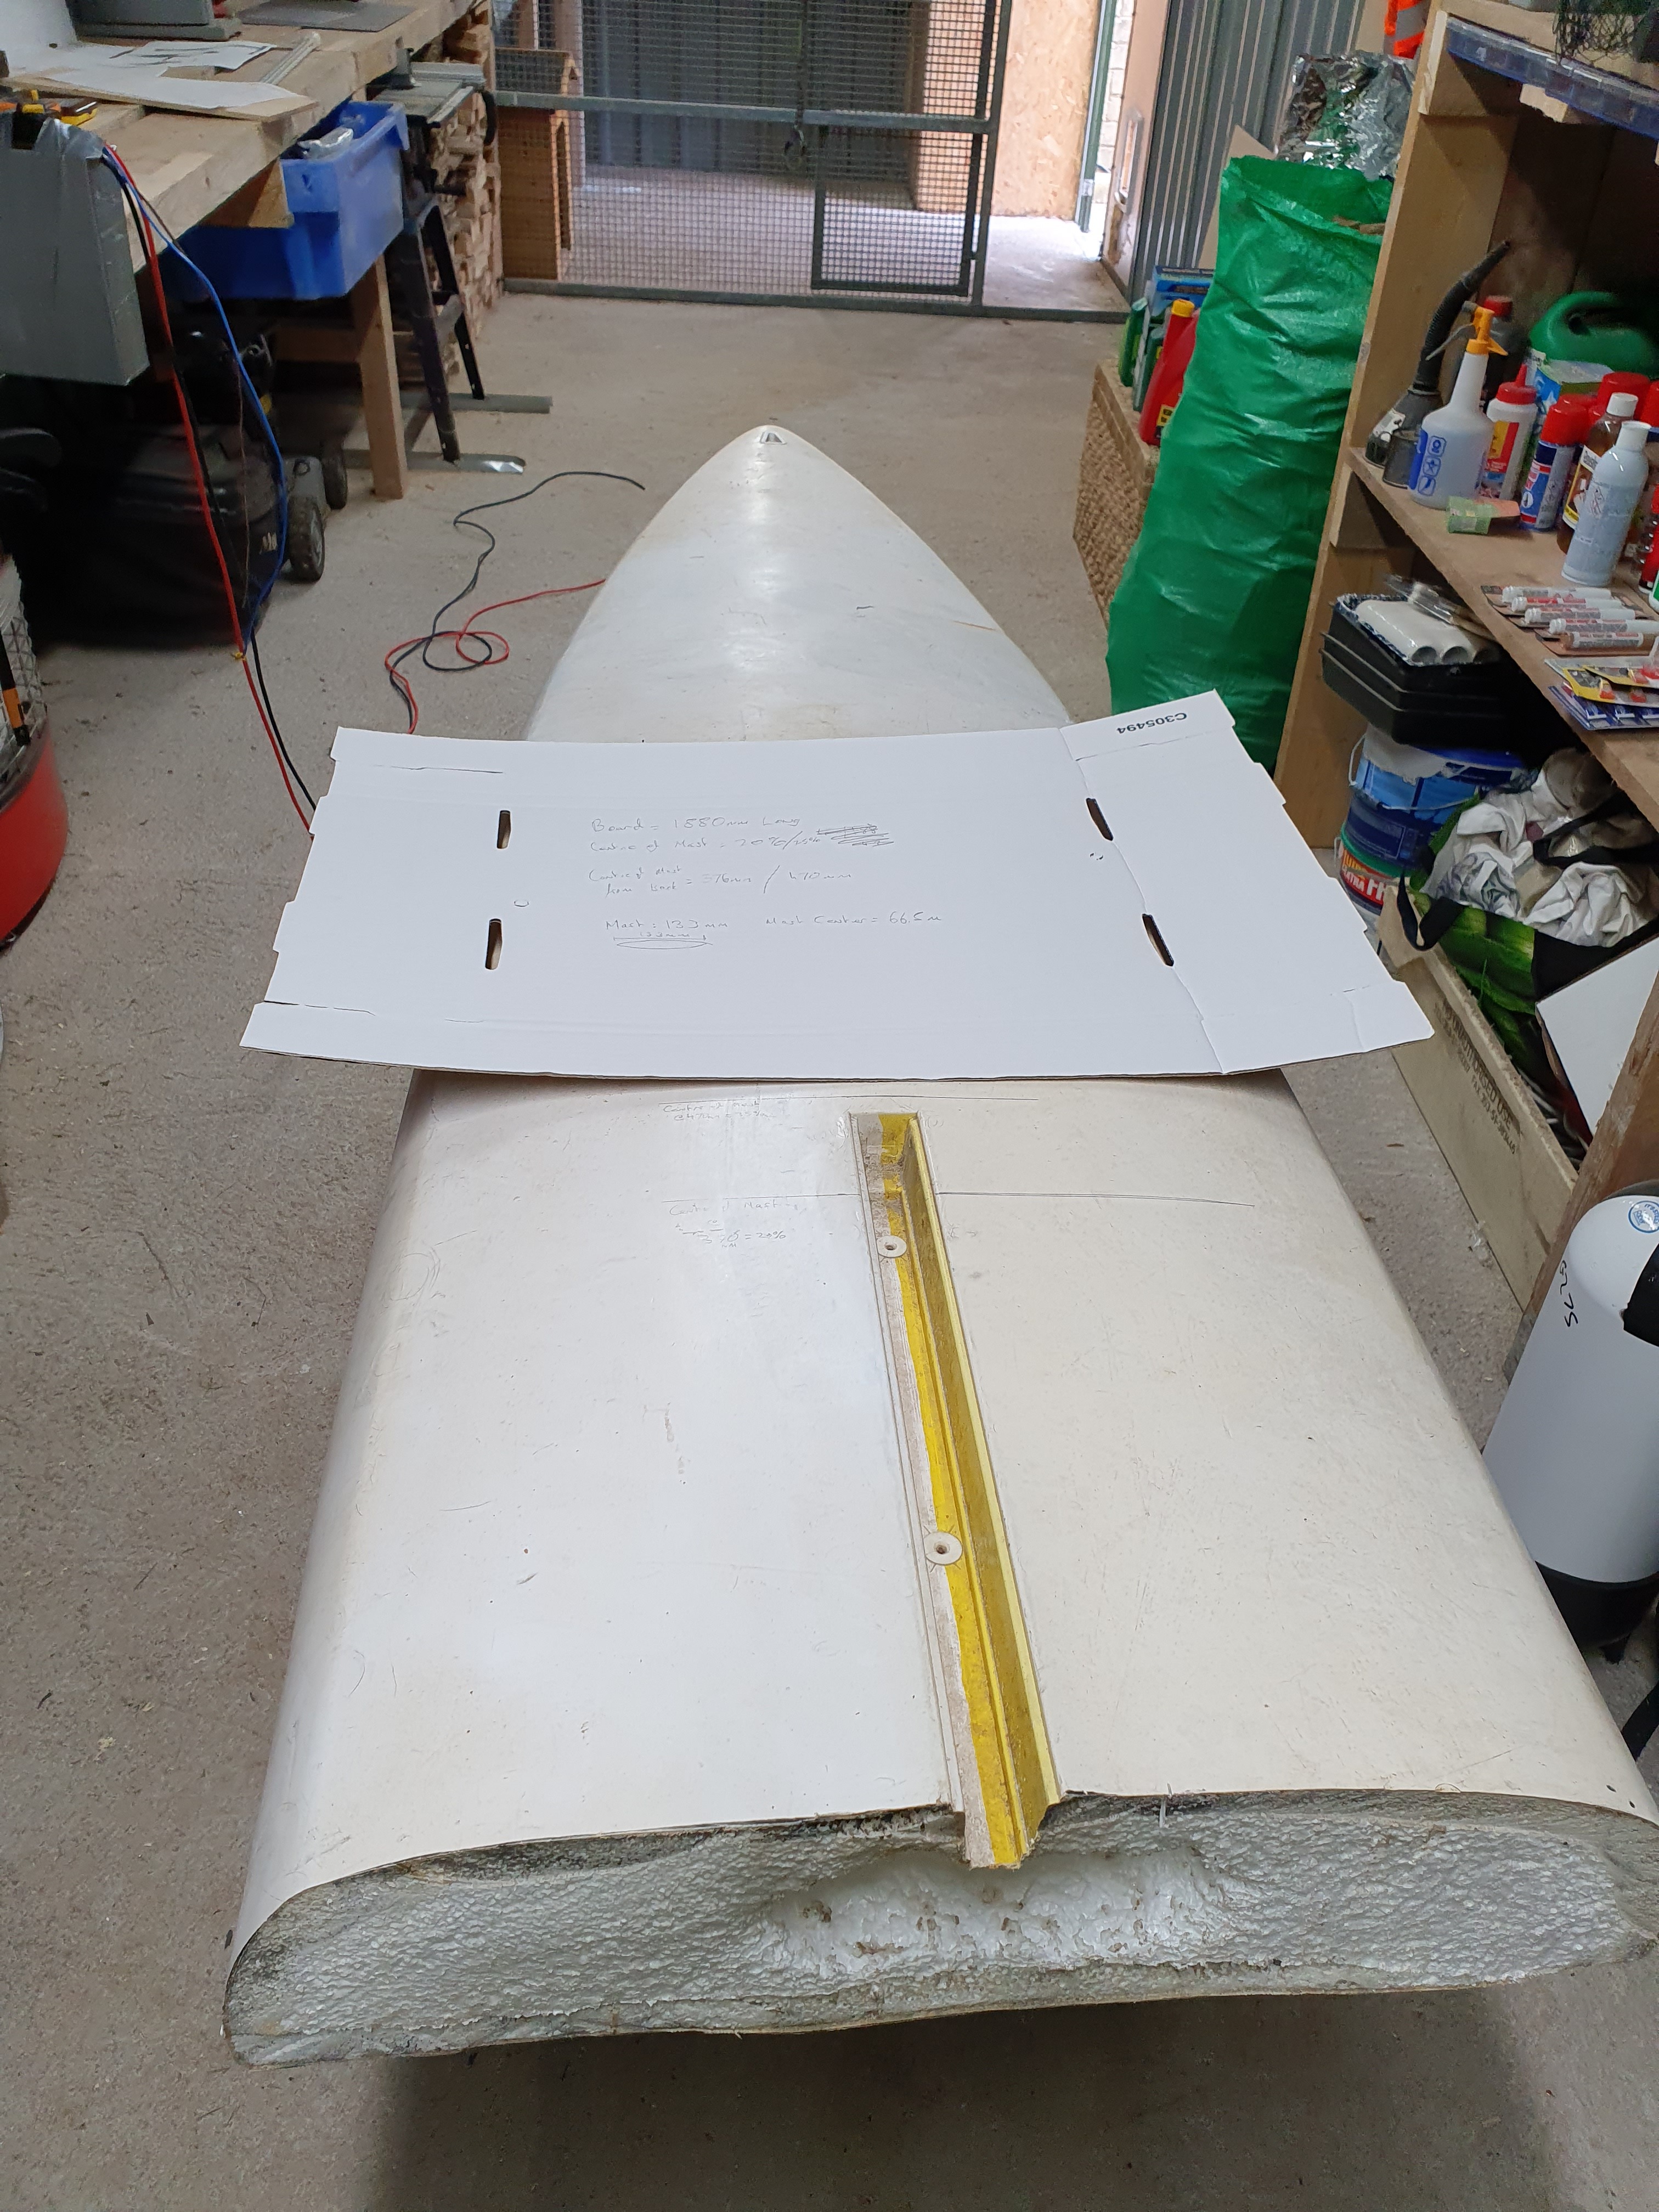

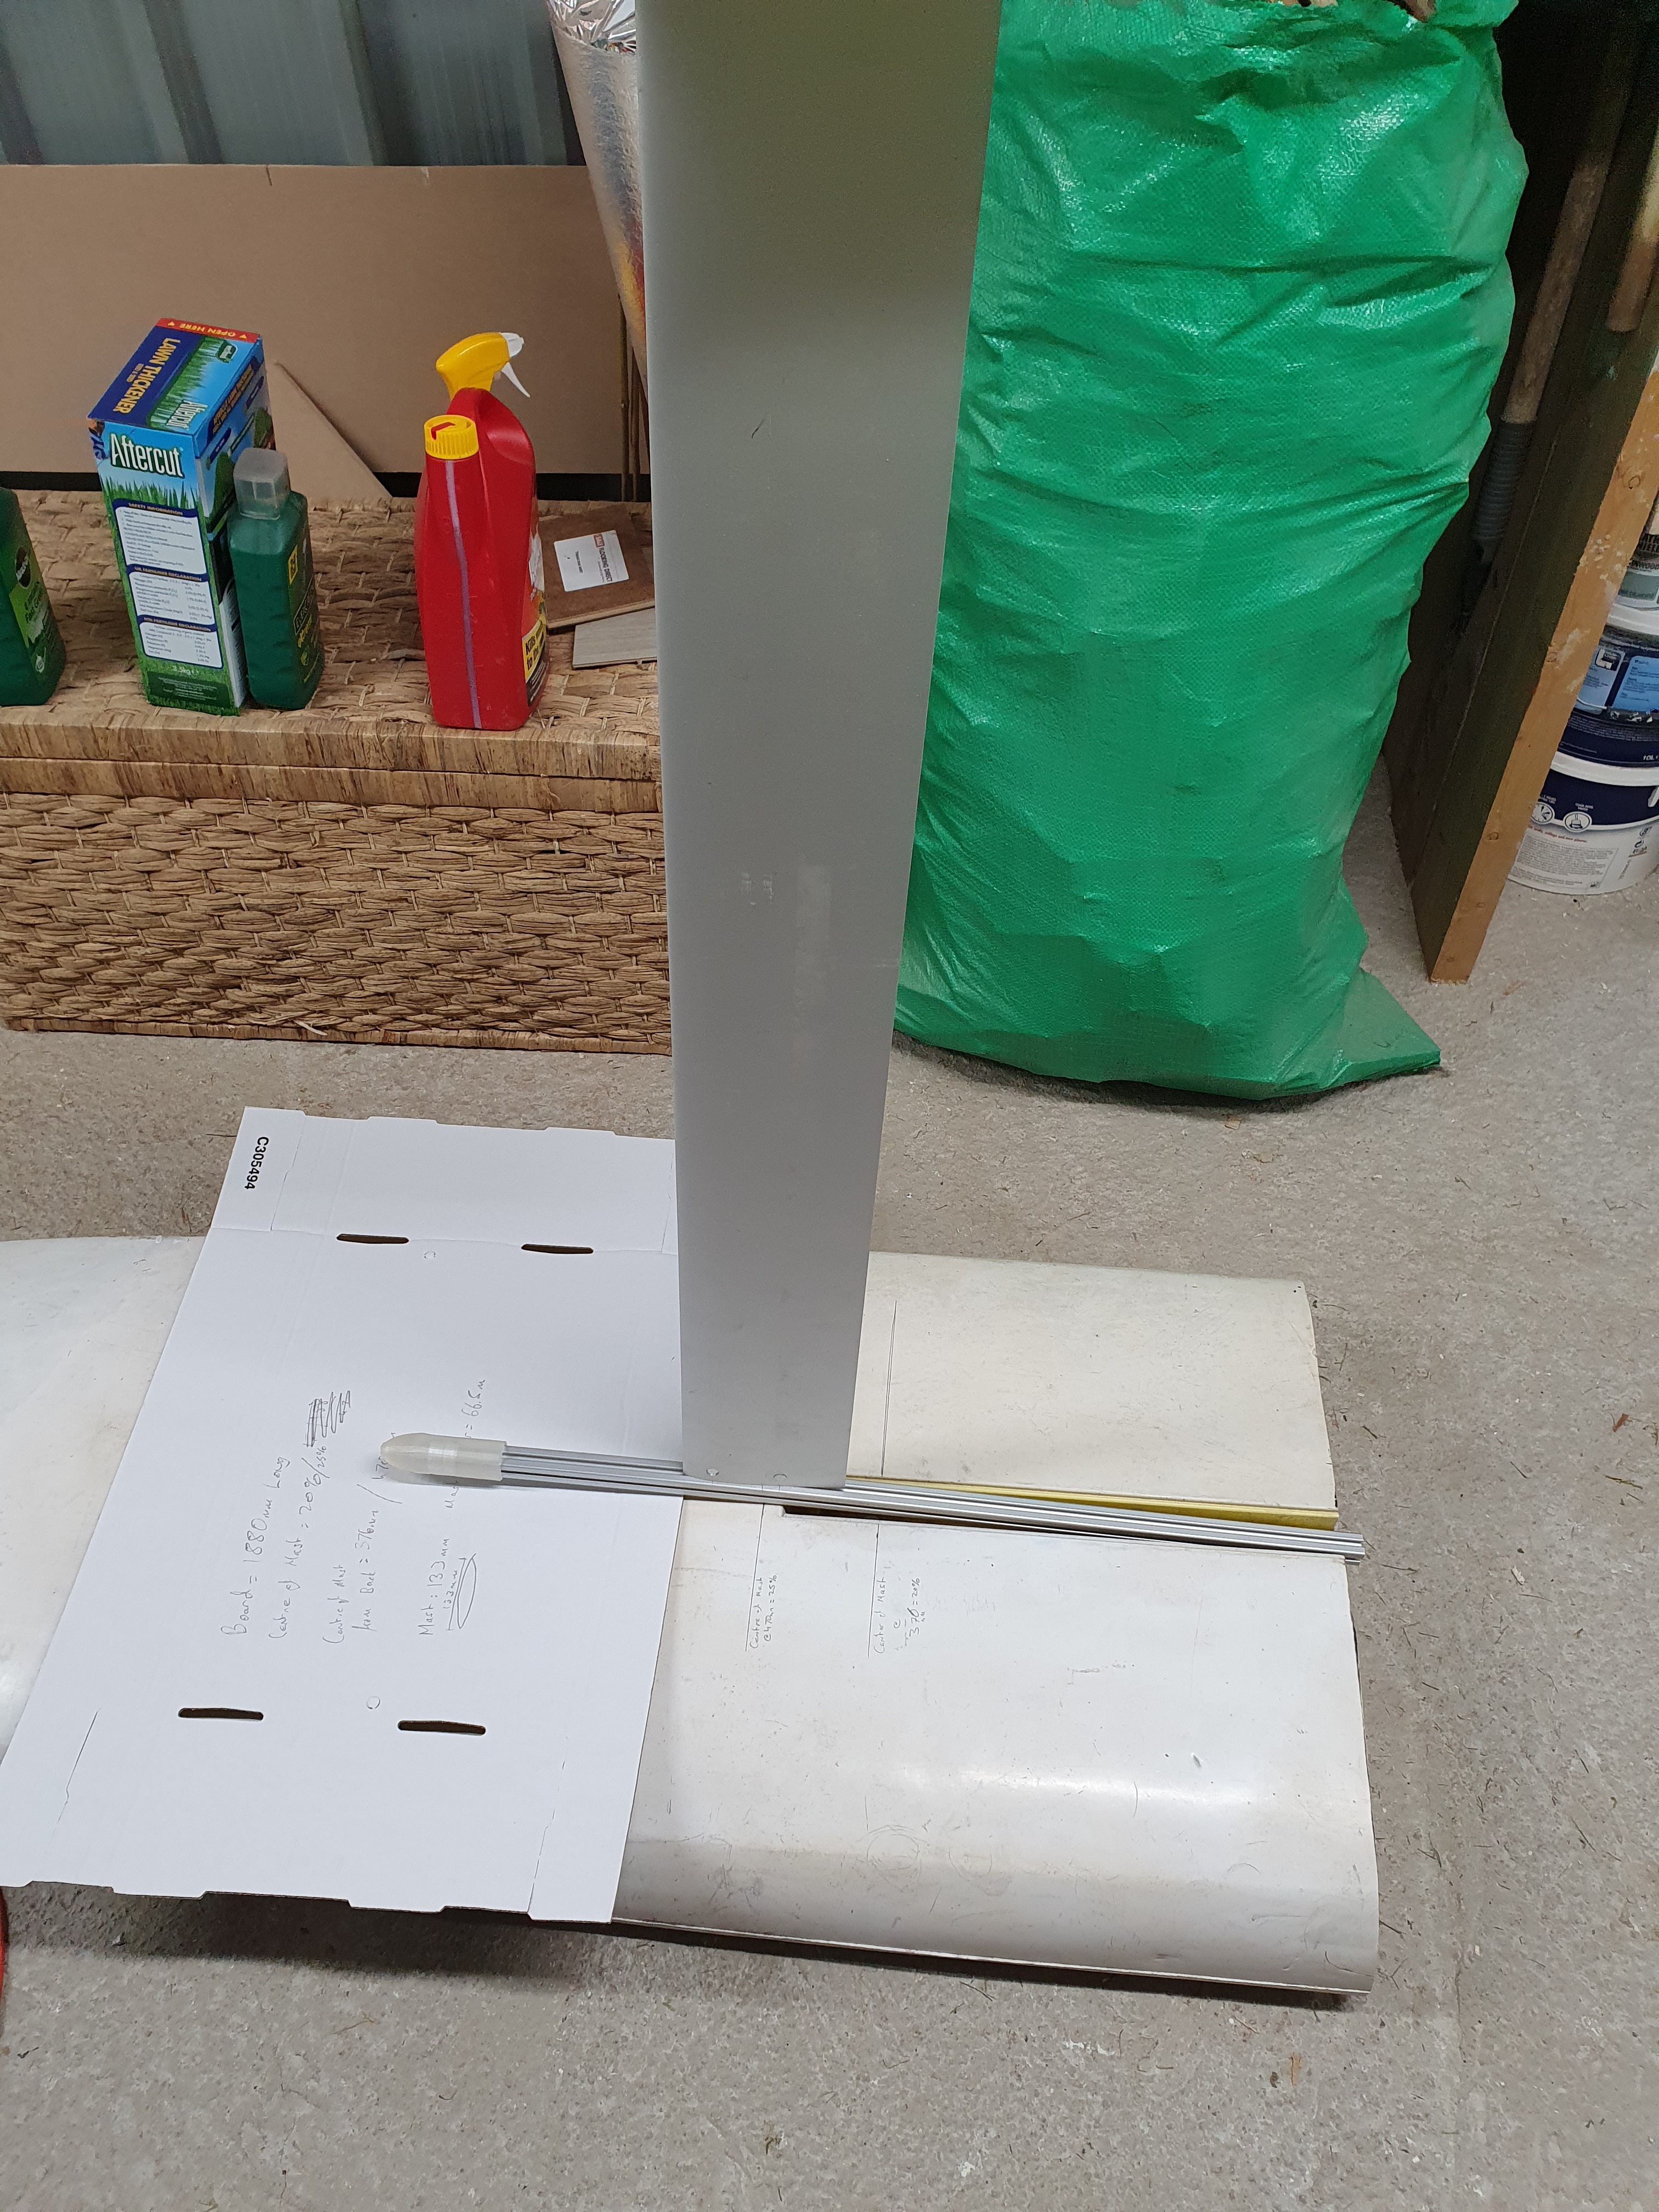
It looks too far forward! Keep in mind that your back foot will be on top or a bit in front of the mast therefore you want the mast to be closer to the end of the board! Do you have a picture of the whole board with the mast positioned?
Your back foot pretty much sits over the main wing. Ideally I have the back of the mast 20cm from the back of the board.