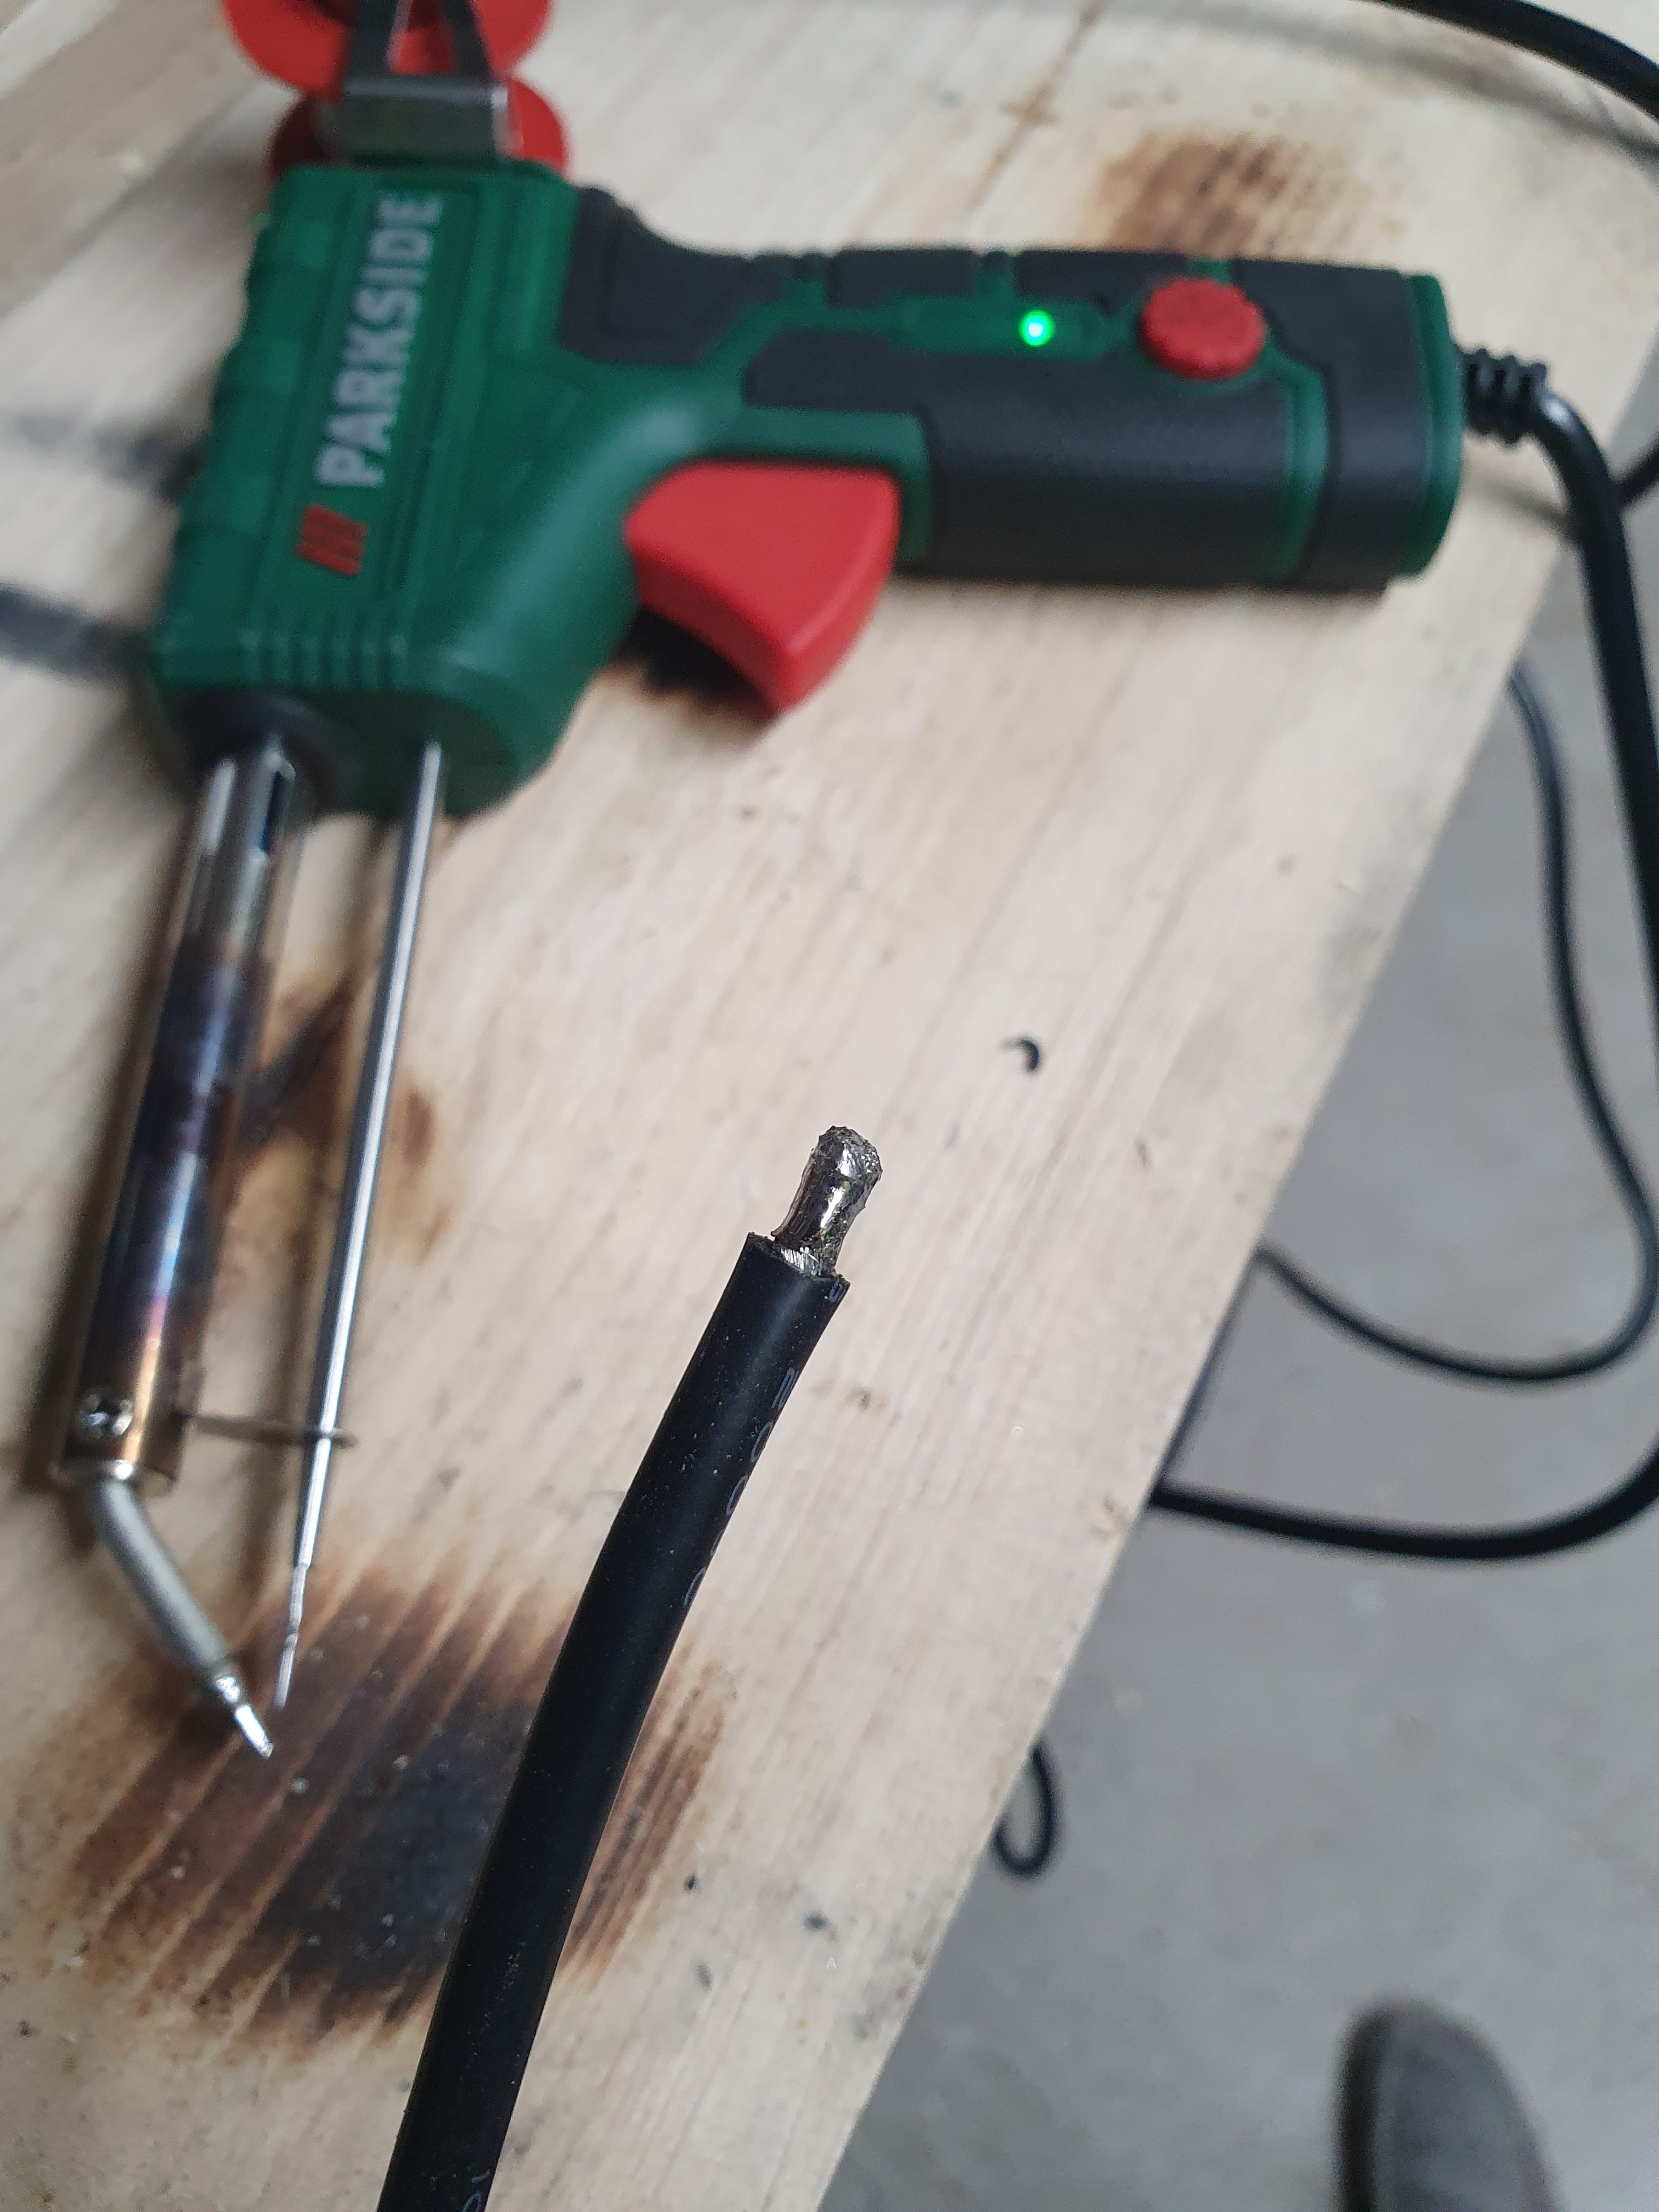
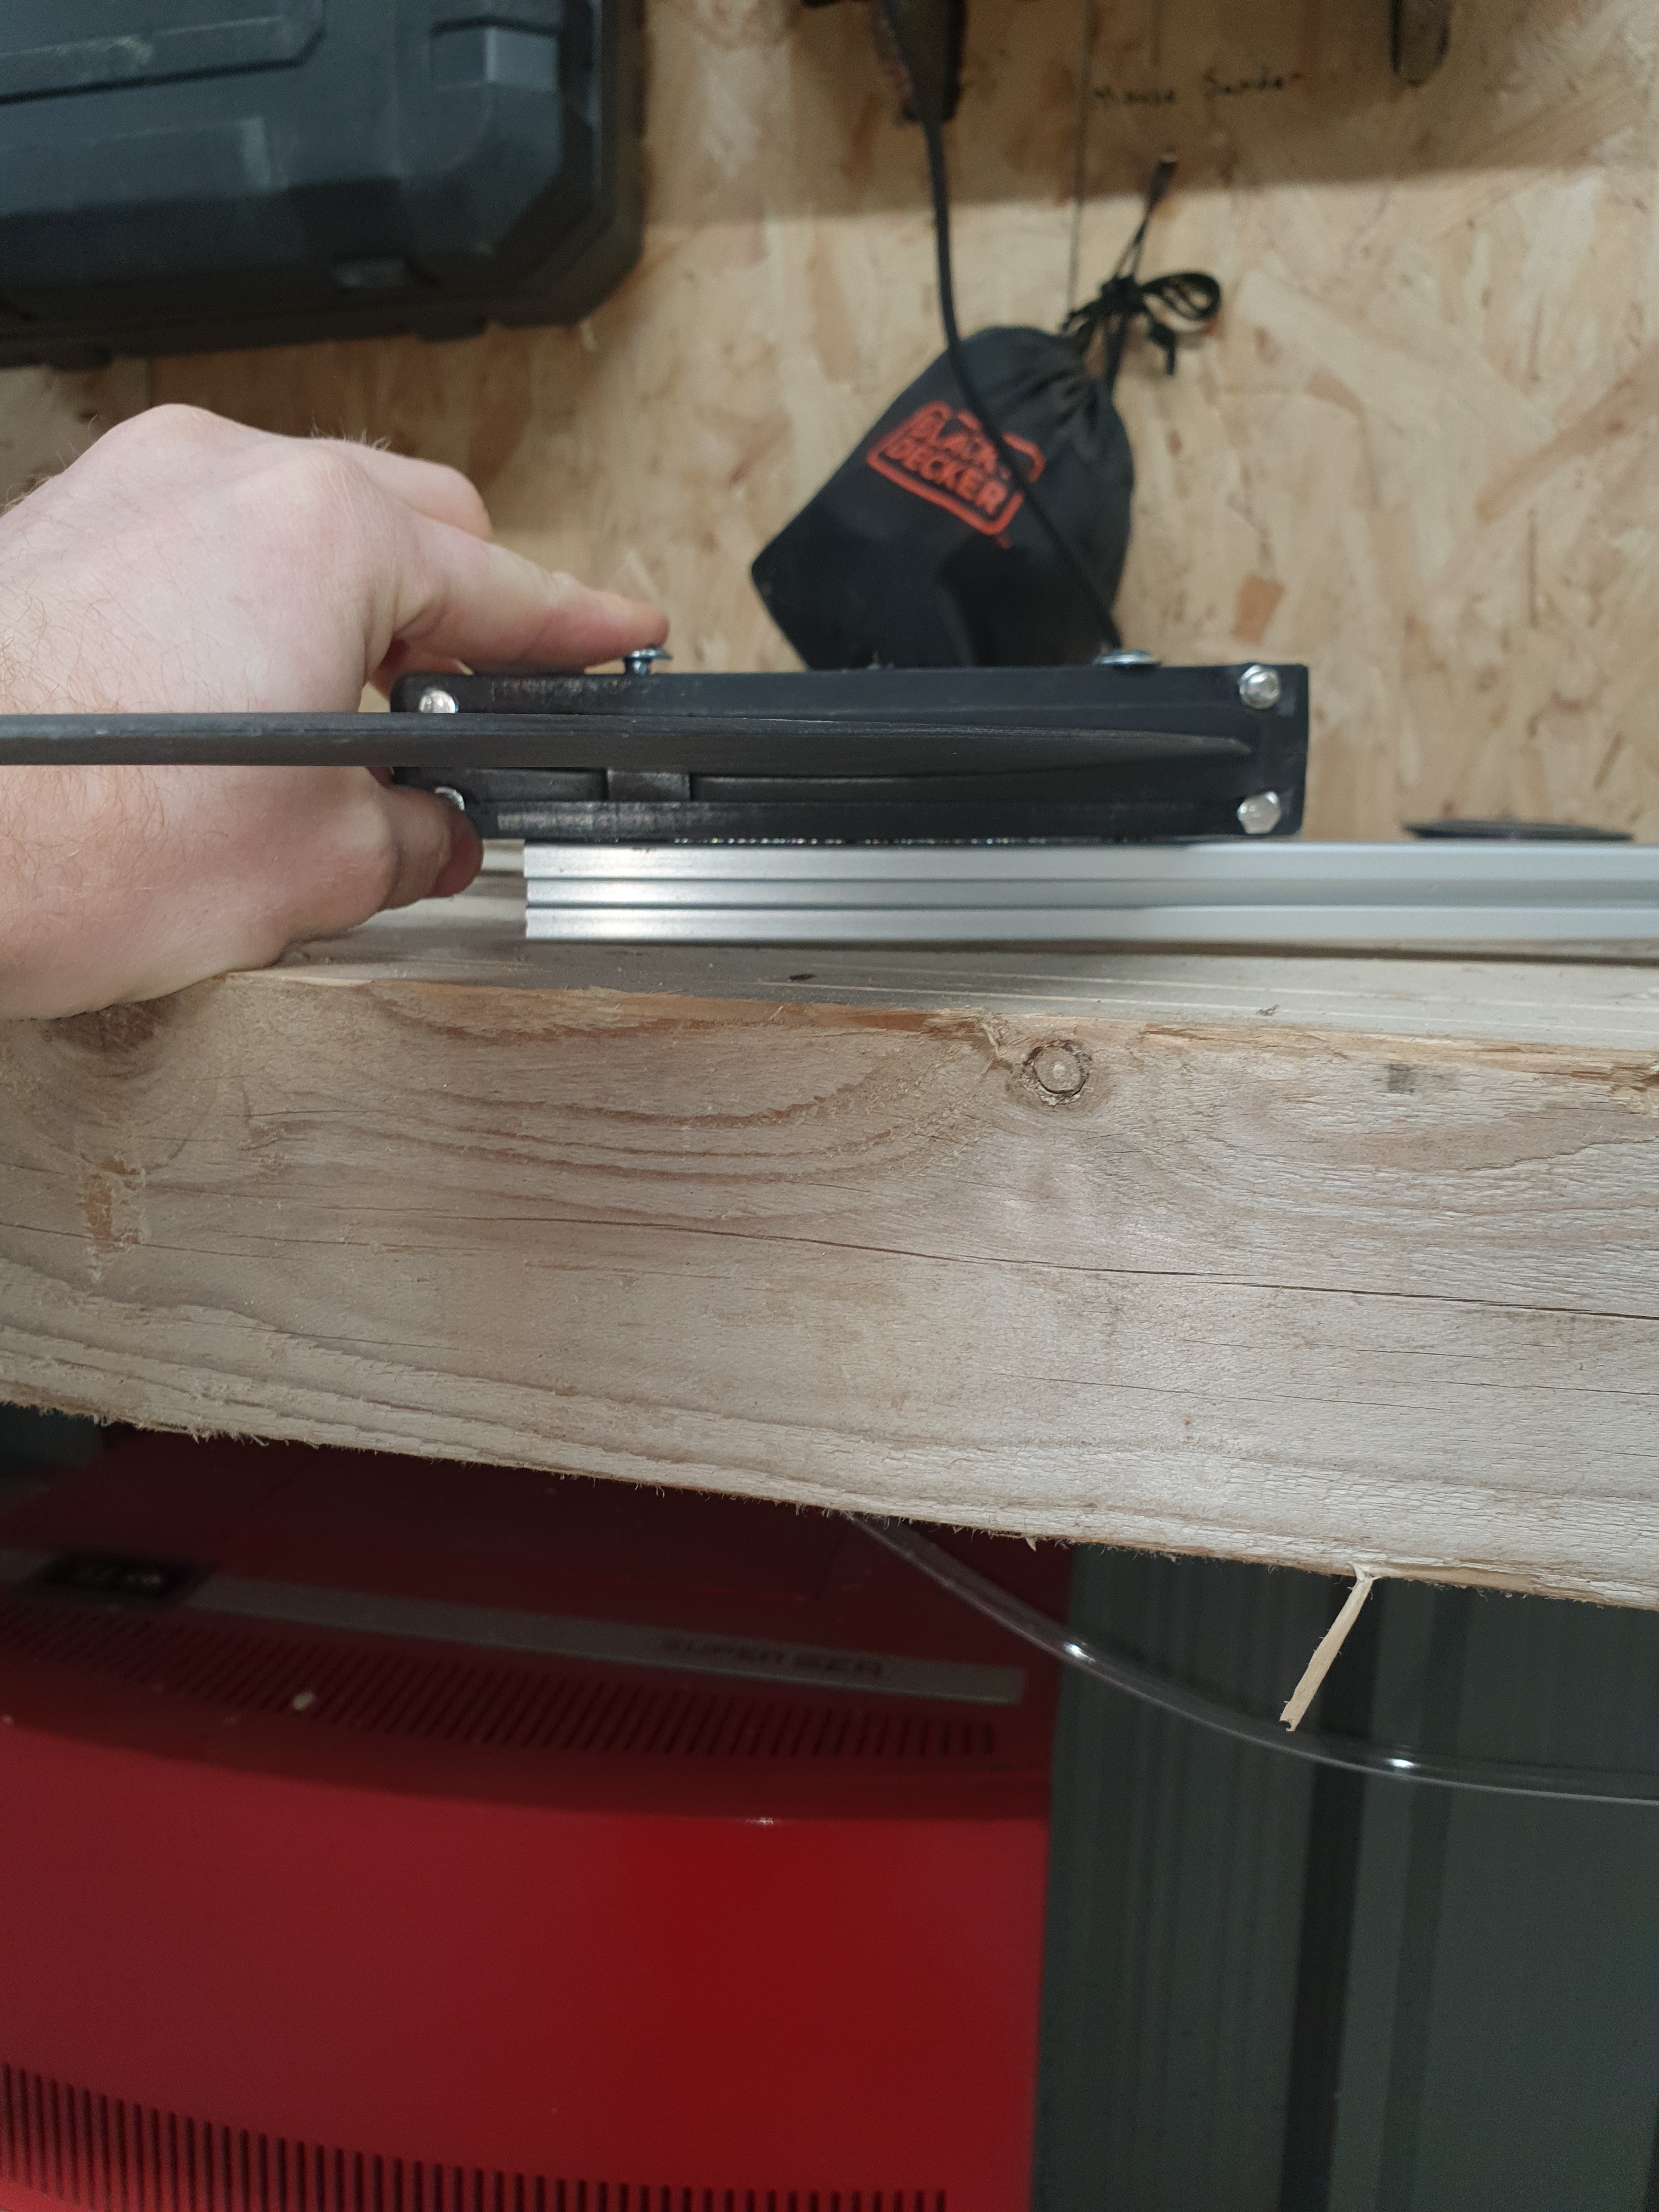
I use either my 90W gas iron or my 175W iron. But I also dip the cables in liquid flux which I find makes a huge difference.
Watch some online videos on soldering thick cables.
Ya Ive the flux coming on Friday. Sounds like a triall and error job for the weekend 
I have 100w Iron which is more than sufficient. You Need to deliver much Heat in short time. I also needed some trial and error, especially for xt90 or qs8 plugs. Male side plugs can easily melt out of the package if the thermal stress is going for longer duration.
I also recommend additional flux
Thats why I always suggest plugging in a female so that they cant go out of shape.
Lovely idea, next time I guess 
So…it turns out Im very impatient and couldnt wait for the flux or the weekend so with the cheap Lidl 60W Parkside soldering gun I was able to solder 10AWG cable after some triall and error. The trick? Heat the end of the cable with a heat gun first so its nice and hot. Then apply solder away happy out!
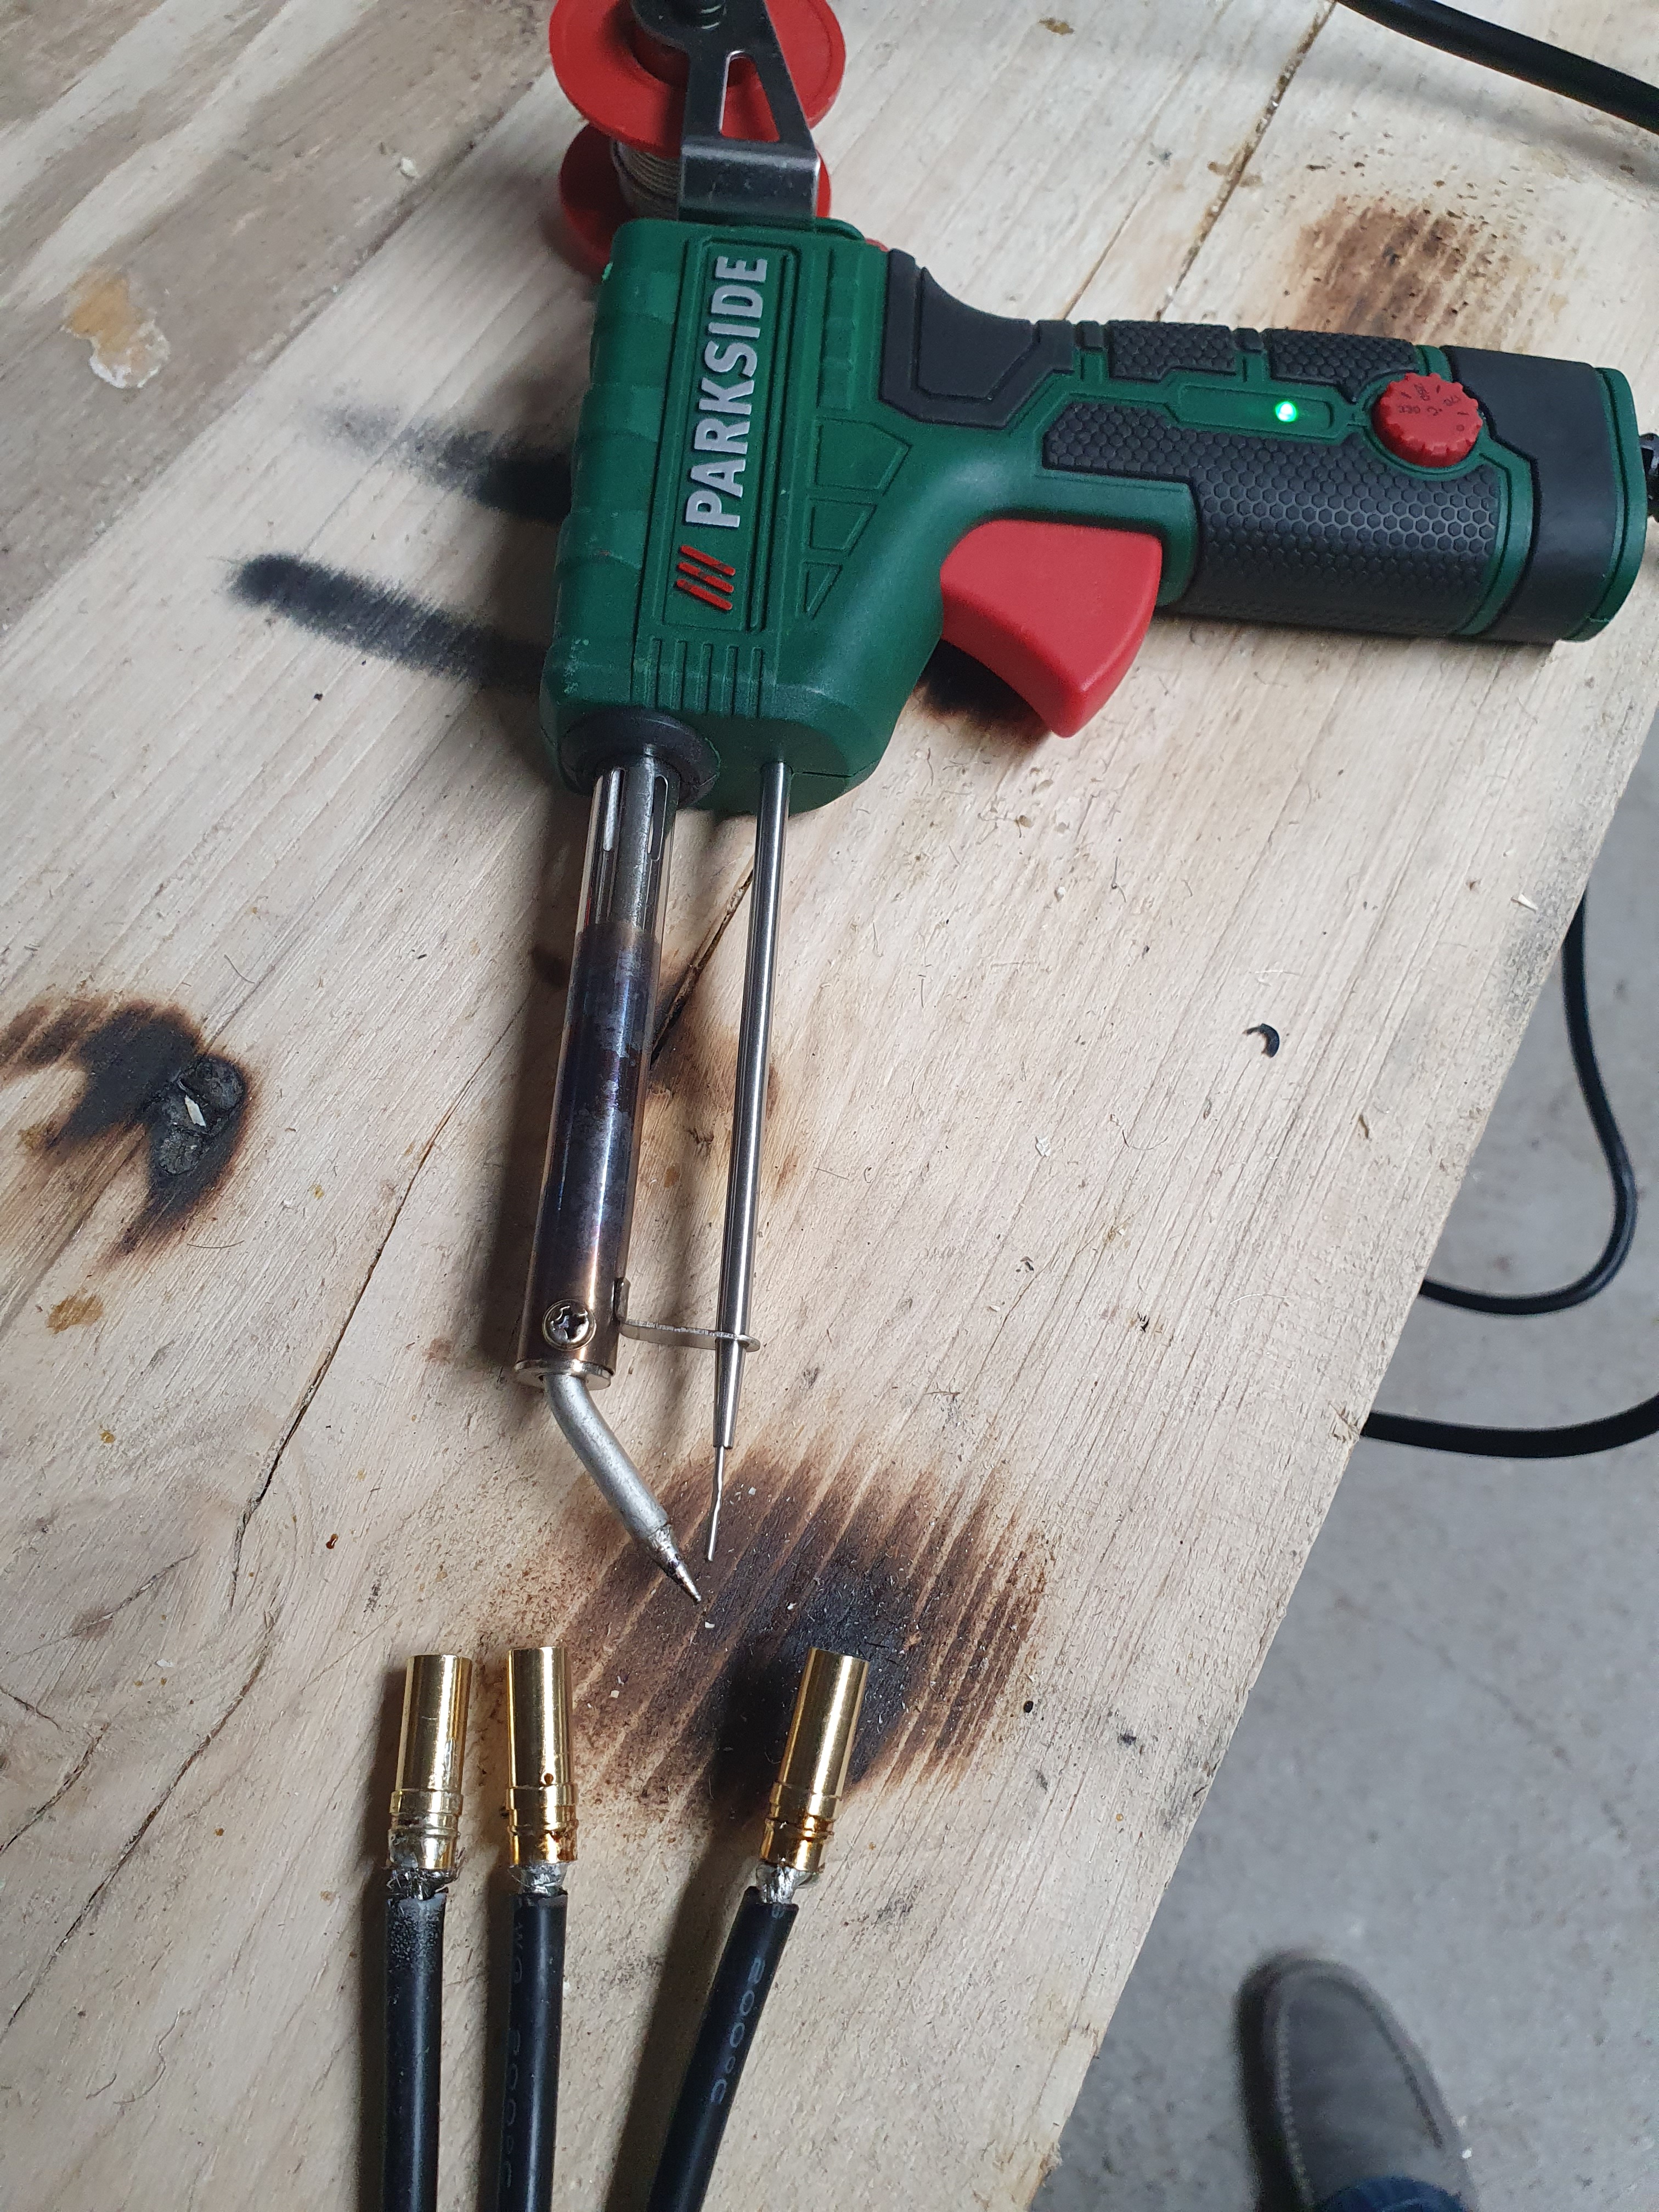
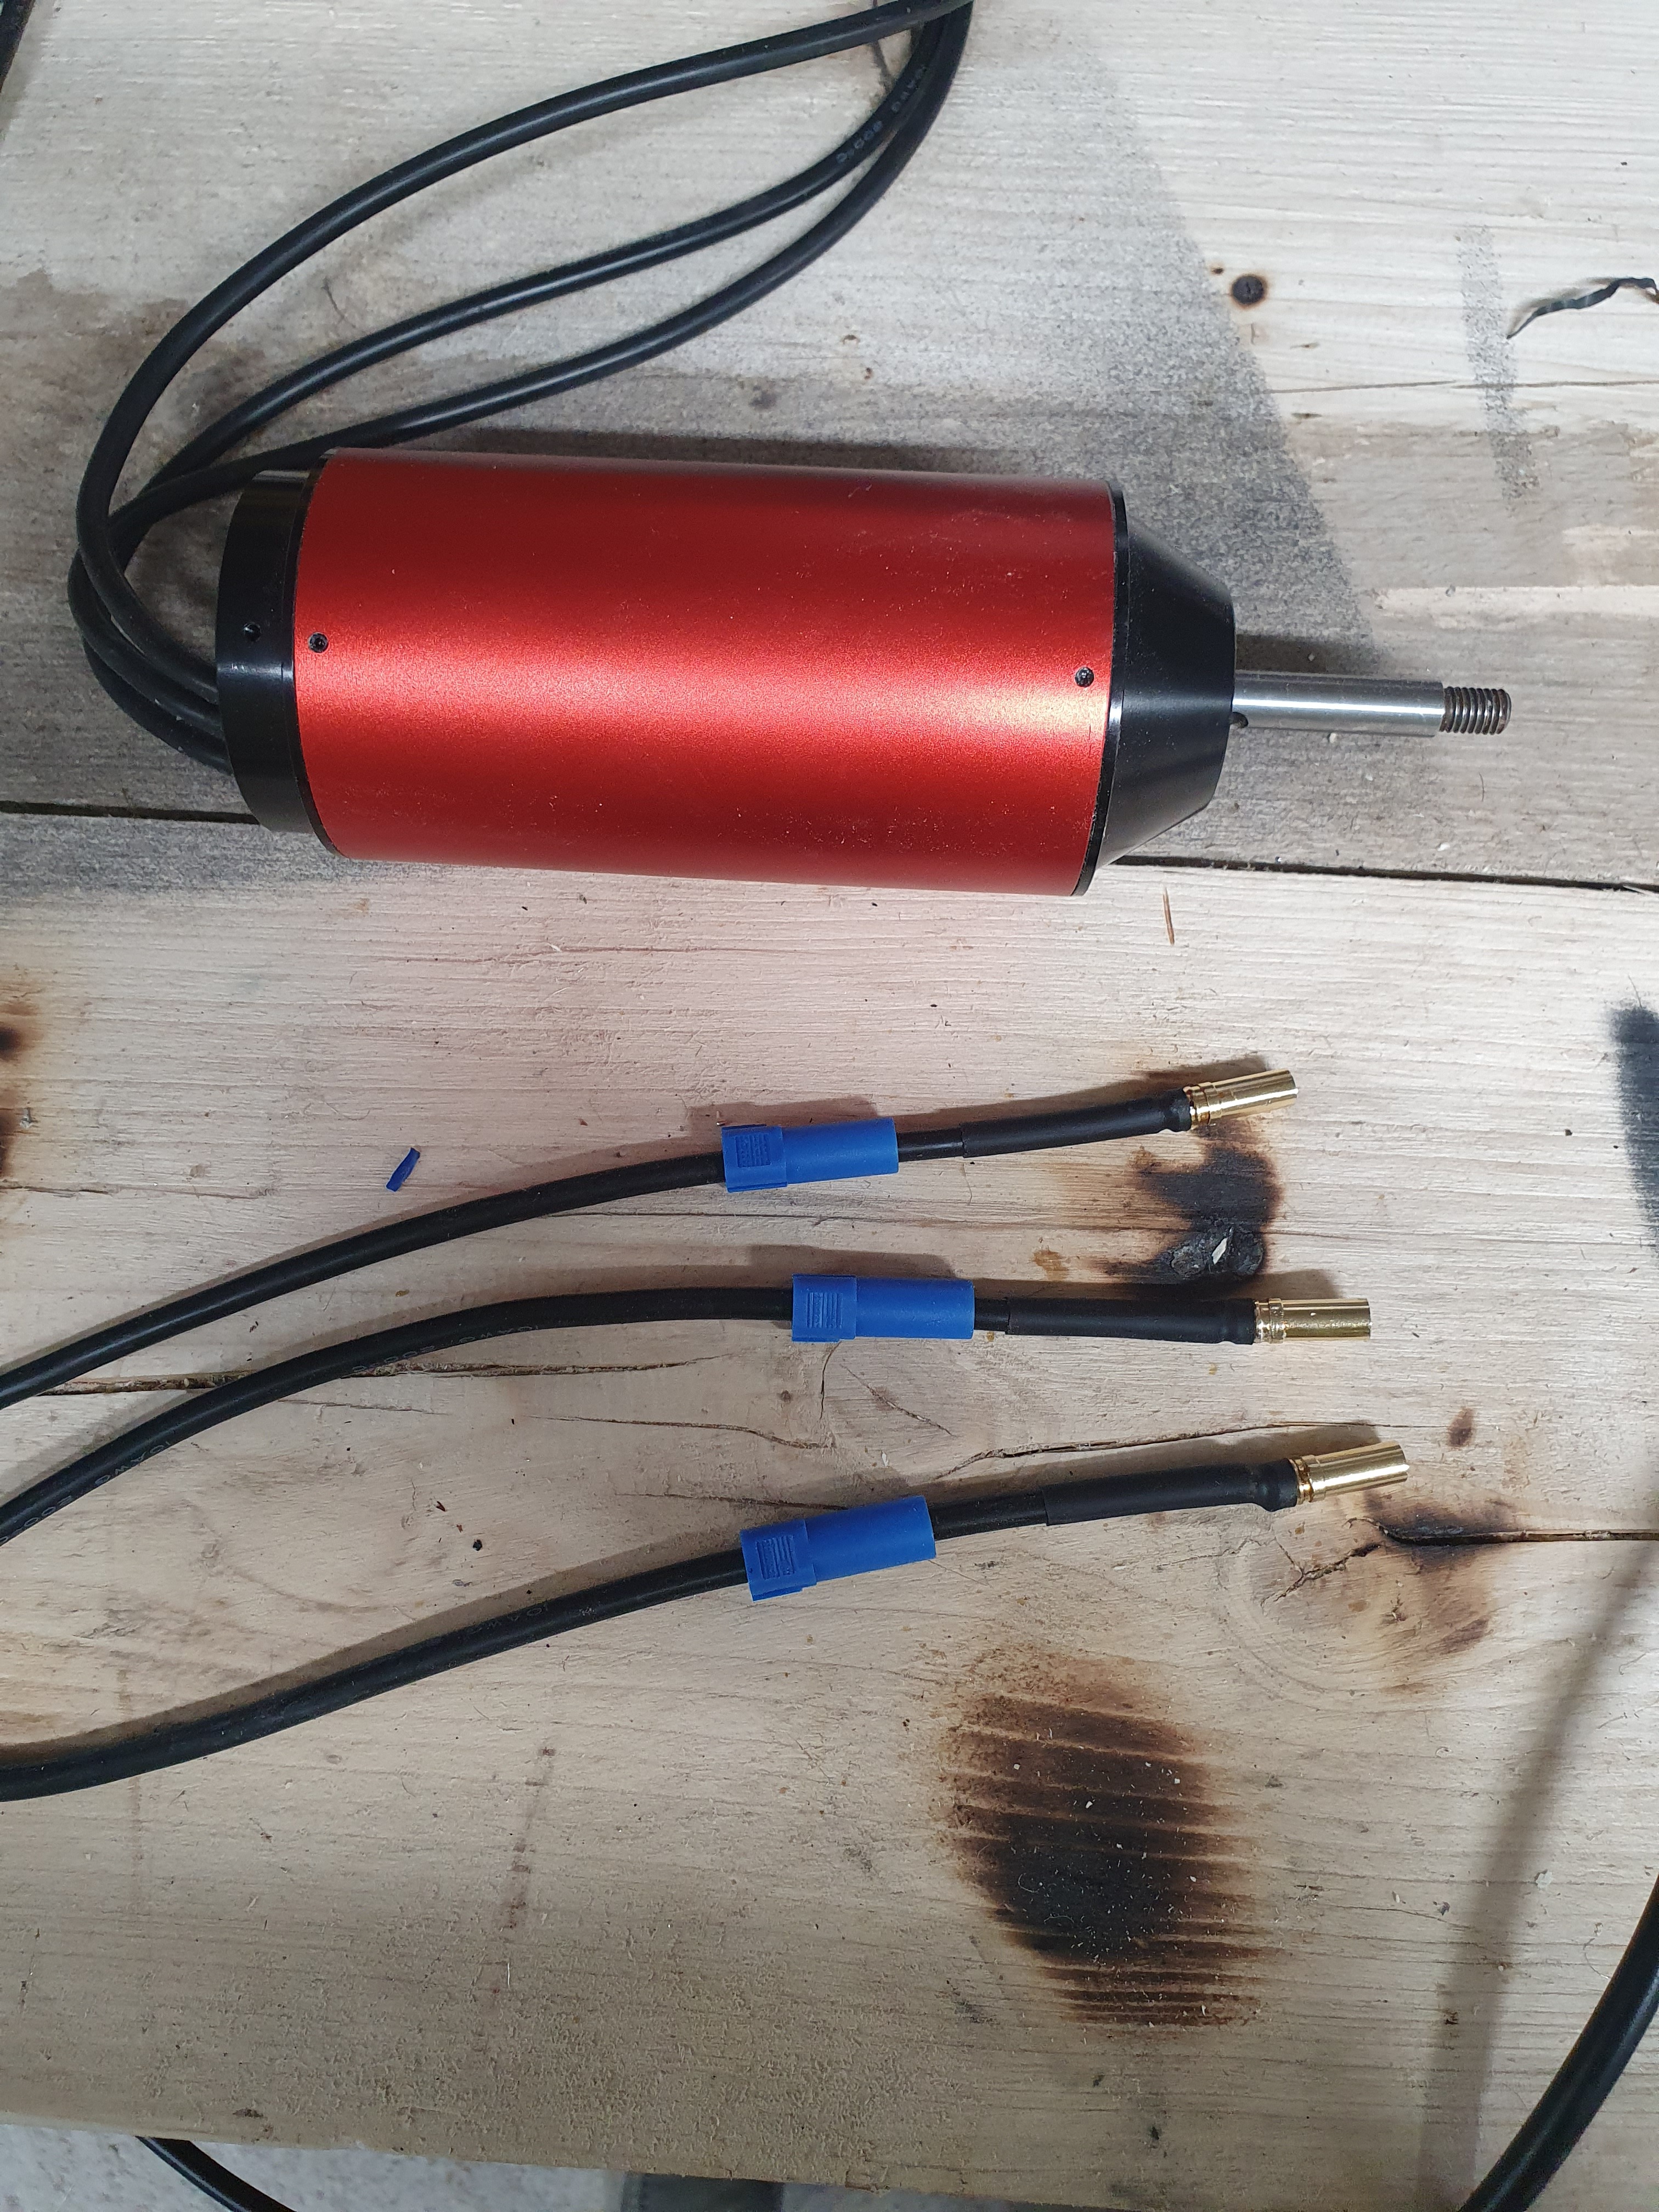
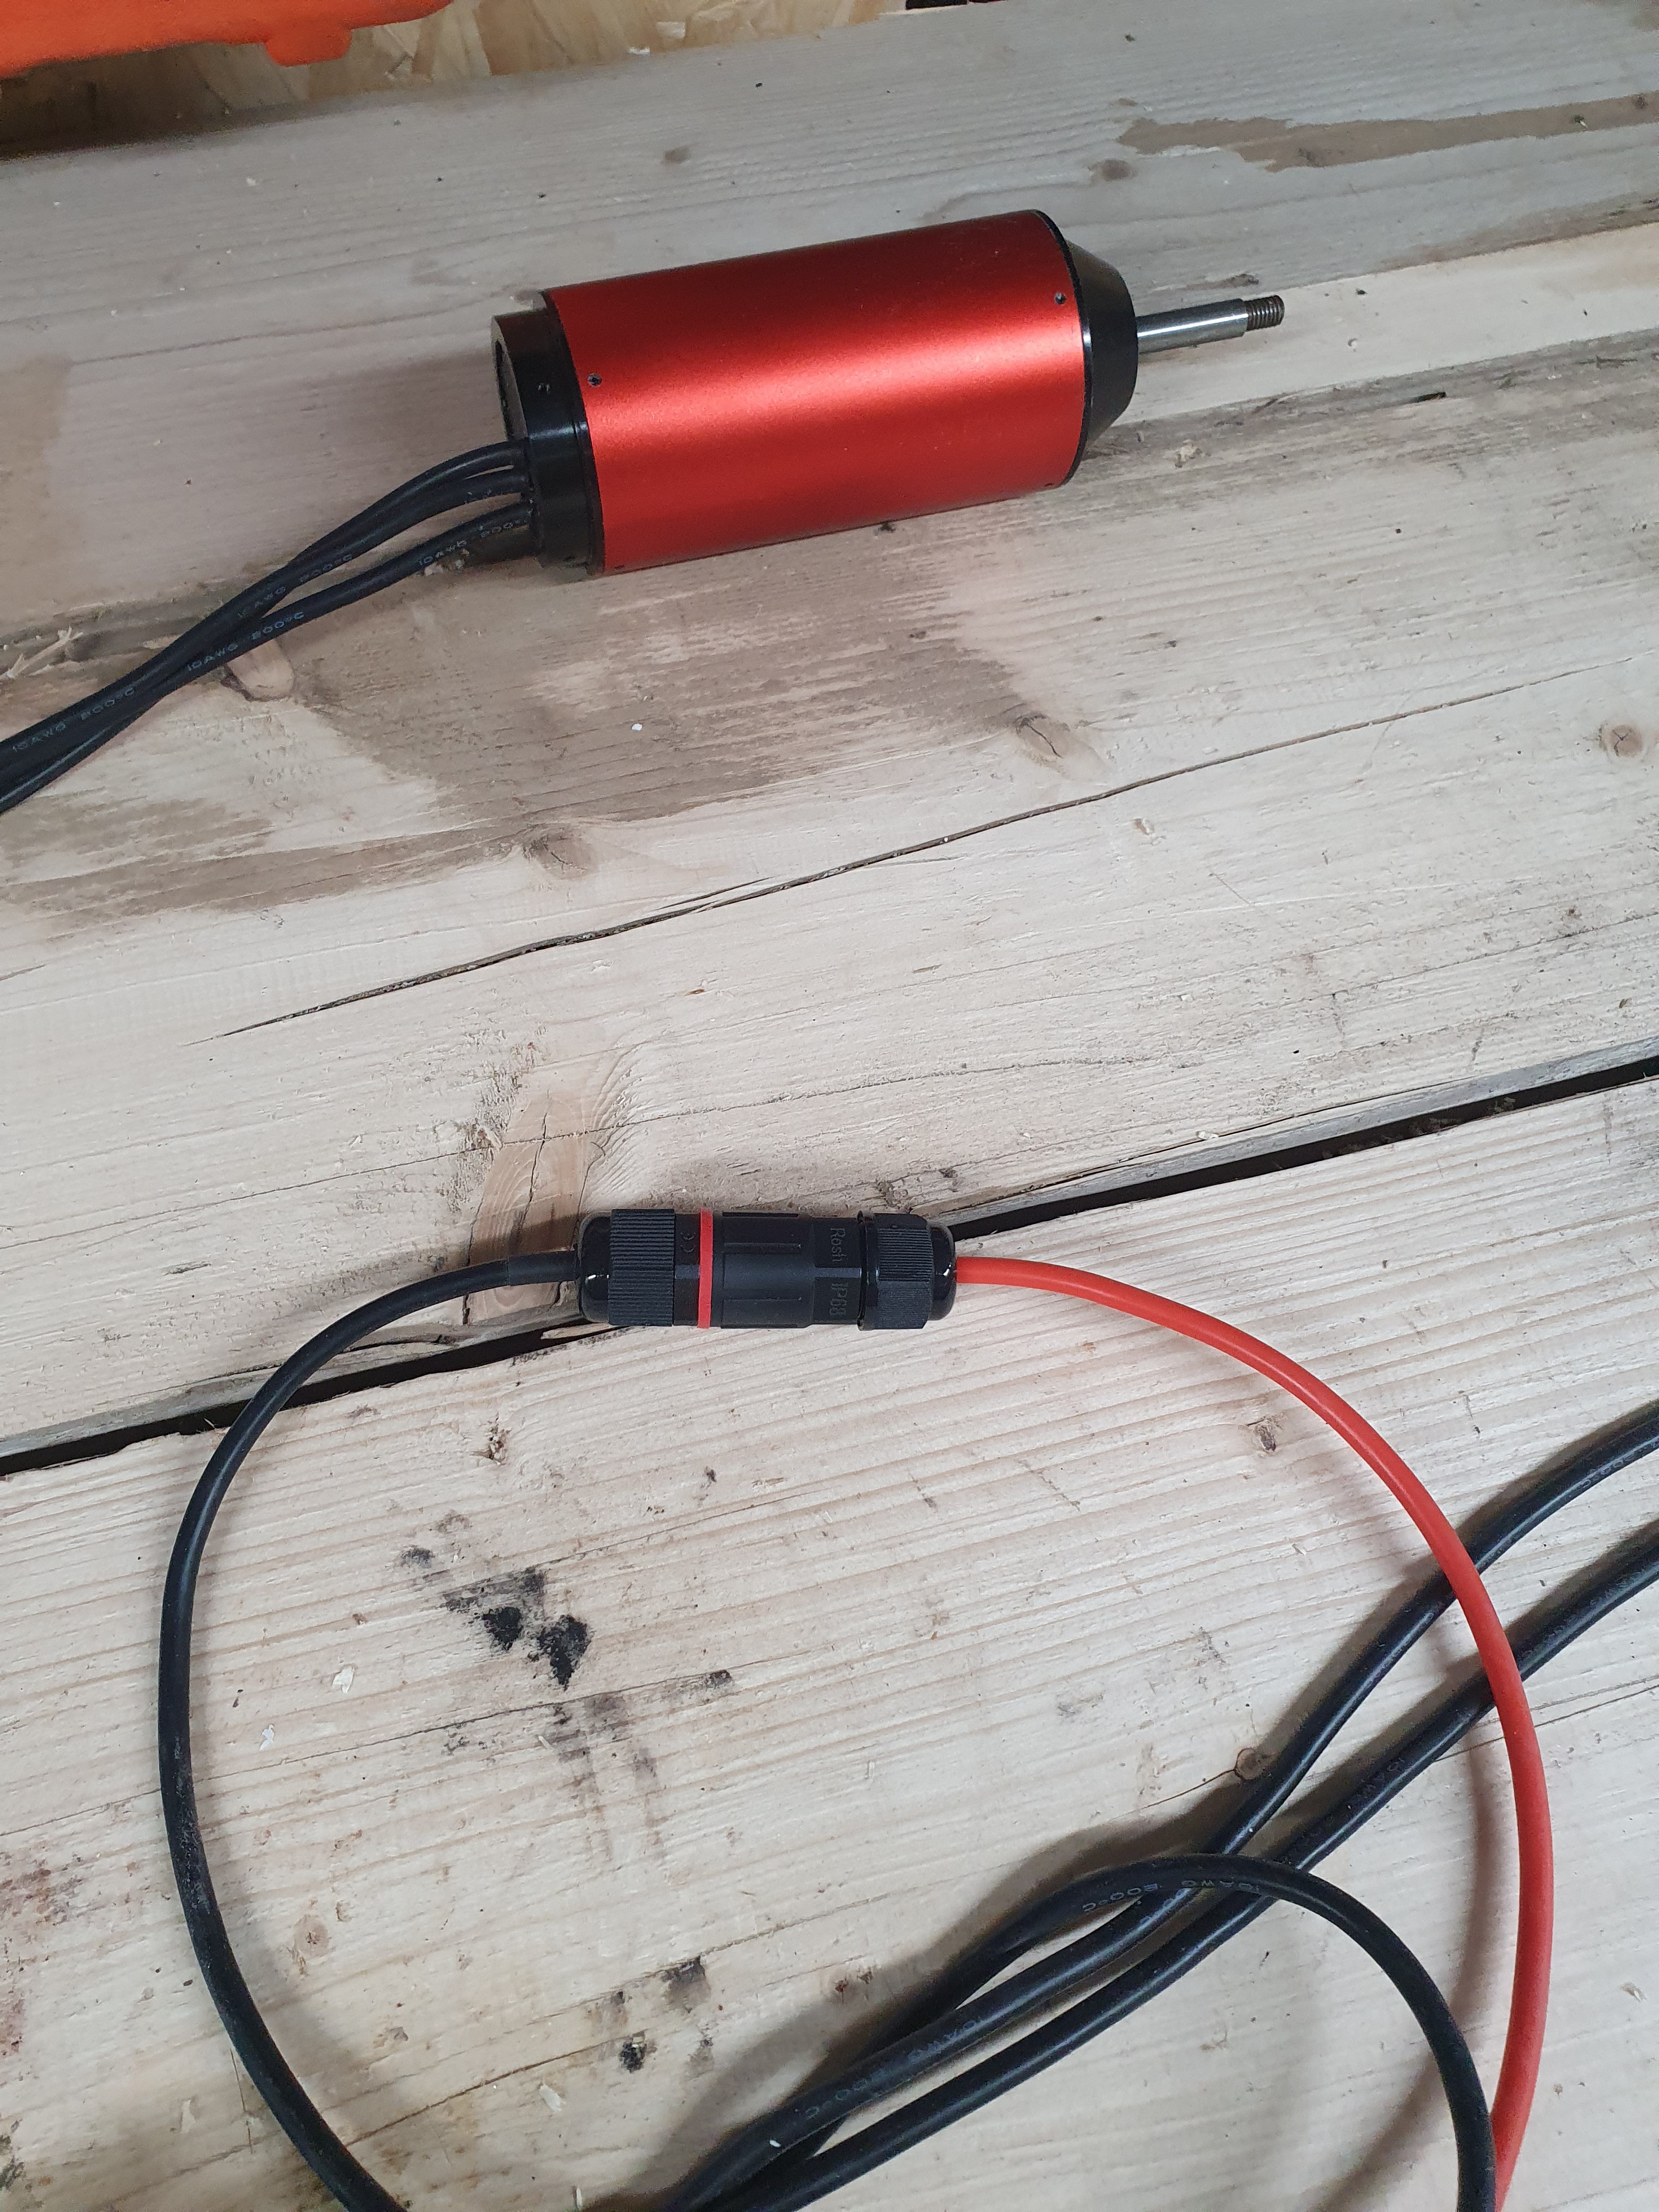
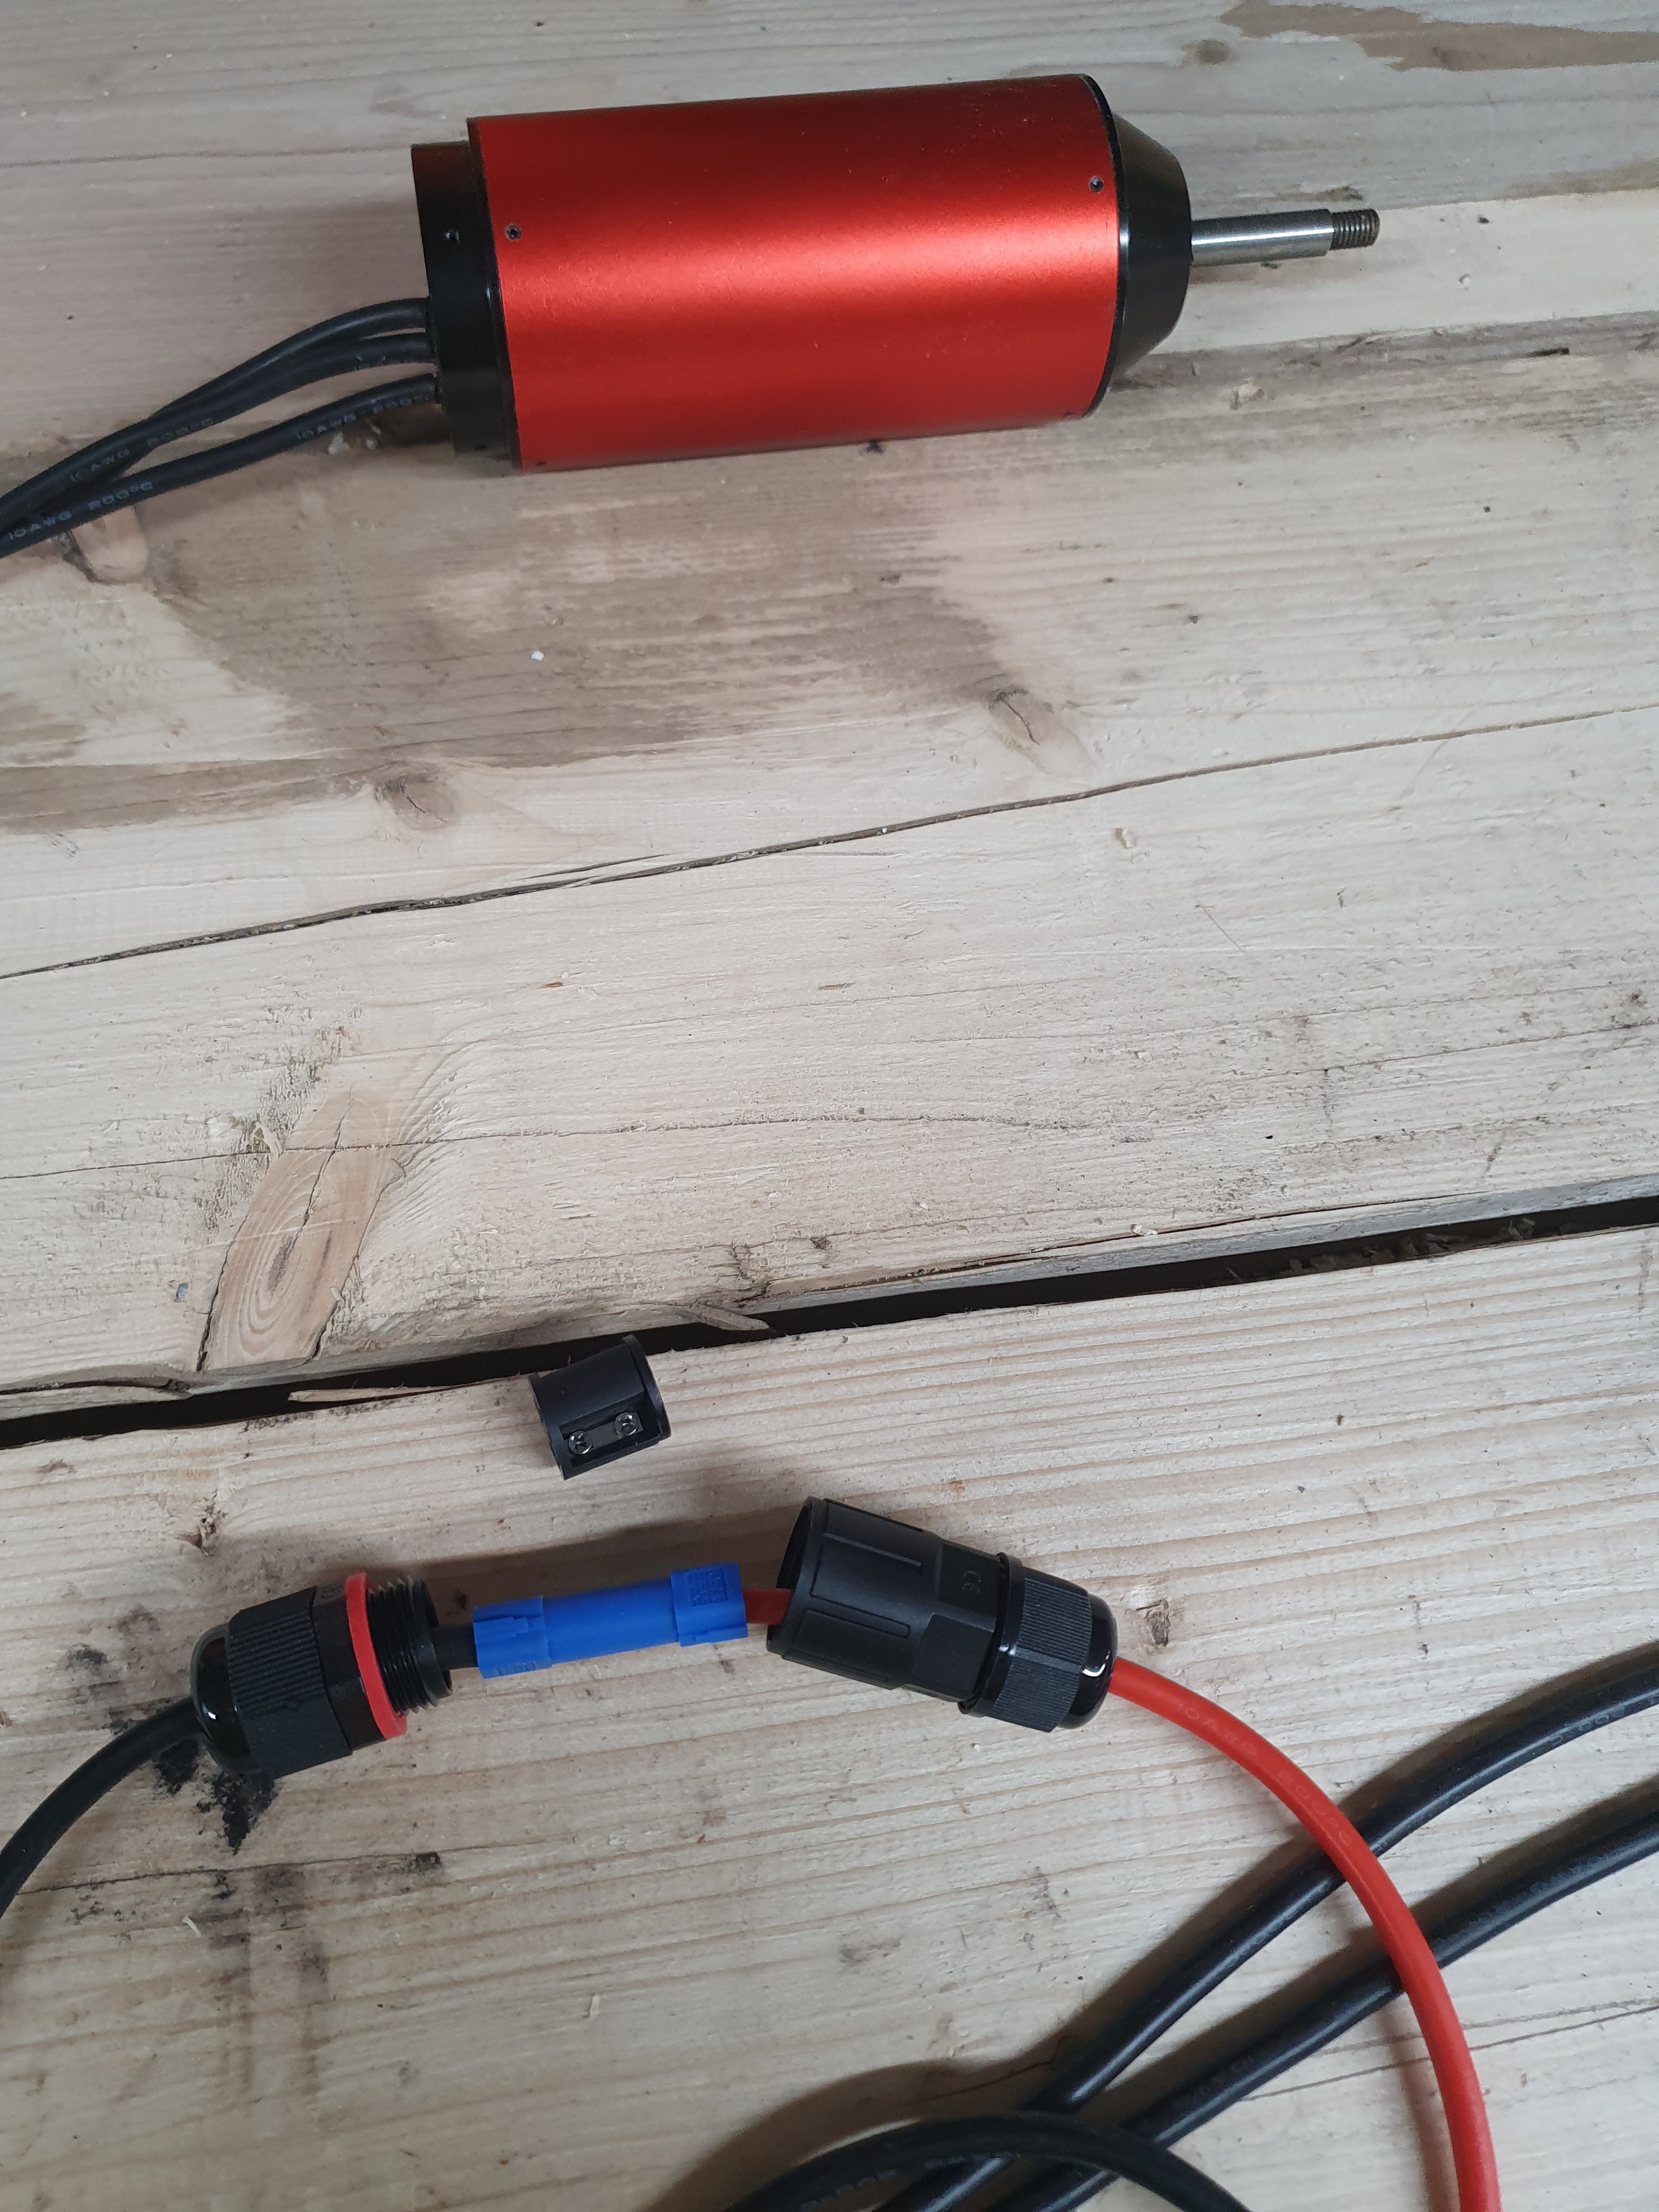
I then tried on the waterproof connector and Im happy to say that the Bullet Connectors fit inside the waterproof connector once the center is removed.
1 Like
Not sure blue plastic clips are required.
Agreed but they came with the XT 150 Connectors that I bought when I mistakenly bought them instead of Anti-Sparkl Connectors so said I might as well get some use out of them. Be no hassle to remove down the line anyway.
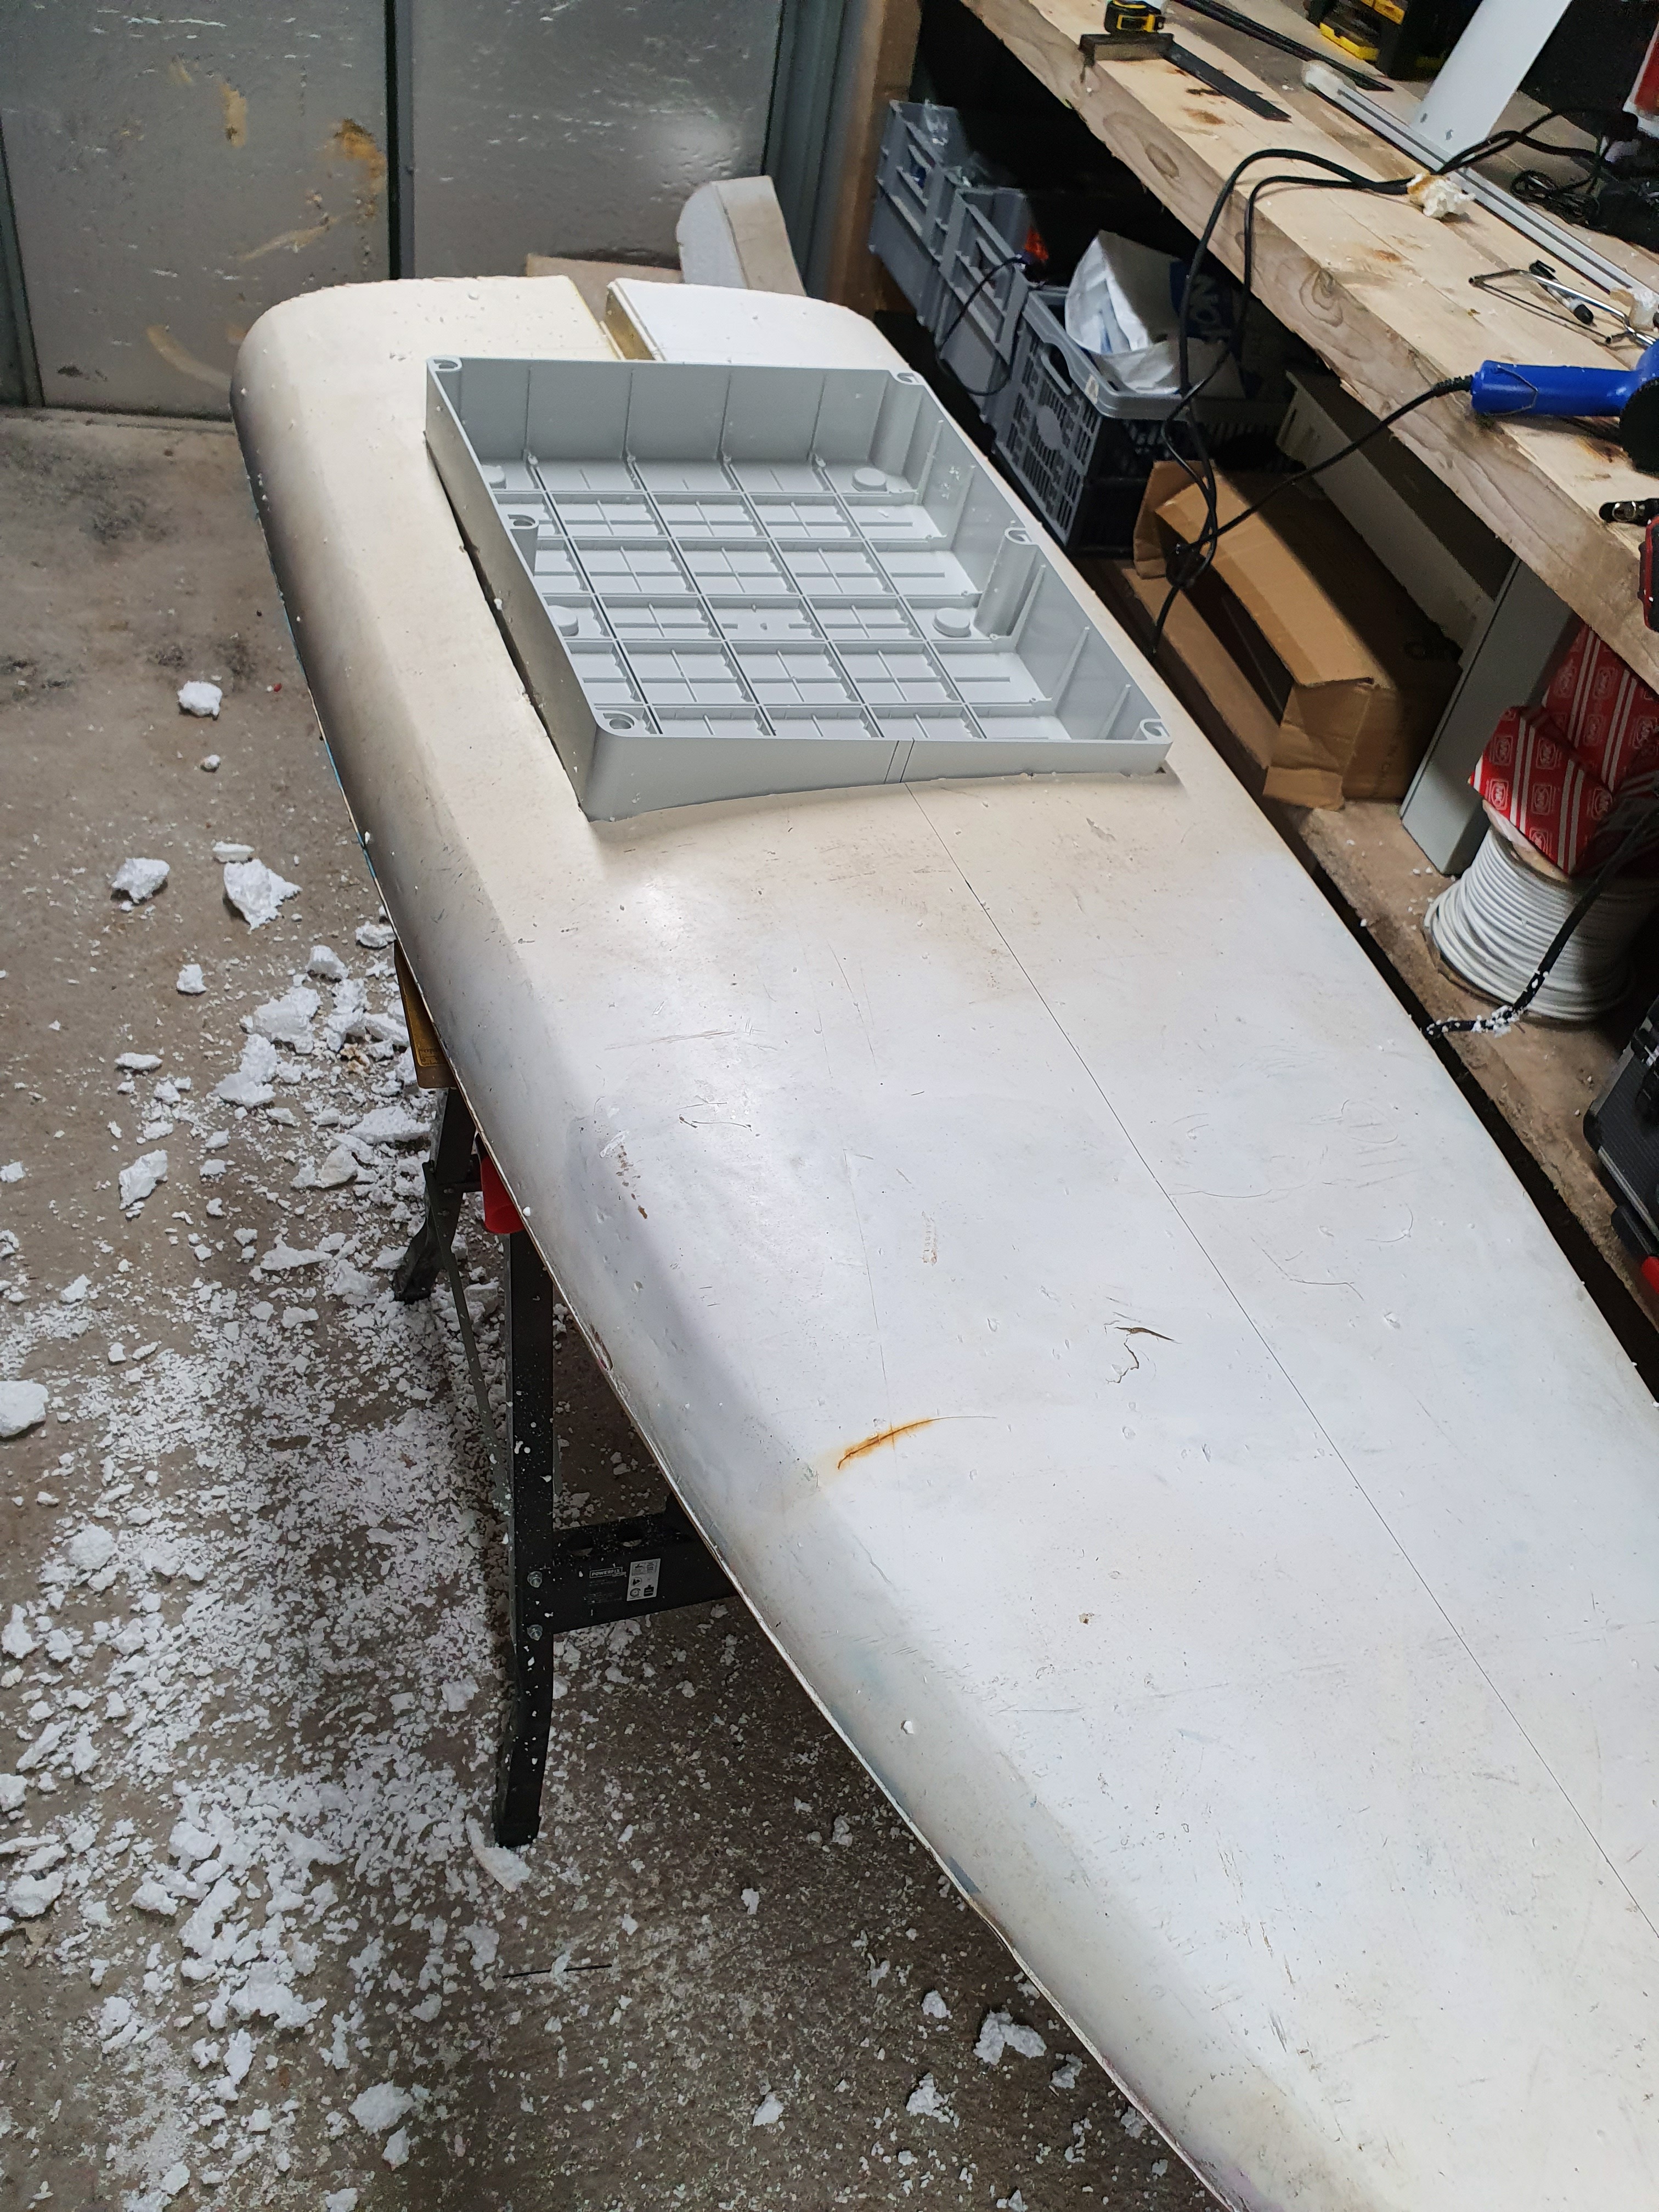
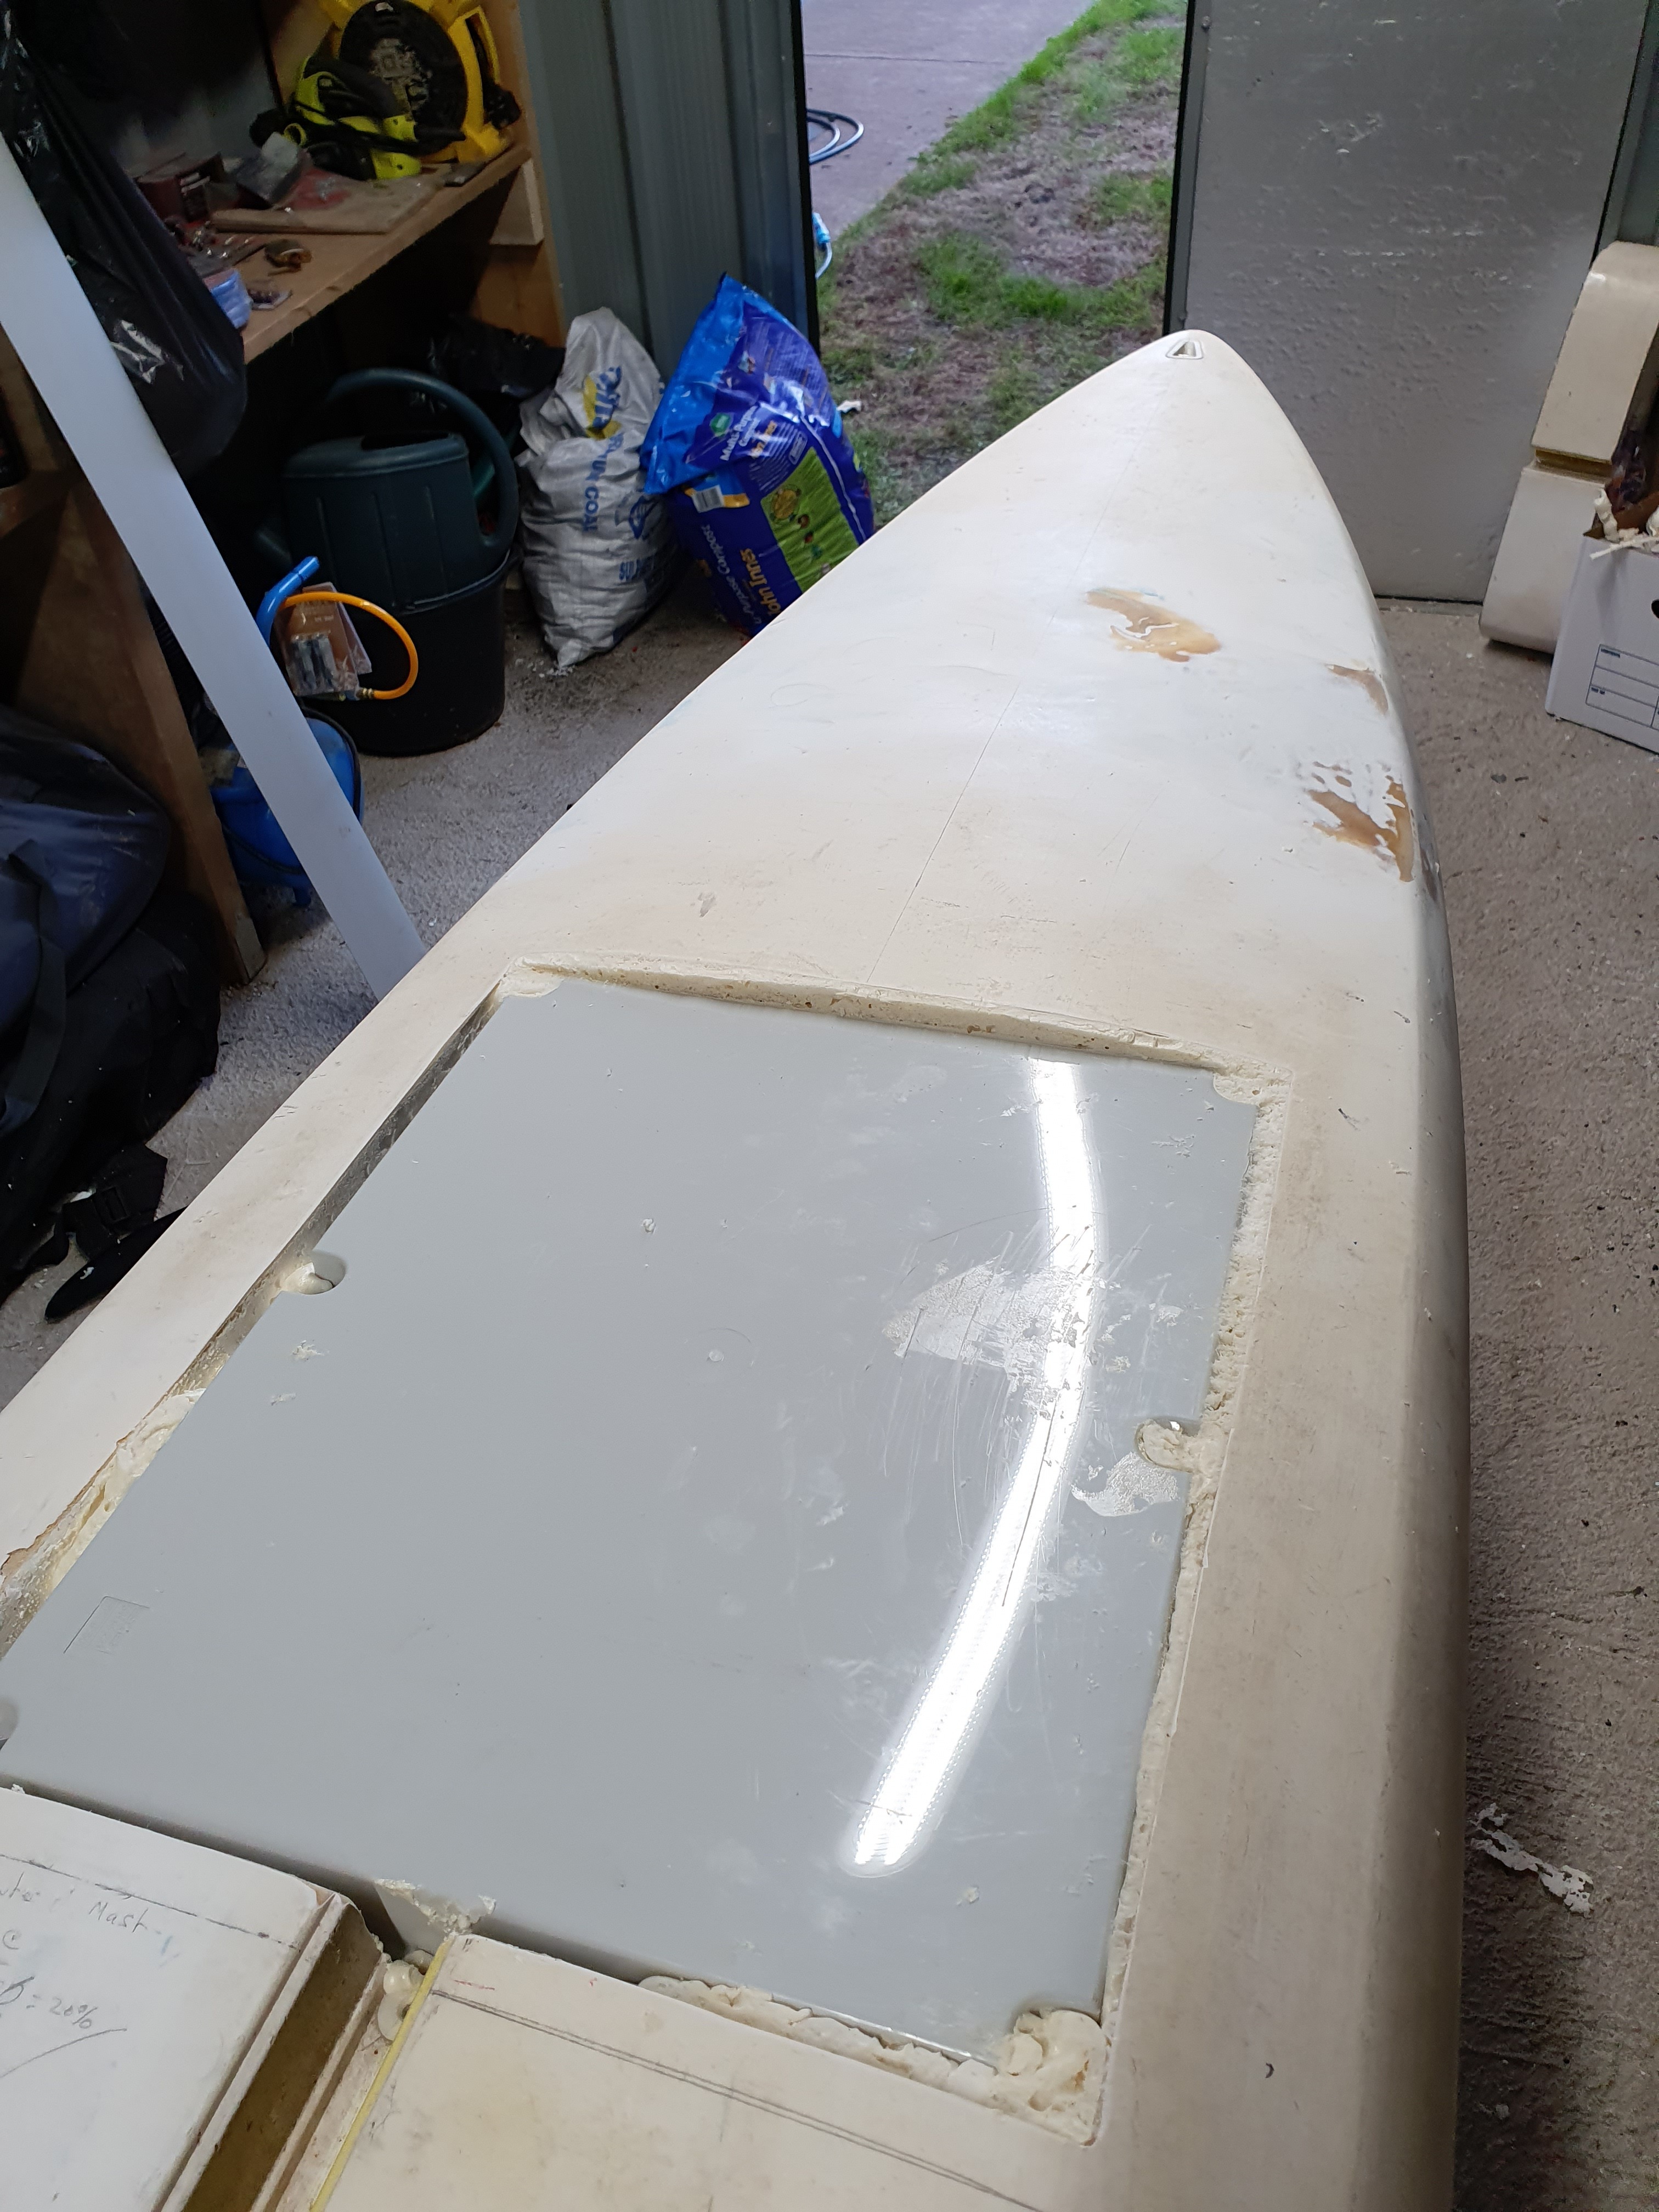
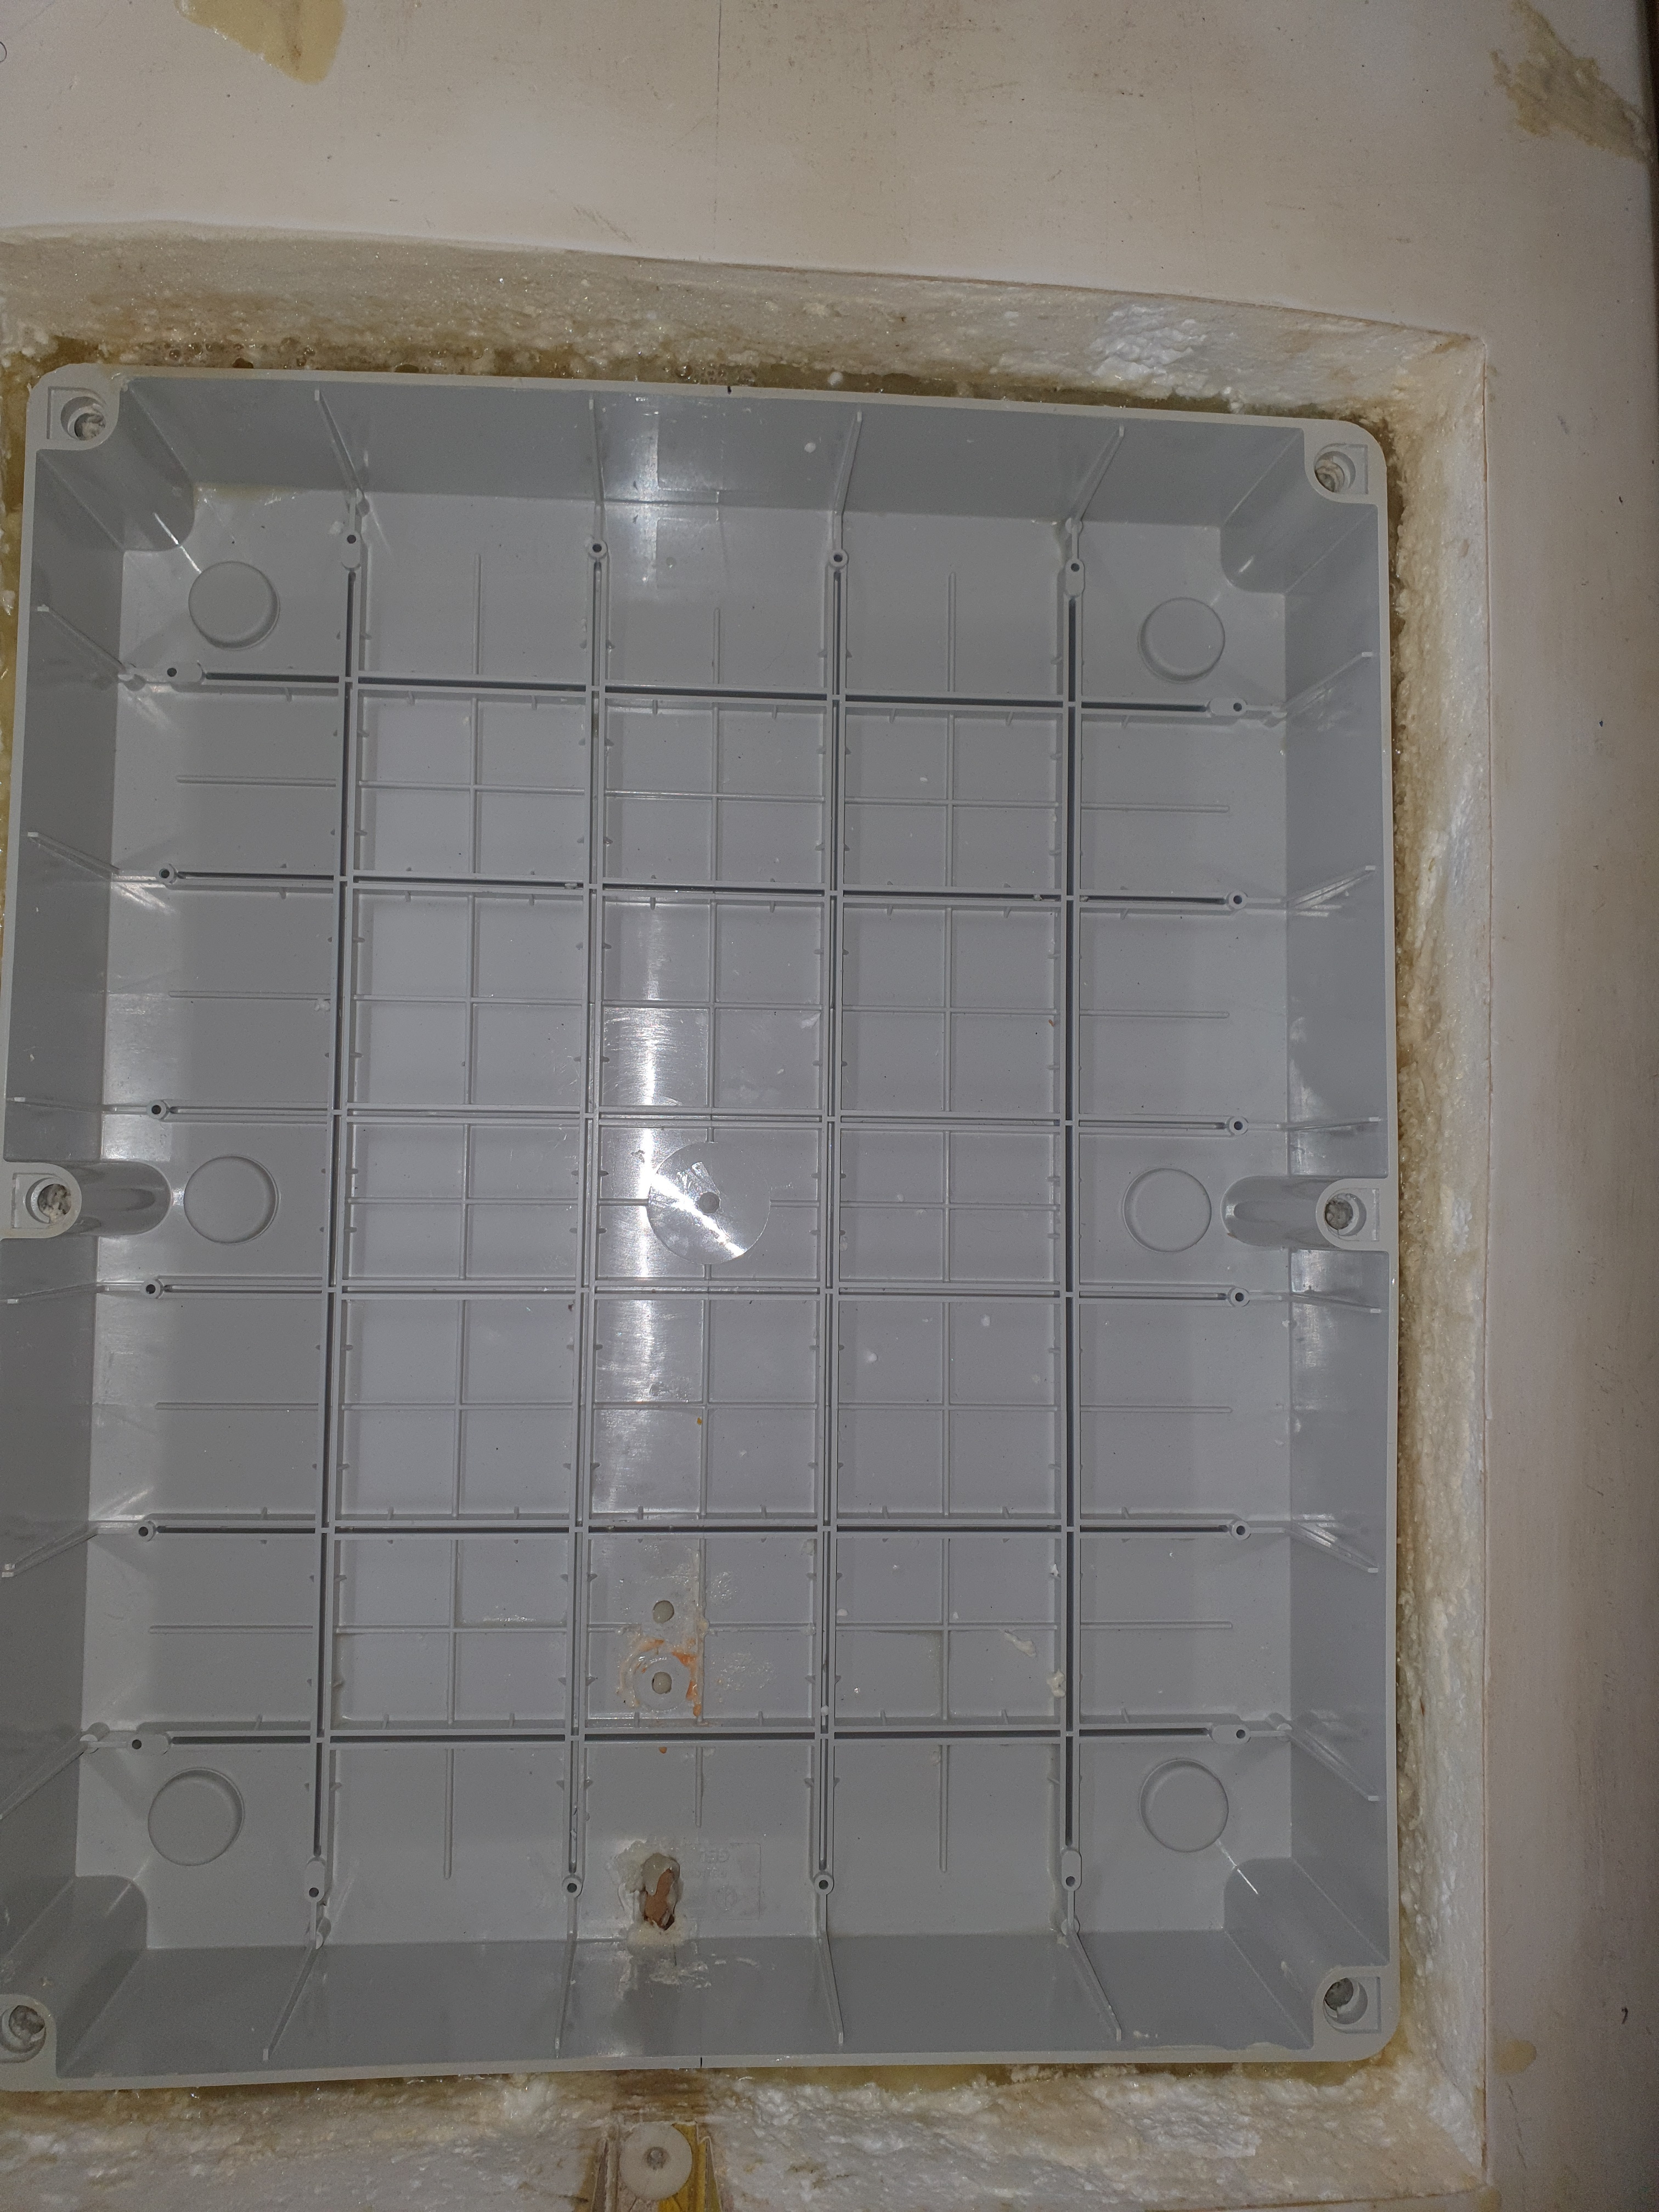
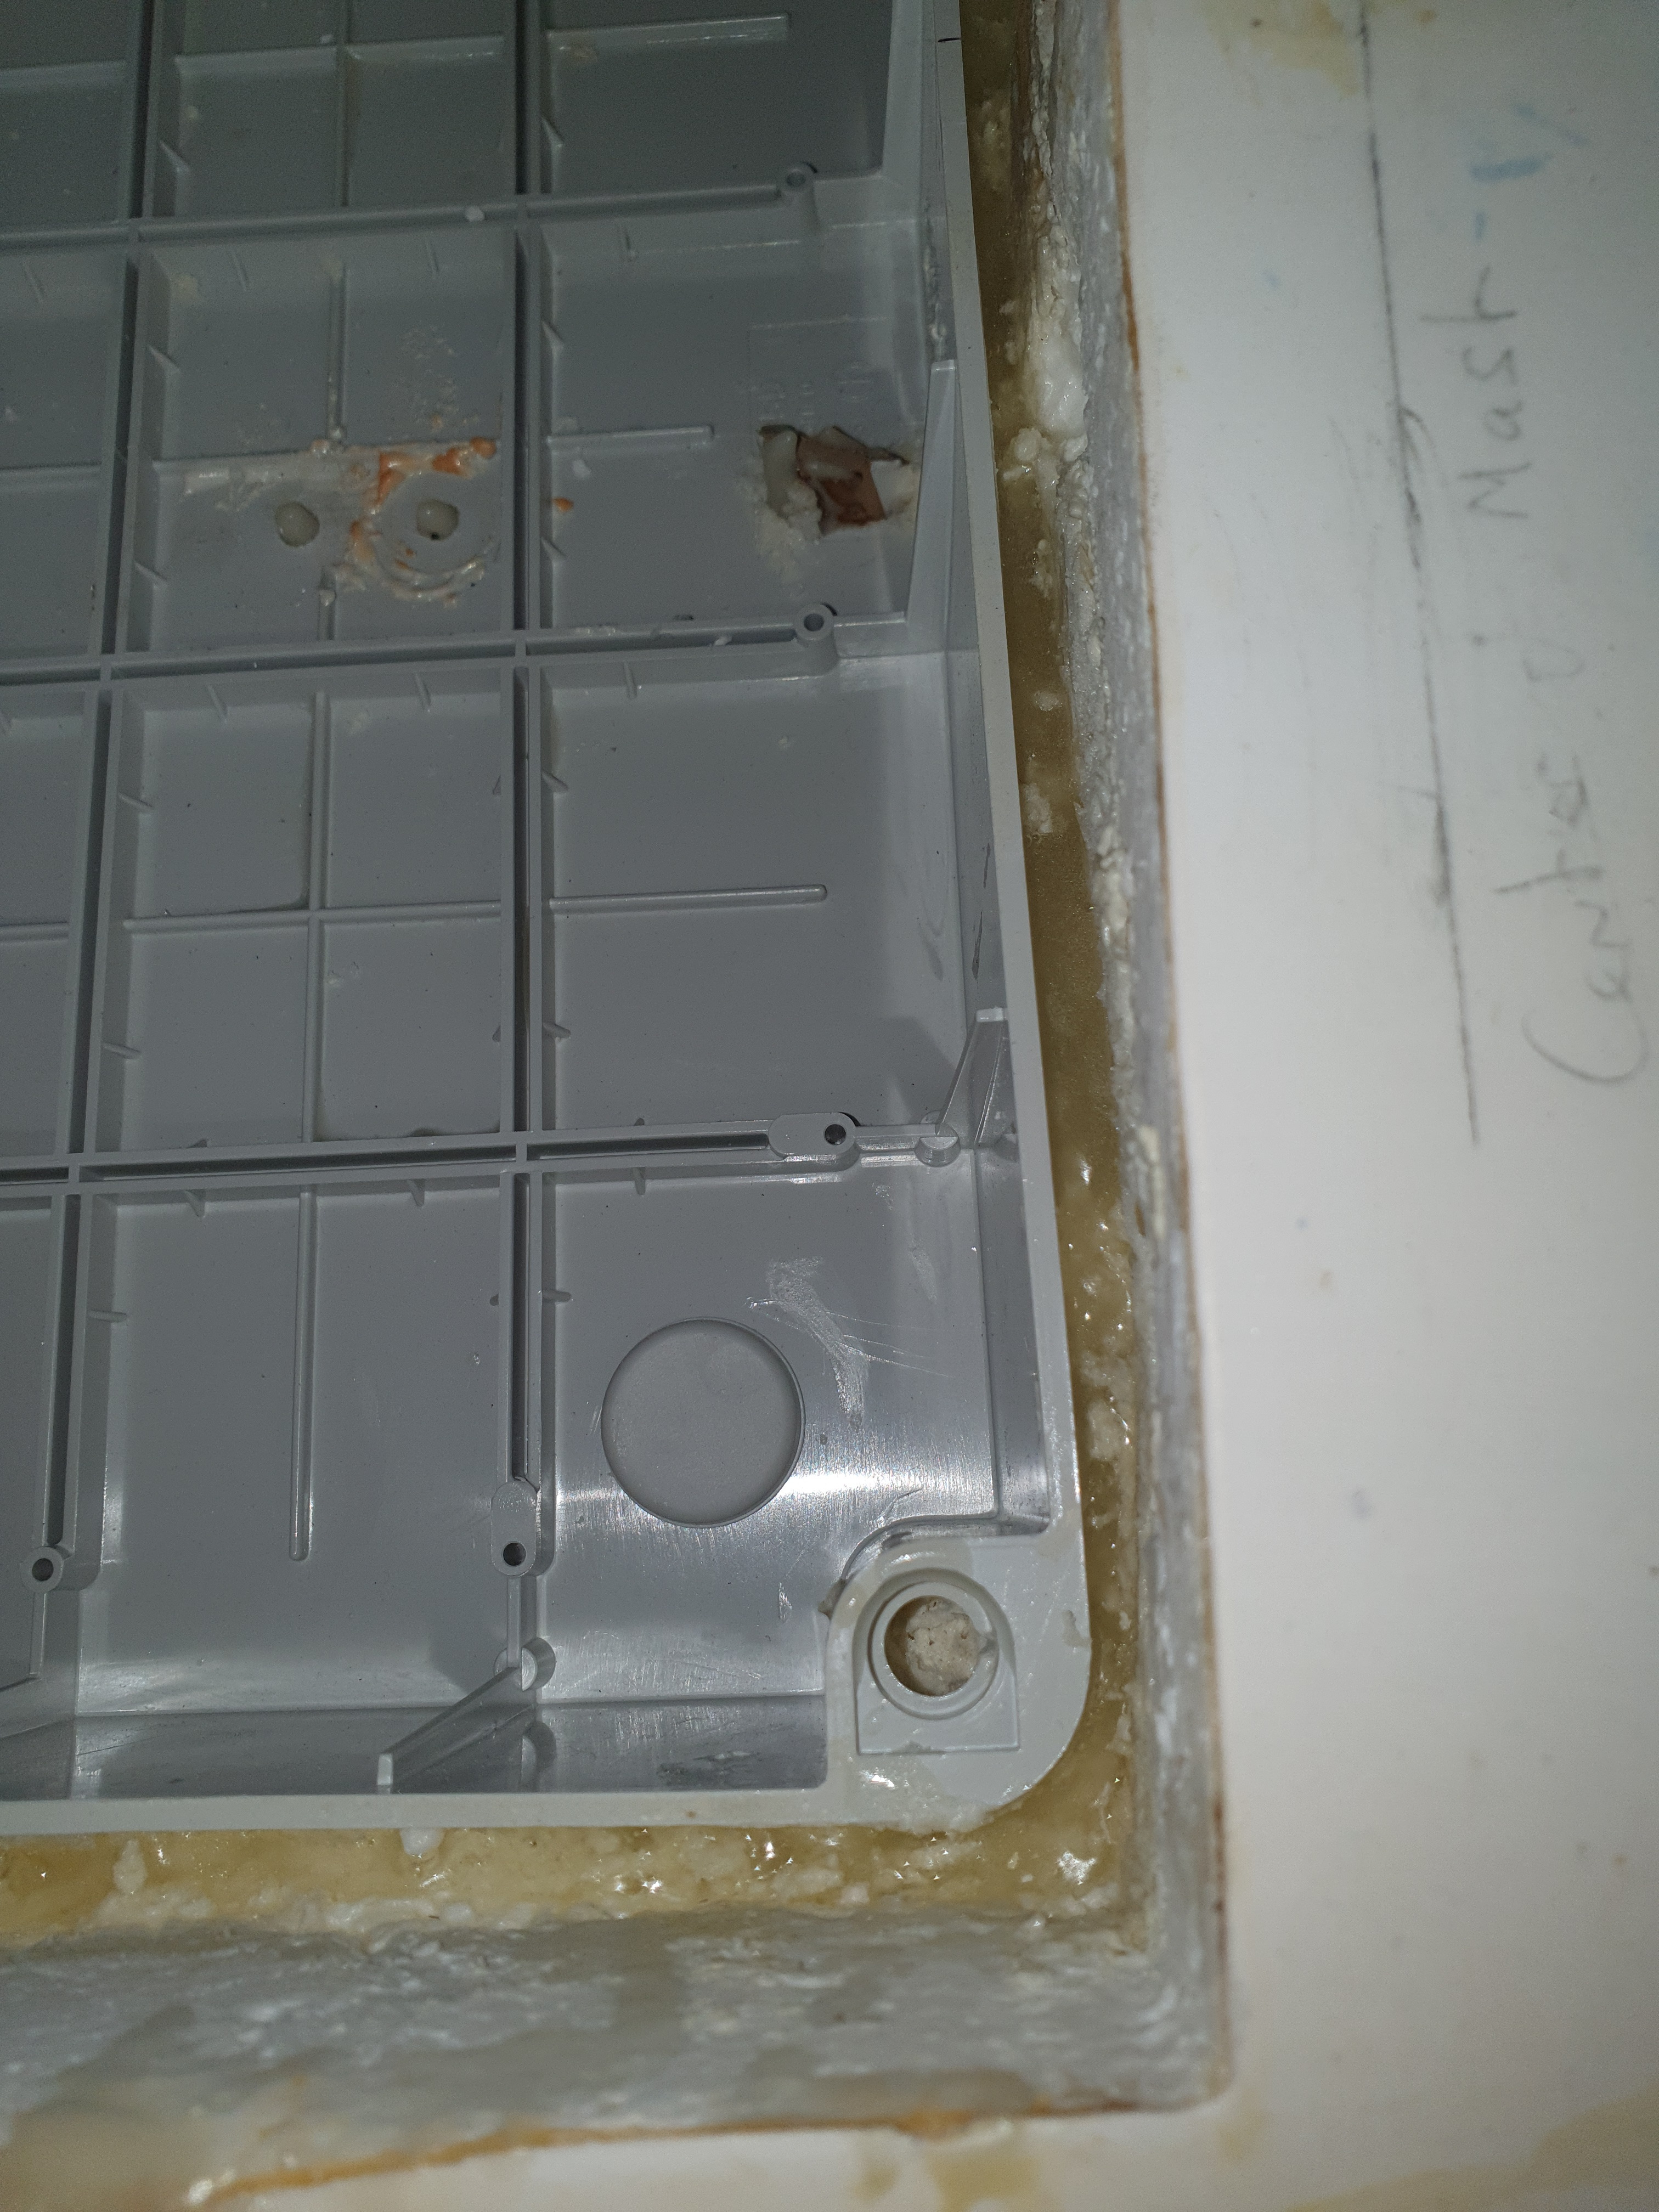
So I connected all the electronics and the remote didnt spin the motor so I didnt bother with that much more as I just didnt want to get into it so I moved onto the board. I saved 3kg by changing my box for the battery to a Plastic Enclosure. I got it from evonestop.co.uk but cant find the link on the website any more but for anyone interested its a “ROLEC RE118 IP56 Techno Polymer Enclosure / Screw Lid / 440mm x 330mm 130mm” and it cost me £46.56 plus delivery. Last few hours have been soent hollowing out board.
1 Like

Some more board work. Followed by the electronics configuration. So Im not toally new to this software stuff as Ive used arduinos etc. But its been a while. So far Ive everything connected
Ive downloaded the VESC Tool from www.vesc-project.com. So in steps you go on there and sign up, add the free version to your cart and checkout. After that you get a download link. Download the file and open it up.
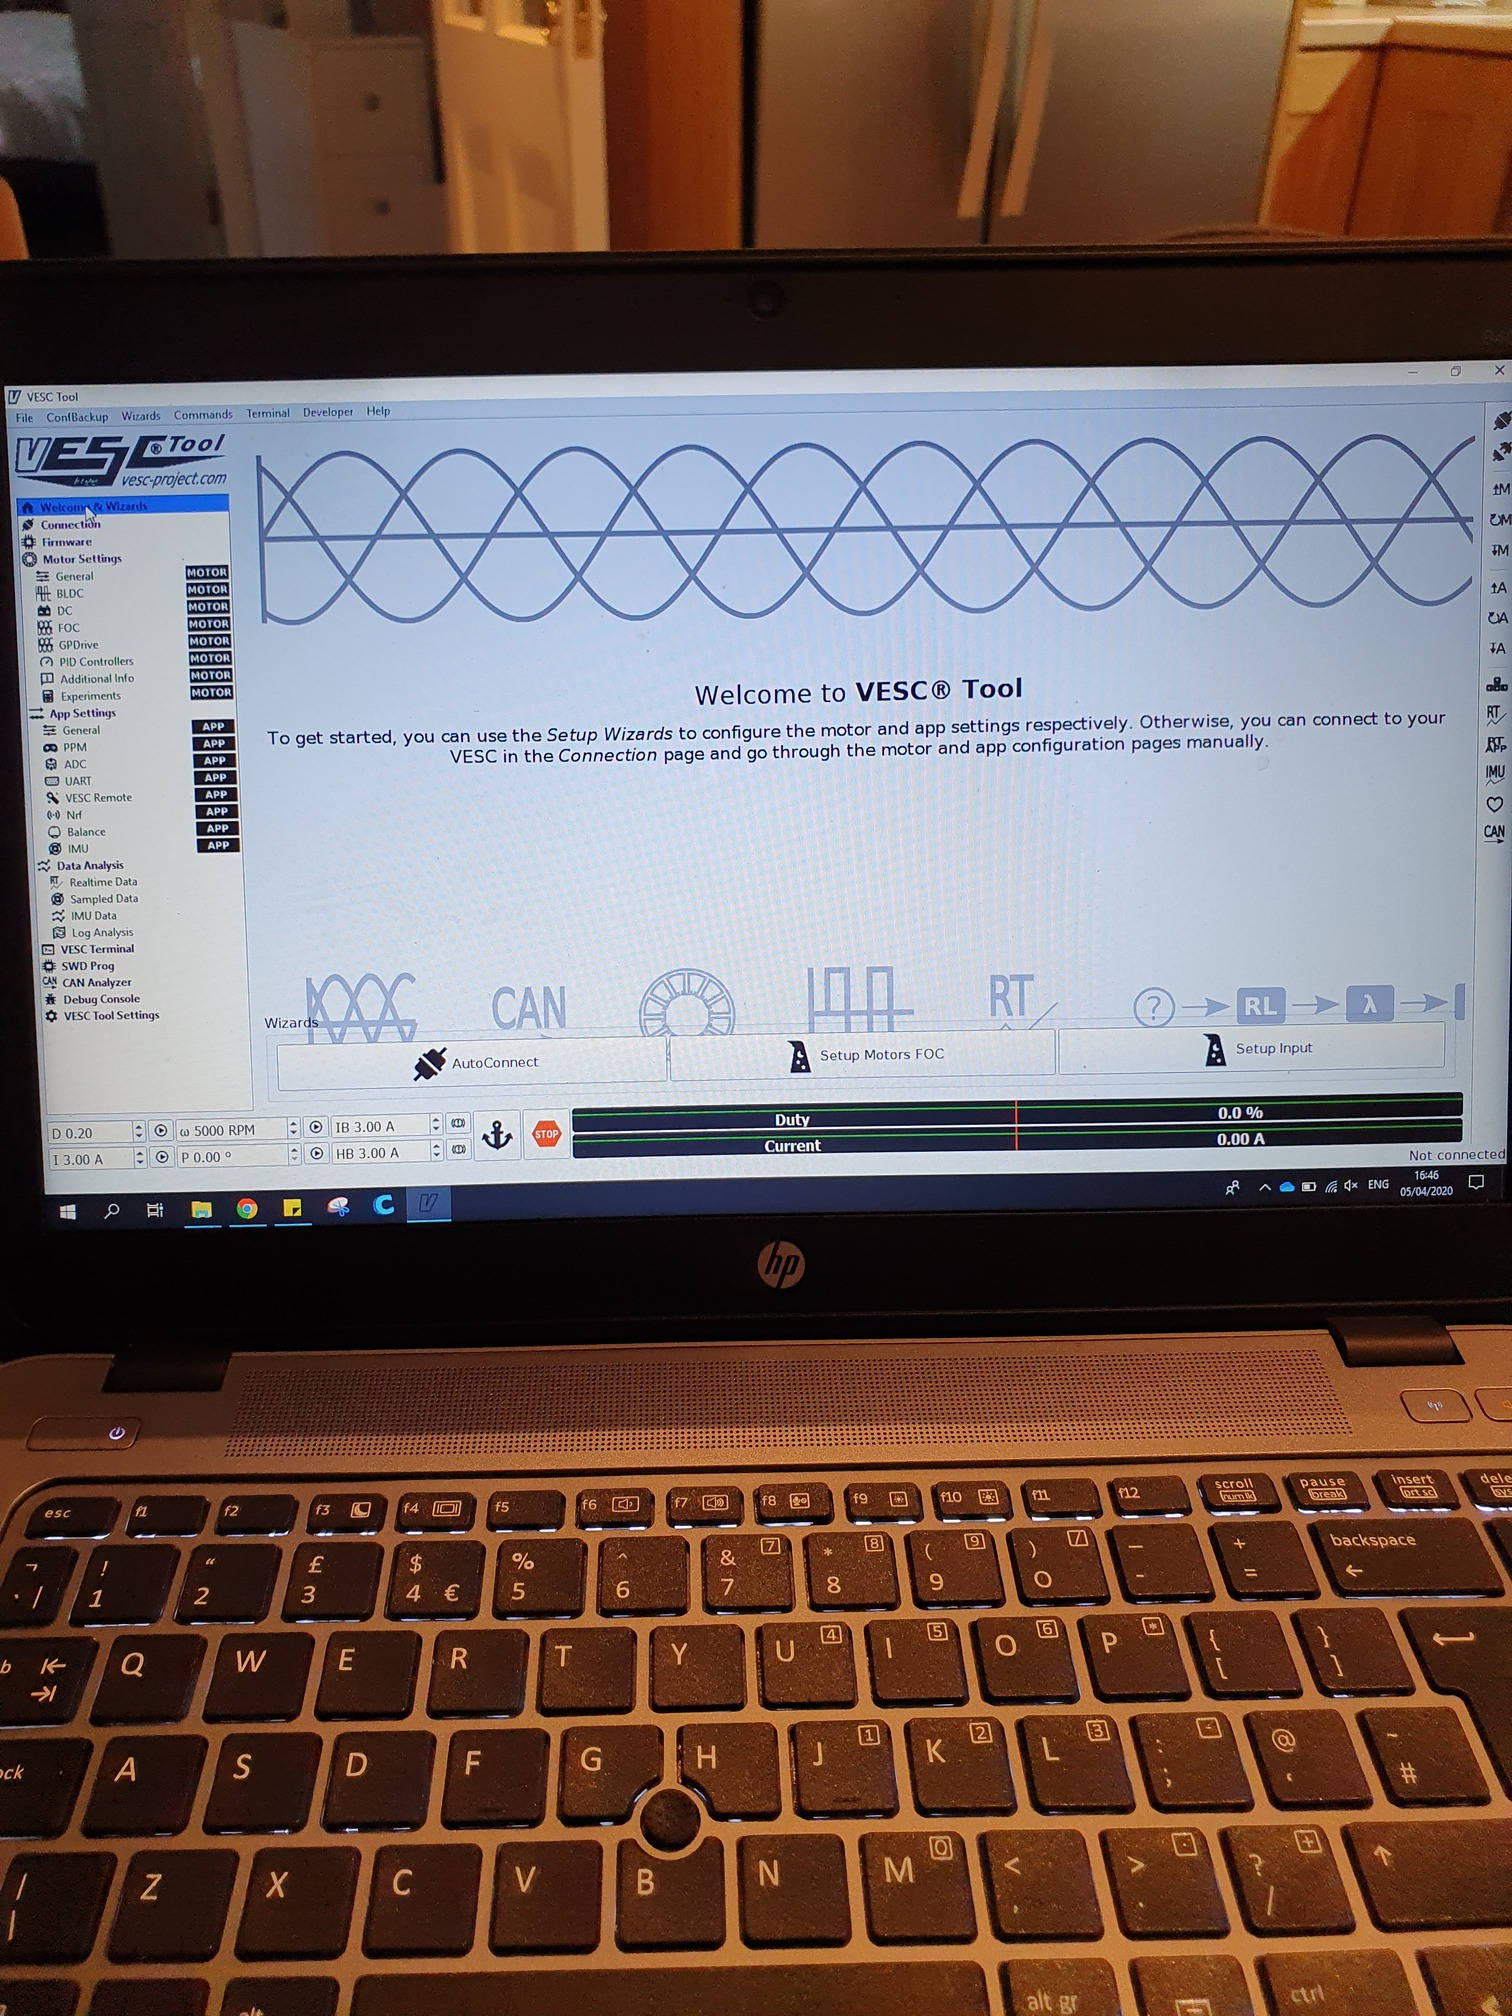
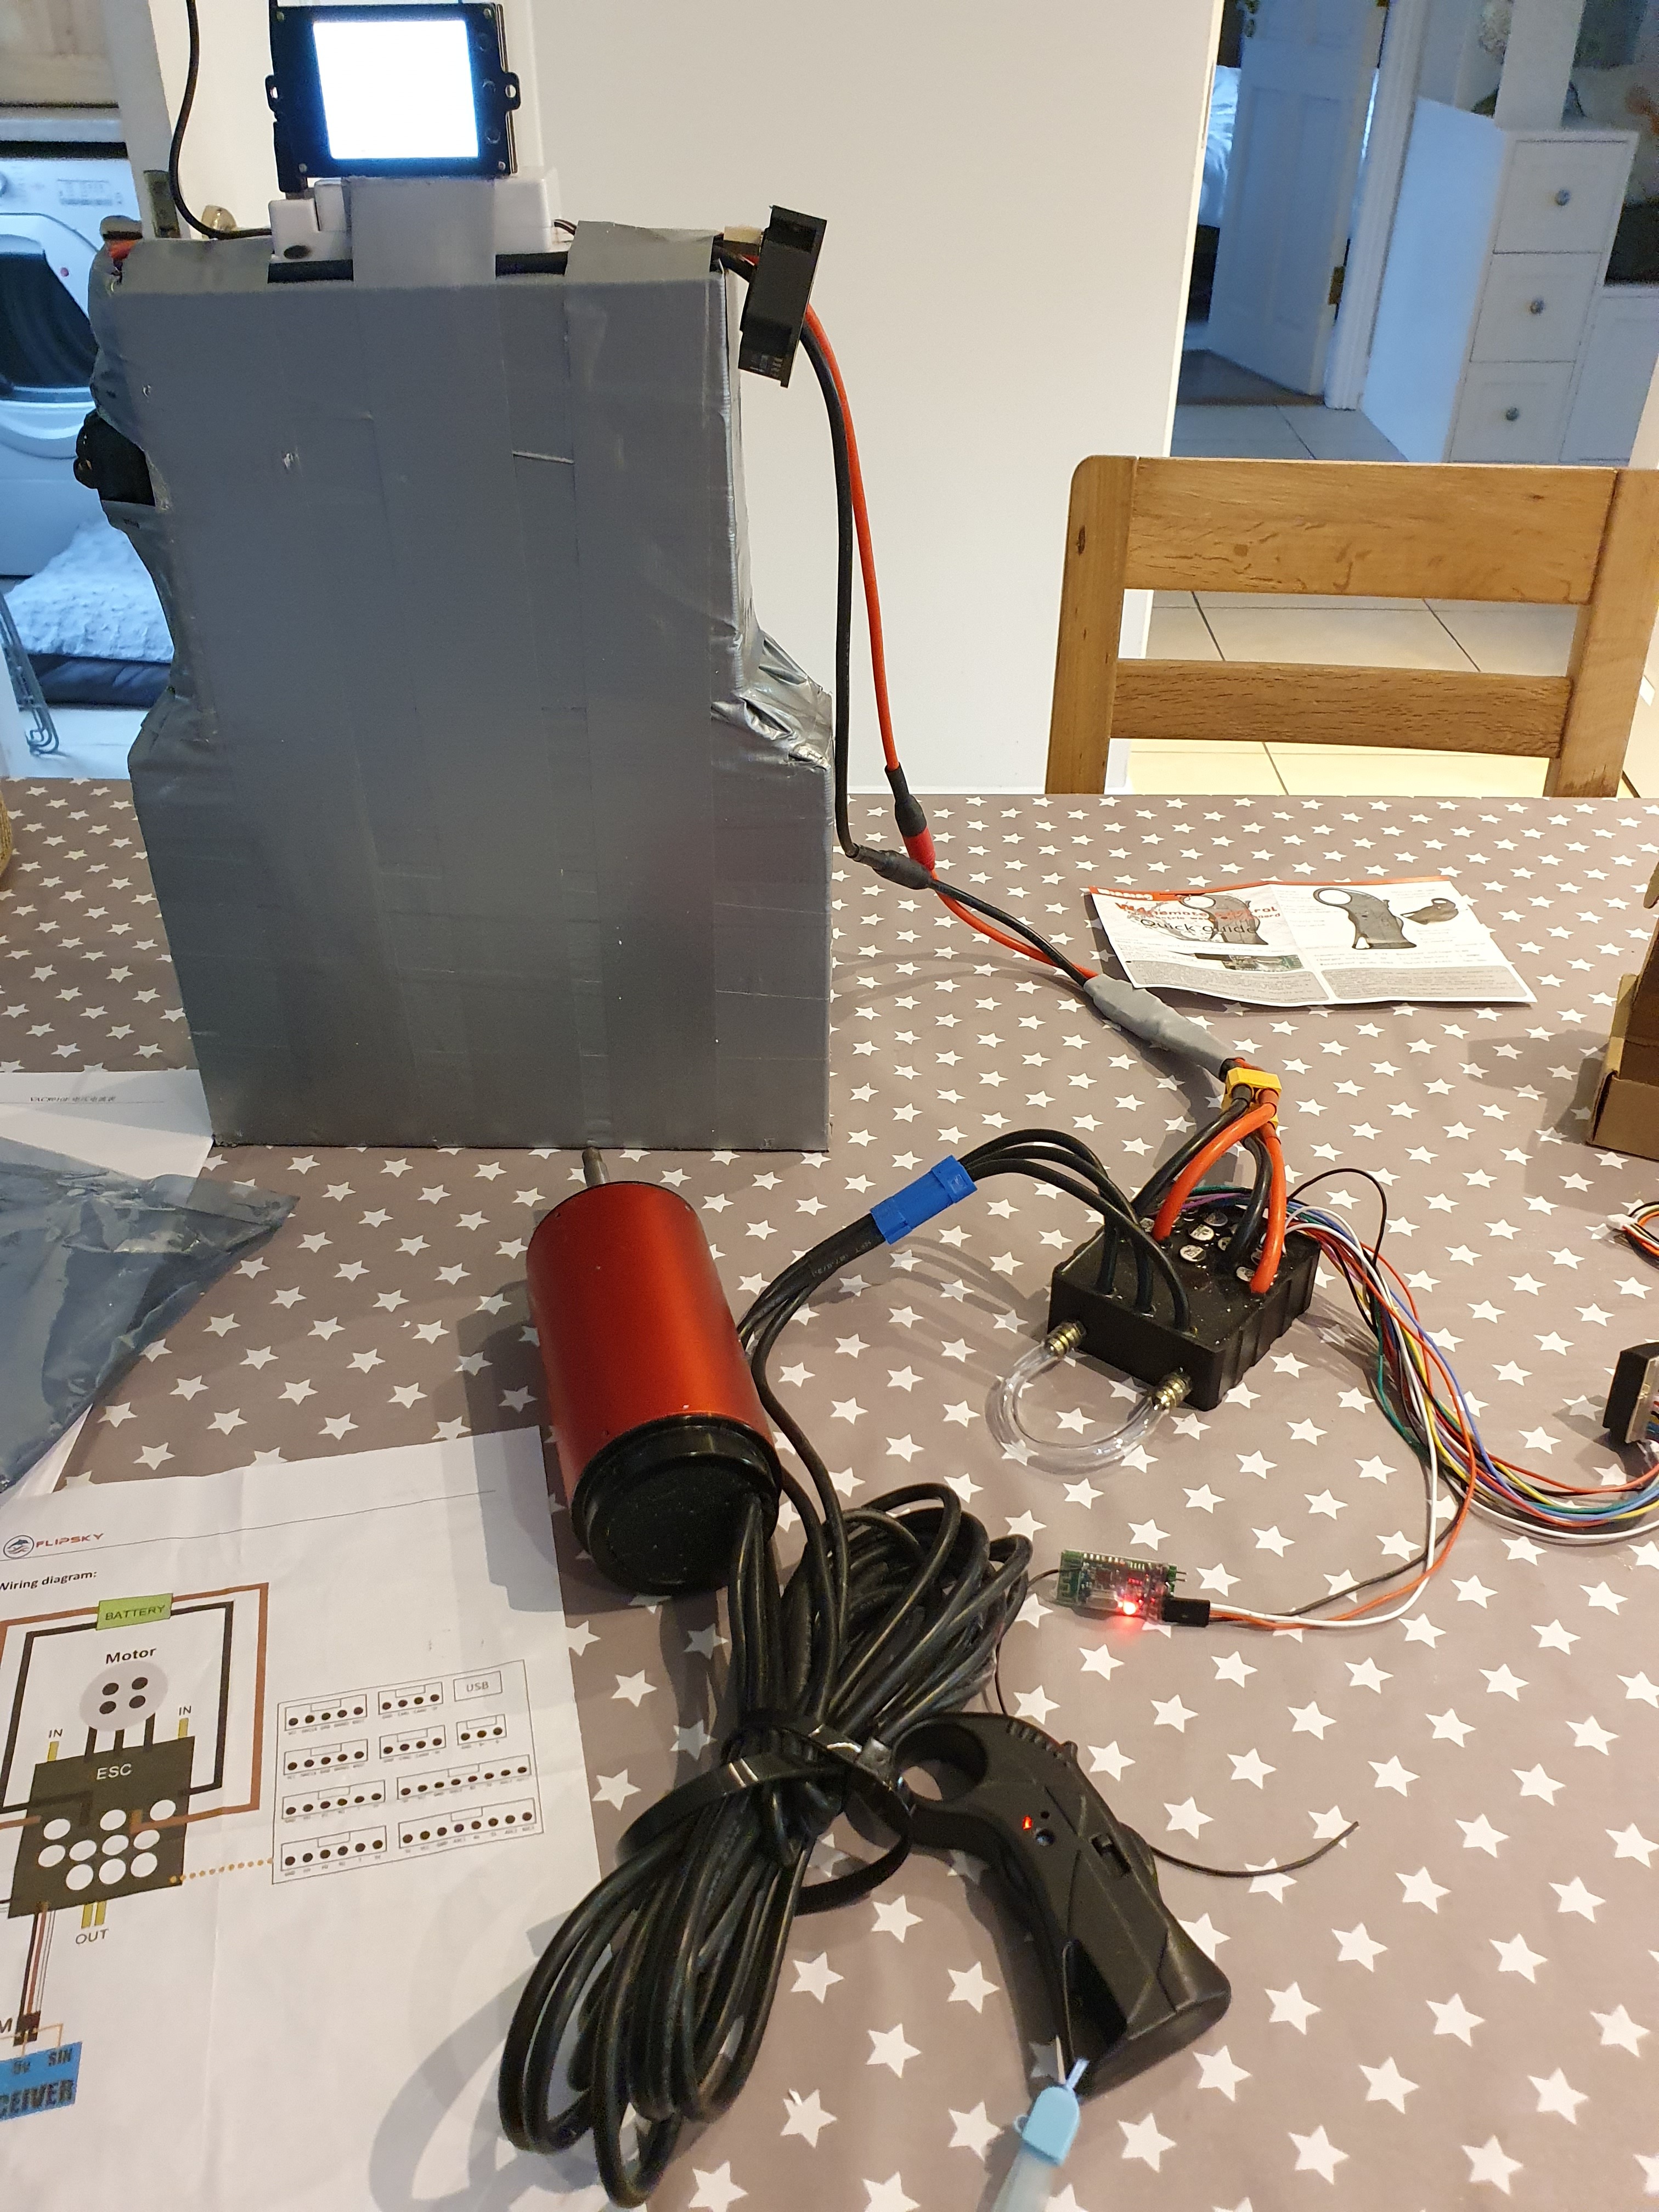
I’ve got the Flipsky 200A FSESC. On the VESC tool on the laptop I followed the guide on the Flipsky technical support item 1. It then stated that I needed to upgrade firmware - for this I went to Flipsky Technical Support and opened guide 4 and followed the instructions which got me to here:
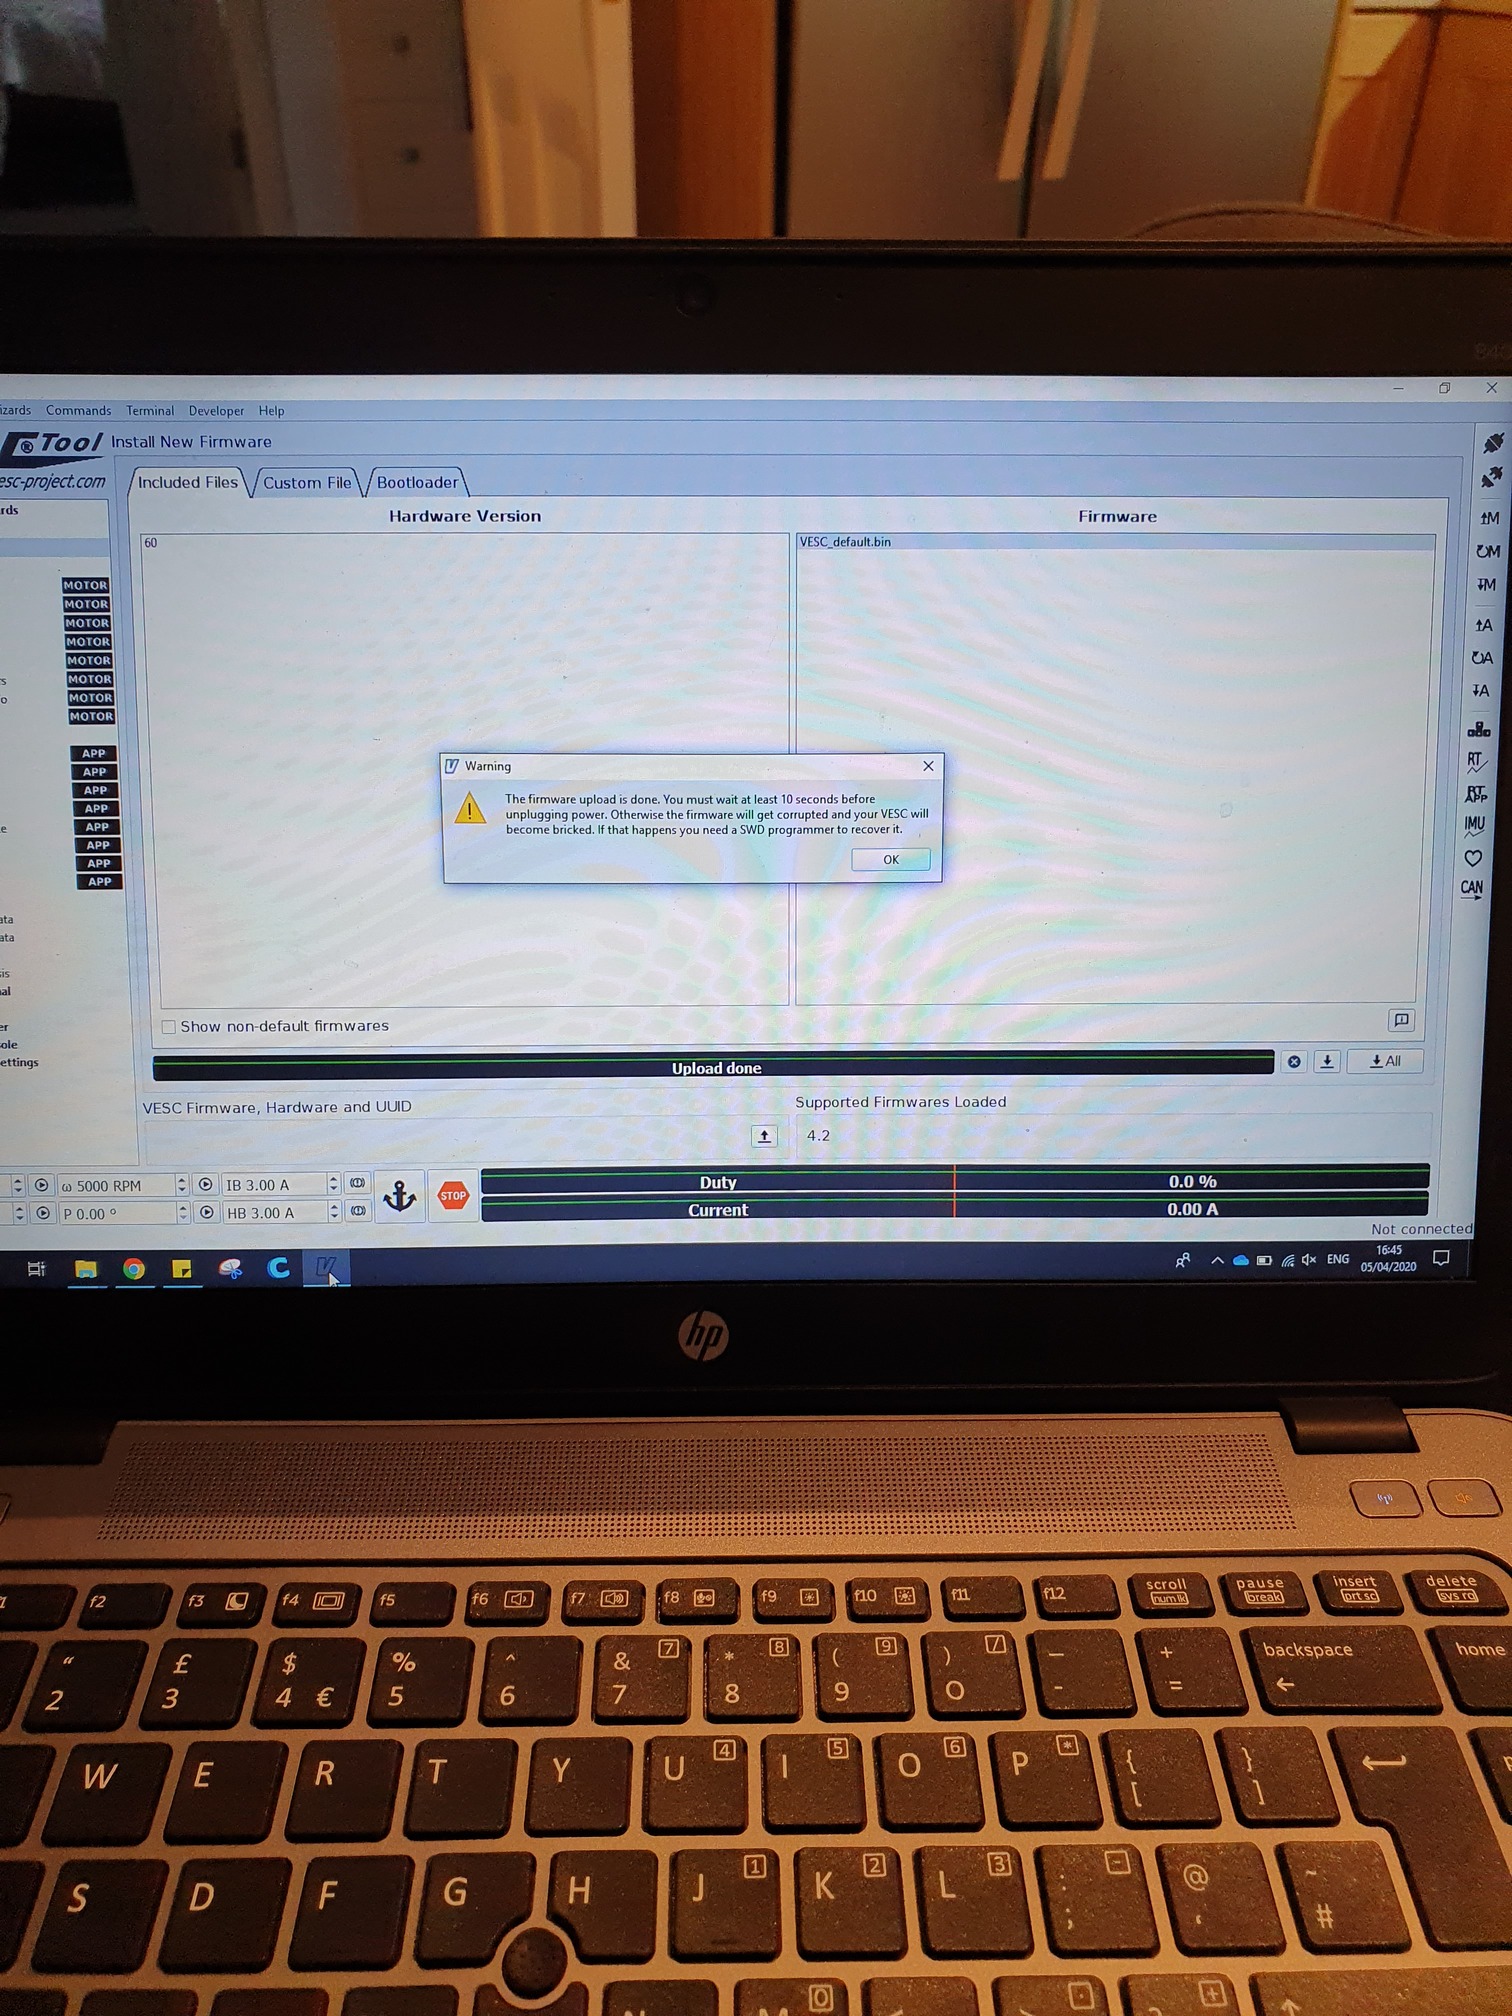
Then I went back and followed guide no 1 again
The guides are really handy and talk you through it - I did come across an issue which
I raised a topic on but I managed to get that sorted (solution on same page) and now I’m onto the motor set up. I do need a bit of guidance on items such as what to set my MP70131 Motor Parameters and my Battery Parameters to but at the minute I’ve set them to the below jsut to get the motor spinning.
- Motor Current Max: 120A
- Motor Current Max Break: 0A
- Battery Max Current: 79A
- Battery Max Current Break: 0A
I’ve set the voltage limits to:
- Battery Voltage Cutoff Start: 47.6V
- Battery Voltage Cutoff End: 43.4V
I then selected No Sensor (Sensorless) and I’m then brought onto the ‘Motor Detect and Calculate Parameters’ section. When I click the calculate button I get a ever increasing hum from the motor along with 10 increasing clicks before it cuts out and I get the “R is 0. Please measre it first” error and the L figure goes green as per the below.
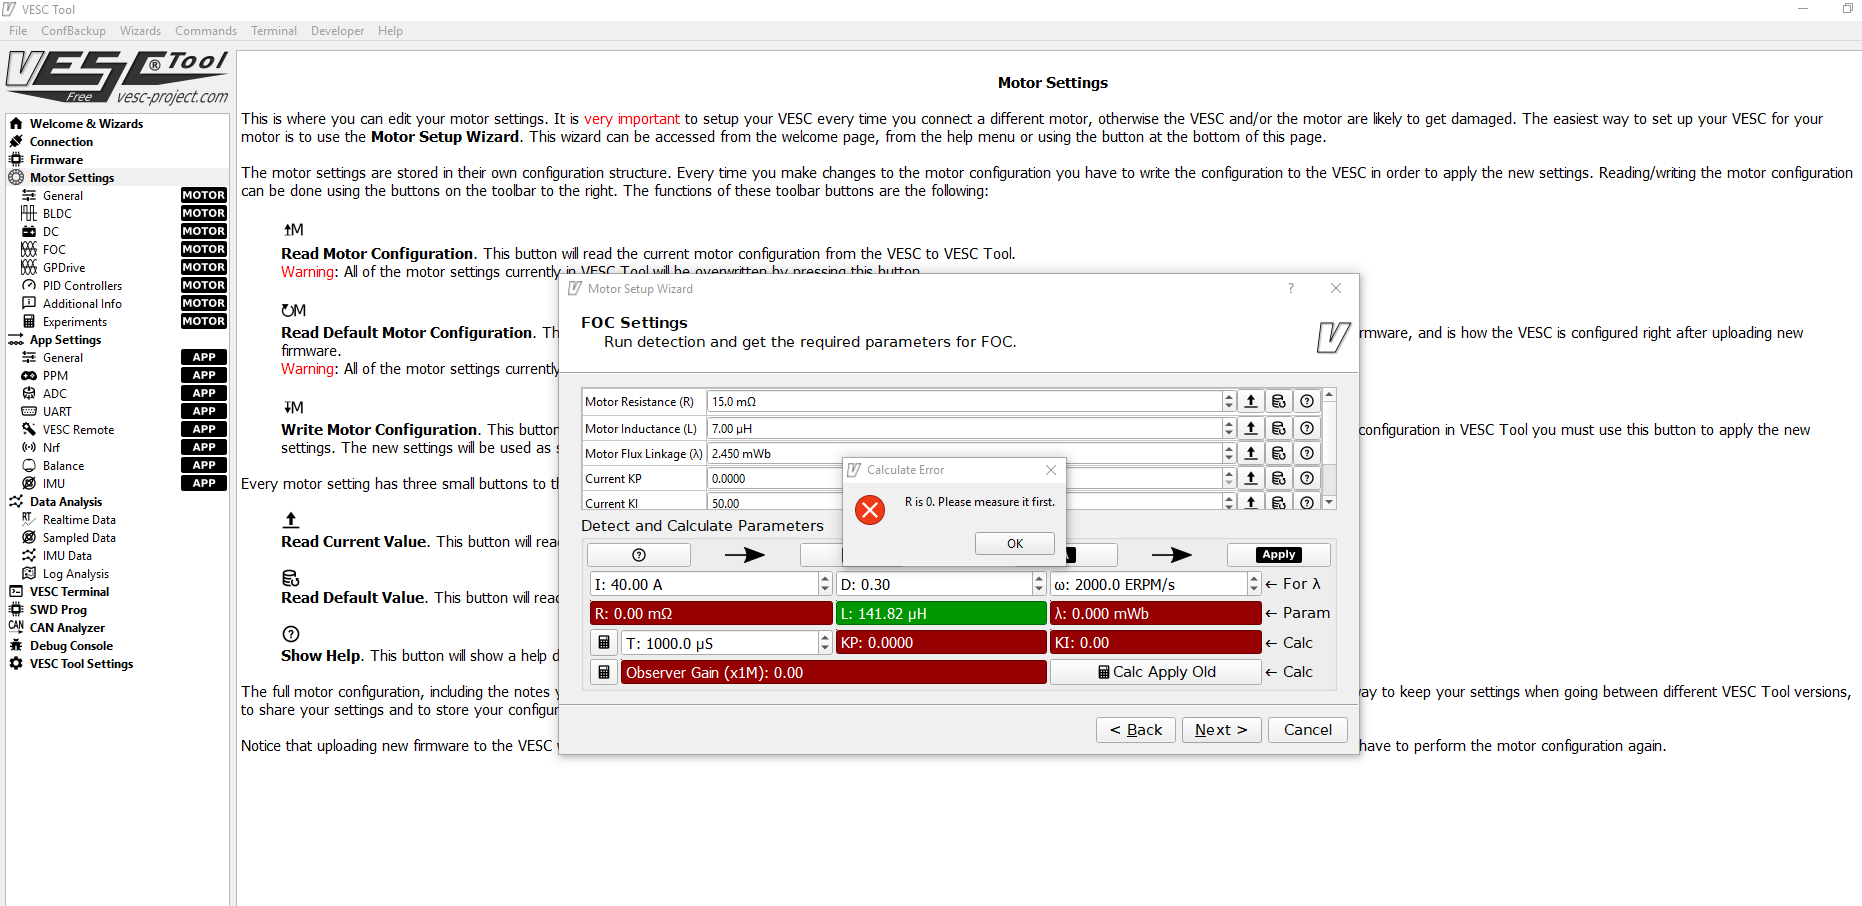
This is where i’m currently stuck. Will update once I get a resolution!
So I managed to get unstuck and get the motor turning! More on the issue and solution is over at VESC Tool - “R is 0” Error. Im still getting awful throttle response but Ive moved away from it for a break and having a think.
Taking on board some points that were raised and dropling my battery to 13S (@SoEFoil, @Sliman_O, @tylerclark, @Alexandre , @MAC, @Flightjunkie, @Bevo will all be glad to hear) so more on that over the coming days. I’ve also found some 12V led strips around the place from a previous project so I’ve bought a 5V DC to 12V DC Converter to run it and I’ll try integrate them in some form.
I’ve gone off and got the flipsky bluetooth module for the VESC Tool and i also picked up a BMS which I wasnt planning on but again it was probably an oversight not having it from the start. Currently undecided if I’ll run it for just charging or not. So ya, I’m doing U turns left right and centre at this point when I had hoped to be all closed off but sure look, isn’t that all part of the fun!
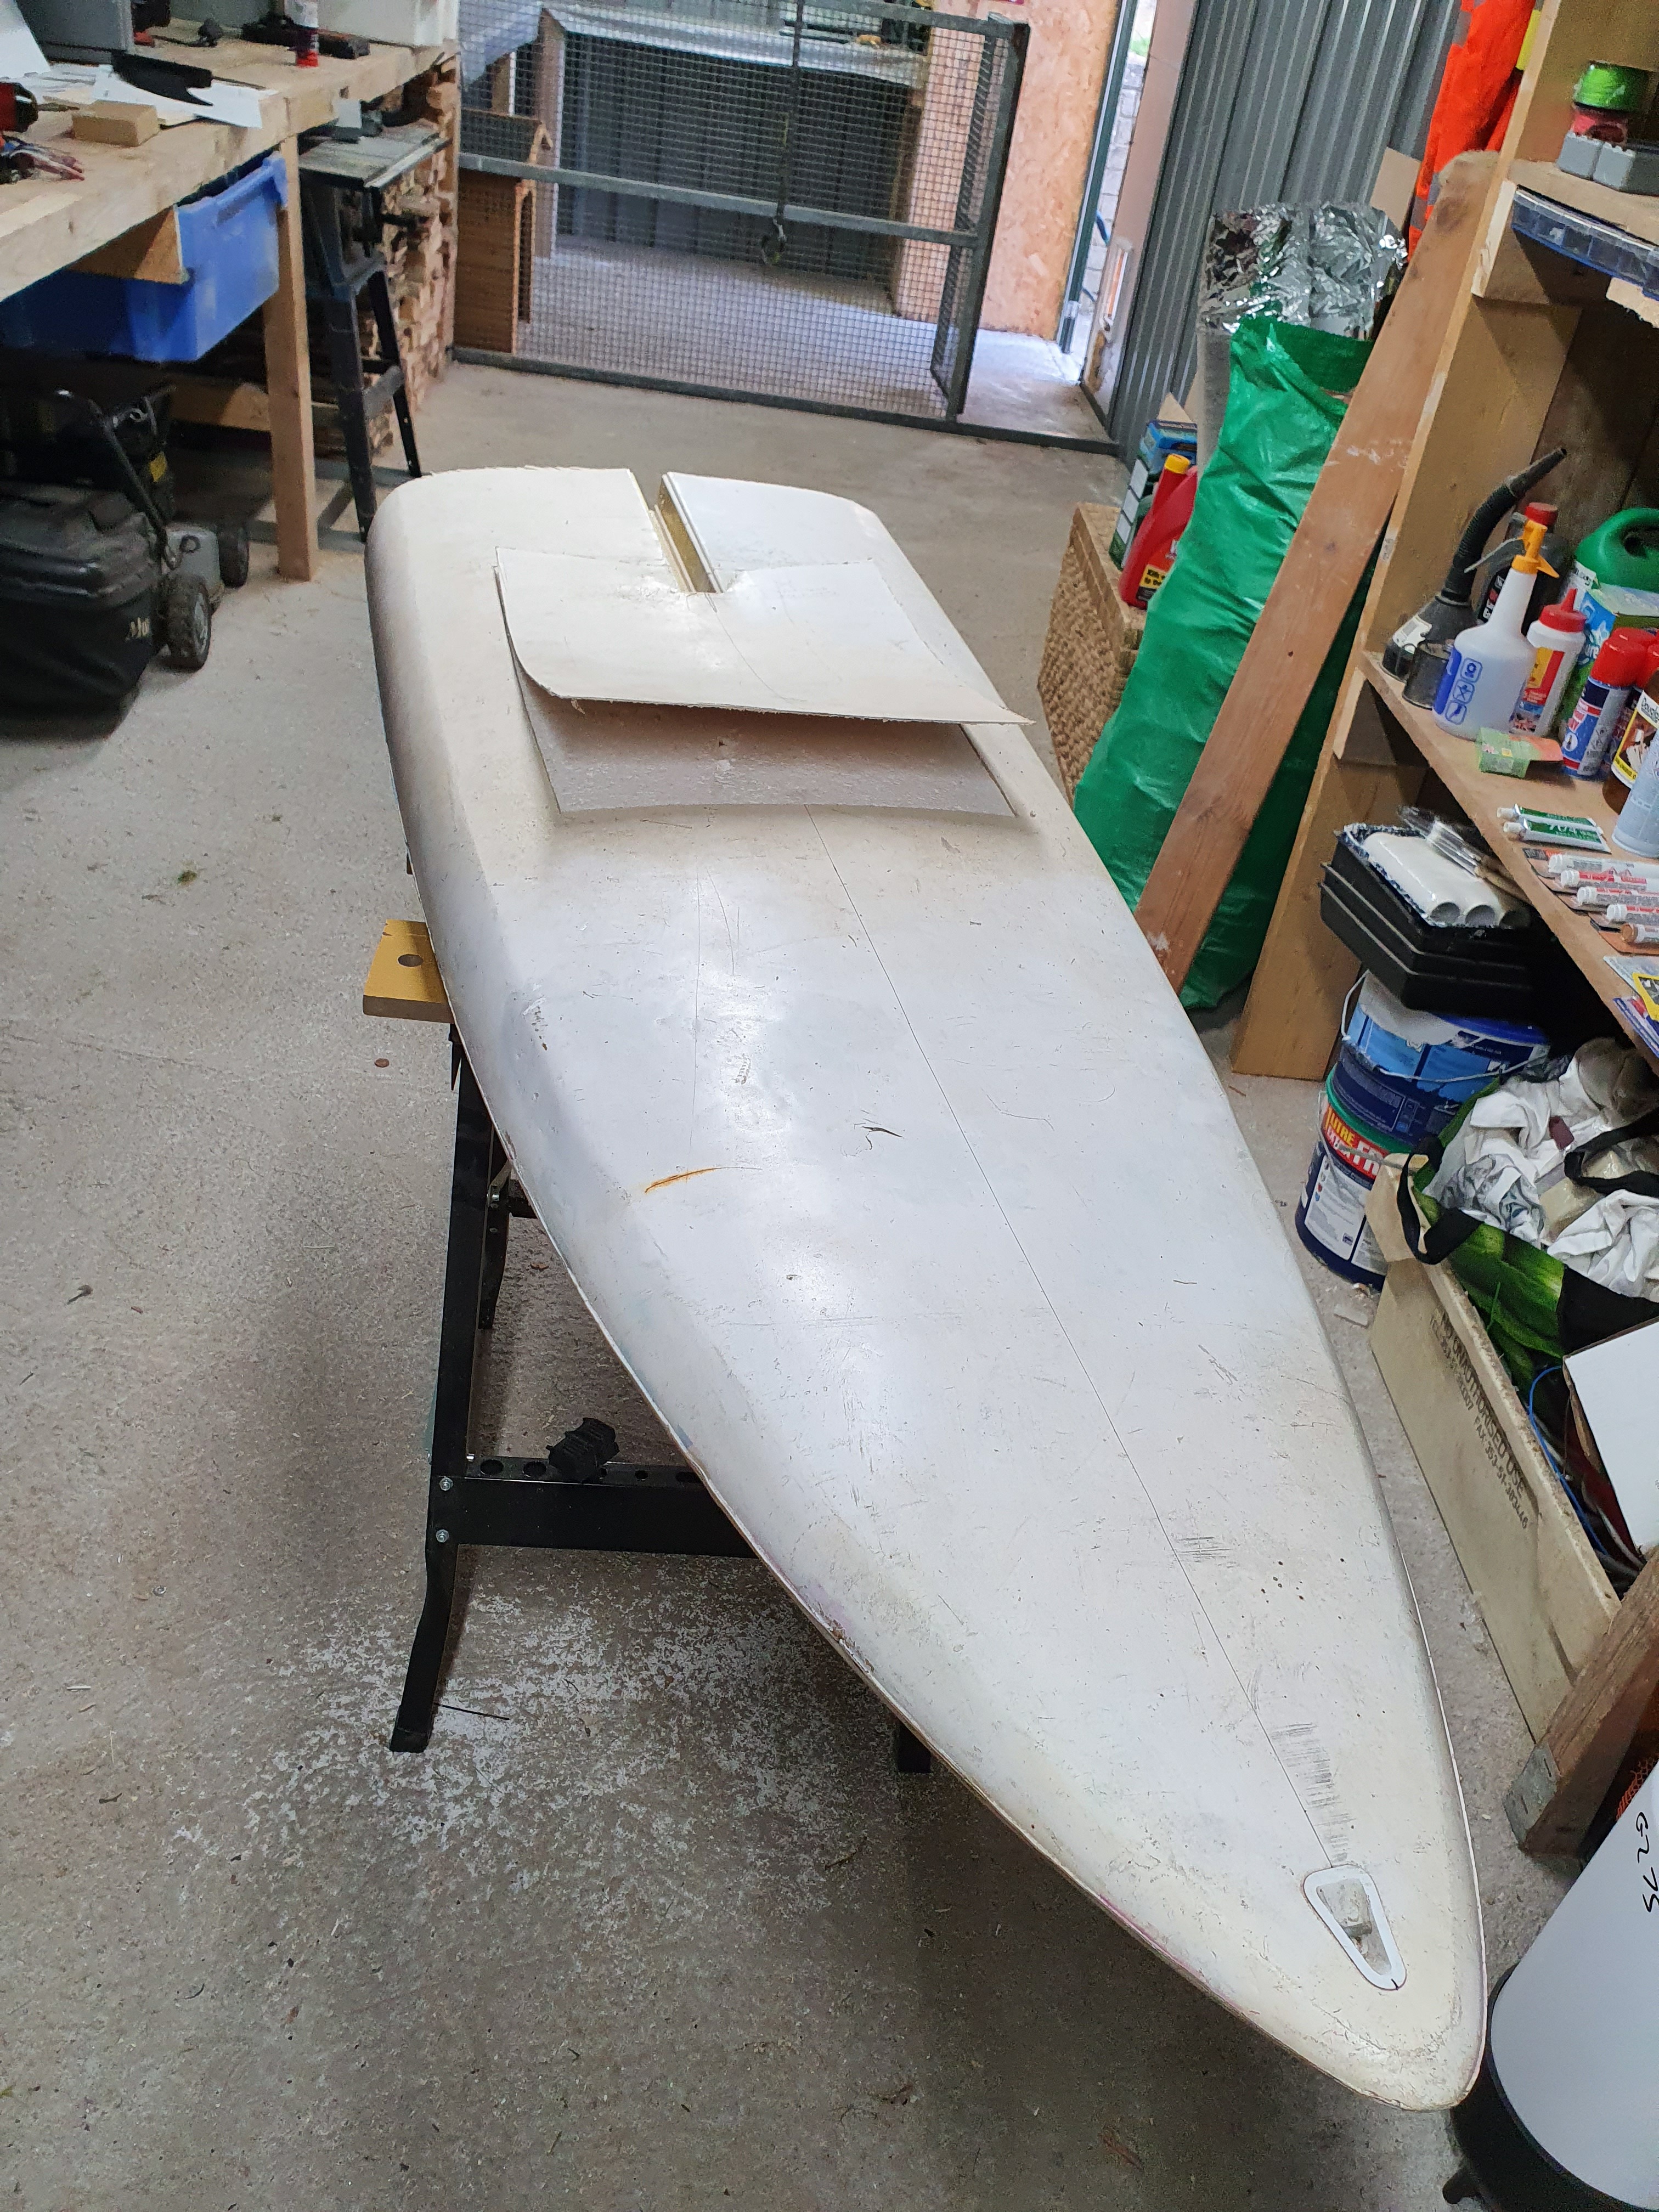
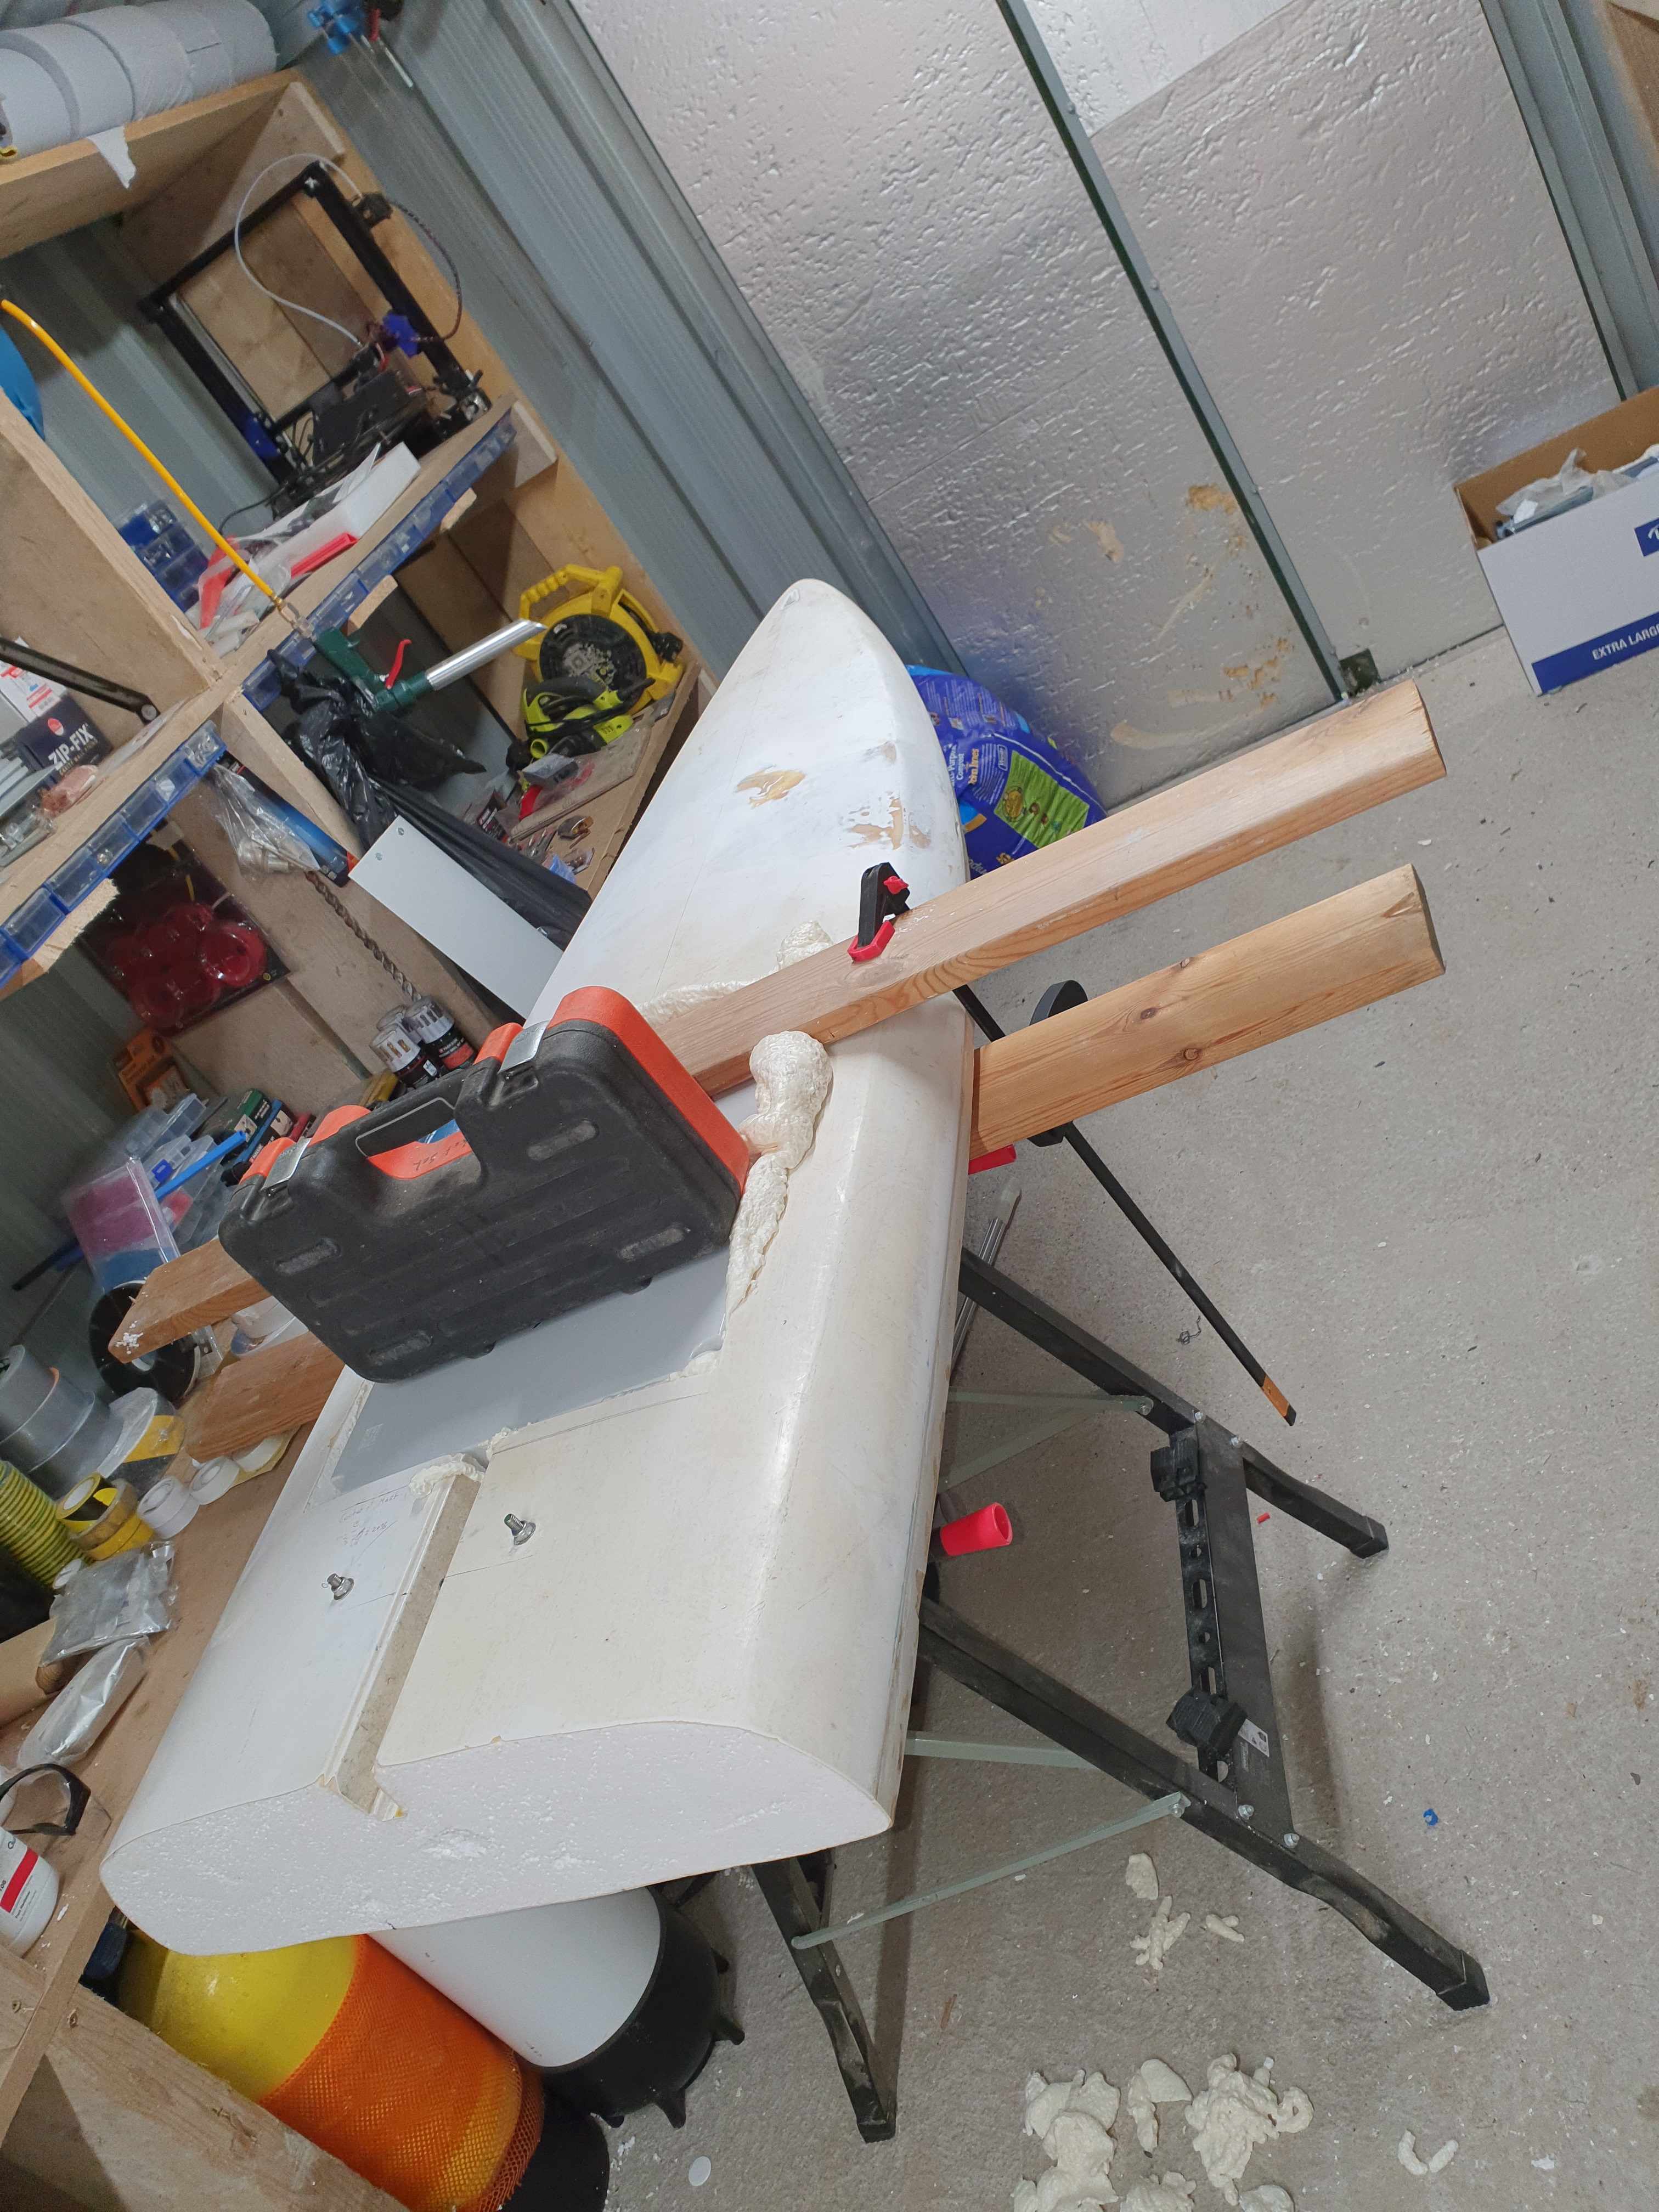
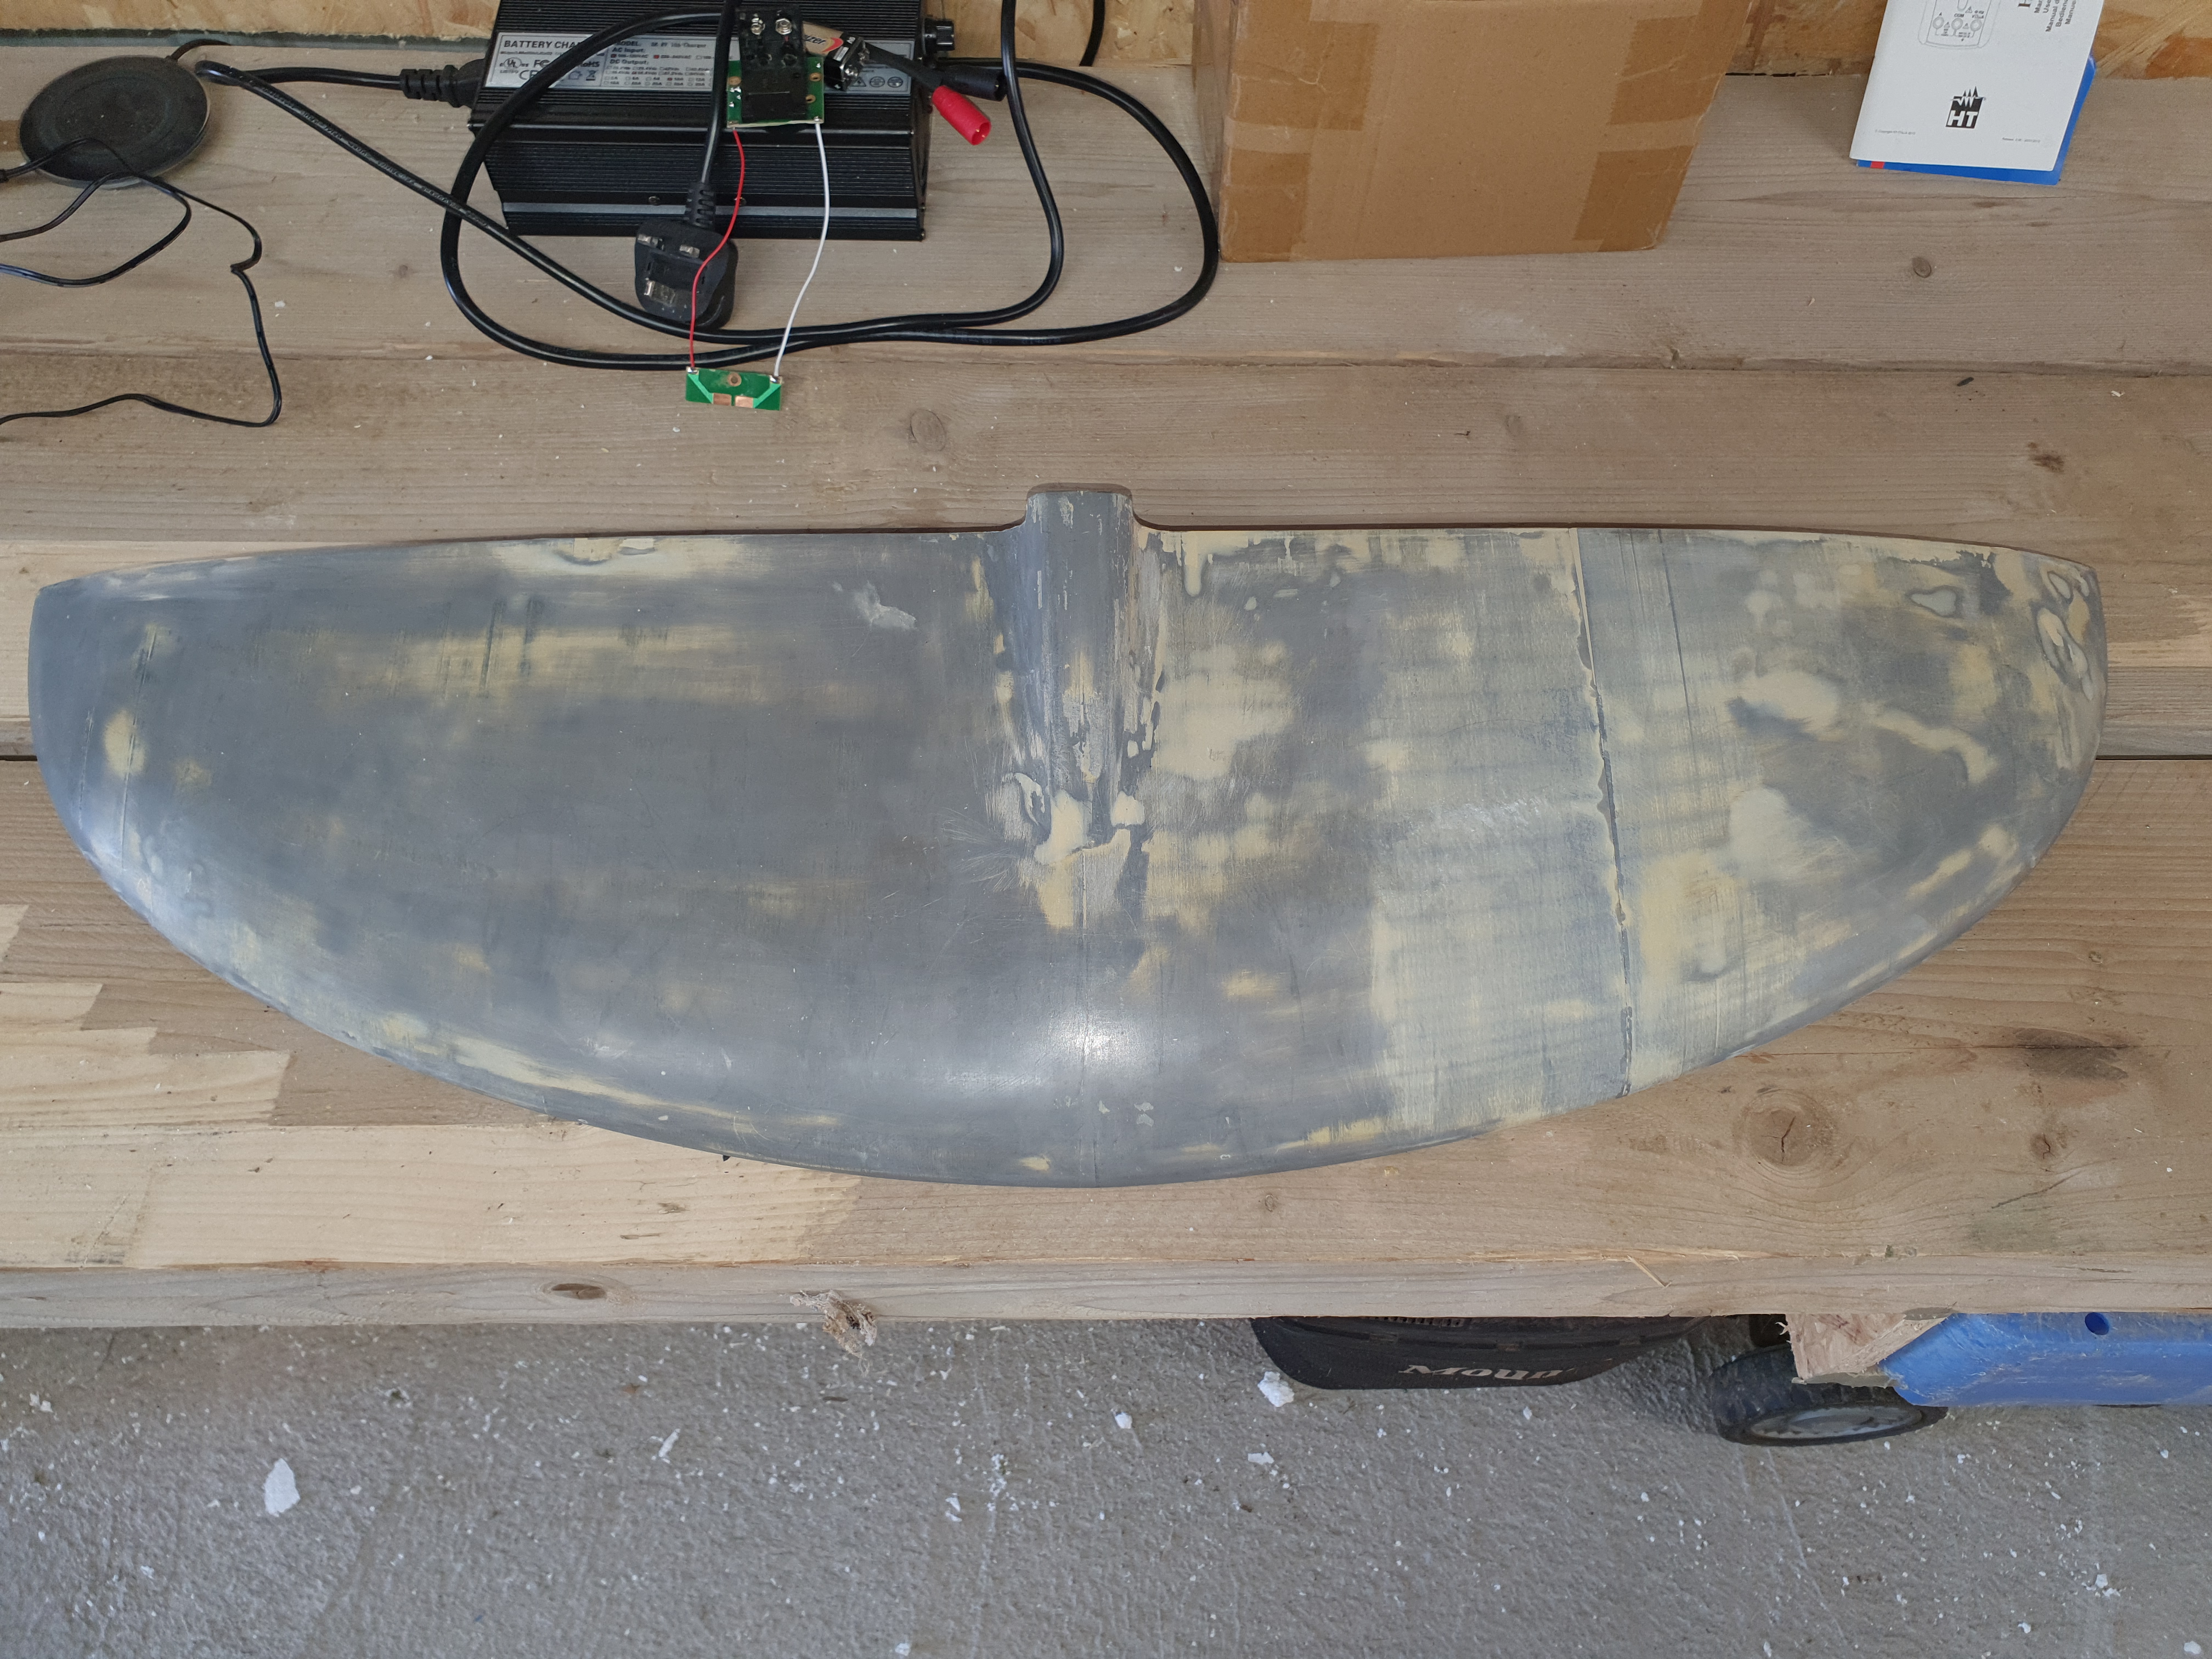
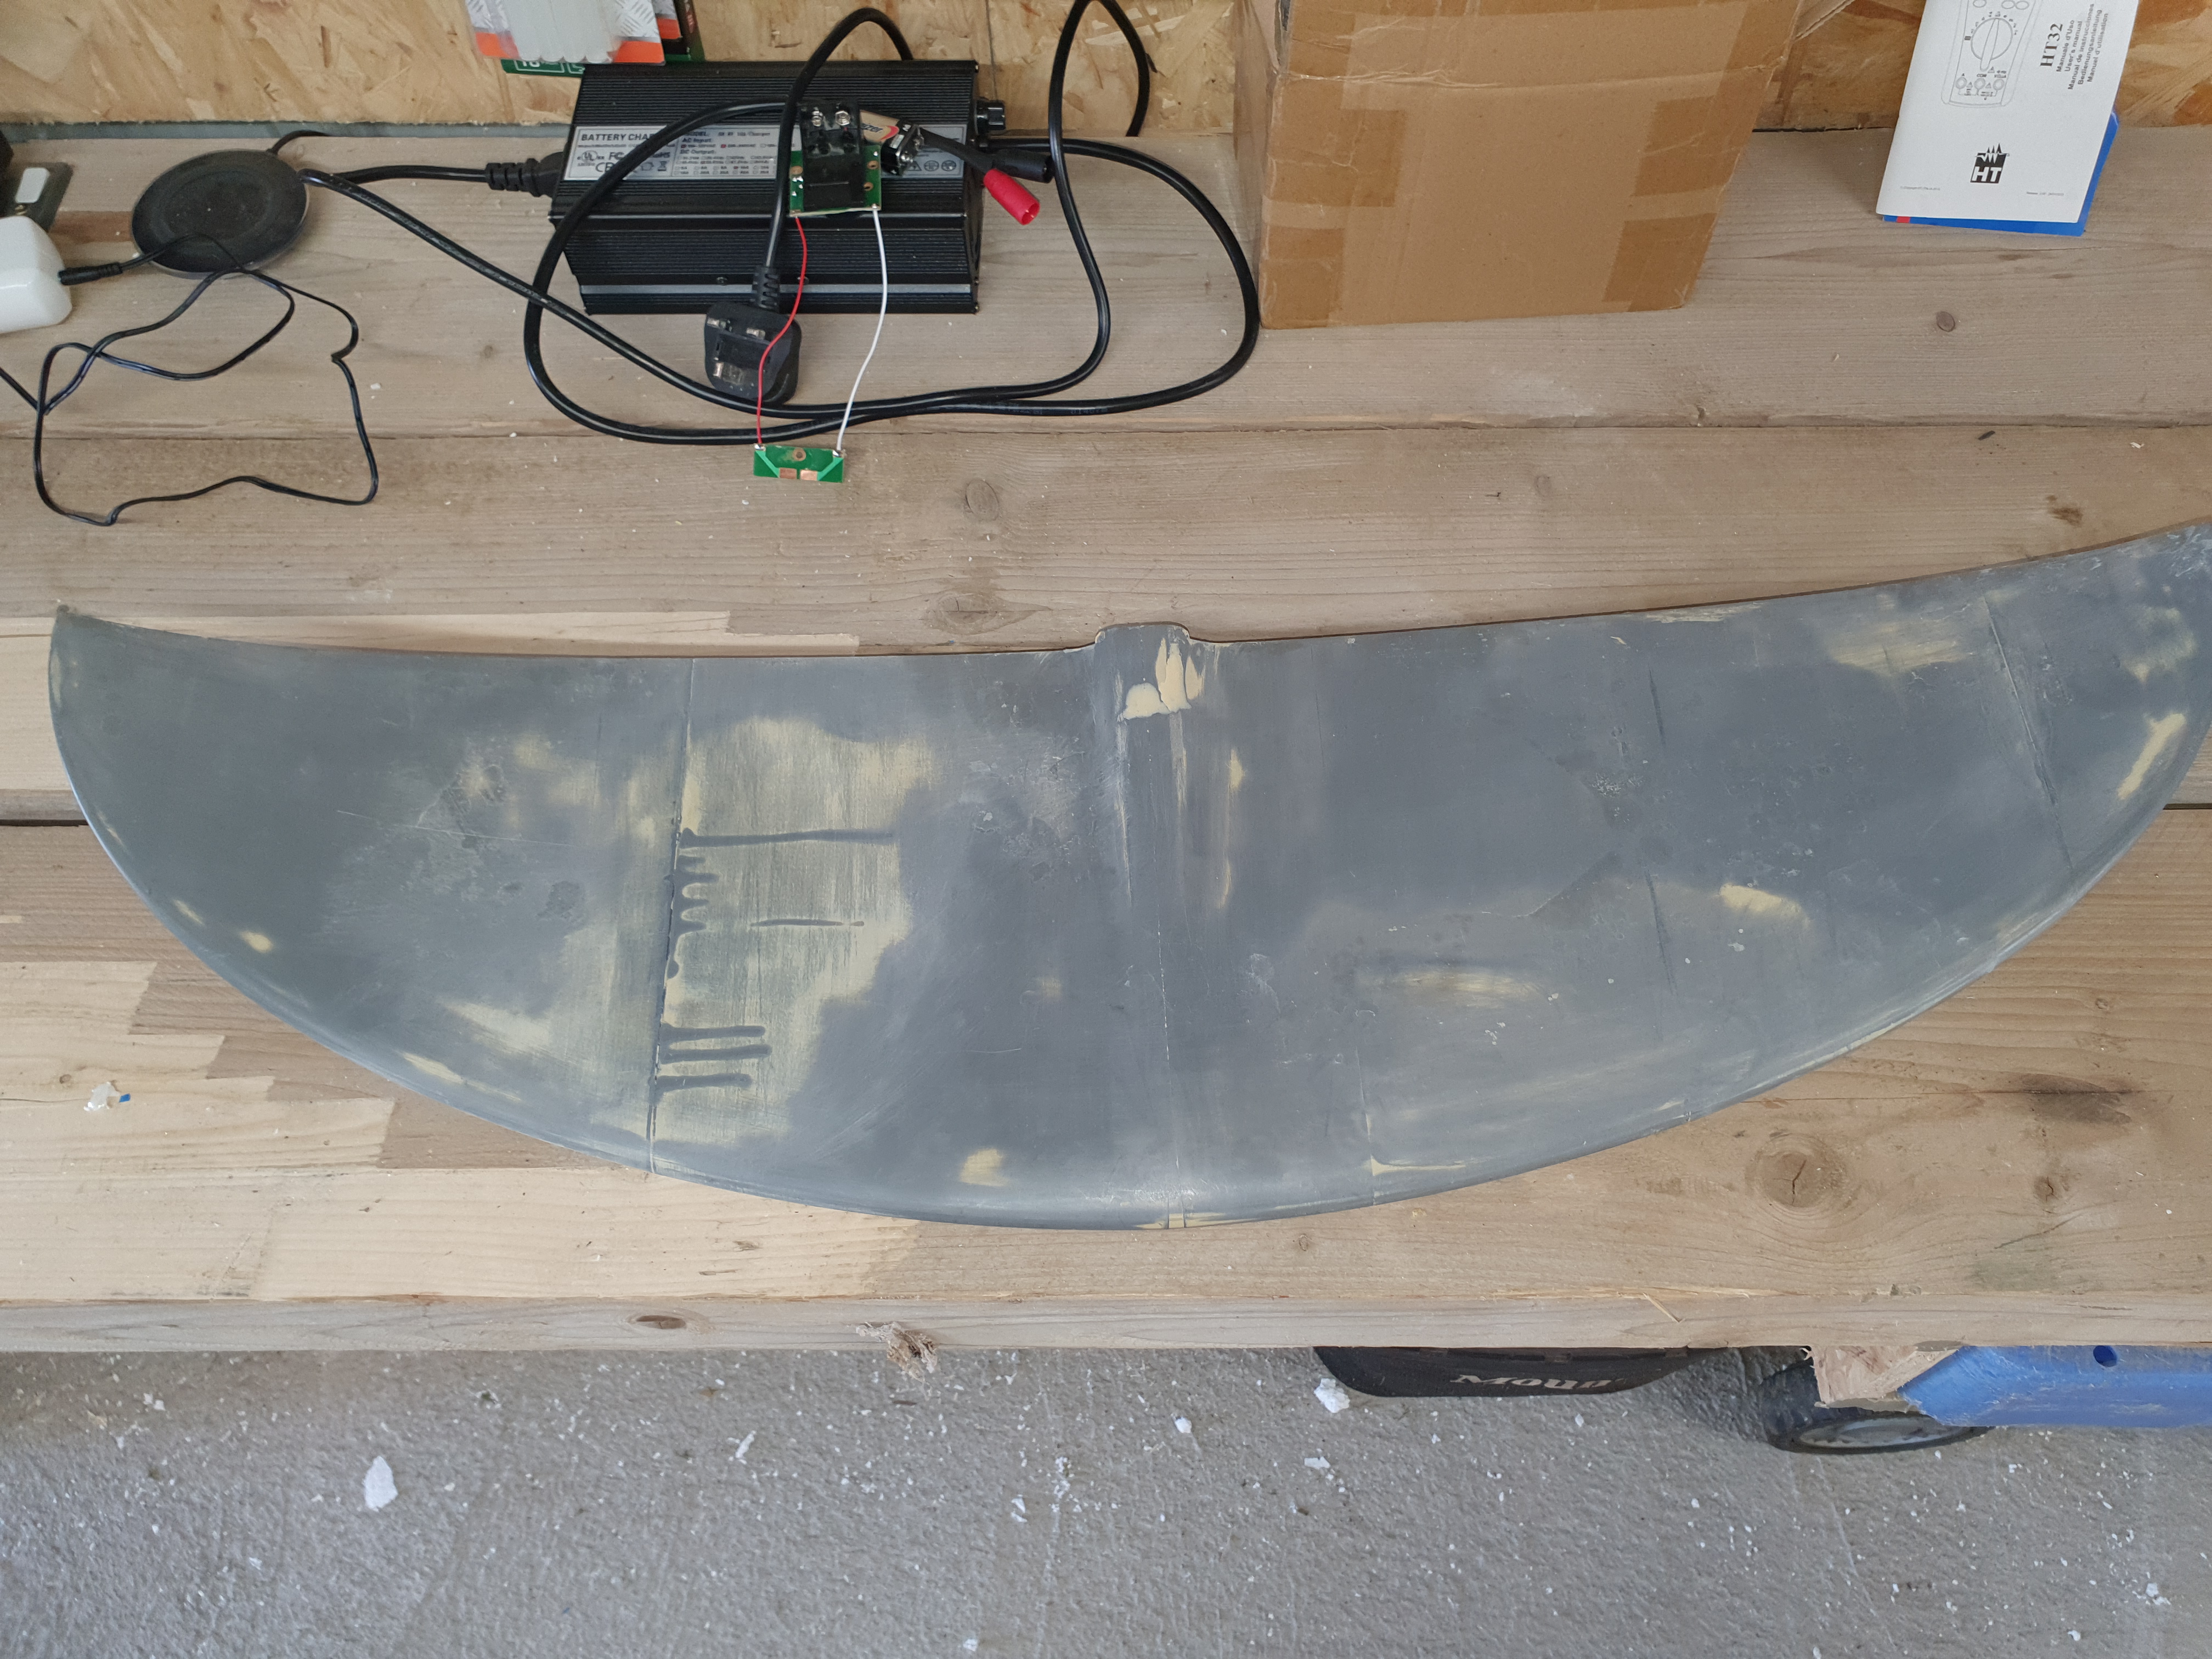
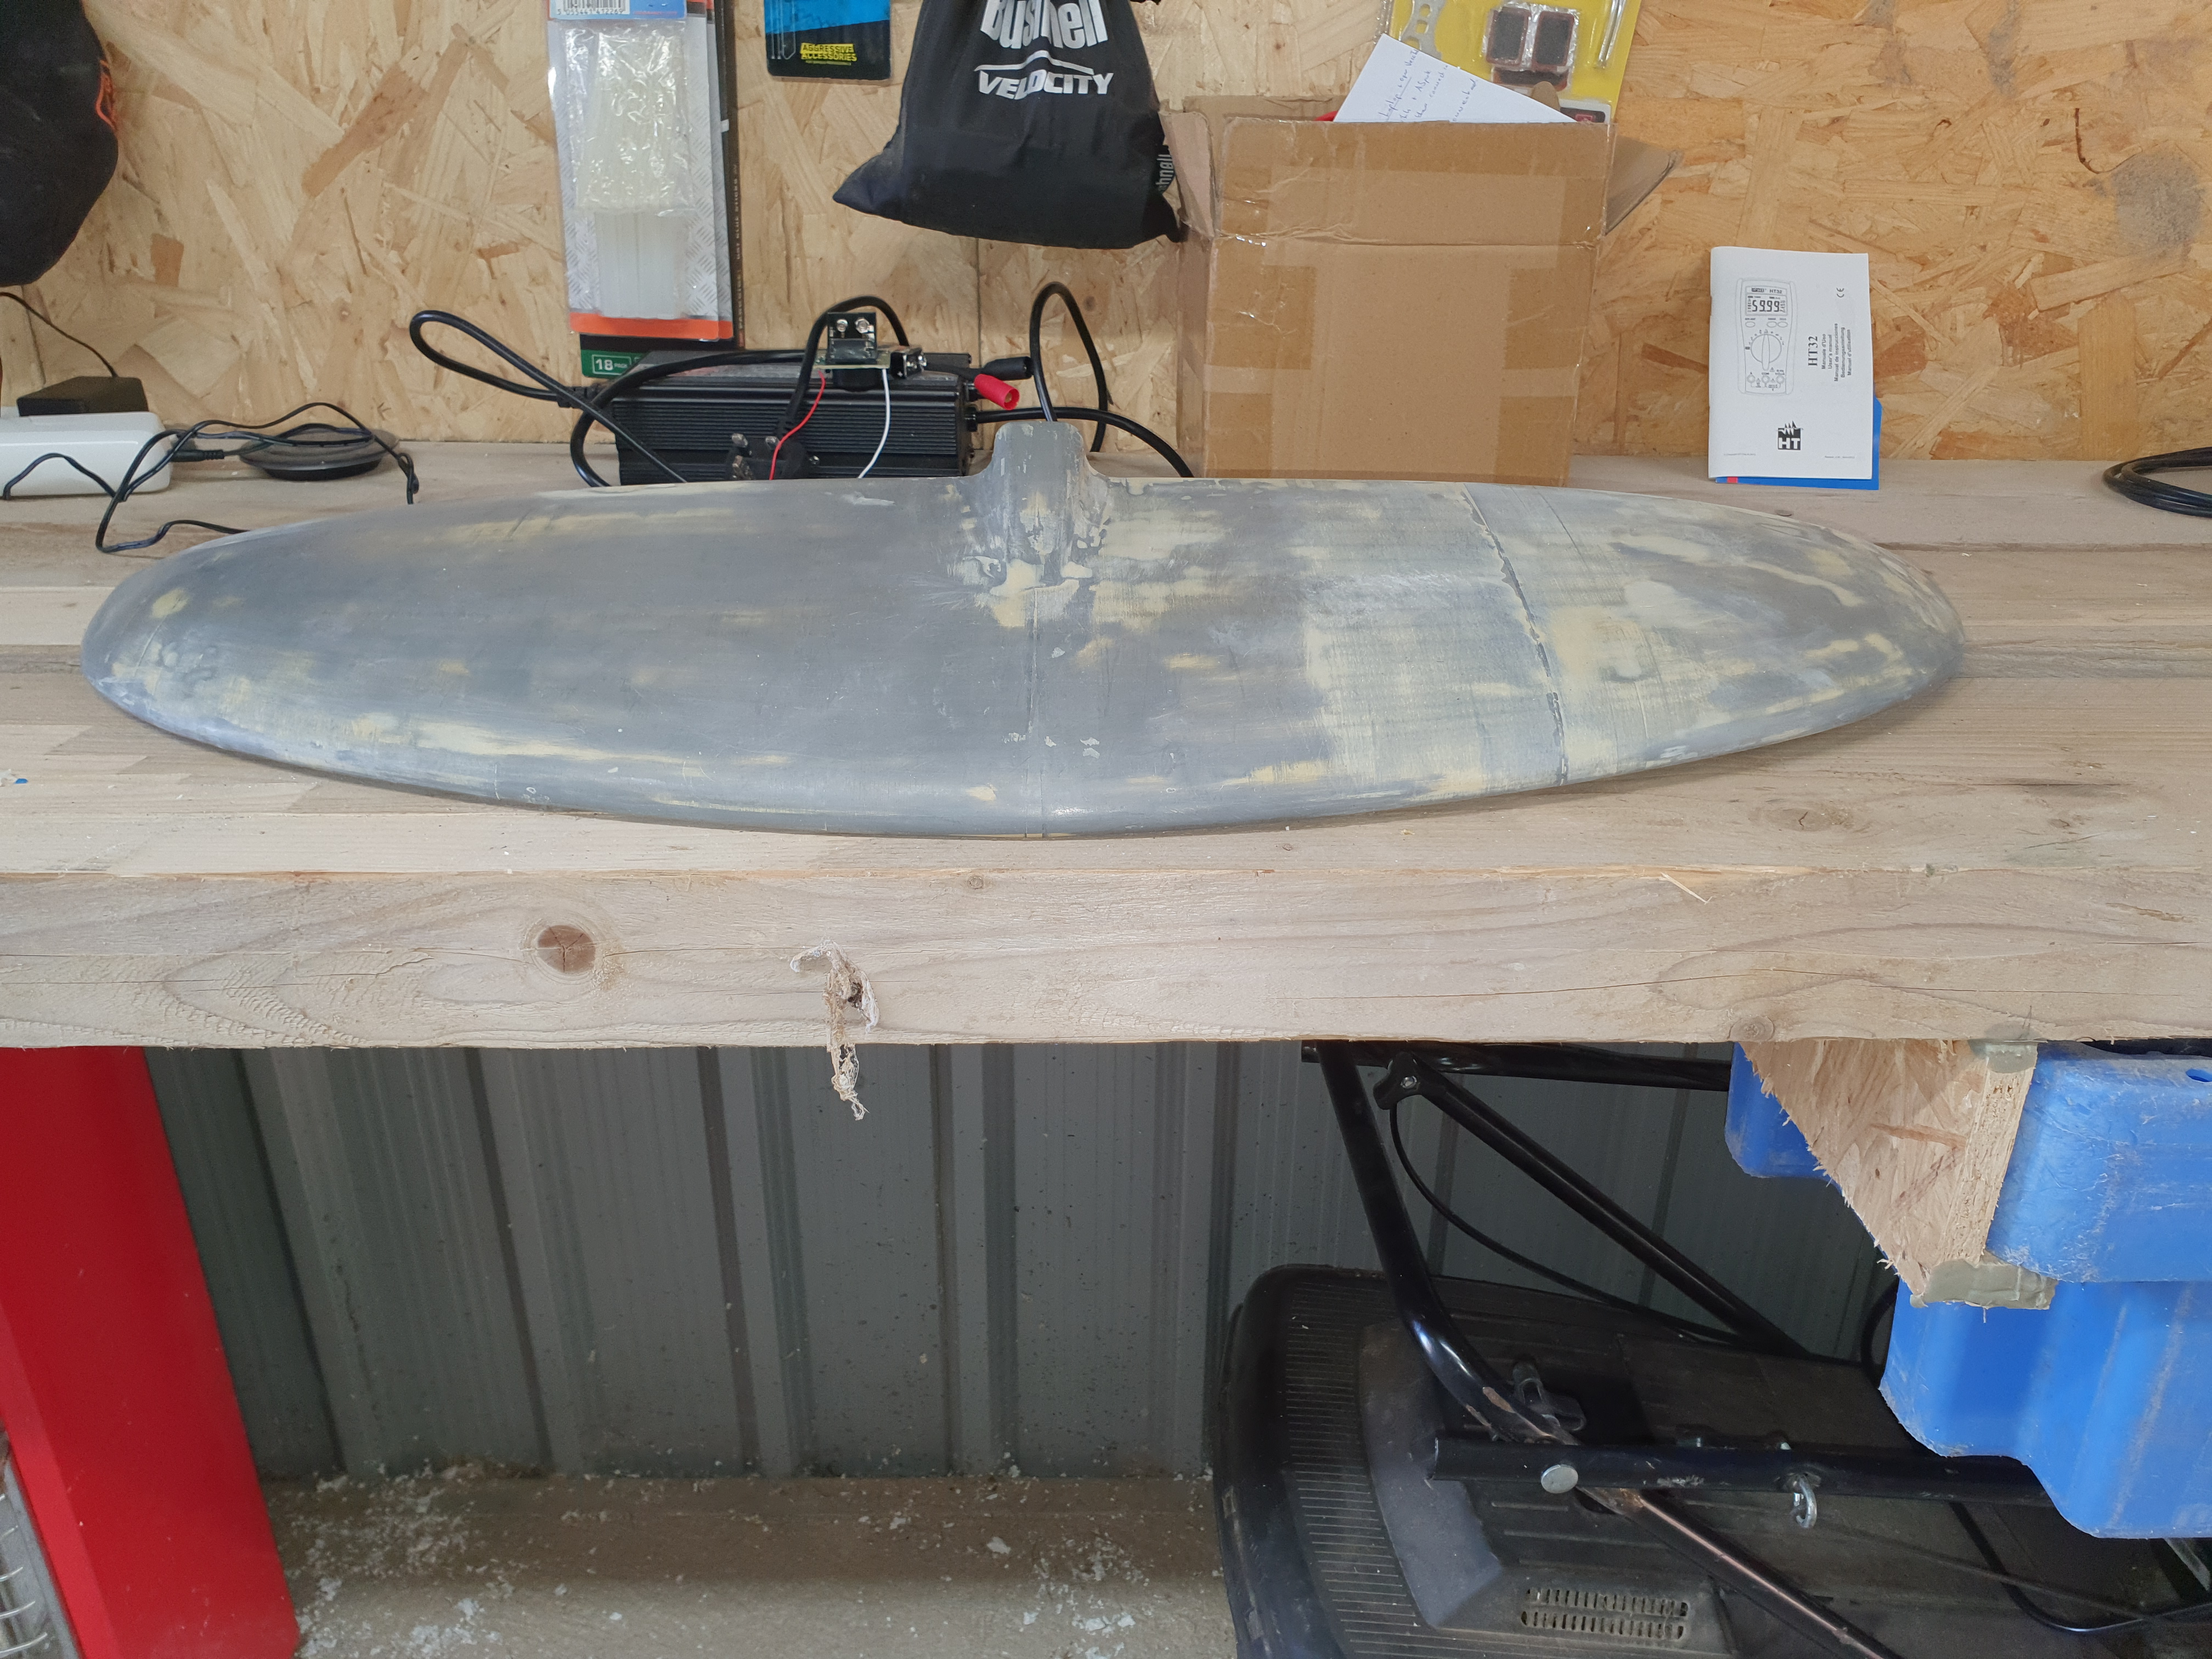
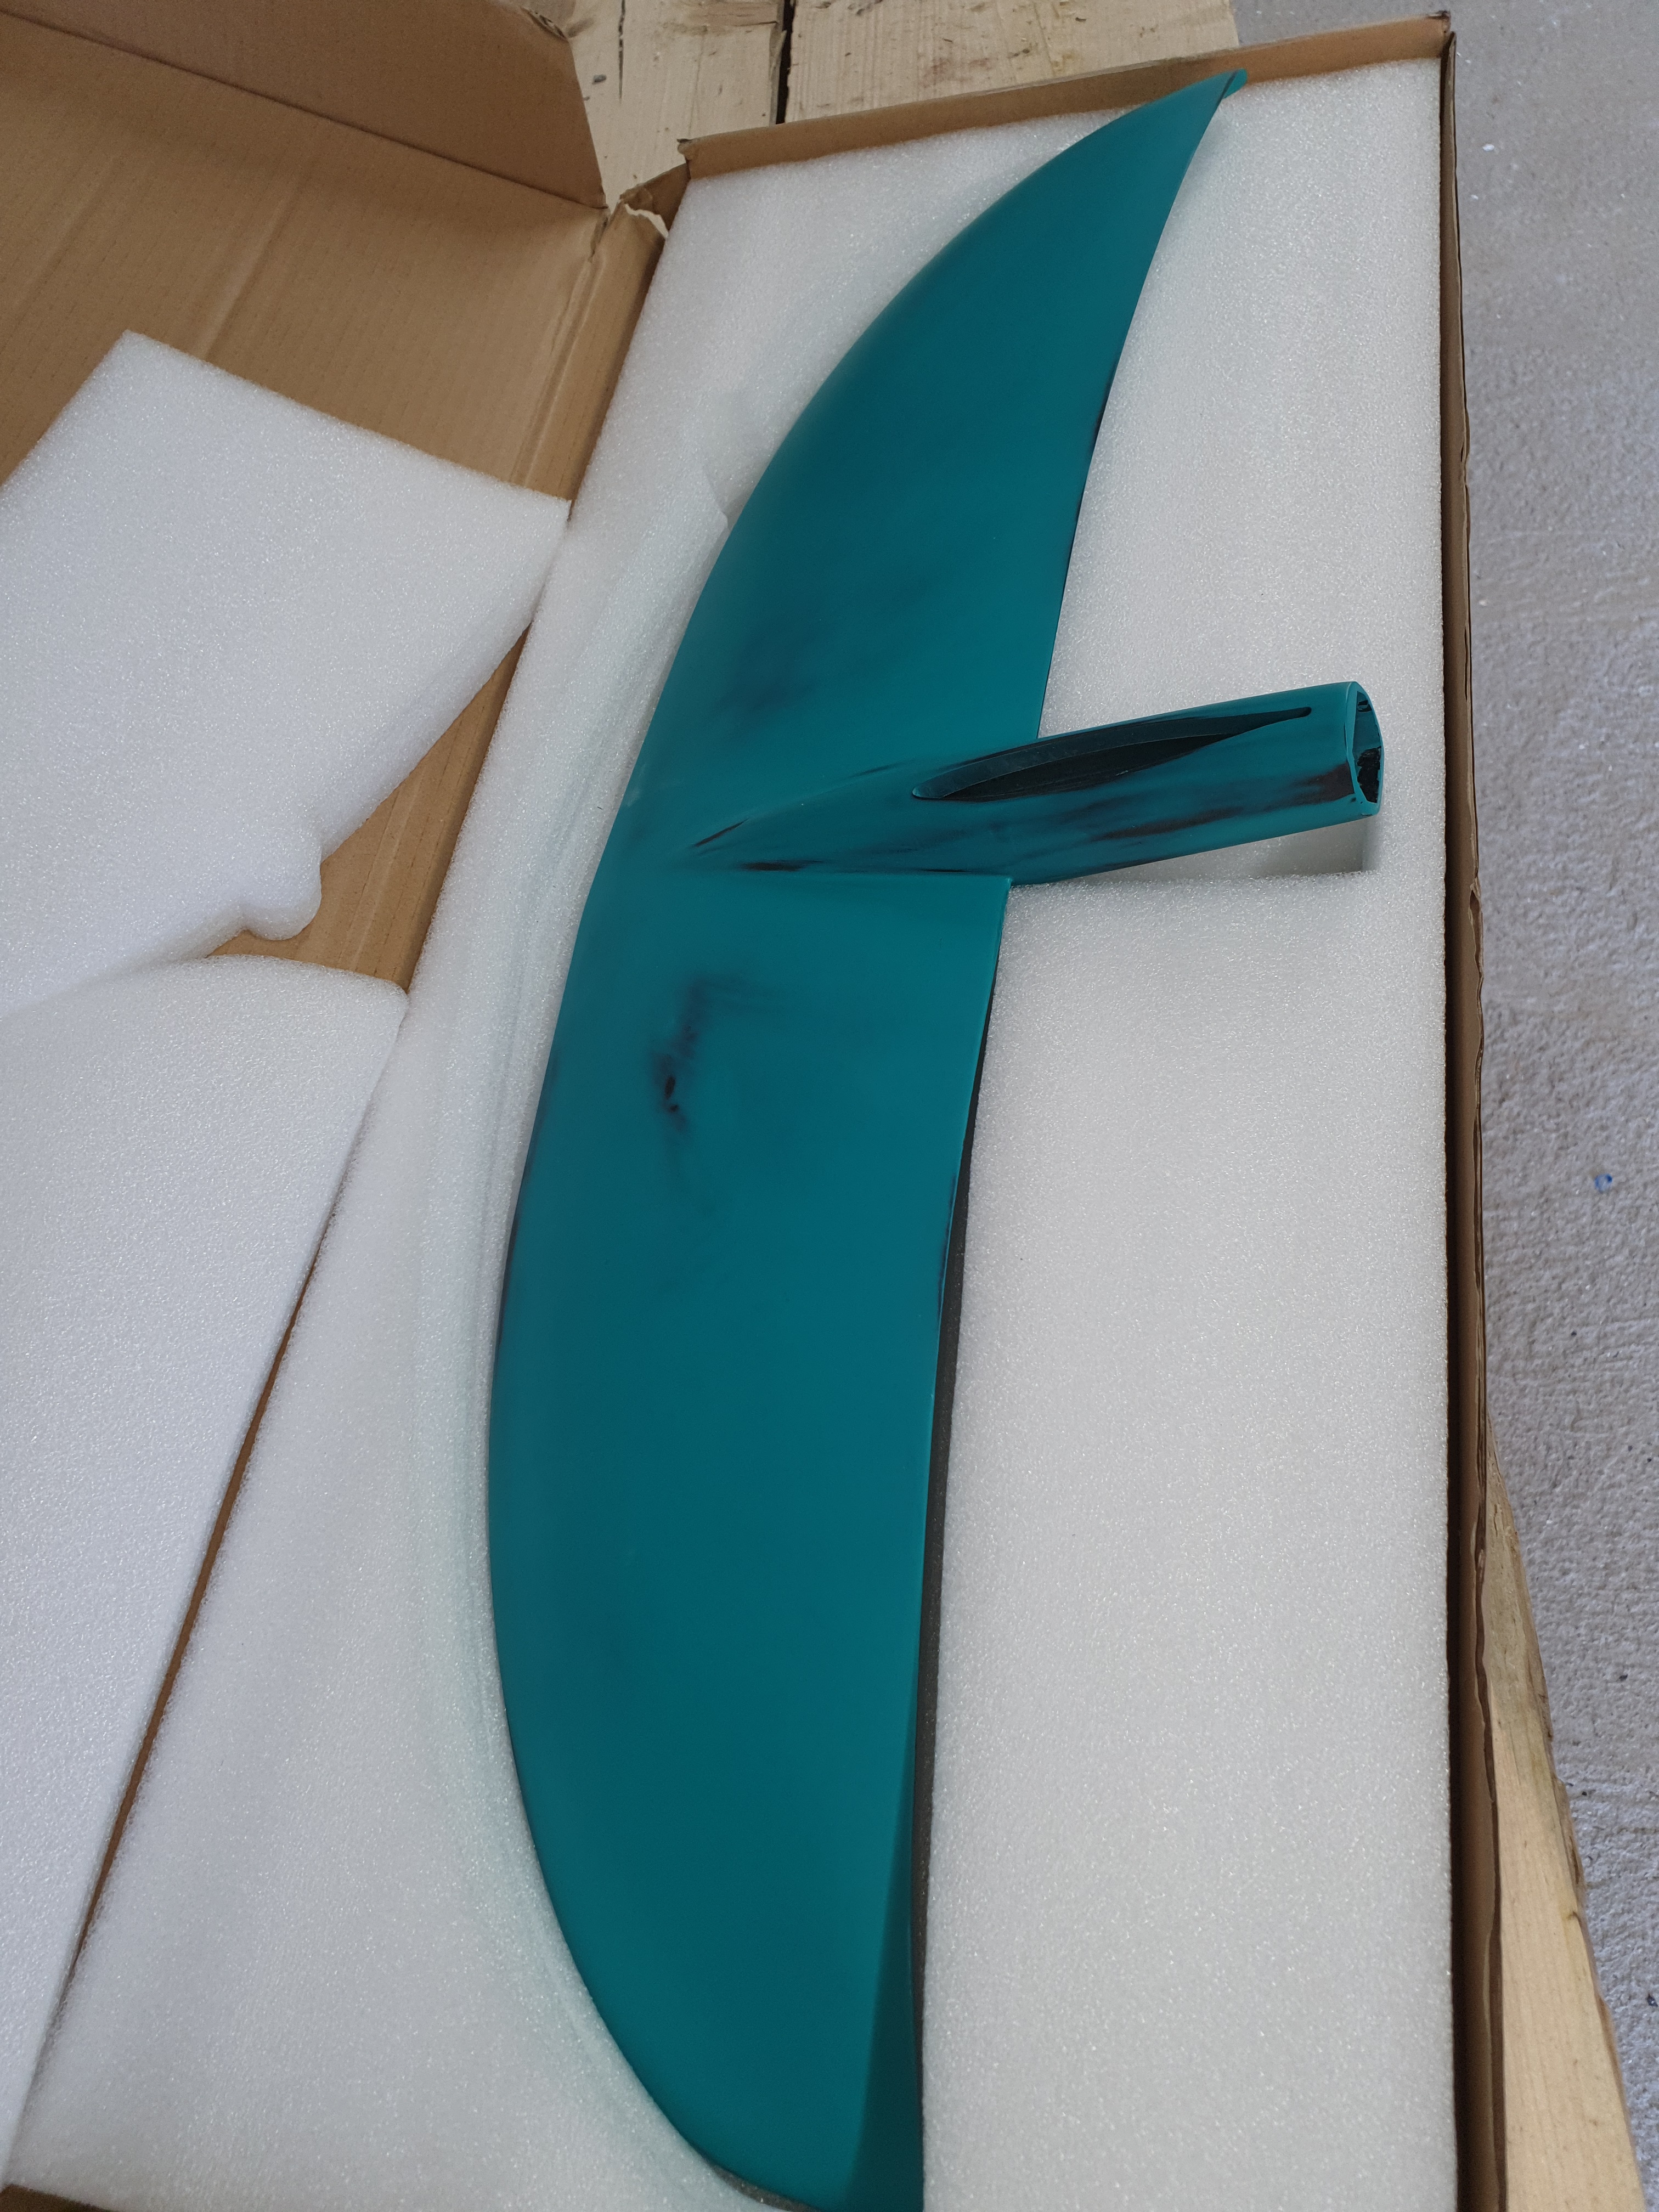
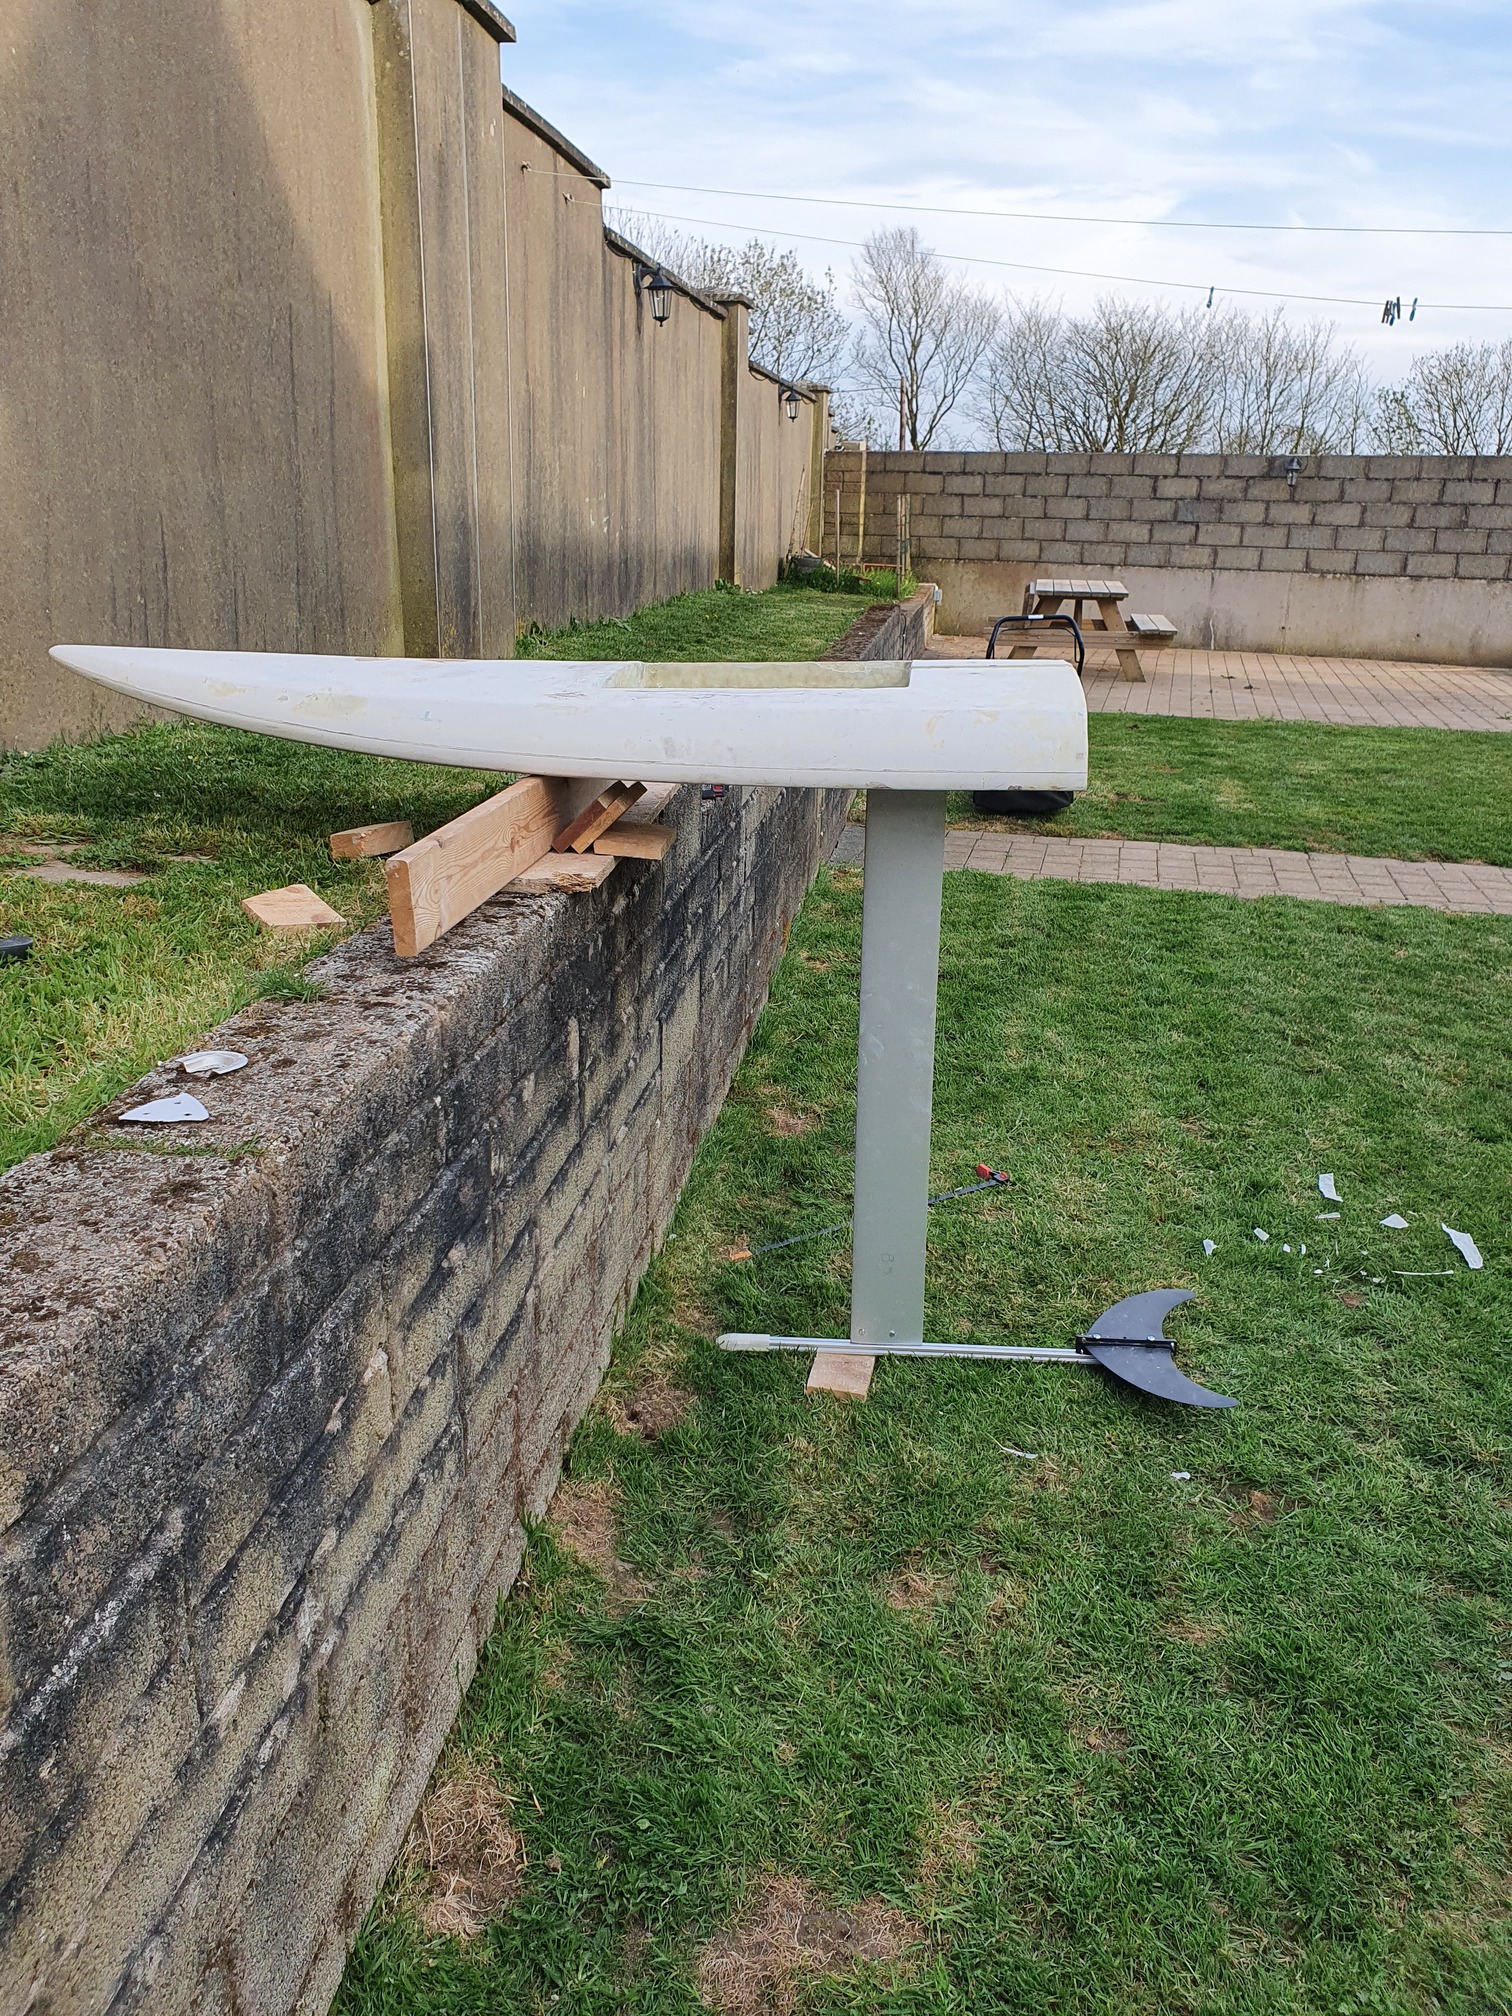
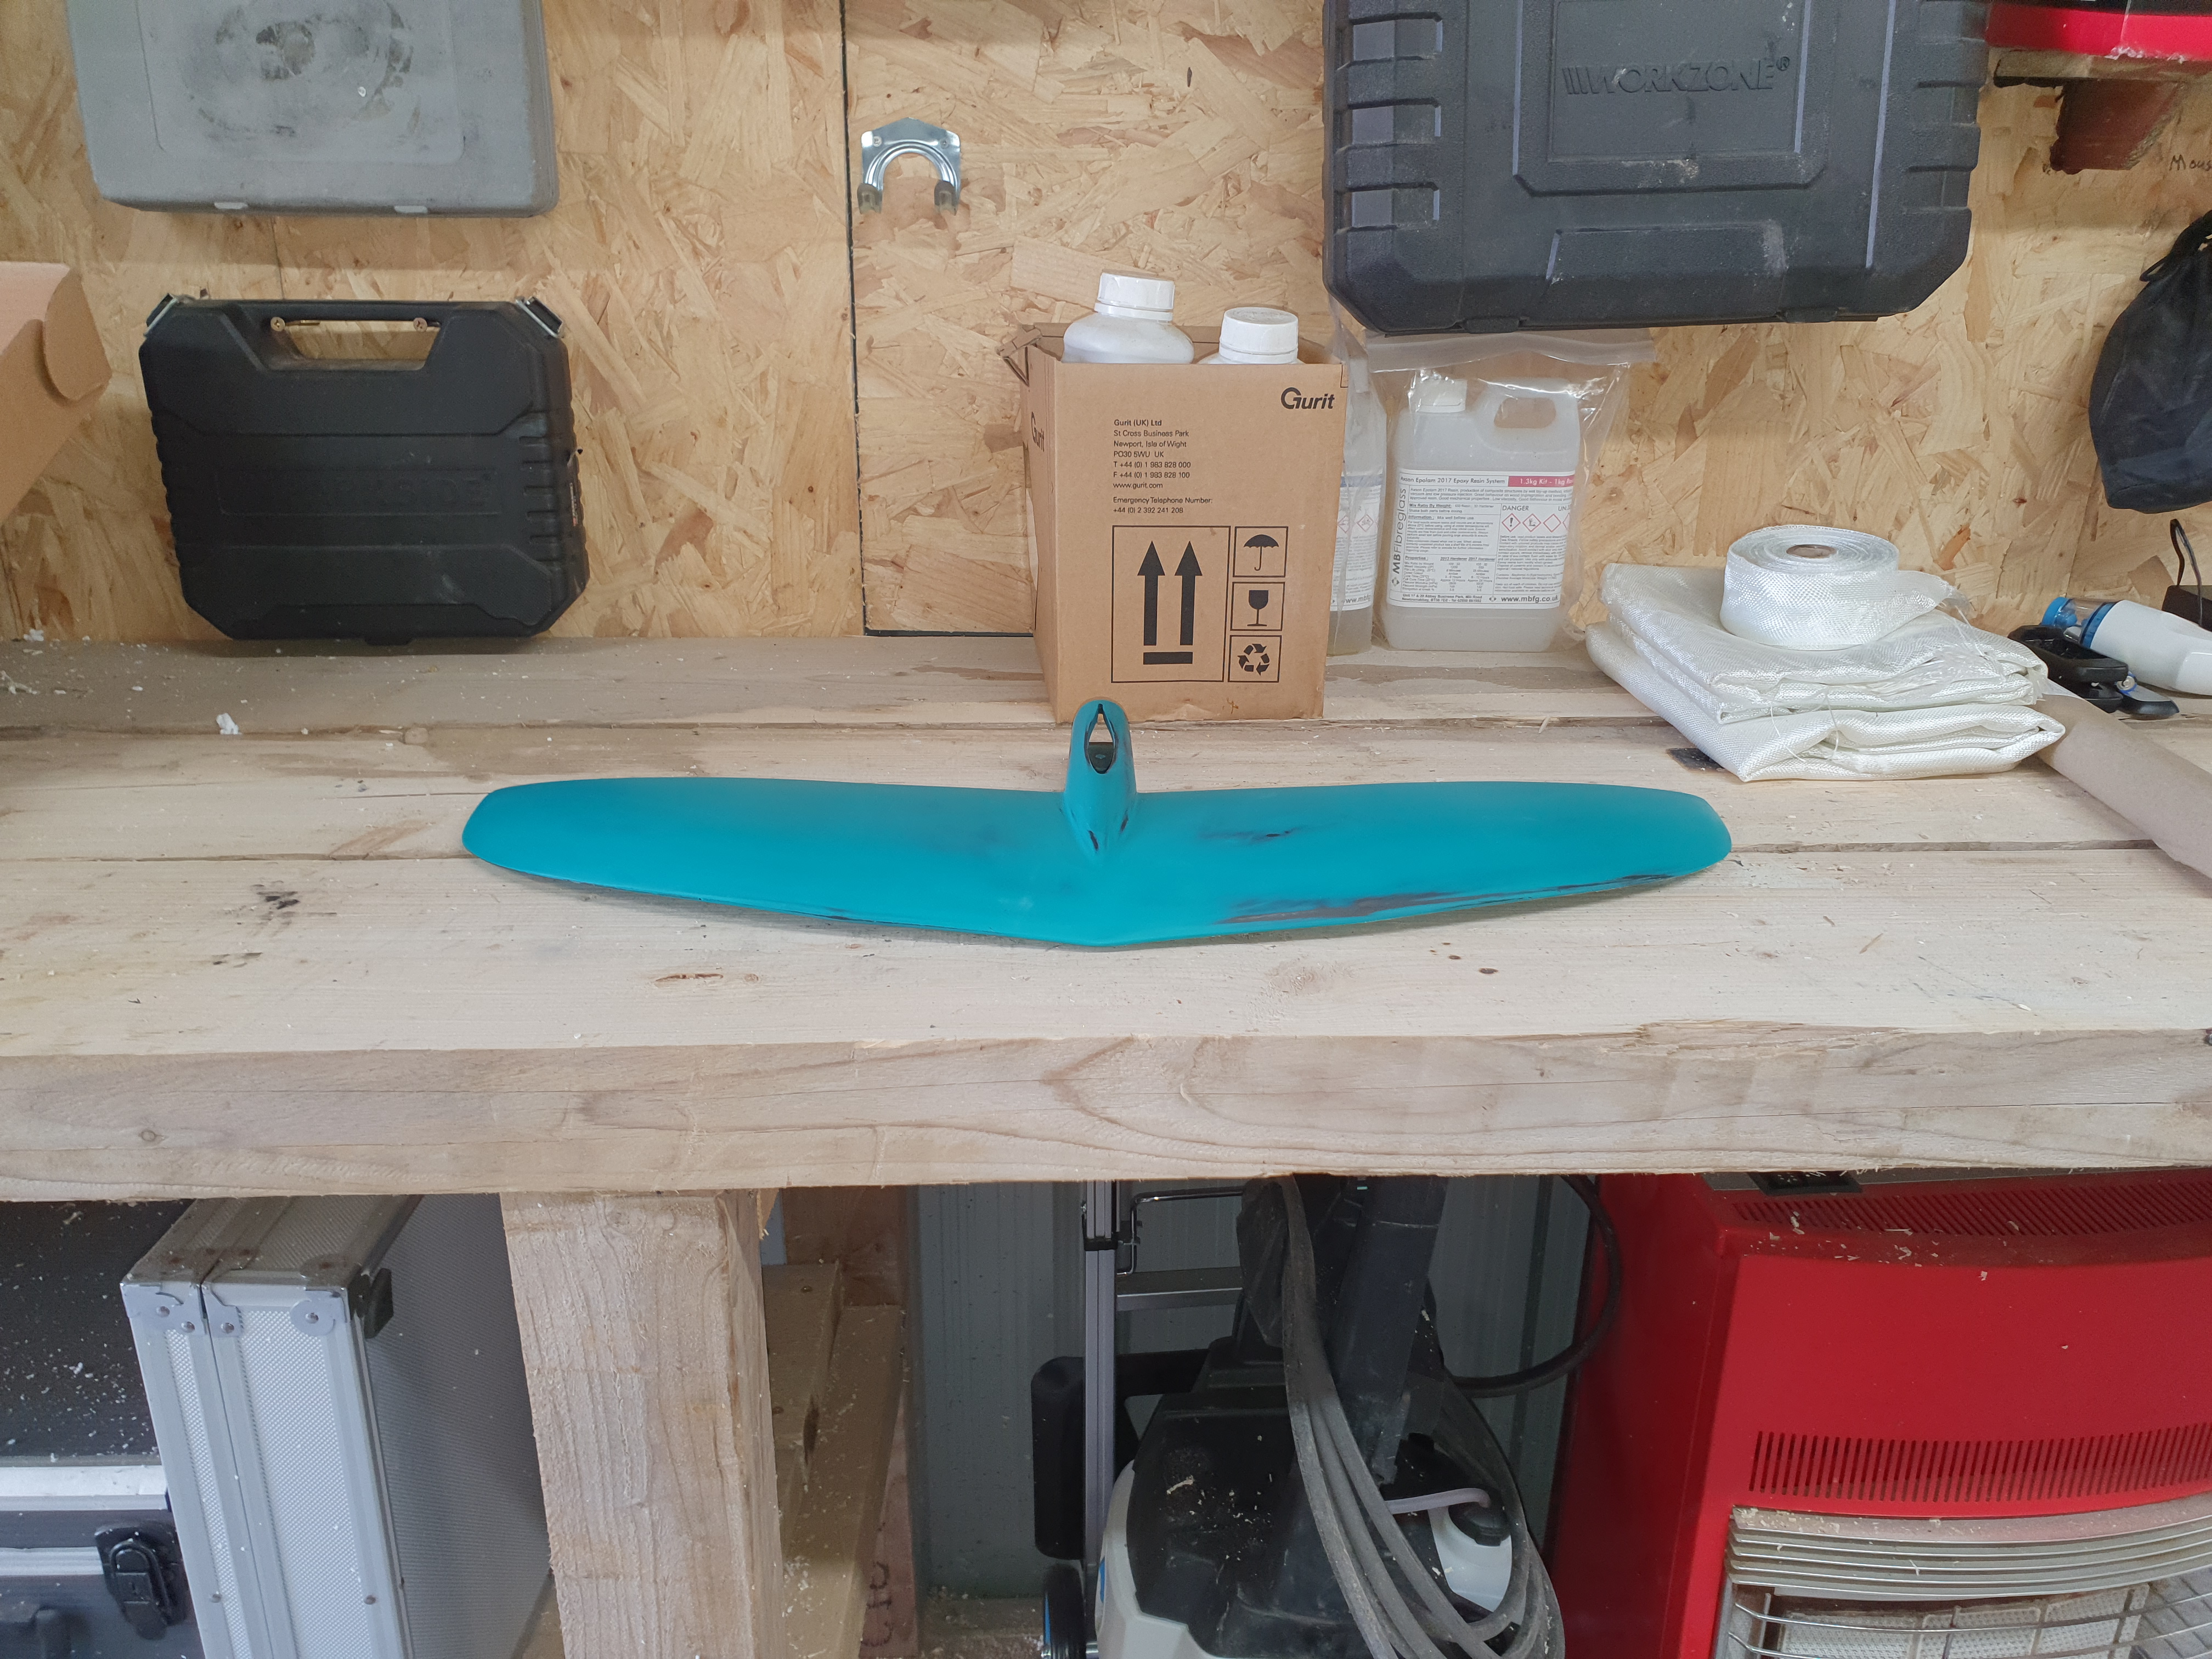
So the only recent pictures are of thr rear fin - my own design which again might change

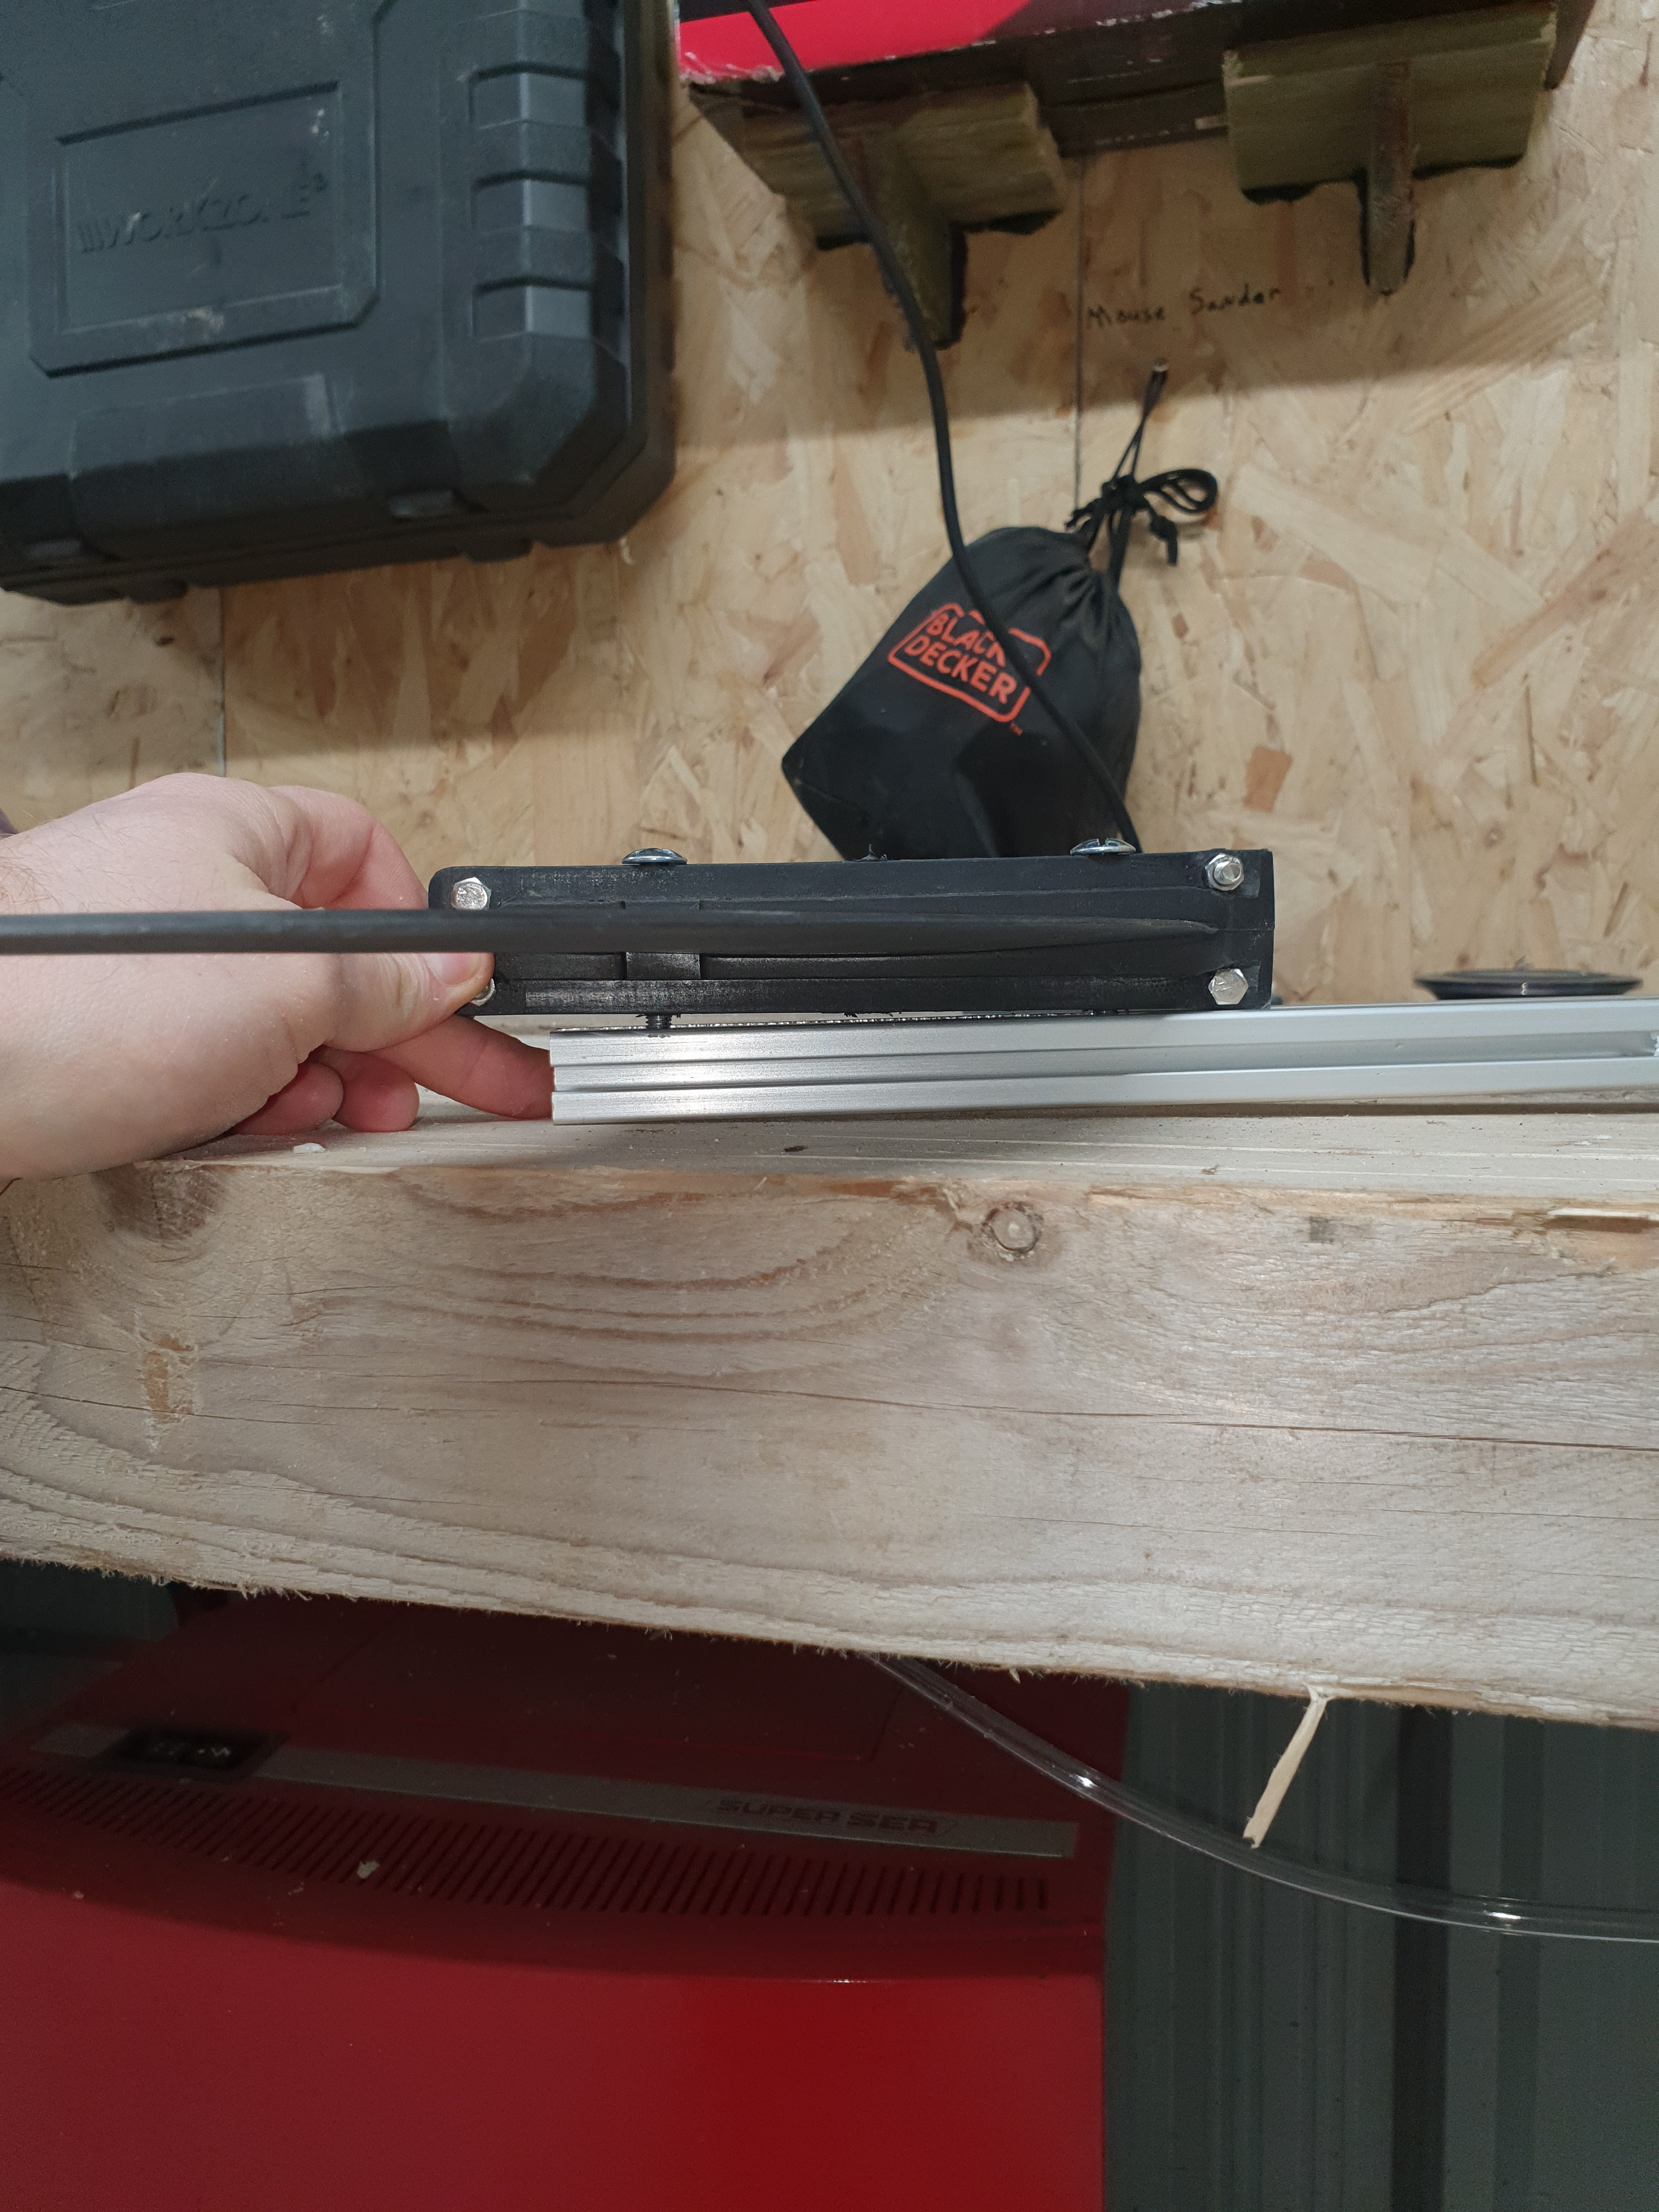
I can adjust the angle of it front or back with longer bolts or shims. Its 2 fins coupled together.
1 Like
Unfortunately I wanted to see the results you would get with a full 14S. There has been several people on here talking about using the Flipsky VESC on 14S. Including me. Several knowledgeable people made really good arguments not to do it. So far I know of no one that has done it for more than a very short time.
So I switched to the 75/300 VESC.
1 Like
Unfortunately, knowledgeable people, got to me MAC 
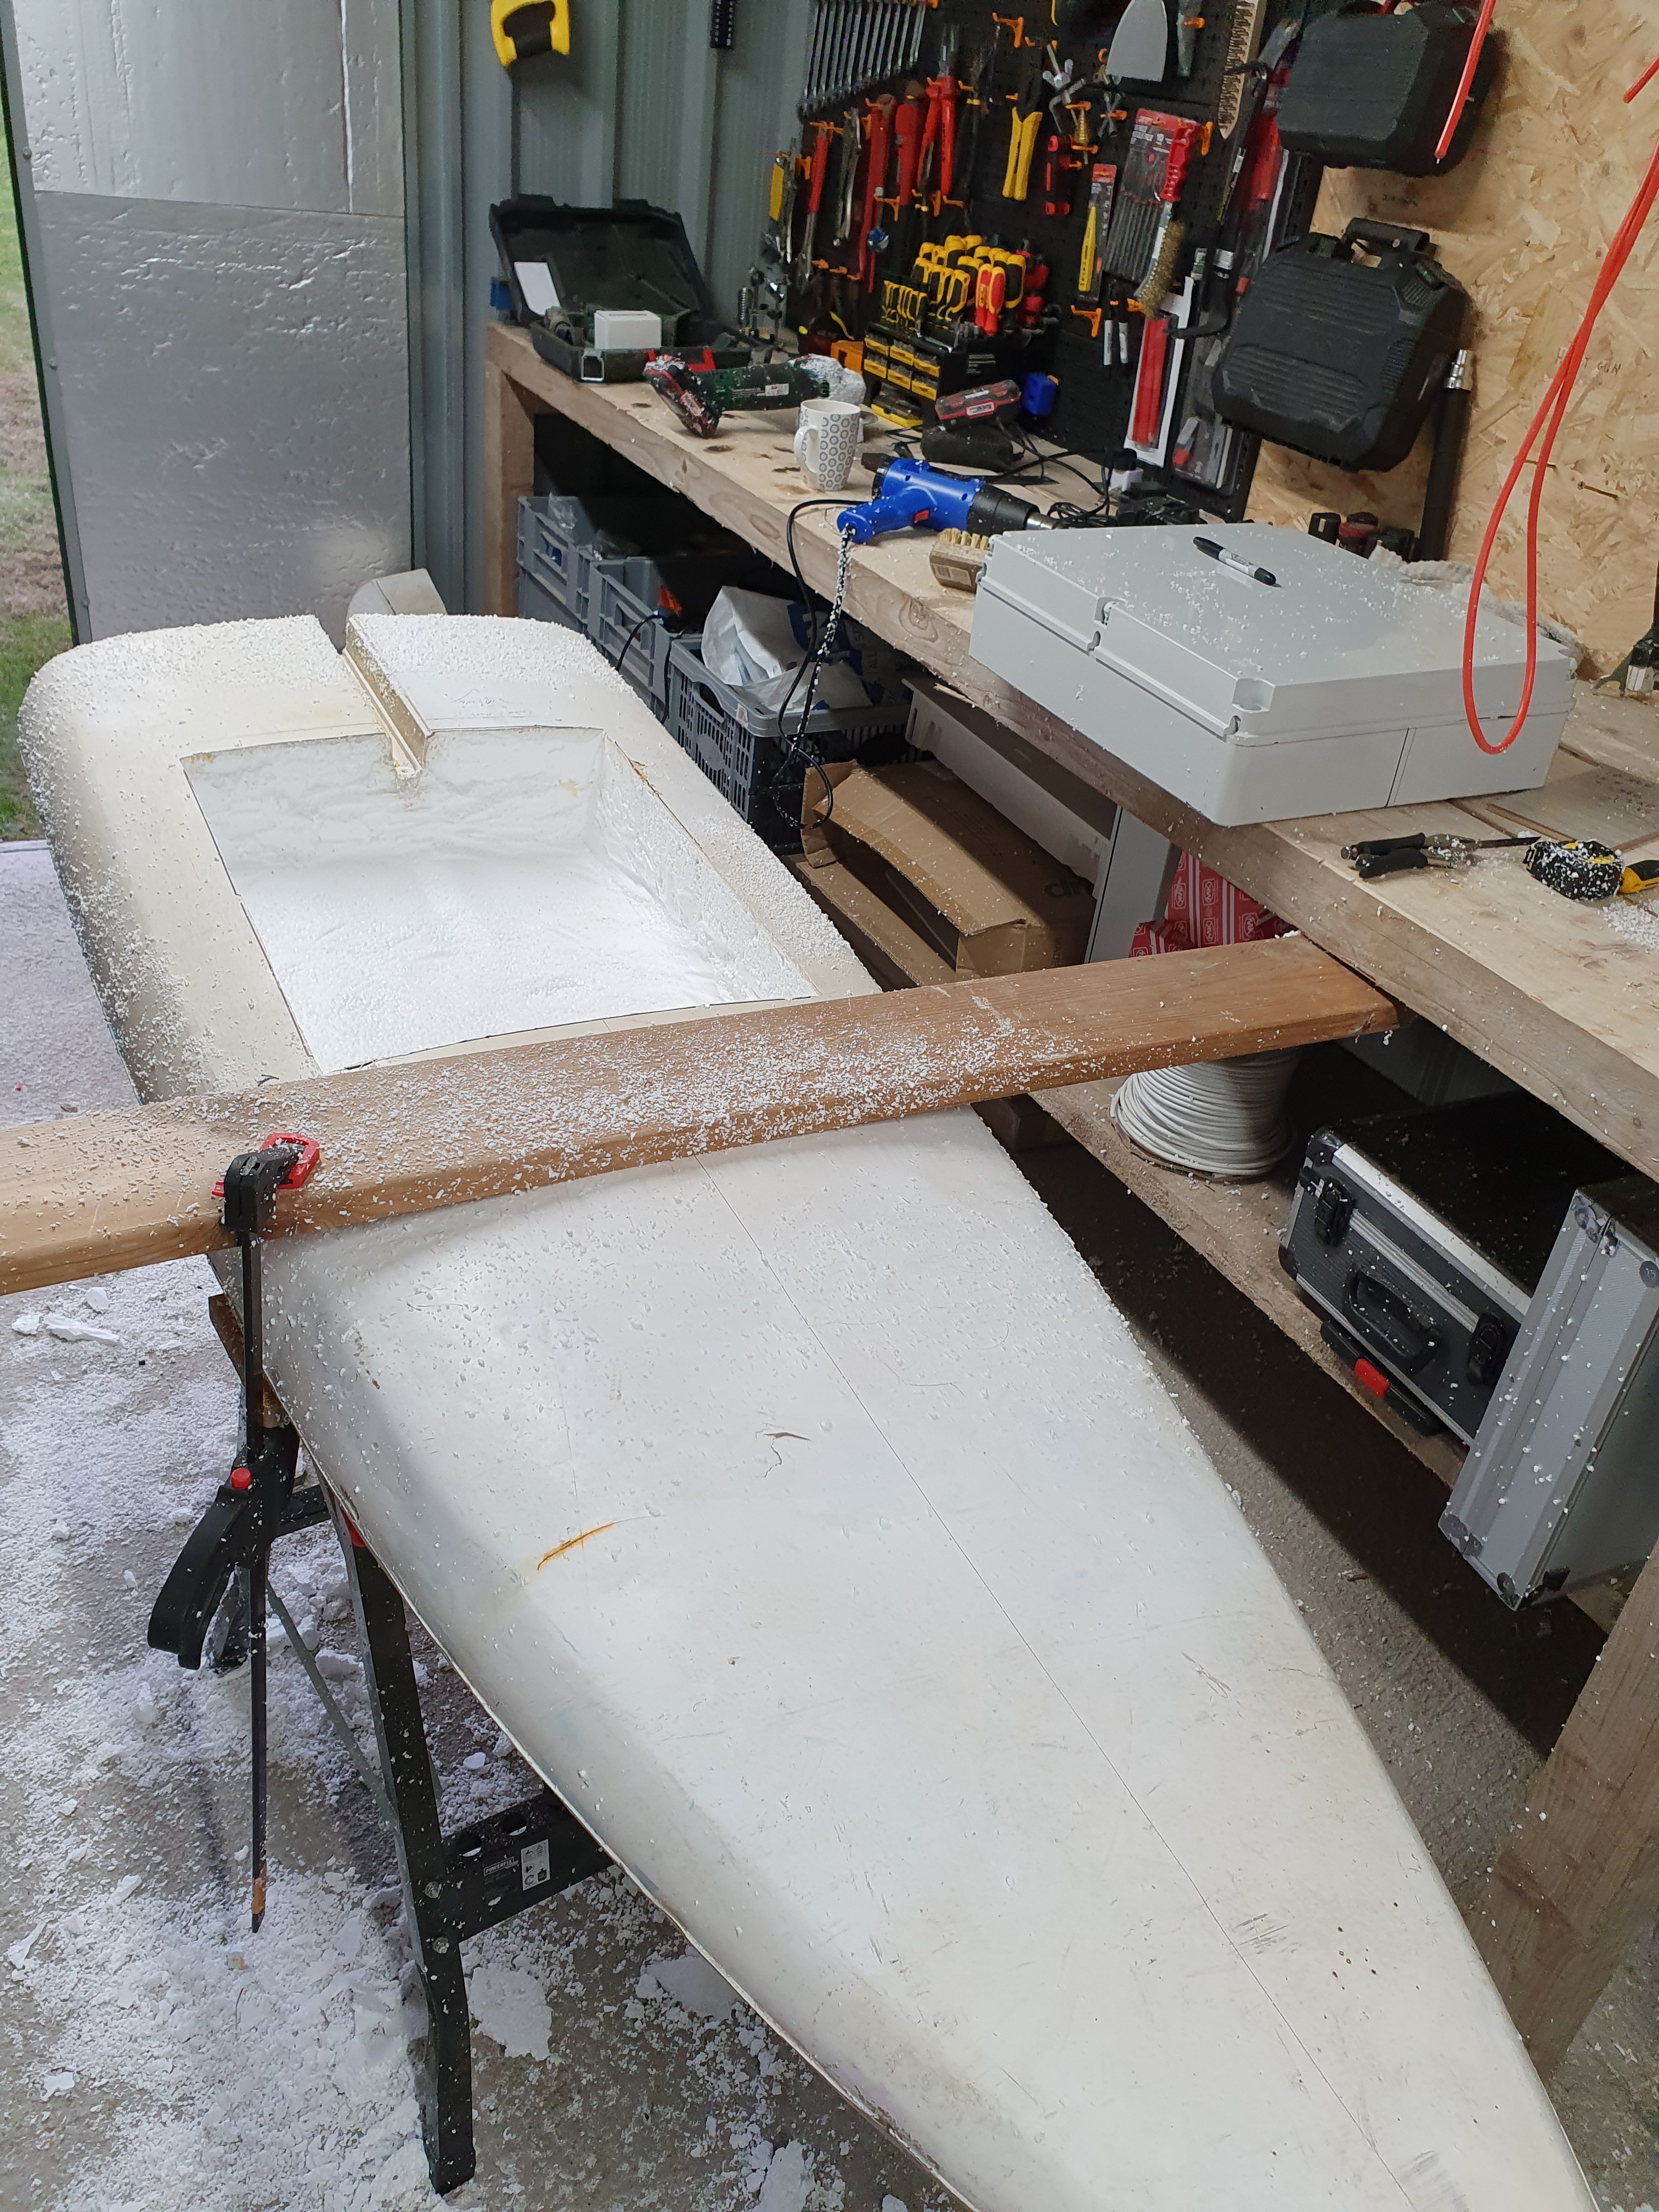
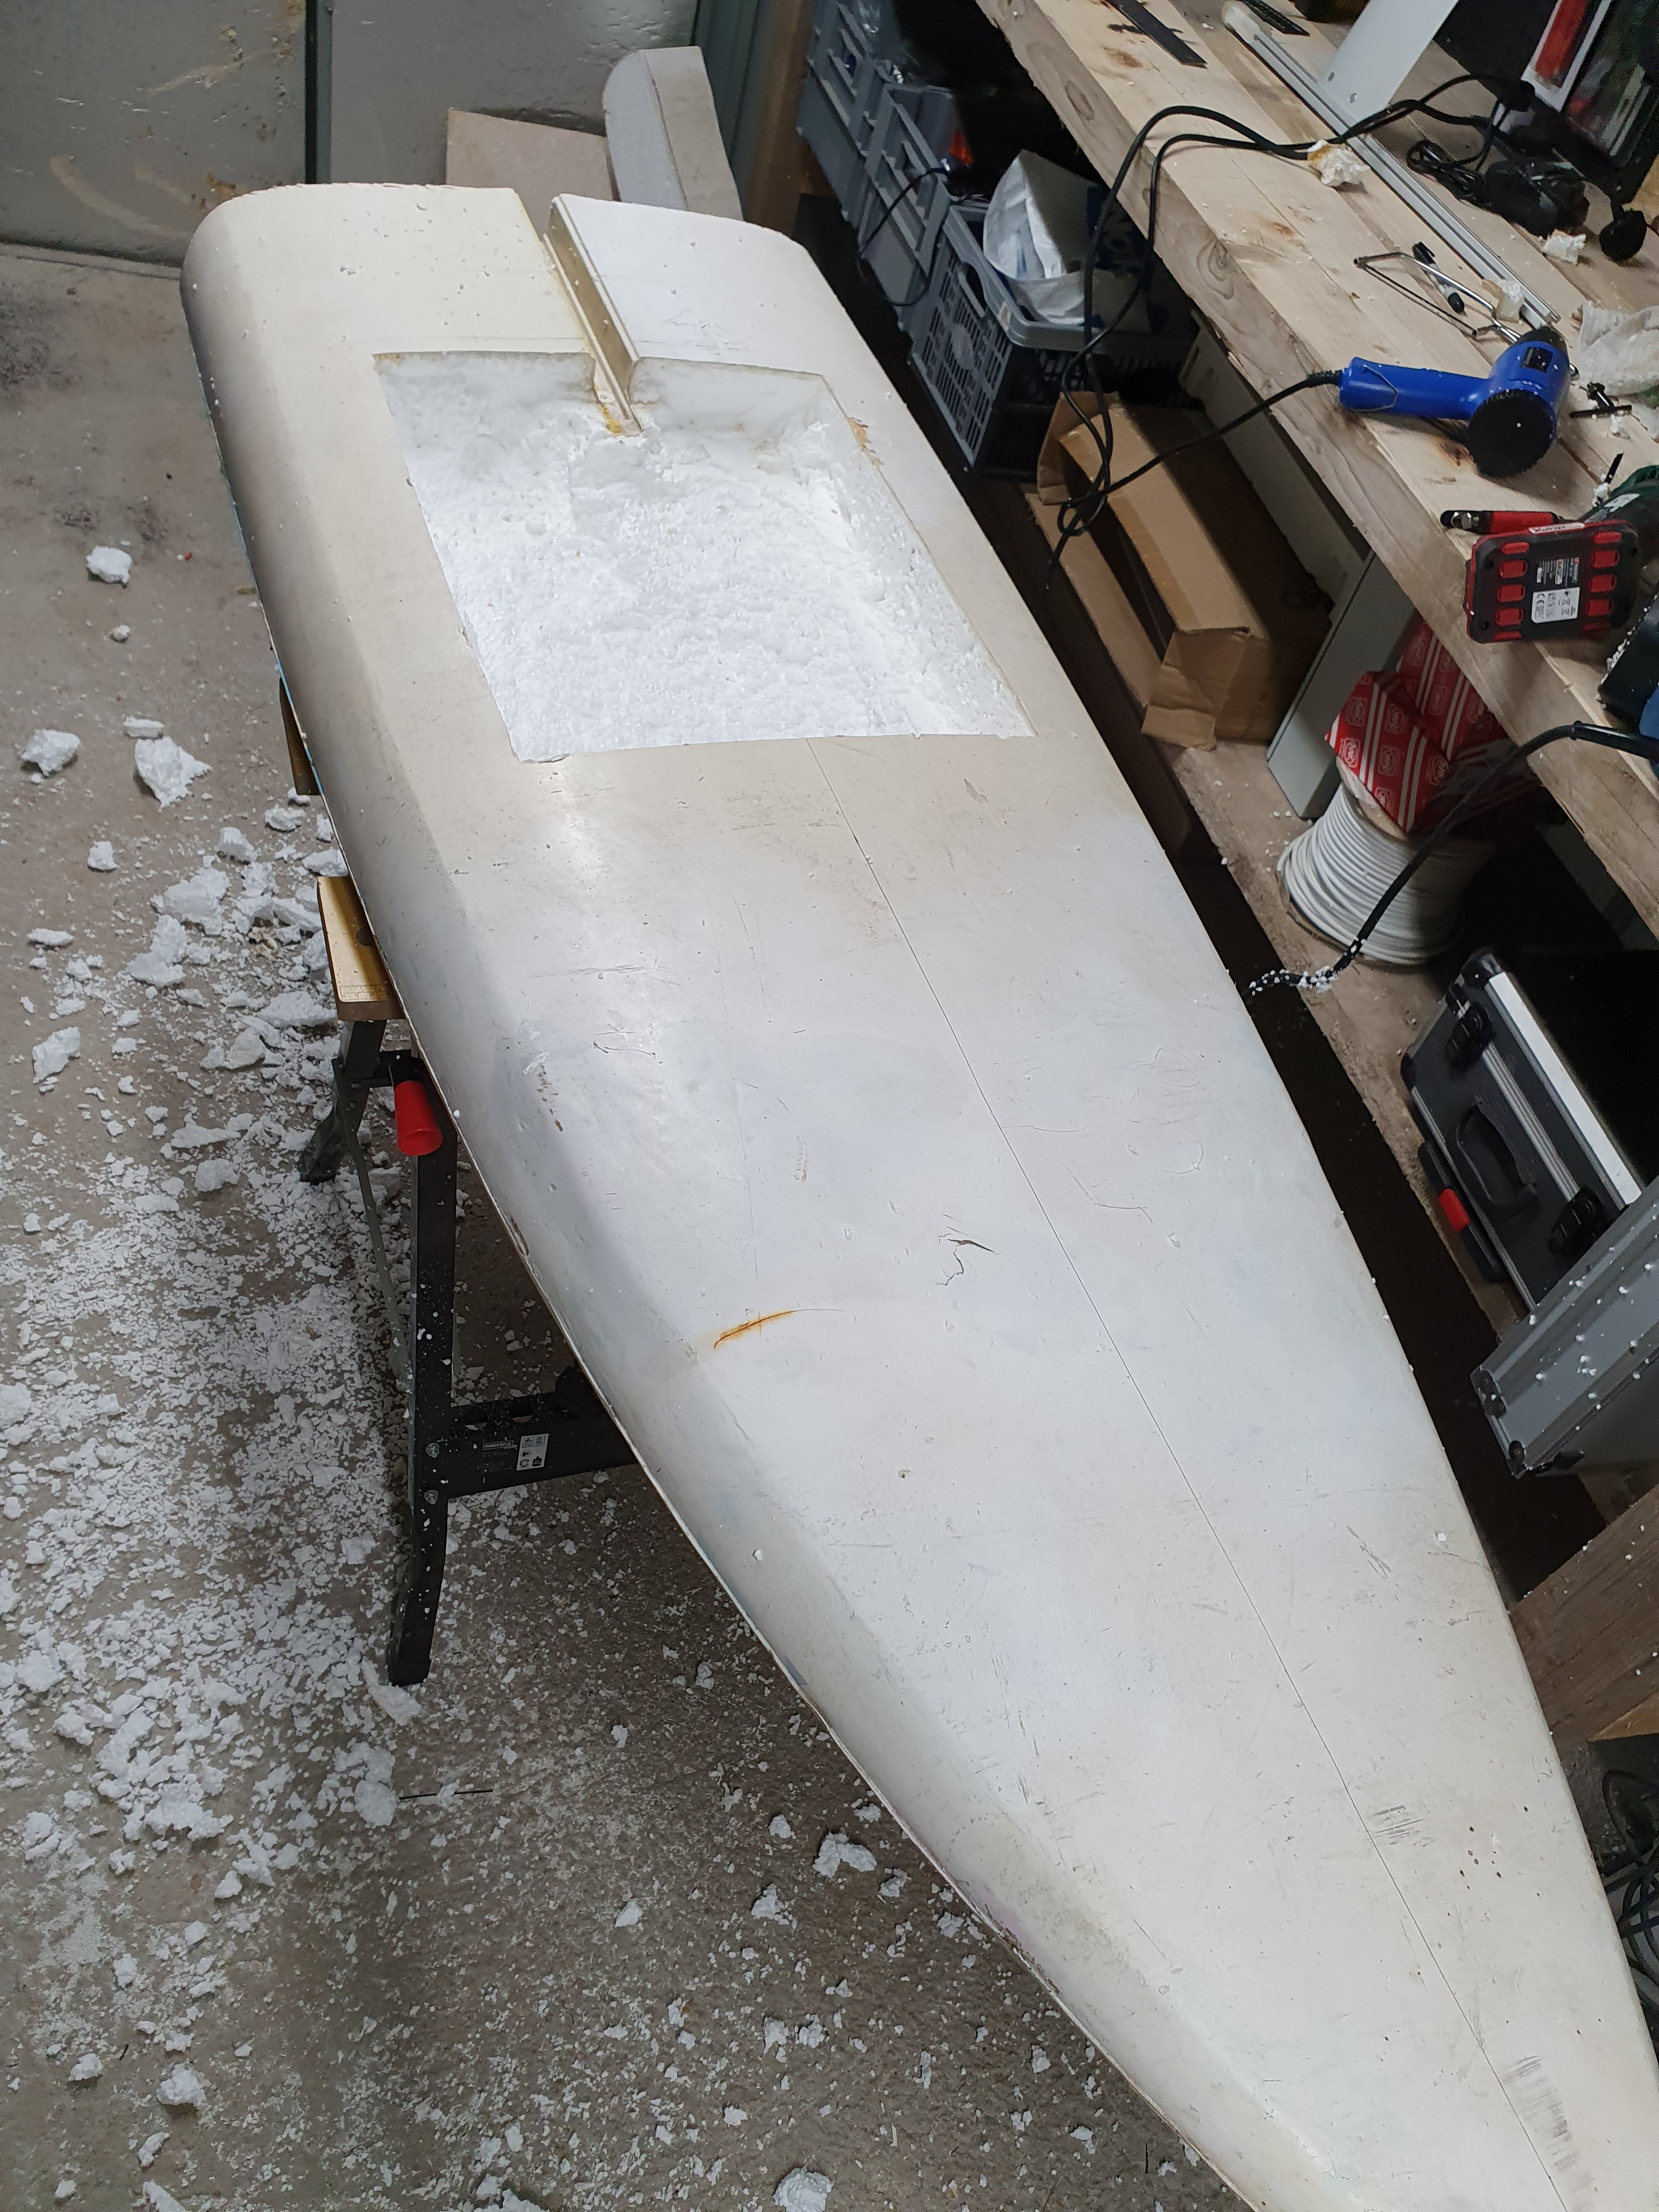
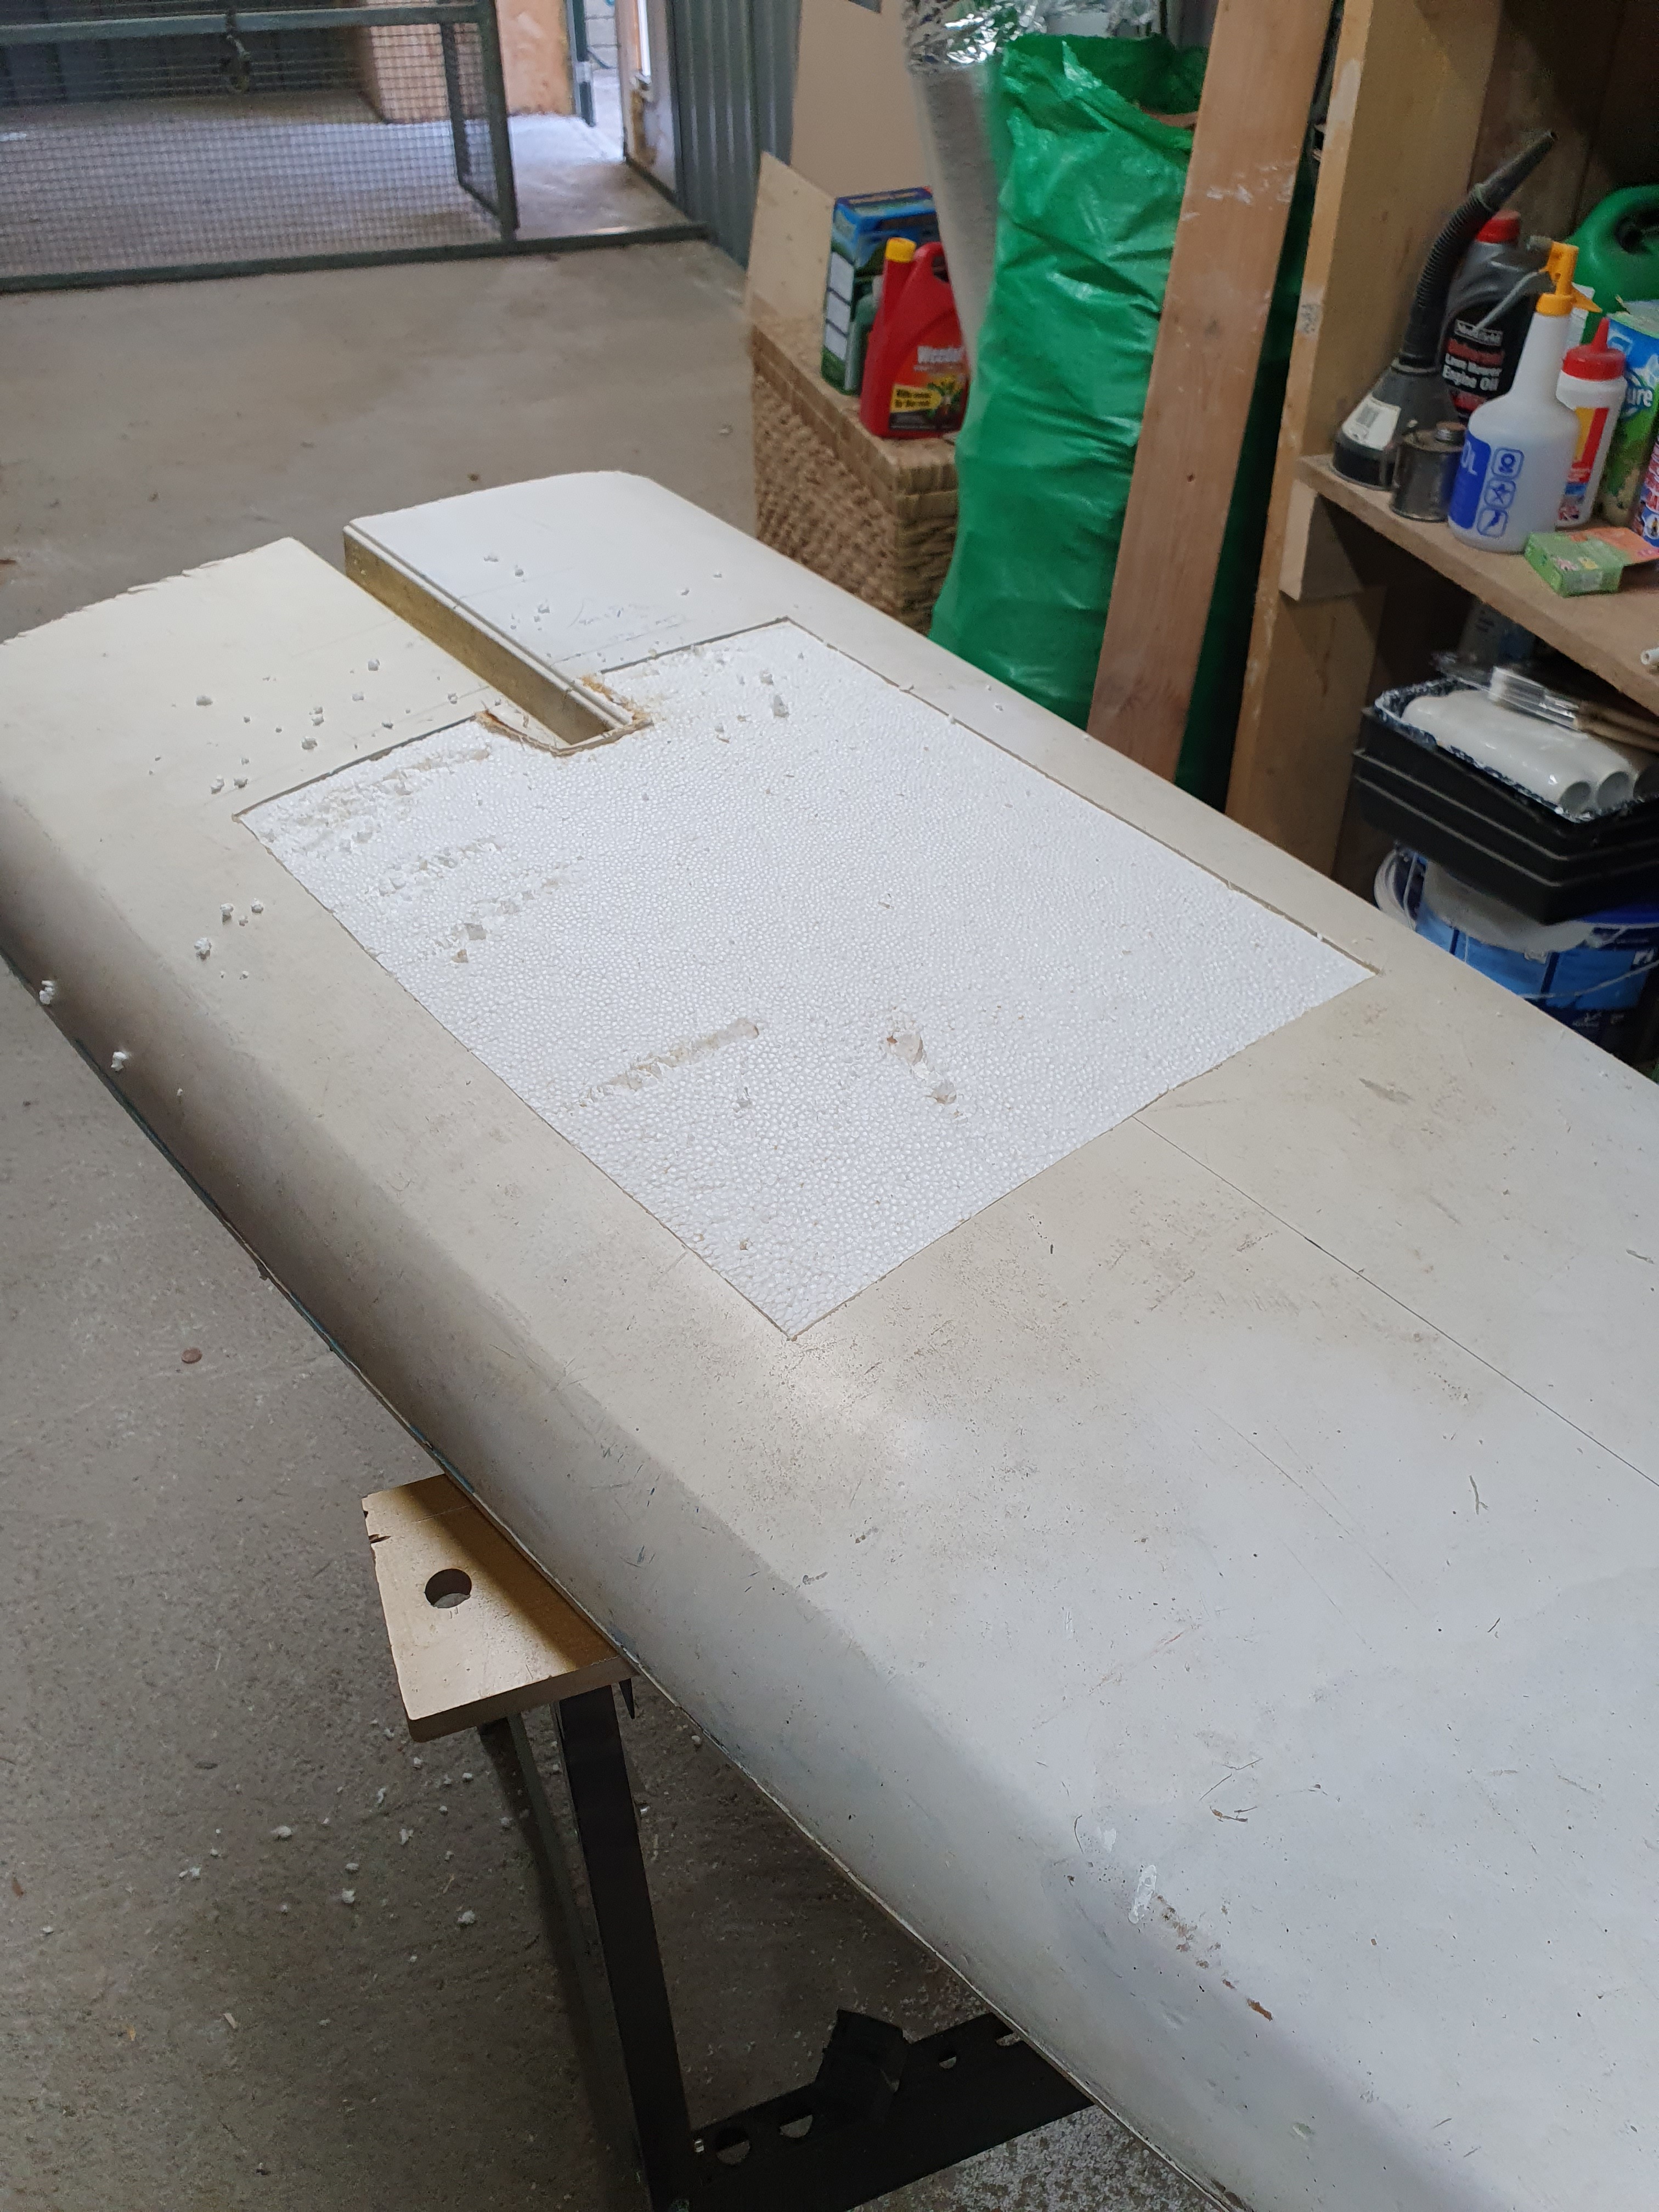
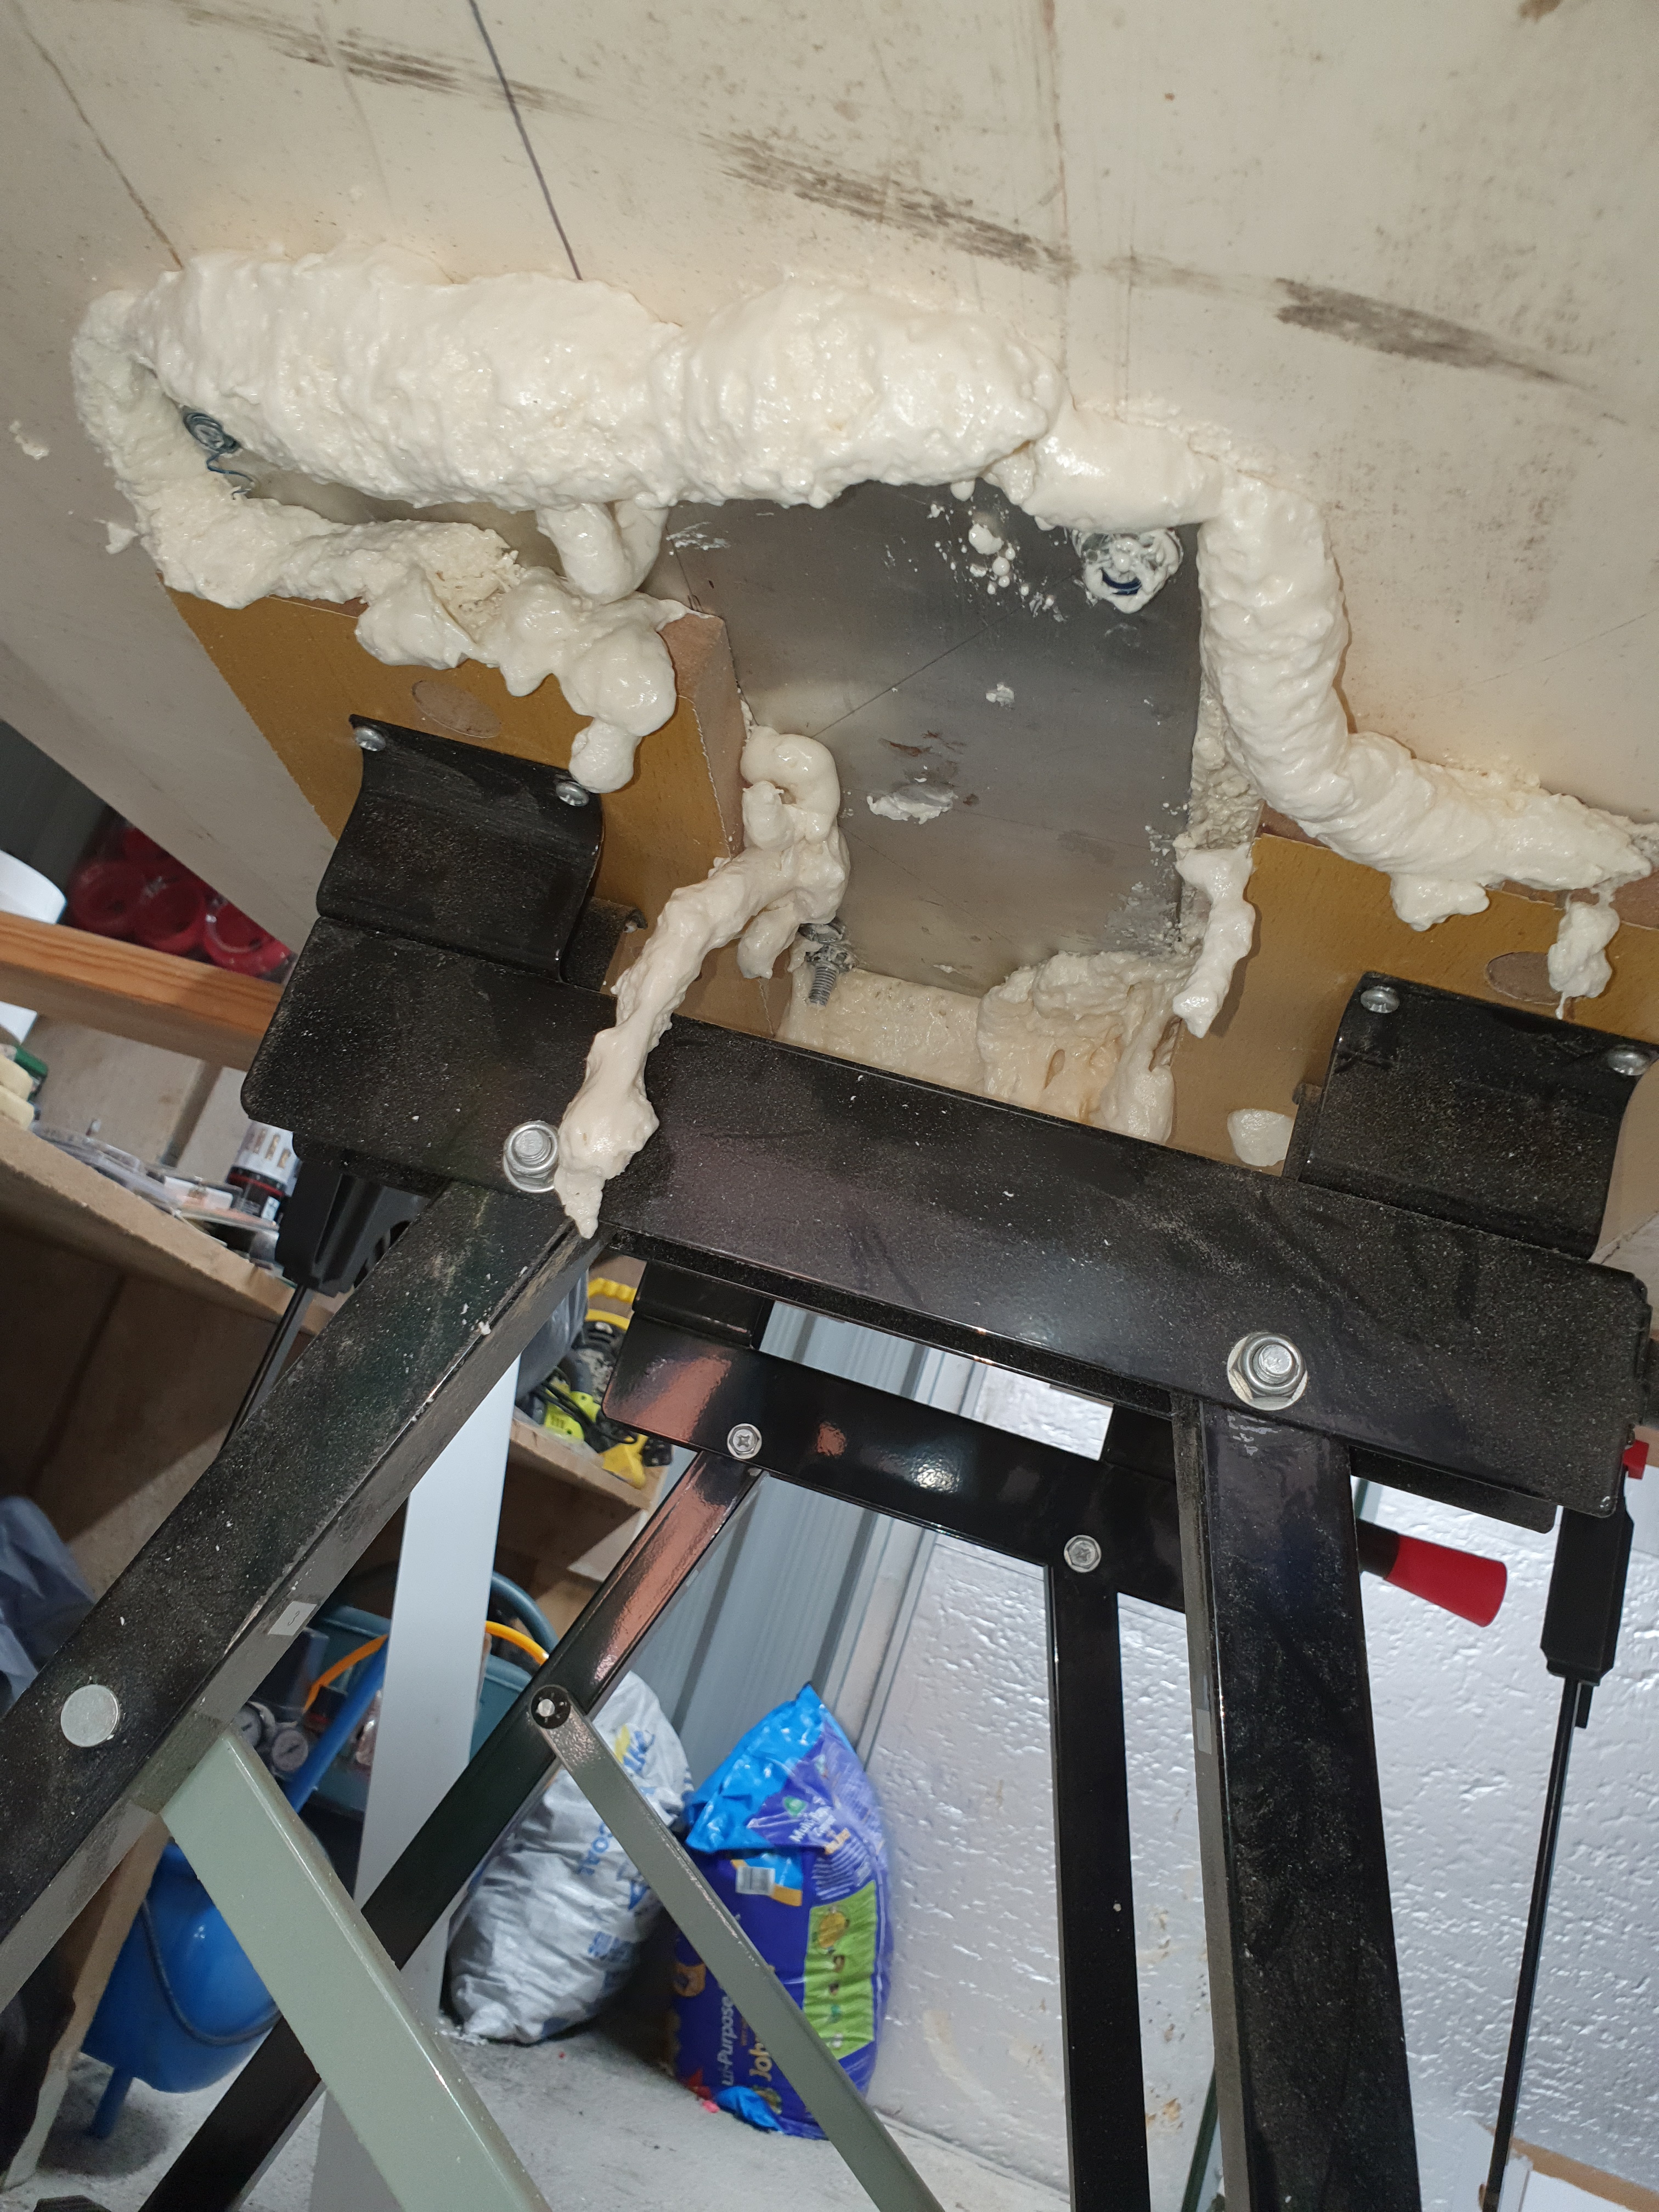
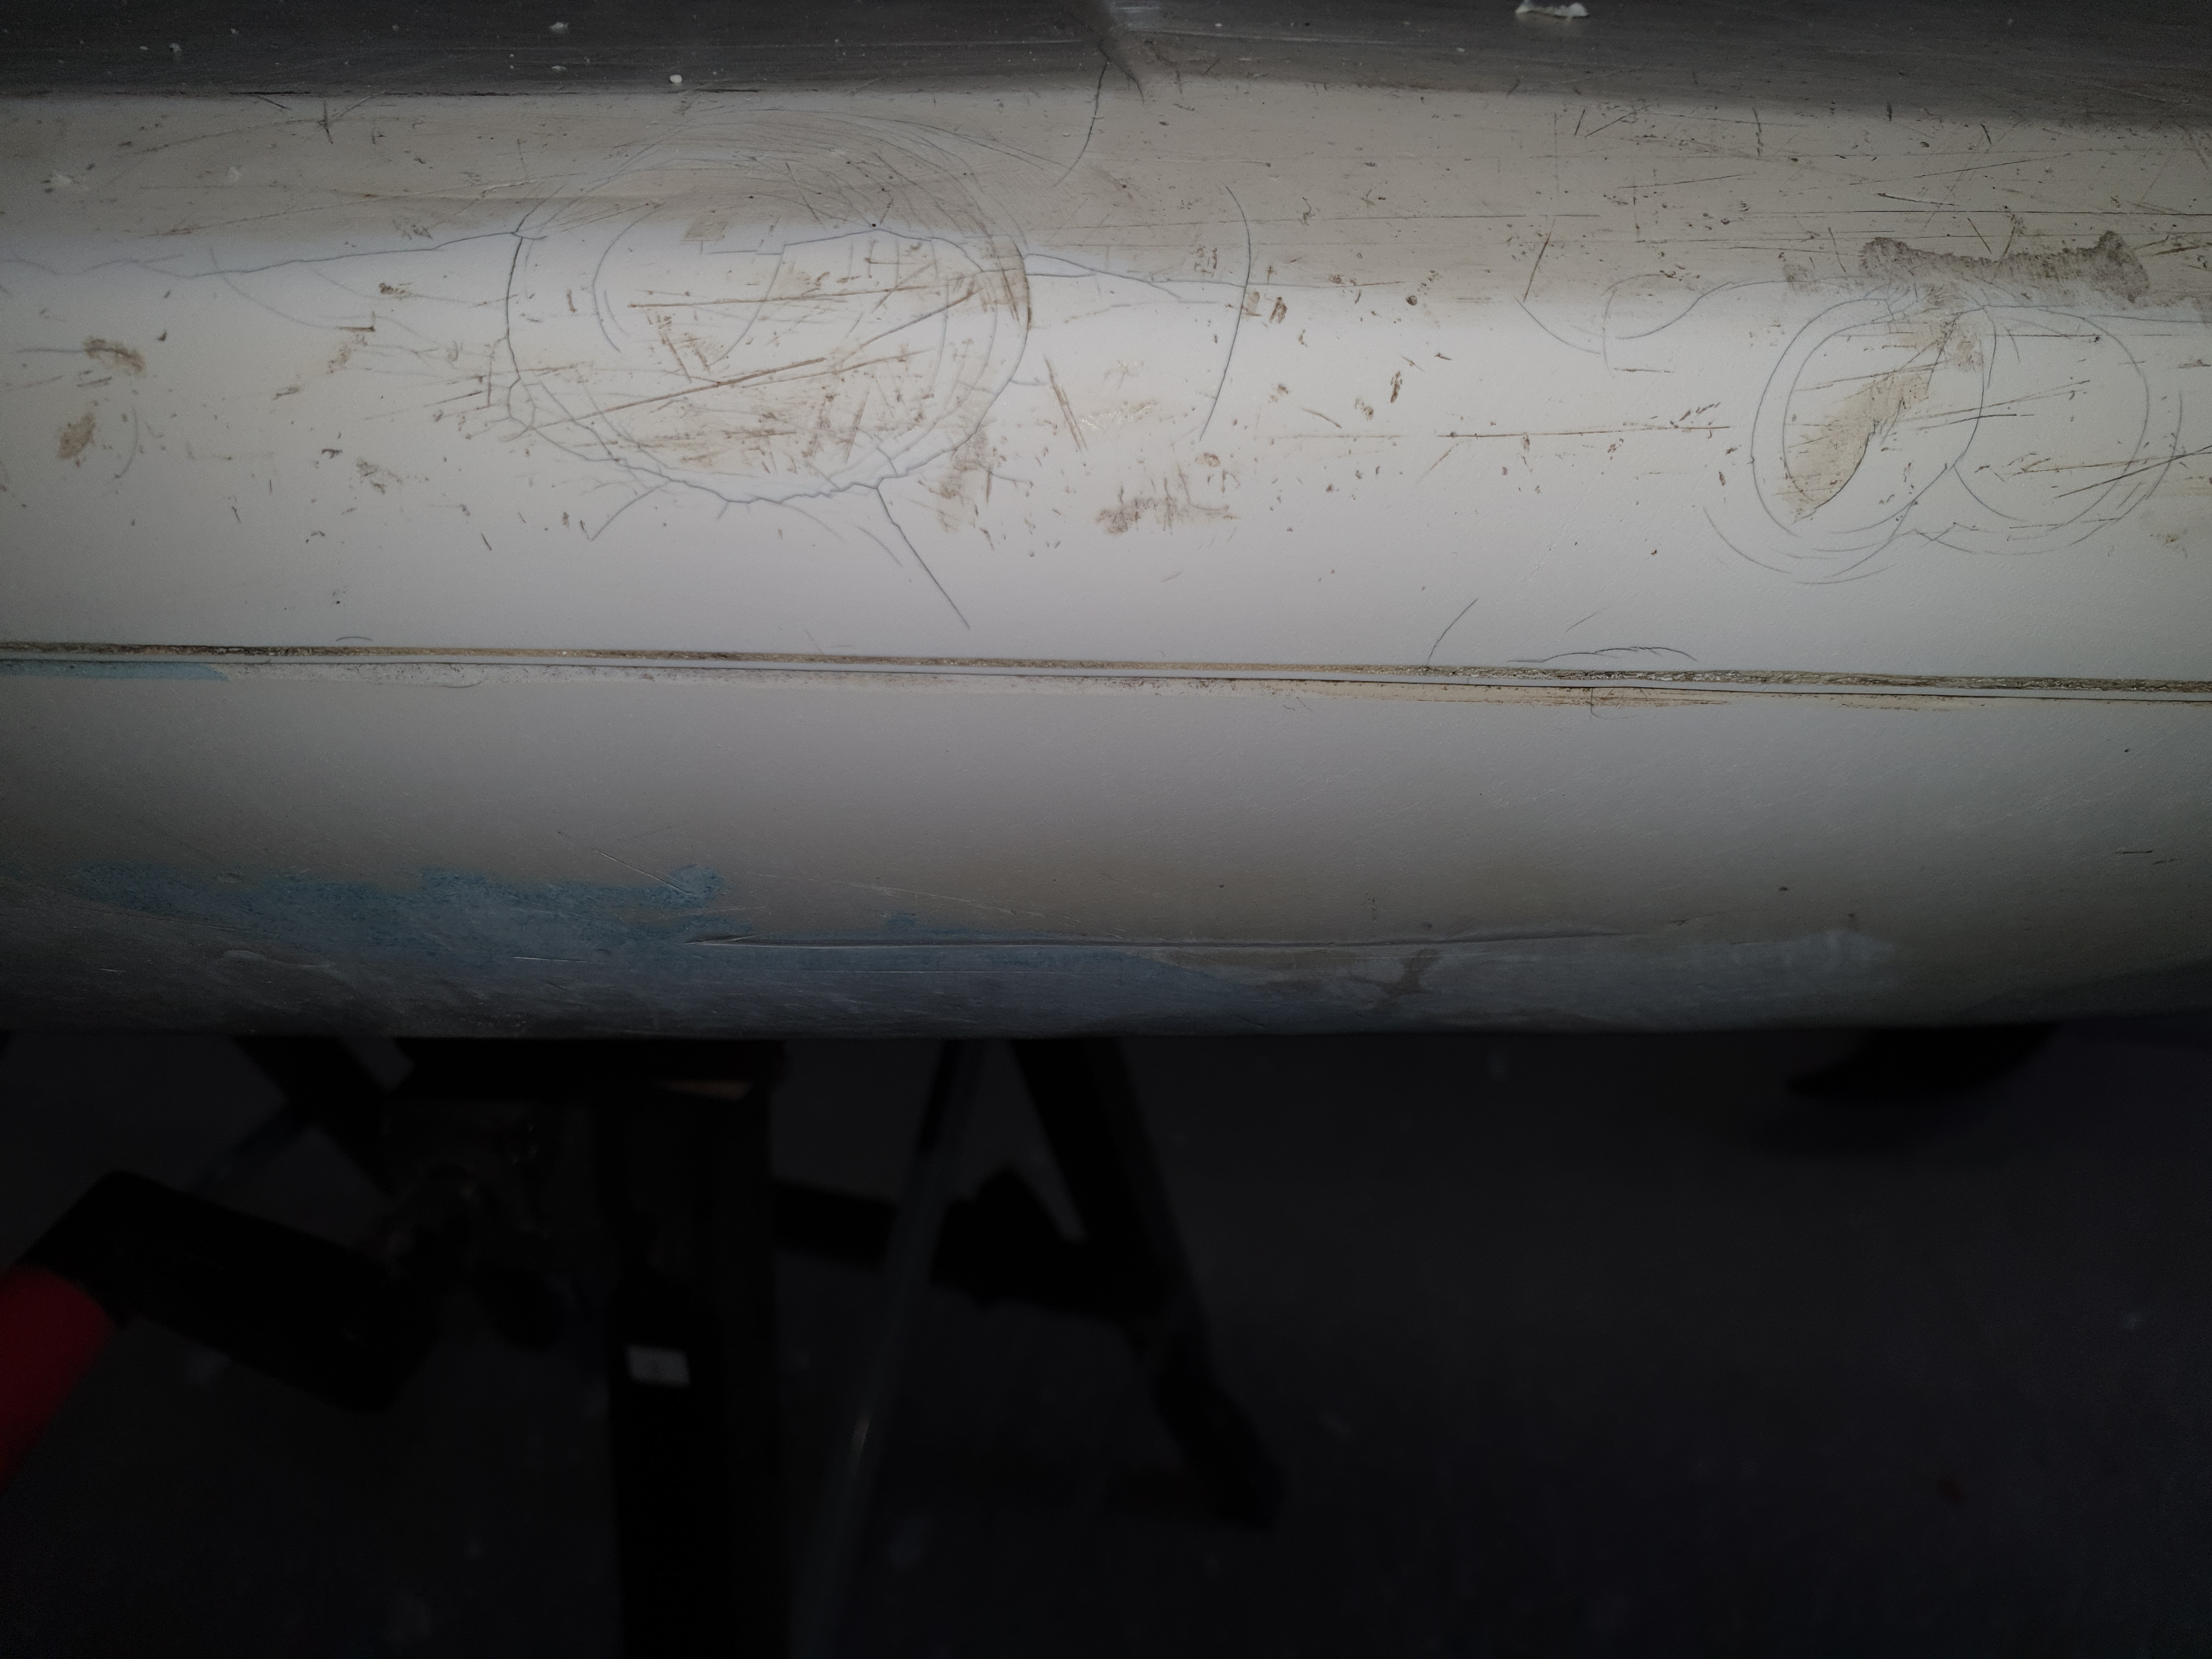
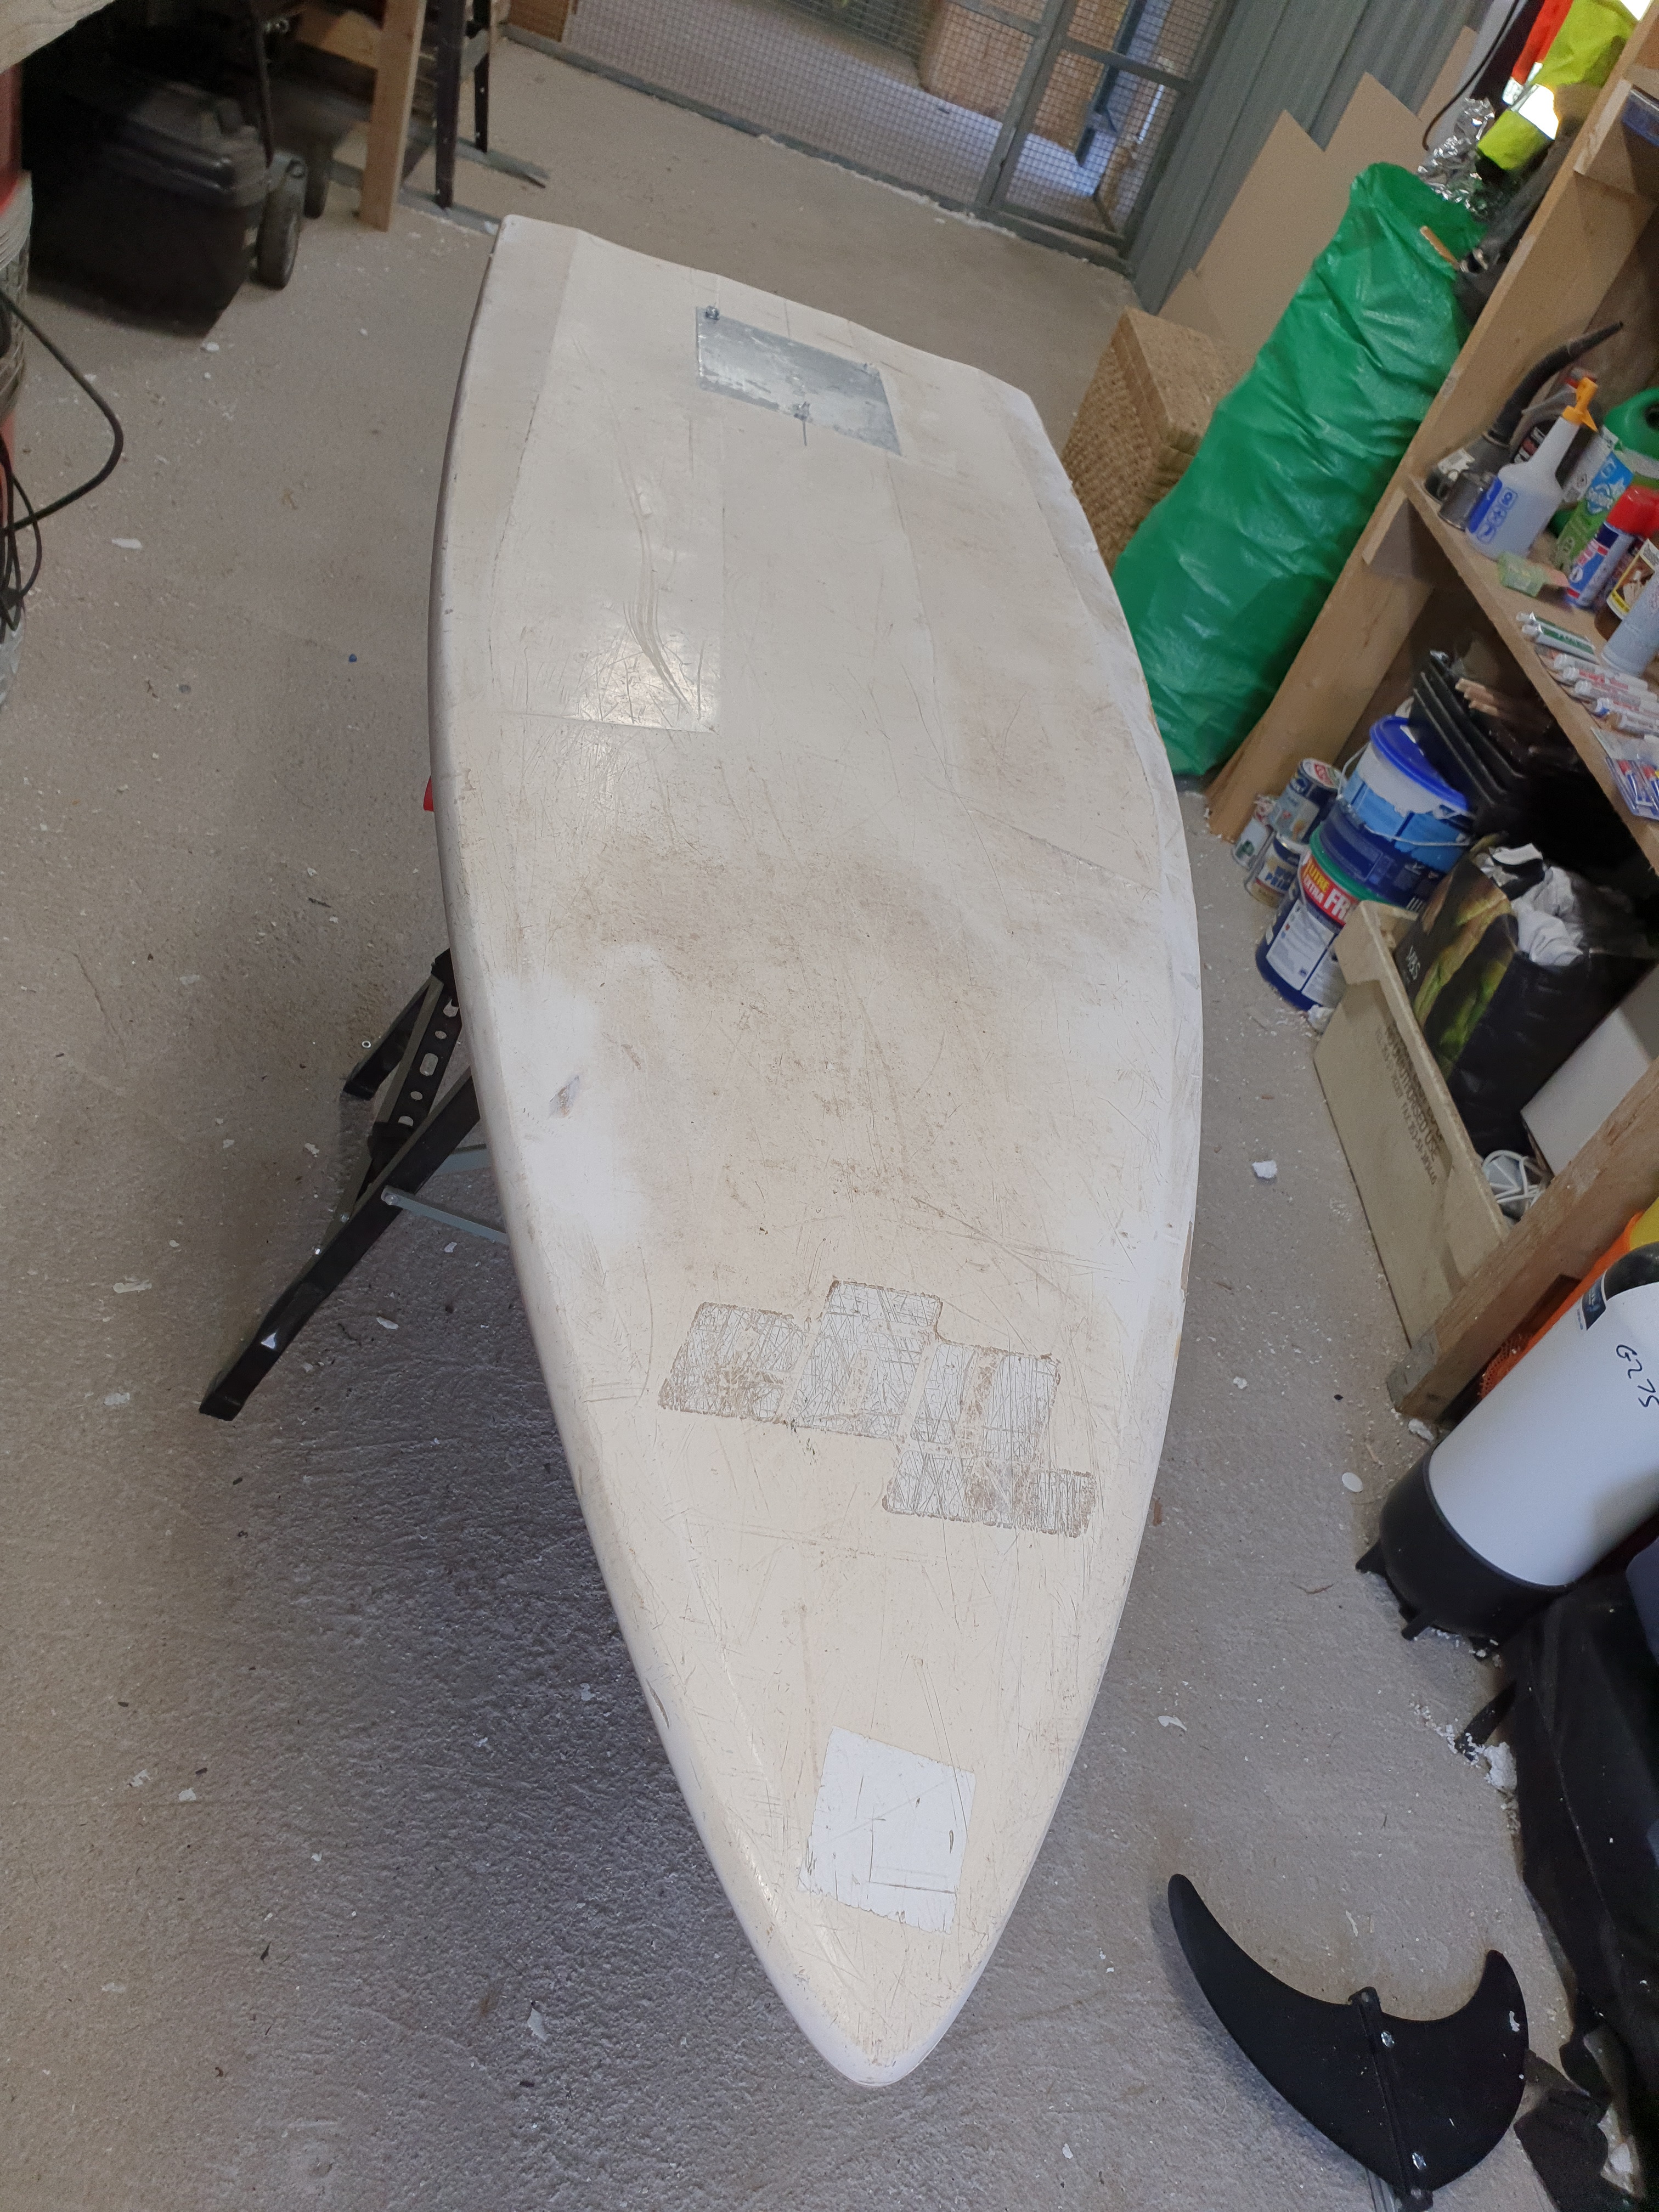
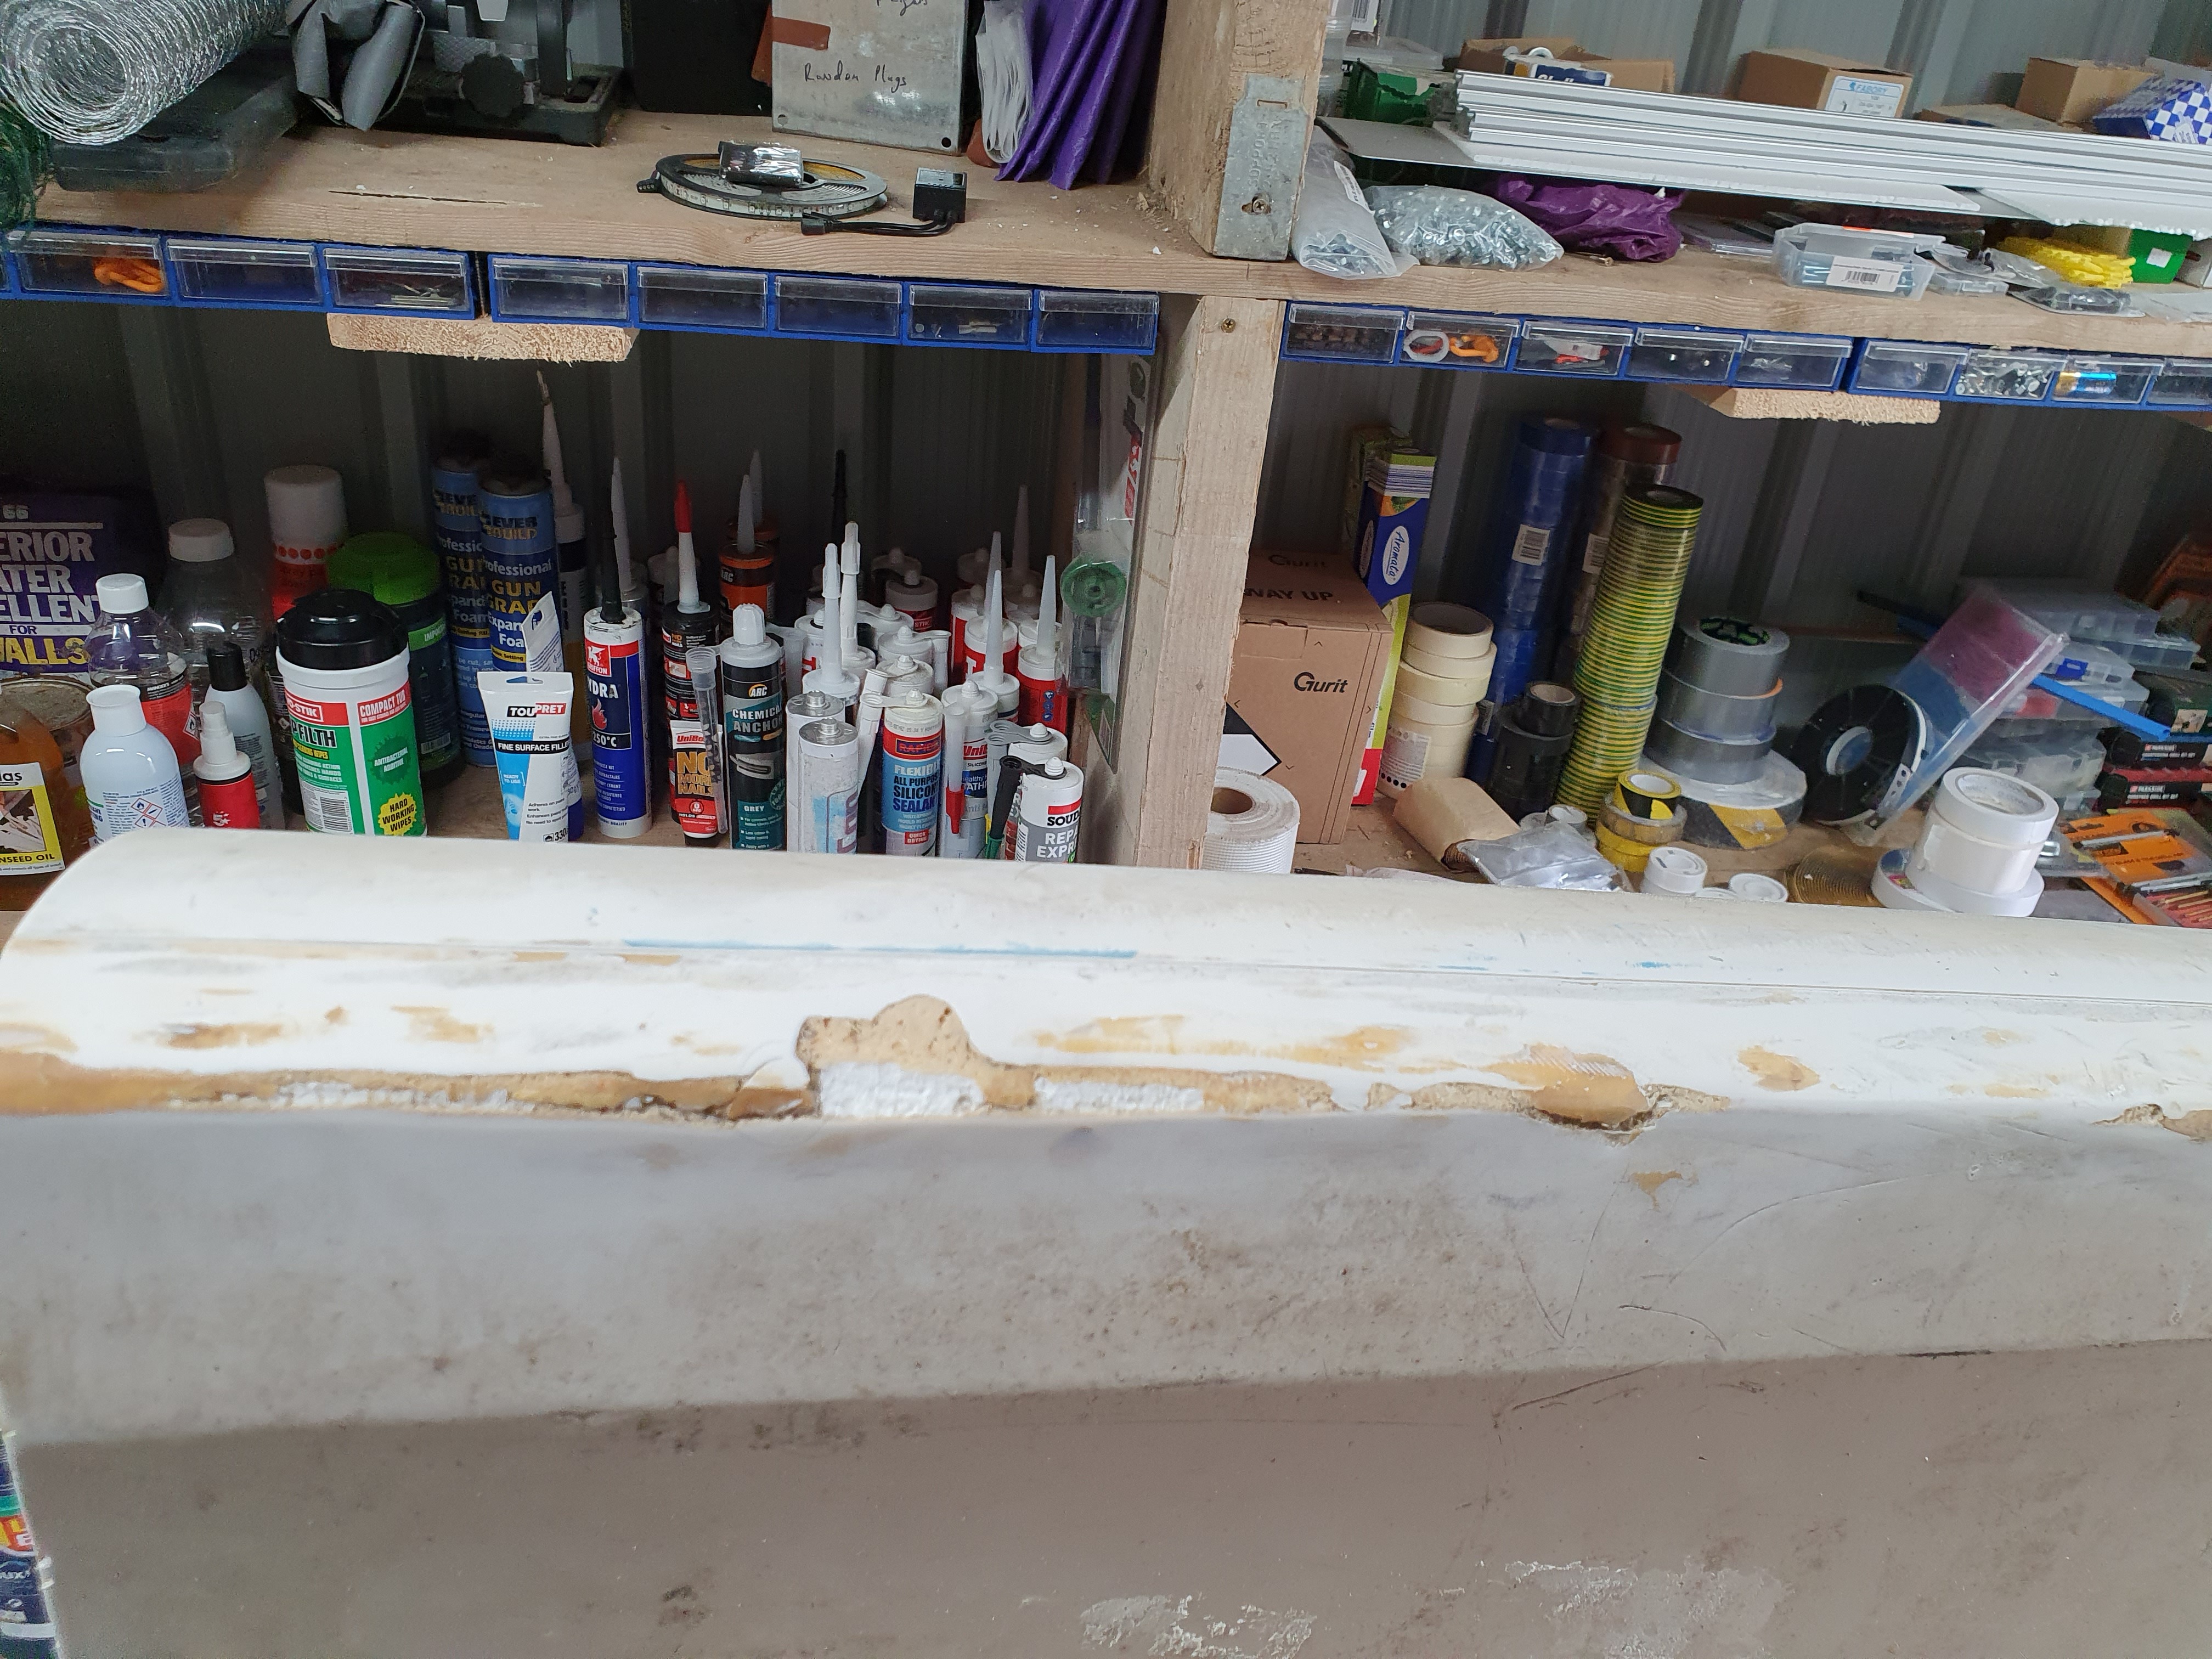
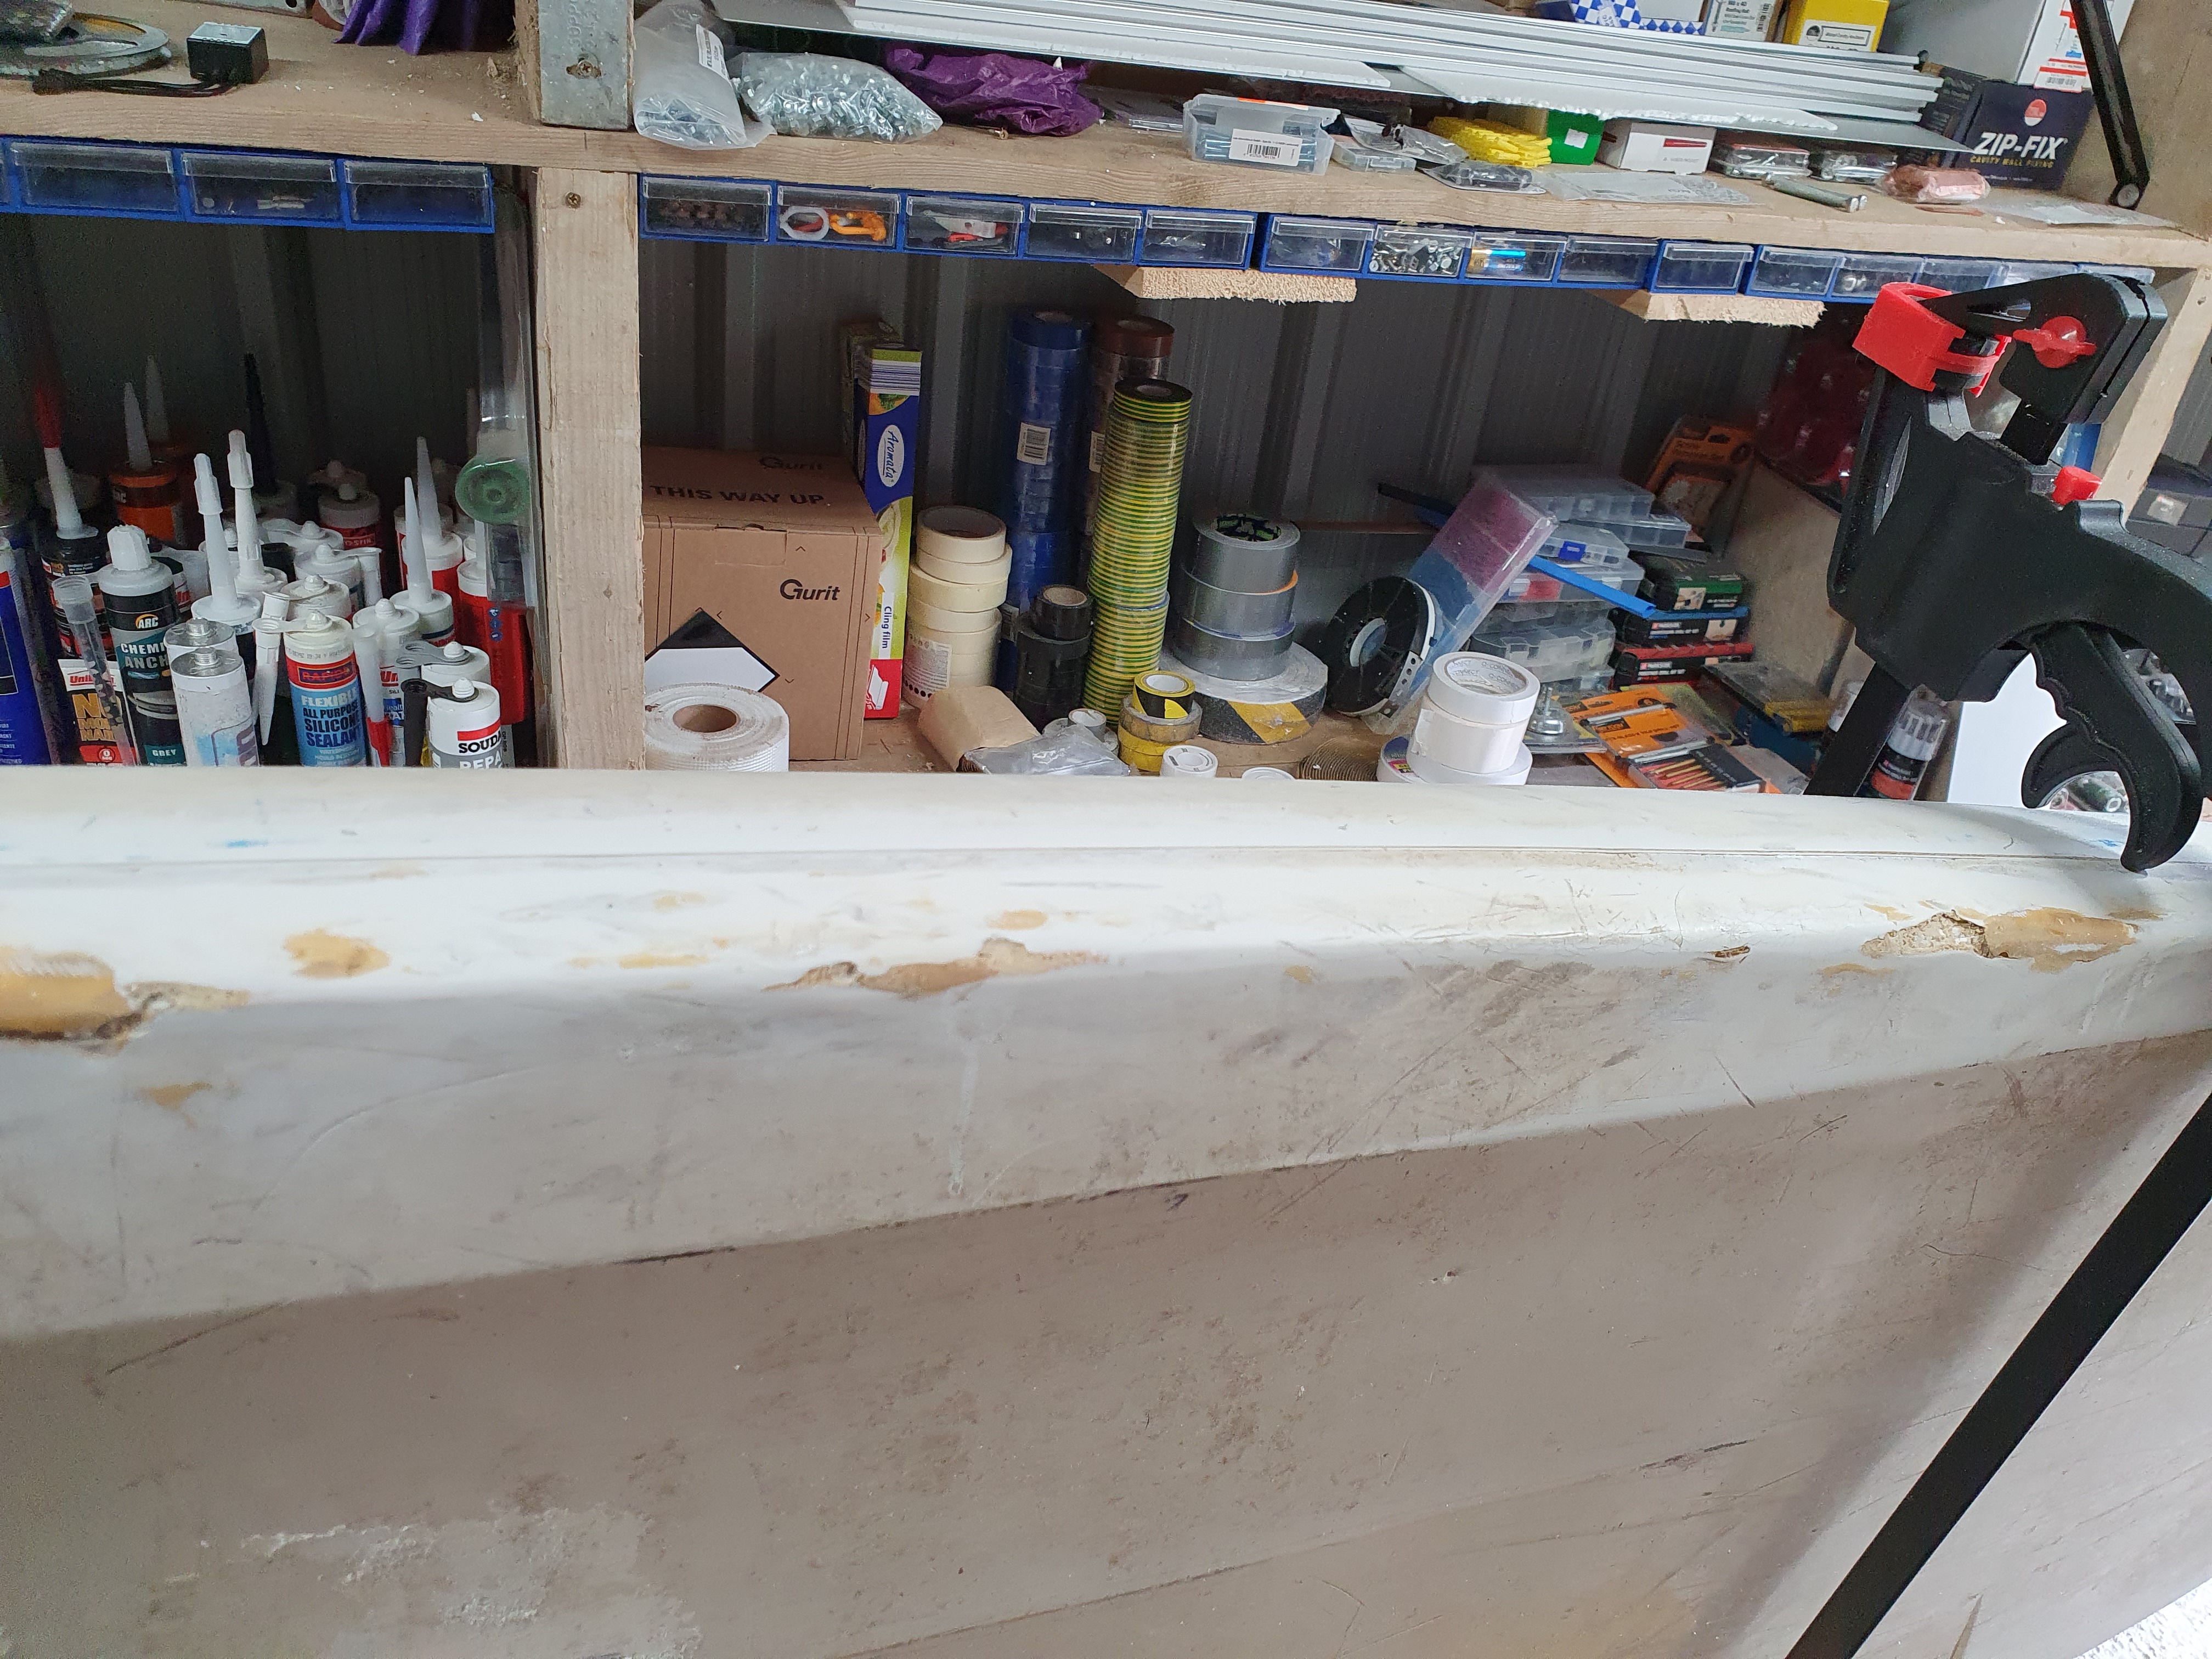
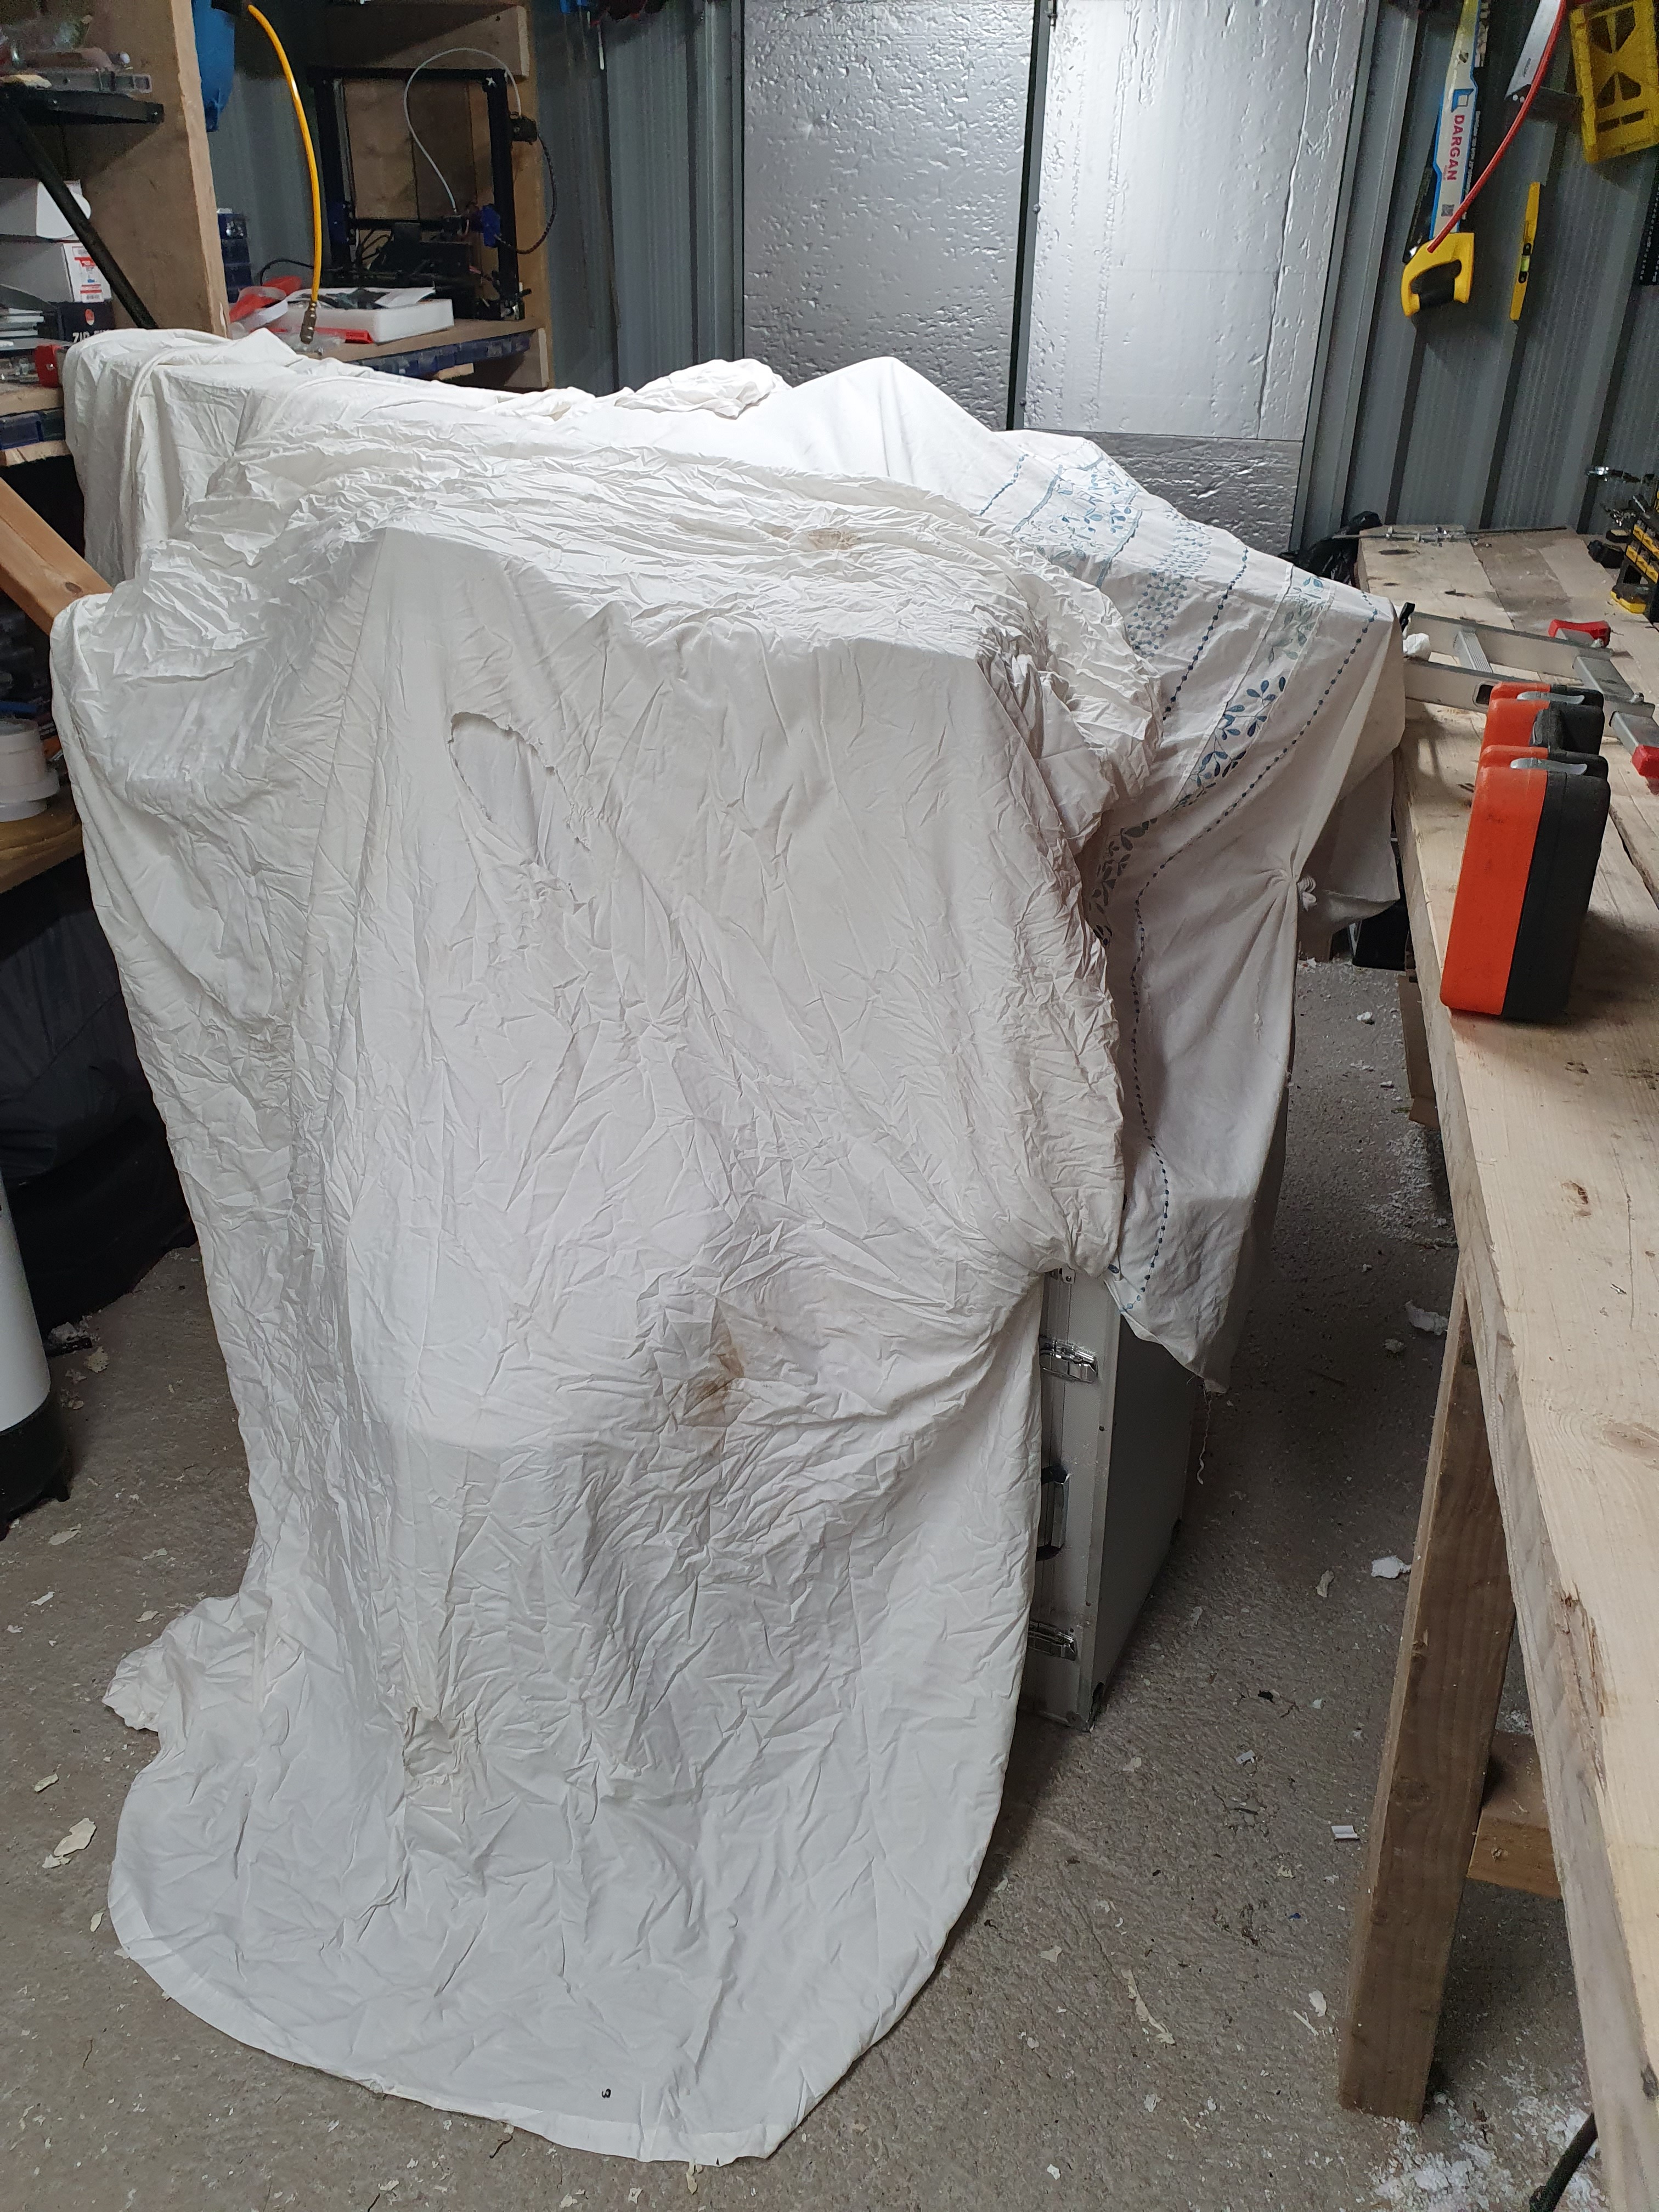
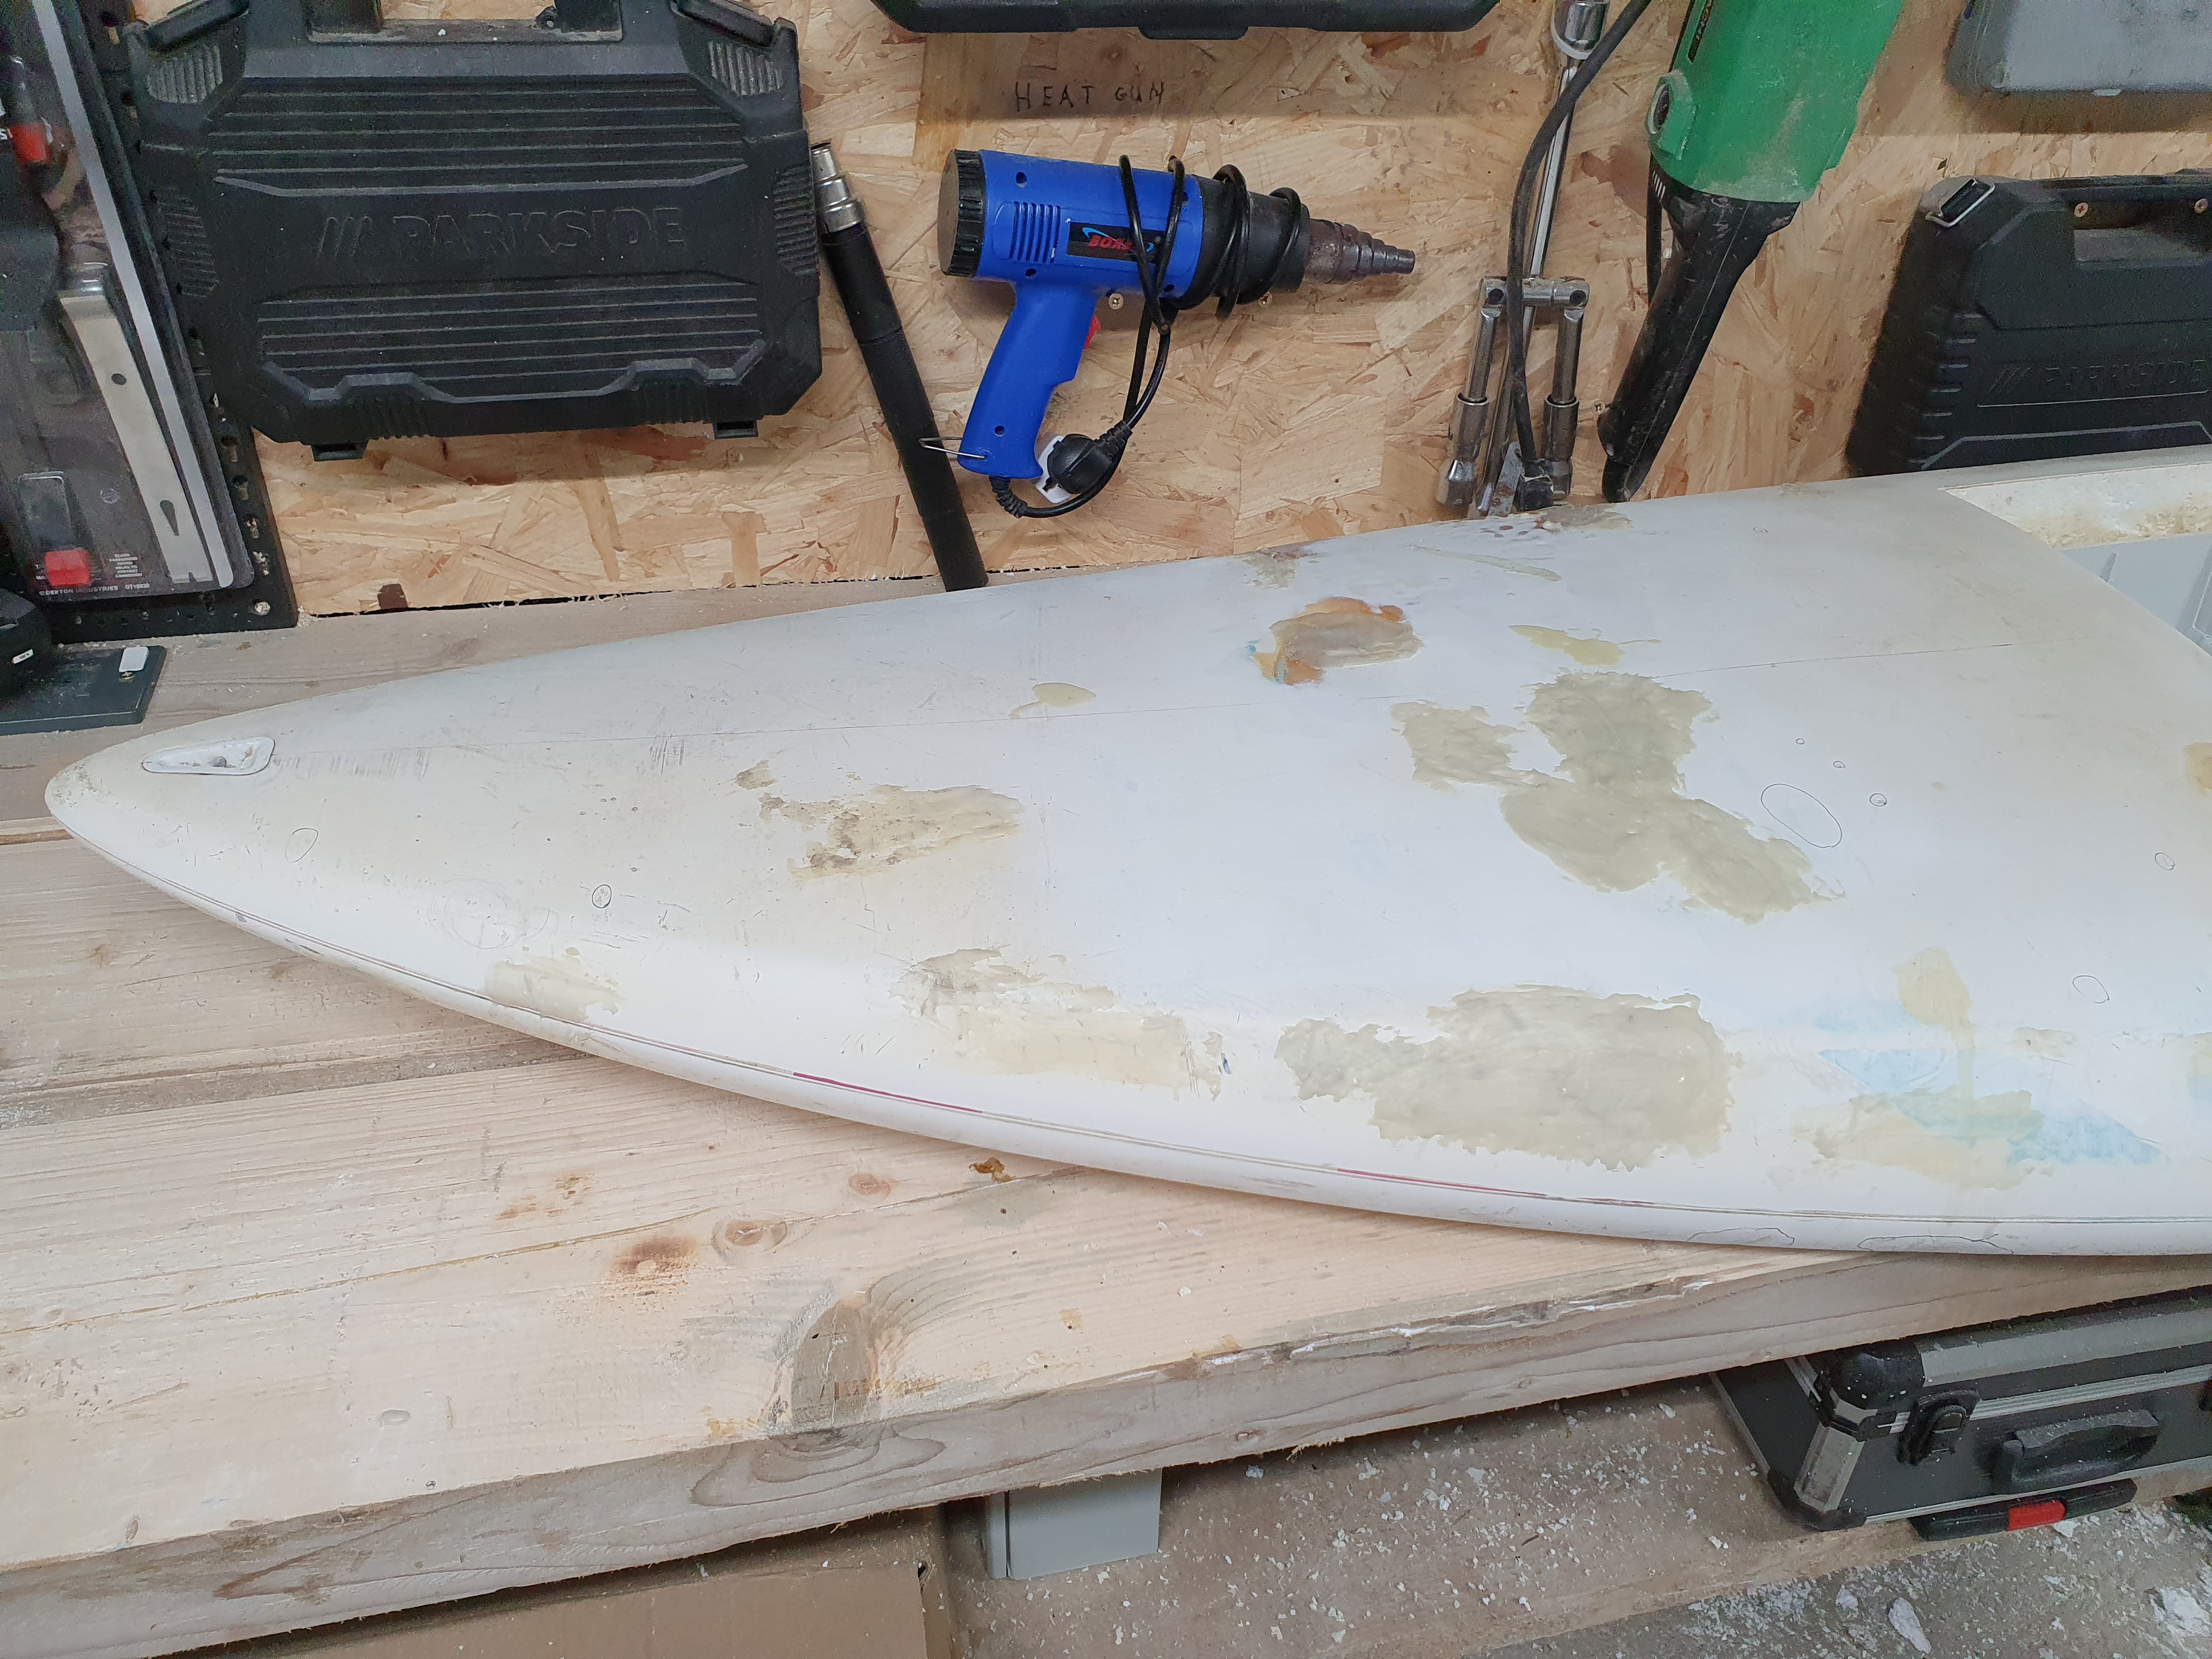
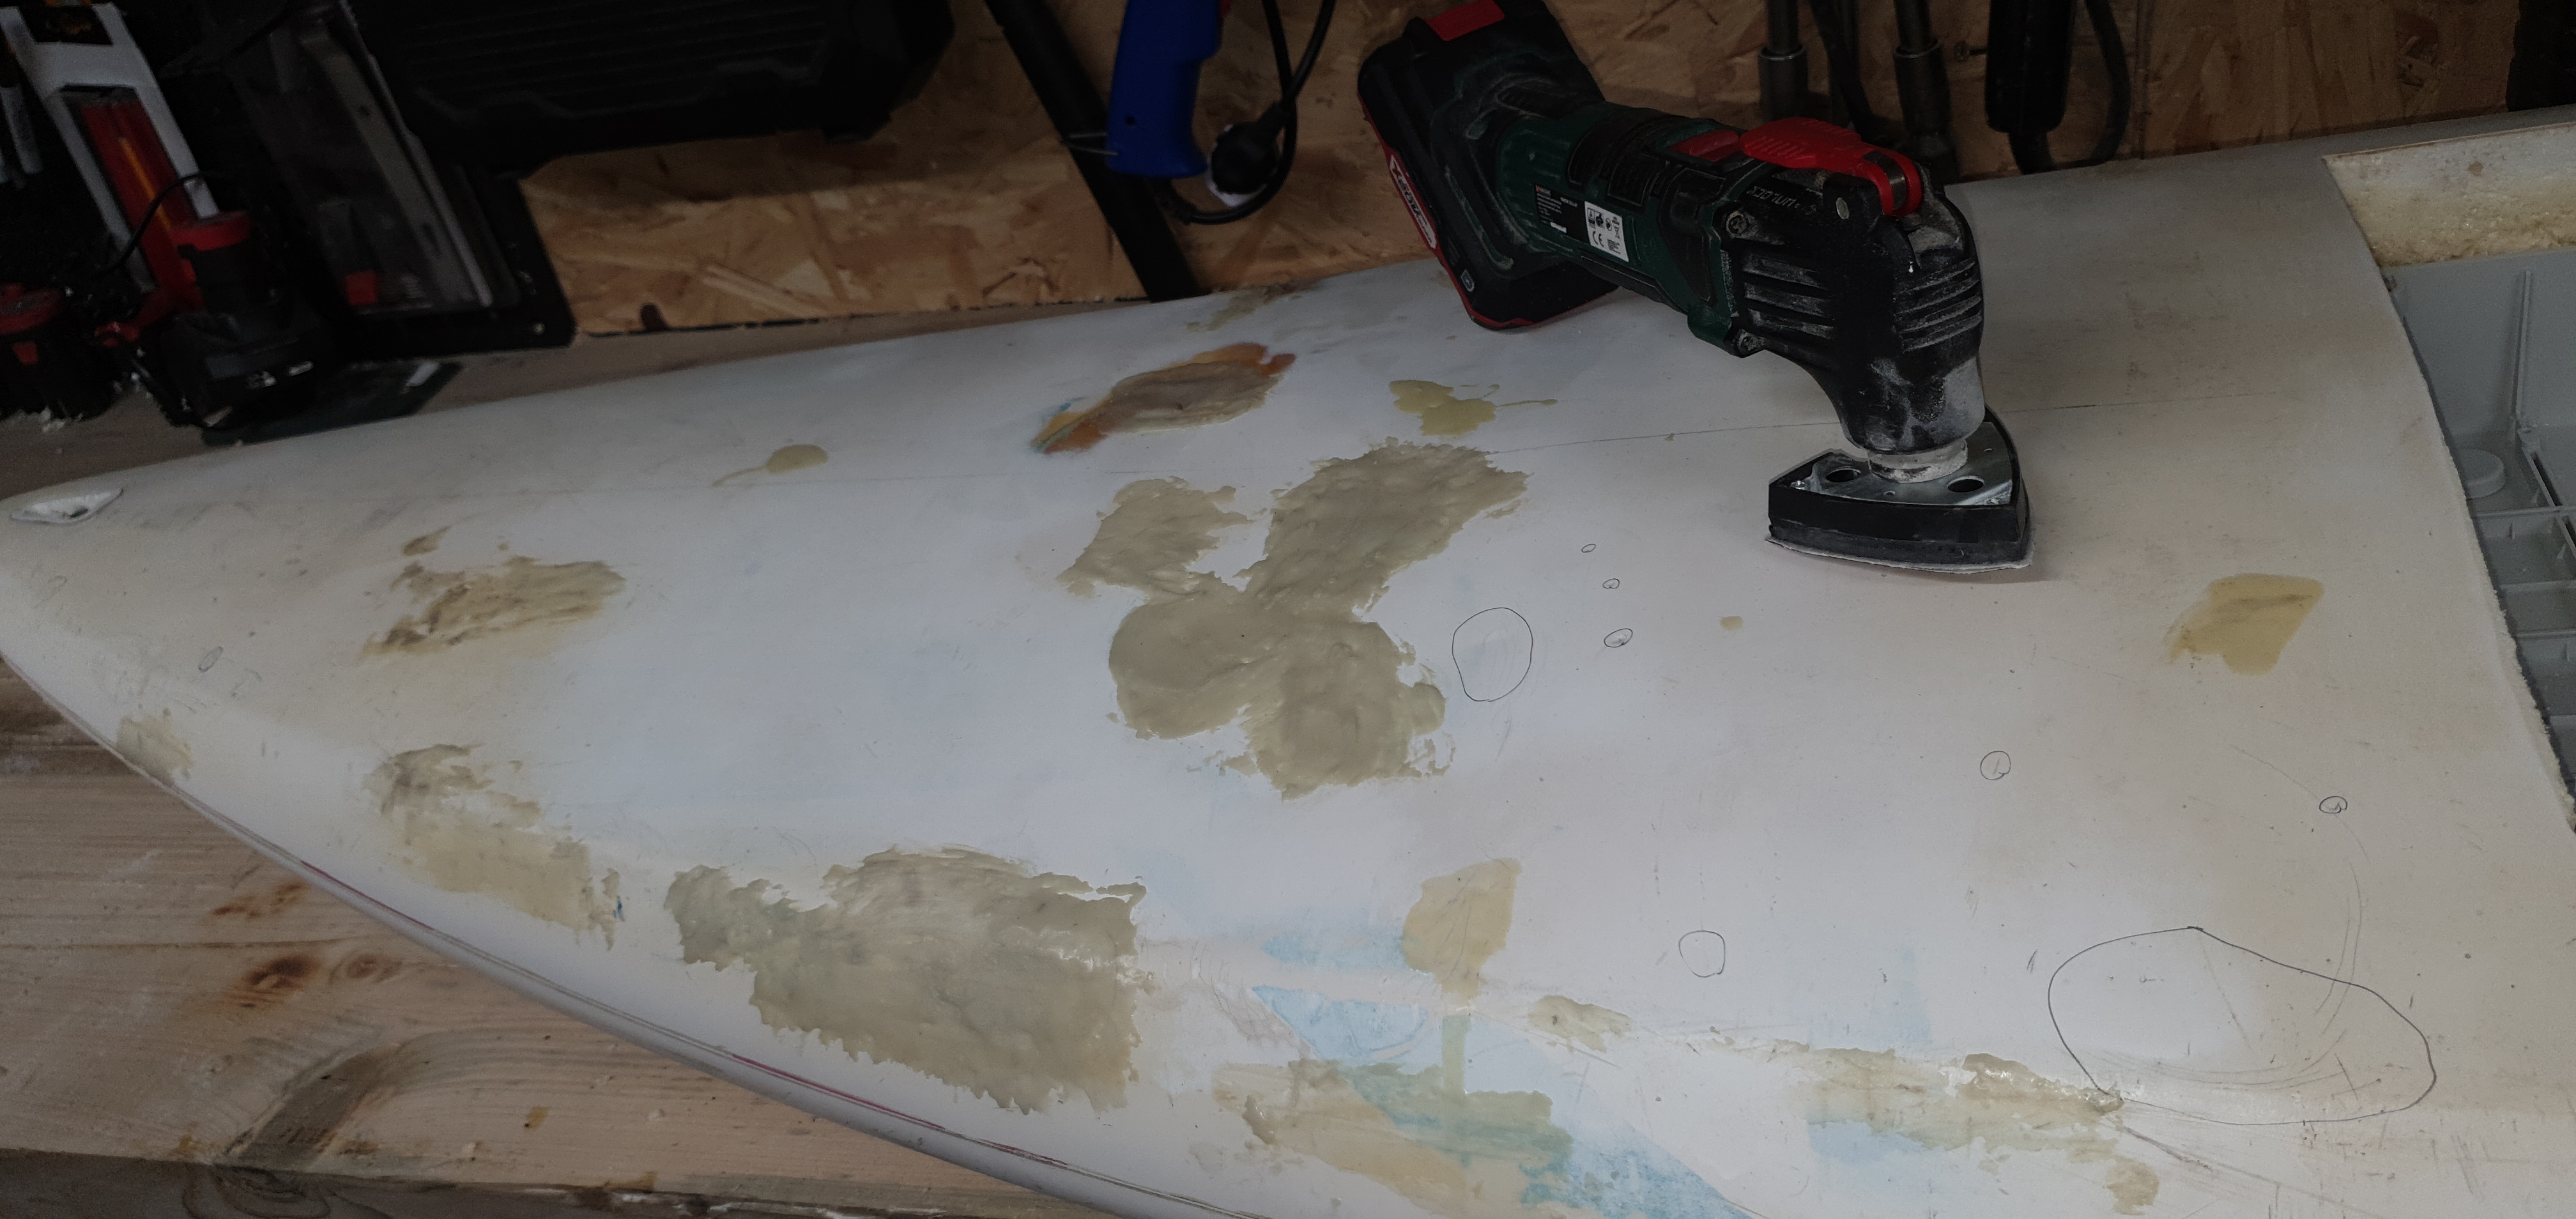
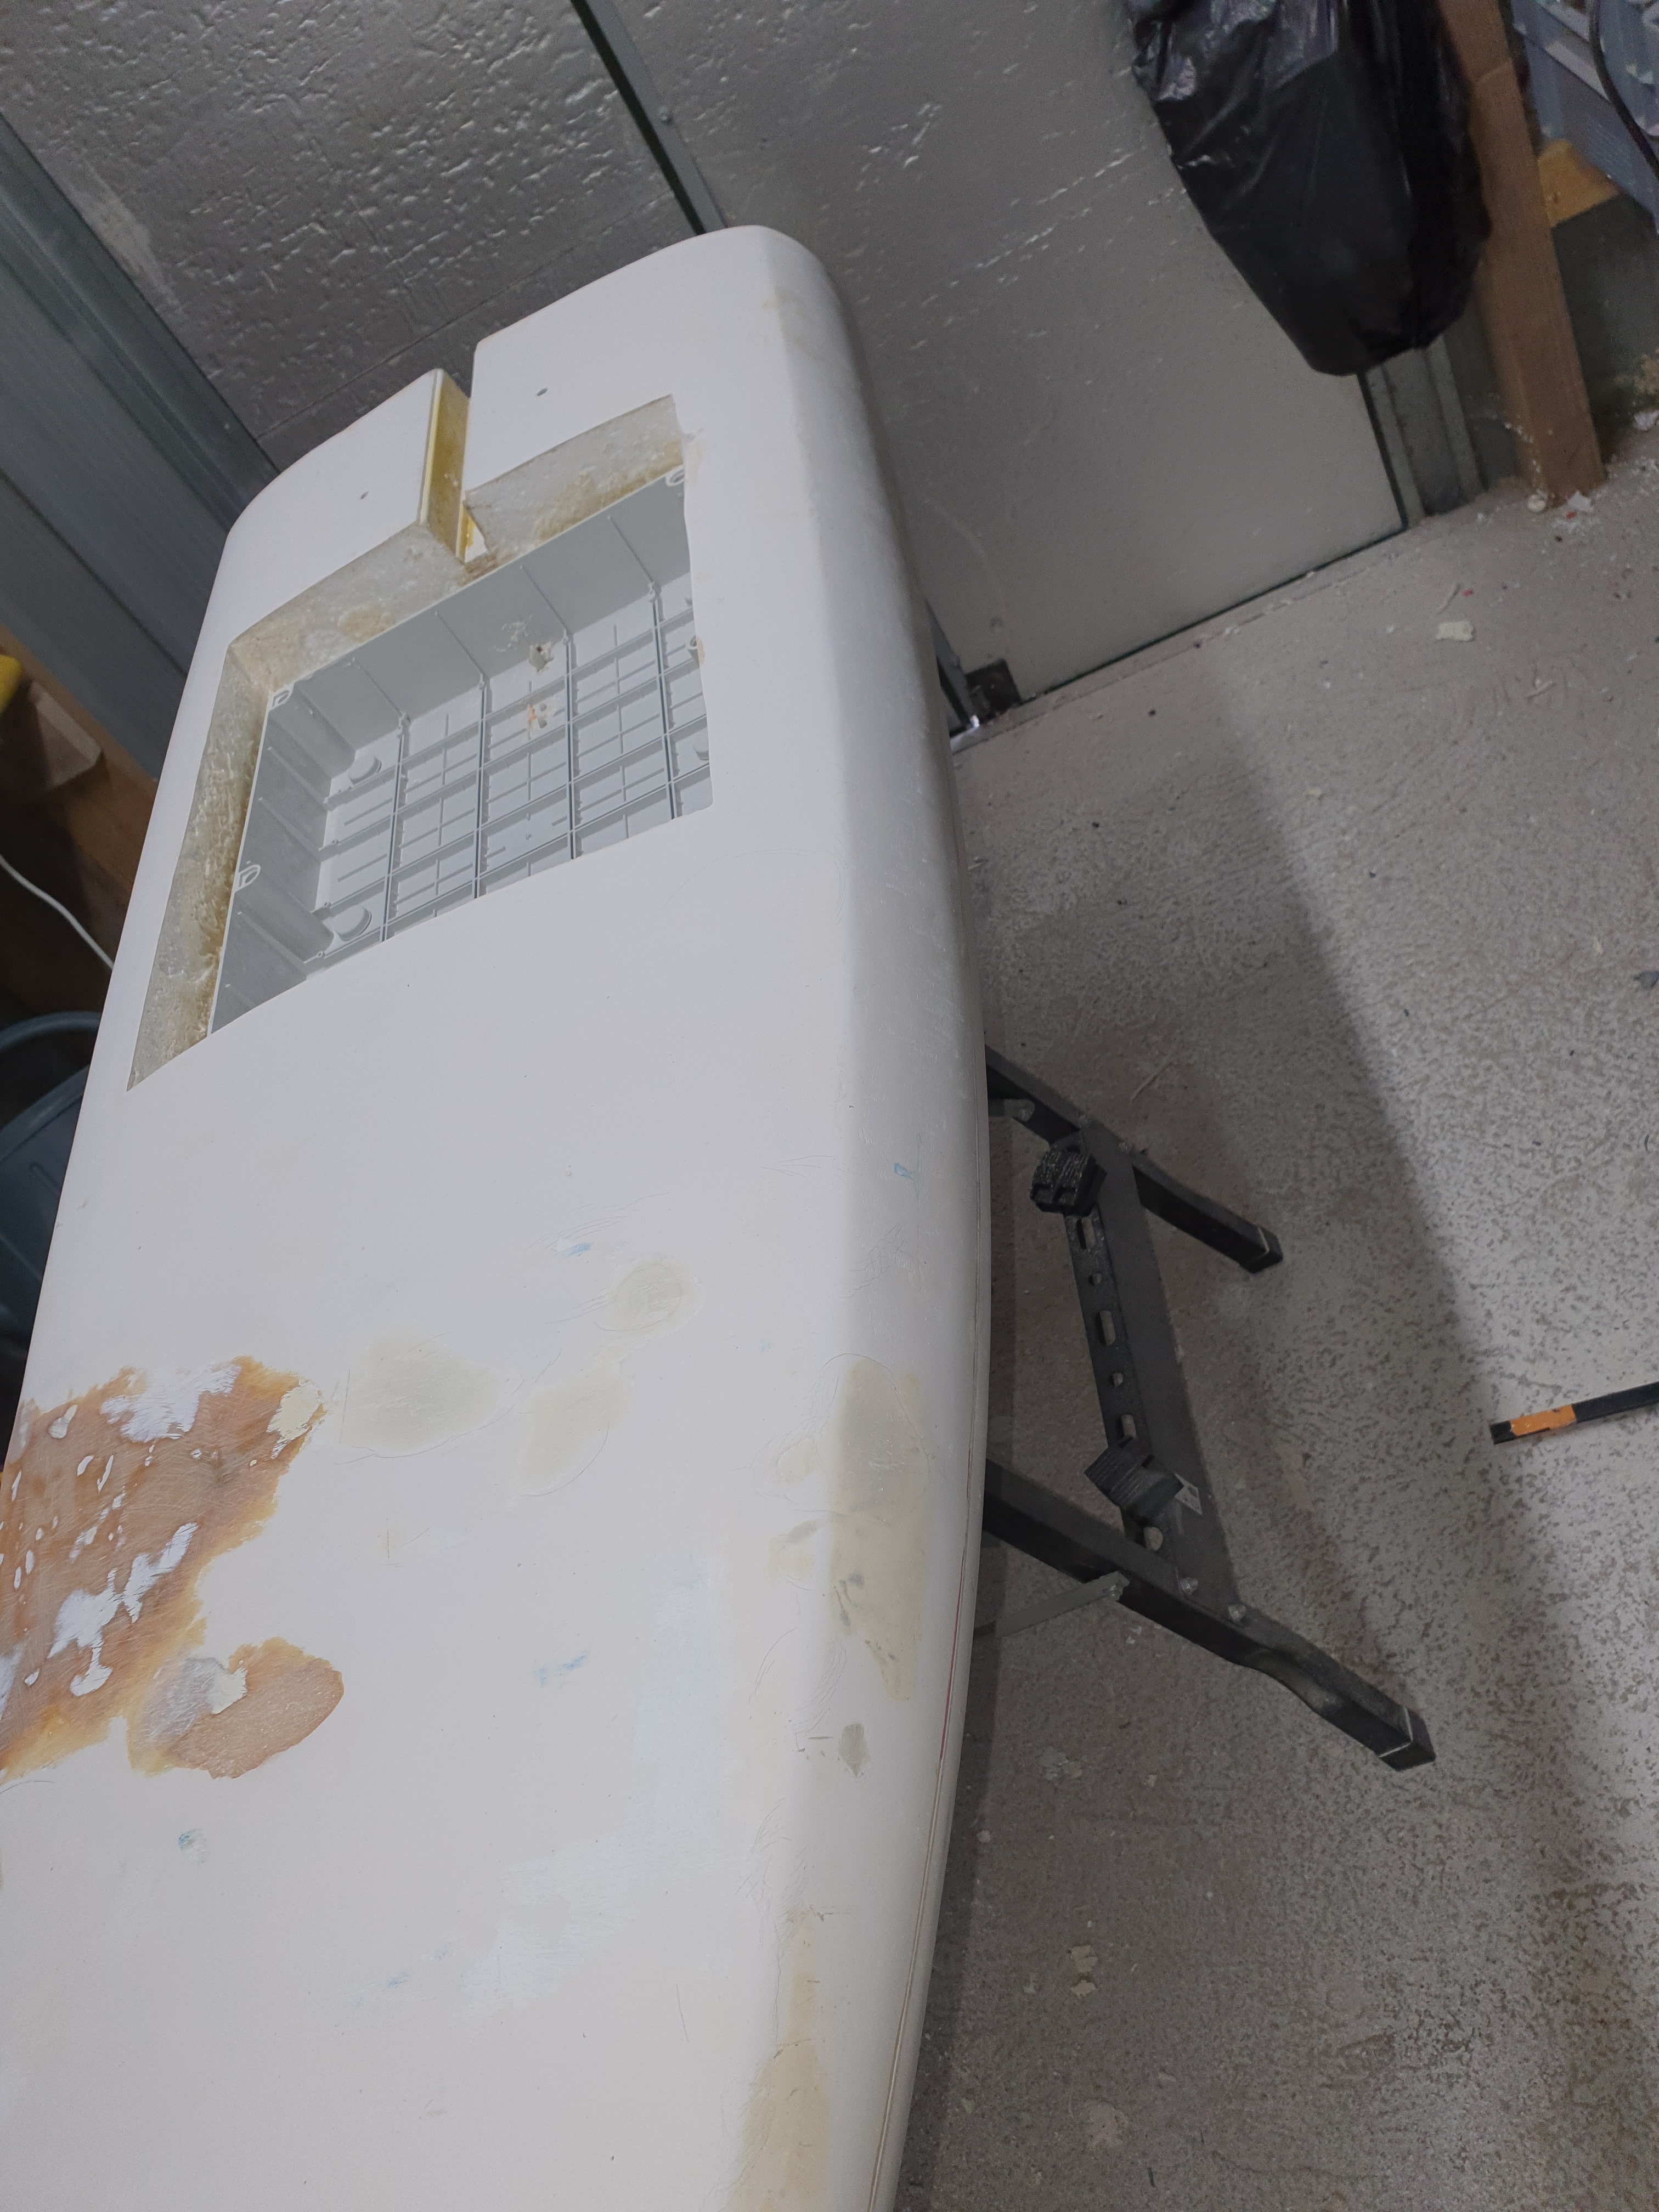
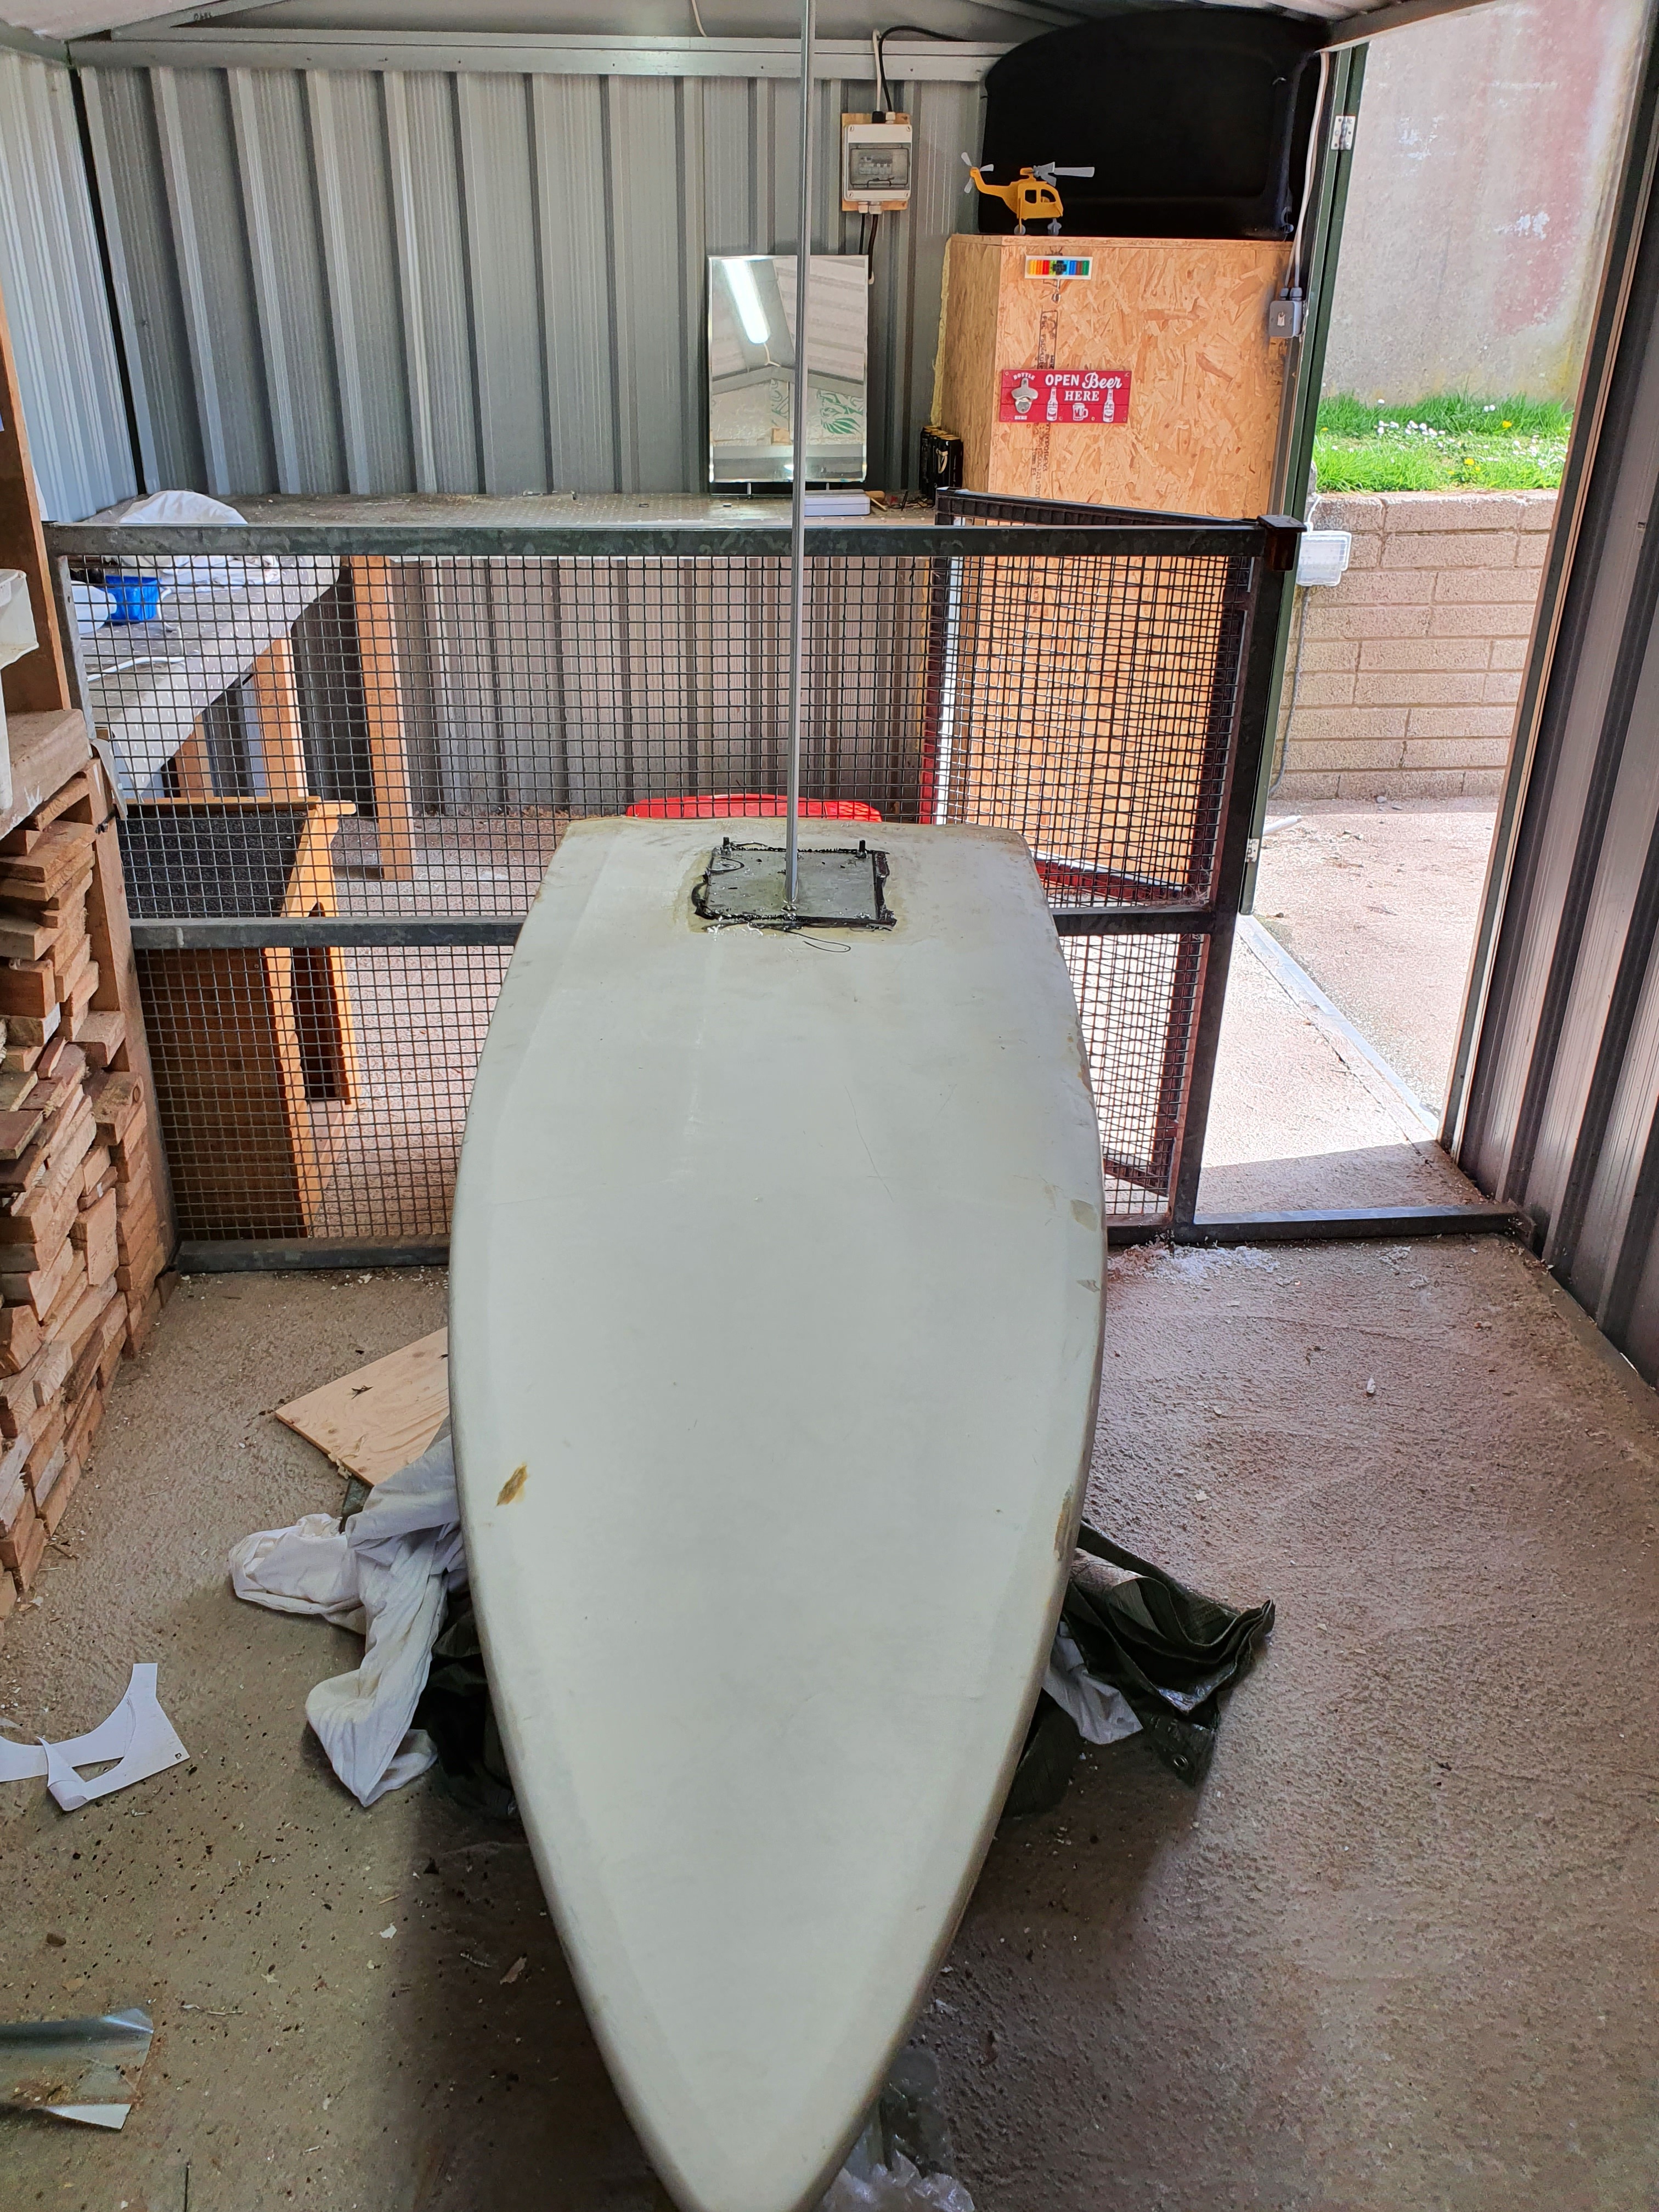
So I spend most of yesterday sanding down the board - its a very old windsurfer (no idea of the make - so faded that all the markings were nearly gone but I got it for €20 so I cant complain. It took a food few hours as there was a lip the whole way around in the centre where the manufactuer joined the top and bottom halves. Plenty of dings etc. To be filled and obviously the box compartment which I cut out needed tidying up. I used a Mouse Sander starting at 40 grit and moved to 80 and 120. Its not perfect buts its close and I still need to fill the holes and Im goinh to do 2 coats all over of fibreglass so it doesnt need to be perfect just yet Once sanded, I sprayed expanding foam around my mast plate and my box cut out - I removed a bit too much foam when I cut origionally and wanted to replacr that esp around and under my box. I tested it on some sample foam first, really good adhesion. I then bolted through the mast plate and the box and clamped it all together to leave the foam dry before I cut it.
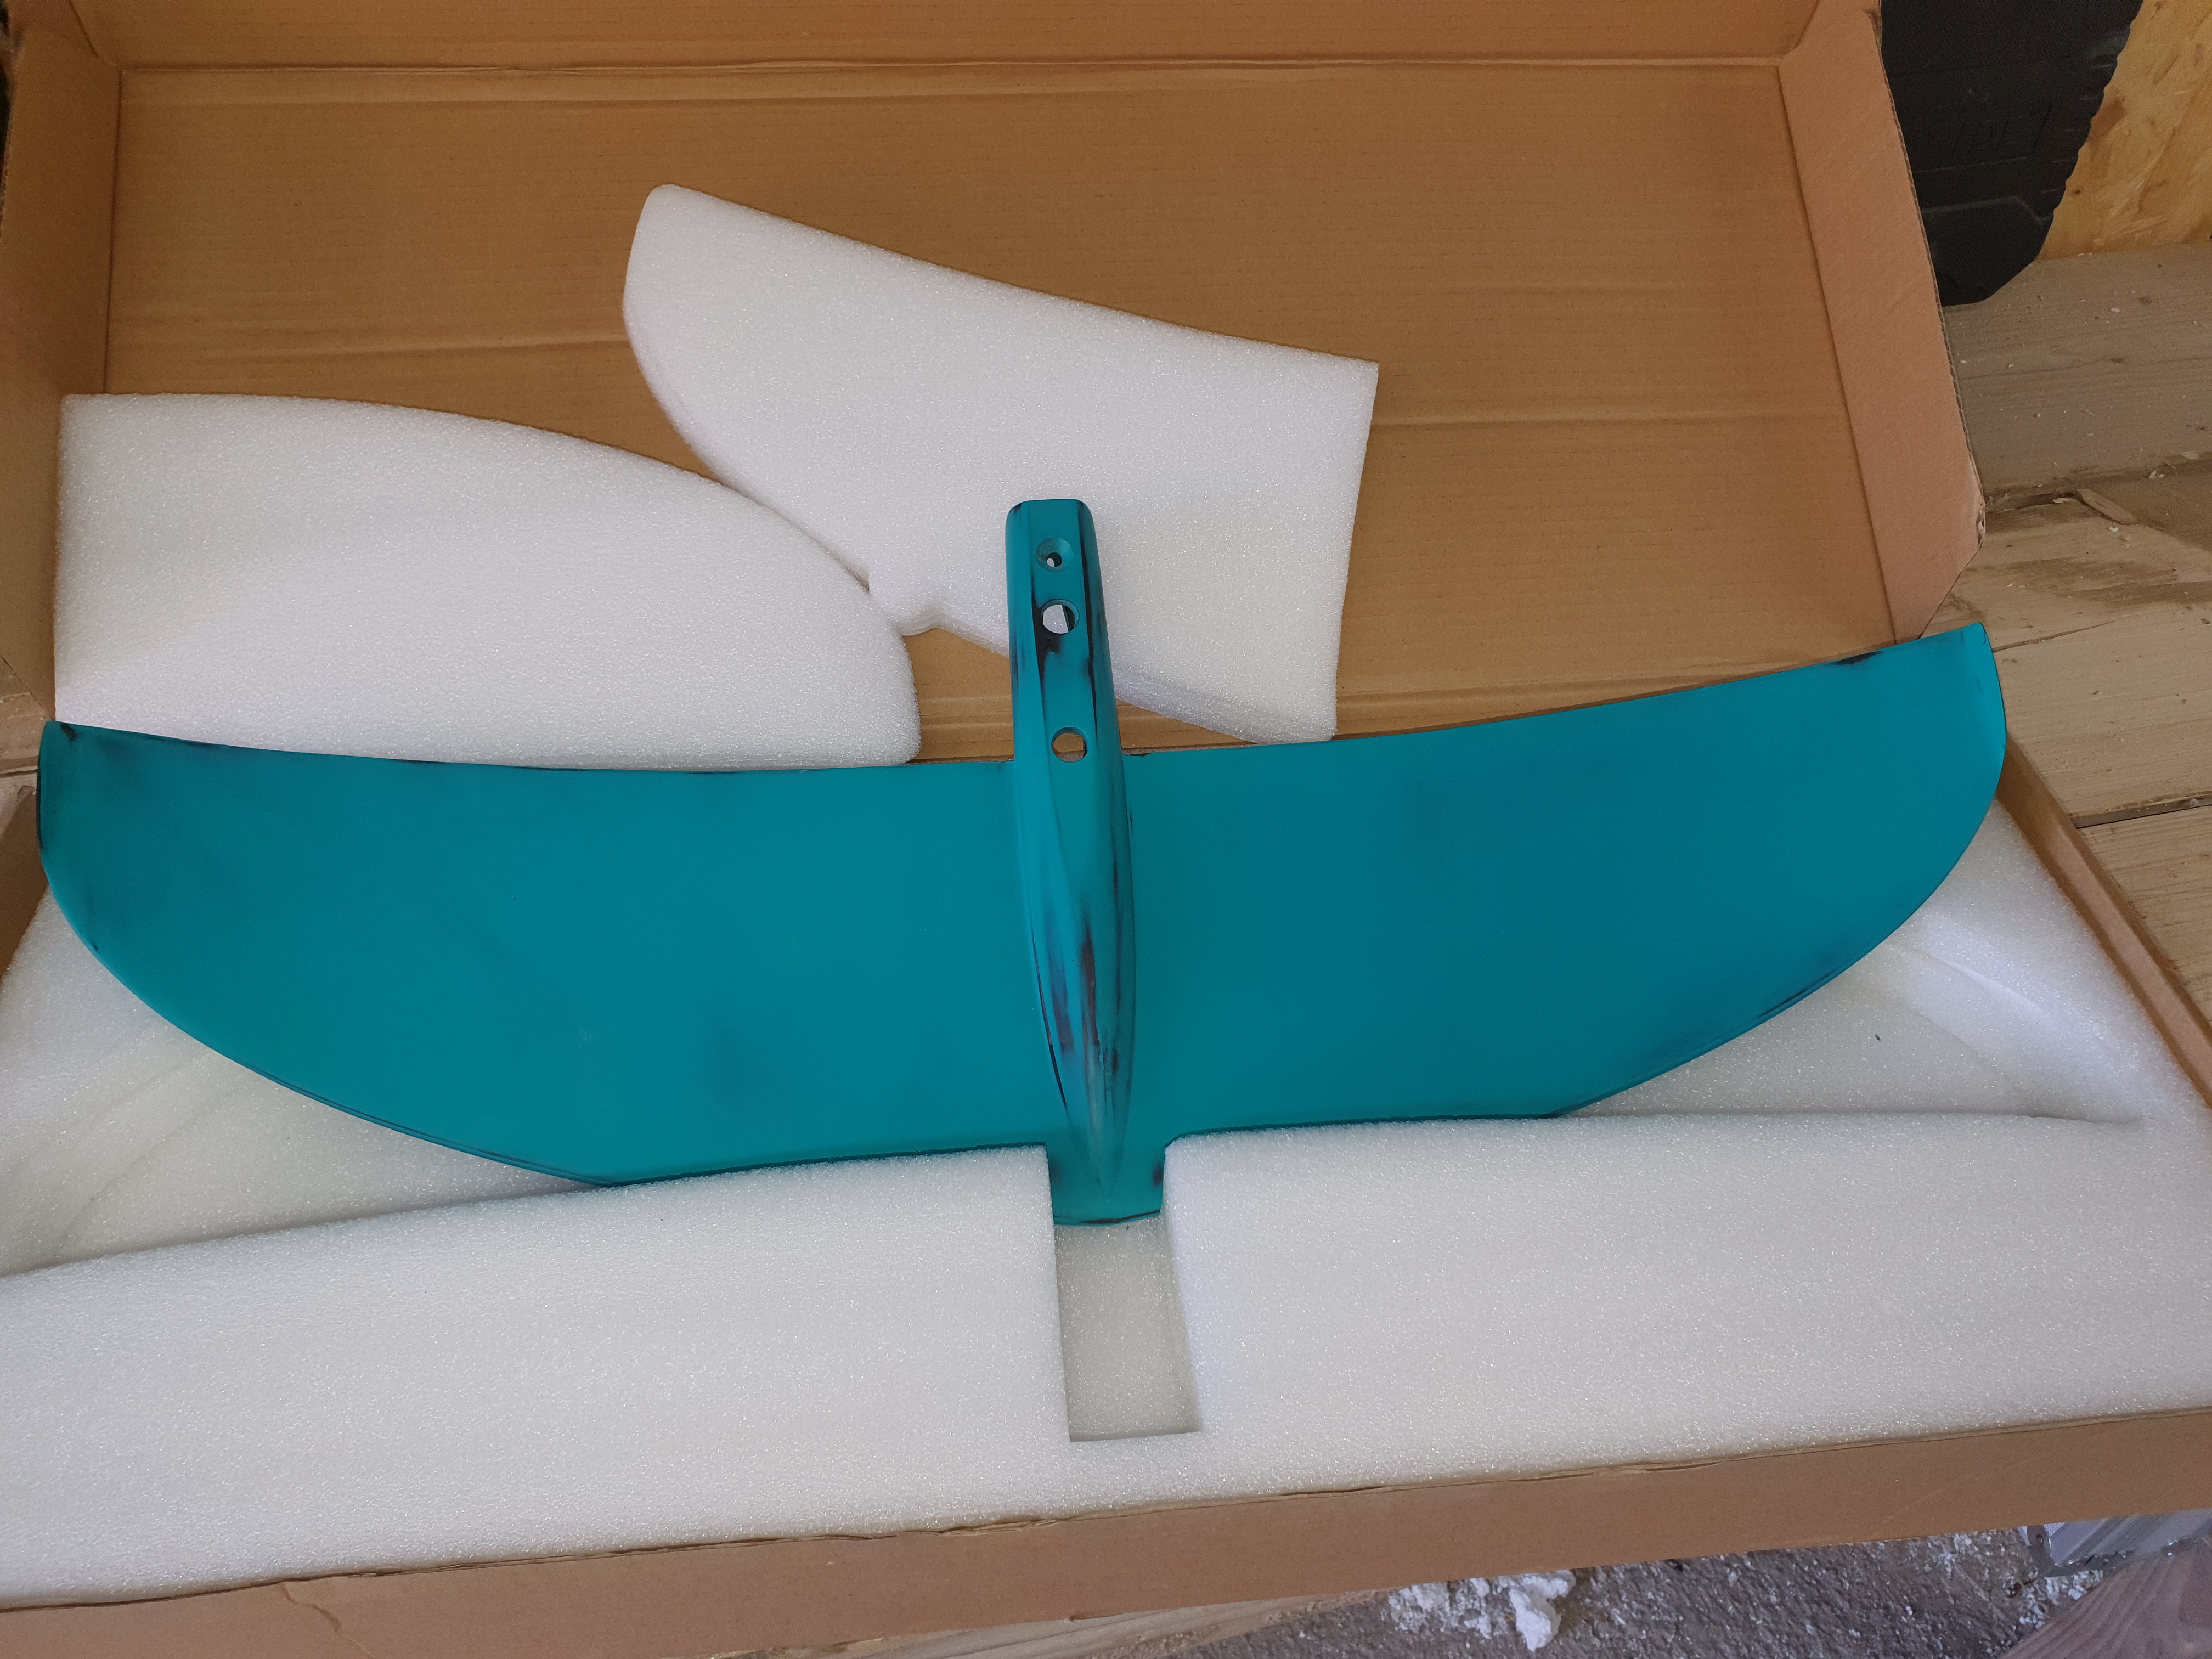
While thats drying and setting Ill update you on a few more bits that arrived: Front Wings!
So I got in touch with @charlieuk when he was selling and I picked up this from him - £70 + £18 shipping and great service from him infairness. Good quality and I had it in 3-4 days
My plan is to use this to experiment making my own wings etc. But I then came across MACKITEBOARDING and they had some great deals on slightly used wings so I purchased a 2018 Ride Engine Futura Front Wing which is identical to the Slingshot H2! So until I het brave enough to research more on moulding etc, Im going to use this one and it was quite reasonable at $99 and only €15 shipping with no import taxes etc. 20200415_131315|666x500
1 Like
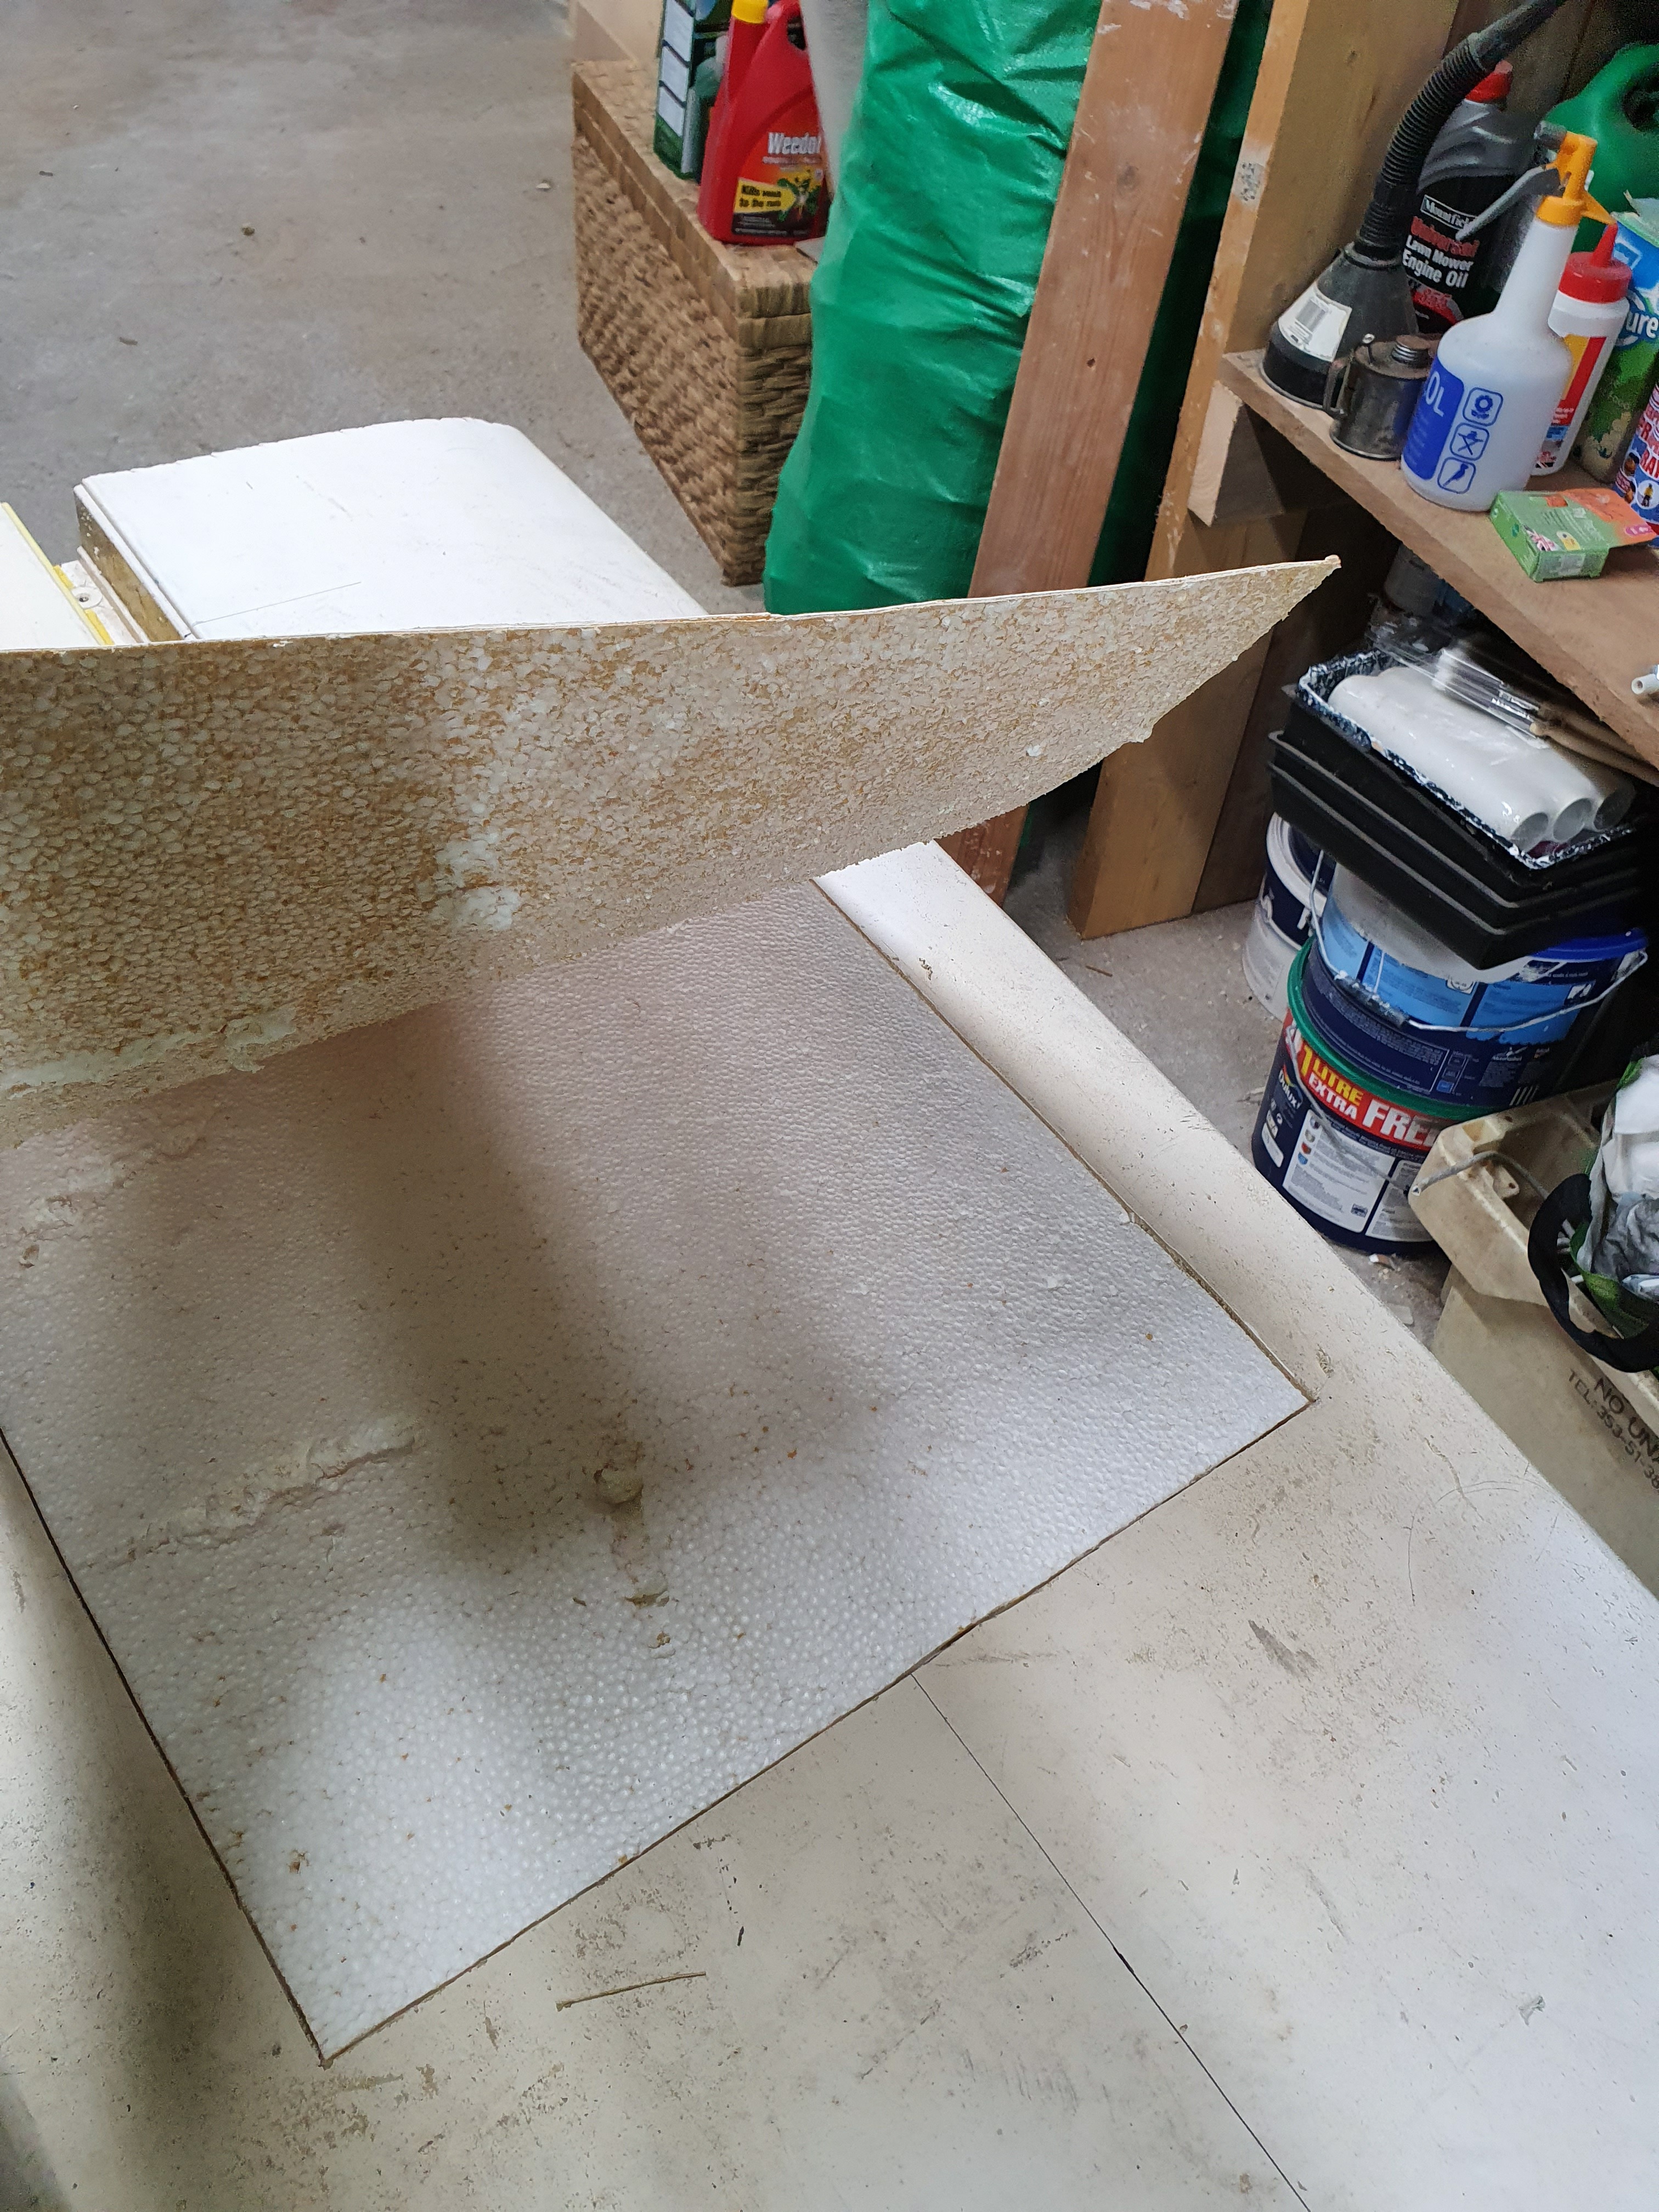
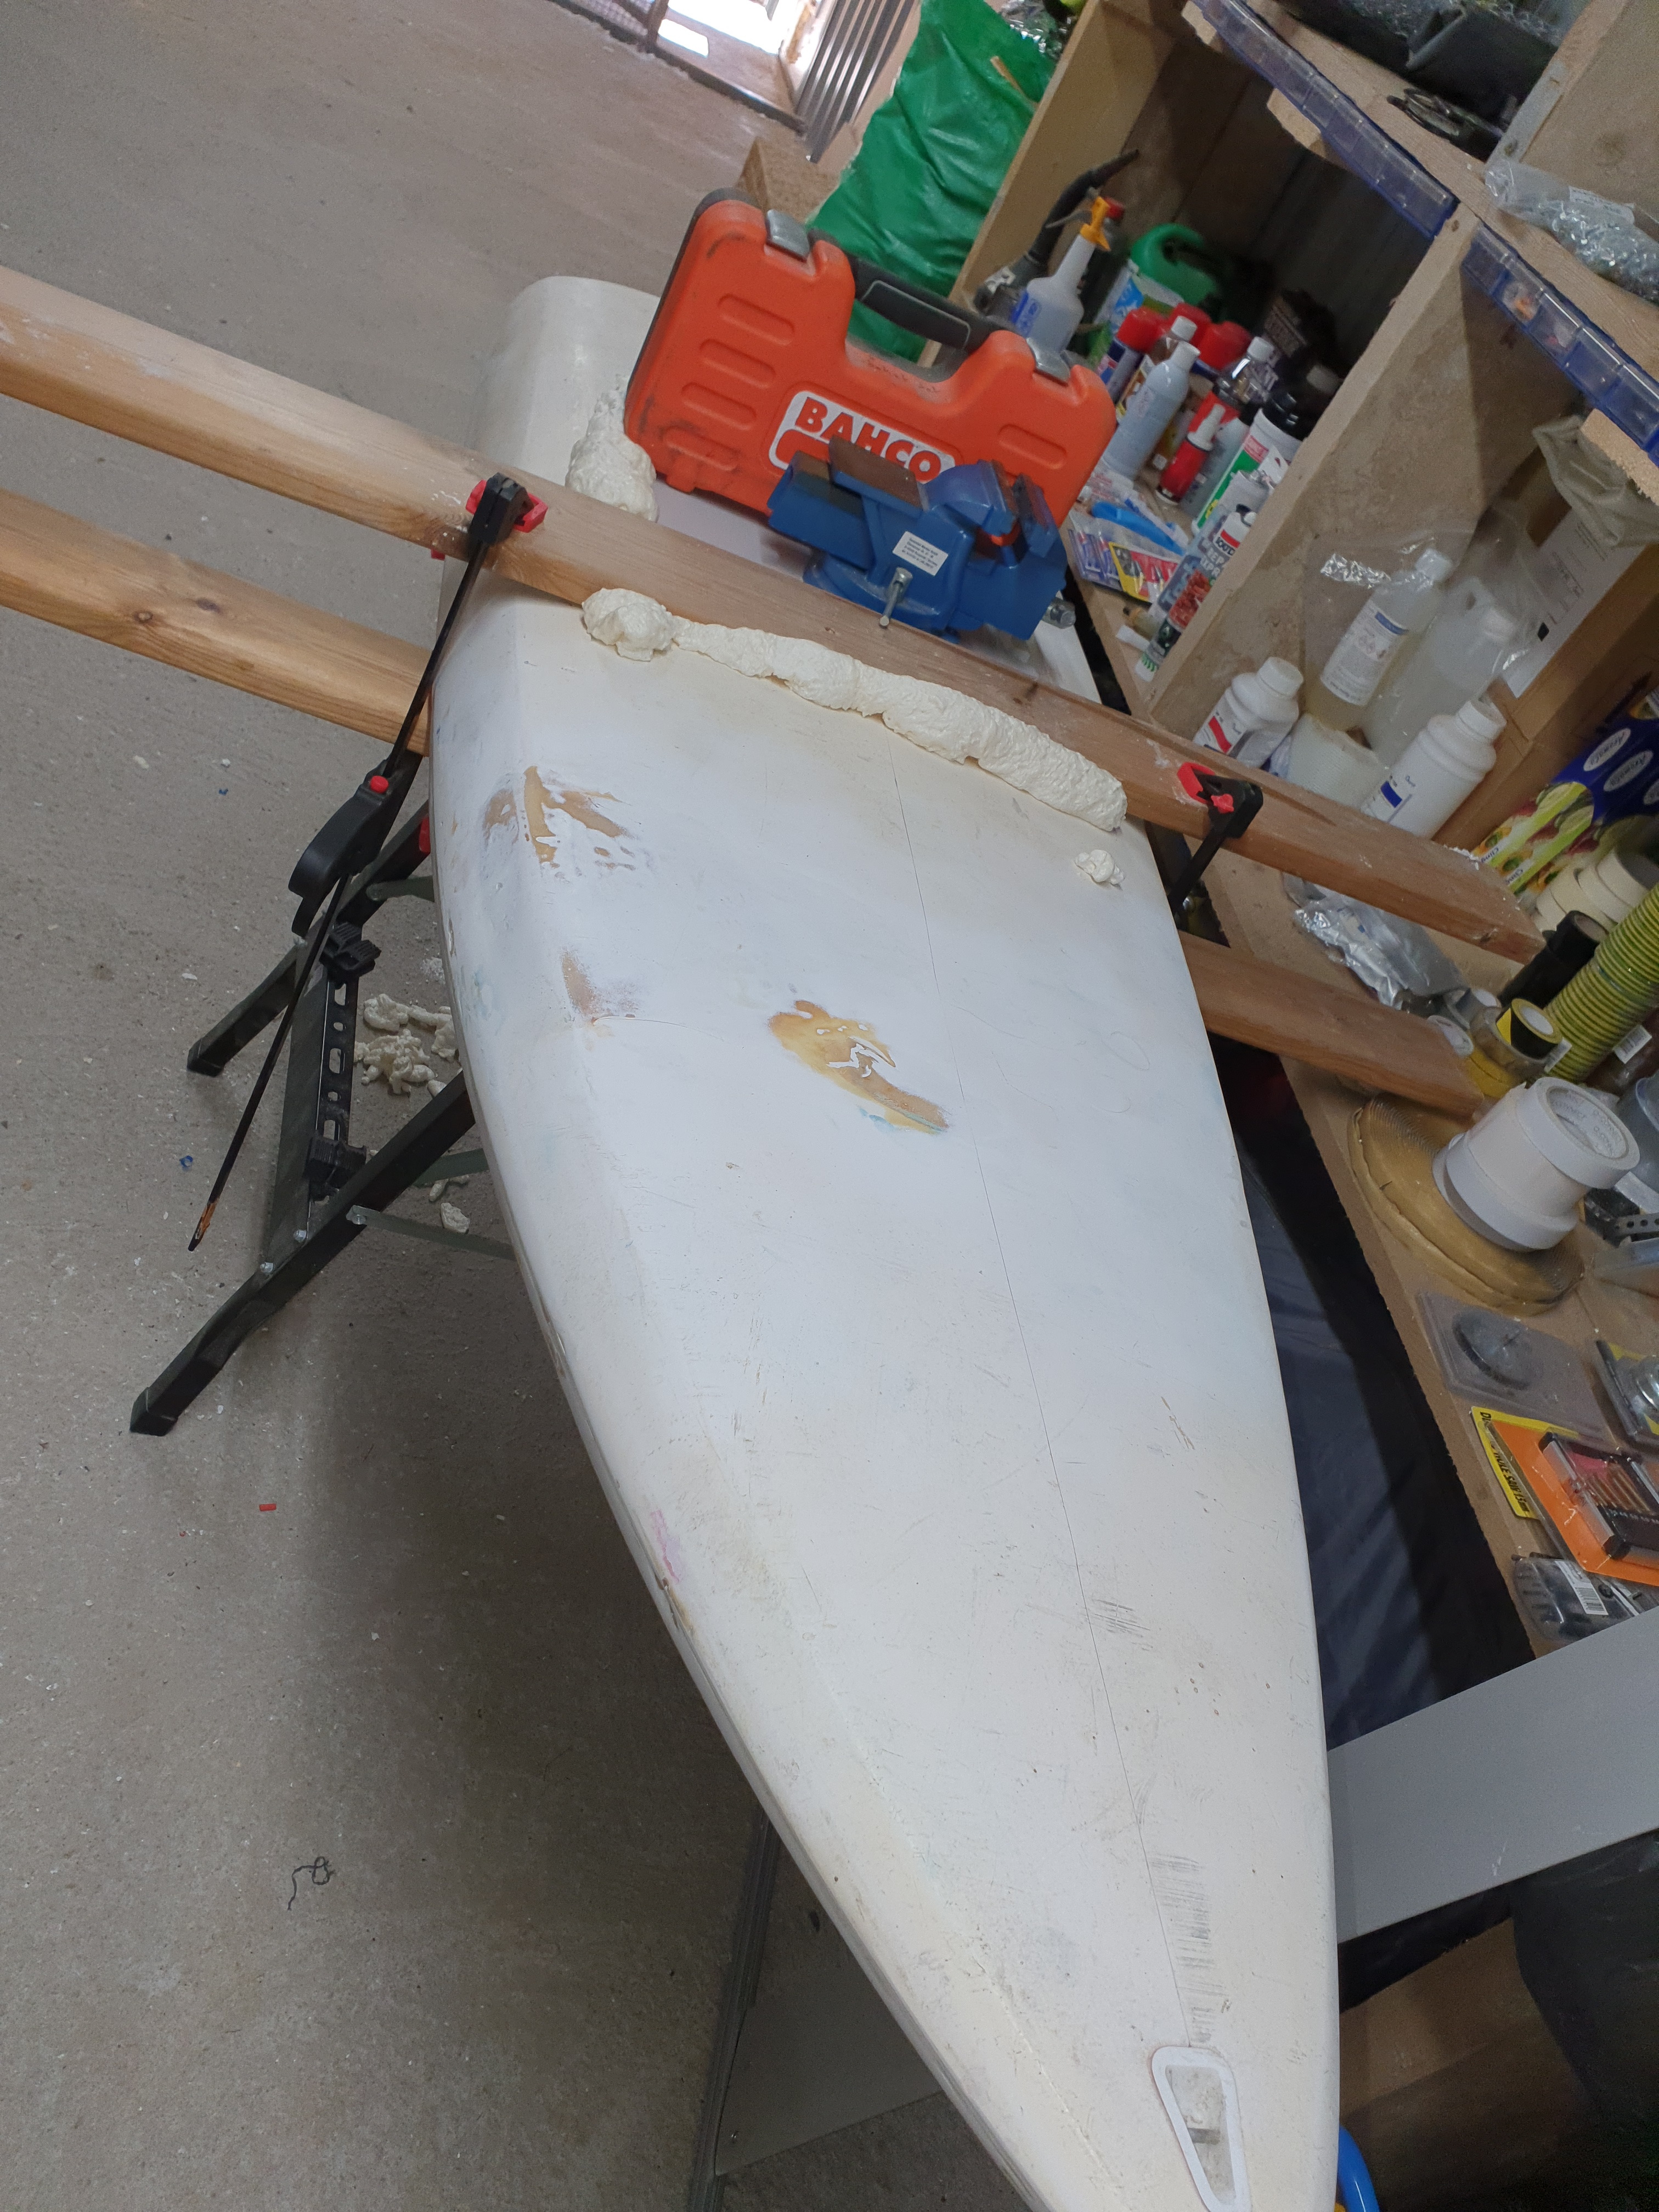
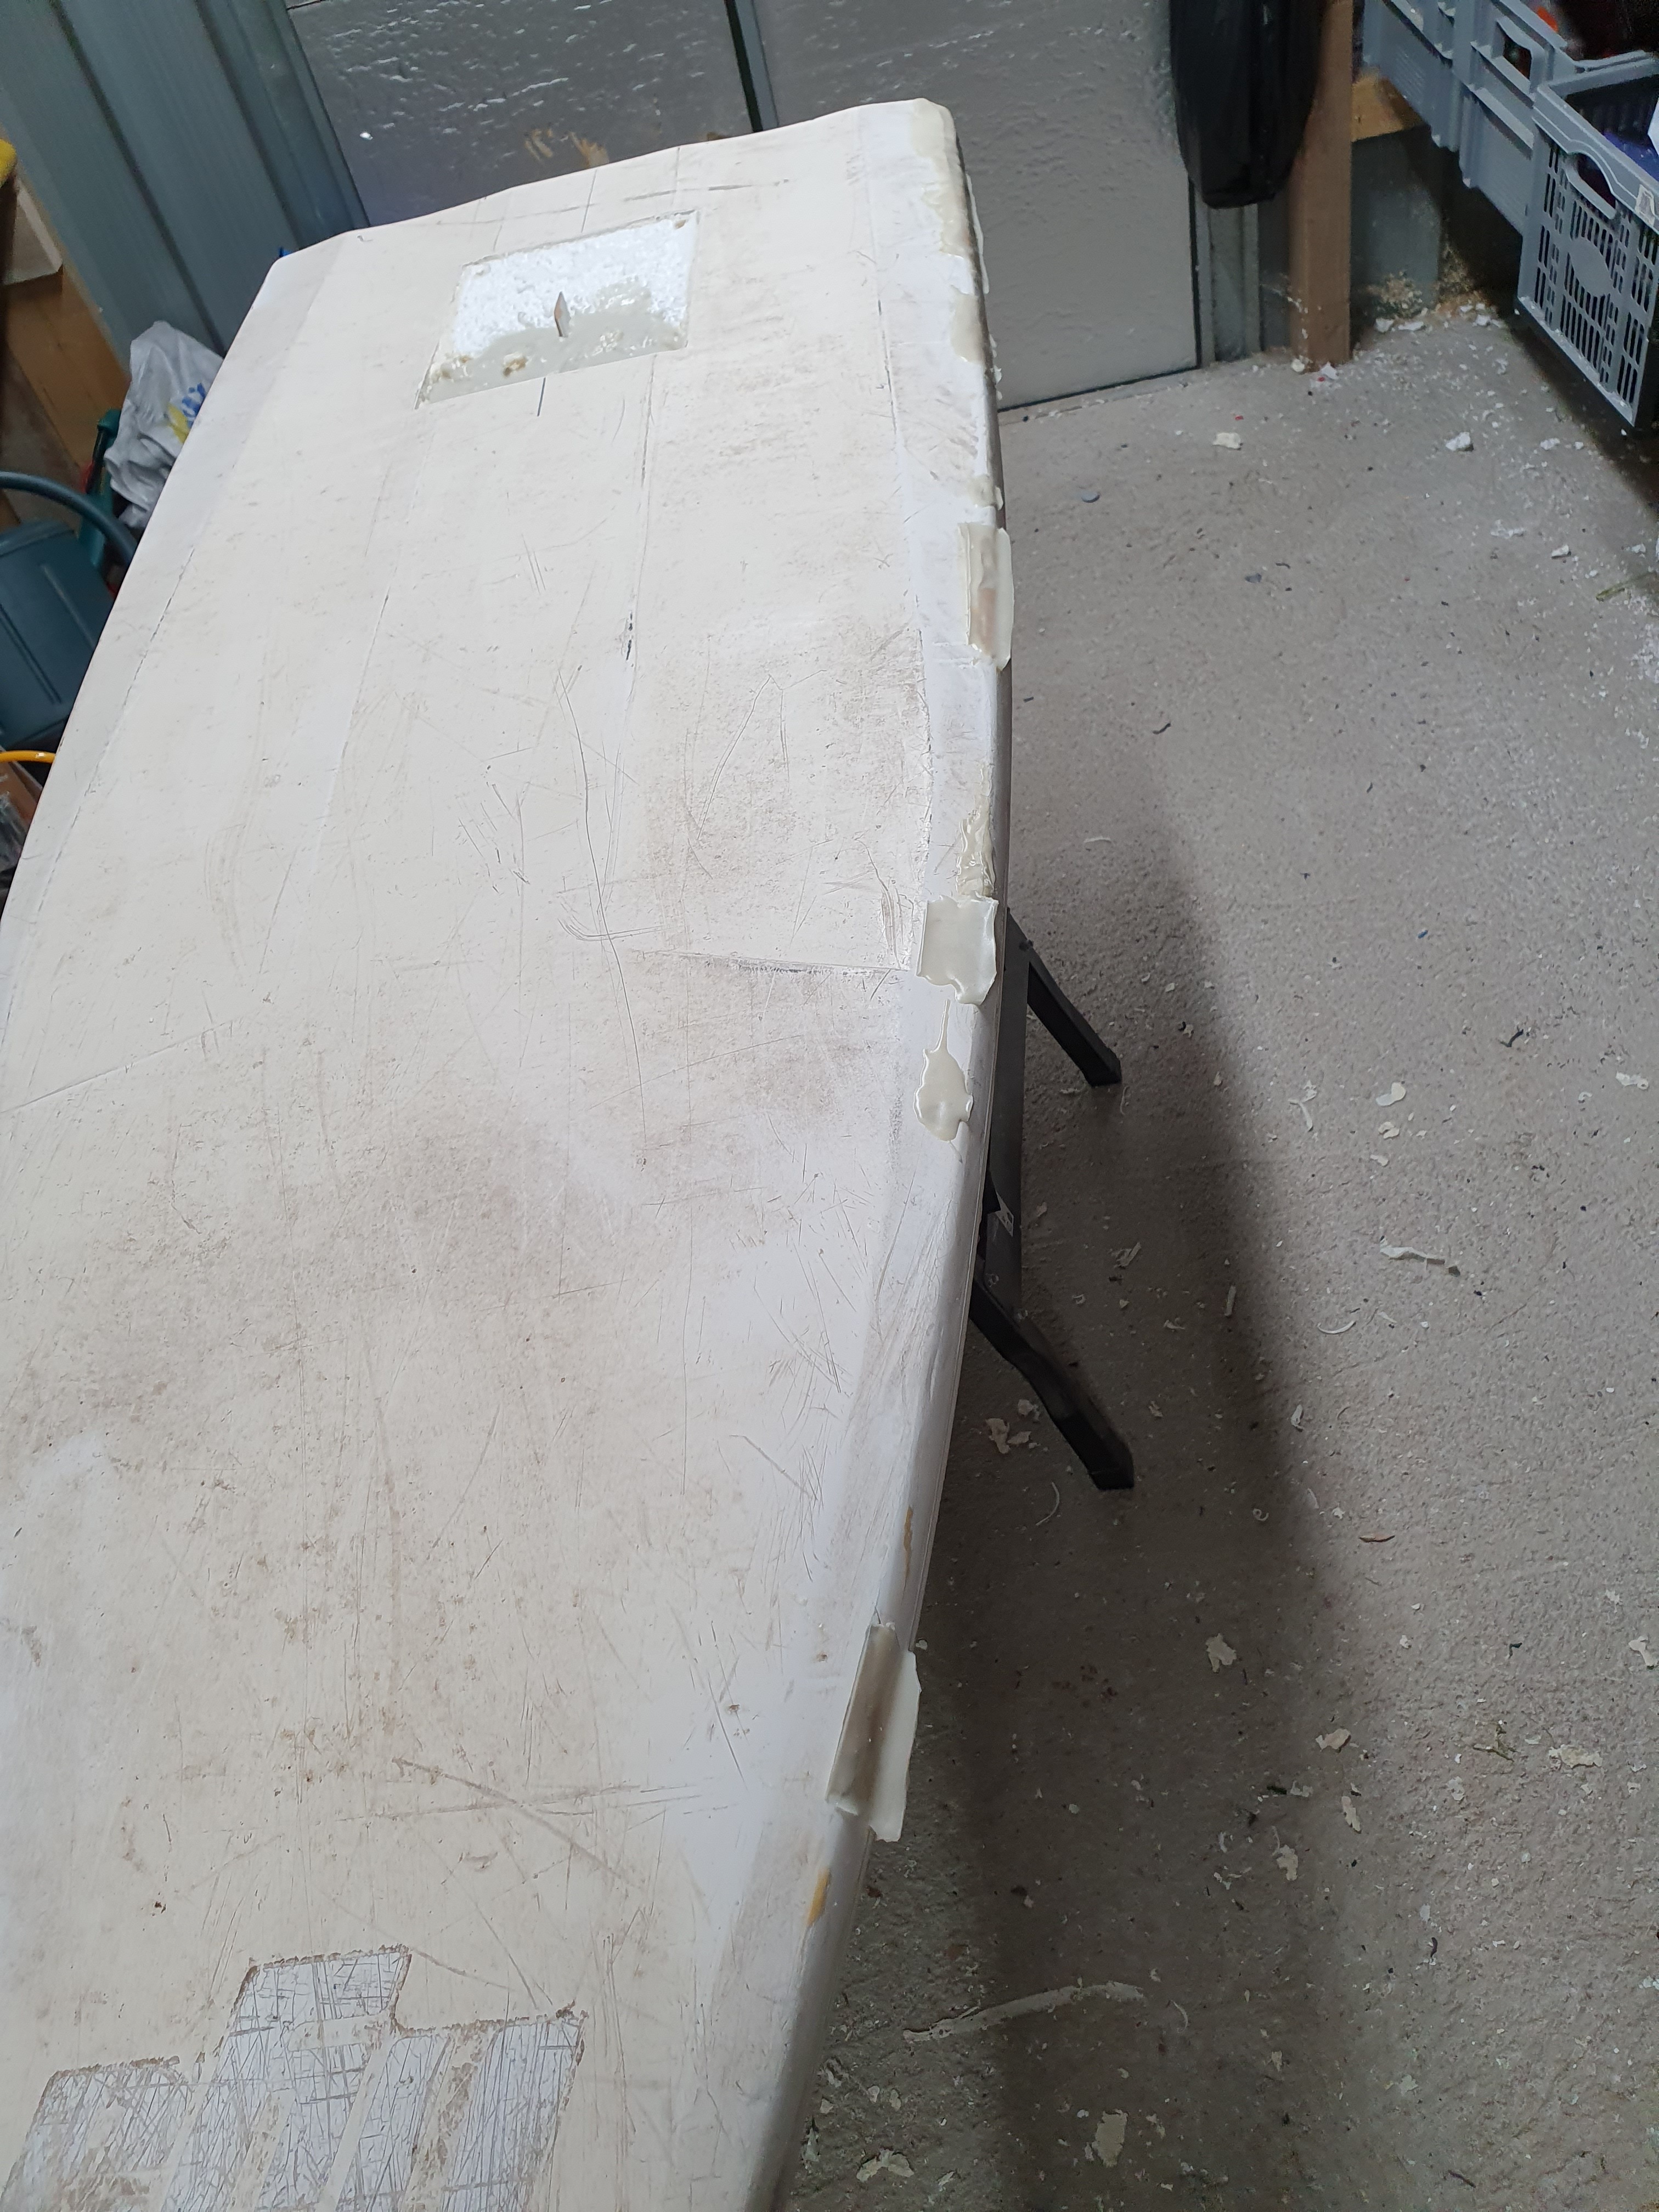
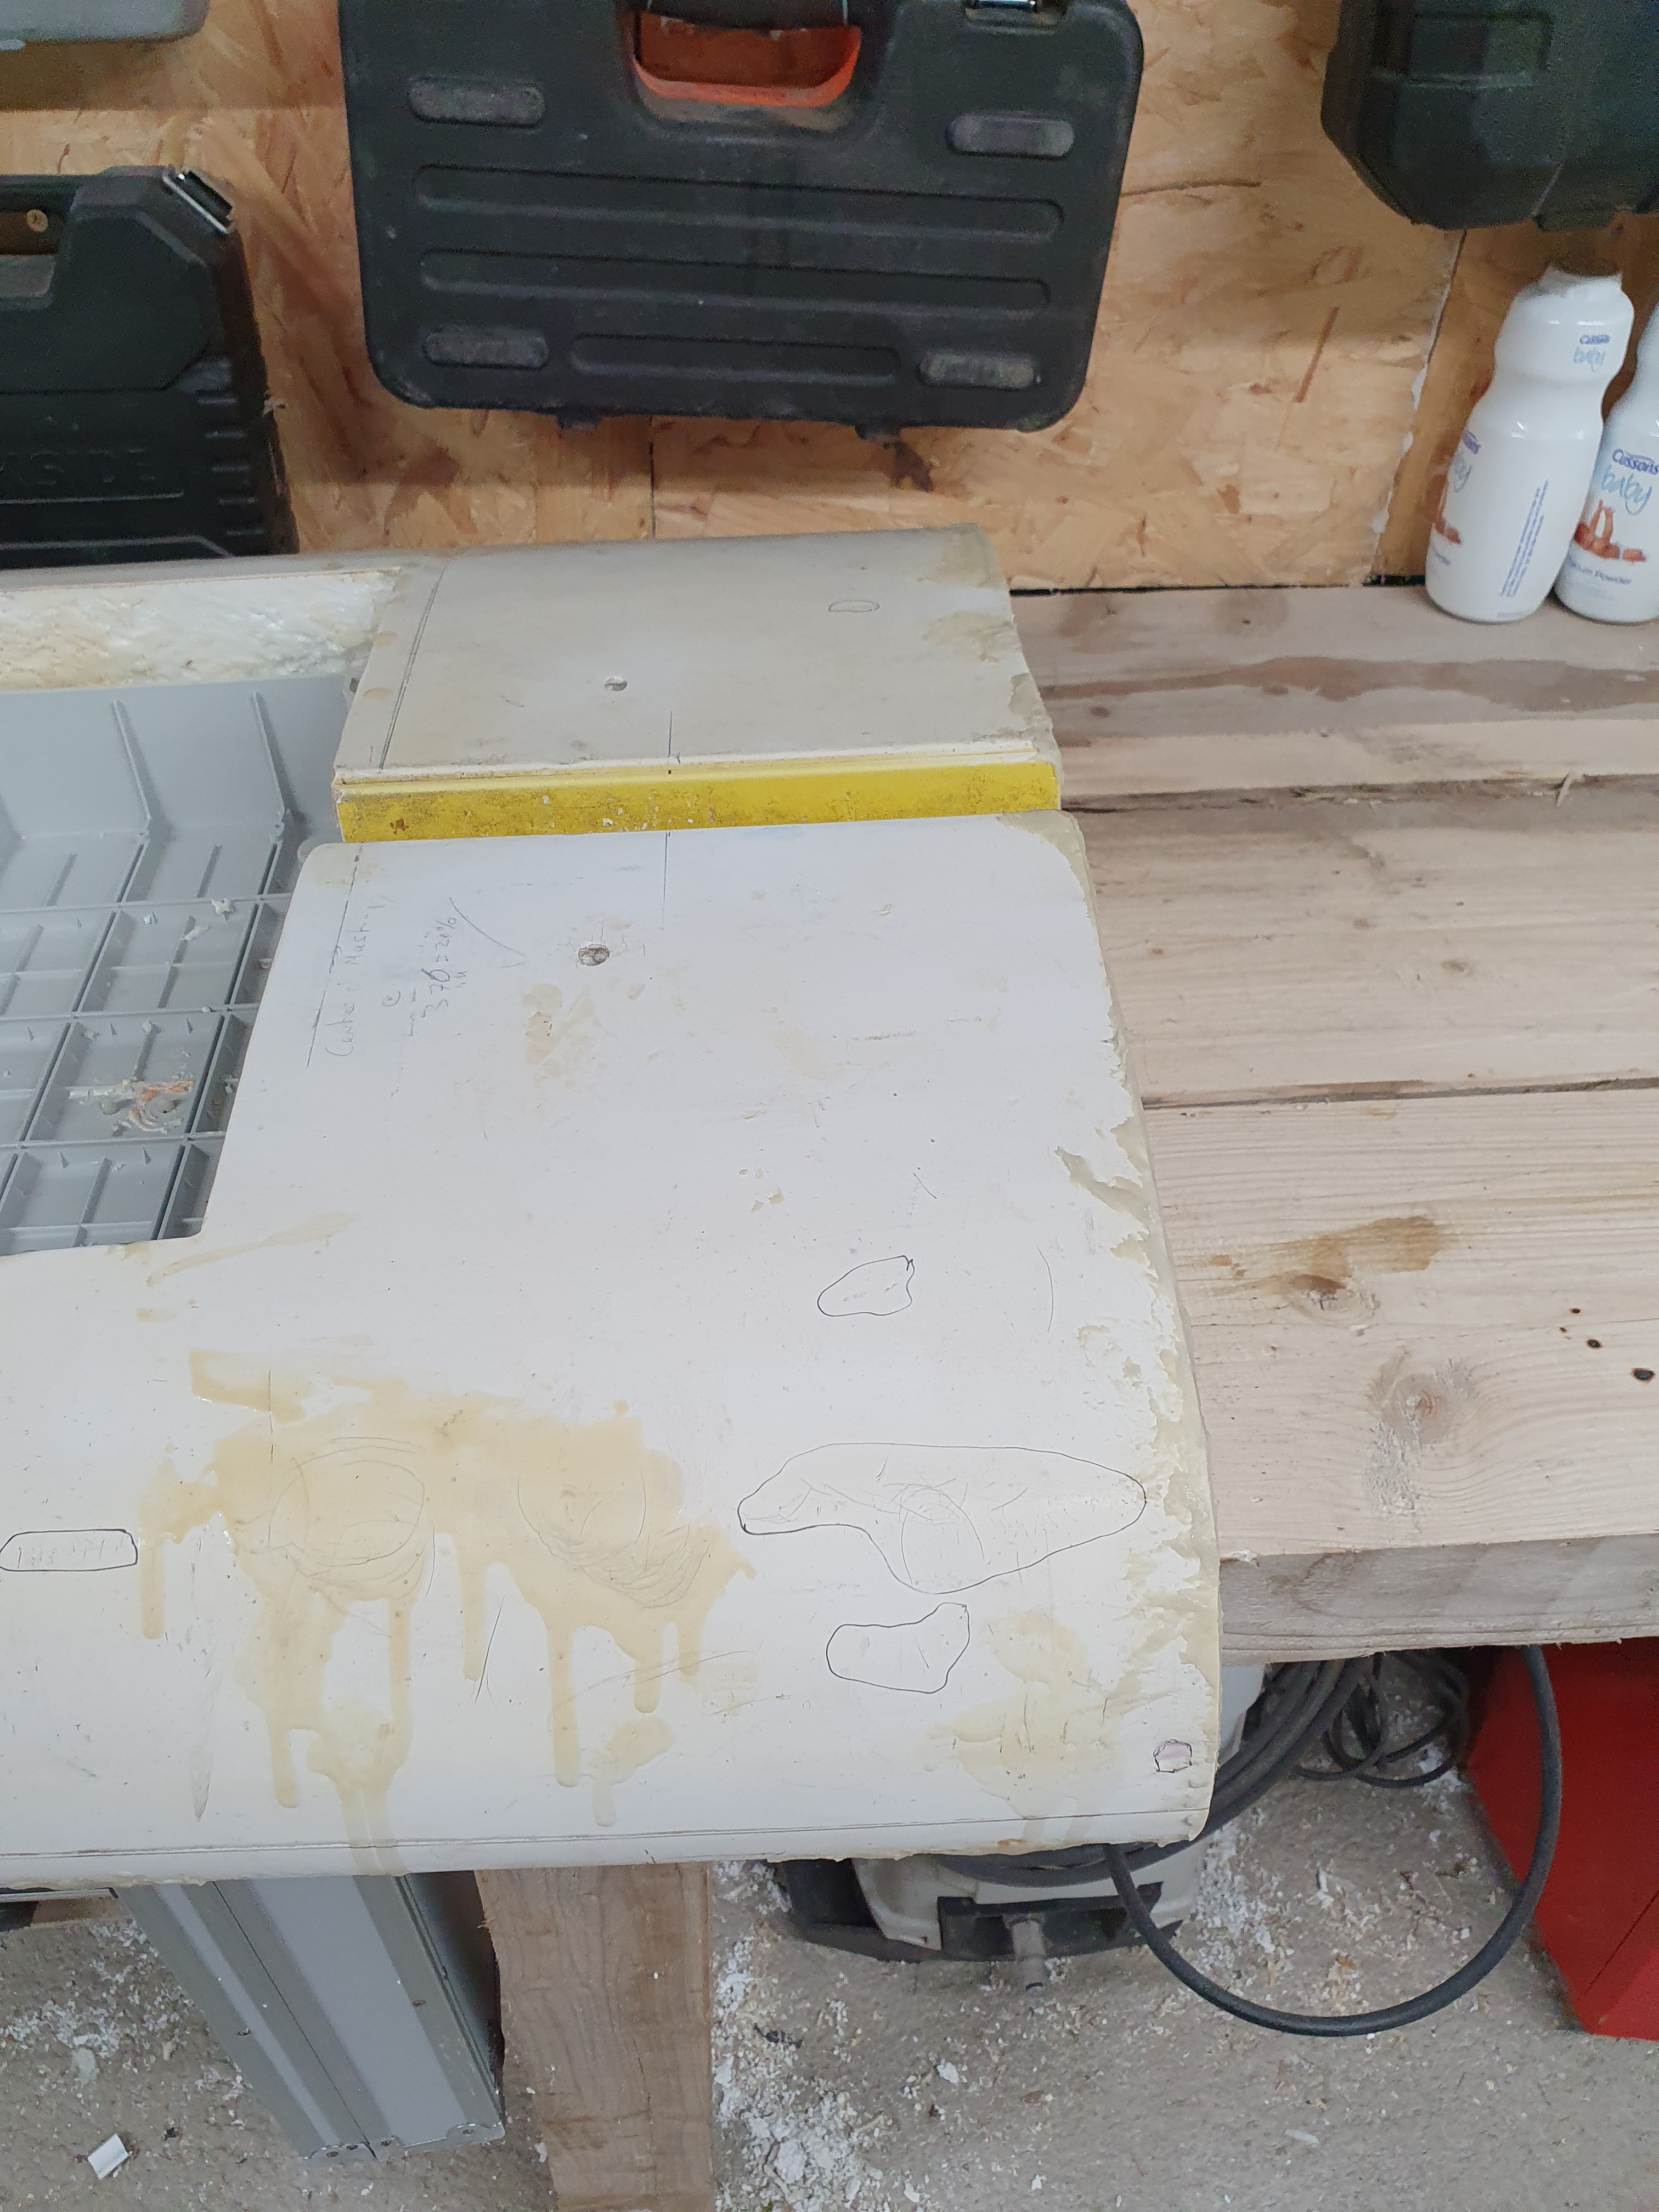
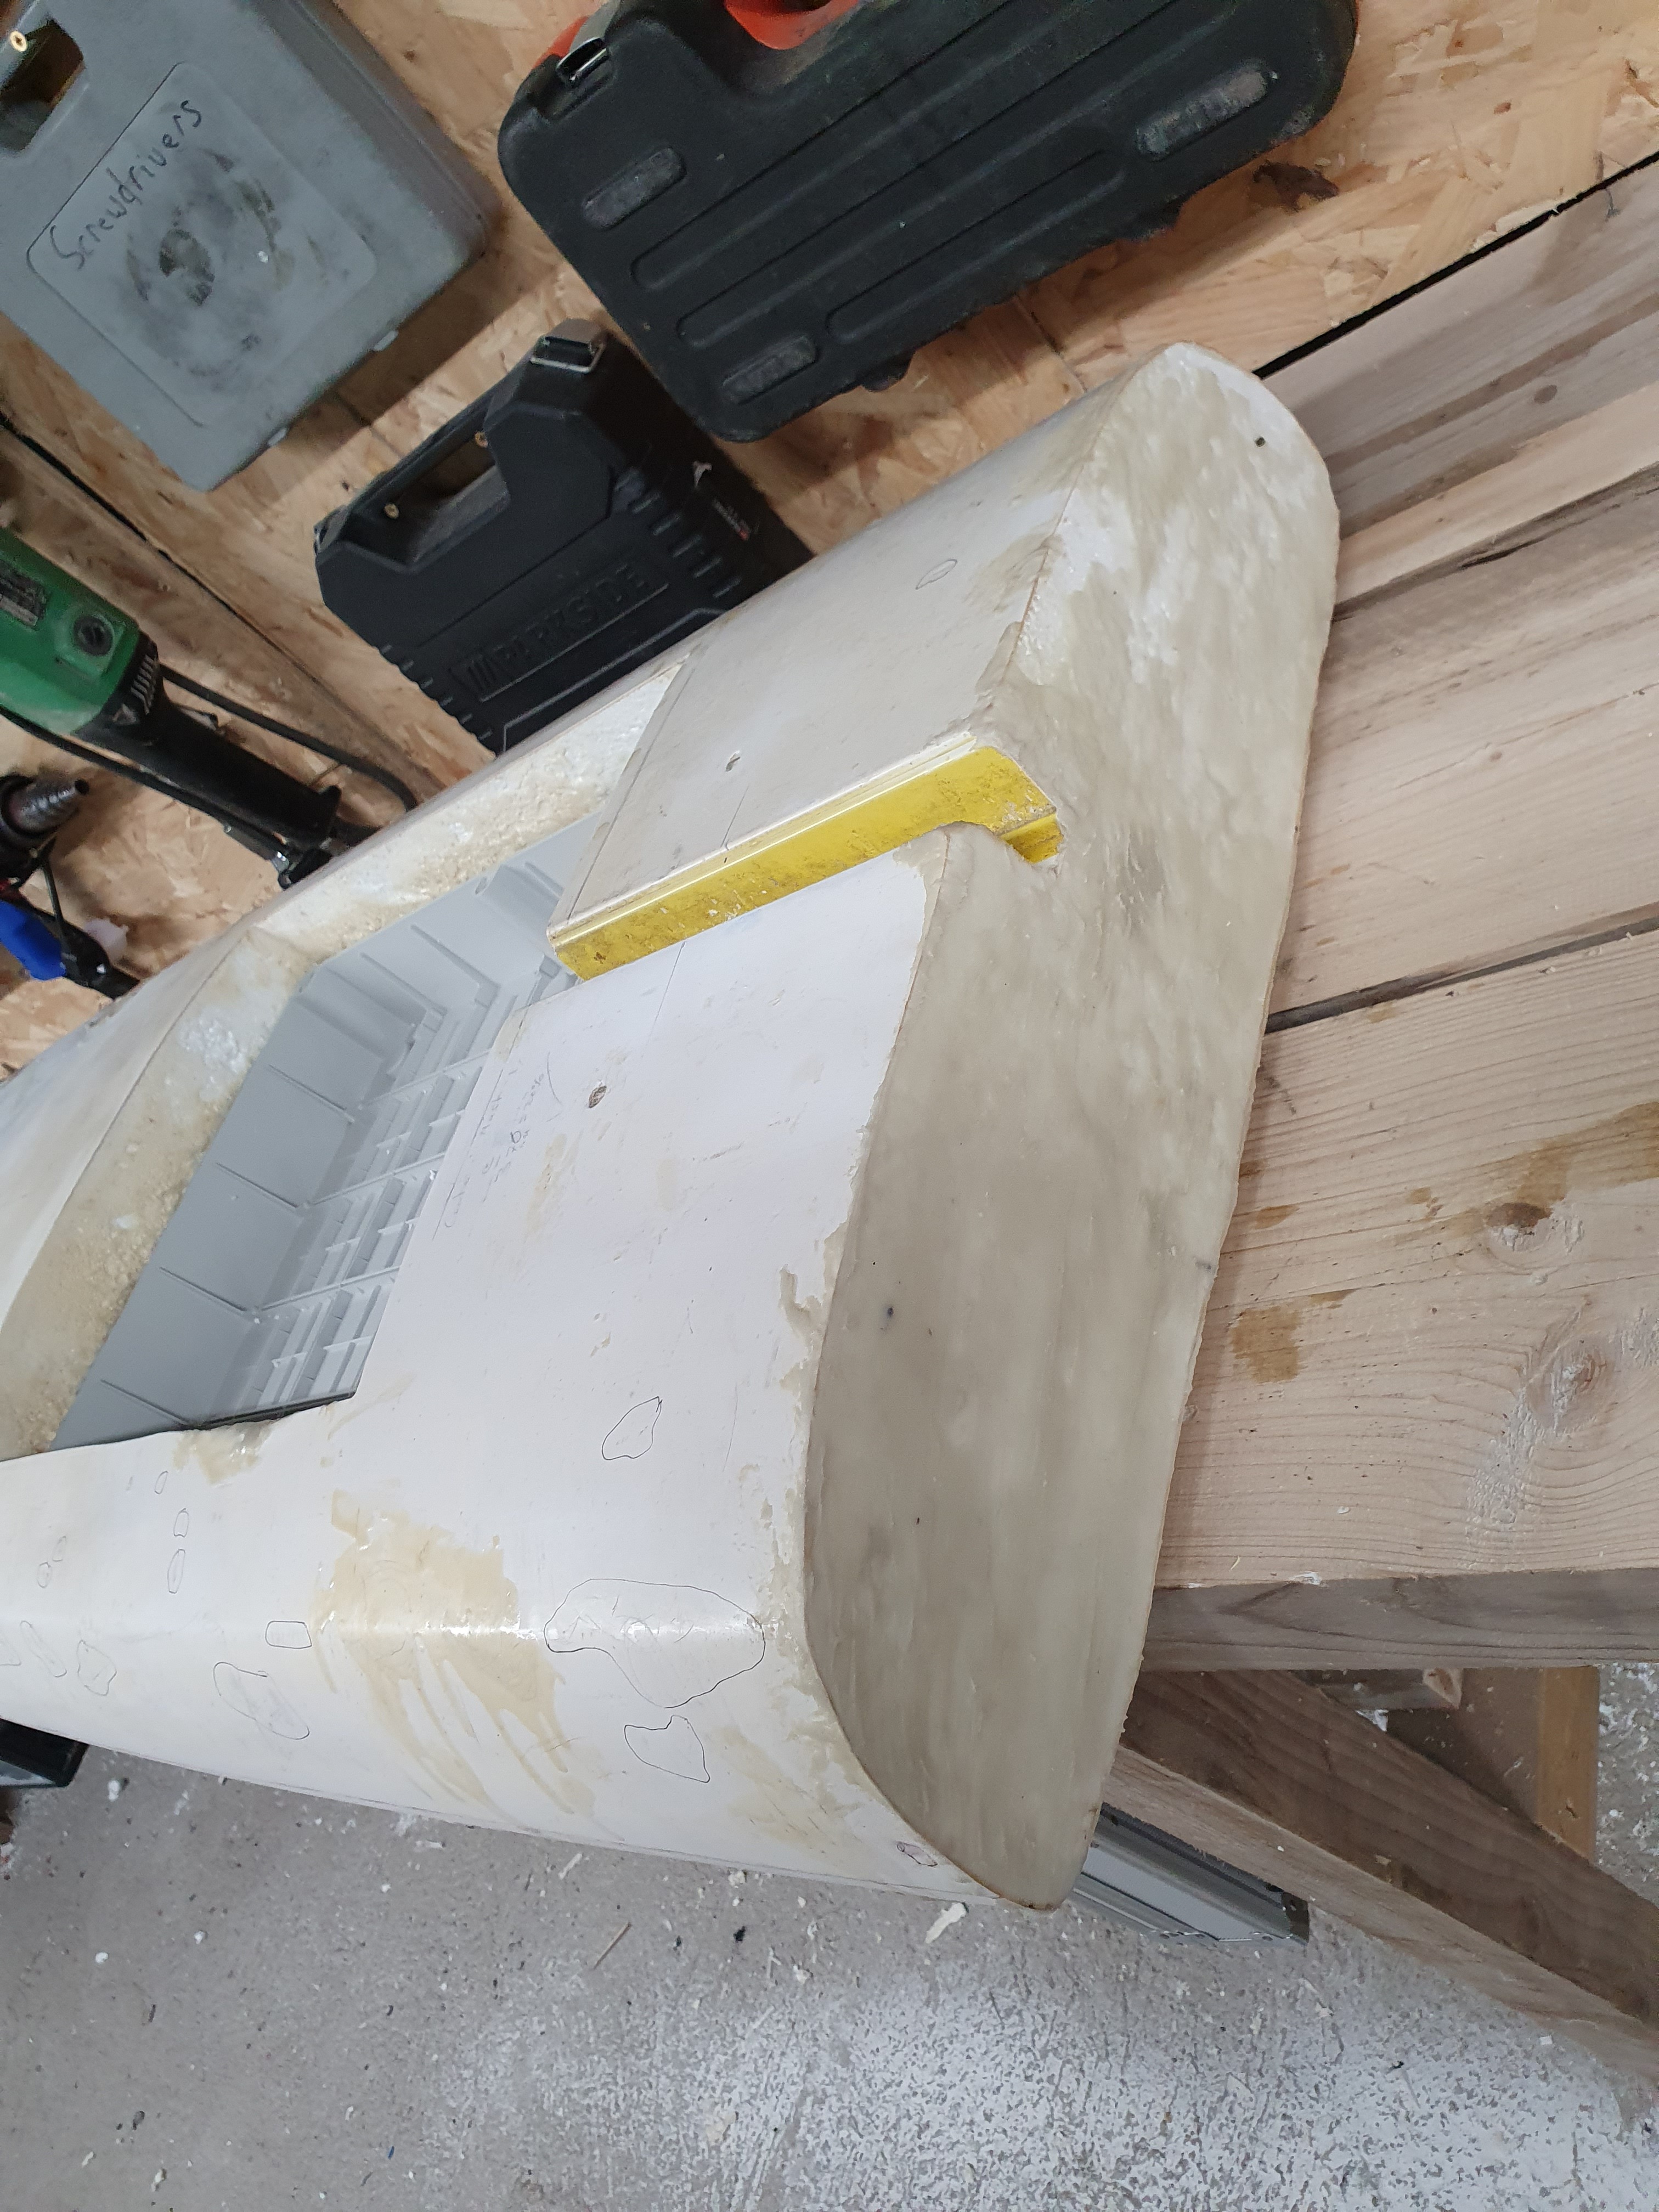
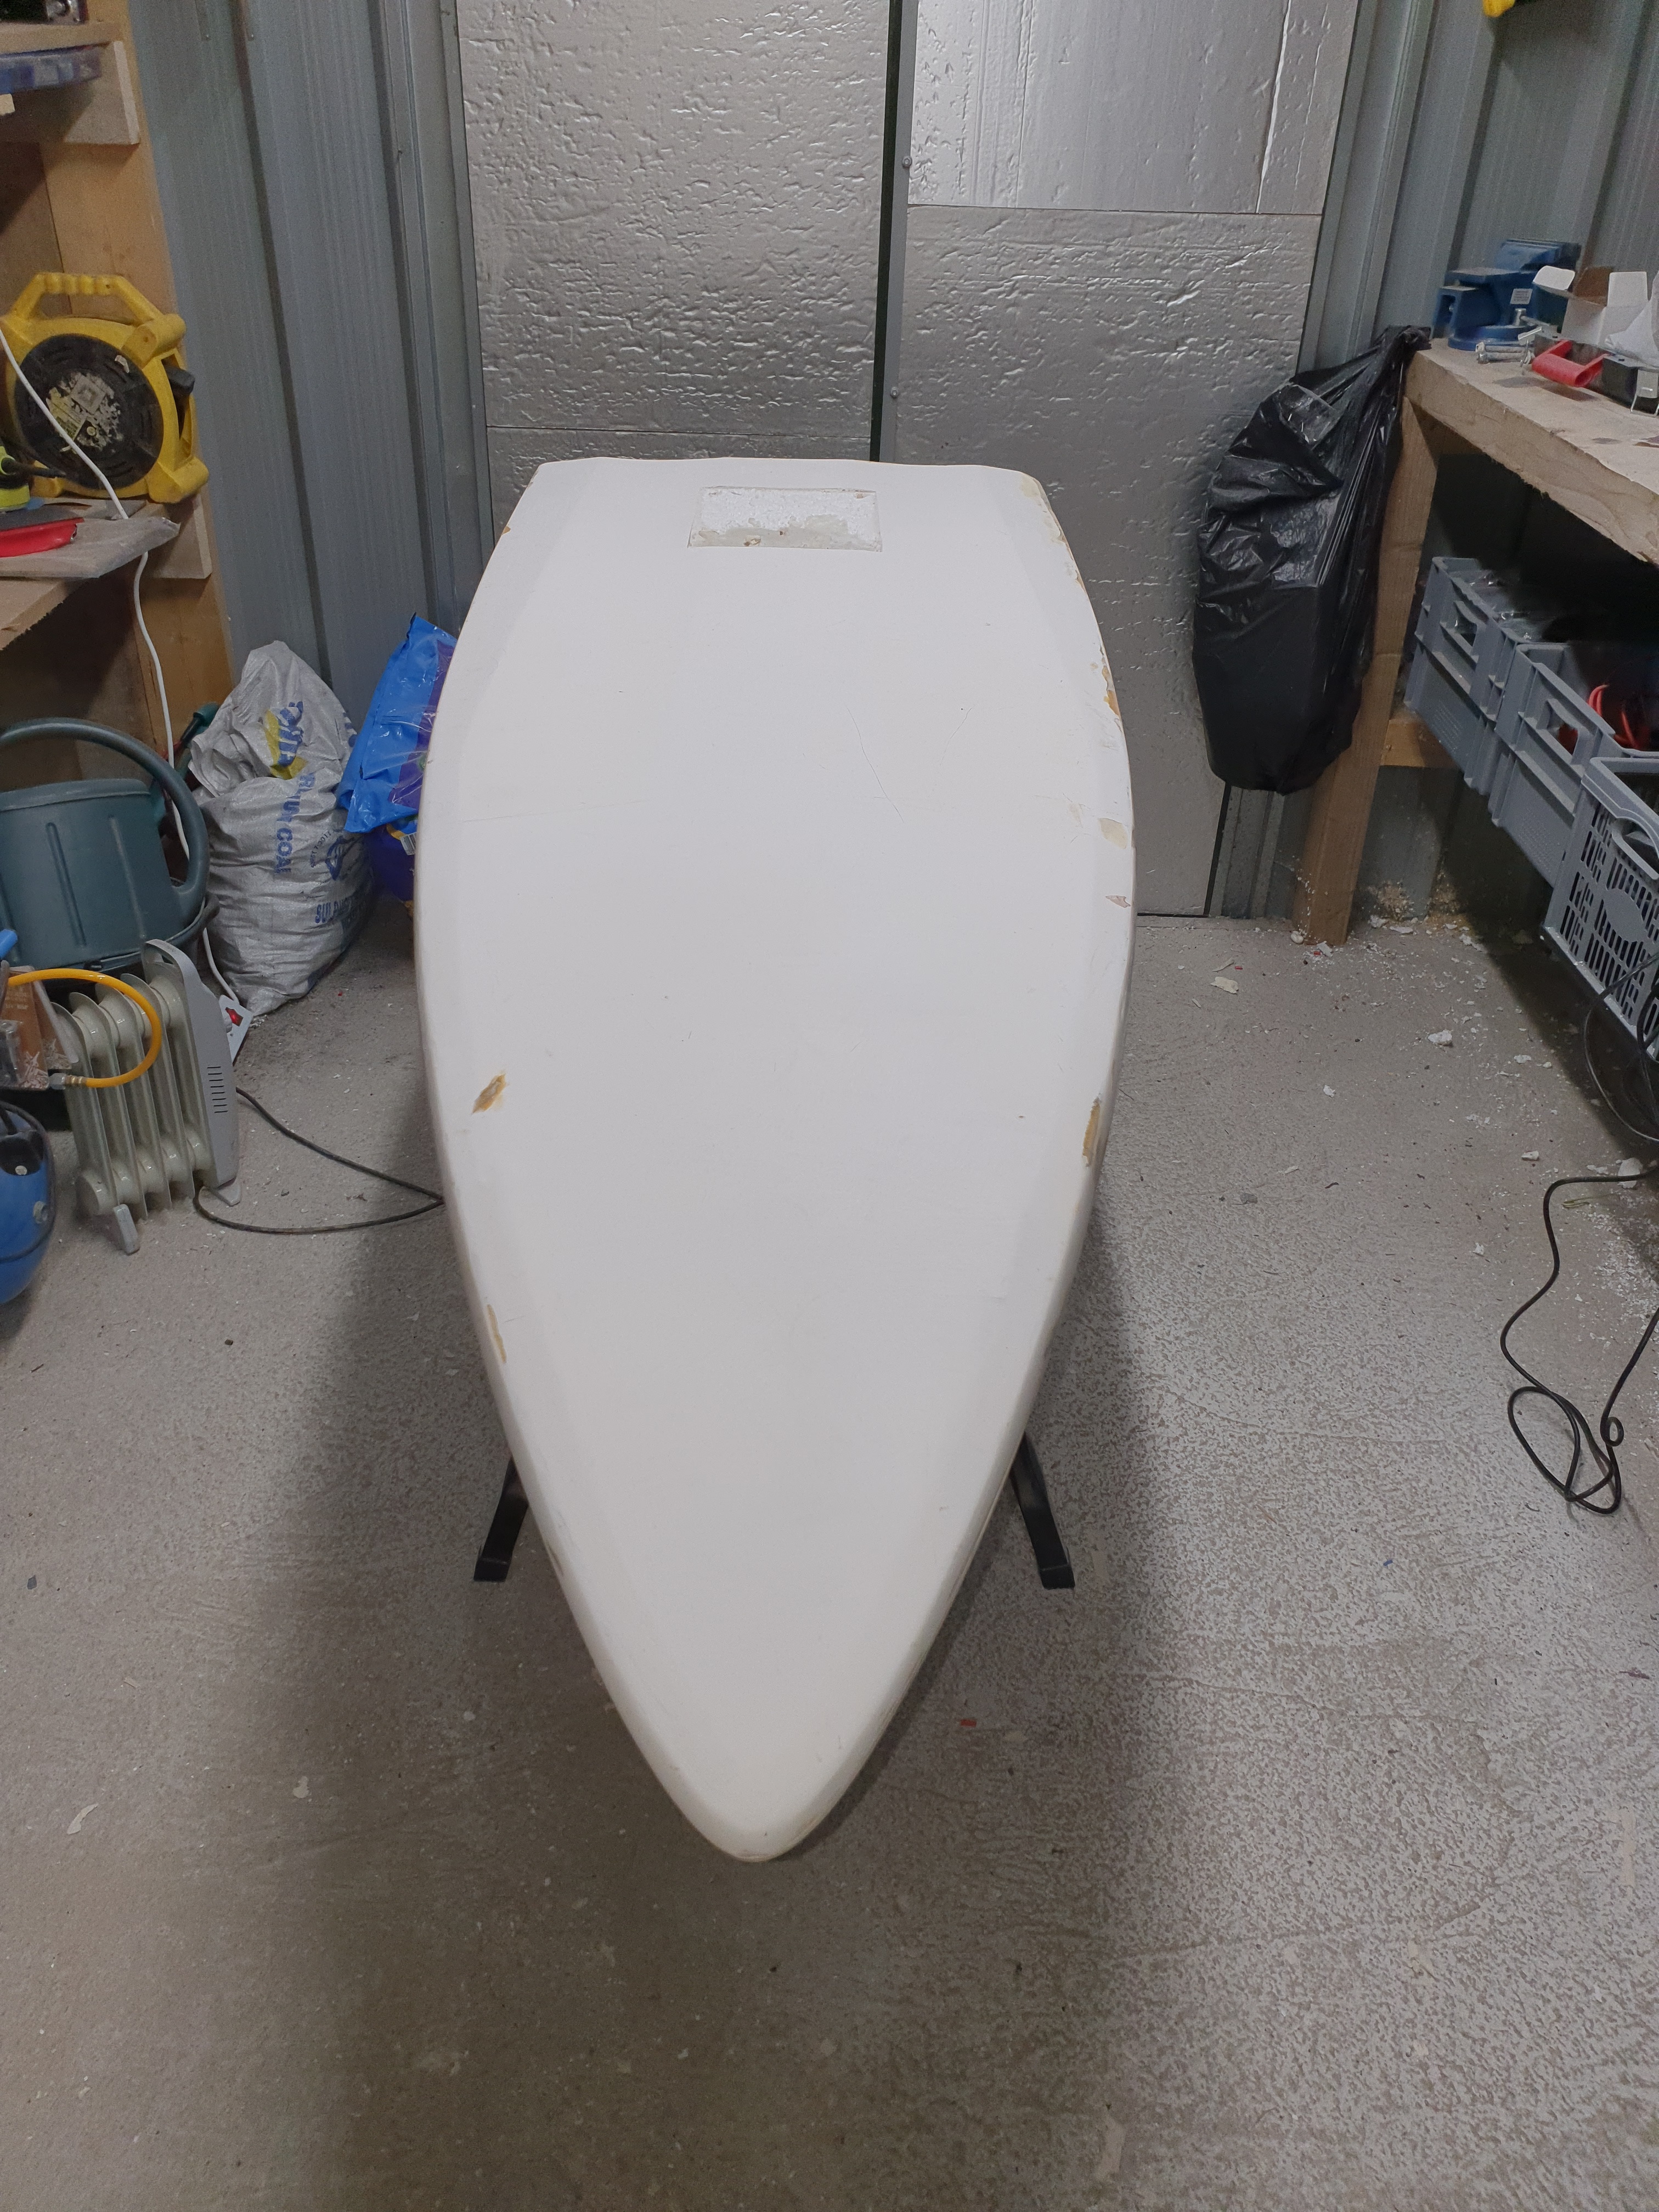
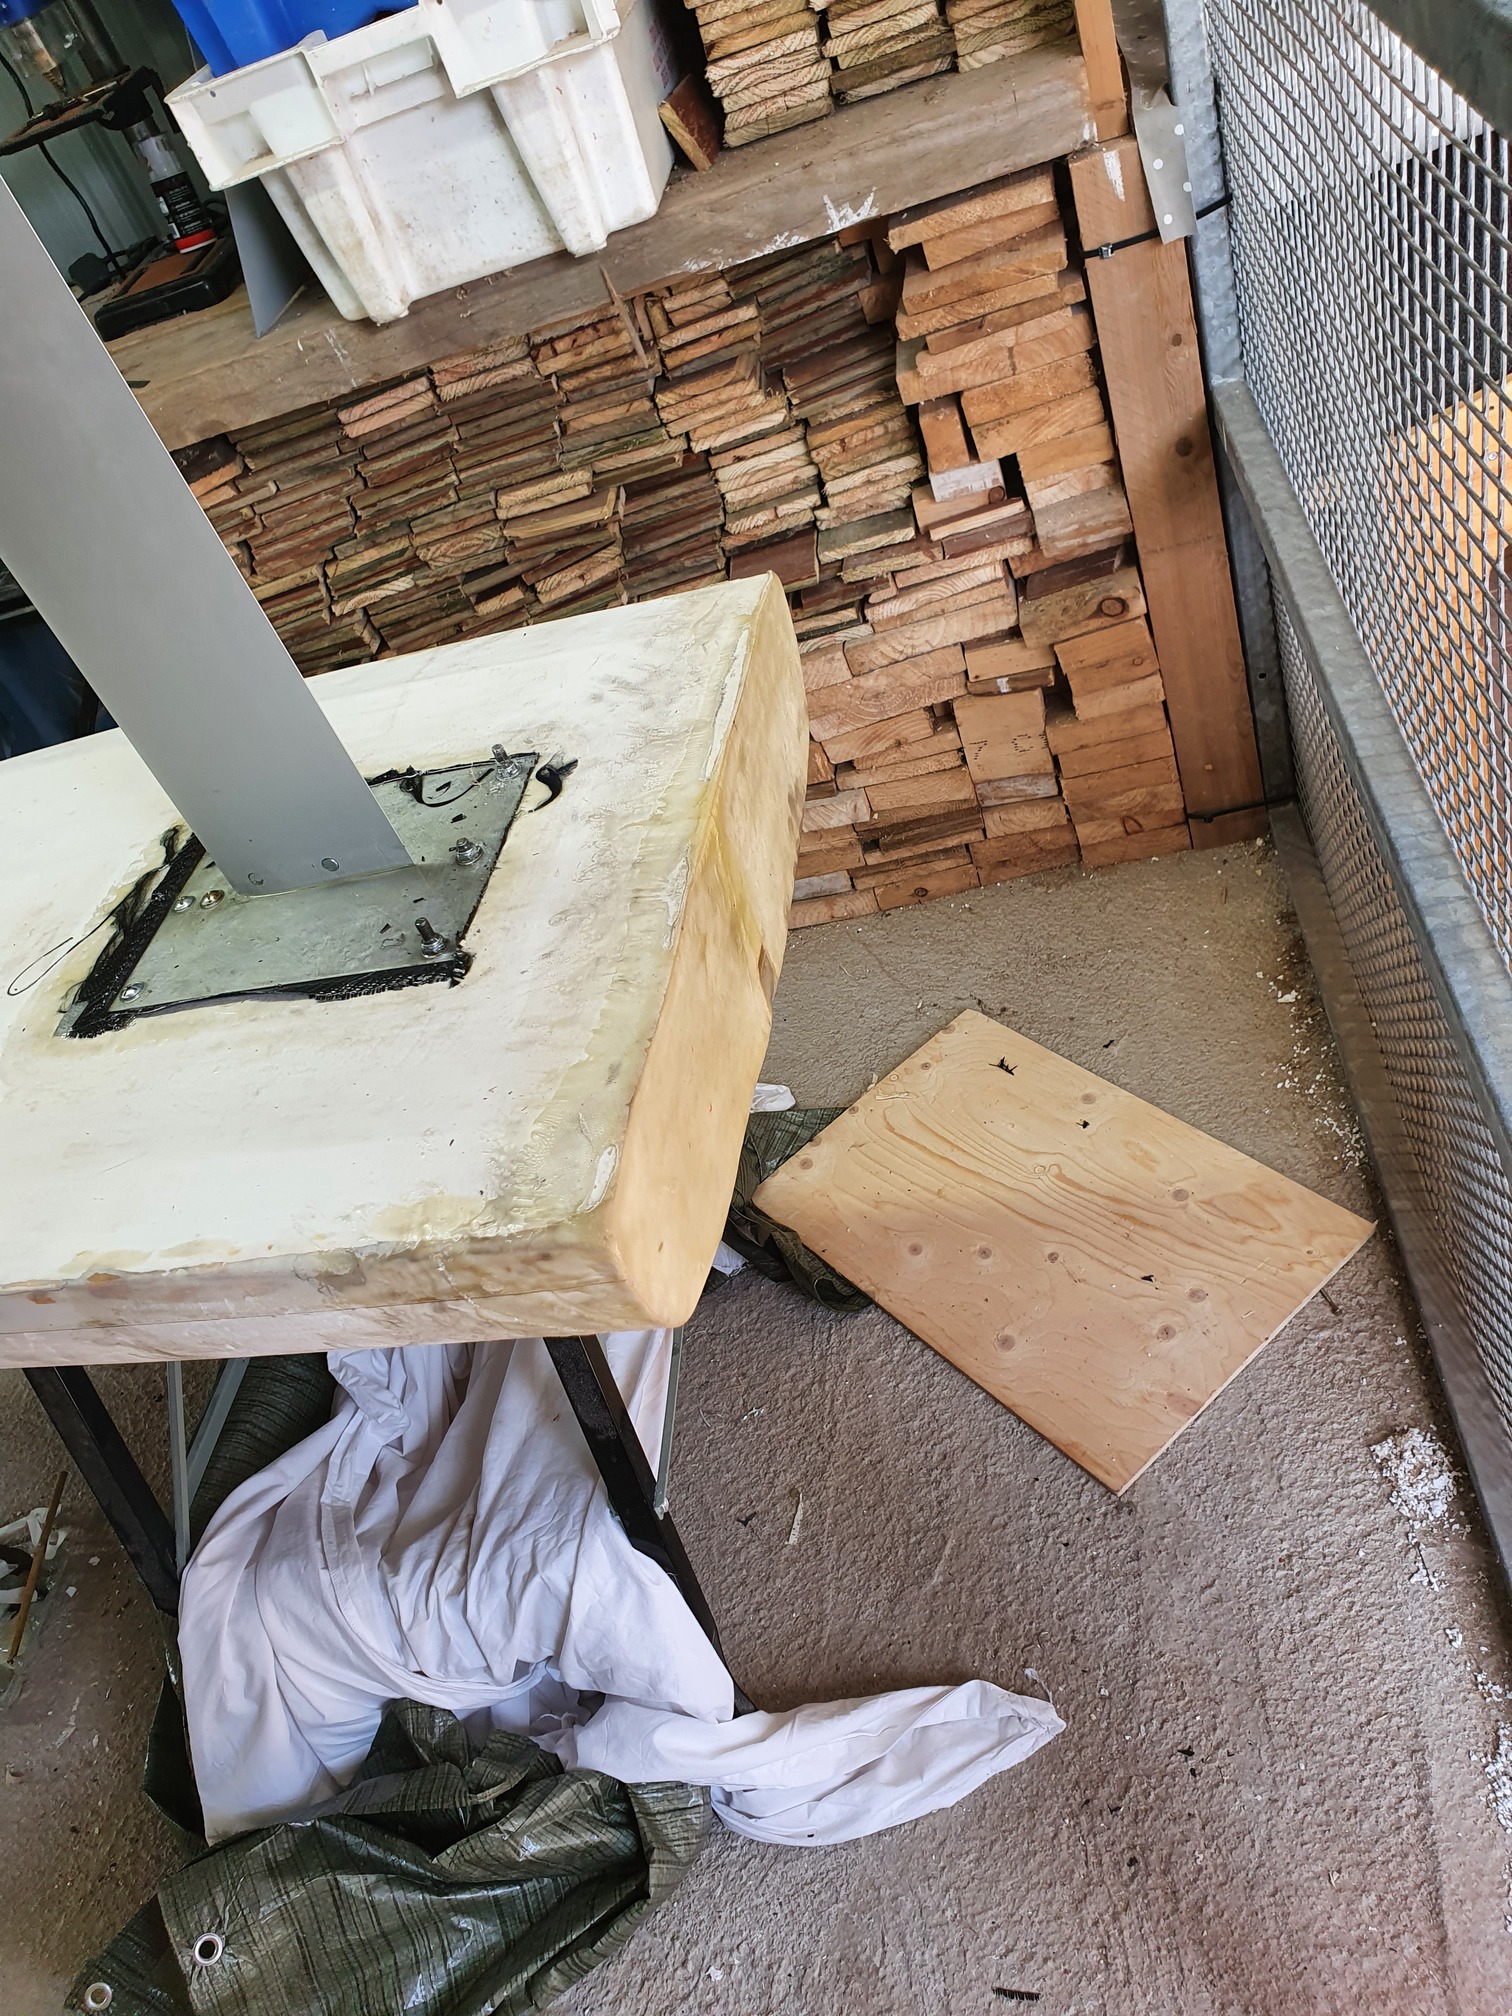
Foam trimmed down and some more pics of the board sanded so you can see the lip…or where the lip used to be
Had to stop for the night but tomorrow I want to get the lid off so some more trimming needed. Once I have that off, I need to get the cable ways opened up again and then, Im going to look at fibreglassing
1 Like
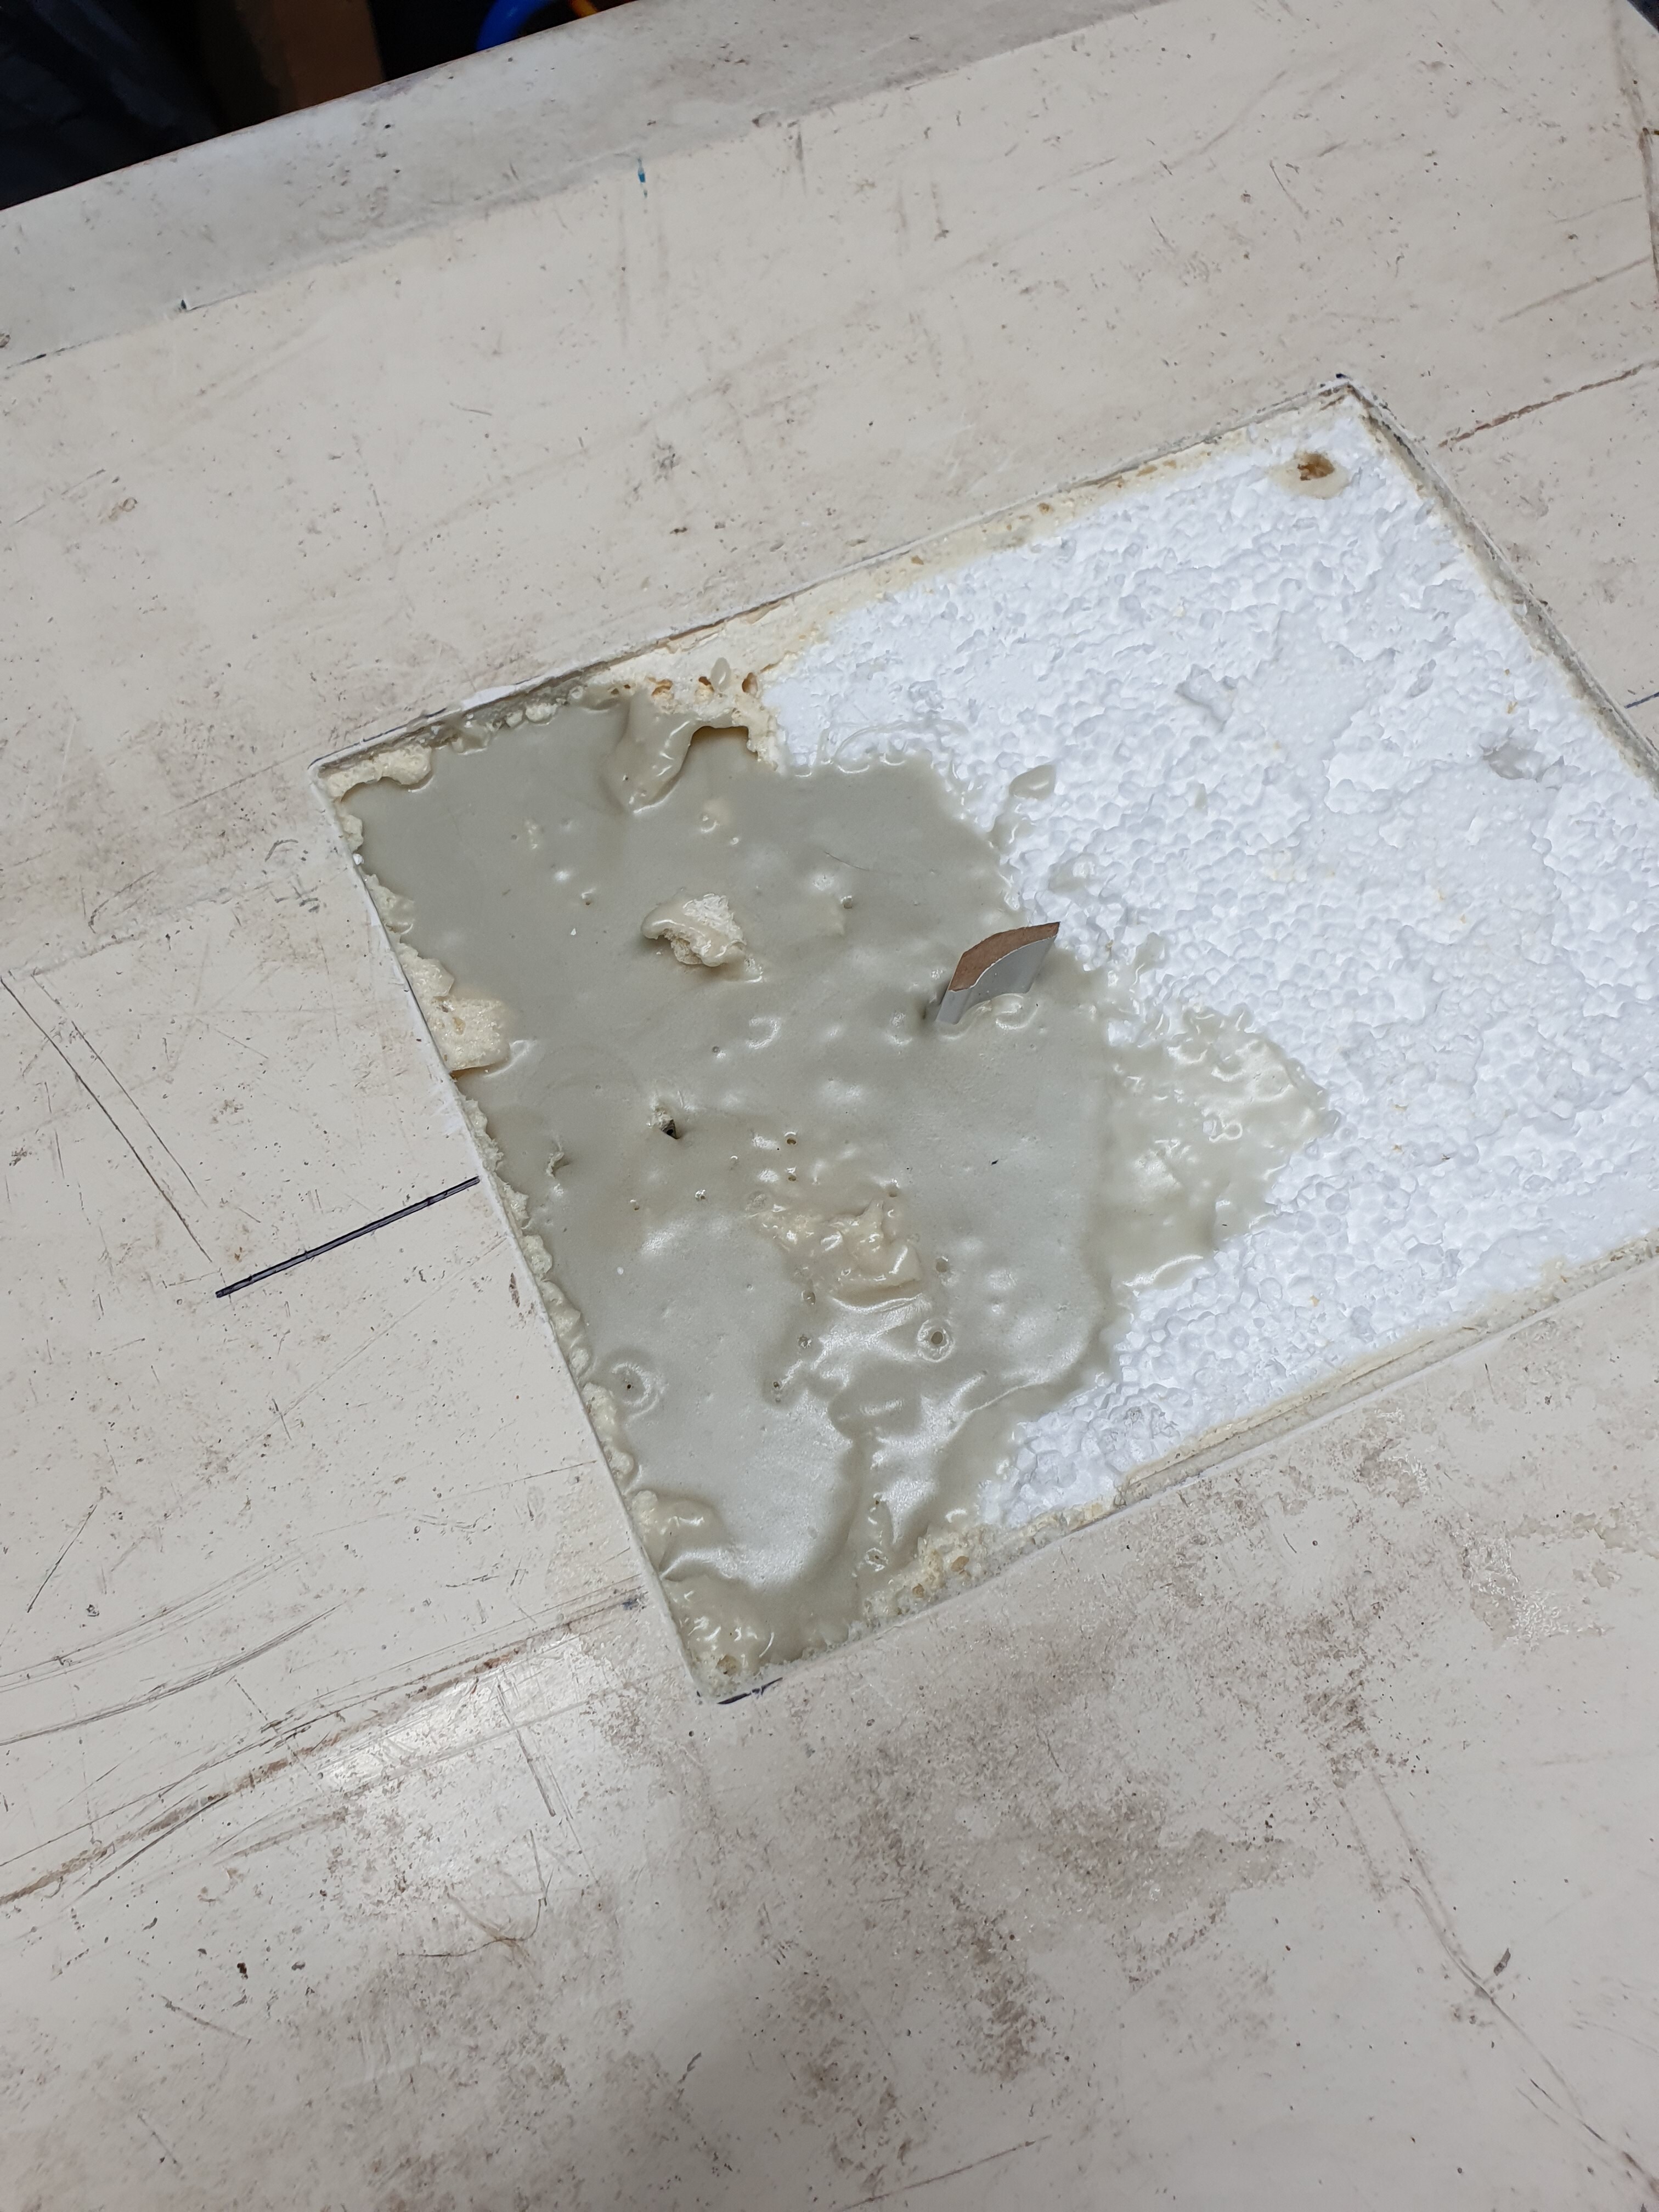
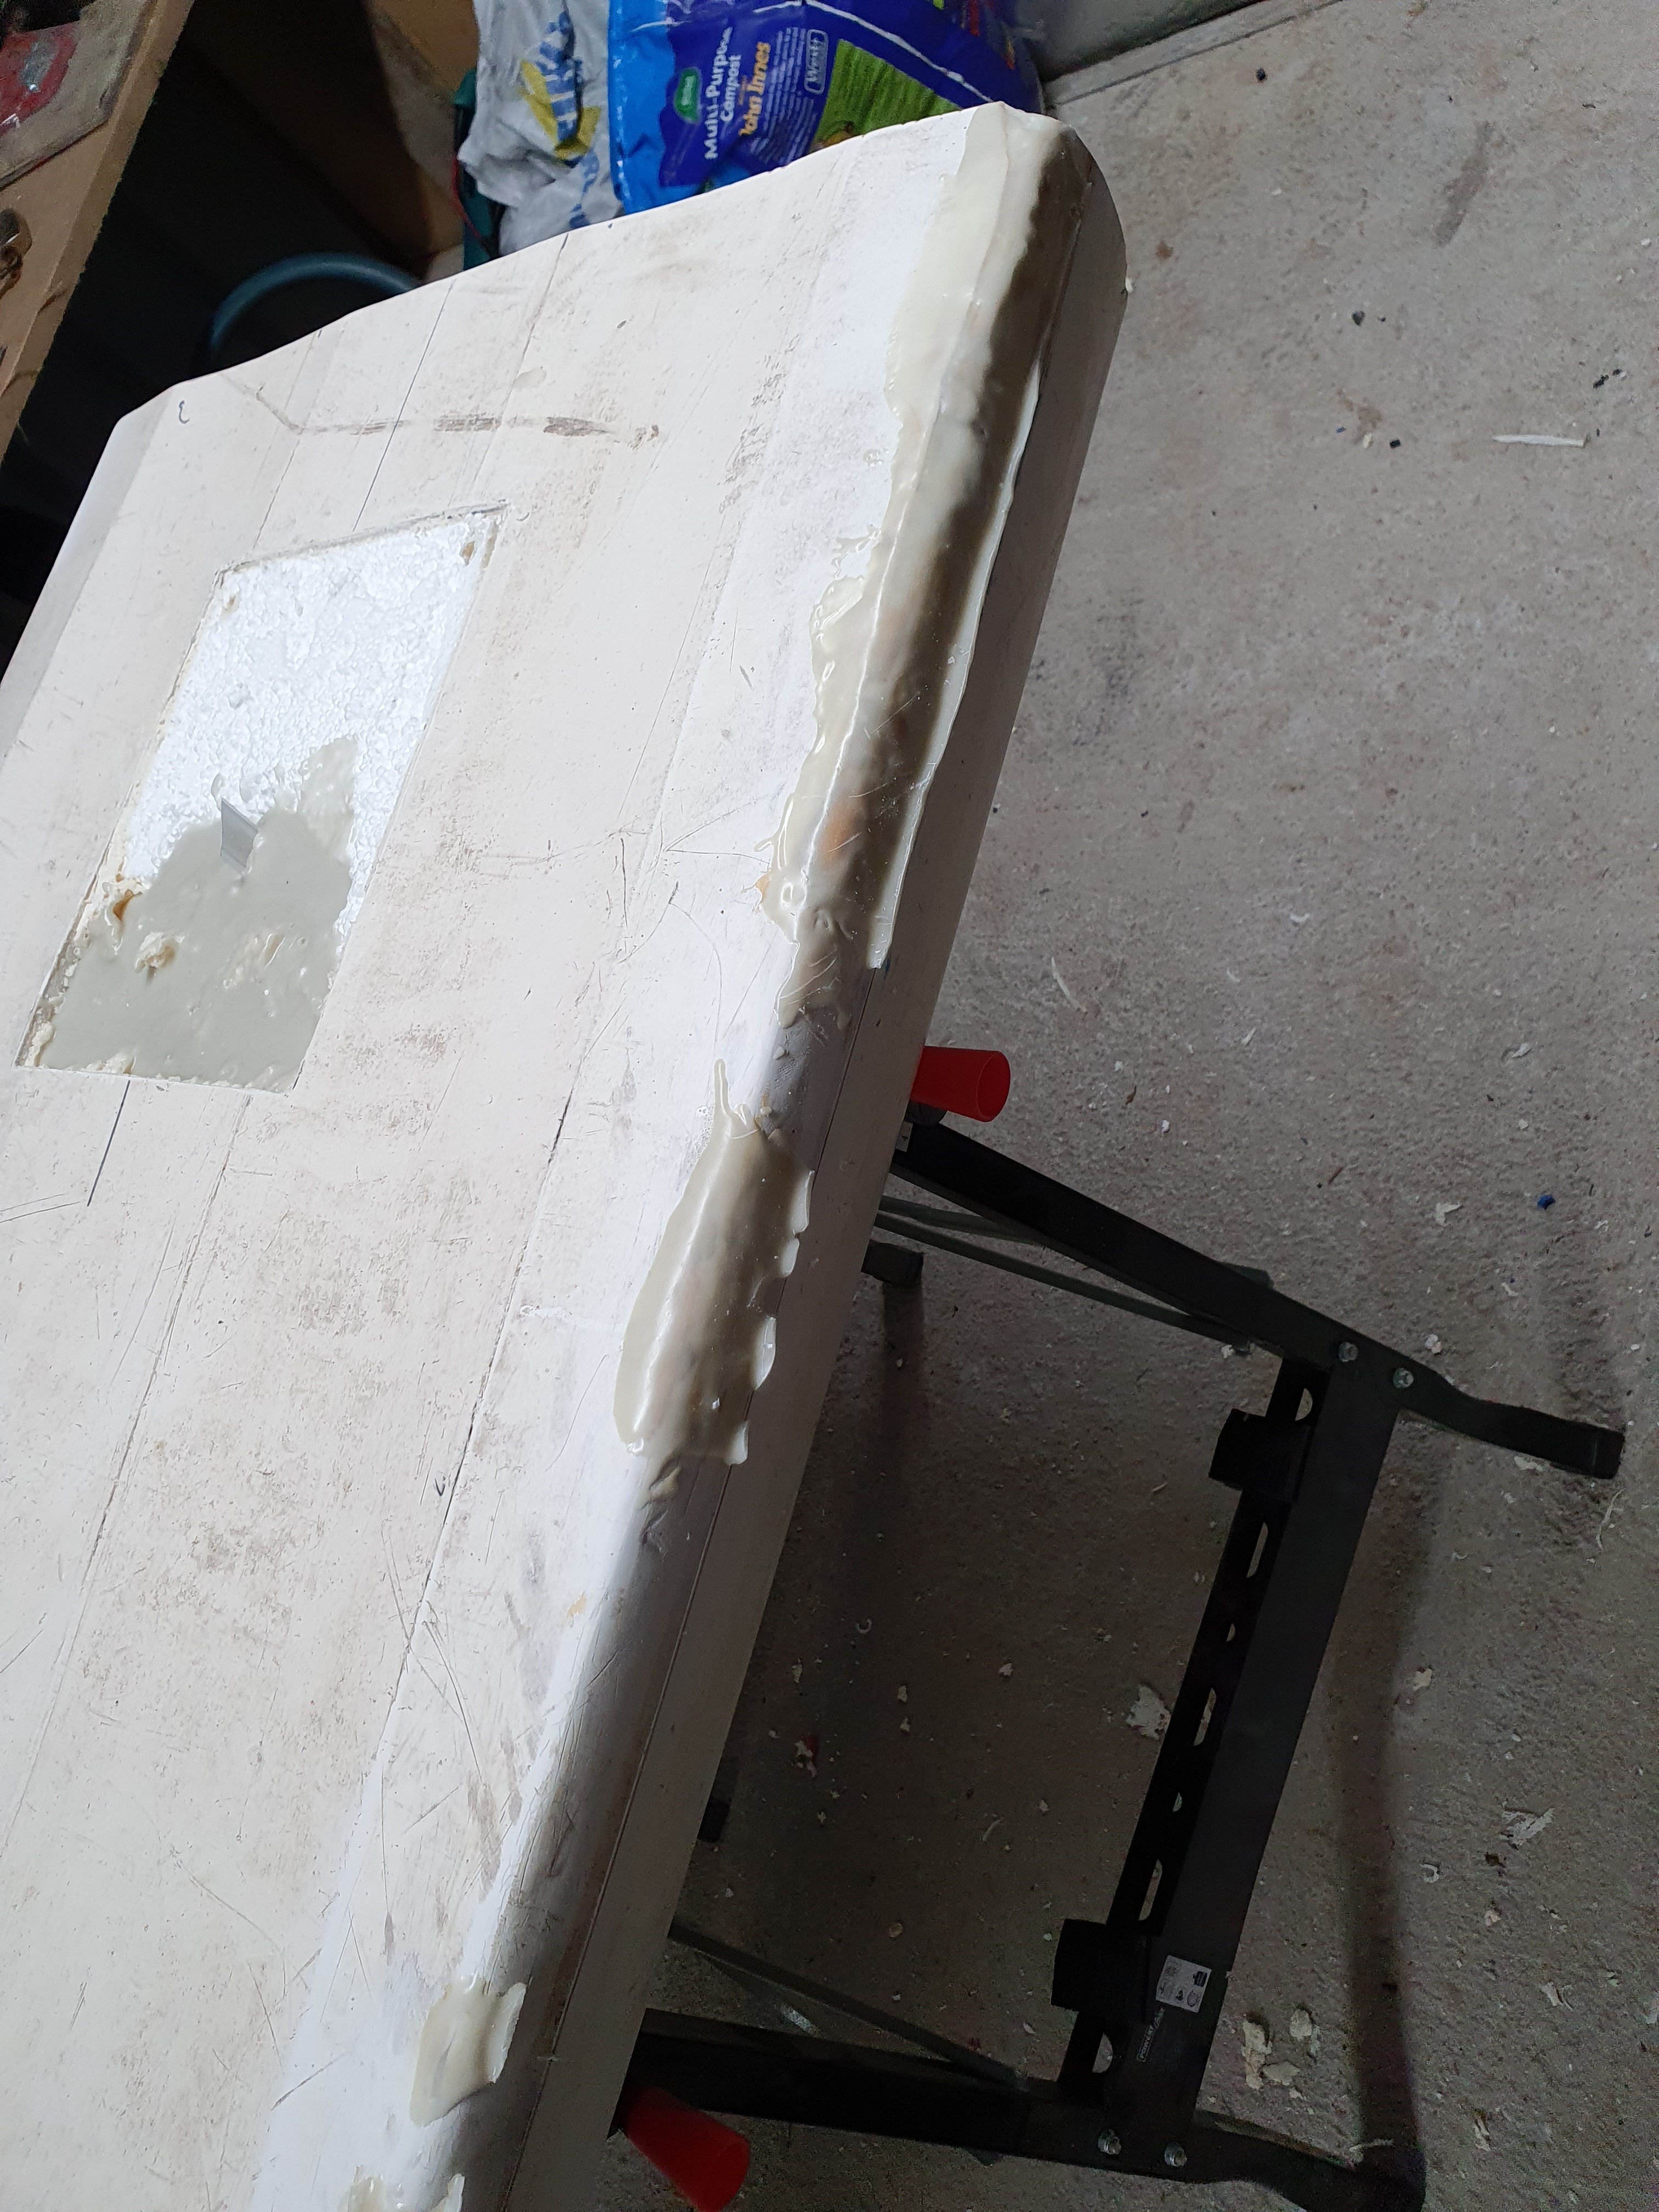
So today I attempted some repairs!
I spent a few hours on youtube and this is the result so far, waiting for it to harden but in thr shed and with the temp outside it’ll prob take a good long time to cure. Ill see if I can rig a heated enclosure later on.
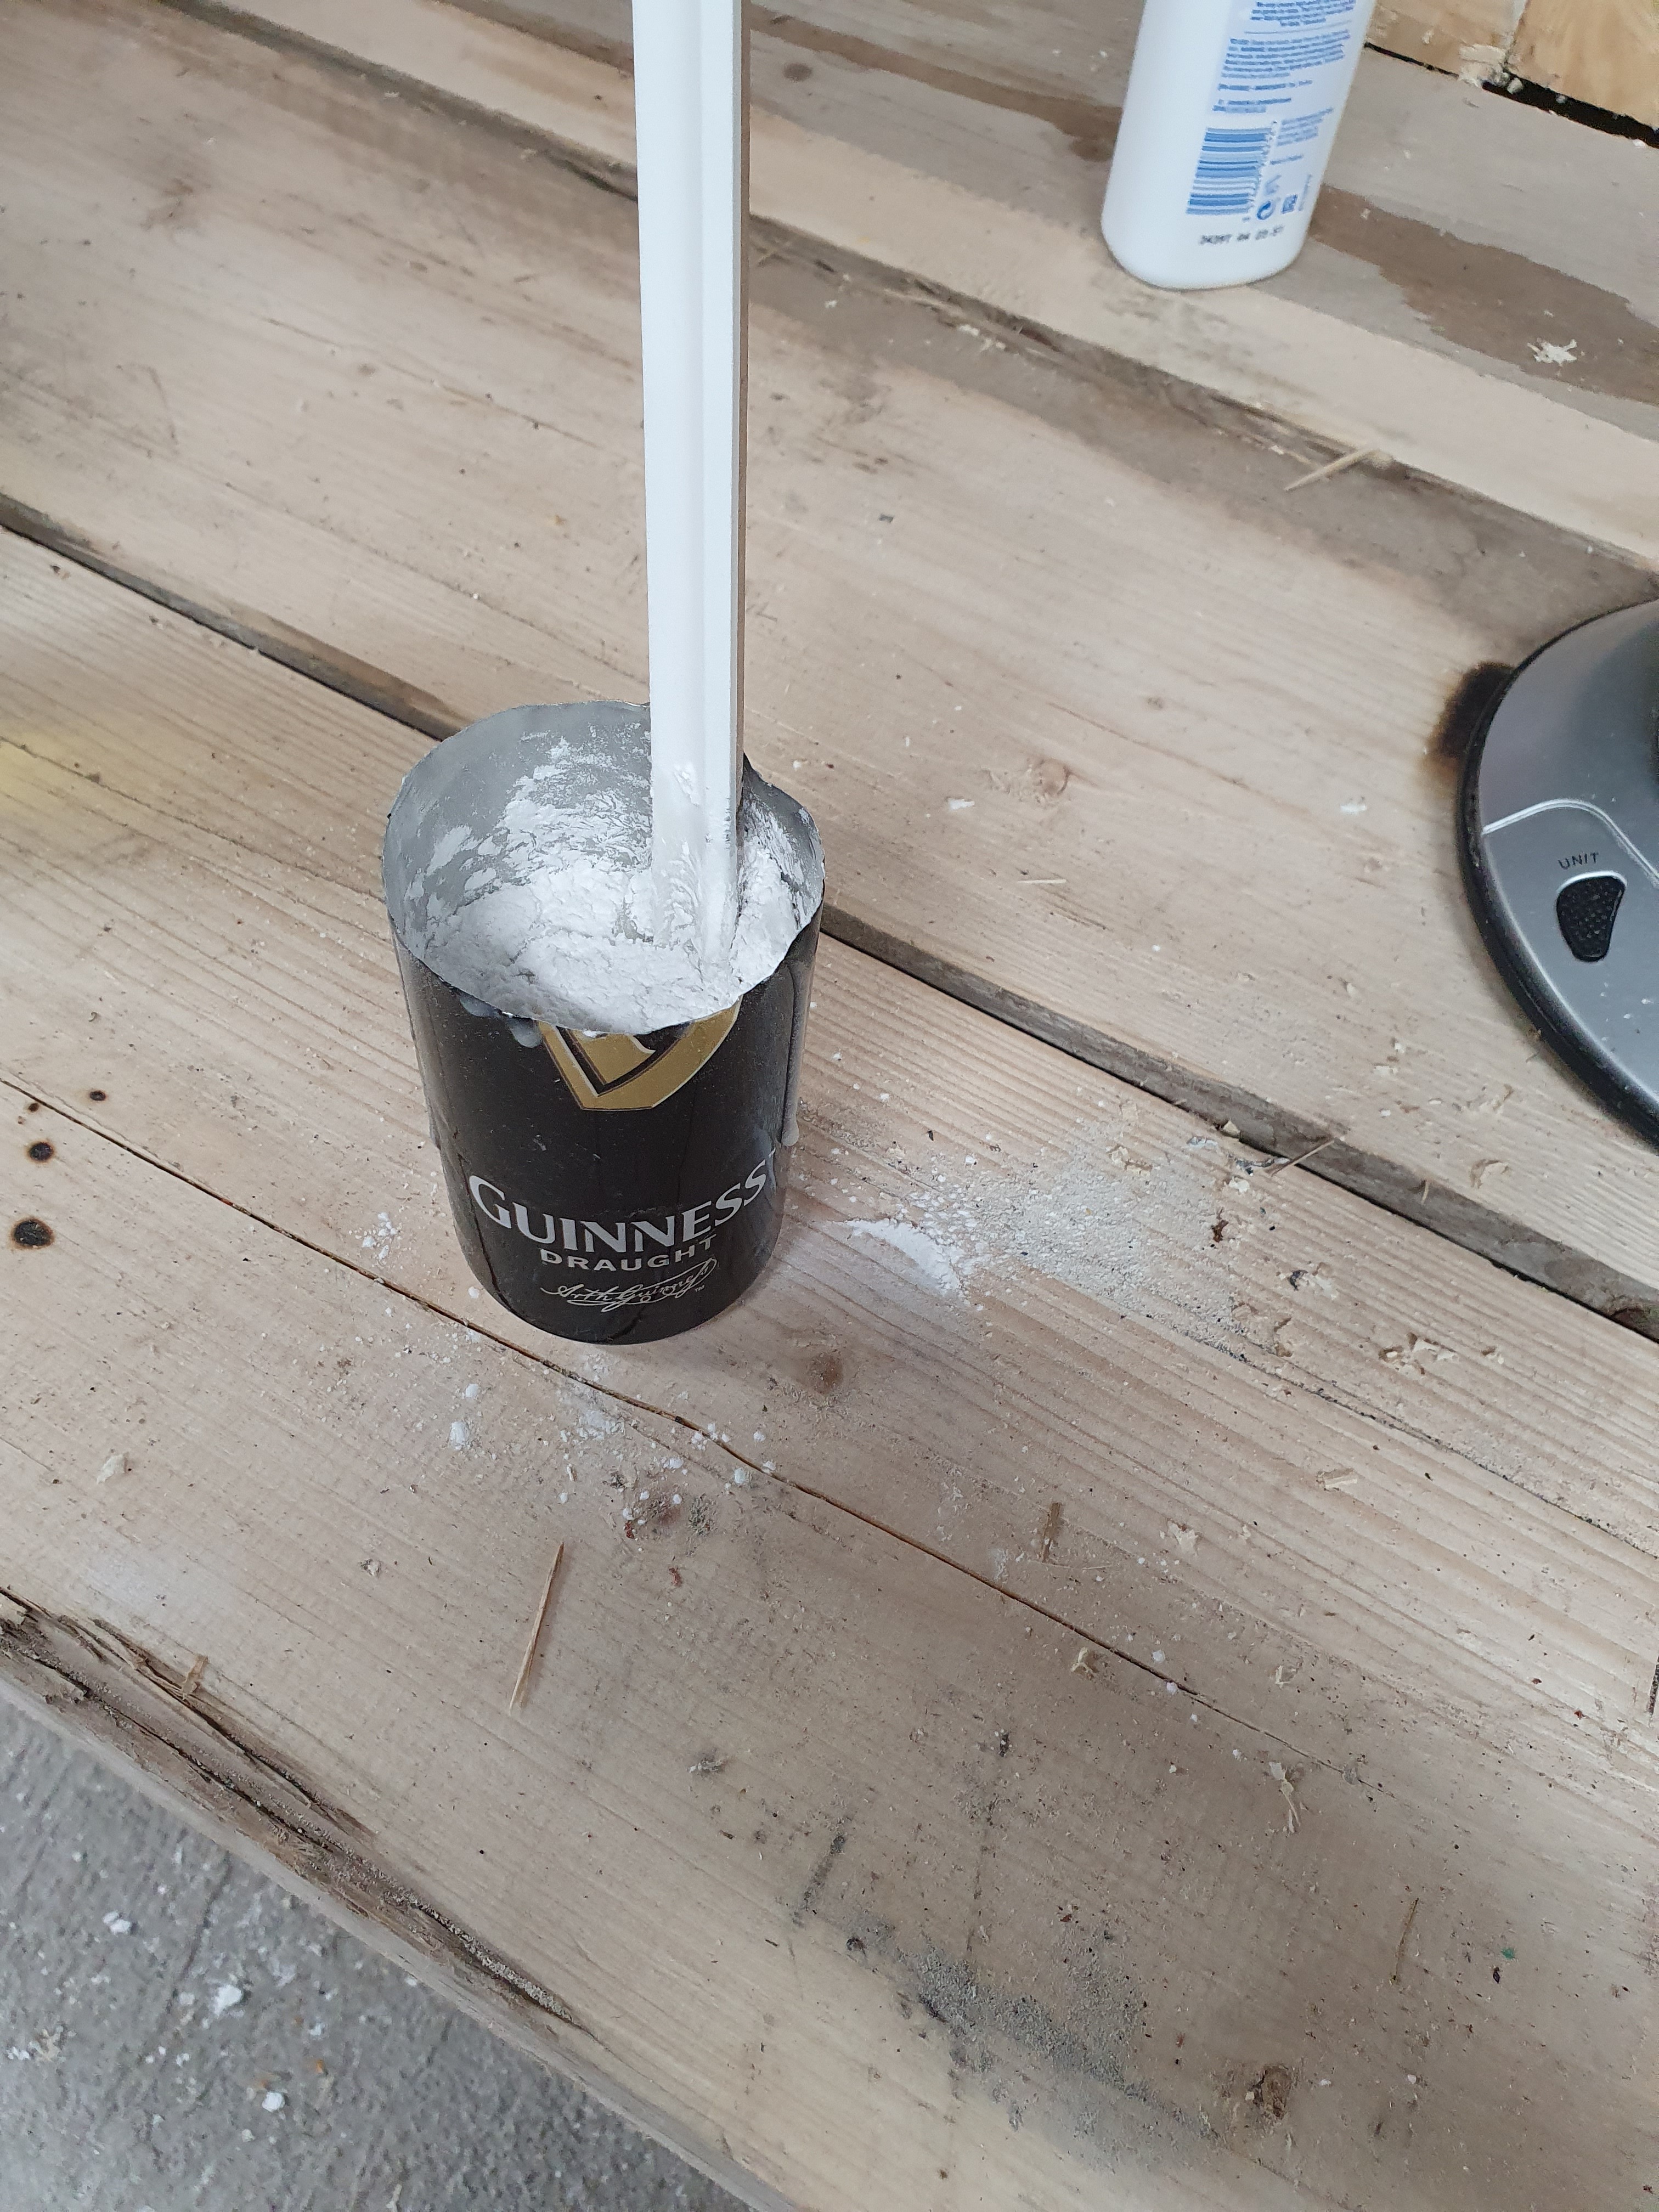
Also dropped board on the back corner so have even more work for myself to do! Hope these few repairs work as Ive loads to do on just the board. While the board is curing Ill take a look at the electronics setup
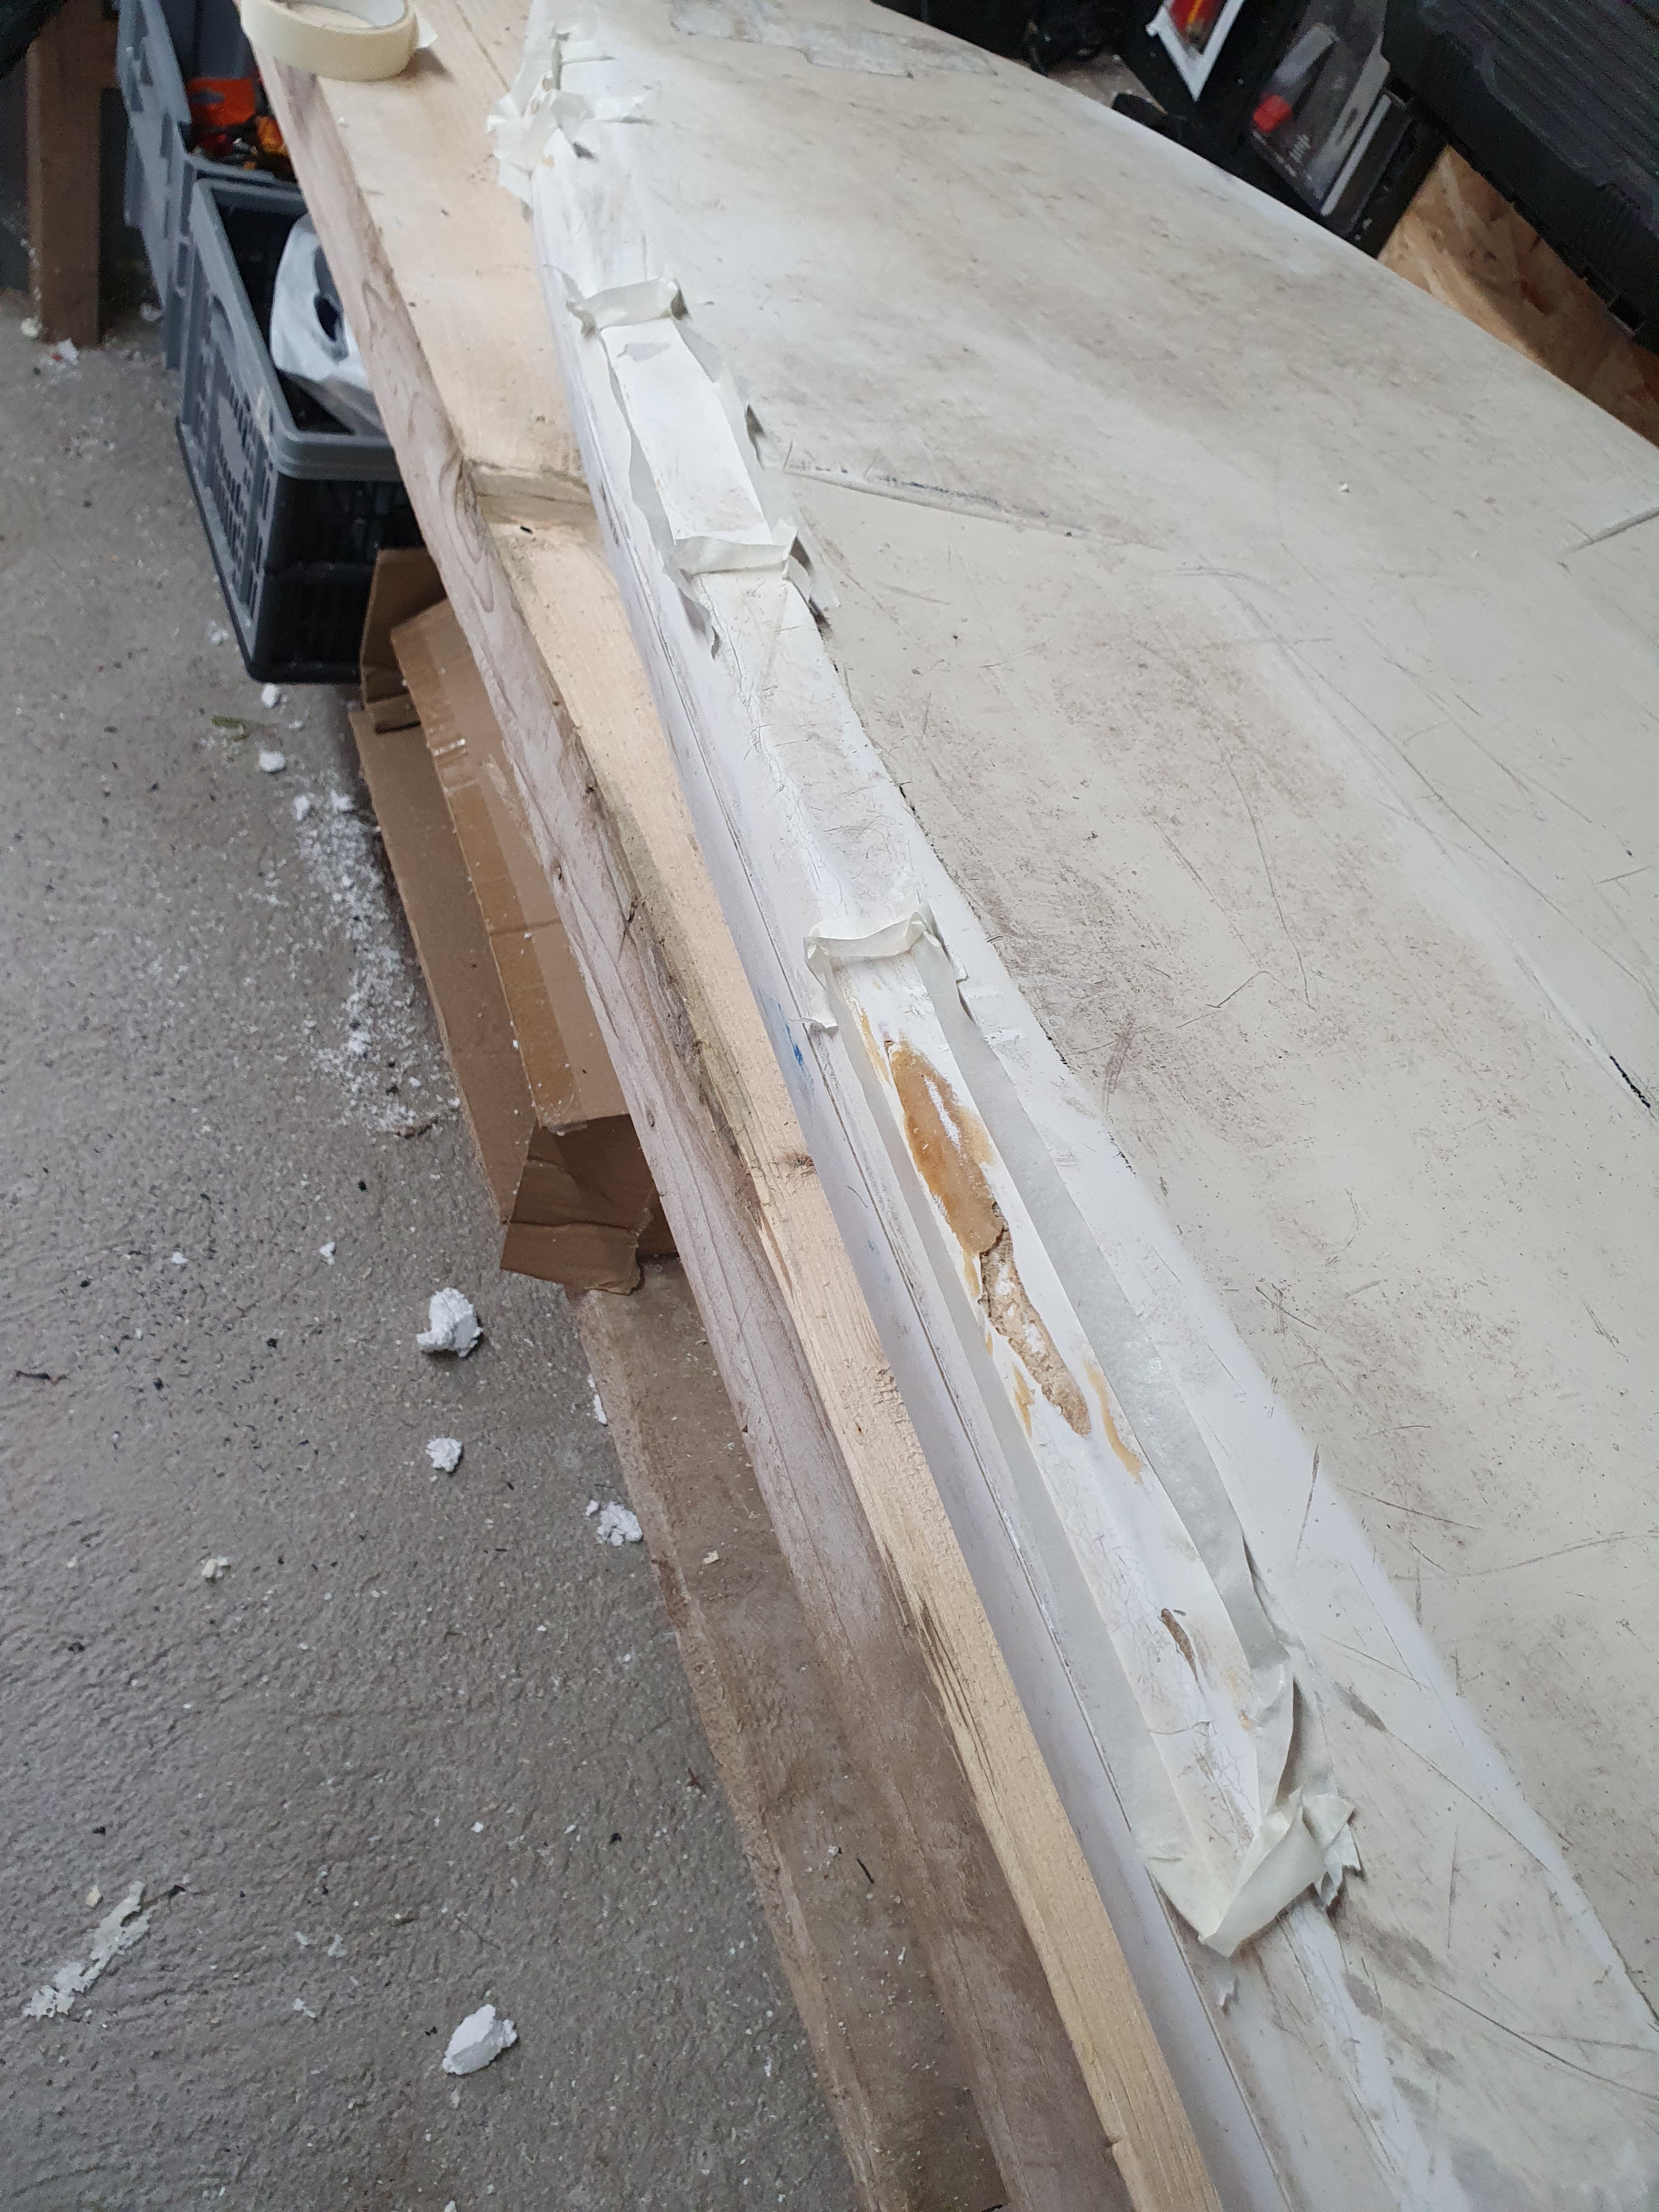
So it just wasnt curing, temp etc was bad so I made a makeshift tent and heated it up! Worked a treat. All nice and hard now, tomorrow Ill see how it went with sanding.
Its only resin filler for cracks and experimenting but hopefully it works and I can then do the rest of the board before I look at fibreglassing the whole lot next week hopefully
So after 5 days of it Im…


Basically still where I was! Sanding and filling, making a mess and learning, sanding and filling…and curing!!! Temps in Ireland arent the best for curing so thats adding hassle.
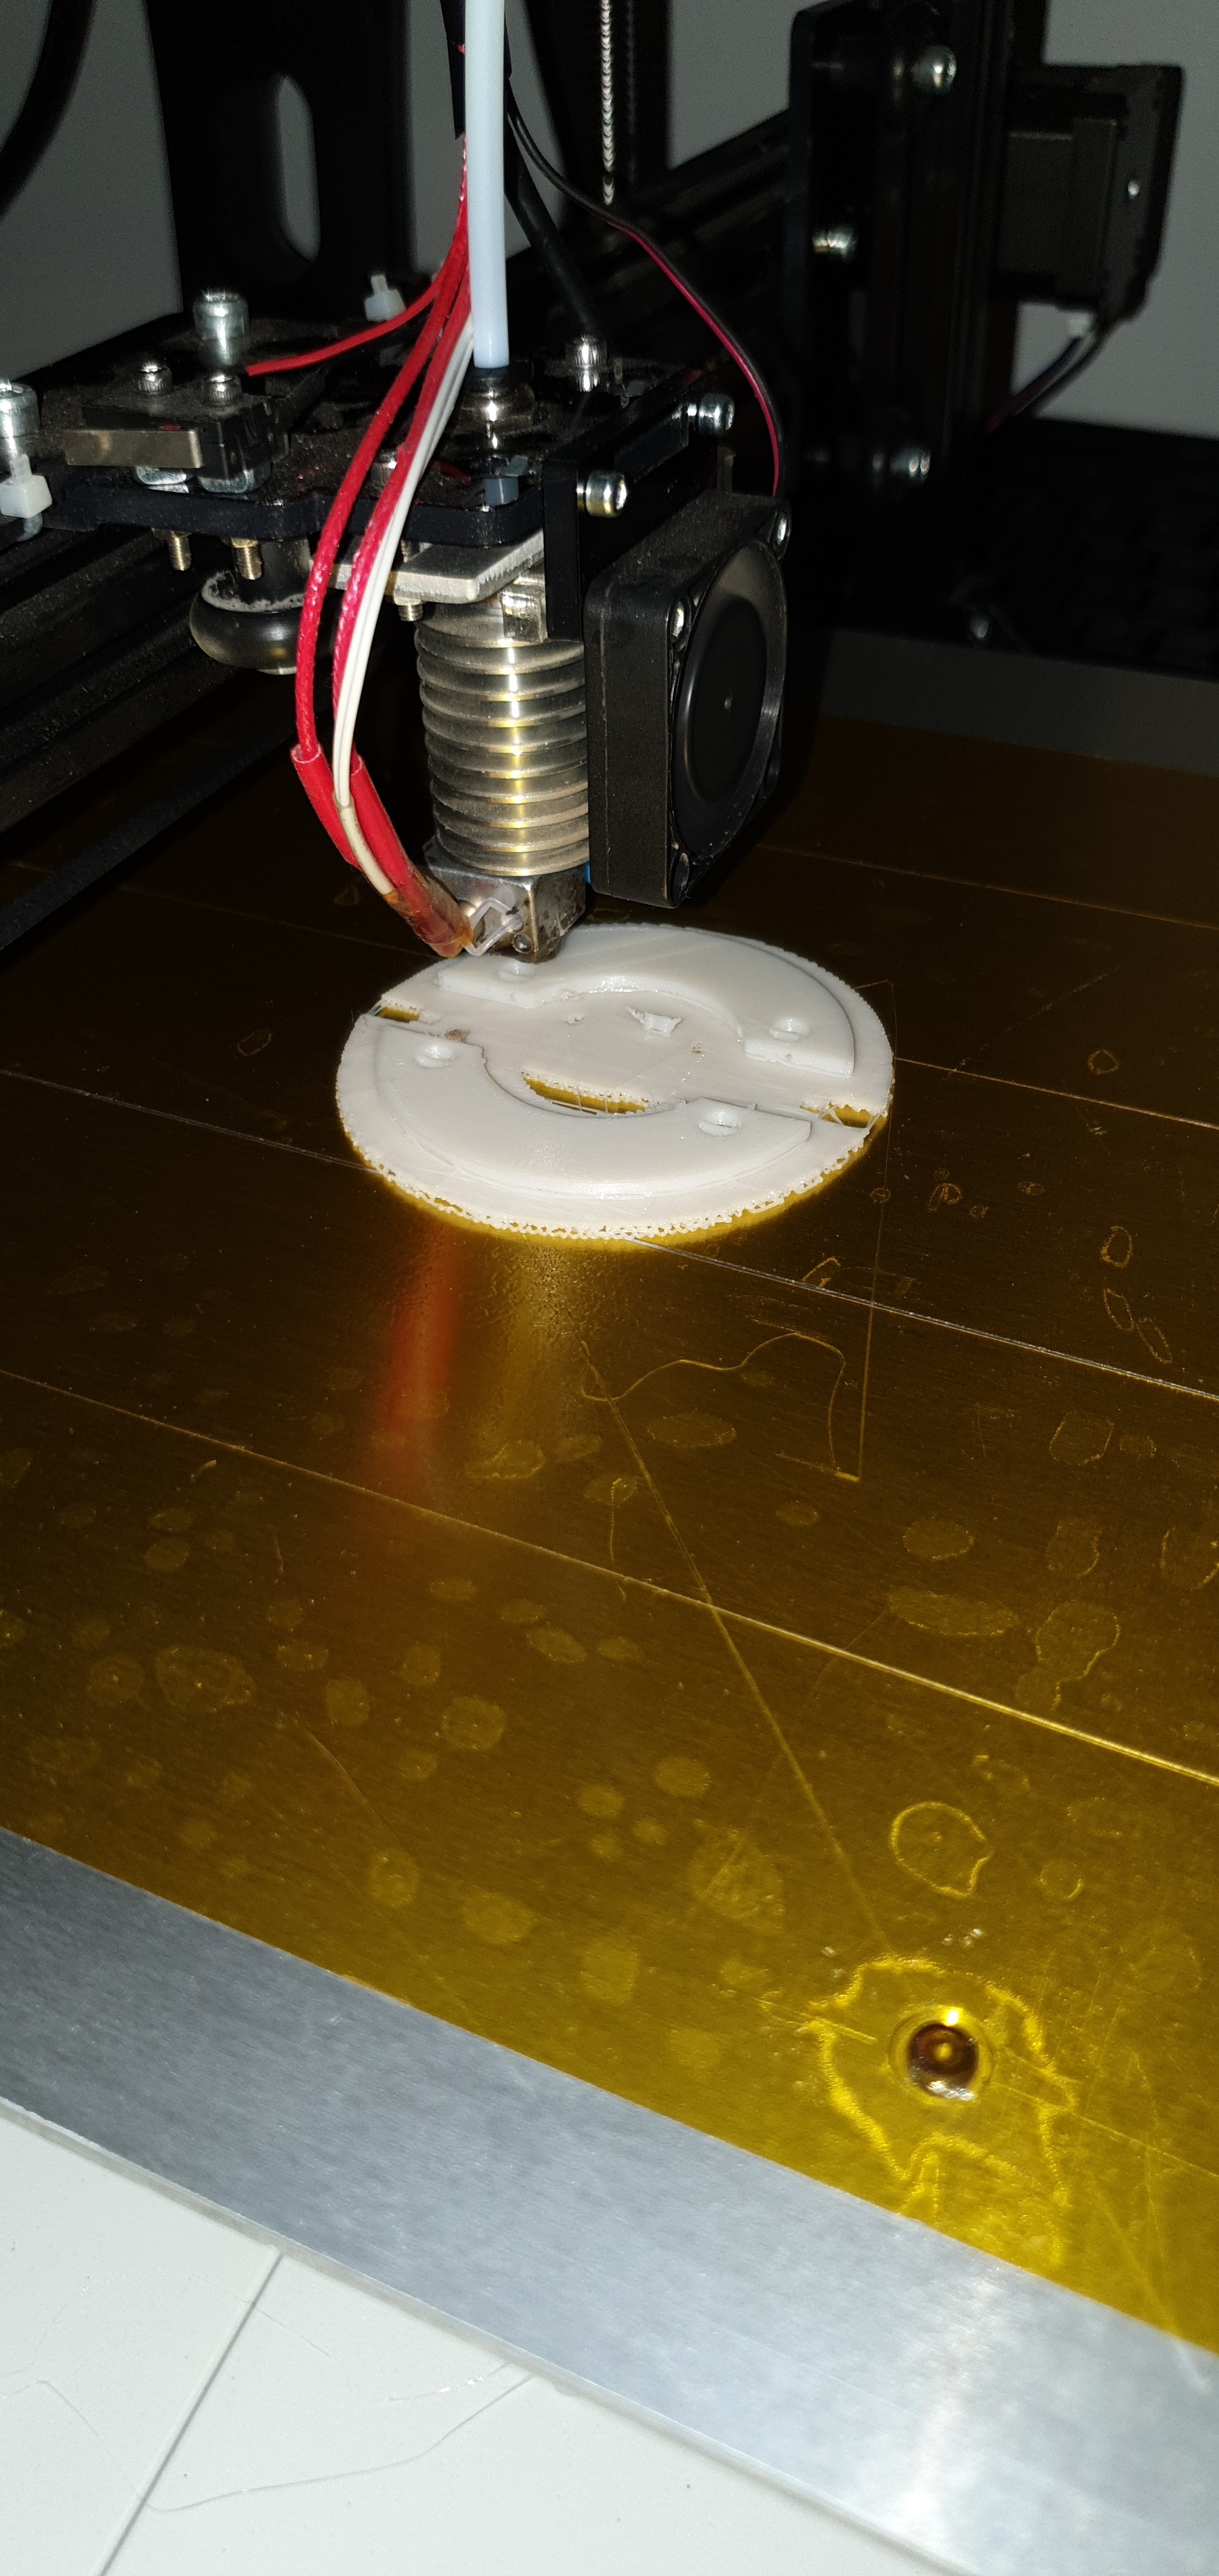
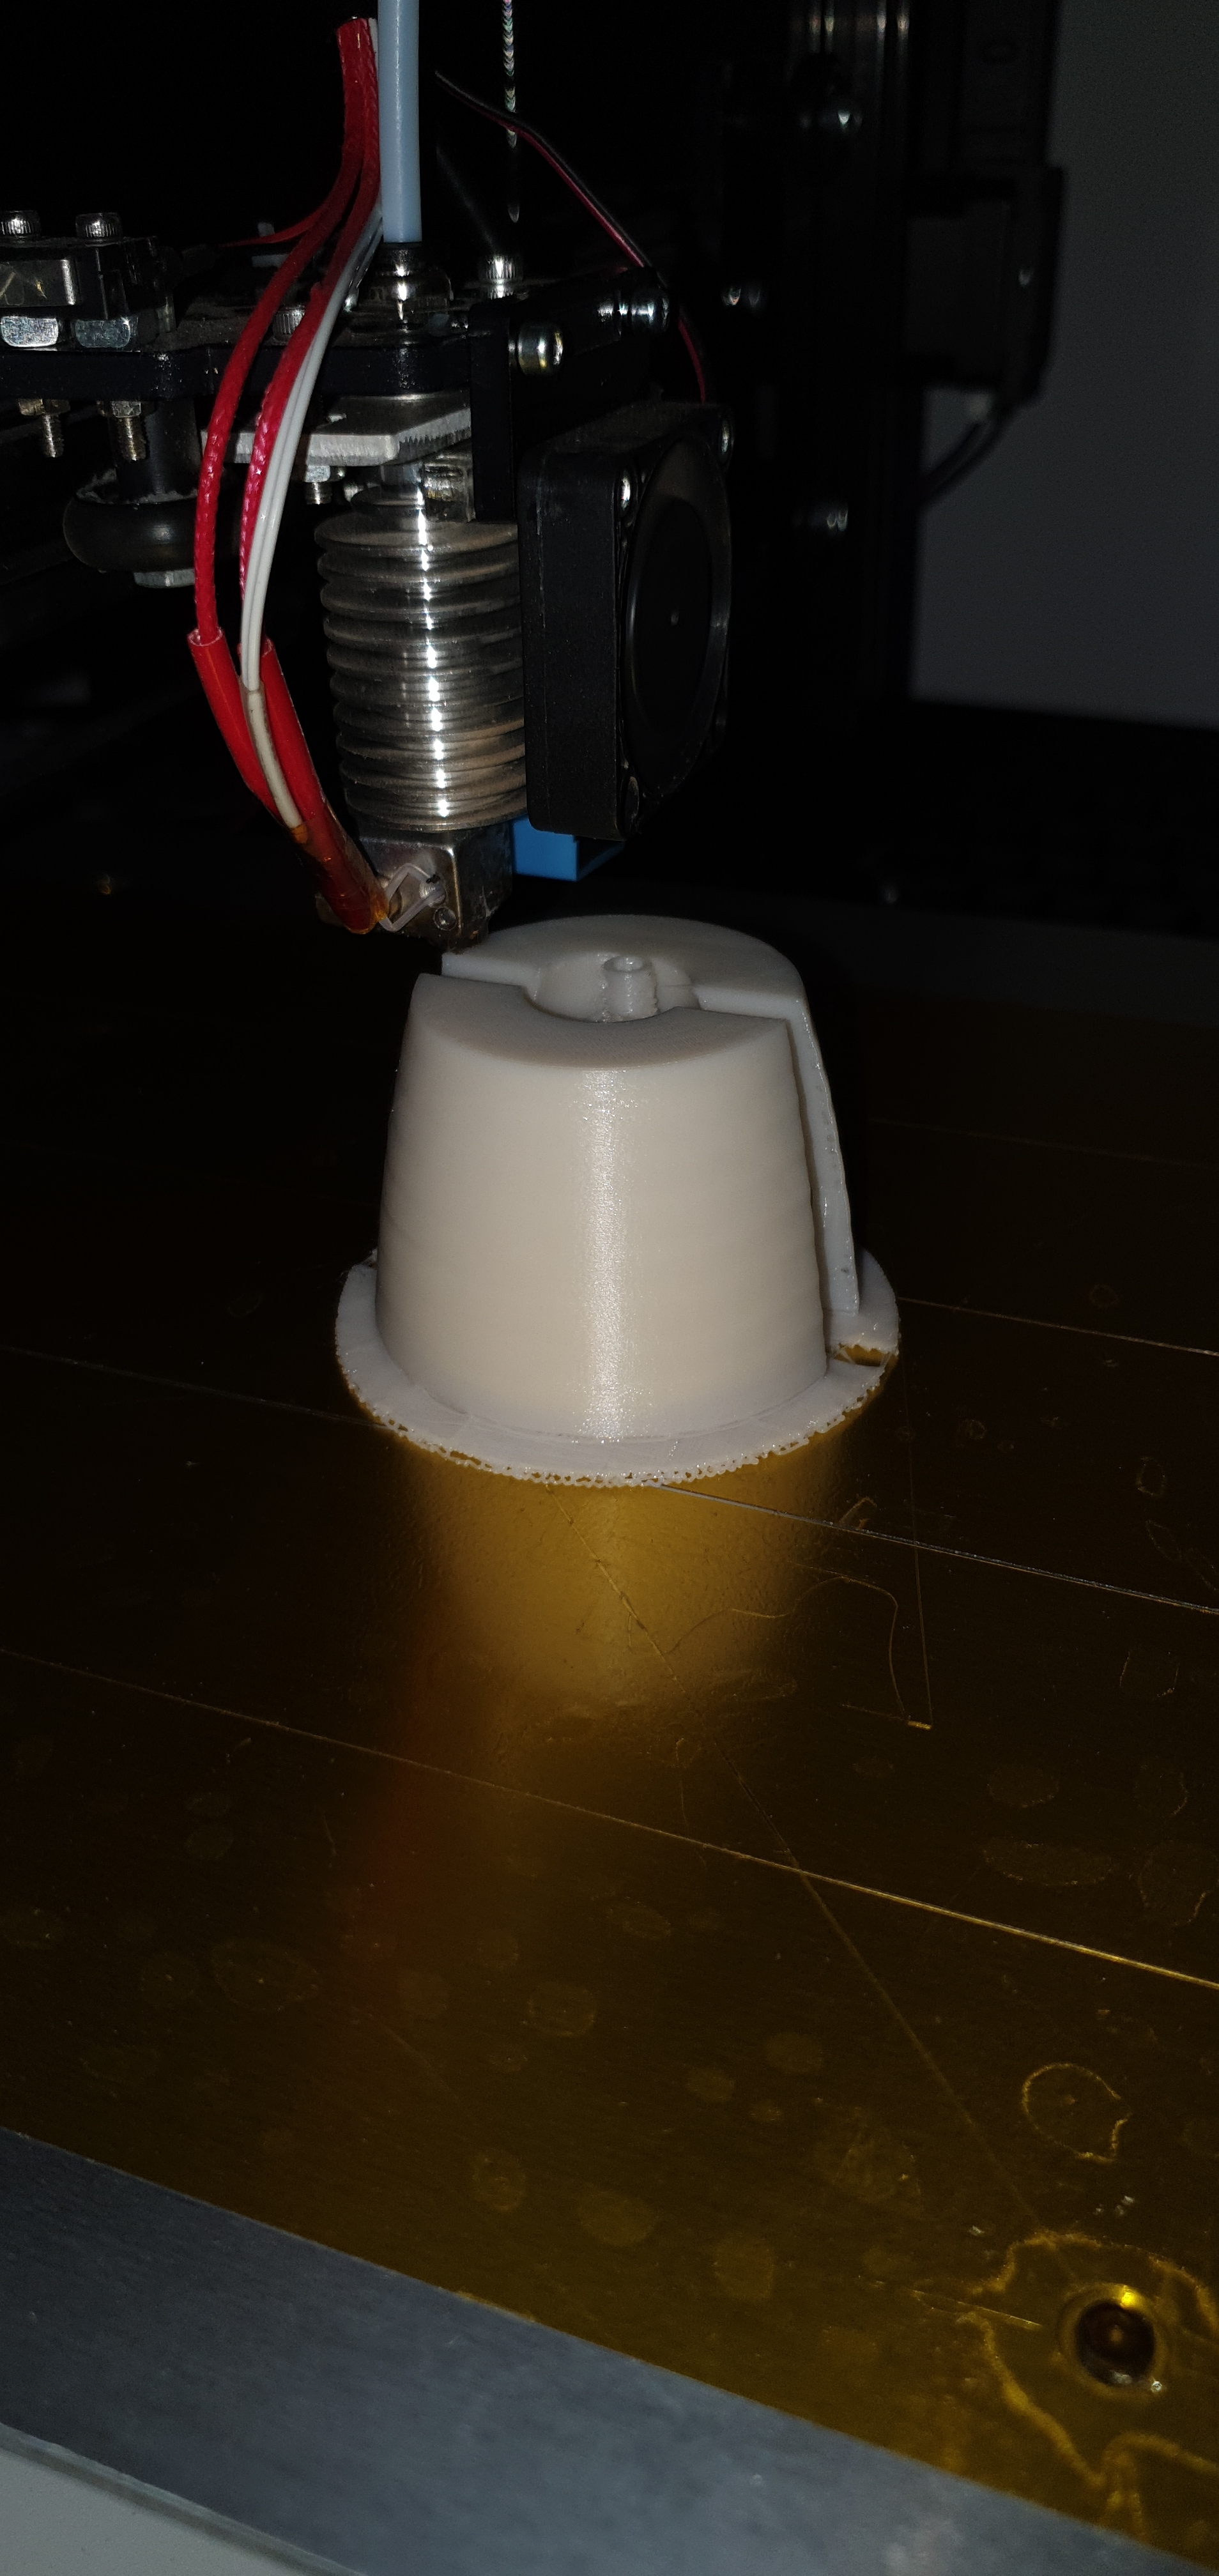
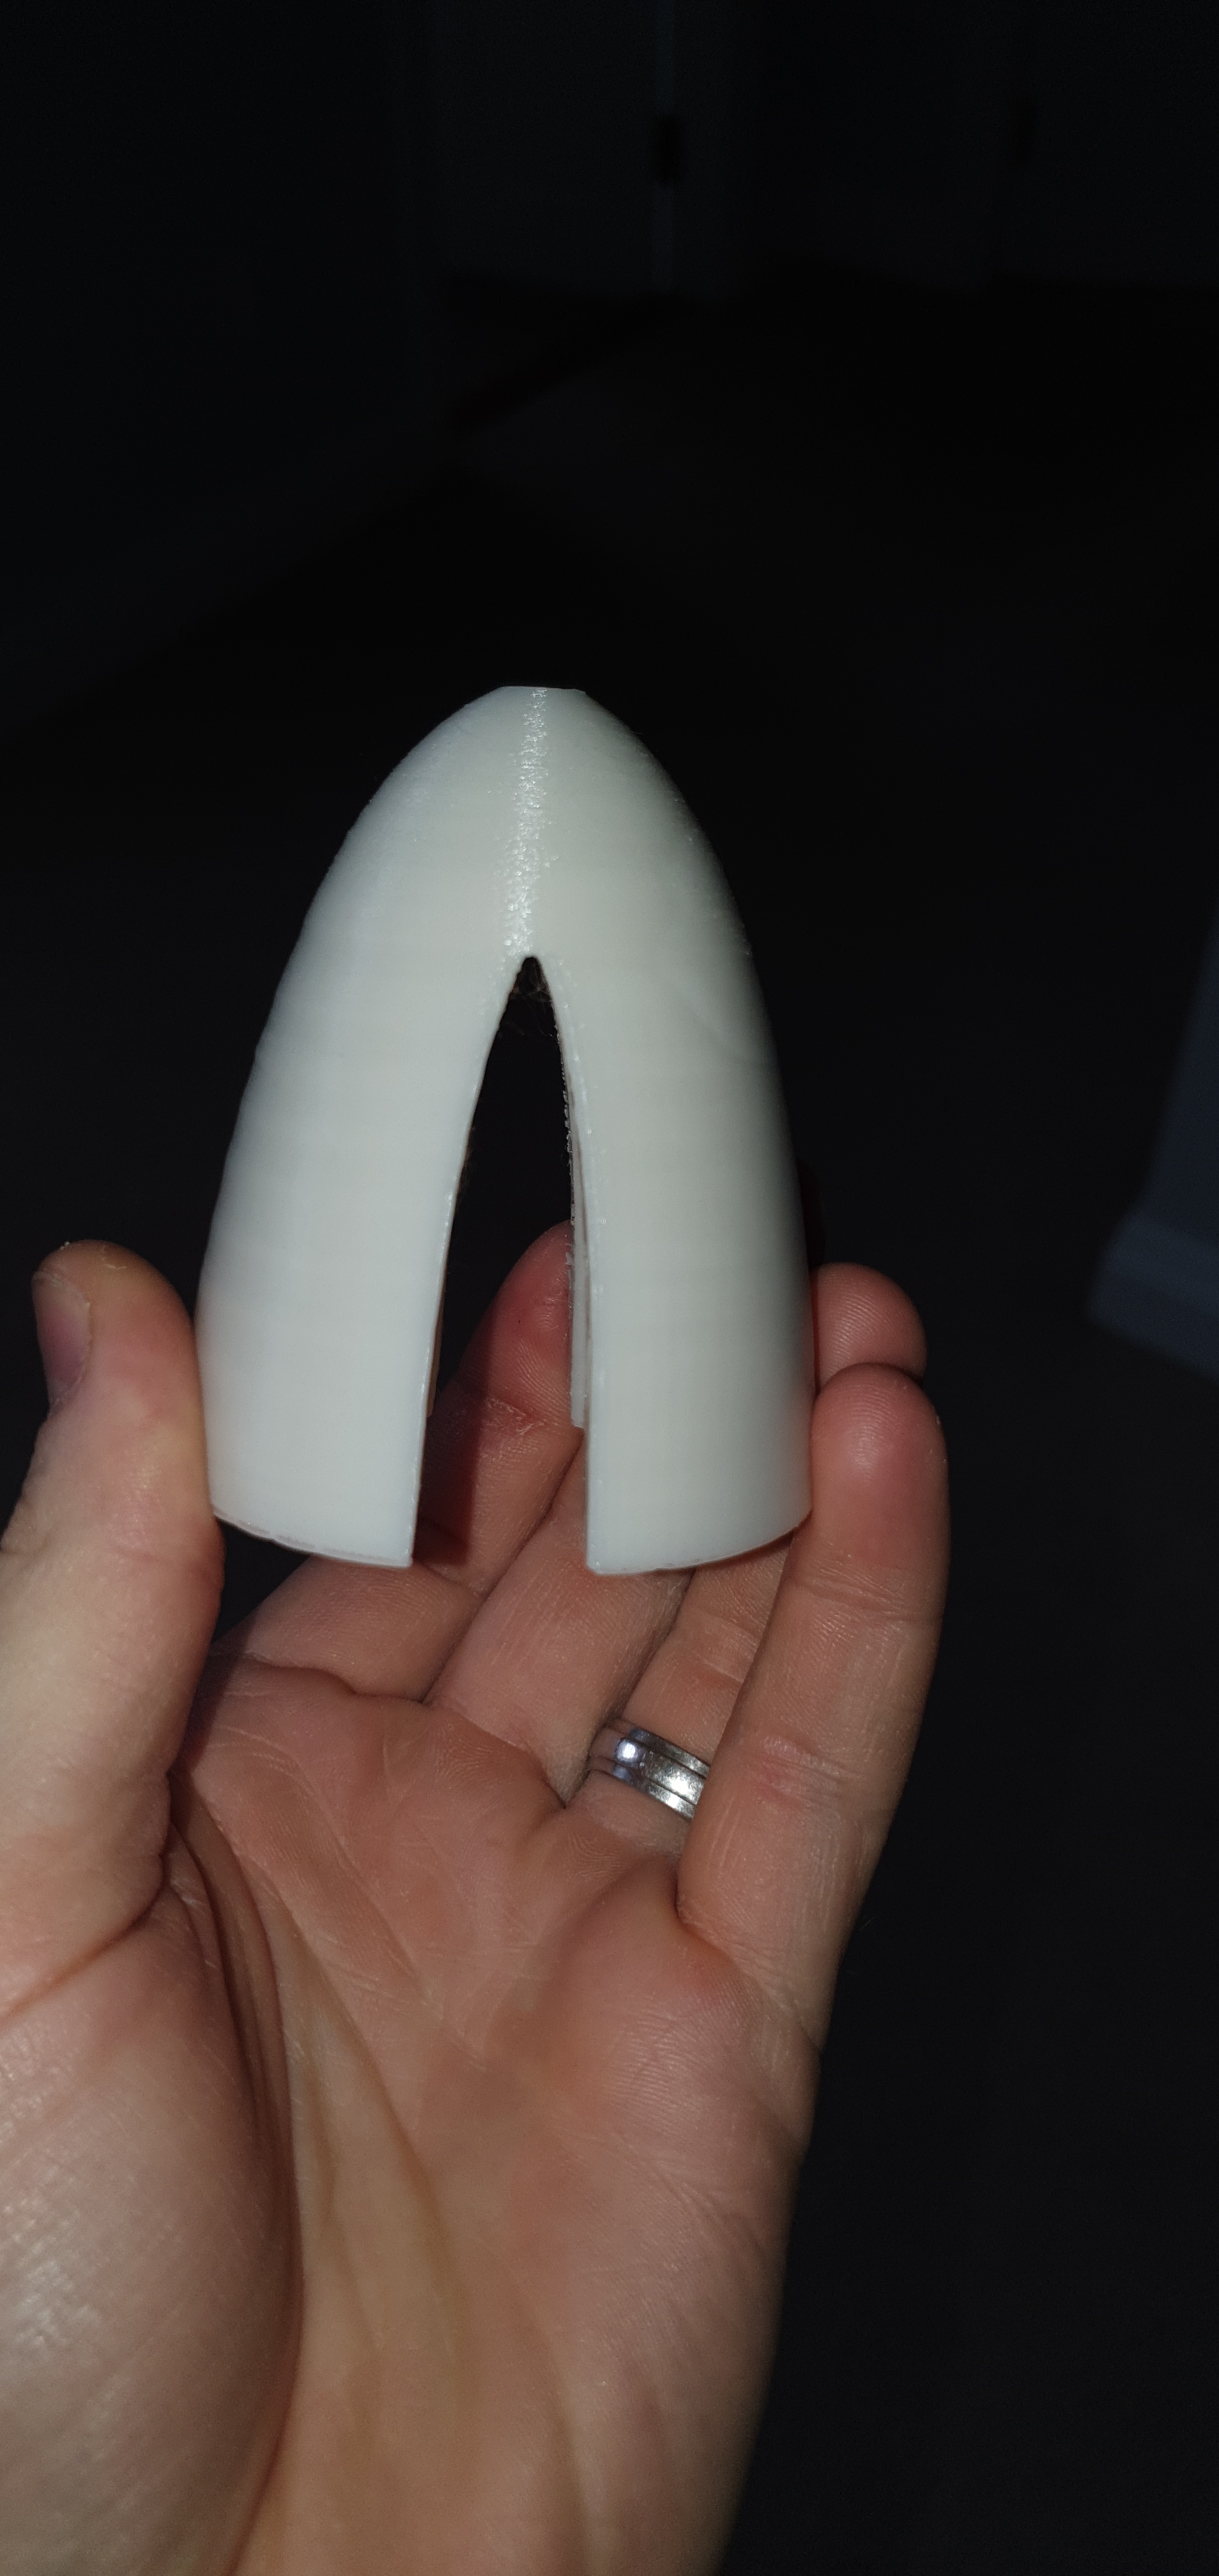
Hopefully by tomorrow I’ll have the bottom of the board ready for its first coat of fibreglass. For my mast mount I added some carbon fibre below the plate and on top. Im considering doing the whole bottom of the board in carbon fibre, Ill see how much I have in the morning. As you can see, there was quite a lot of repair work that was needed, and when I exposed areas I found previous repairs which had not been done properly or, to be more corfect were probably done by an amateur like myself at some point in the boards life. To be honest, at this stage the i xant fecide if there is kore board or repairs left! Found out that the board is by a brand called Tiga for any oldschool windsurfers here. In between all that, I printed the front nose cone, thank you very much @Bevo for the file for the MP70131 Motor with built in front water entry!
1 Like
I see a board shaped like mine, I like. Simple as this
1 Like