I’ve been lurking on the forums for a while now and am well into a build so thought I would share some of the progress. There will be a number of posts below showing images right from the start. Some of the images are not the best as my garage is a bit dark but enough to give you the idea.
This may take some time to upload them all and add descriptions, so maybe give me a week to get all up to date!
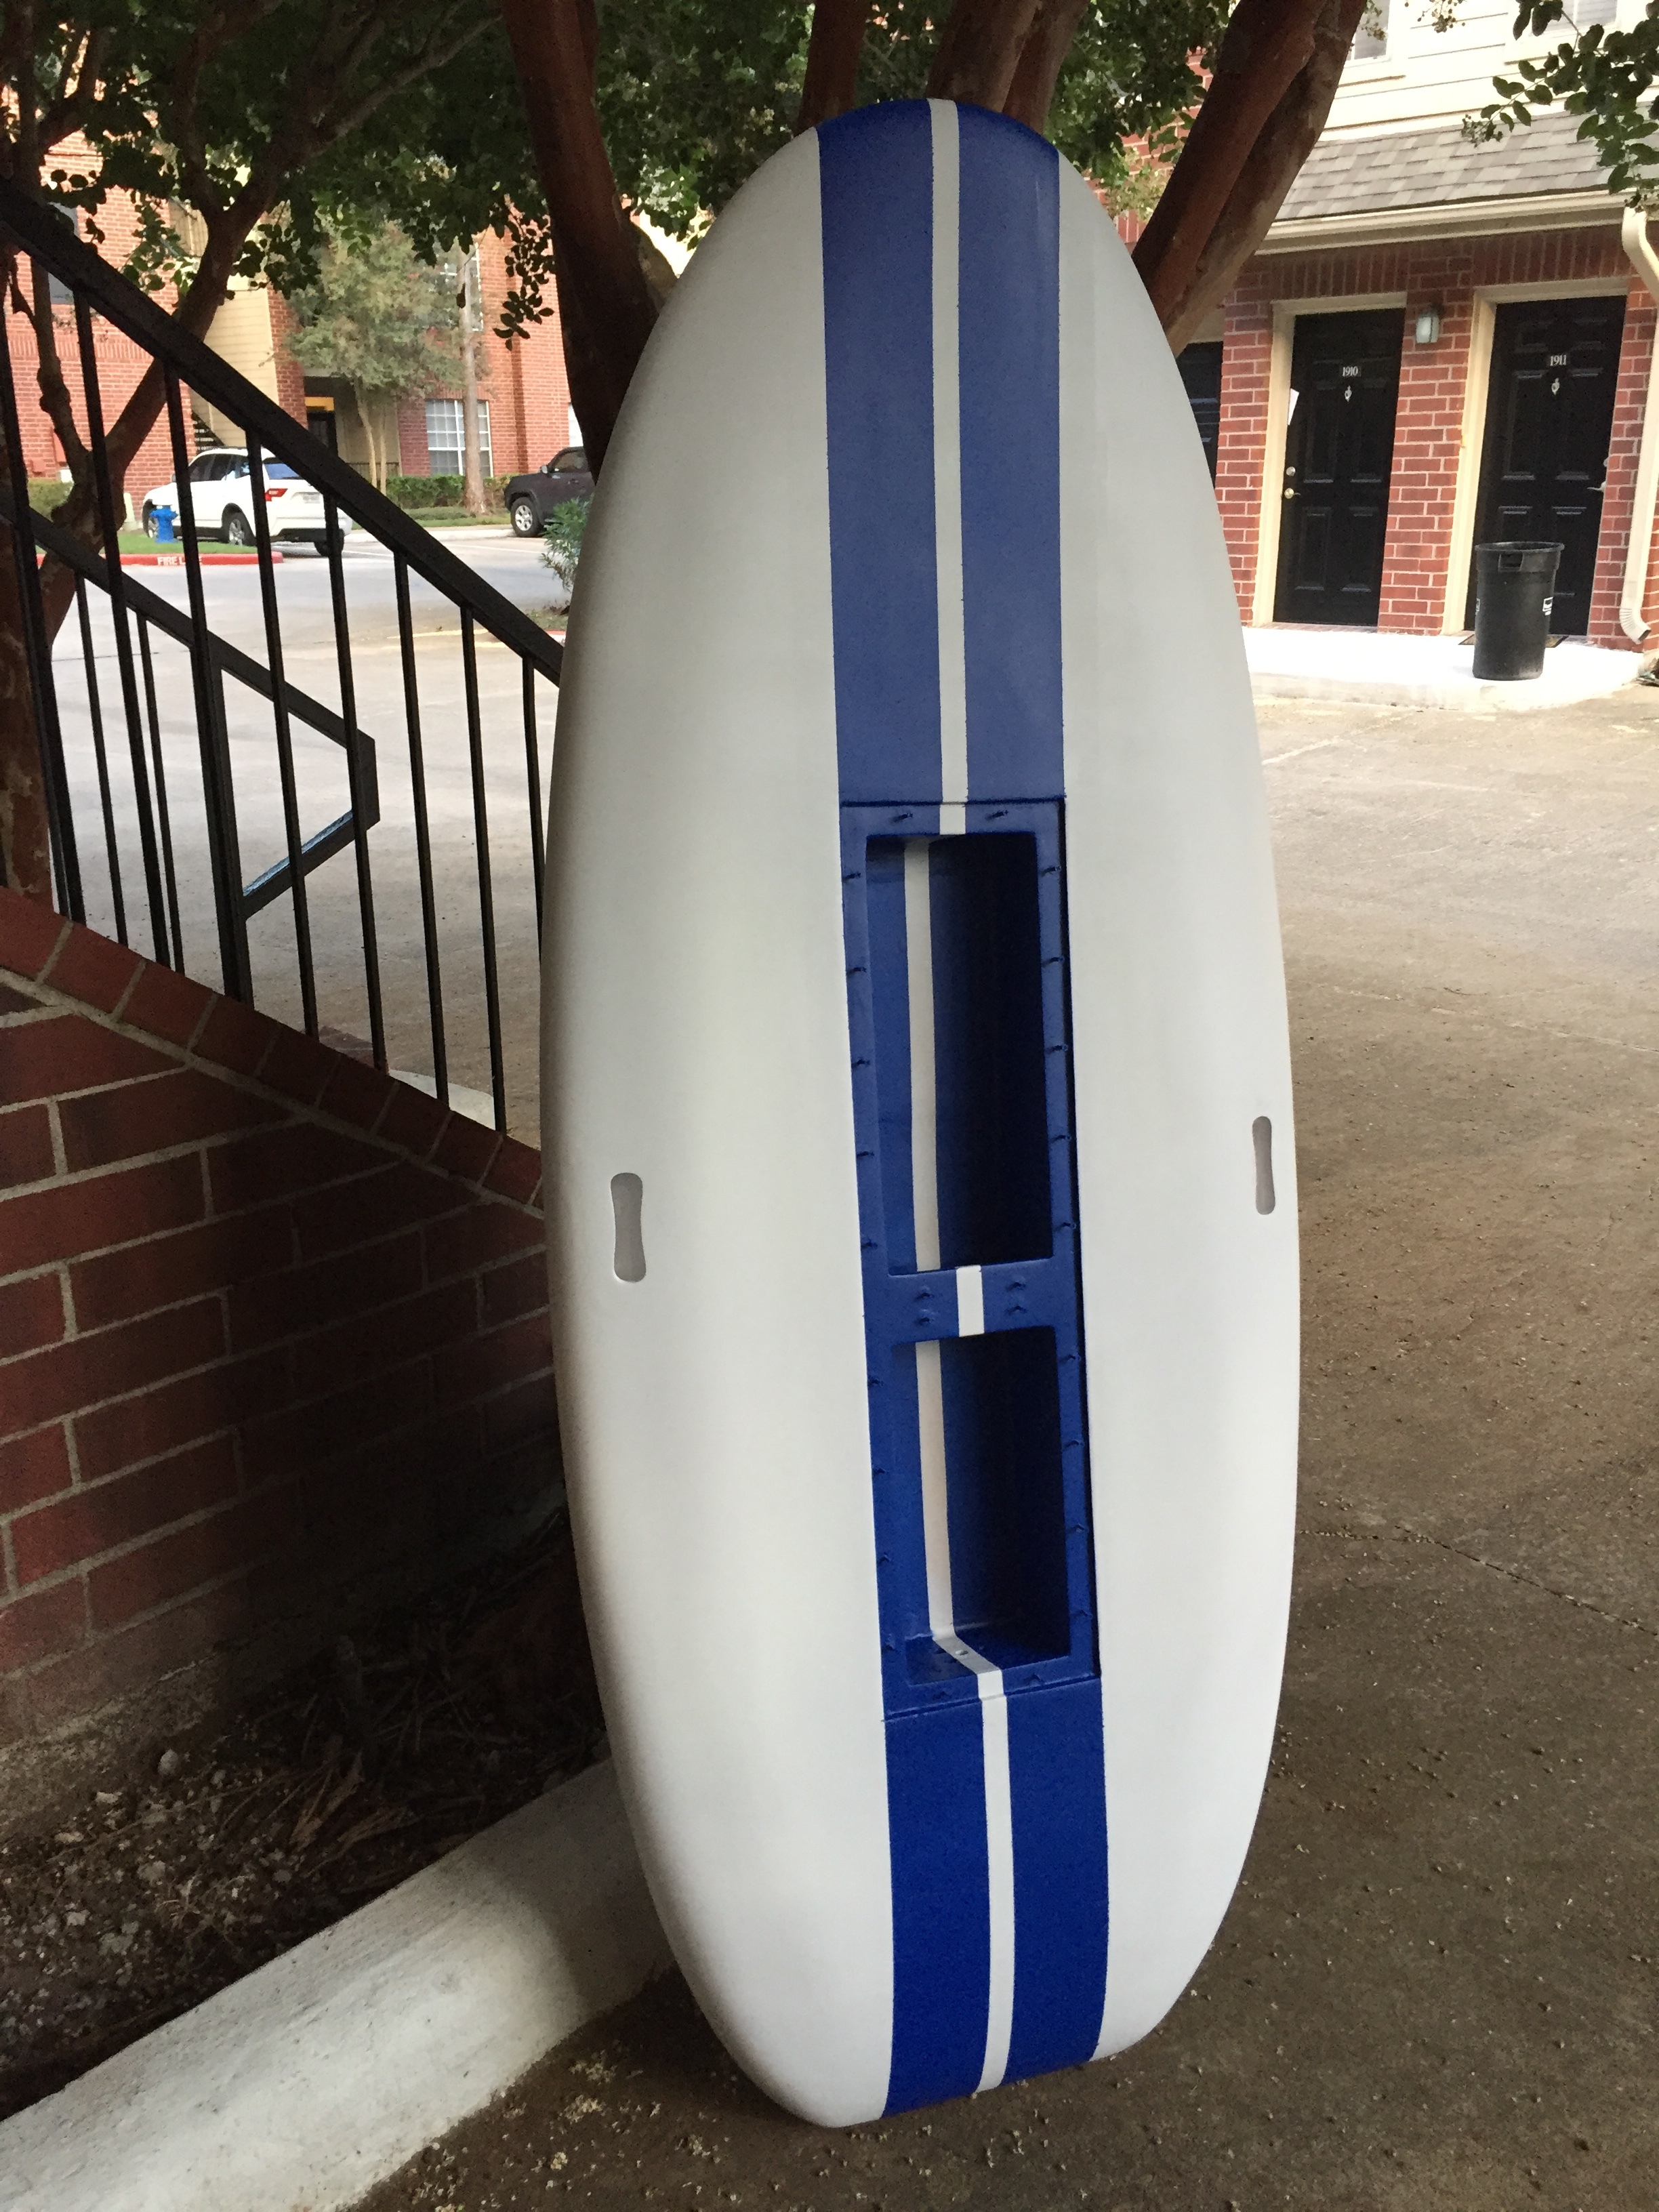
General shape and graphic of the board will (hopefully) end up like this.
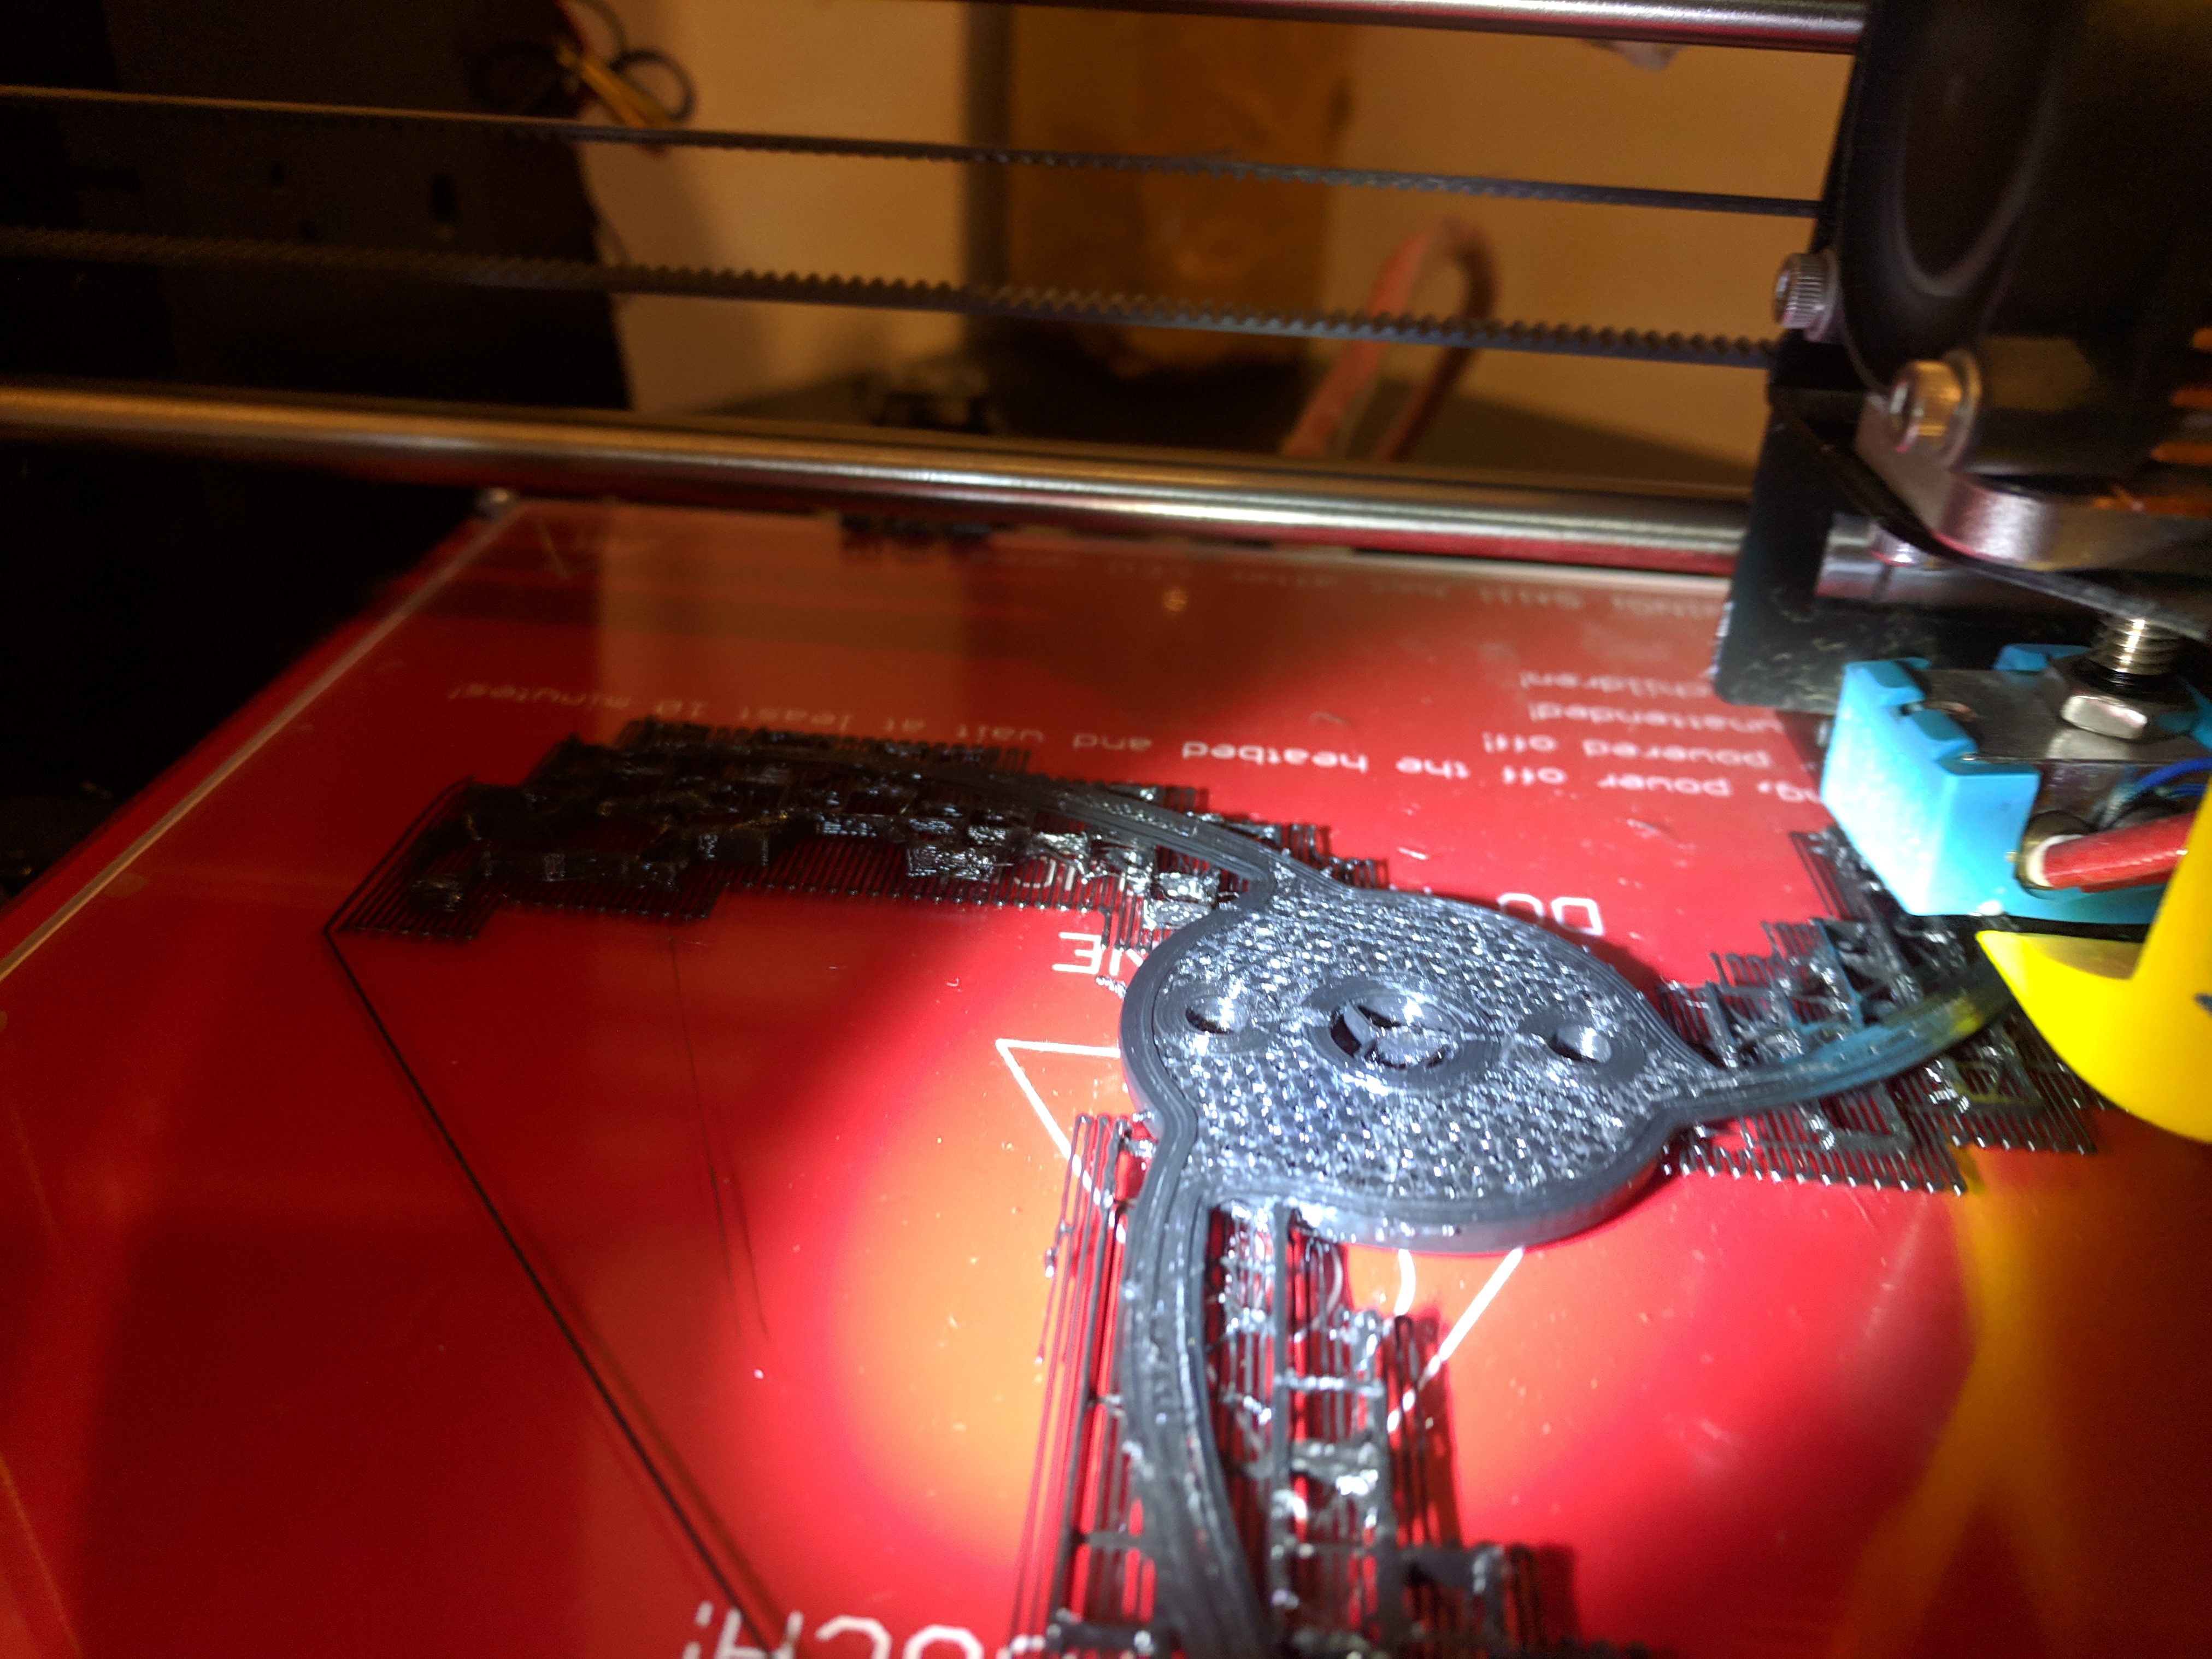
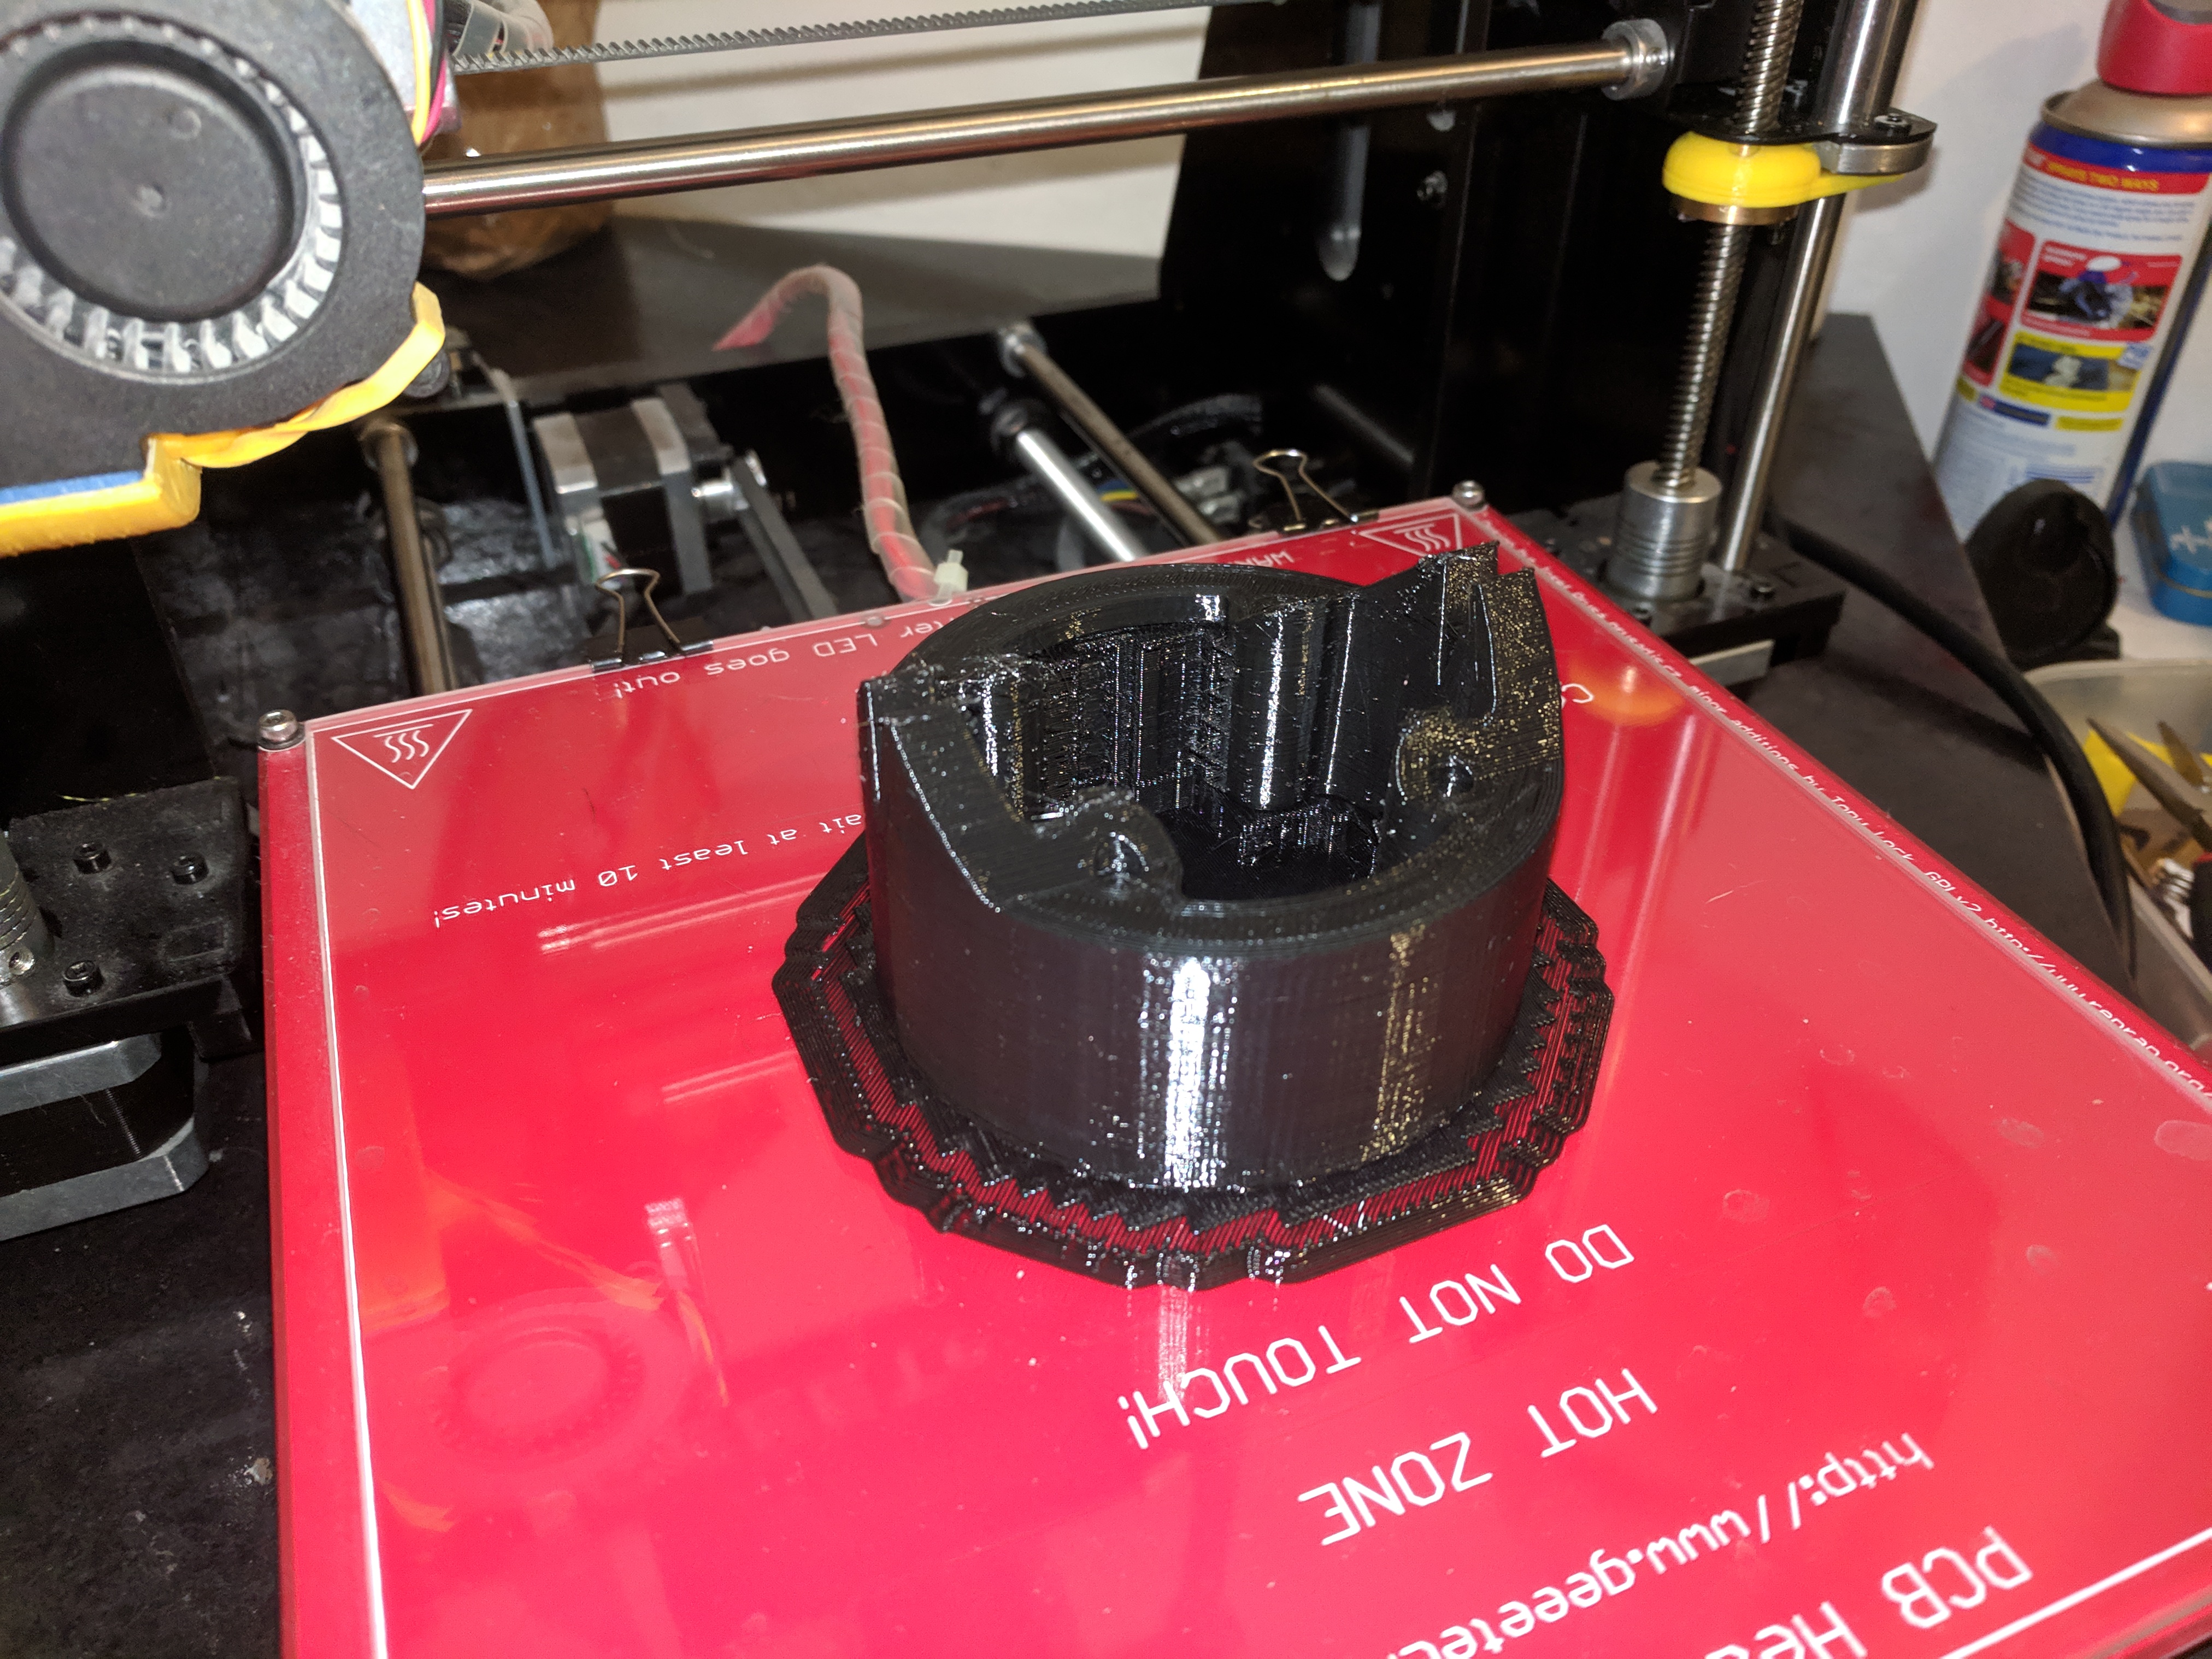
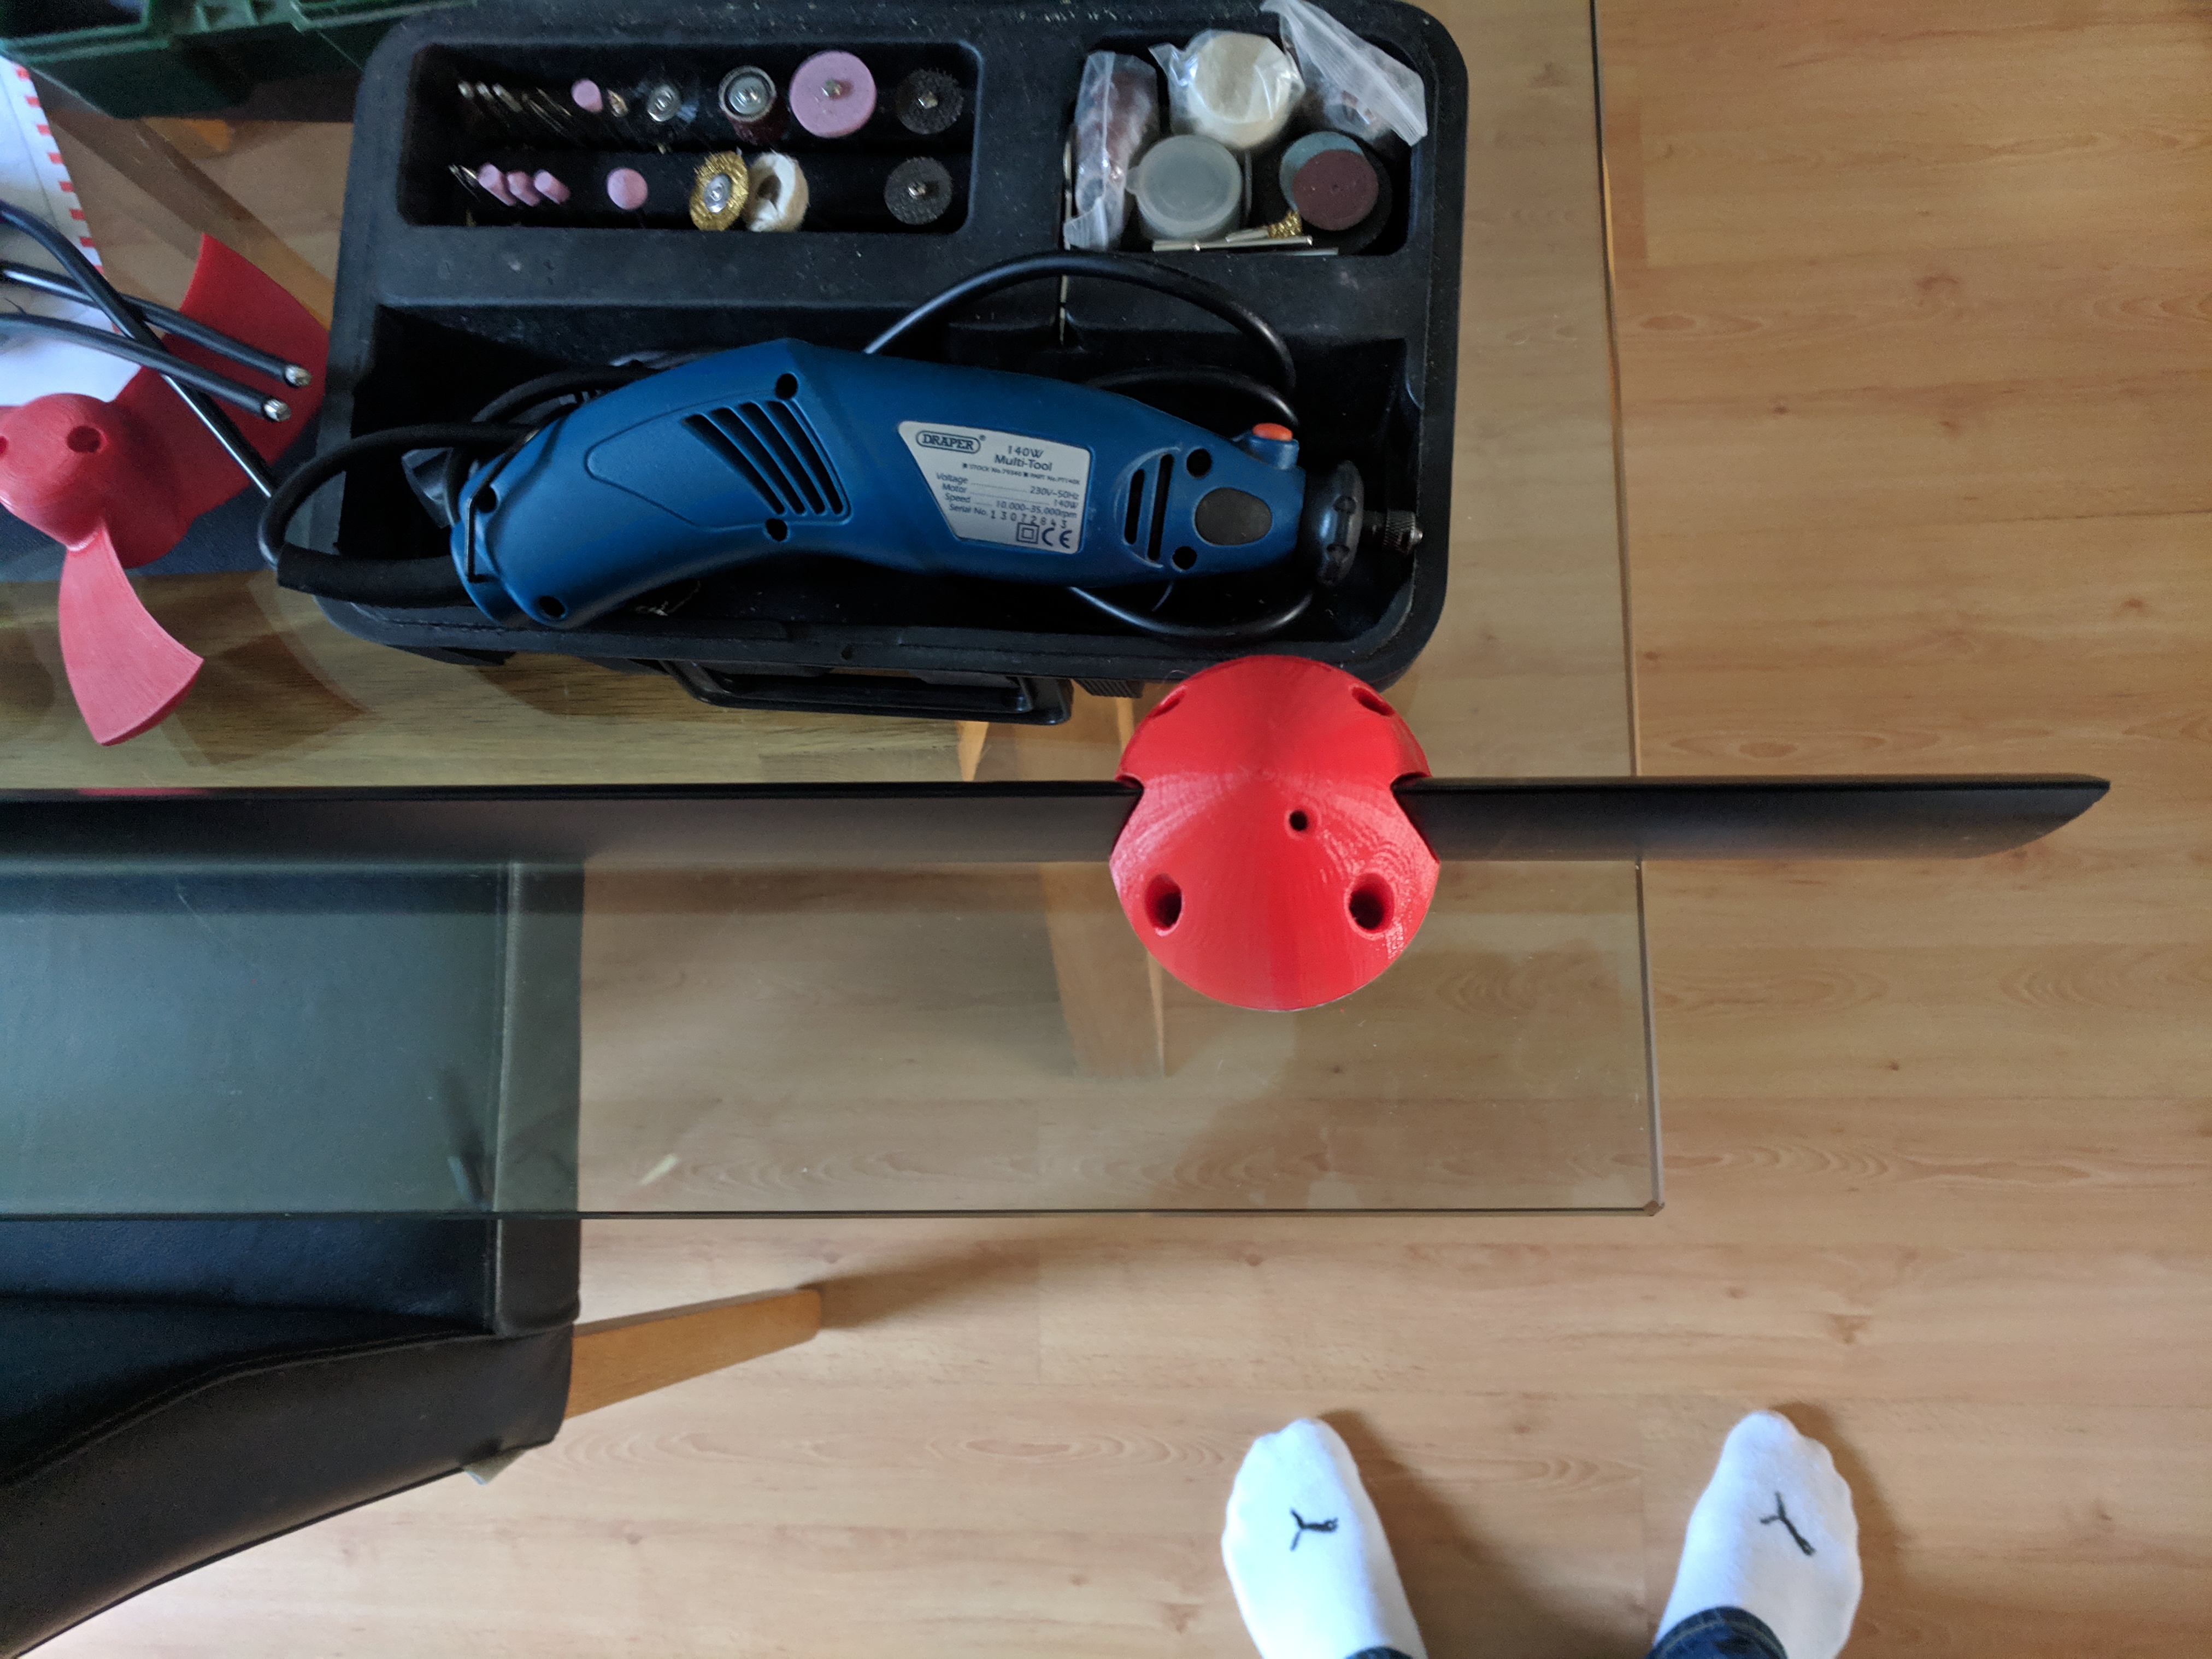
So I was fortunate enough to already have a 3D printer, its a Geeetech i3 pro B (A cheap Chinese copy of a Prusa i3) I wouldn’t recommend this unless your willing to work had at the settings to get it printing well. If you want out of the box printing spend the extra and buy an original brand printer.
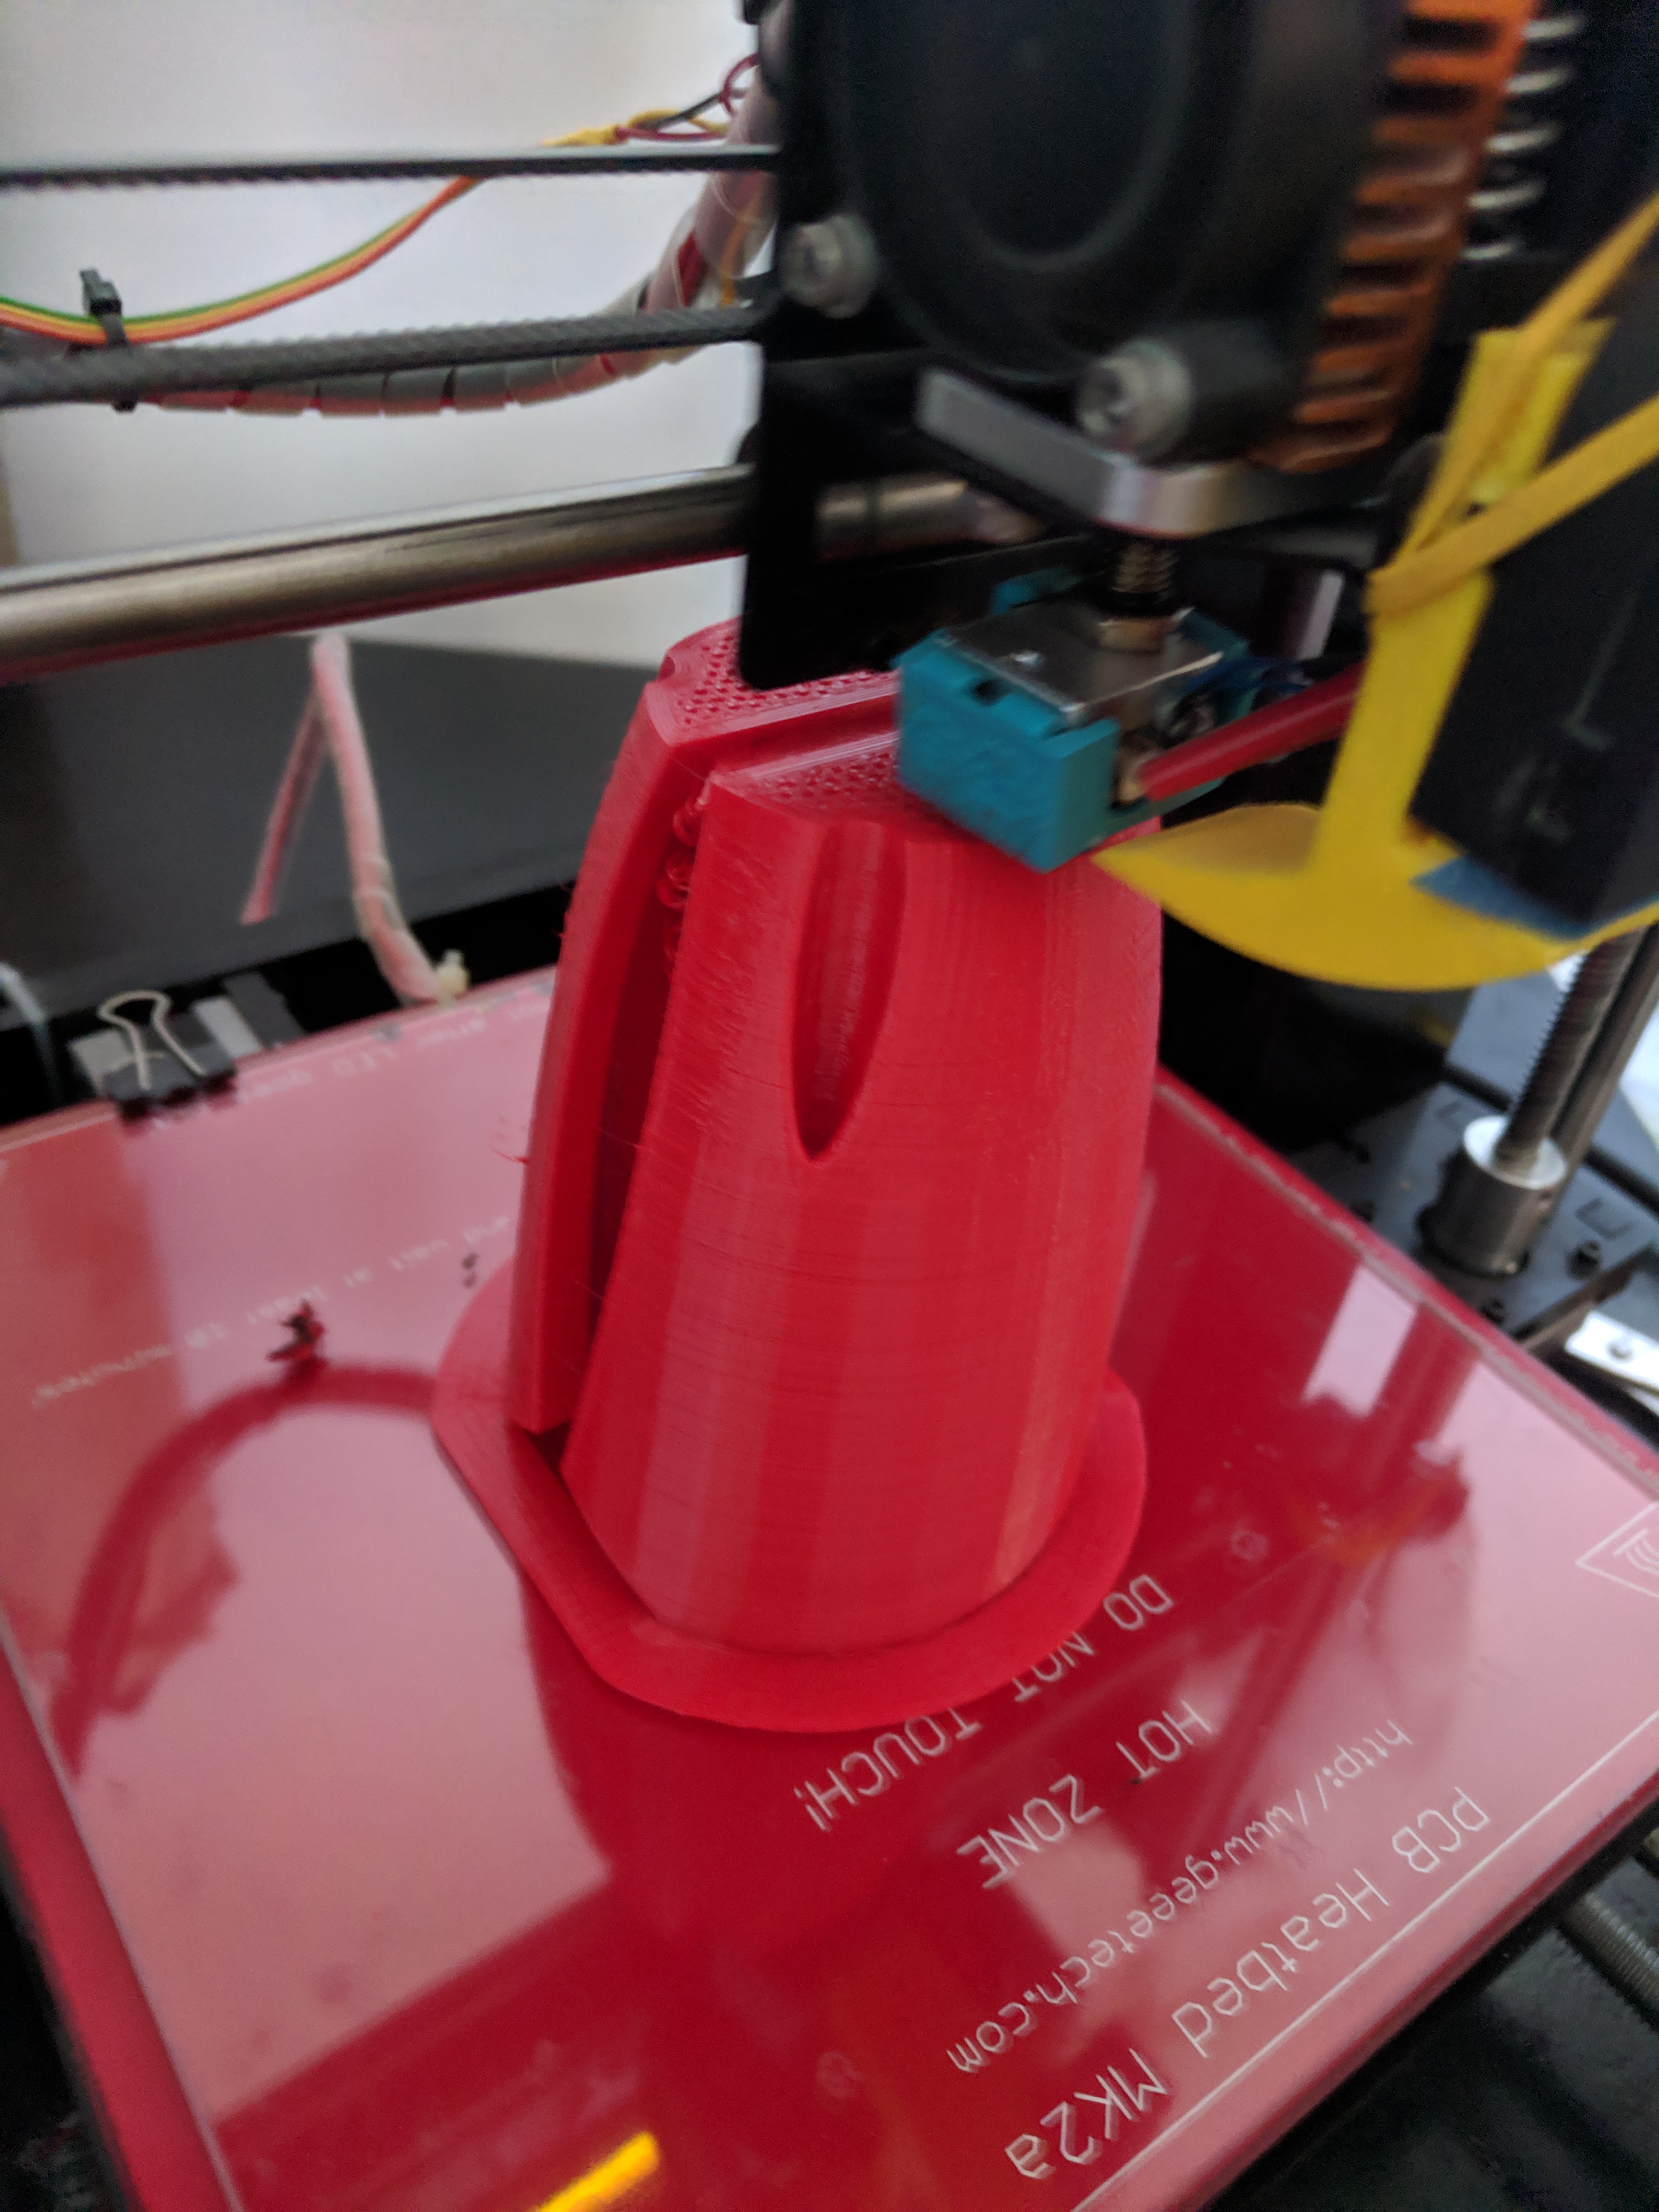
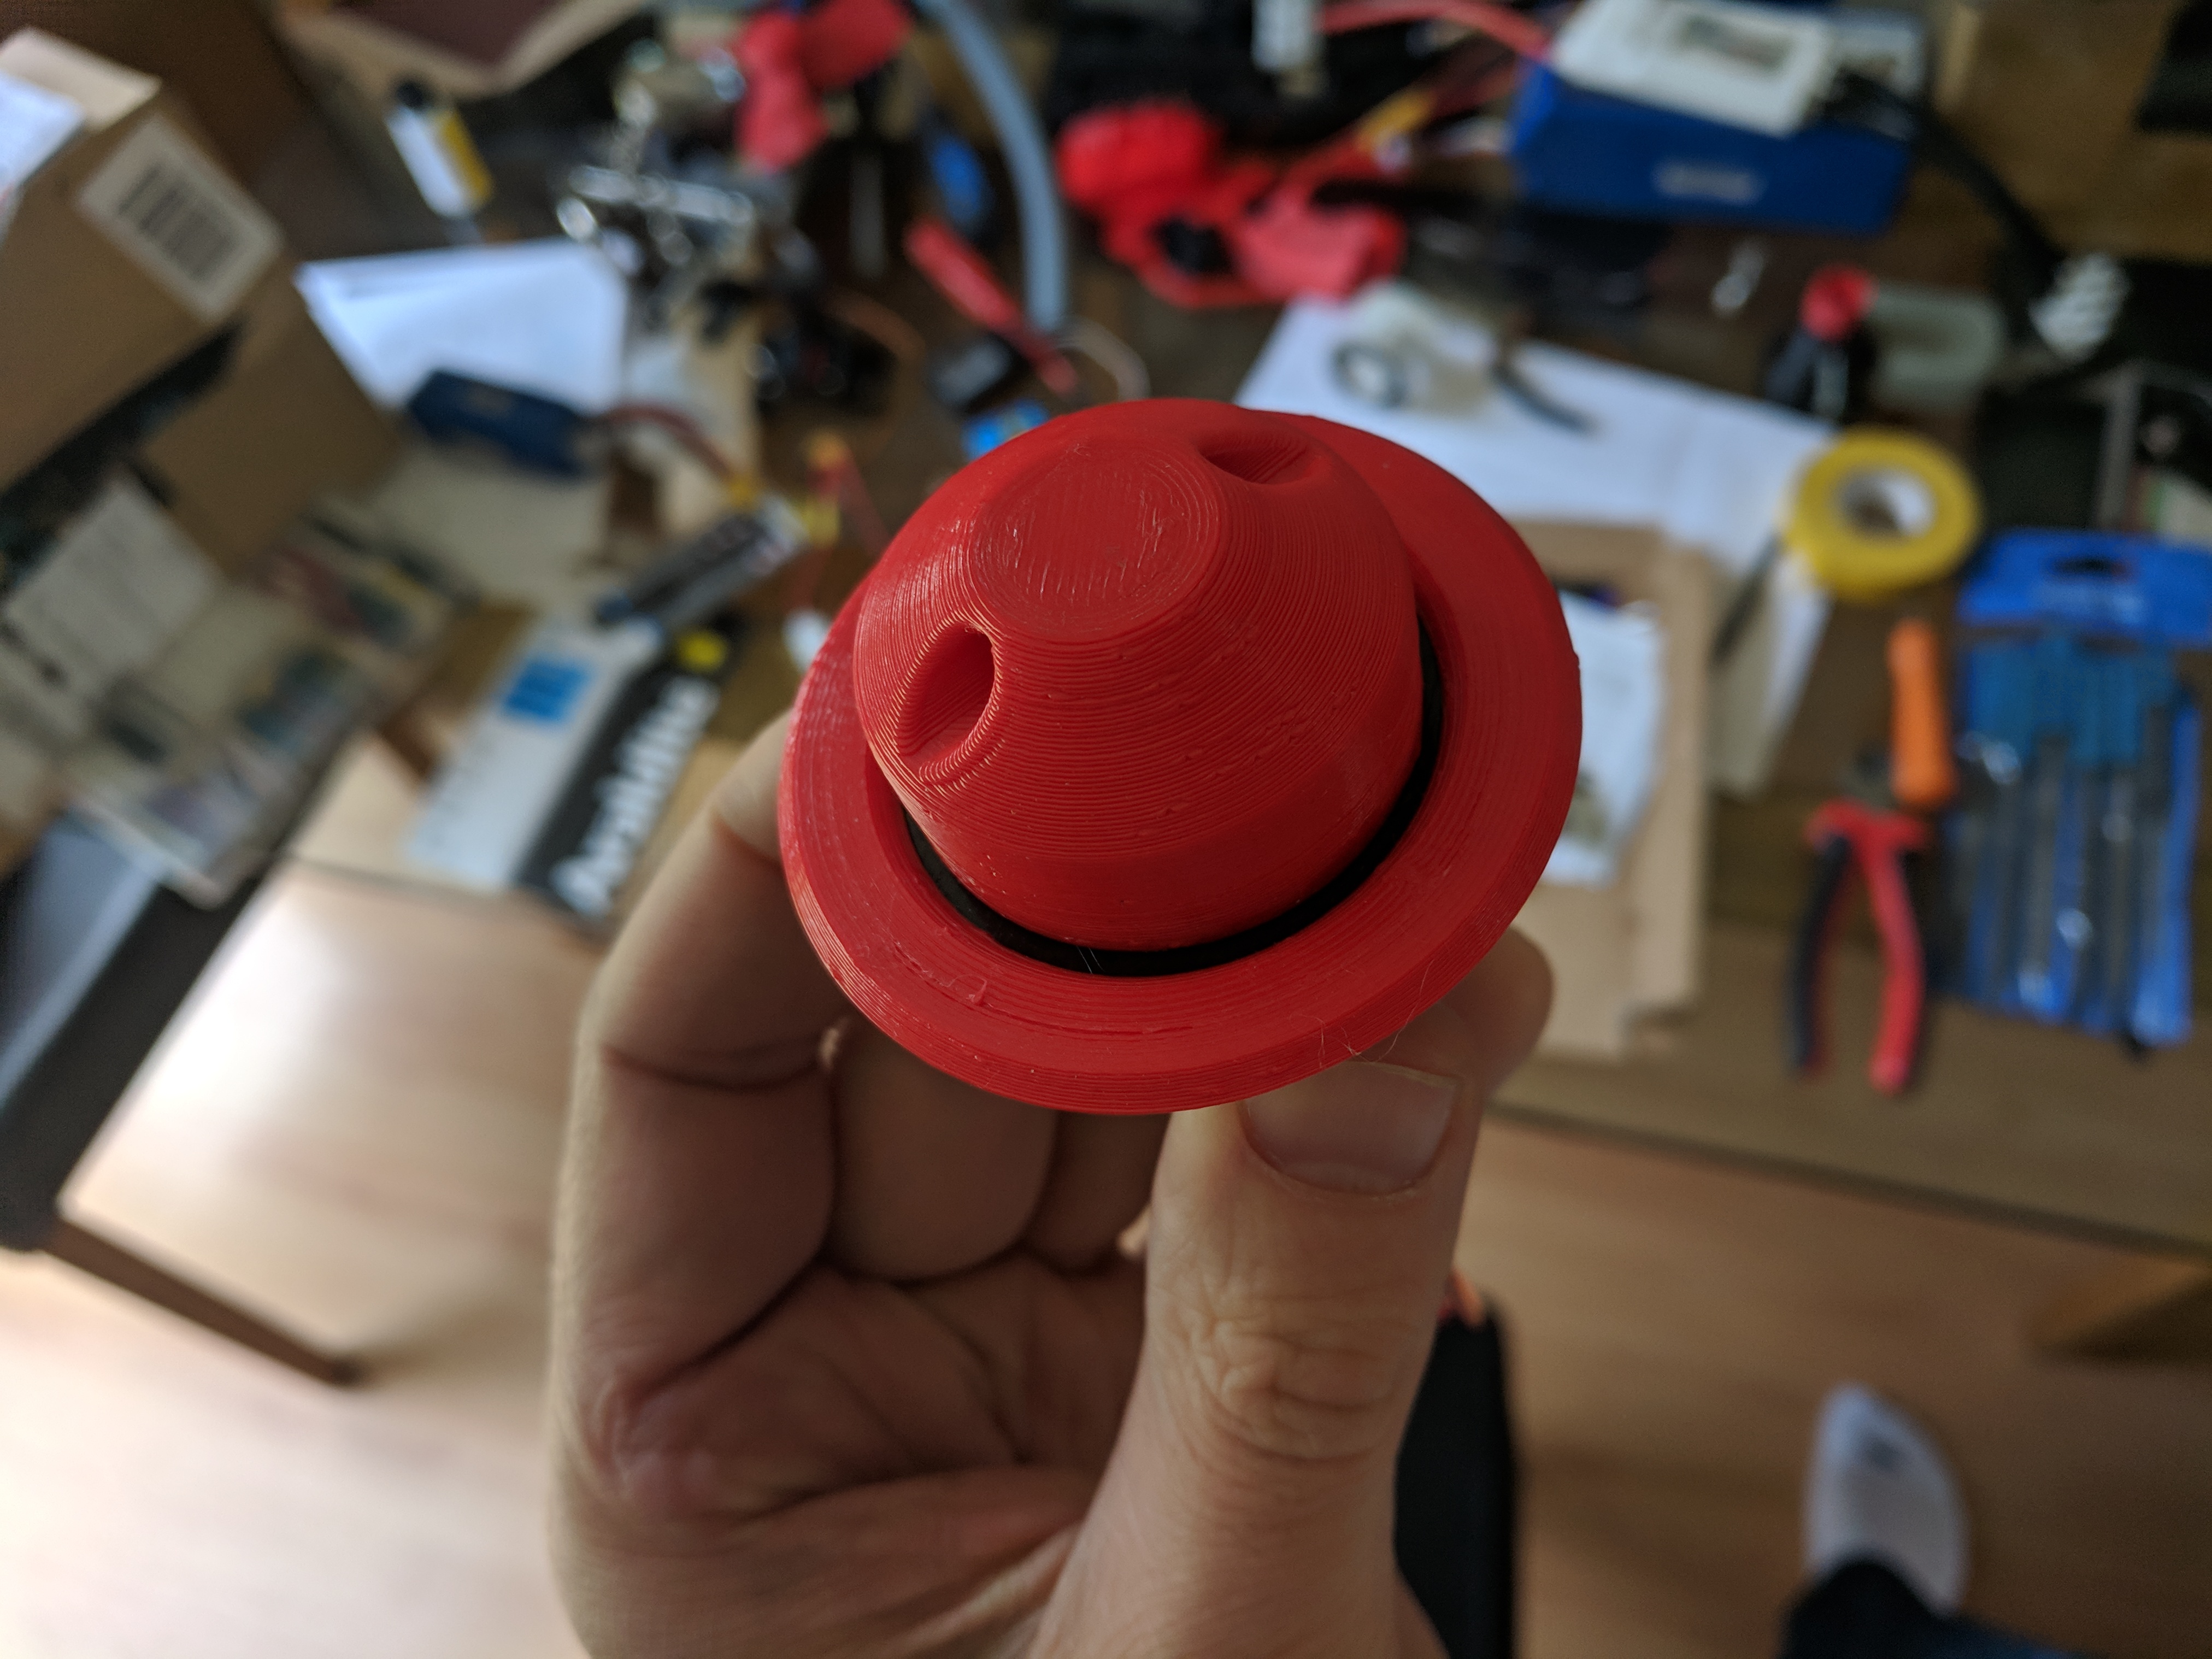
But whilst I was waiting for parts to be delivered I got started on the prints
The plan is to epoxy coat all of these so the ridges should not be an issue and using a 0.5mm nozzle really speeds up the prints
The Print material is a PETG by E3D. Its called Spool Works Edge and I love the stuff. Very strong and easy to work with.
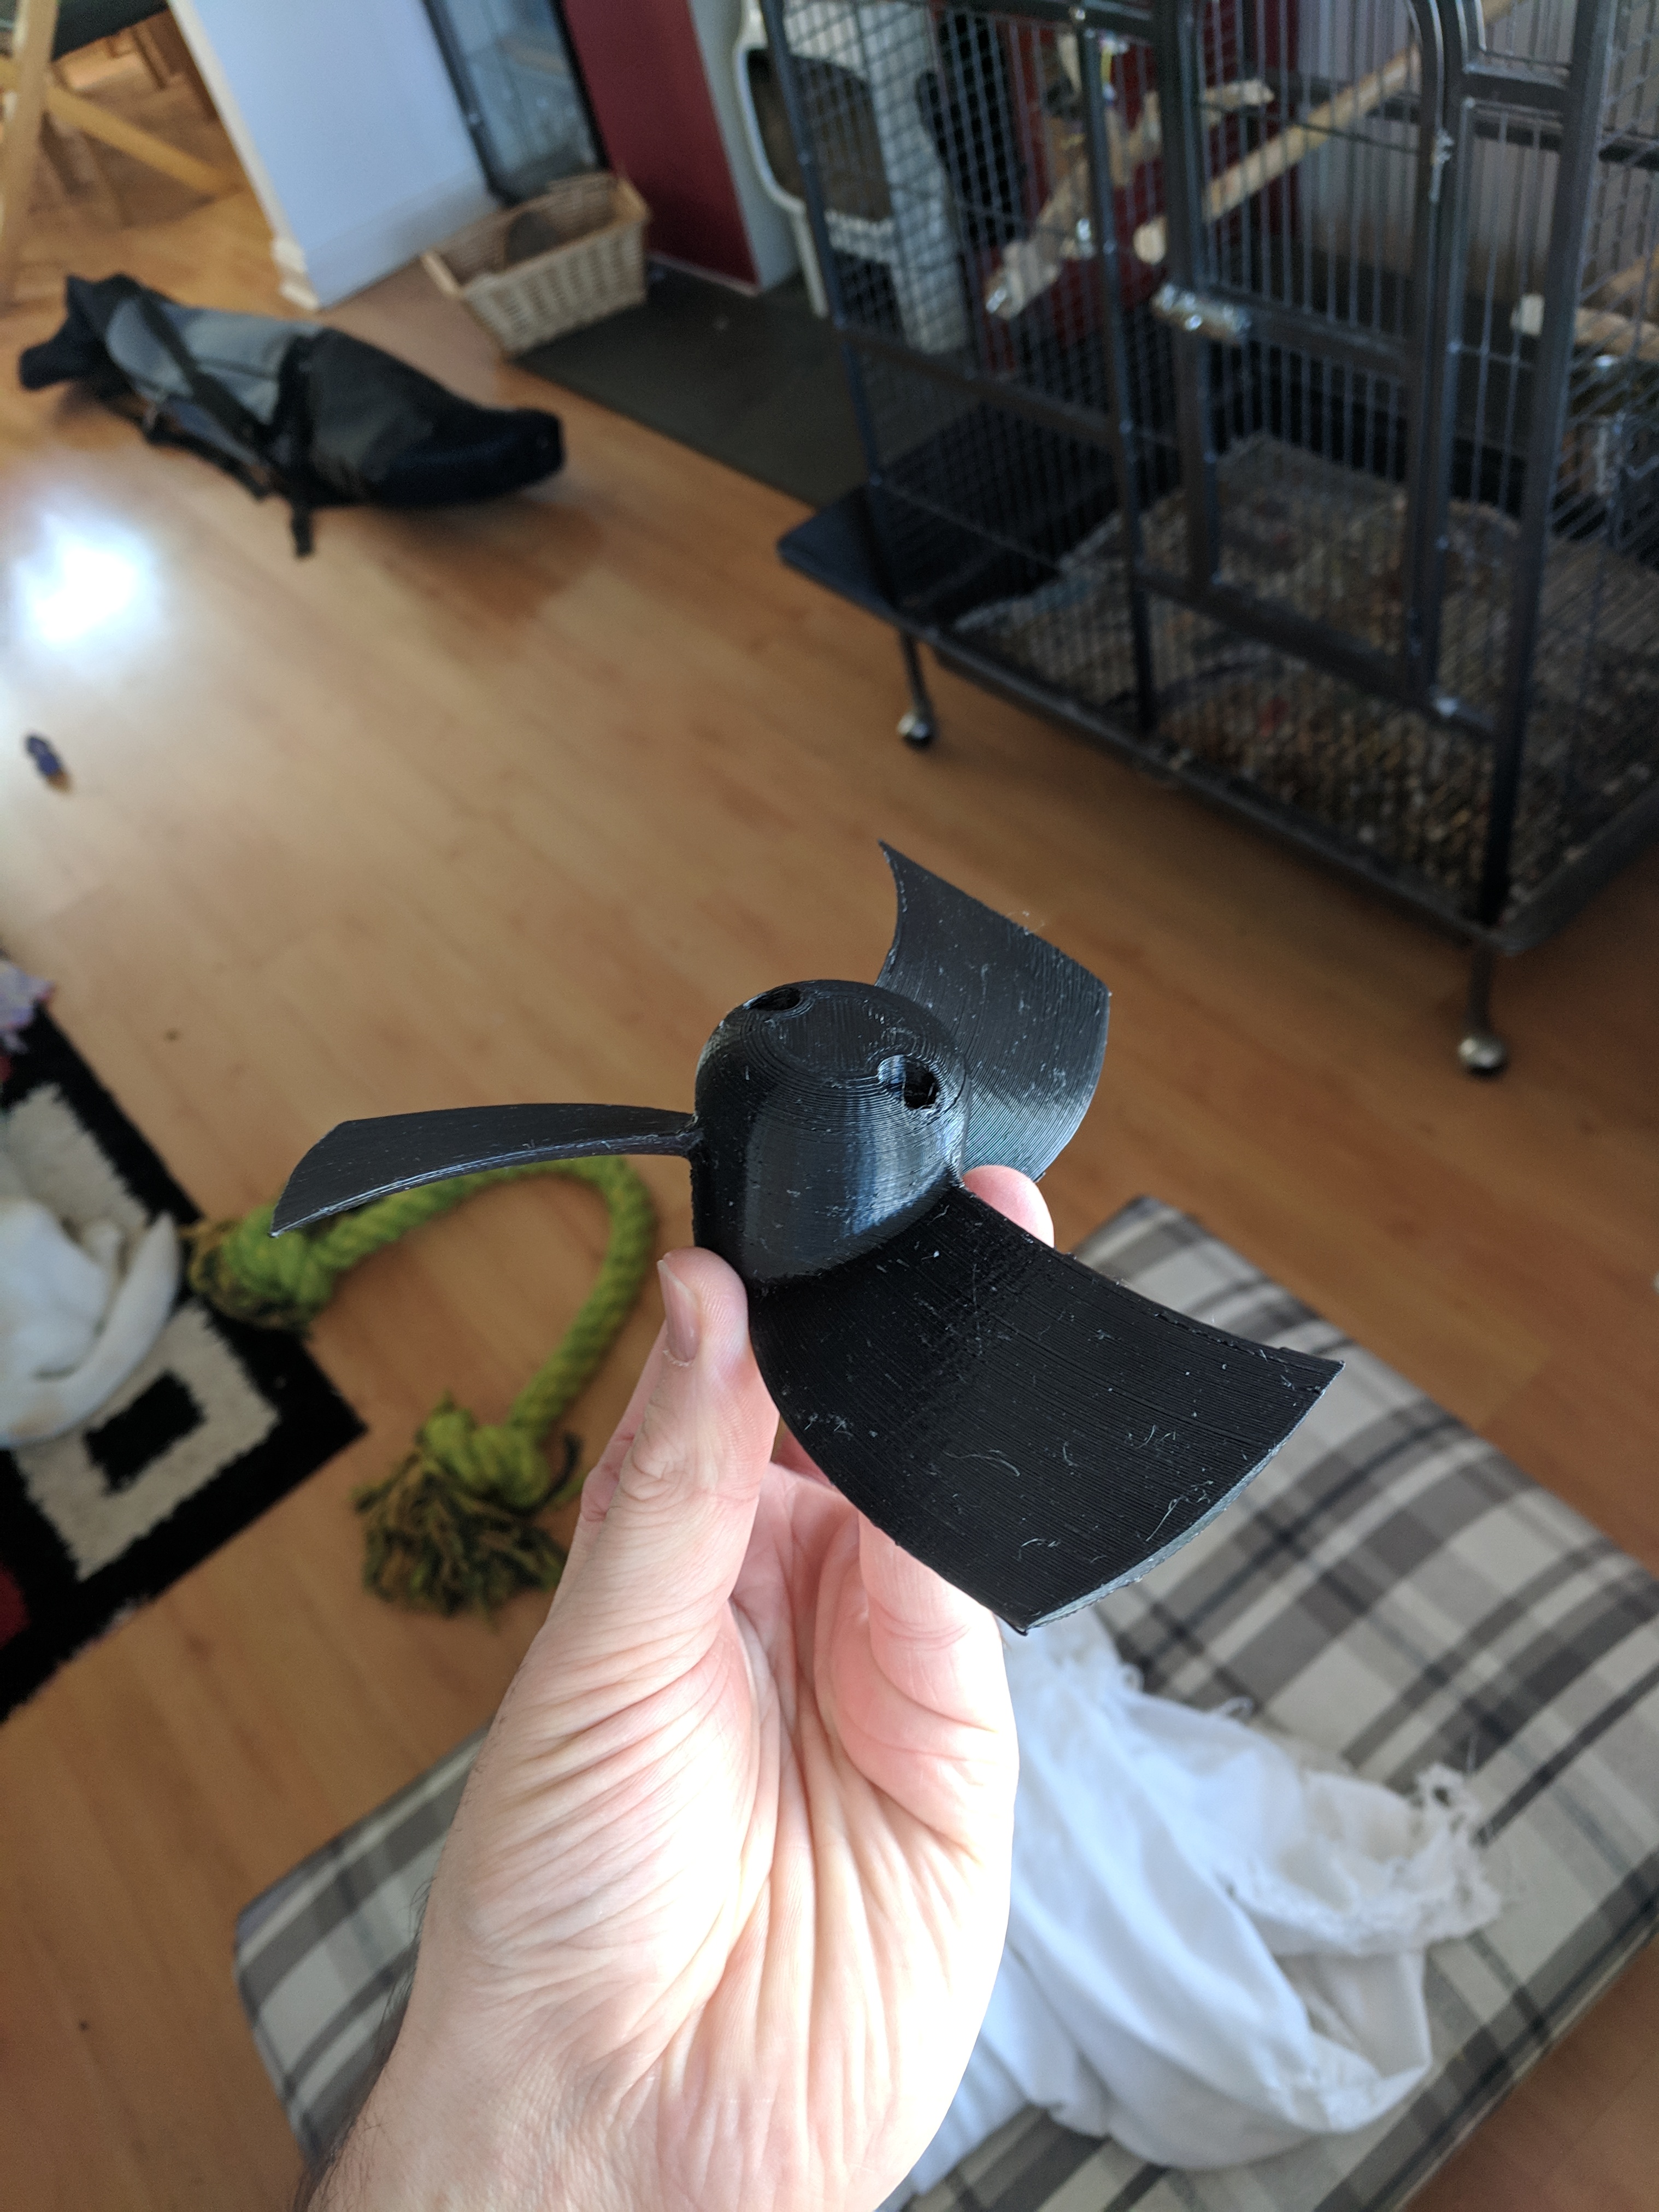
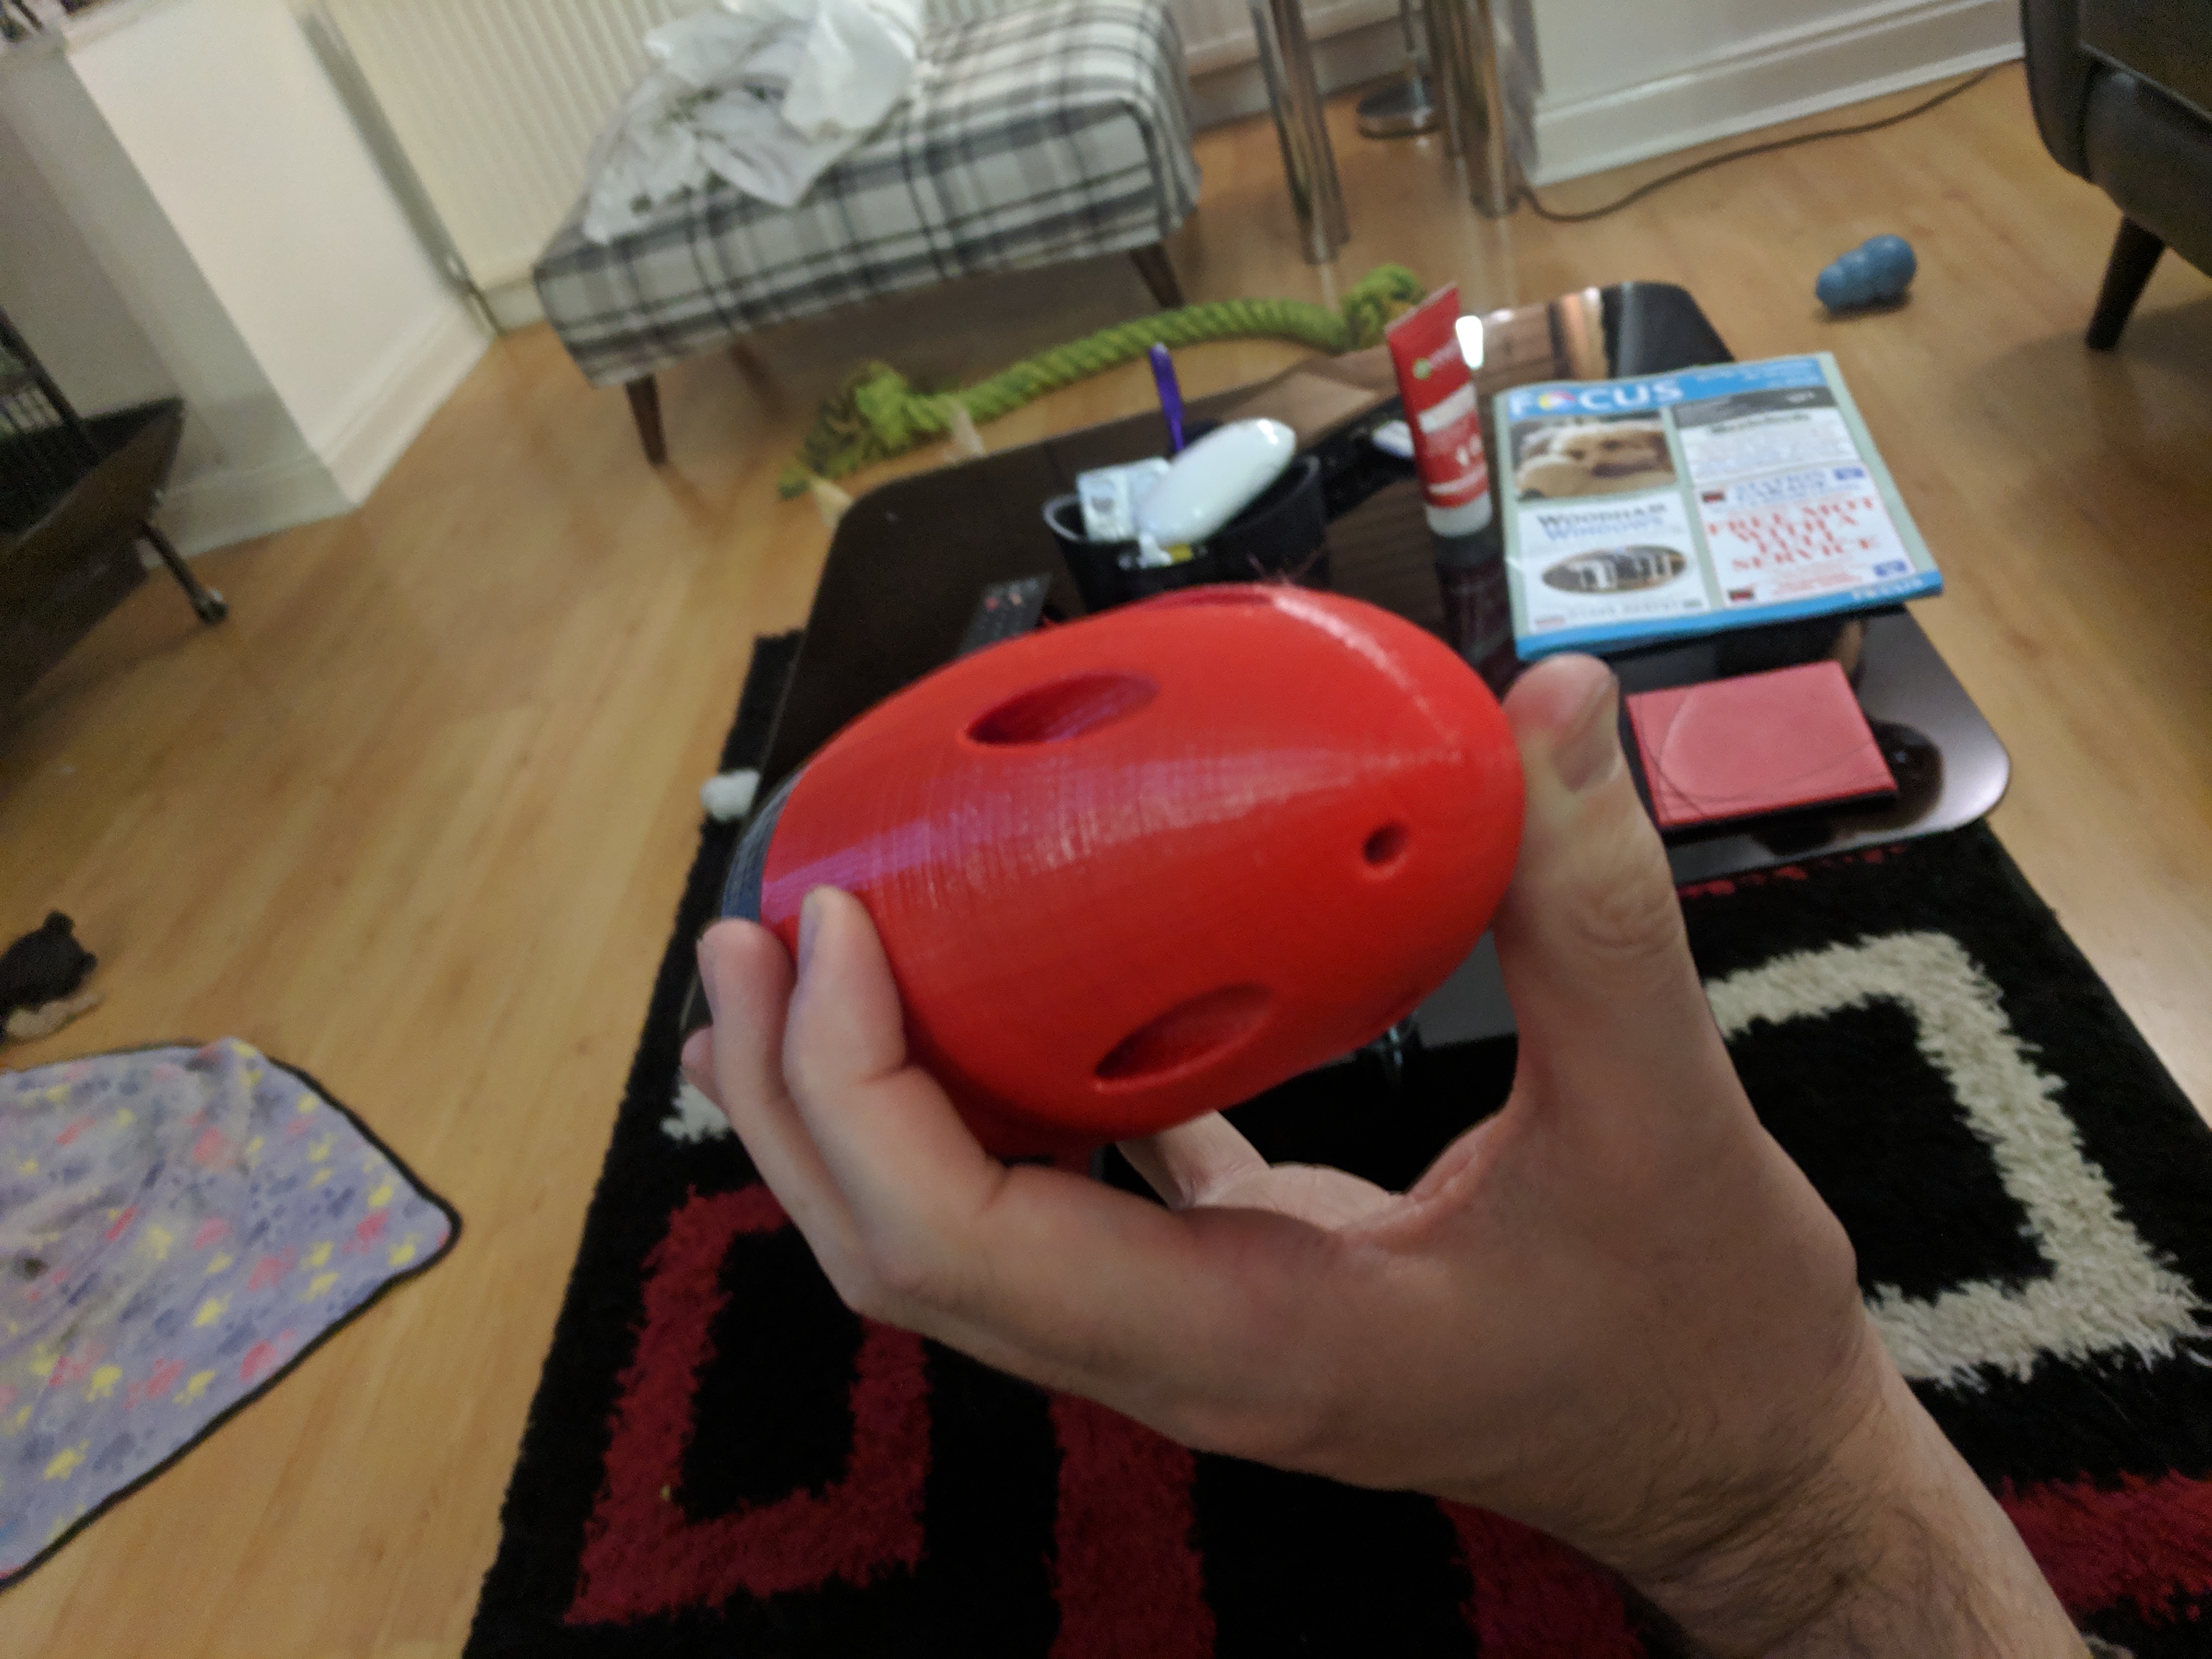
The prop was about a 5 hour print.
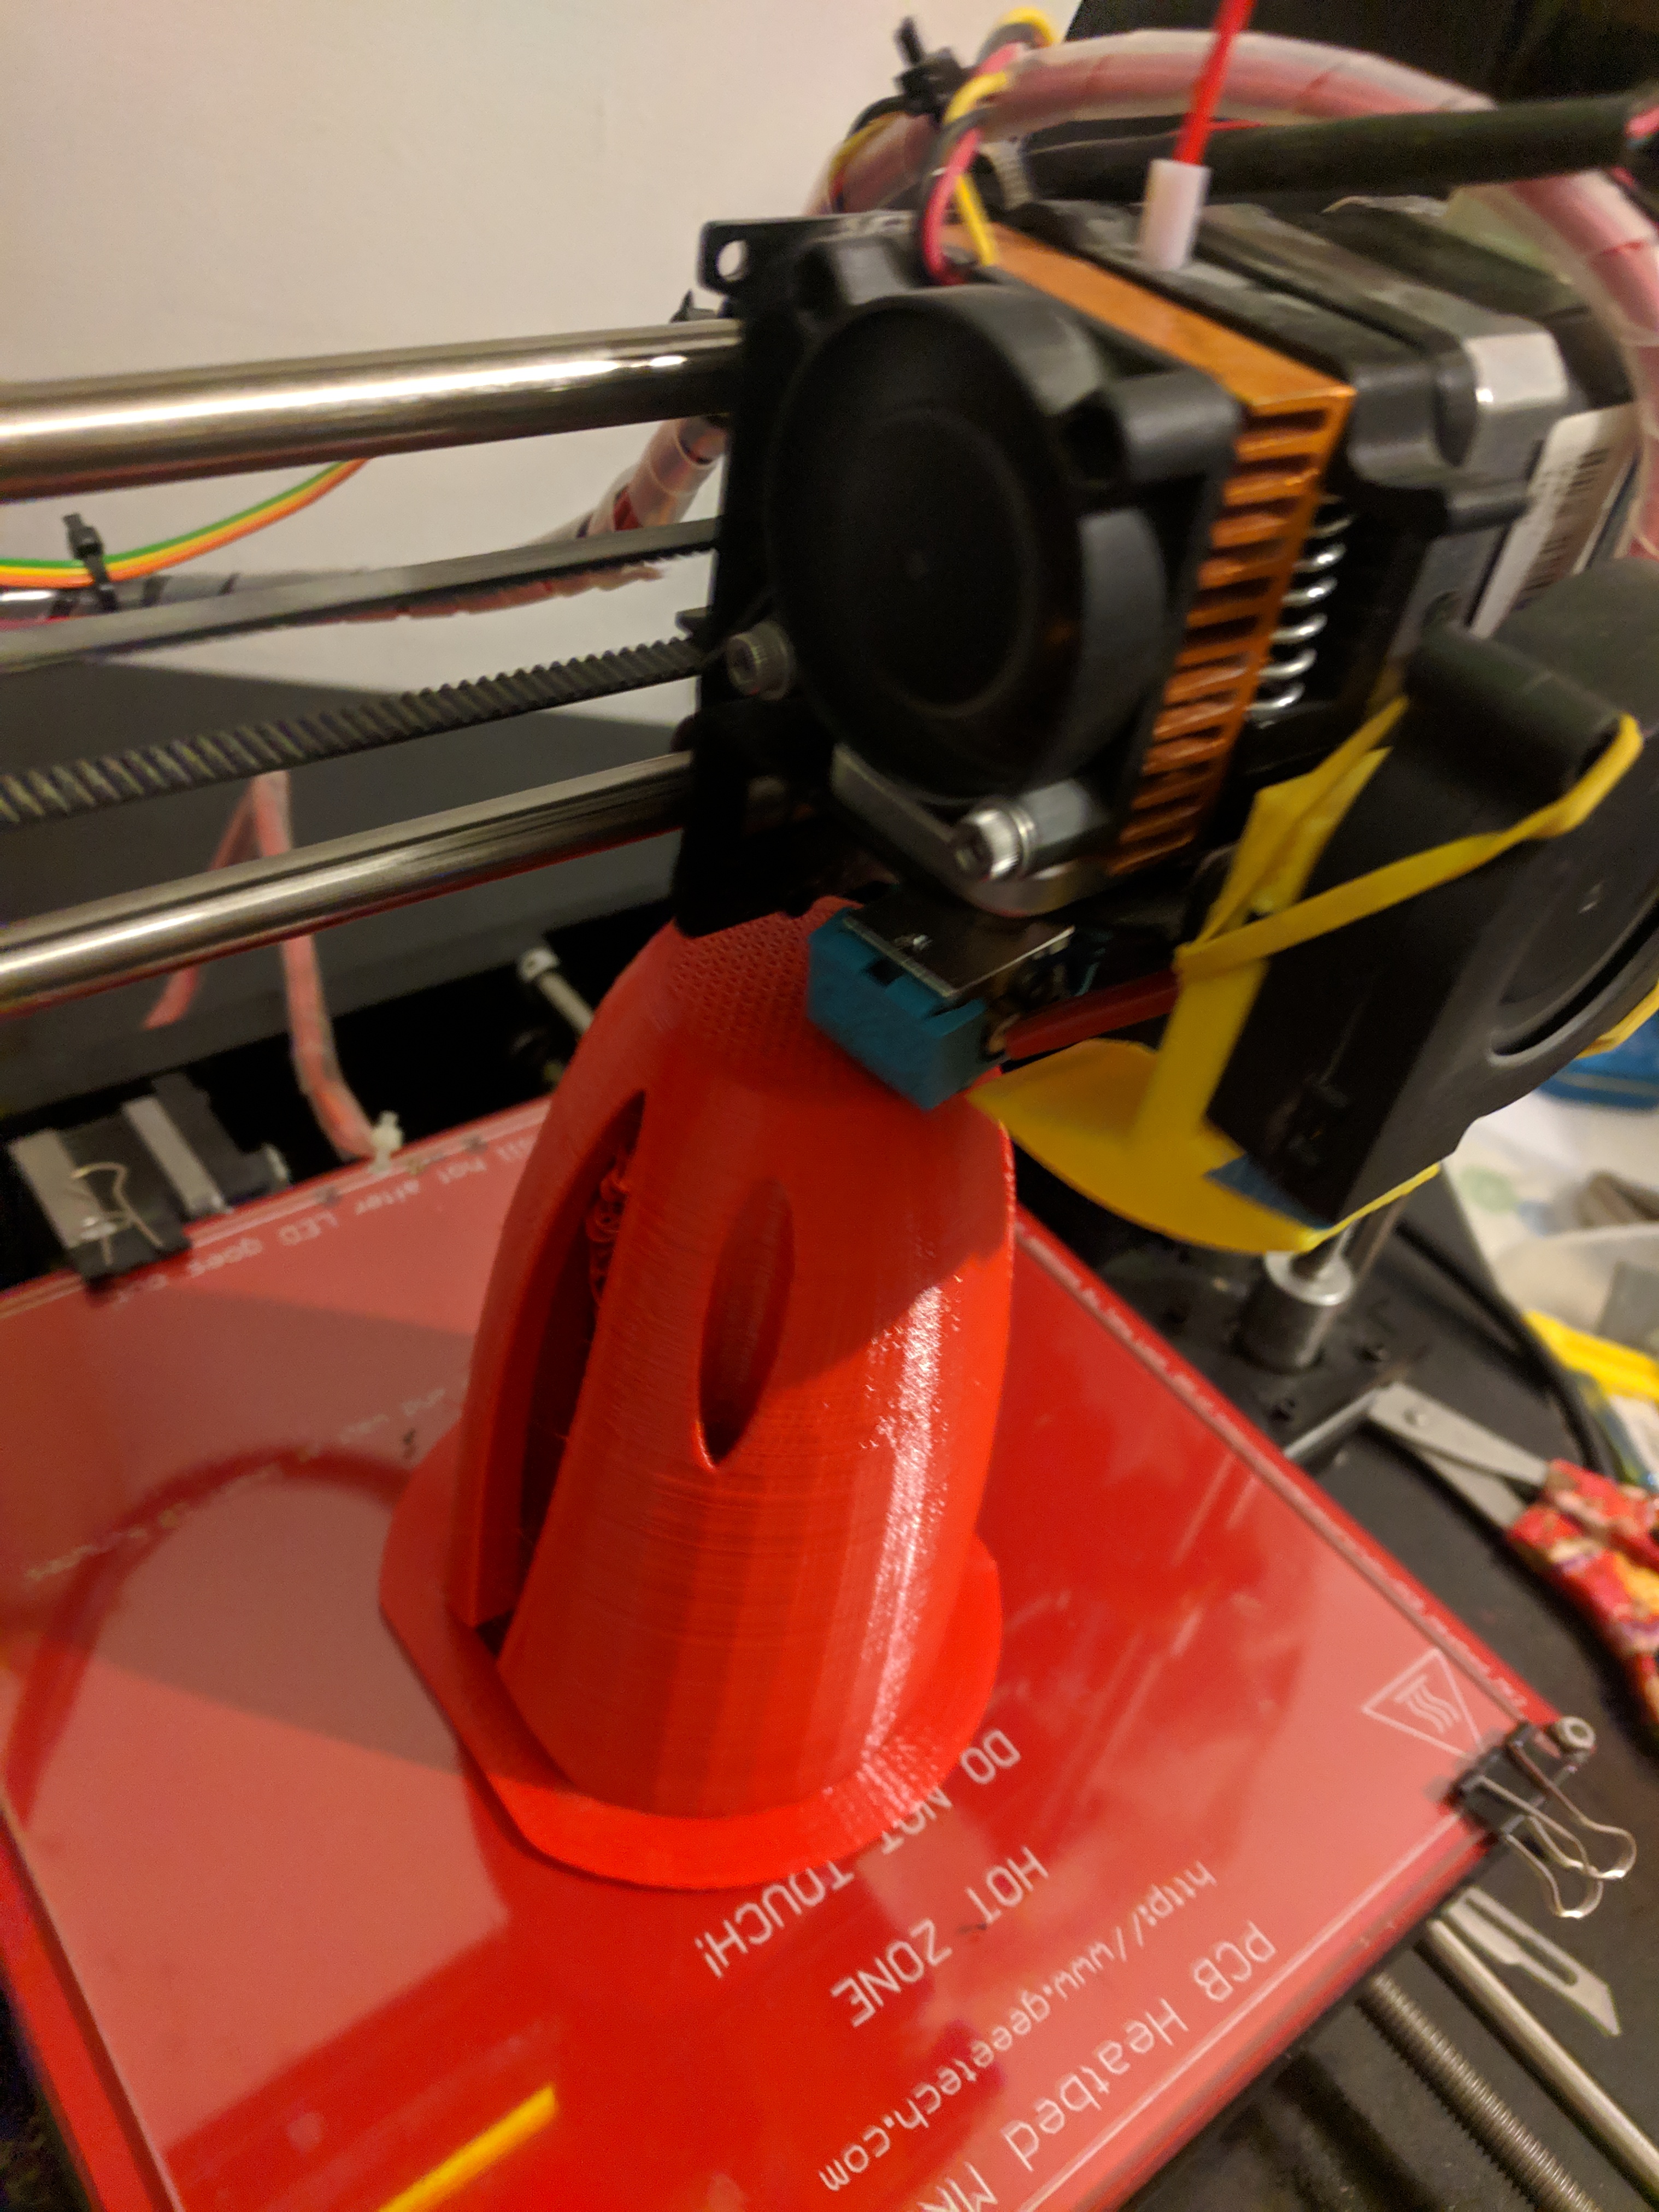
All the printed parts are from @Mat 80100 build, and the various people working on the same motor
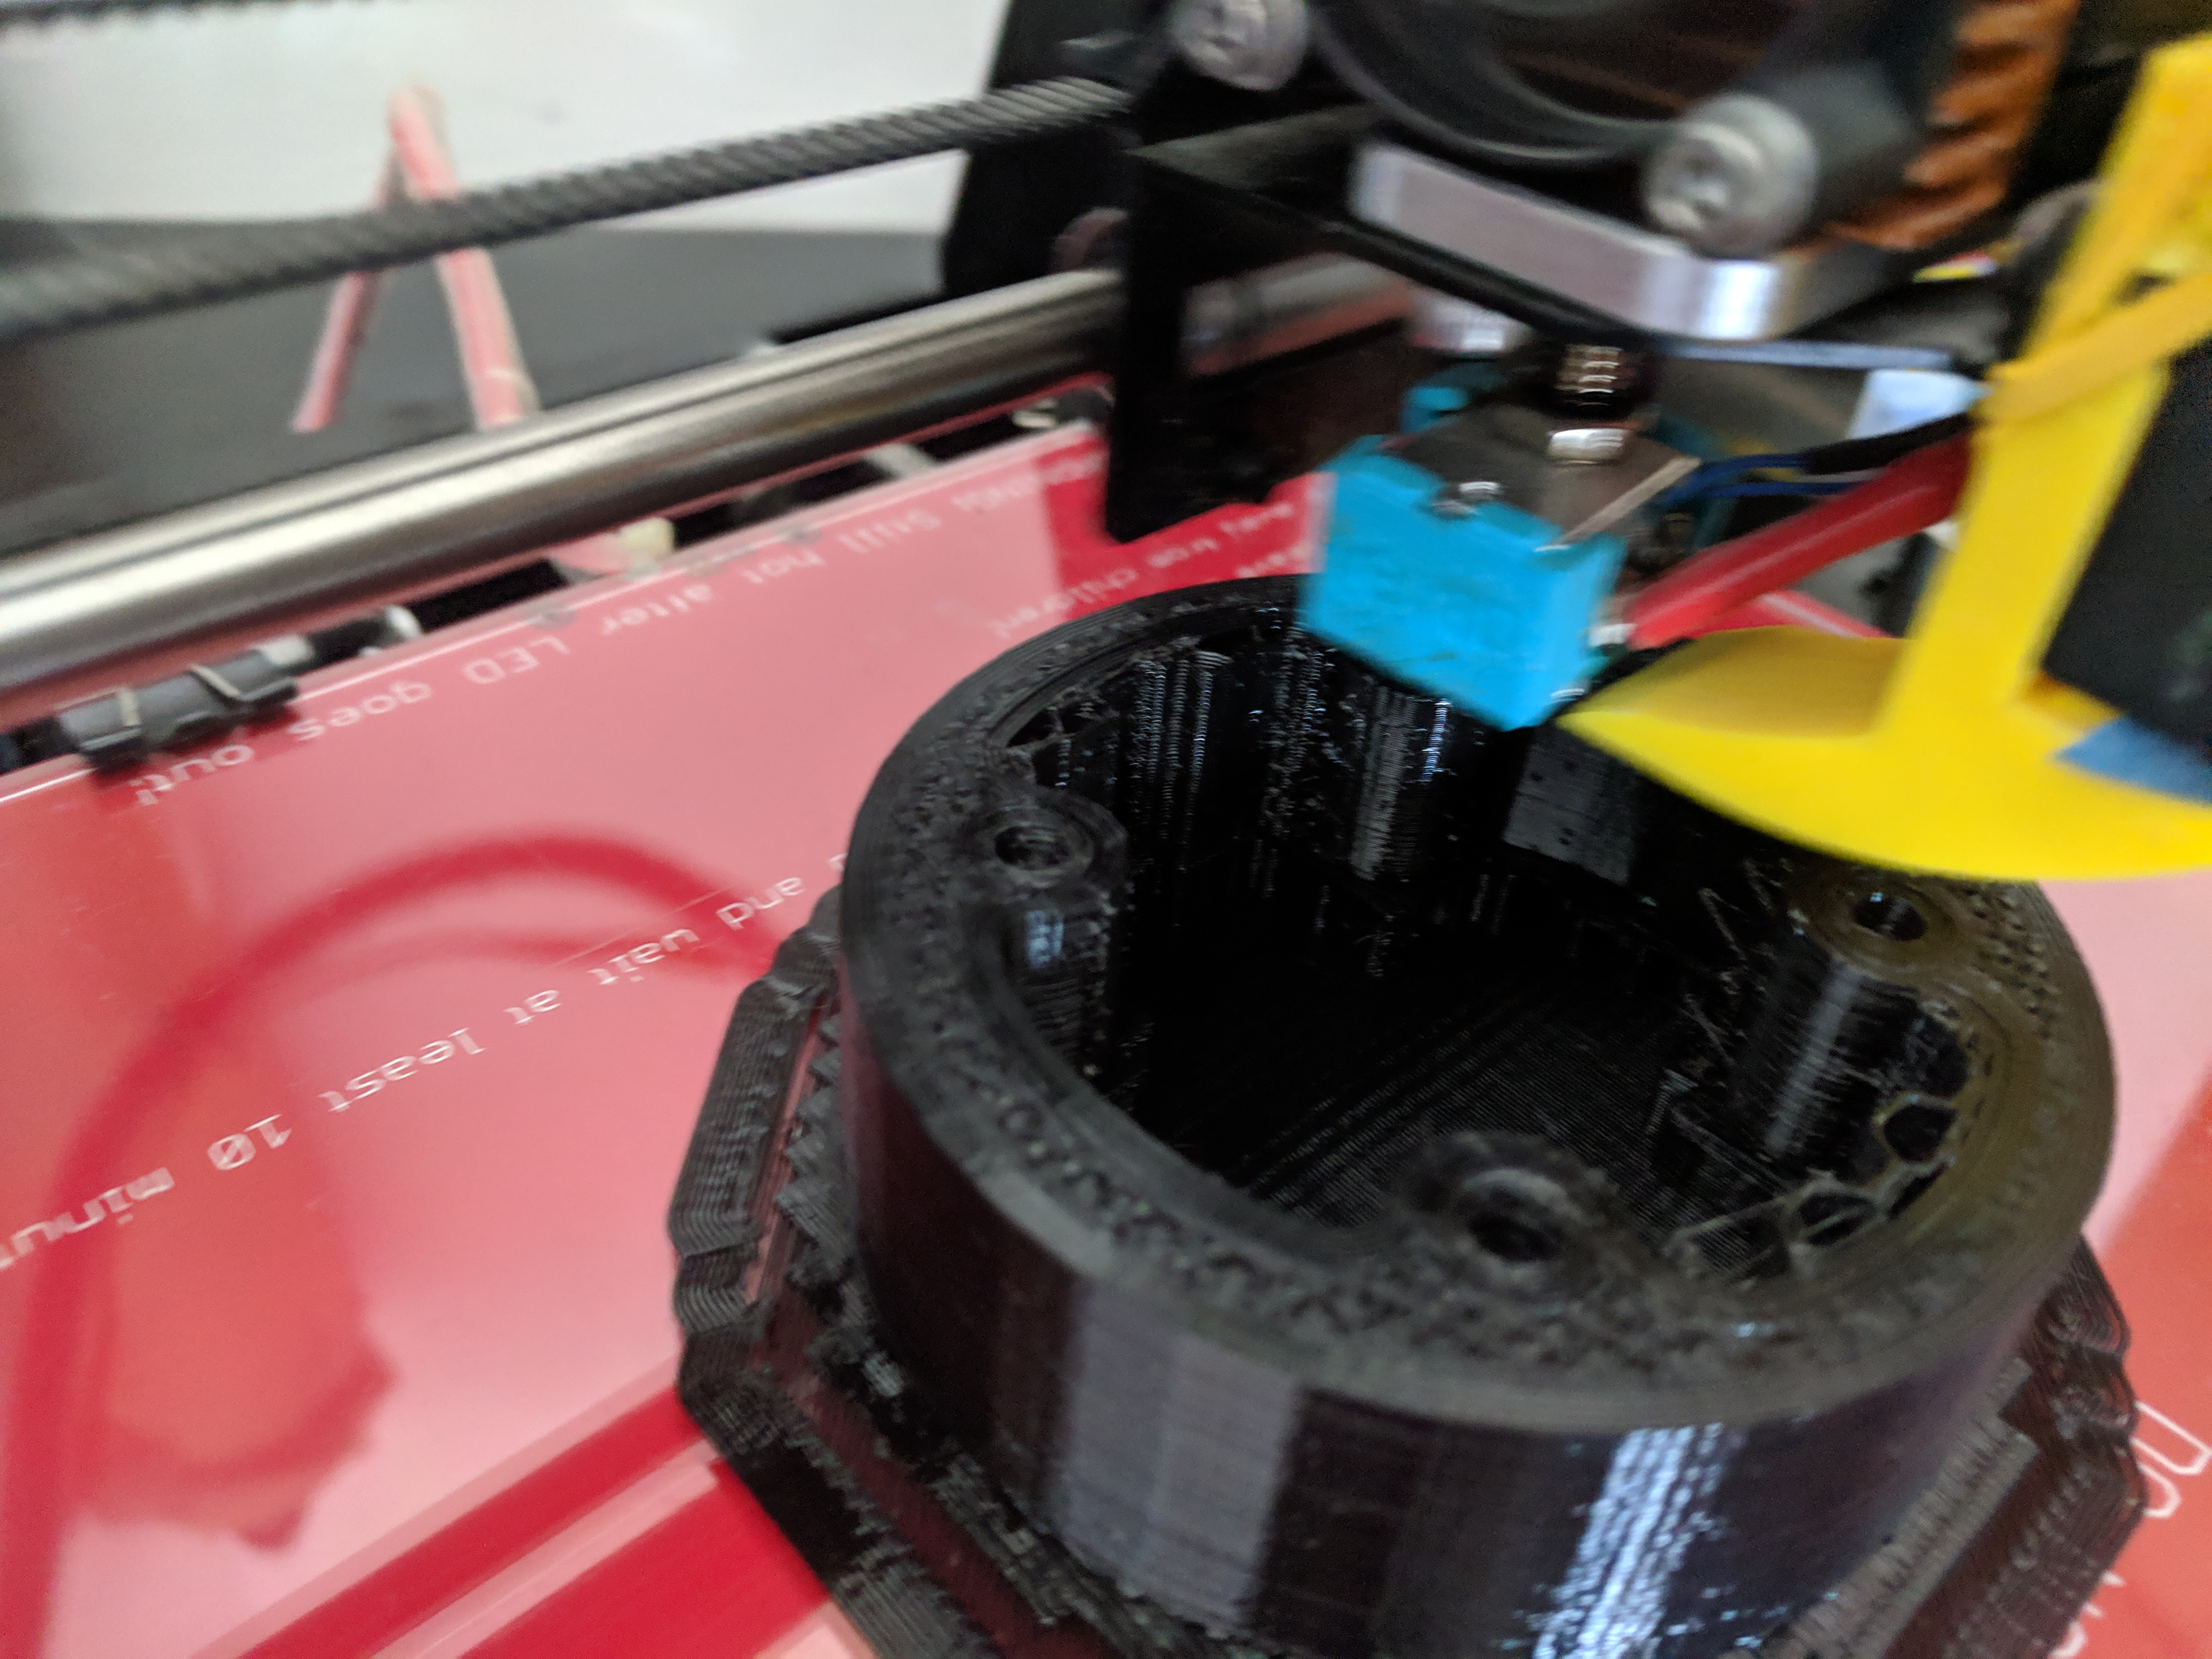
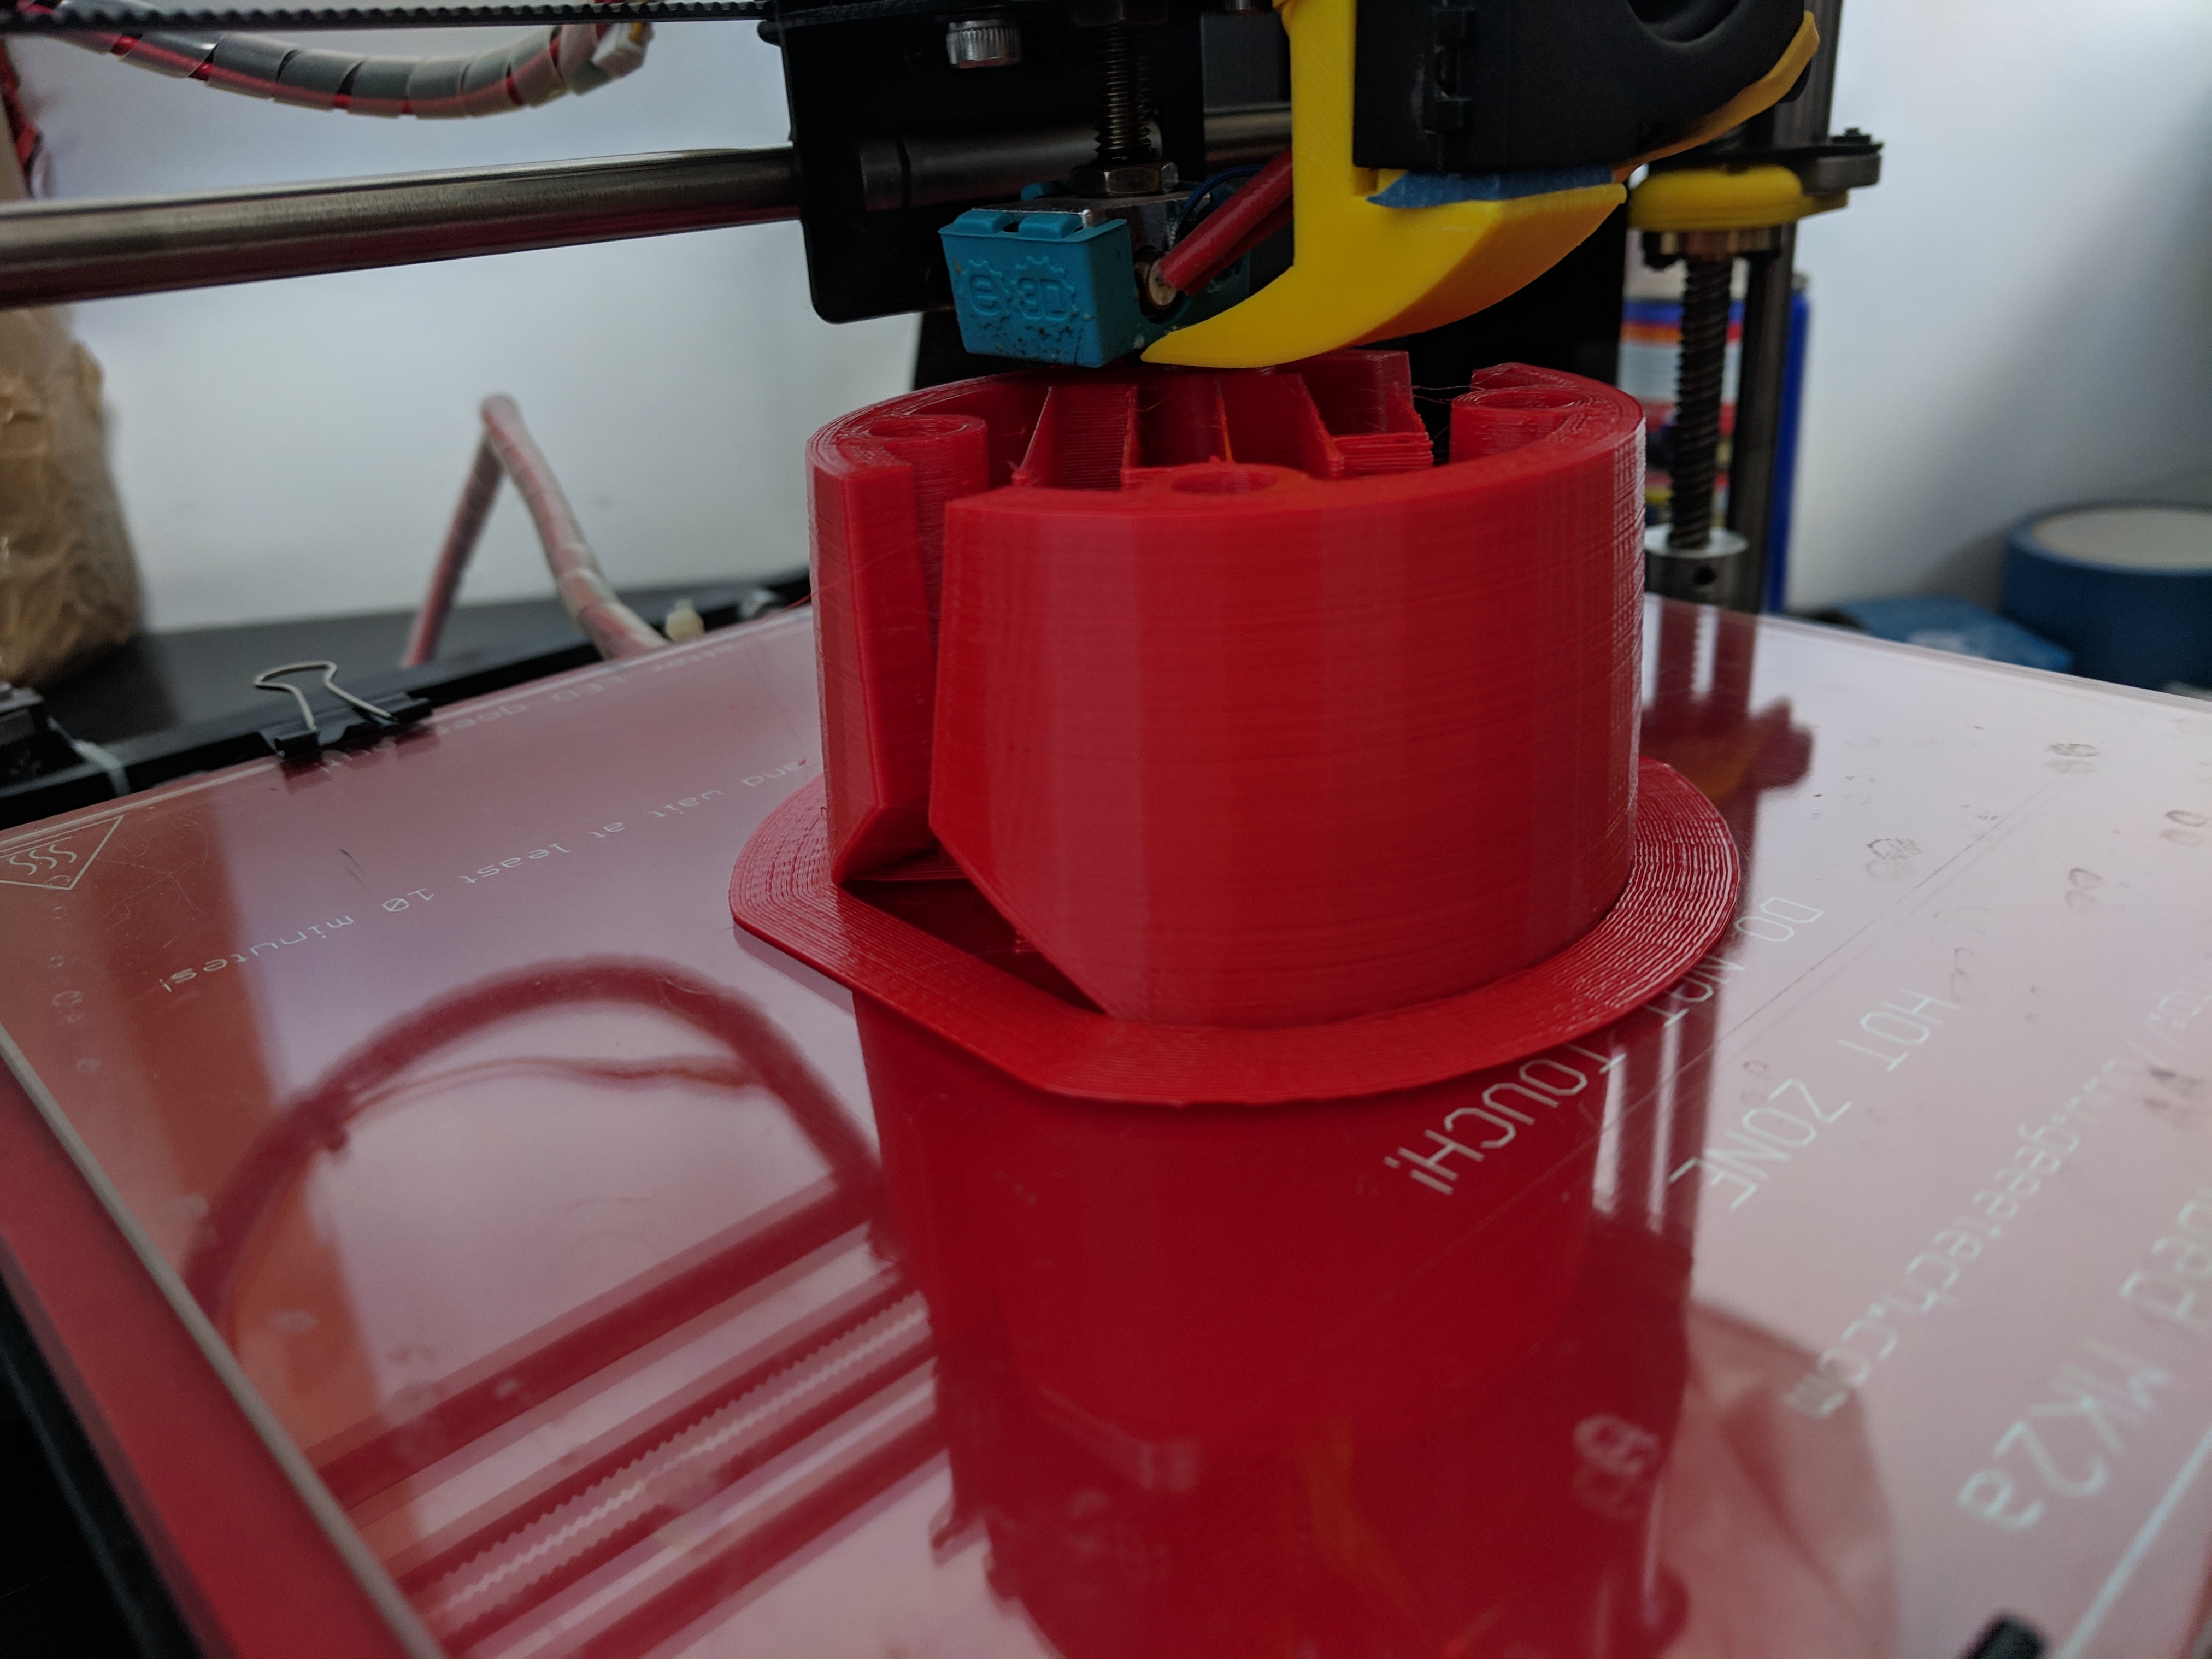
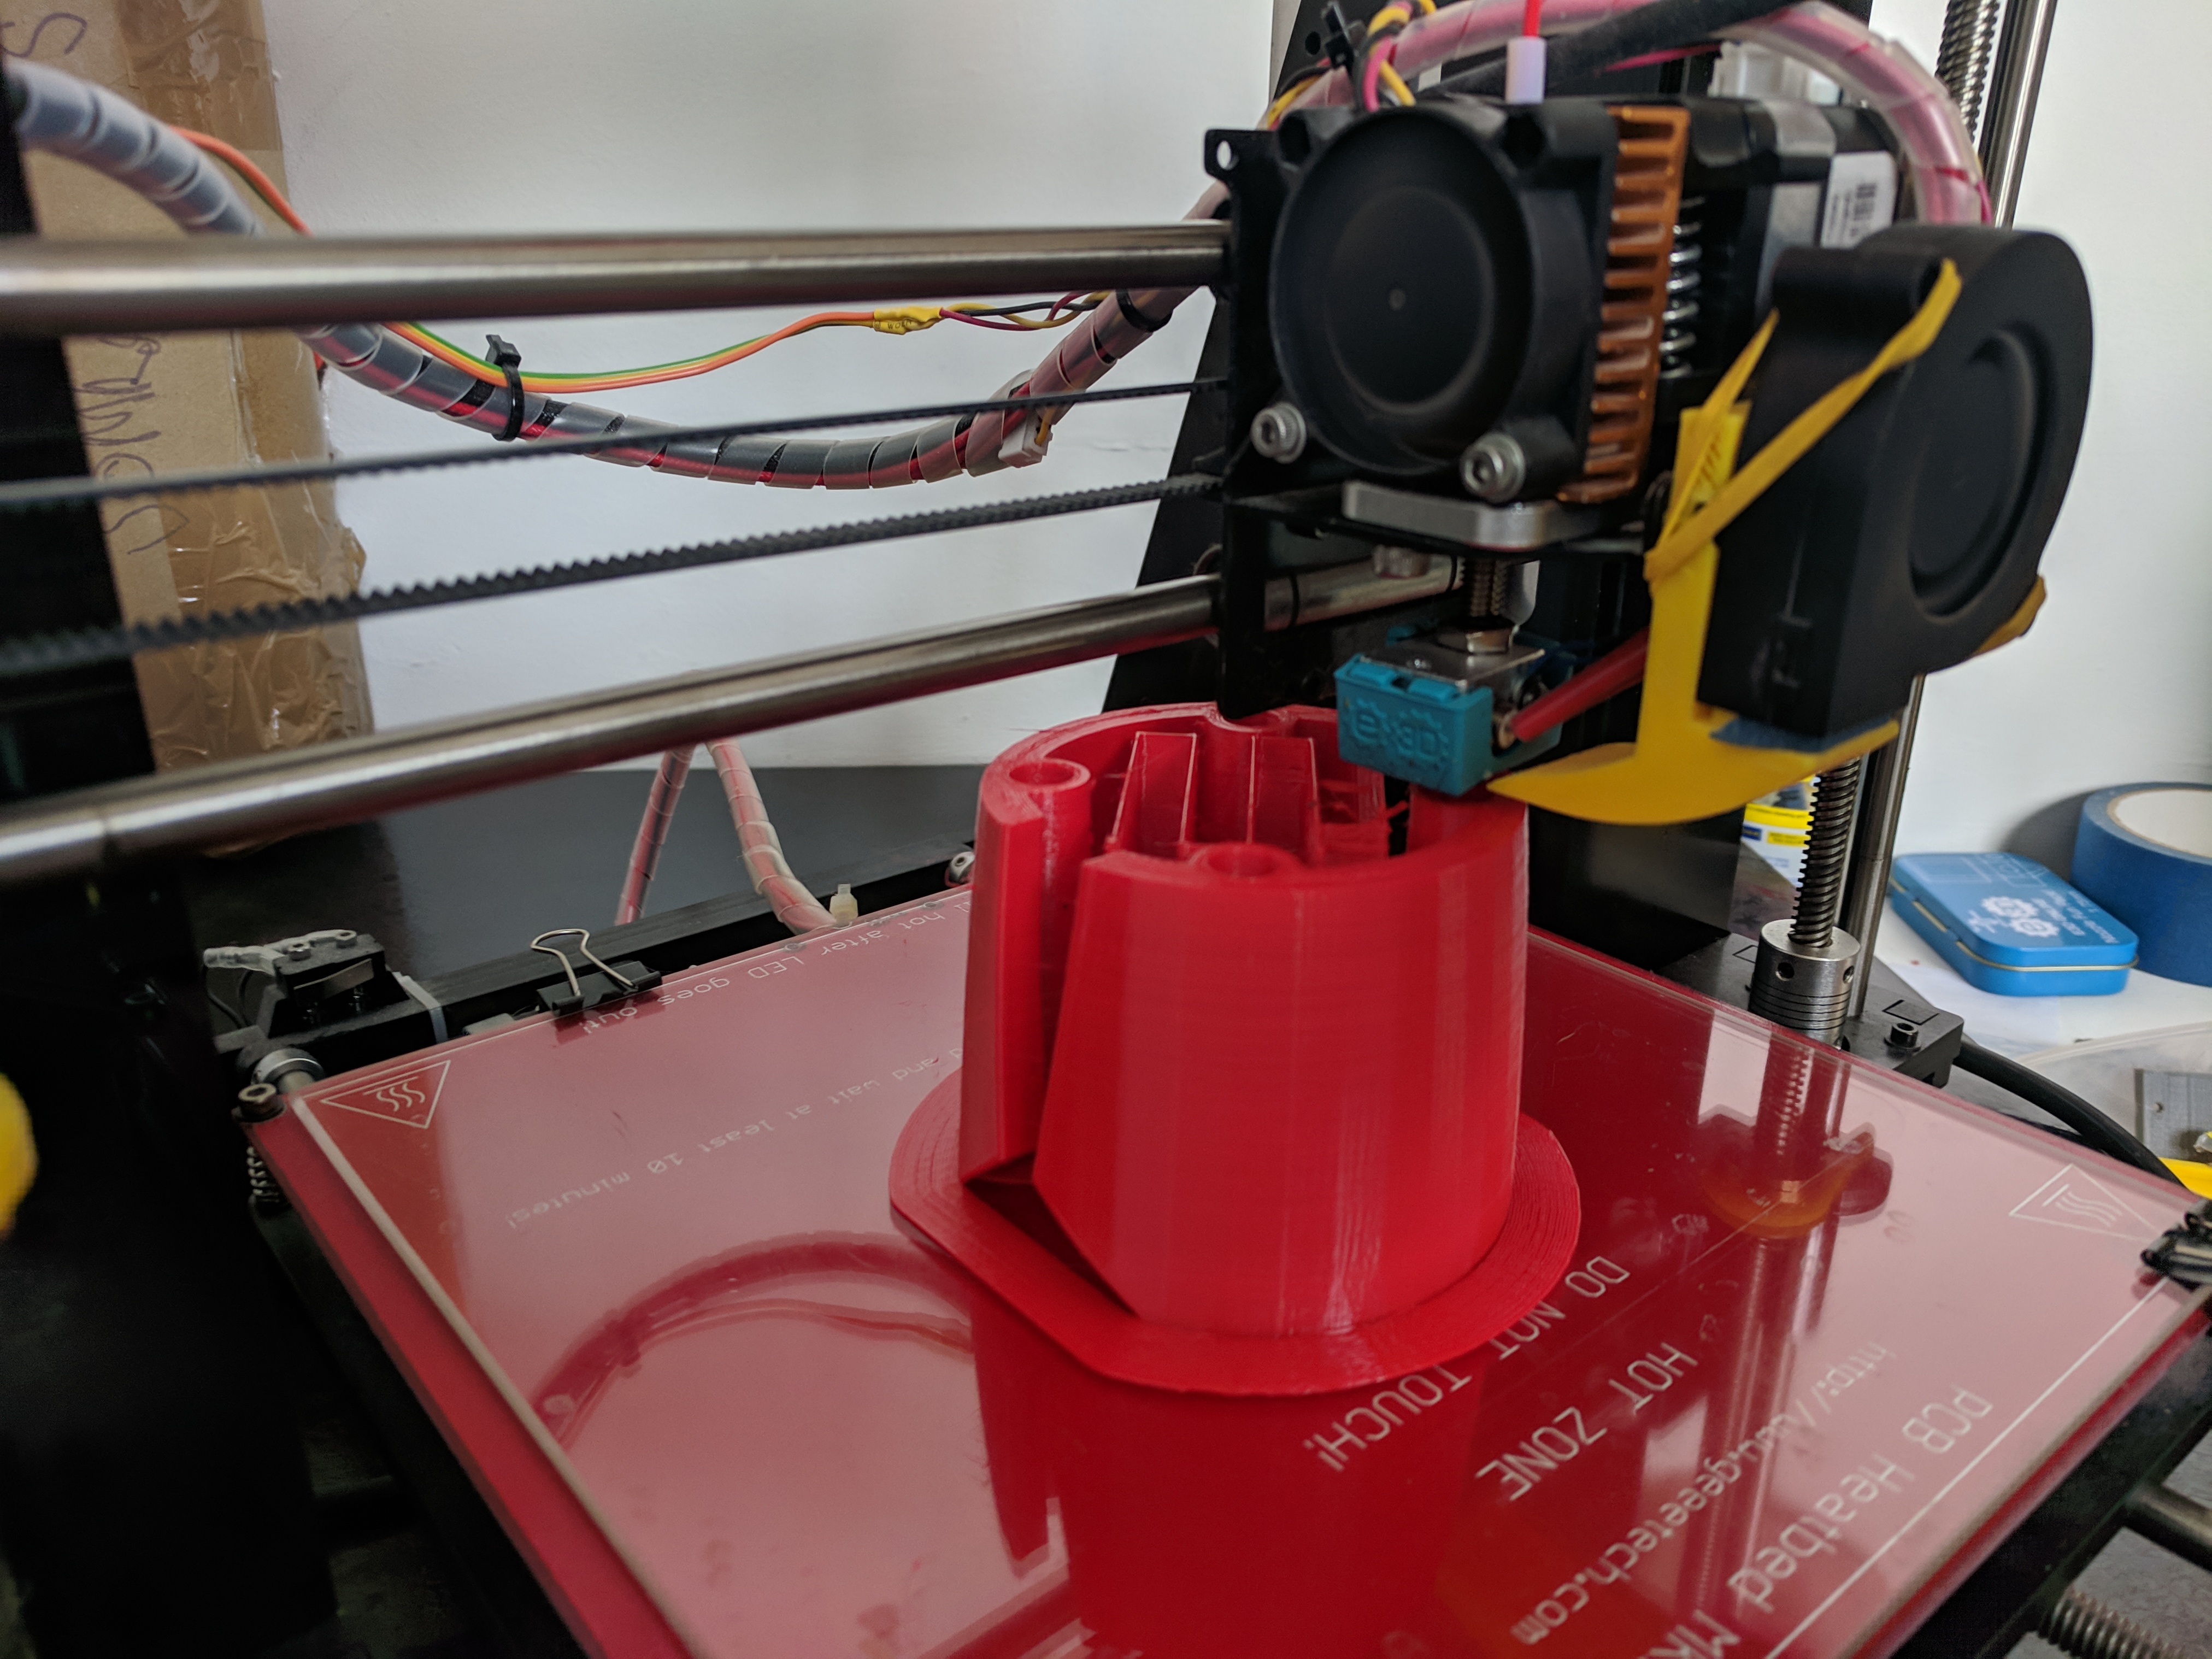
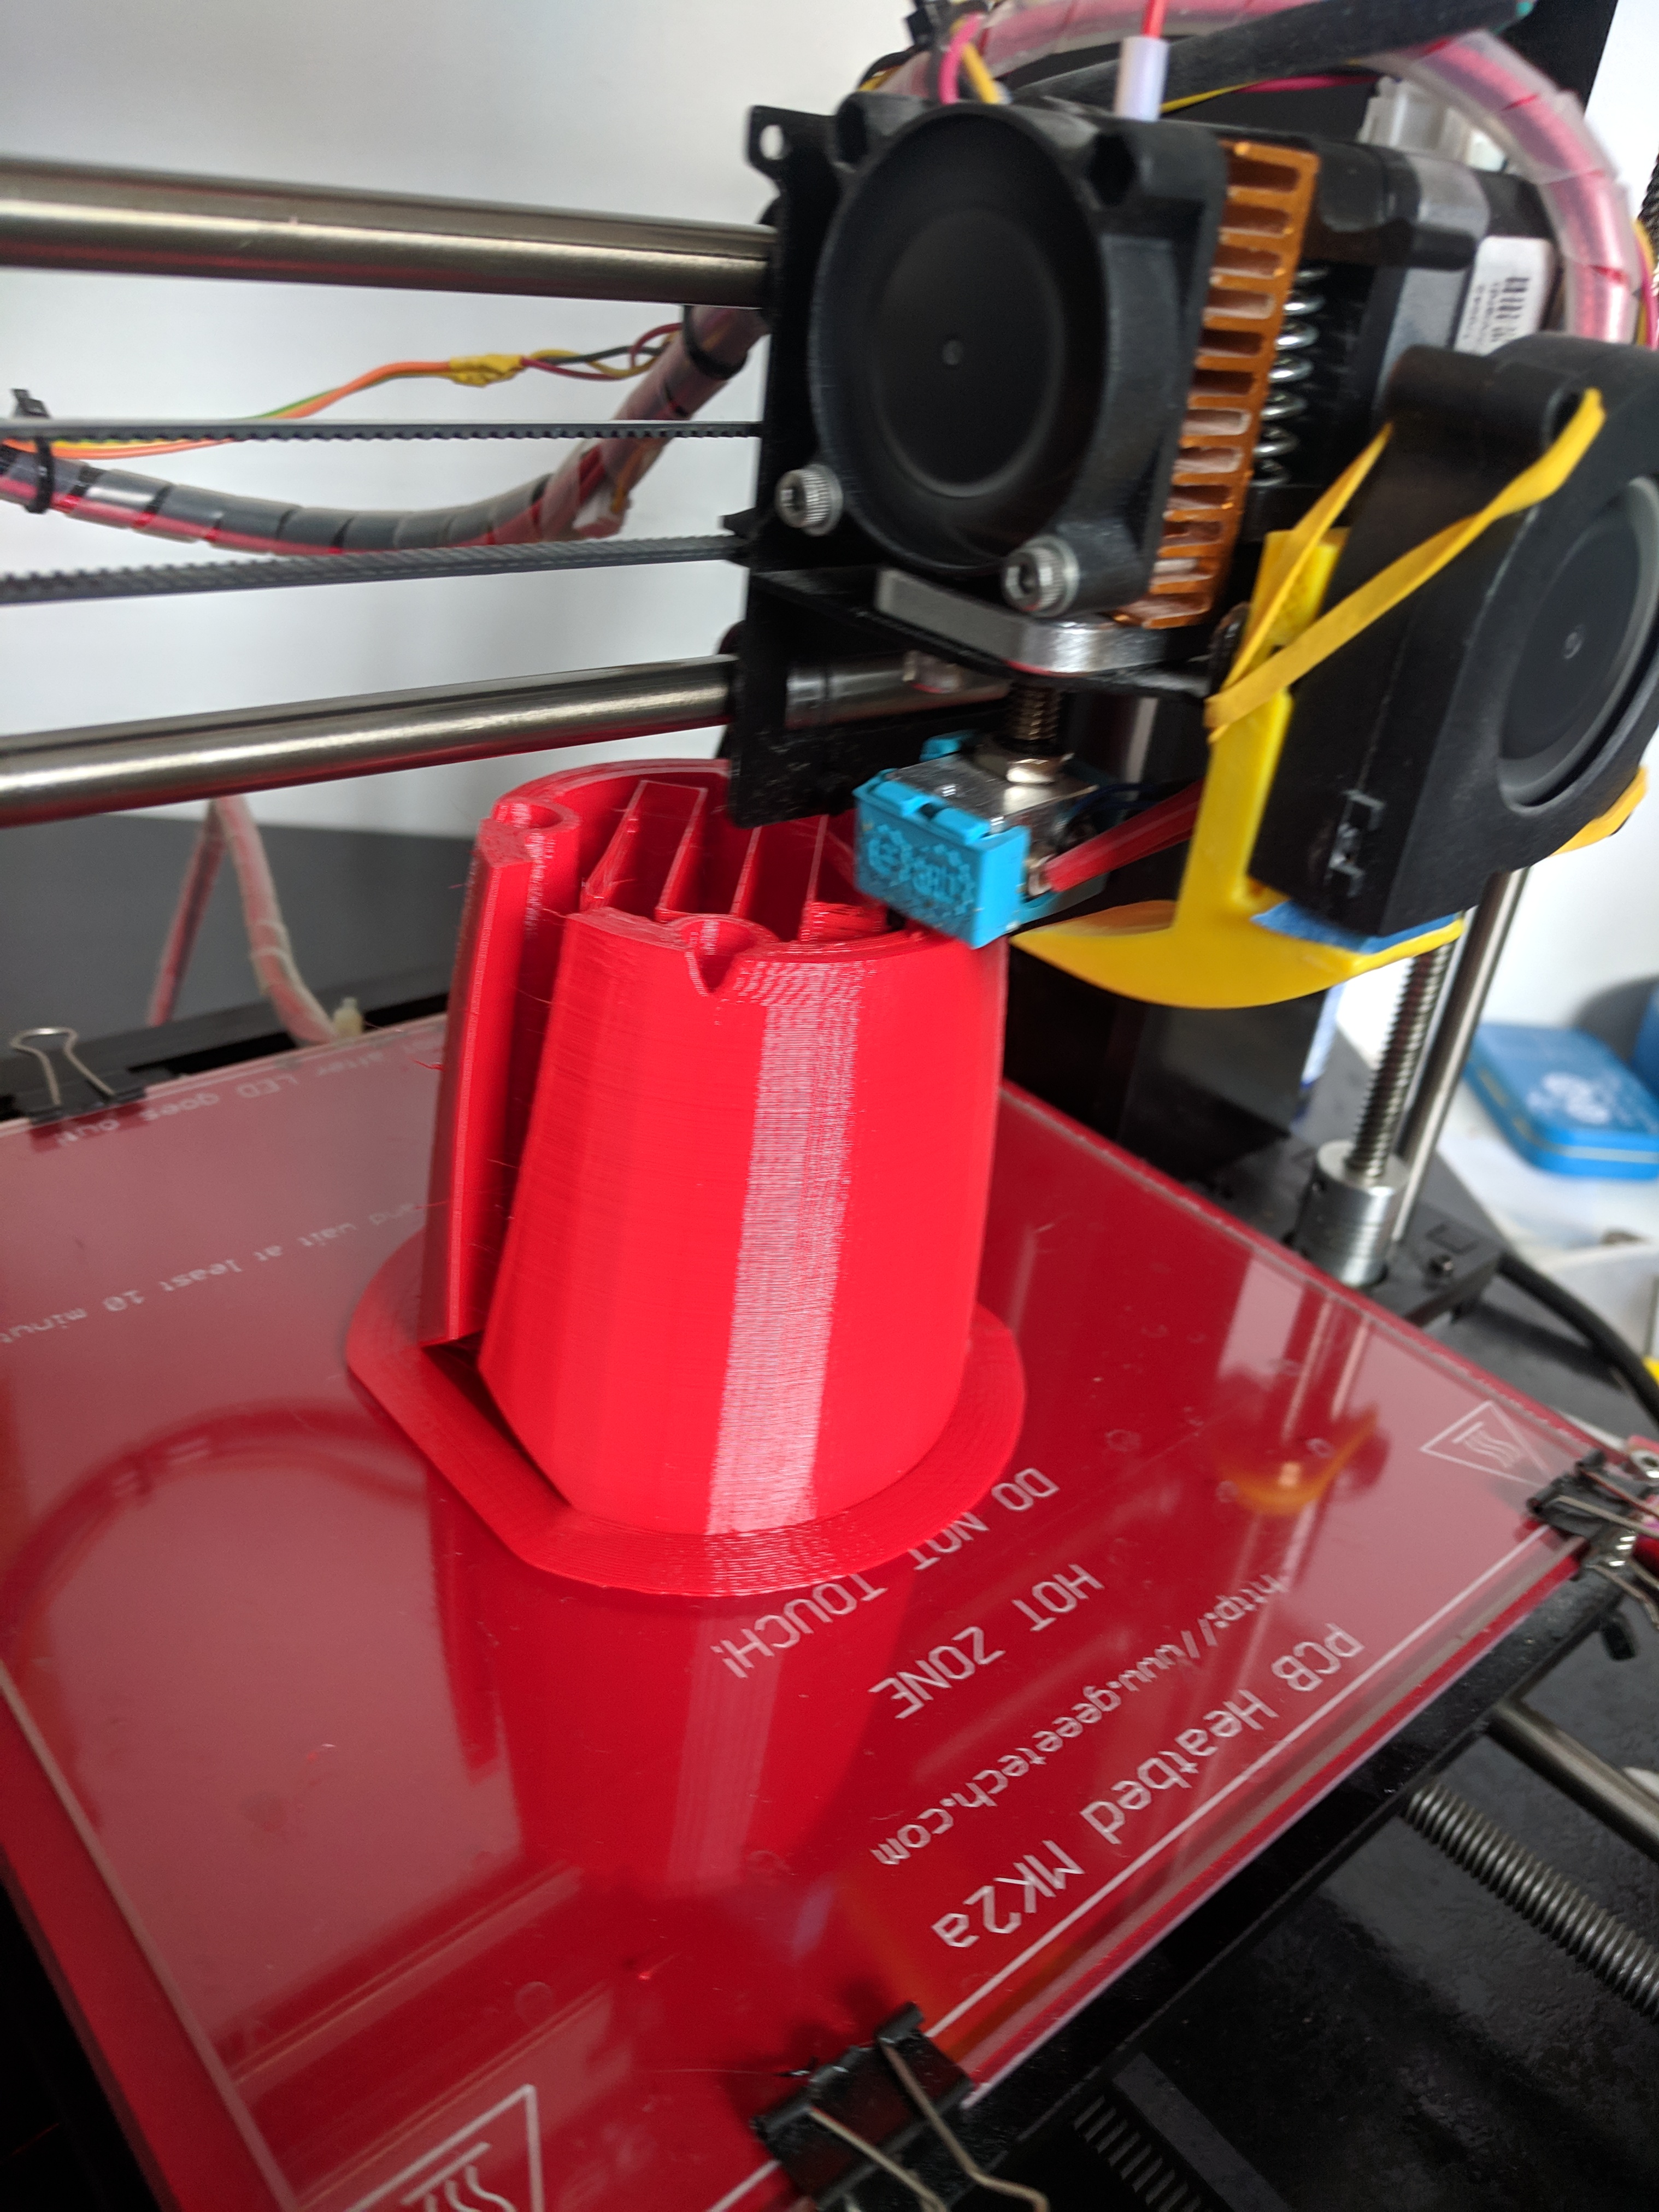
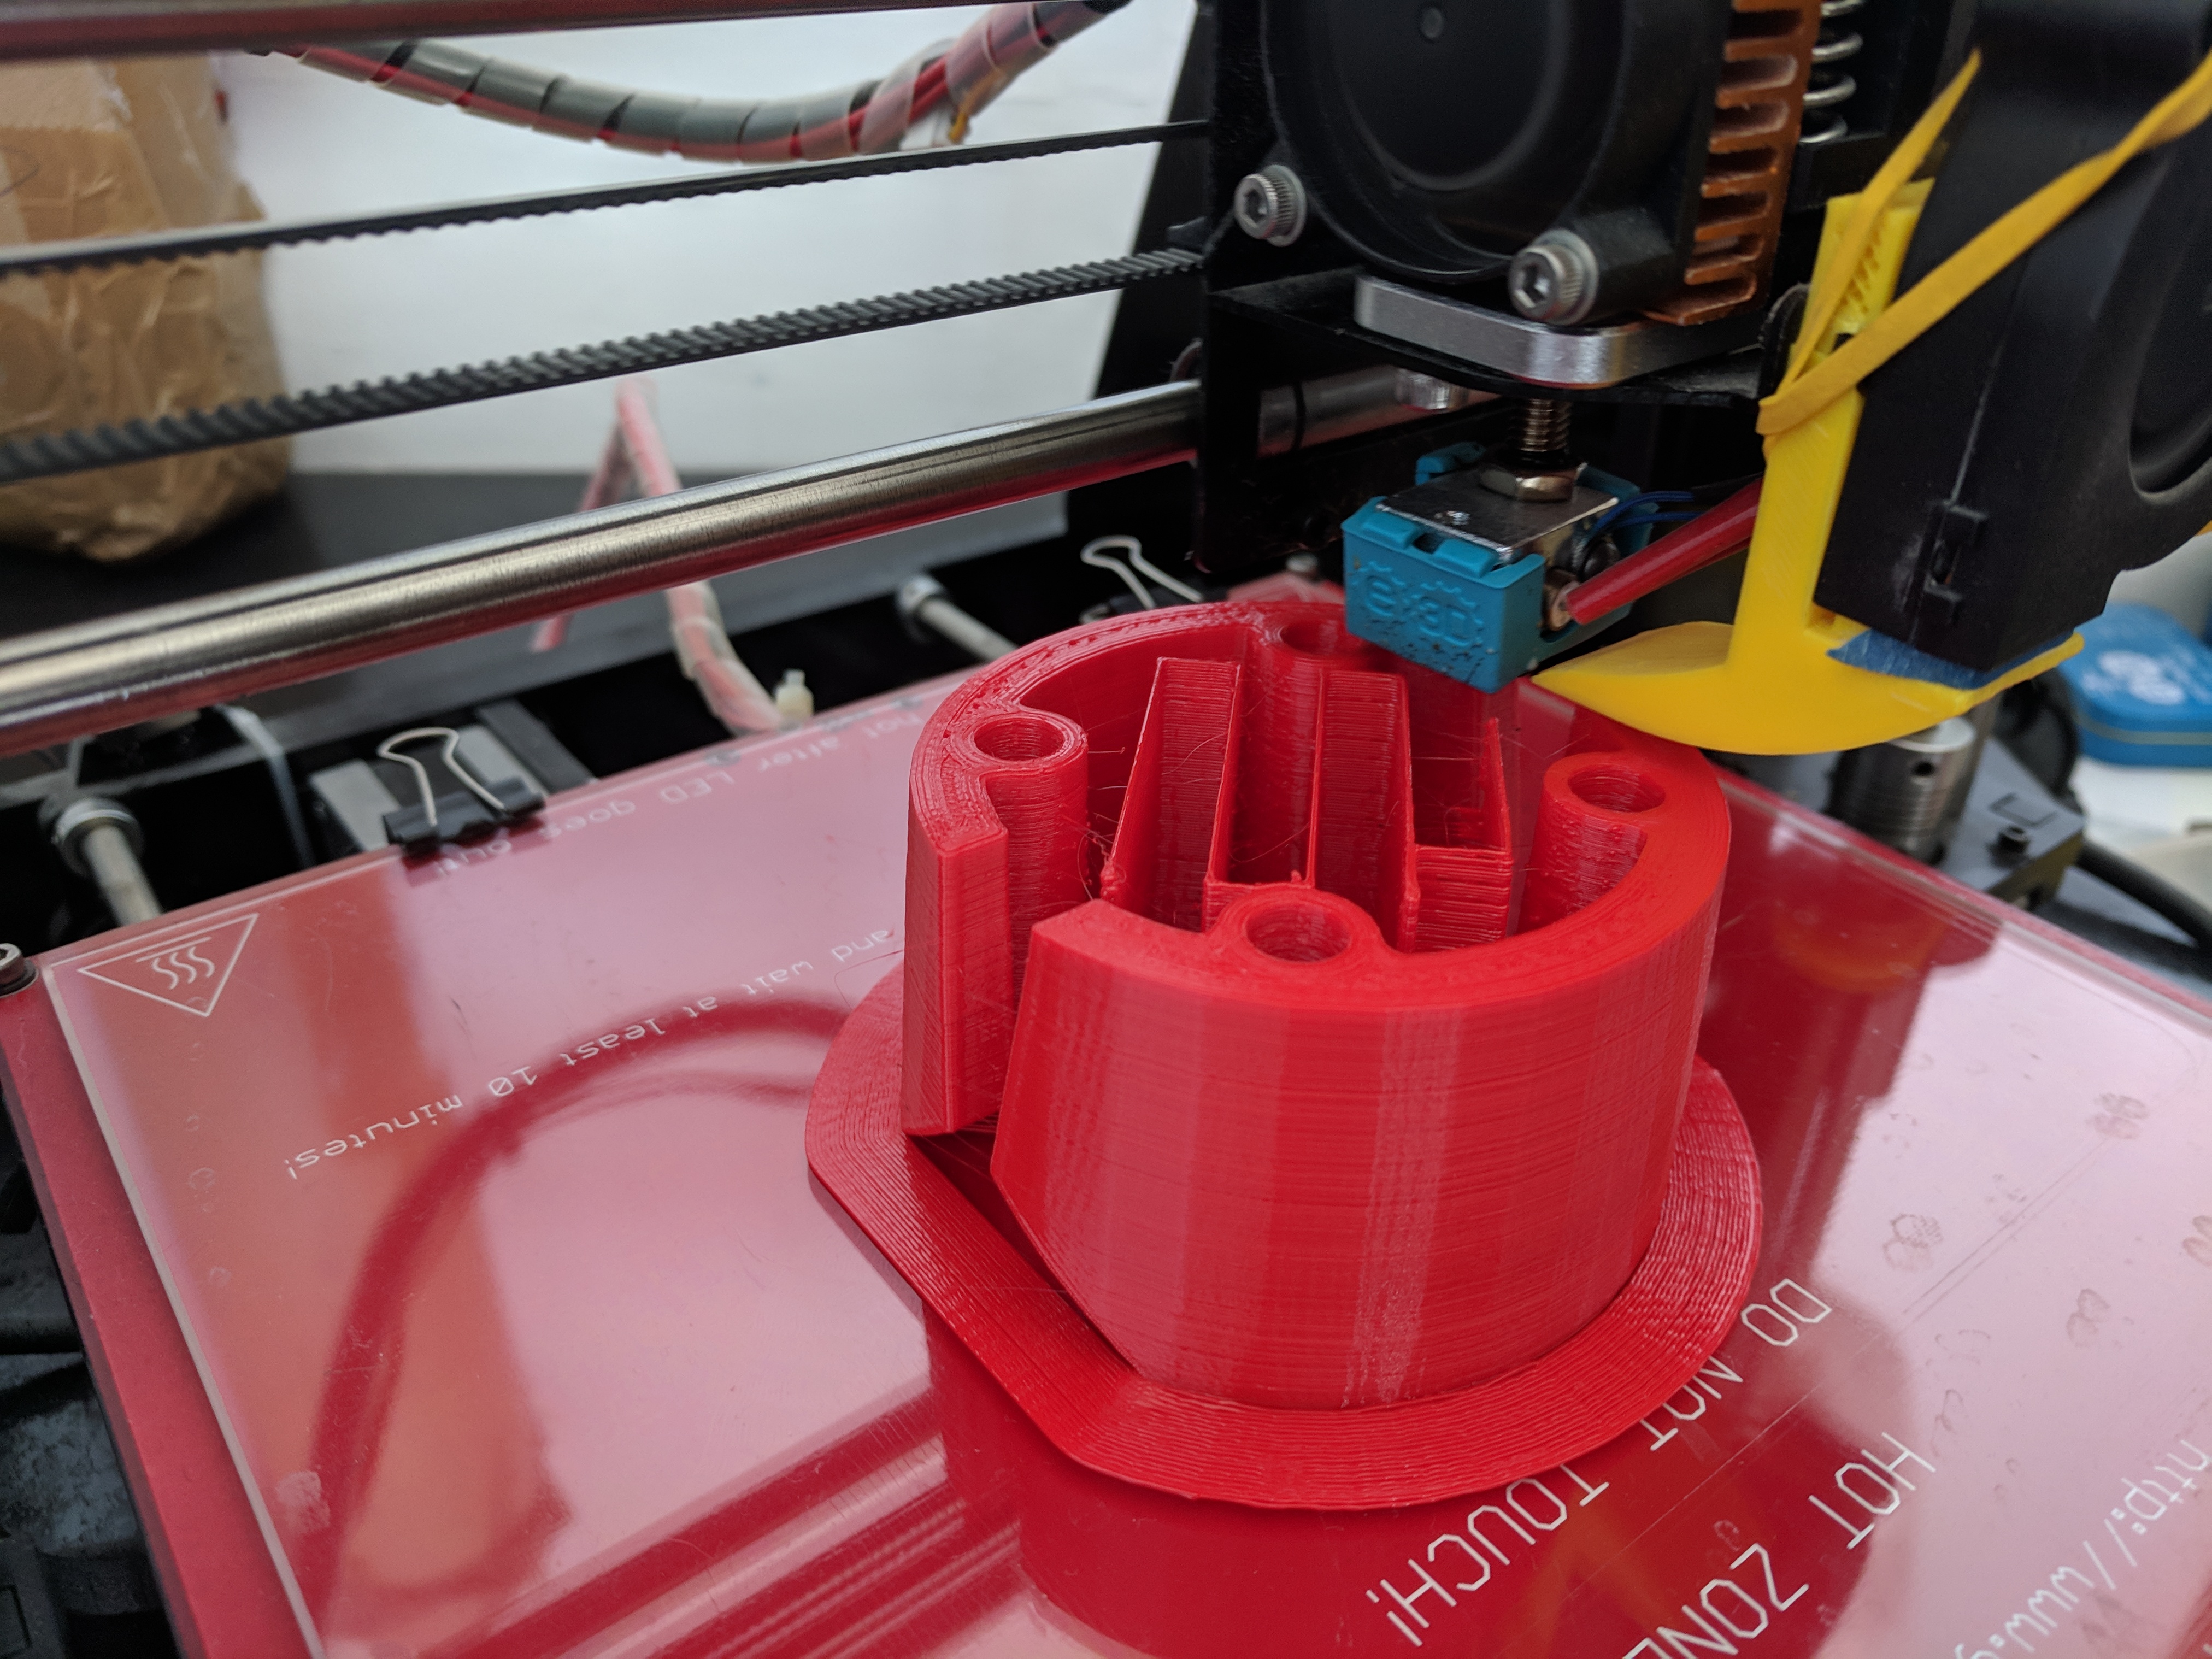
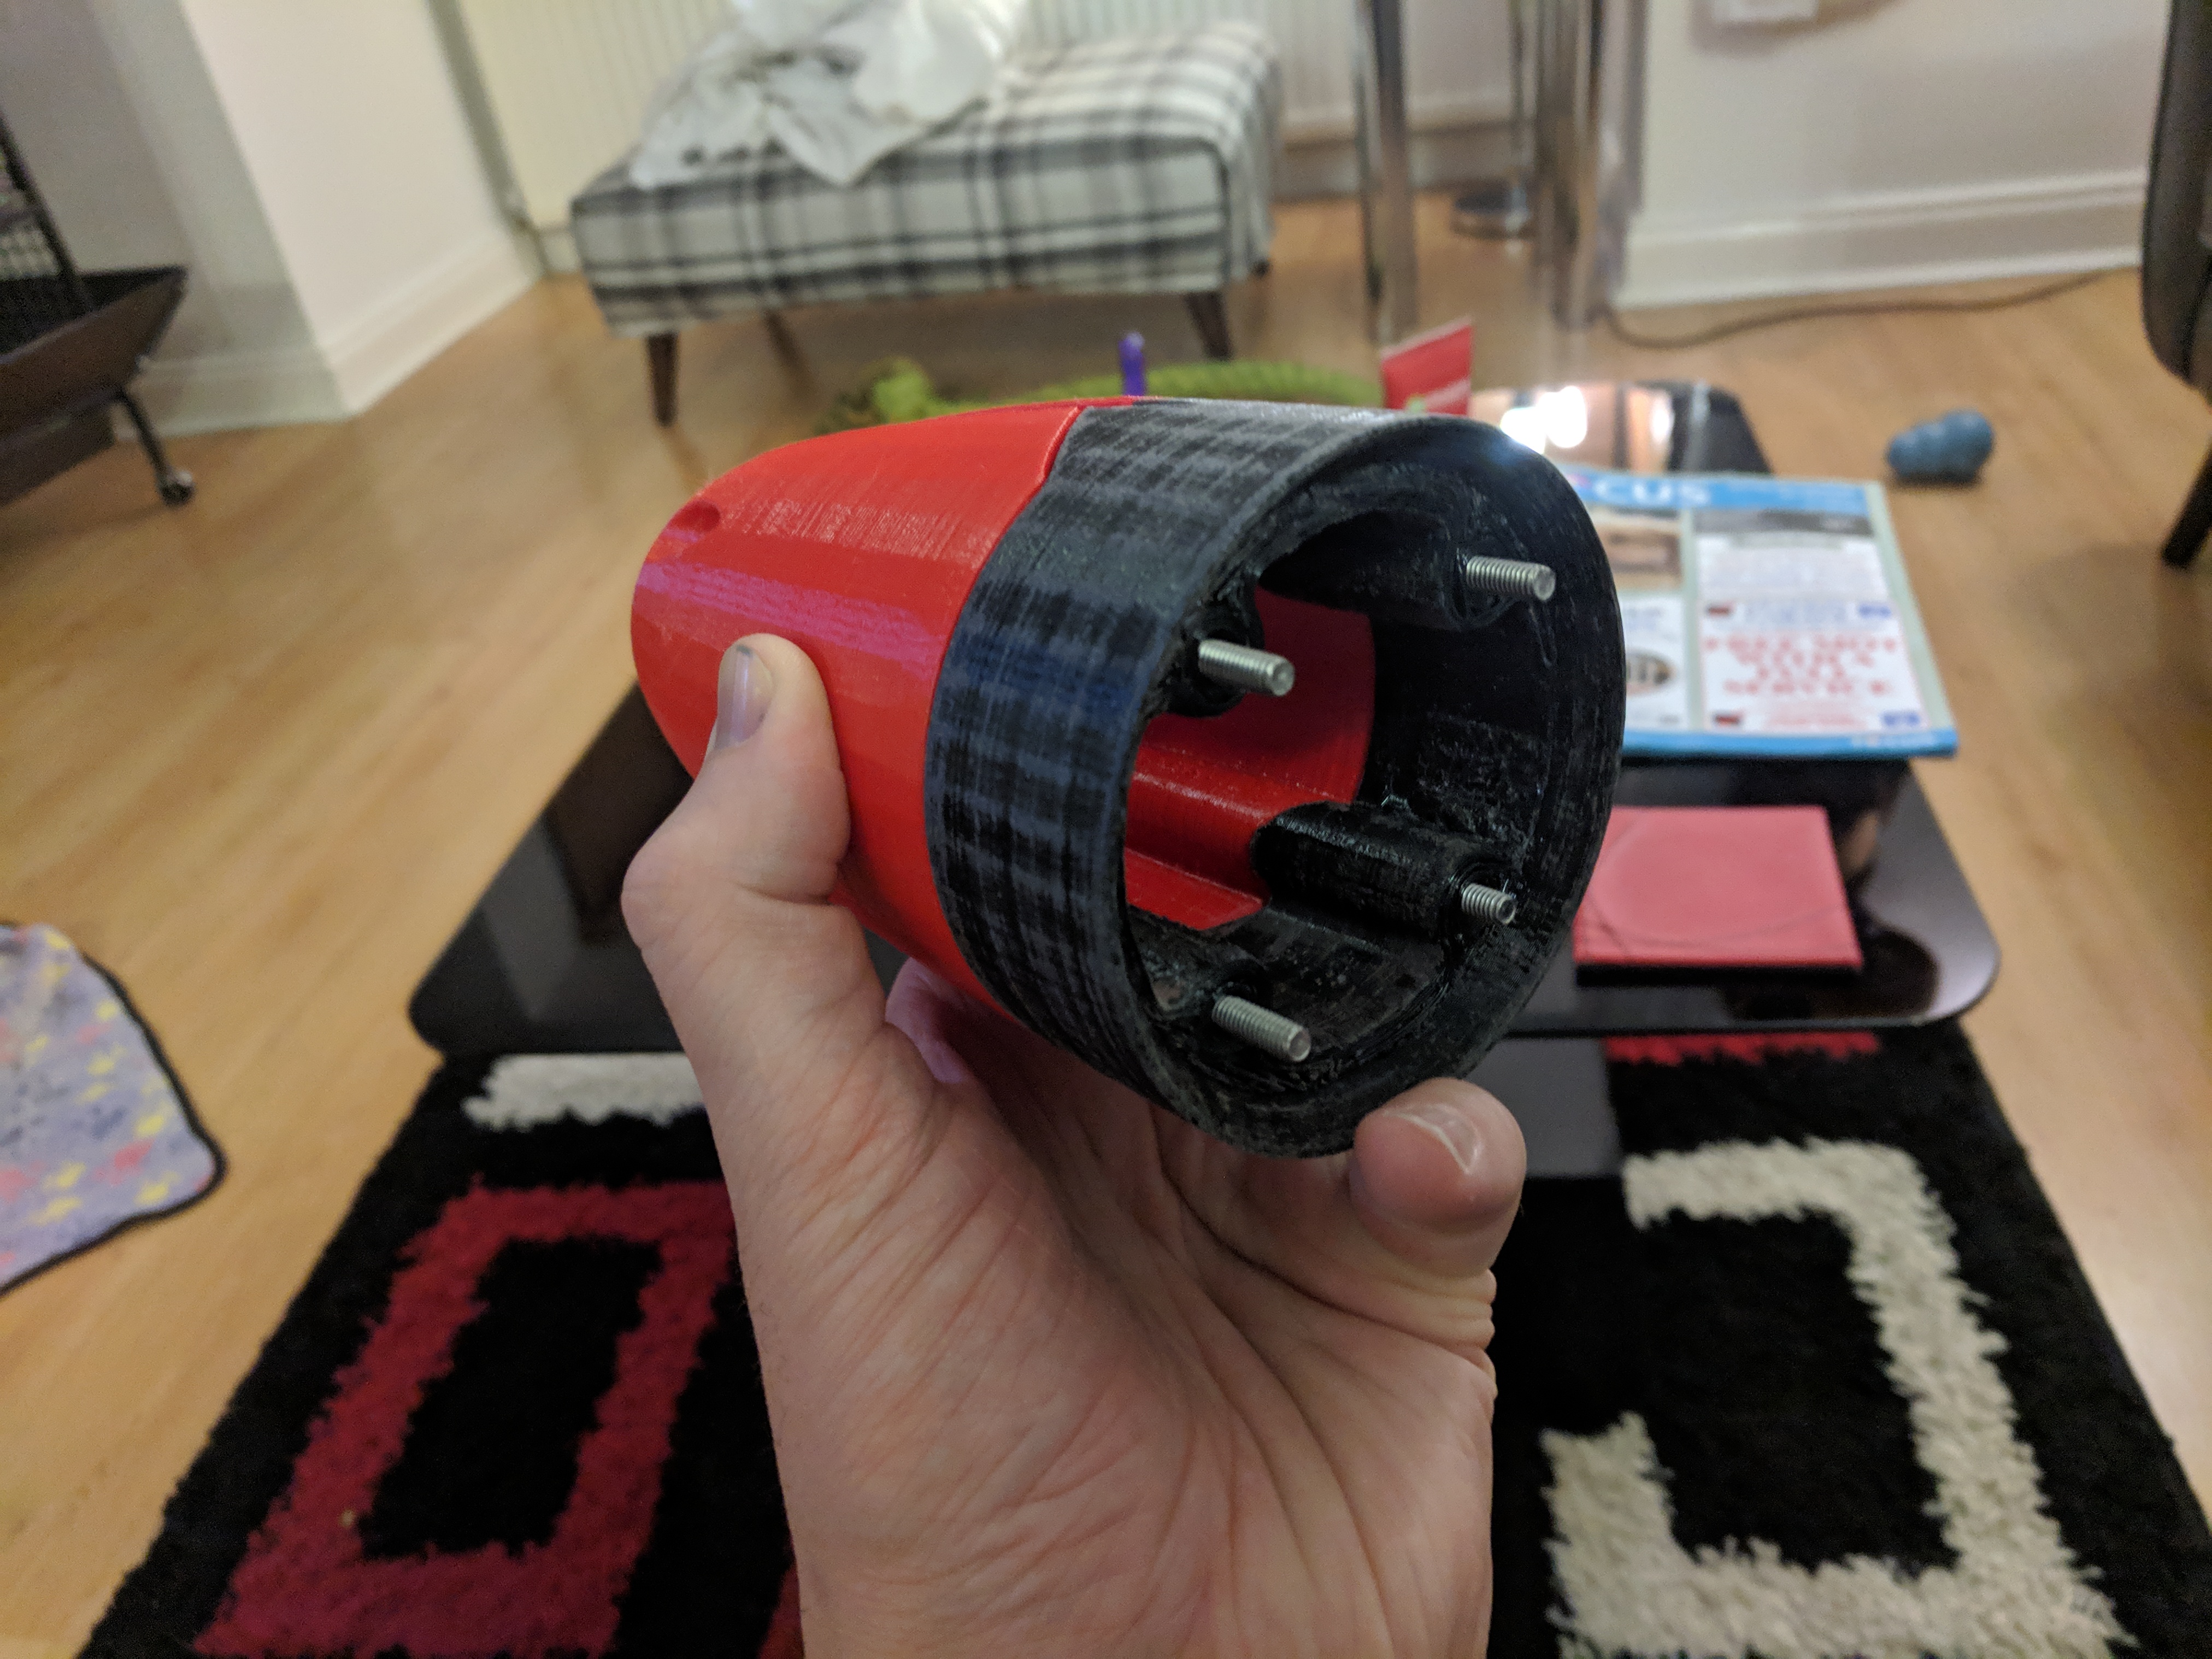
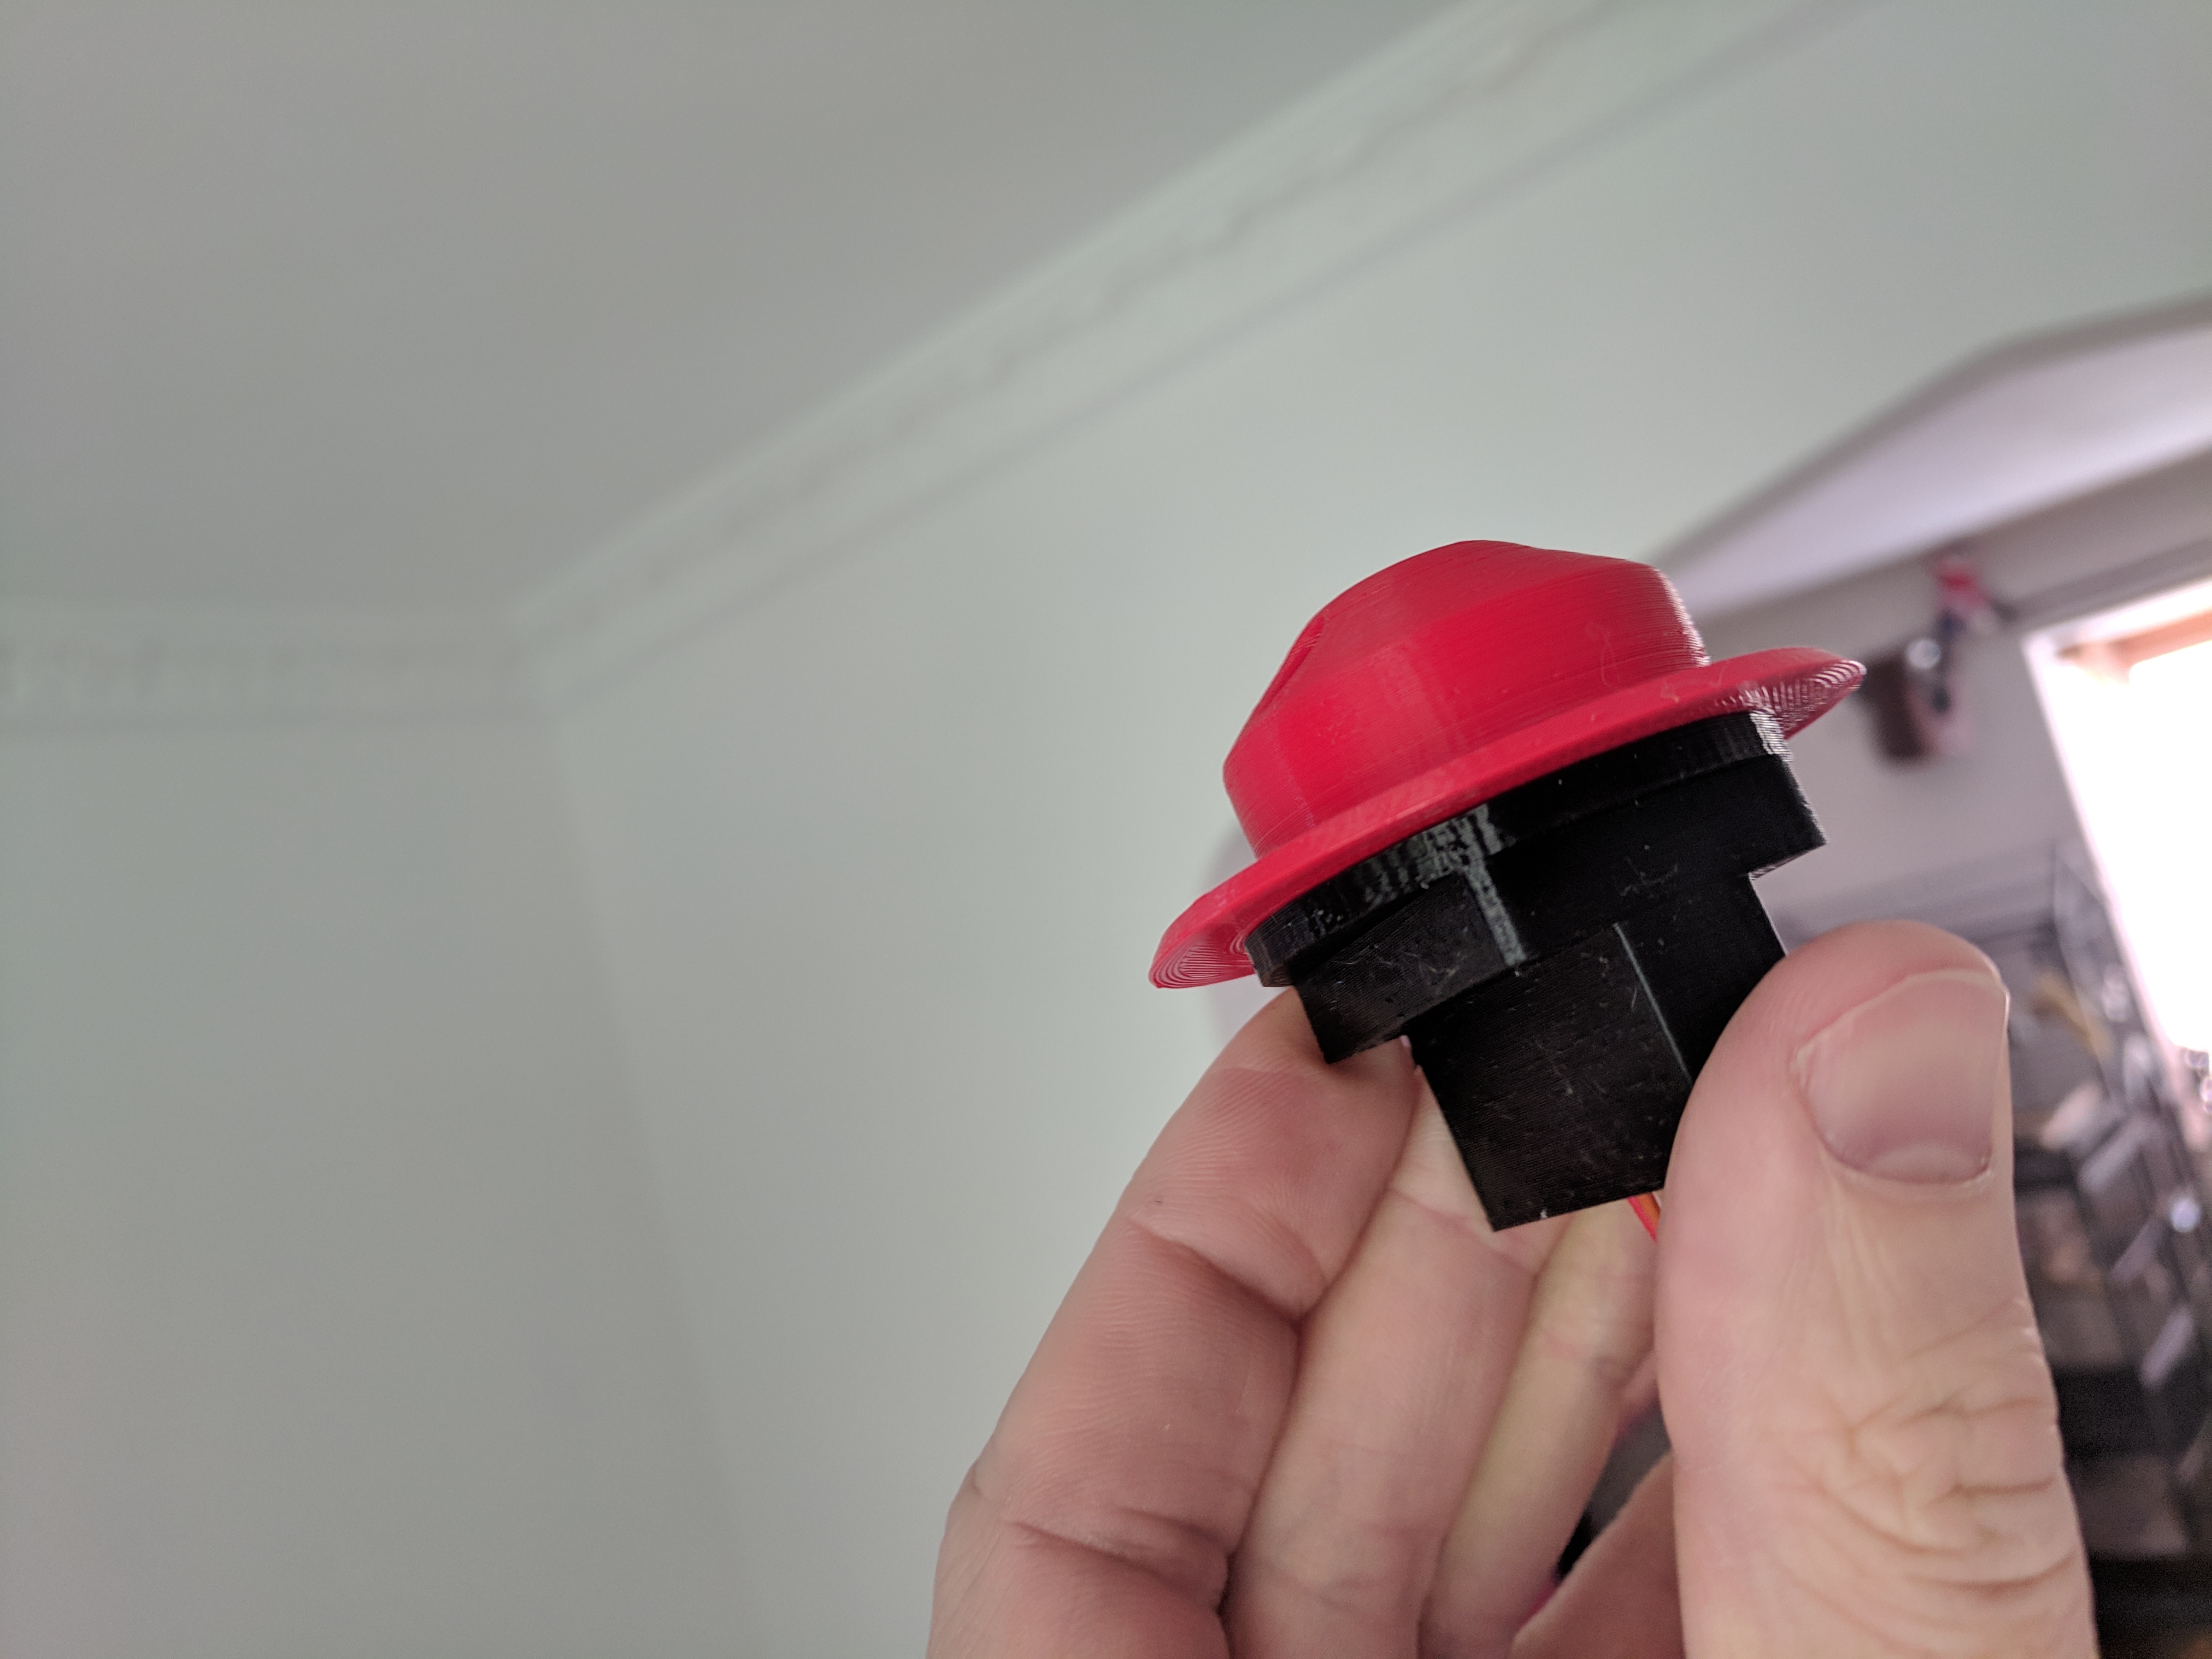
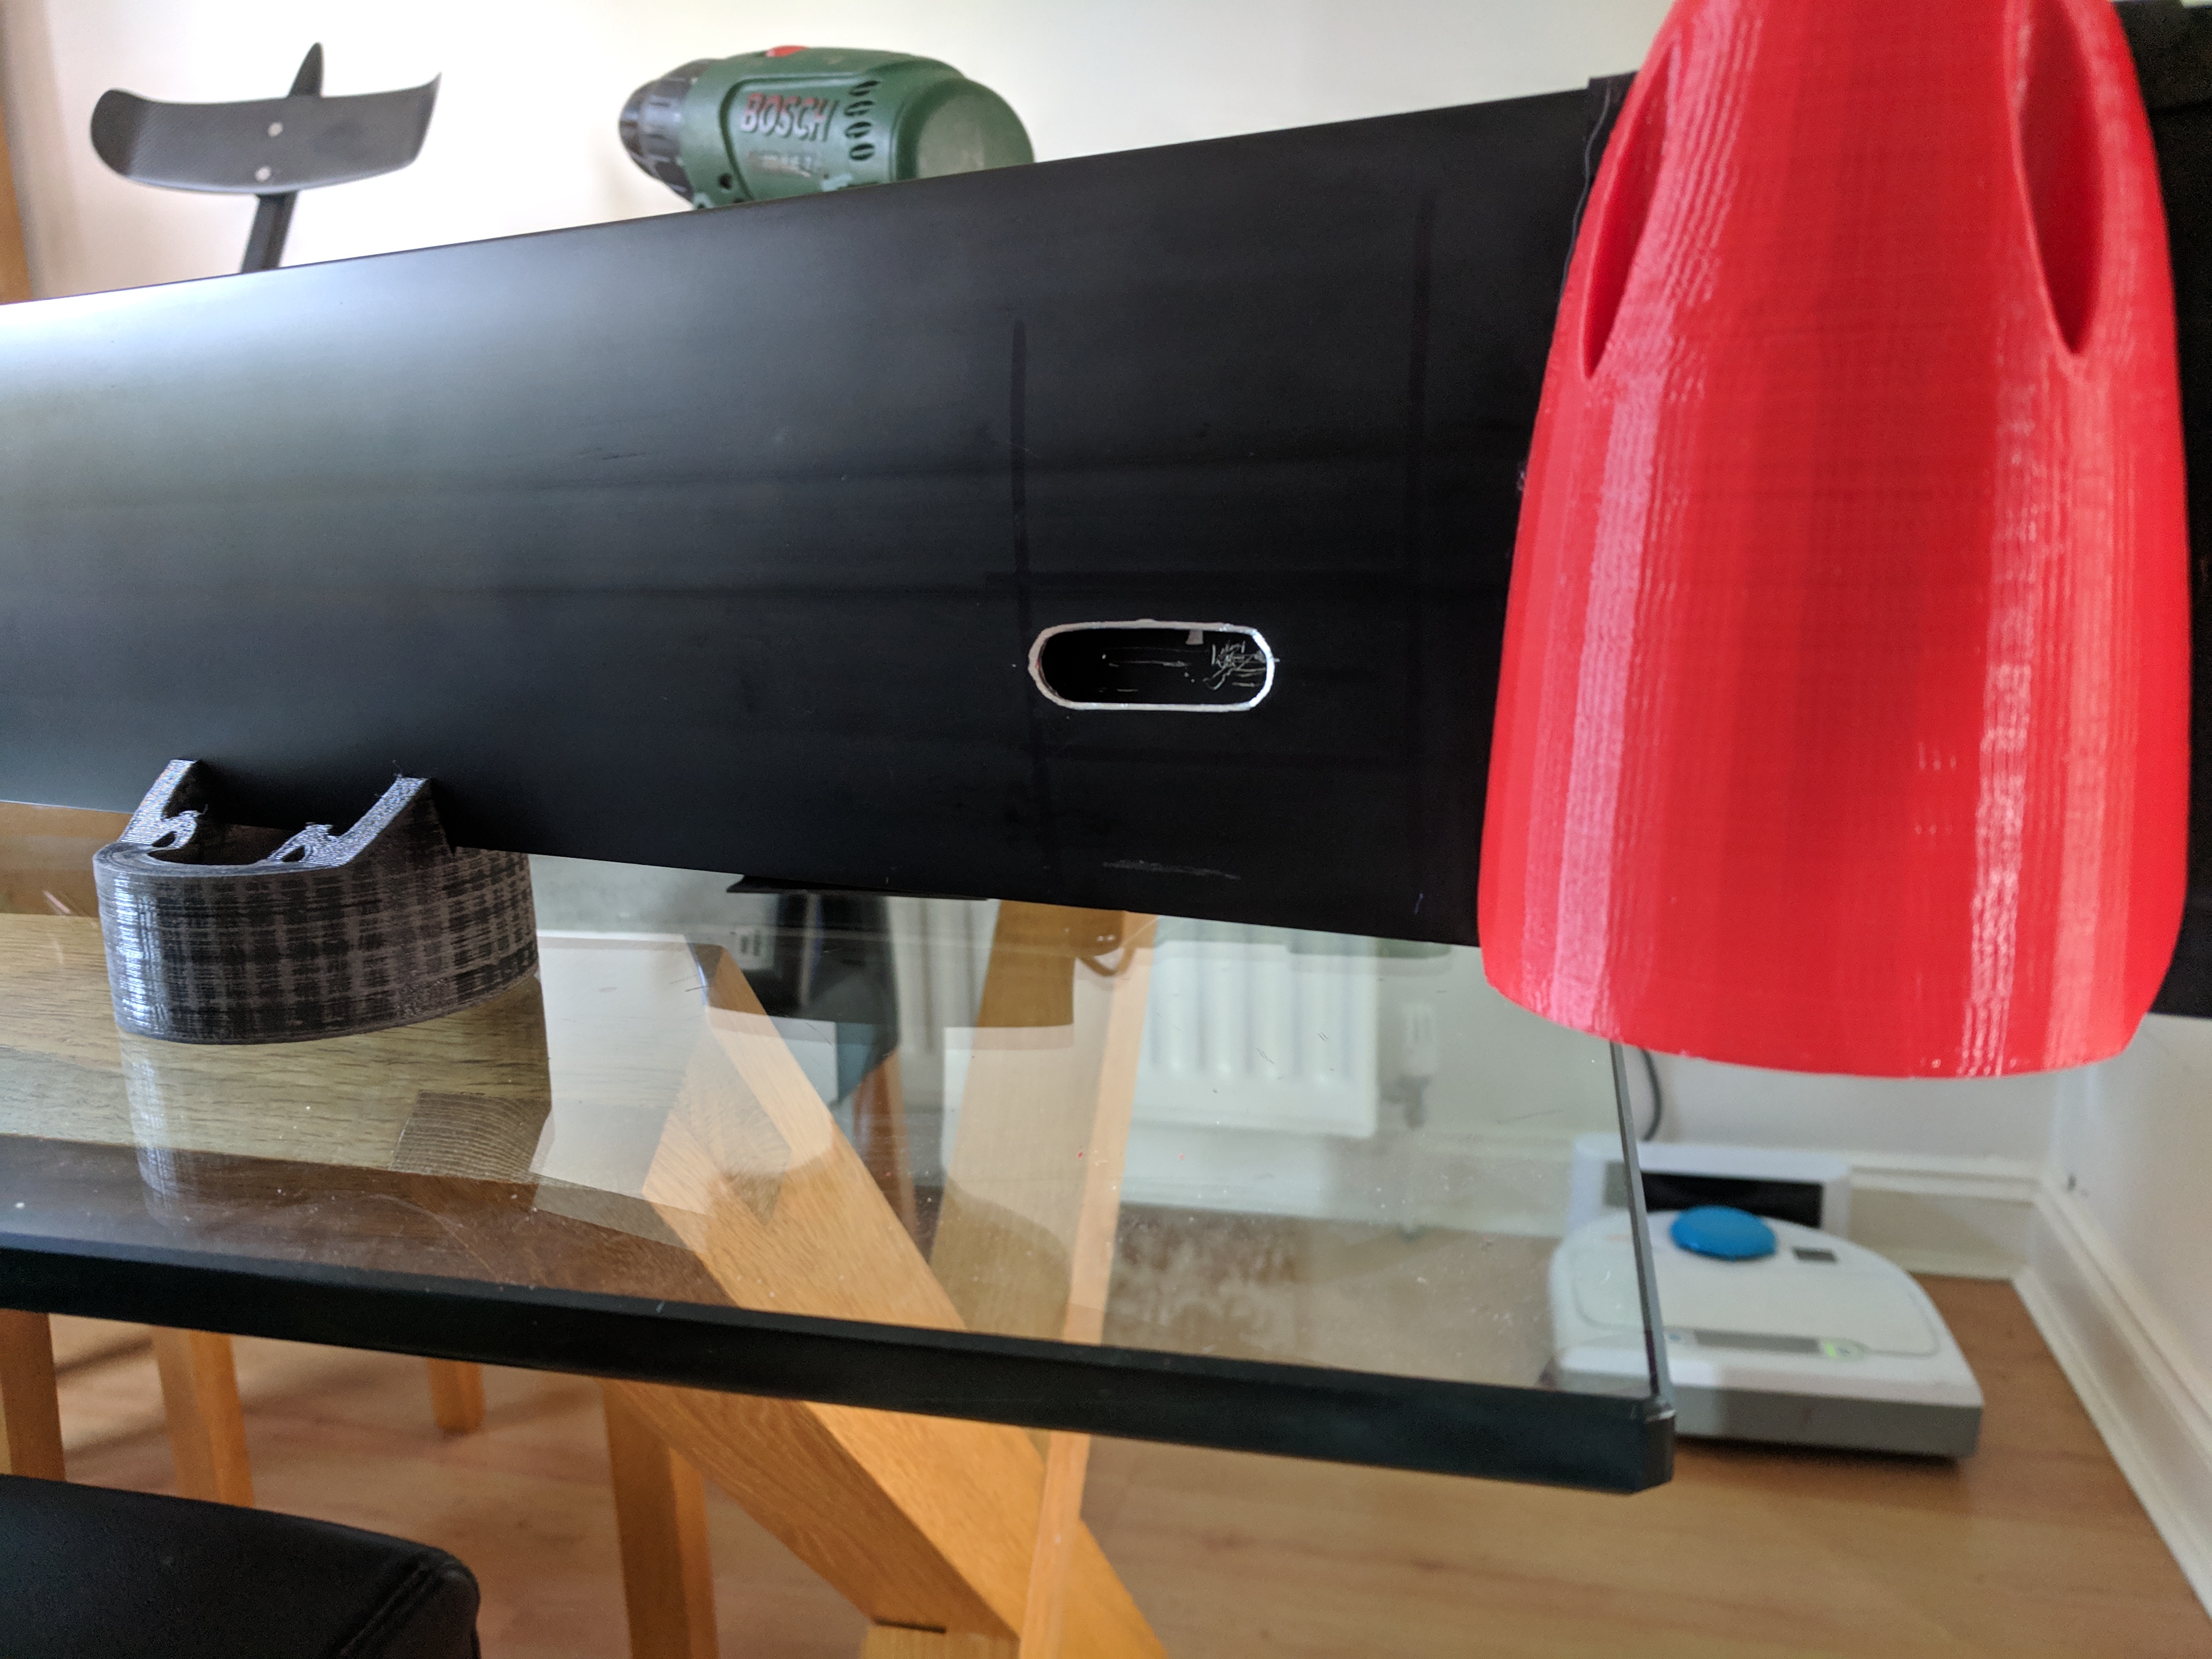
From the propeller test I did realise a good thick brim around the base of the prints is essential, especially on the motor pod nose cone which was a 13 hour print.
The motor pod base was in the region of 5-6 hours from memory.
FYI, I will post a full parts list / cost spreadsheet when its complete, but I’m missing a couple of items at the moment.
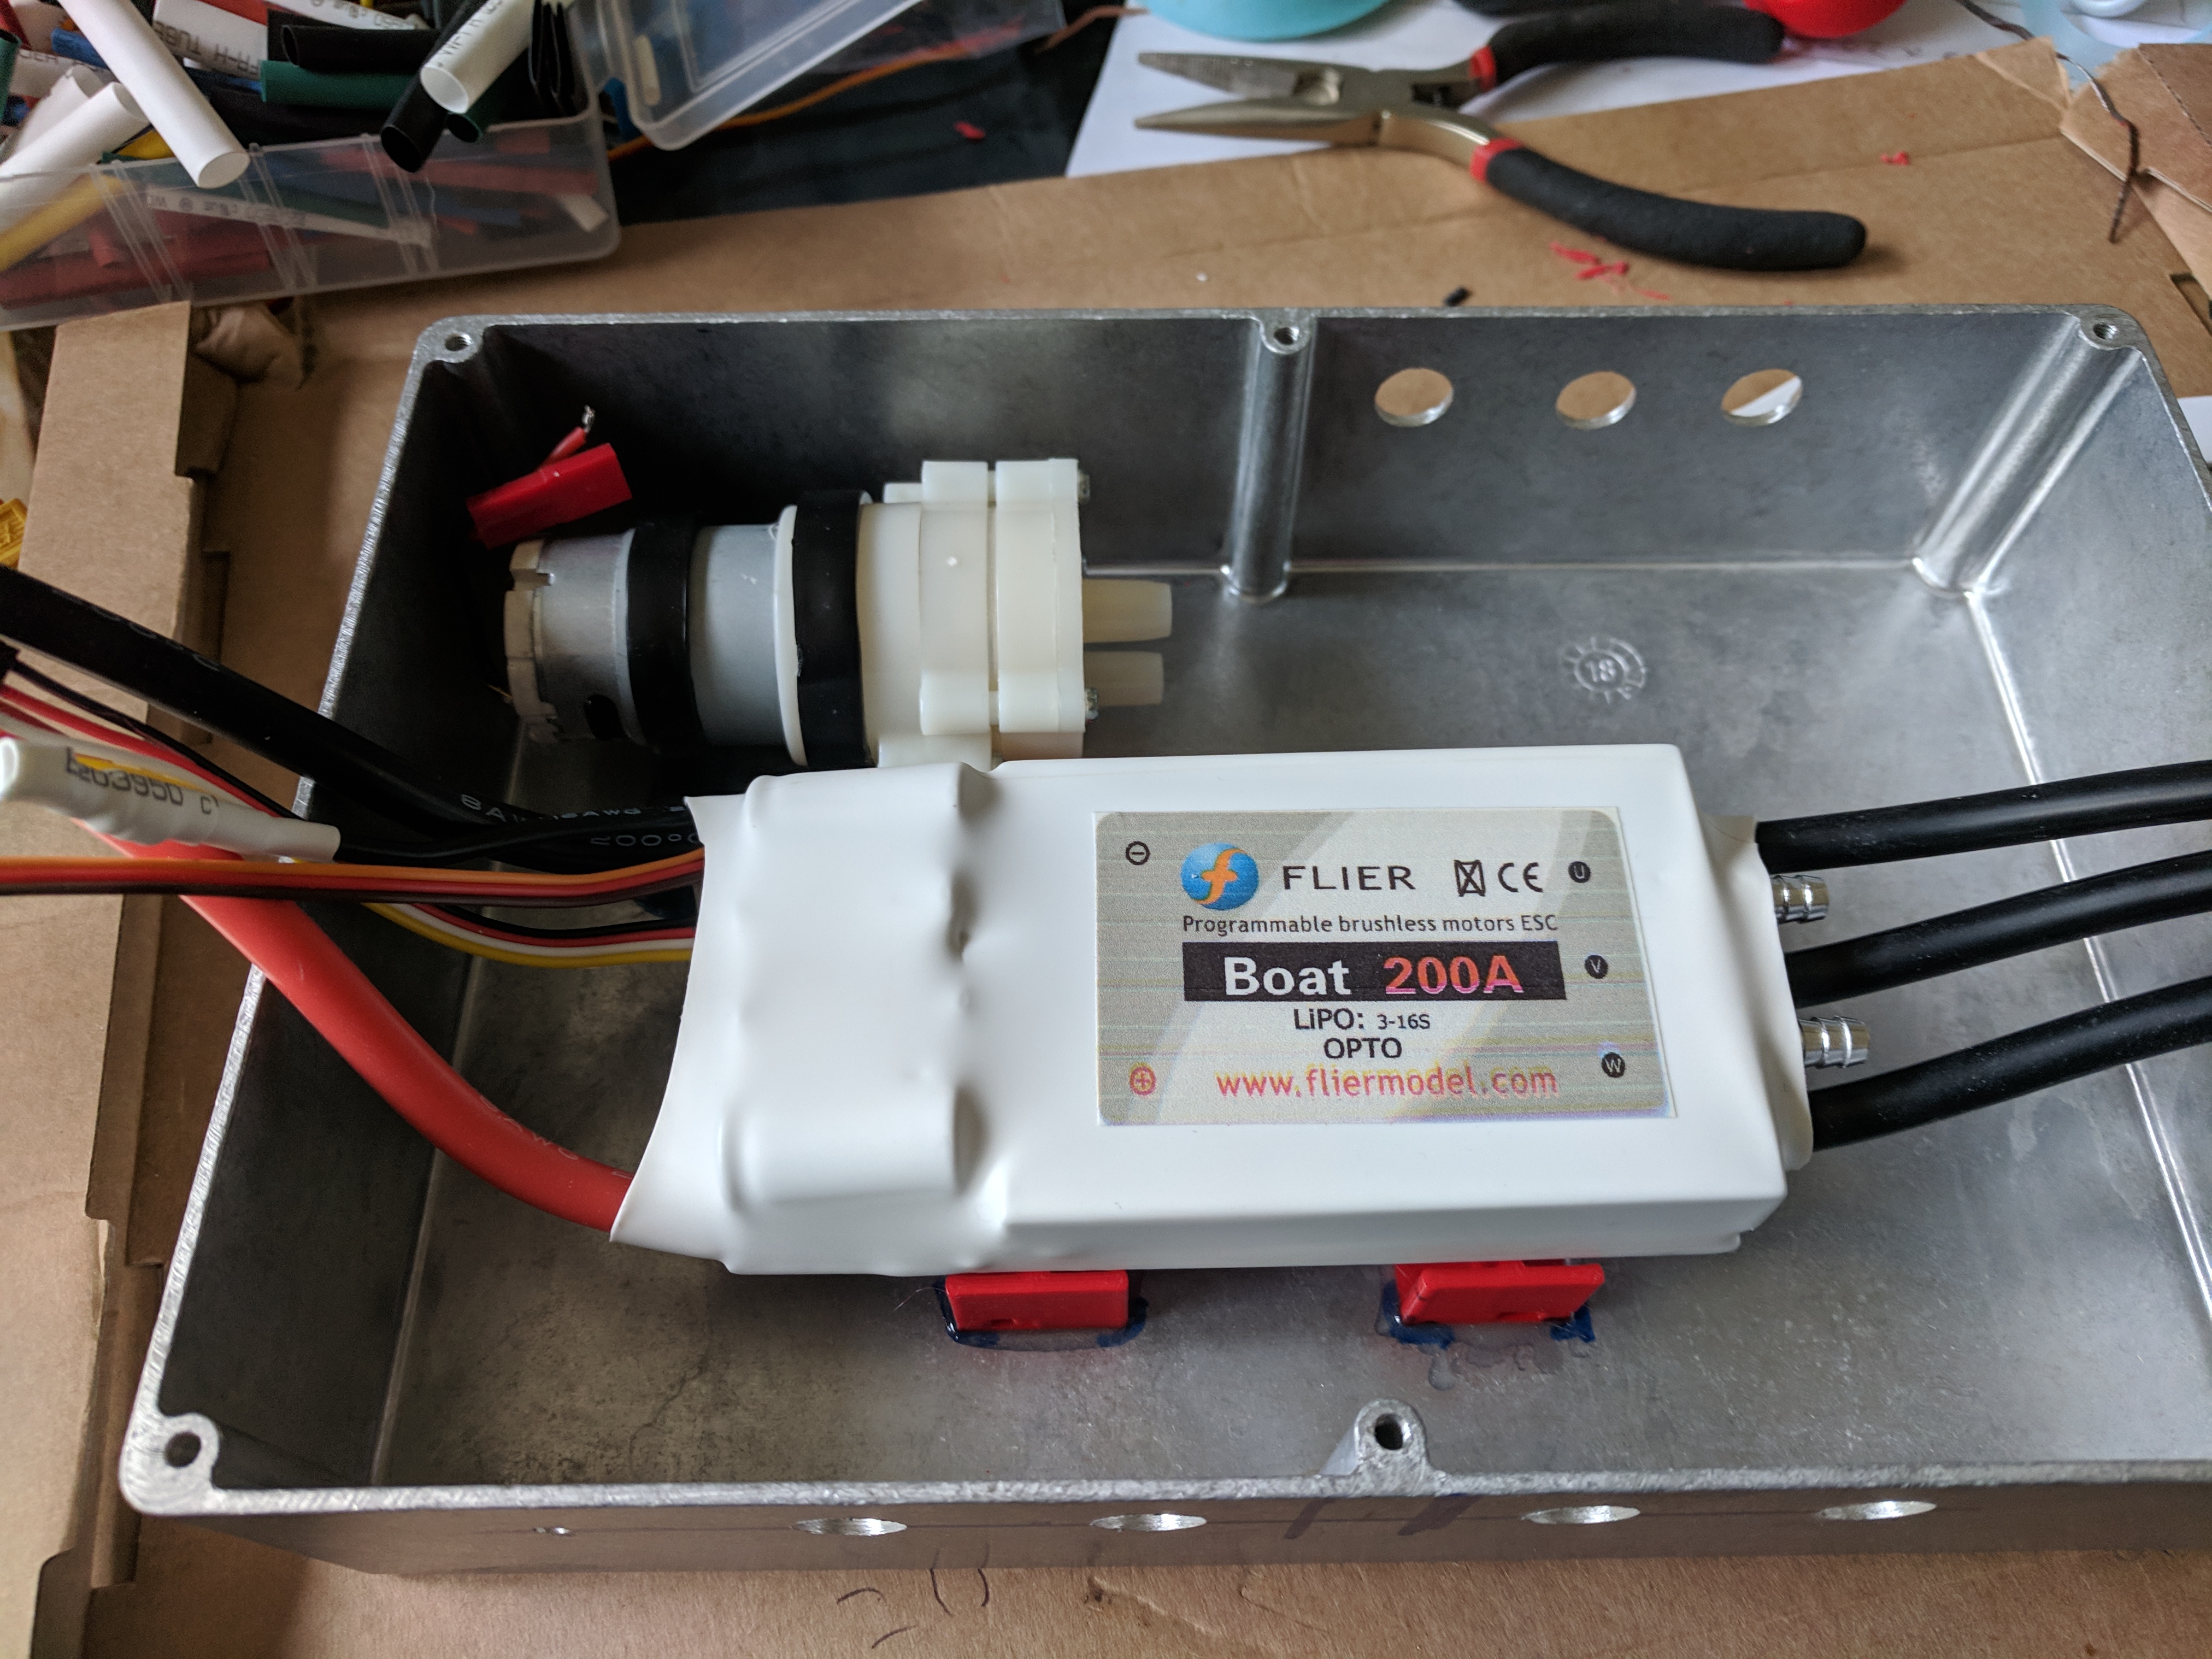
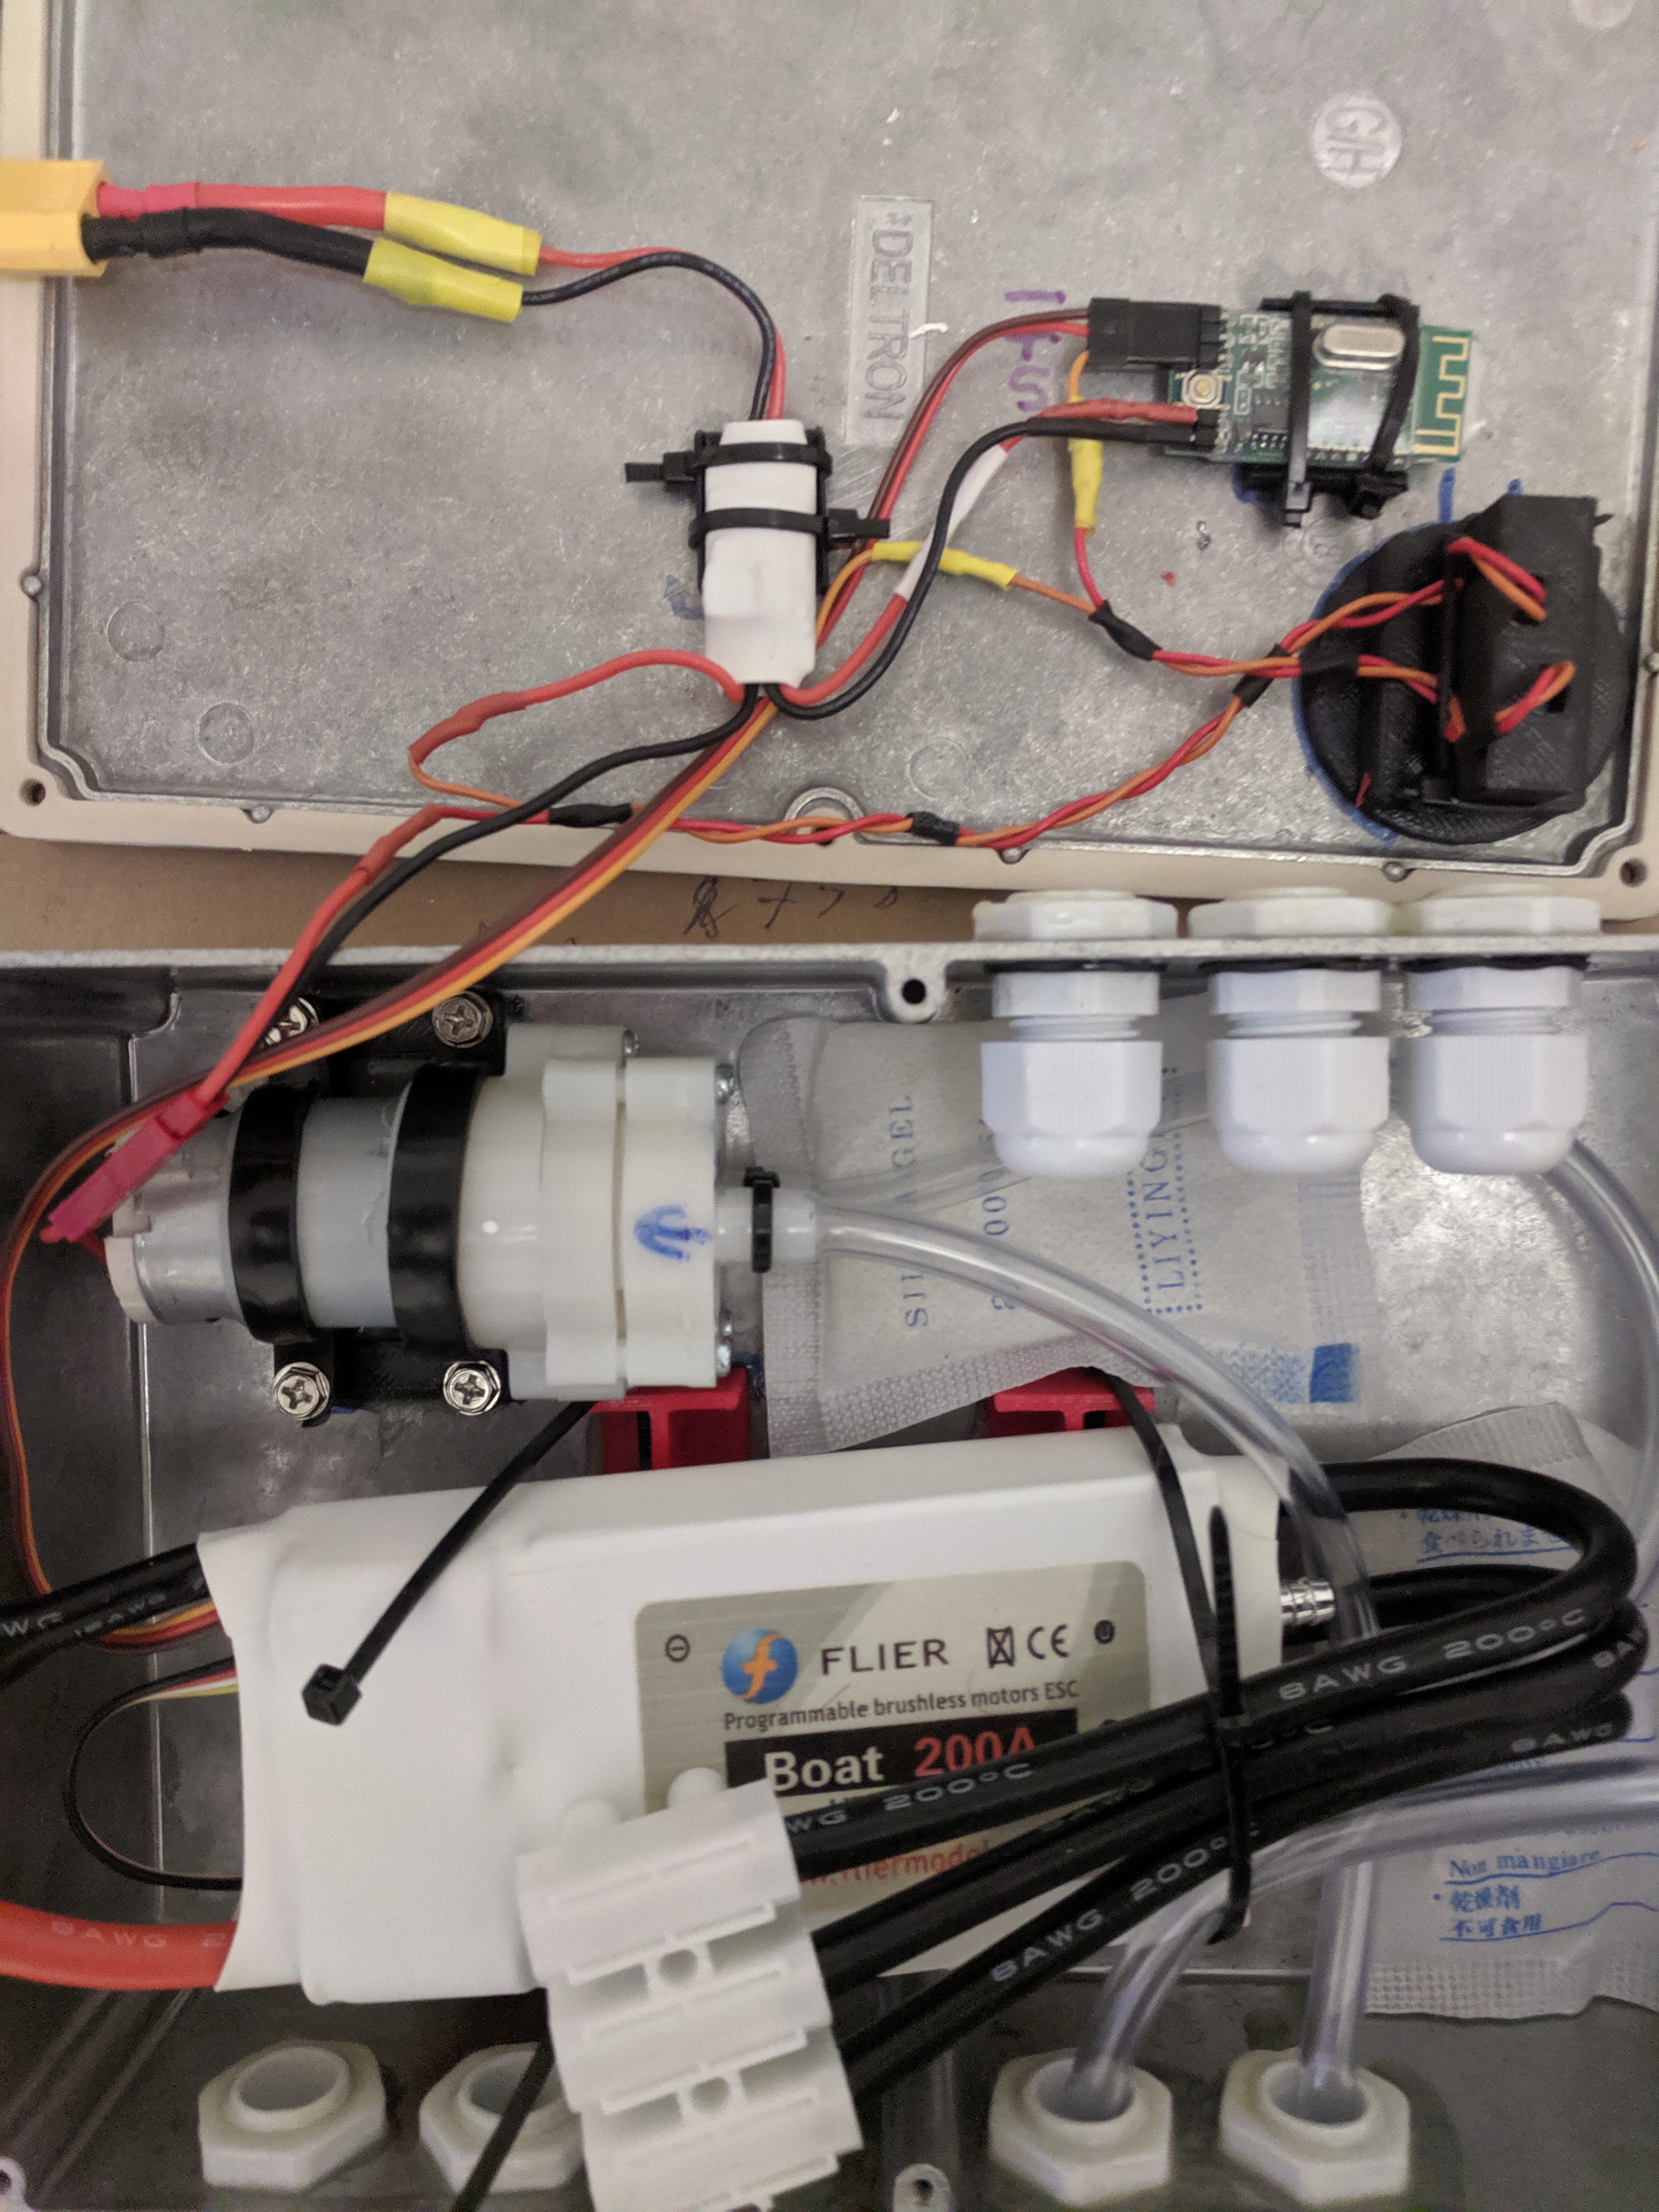
As you’ll see in a later post, this is al being fitted inside a aluminium waterproof box (with the other electronics).
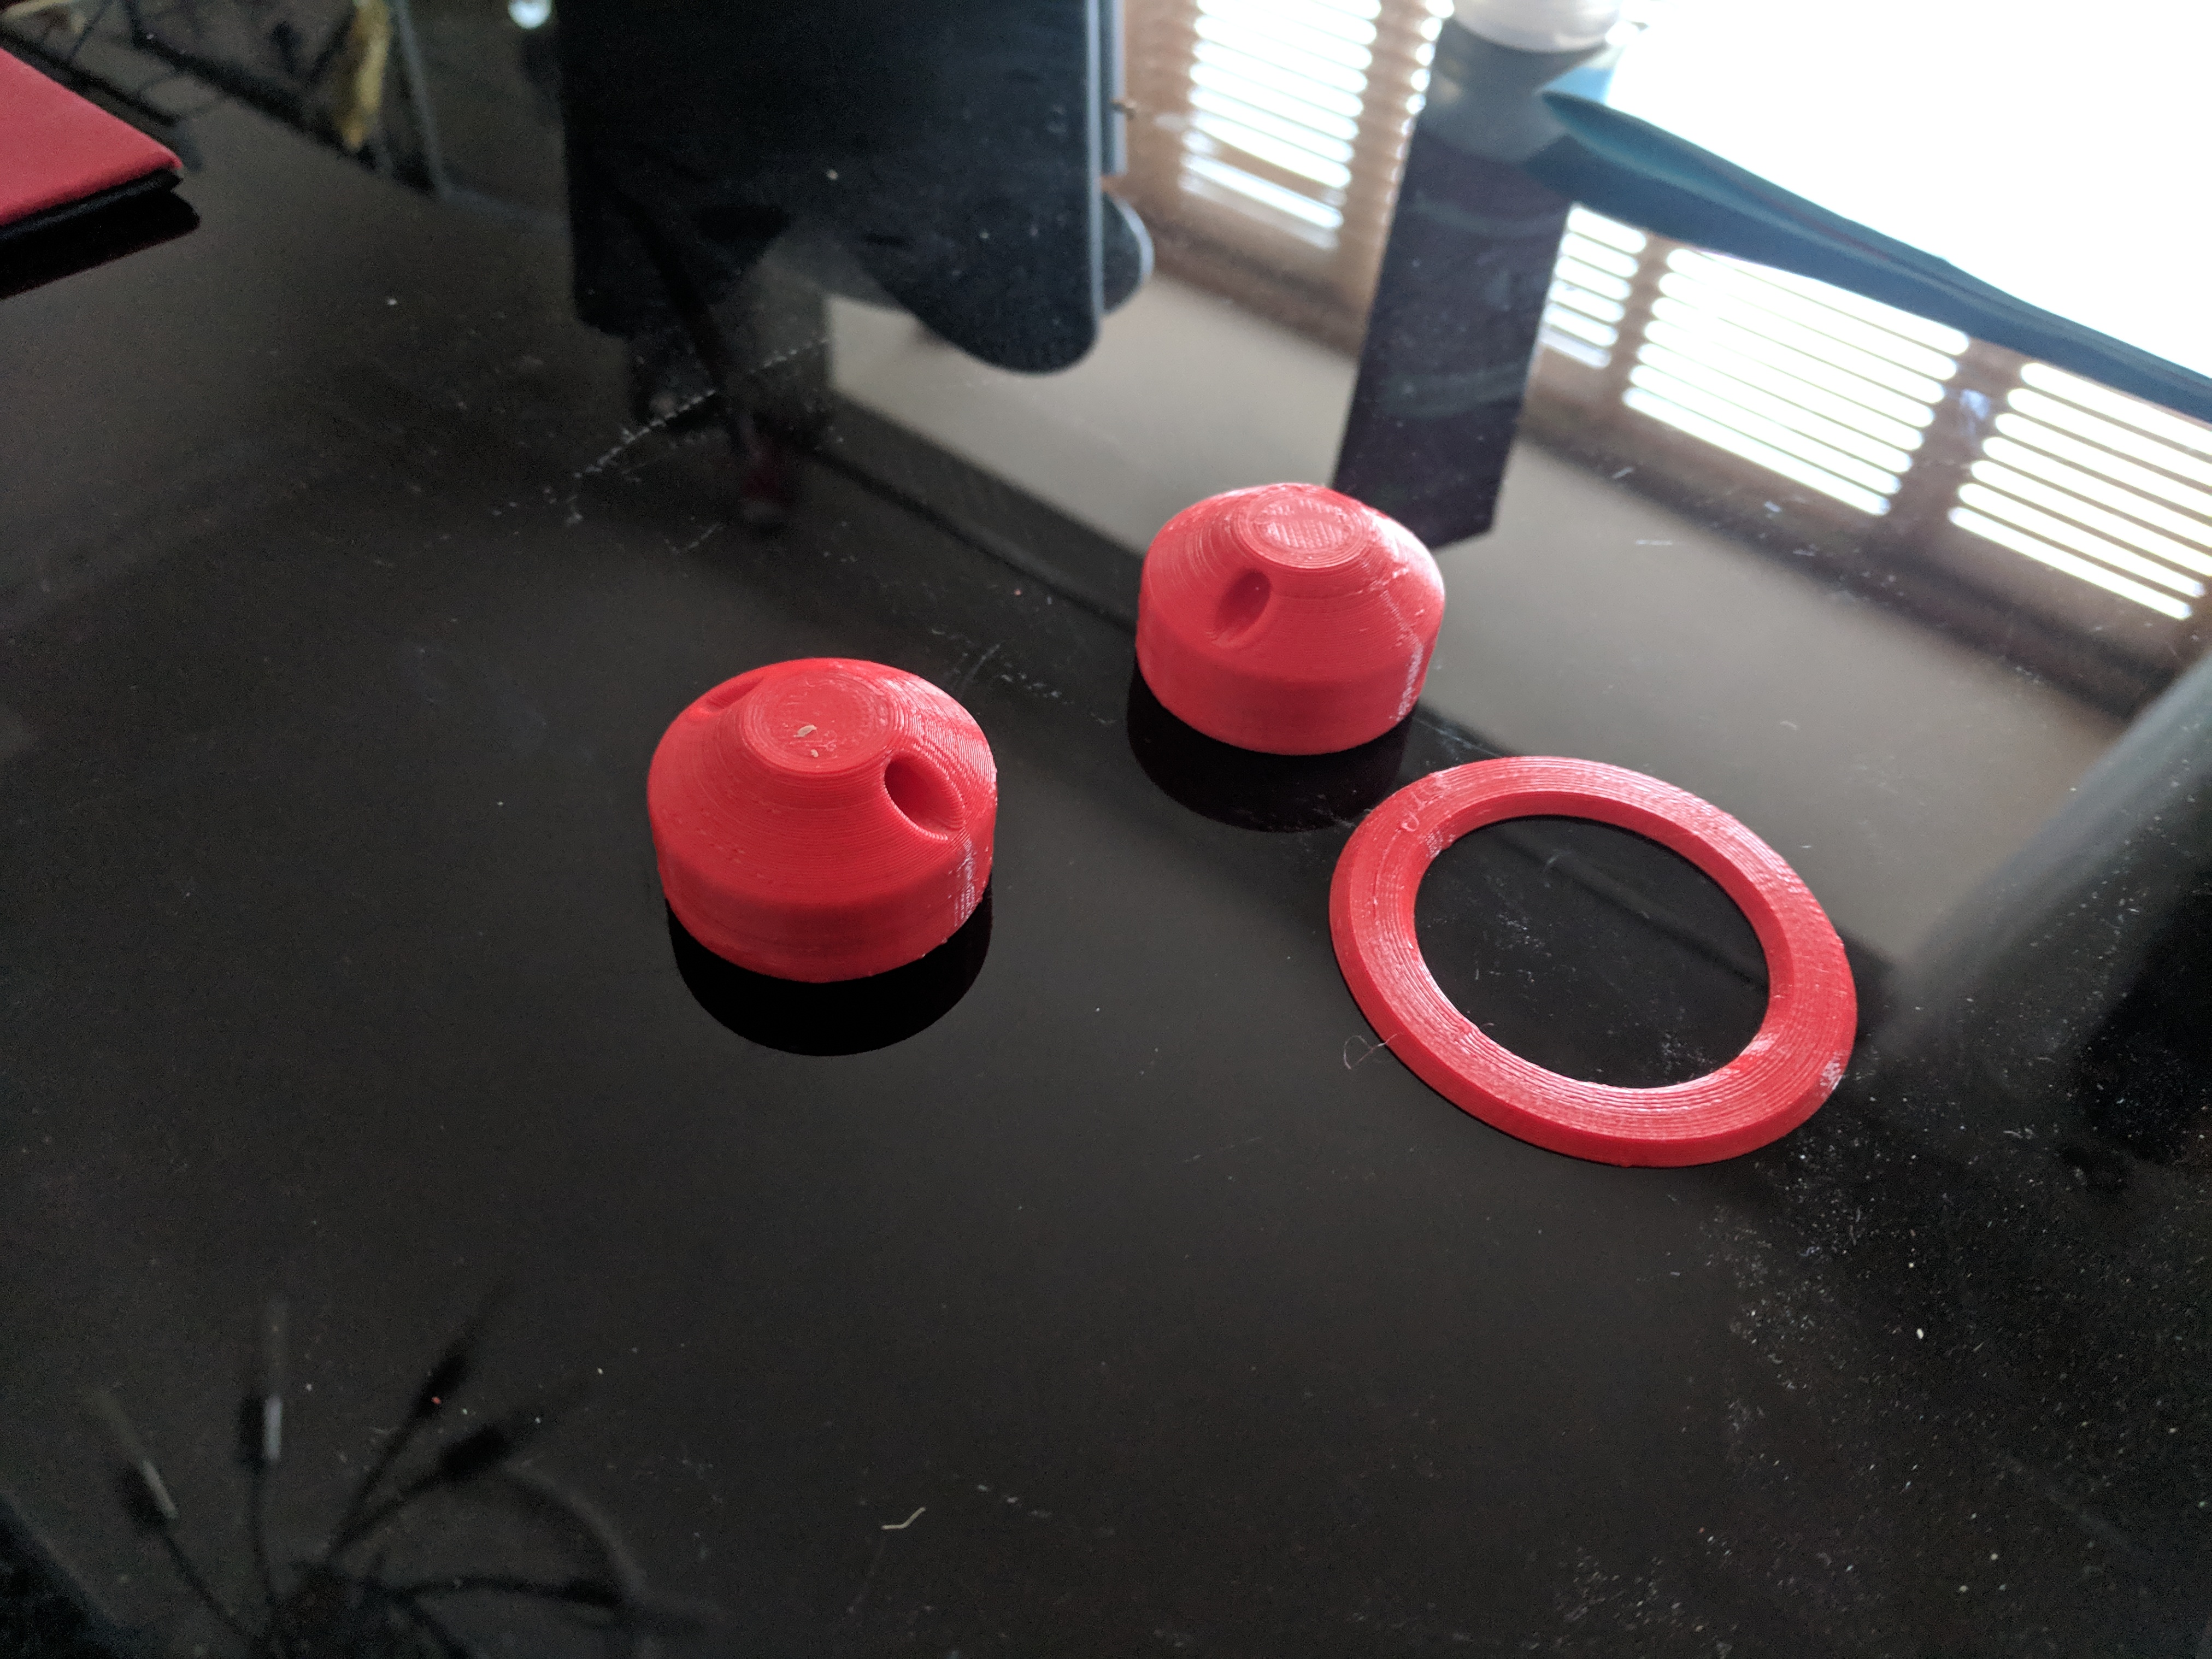
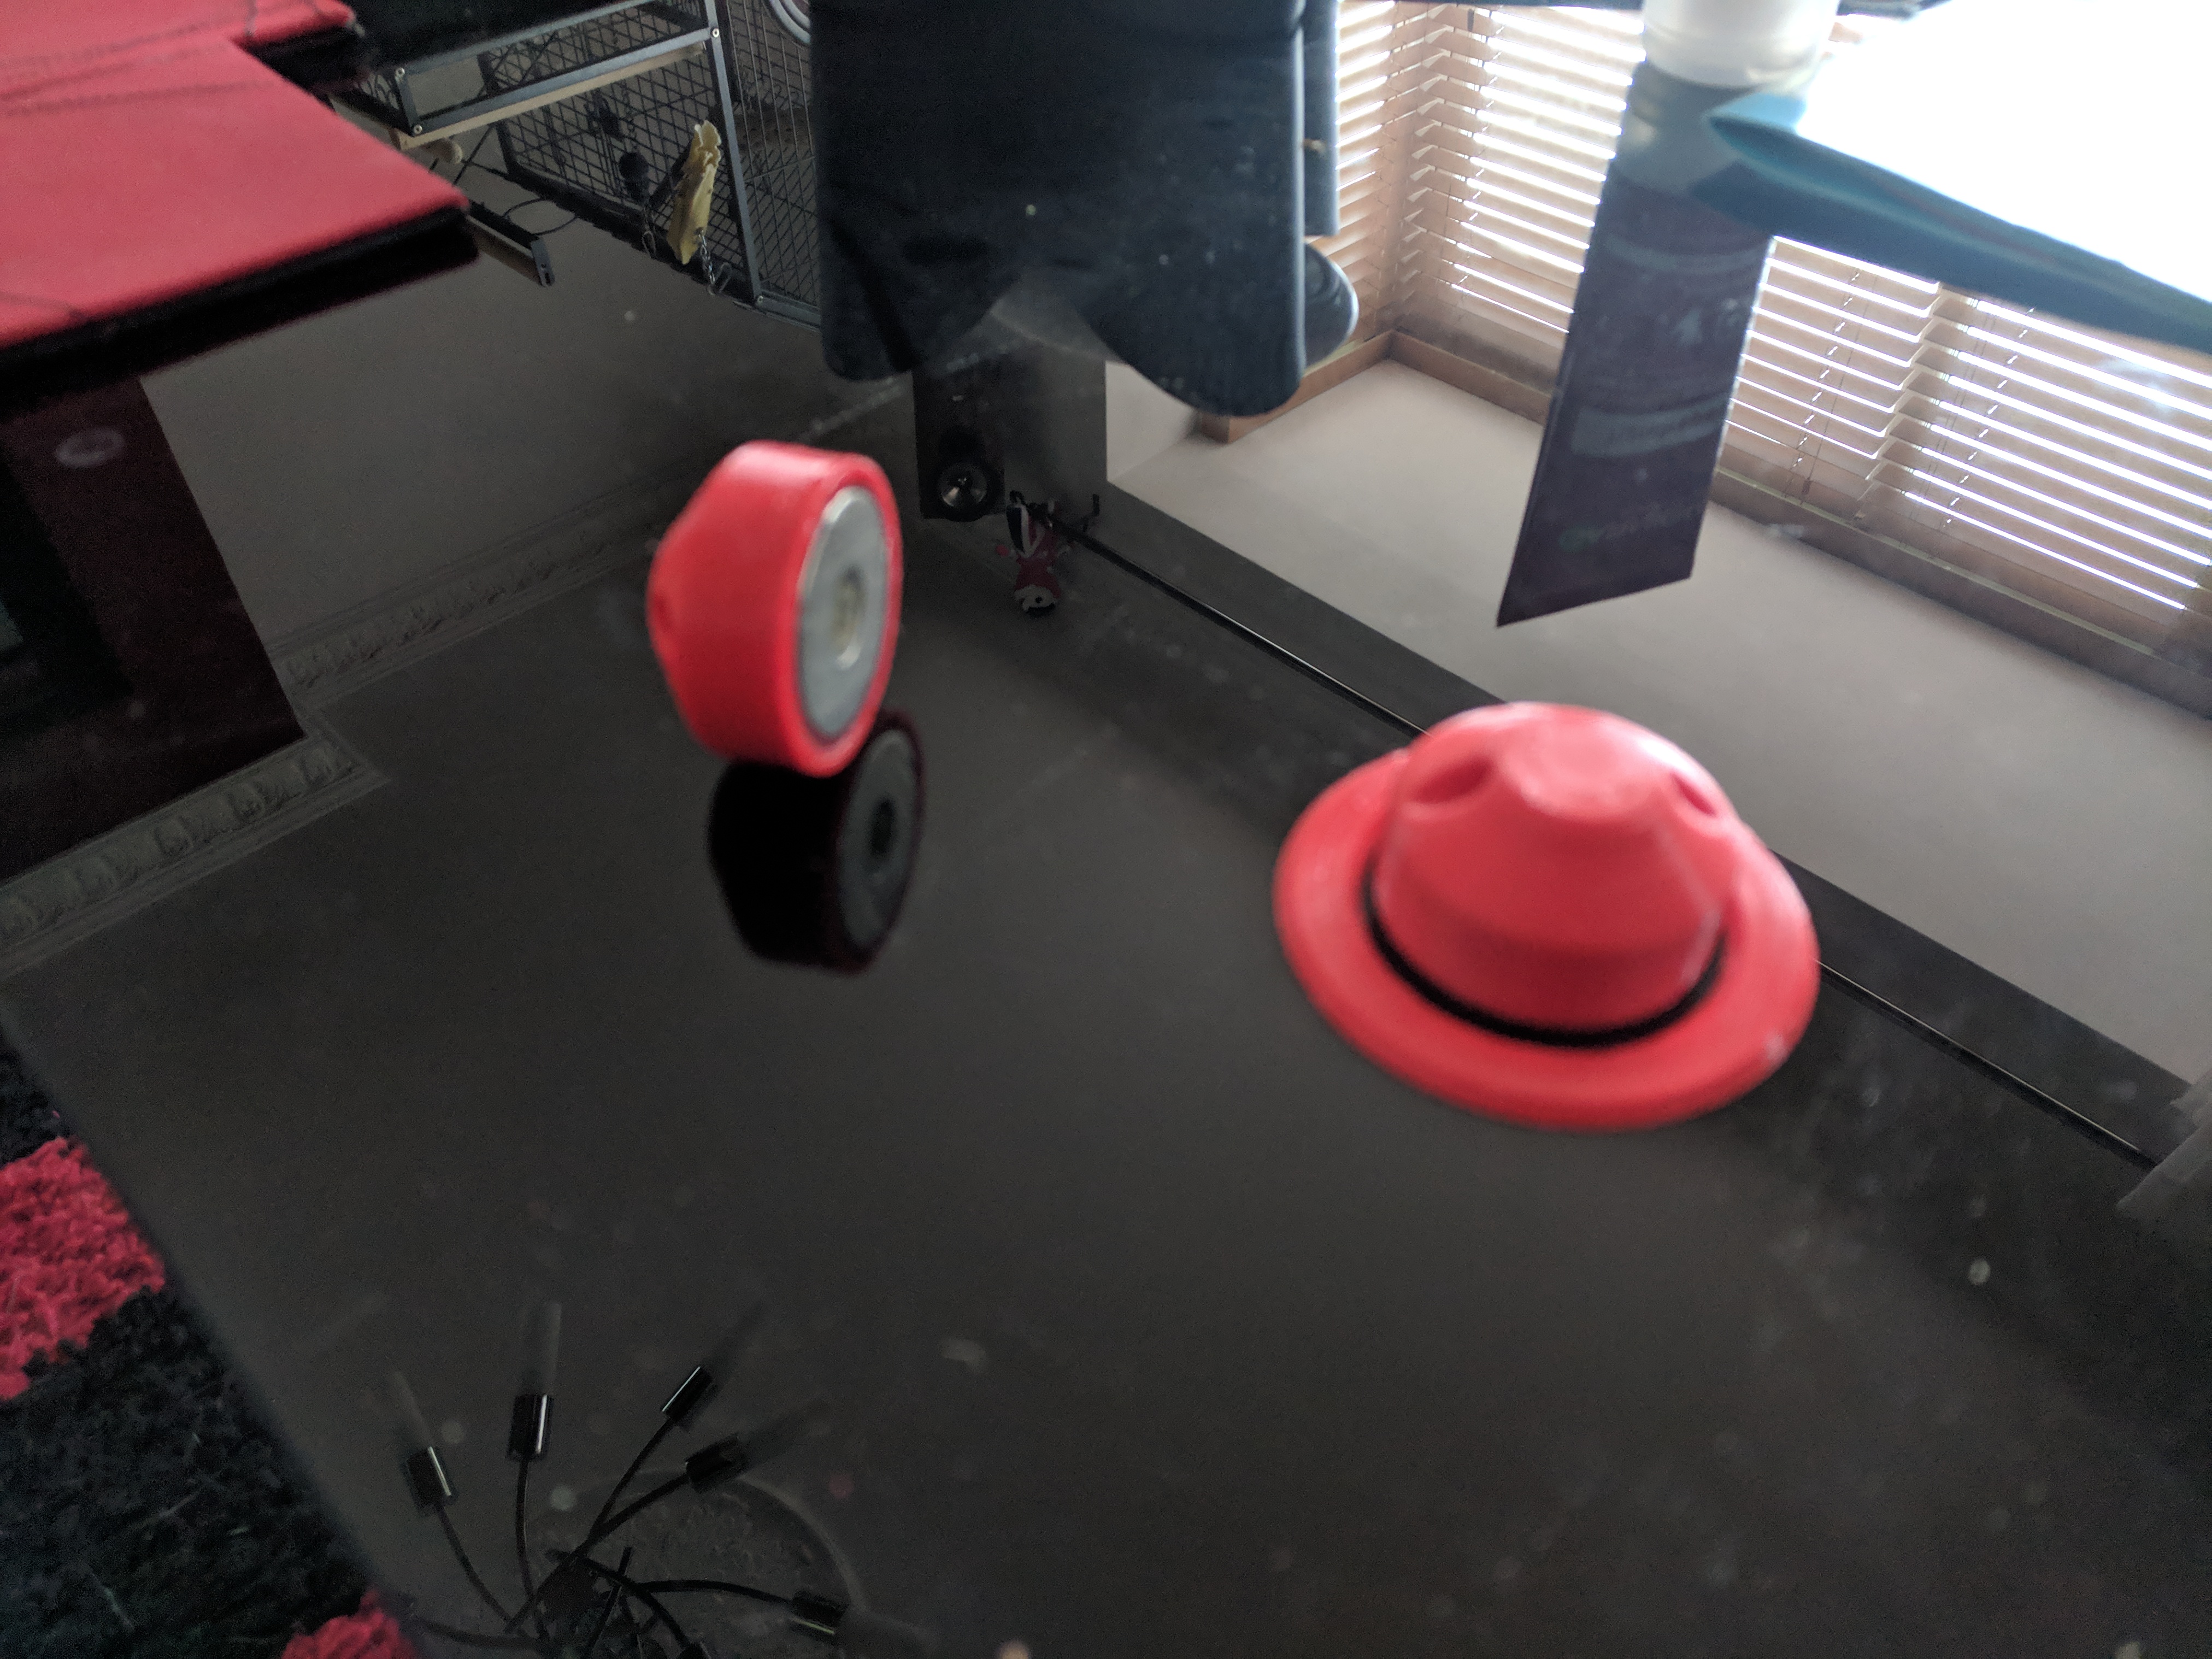
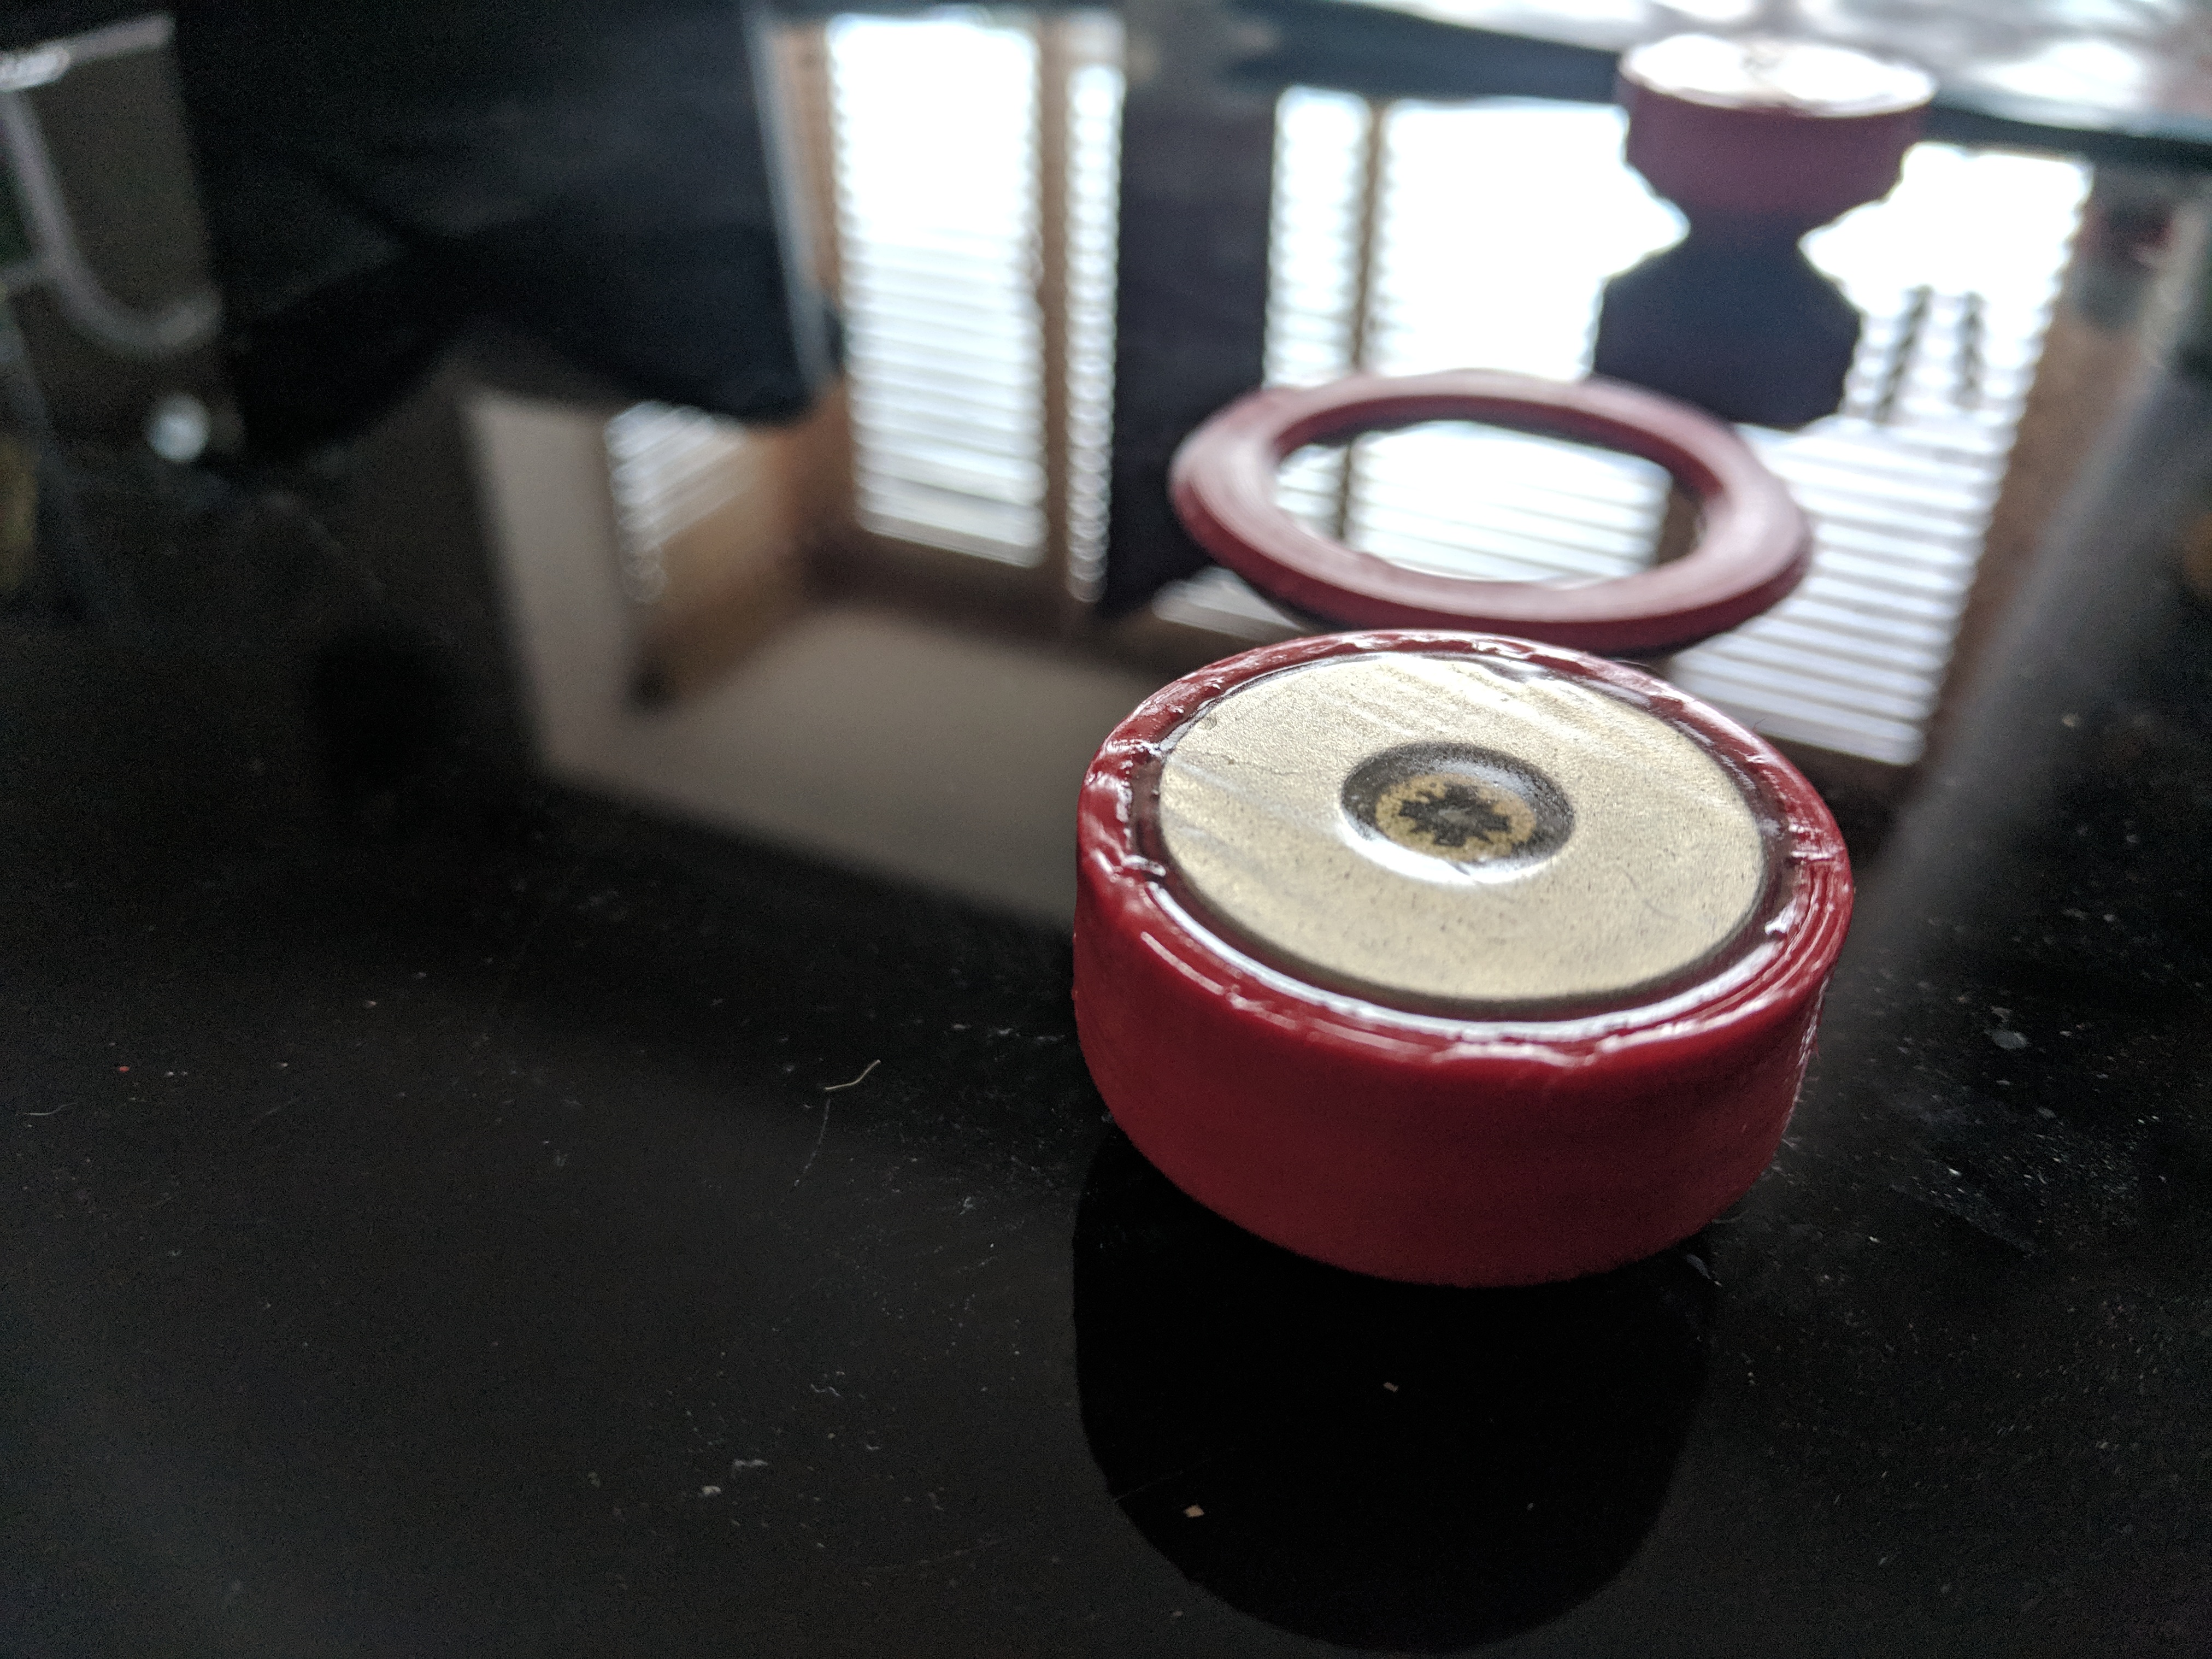
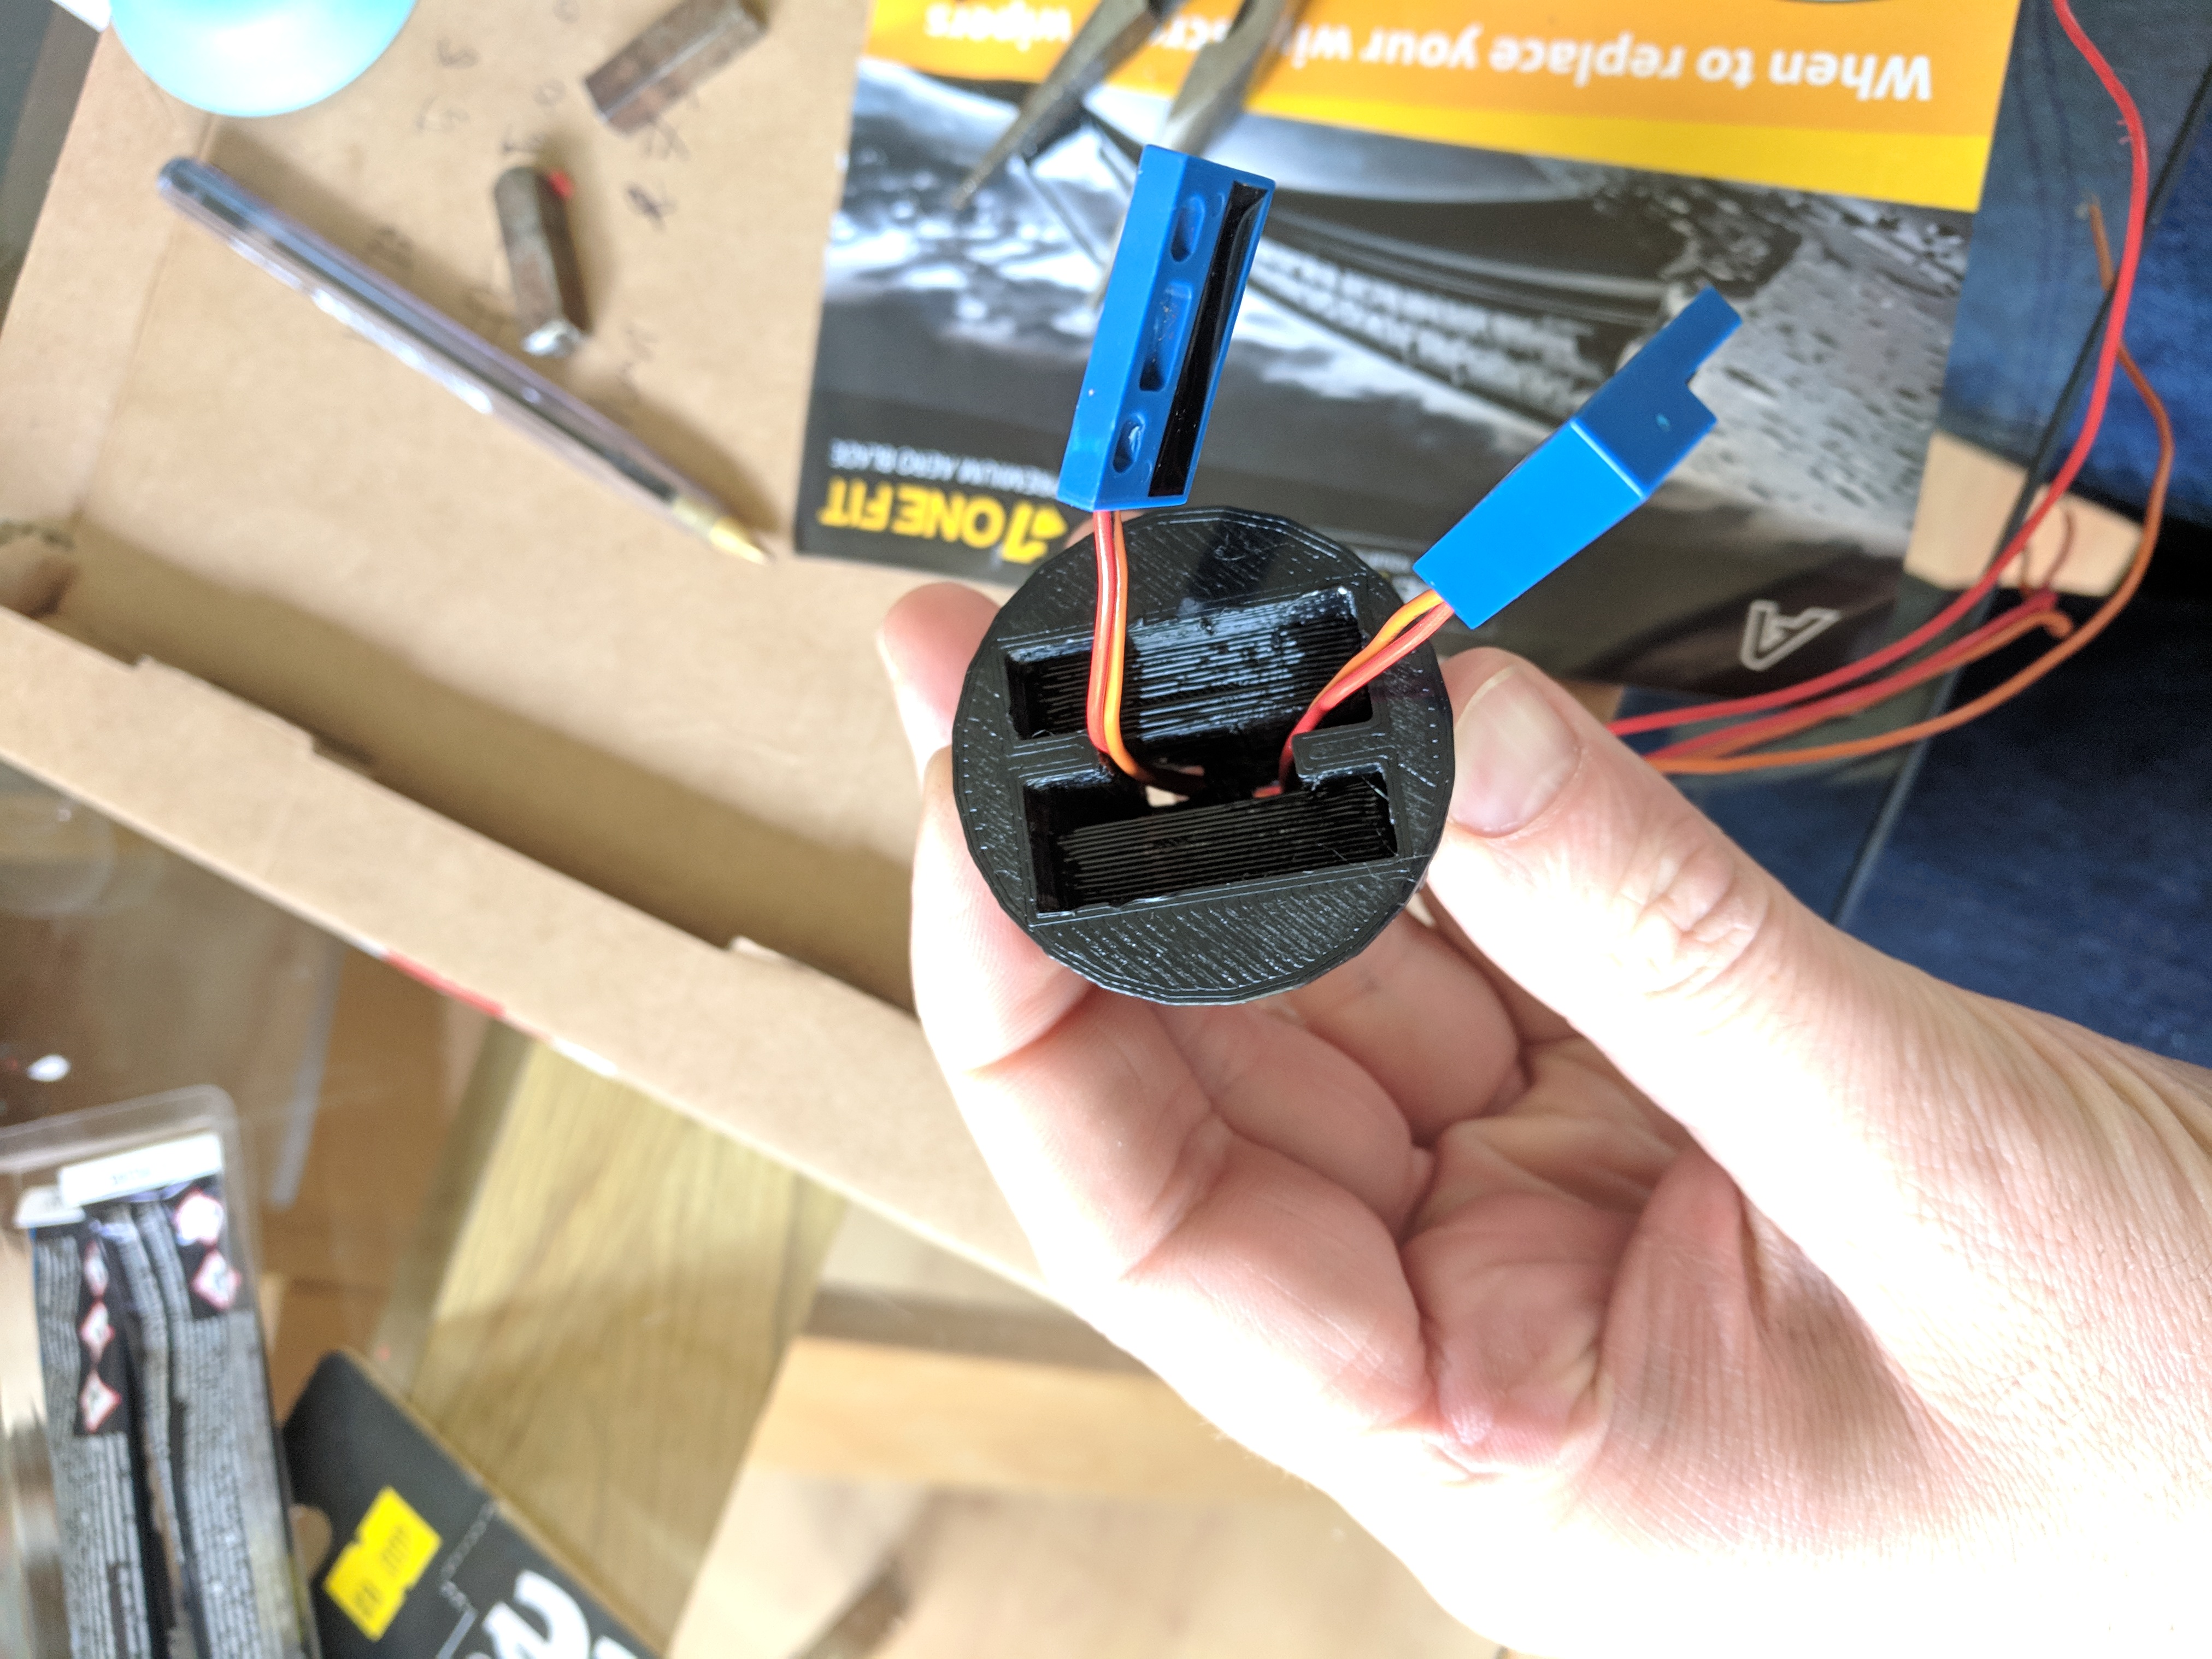
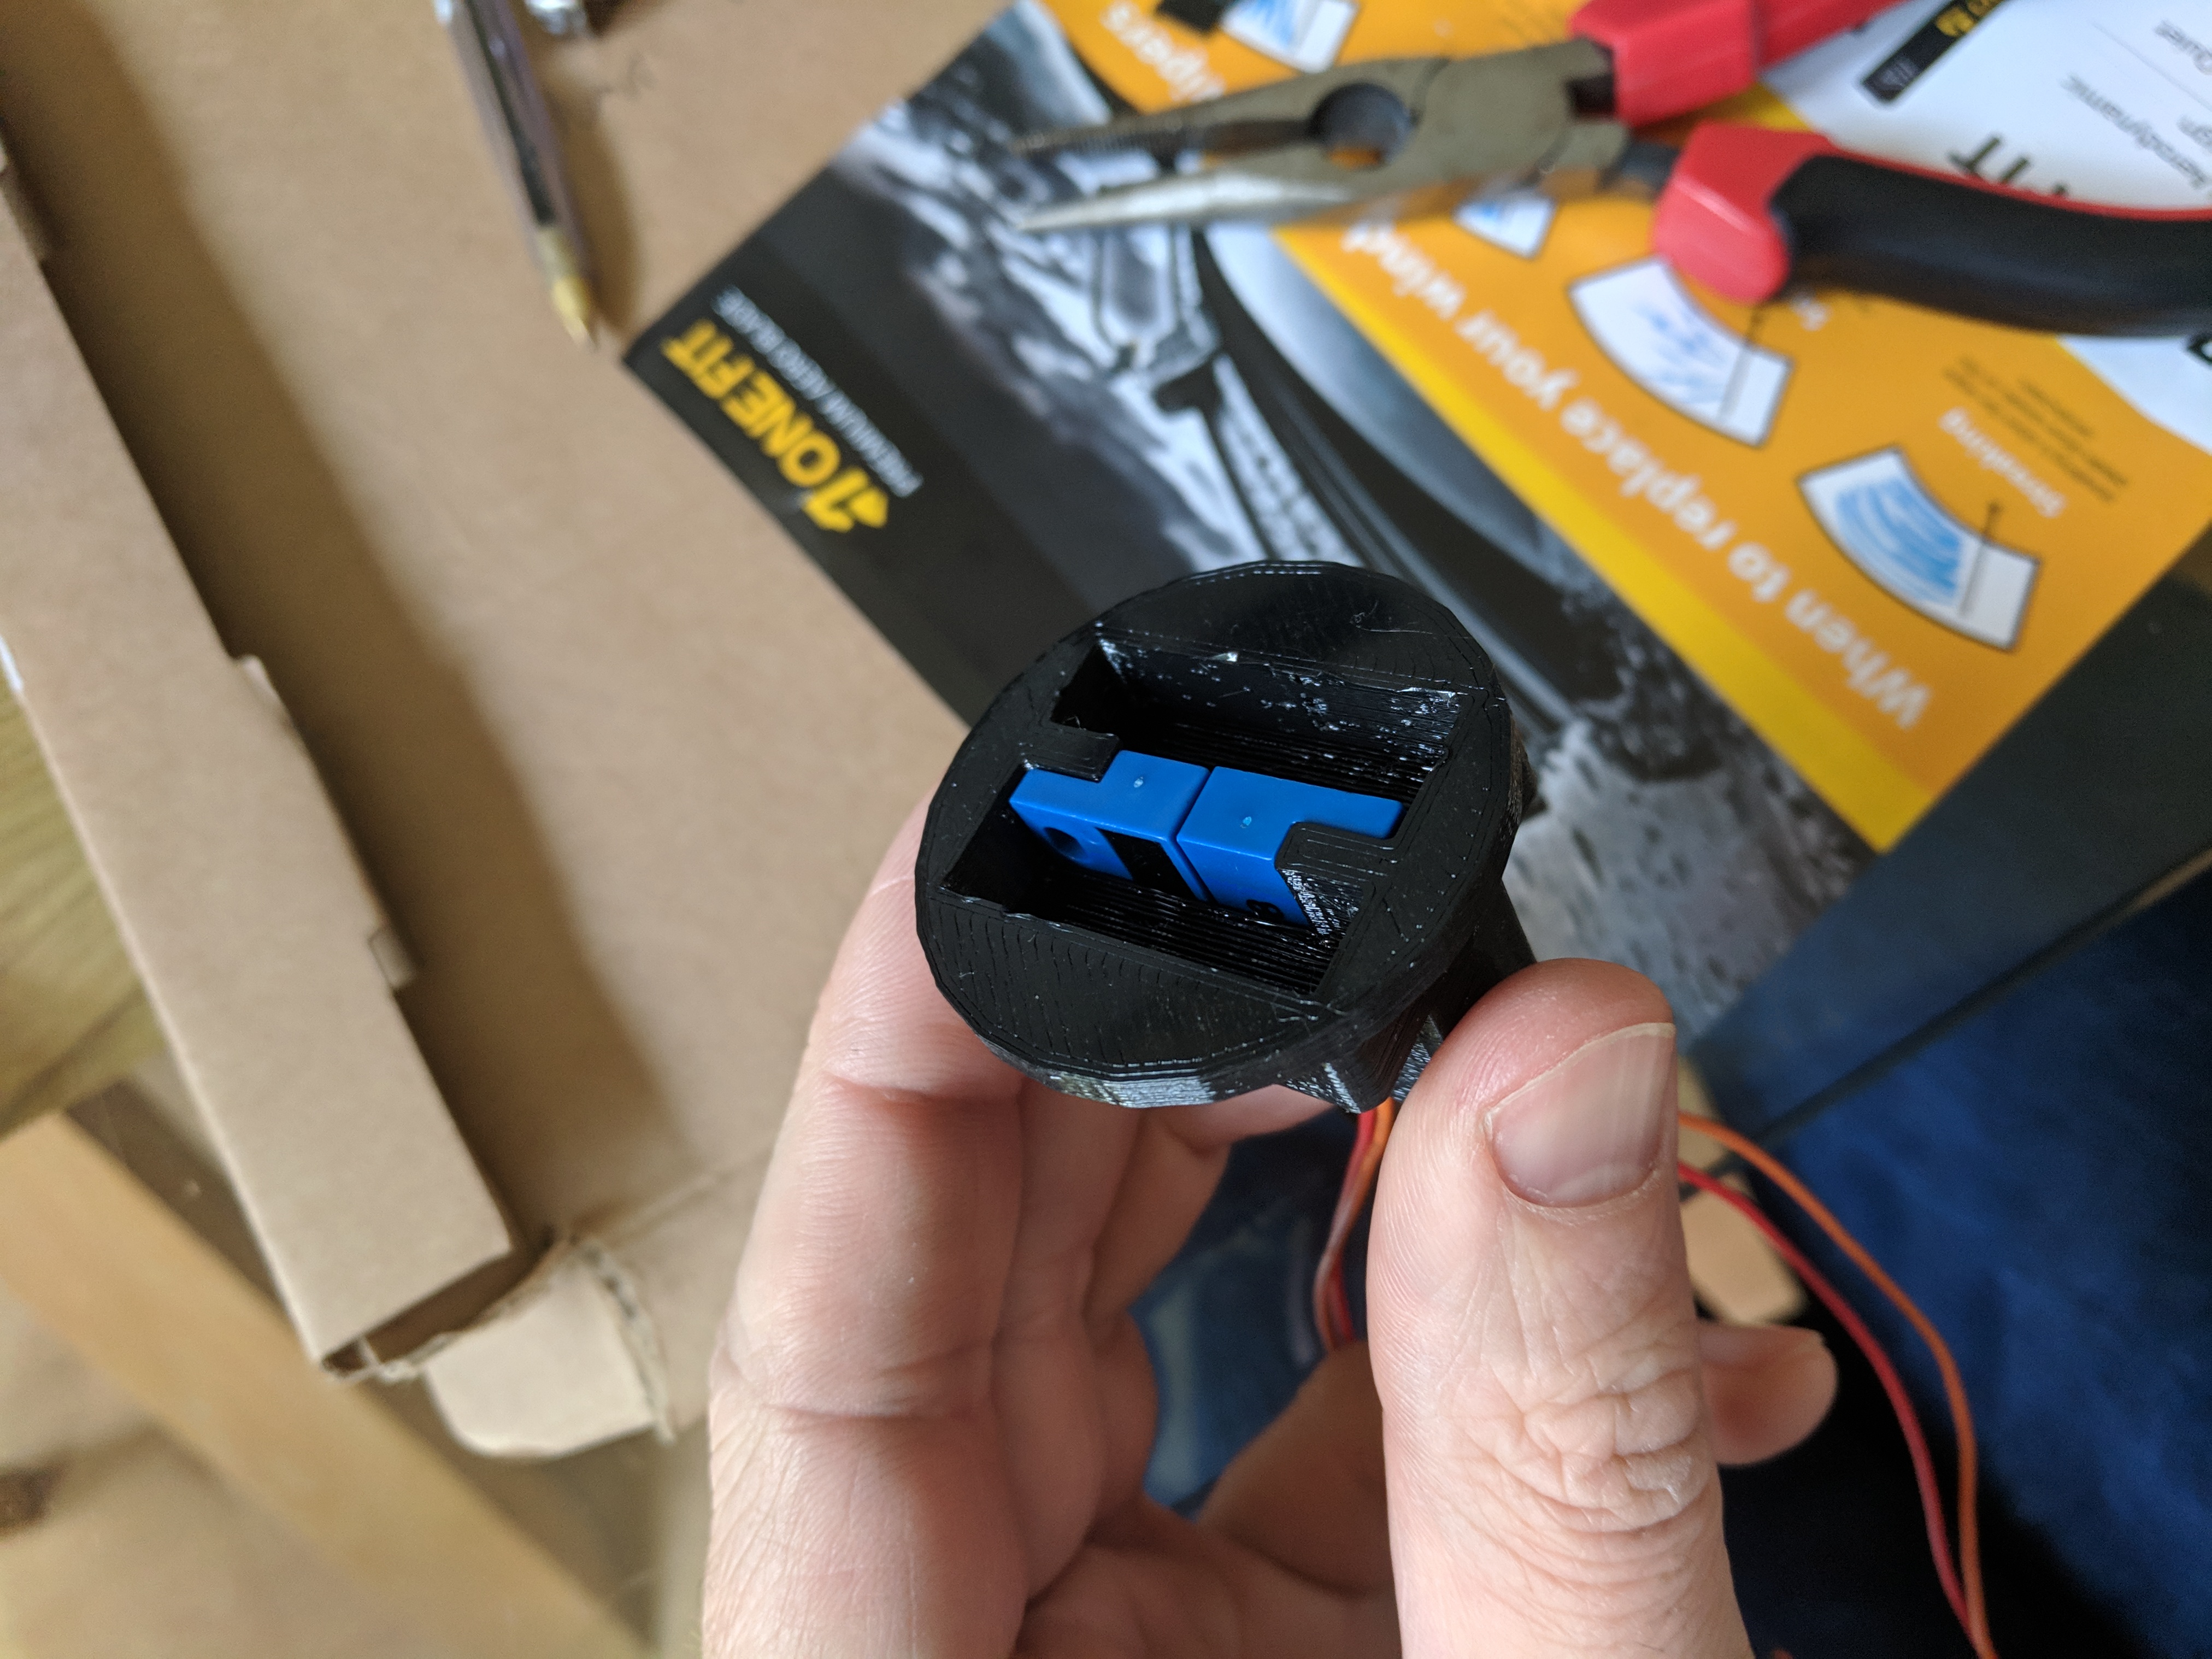
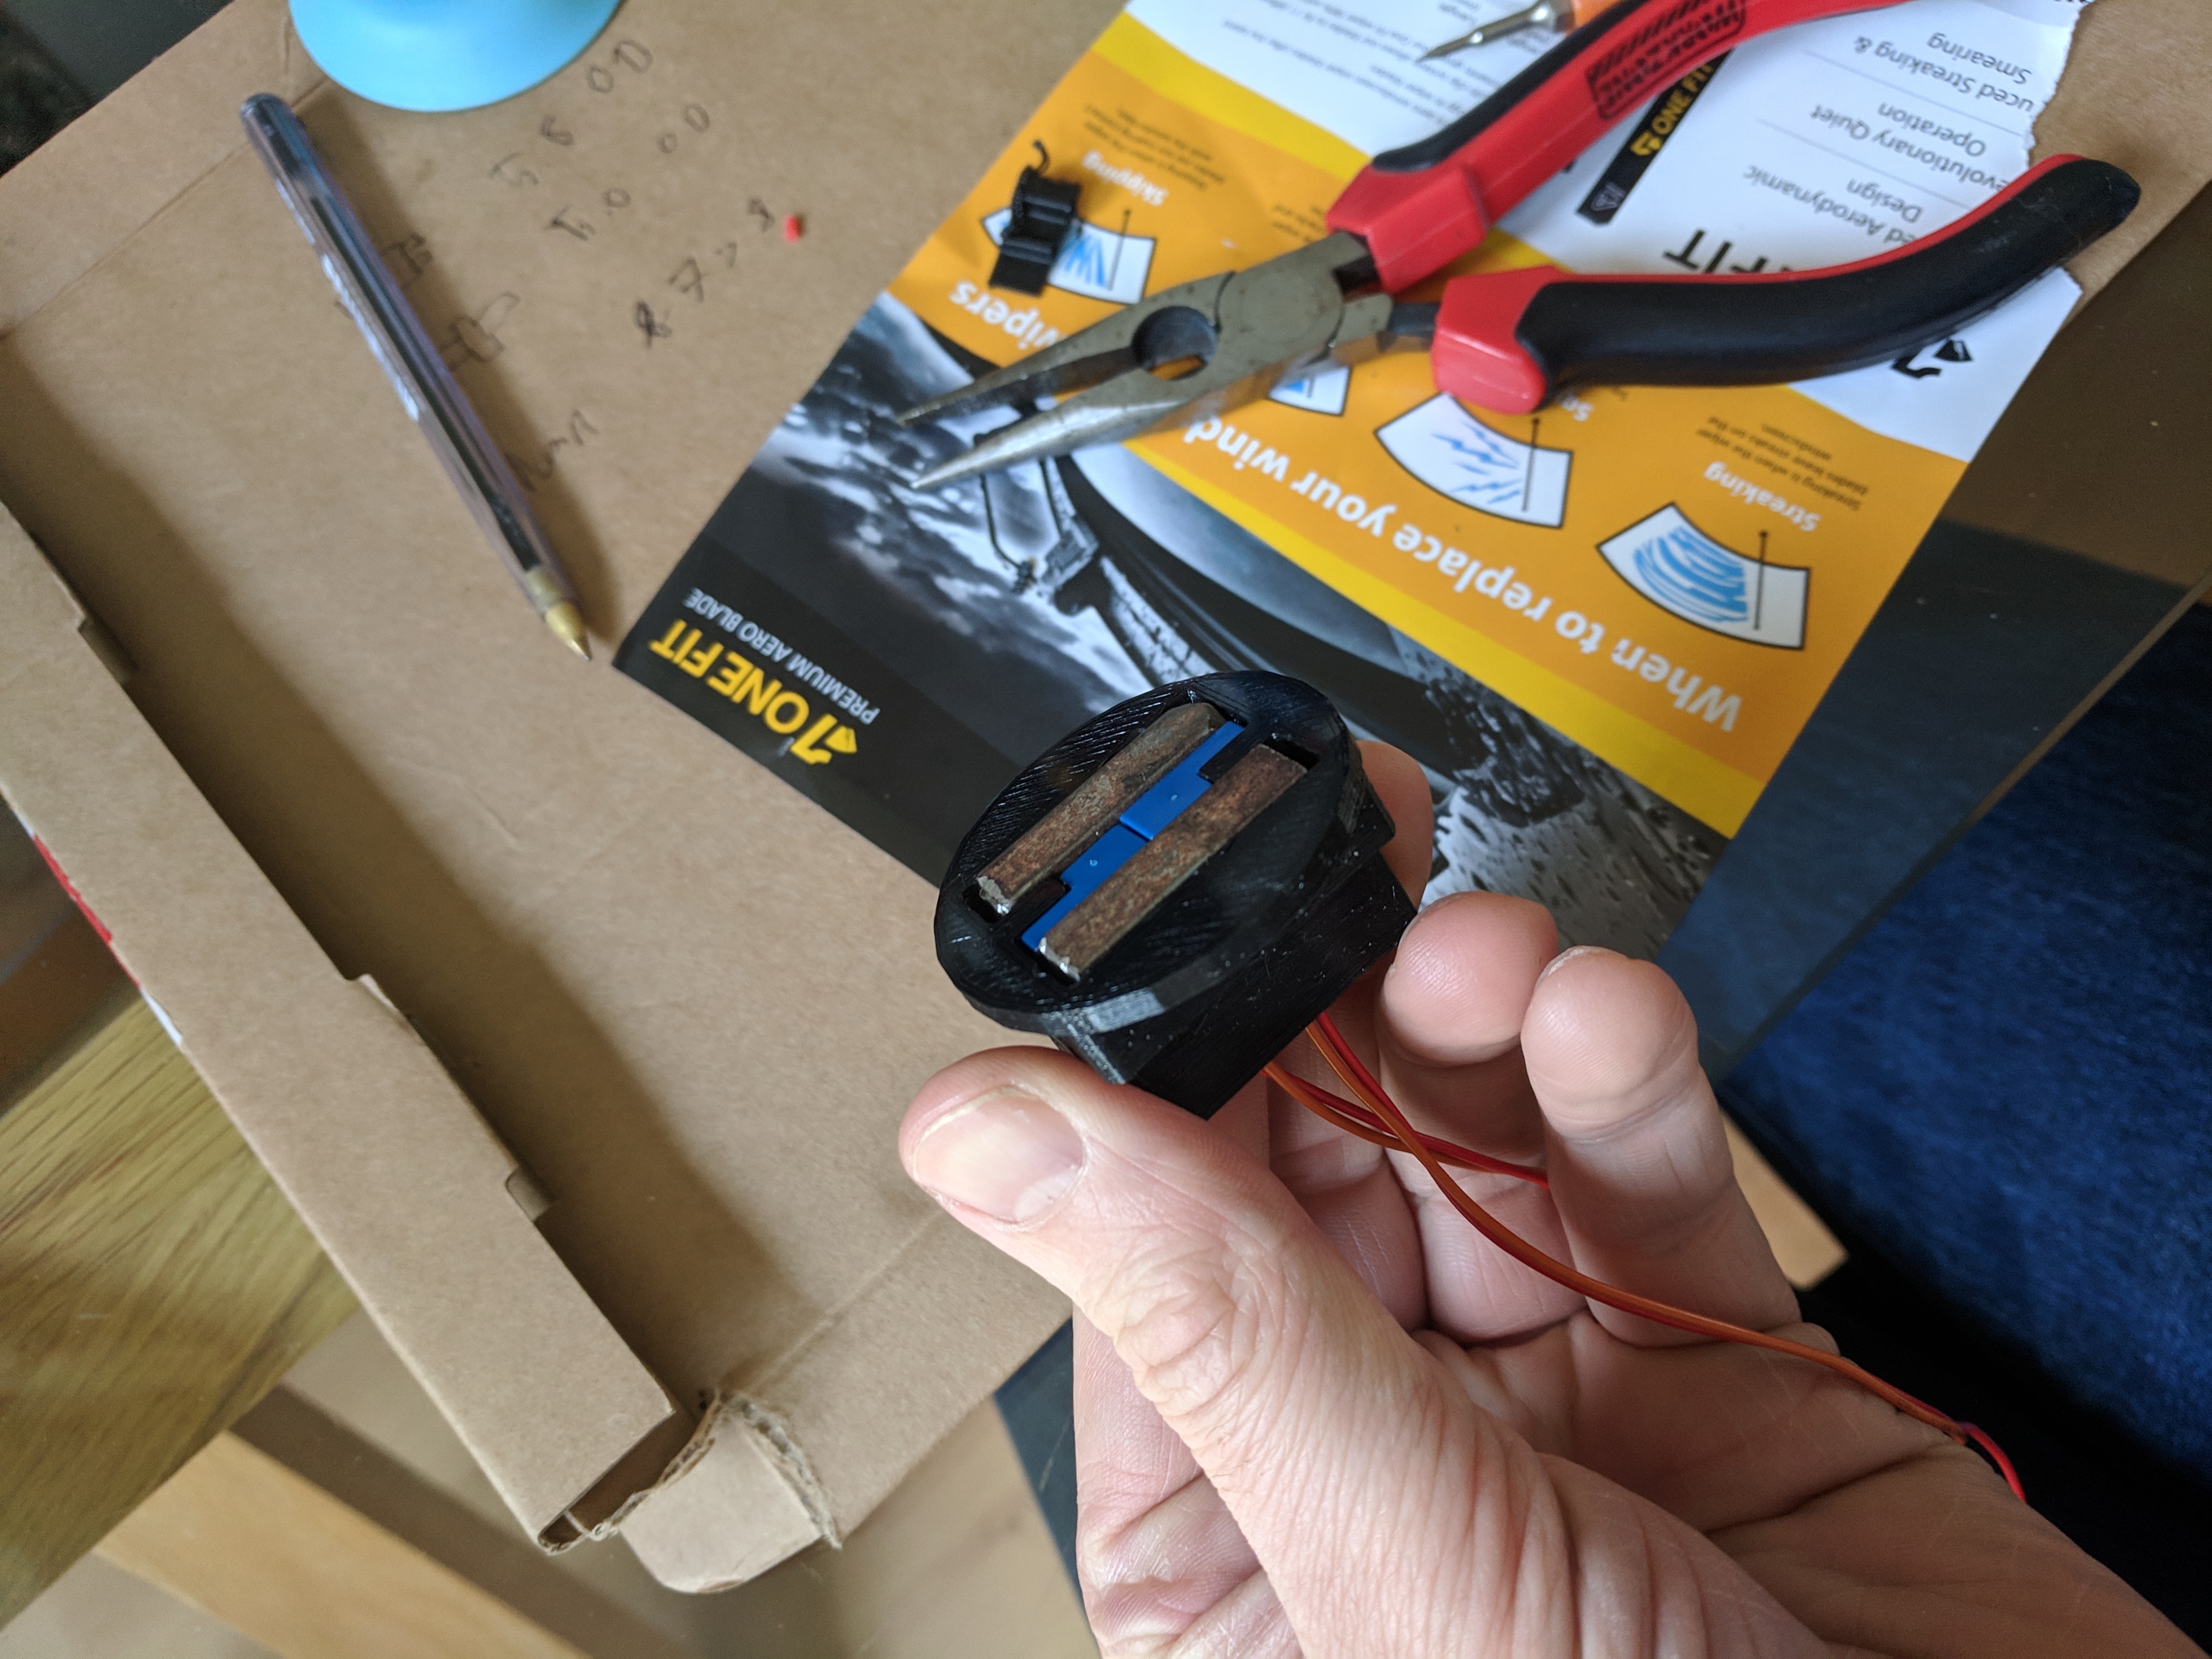
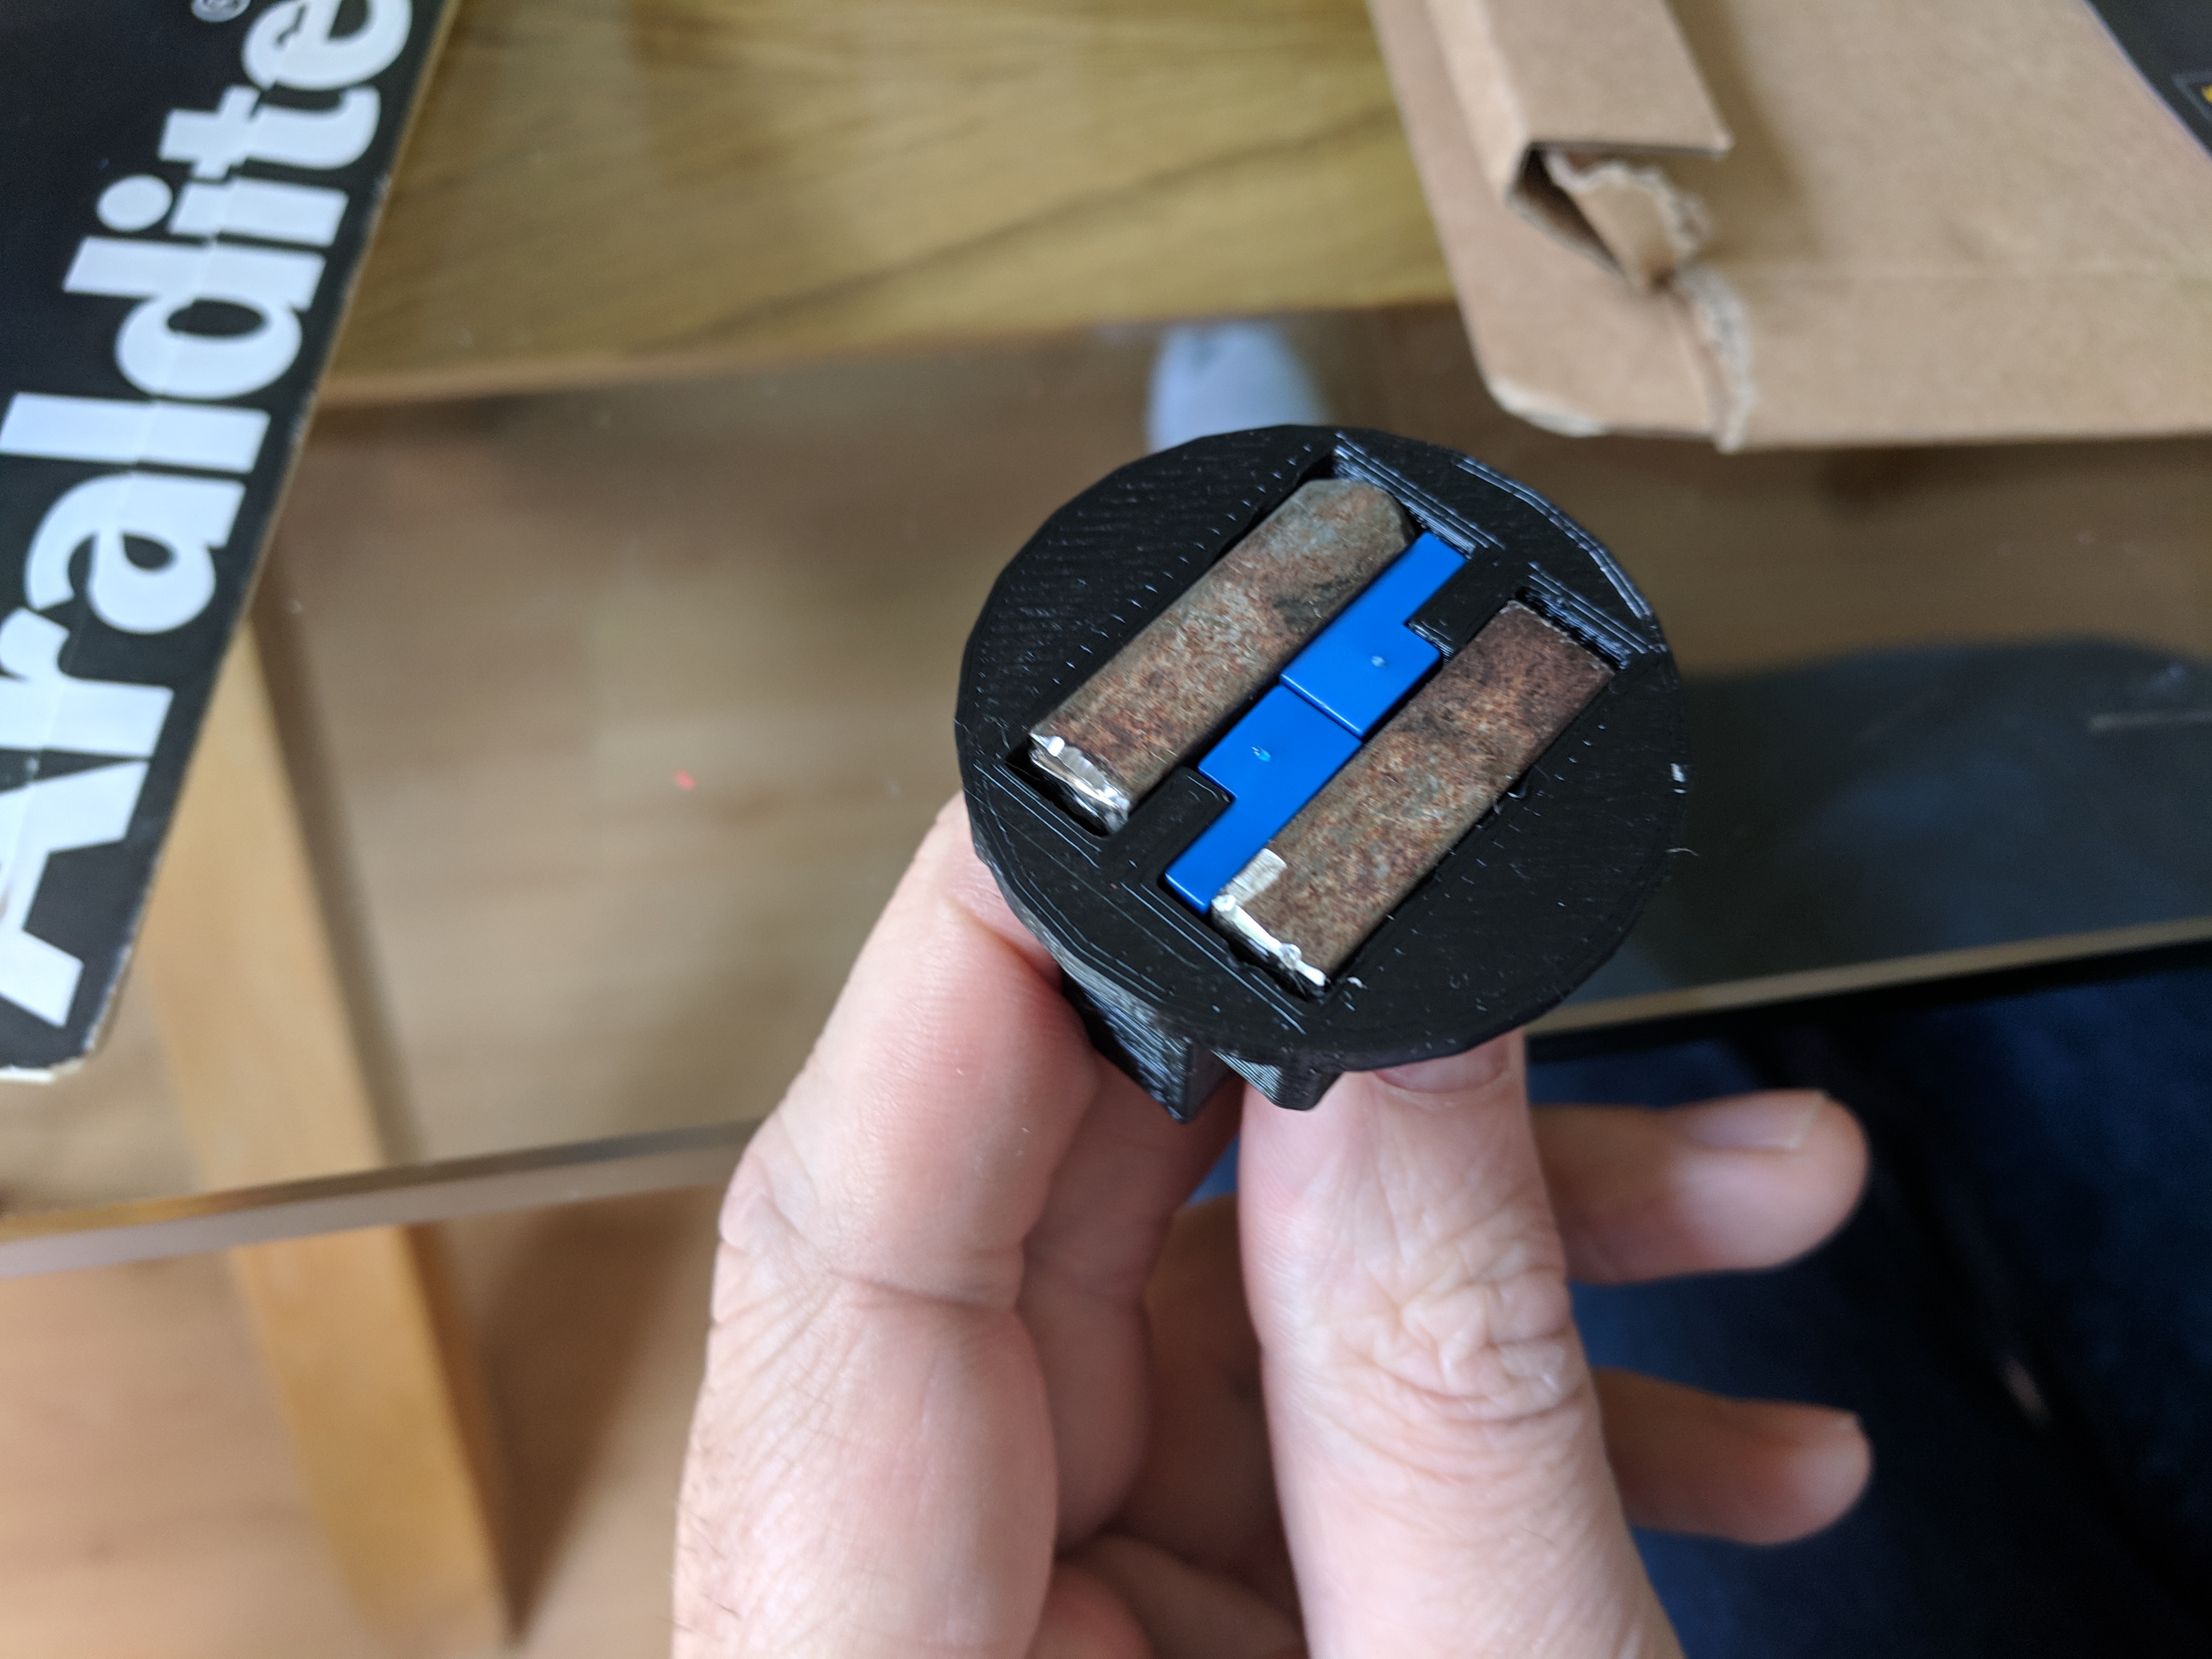
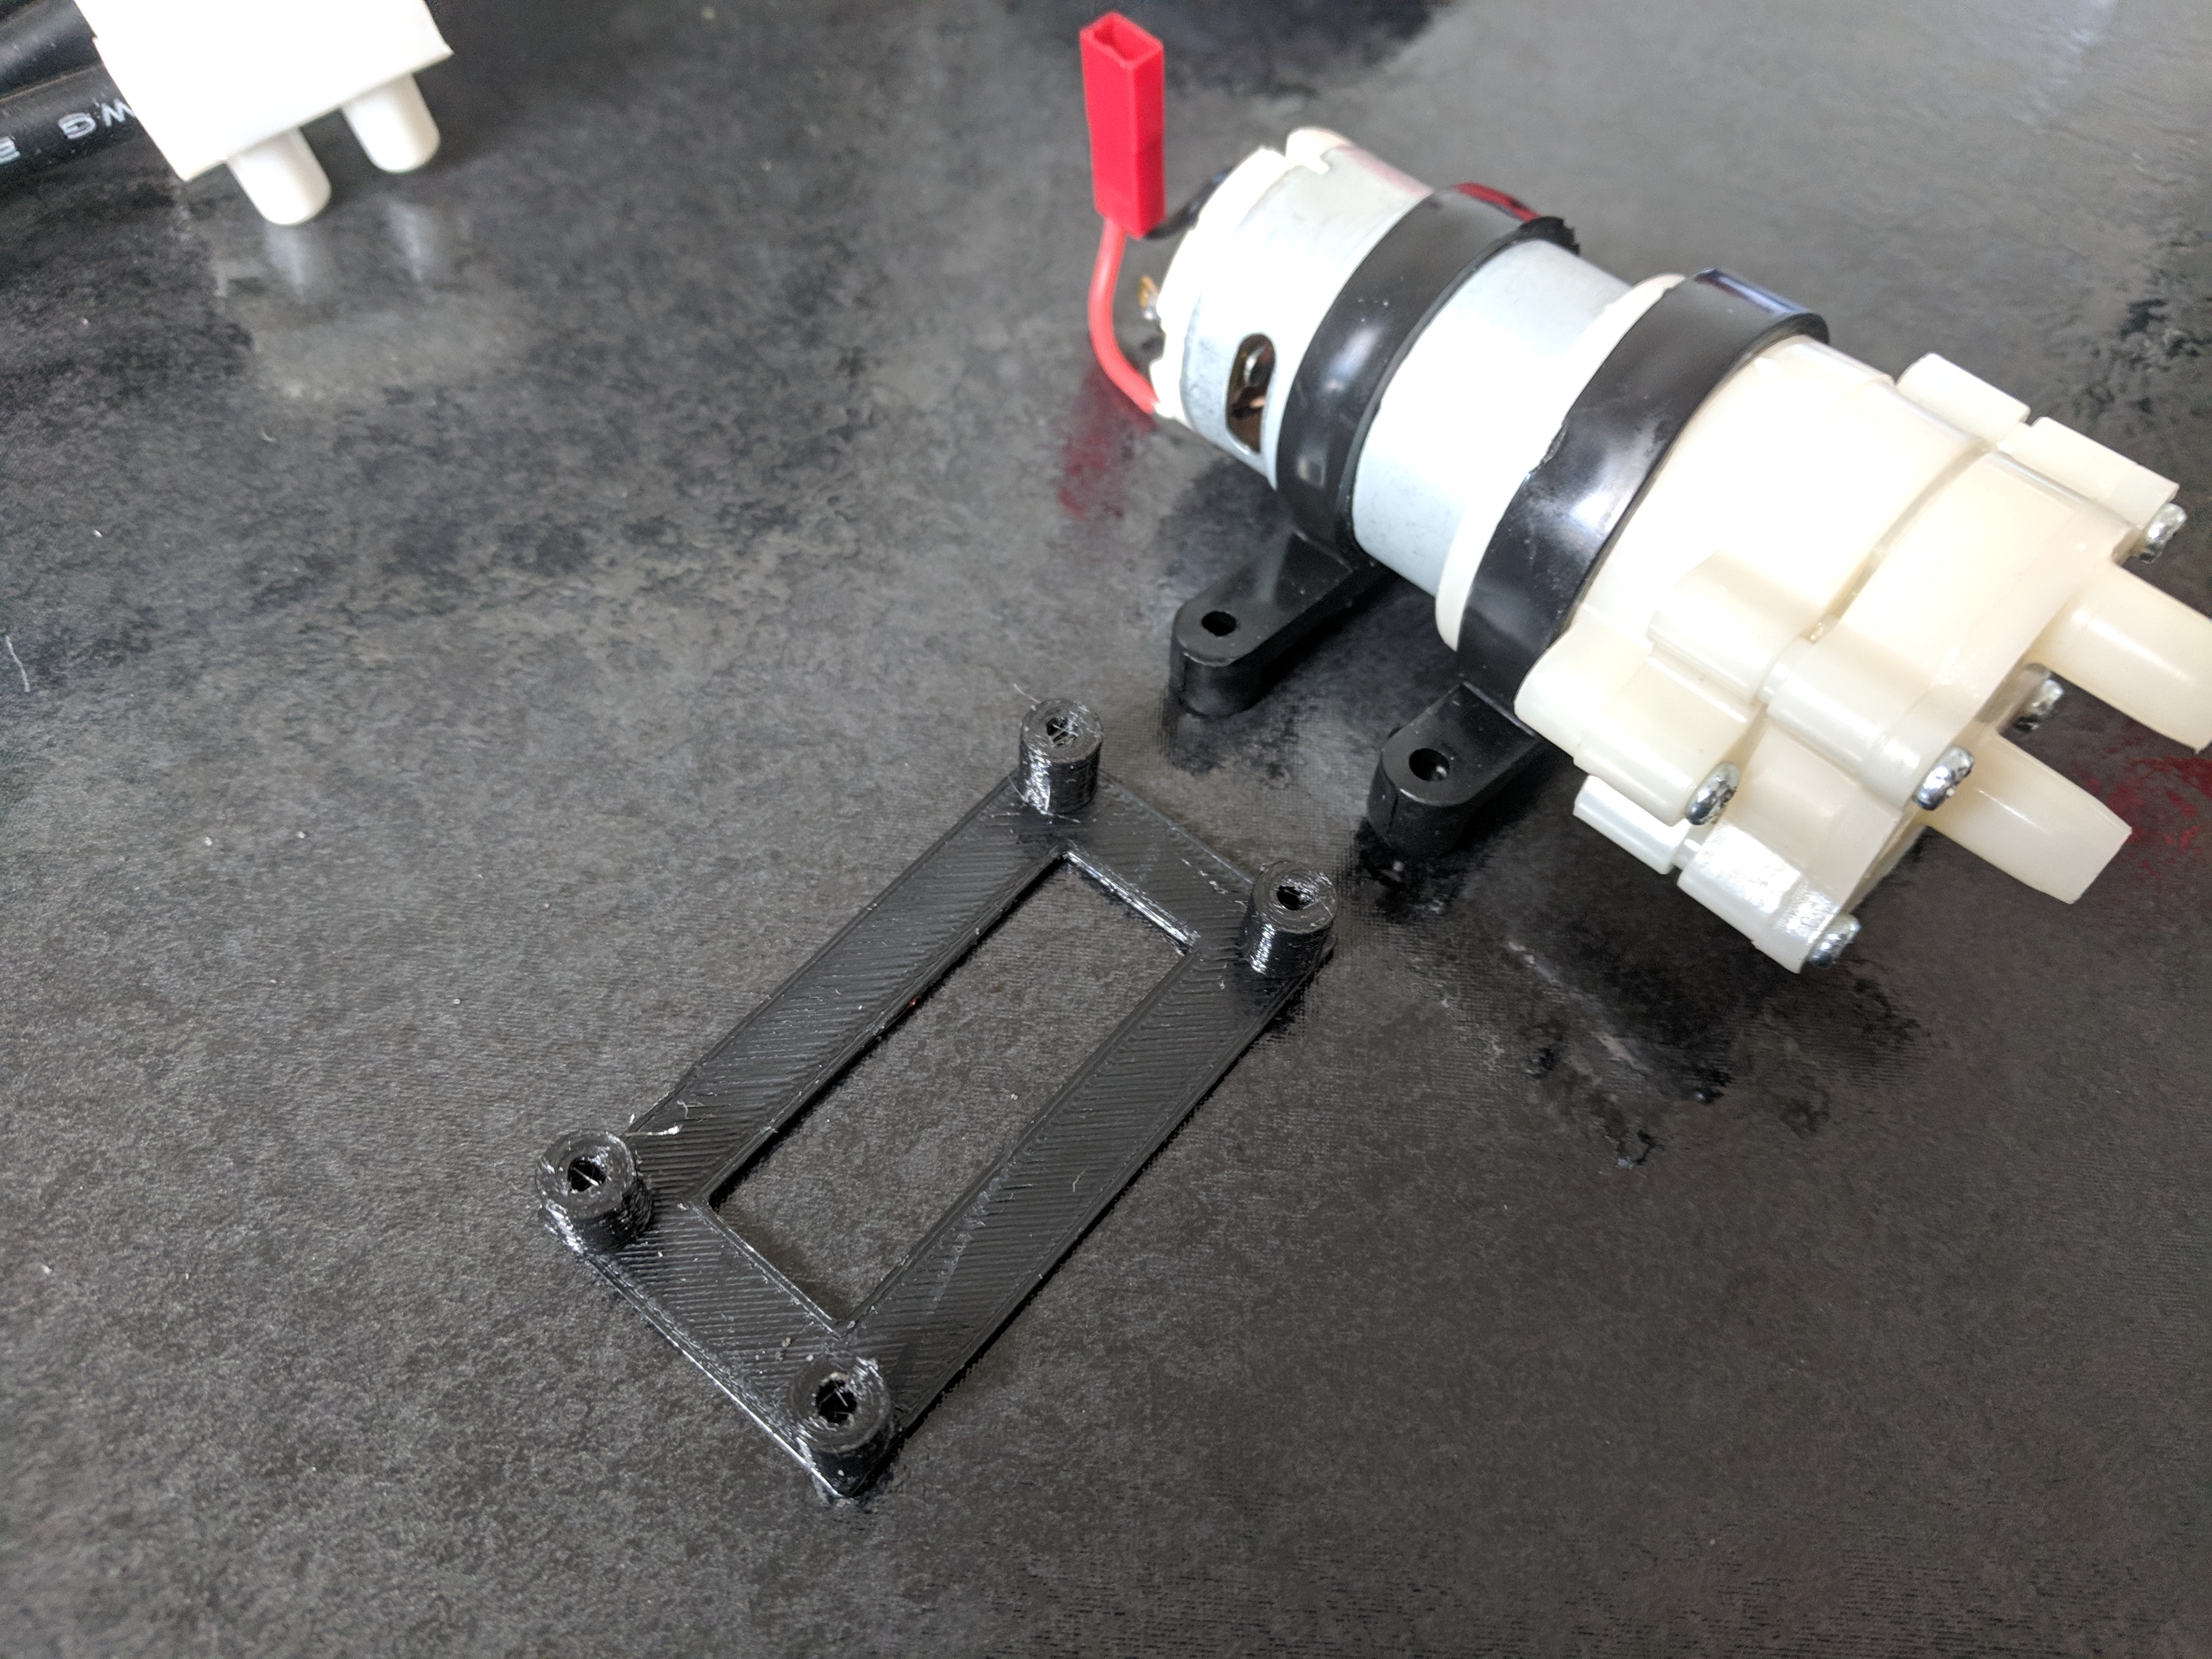
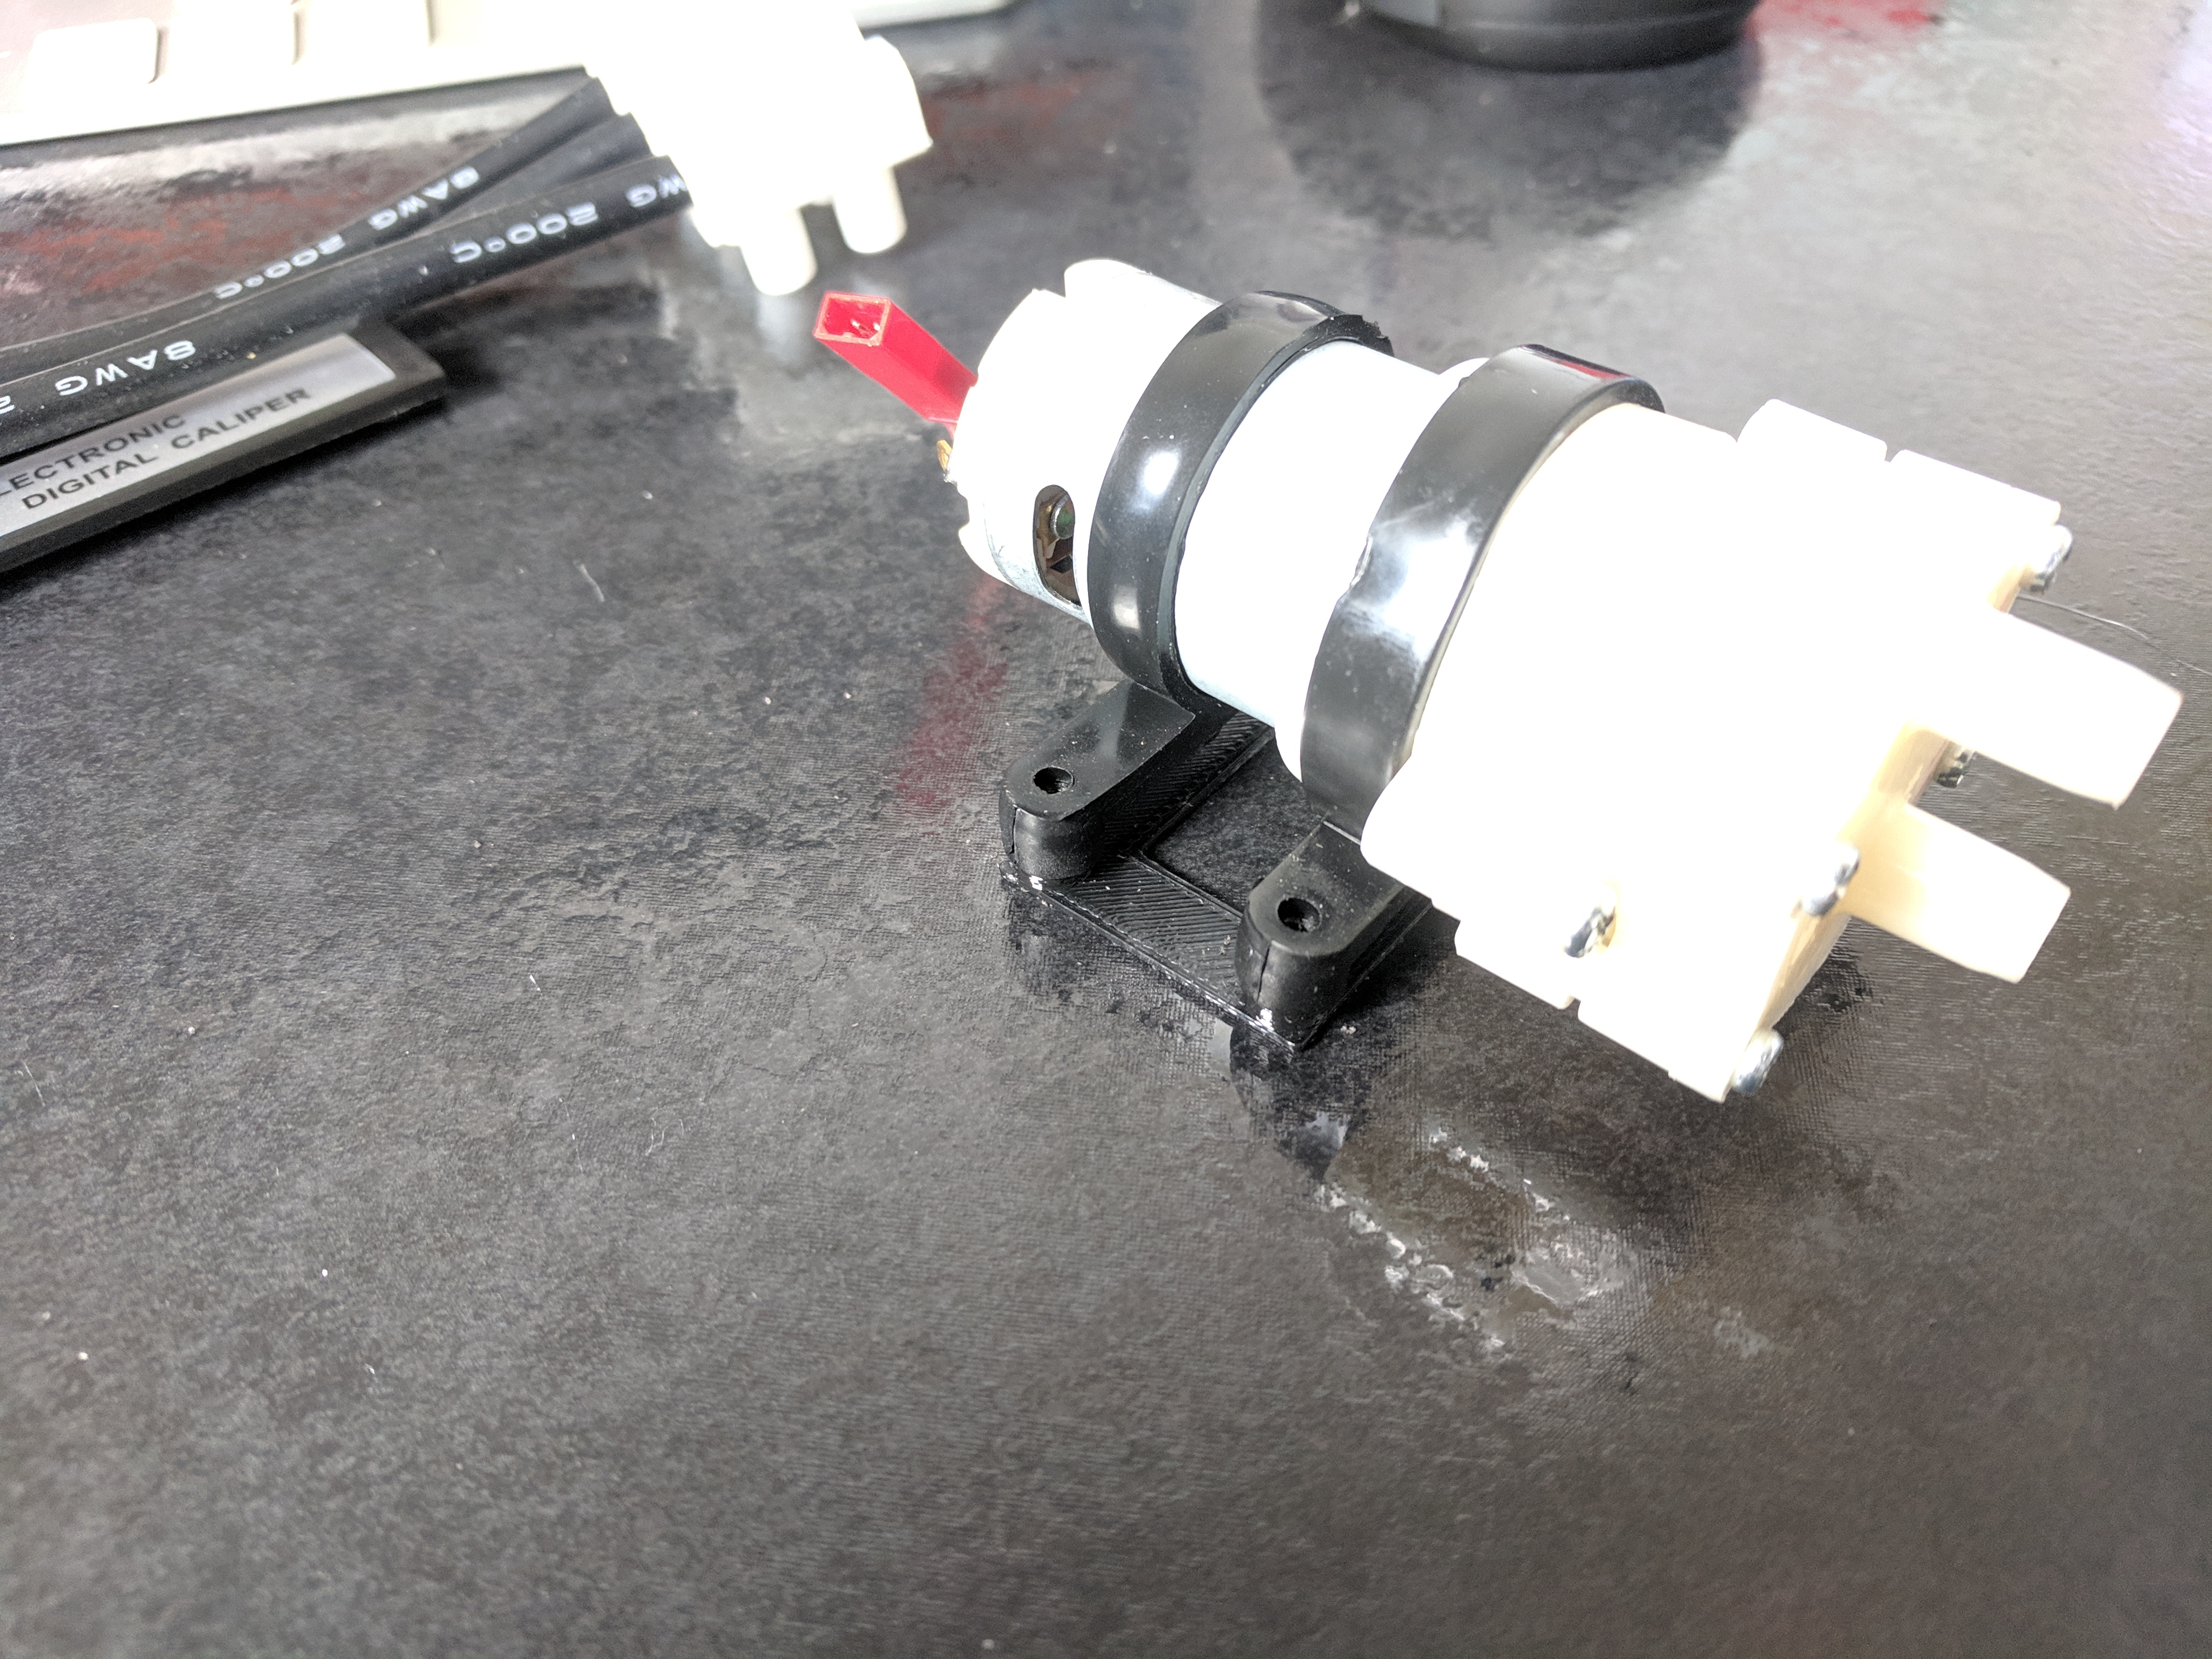
The magnet will activate 2 reed switches (Aleph PS-3150).
One will activate the water pump.
The other is a kill switch on the signal wire from the receiver to the esc.
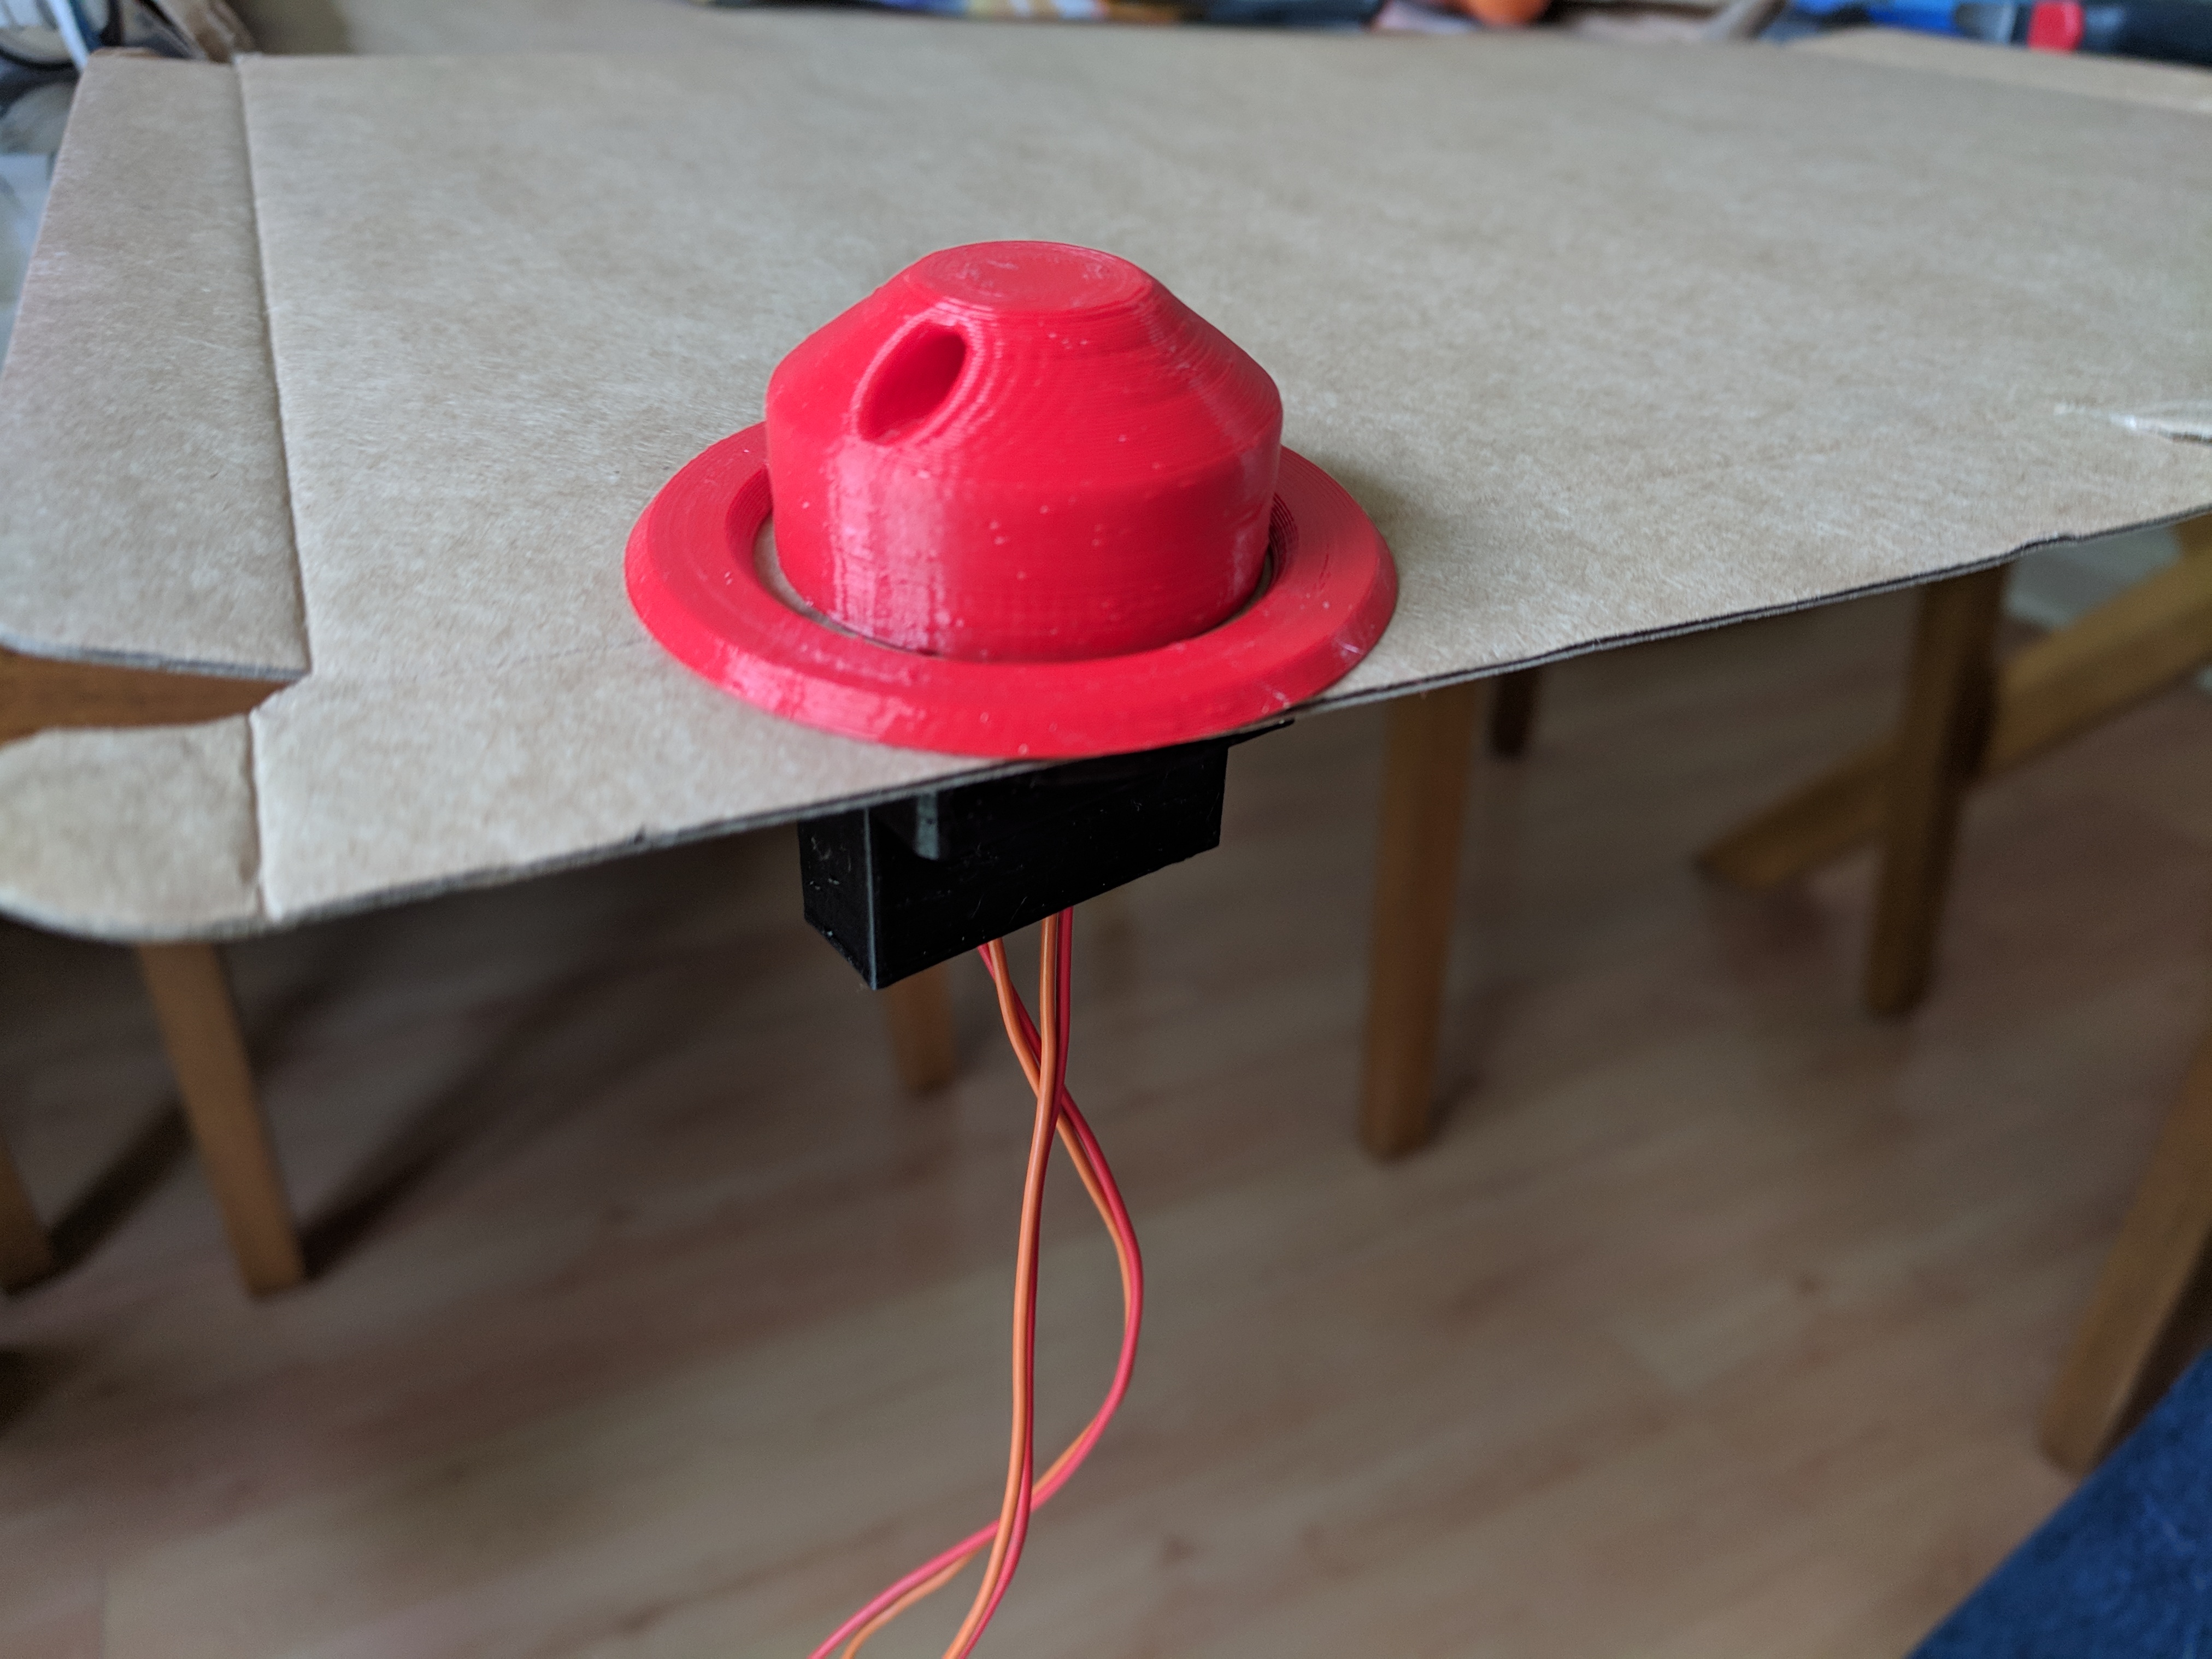
This allows the batteries to be plugged in on land and sealed away. The esc and received are powered up by this, but all remains inactive until its in the water and your attached the magnet. So should be safe, and the water pump wont be running dry.
I knocked up an enclosure for the reed switches that also holds a couple of chunks of steel for the magnet to “grab” onto. The Steel is from an garden gate handle, the square bar which joins the handles on each side of the gate. I had this lying around but you can pick them up from most hardware stores.
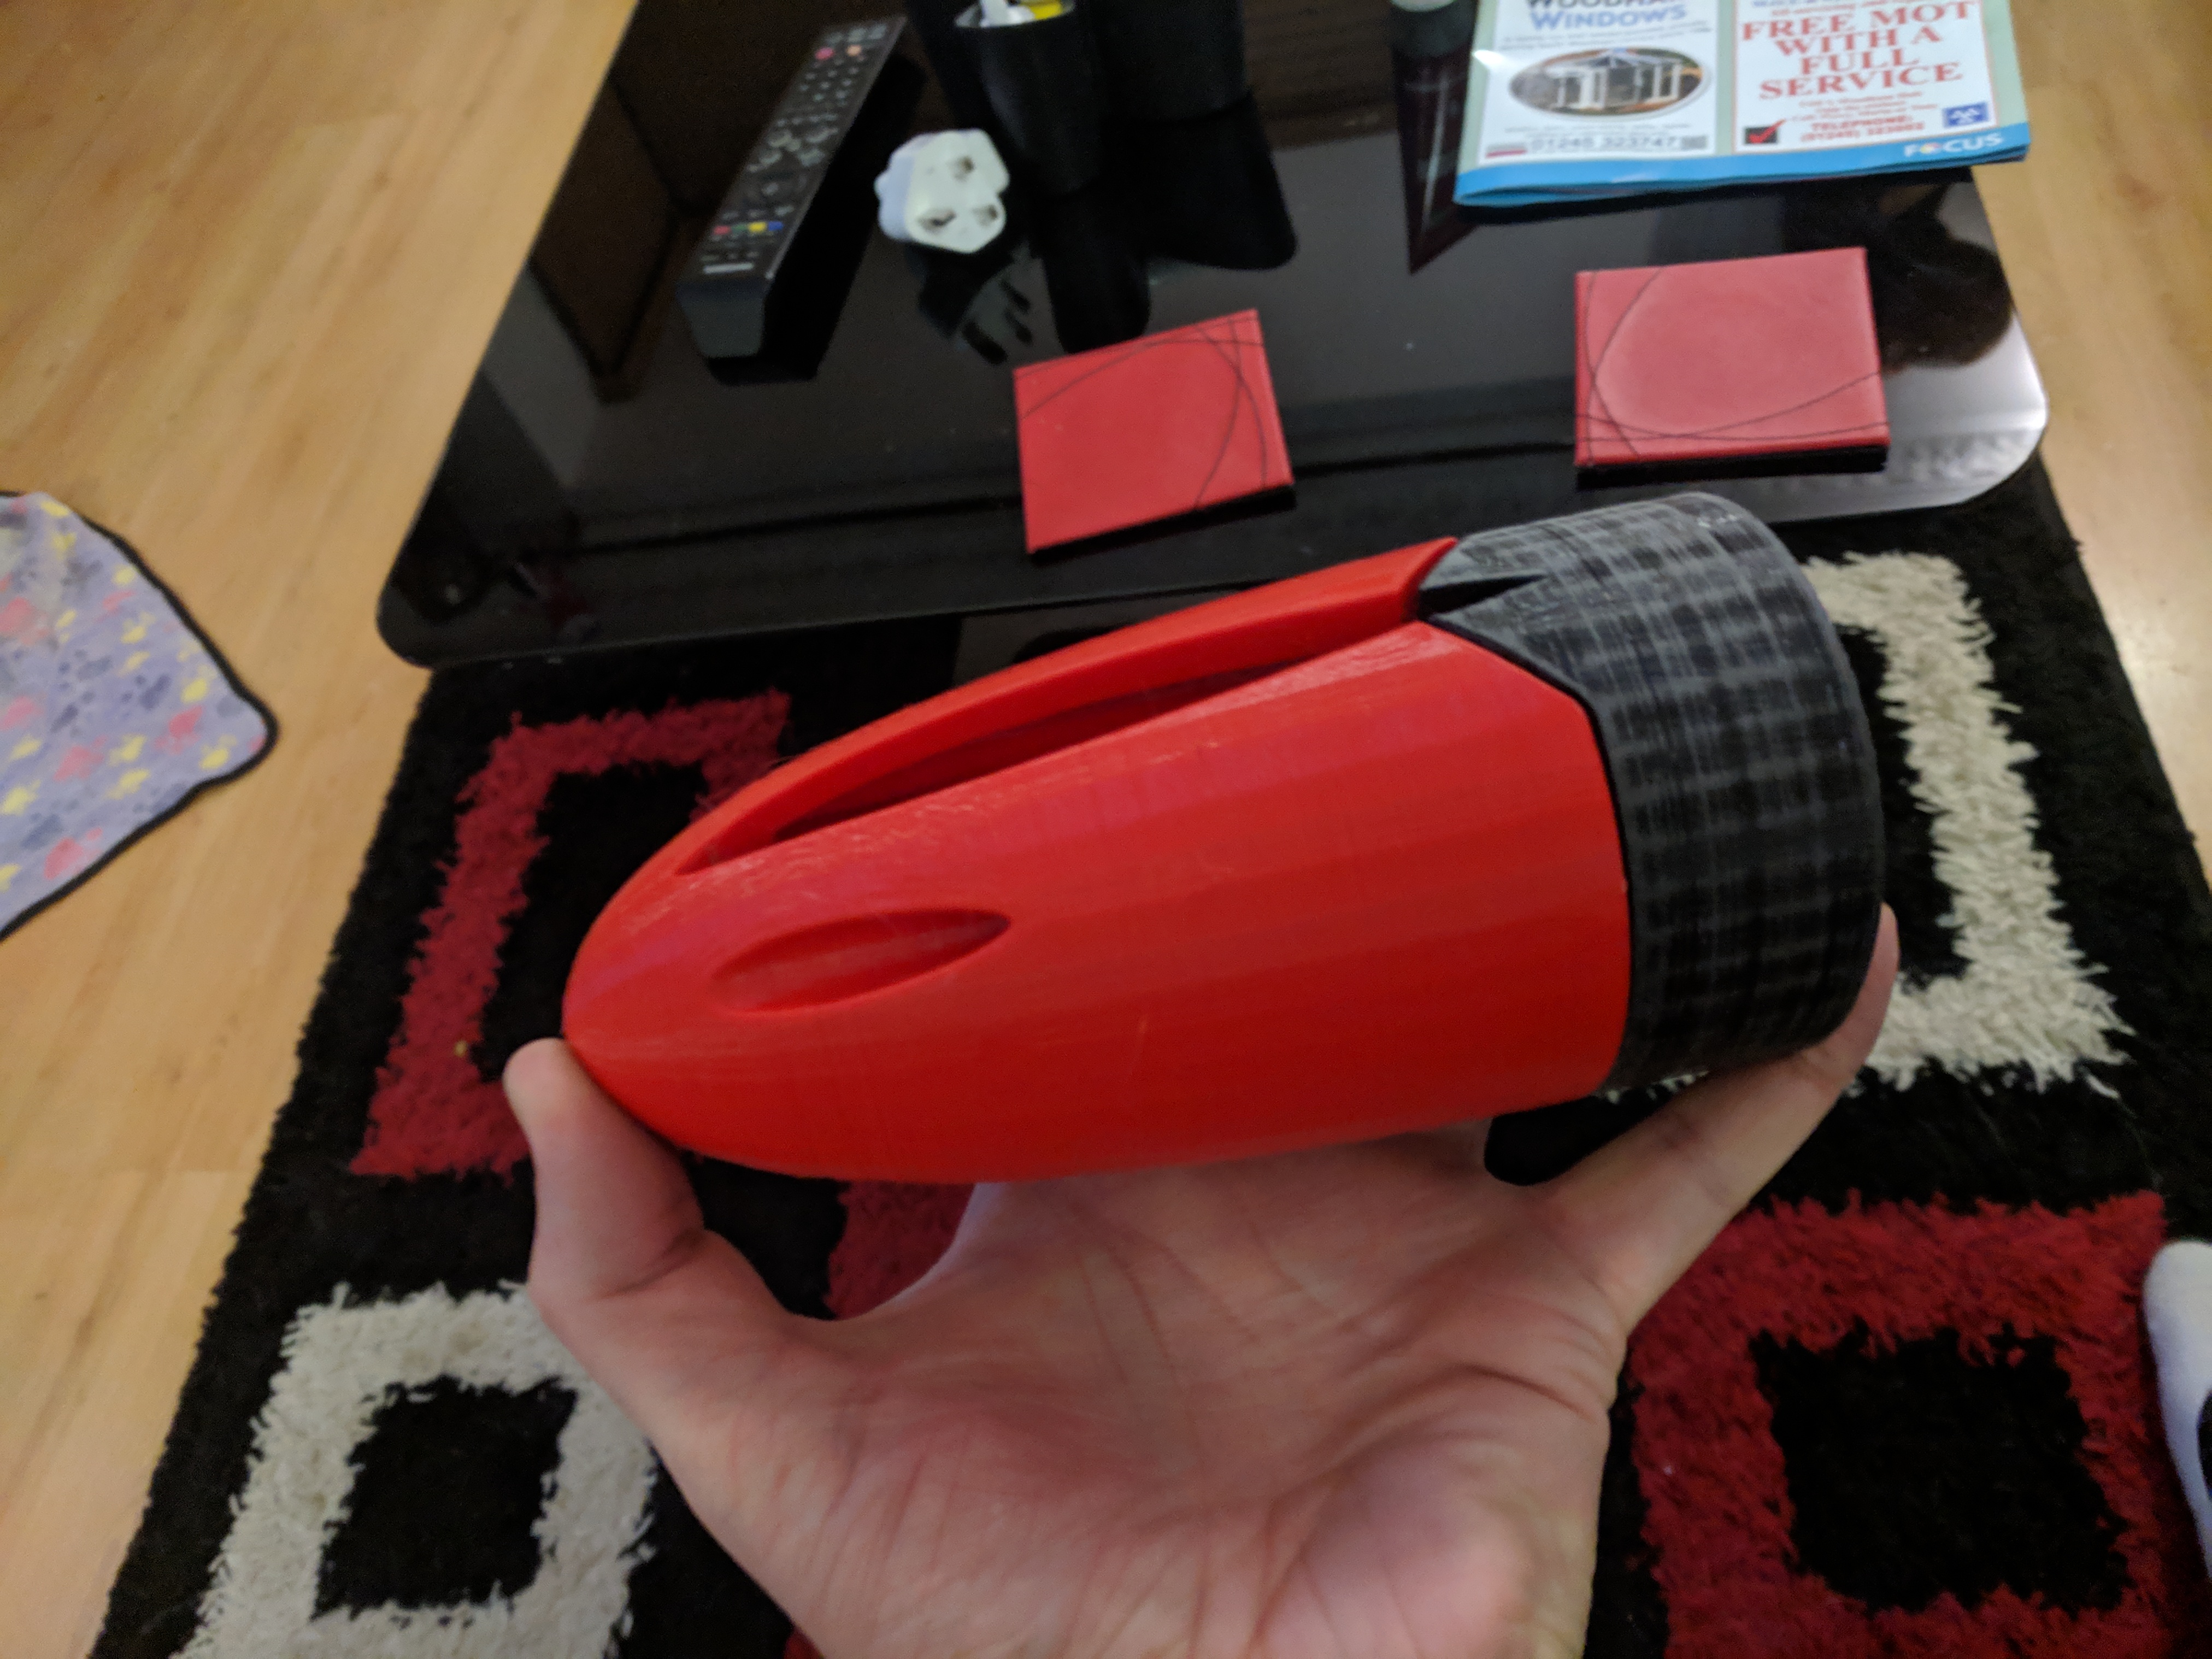
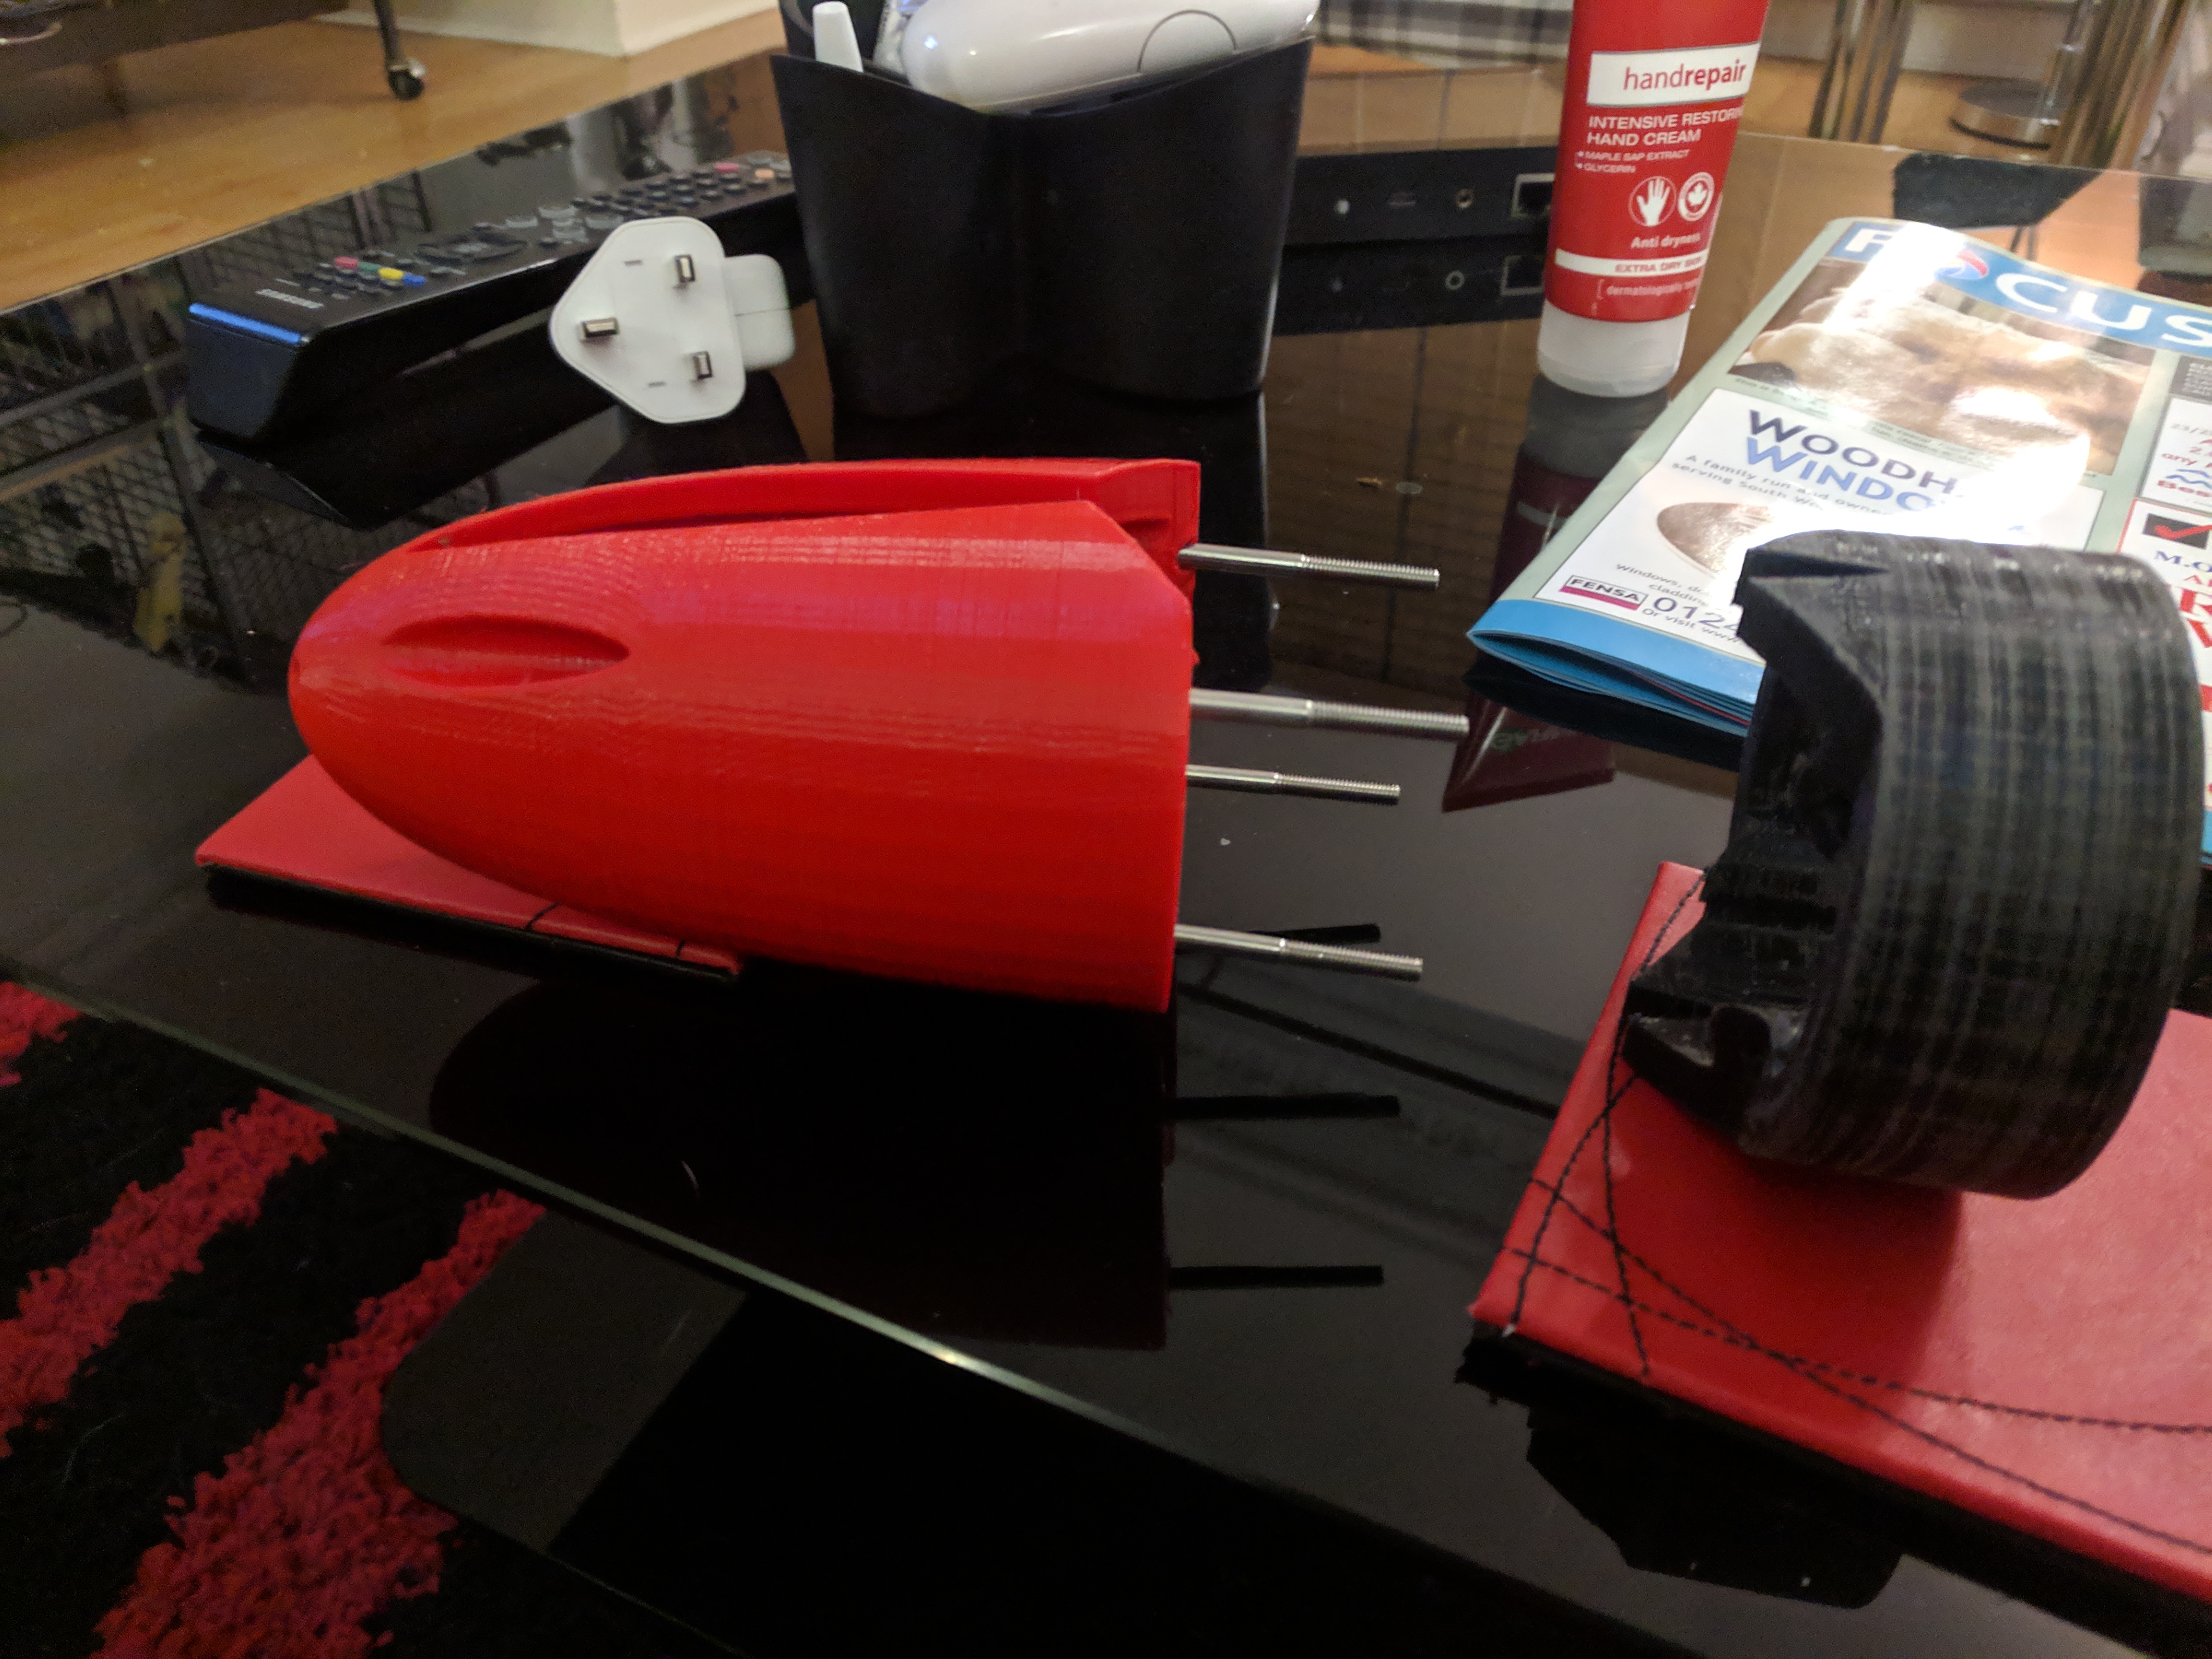
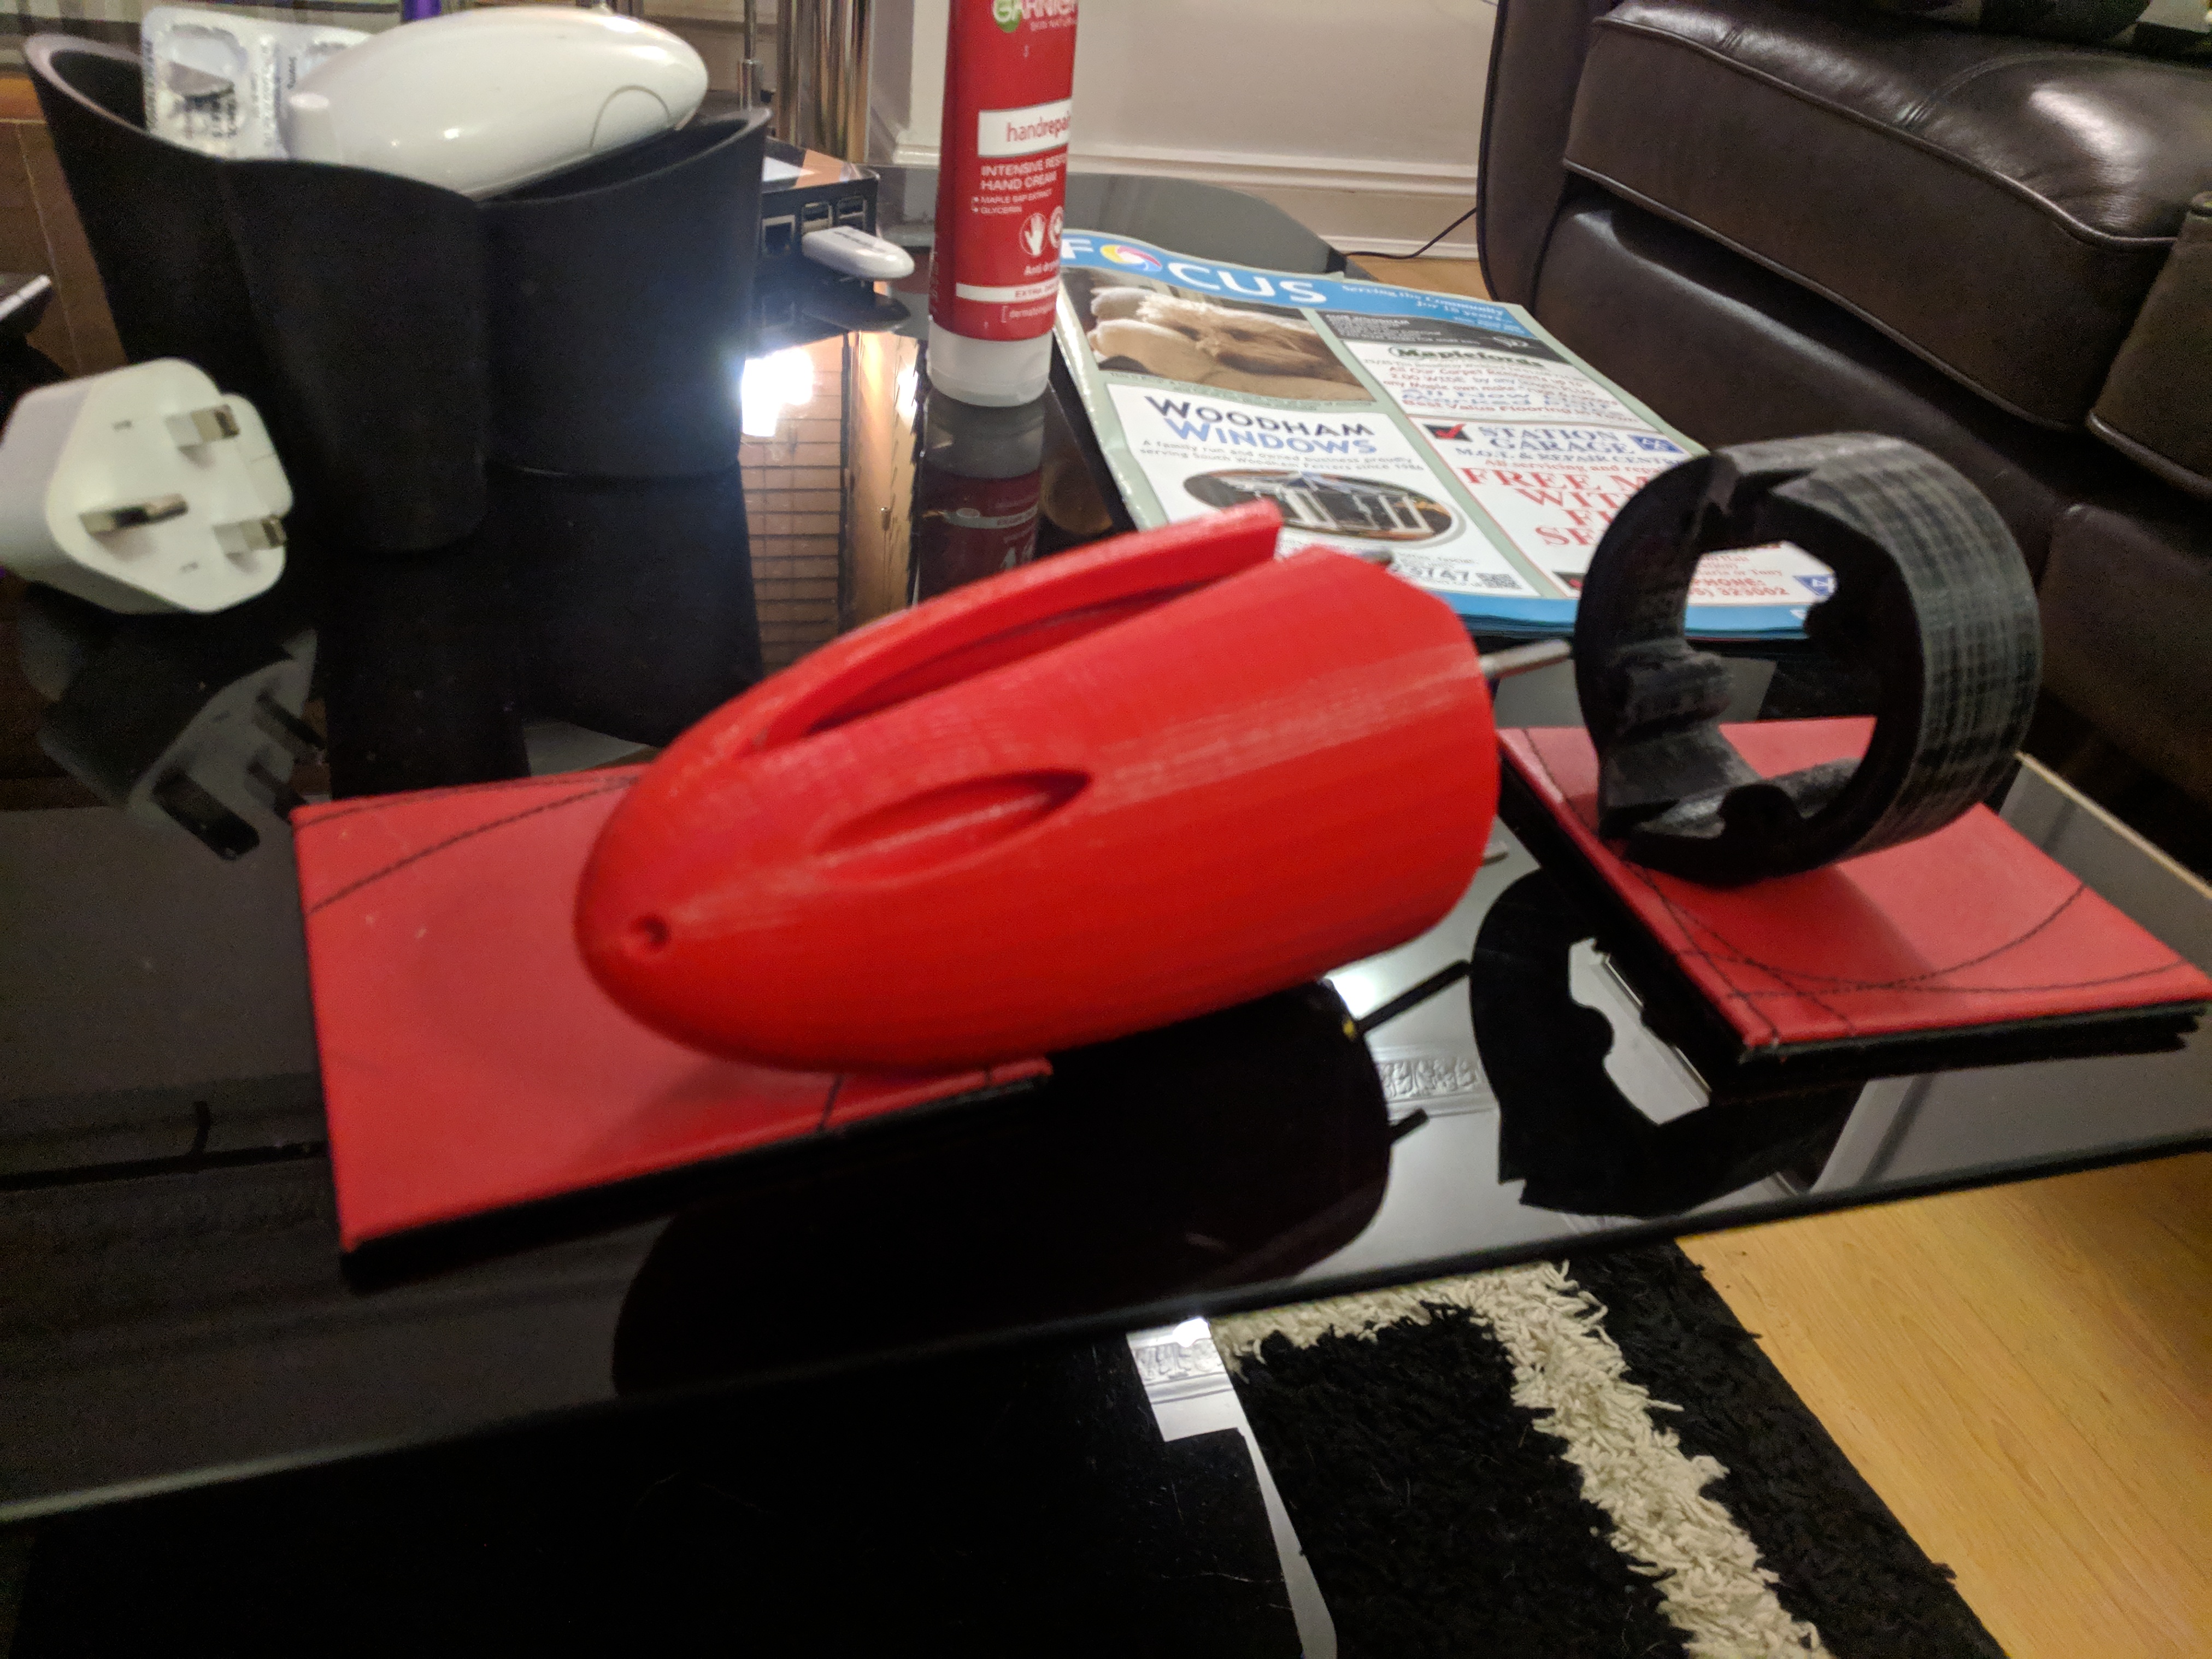
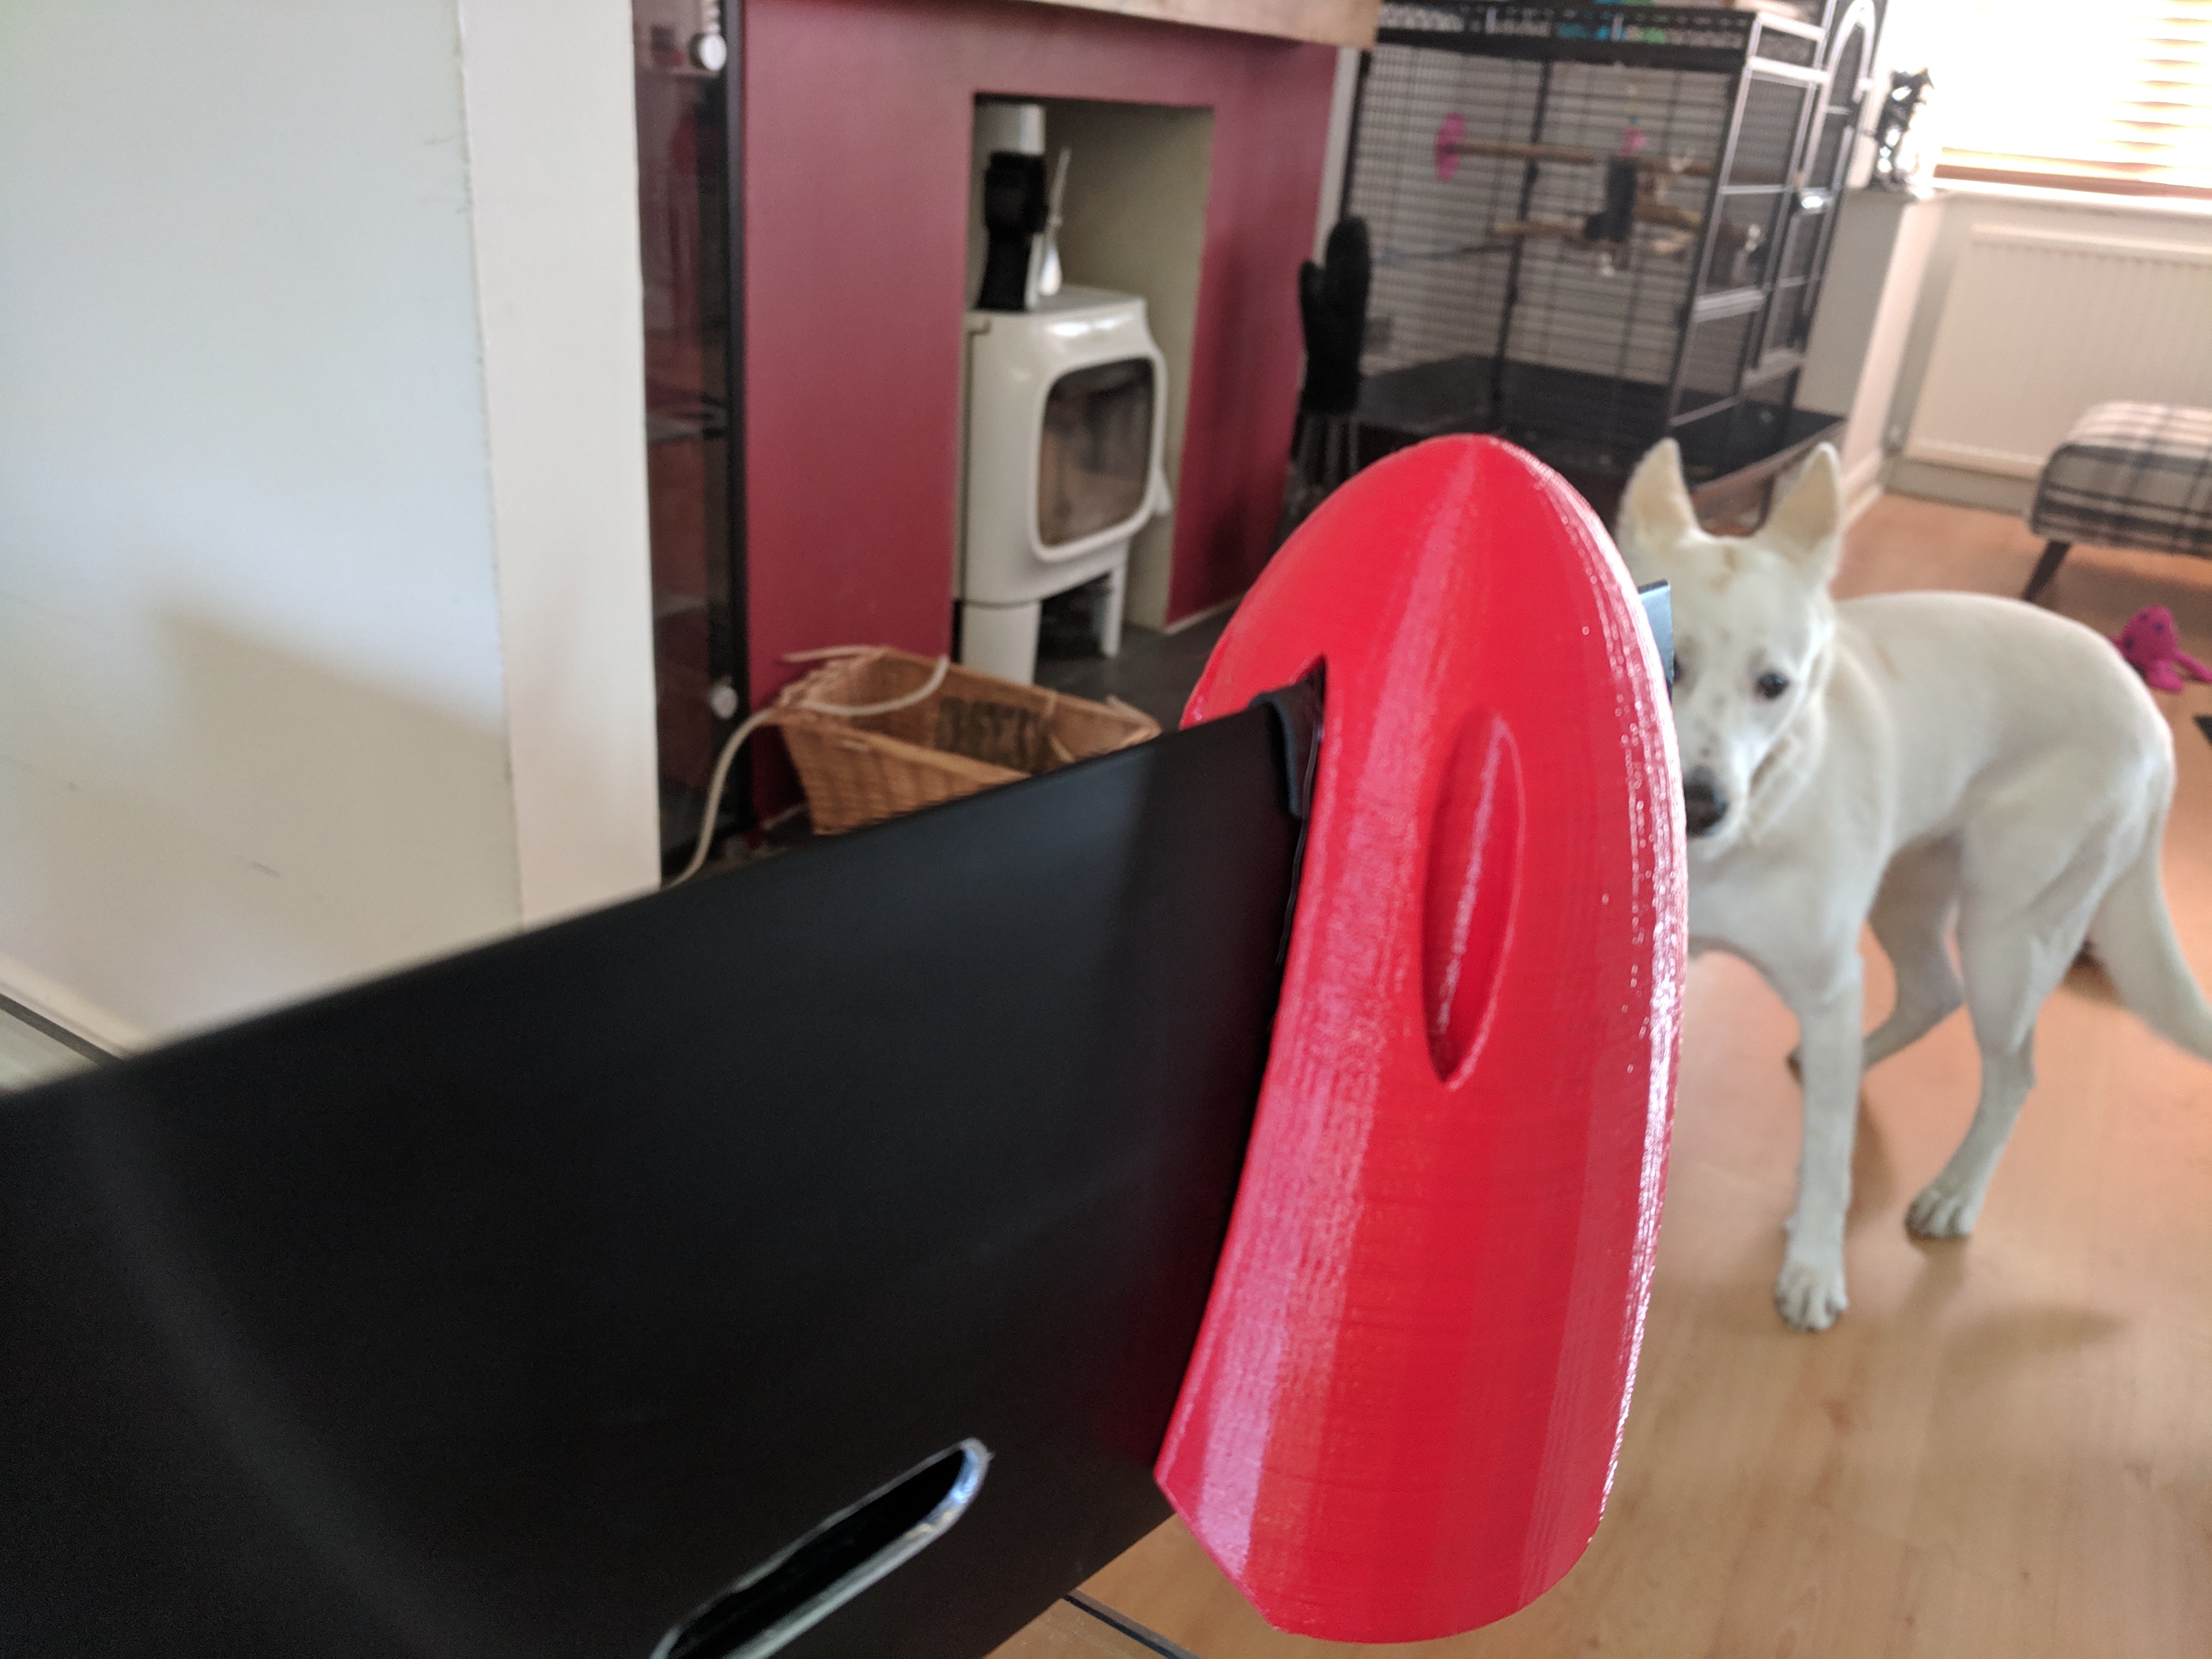
Motor pod was a good fit, I did add a strip of rubber on the leading edge though to make it nice and tight. The rear edge is perfect which to me is the important one as all the thrust will be applied there?
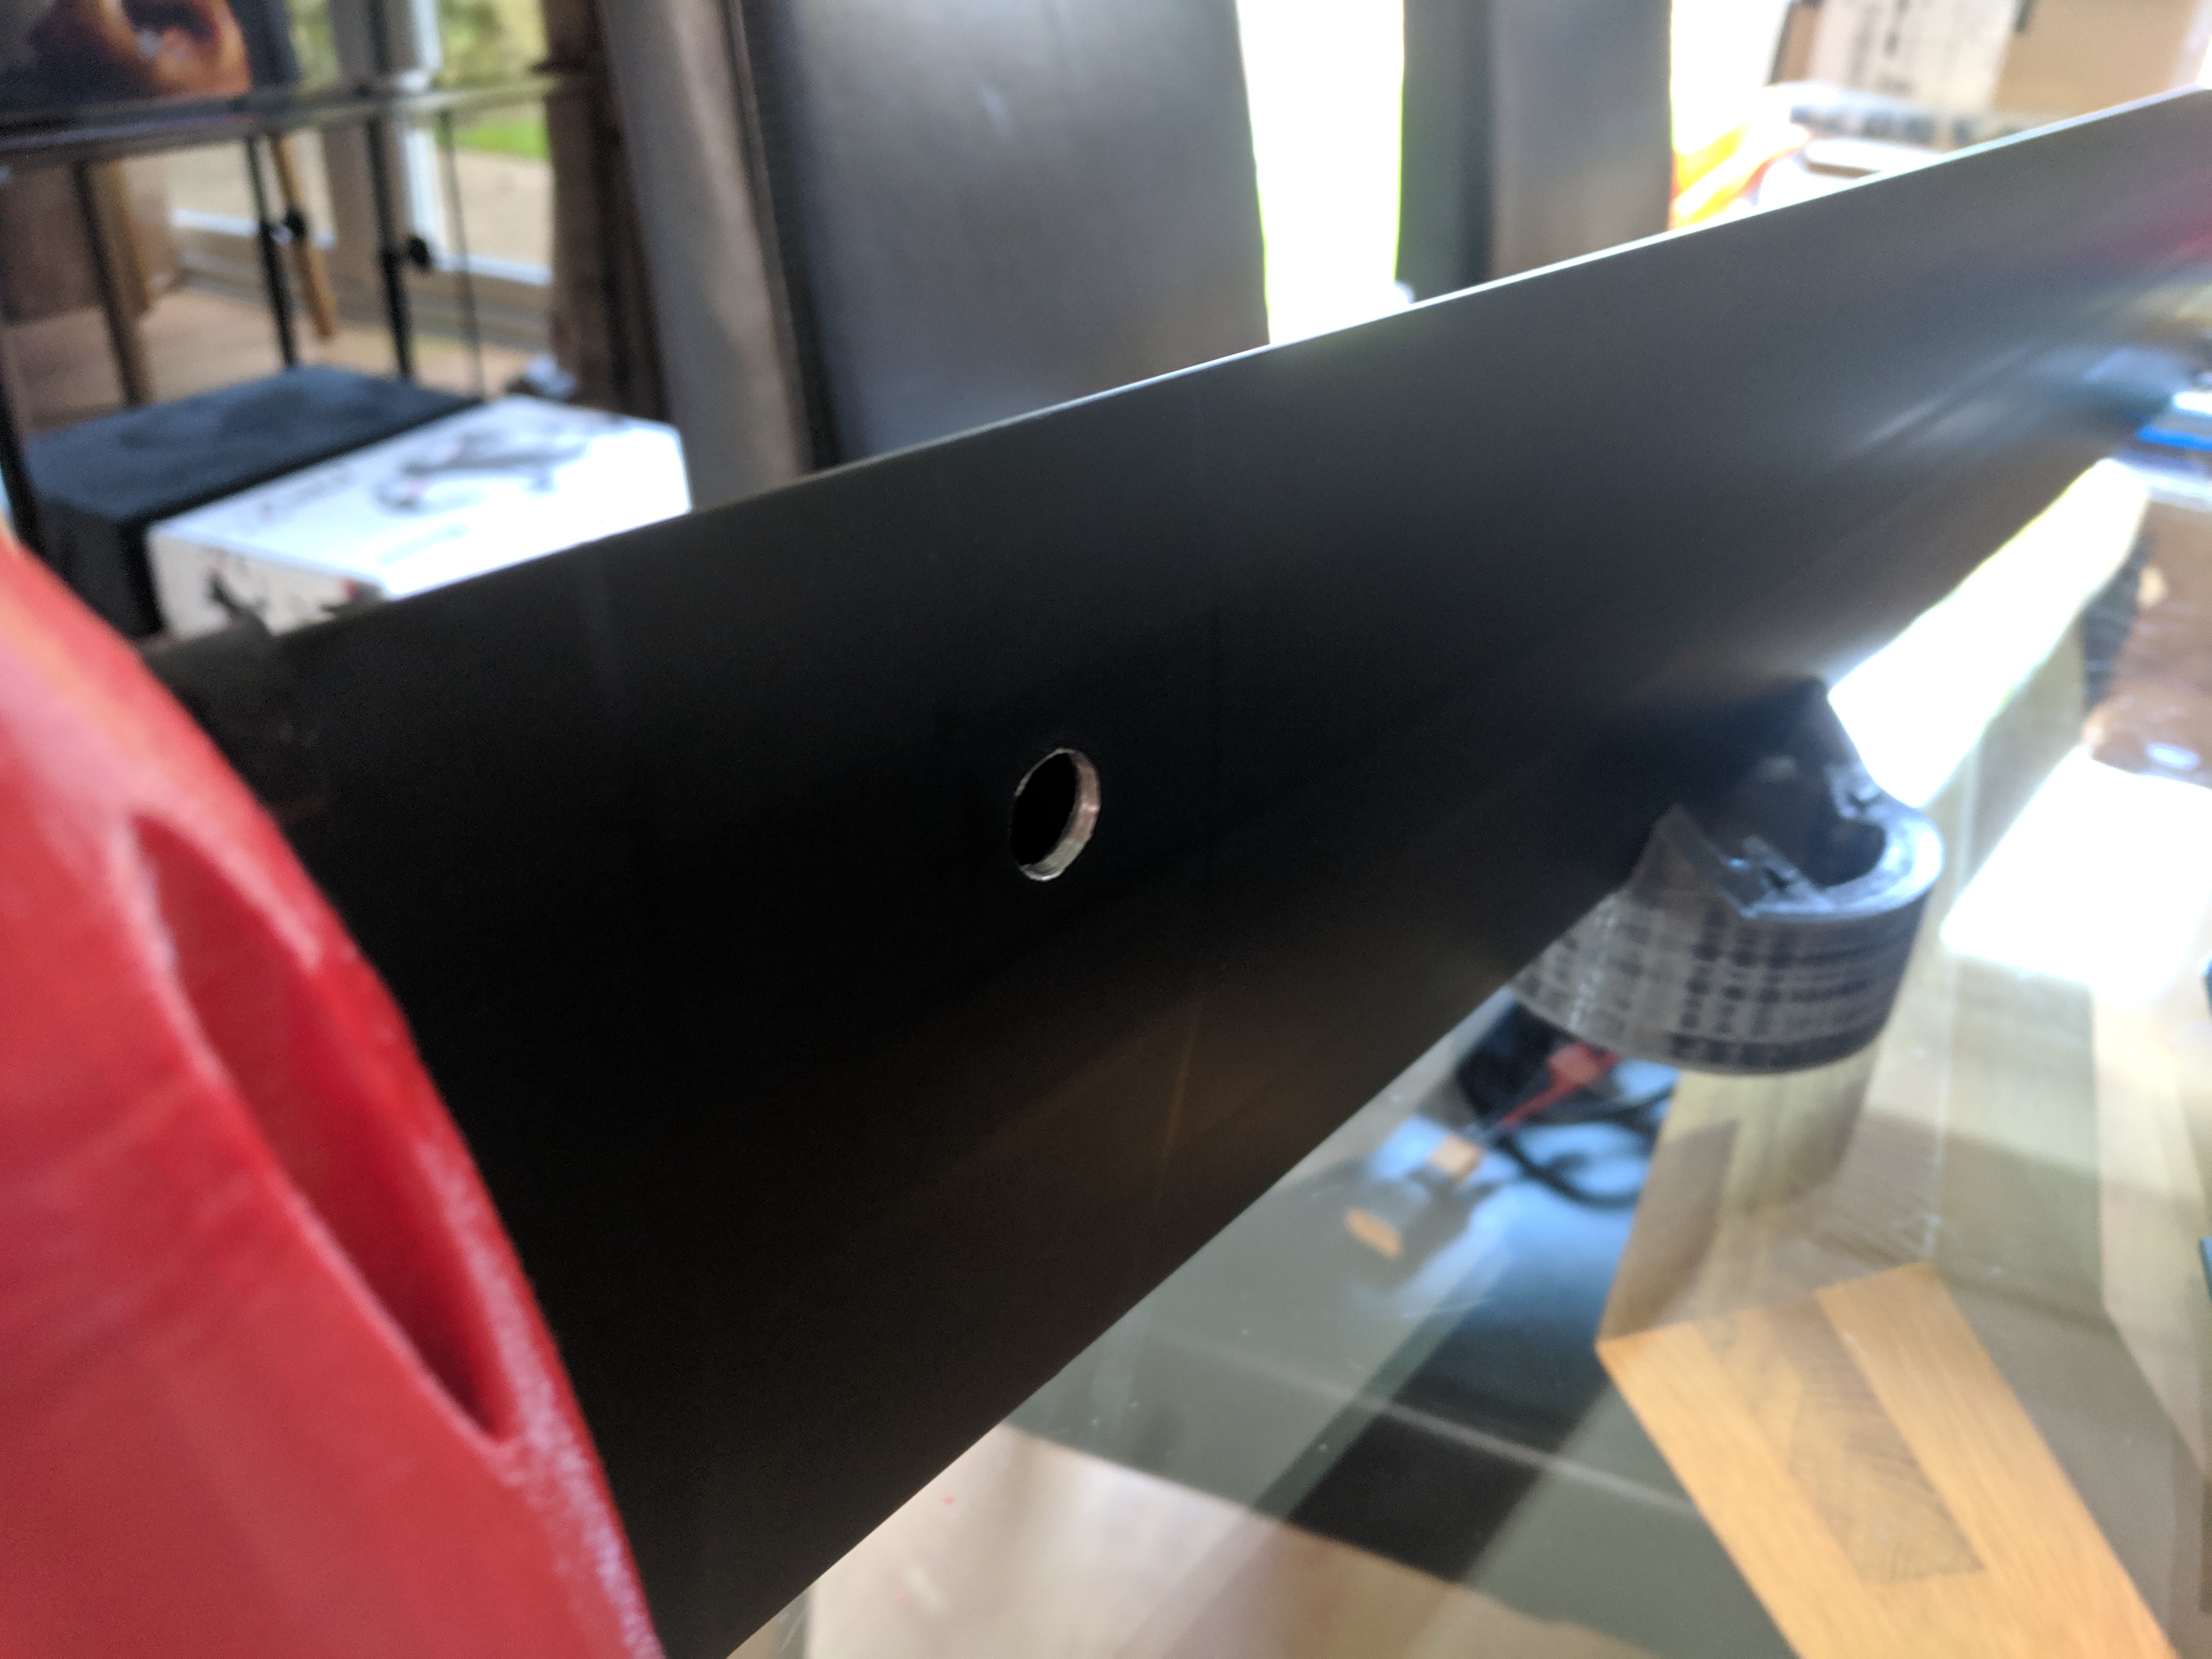
I have also enlarged the water inlet hole now and fitted a 6mm hose joiner into it using a soldering iron to heat the brass joiner and melt it into a slightly too small hole. You need to watch the angle of this as it is quite close to the mast profile. Sorry no pic of this unless someone wants to see specifically.
Cuts on the mast have also been made for wires and cooling pipe
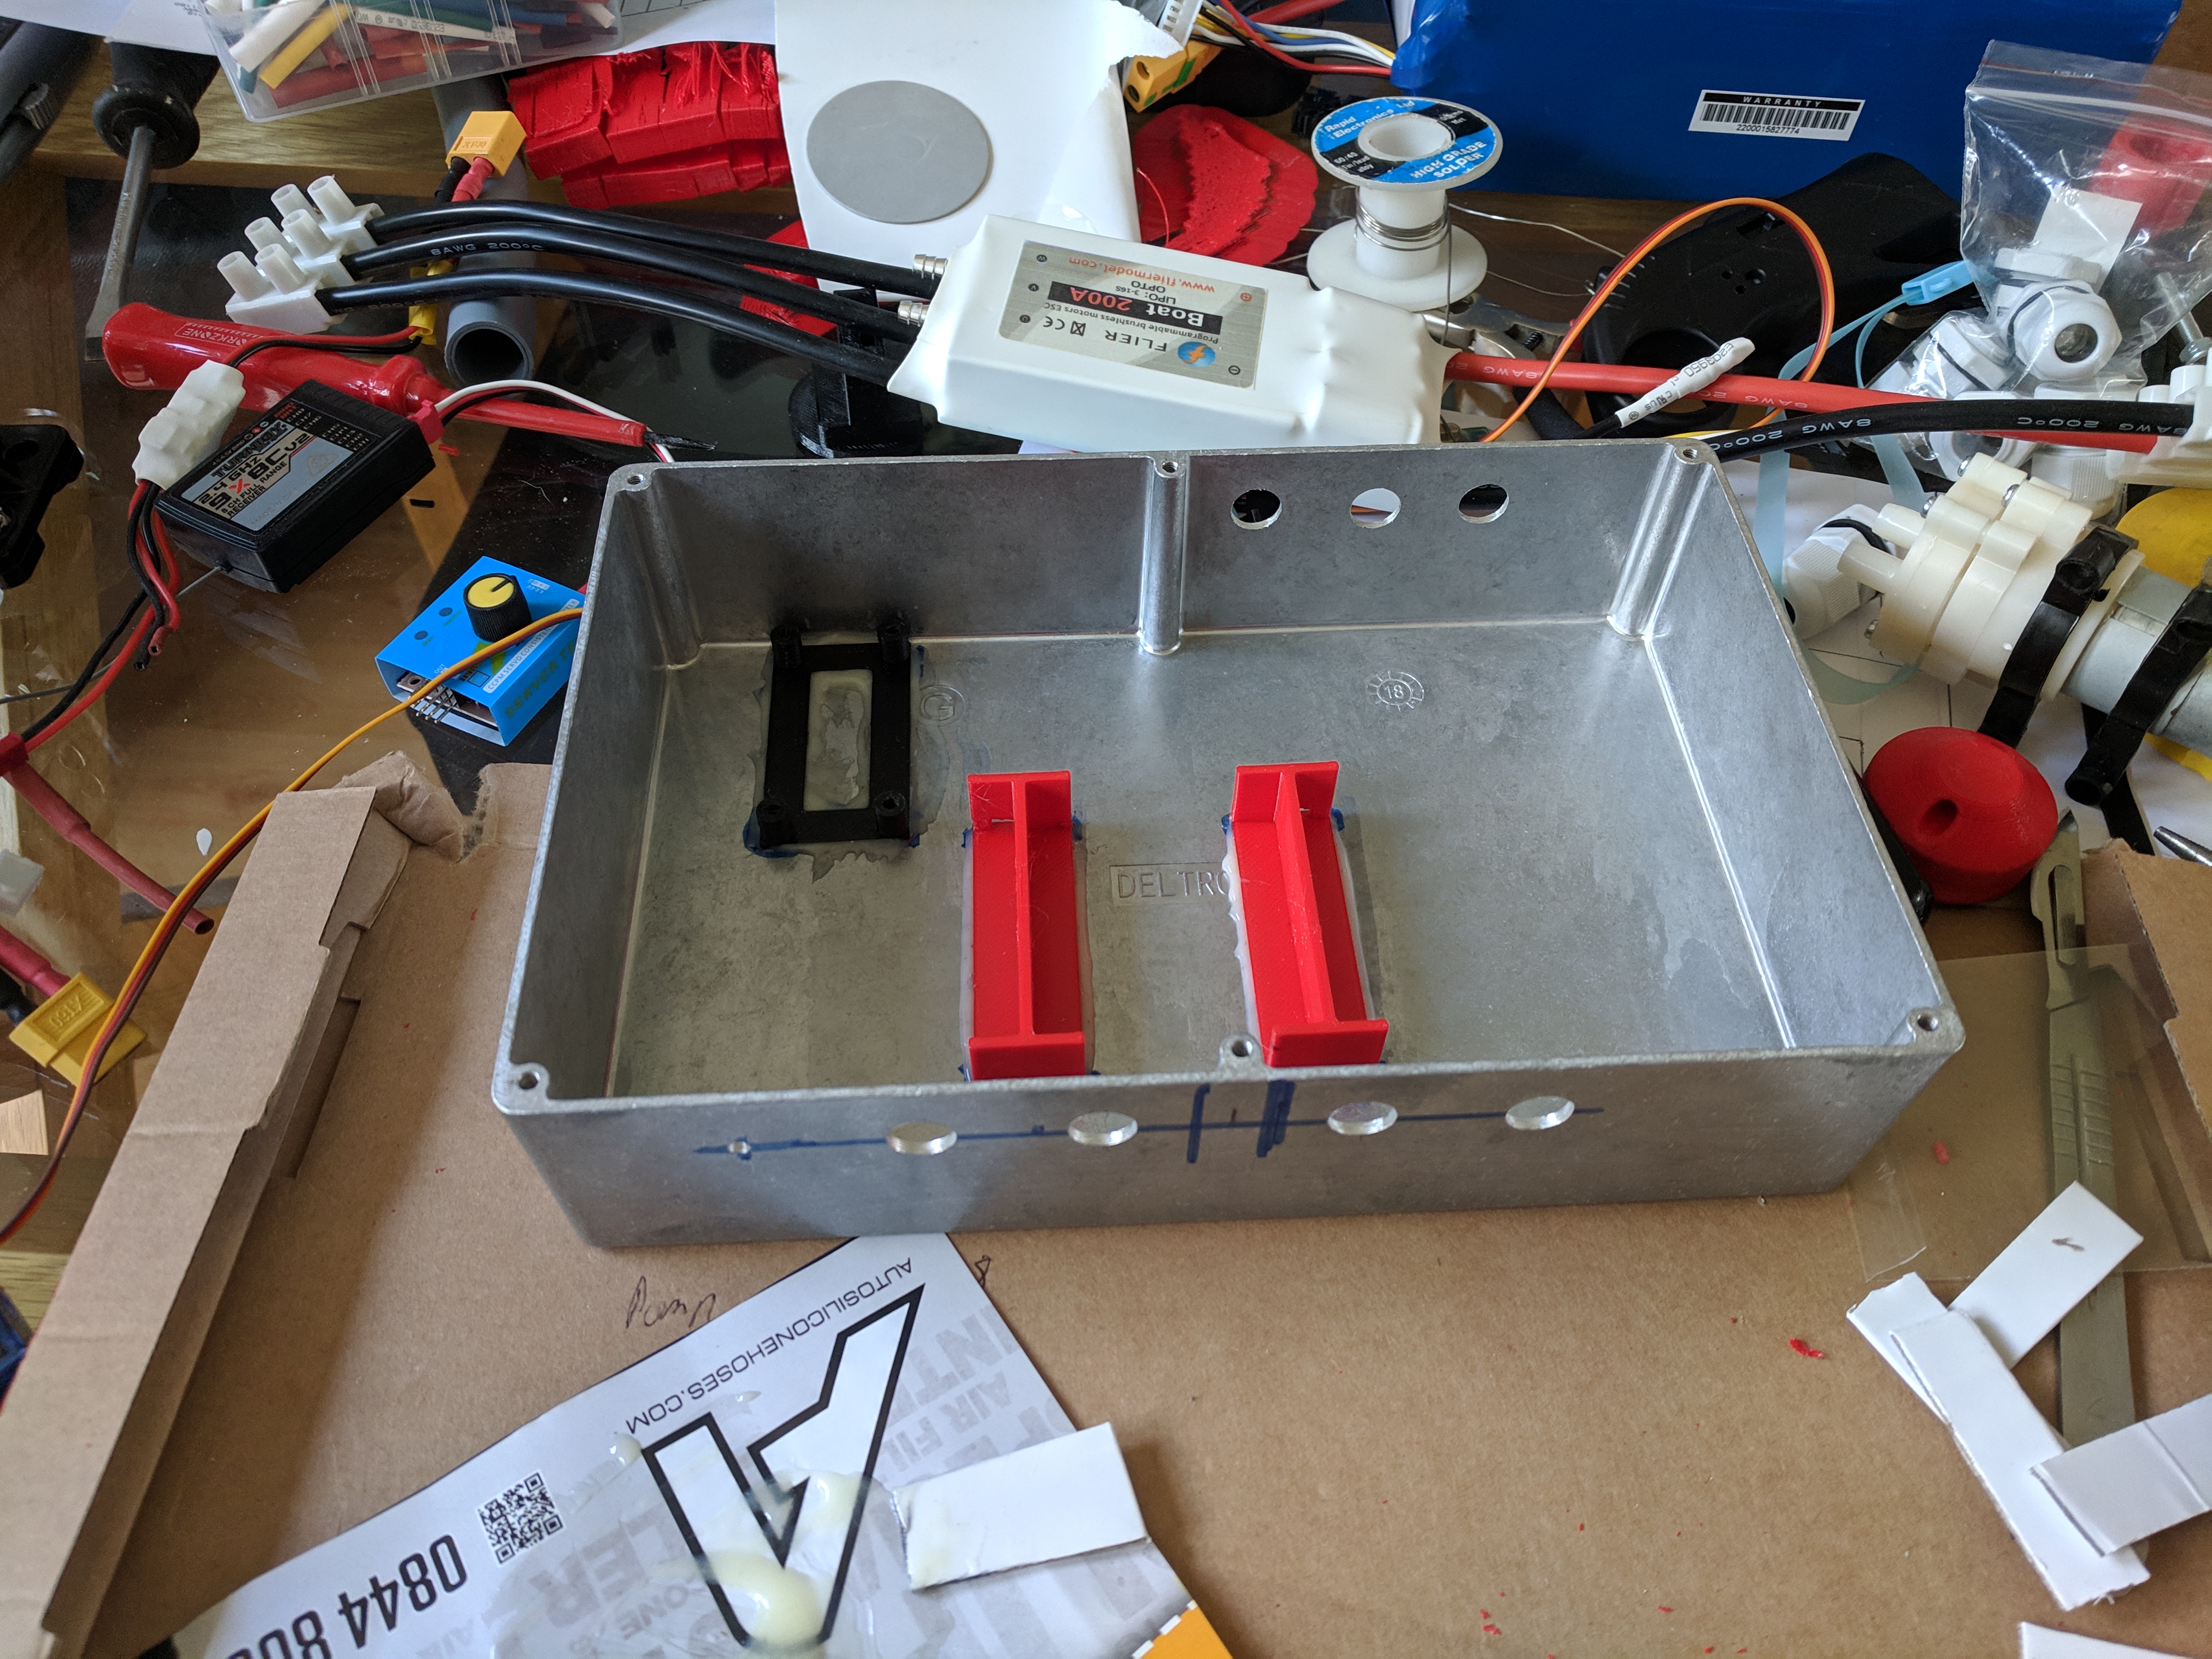
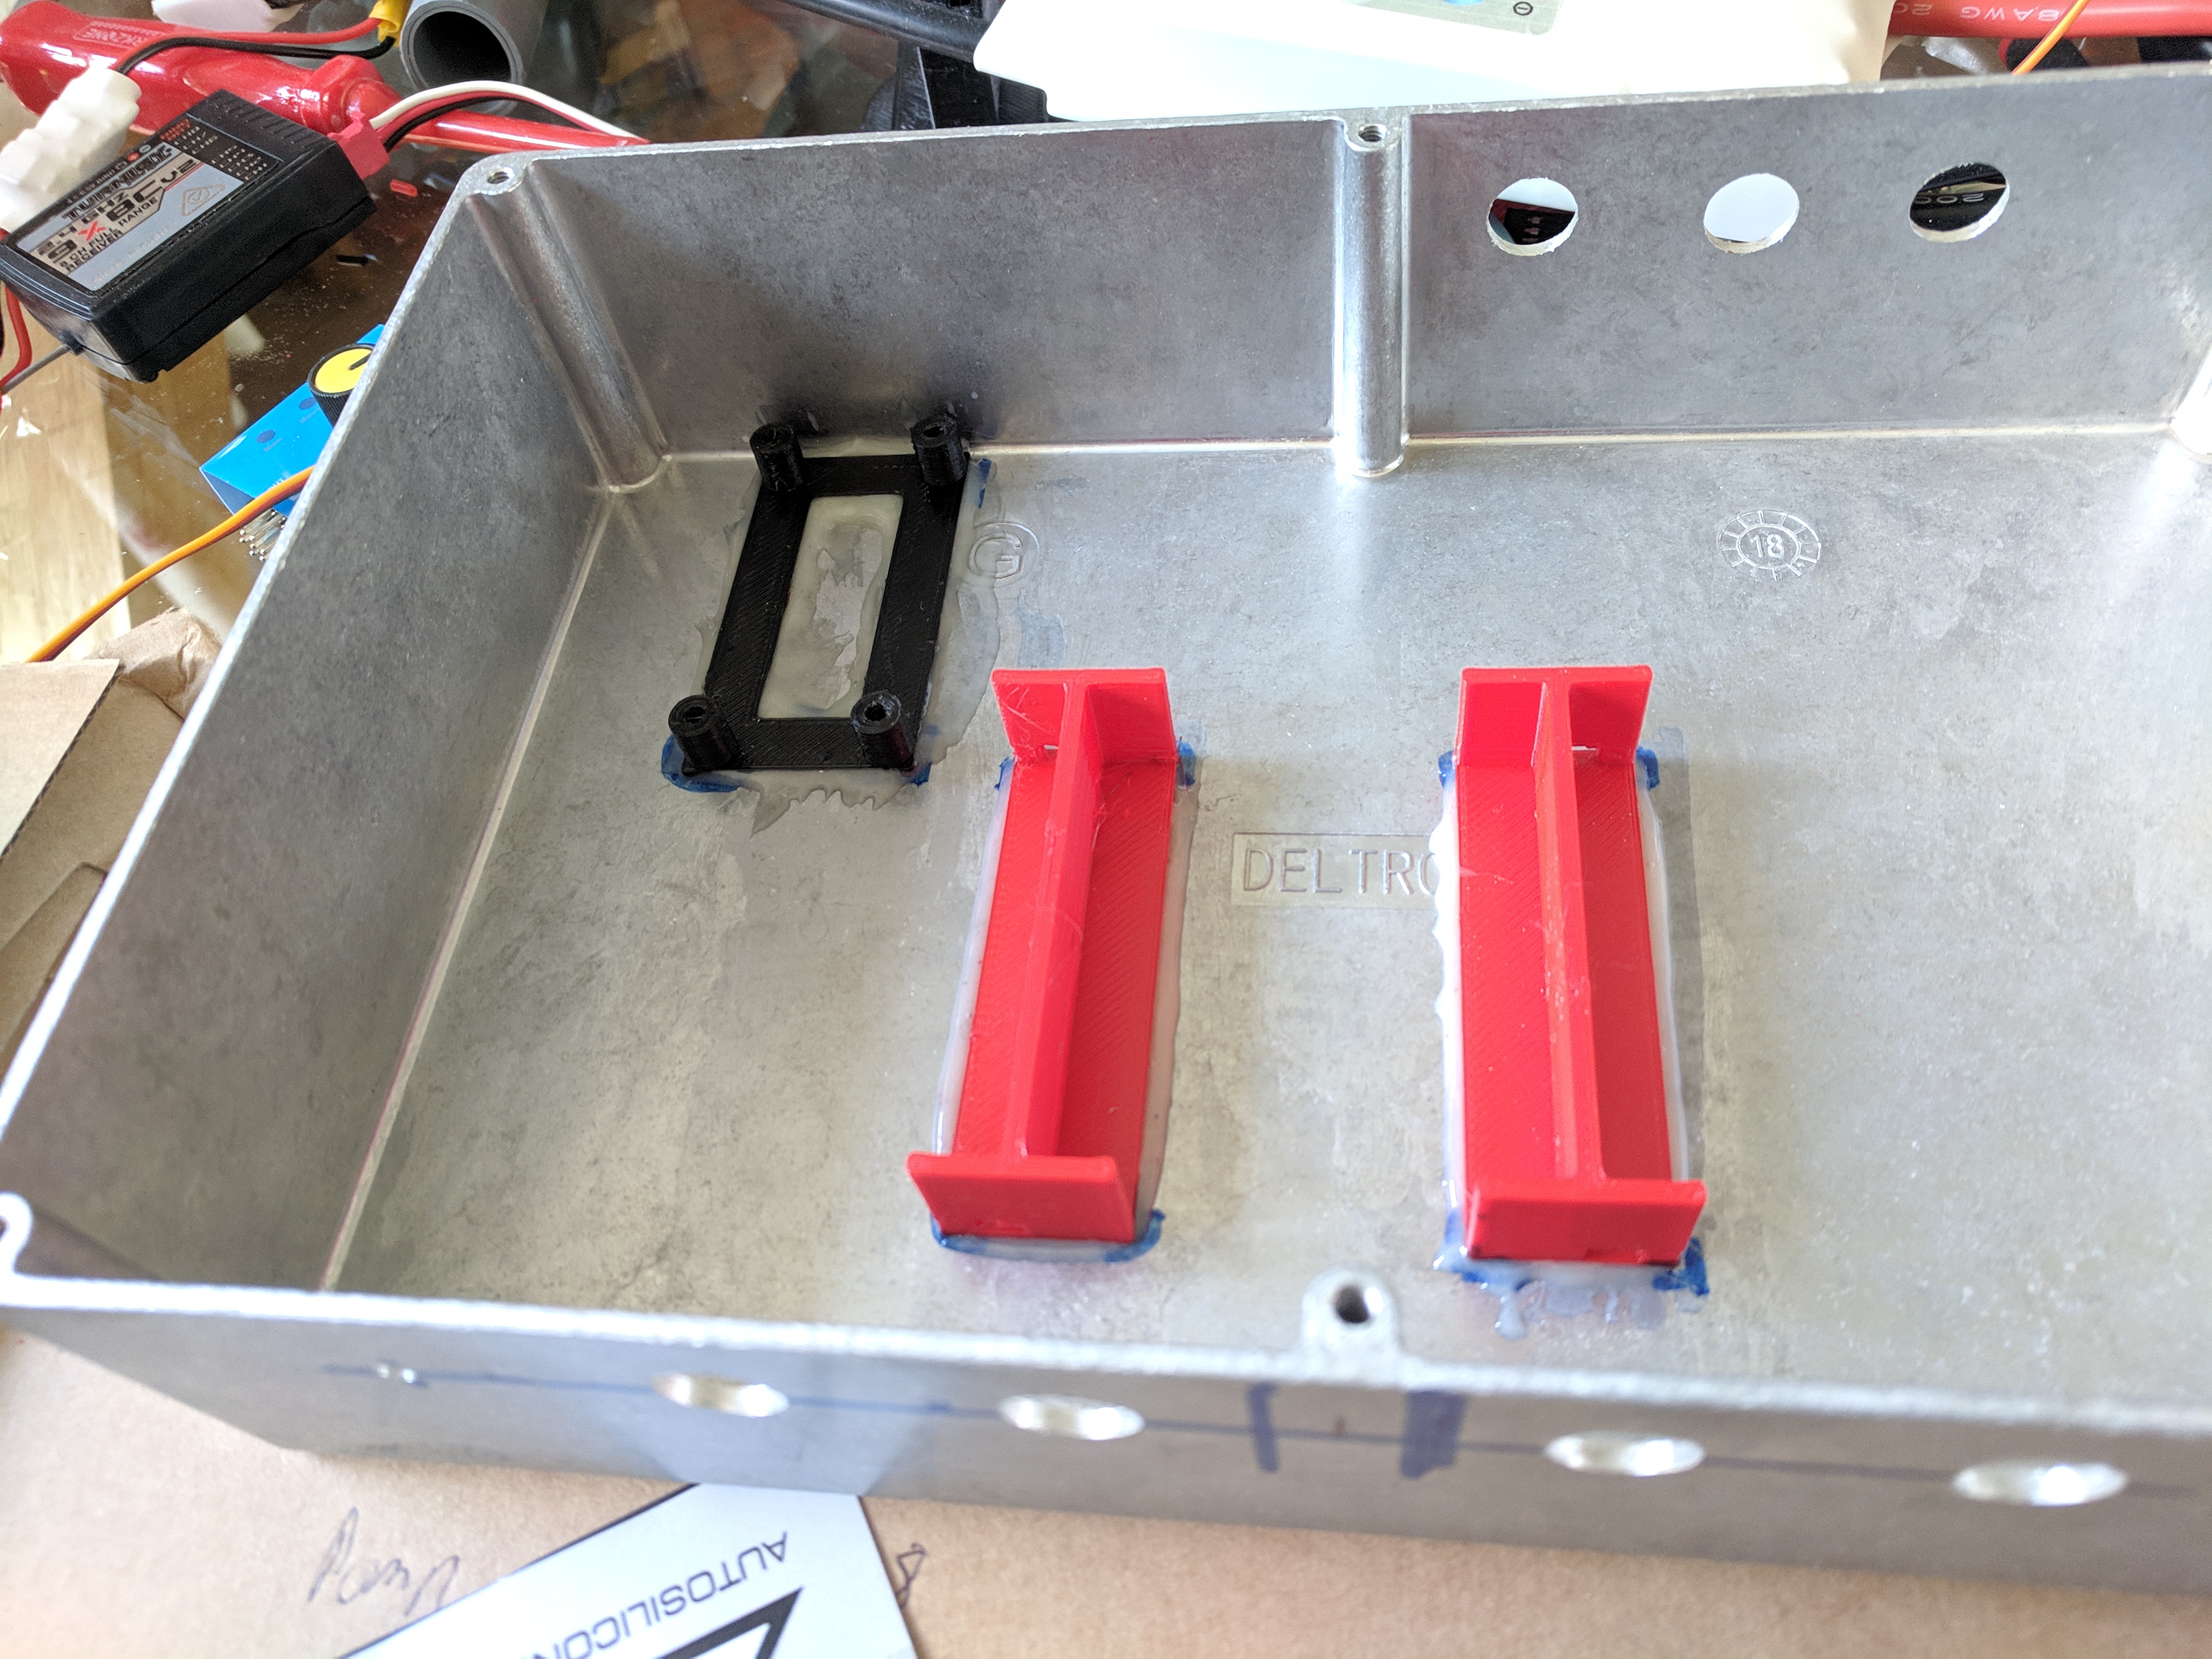
Nothing particularly complicated here, just quick sketch up designs and epoxied into the Aluminium box.
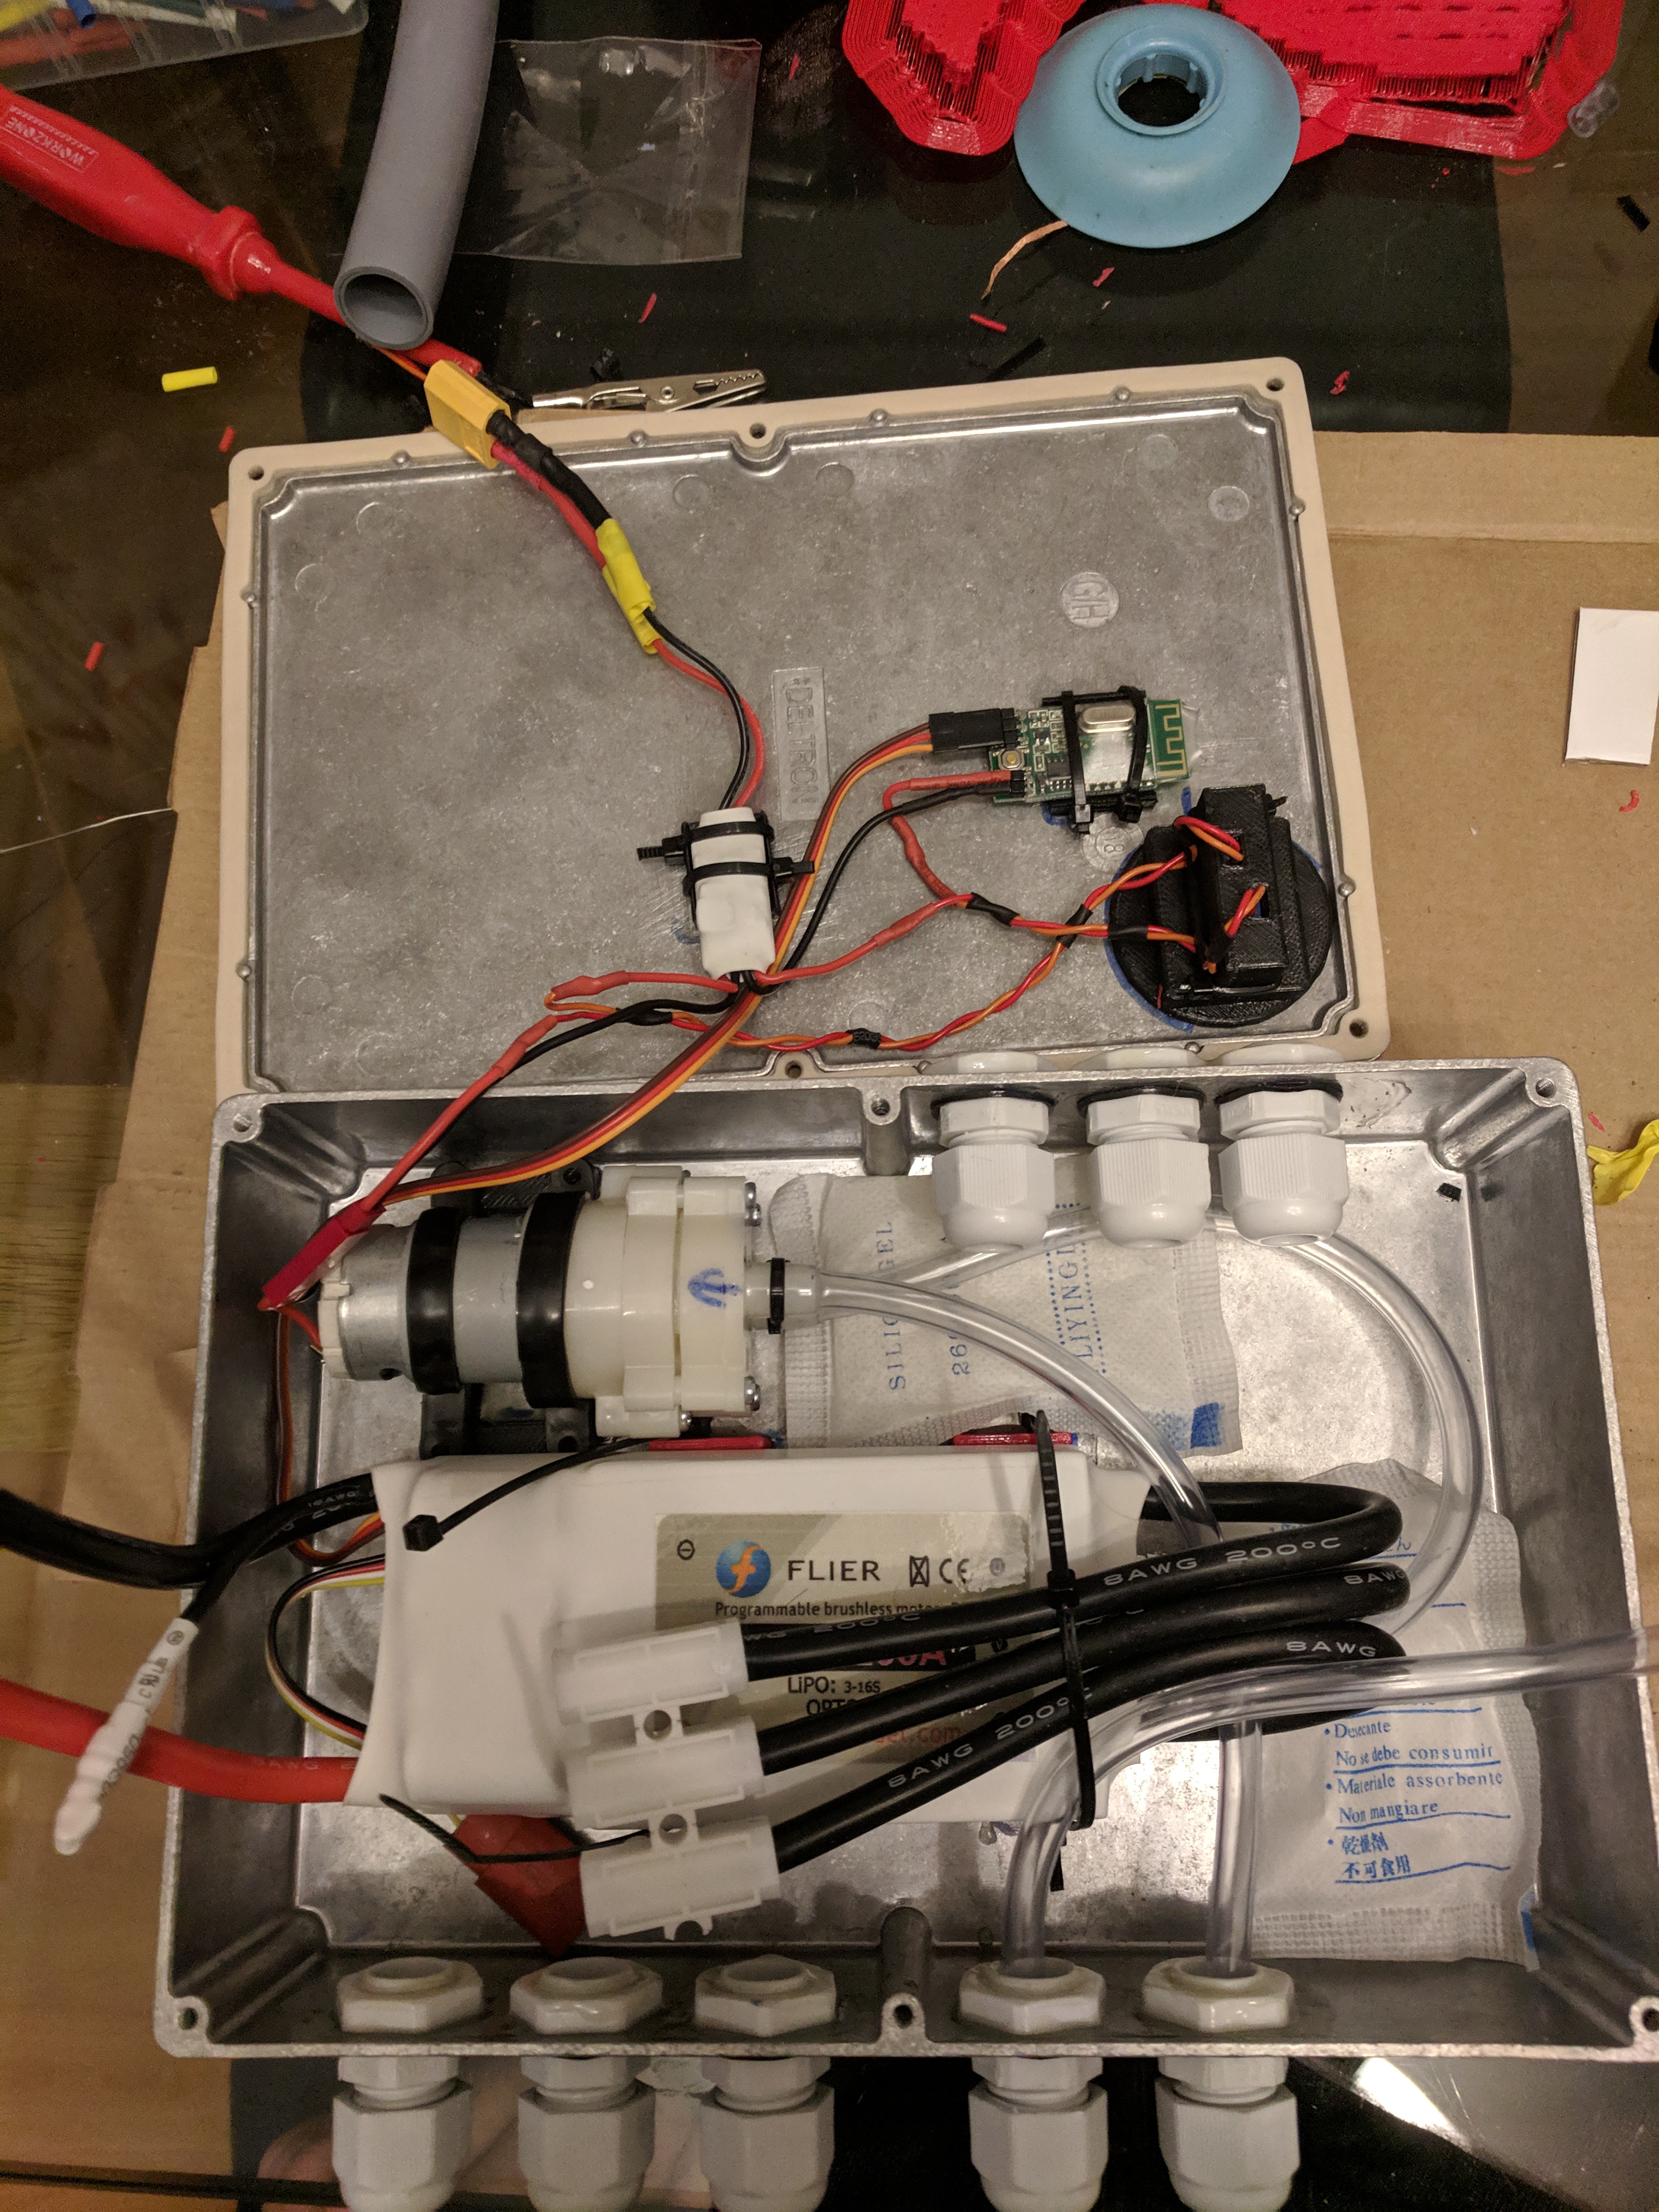
The red ones below are for the esc. I;ve tried to keep it up and away form the sides / bottom just in case any water gets in.
Subtle mod on the safety switch wiring. I realised it was killing power to the esc, not the signal wire. I’ve read on here killing esc power under load is a bad idea!
Also note the safety switch glued in place inside the box, and a couple more printed mounts for the receiver and bec on the lid.
The connector block is only there for testing. These wires will be soldered once all installed.
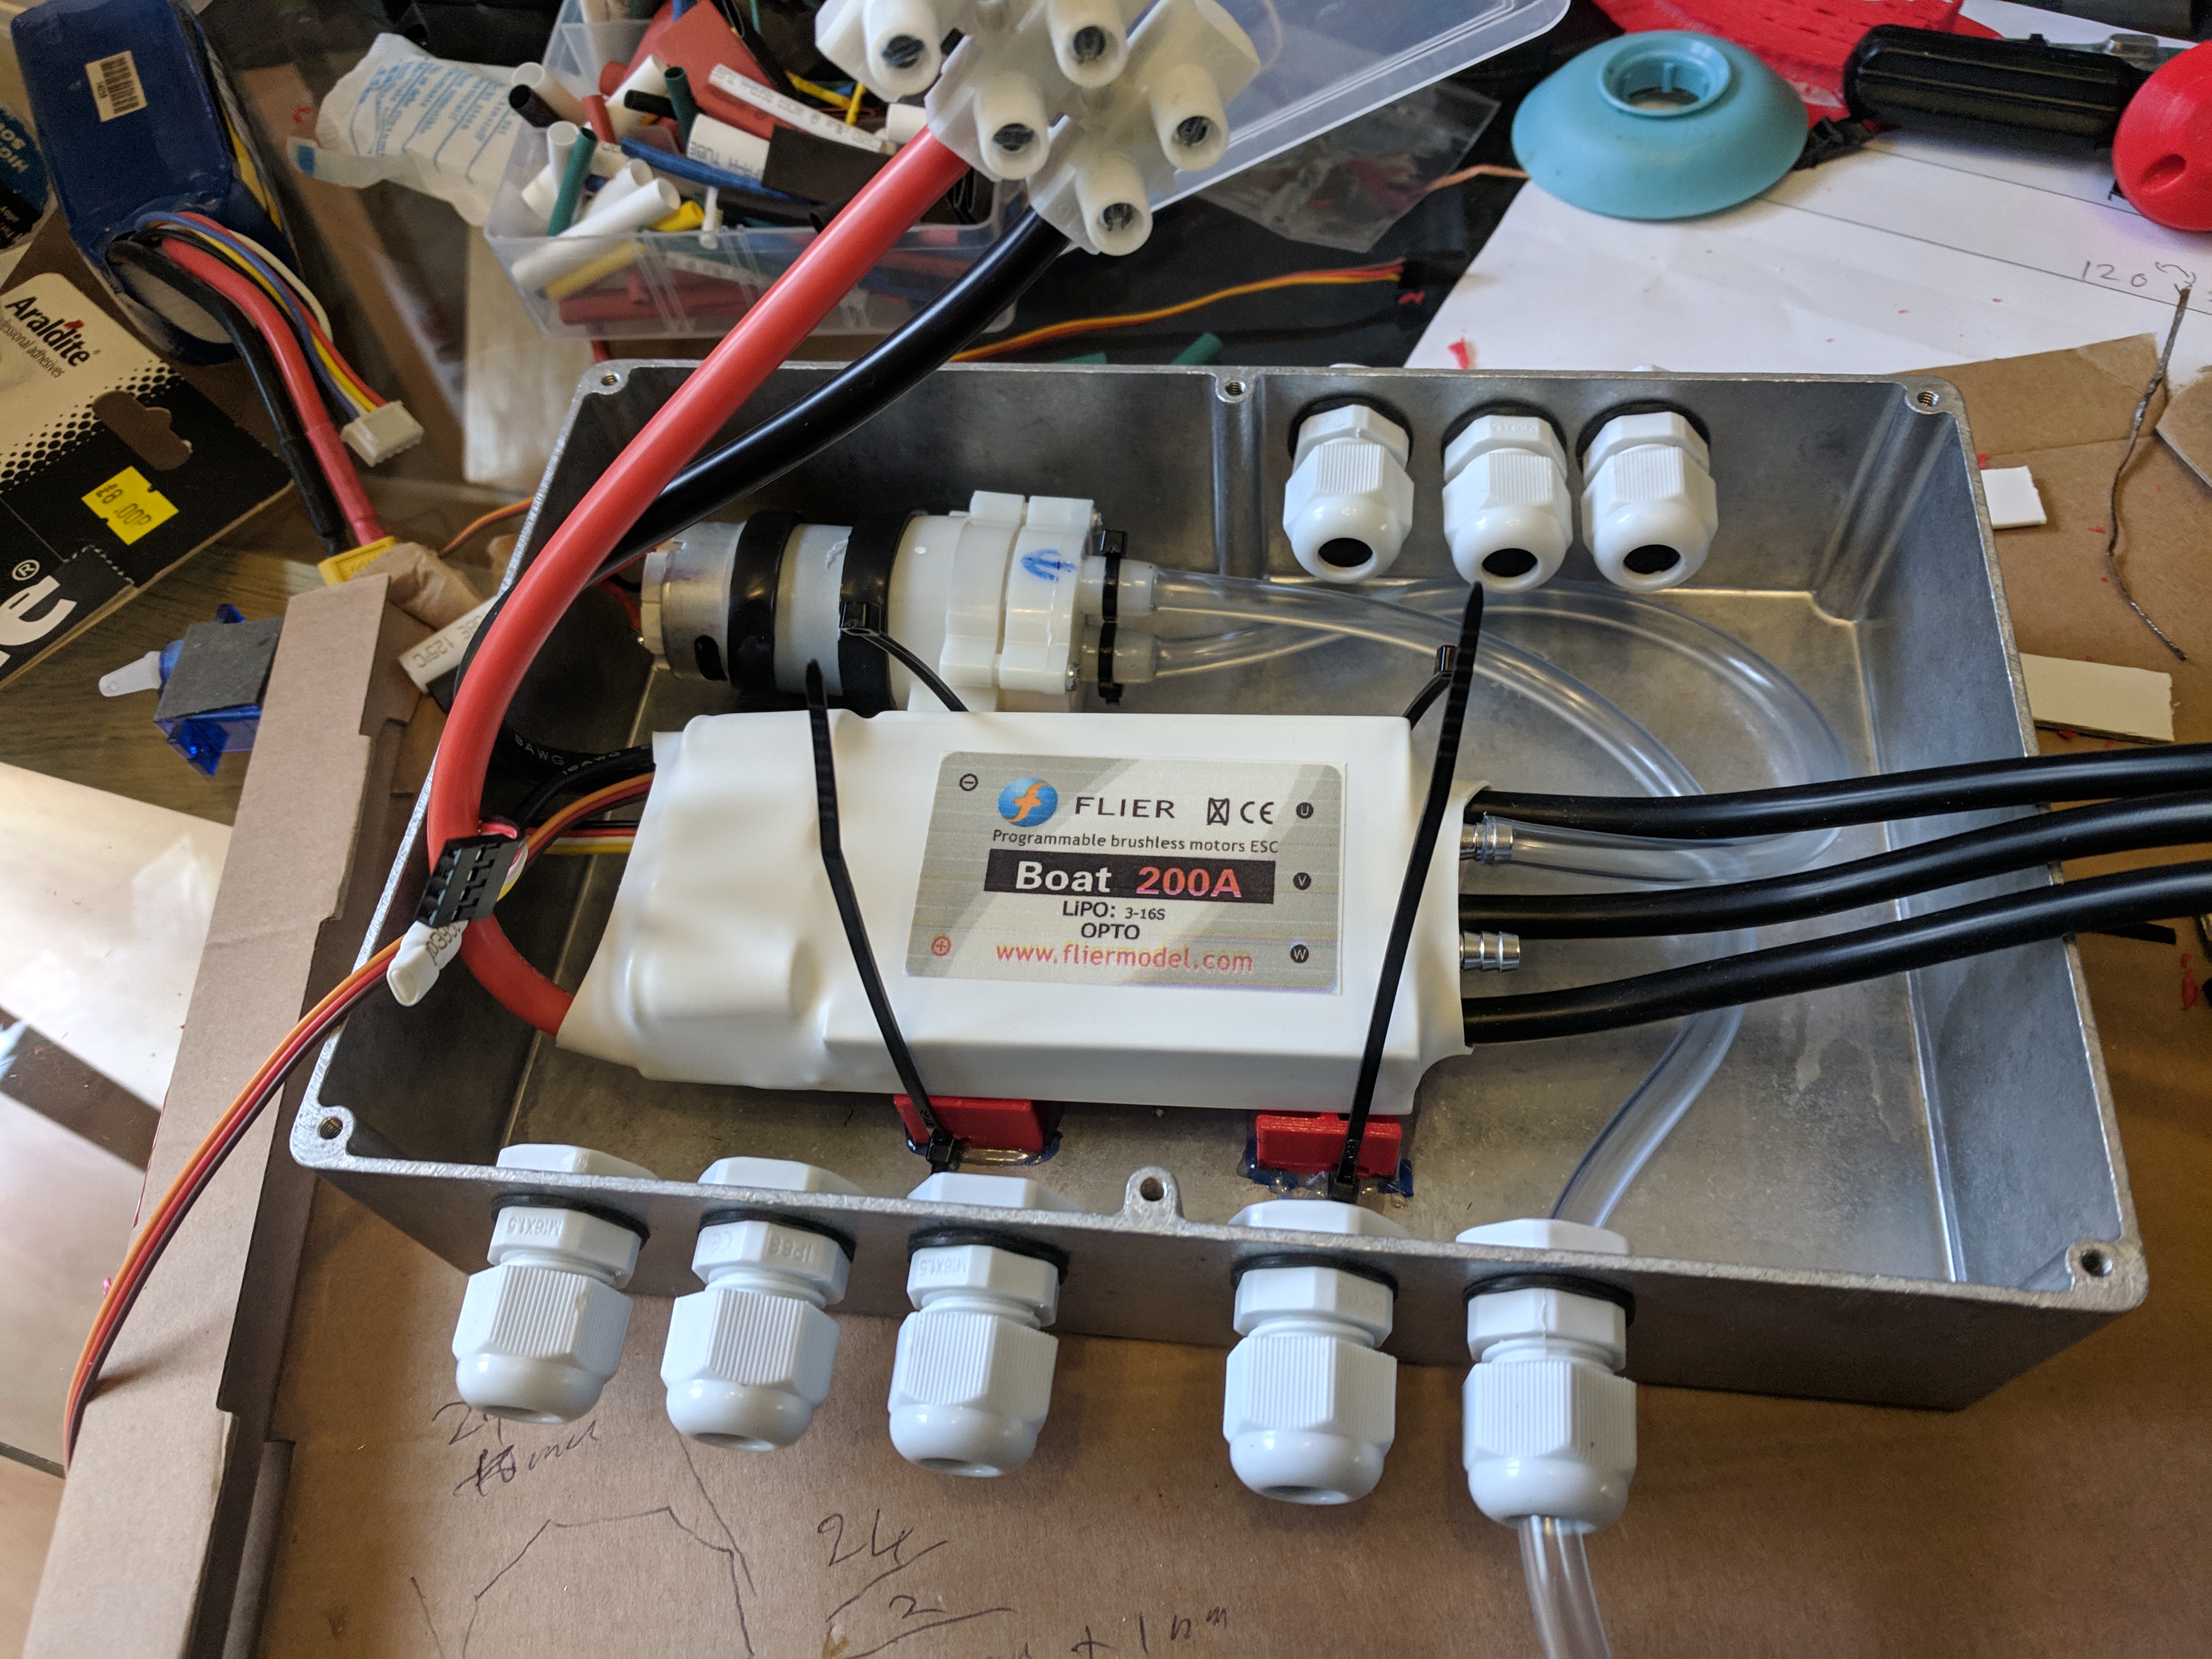
The glands are as follows.
Three on the top go to the battery compartment. facing inwards as I had the space!
Ground
Main +48v (12s - 2x 6s in series). Through a circuit breaker.
Secondary +24v (6s) feed from one of the batteries. This is needed as the dual output bec (12v for pump + 5v for elecs) can only take up to 6s. The extra cable seemed simpler than adding another step down circuit.
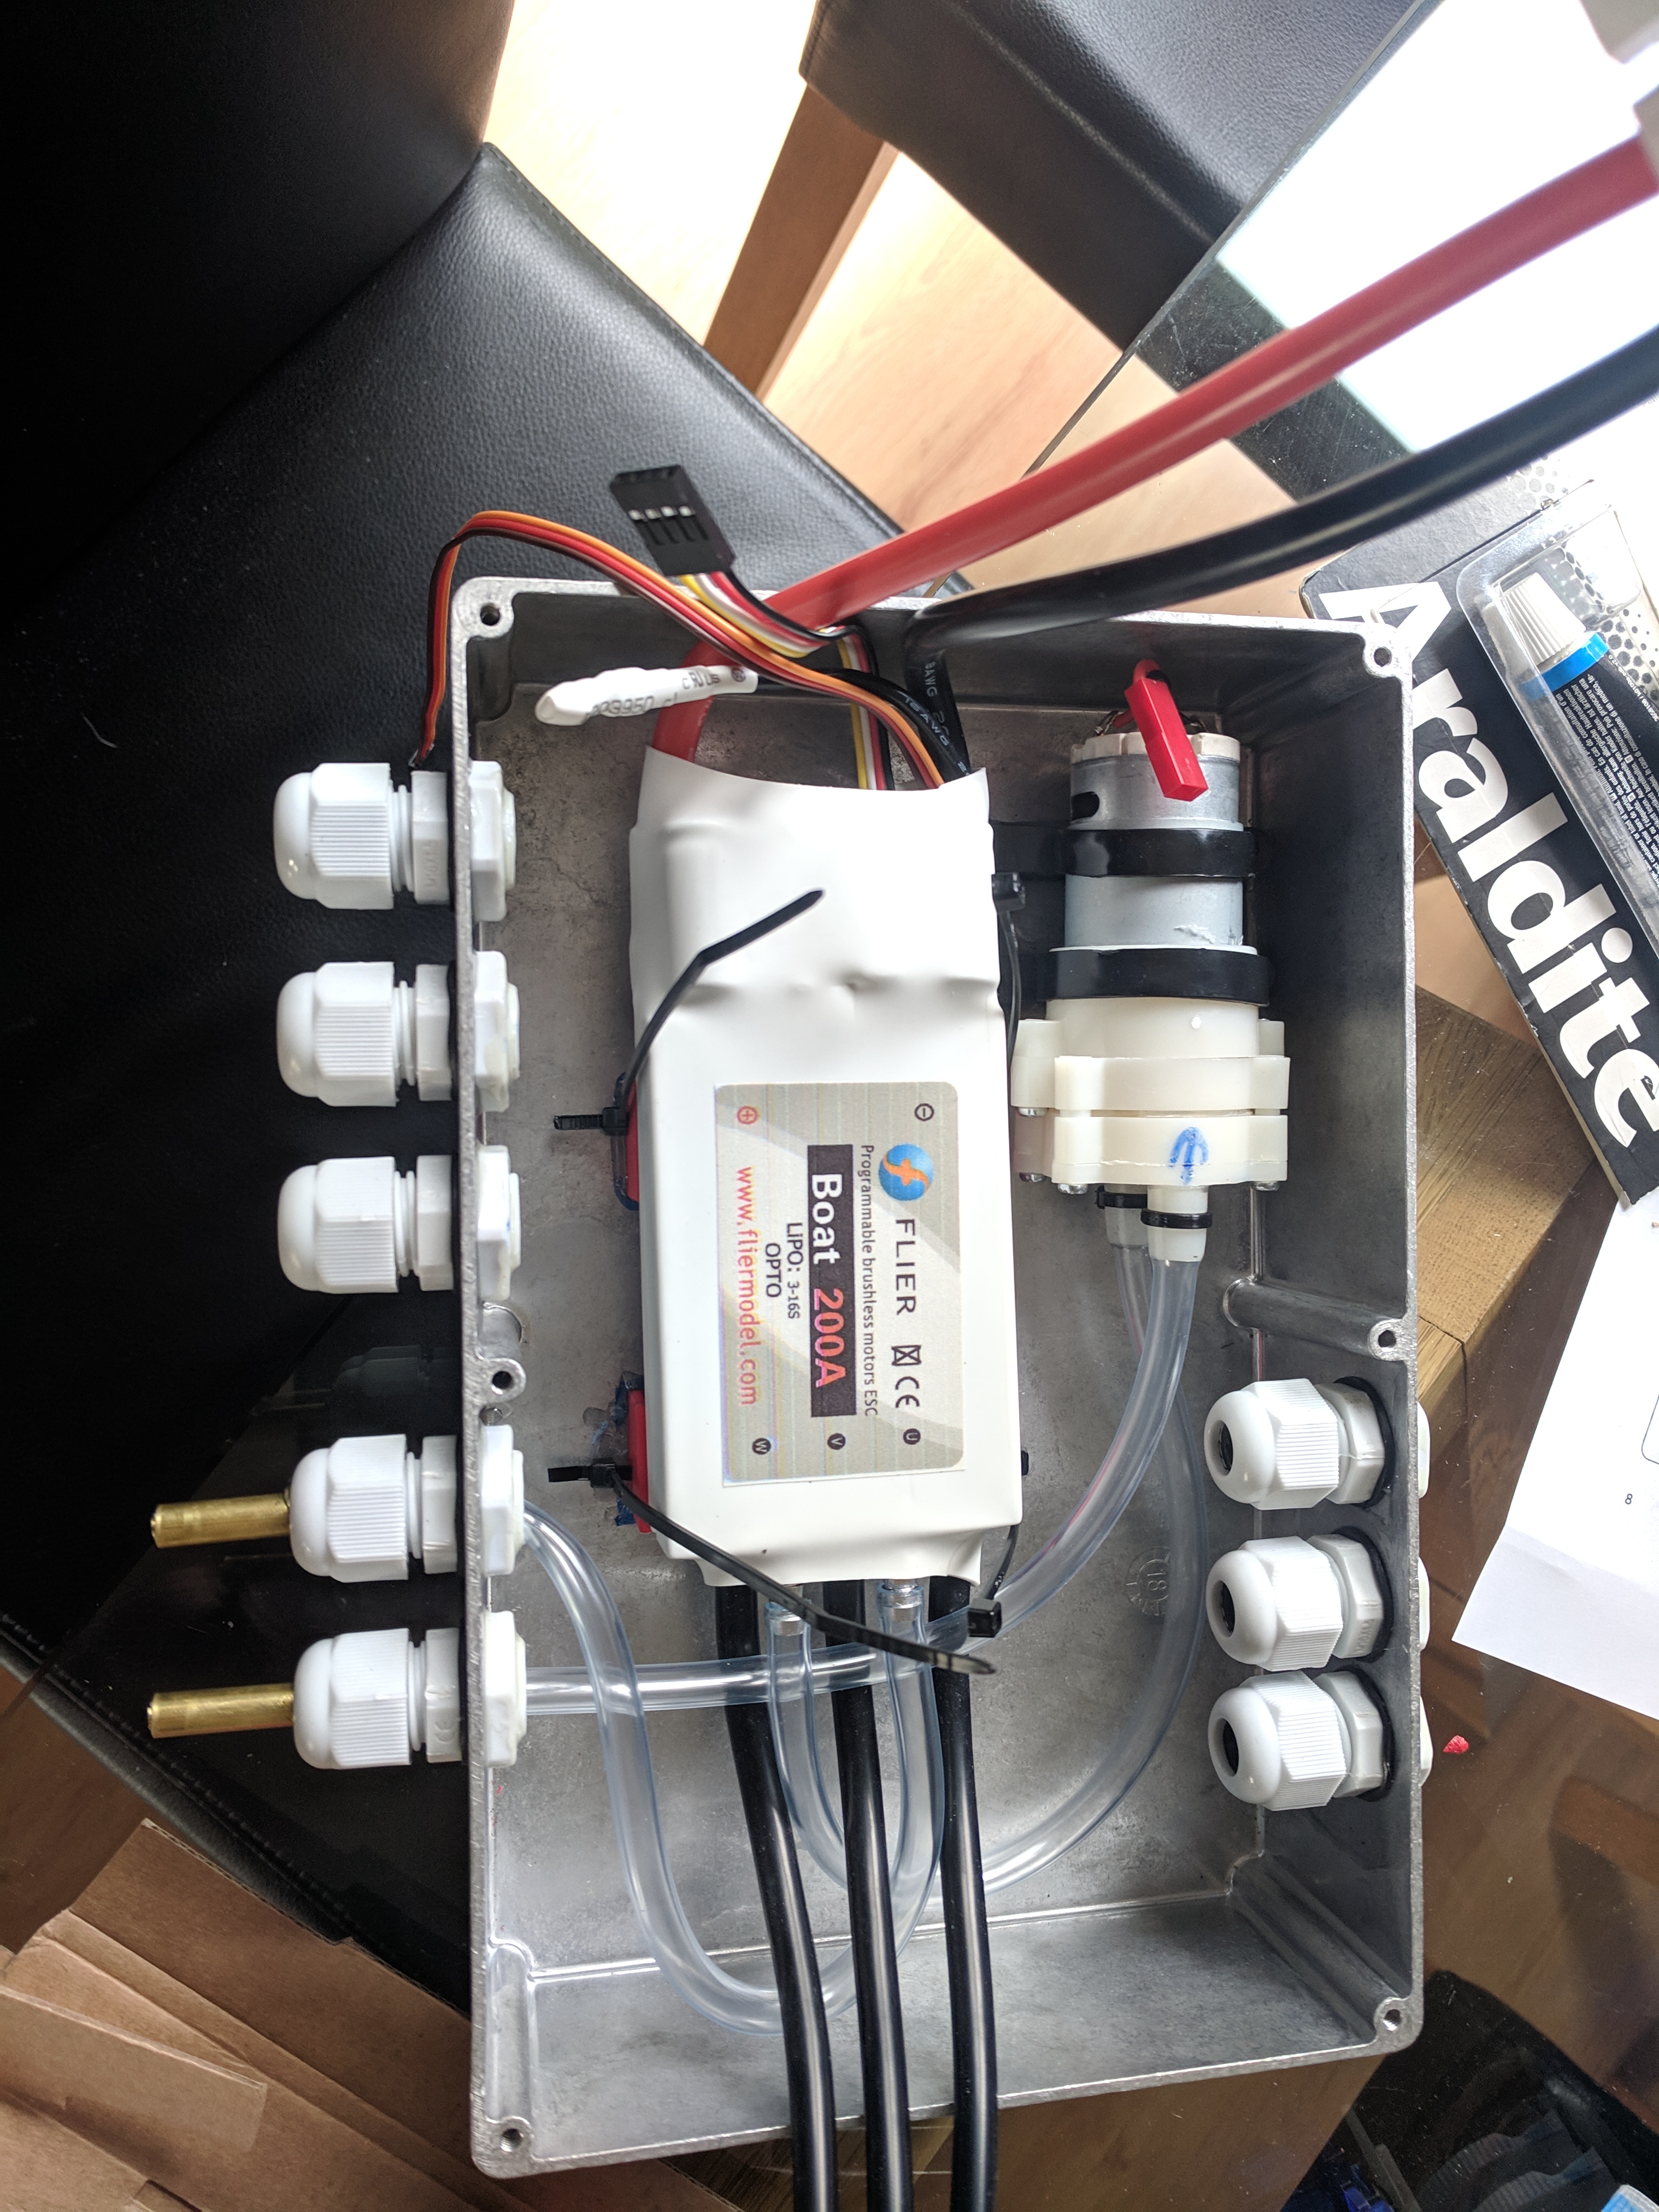
Along the bottom are
1,2 & 3. The three phase cables going to the motor.
4 & 5. The in and out for the water pump.
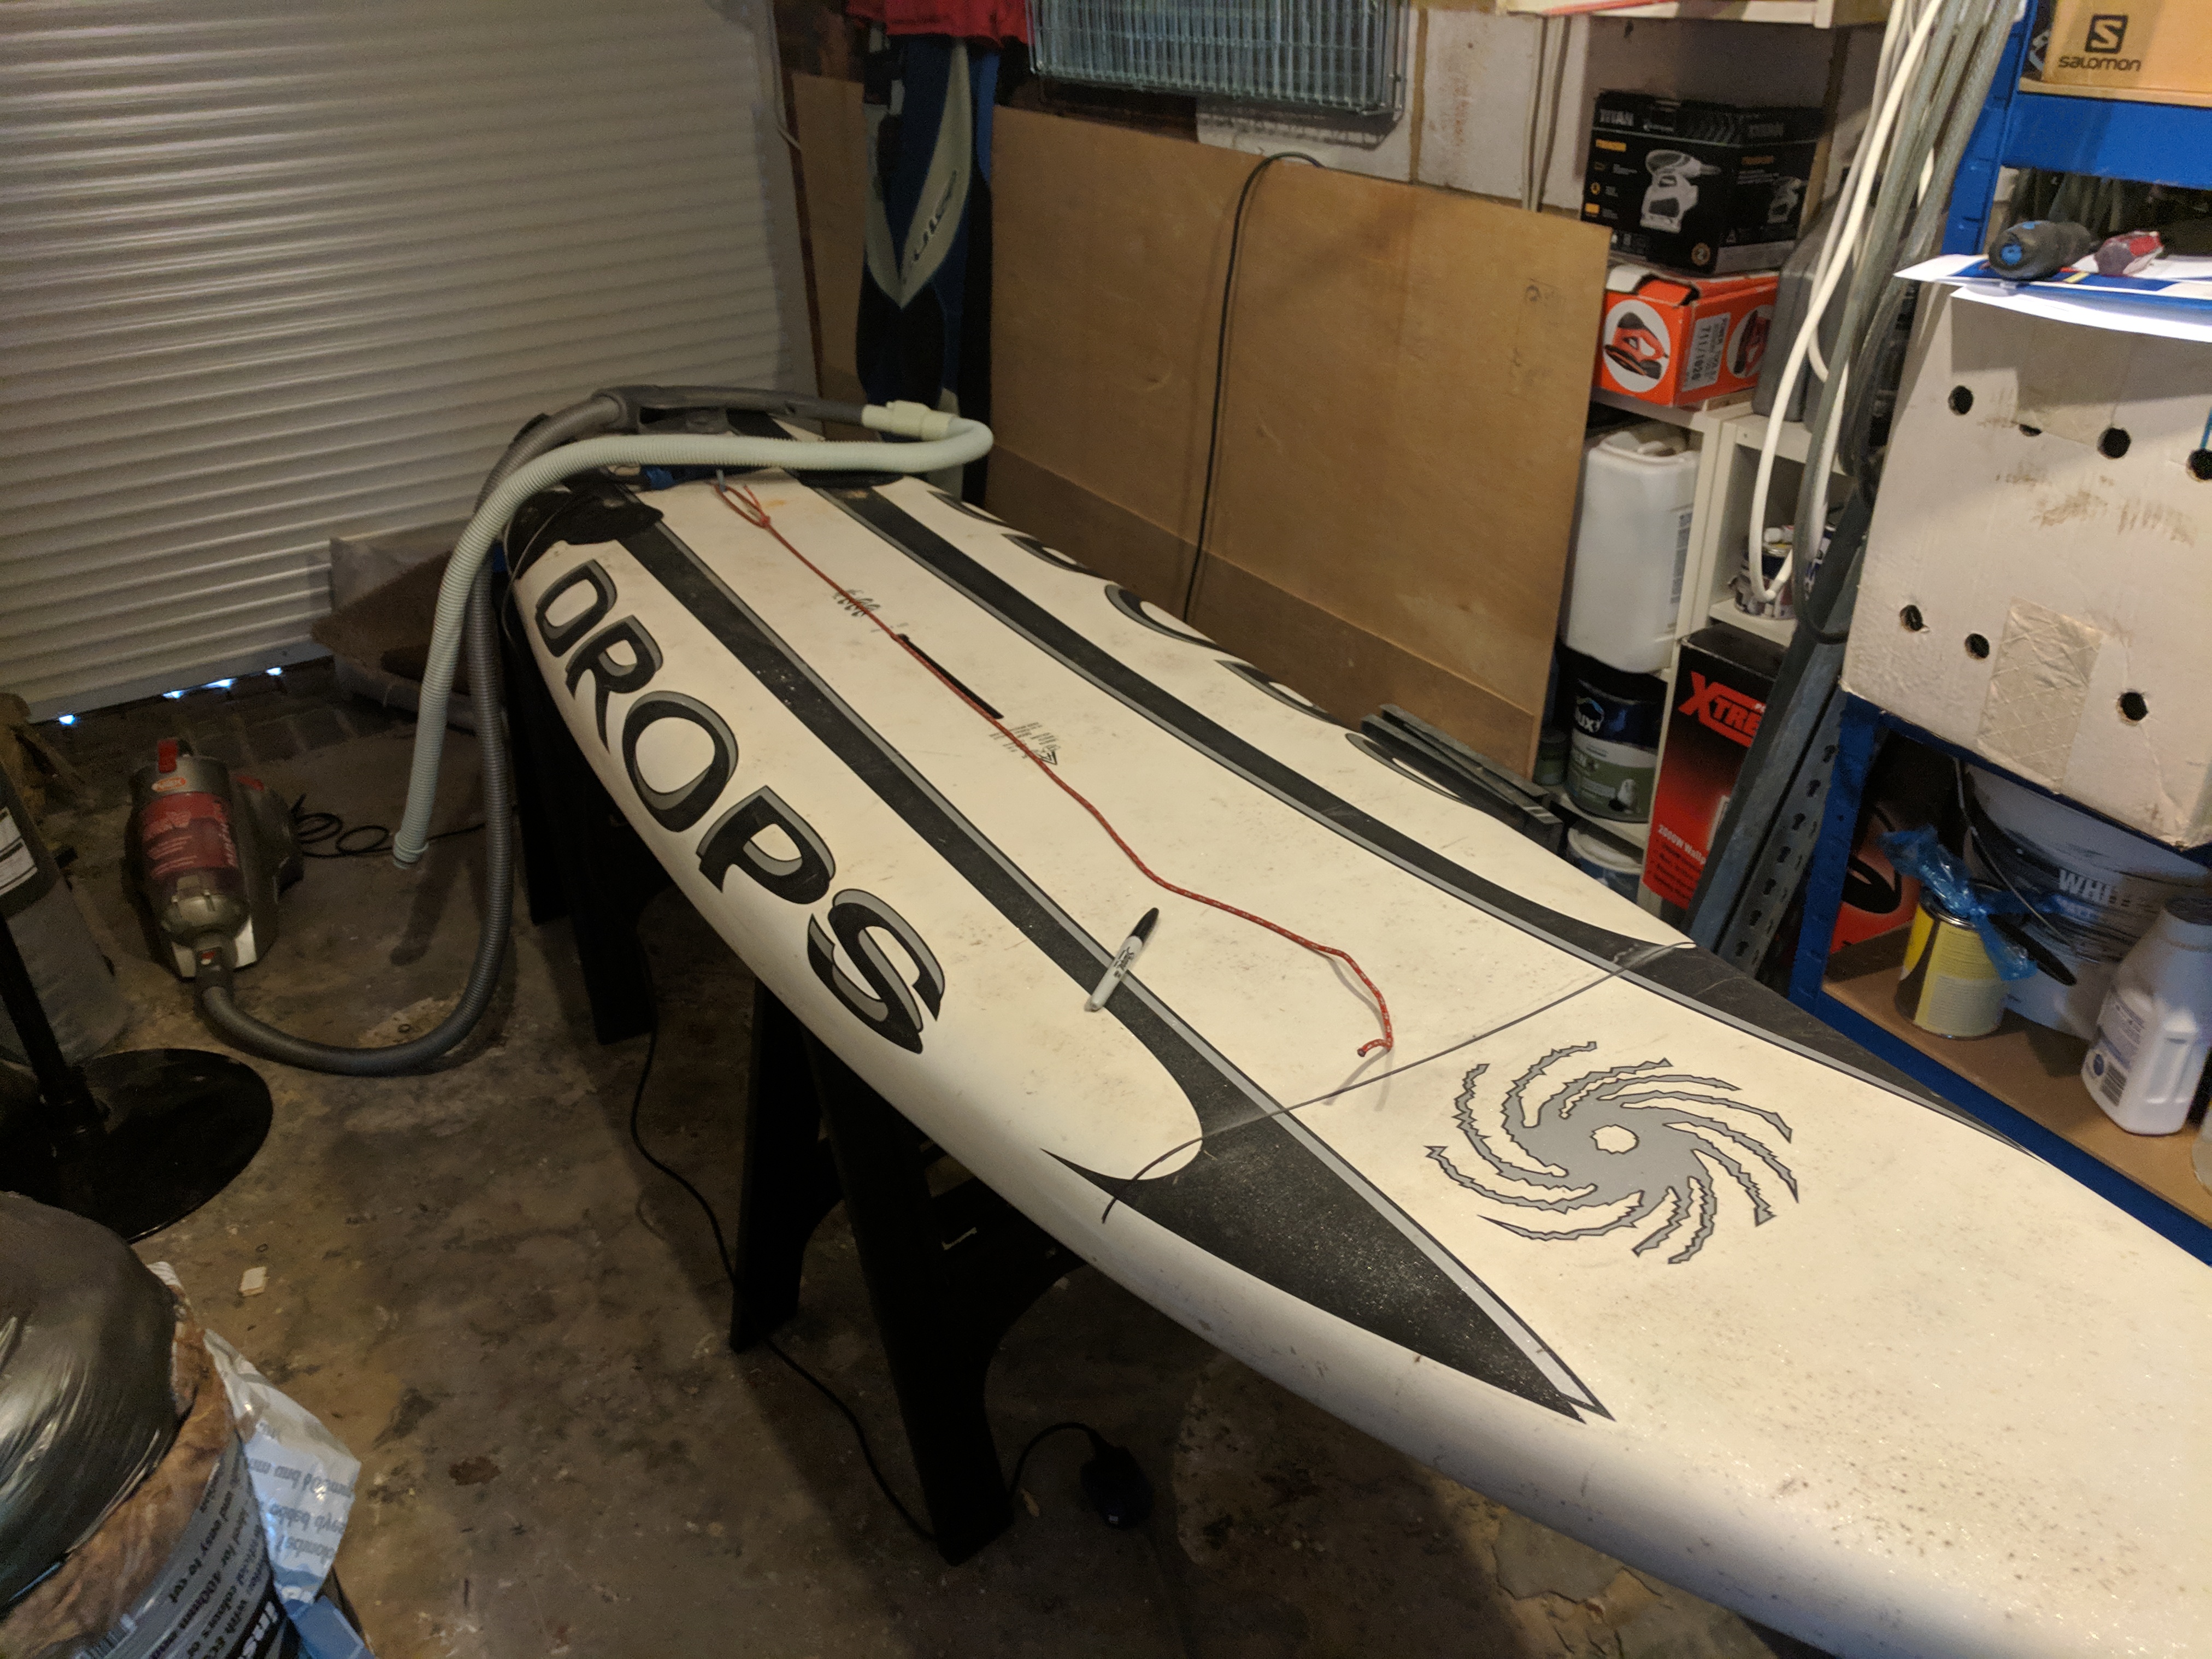
I had access to an old, but very nice racing windsurf board. I think this will be perfect for a foil board as its got good volume. and is very strong as it used to handle a massive sail. As it turns out the skin is a carbon fiber, with other materials in the sandwiched on either side. I cannot tell you the details but a very solid and stupidly lite!
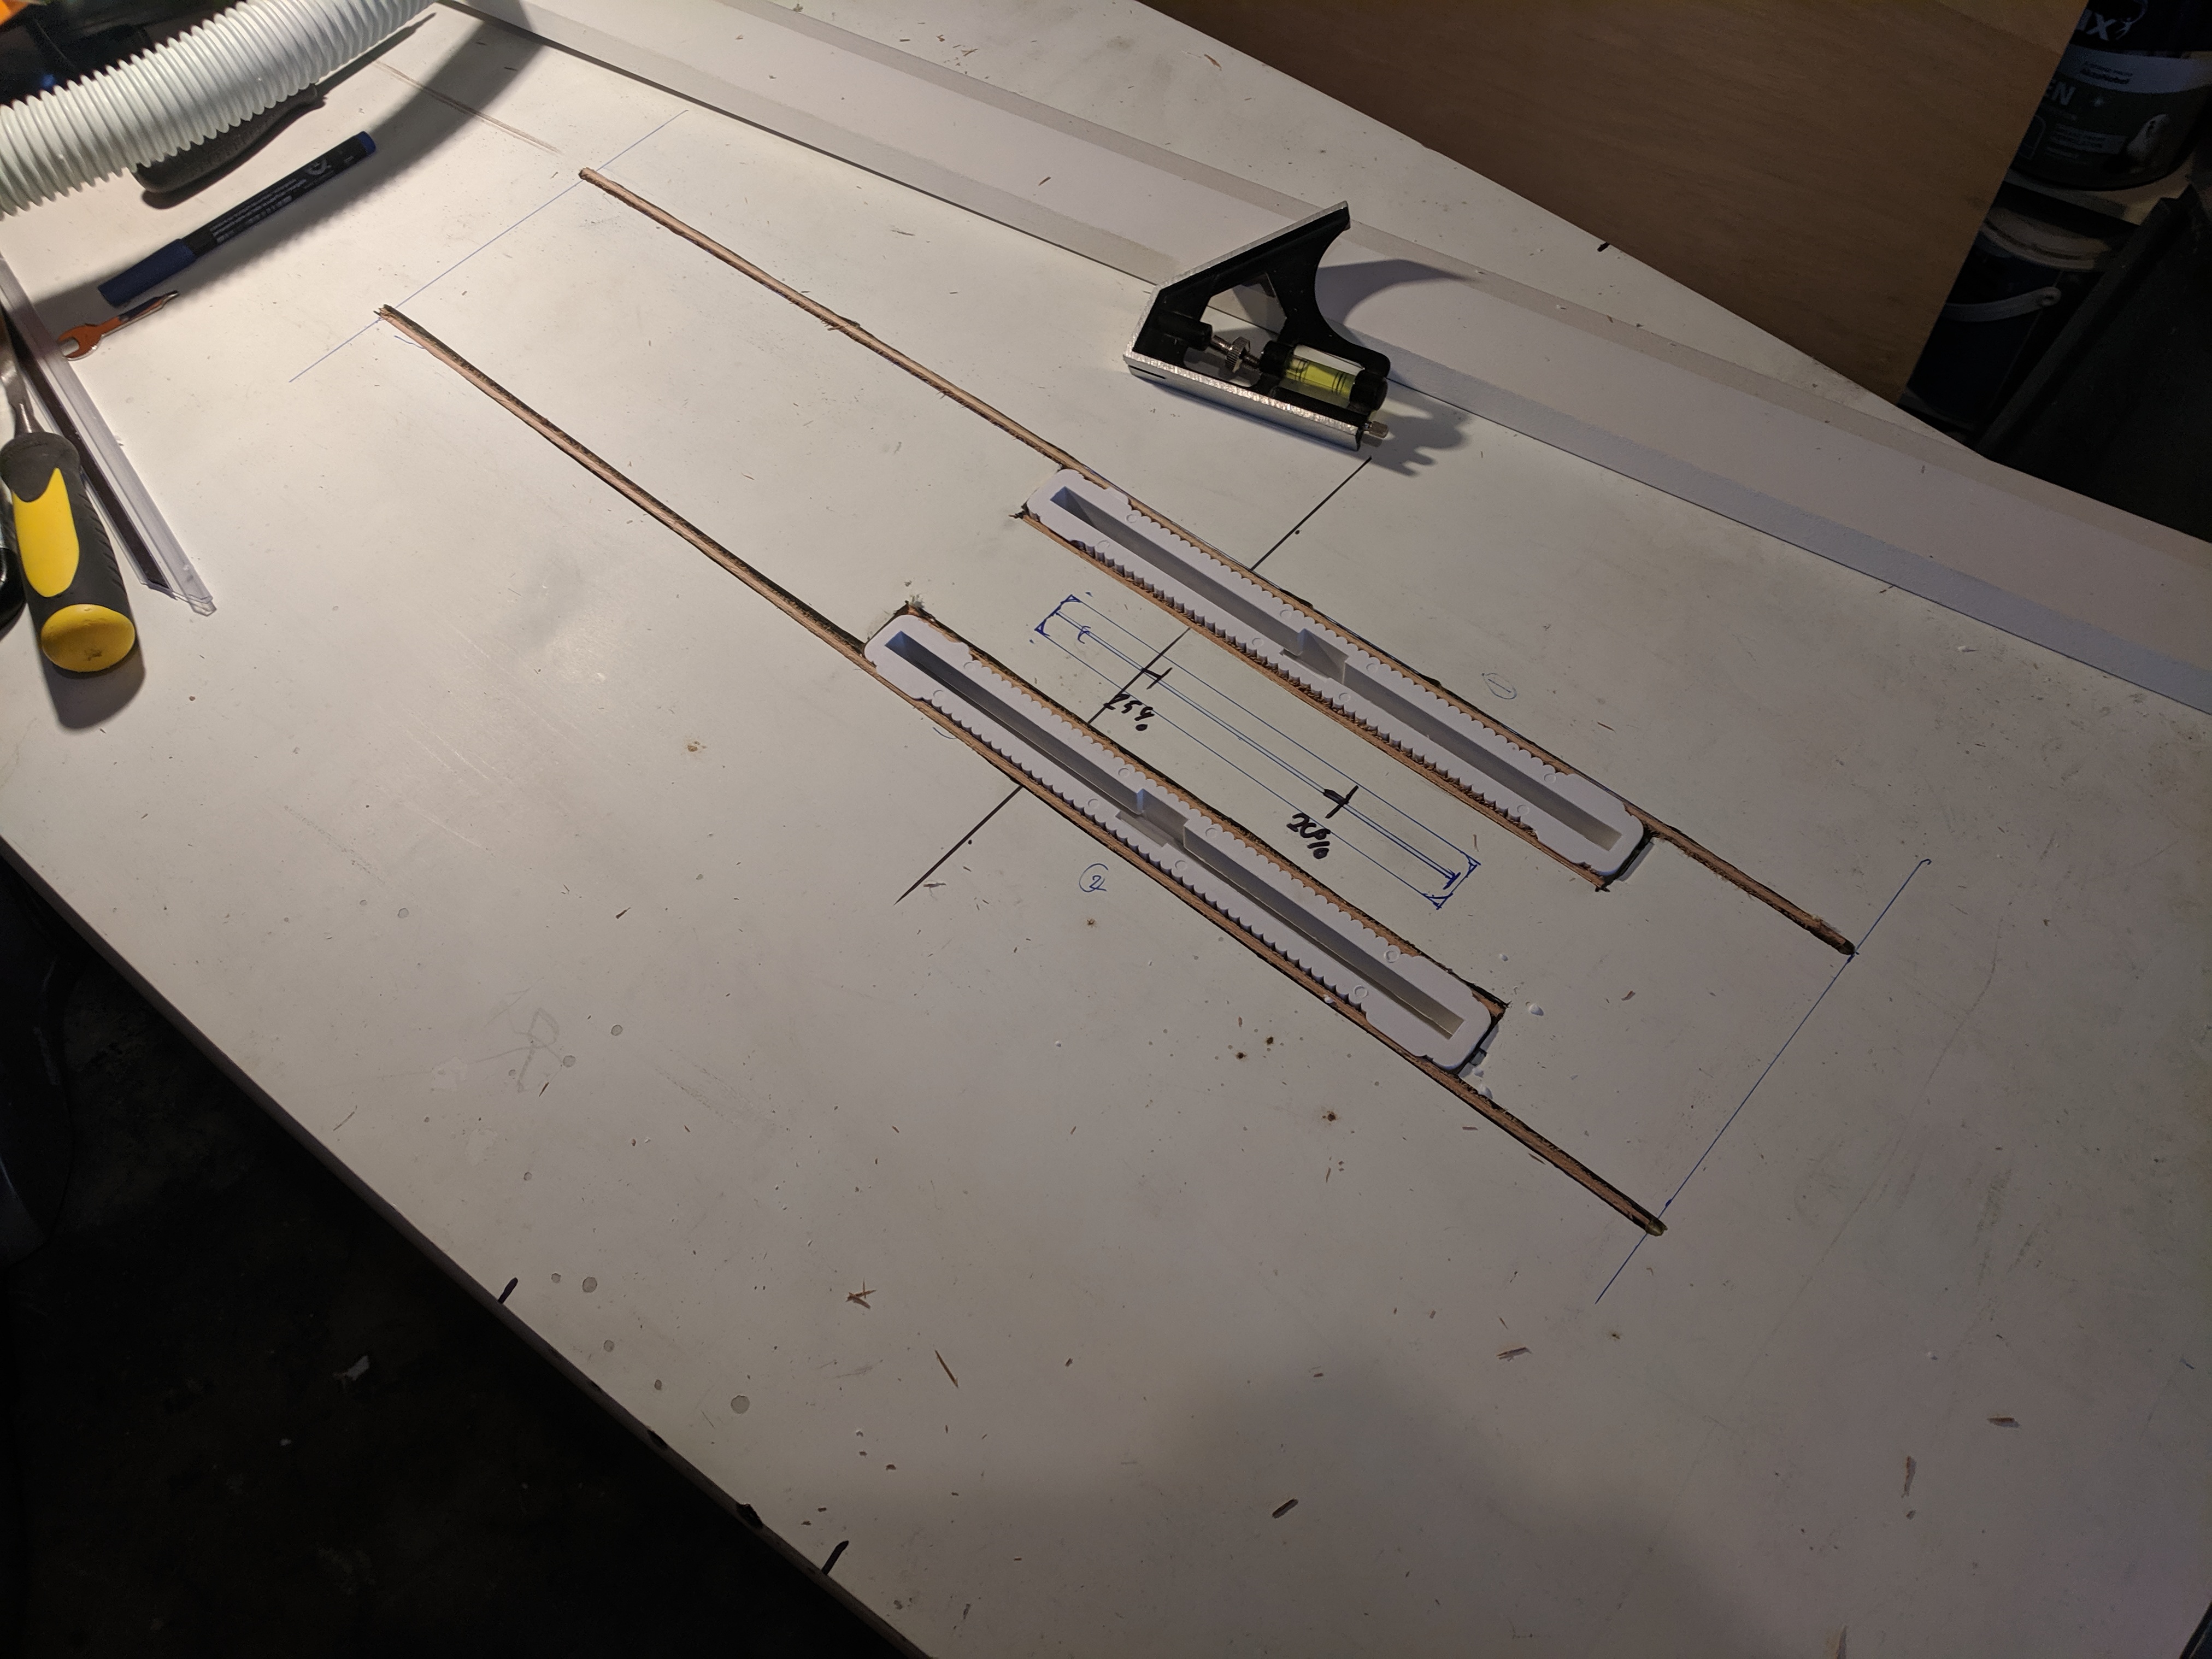
I used a simple plumb line to make my shape so it wasnt a straight edge or hand drawn curve. As you can see above.
The board has a natural camber to it so no worry here, and I off-set the top of board line, to the bottom of board. I cut through the surface layers along the offset lines with a Dremal, then used a long hack saw blade to go through the (EPS) core, using the surface cuts as a guide.
This gave it a bit of a lip on the front and back. Not perfect, but I may tidy it up when glassing.
I like the shape though, and the simple graphics will be copied over as a ‘nod’ to its past!
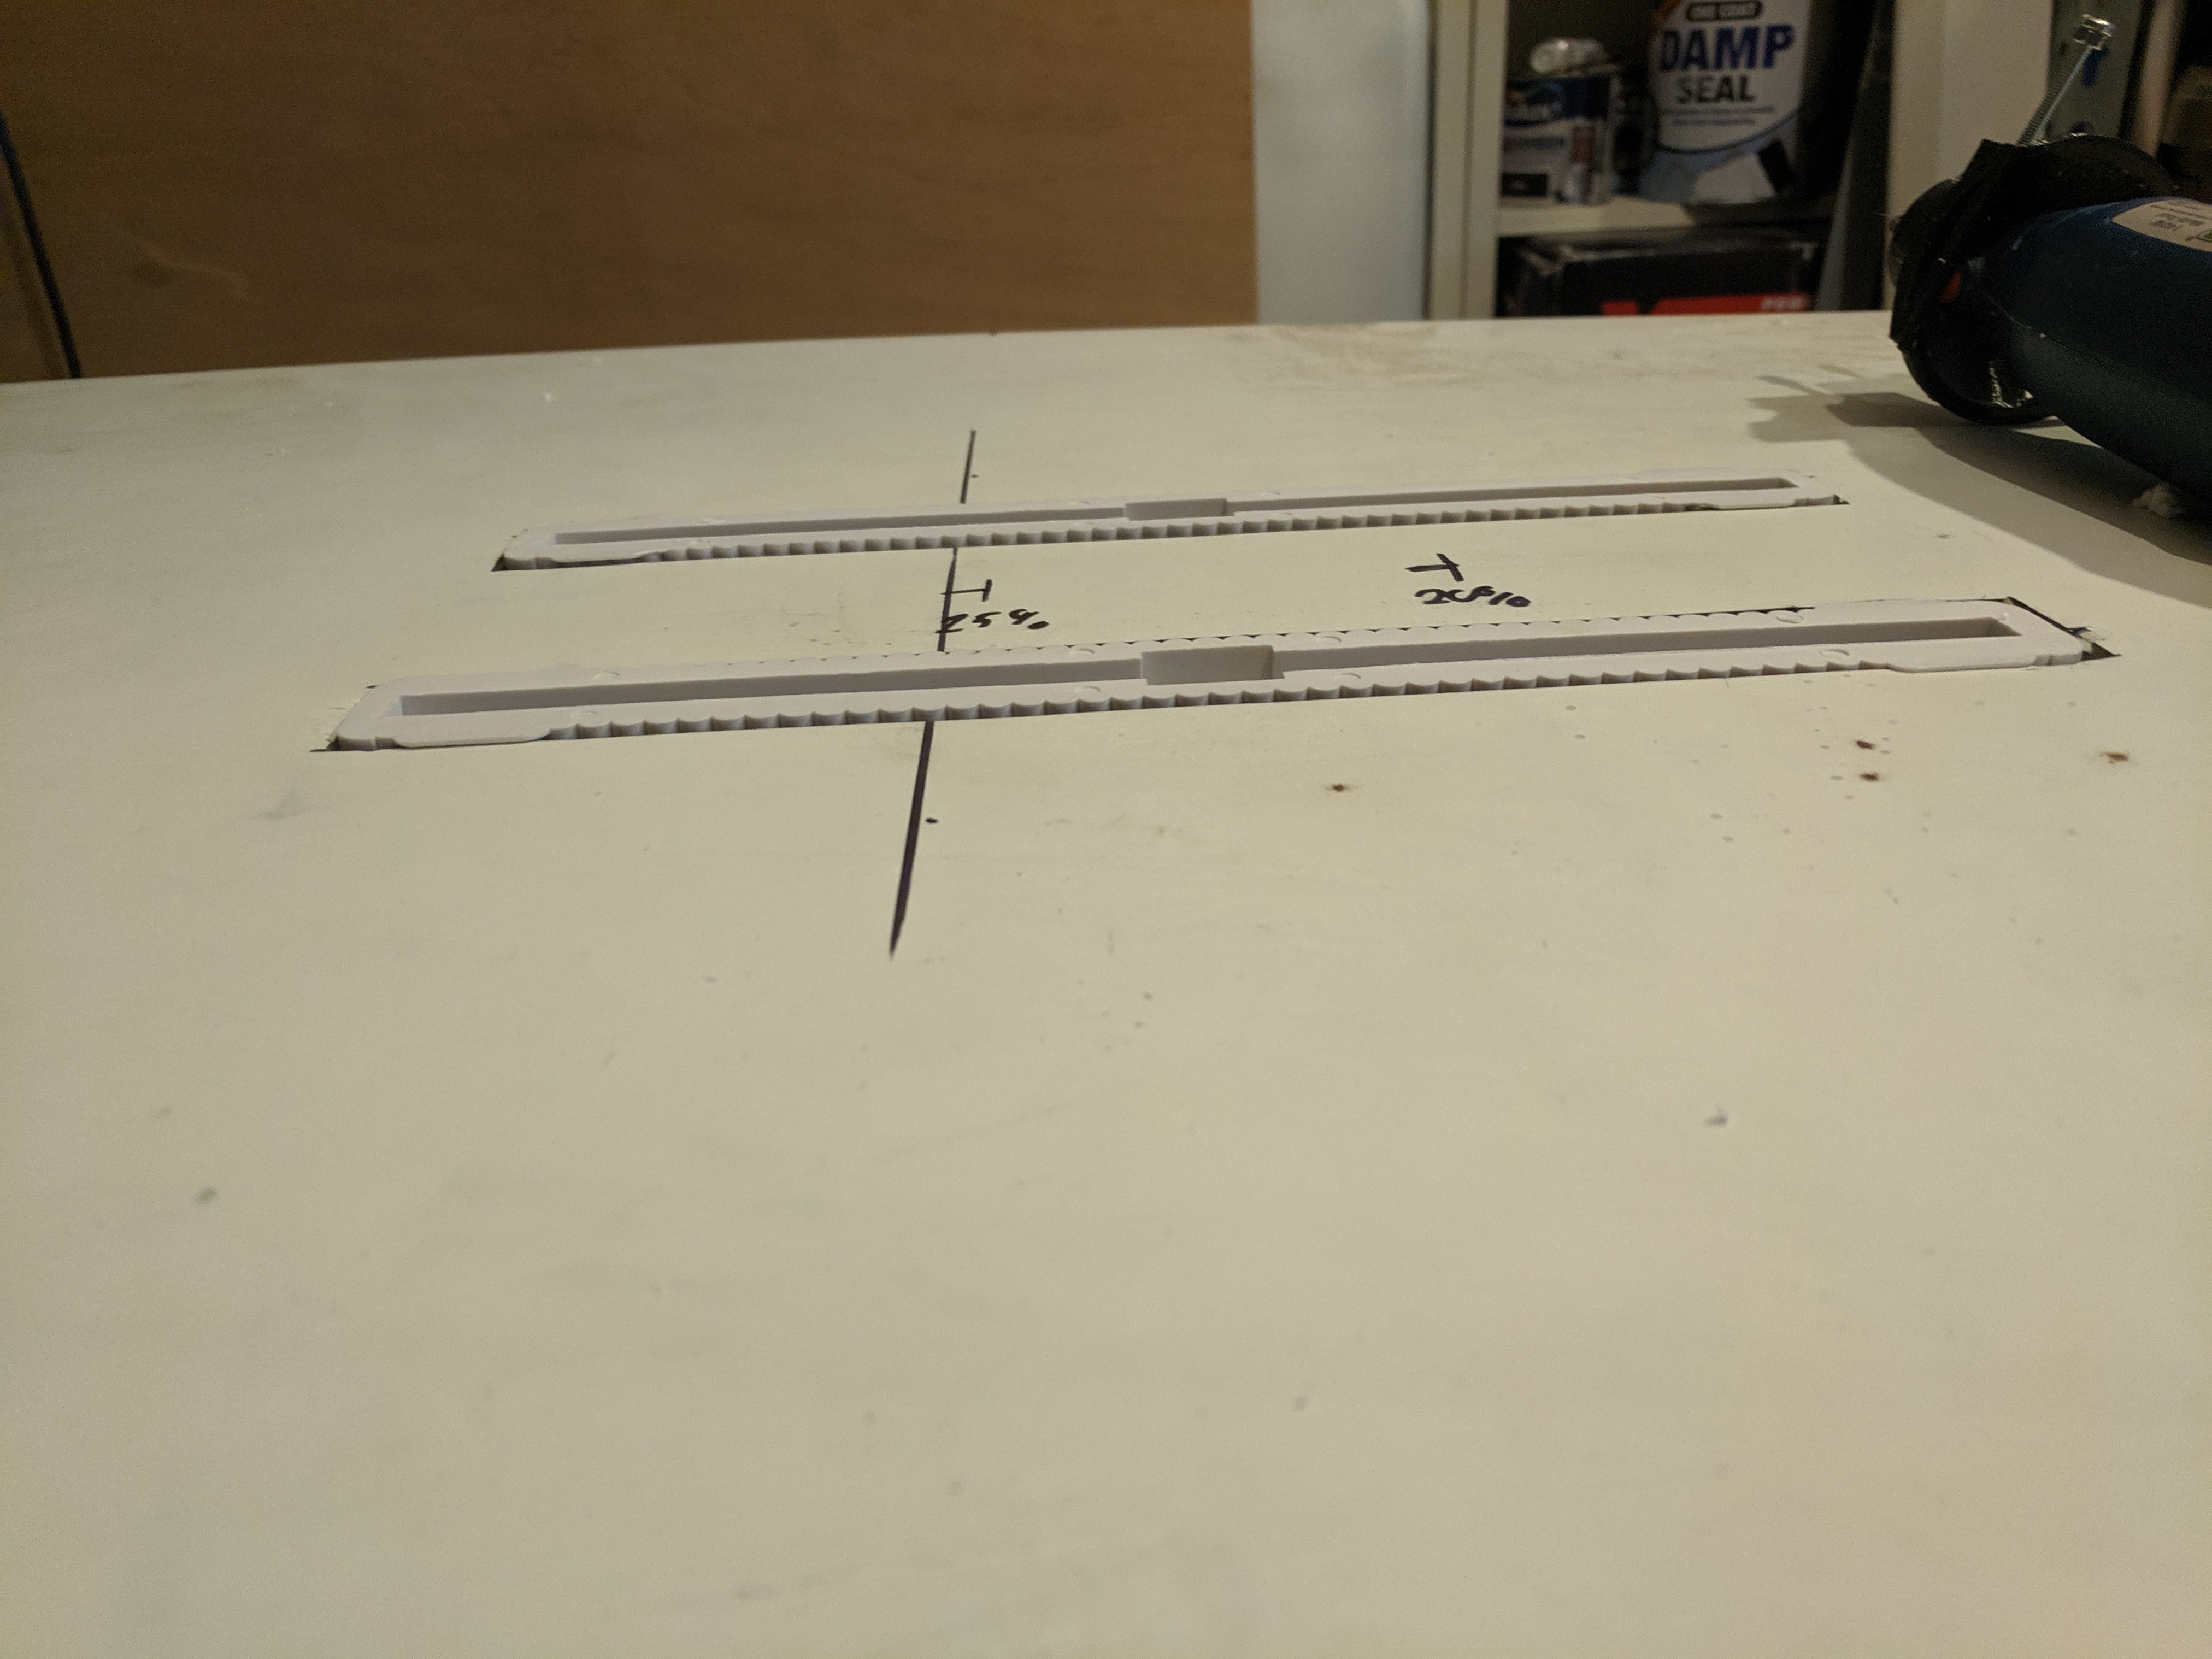
I am using 2x Dorsal fin 10.5" boxes. They should allow a little movement to adjust the foil position.
I chose to use the Dorsal Brand boxes as in theory they have a fibre infused plastic which is stronger than the cheaper copies, and they are not exactly expensive, £22 for the pair
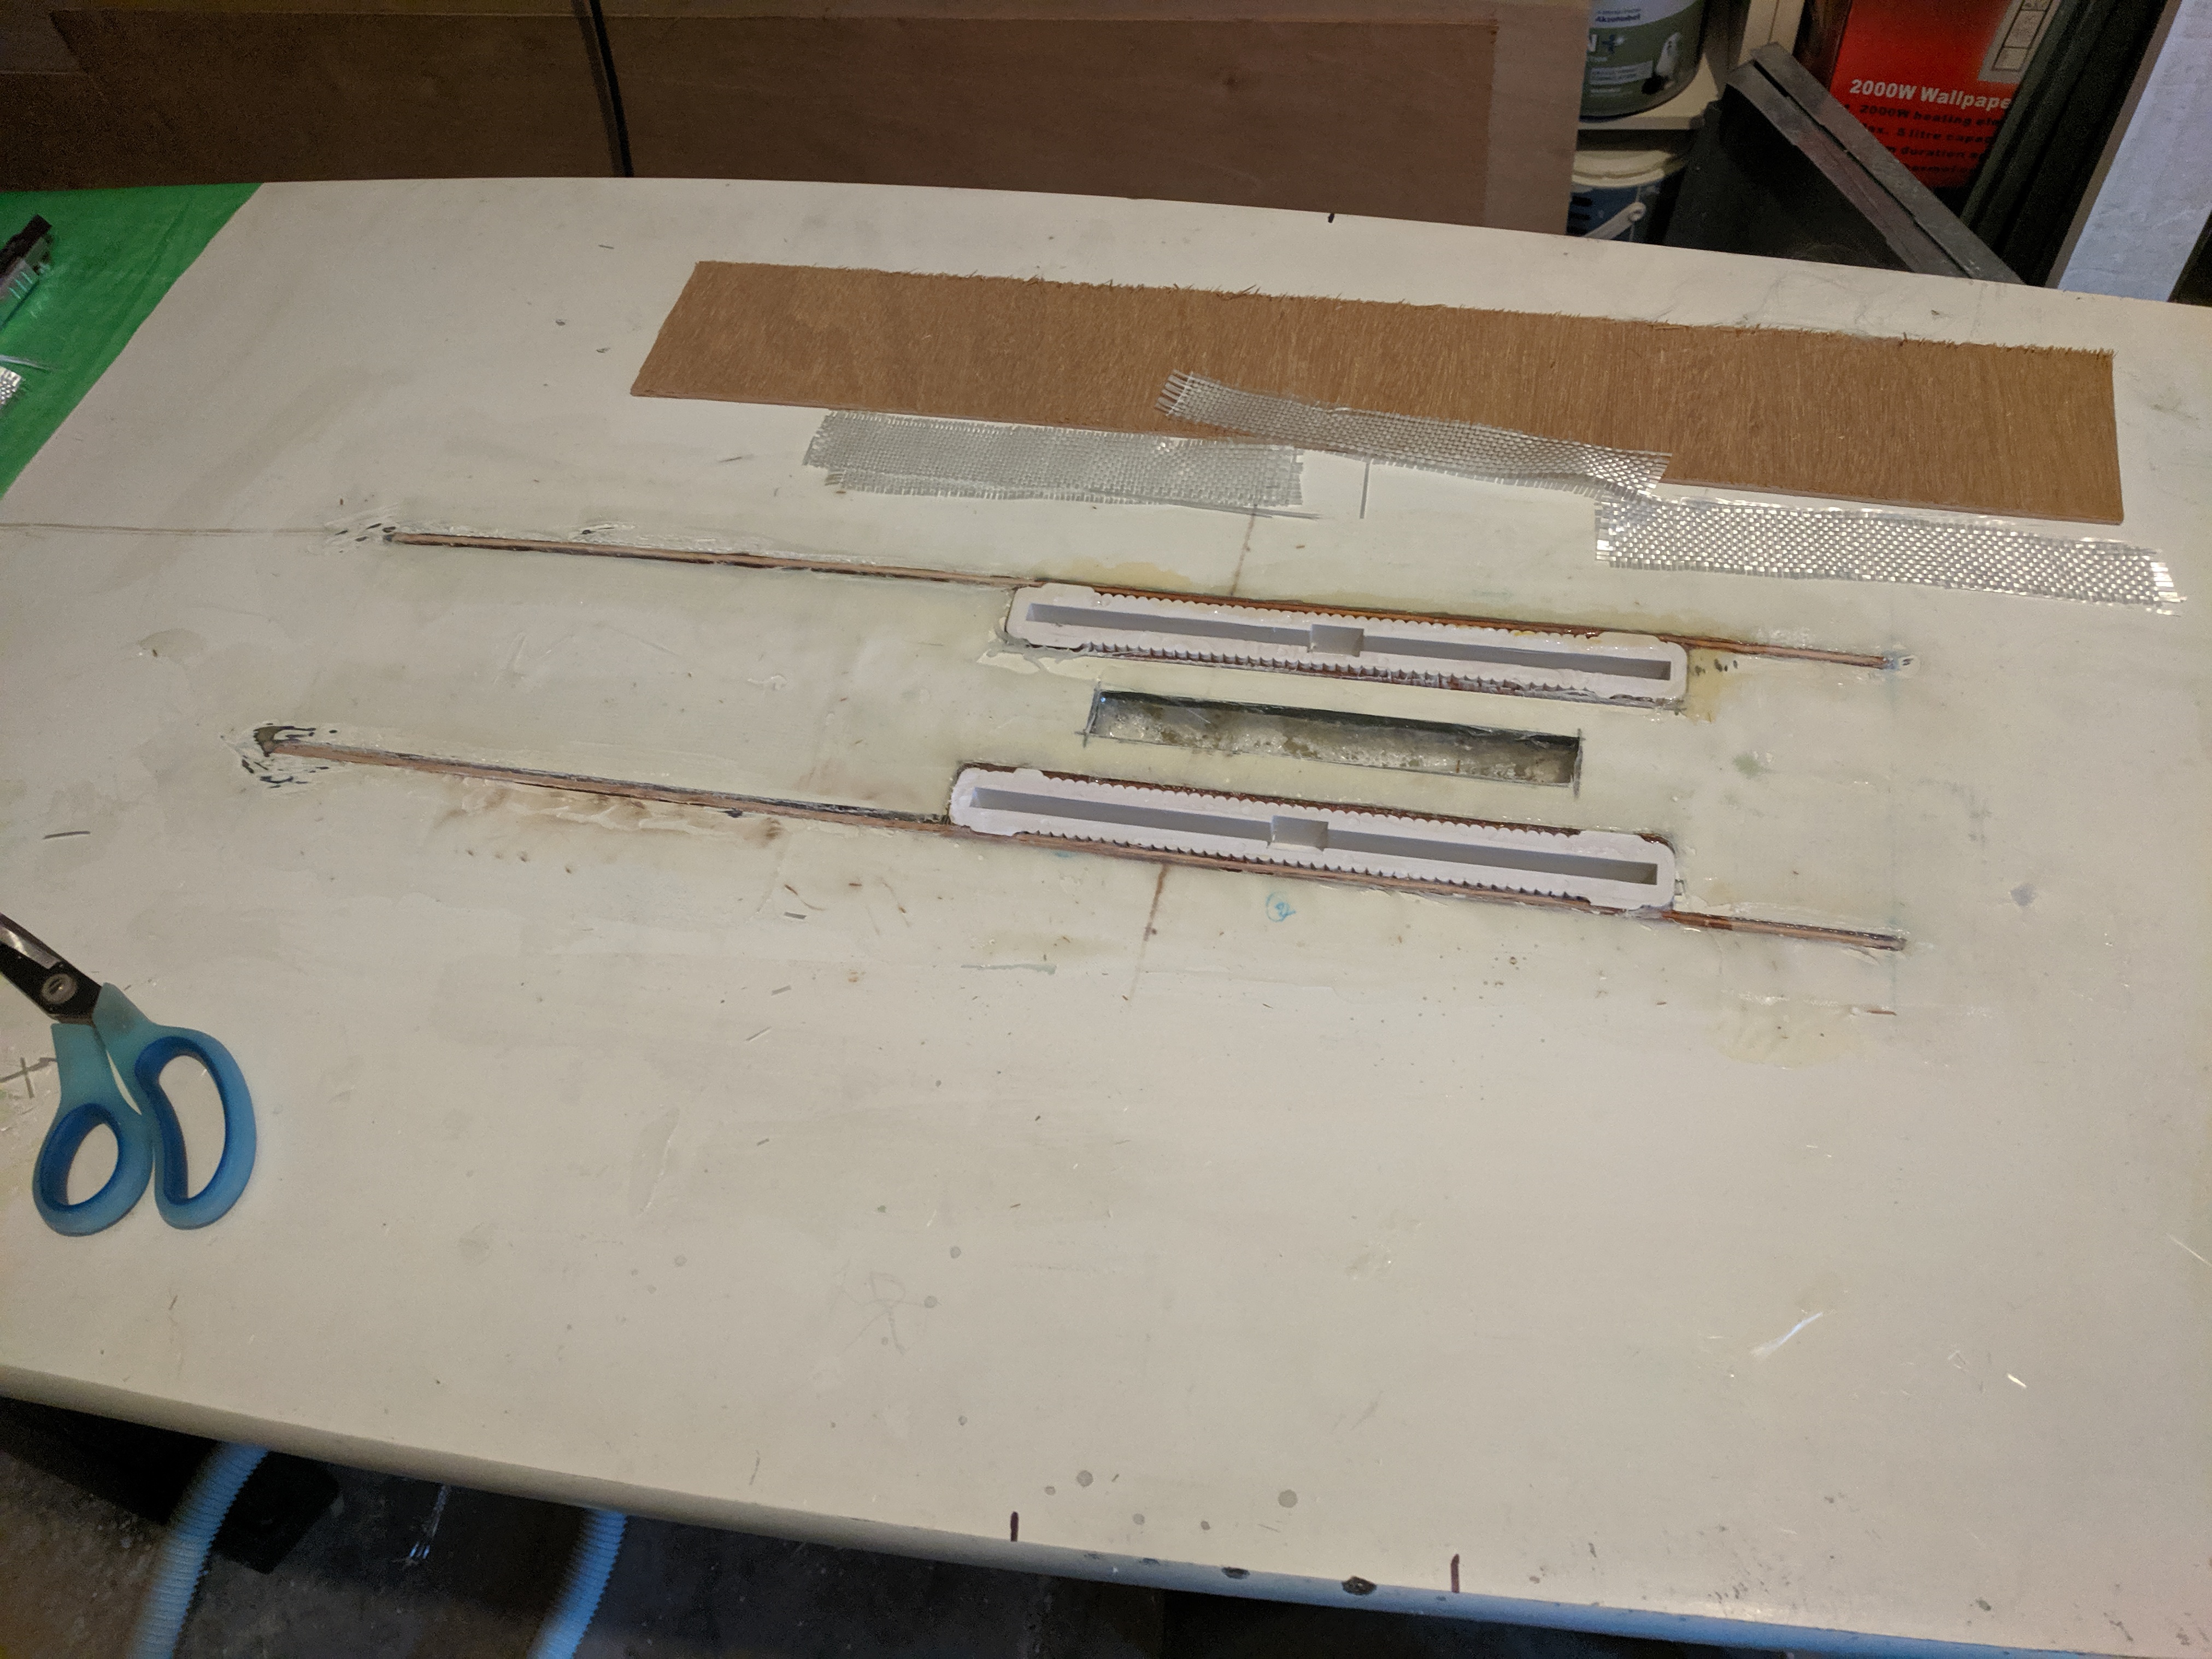
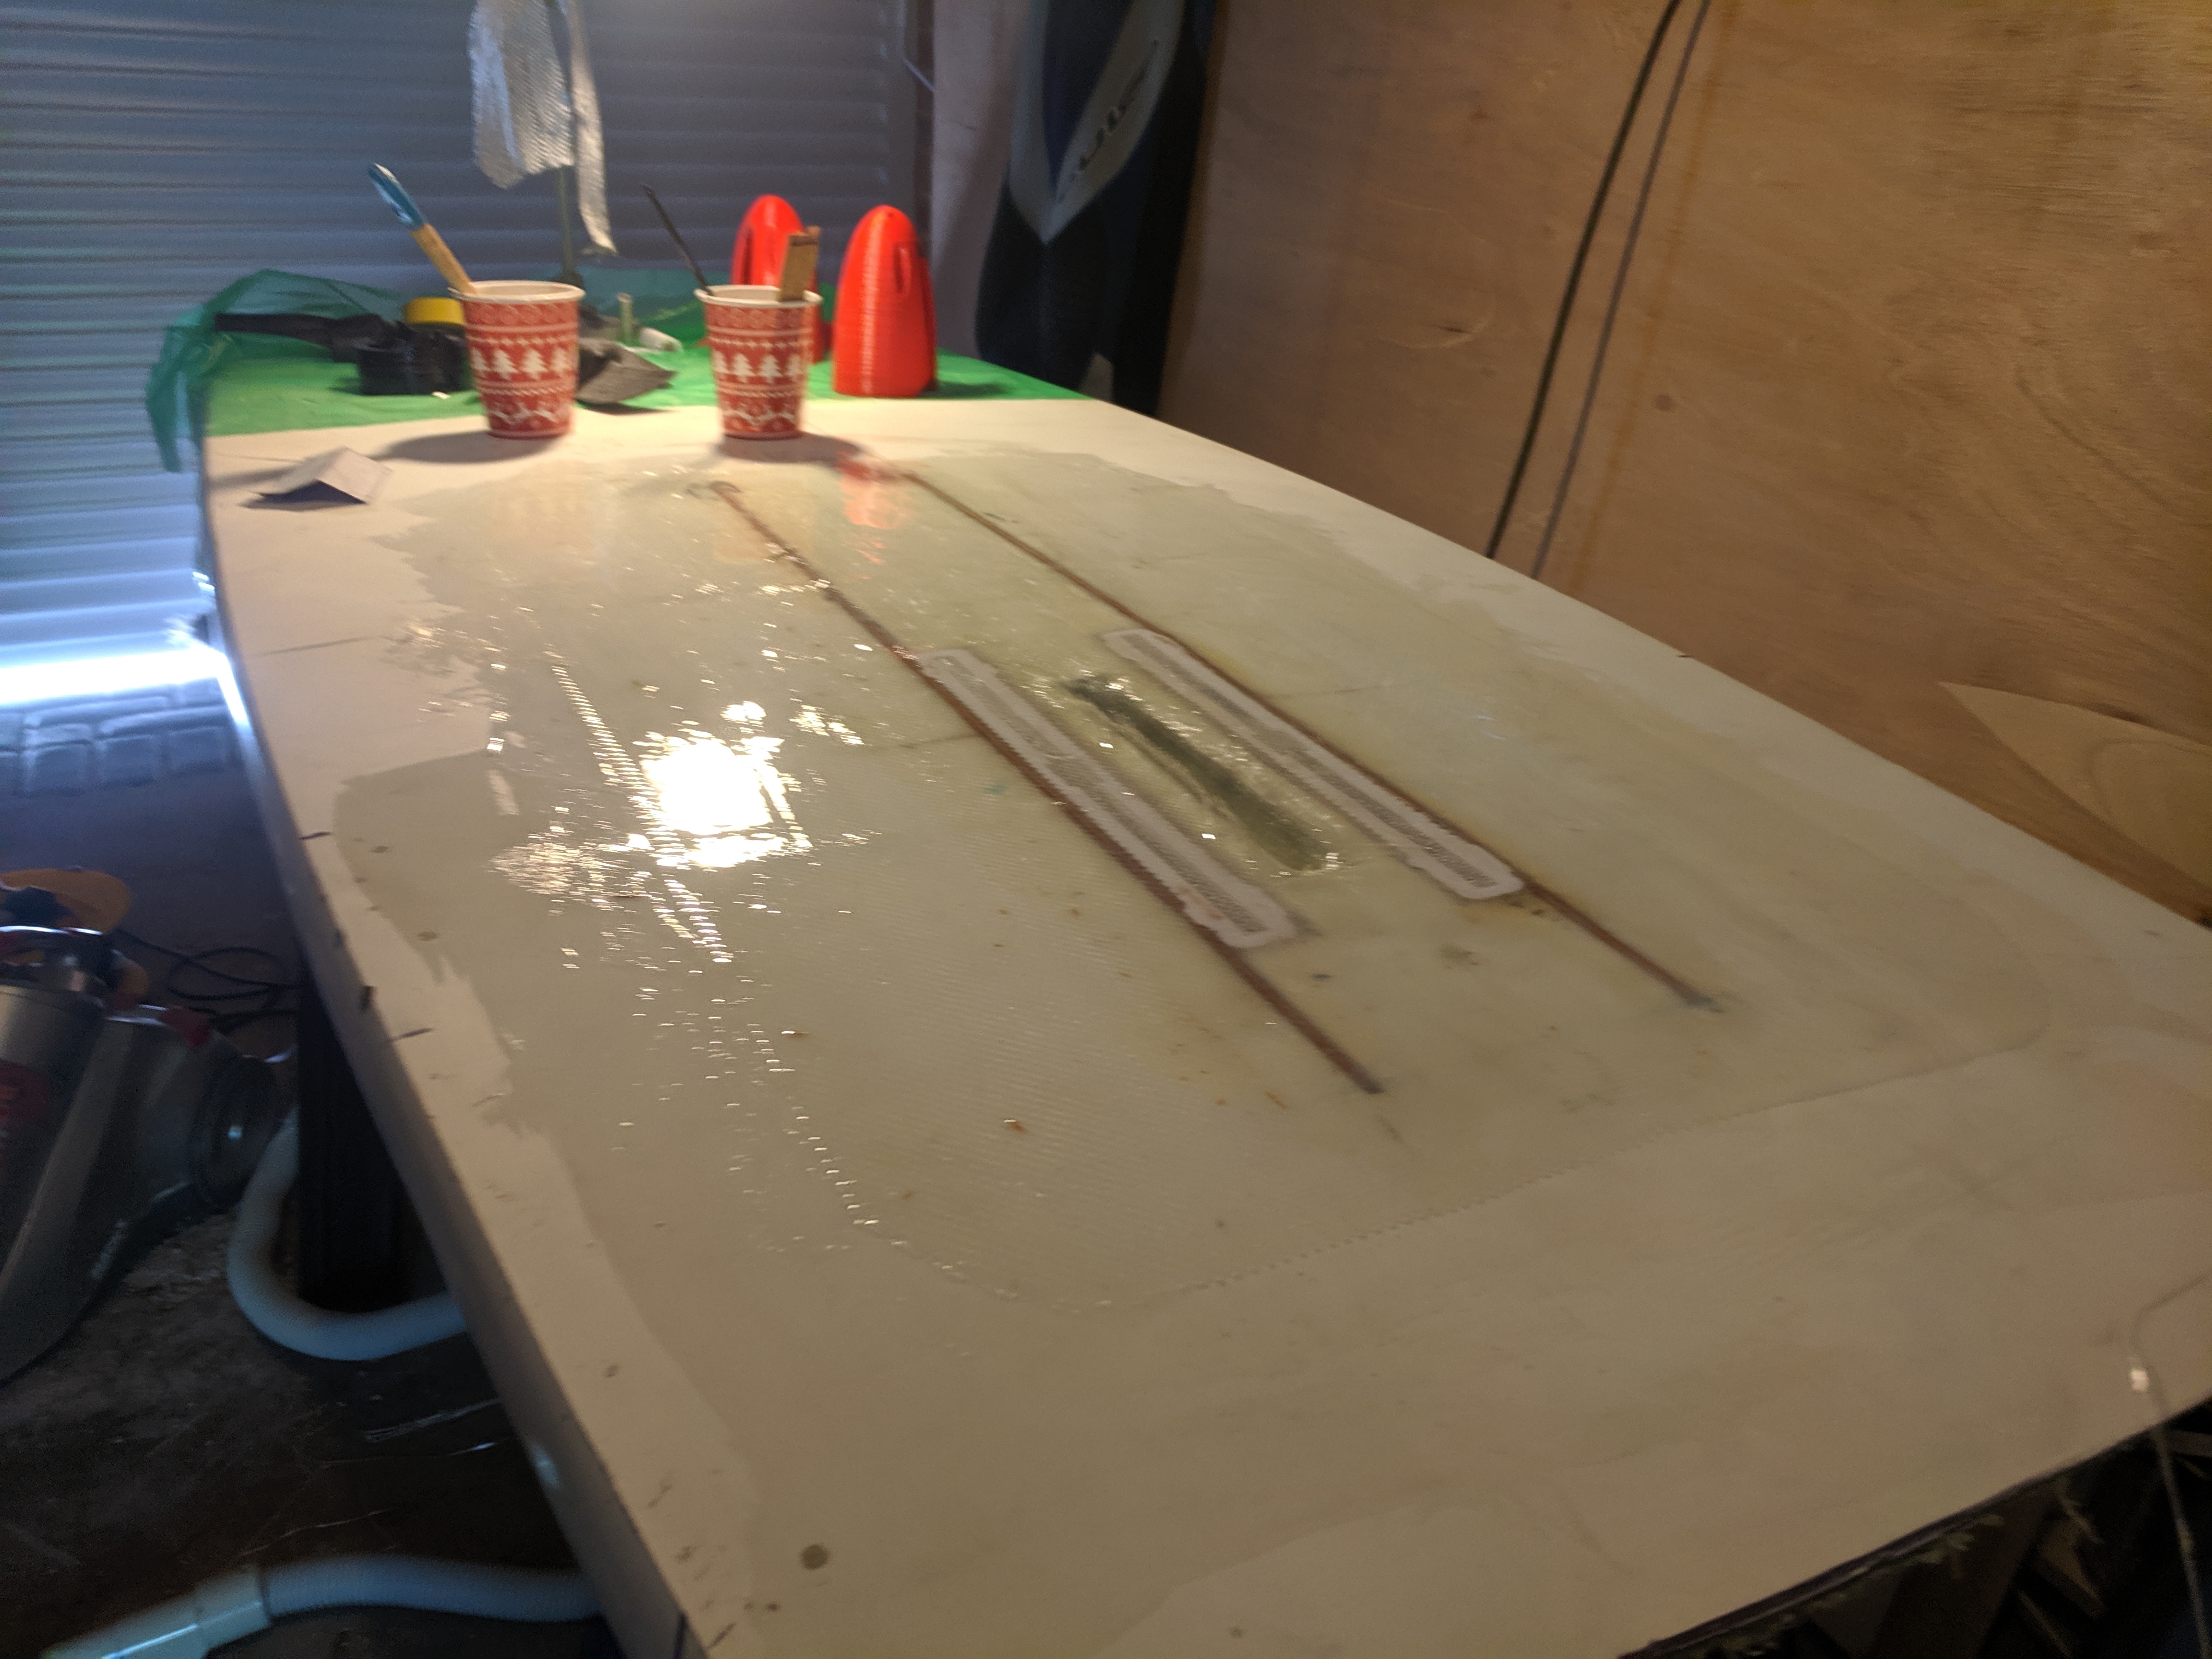
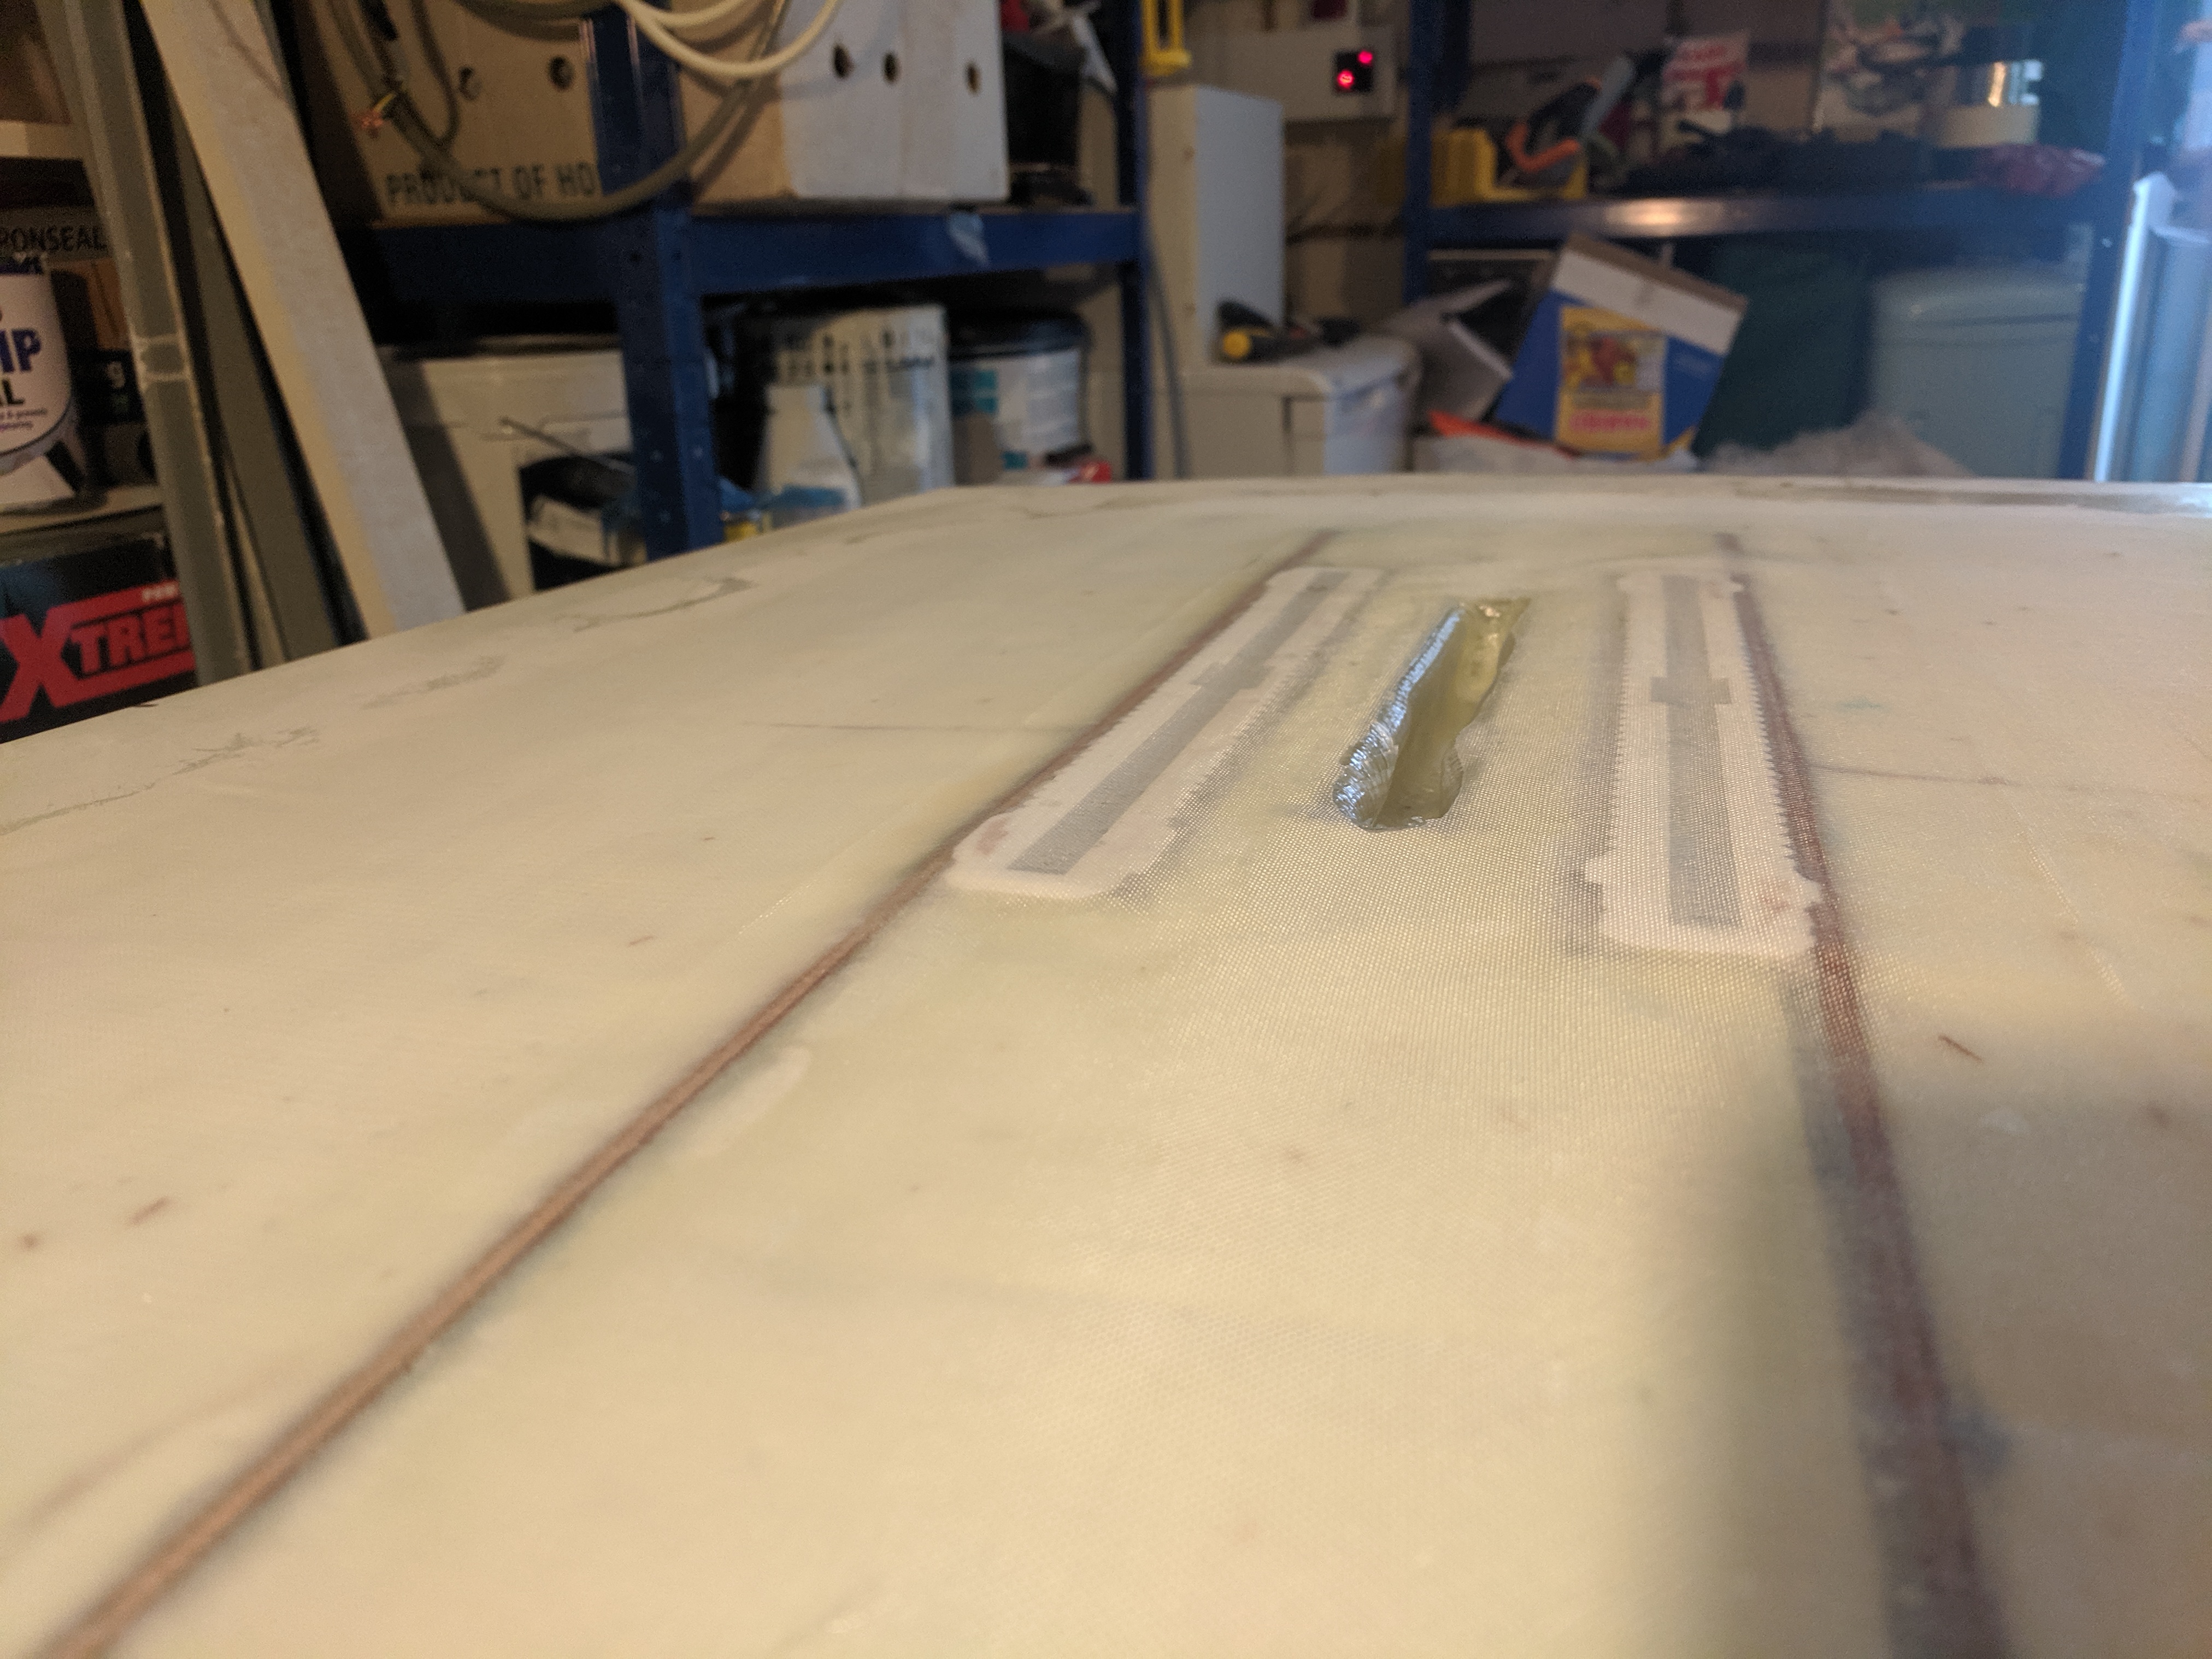
To give some further strength, and tie everything into the skin of the board, the groves and hole for the box were lined with fibreglass mat (so there is glass reinforcement on all sides of the stringers). The mat lining extends out of the groves and over the board surface someway too.
The lined groves are then filled with epoxy, and the ply stringers pushed in, which makes a big old mess!. But not time to clean up just yet. The fin boxes go in the same way, more mess…
Word of warning. USE Slow hardener. NOT fast. Due to the volume of epoxy some of it got too hot and melted the EPS in the board (facepalm). Yes, it was the heat and not the resin melting the foam, but it is fixable. Just a bit annoying. I have some slow foaming (closed cell) two part epoxy which will sort the problem. I’ll add this in when its done at a later date.
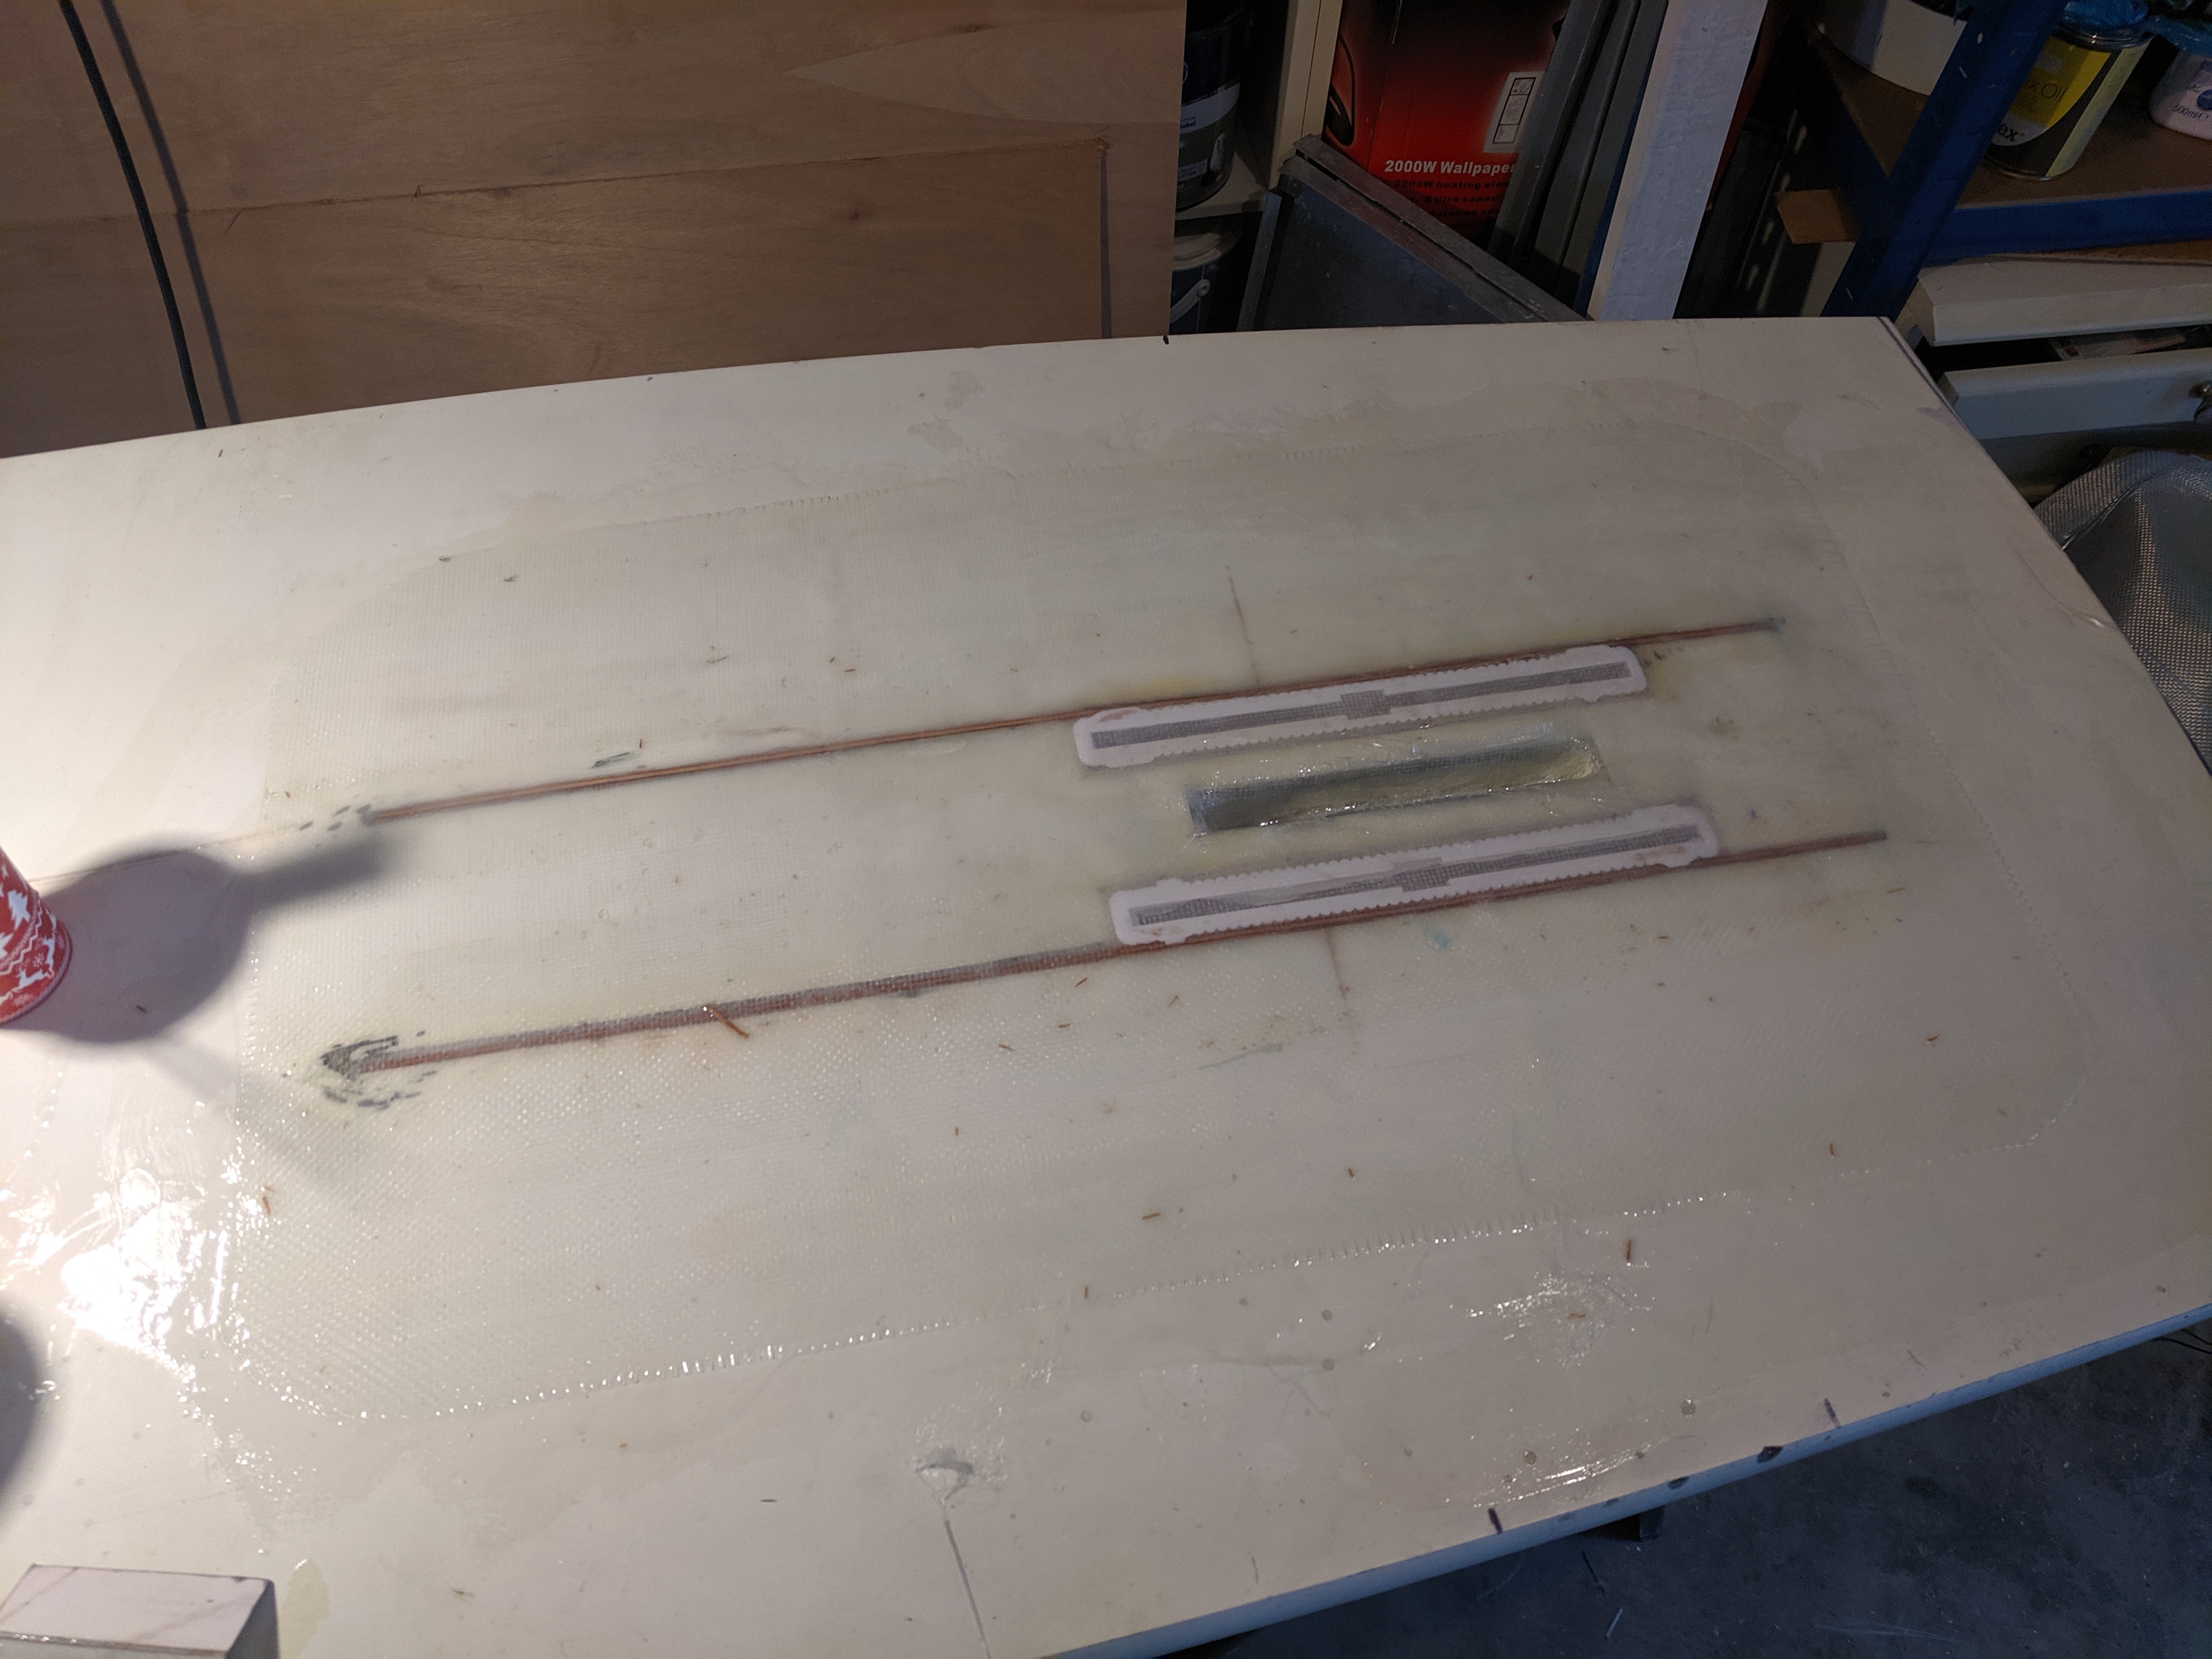
The peel ply did an awesome job, so only a little sanding on some problem areas to prep…
I added some thickened epoxy to areas where needed and coated the whole patch (boxes and stringers) with another layer of fibreglass so its completely sealed, smooth and very well attached to the base.
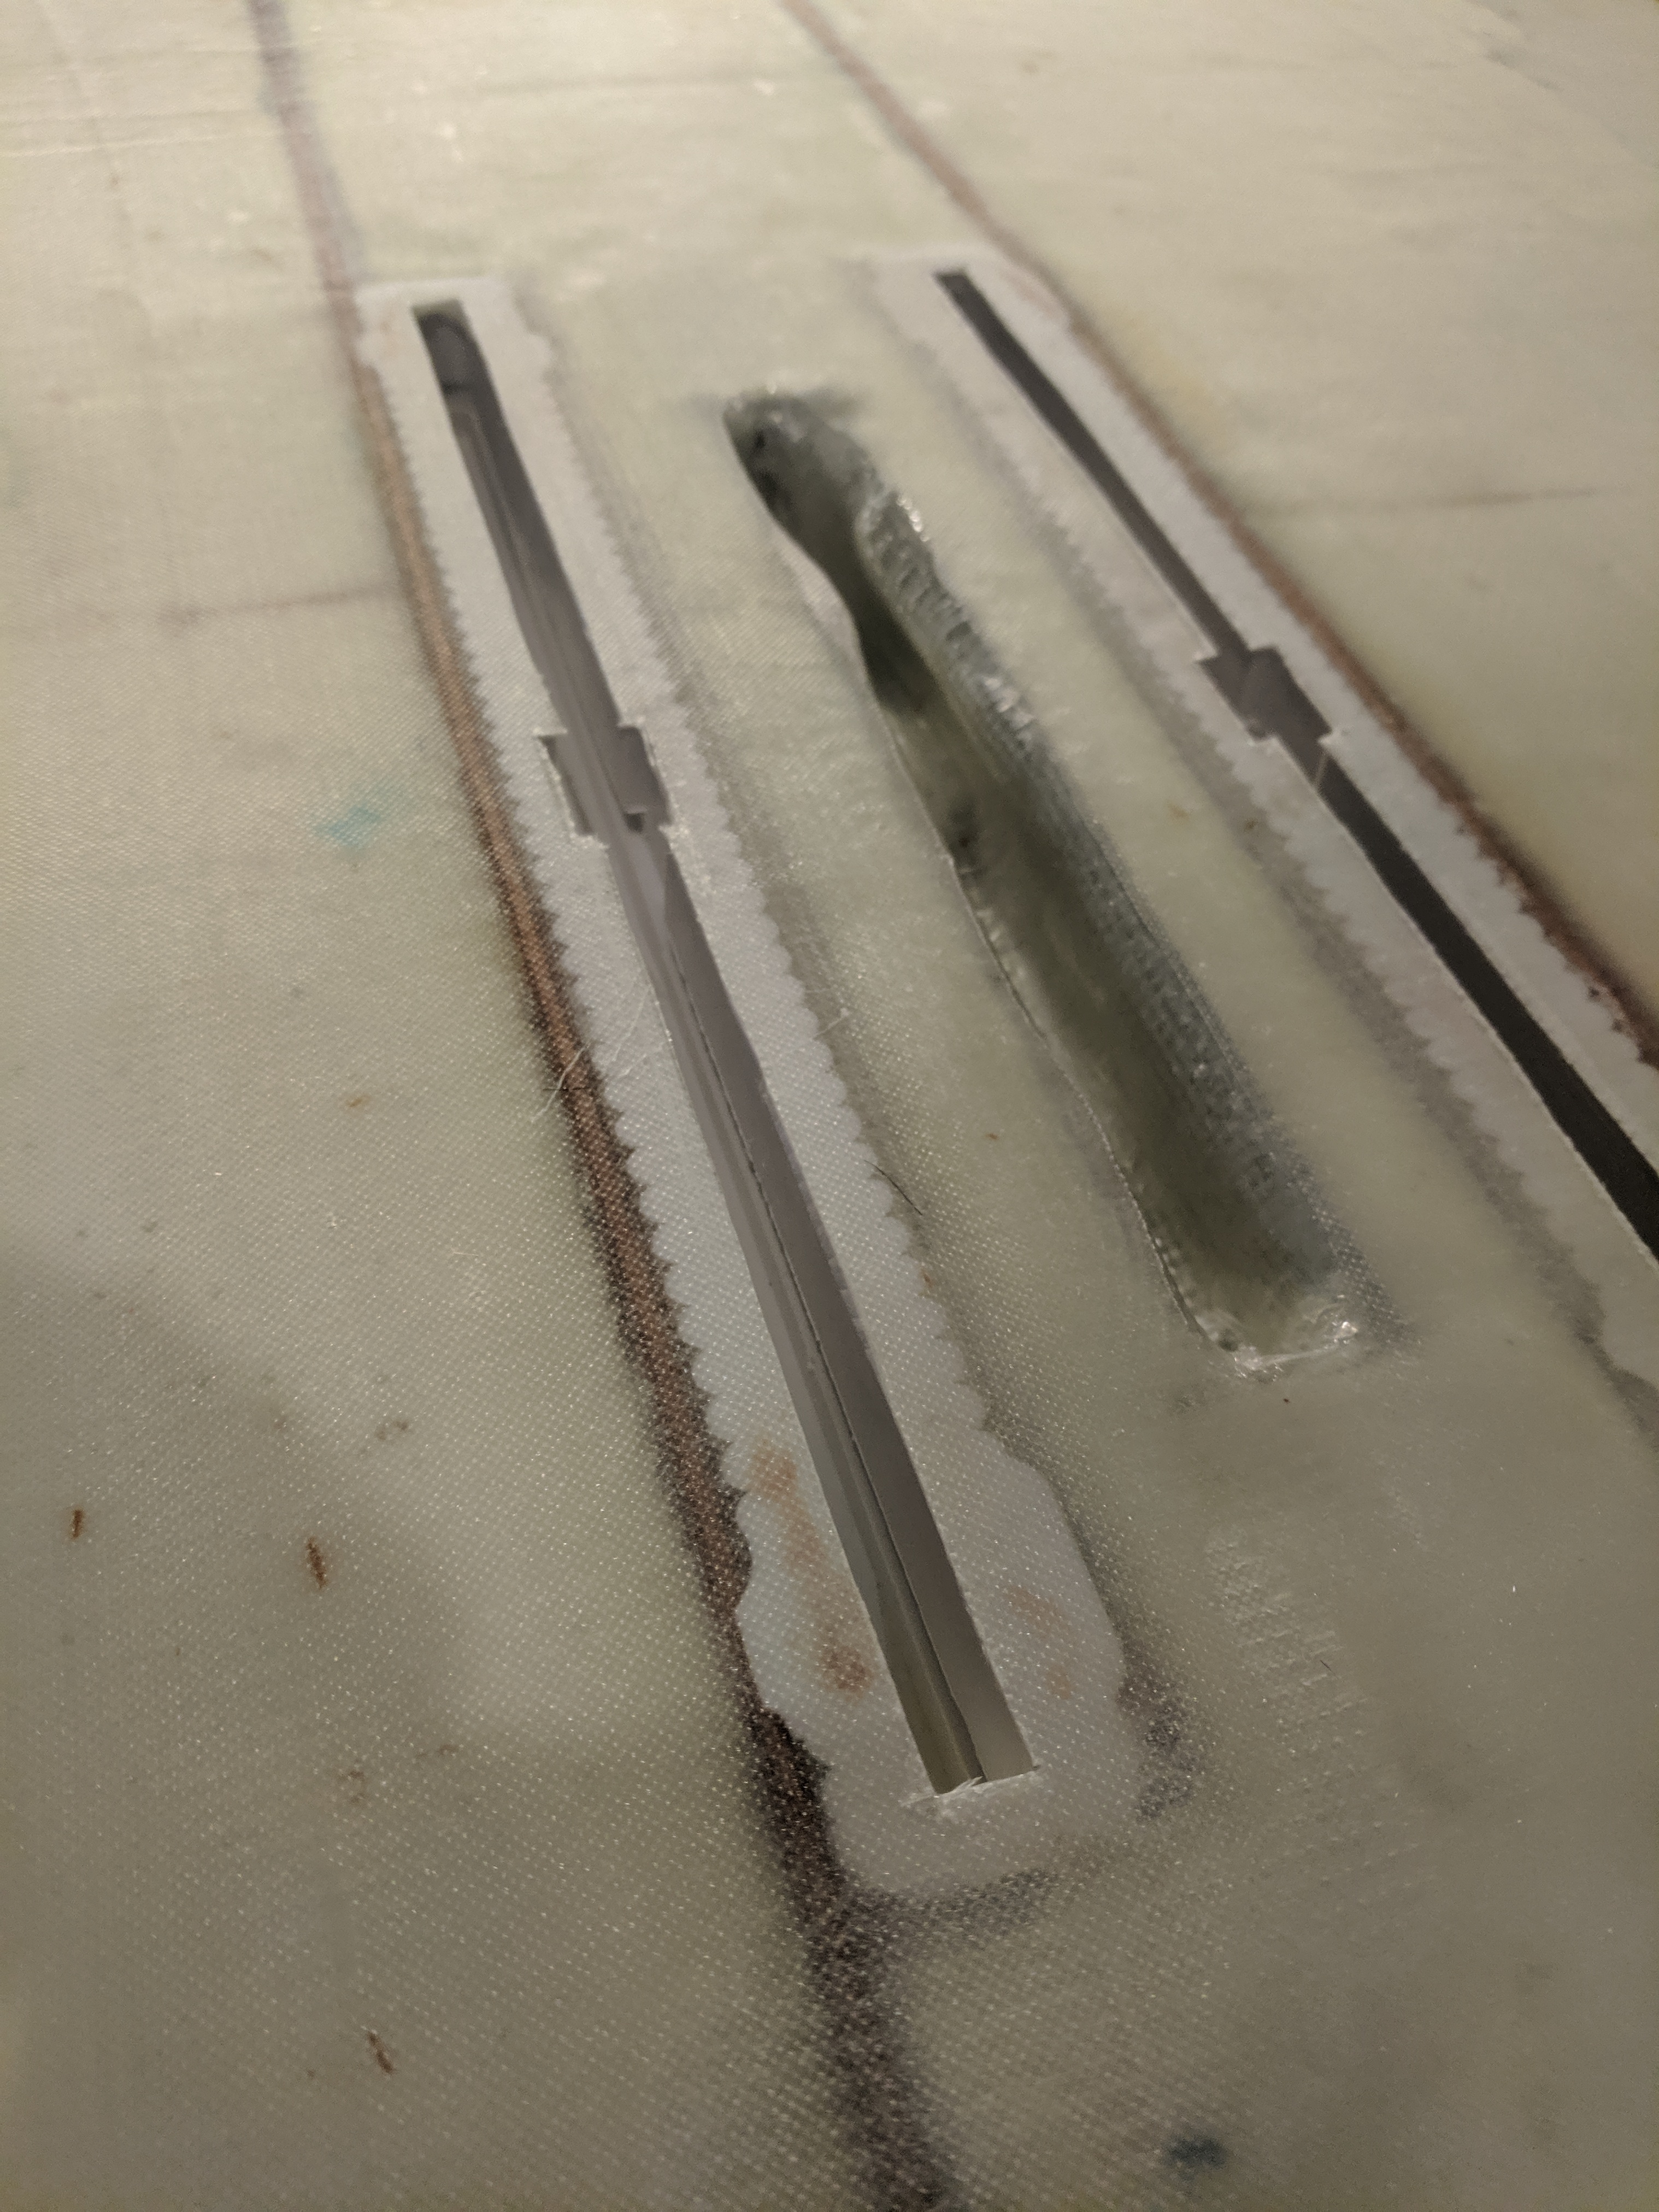
The grove it to house cables and allow moving the mast to new positions. Its not finished by any means and I’m fully aware of the massive voids behind it.
I’ve also cut the glass to reopen the boxes open here
Now the underside is well on its way I need to get started on the top side.
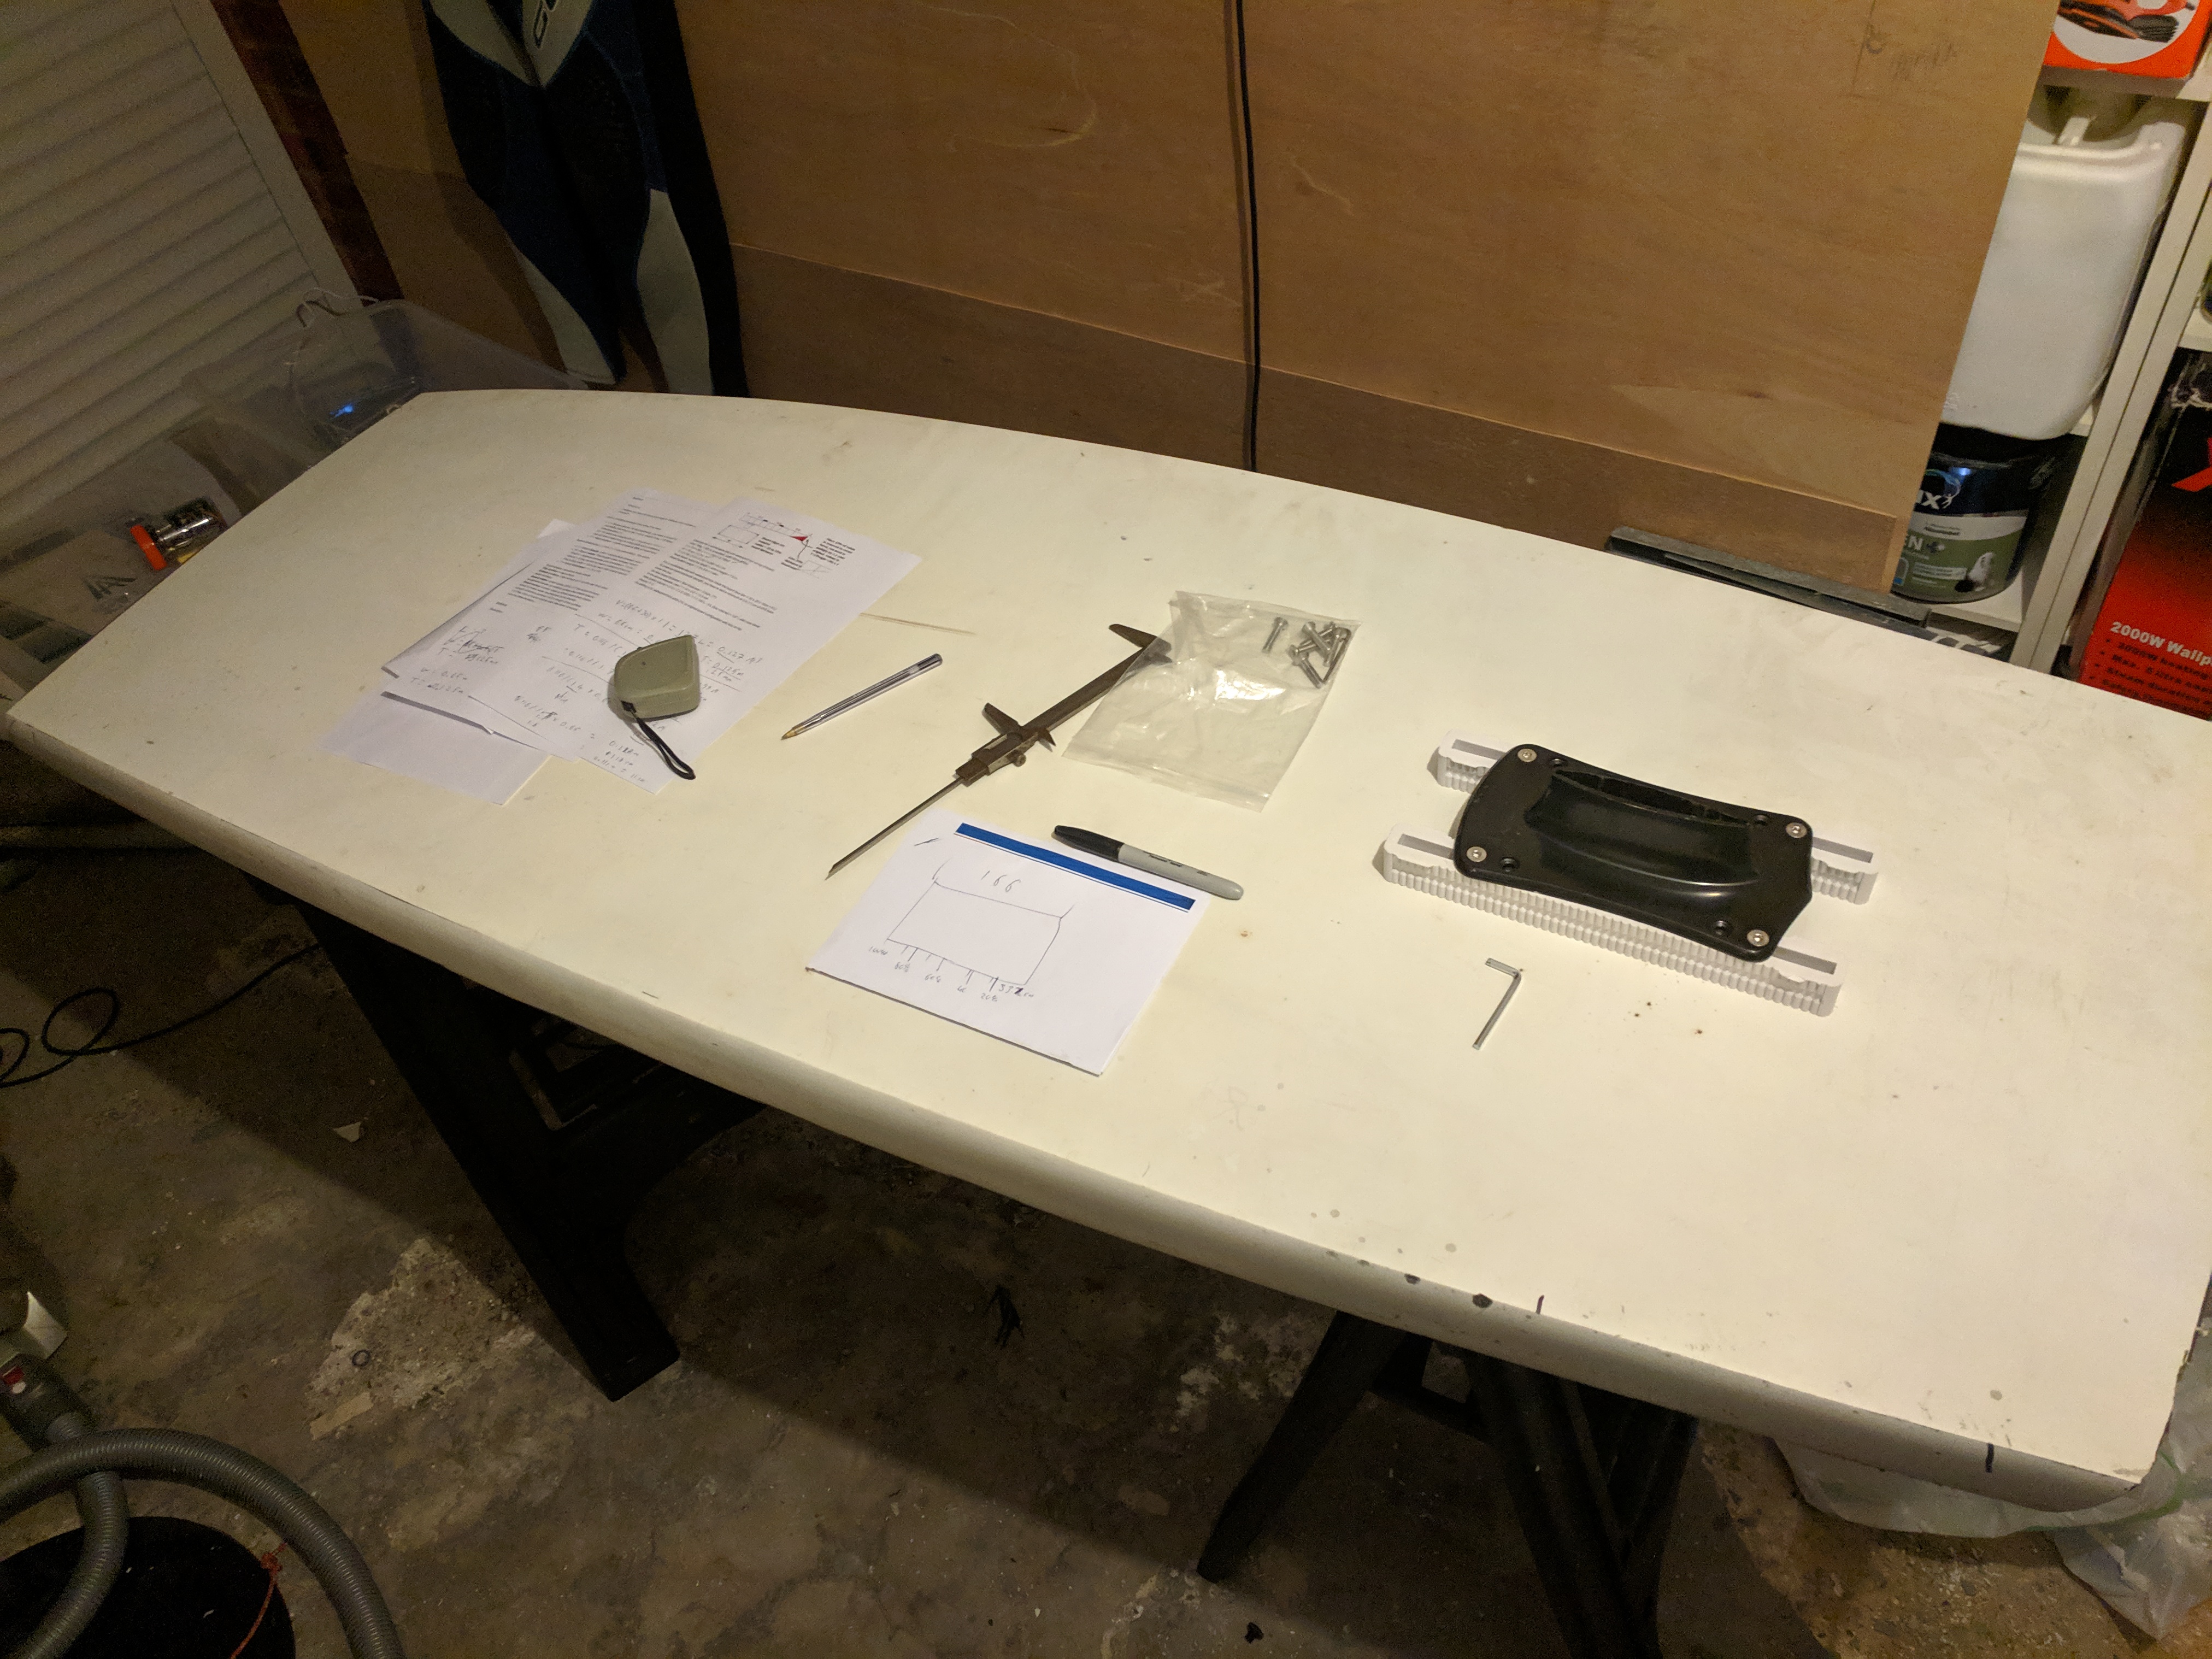
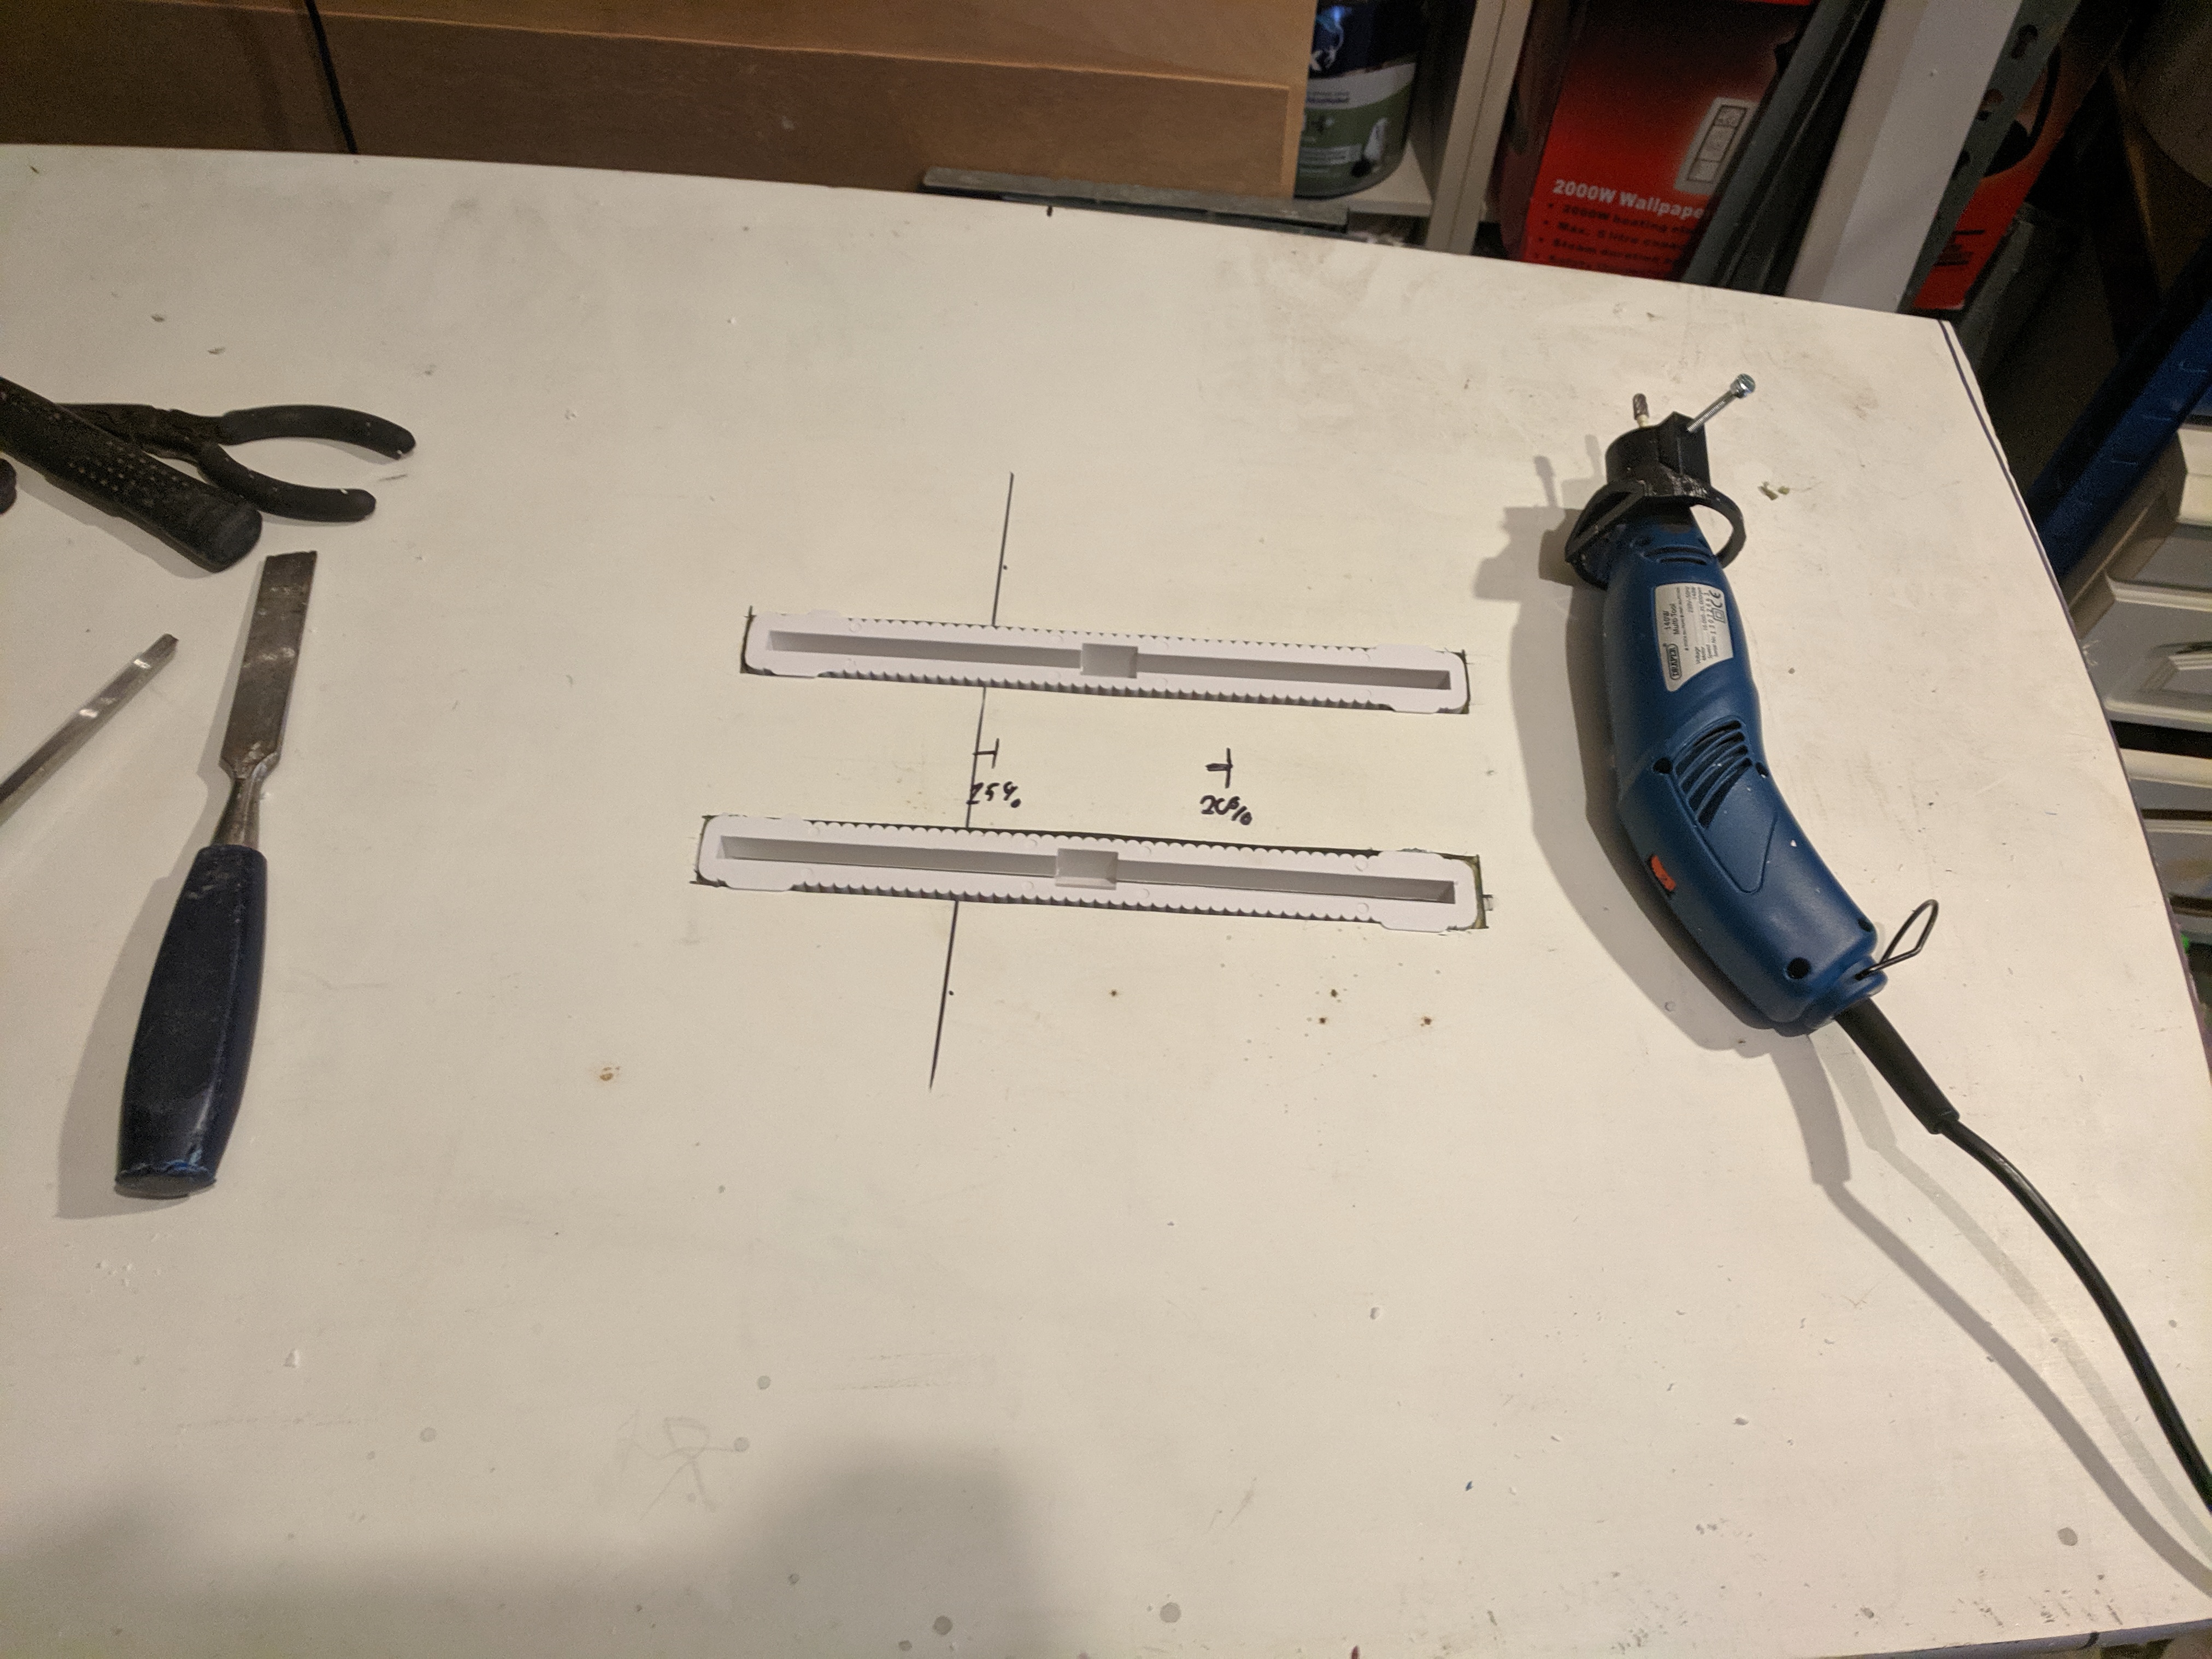
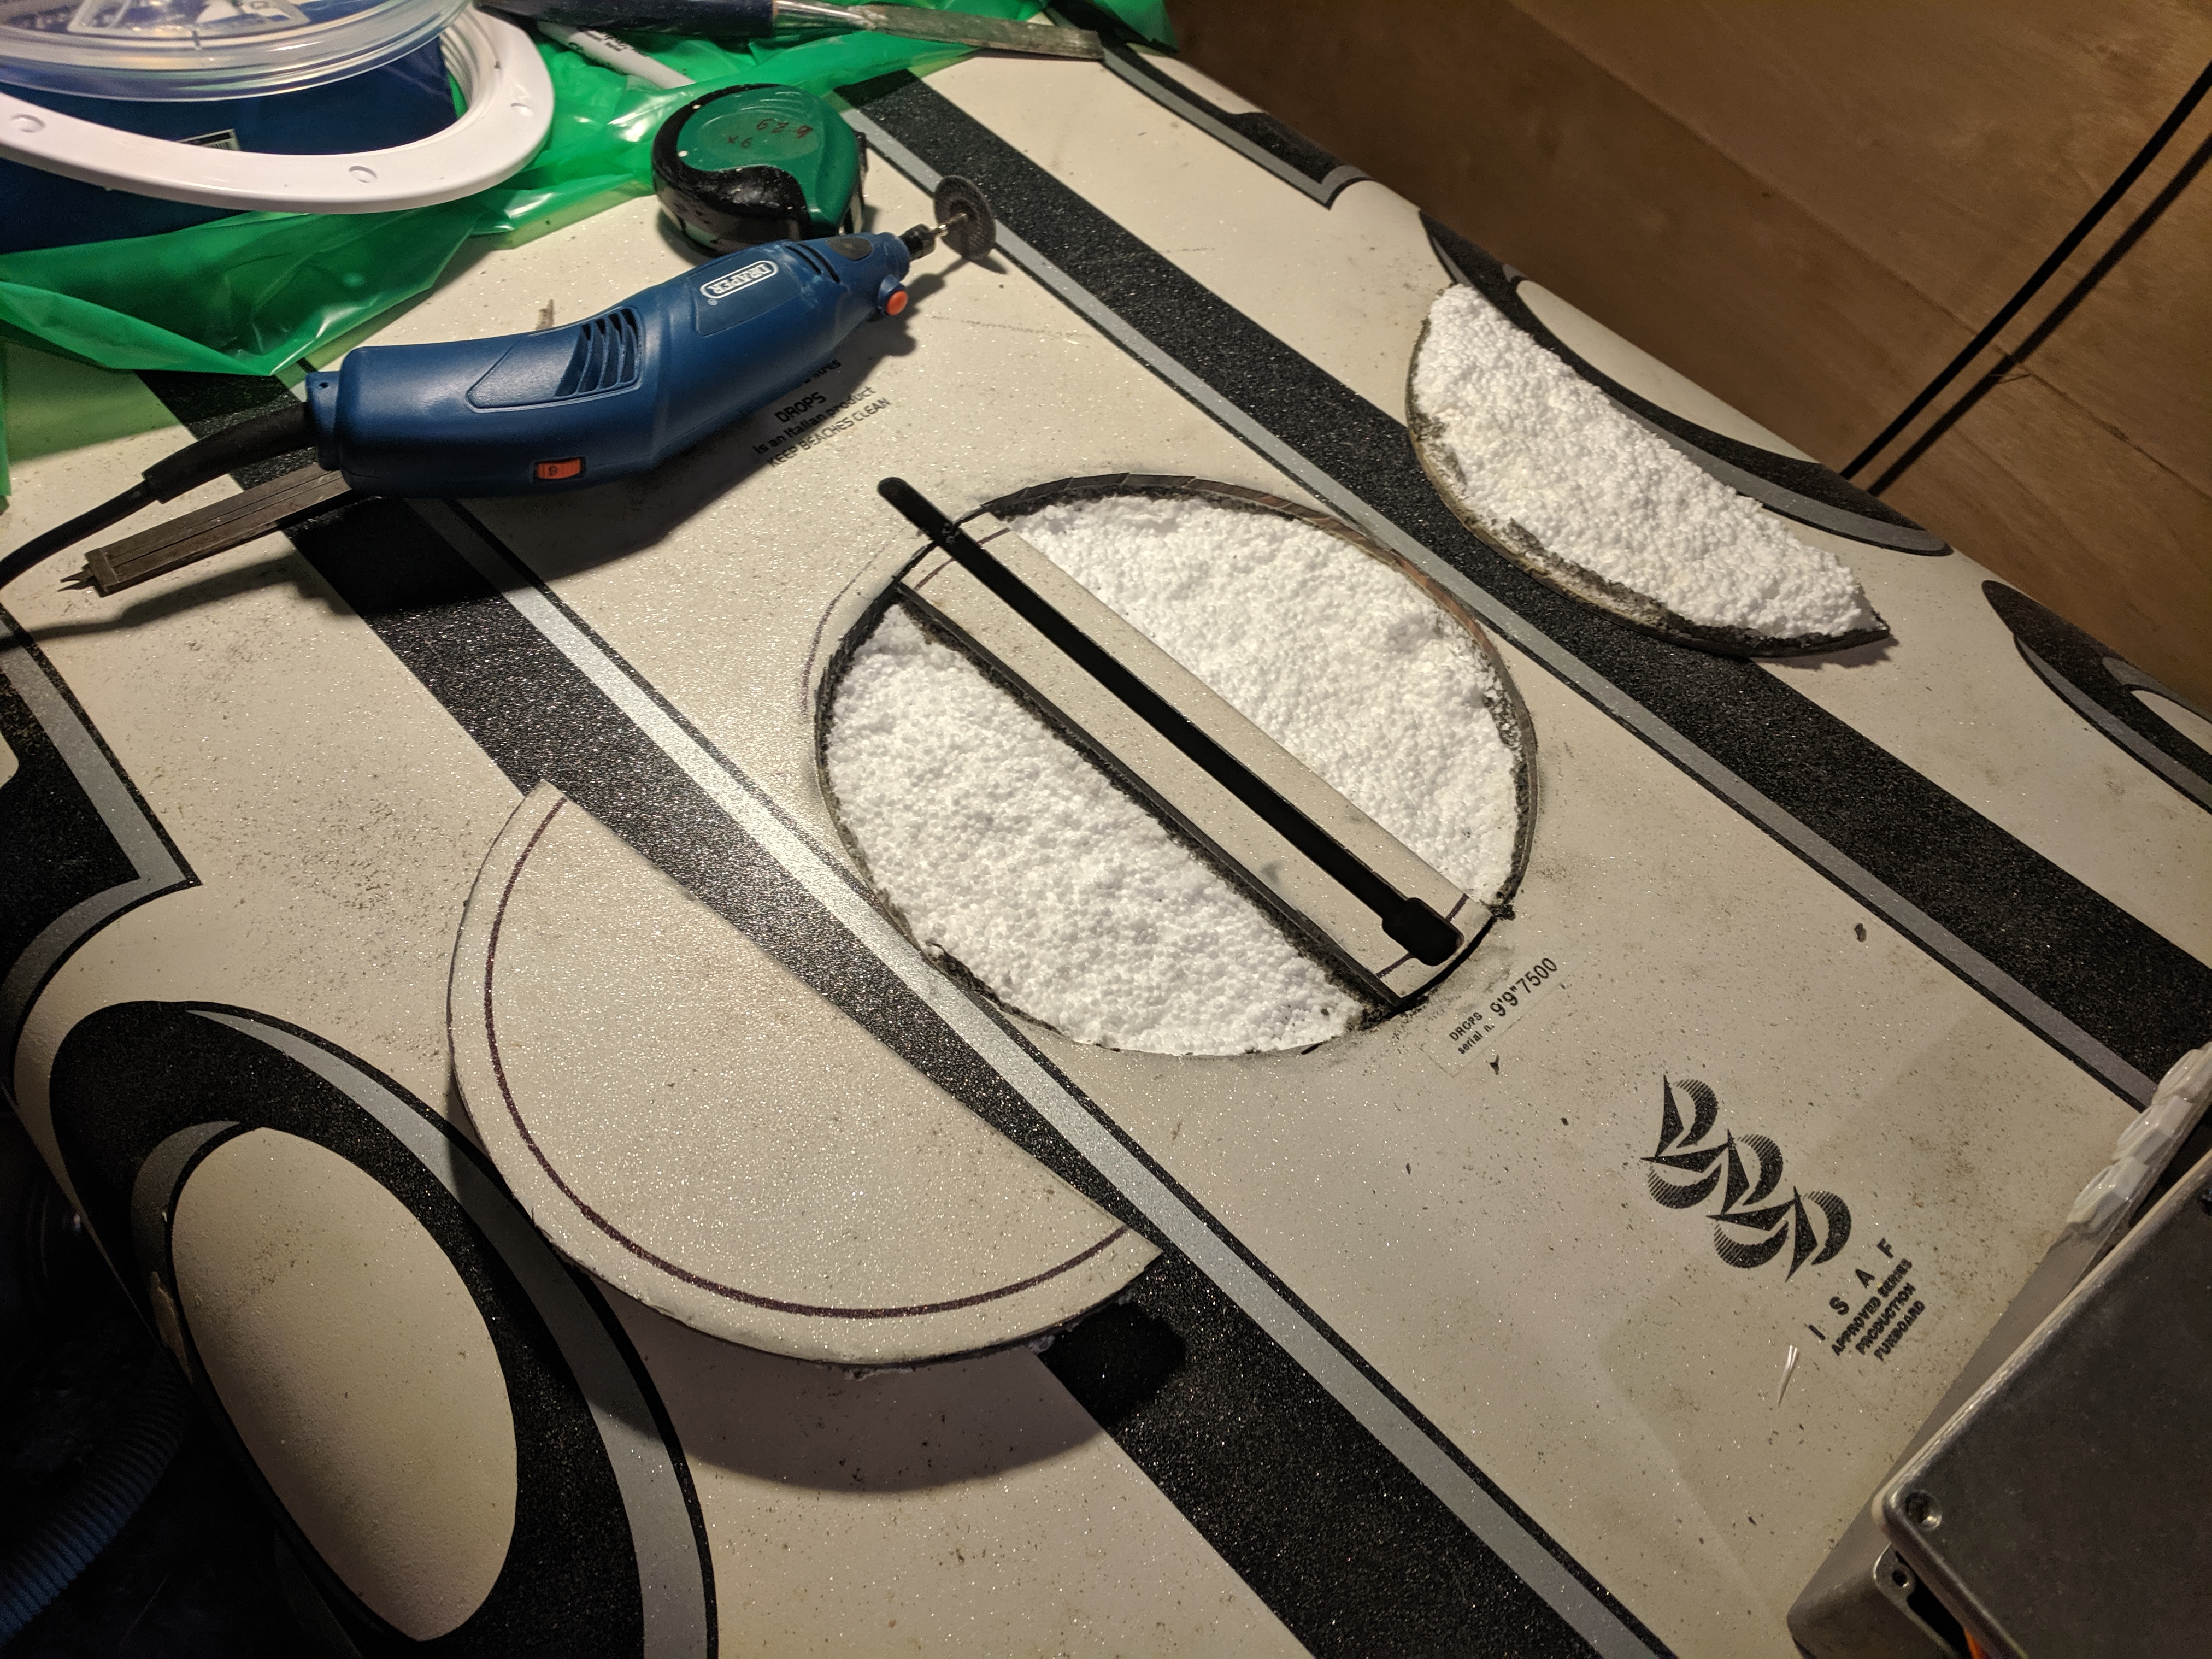
So a quick bit of measuring up and it was time to make some compartments!
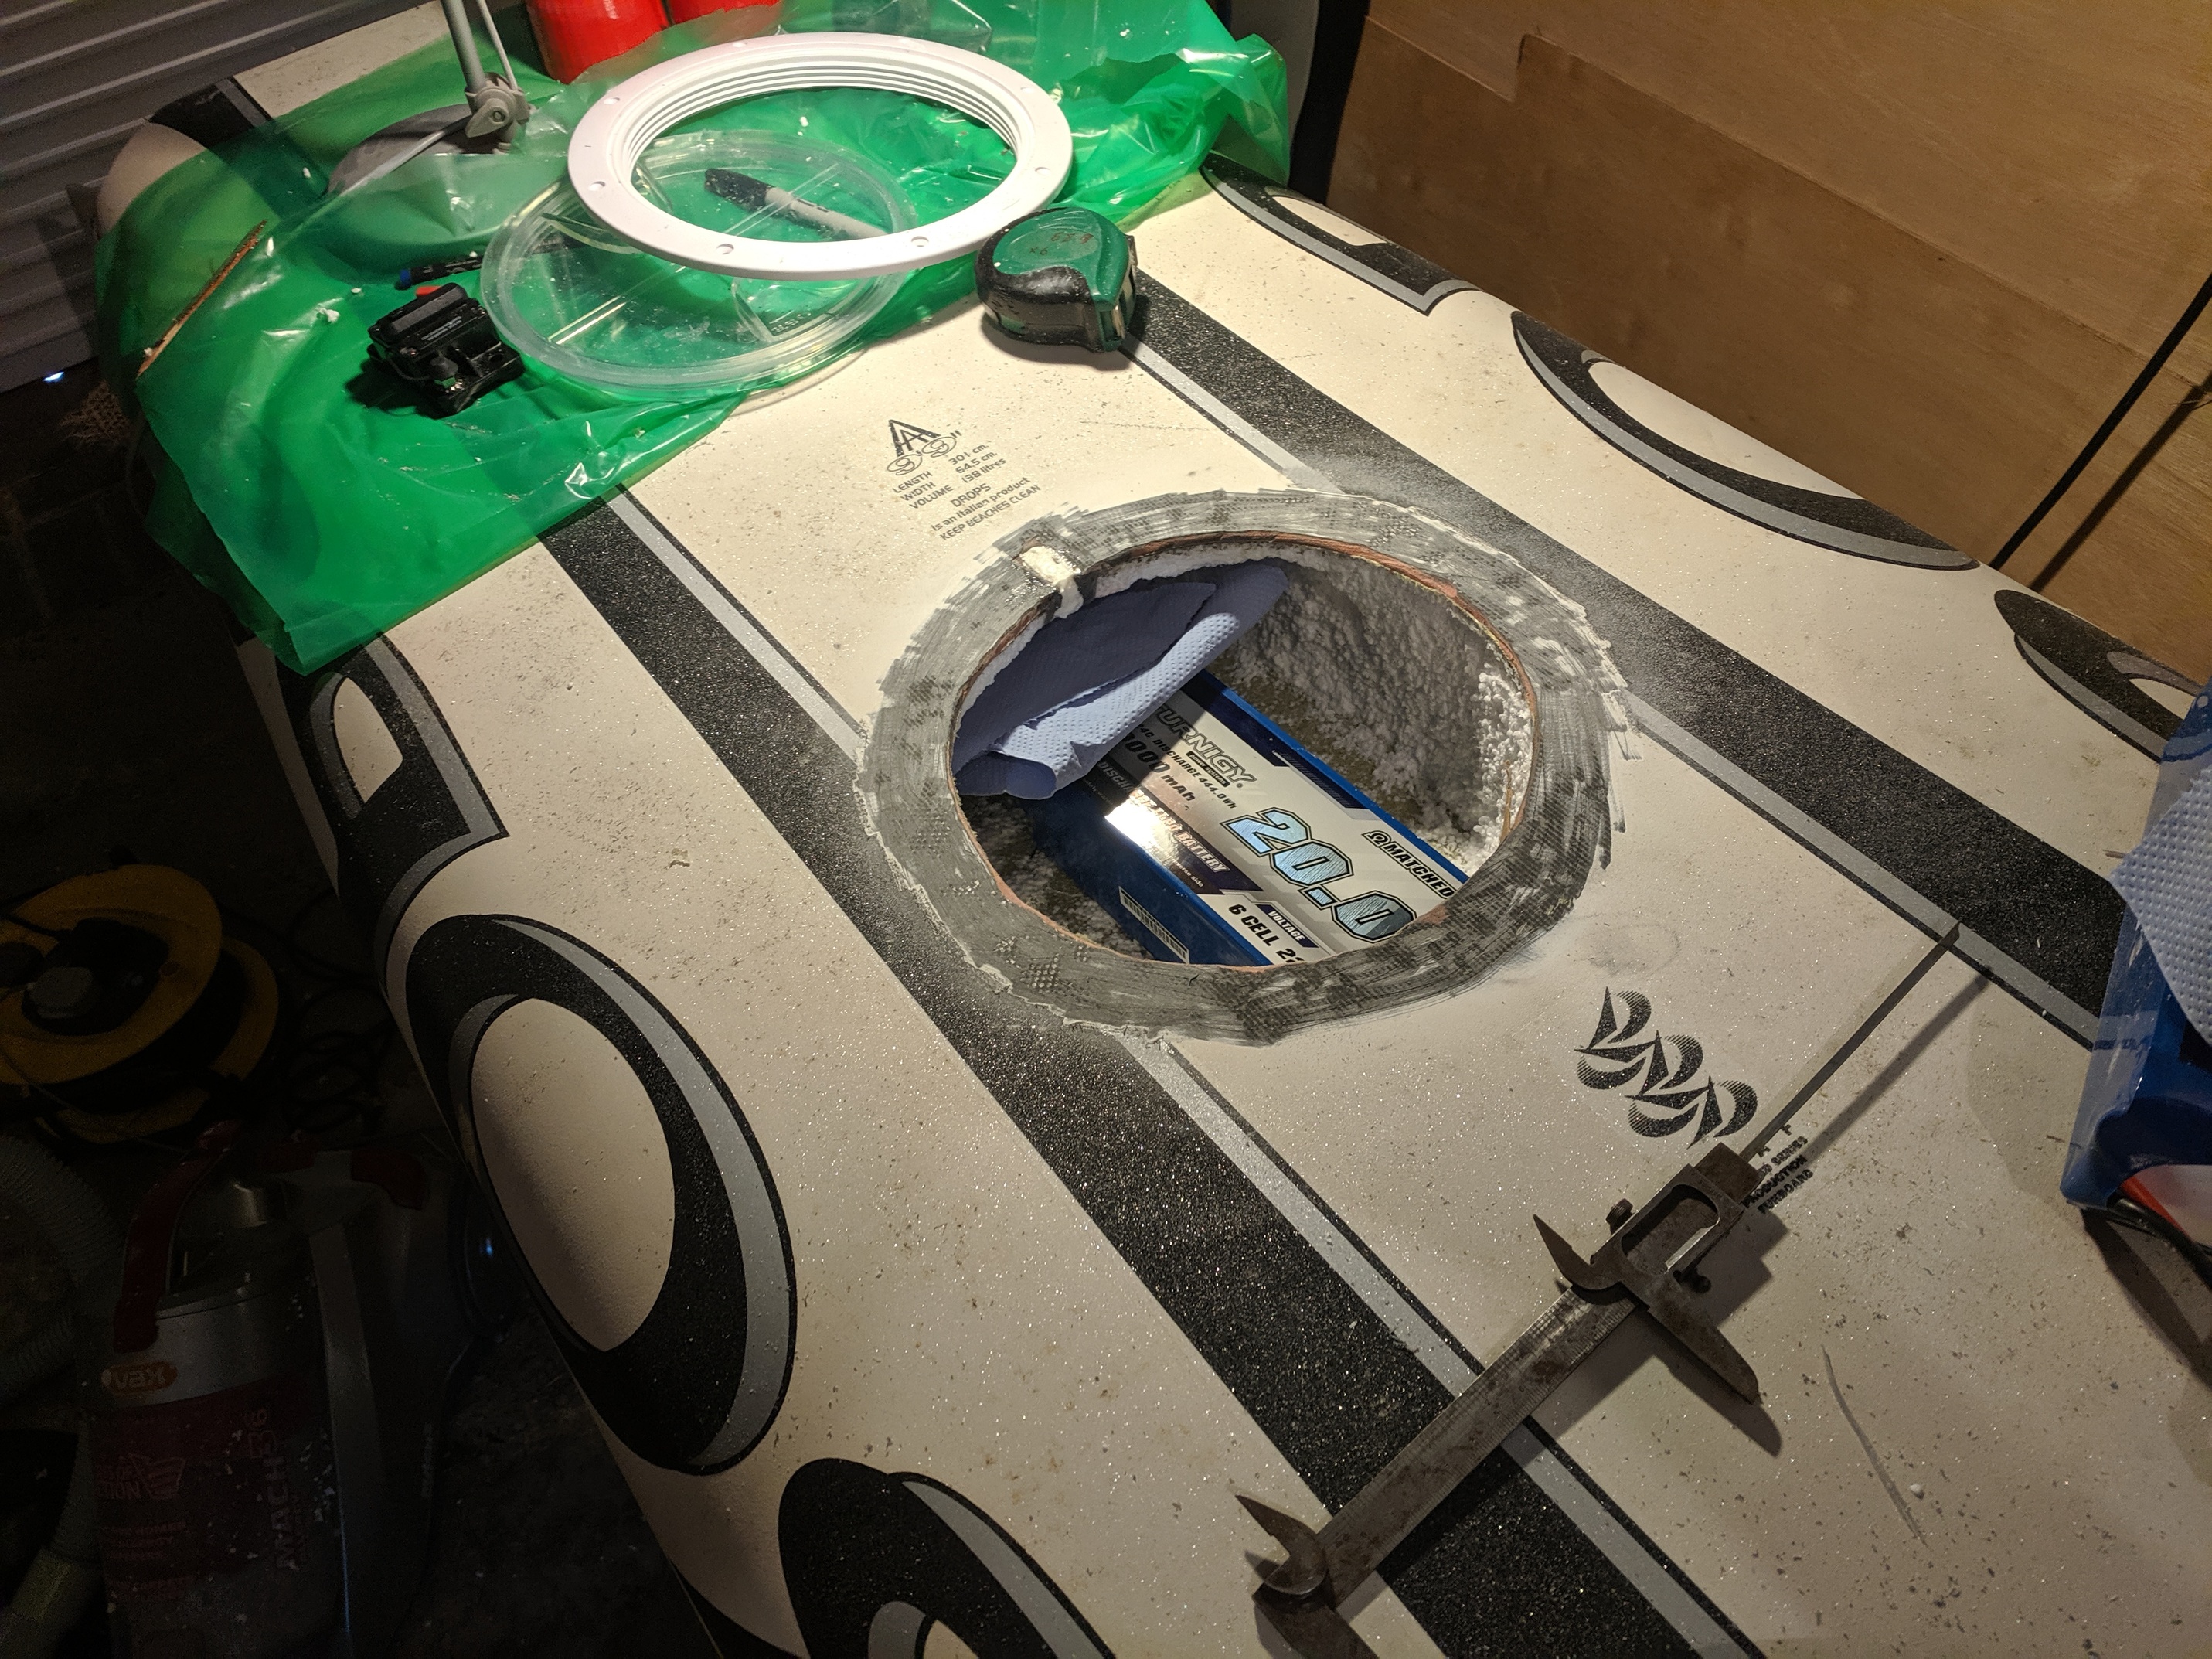
The battery compartment is going to be all glassed, with a round hatch. You can just see the hatch in the below pictures. I like the round one as on my sailing dinghy they have never leaked and I spend a decent amount of time upside down . Its a big hatch, 8 inch from memory so very easy to get the batteries through
Rather than cut a massive hole in the deck I opted to cutting a hatch size hole, then excavating the inside as needed.
The board skin here has extra support from where the old mast attached. It took a long time to cut out that centre part, but the strength goes forward and back to which is nice, and the hatch is a solid build too.
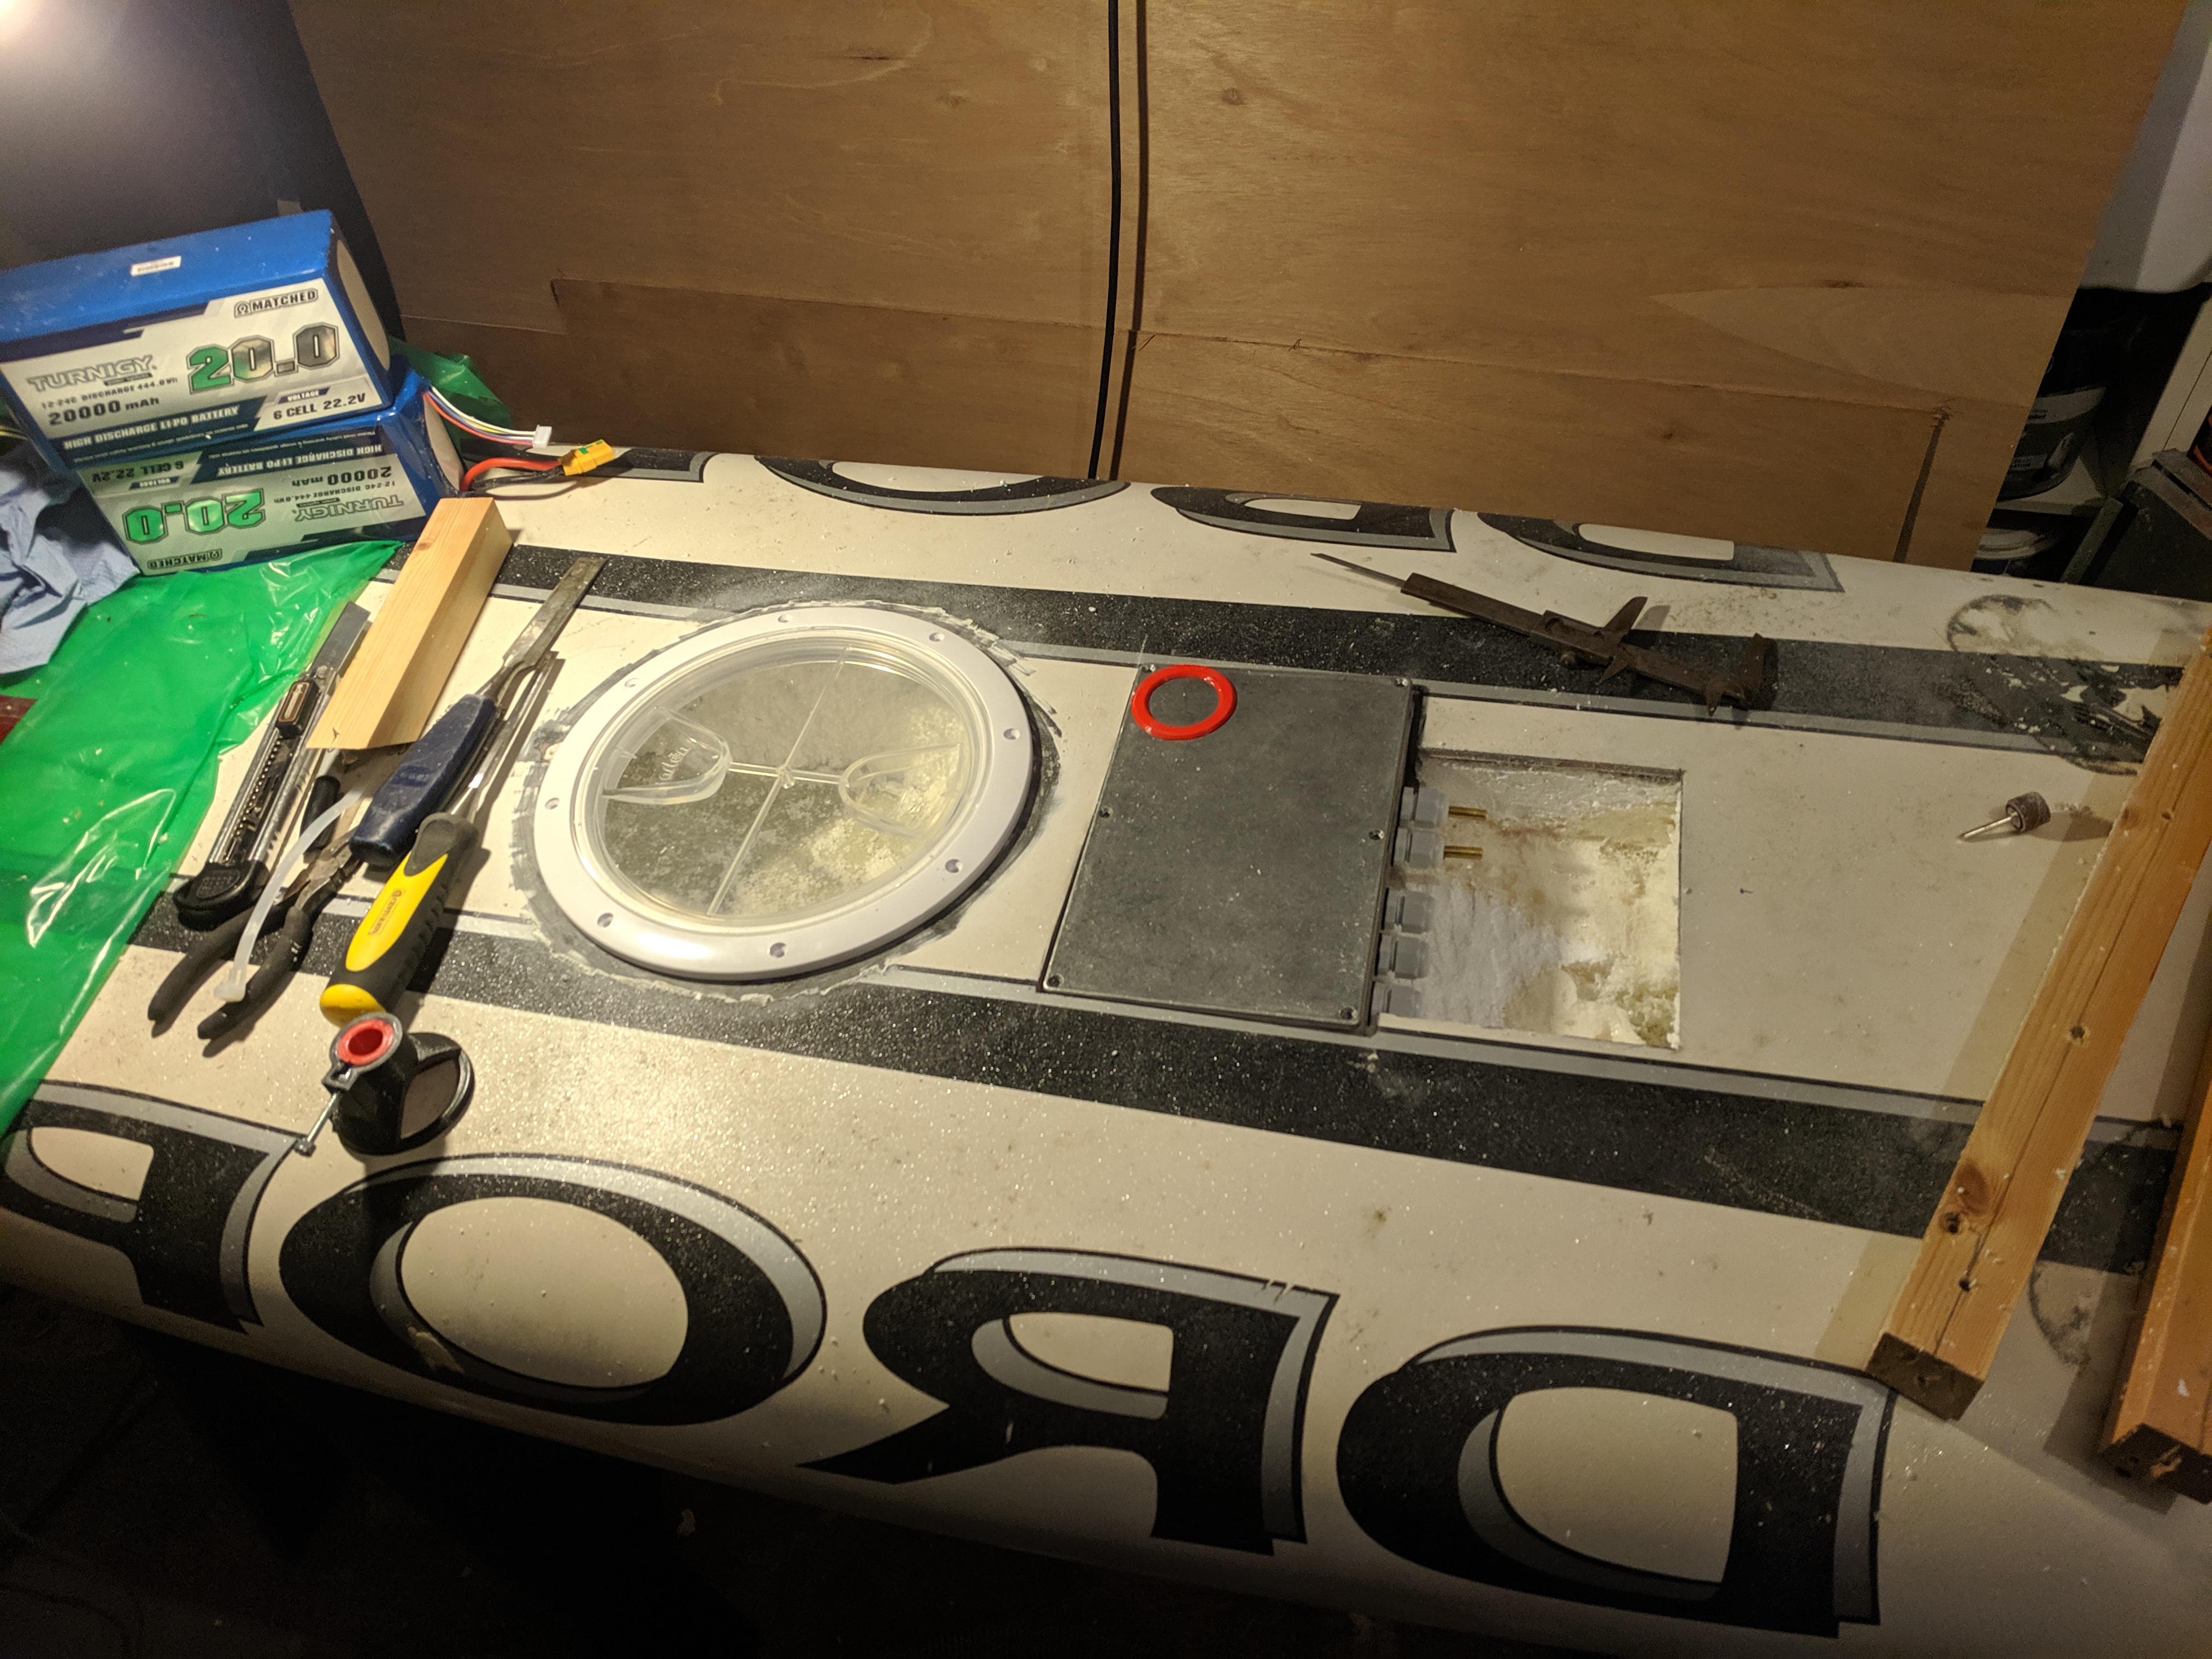
You can see the hatch in place here, not attached yet.
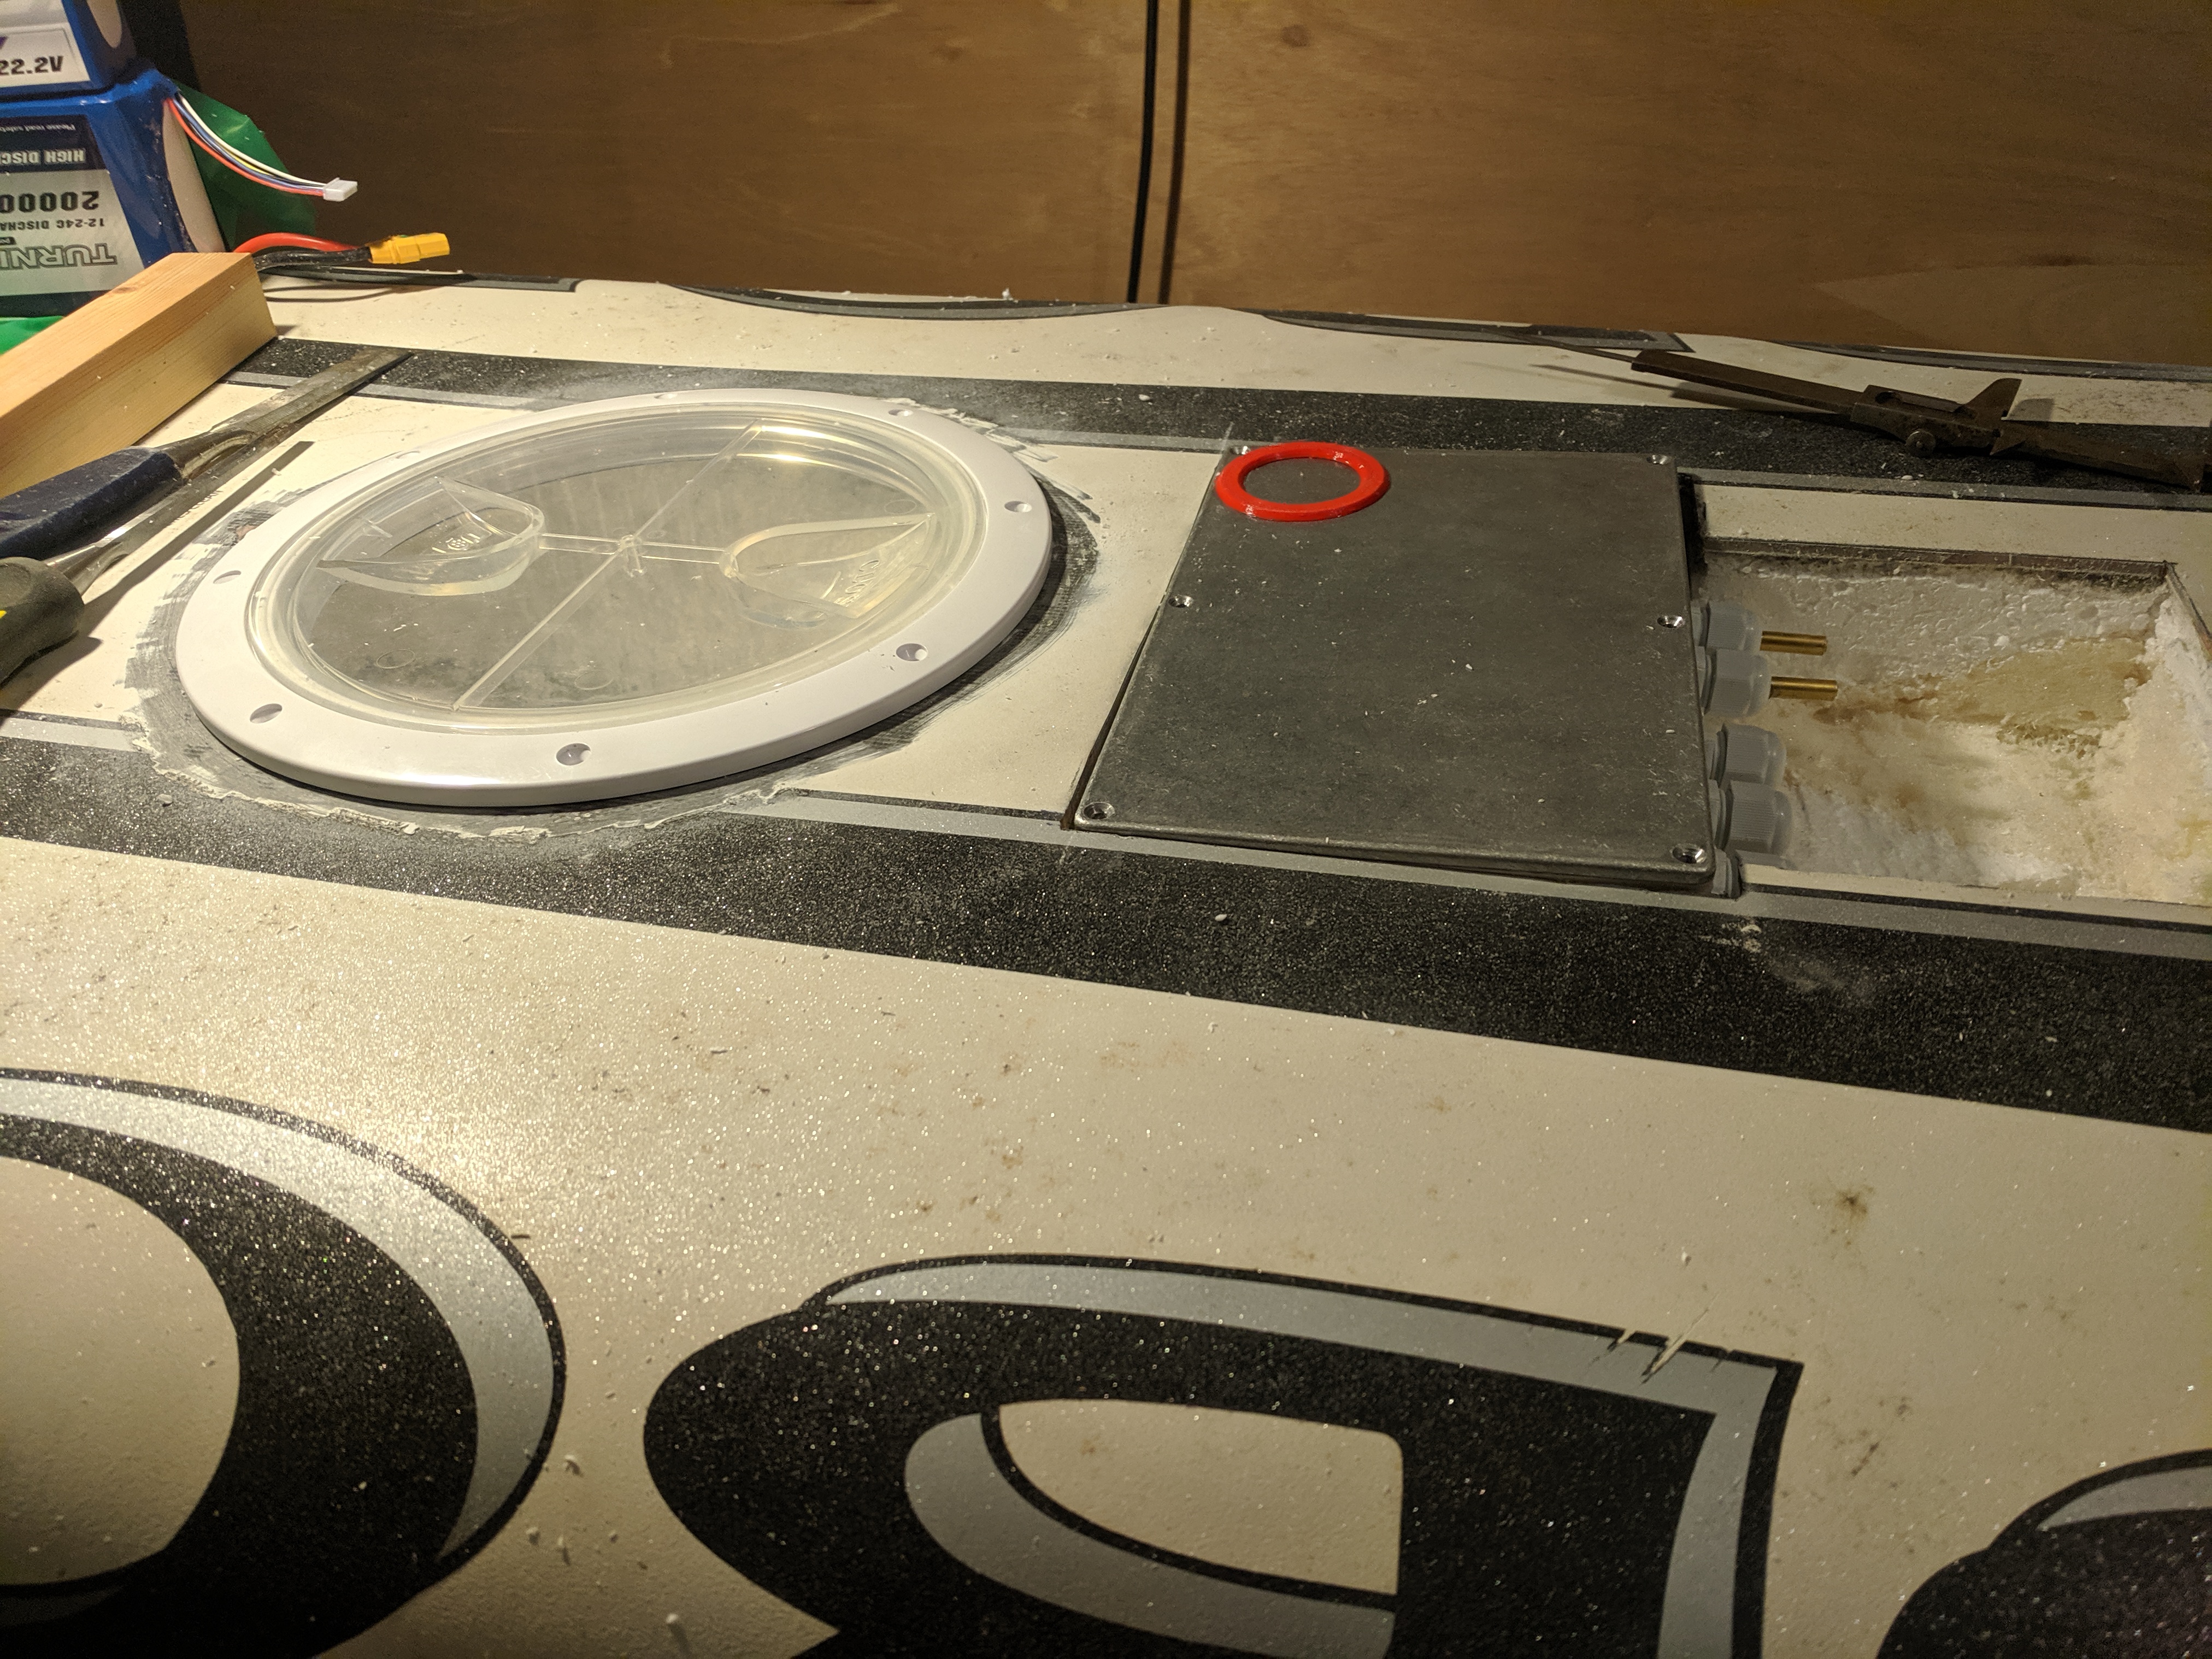
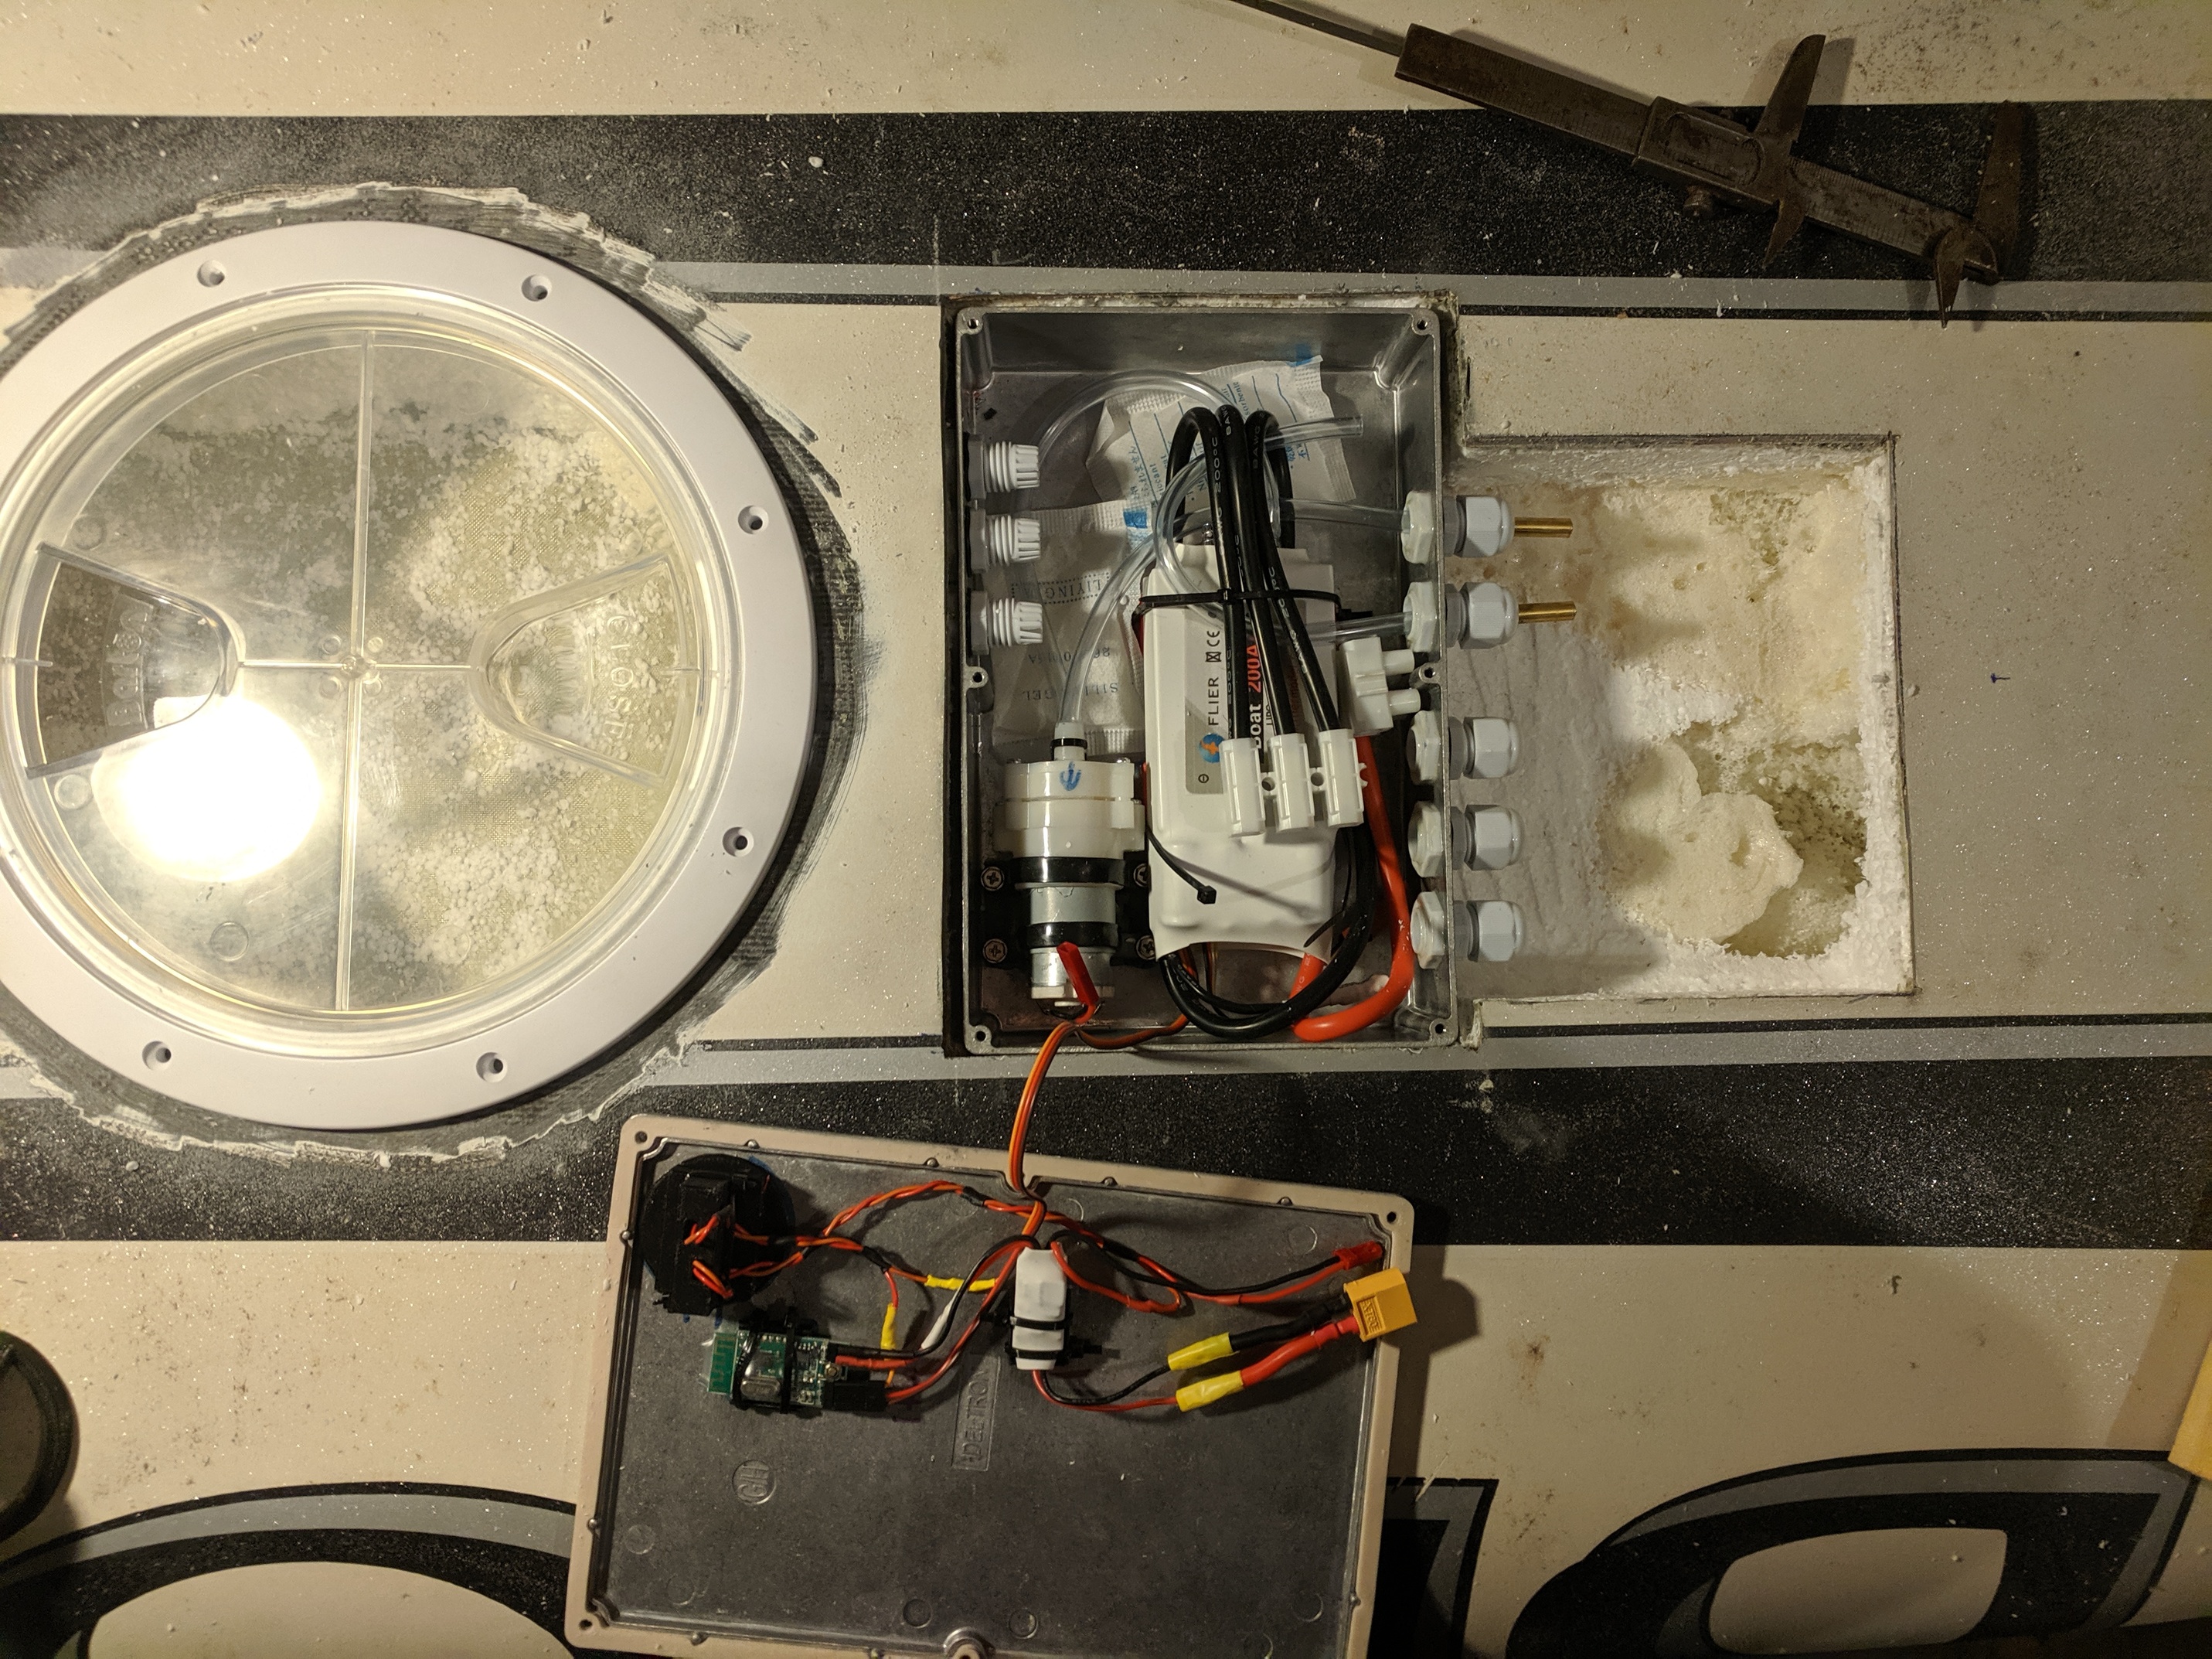
Elec box cut and recessed into the board.
The void will be glassed and then the metal box will be epoxied into the hole to add to the structure (its a nice tight fit). Only the lid will open for access. (the red ring is the placement for the magnetic switch)
The second exposed void will be glassed as a wet area and have a 8mm clear poly-carbonate cover. Its only purpose is to allow for the wires / pipe exiting the waterproof box areas and hopefully allow enough length on the wires for the wing to be removed and the mast laid flat against the board for transport
Oh, and the teabag looking things in the electronics box are huge silica packets in case of leaks, hopefully never needed.
I’m also thinking of adding in some simple moisture alarm sensors in the dry areas, but that is something for a later date
You can also see the damage eps from the hot epoxy. It has been partially filled with a polyurethane foam before I uncovered the extent. I’ve got some more work to do then it will be filled properly using a foaming higher density rigid epoxy.
And that is everything up to date, at least all the pics I have taken.
Still plenty to do and STILL waiting for the 80100 motor to arrive to start working on that. I ordered from APS on the 4th of April, nearly two months ago, they keep telling me not long
Great summary!
That electronic box is very neat… do you plan on bringing the receiver antenna out of the box or does the signal go through the lid?
also, if you have spare time waiting for the motor, you might want to add some handles on the board… make it easier to get back on and to carry it.
Hi @Jezza
I just added the parts list to the first post, still a work in progress…
The Box is a: Deltron 480 Aluminium Enclosure, IP68, 222.3 x 146 x 55.9mm
I did originally get a cheap deal on a similar Deltron enclosure from eBay and by chance I thought it would be a good idea to test it when delivered, which was lucky as it leaked like a sieve!
So that one went straight back and I paid full price for a good one. It looked like the ebay one had the slightest warp to the lid and the seal was a bit aged. It was new, but guessing it had been in someones shed for a number of years.
Thanks, if only my fibreglass work was as neat!
Oh and big thank you to the detail you and the others have published on your build threads. I referenced yours a lot and doubt I would have started this without .builders!
I haven’t brought the antenna out - yet. The remote I have is cheap and I don’t really expect it to last too long, so modifying the receiver is low down on my list. I’m hoping the proximity or the remote will work through the Aluminium box. The windsurf board had exceptionally good buoyancy so in theory the box should not be submerged completely if at all. I’m going to try as is and modify if necessary.
My other concern is interference from the esc once it gets going, but again time will tell.
Yes, handles is a good idea. How far up the board do you have them? I’m guessing you need to be able to reach them both from the rear of the board?
you’ll quickly see if the aluminum blocks the signal ( i think you get kind of a Faraday cage)… water does block it for sure, but i’m not sure about the different metals.
More than being underwater, the concern is more you you’re mostly water and if the box is right below you when you lie down on the board, it might be an issue…
for the handles, that’s where i have them… think both being able to reach them and how the board is balanced when you carry it.
Good call. I think I’ll get it all made up and see where the centre balance is, and perhaps have a few runs to decide
I suspect the coming winter will see a few further modifications.
I hadn’t thought about body mass blocking the signal! Its crazy to think the range of these transmitters in open air could be reduced so severely by a few inches of water. I’ll let you know what happens.
Thought I would carry on the details for the antenna on this in case anyone needed it for reference. I was not 100% sure where to cut and solder to the PCB antenna so have added a thread in the Electronics section.


 . Its a big hatch, 8 inch from memory so very easy to get the batteries through
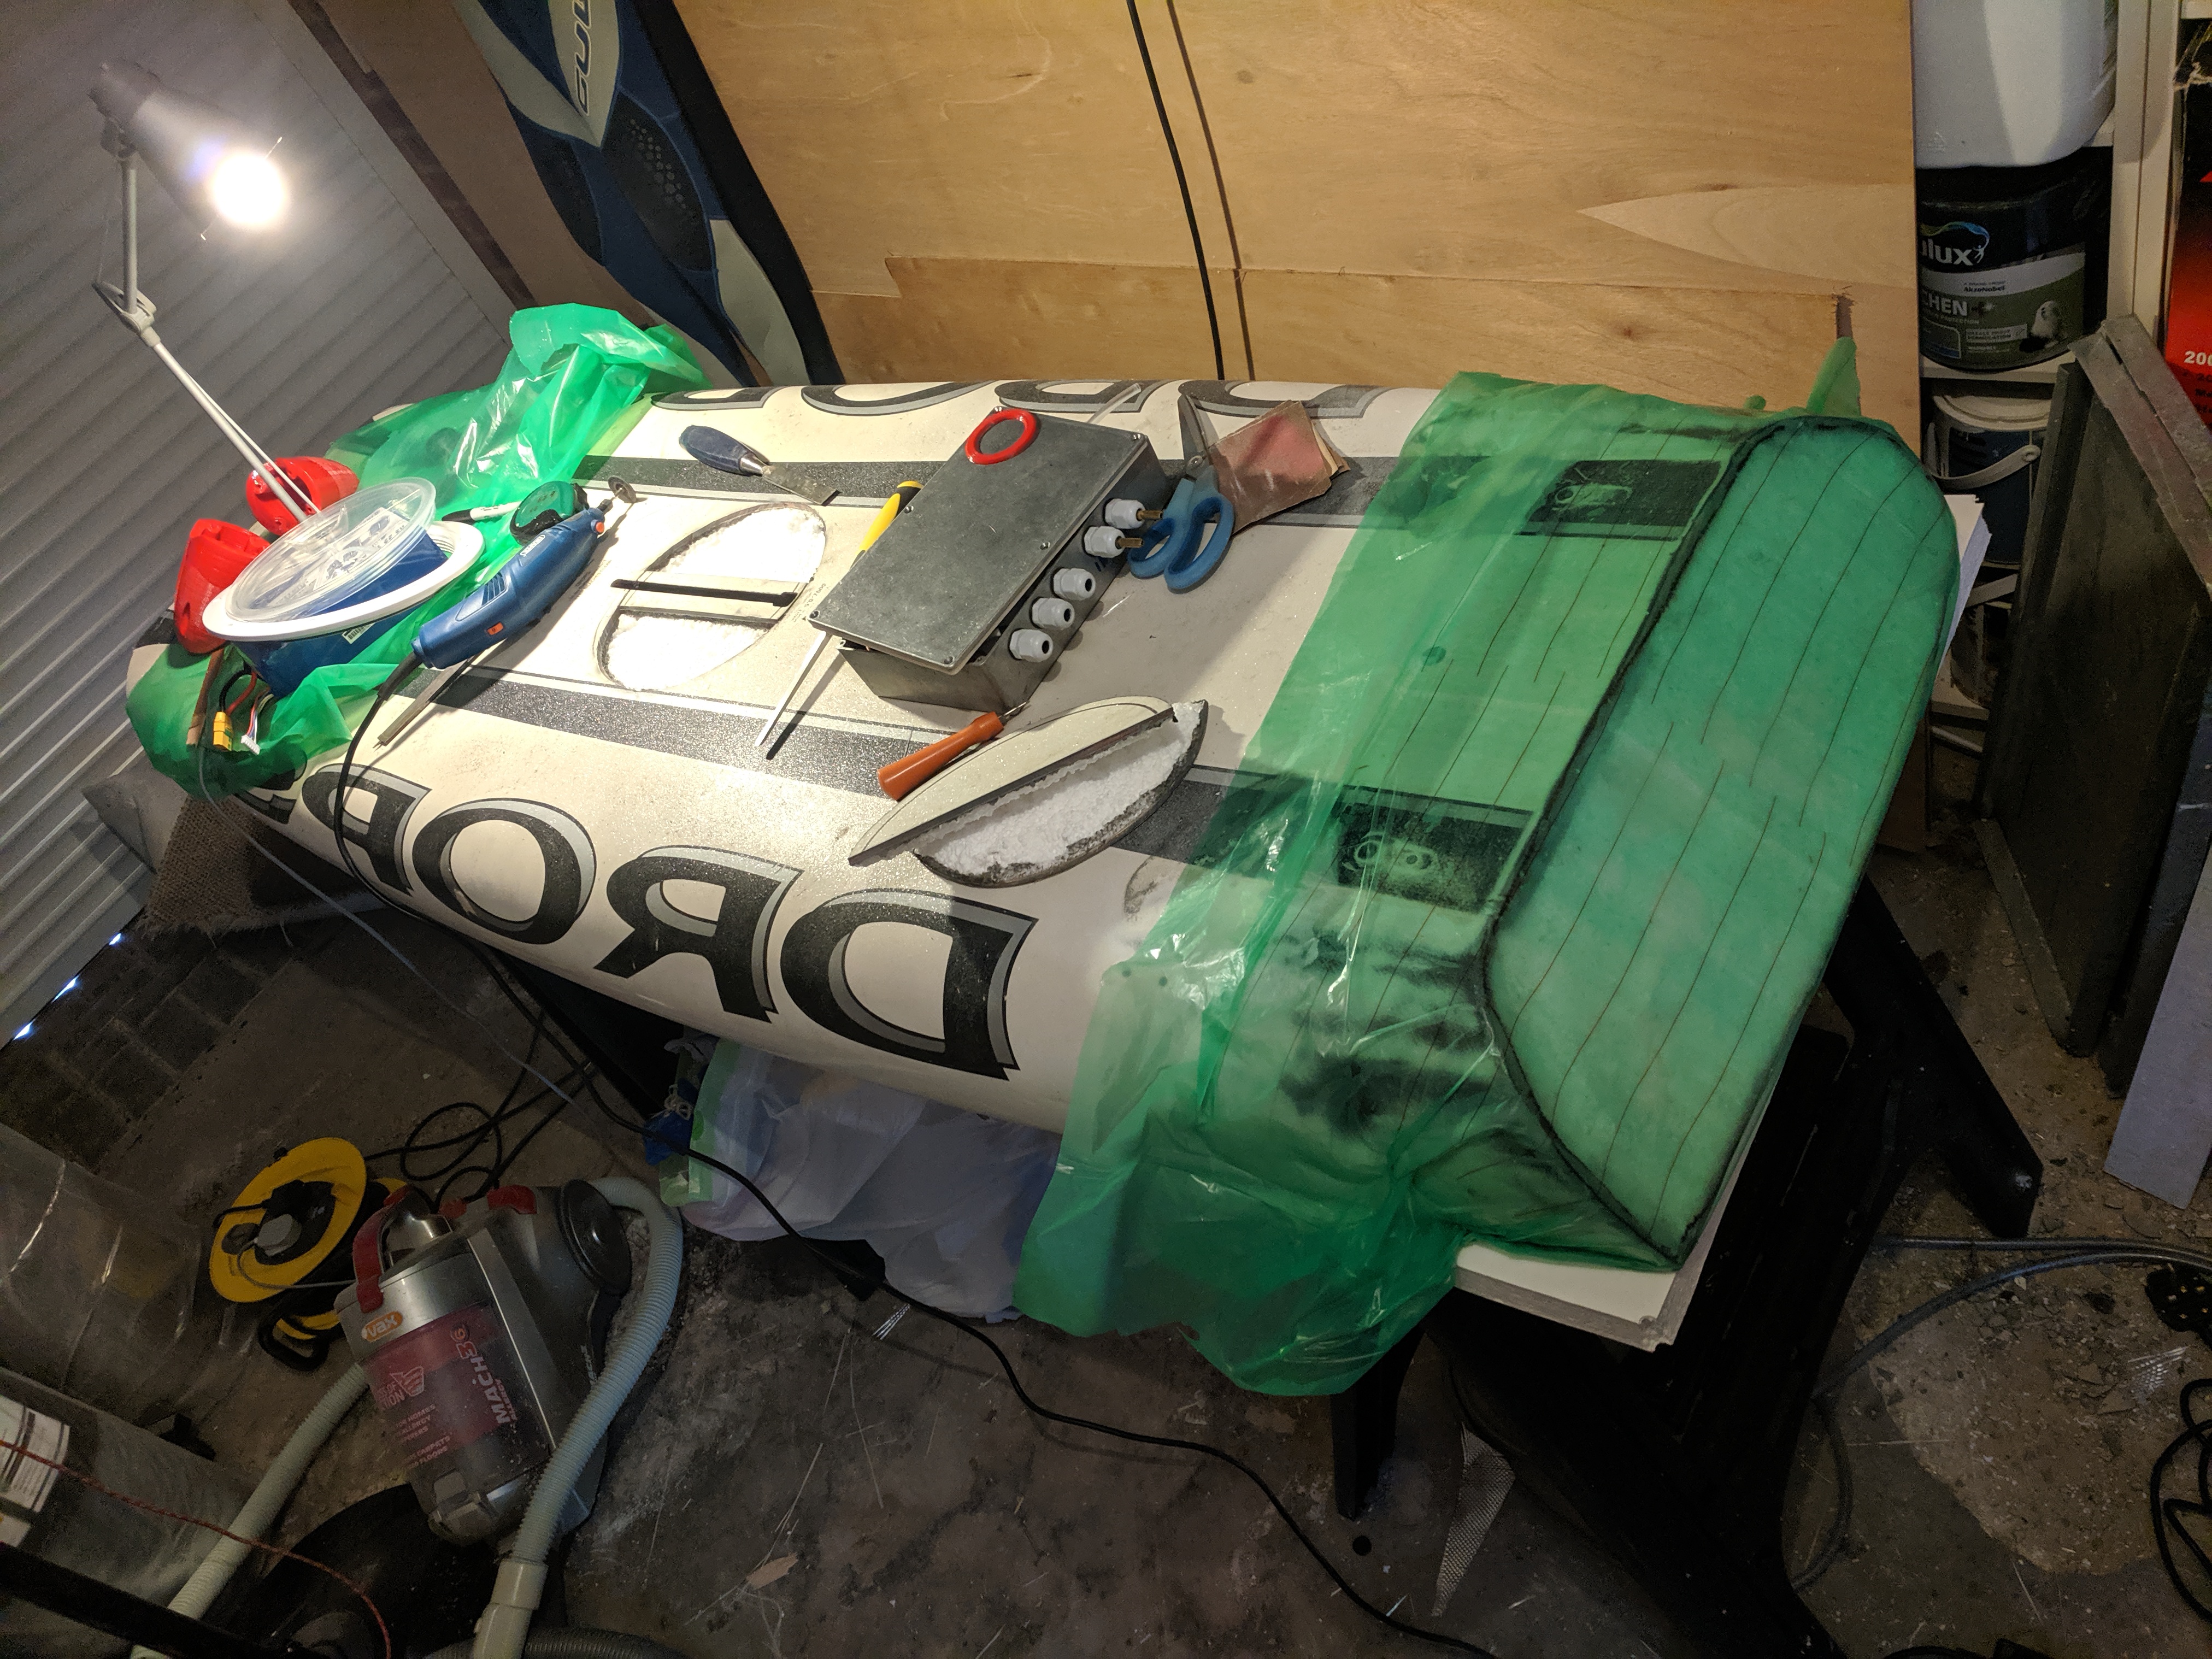
 the proximity or the remote will work through the Aluminium box. The windsurf board had exceptionally good buoyancy so in theory the box should not be submerged completely if at all. I’m going to try as is and modify if necessary.
 you’re mostly water and if the box is right below you when you lie down on the board, it might be an issue…