That looks great. Do you have issues with sucking air into the prop with your setup? Have you been able to get any thrust measurements? Curios what you are seeing if so…
That was over a year ago. I did not do any thrust measurements. I have used that board 27 flights. It has a 83100 out runner. Tons of torque. I knew it would fly.
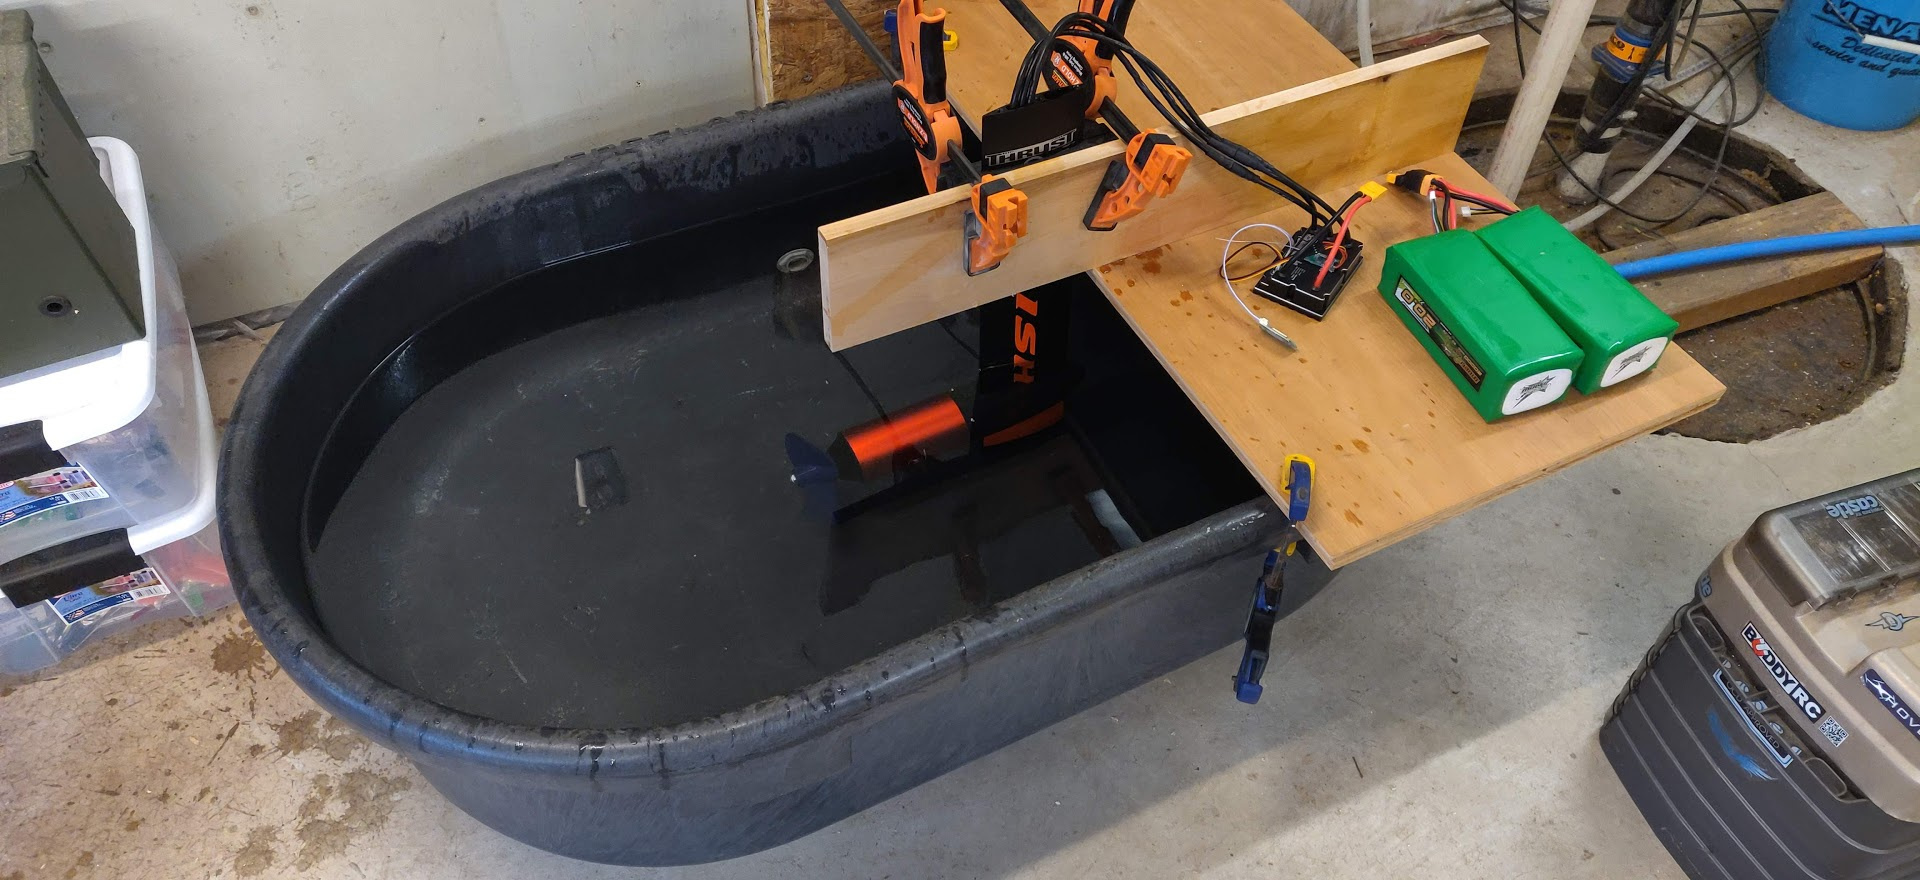
that board has foam under it so it seals the tank quite well. I fill the tank to the top, It does cavatate at full speed. But full speed in a tank is a lot more power than I needed.
alright, cool… I use a door seal around the tank on the backside, and that seals the tank fairly well. But air comes in from the front side that I have open. Based on your experience, think I’ll try closing and sealing the whole top and filling all the way to the top. Thanks!
Did you end up sticking with the sealed 83110, or switch over to direct cooled?
My first build used a dry pod. Using a APS out-runner with a water cooled core. No body knew what worked and what did not back then. That was overly complex and I eventually stopped using it.
My second build used a dry pod, partly filled with mineral oil. That still works good. I’m keeping that build as is. I never liked the popular direct cooling out runner that so many people used, but I would have done it if my dry pod did not work out. Now there are much better and easier motor options.
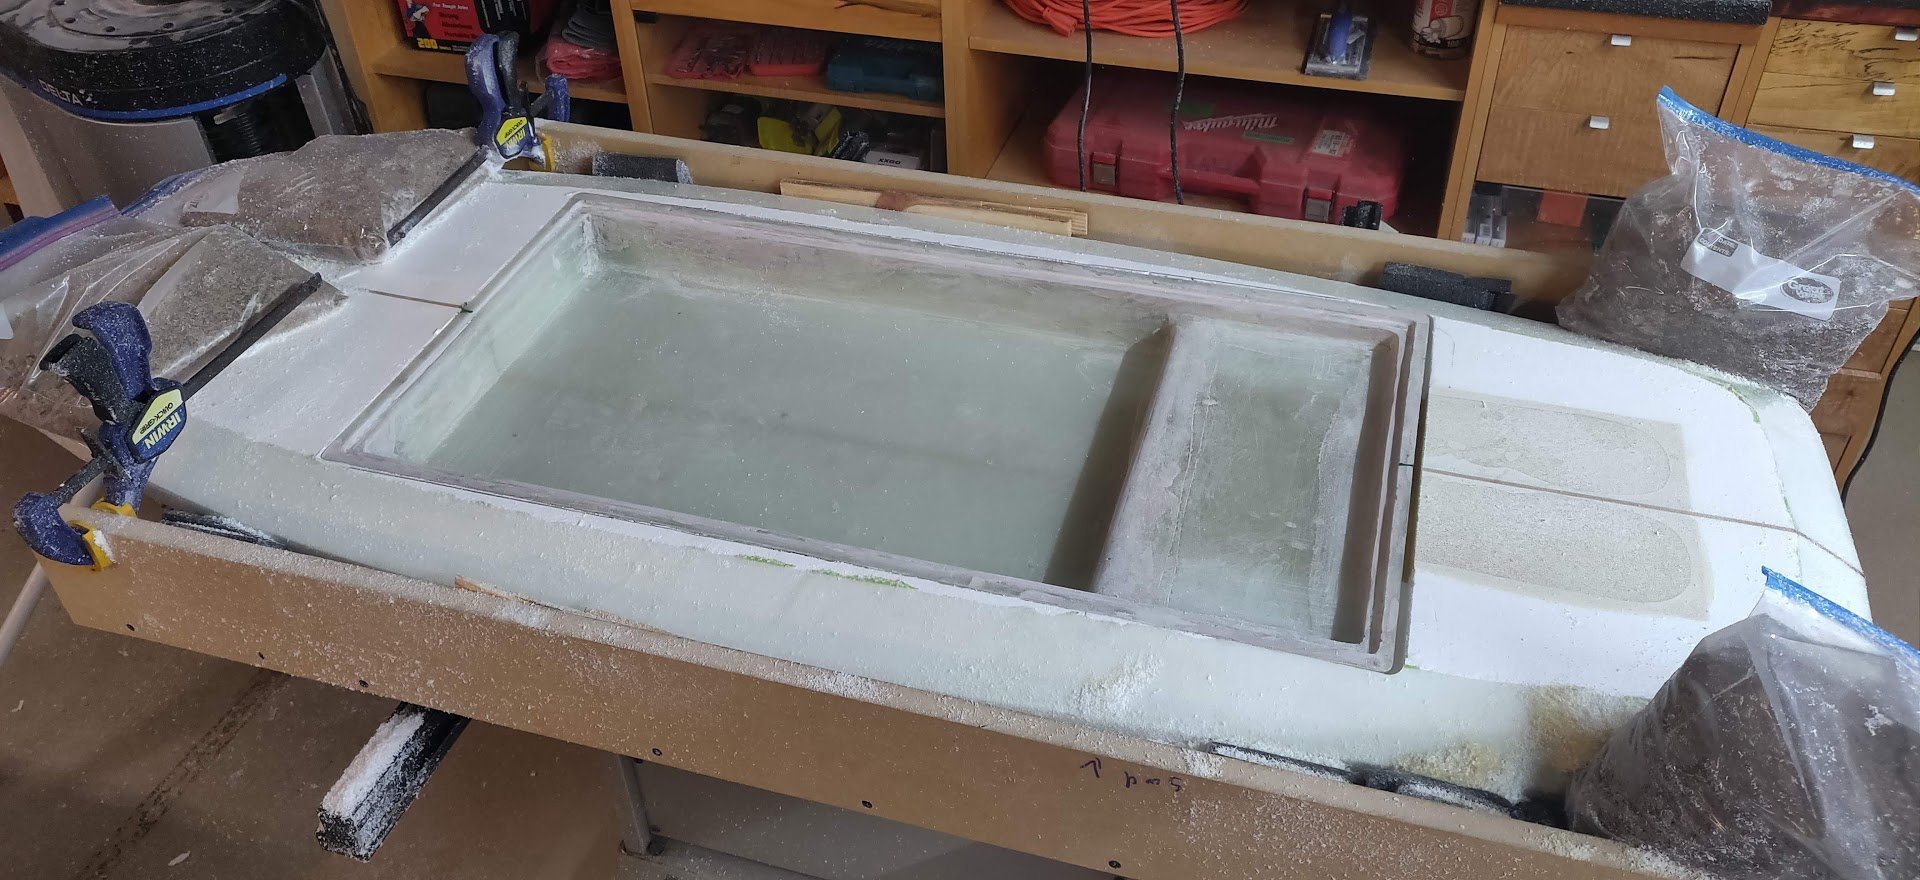
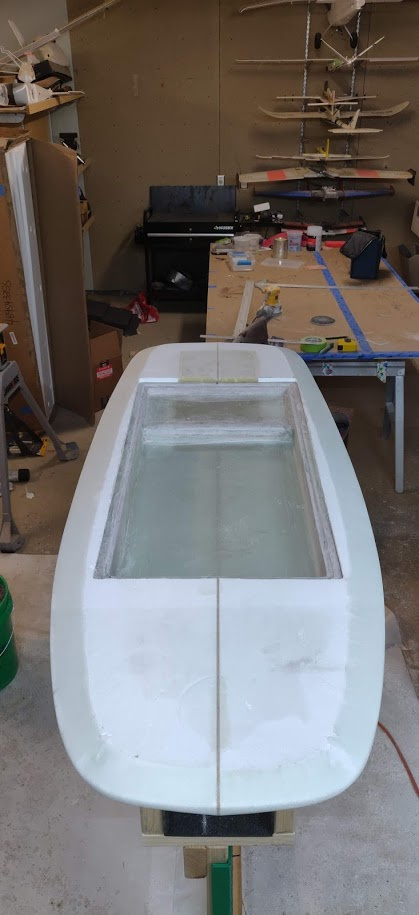
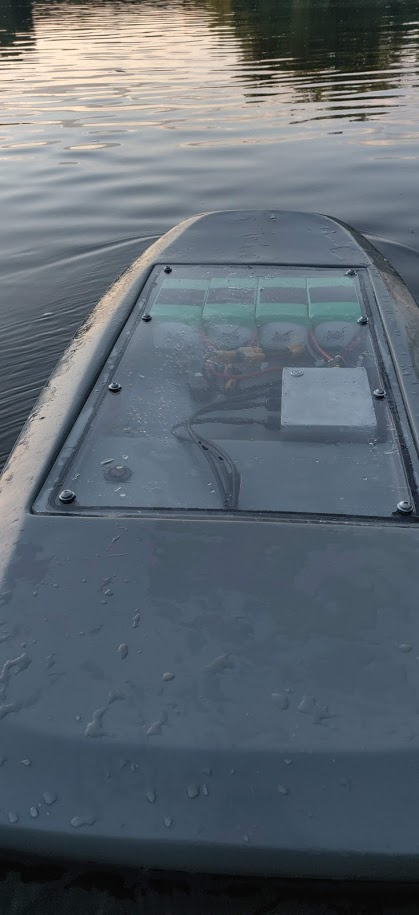
First leak test. I used a plexiglass lid to try and see if any leaks were present. I planned on venting my lid, but didn’t vent this plexi one. Found out that the cool water pulls a vacuum on the and will try to suck water in past the sea. Main lid was planned to have a vent, so no not a big deal.
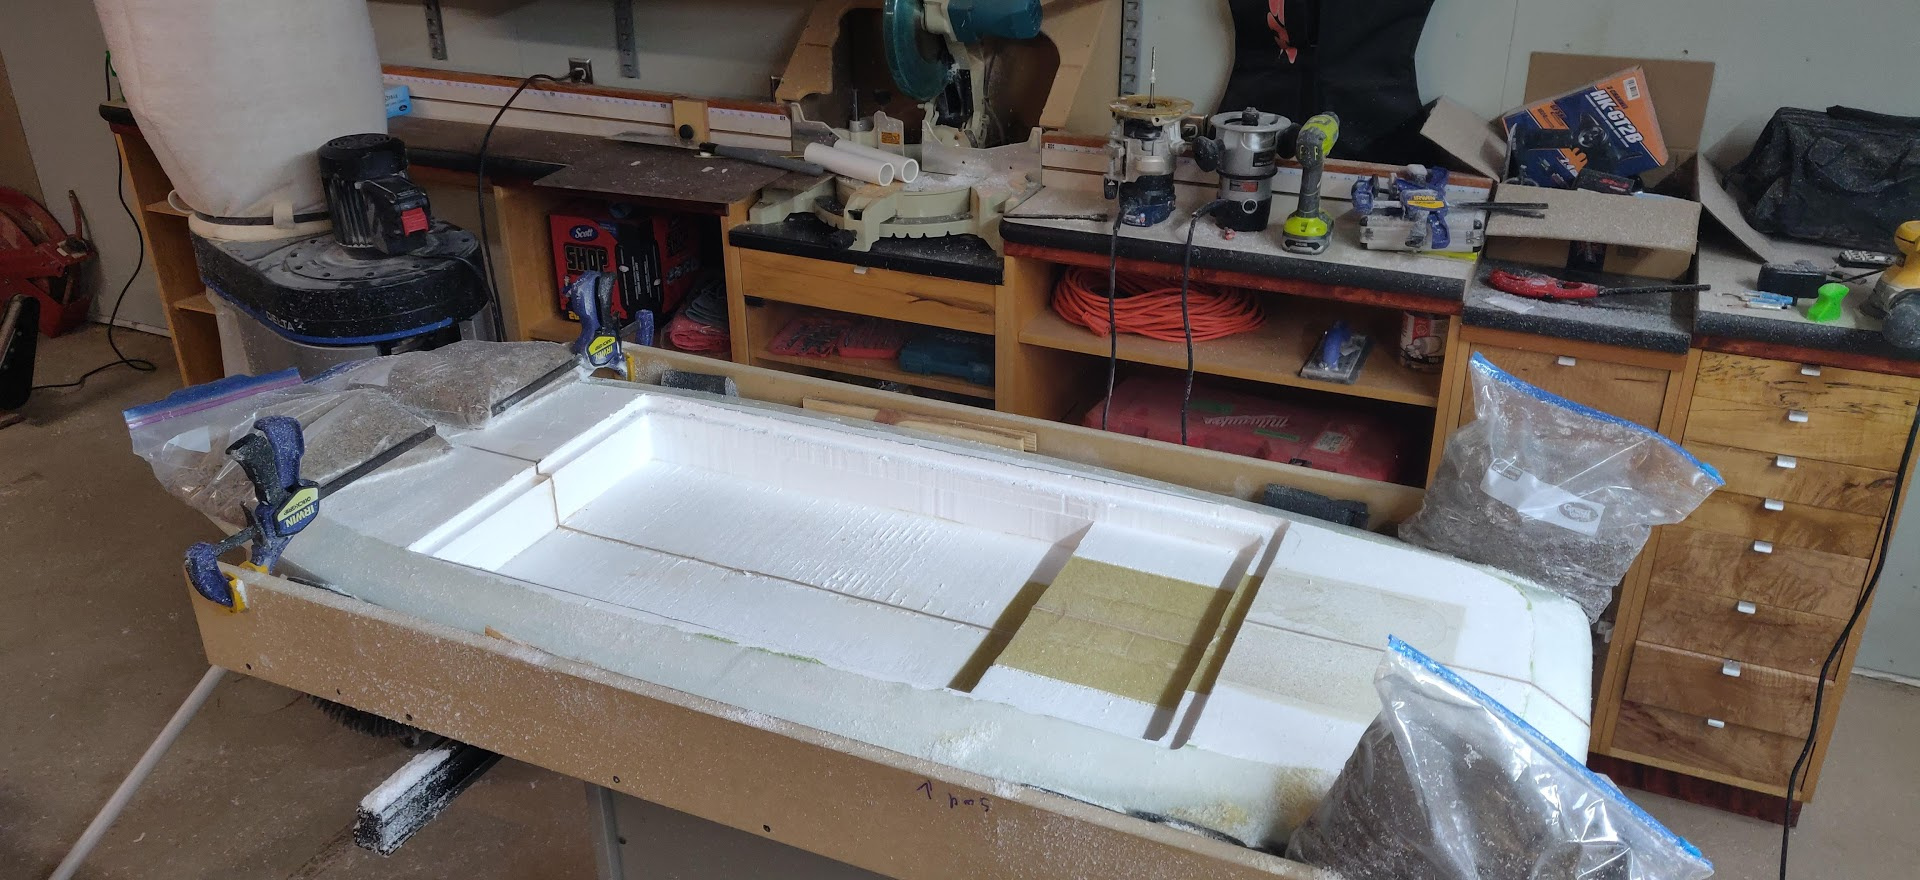
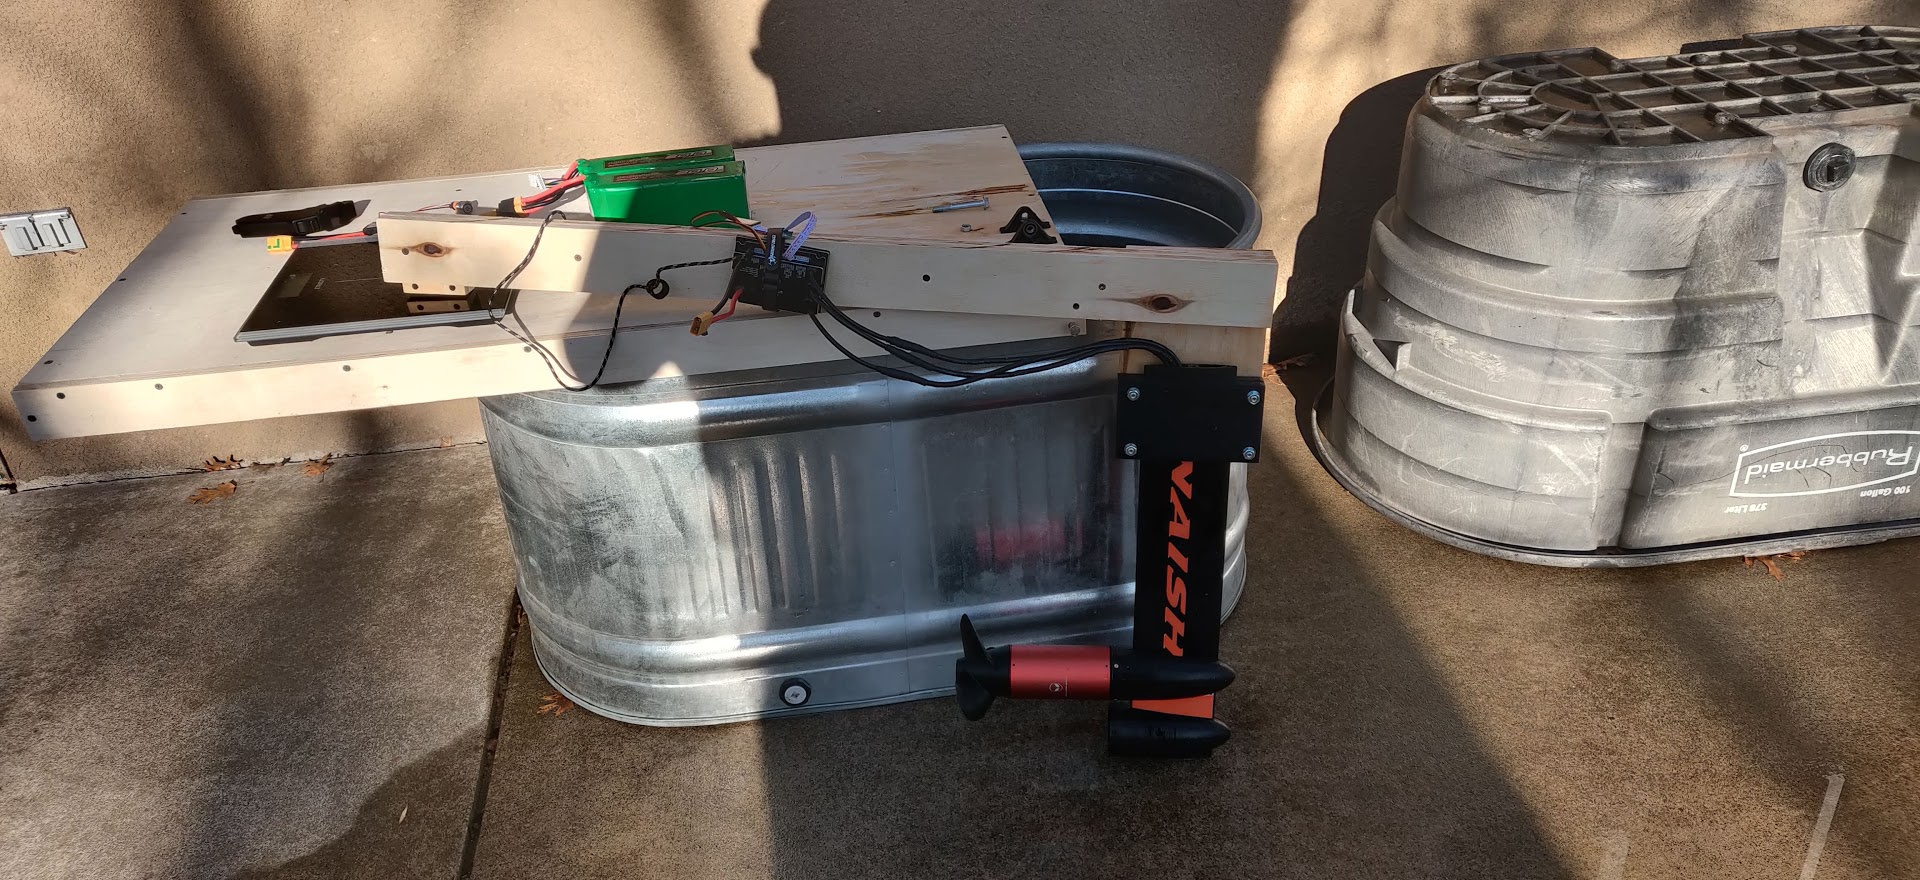
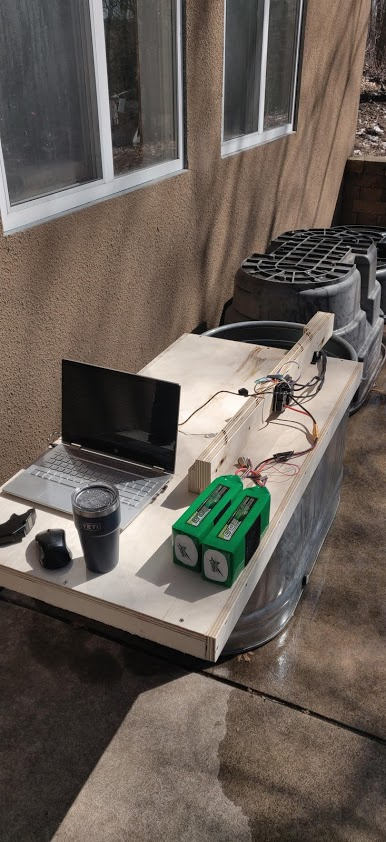
Second build starting:
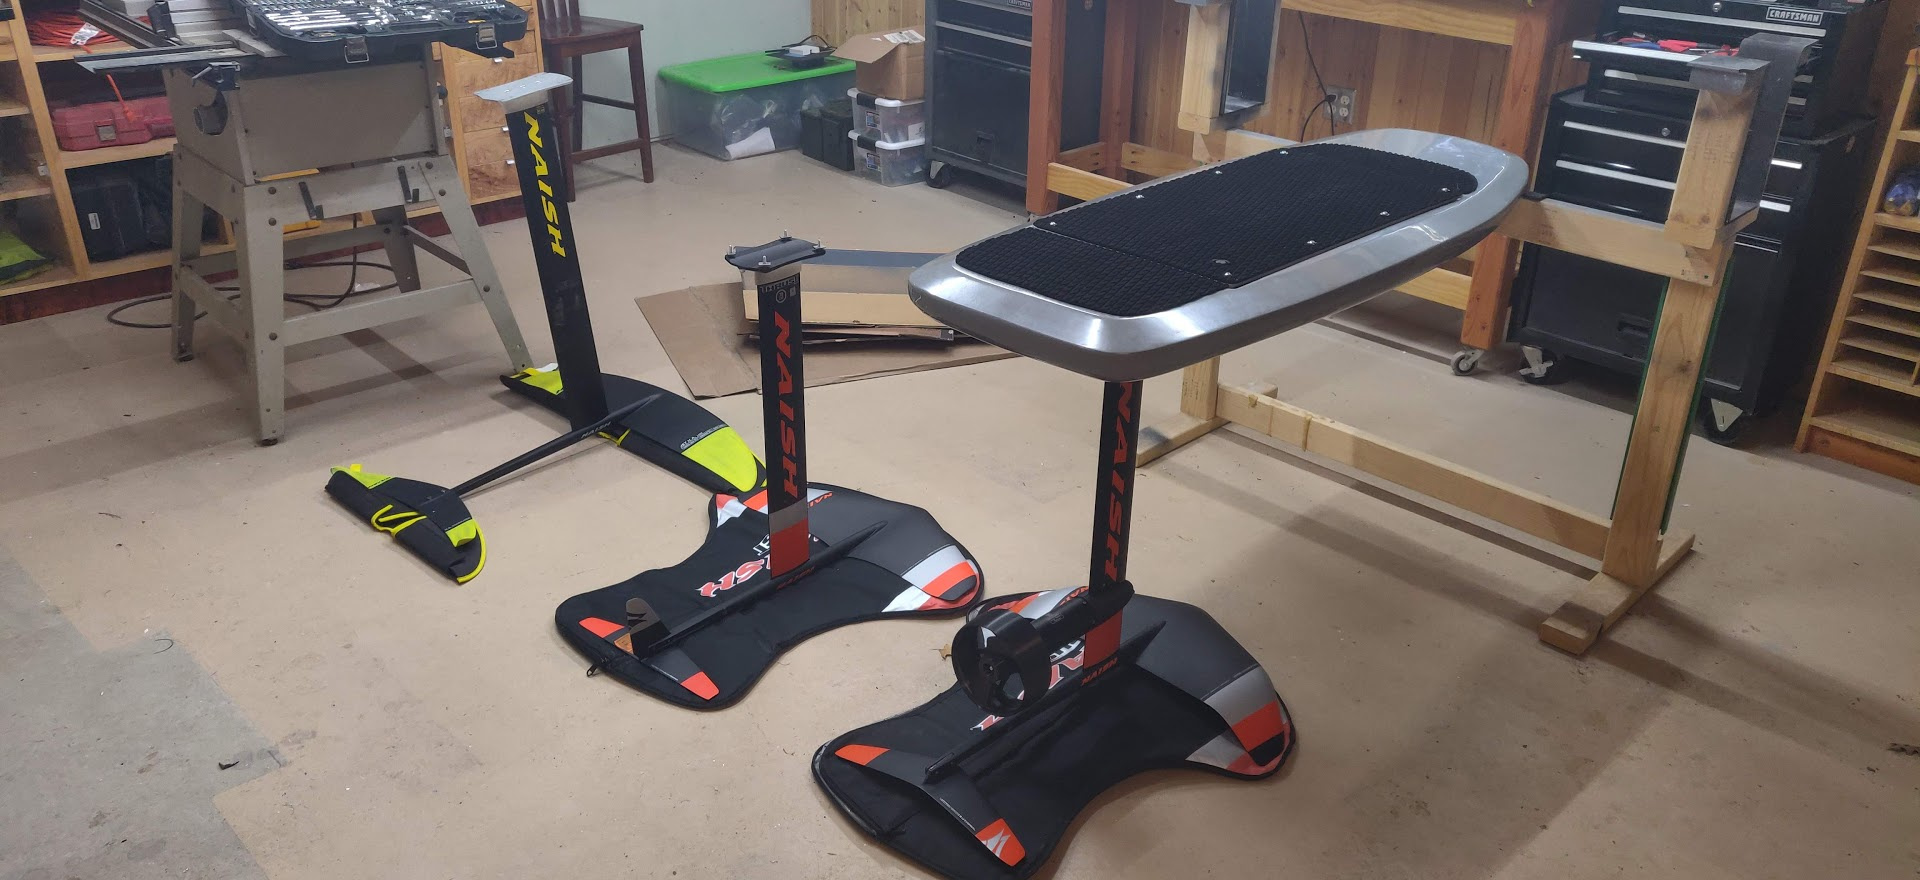
Plan for this and subsequent builds are to try different components to find out what works best. Family and friends have been super interested, so having a fleet should be fun.
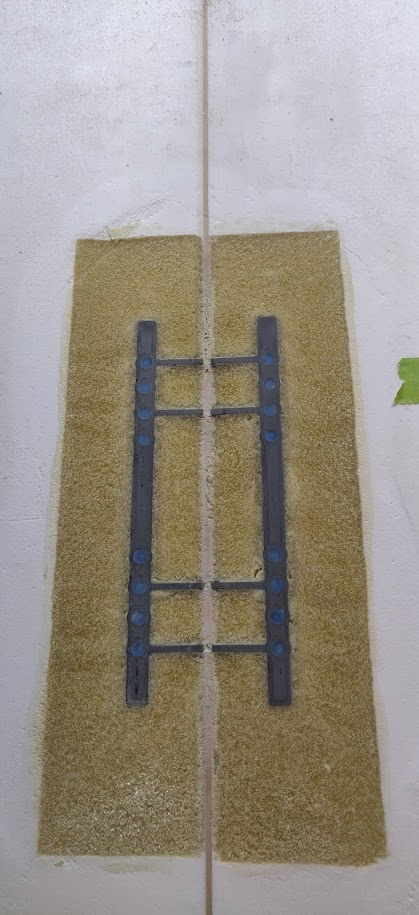
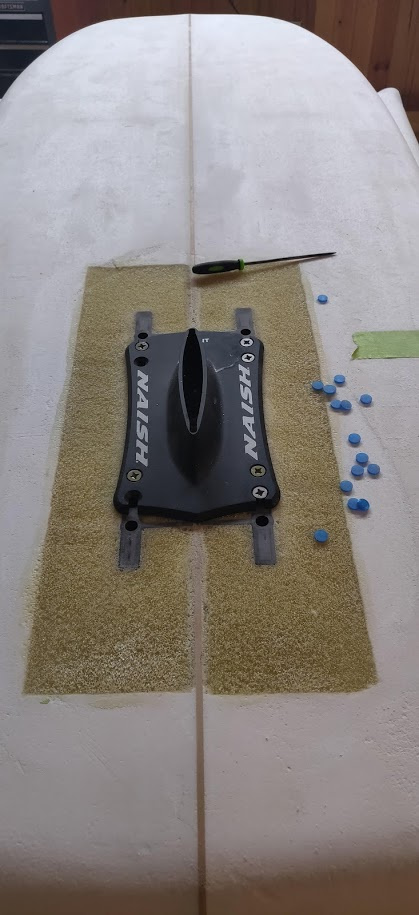
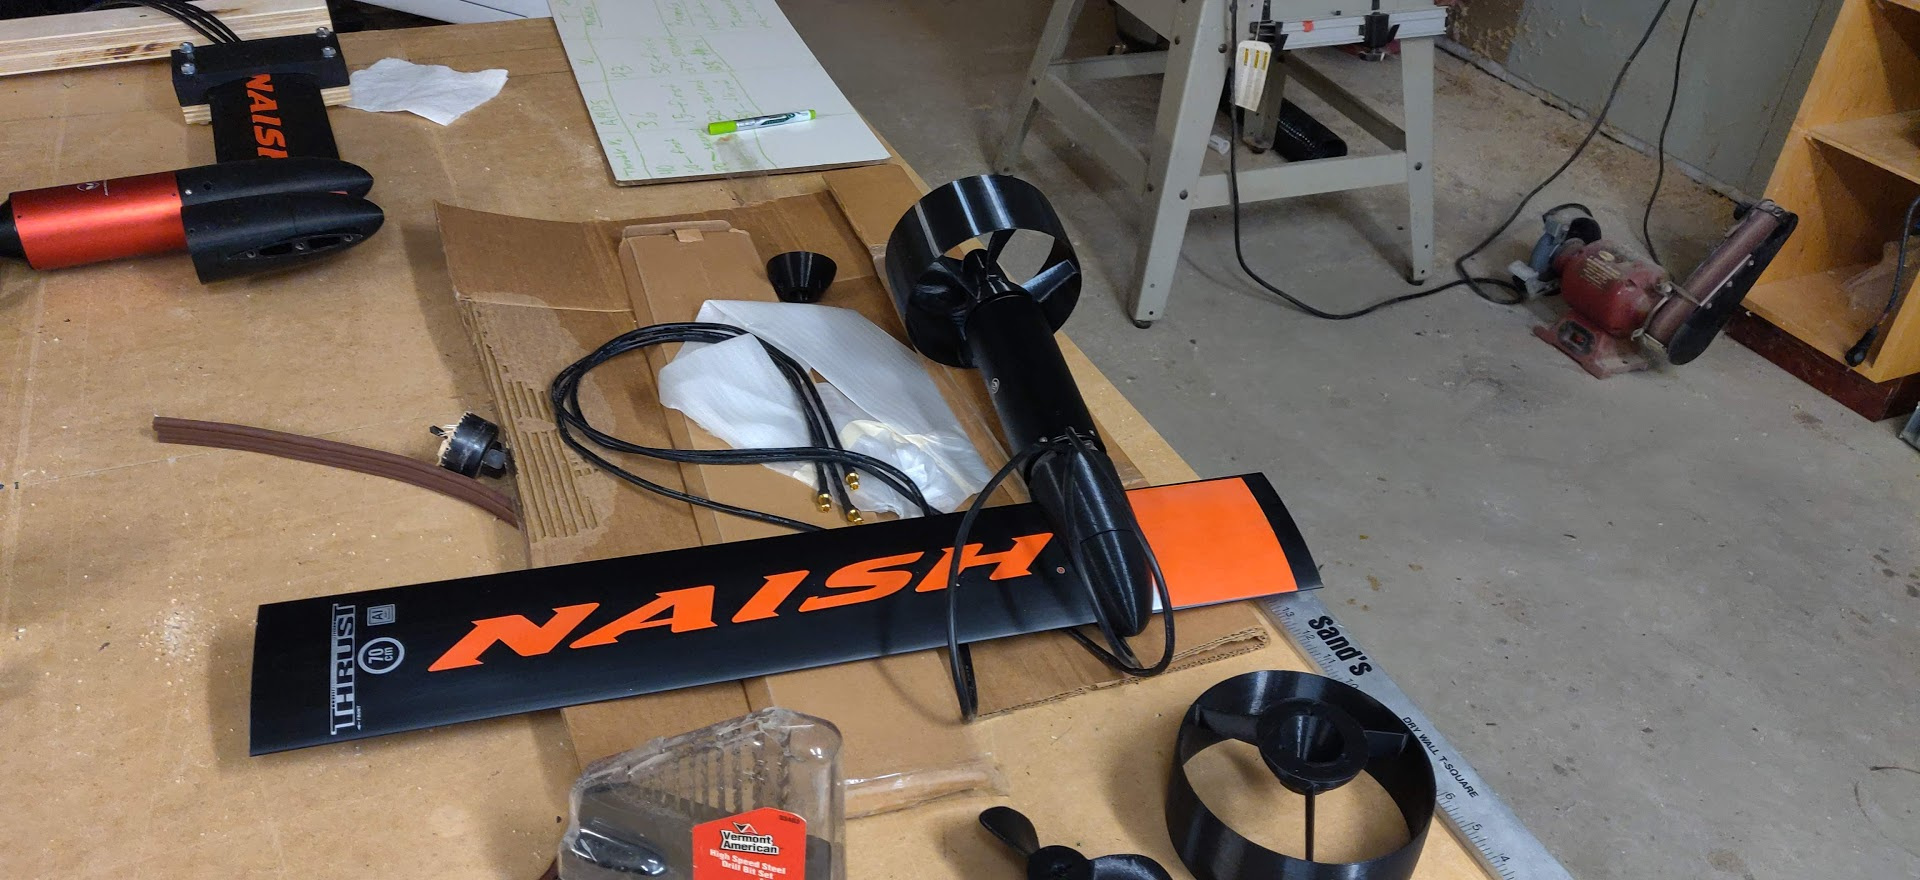
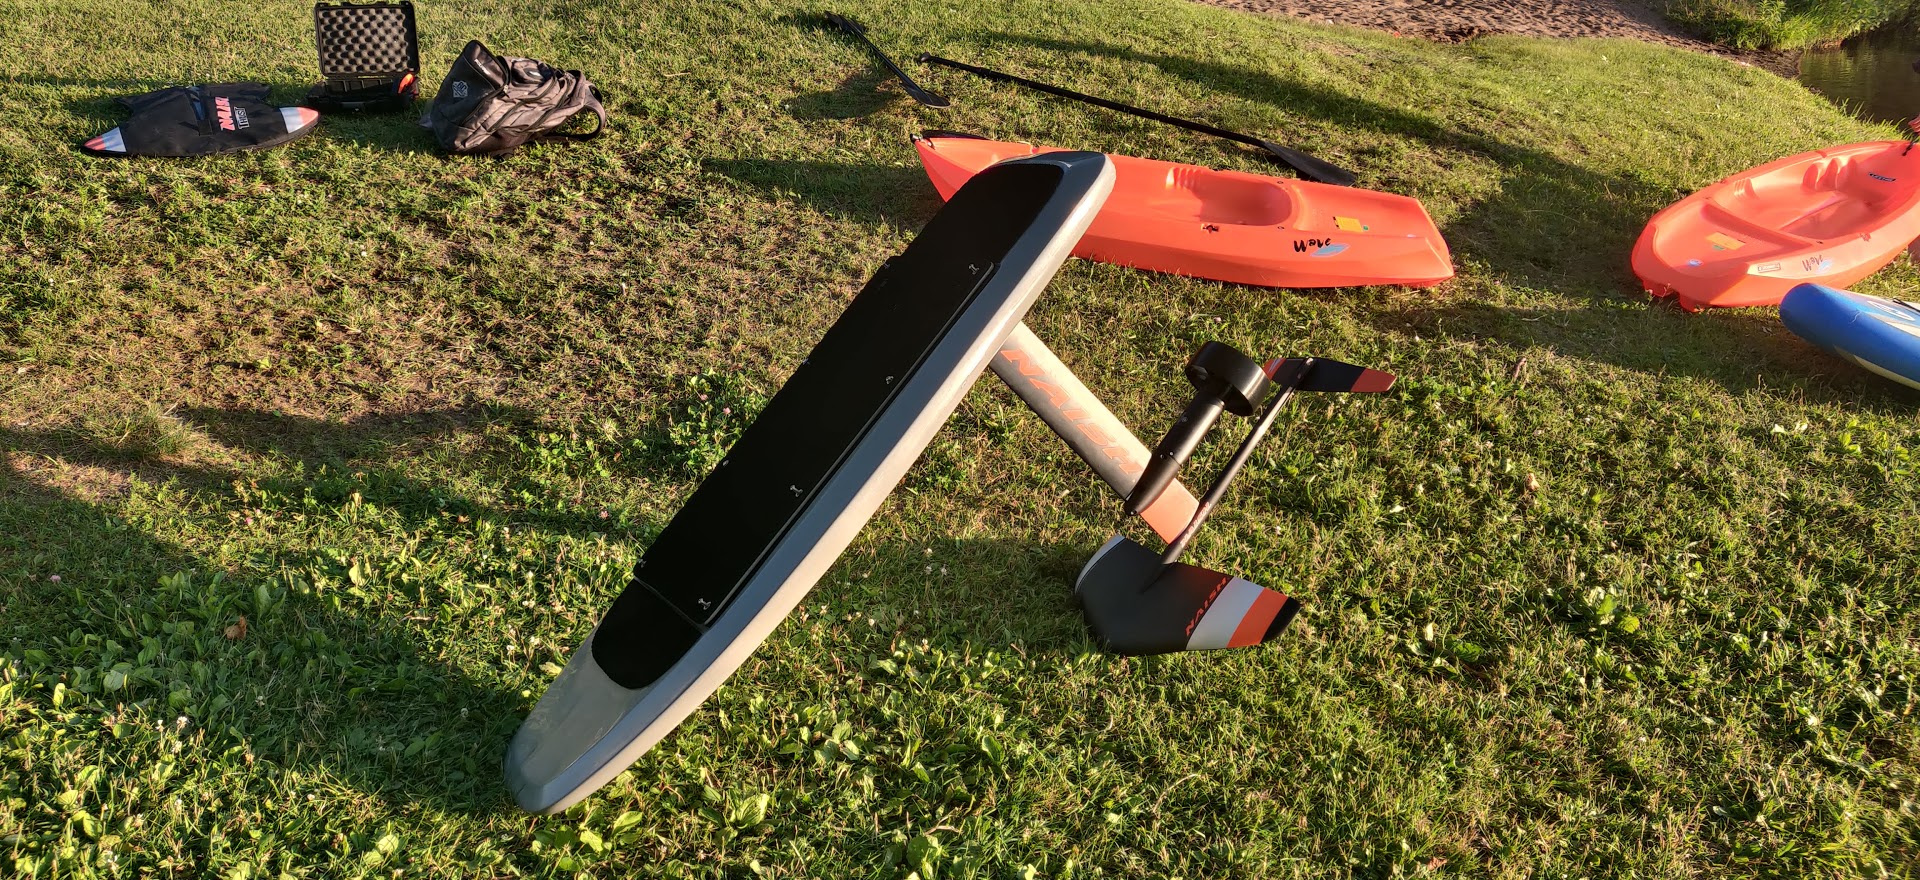
Foils: Naish windsurf foil, Naish Jet HA 1400, Axis HA, slinshot Infinity 76
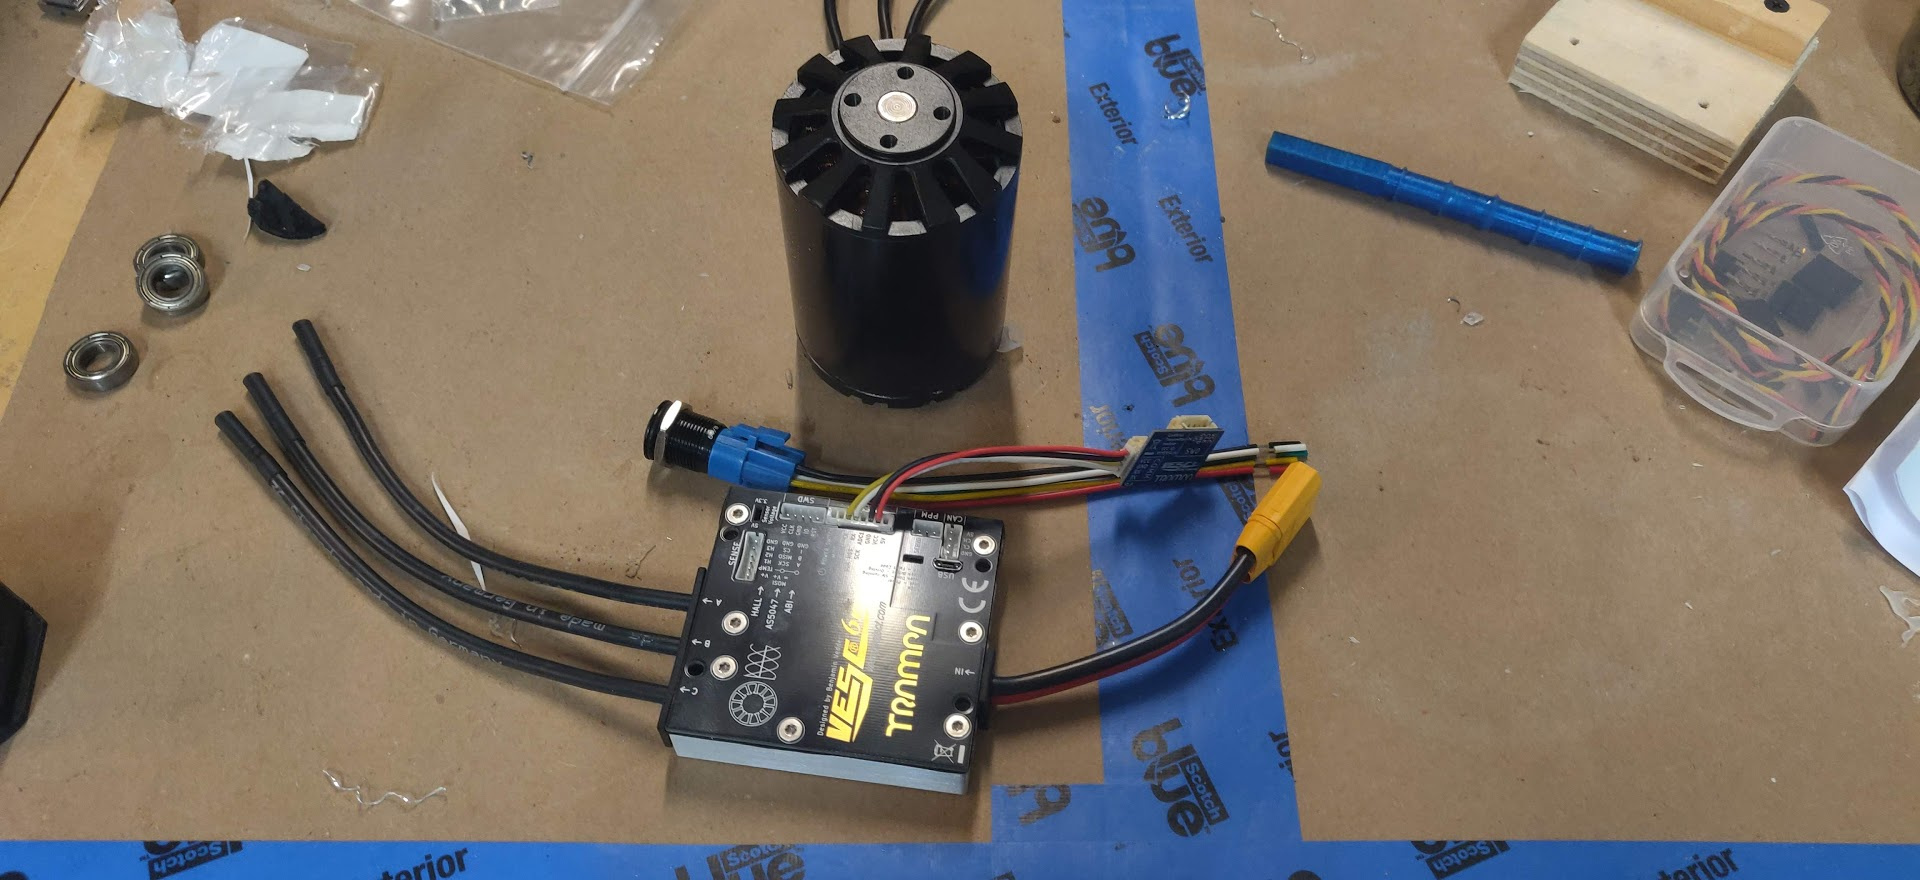
Motor: 63100, FR (if I can get one, lol!), 6384?
ESC: Trampa VESC6, 75/100, Others recommendations?
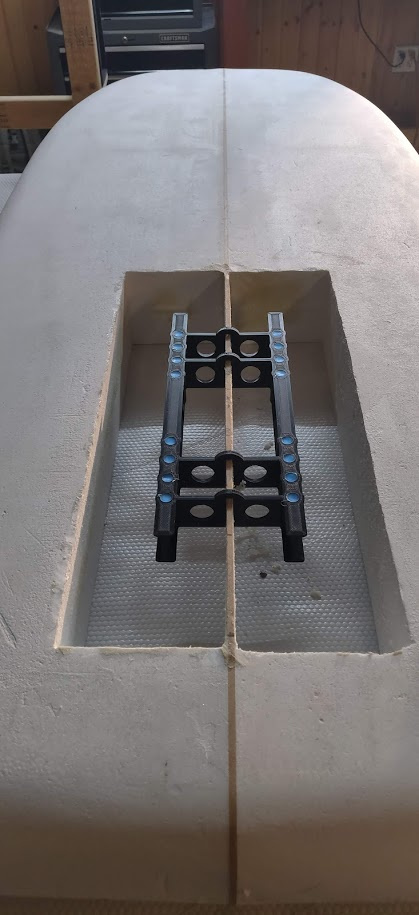
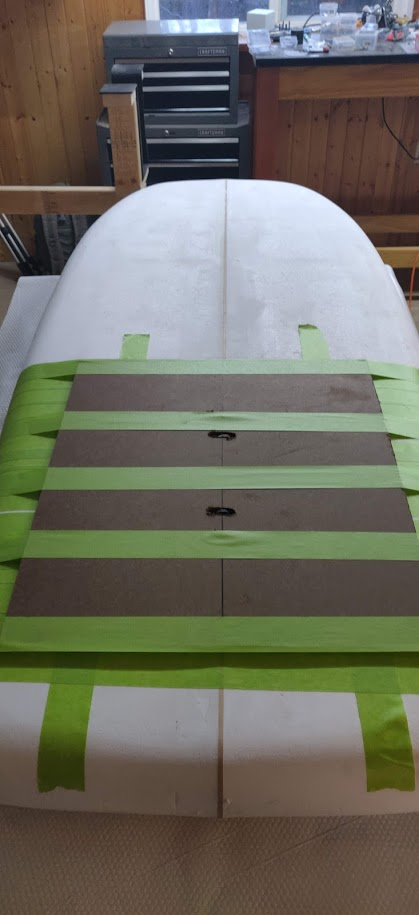
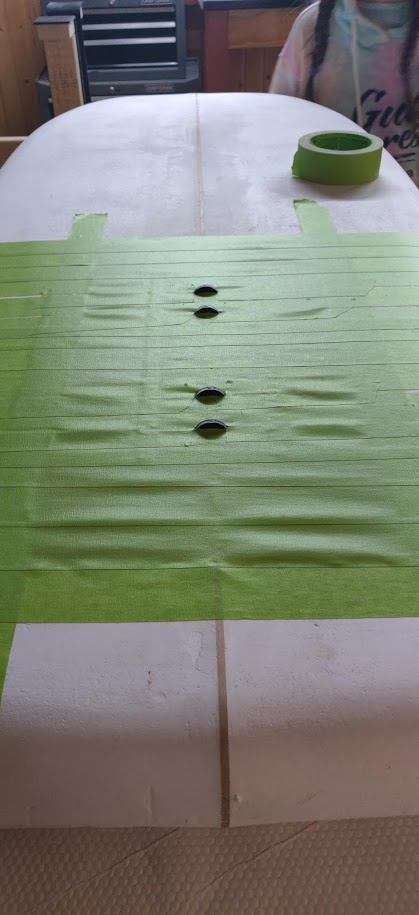
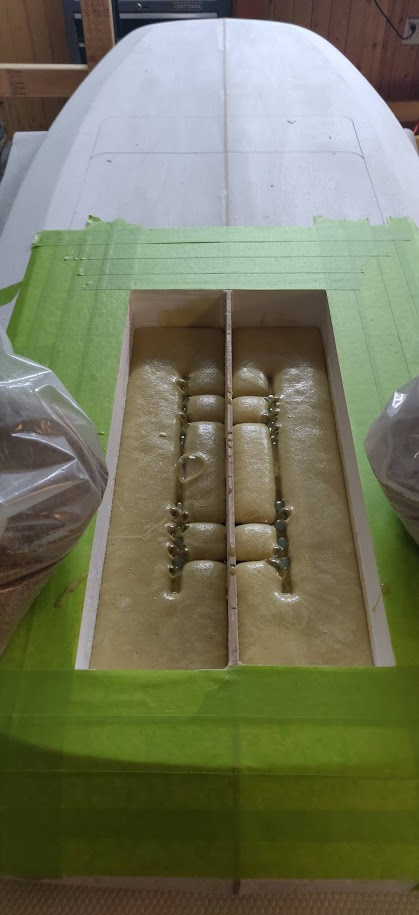
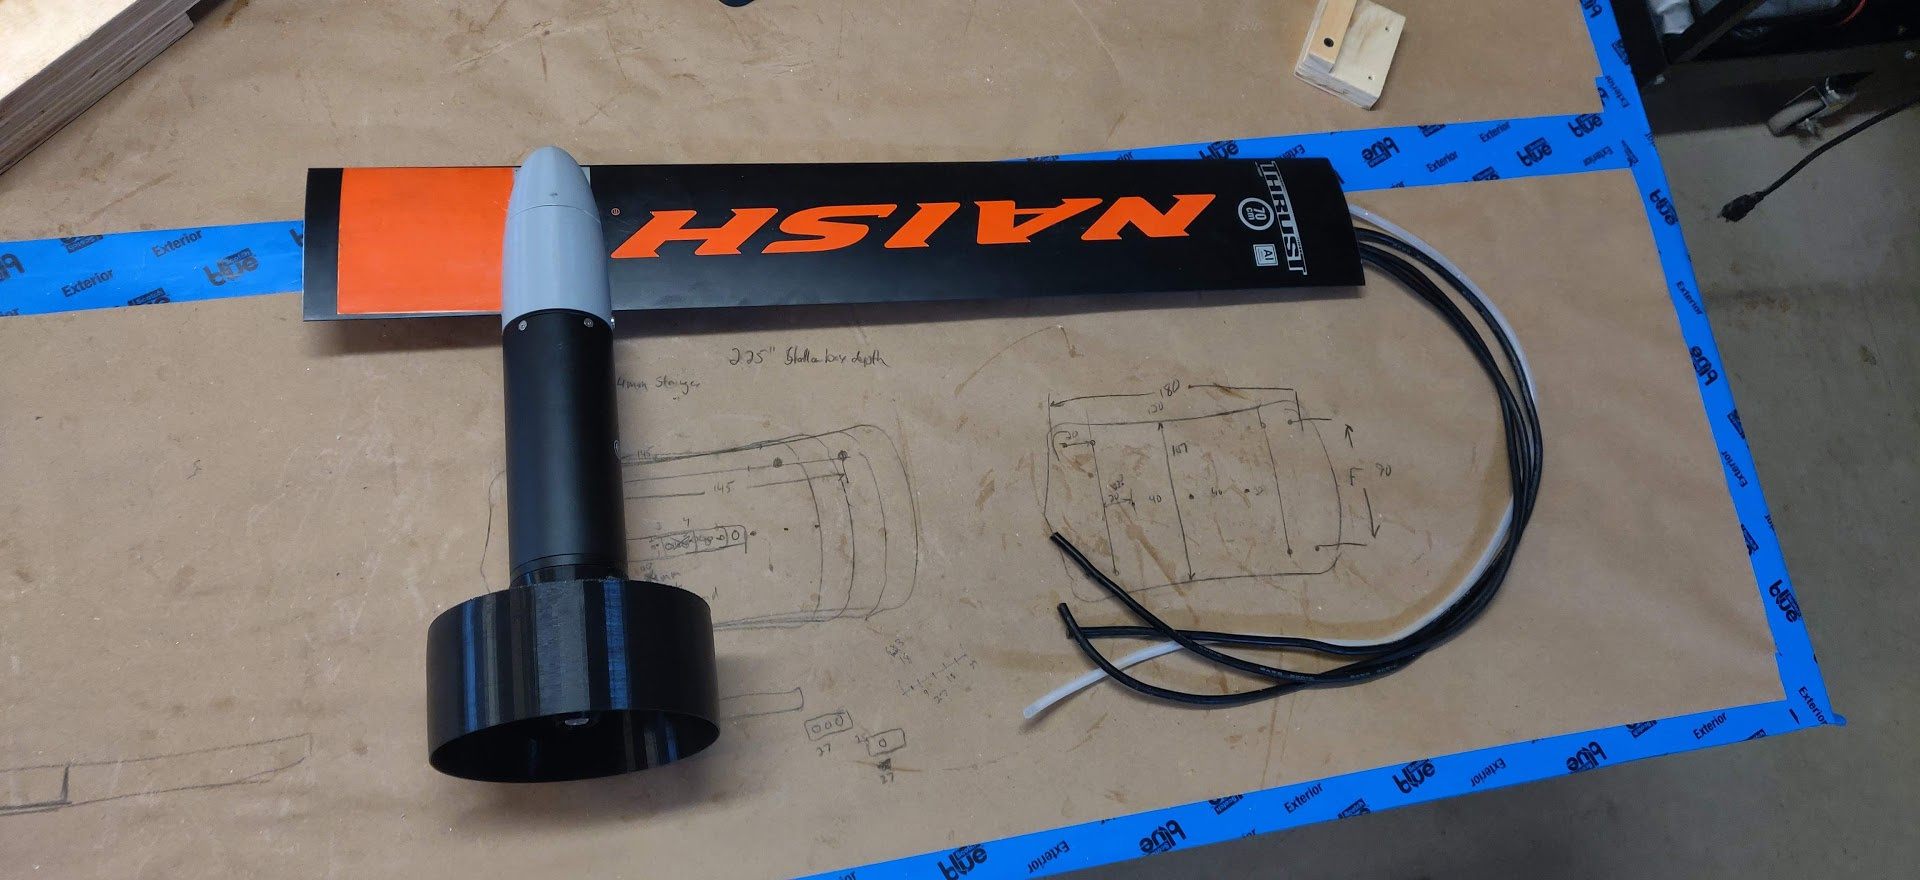
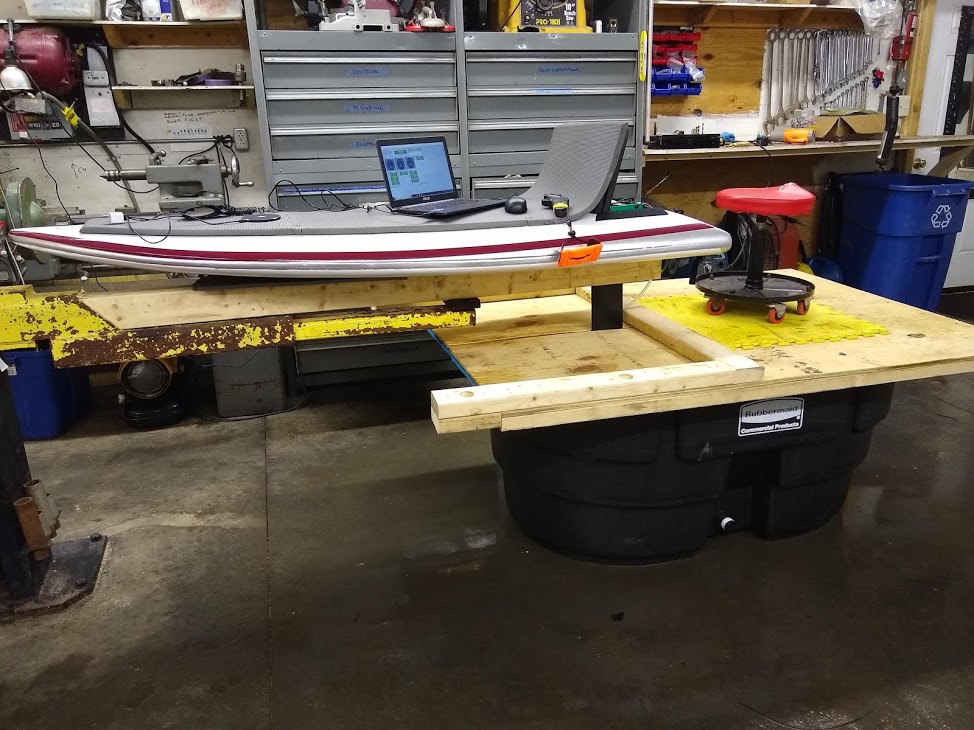
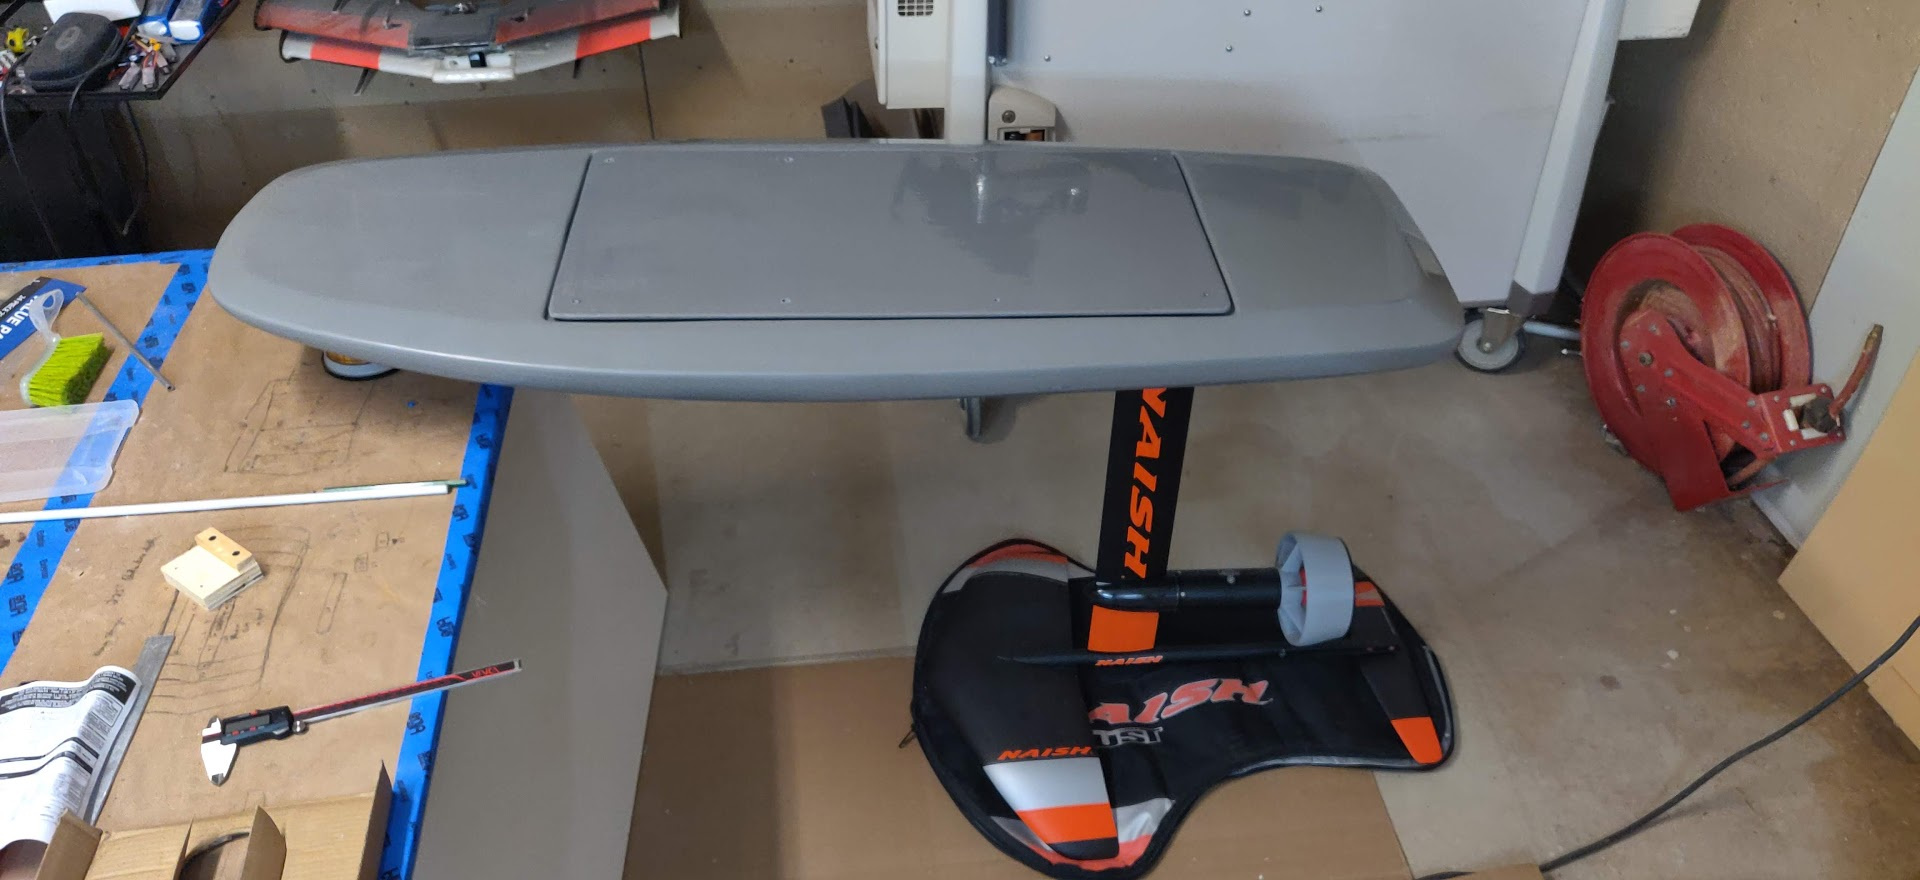
Starting mockup of second foil setup. Should be able to interchange this whole mast/foil/motor and ESC with original build to test things out as I get them ready:
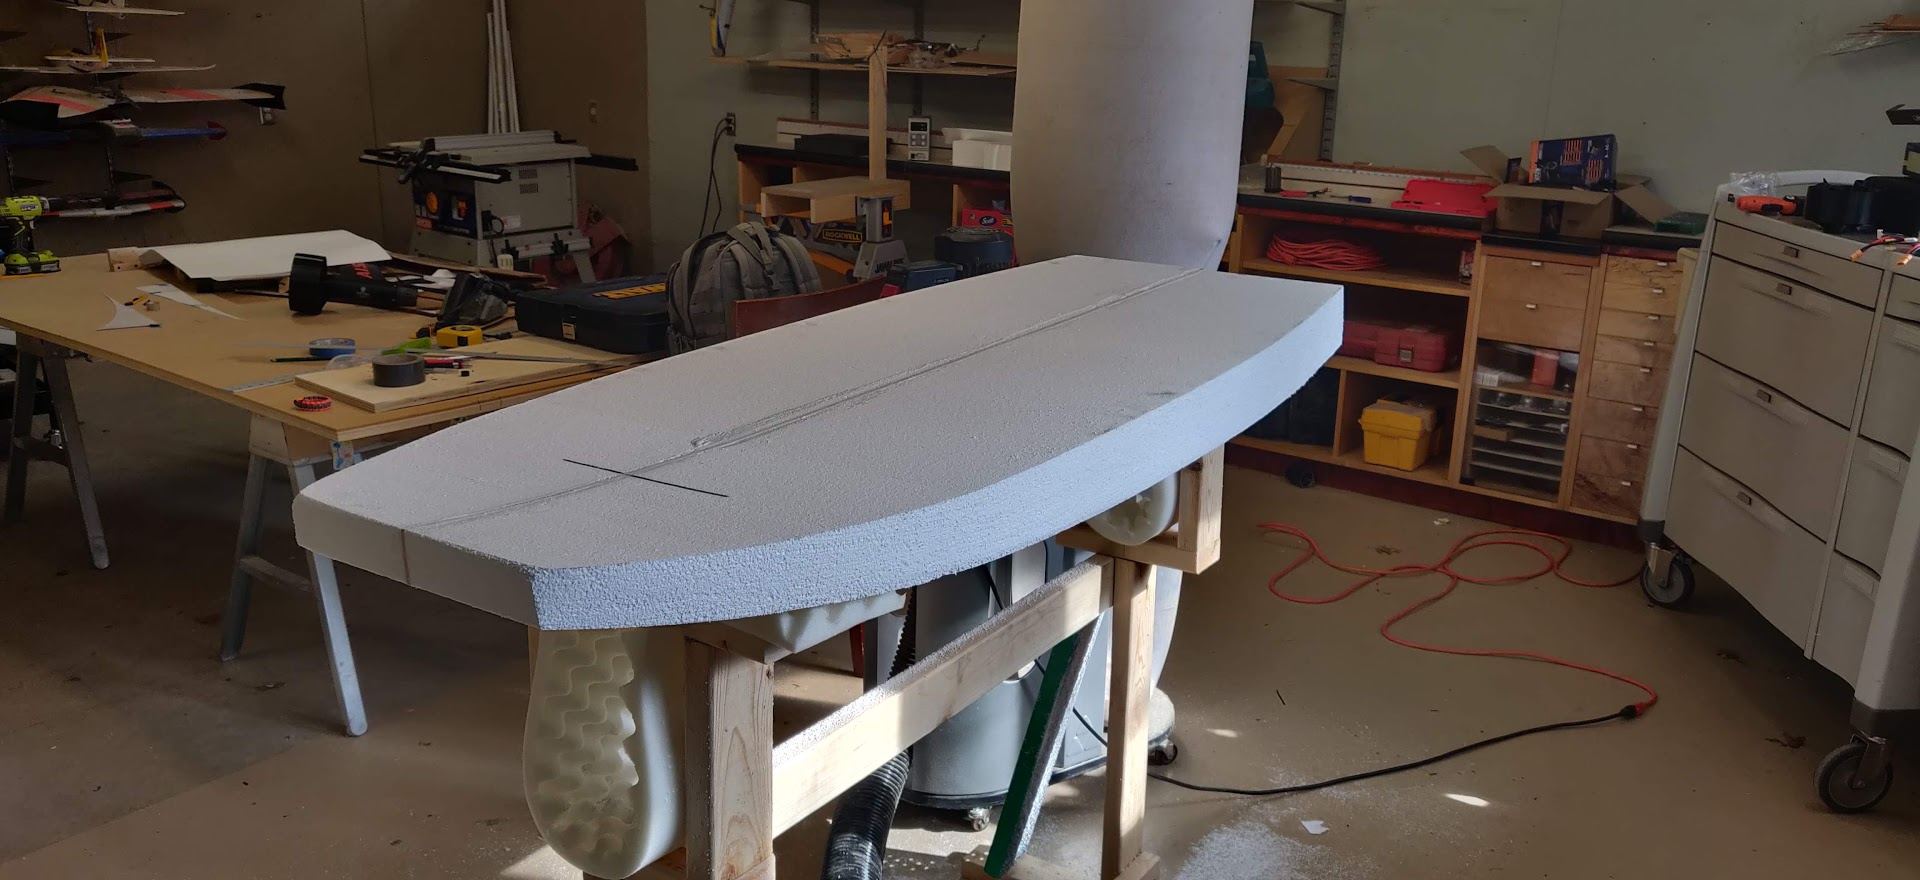
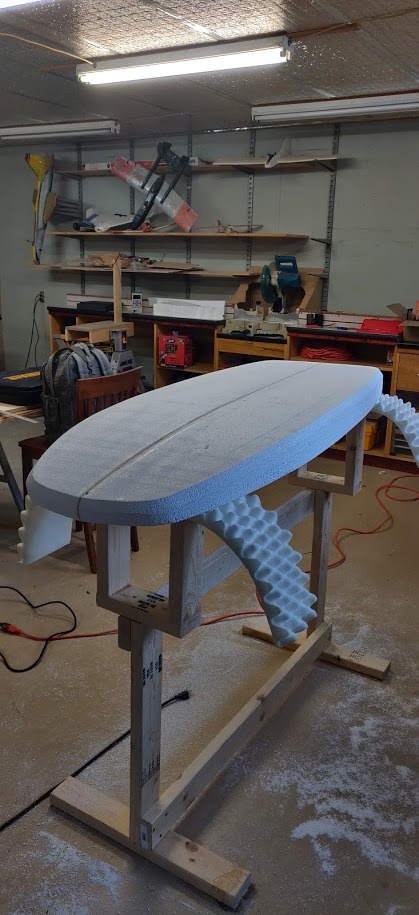
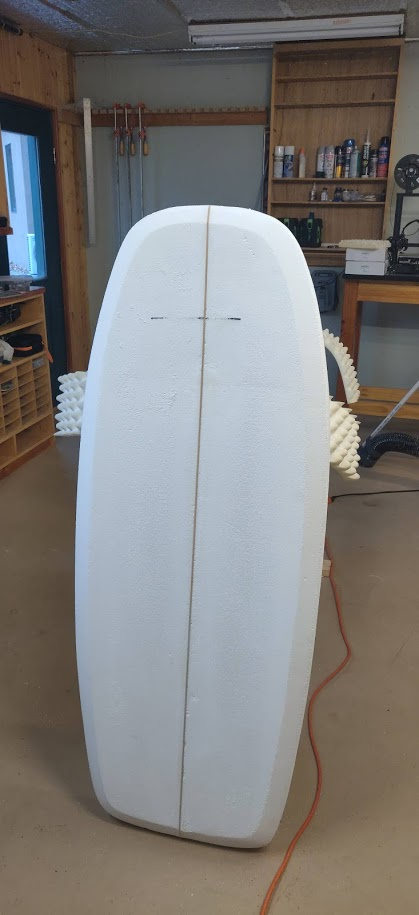
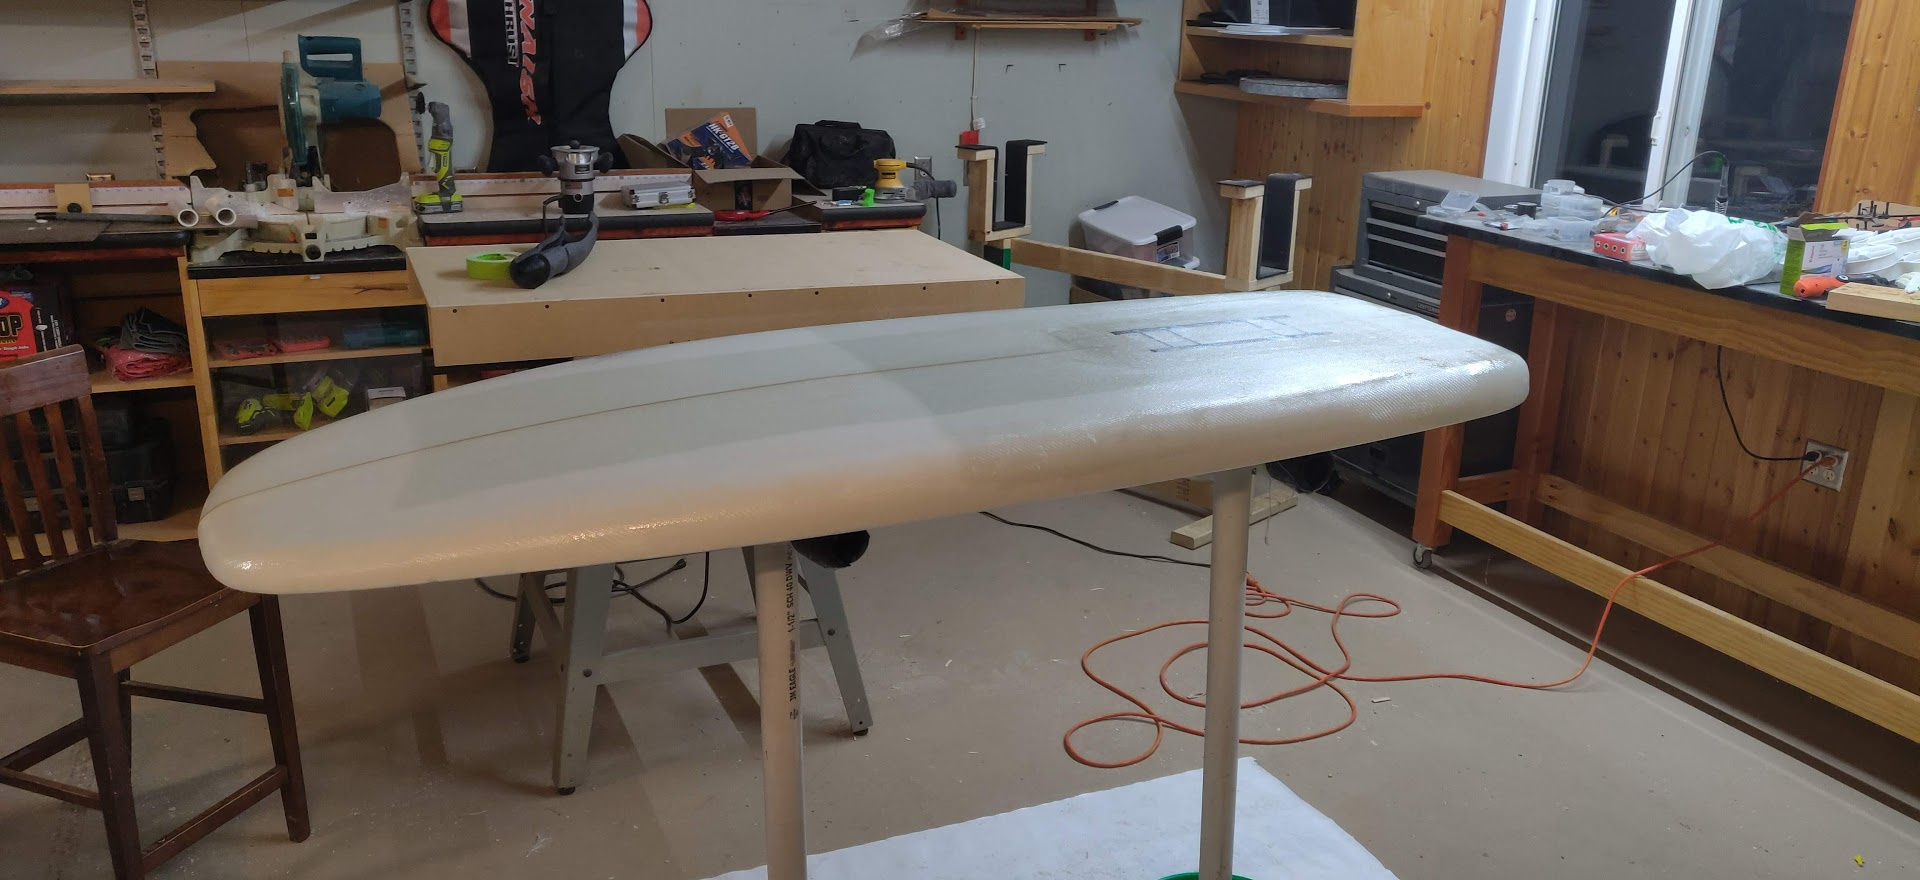
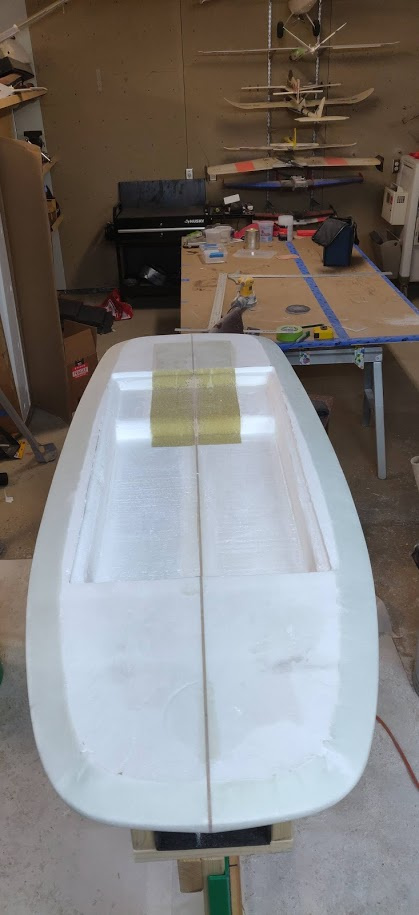
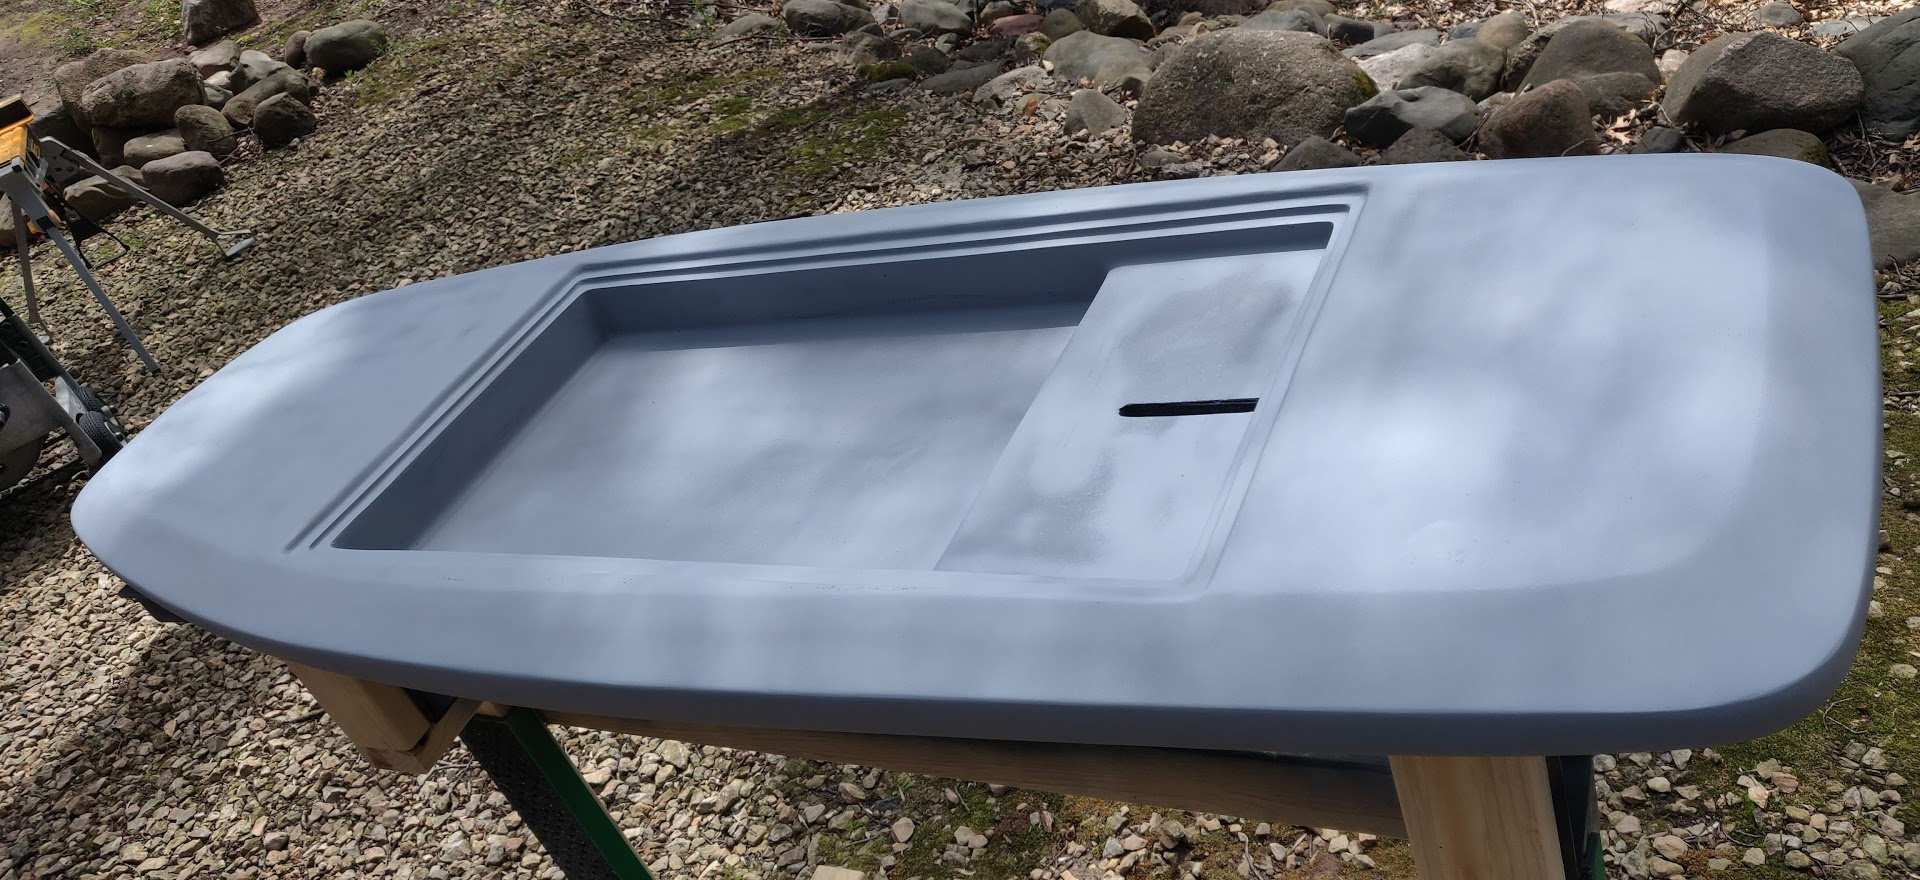
Sure, 60" long, 23" wide at the widest part, 3.75" thick. Overall, I like the size, although it’s a little on the small side for beginners to get started on. I’ll make my next boards a little thicker, as I have almost no thickness in the bottom of the battery box. this would also provide a little more buoyancy to make start up a little easier for those who try it out for the first time.
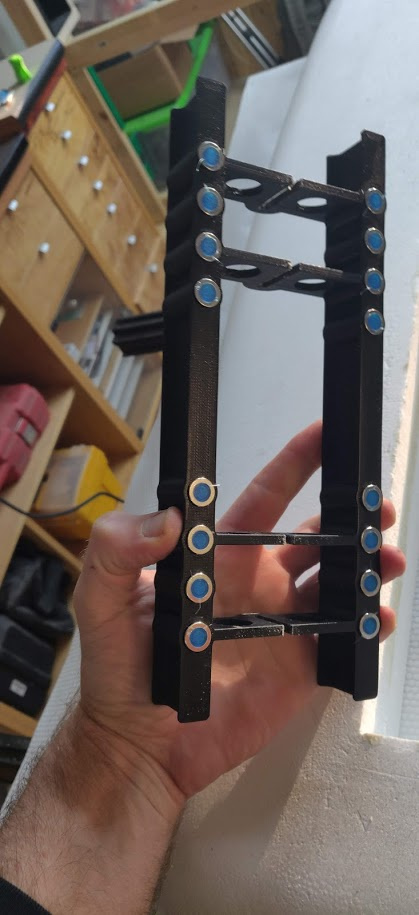
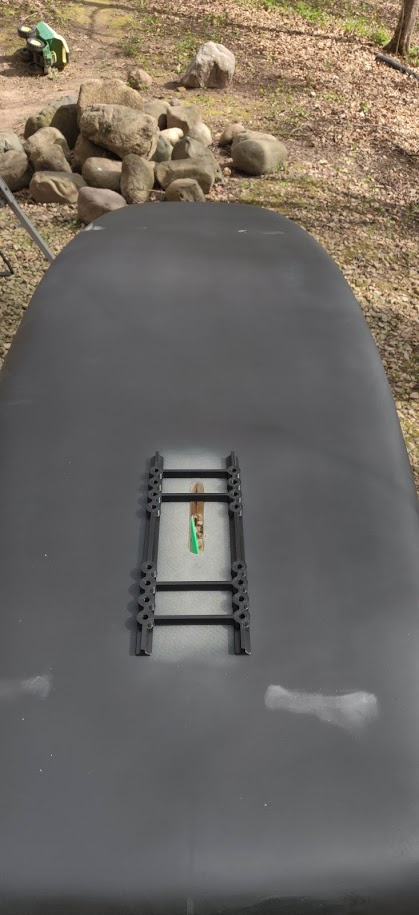
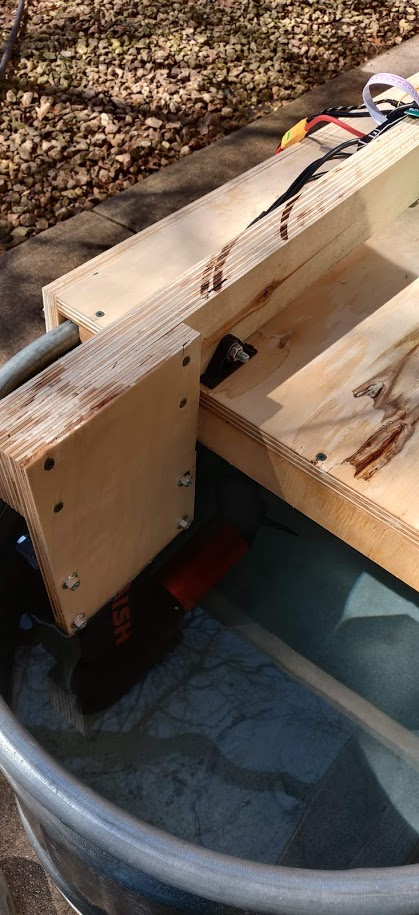
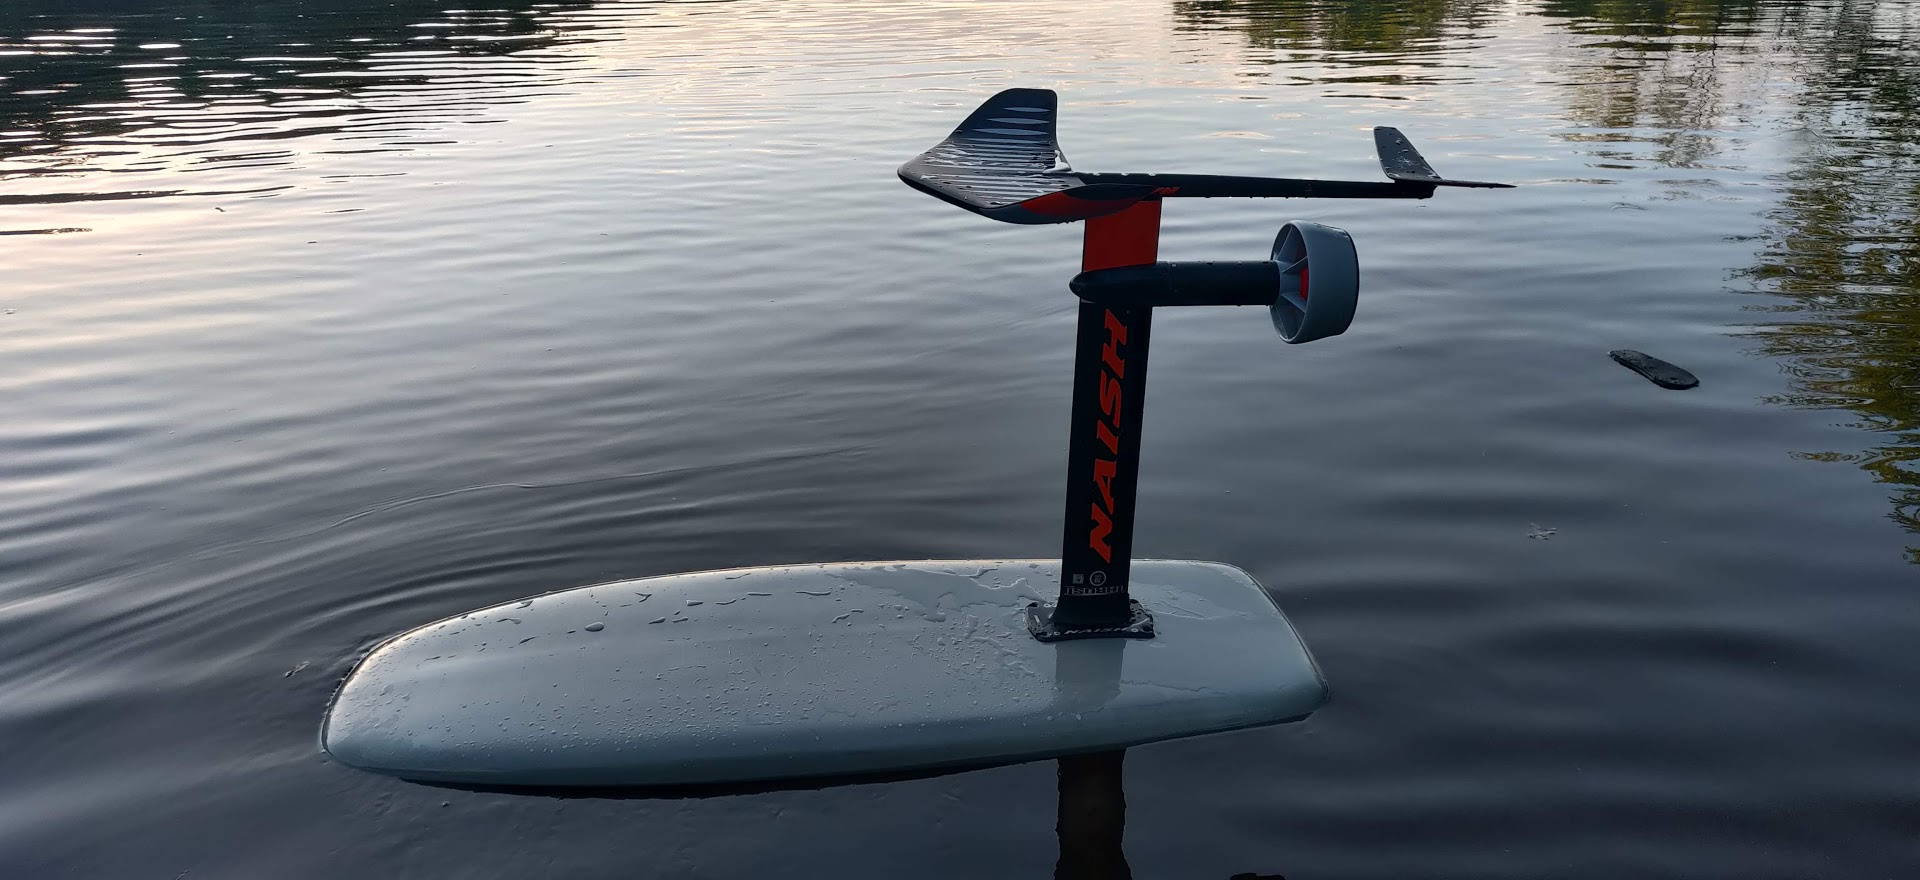
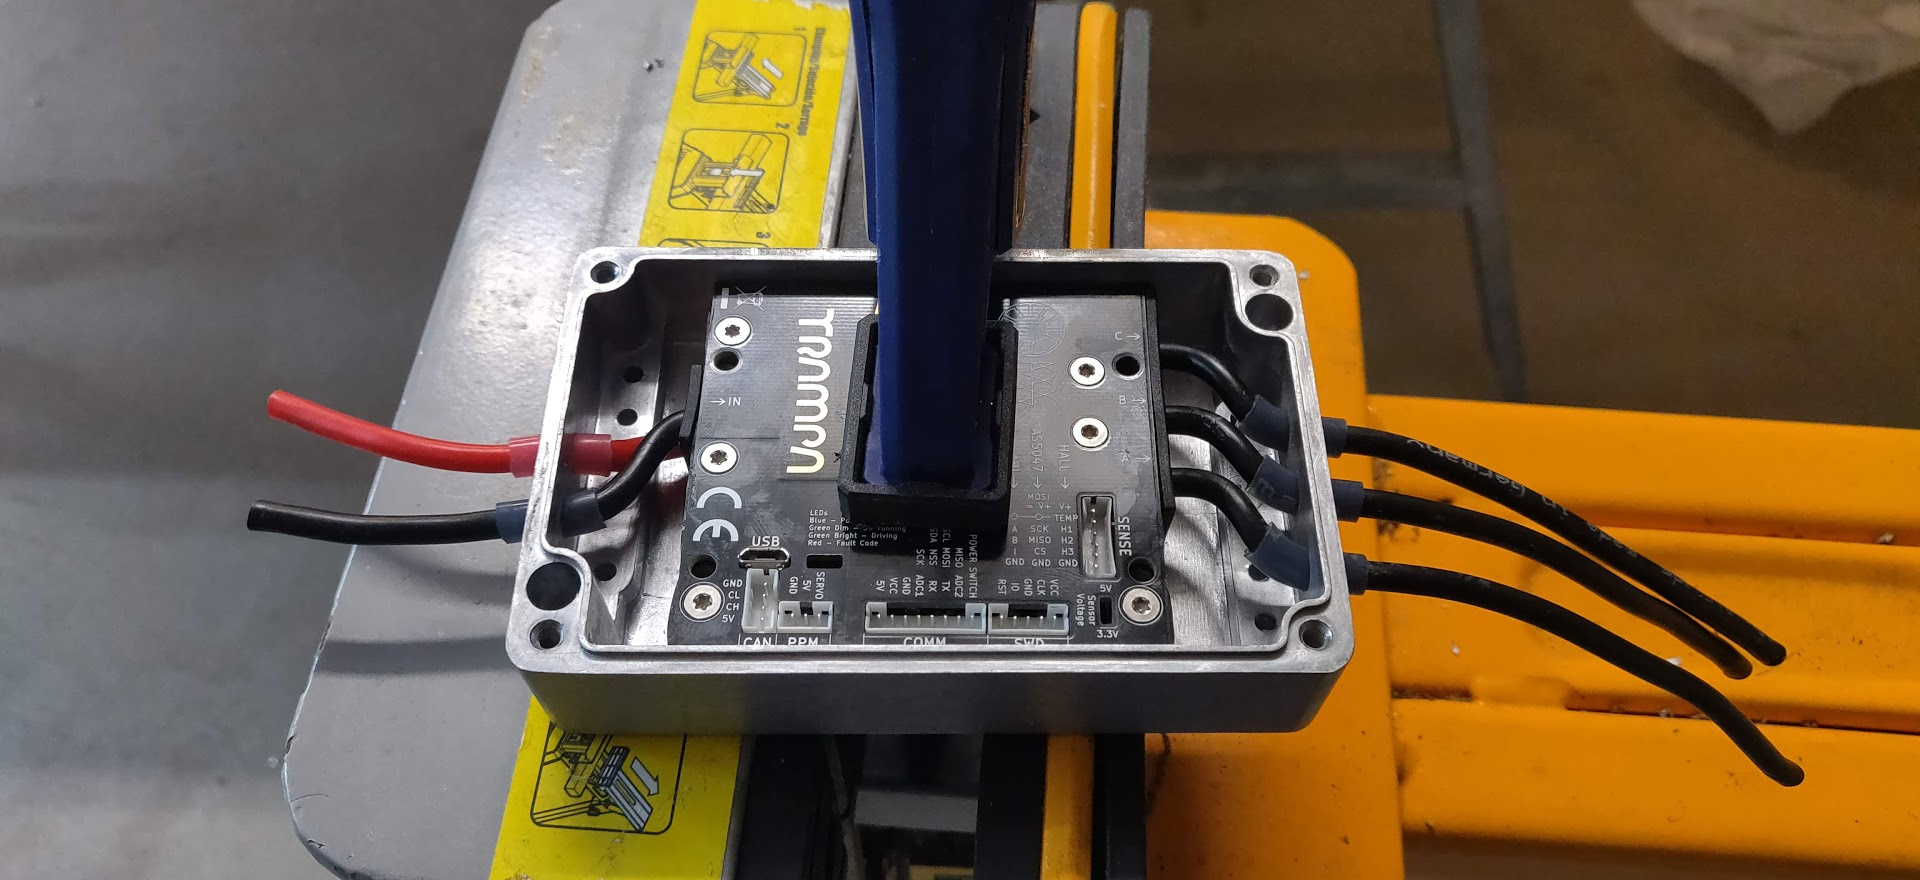
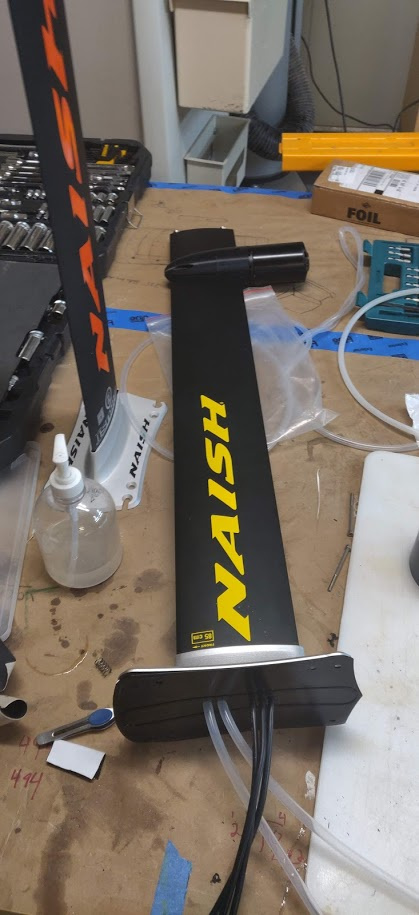
Thanks! One is an inlet and one is an outlet. Inlet is located in the nose of the mast clamp. Outlet is located at the back of the mast clamp by the motor. I did this for a couple reasons. 1) I’d done a powered paddle board a while back and had trouble getting the water up to the ESC (granted that was much lower speed, but also less distance/height). To address this I made an inlet with angled tube like RC boats use, and an outlet the same shape, but mirrored and facing backward. The thought was that inlet would be on high pressure side and outlet would be on low pressure side. This ended up working, and was the only way I could get the slow speed paddle board to self prime and cool the ESC. The way I made my cooling manifold on this efoil, I was a little worried about air bubbles and not self priming, so Thought I’d try the same thing. seems to work well so far. 2) Slightly simpler reason…I didn’t want to put an extra hole/ leak path in the battery tray Sealing pad that I’m using for wires and coolant tubes seems to be robust, so no worries adding a second tube.
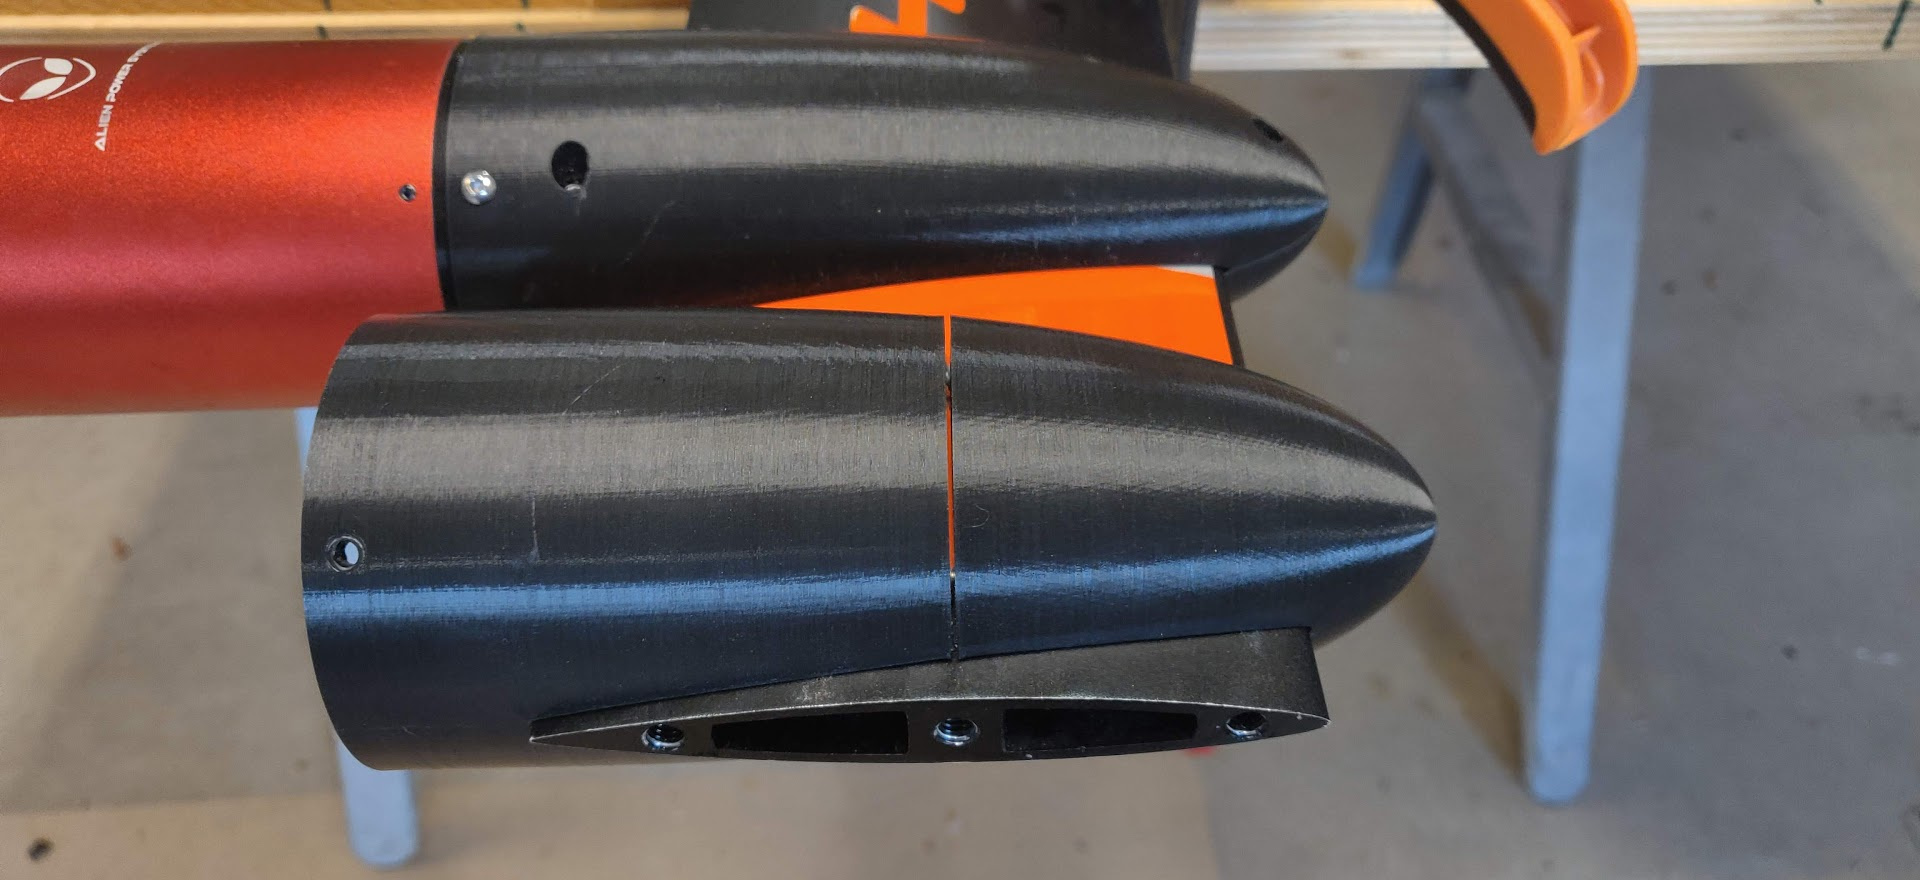
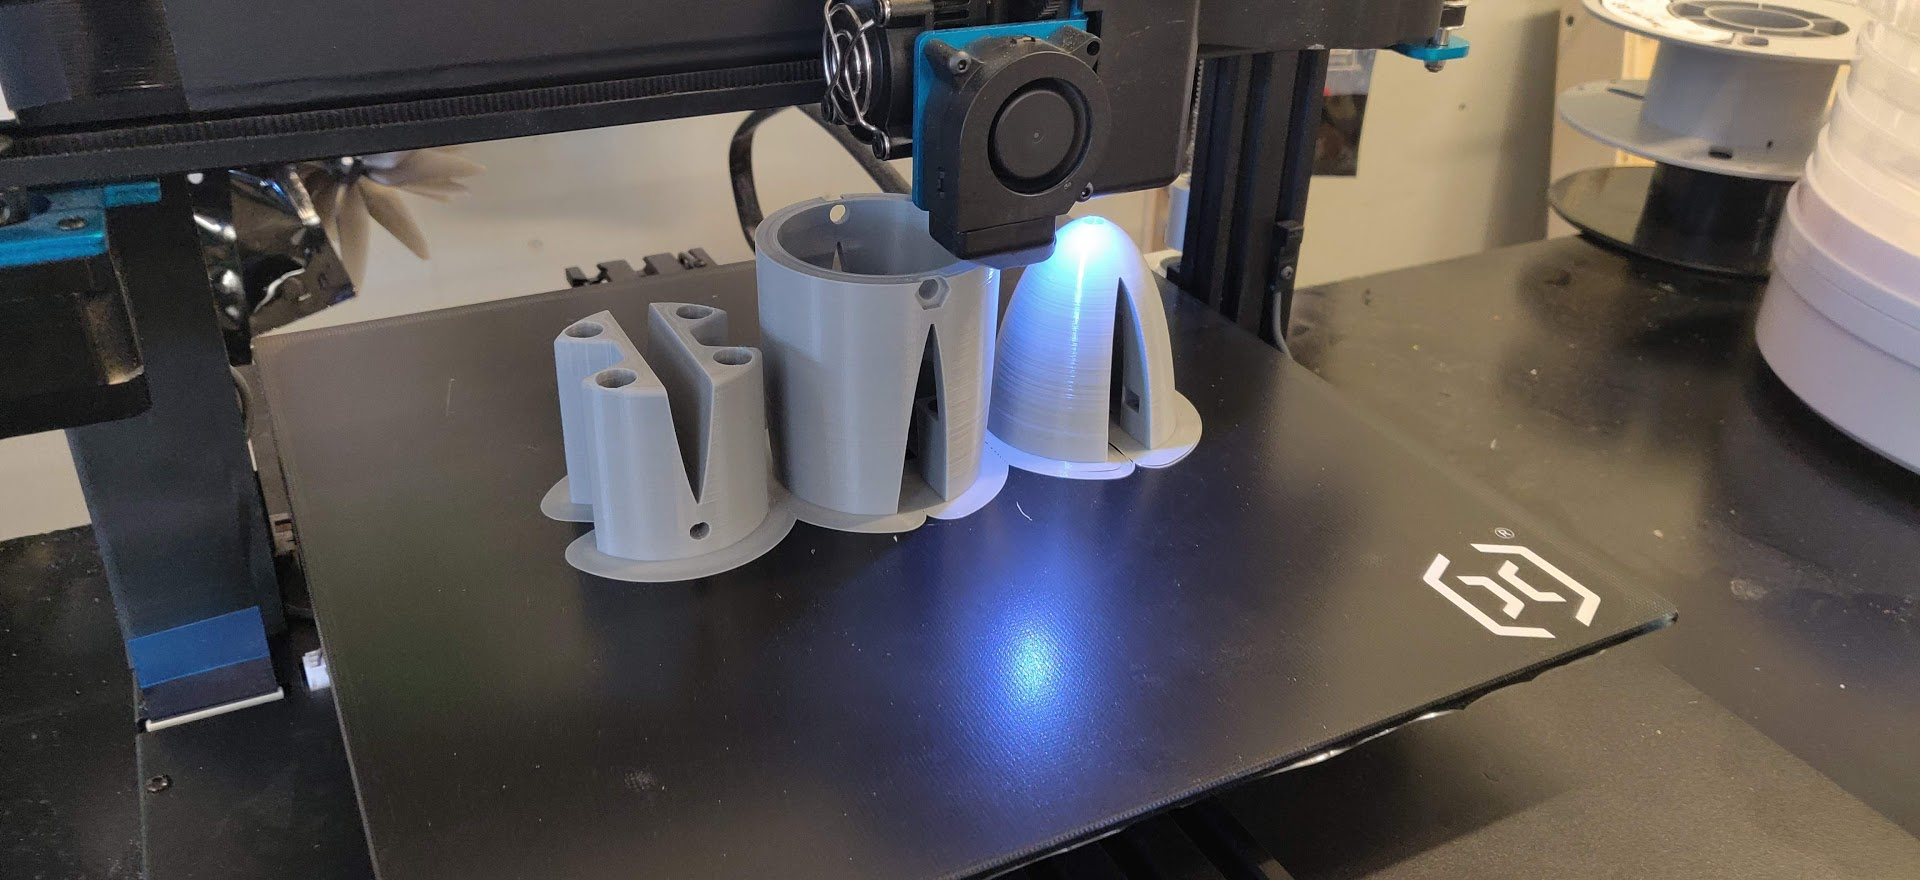
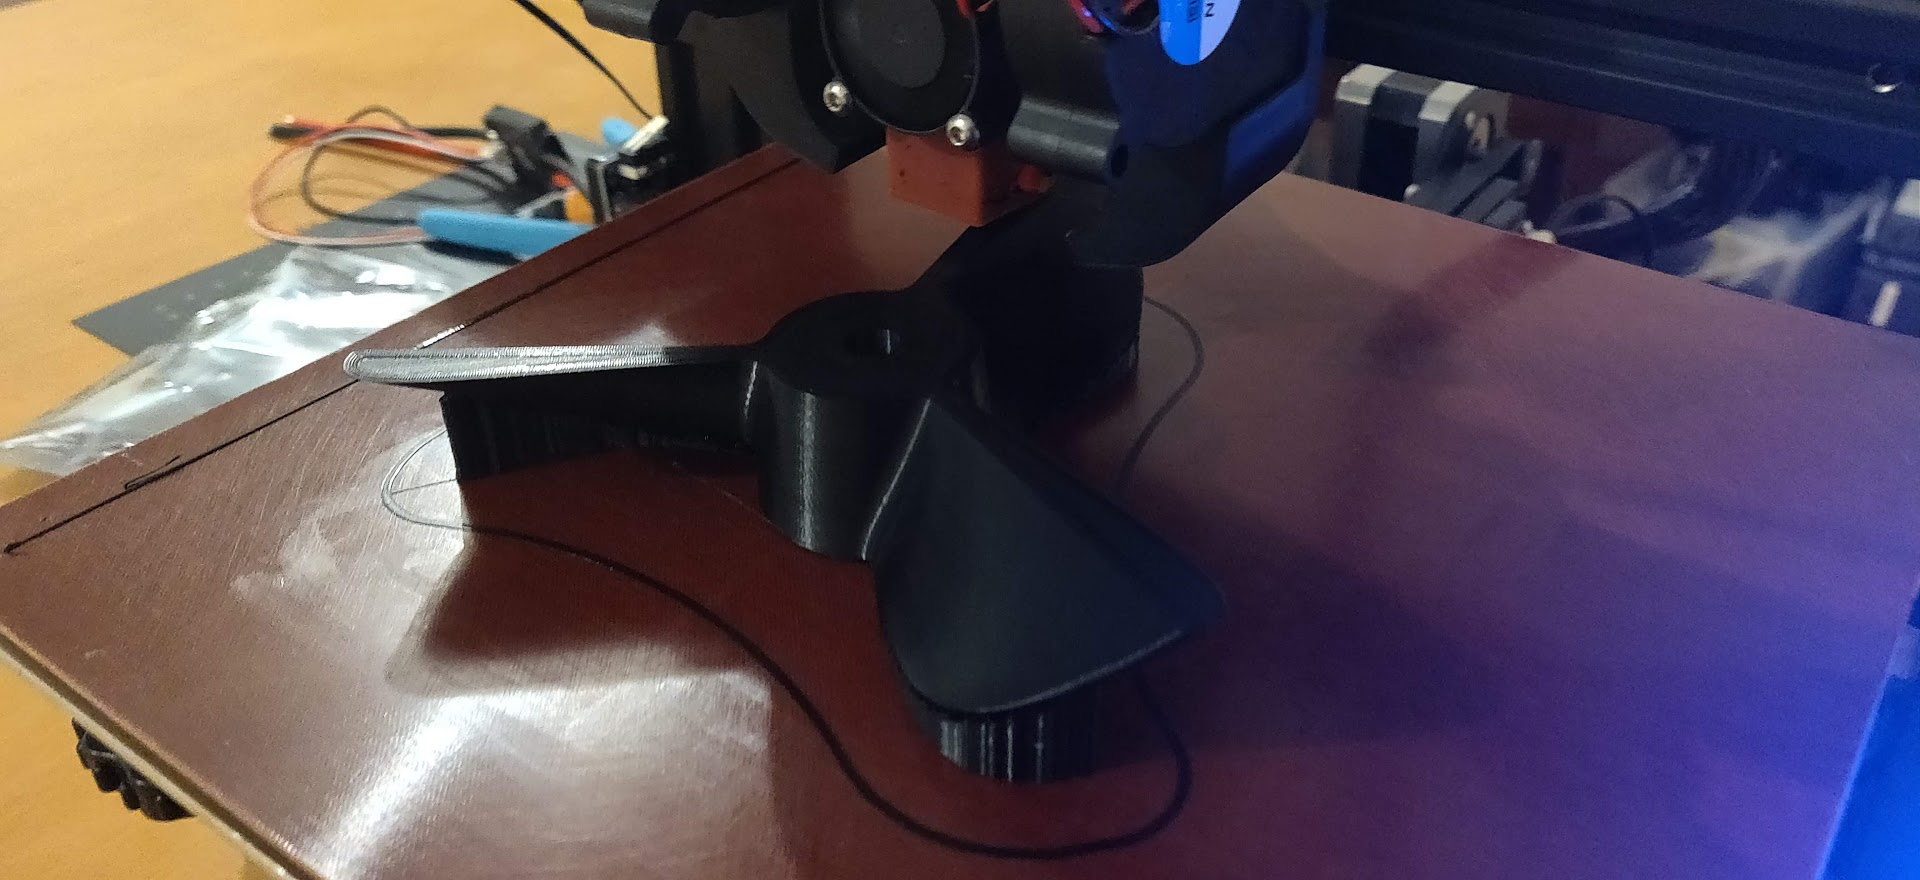
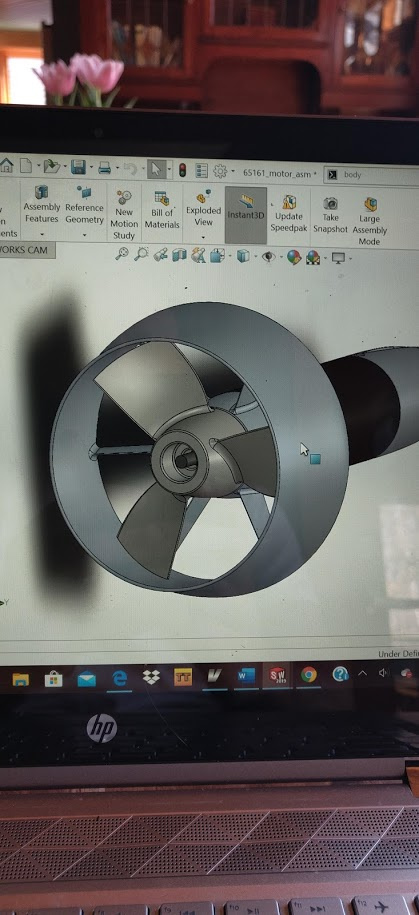
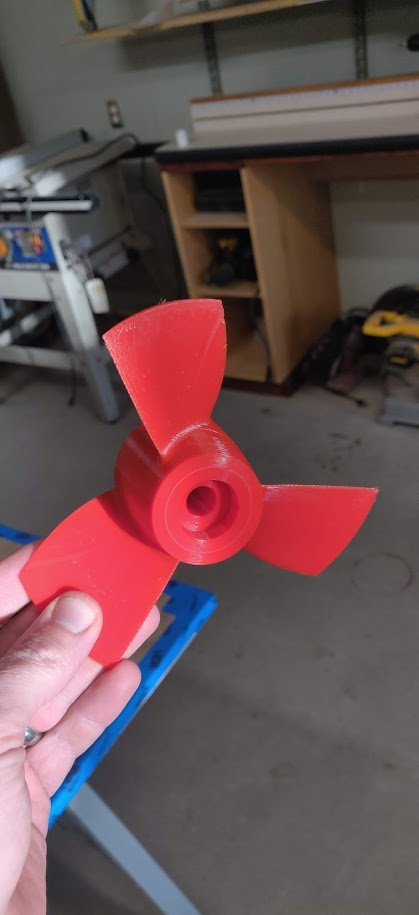
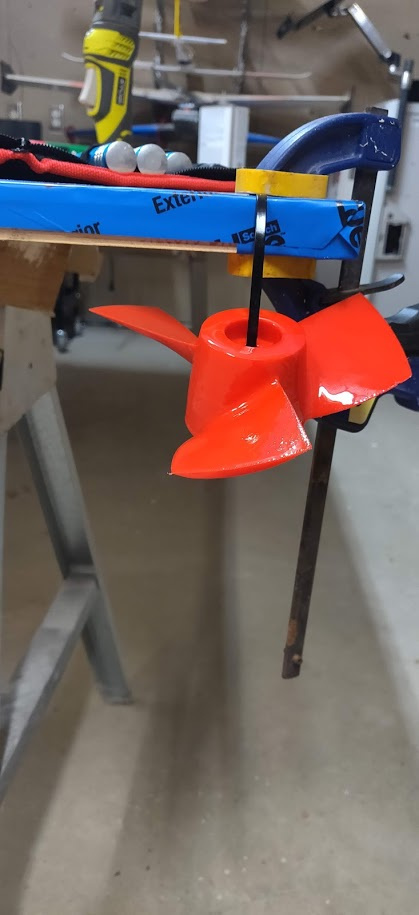
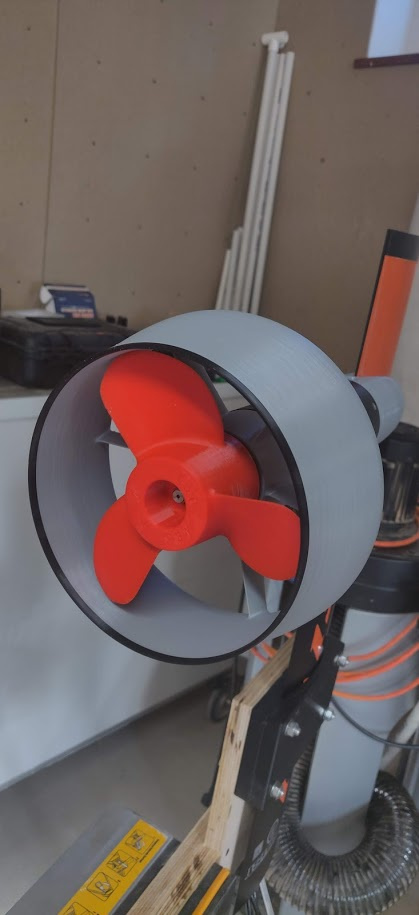
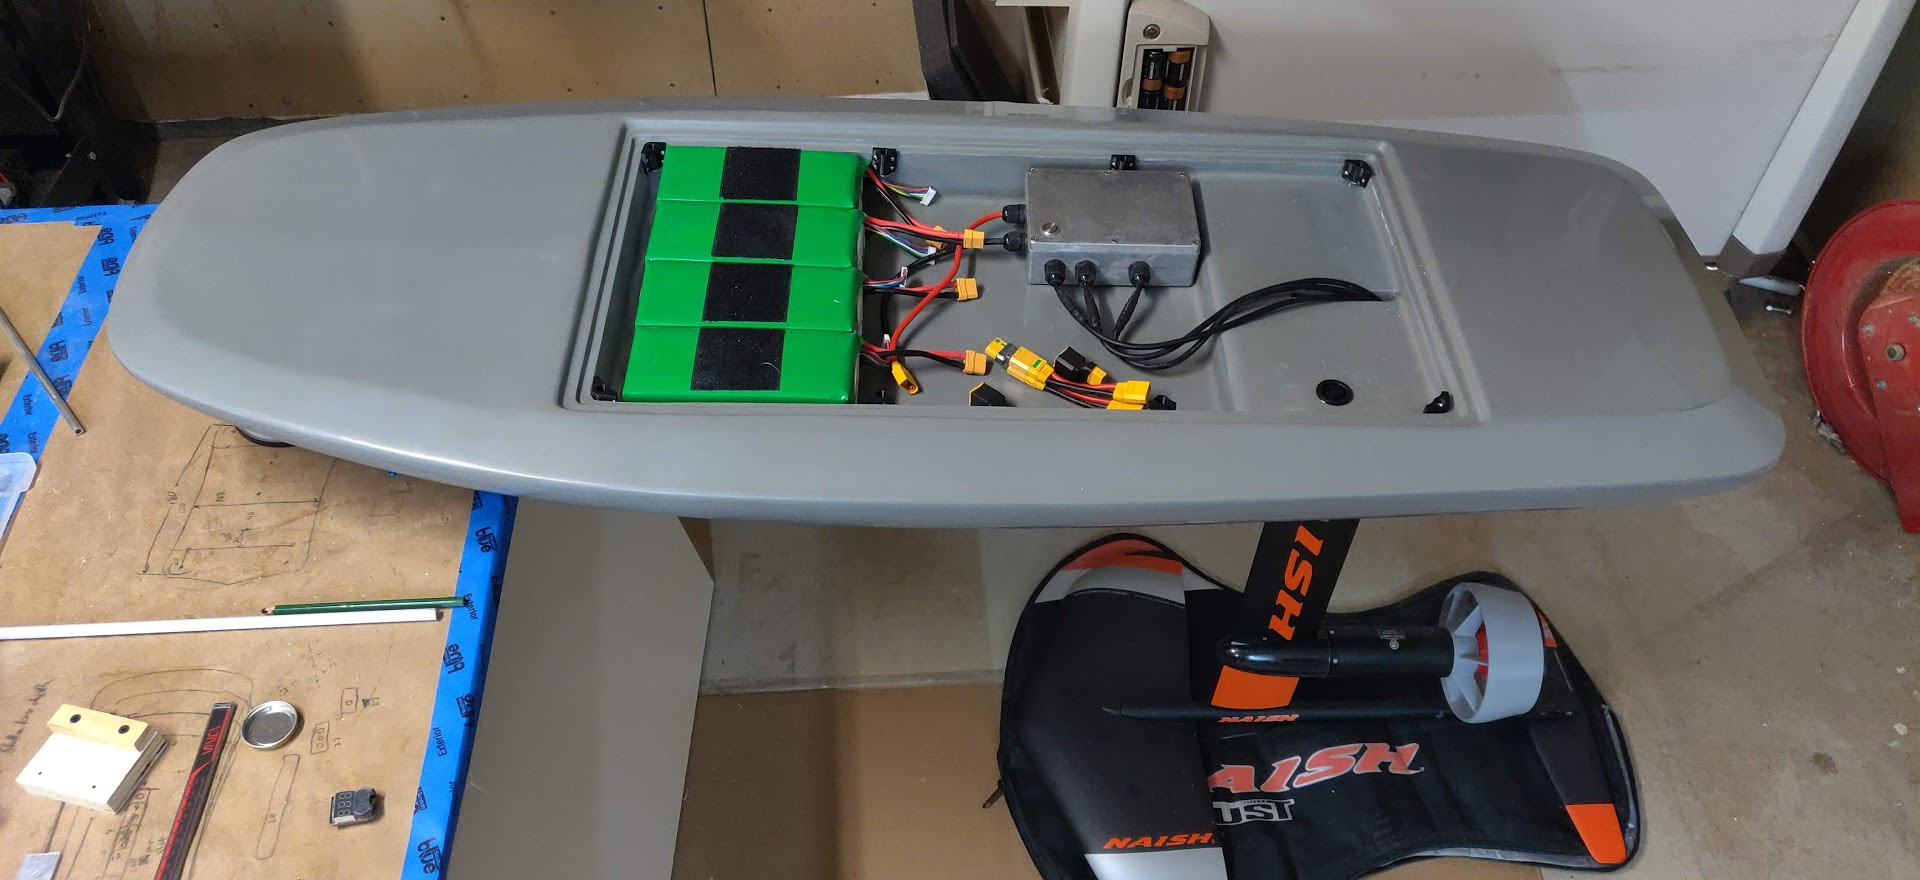
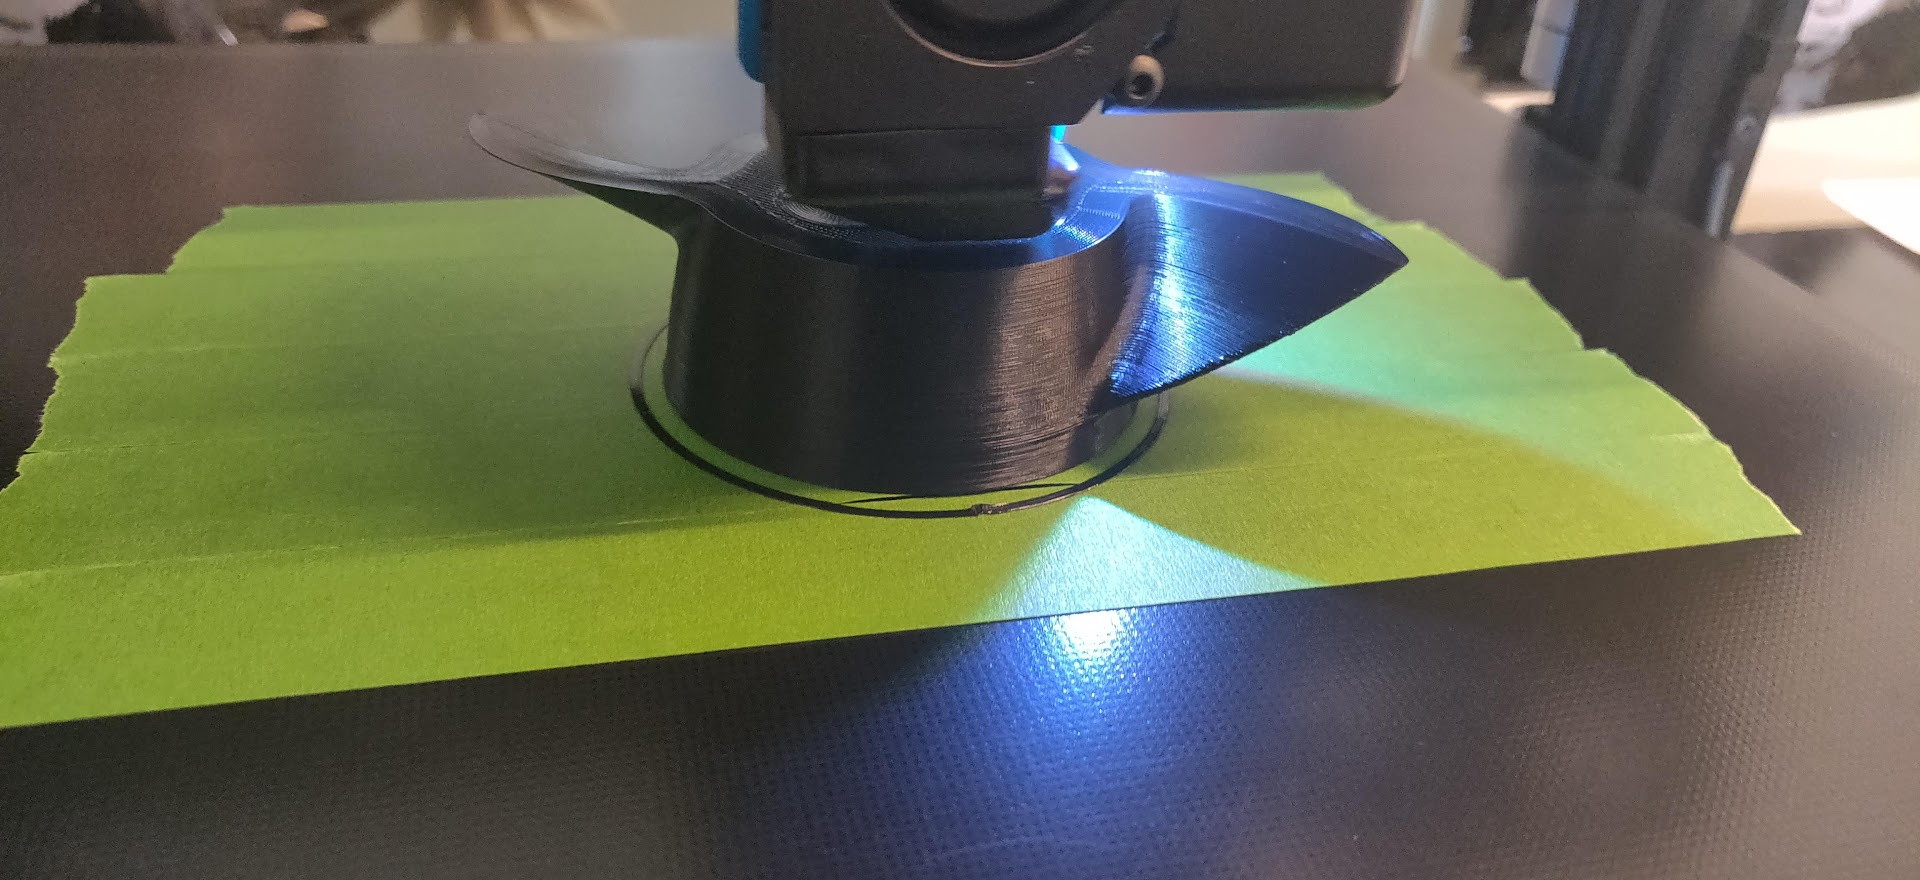
Thanks! I’ve playing around with design, print and try to optimizing props. The one in the pic is the my favorite so far for the 65161 motor on my first build, but with the hub adapted for this 63100. I’ll post files after I’ve done a little more testing.

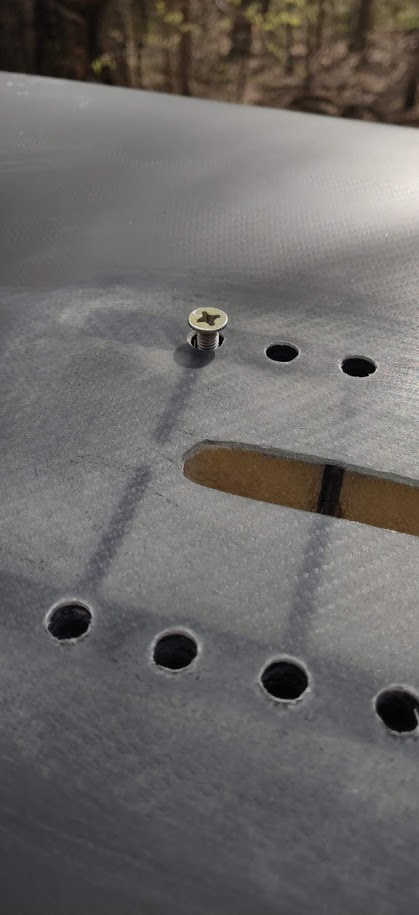

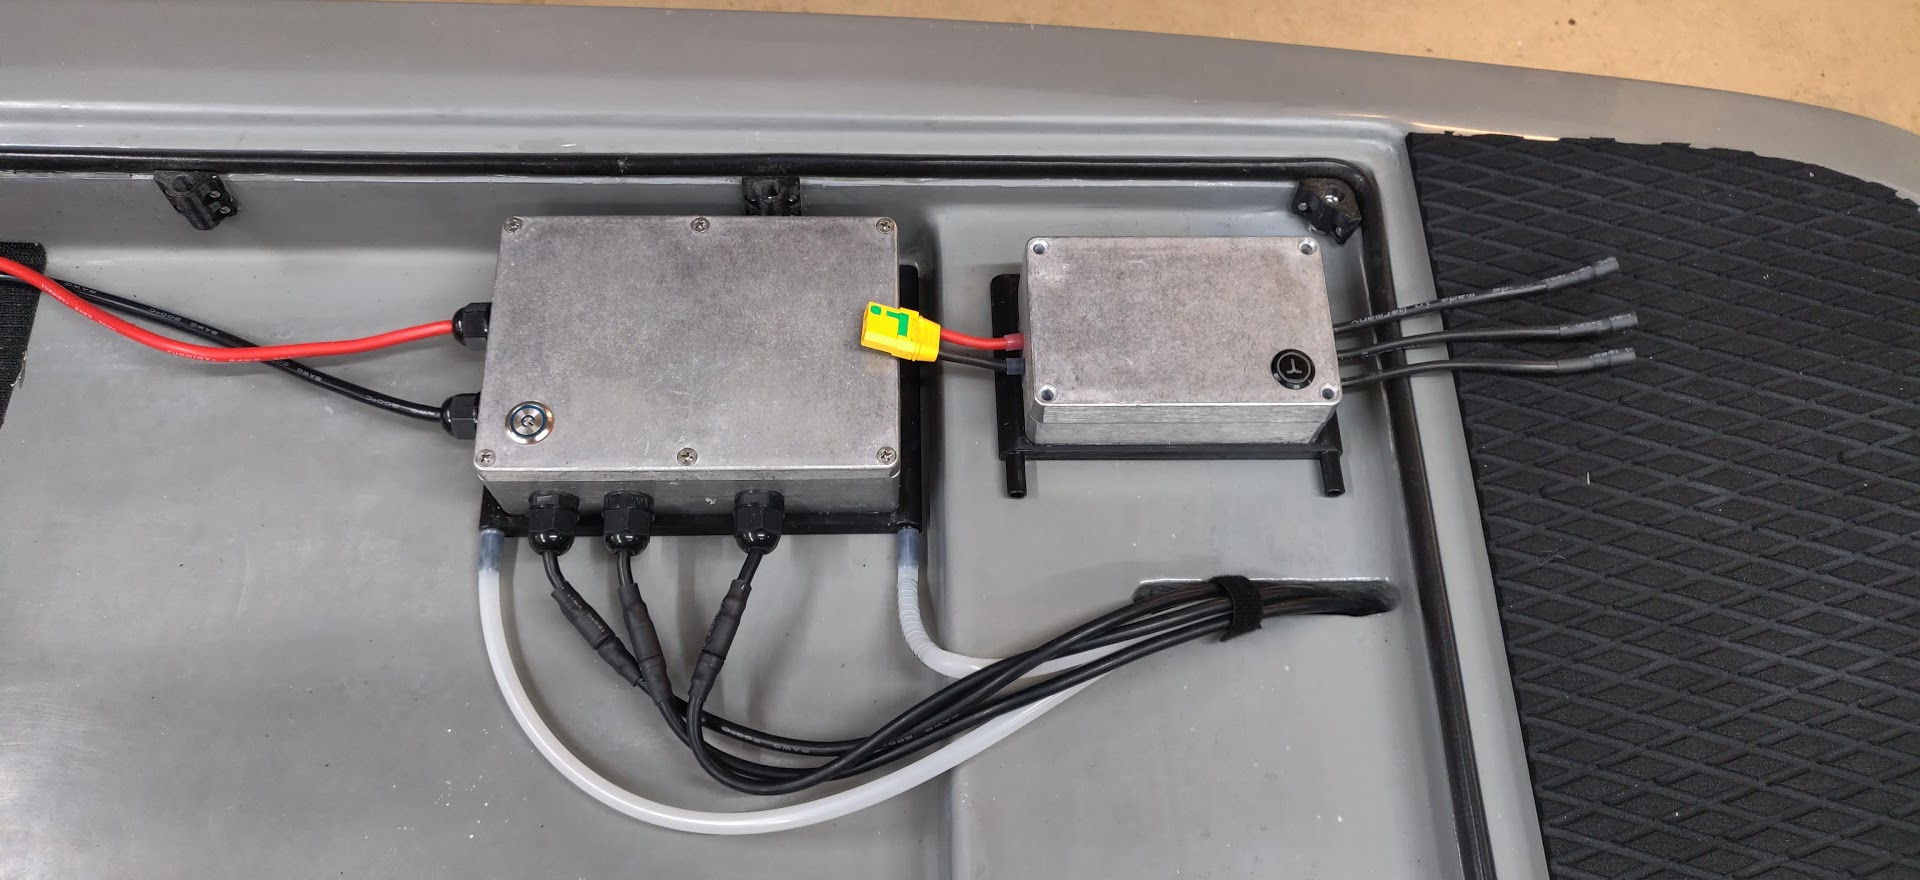
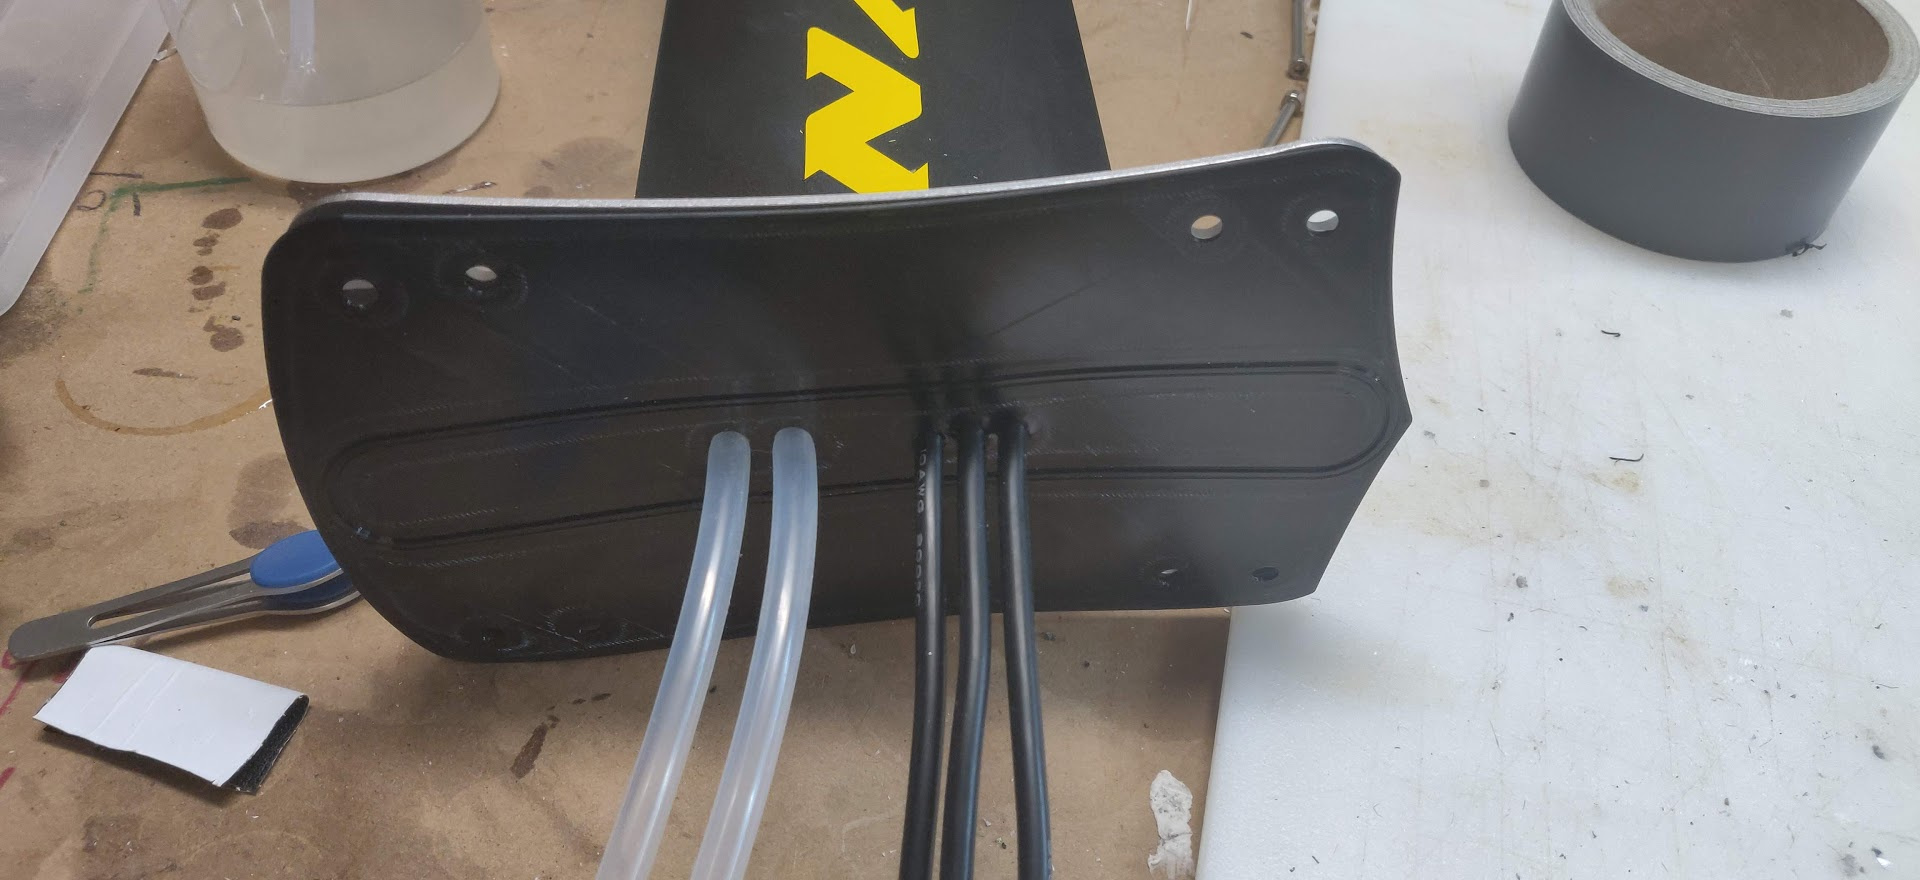


 Sealing pad that I’m using for wires and coolant tubes seems to be robust, so no worries adding a second tube.
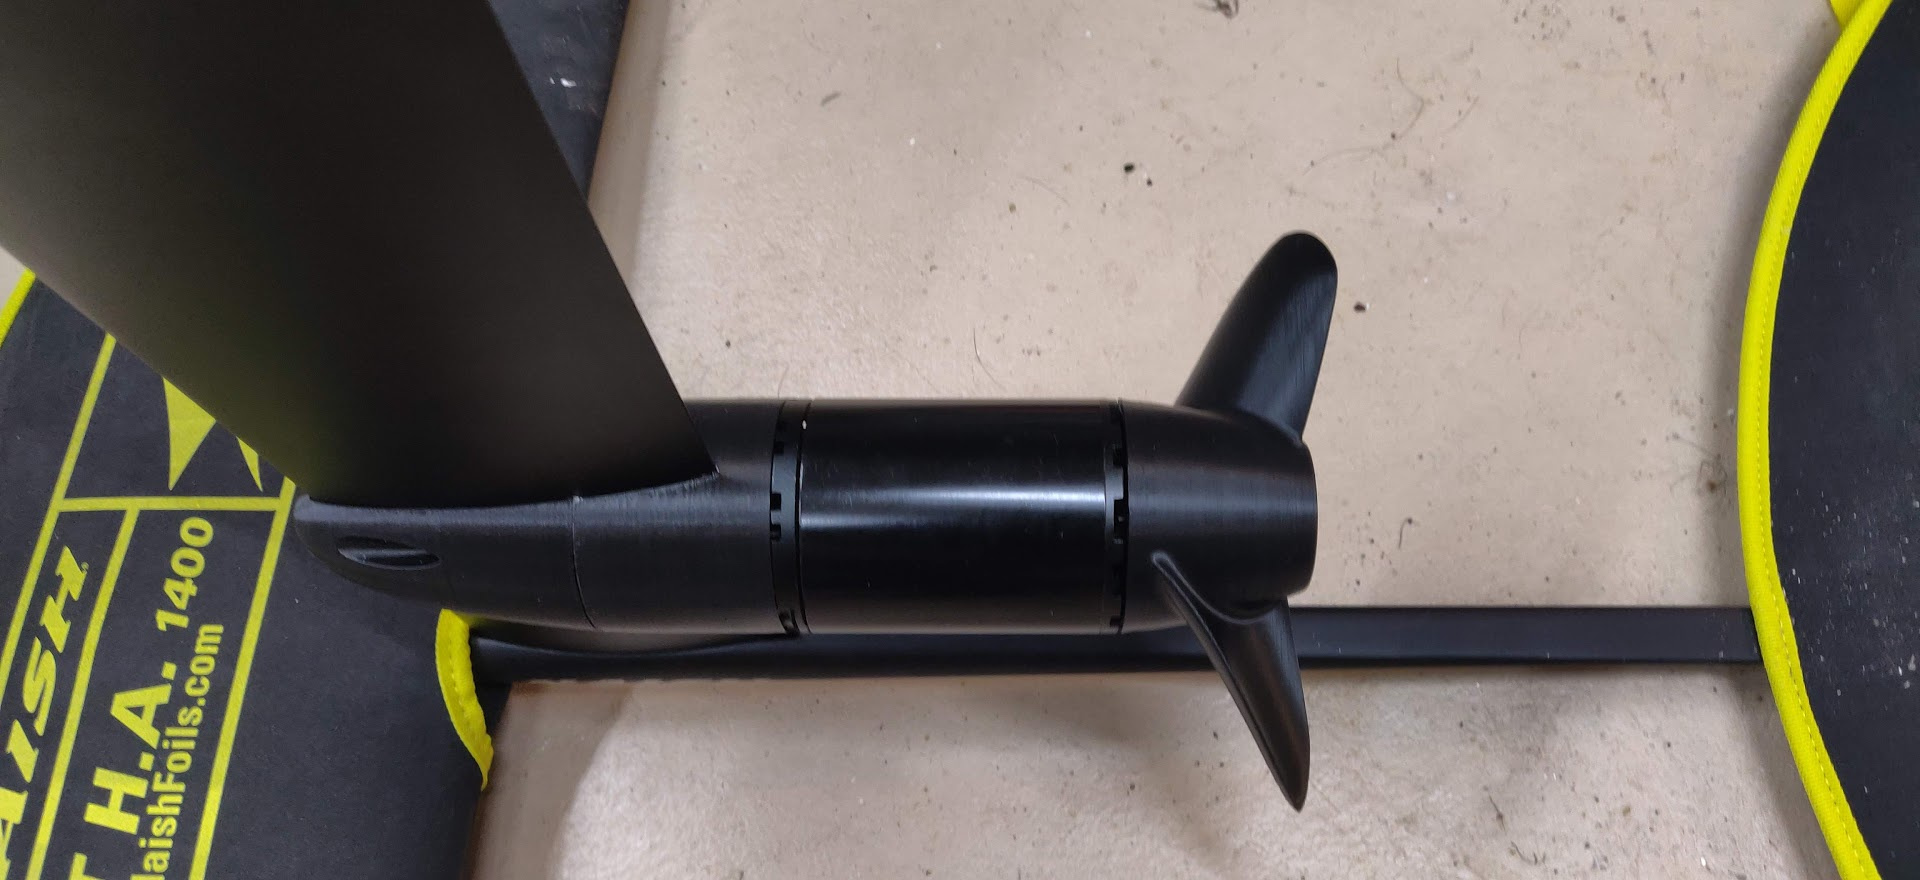
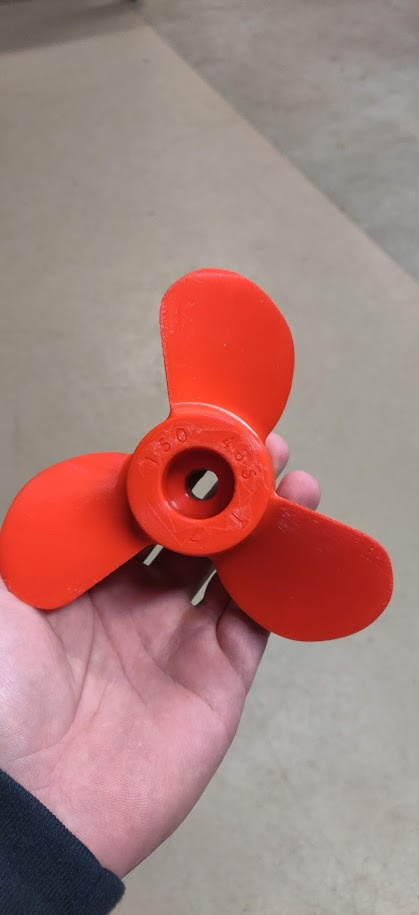
 Which prop is this ?
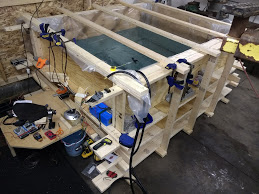