Ok, I think your methods are really good if you have the tools and skills.
Rotor: I don’t have a lathe and I won’t buy one any time soon as I don’t have the room and I don’t need it much. But as you primarily need hydrodynamical optimization and secondly corrosion prevention for the magnets, so nothing magic, I think the casting method without centrifugal force should be good enough. Alternatively I could maybe use a drill to turn the rotor, together with quick drying epoxy (so the drill doesn’t overheat)?
Stator: So you propose another, simpler method where you just cover the stator in Plastik70 without epoxy?
Do you think it would be a great deal if you have a ~1mm coating through brushing the epoxy on the stator by hand? I can’t imagine that this would result in much worse cooling. Also I will use a 80100 with should have less cooling issues I suppose?
I have seen a couple of different methods, all with varying pro’s and con’s.
I saw one guy 3D print castings for both the rotor and stator in water soluble filament. You then fill the castings with epoxy and once set dissolve the filament. He had over 240hrs on these motors in a salt water environment.
Some guys have painted the surfaces in plastidip. Probably slightly more losses with this method.
For mine I am thinking of filling the gaps in the rotor with marine silicone. It will be easy to put in and easier to remove than if it doesn’t work.
For the rotor I was thinking of just dipping it in corrosion X periodically. In theory the stator winding’s are all sealed. The water normally creeps in where they join to the wires. If you seal that section well with plastidip or silicone, then the stator should last for a while with a corrosion X coating.
If you add 1mm onto the stator you wont be able to assemble the motor again, because you only have 0.5mm airgap between stator and rotor.
Also (if you take the effort and epoxy the stator) I would consider to epoxy a NTC into the windings. So you can run a temp control/cutoff for the motor. E.g. the VESC has already a prepared motor temperature port, you only have to set the throttling and cut off limits, also the motor temperature is already in the “get_values” package, so you can easily log it on your phone or remote.
Well, default is 10kOhm and Beta 3380.
But you should be able to change that in the advanced tab of the vesc-tool.
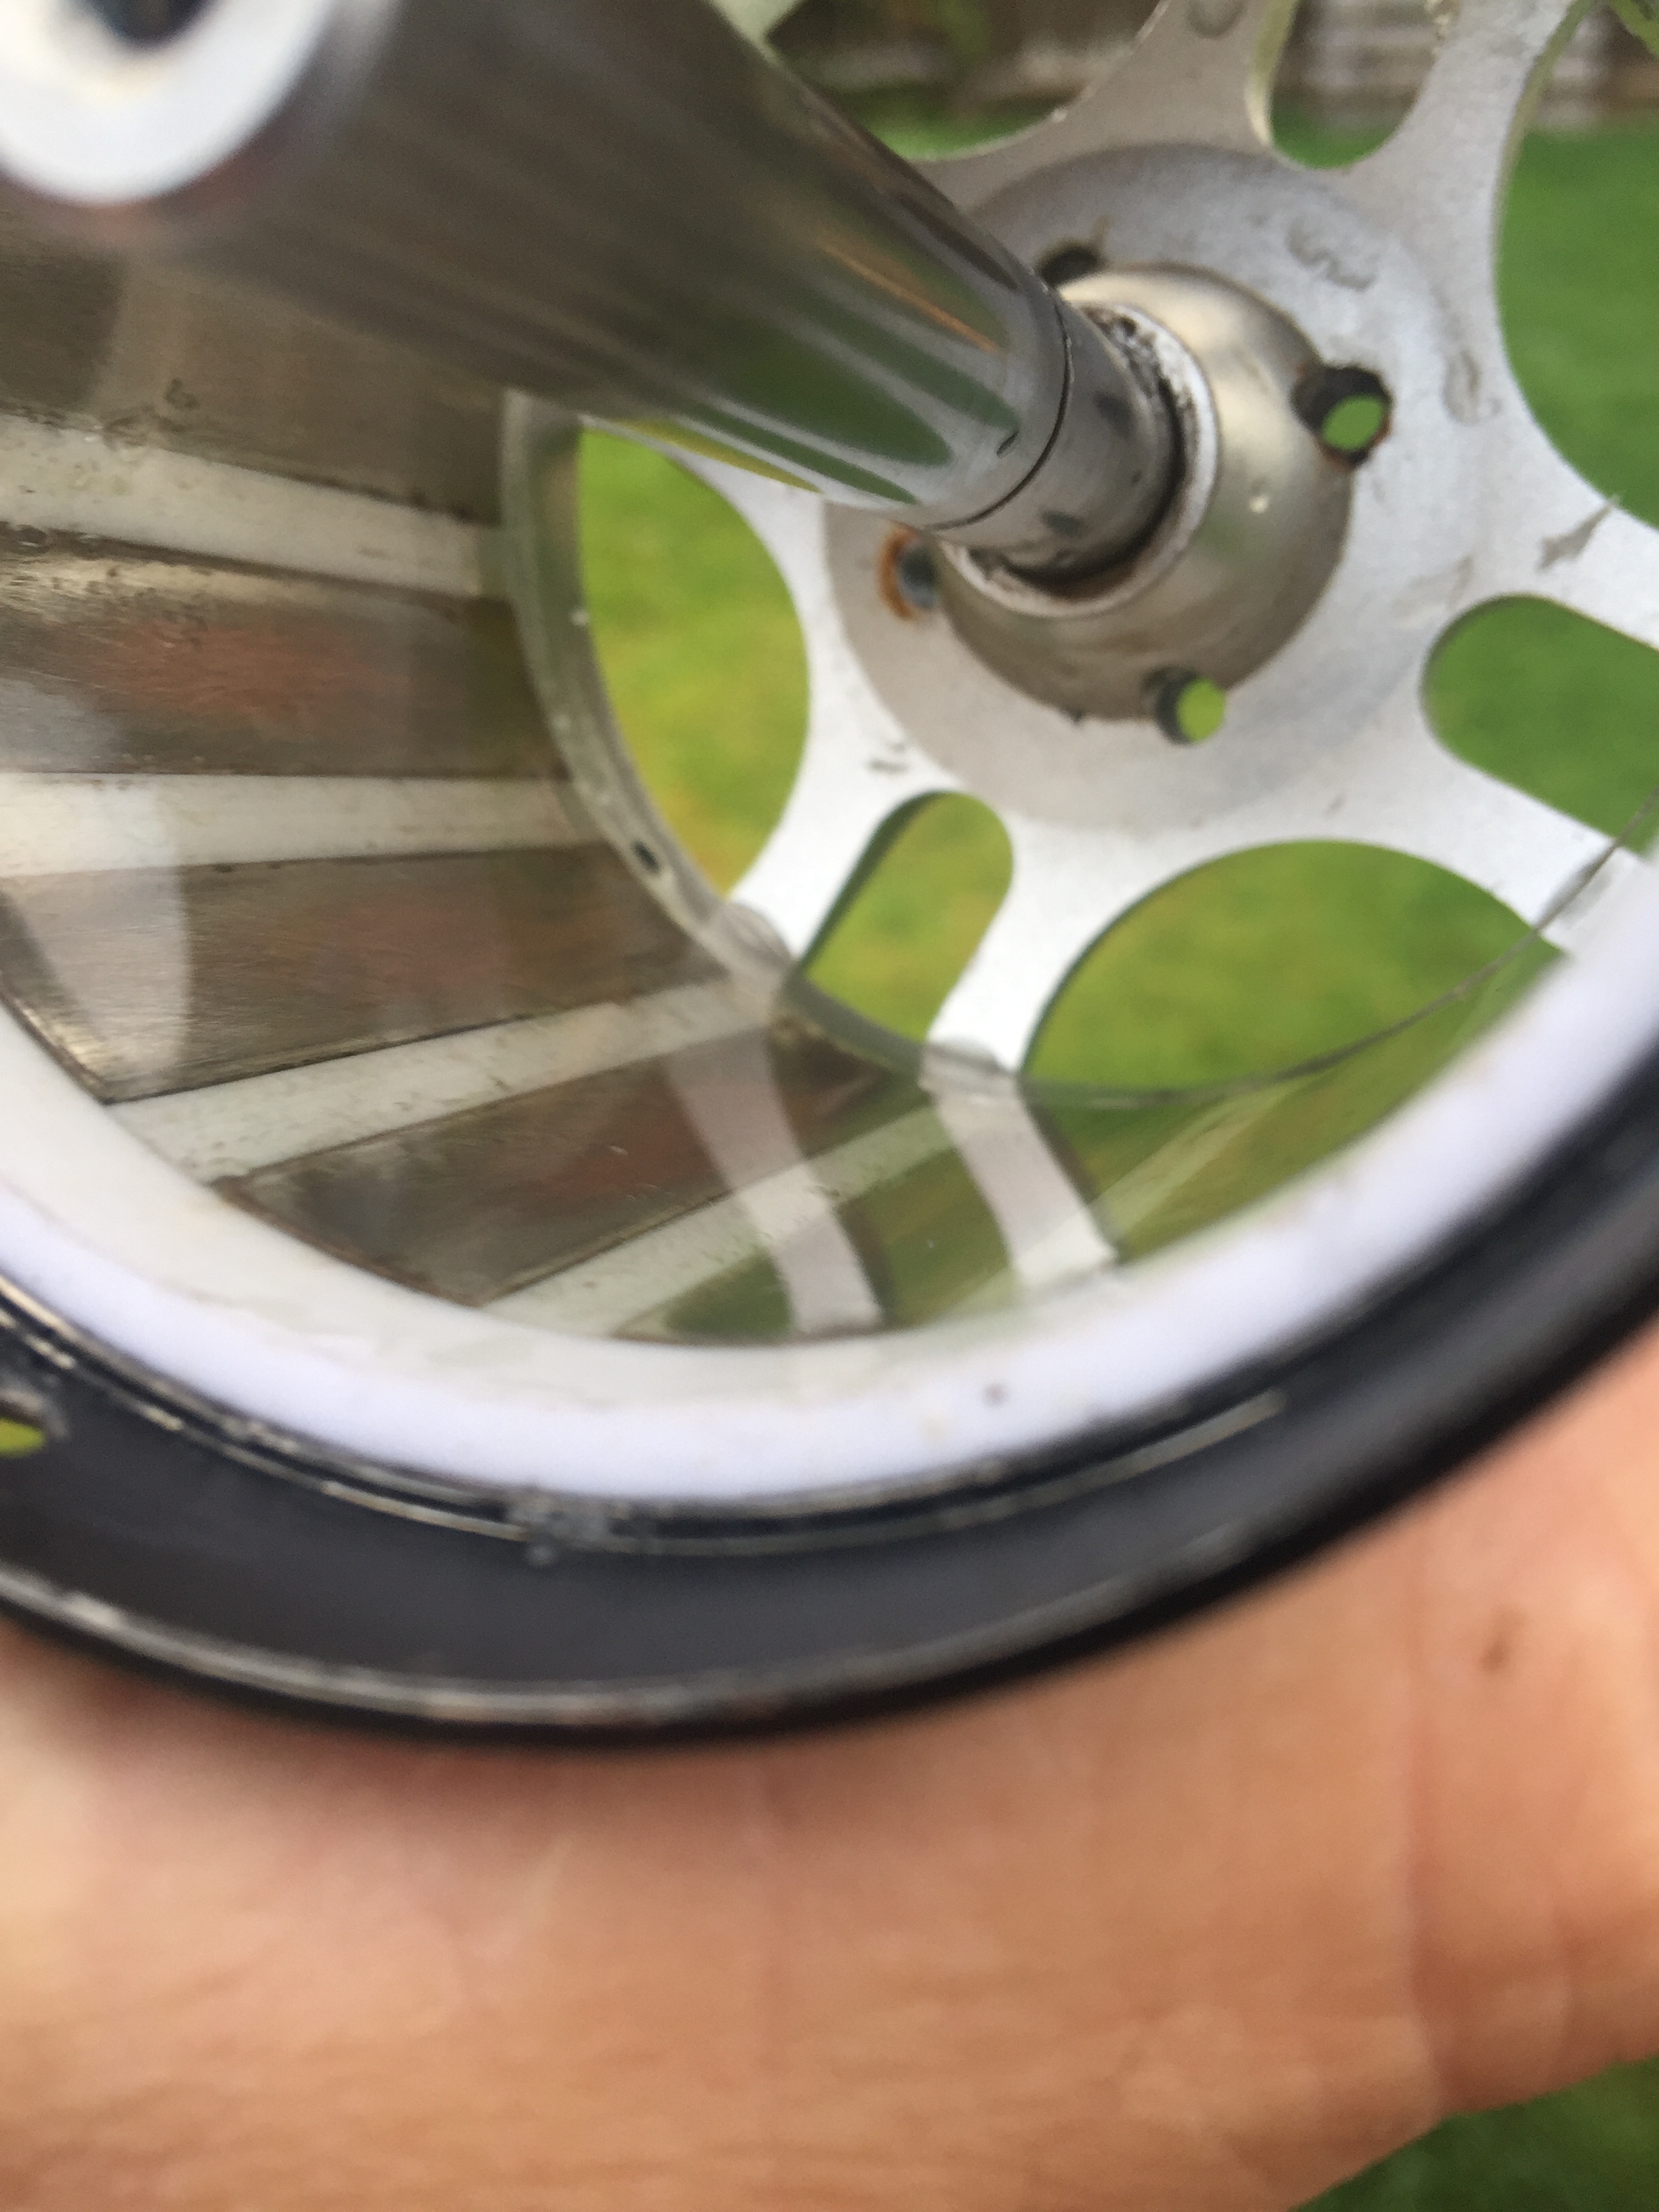
Took a minute but here the flux ring potting results!
ESC DATA for 22 and 48Vdc
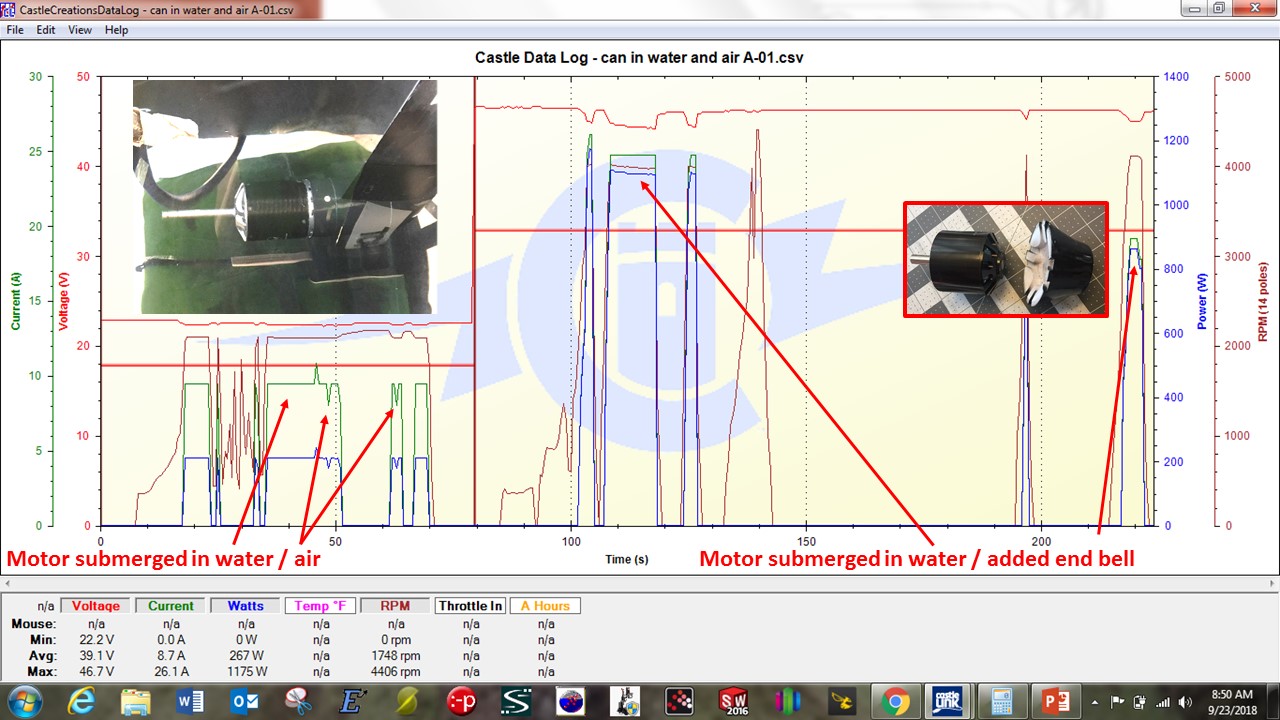
End Bell really helps again! But still the unmodified motor was consuming 2ish kW. Huge improvement … would have never thought.
Flux ring finish.
Off to the River …
After 1.5 hours total run time on the 80100 I had a magnet come loose. Opened up the motor and epoxied the gaps. Will test tomorrow to see how it does.

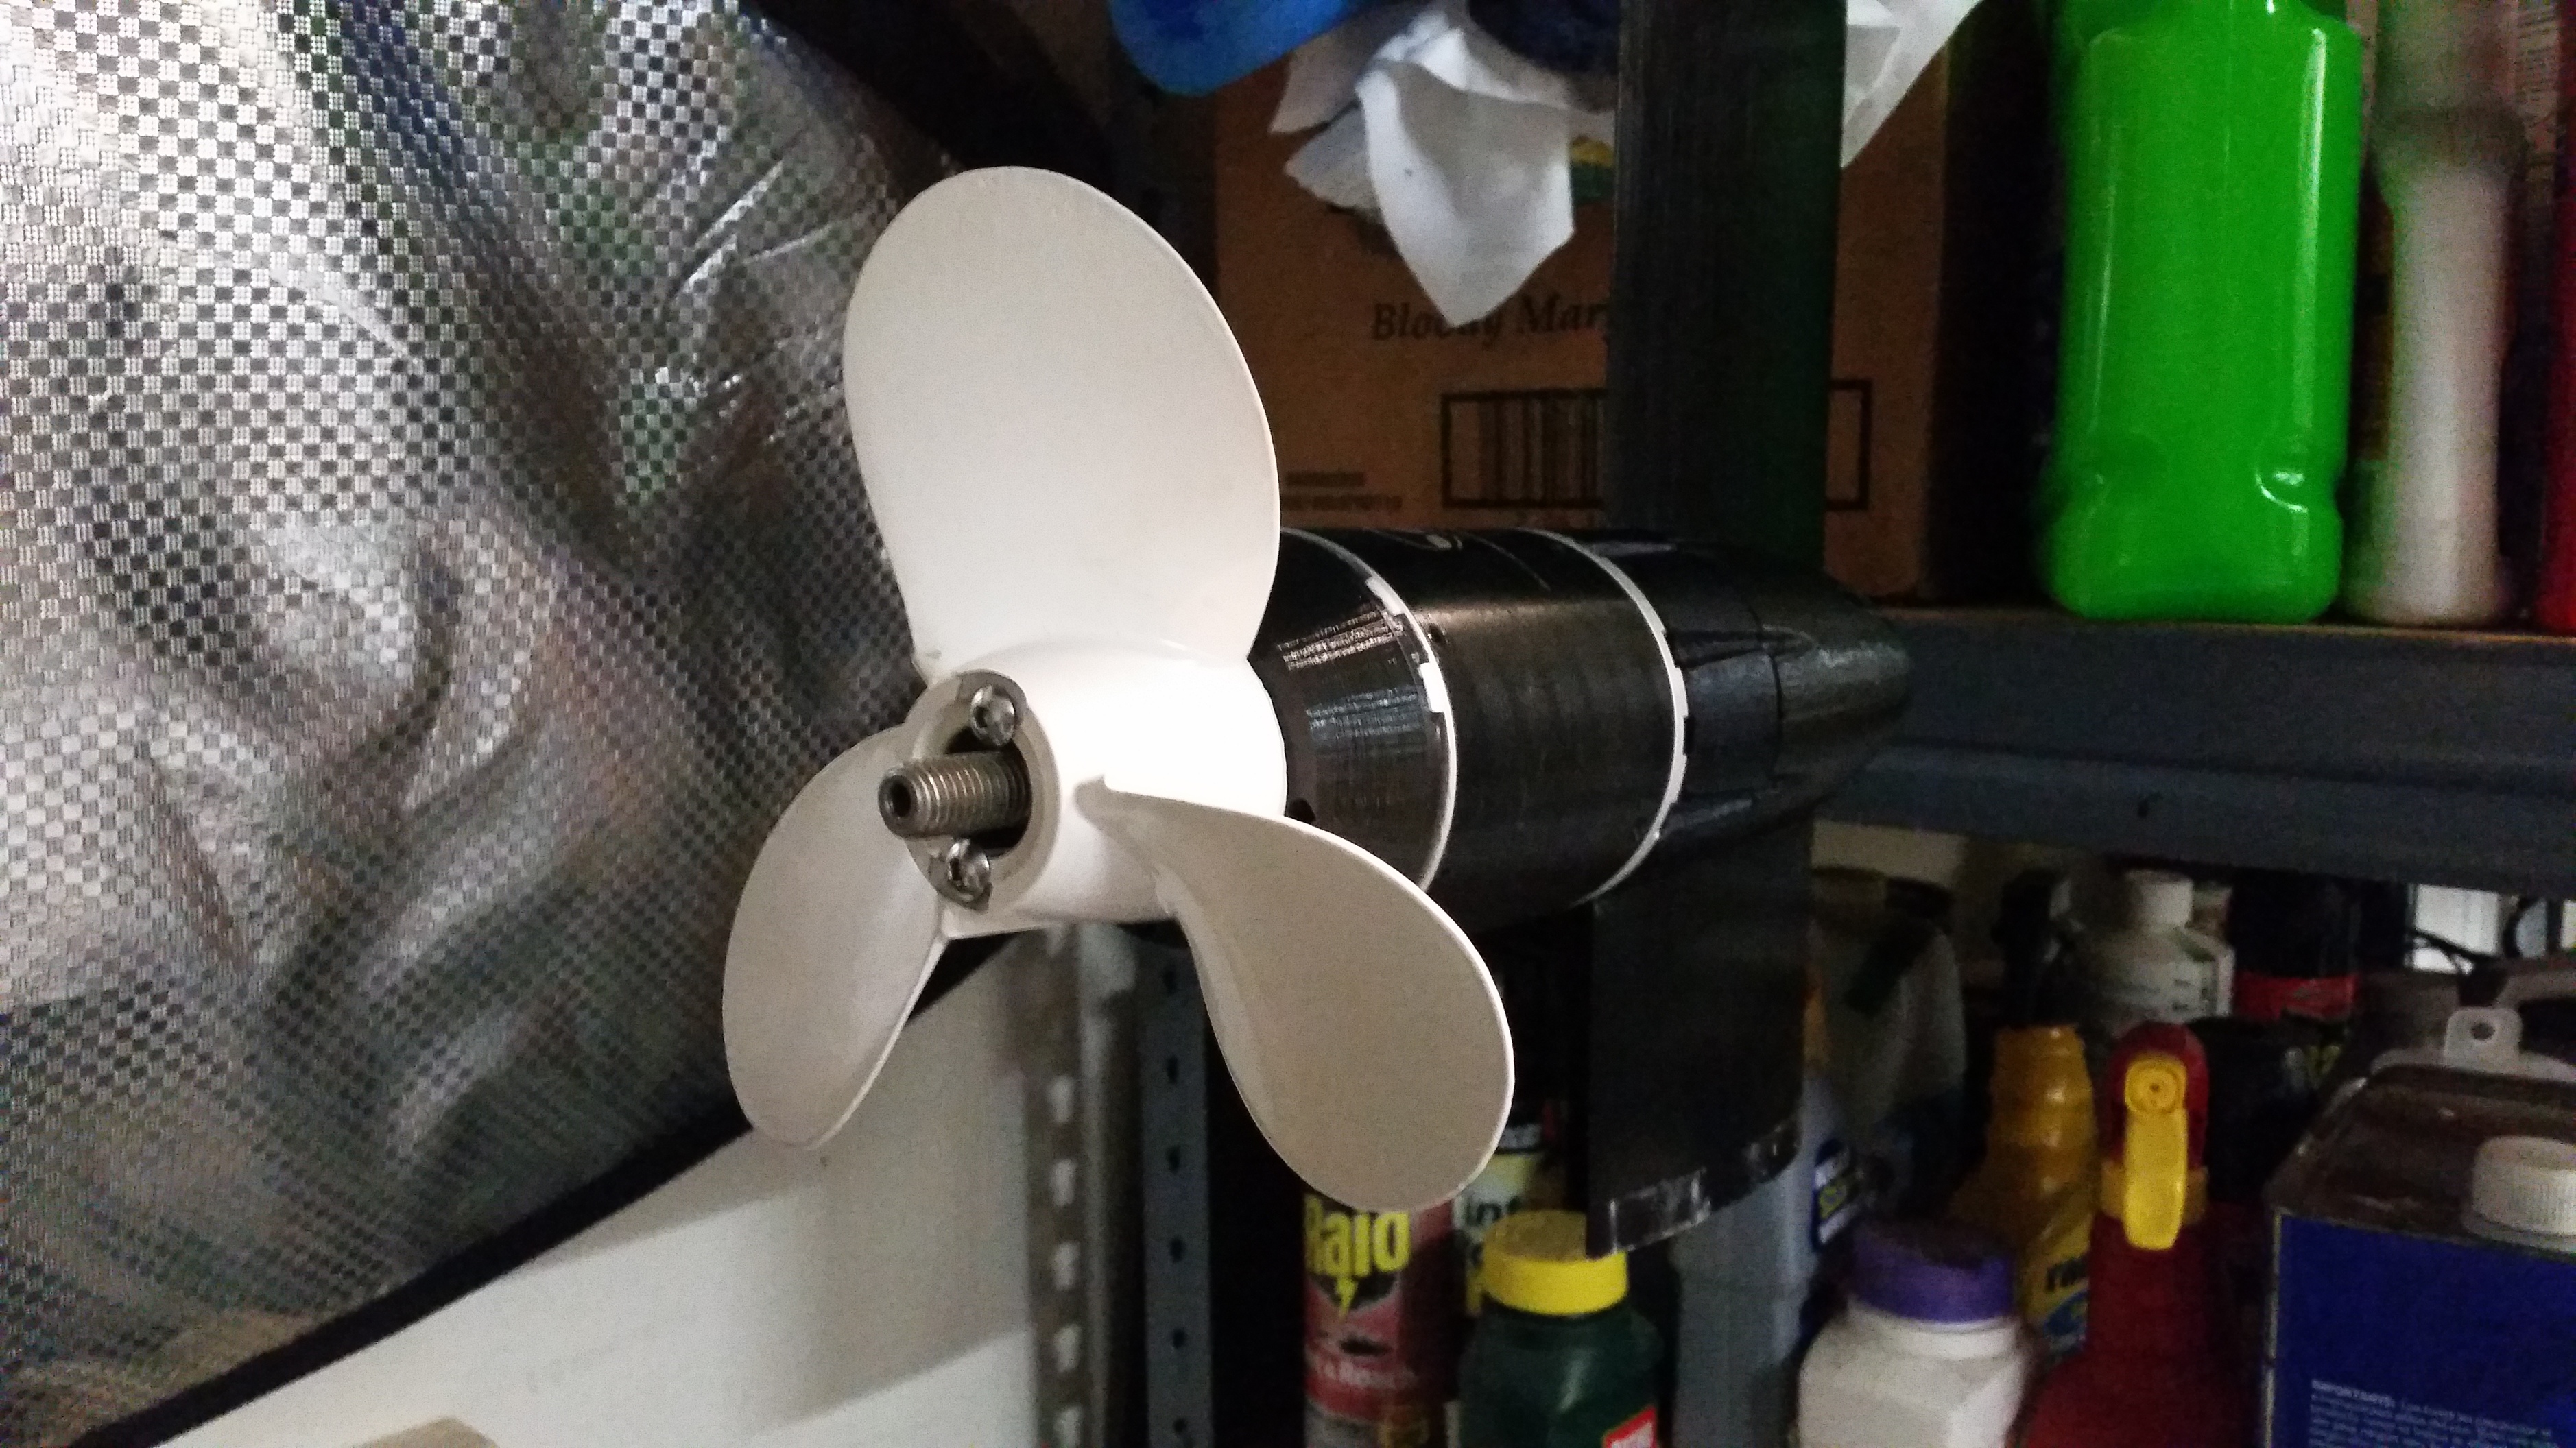
Switched up to a different prop for increased speed. Bought an alu 7 1/2 x 7 prop from link below.
Gained top speed but still cruises at same amperage. RPM dropped about 200 at cruise. Need to gps it next time out for real numbers.
Hi @jezza. Did you try 6384/100kv powerglider setup with some props? How did it go? Any results/measurements? What ESC have you used with it?
I haven’t yet. My new board is busy being set up so haven’t had anything to attach it to!
Thanks! Please keep us updated.
Can you share your 6384 mount? I’m bad in 3d design. I have sk3 6374 140kv to try this time. I’m sure it is the same in terms of mounting that 6384 you have
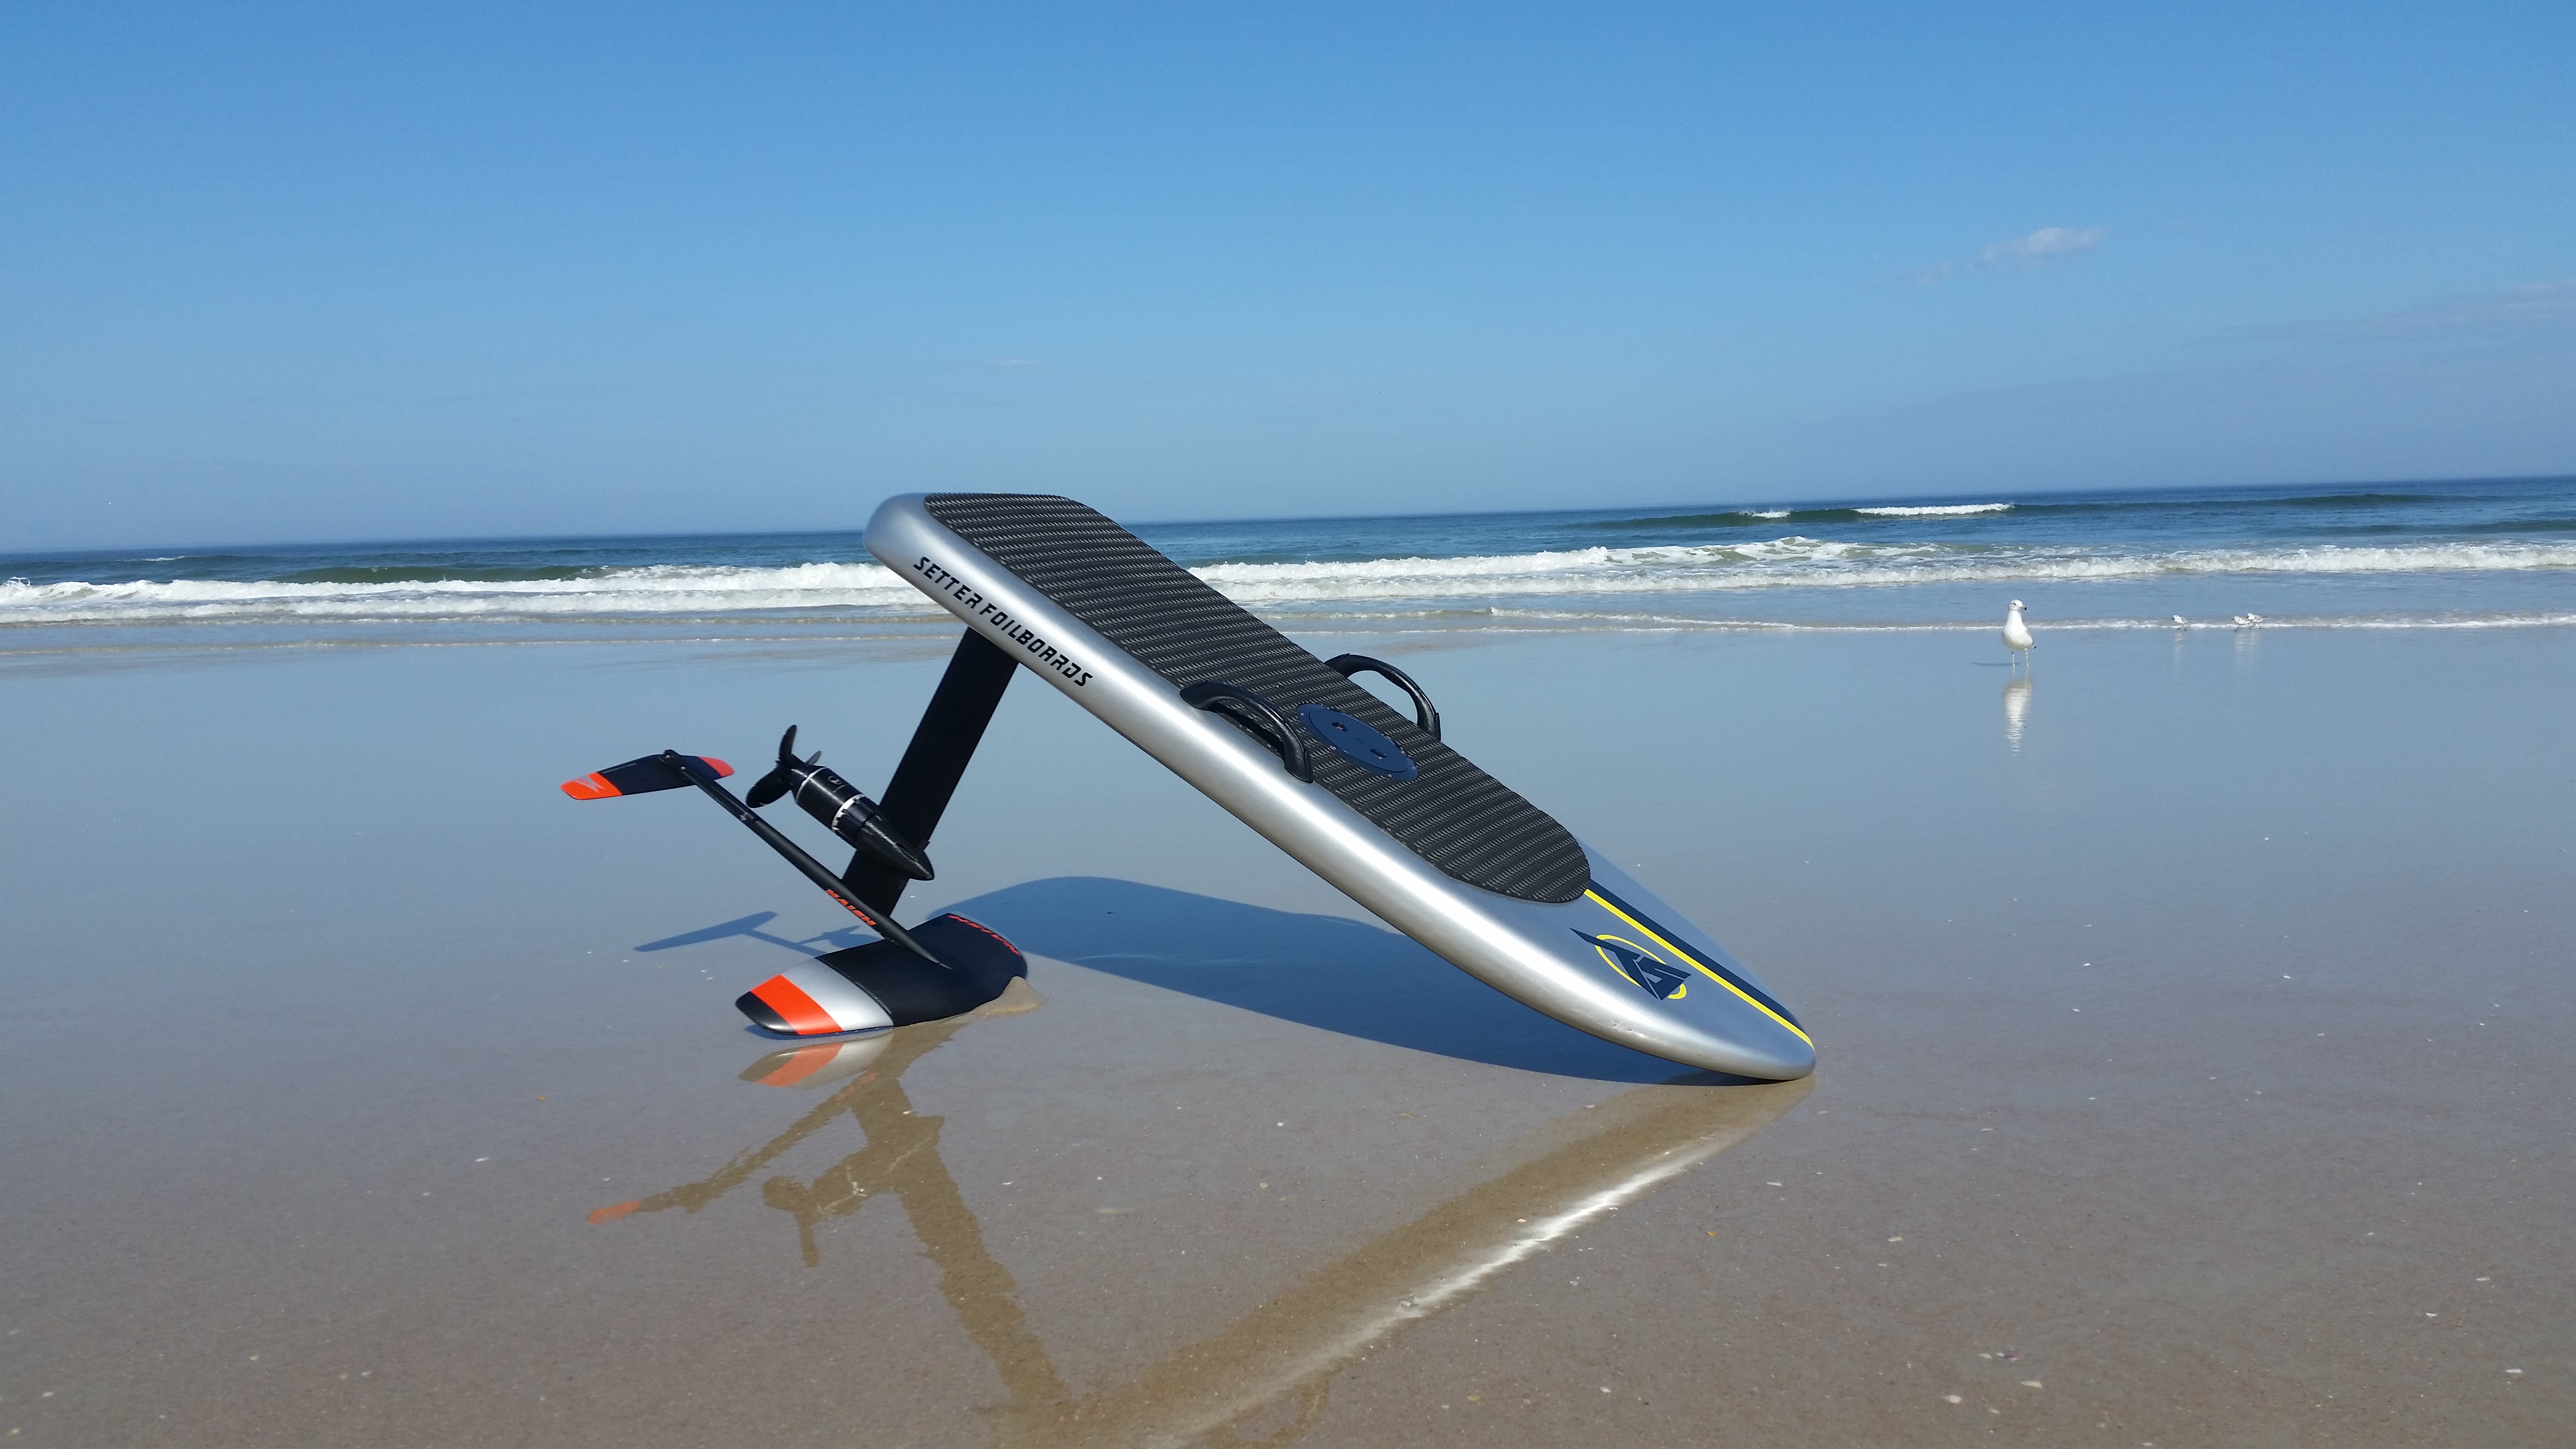
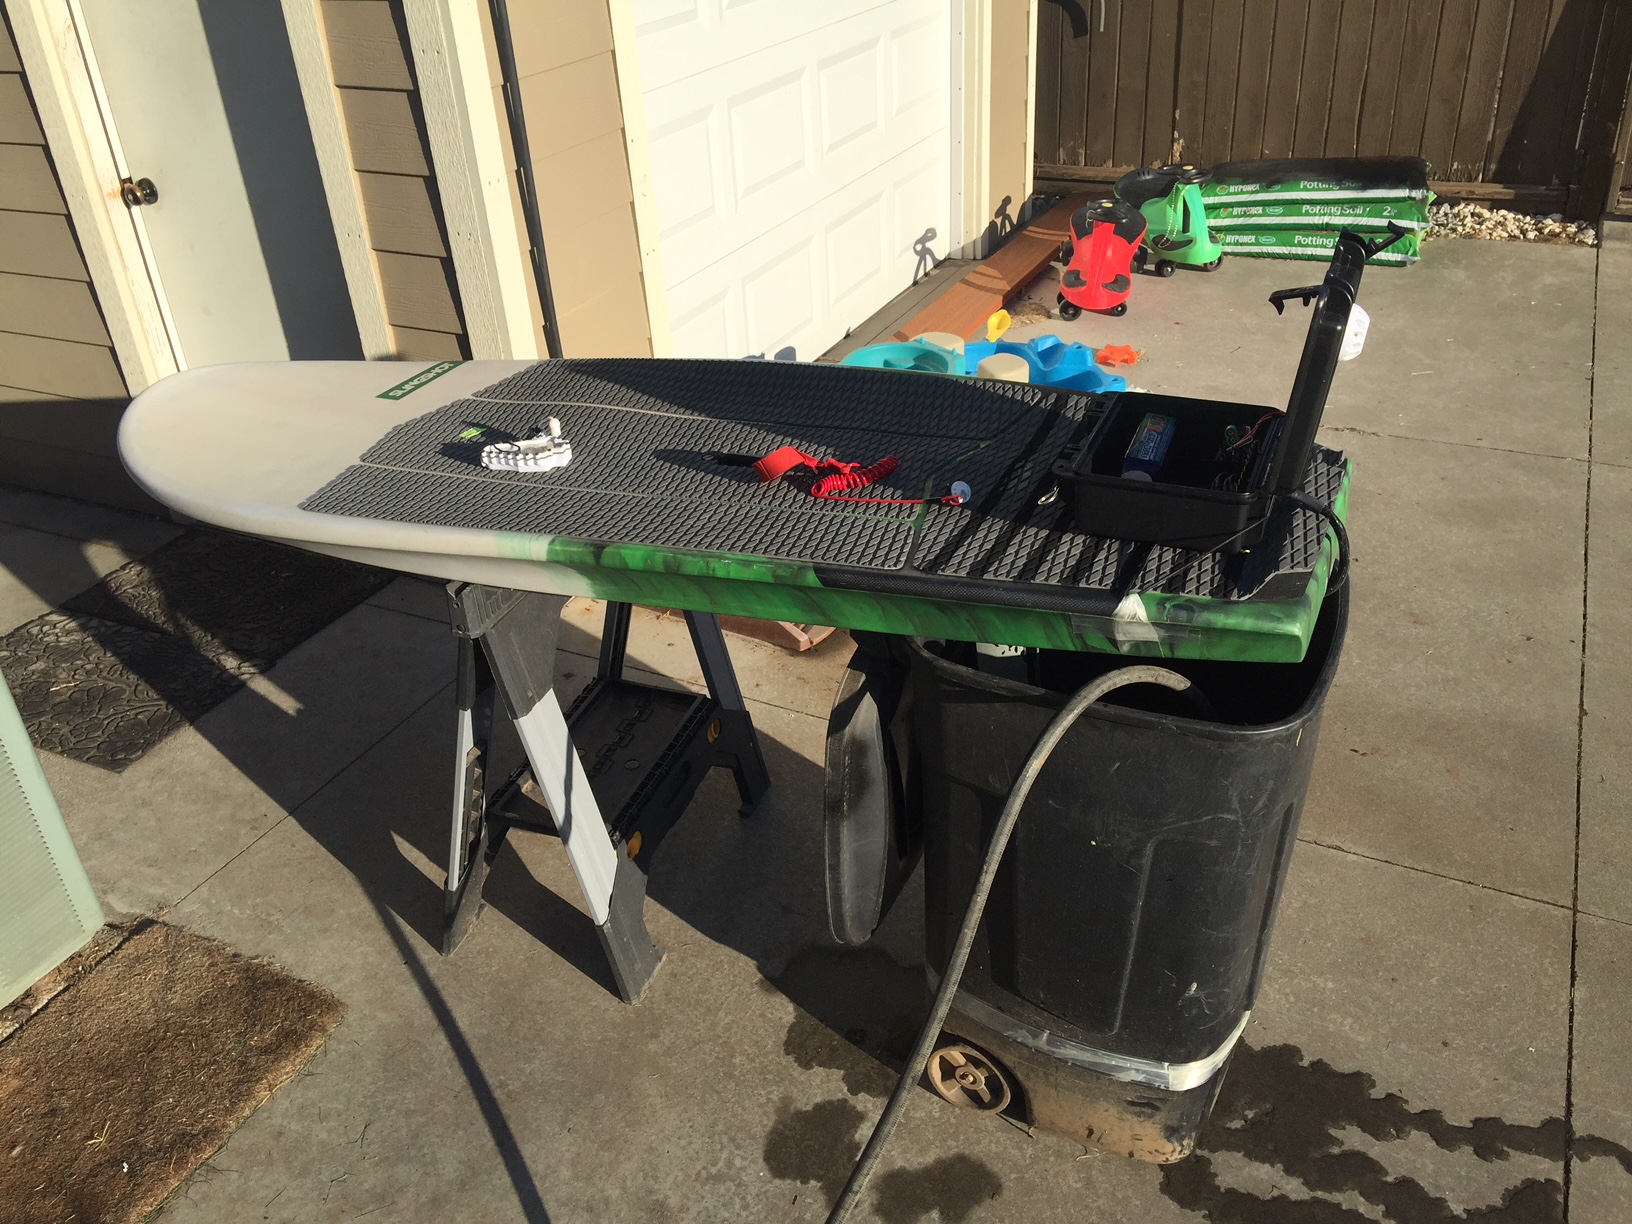
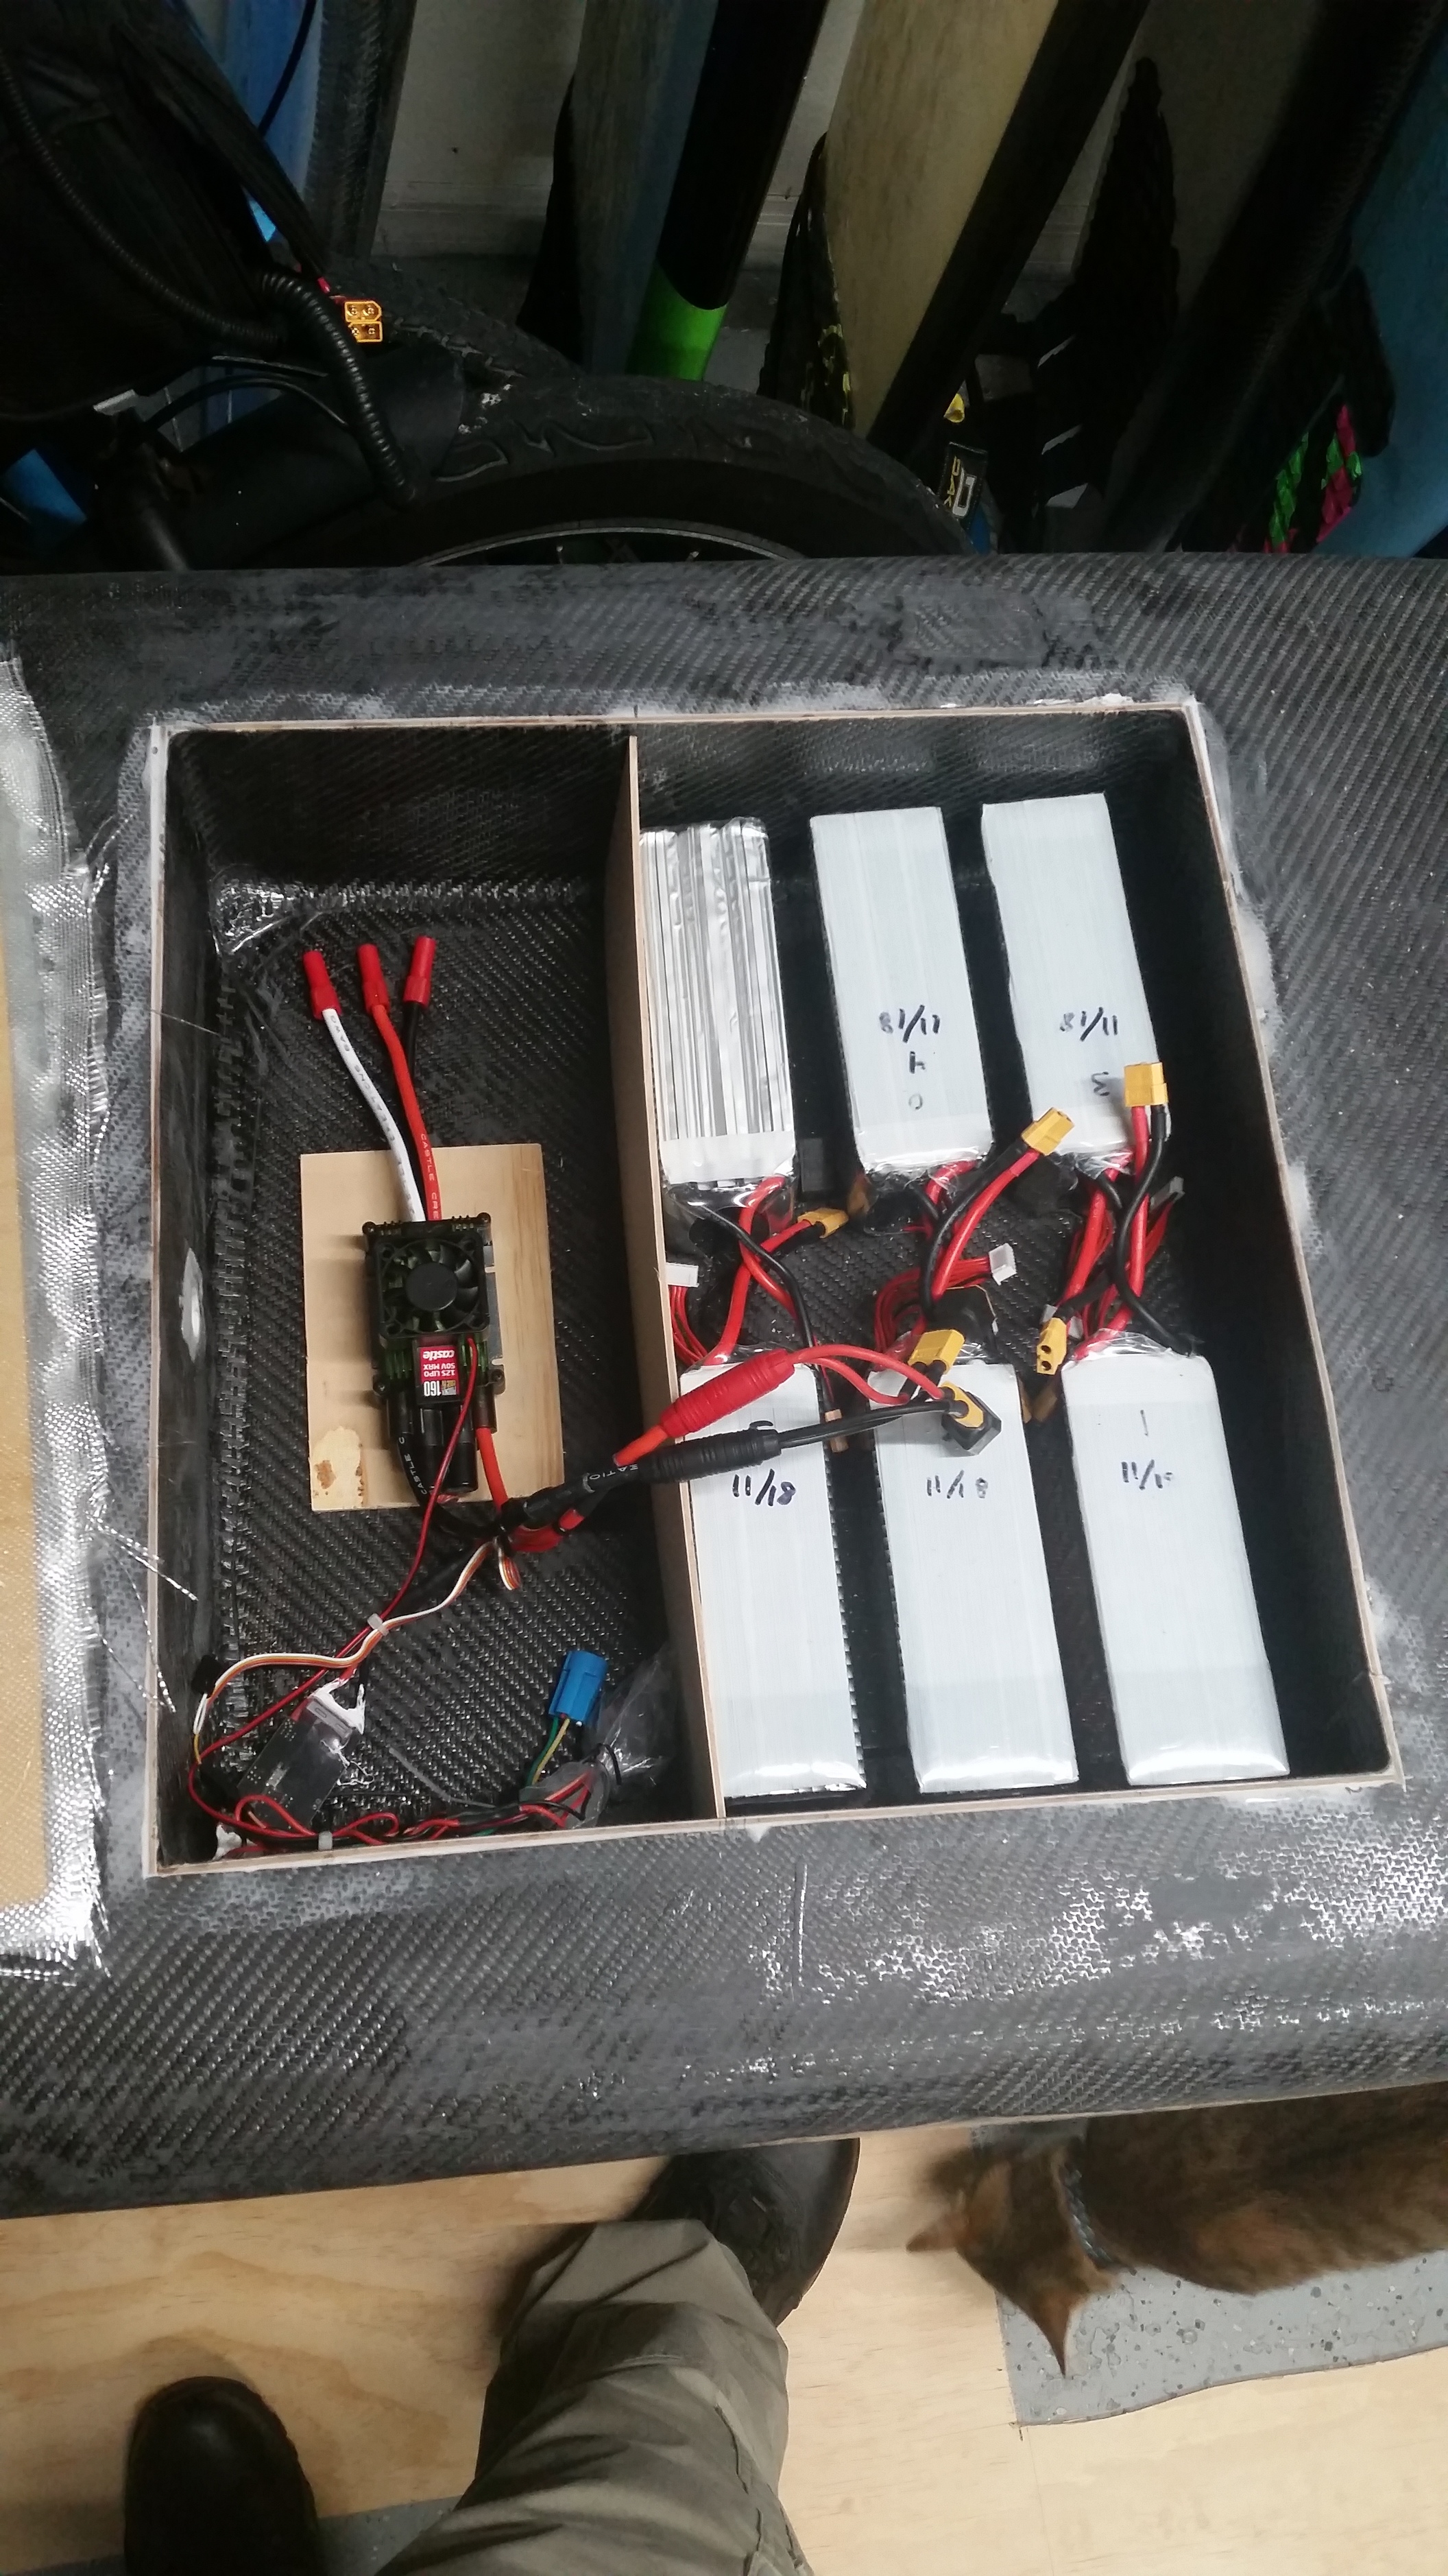
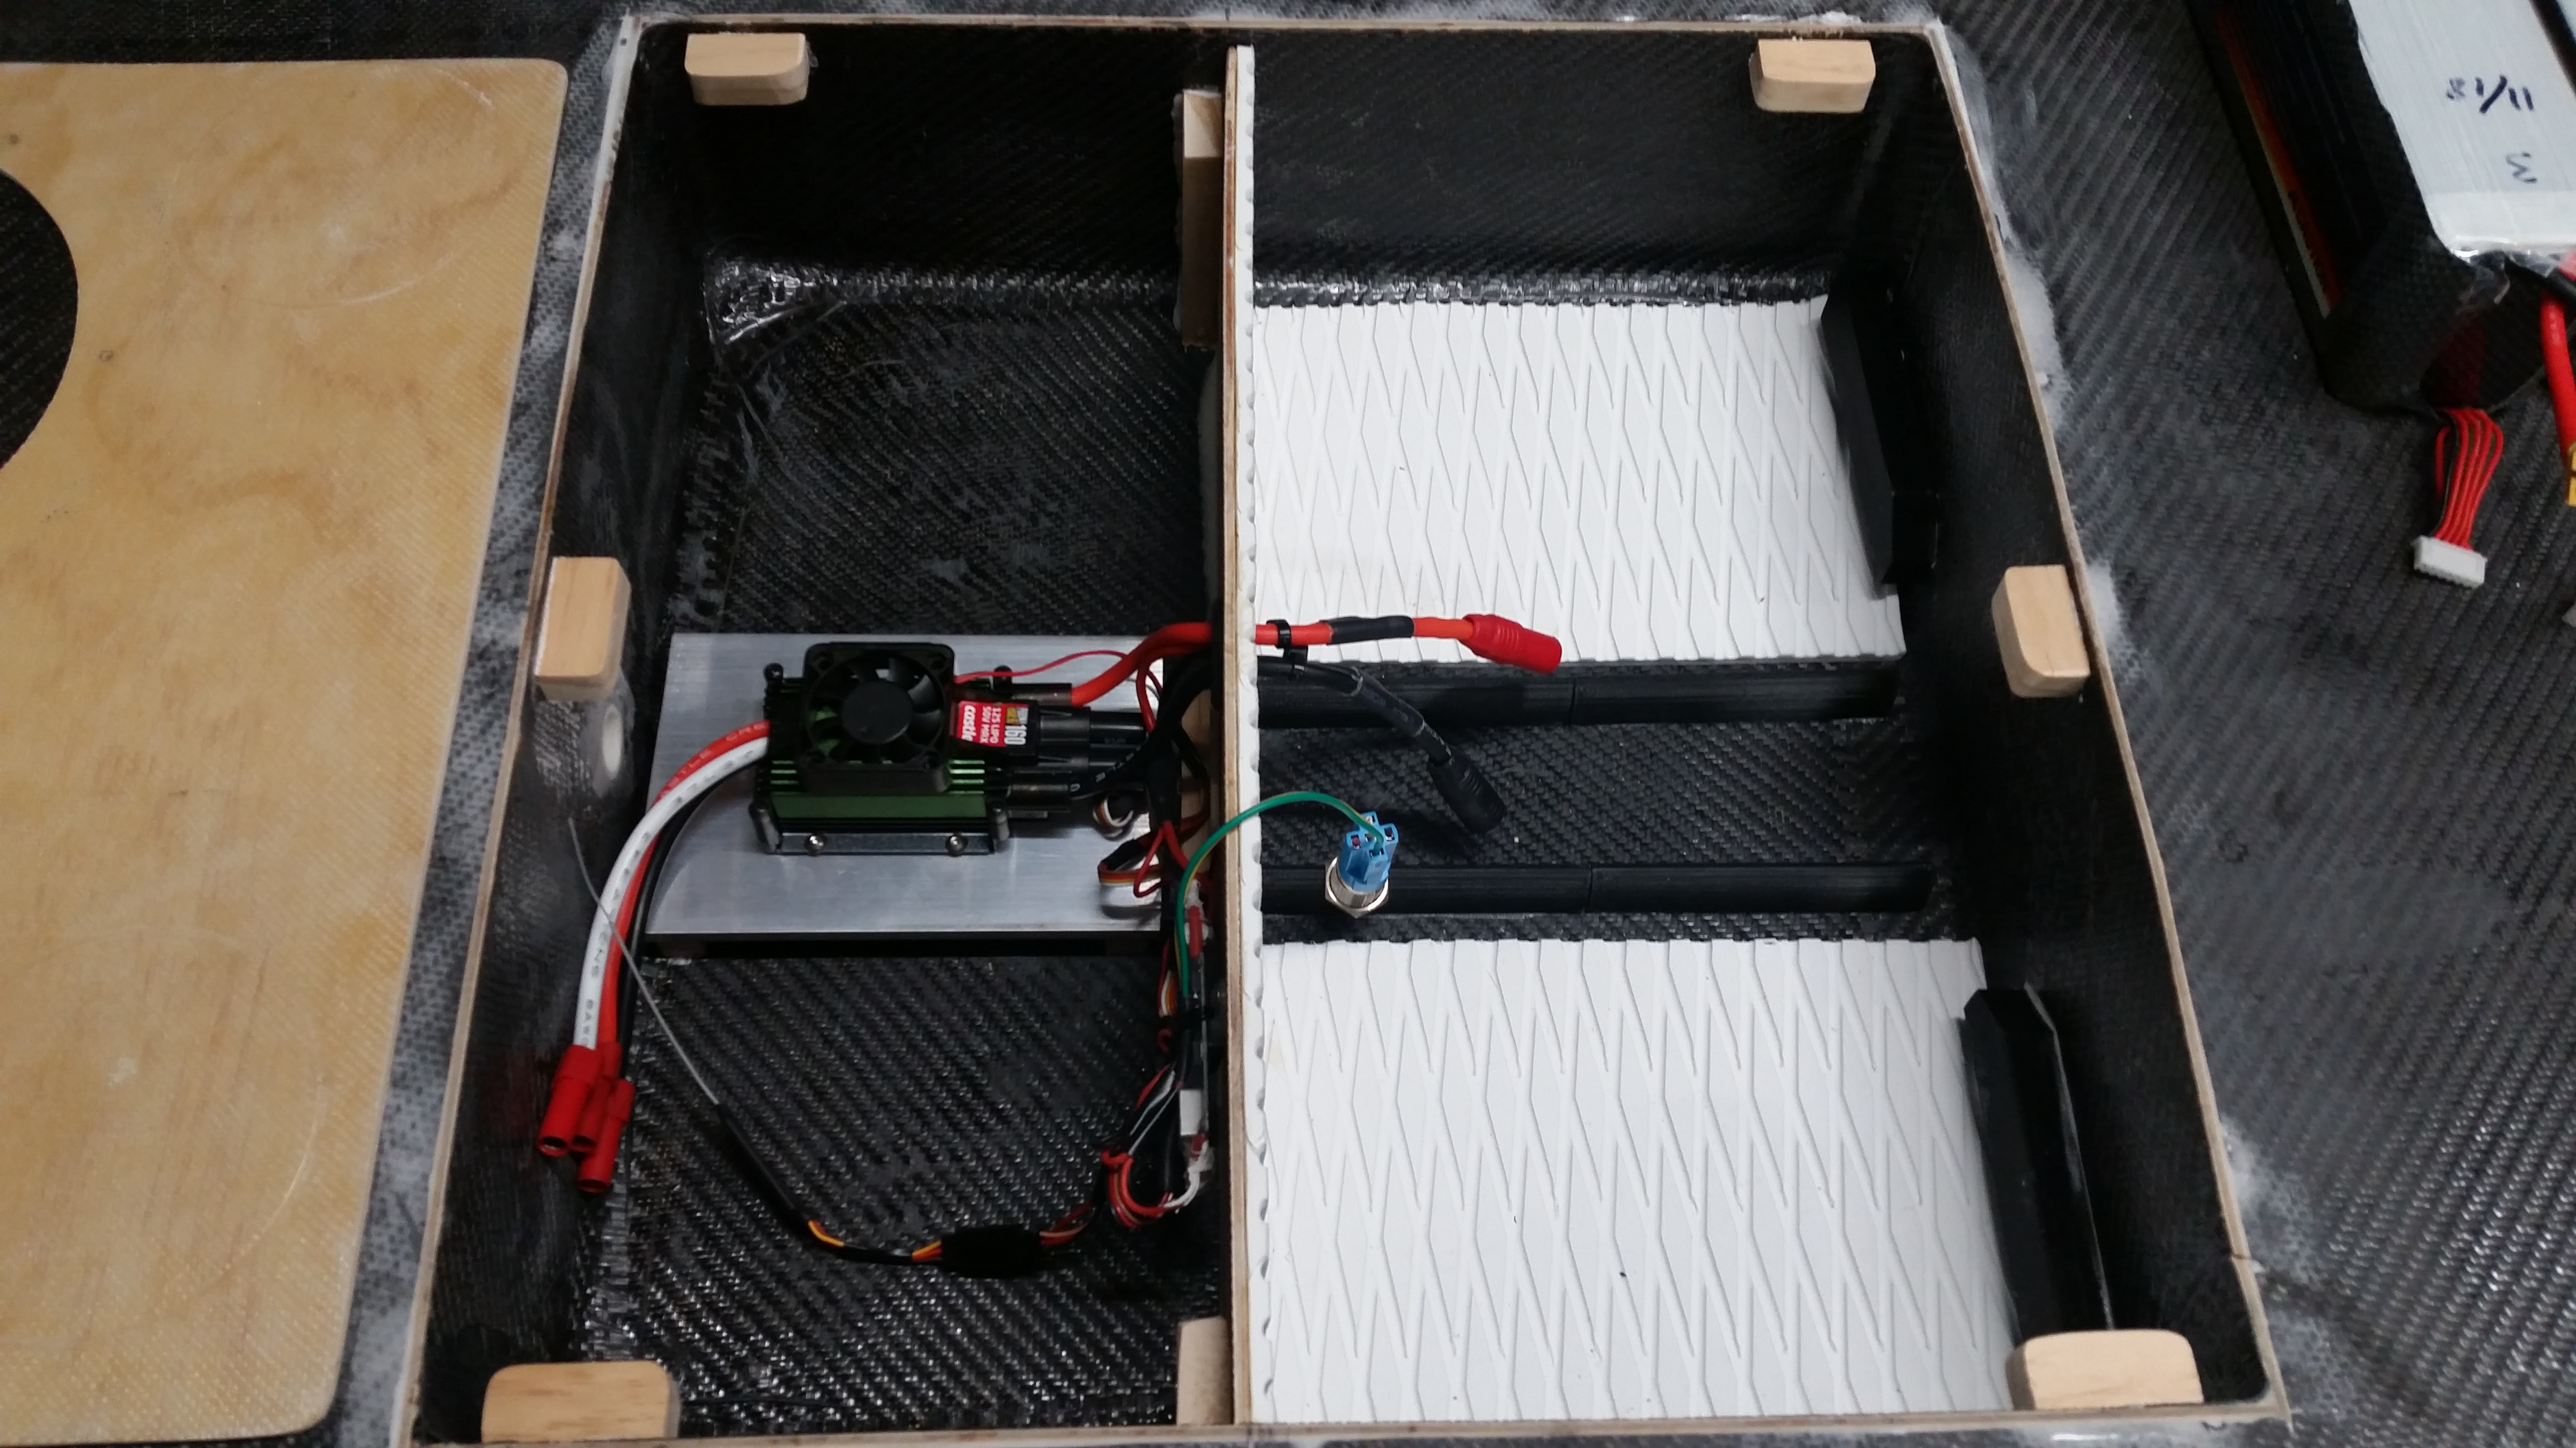
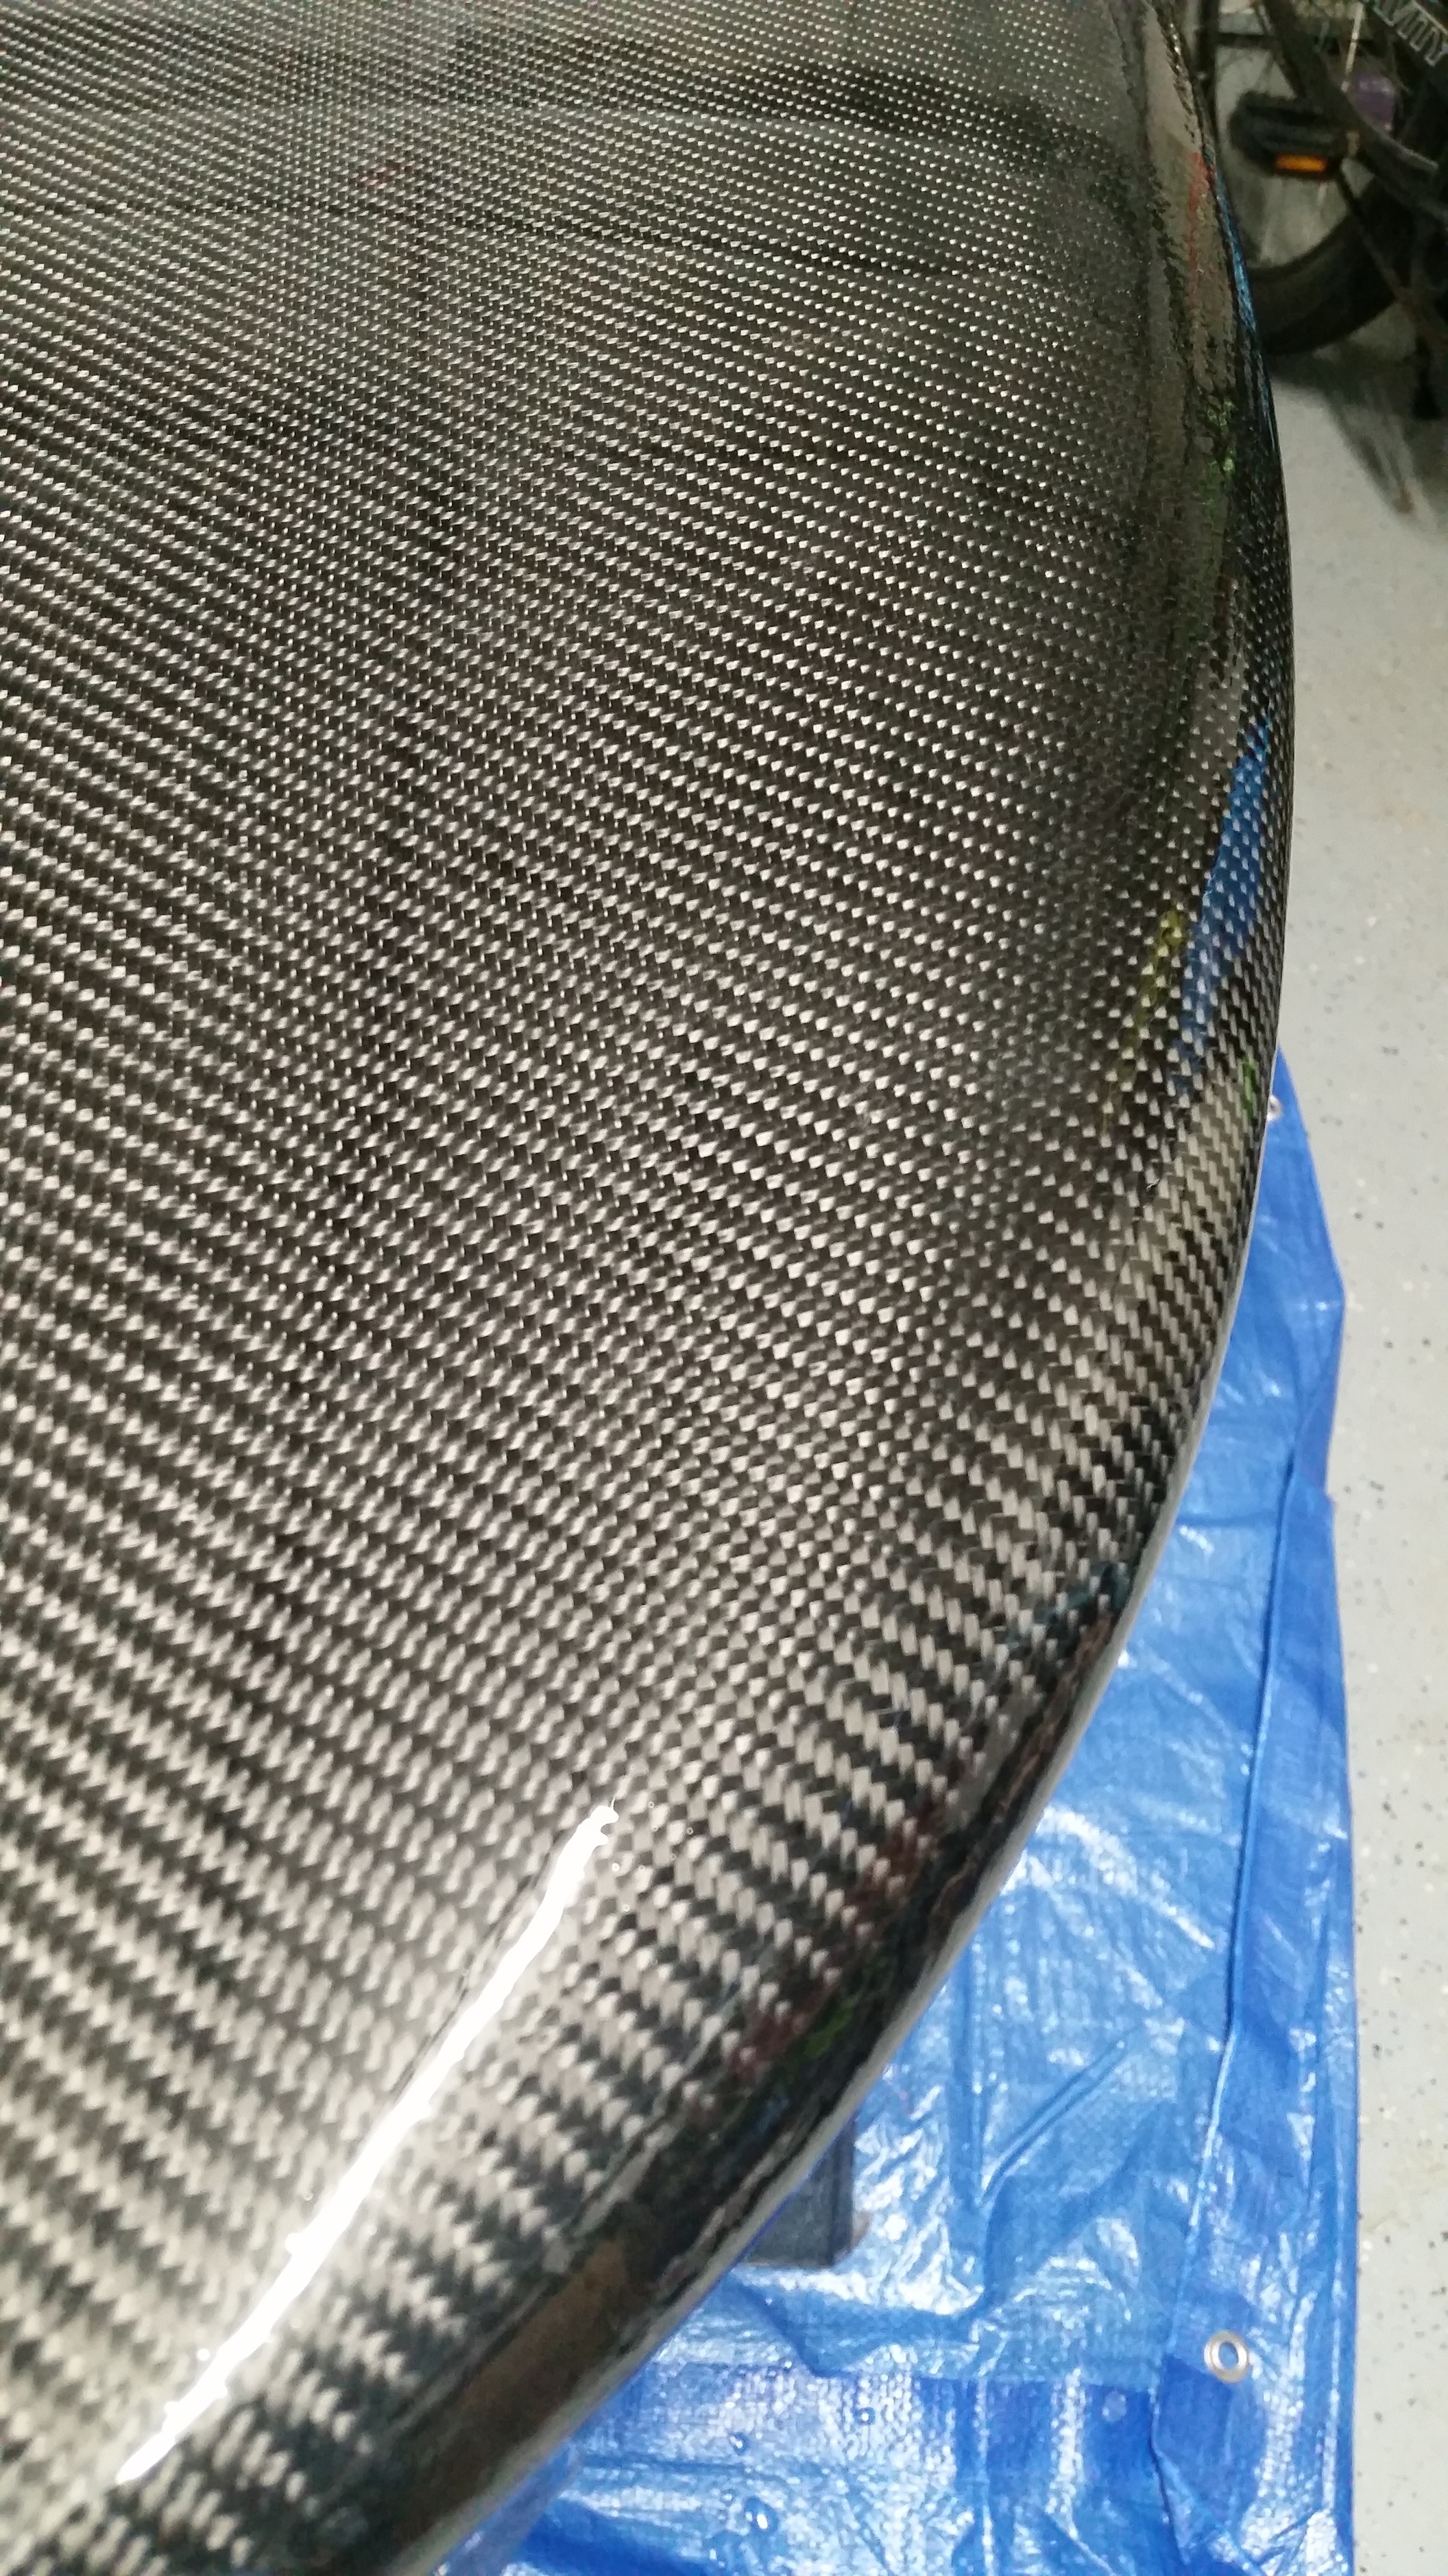
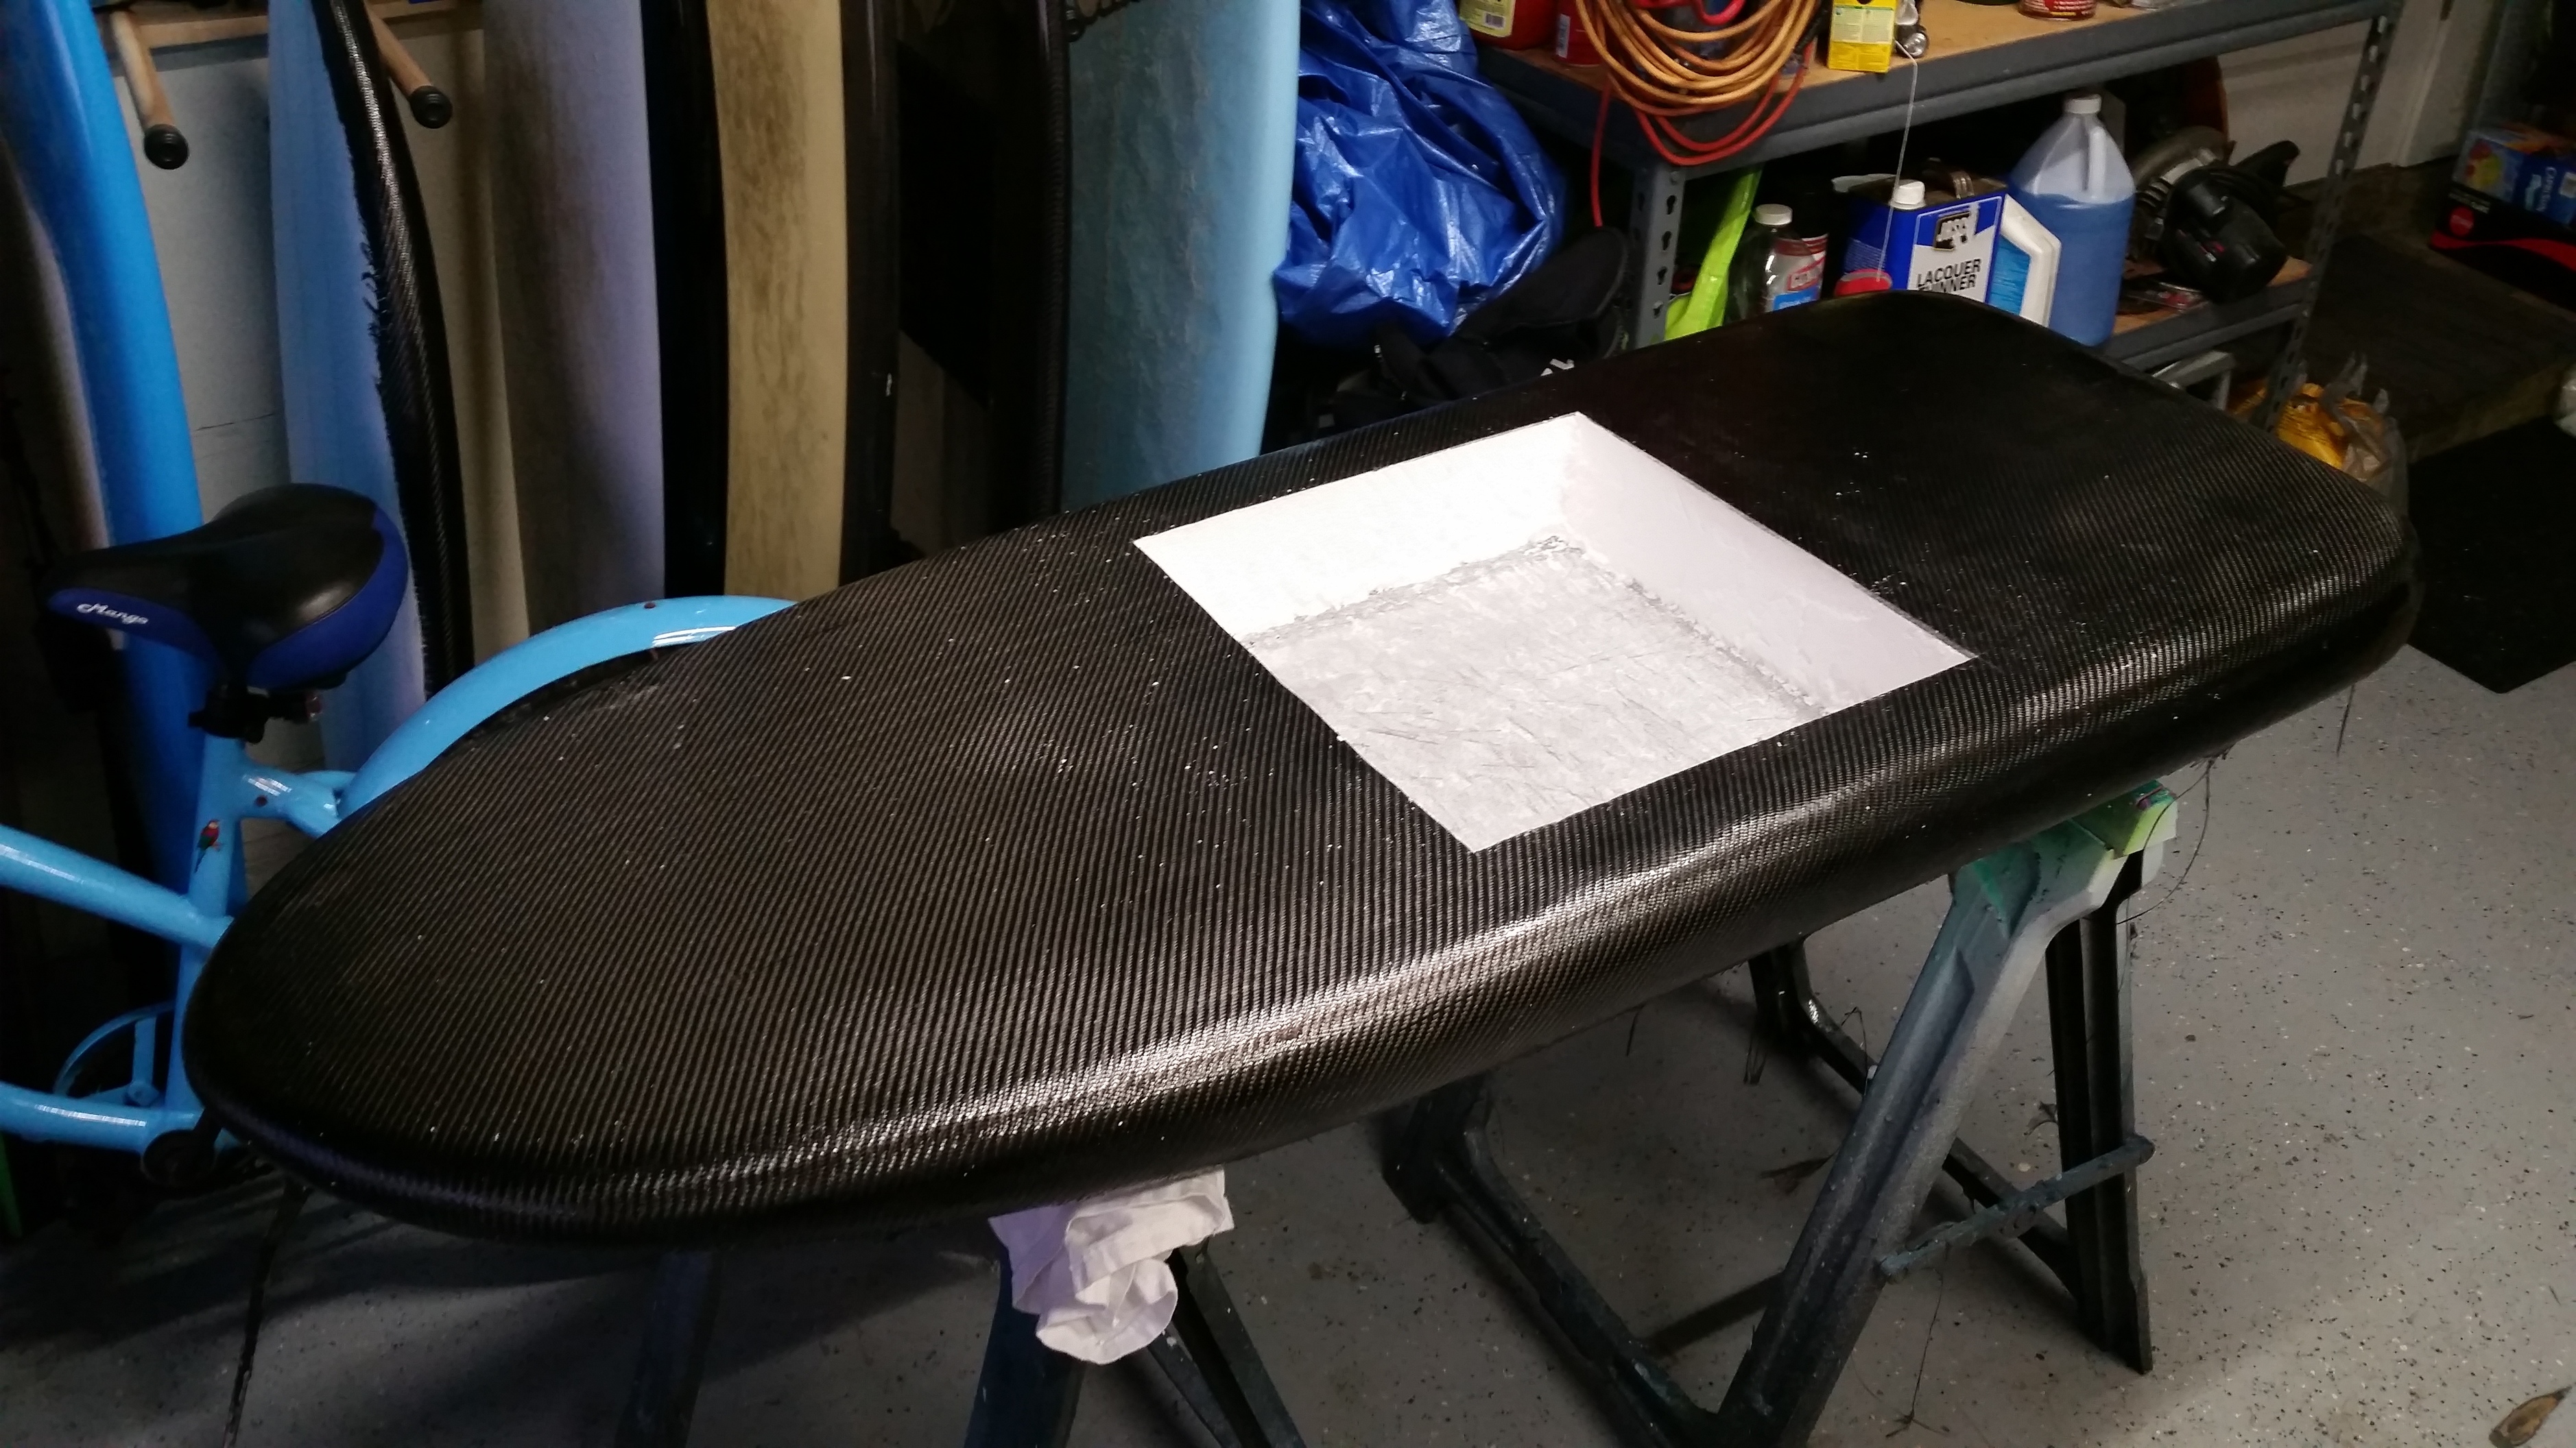
Board looks good!! Got any build pics?
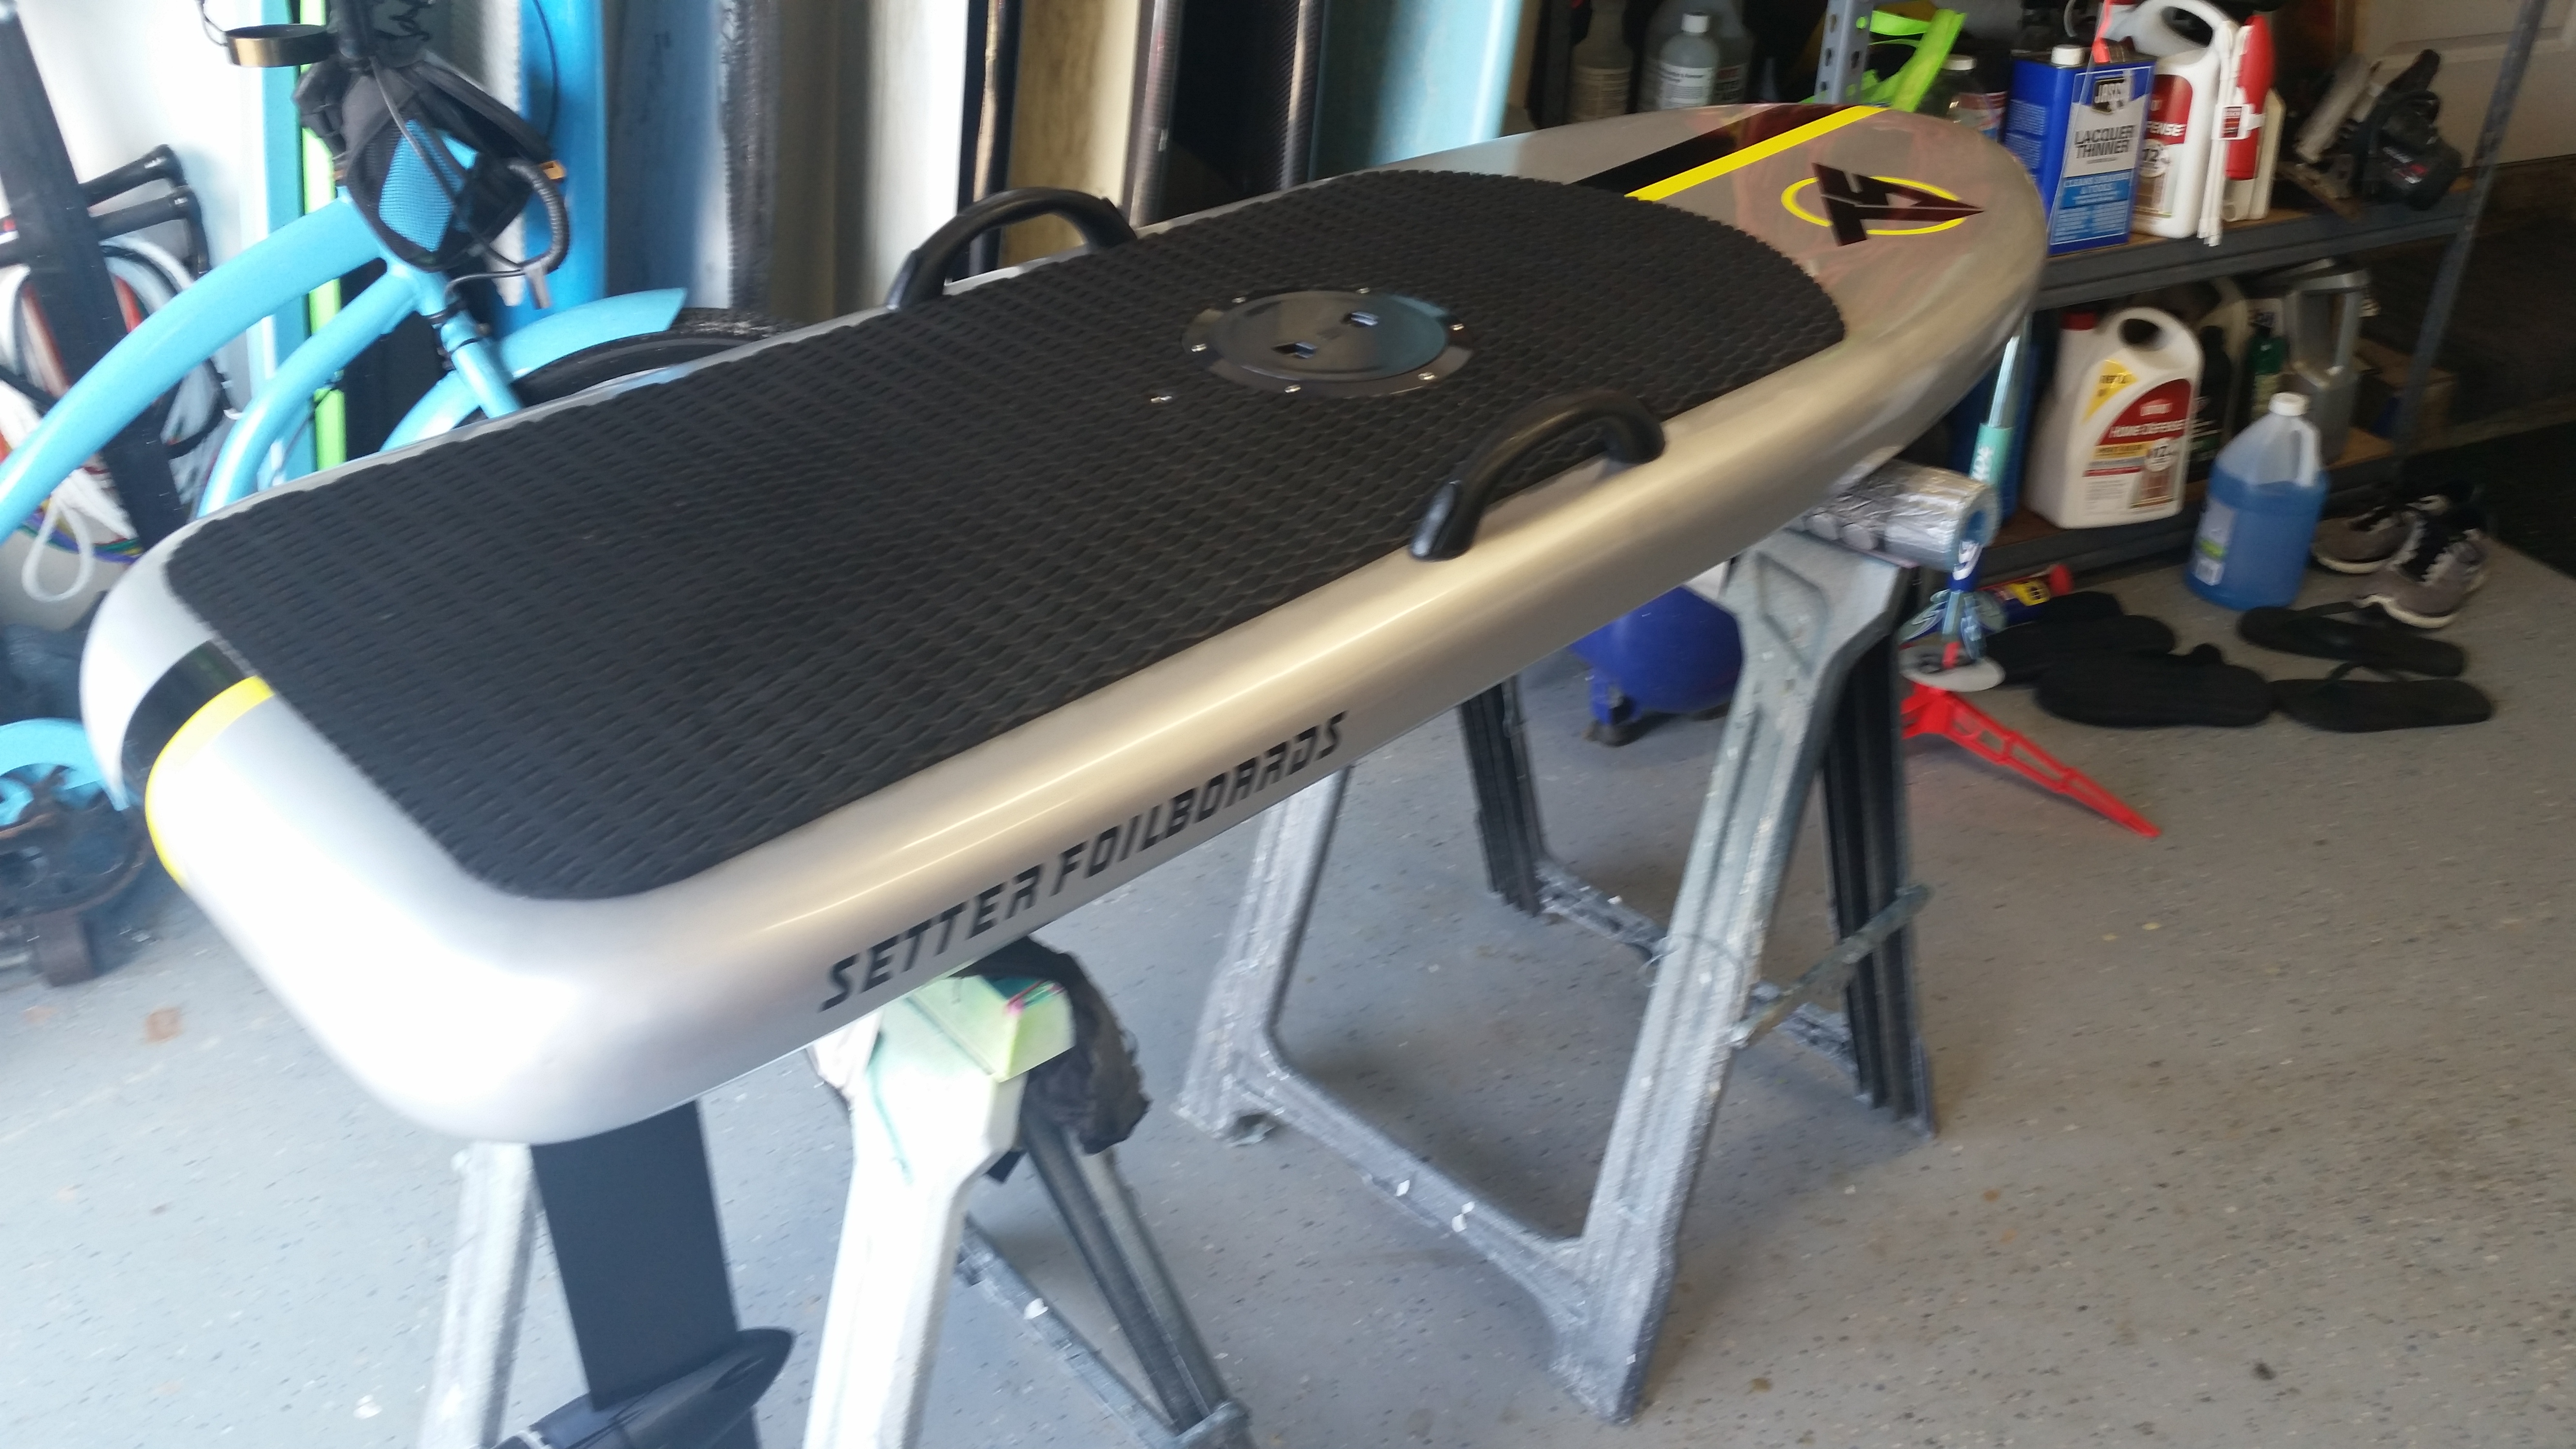
Those handles must be quite useful 
you have epoxied the top plate to the board and have only the round hatch opening ?
That is correct. I can remove all batteries and electronics through the one hatch.

Oh nevermind, I see it’s a modified Alien 80100
Yes its a standard 80100 80kv motor
It that just a big piece of aluminium as the heatsink? How long can you ride for with it before it gets hot?