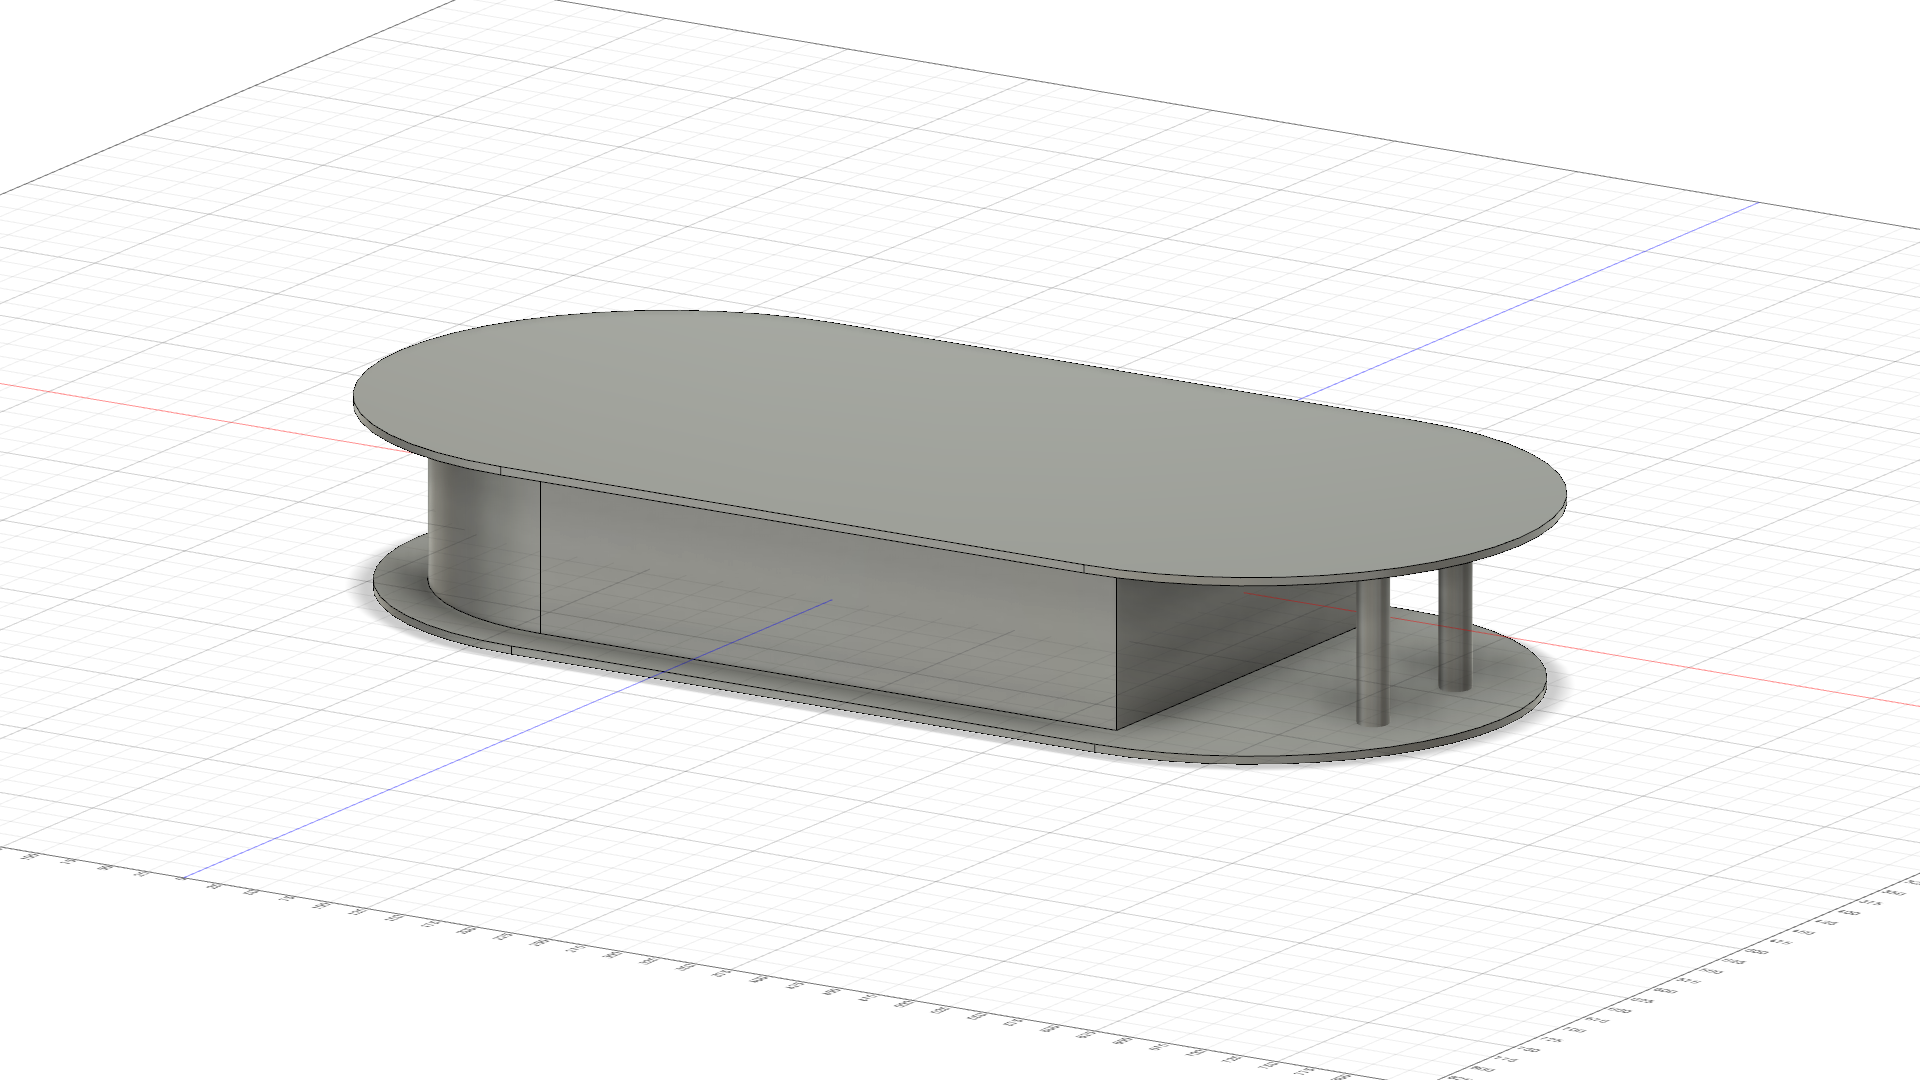
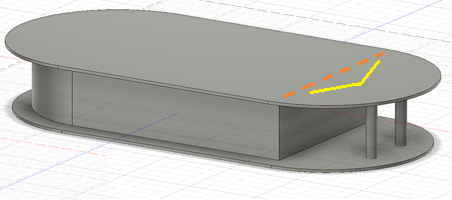
There are two clever parts in this Elevate design:
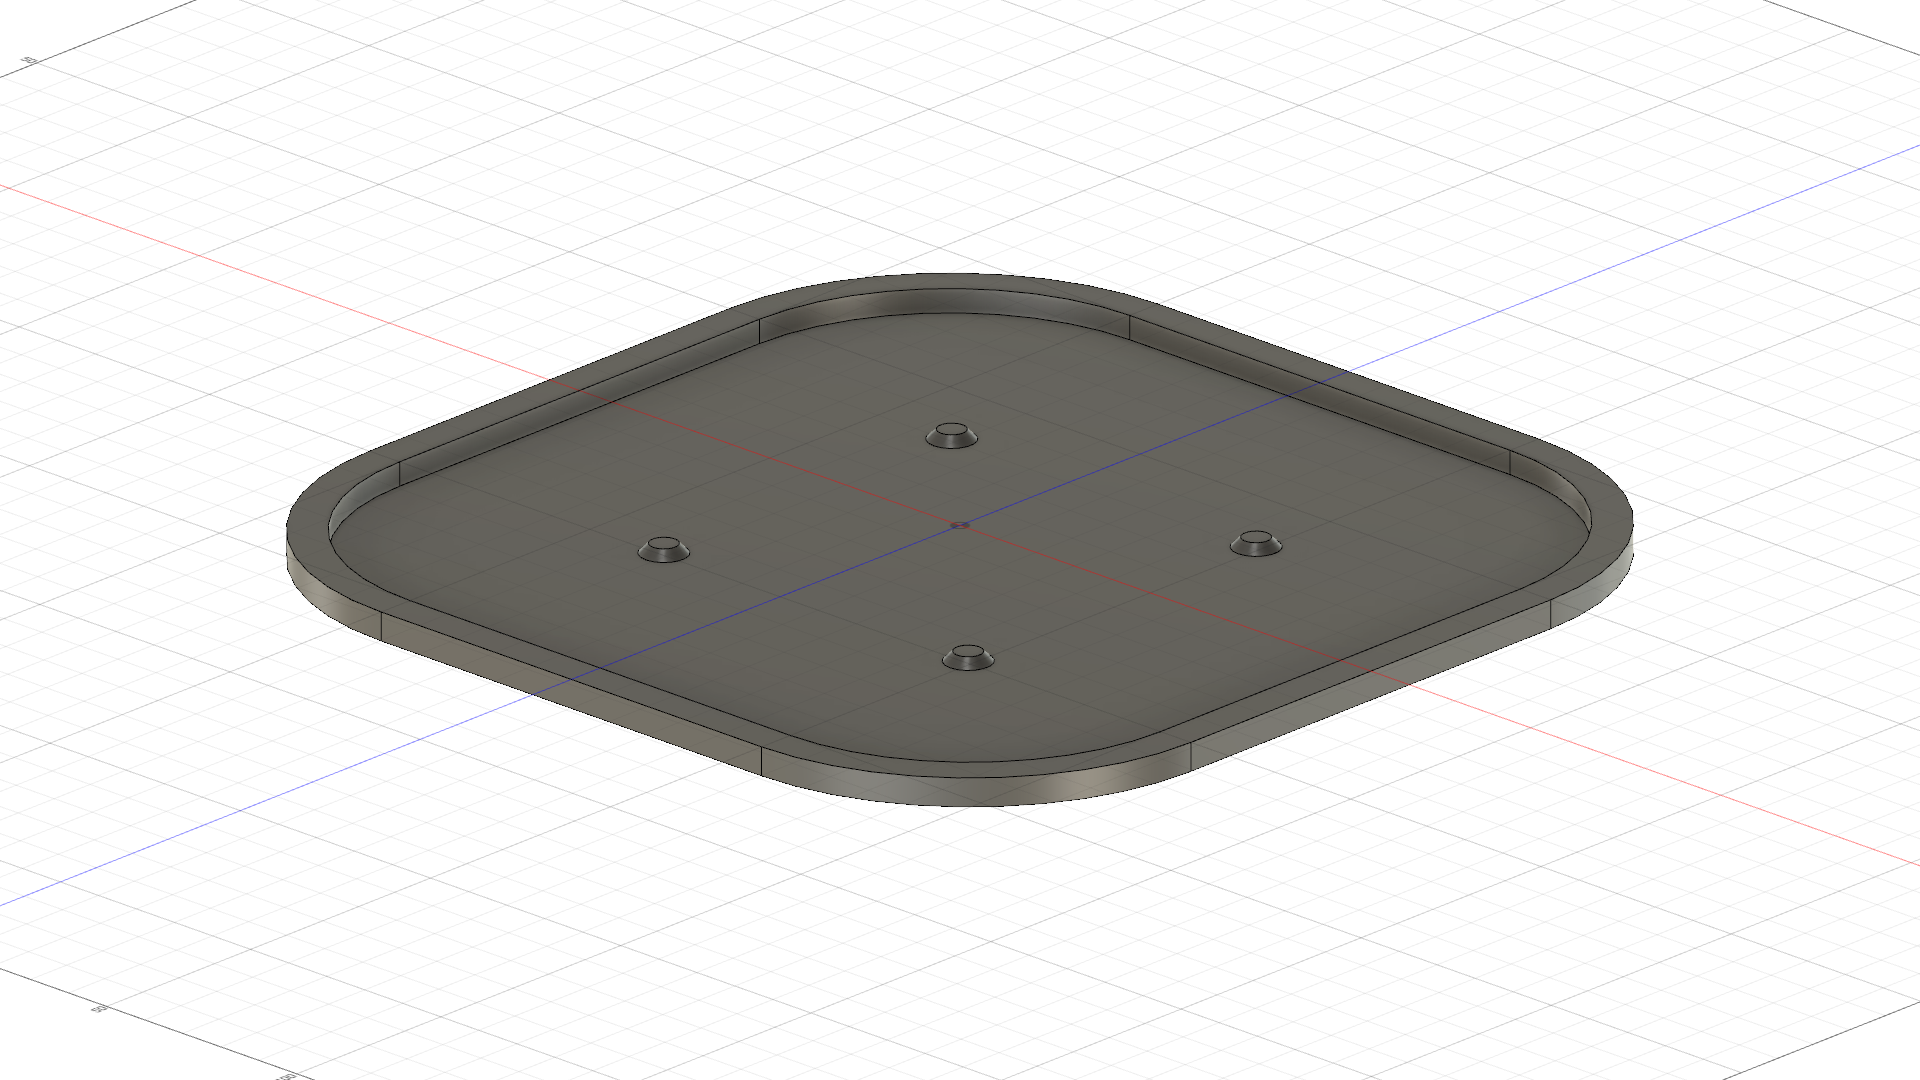
two-skin connection: the mast plate is linked to both top and bottom surfaces of the box through tubes or box walls (like Tuttle boxes are supposed to be installed).
the box walls create a double I beam
Its better for the box stiffness, therefore for the waterproofness.
It wouldn’t be the case if the four mast plate screws were fixed to only one surface (even 5 mm) right below the inside of the box.
@SoEFoil, you are right, good spotted! I will seriously consider to alter my design slightly. Either by adding 4 aluminium cylinders, connecting the bottom to the top or move the plate slightly back, making it possible for the rear screws to run through the solid wall and the two front ones connected to the top with aluminium cylinders.
The third option is of course to start from scratch and have a go on elevate.rocks proven design
Edit
The third clever part with the Elevate design is that the wires doesn’t have to go directly into the box from the the plate. They can enter the box with real through hole connectors from the side, making it easier to waterproof.
So true. The 2 aluminium cylinders are threaded to receive the mast base plate screws plus offer enough empty space to allow hand connections between mast and ESC connectors. In this external non waterproof area, you have plenty of space so that you can use cable glands plus @Gobbla’s XT90 fast and waterproof connectors + CPC water quick disconnect.
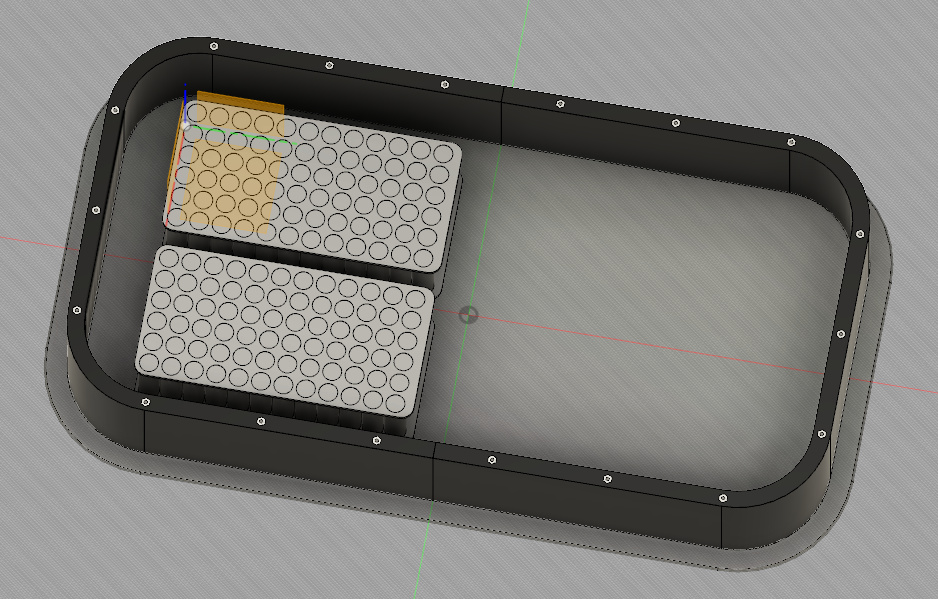
Do you have the 3D files for this custom inner core board design? I have 2 inflatable “cores” or whatever and I’d like to look at different options where I can more easily take batteries in out, seal electronics, etc.
A week of much back and forth, what should I do? Stay with my original design or have a go with the Elevate design.
Well I found a fourth and a fifth advantage with Elevates design. It’s much easier to slide the inflatable on to the box and I think I will save almost 2 kg.
So with these five advantages, the decision was easy. I need to change my design. The drawback though is less space for battery and electronics but I think I can live with that.
Two-skin connection to the plate box
Double I beam
Wire waterproofing
Easier to slide the inflatable on
Less weight.
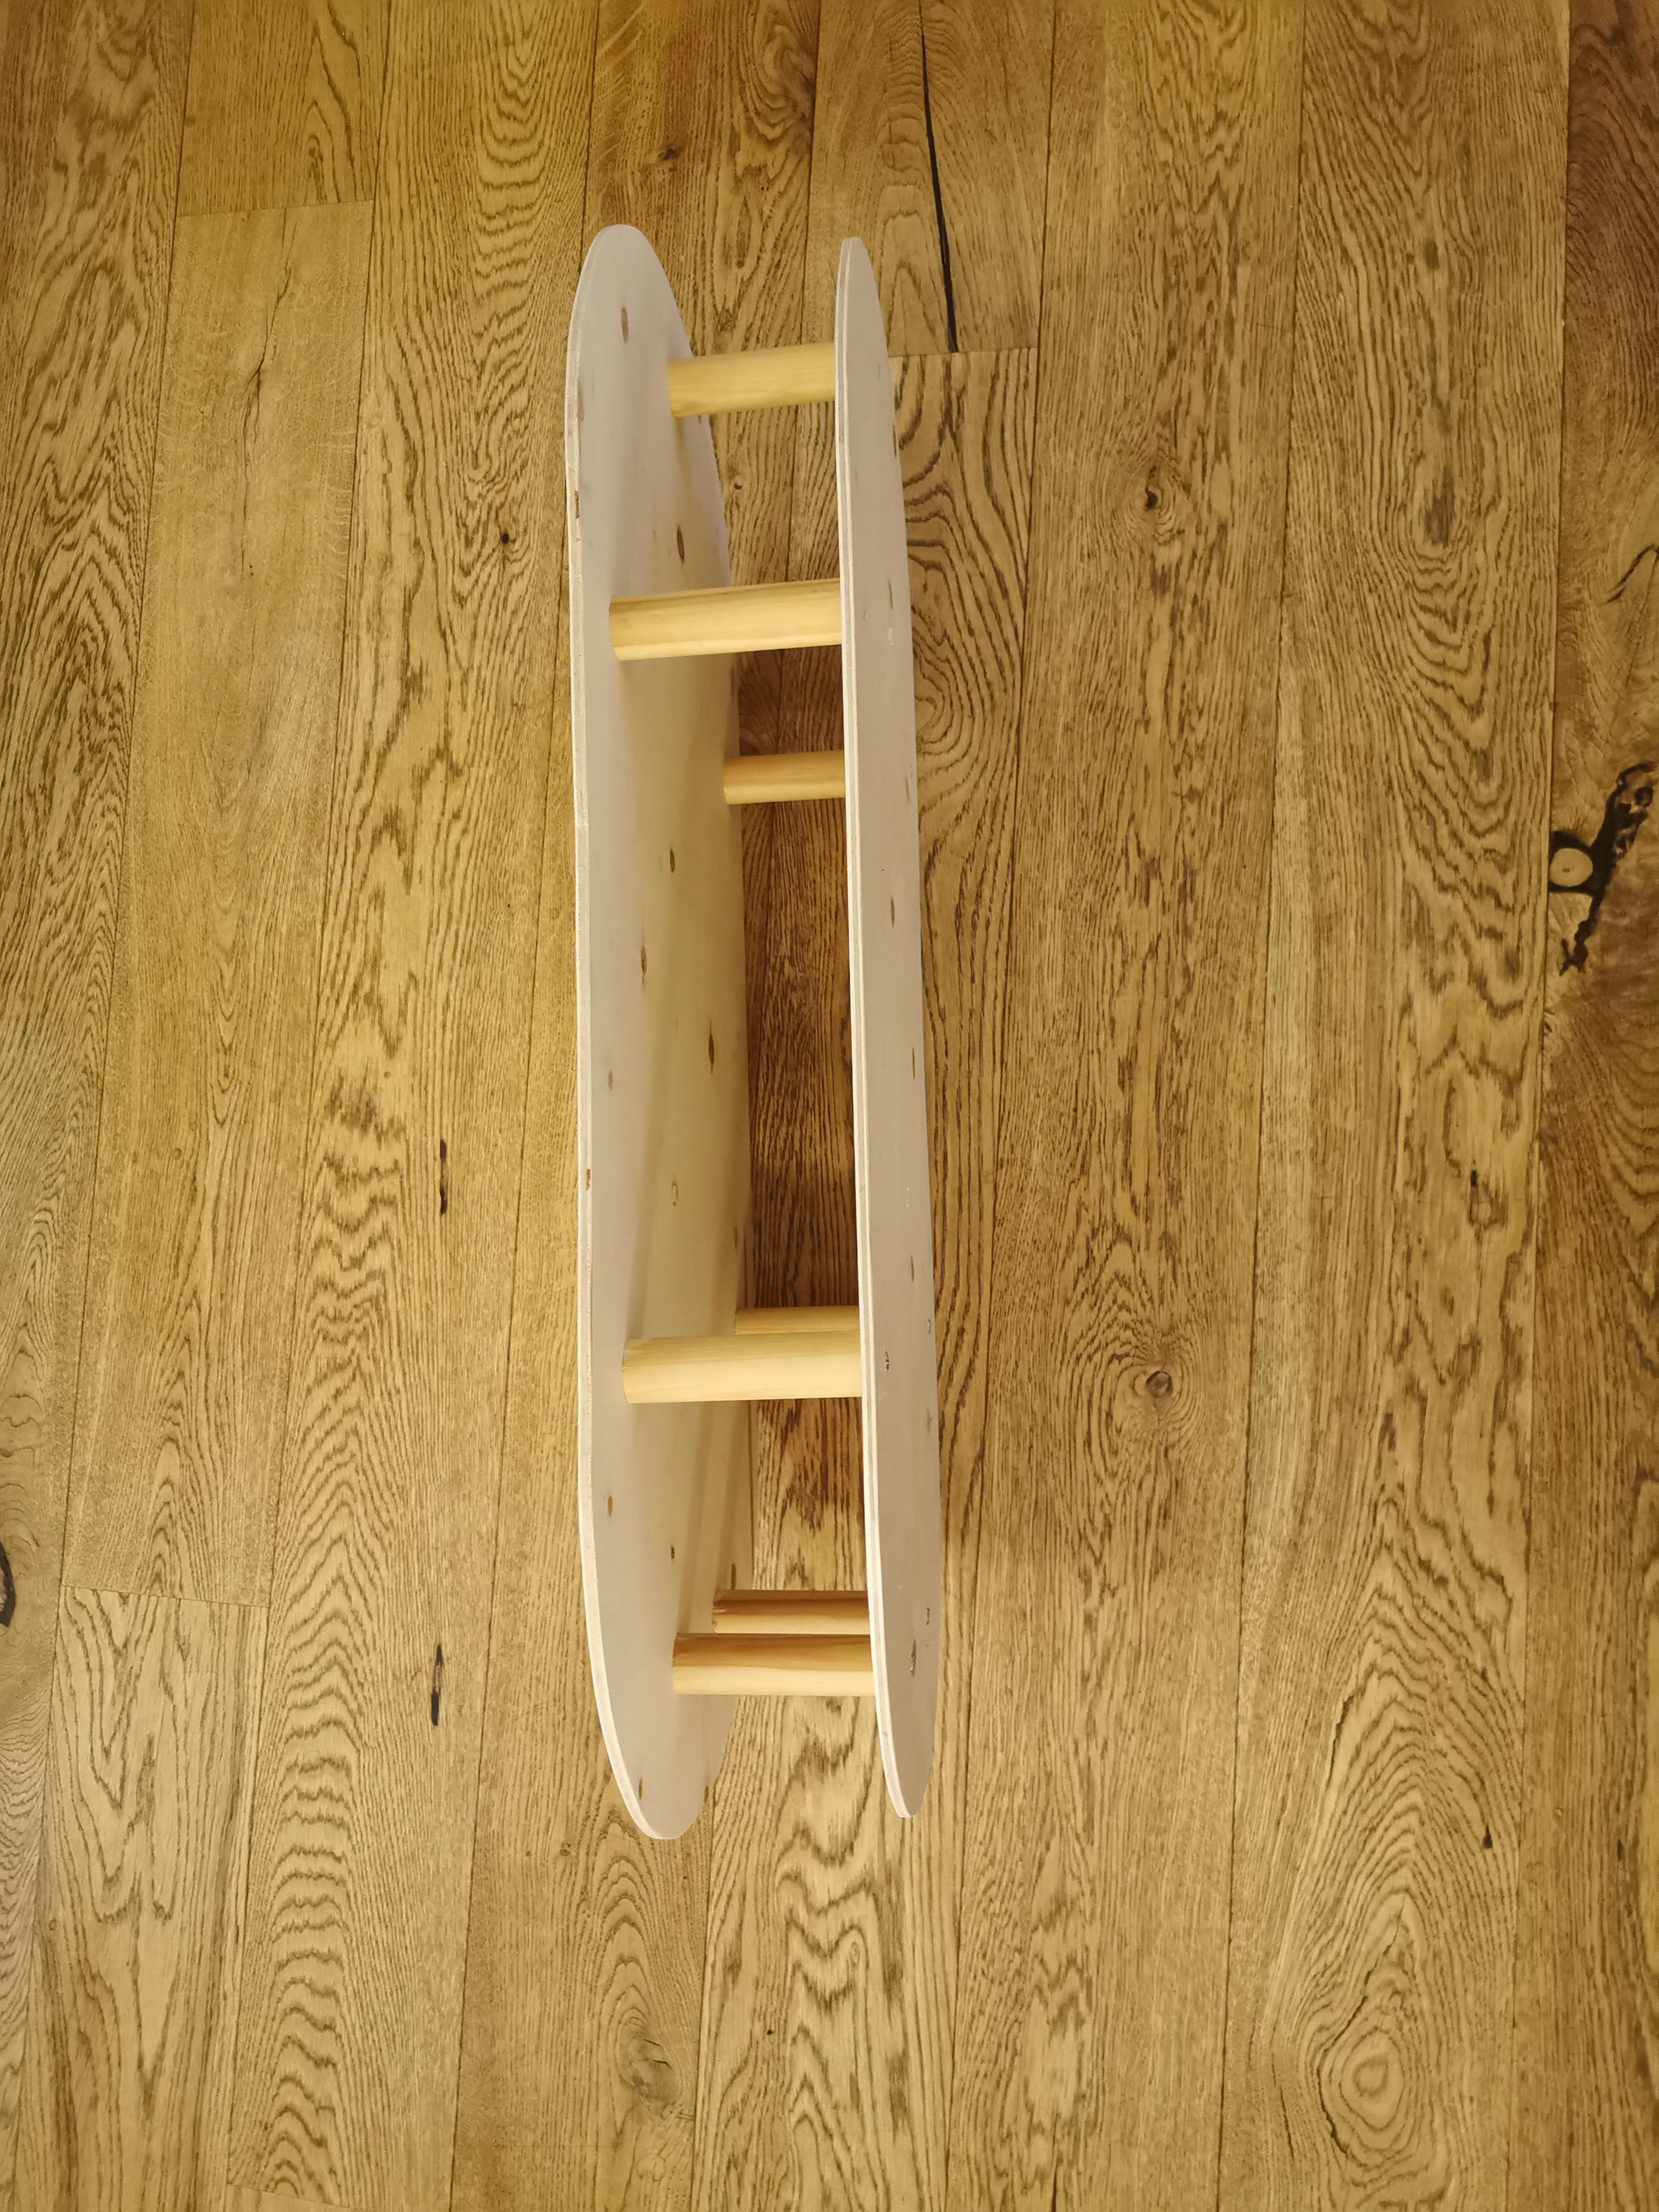
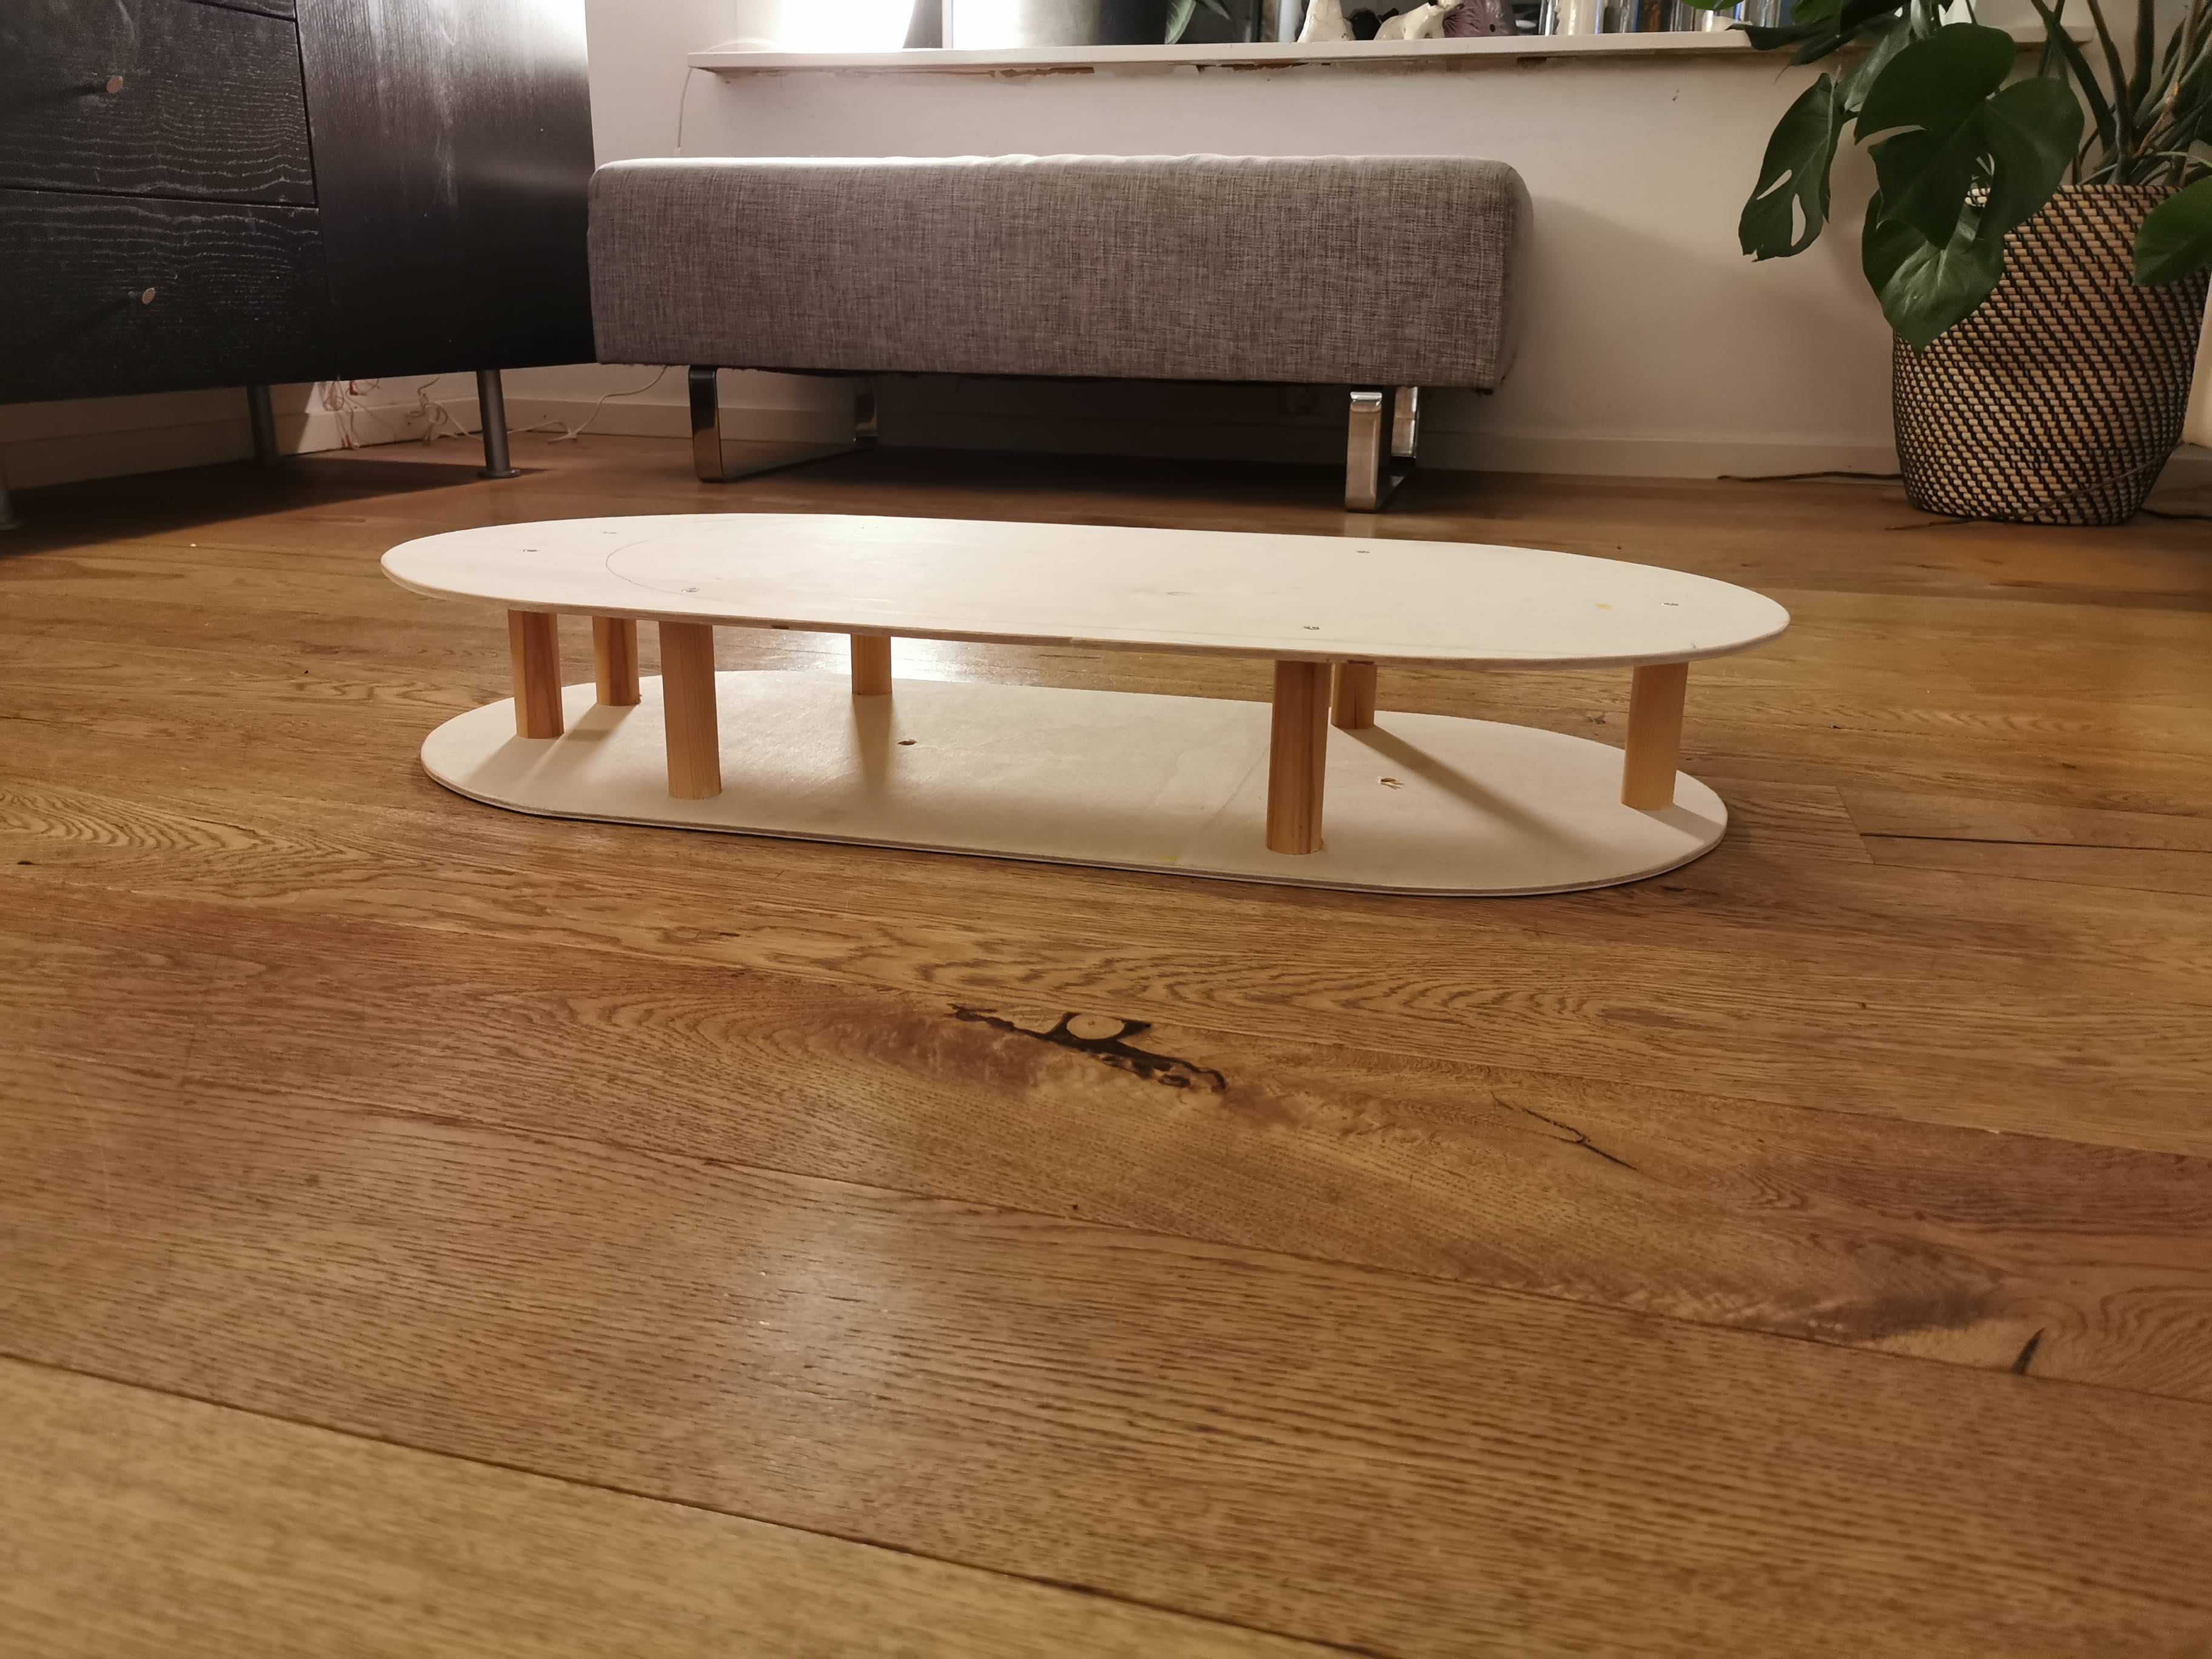
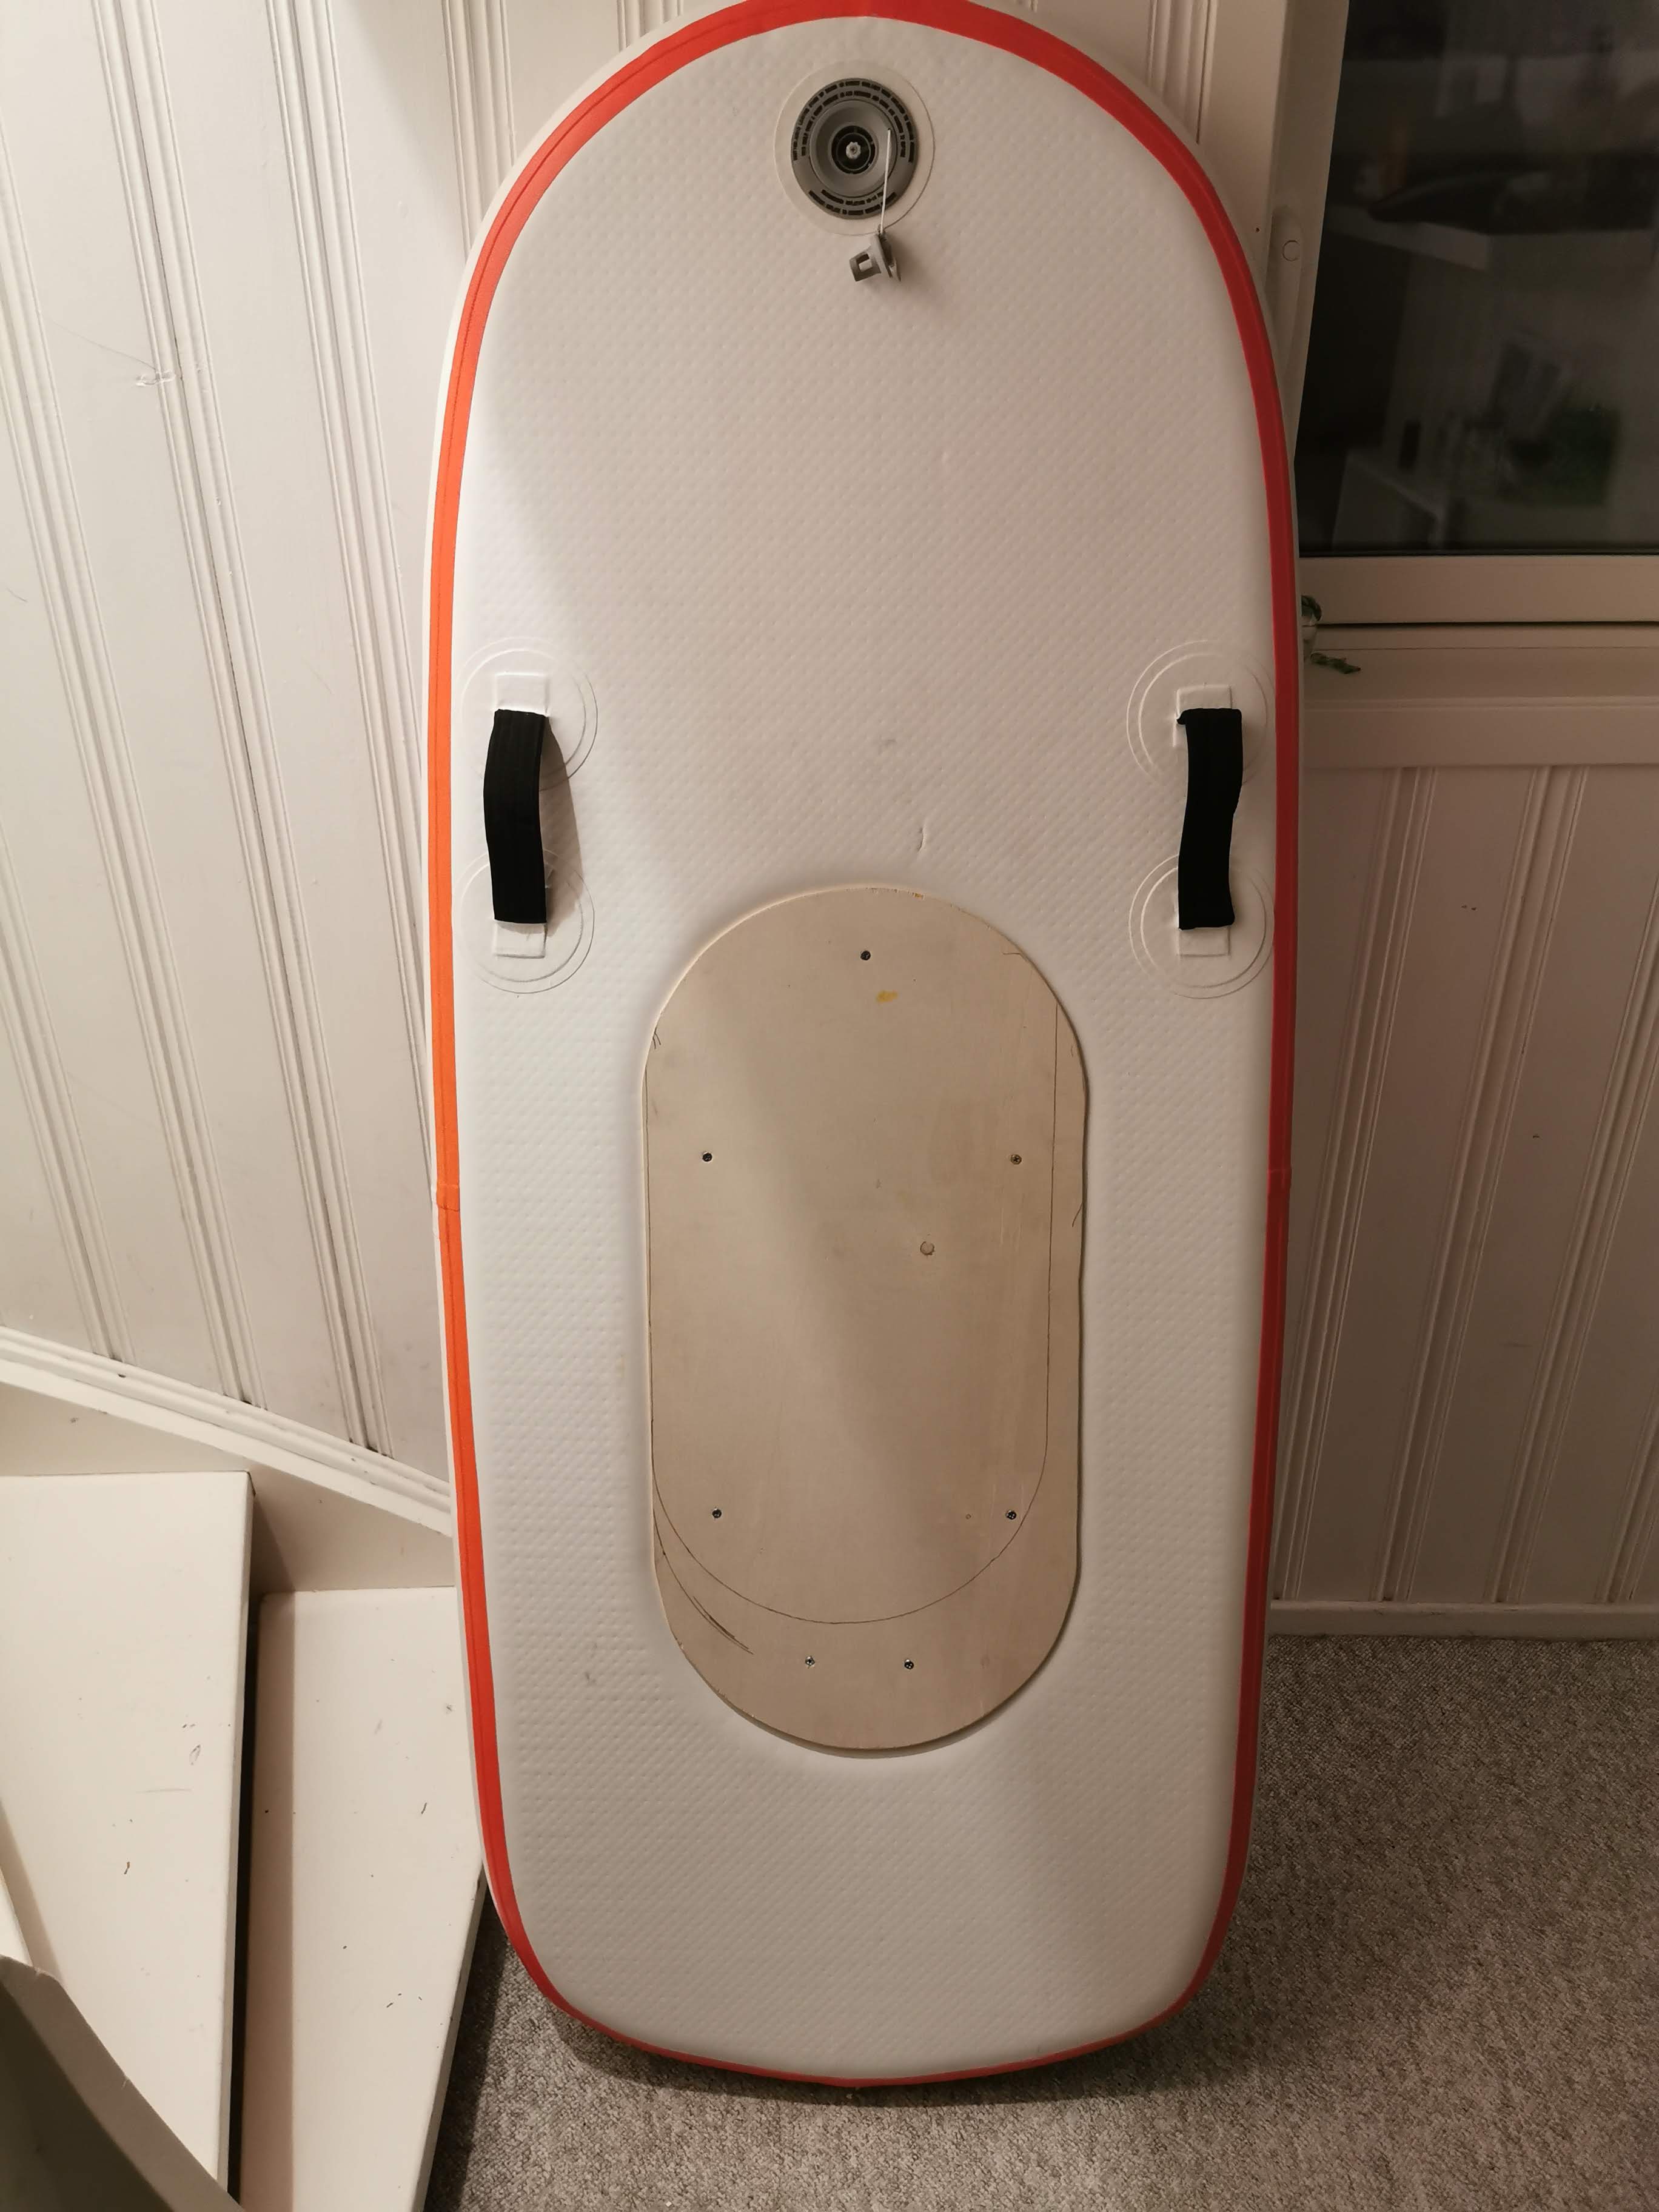
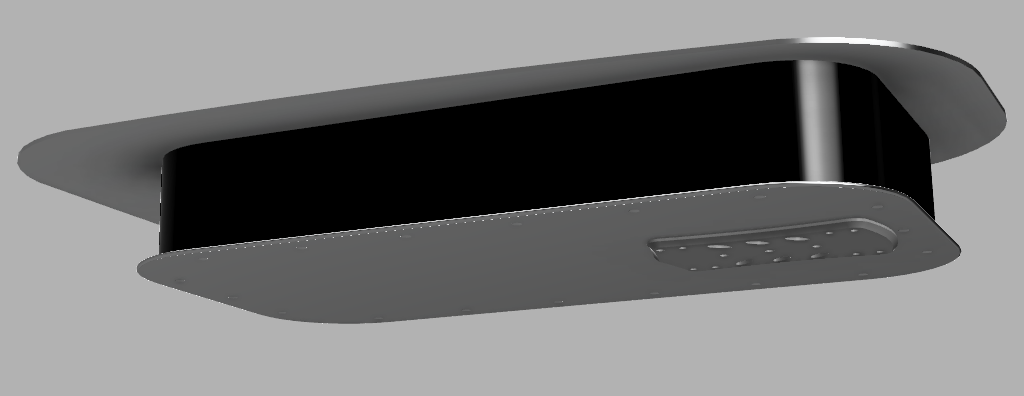
This time I decided to to a mock first, so after a couple of hours in Fusion 360 to get the dimensions right, it was off to the hardware store and by some plywood. Hand here is the result.
It sits quite nice to the board but I discovered that the back of the inflatable is a few mm thinner than the front, so that’s something I have to compensate for.
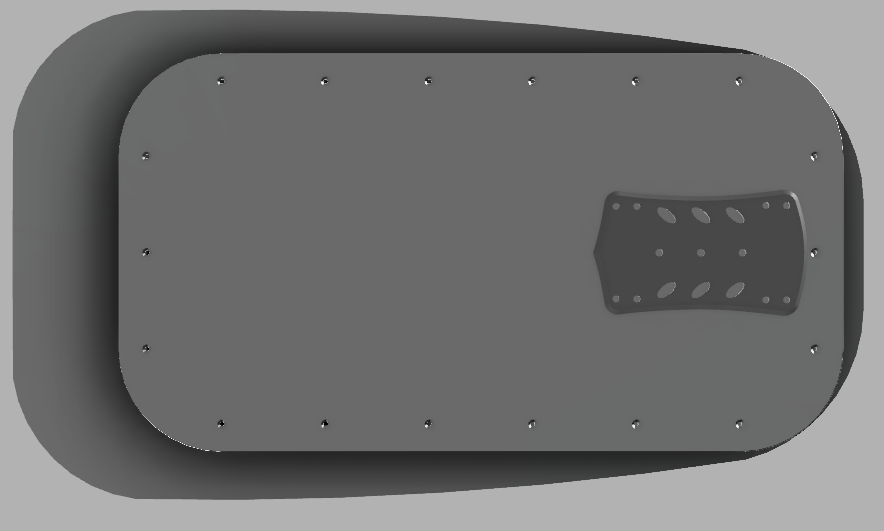
Another thing I’ve been trying out this last week is the top plate, or at least the concept of it. This includes something I’ve never done before. Fiberglassing.
After a few test I ended up with 3D printing the inverted copy of a plate, like a mould, with small elevations indicating where holes should be drilled. Coating the inside with some release fluid and on to filling the mould with epoxy and pieces of fiberglass.
After 24 hours of curing, the plate popped out really easy. With a bit of sanding and perhaps a thin coat of epoxy to cover the structure you get from a 3D printed part you have a strong plate with exact measurements.
I just bought an inflatable board too, i will follow your work
I’ve planned to use my CNC to build a box and reinforce it with carbonfiber. I think using 2 aluminum plates like you is great for rigidity but it’s maybe too heavy…This is an example of what i did before :
Very nice.
I can’t see all the screws of the 90x165mm screw pattern on your box. Elevate included the 2 fore screw inserts in the round vertical walls. Will you do that as well ?
You gain some volume with a straight wall but I don’t think you benefit from an optimal double I beam effect if the wall is straight. I think it should be round like Elevate did. Could form an angle for a better strain repartition though.
So, i am working on the weekend in cAD on that Box.
I want to 3D print the borders.
Bottom should be aluminium.
The top i think i will made with aircraft plywood and laminate it with glas.
So you would need to screw the lid onto the supports, each time you set up the efoil? Then you would have a waterproof box inside? If it is very light, ok but you need a box with top and bottom in between so you have 2 top and 2 bottom layers which add weight and you can’t open the box when the efoil is assembled. The gaps between the inflatable board and the “frame” will get flooded (and would add weight for some time when getting on the foil) unless it is possible to seal top and bottom.
Thank you @SoEFoil.
Yes, the front screws are going through the vertical rear wall, and yes, the wall will be slightly curved as well. Also, I’m consider having a curved vertical wall instead of the two back cylinders
Well, release fluid was perhaps not the correct word in English. Release agent might be the correct word. The release agent makes sure that the epoxy doesn’t sick to the from. I just asked for something good in my local boat store.
I’m using regular PLA to print the form
Very nice.
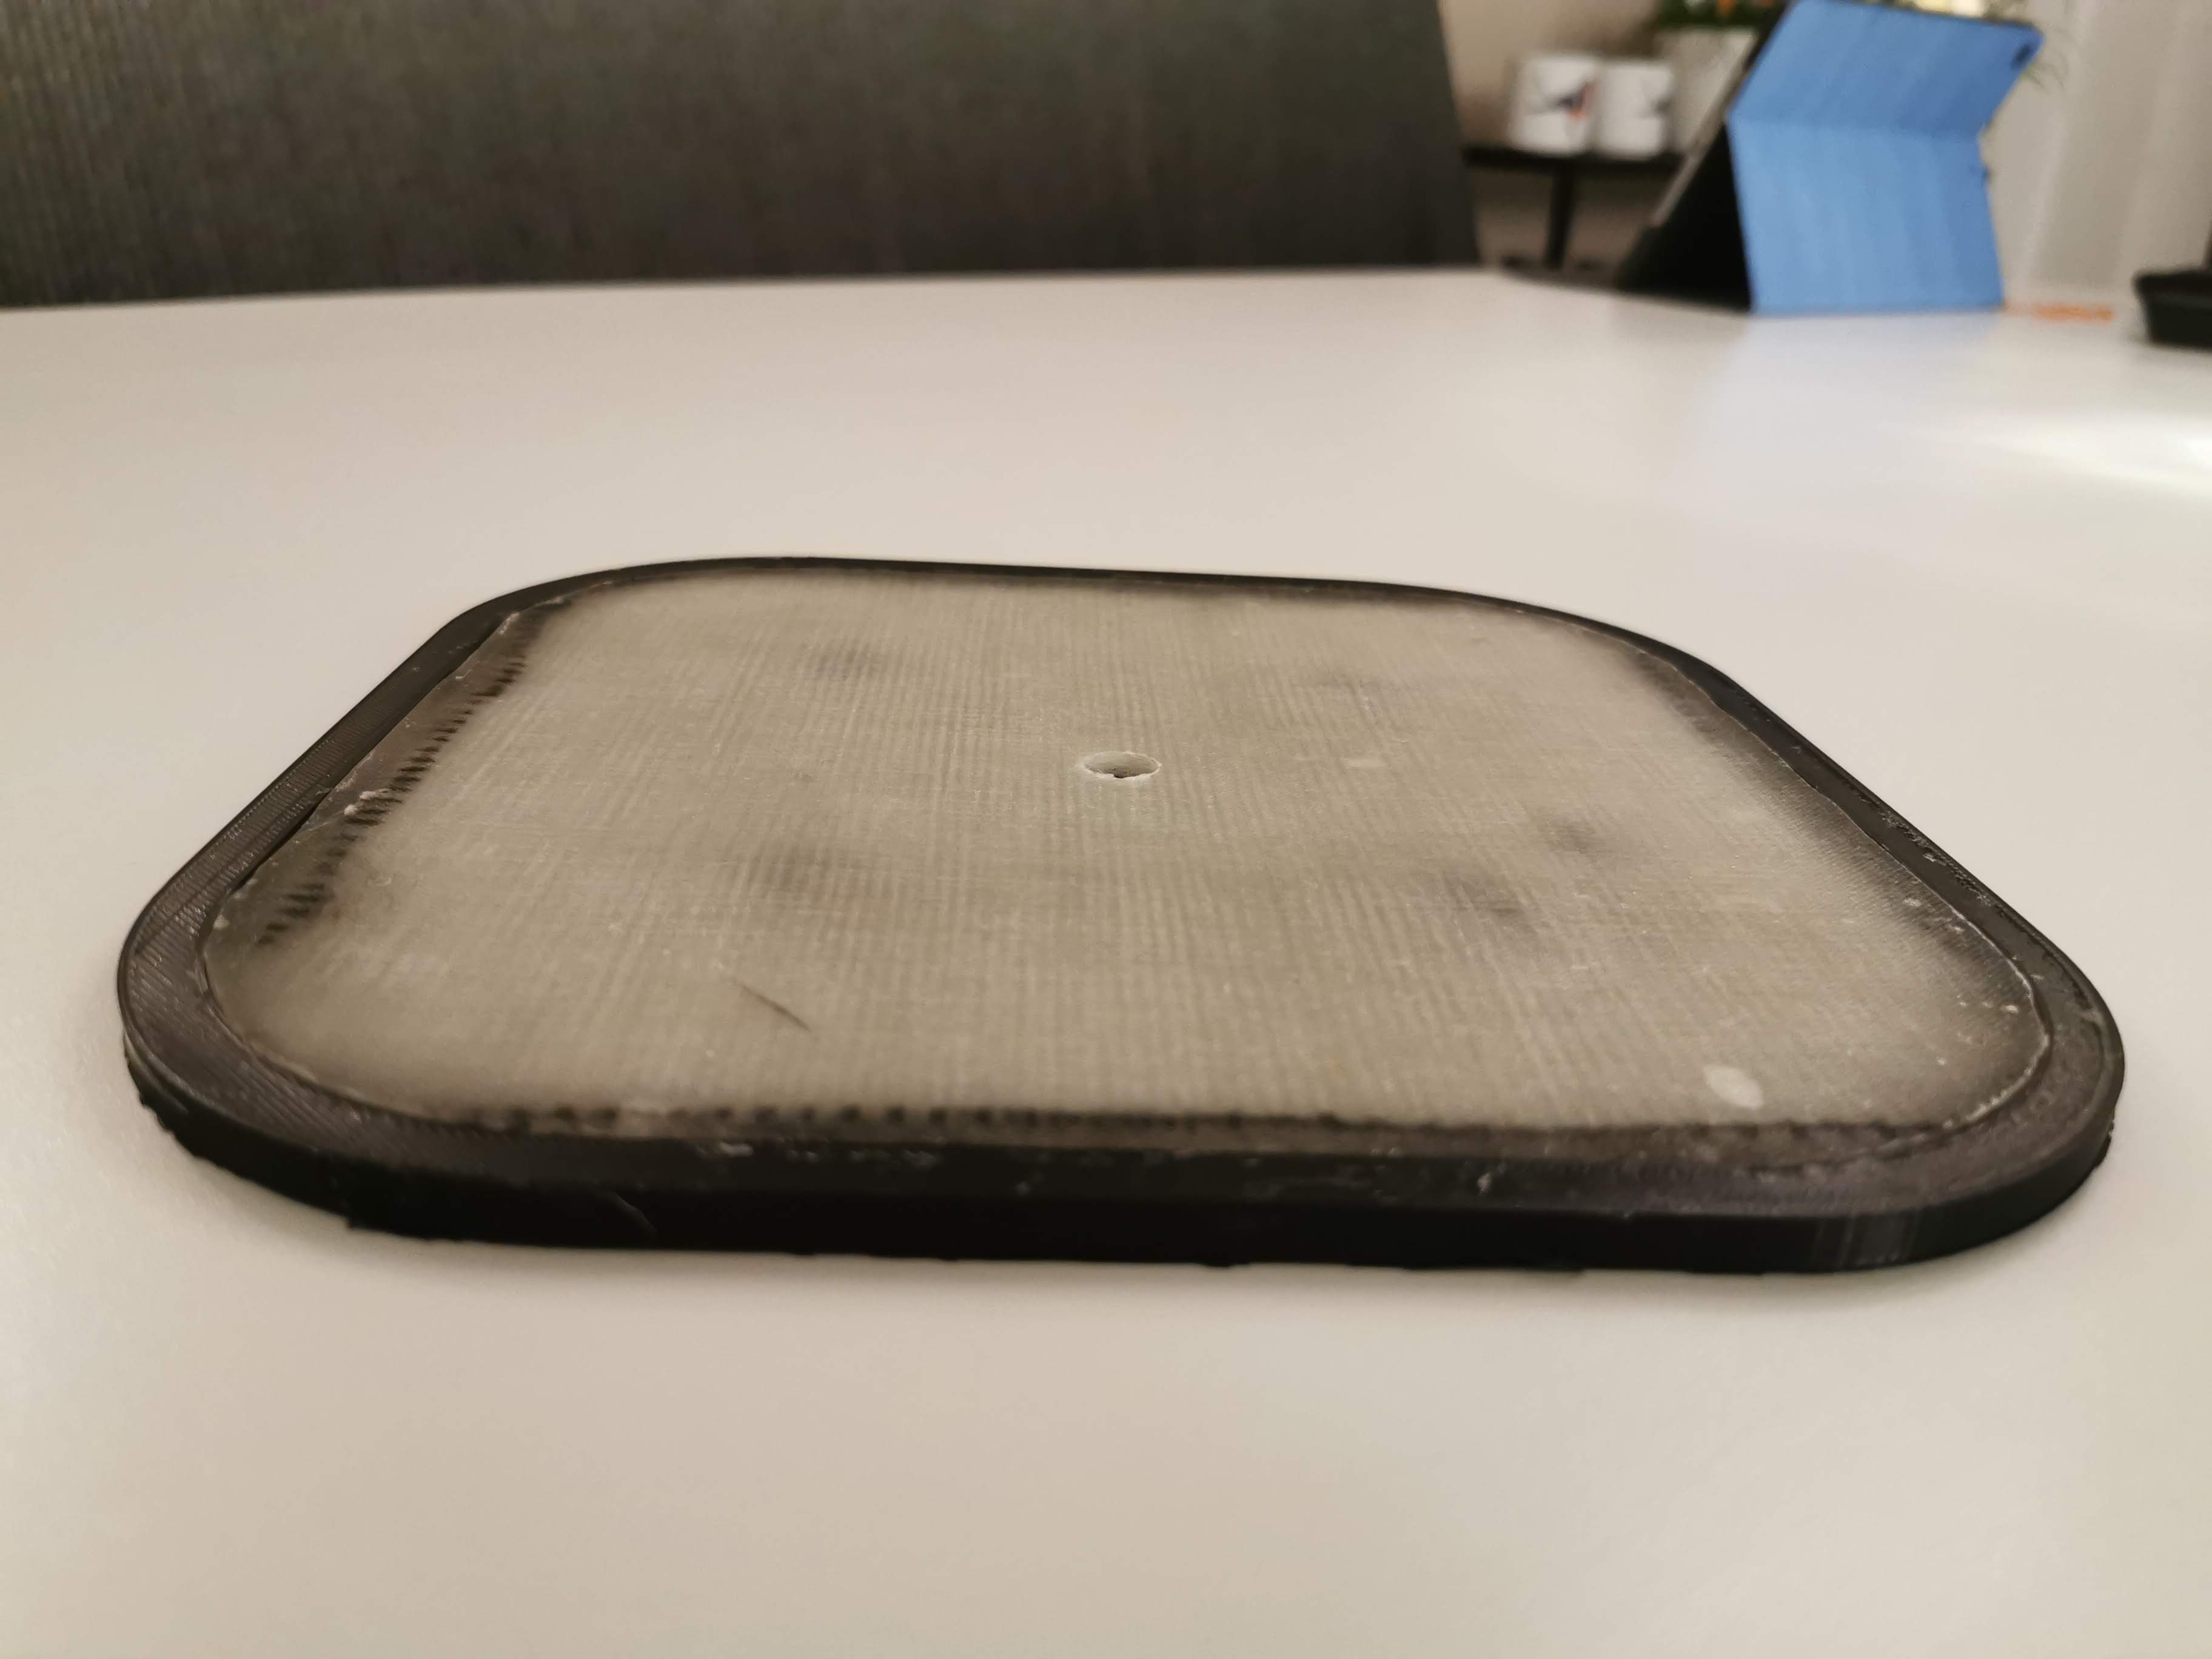
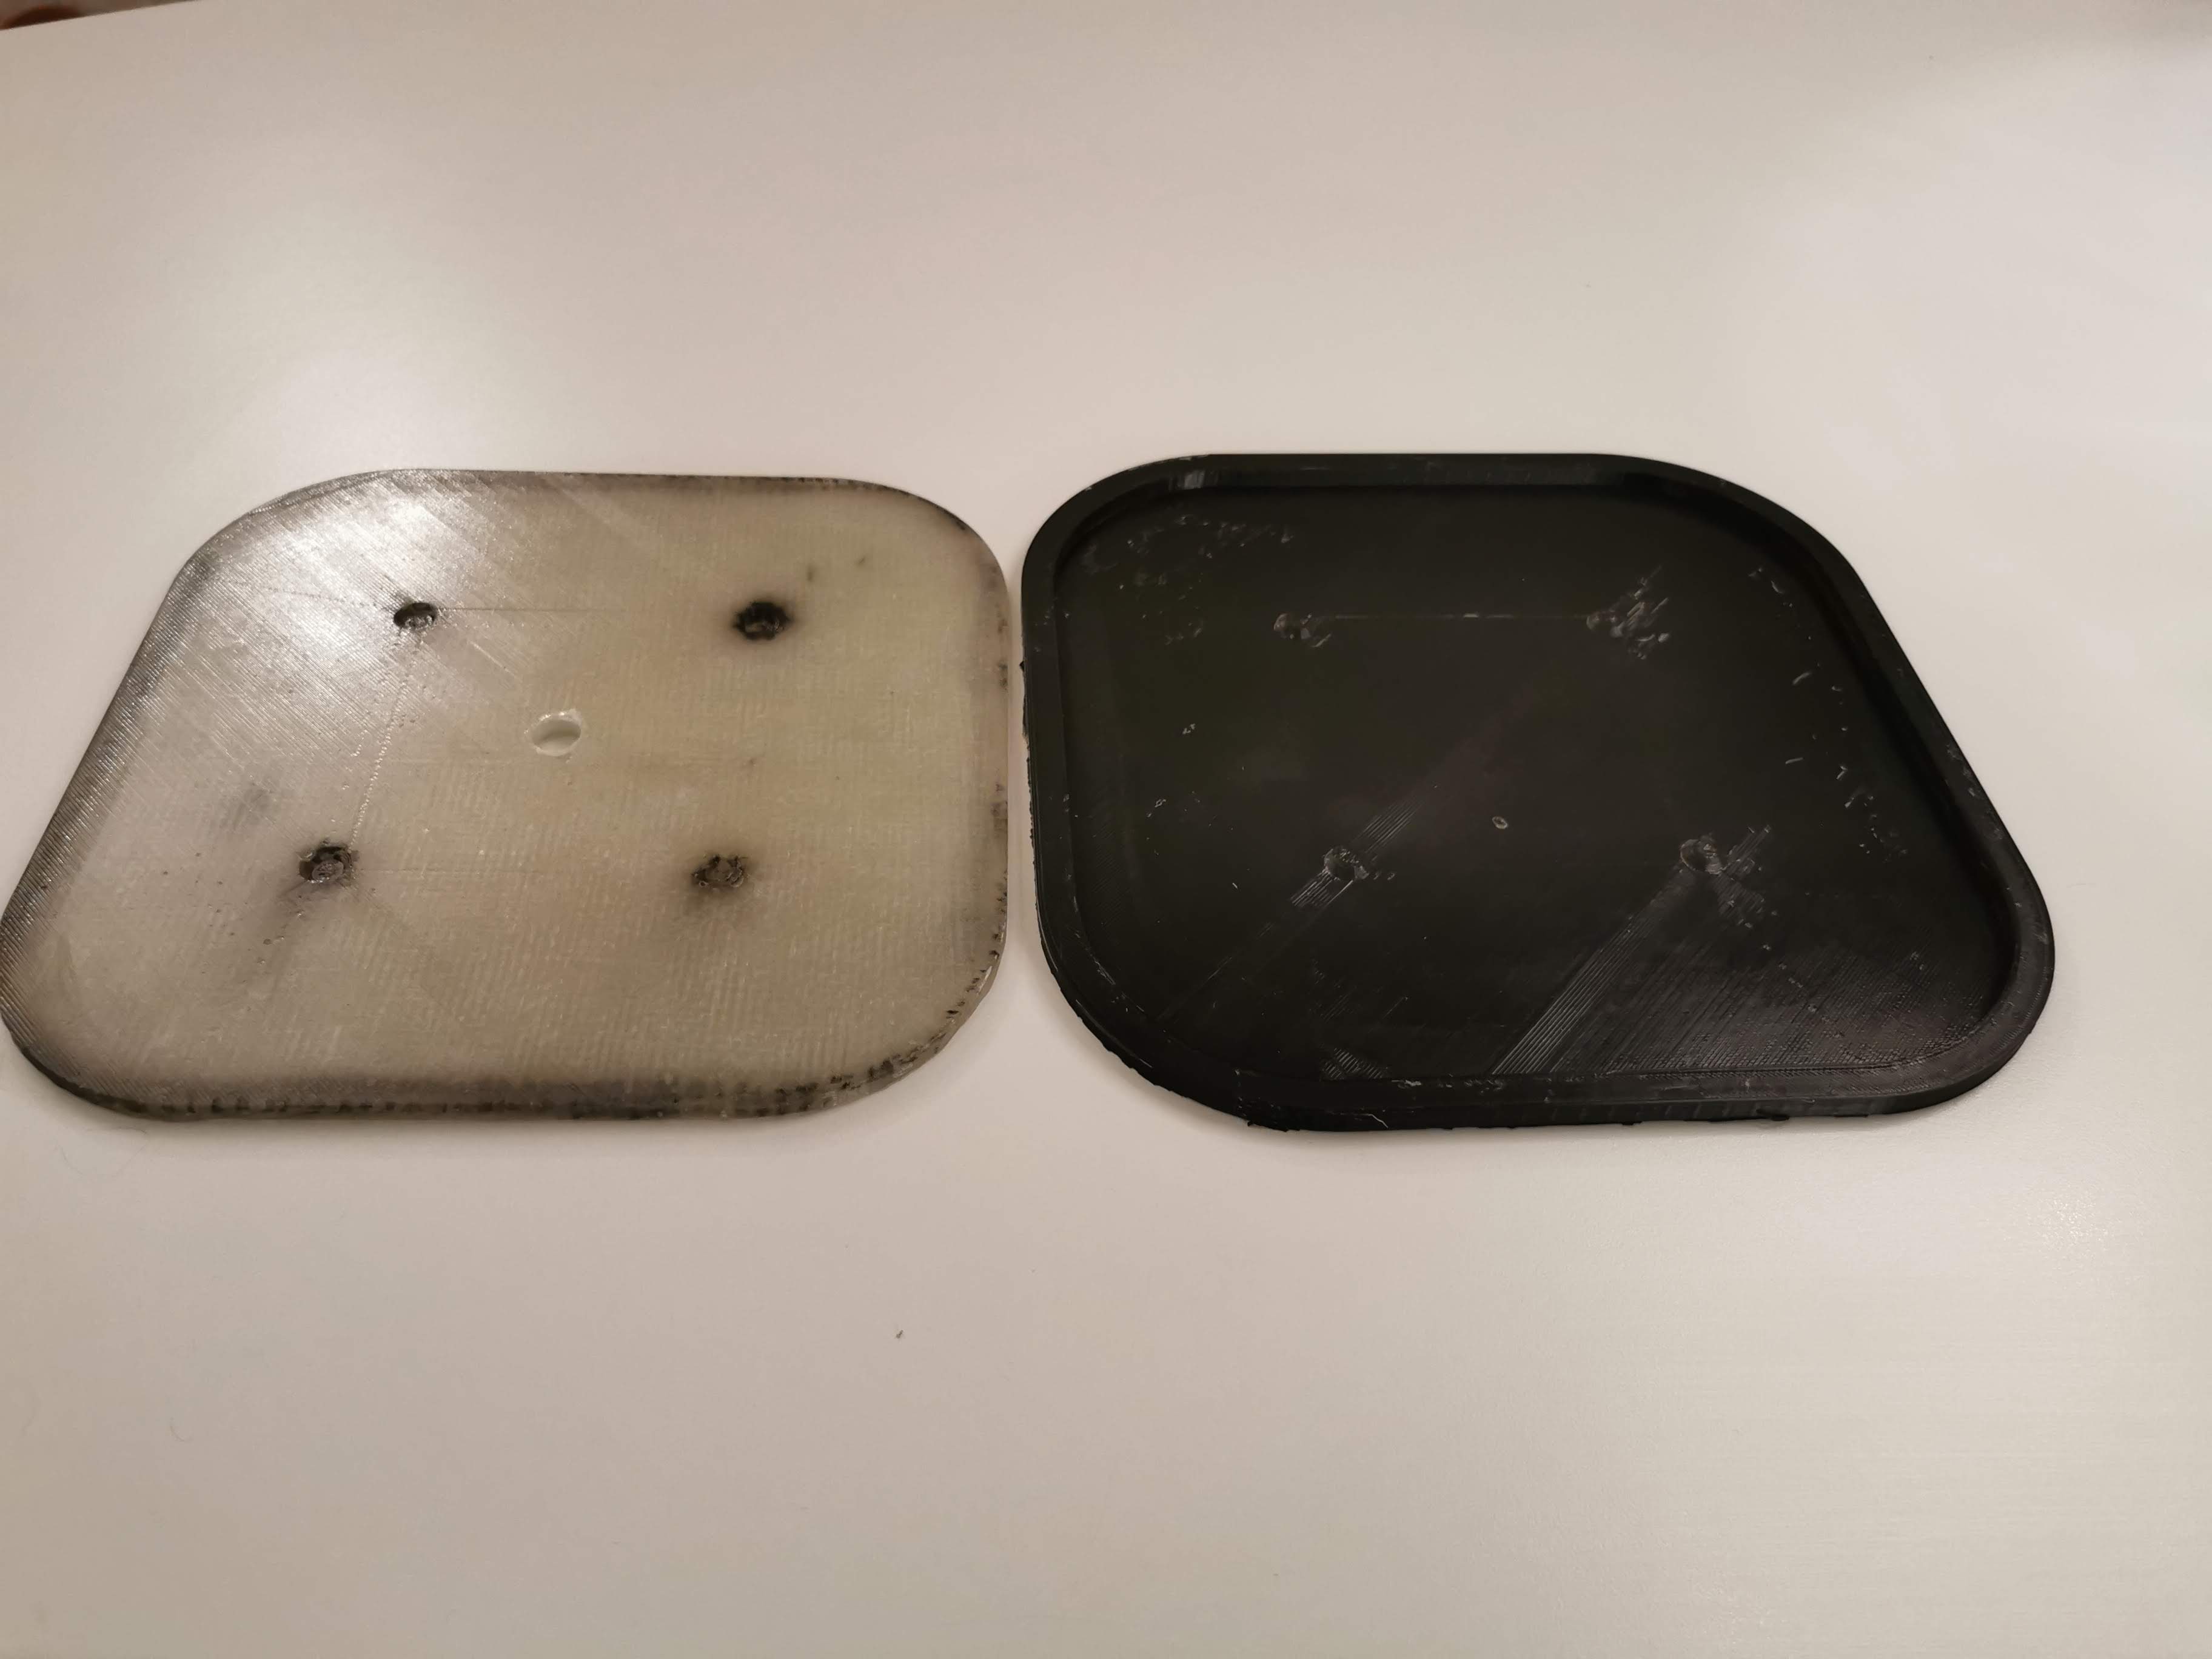
I can’t see the inside of your box but you should consider having two-skin connection for your front screws in the plate like @SoEFoil suggest. There will be quite a lot of stress on the bottom plate
I think you should try to alter your design slightly, so that the rear screws for the plate runs through the vertical wall and have two cylinders or an inside wall for the front screws, making a two-skin connection for the plate
Also, I recommend you to buy some cheap plywood to make a mock. I think I printed the walls three times in my first design before I got it right.