Volker’s Build - 80100 18650-30Q

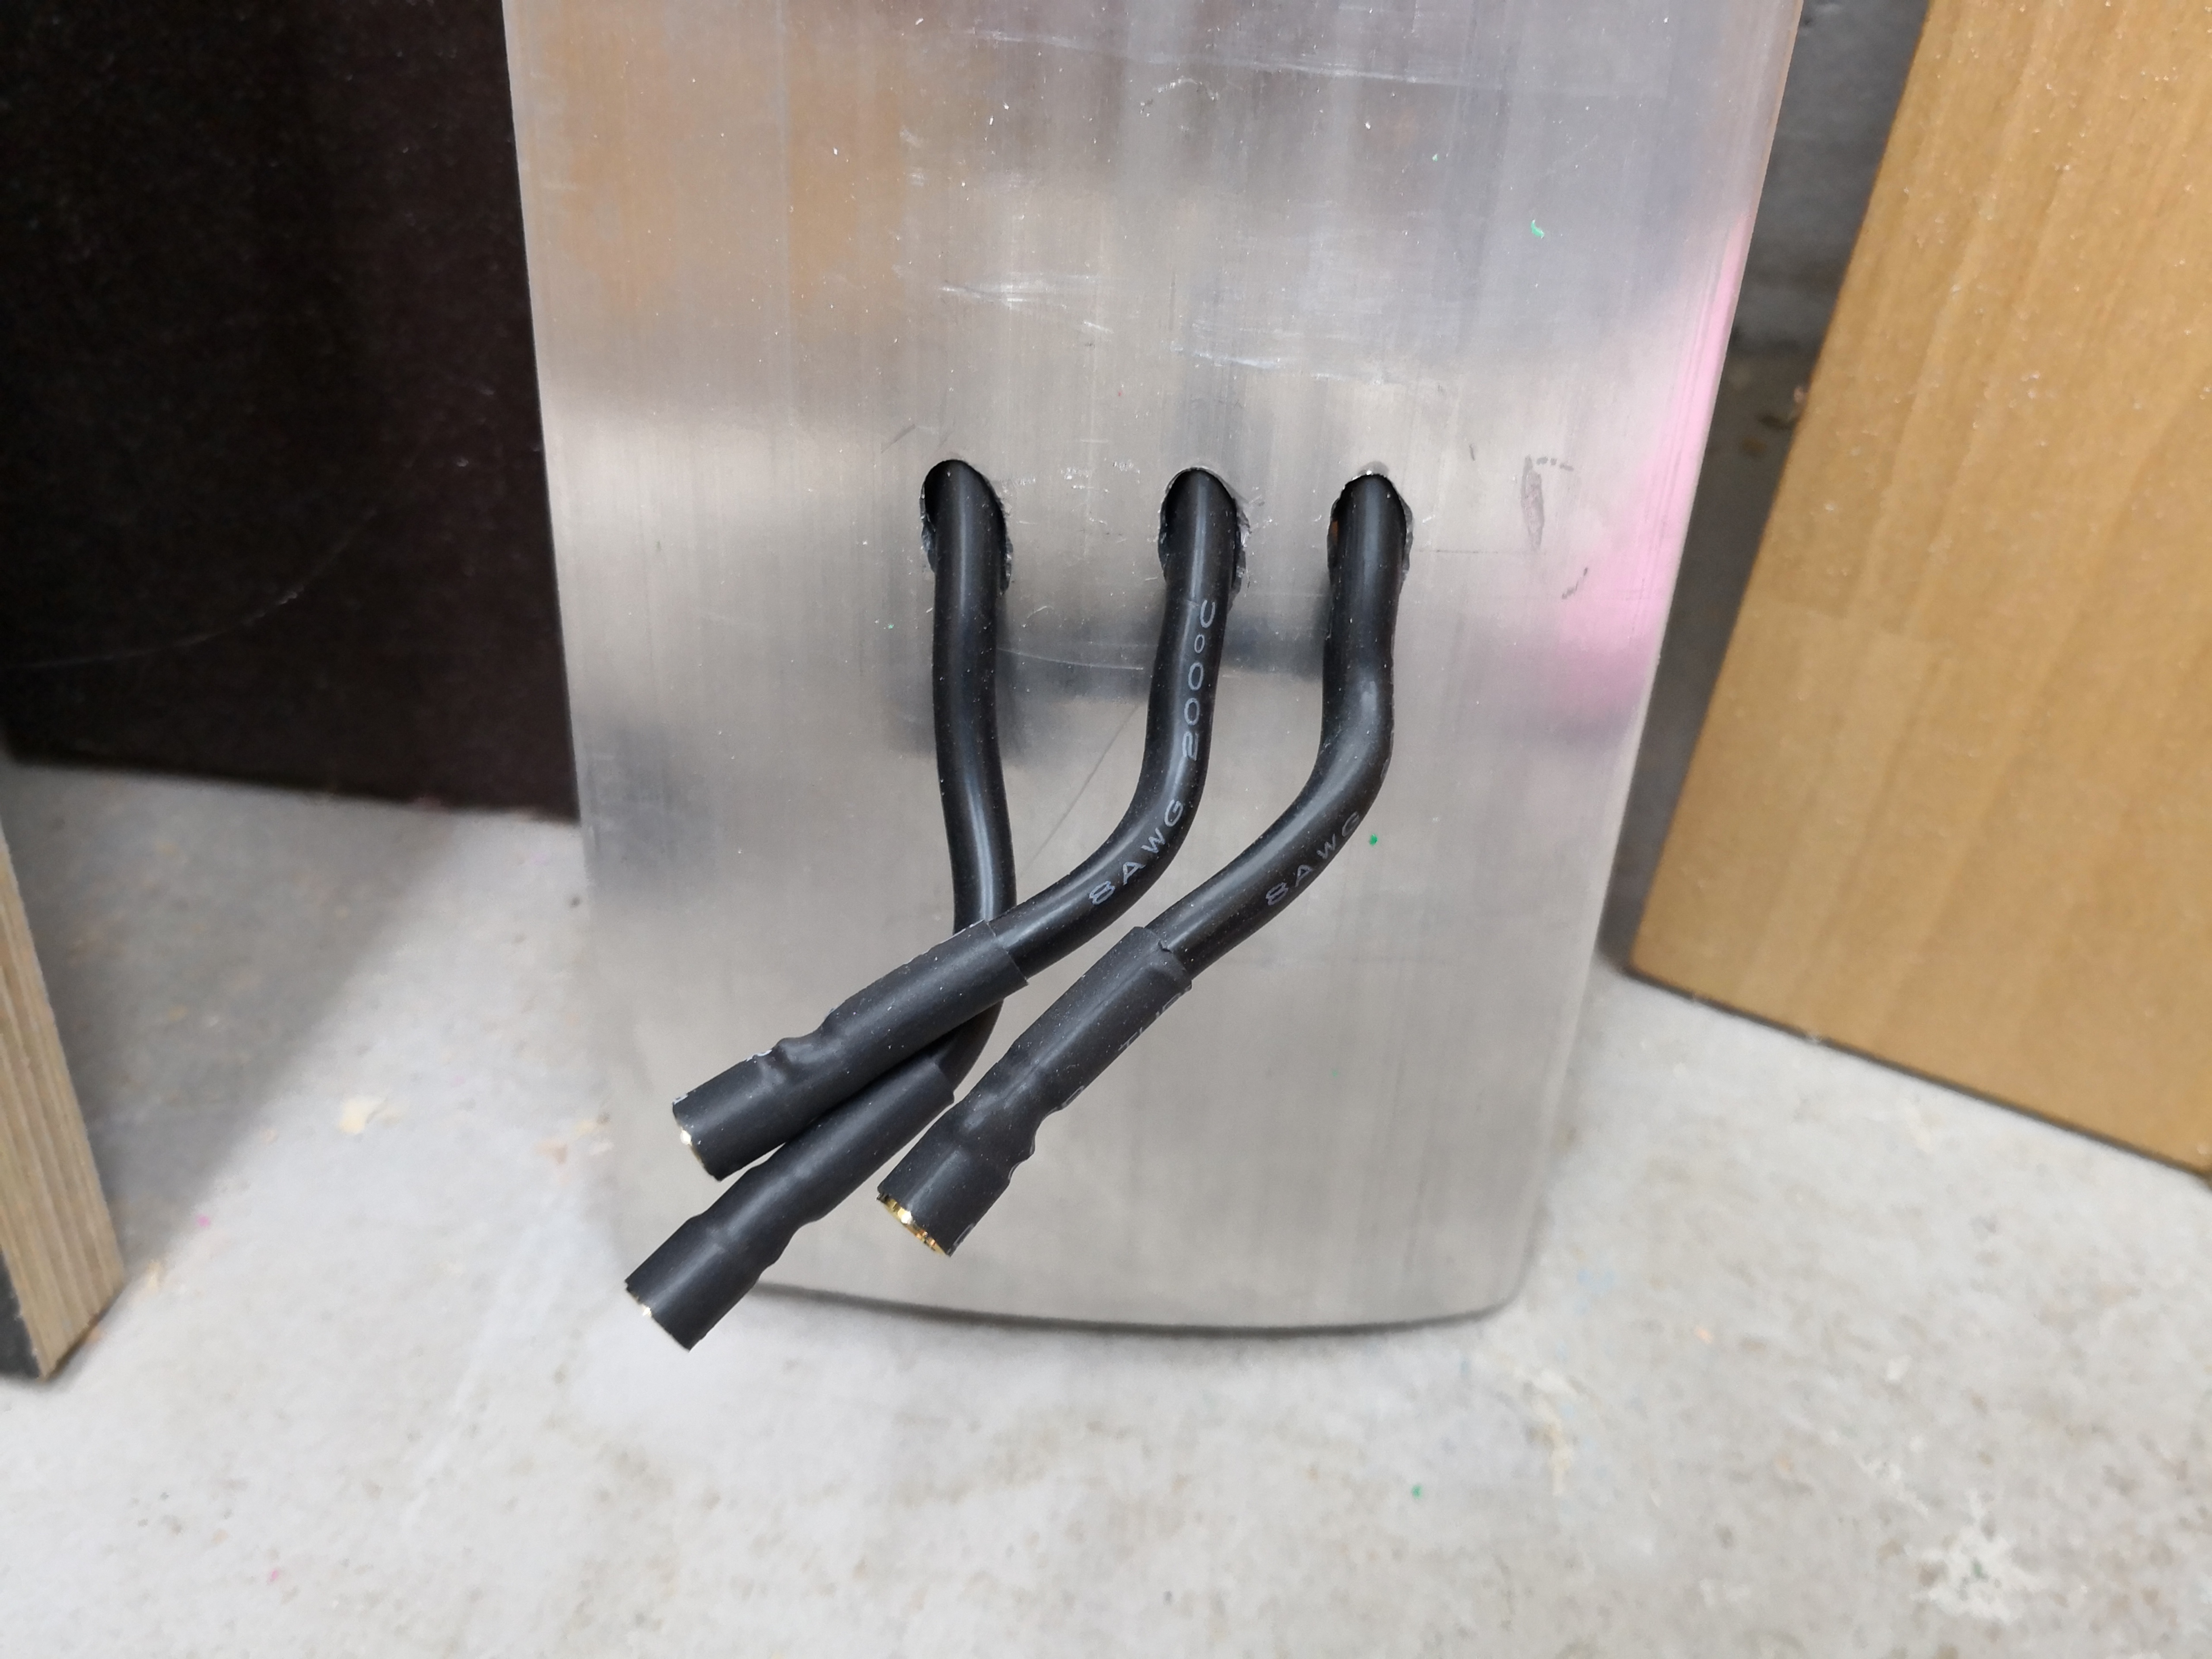
You have to double there, where the current is flowing.
The pack would work even without the p-stripes, they are only for balance charging.

And these packs couldnt be welded with 27mm stripes.
These packs are 6s. Look at the Terminal, there you can see 2rows with 5cells. These are all parallel (10). In serial with next 2 rows in serial with next… and so on

The terminal wire where double on P , i just would have done the same way on each

Yes, thats only, so spread the current equal to all 10 cells.

I could have doubled them too, but its 2mm² Nickel, and each cell has direct path to terminal wires, thats ok.
In the middle the Nickel has to take the current from 2 parallel cells, thats the reason i doubled there

Can’t wait to test them! v_s is so kind to weld them for me! Thanks again it just looks fantastic!

Right I had in head the fuse bus style , so yes double the S where current flows :face_with_hand_over_mouth:

1 Like

Board build

I guess i’ll name it Pink Panther :joy:

Building the Box:

Bandsaw & joining the Parts

Let the Hotwire fun begin:

Shaping with my special shaping tool

Its my first Monoski, i have learned on, still kept IT, no one knows, what it could be good for.
Gives a nice rough shape:

More wirecutting, and a bit of sanding

Laminating, what a awfull mess


Innards ready to reinforce with glass


The Mastmount ist reinforced with hardwood, and transfers and spreads the force into the Box

Final Resin Layer

Some imperfections, but who Cares?

Lucky me, everything fits inside :blush:


The Hatch is 8mm Plywood with one layer 200g glass and a couple screws

First water contact, with jumping around on board, everything is waterproof, no leakage :+1:

7 Likes

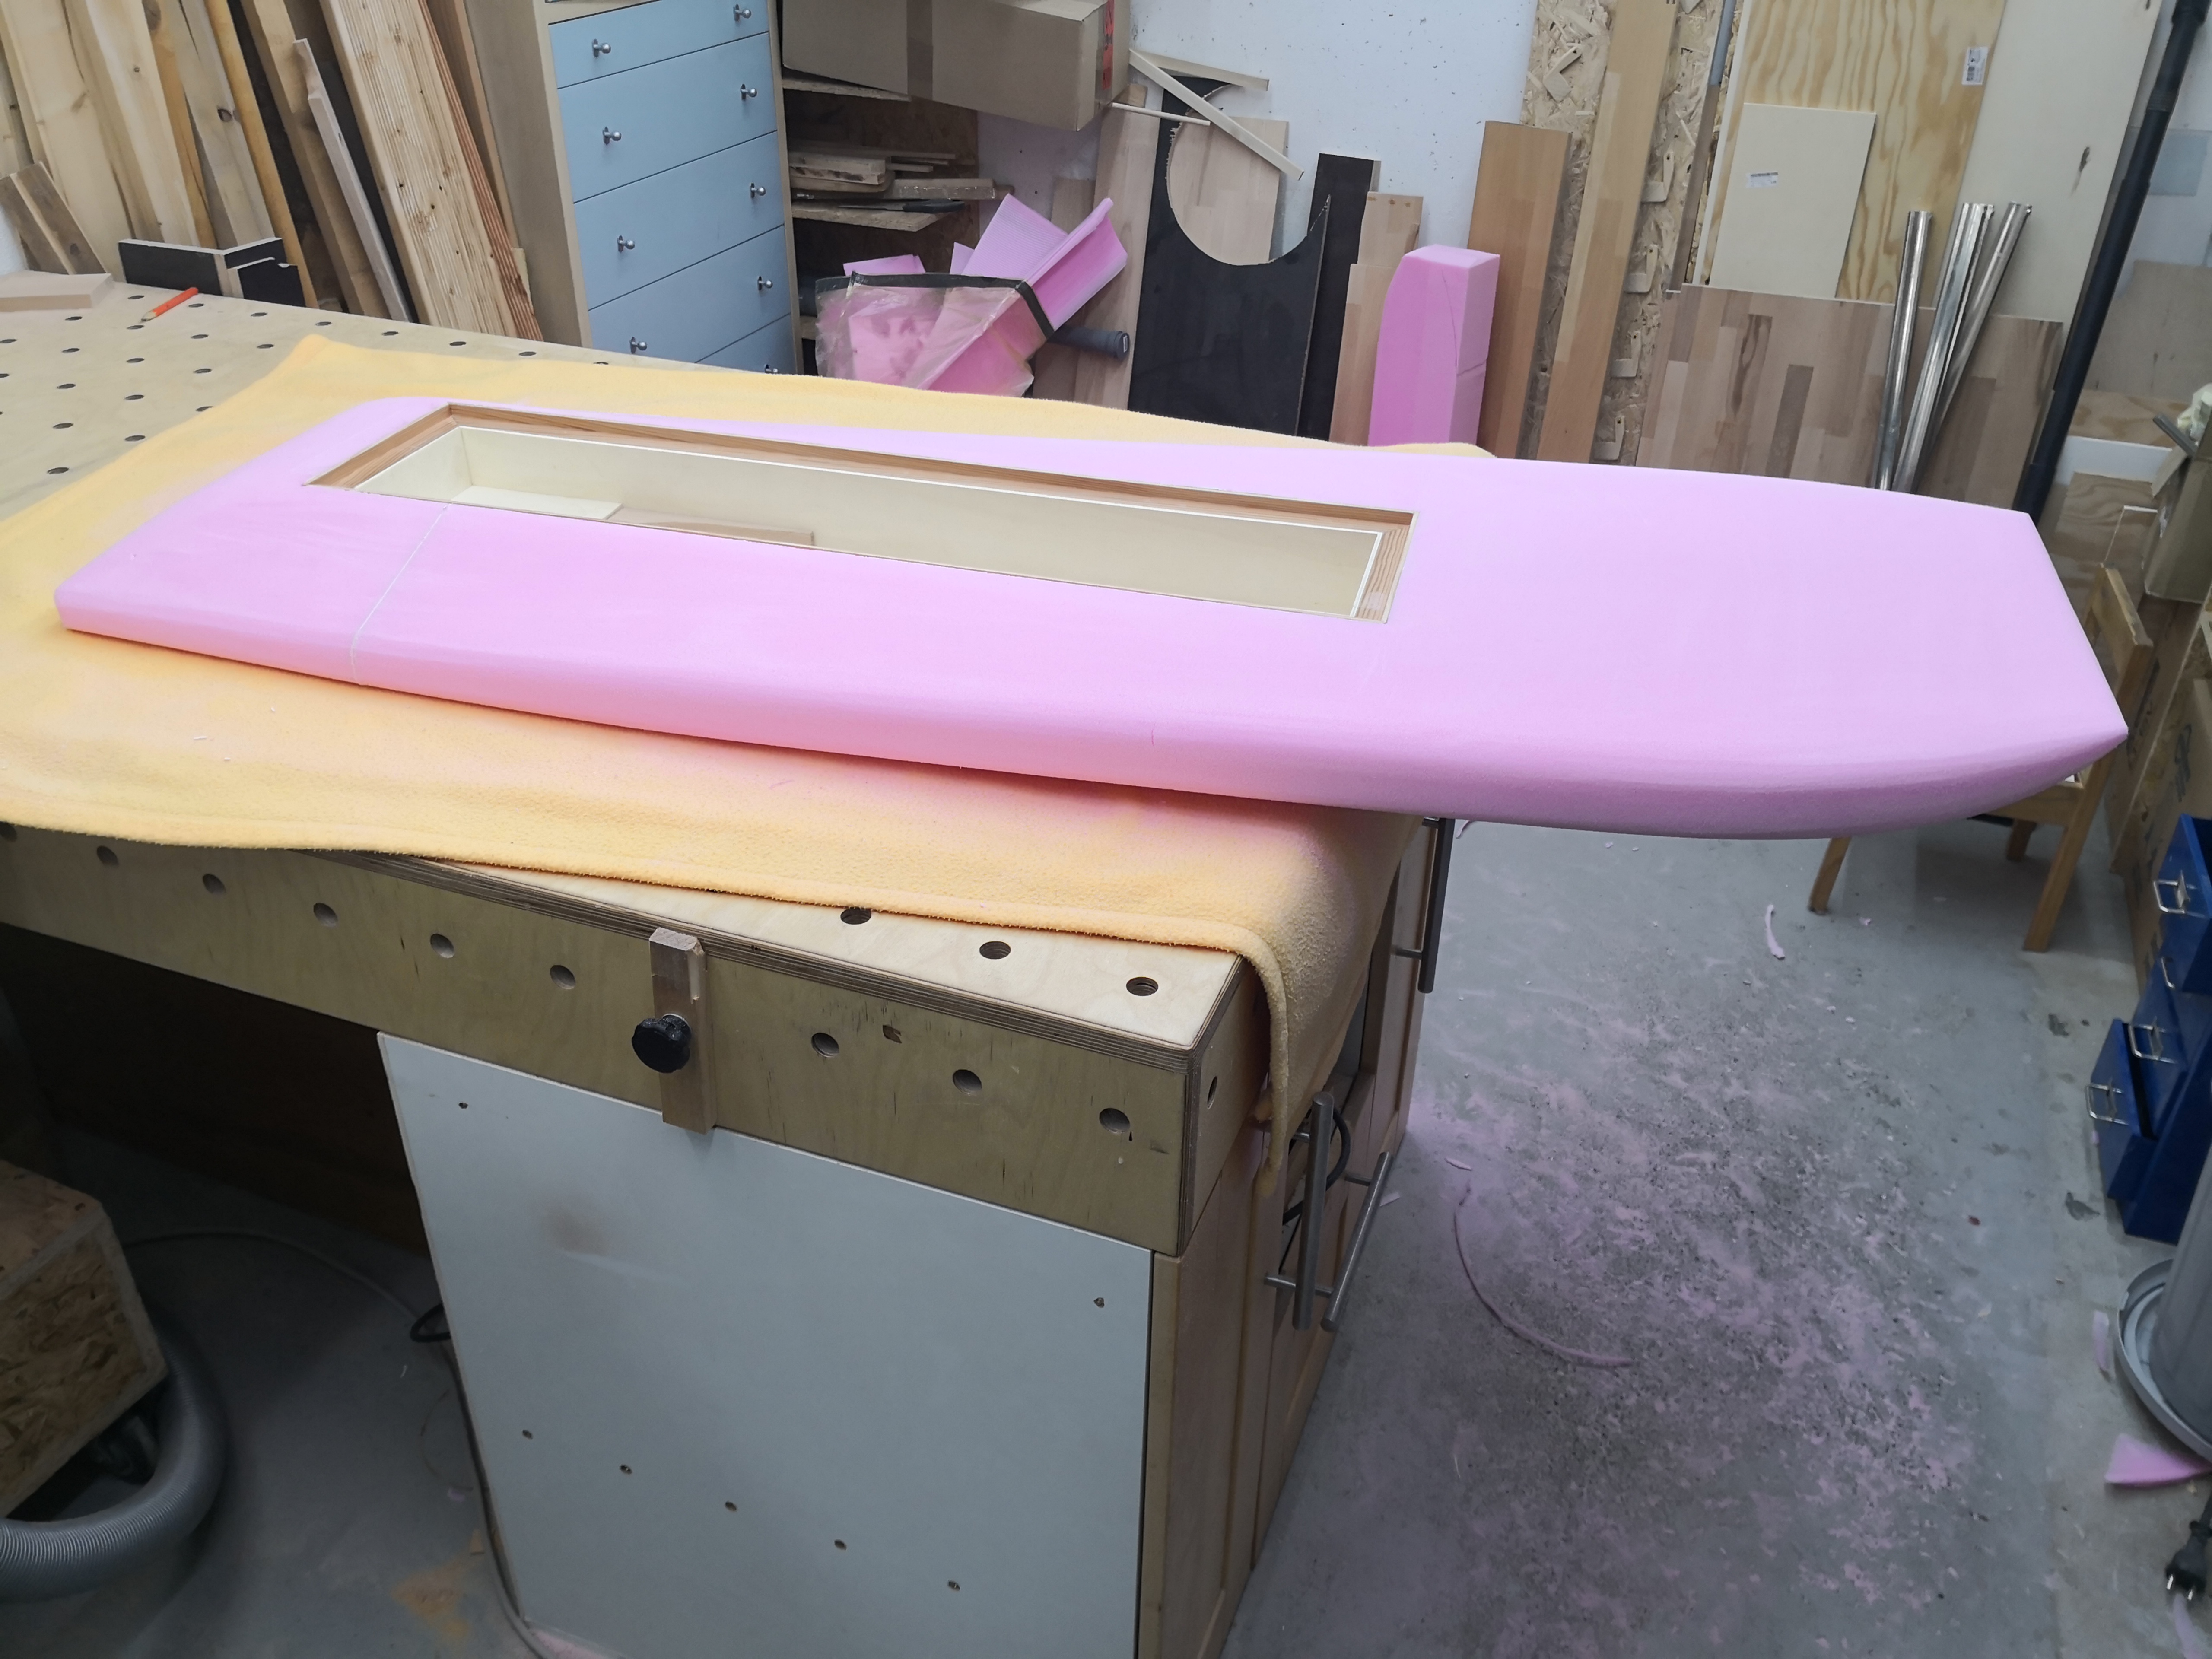
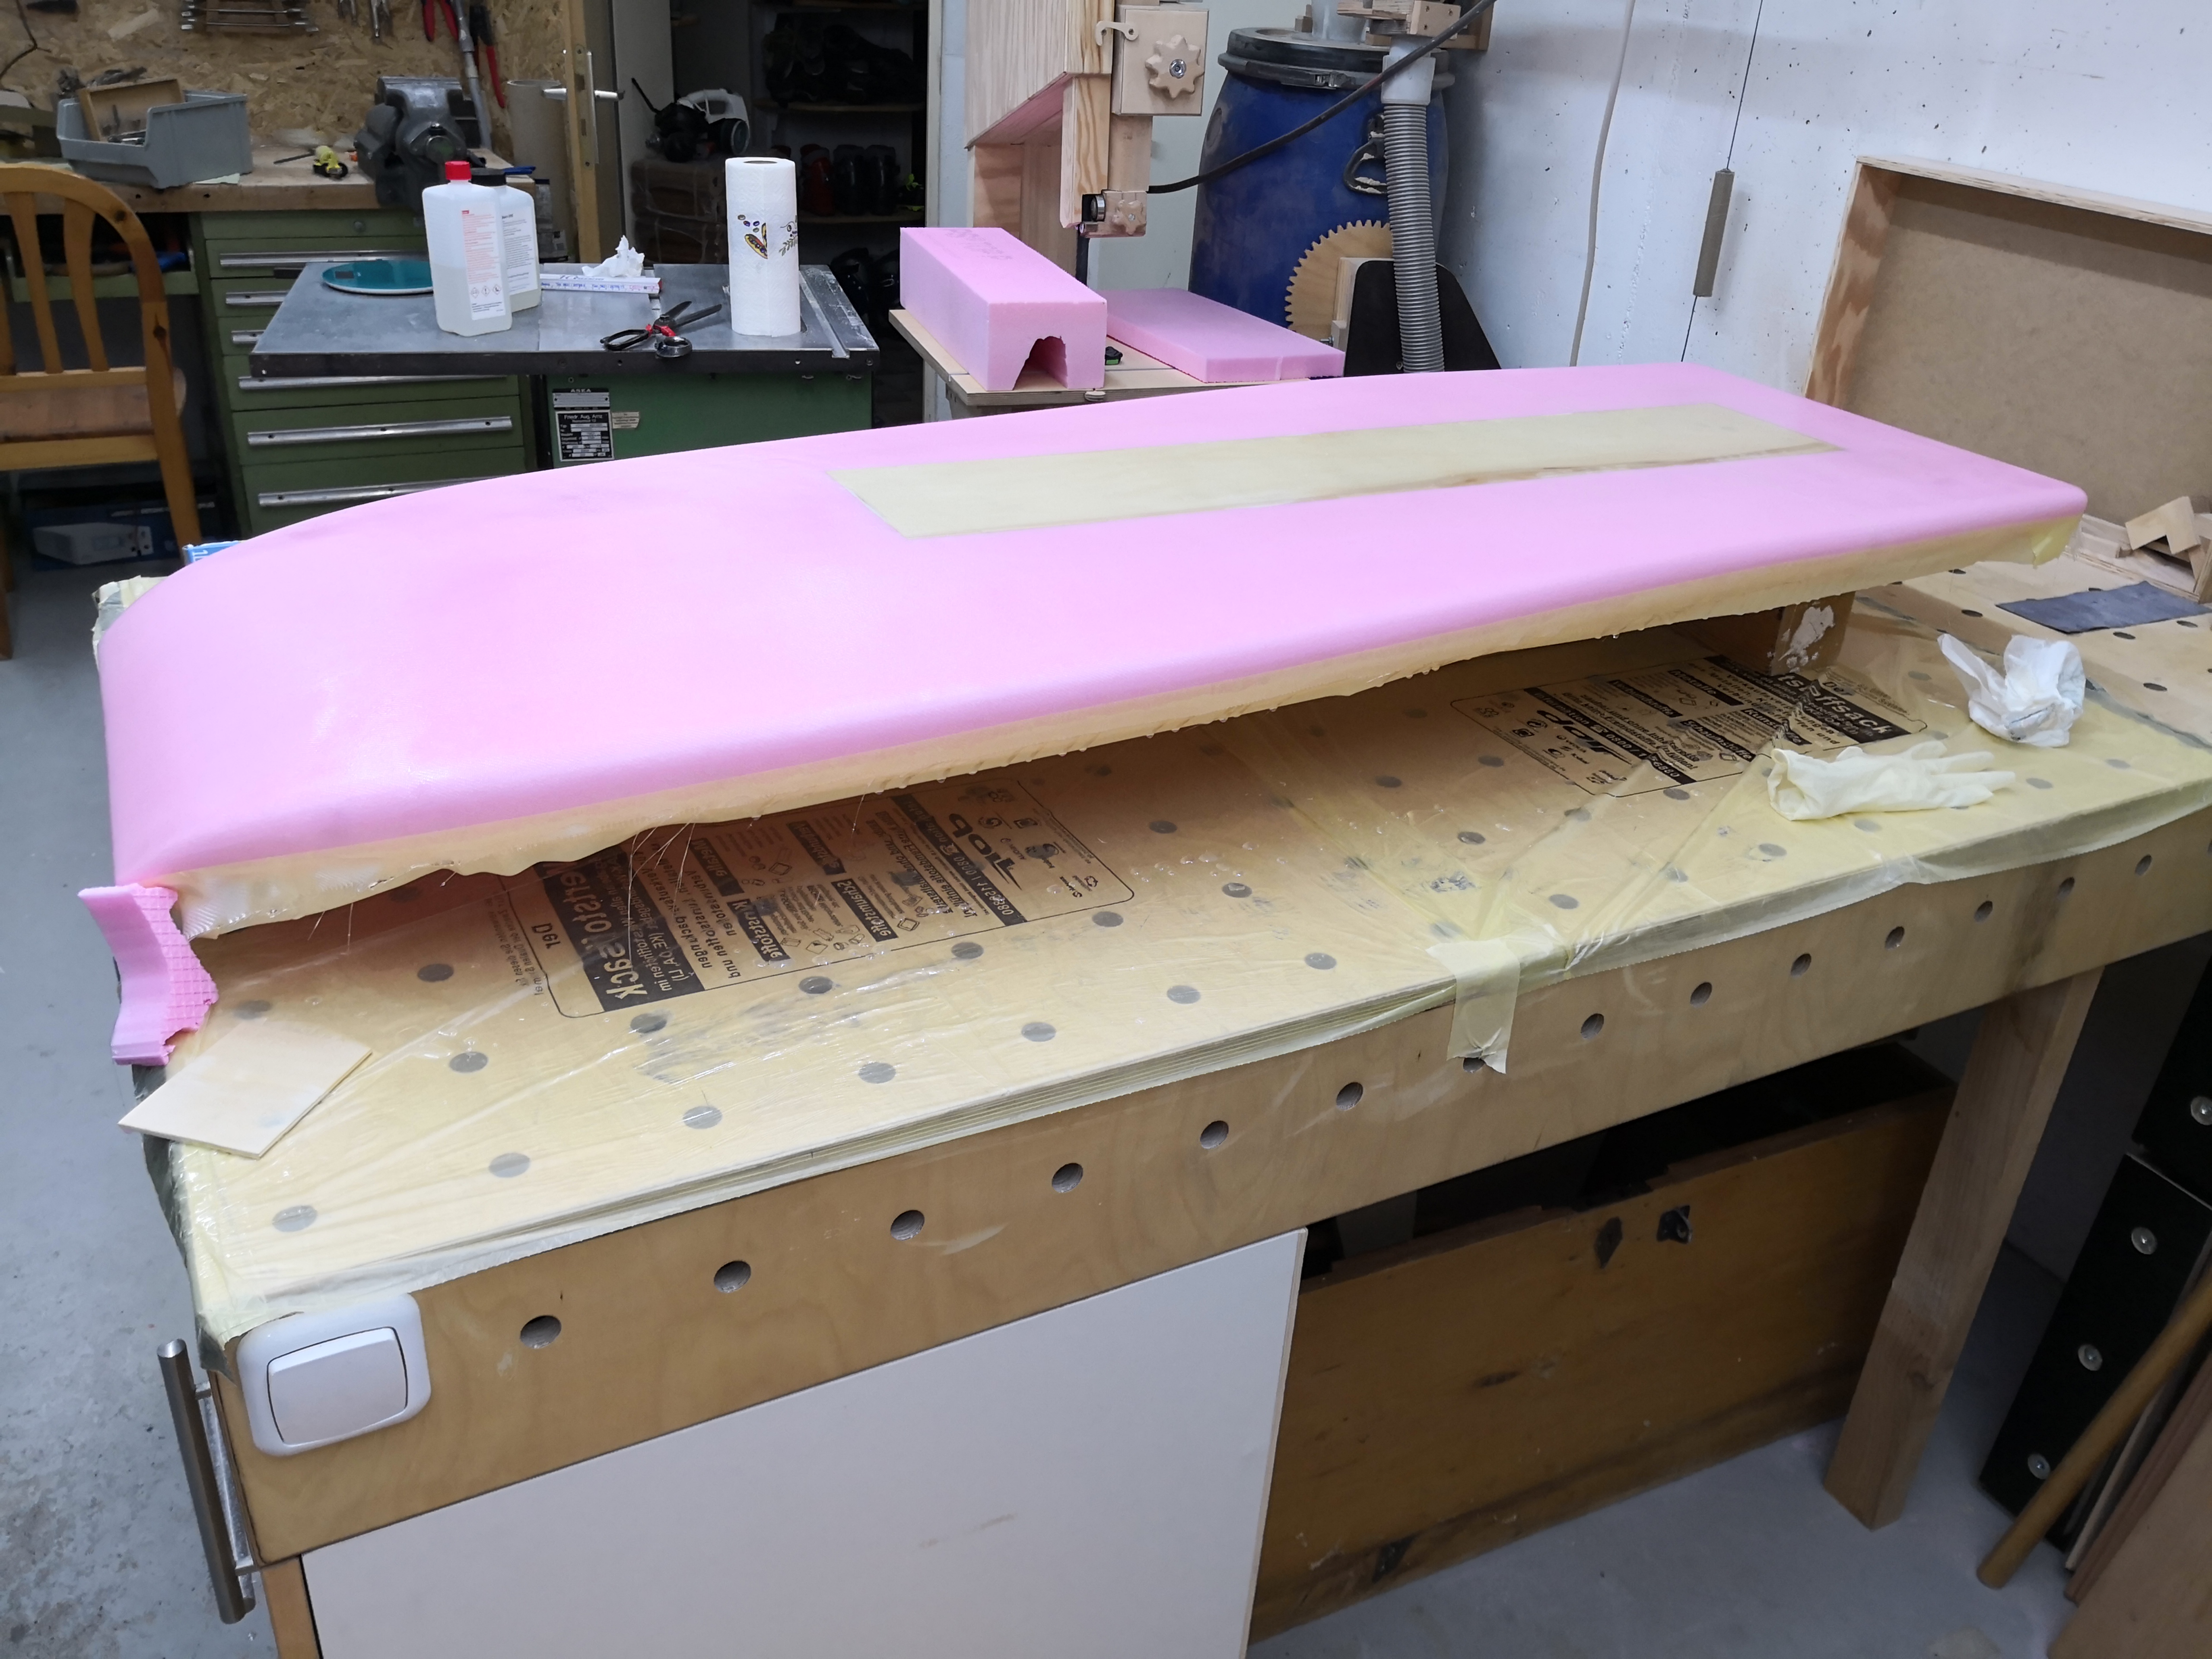
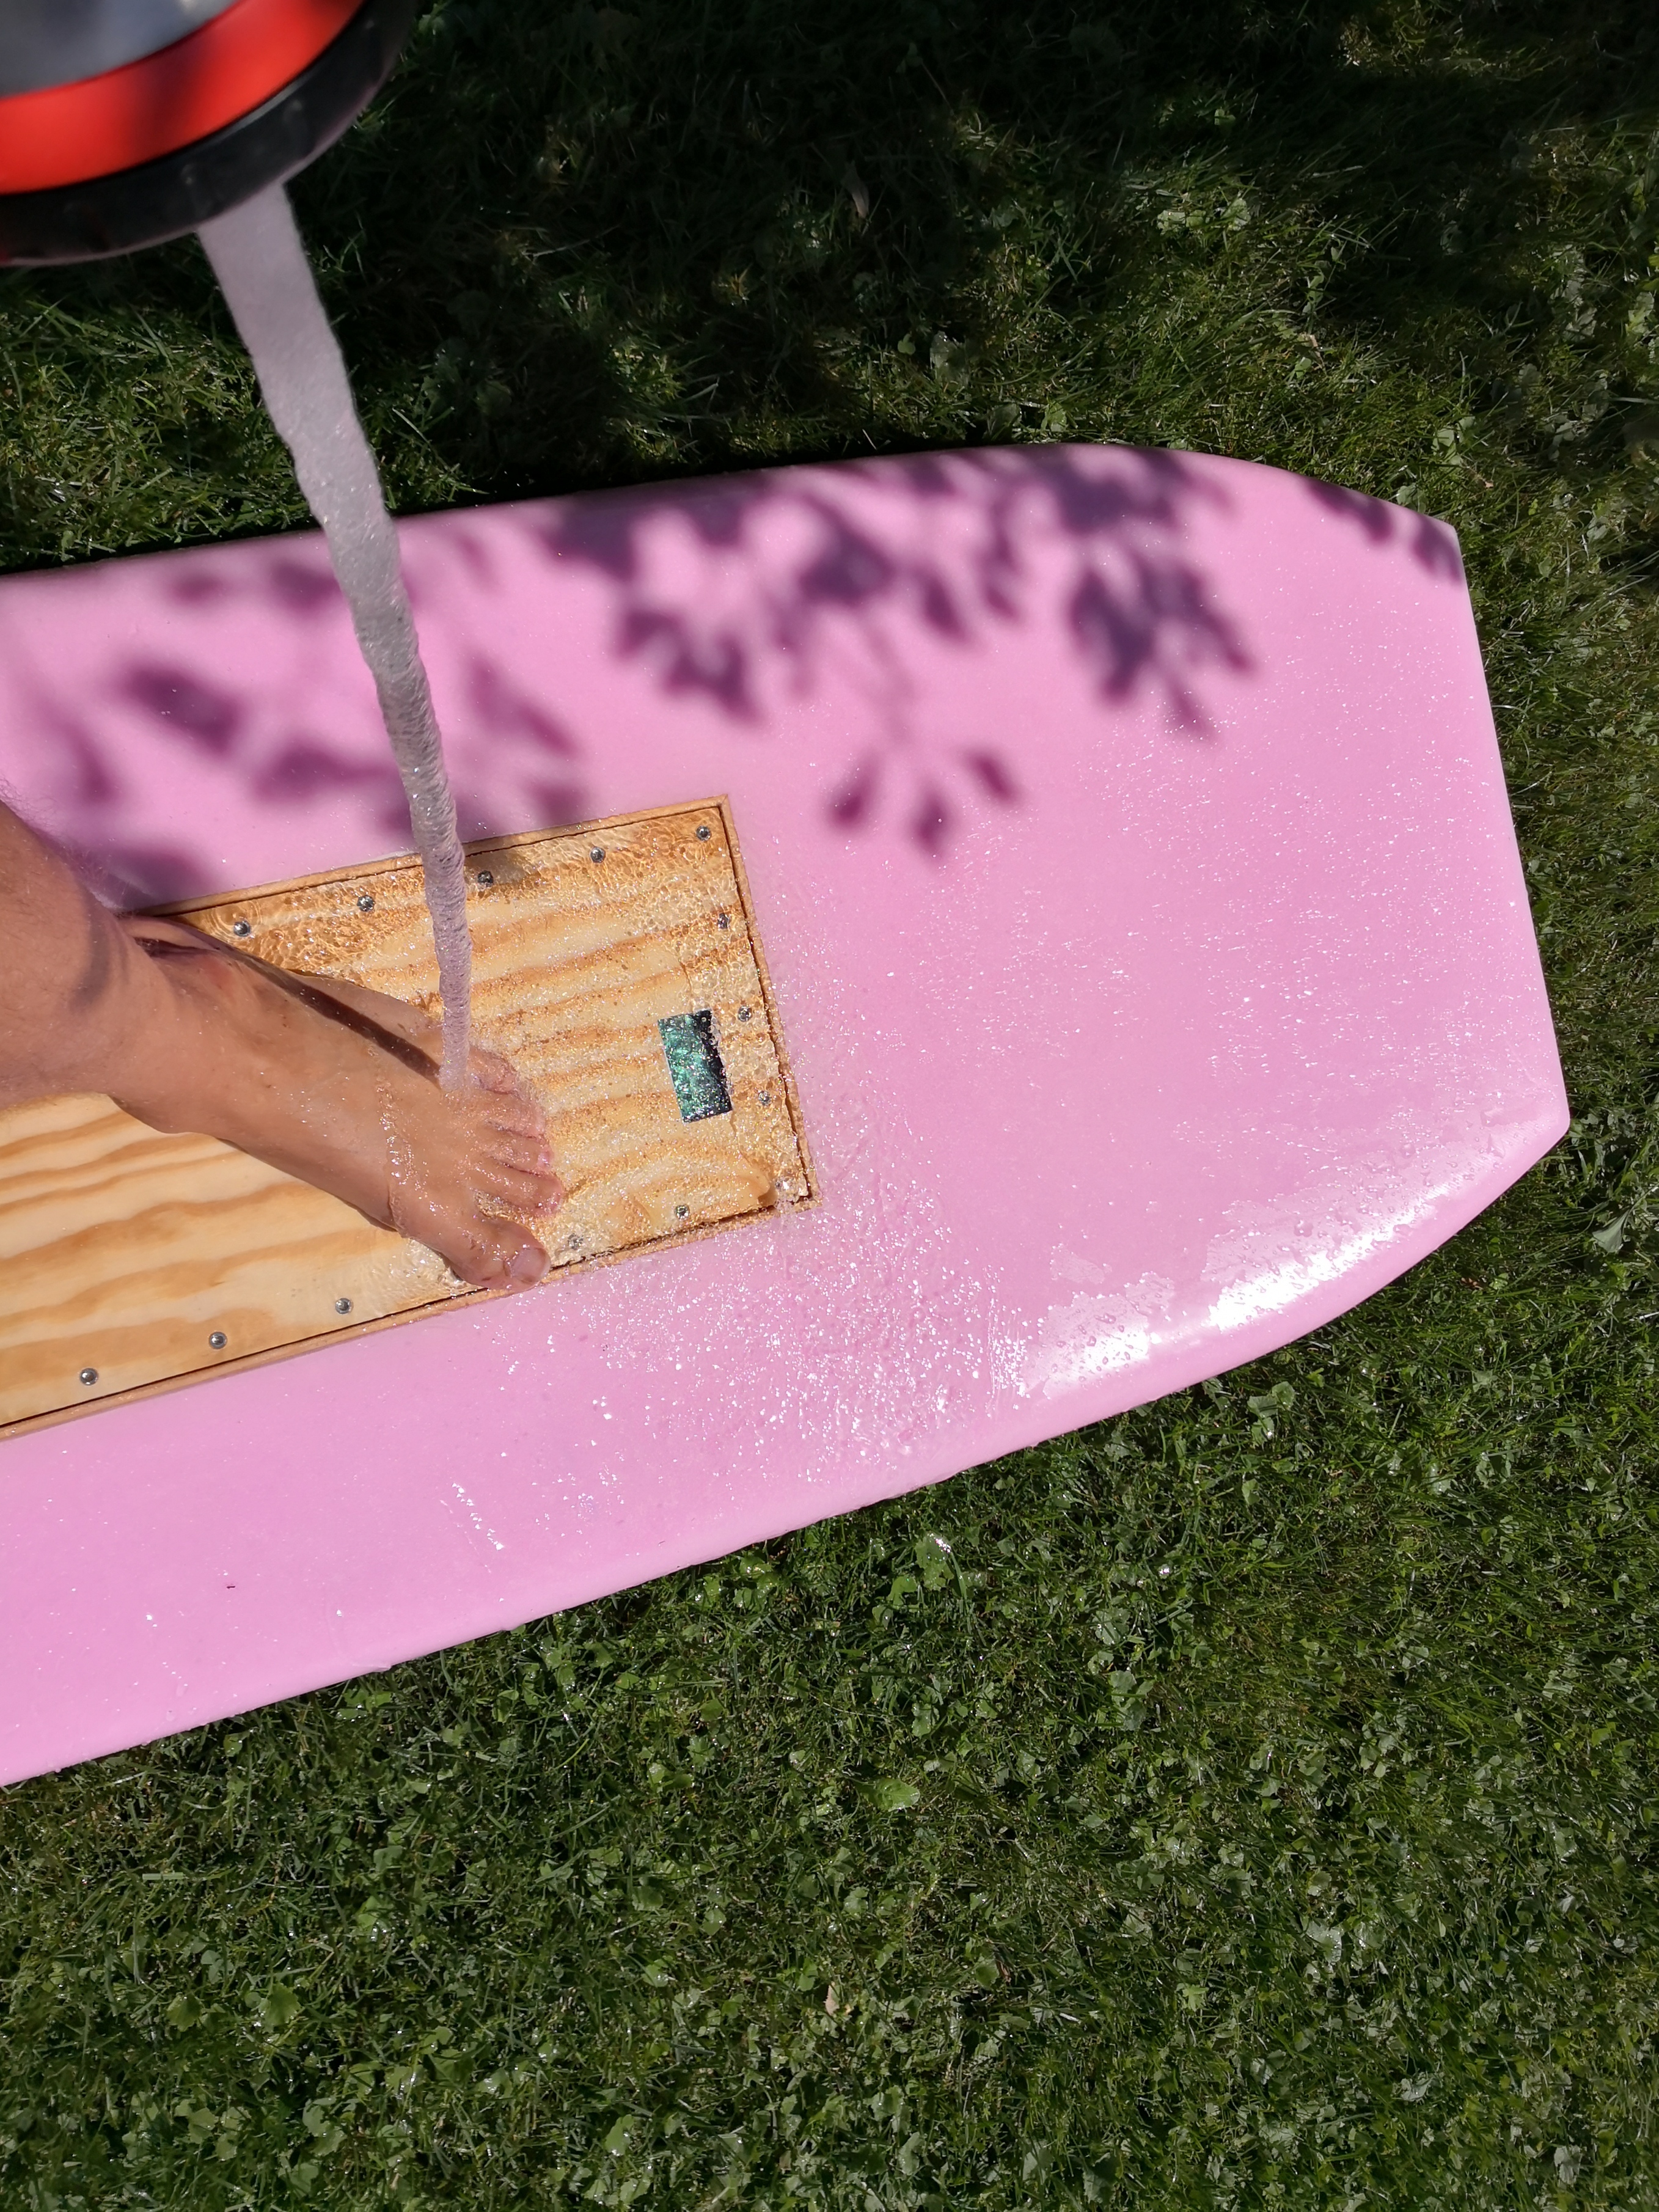
I’m really liking the look of this! What is that pink material? I will probably end up building my own board. Any information would be greatfully received. :sunglasses:

1 Like

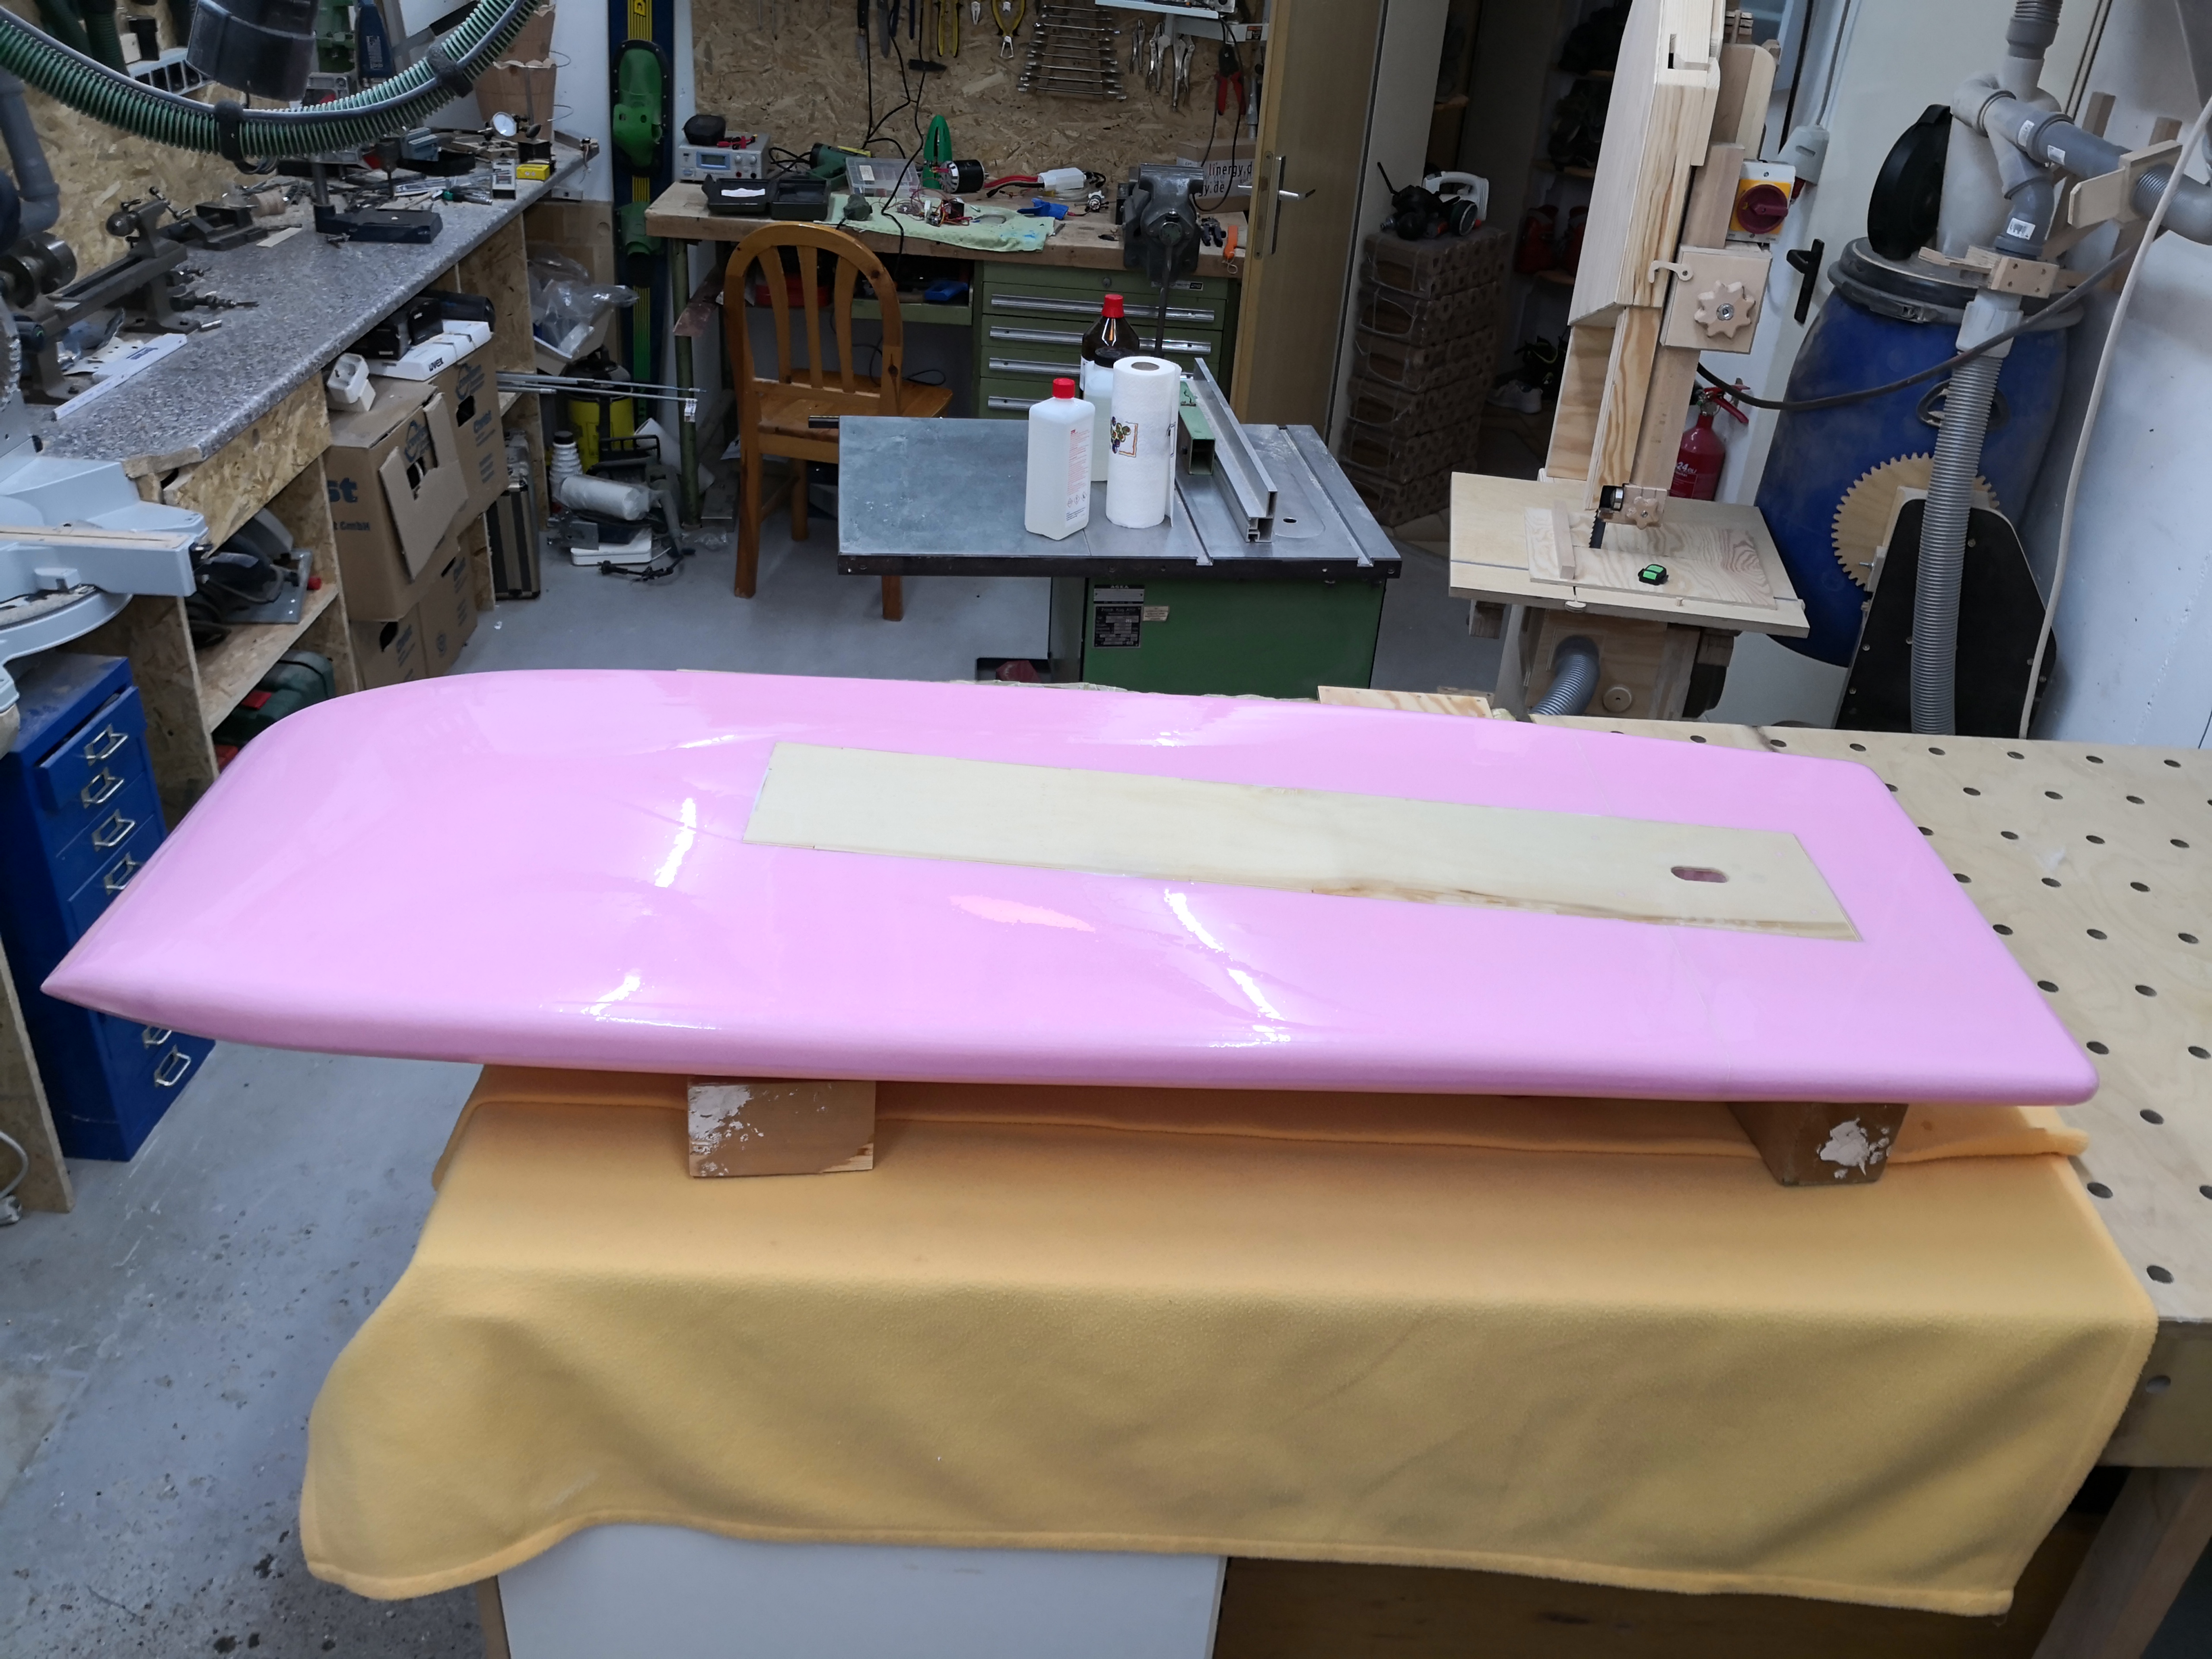
Its just usual XPS, used for thermal insulation (house basement)
125 * 60 * 14cm
You can get them in various thickness, i was looking for 16cm thickness, but i would have to order a whole pack, so i only got the 14
The thickest part of the board ist now 9,5cm
150cm long, 55cm wide.

About 55Liter

80100
The APS got only a slight touch up:
Some magnet gap filling, and a coat of epoxy.
Shaft shortend with angelgrinder on a lathe.


Stator same. One coat with epoxy and shortend the wires.

Bearings will be switched later to open ones
Jump to Bearing drama
Update:
Switched to these beautys:

3 6801 12/21/5mm
1 6809 45/58/7mm

1 Like

Mastclamp
I am happy, that my first print fits Well :blush:
Mount 80100 to RL Mast


I used Tinkercad. I designed a unique system, that allows water to flow direct into the mast, so no need of a tube inside the mast.

These files are printable without support:

3 Likes

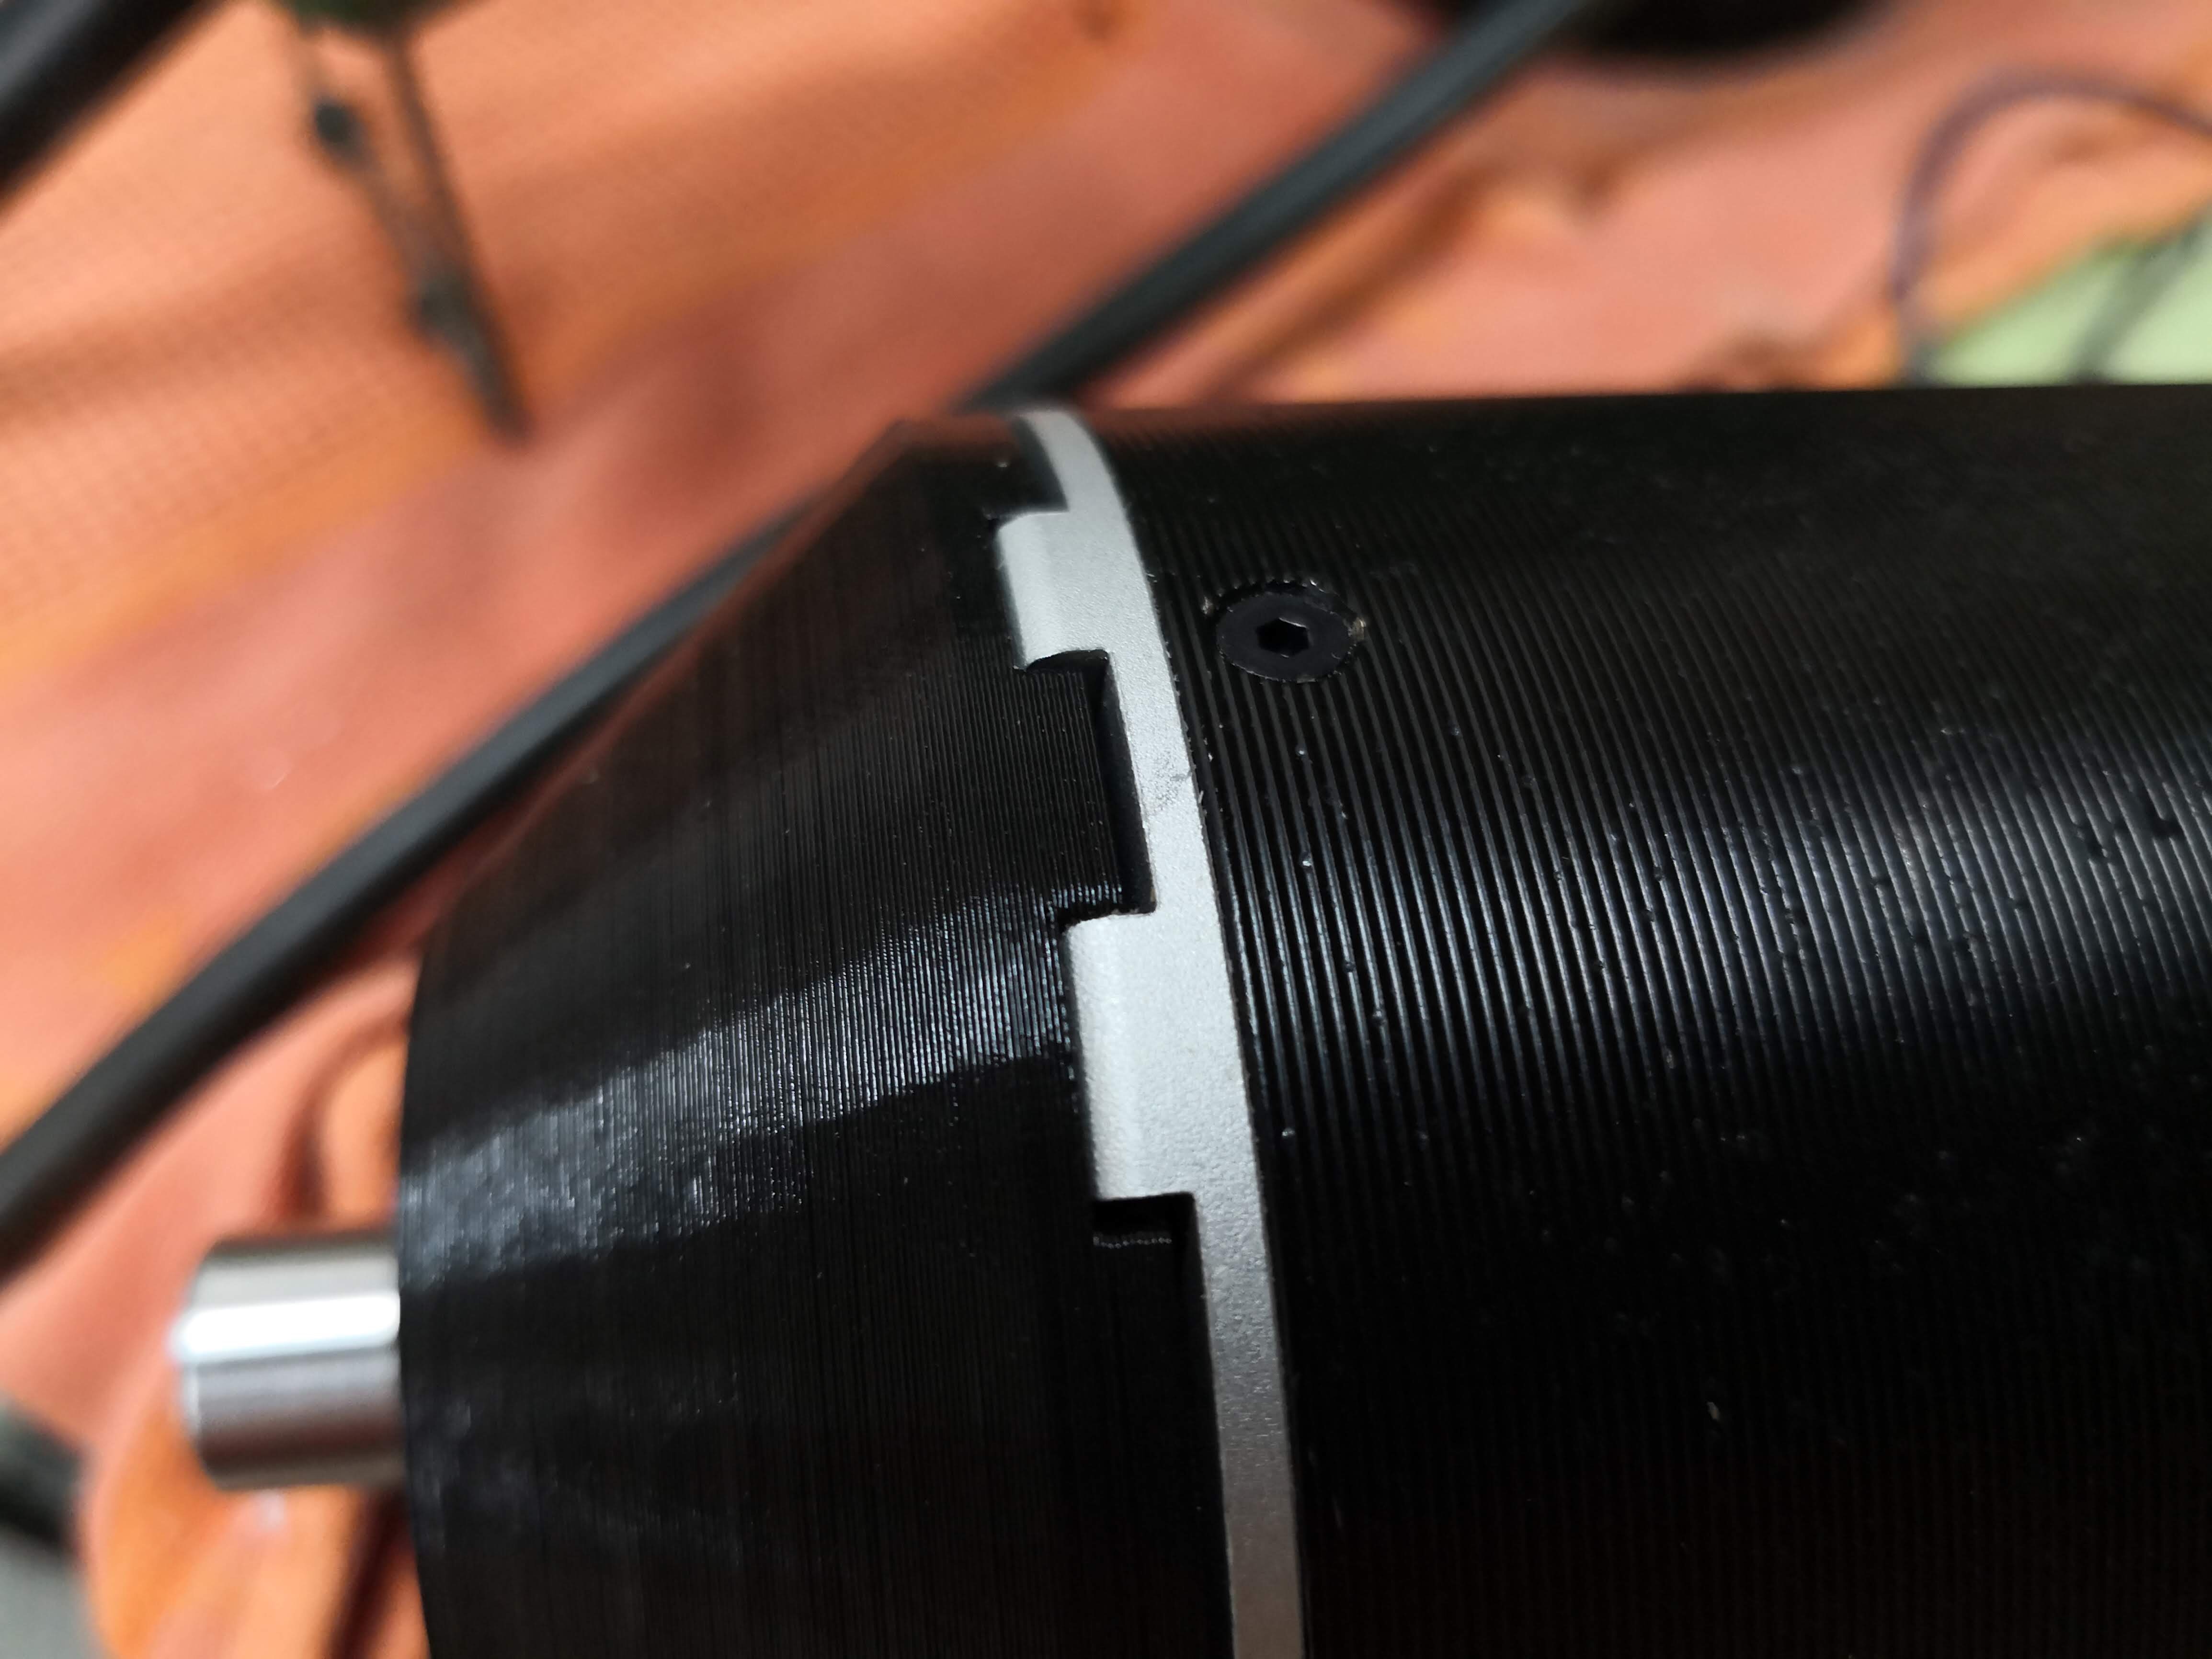
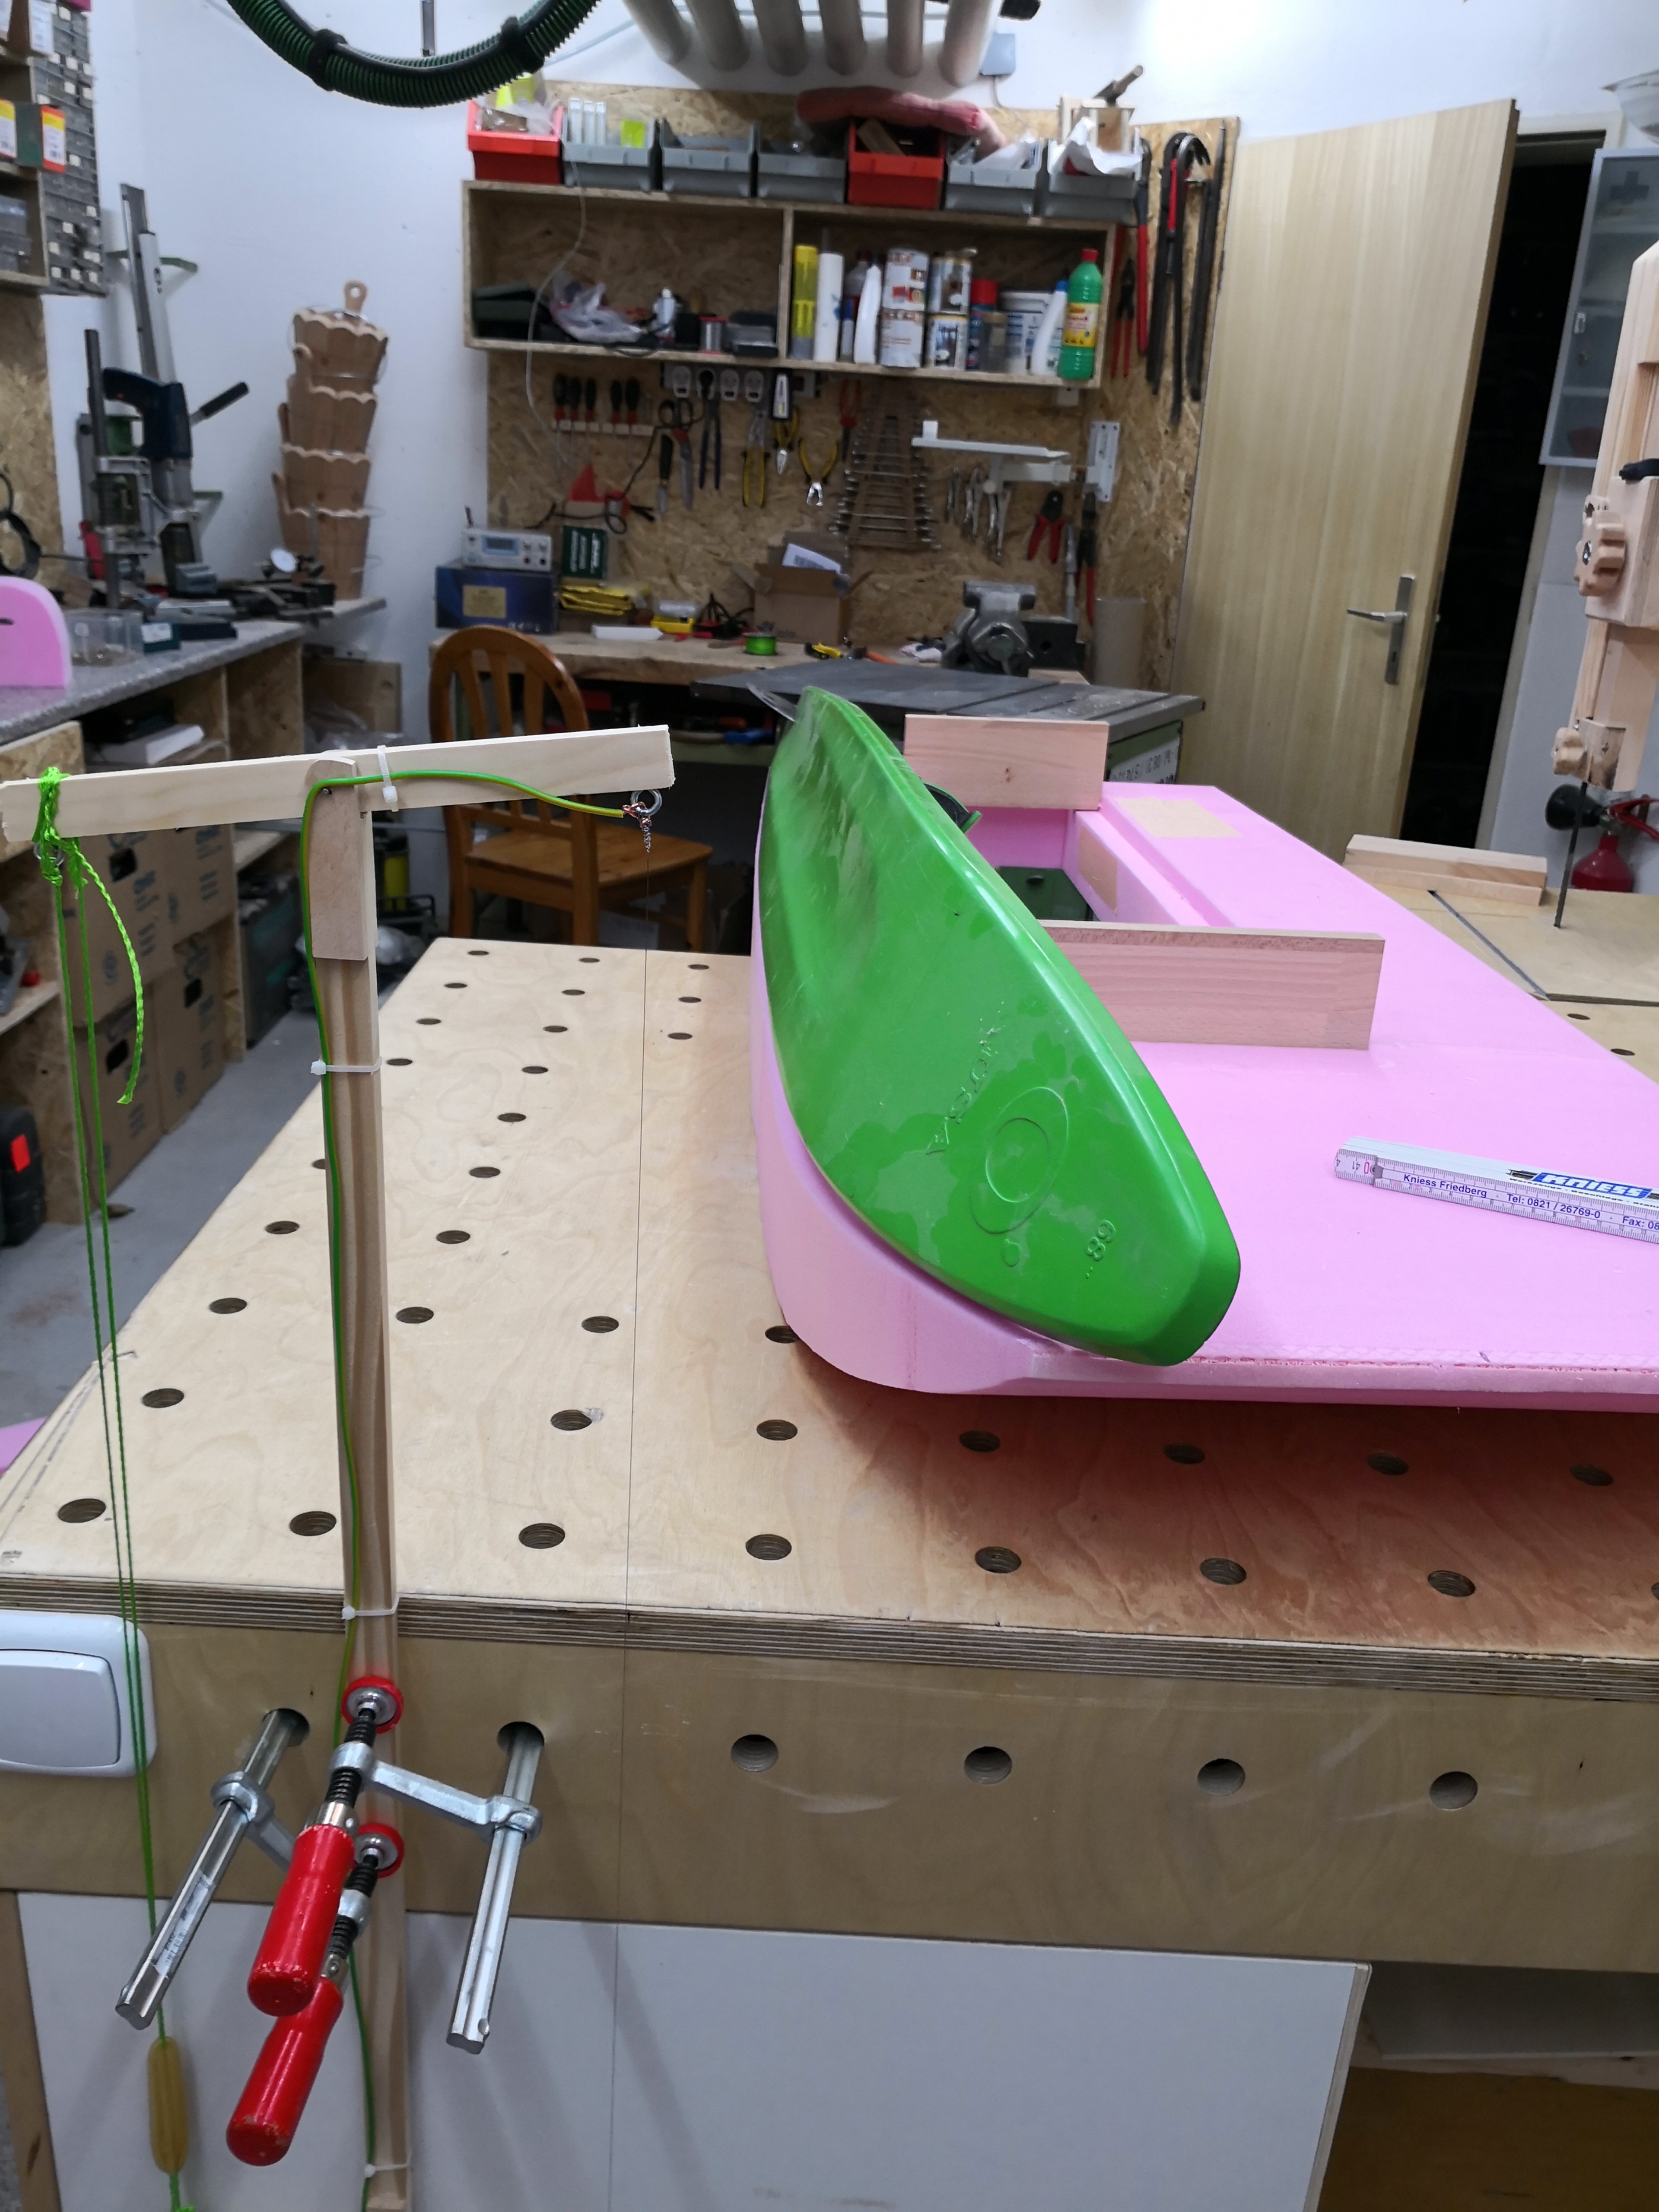
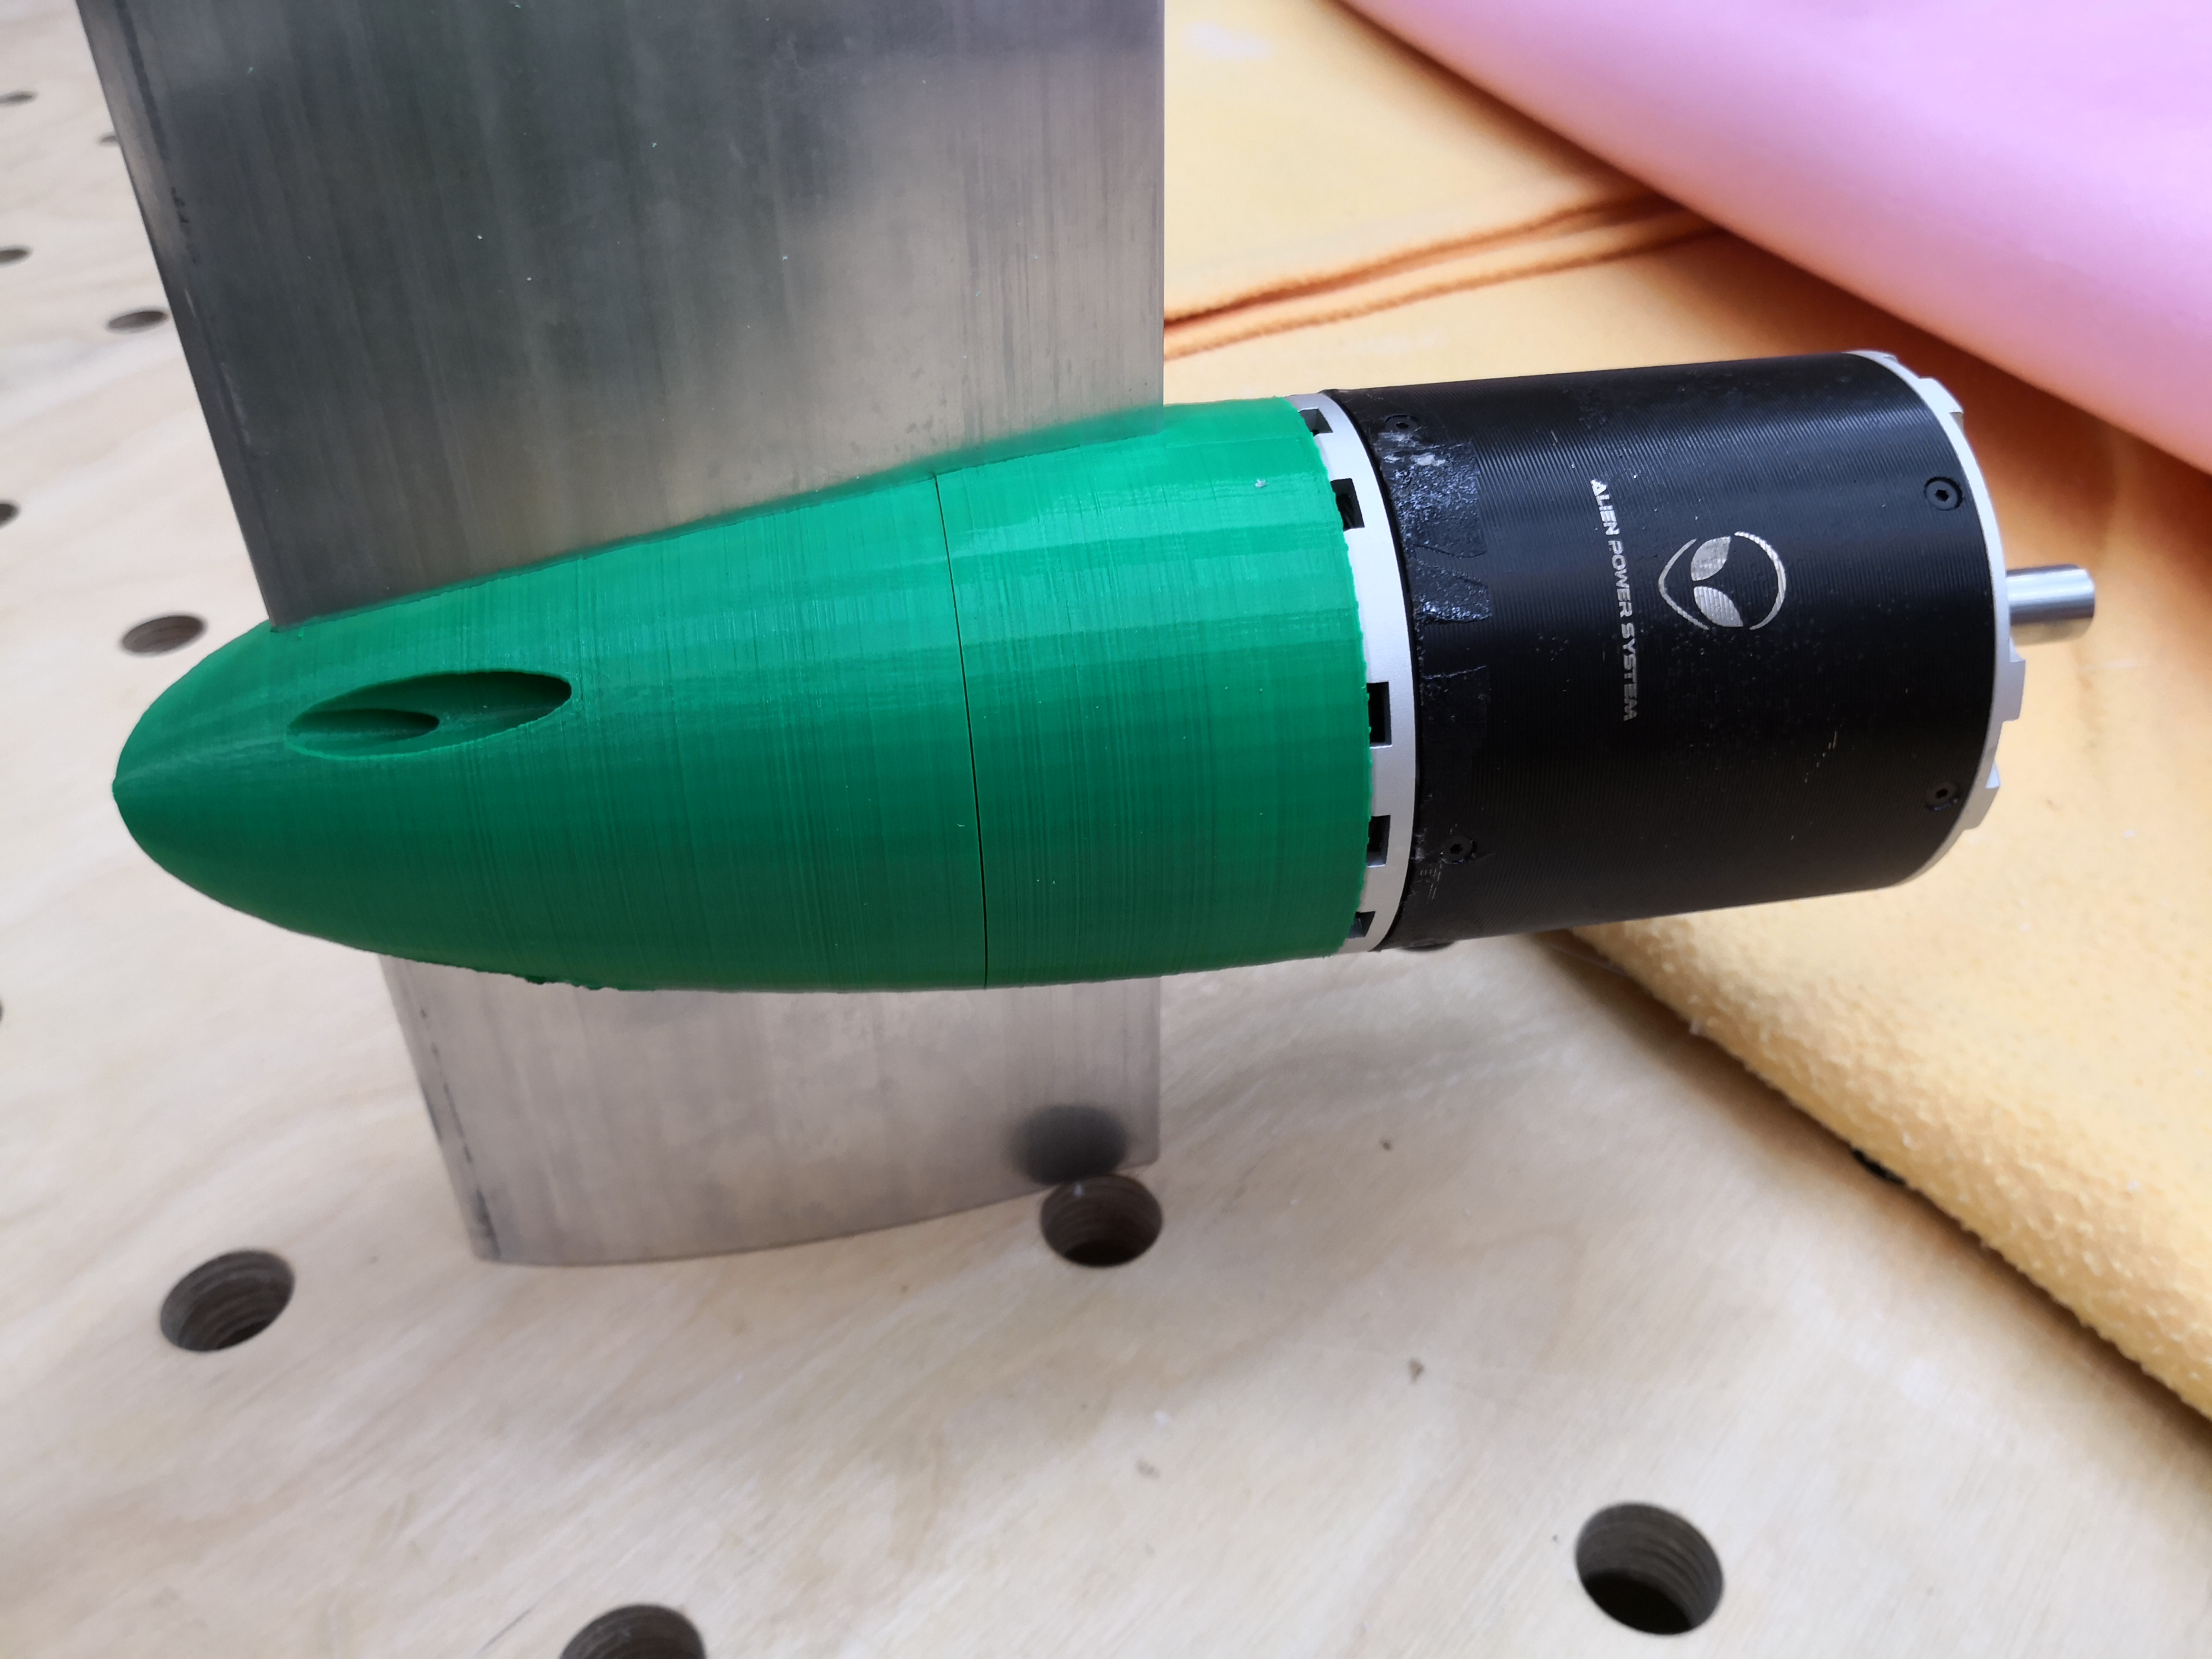
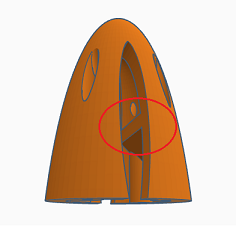
Very nice design but why a vertical wall only on the right hand side of the front part ? Rigidity ? It stops water going backward 190722%20Pod and supposed to cool the motor down.

The Wall on one side, is to push water into the mast. Its angeled, so i can print without supports.
Small holes in the mast act as sieve


The other side has no wall, cause there are the cables.

4 Likes

Prop Cap

Since the one i found, didnt fit, i tinkered one myself.

Propeller mount

3 Likes

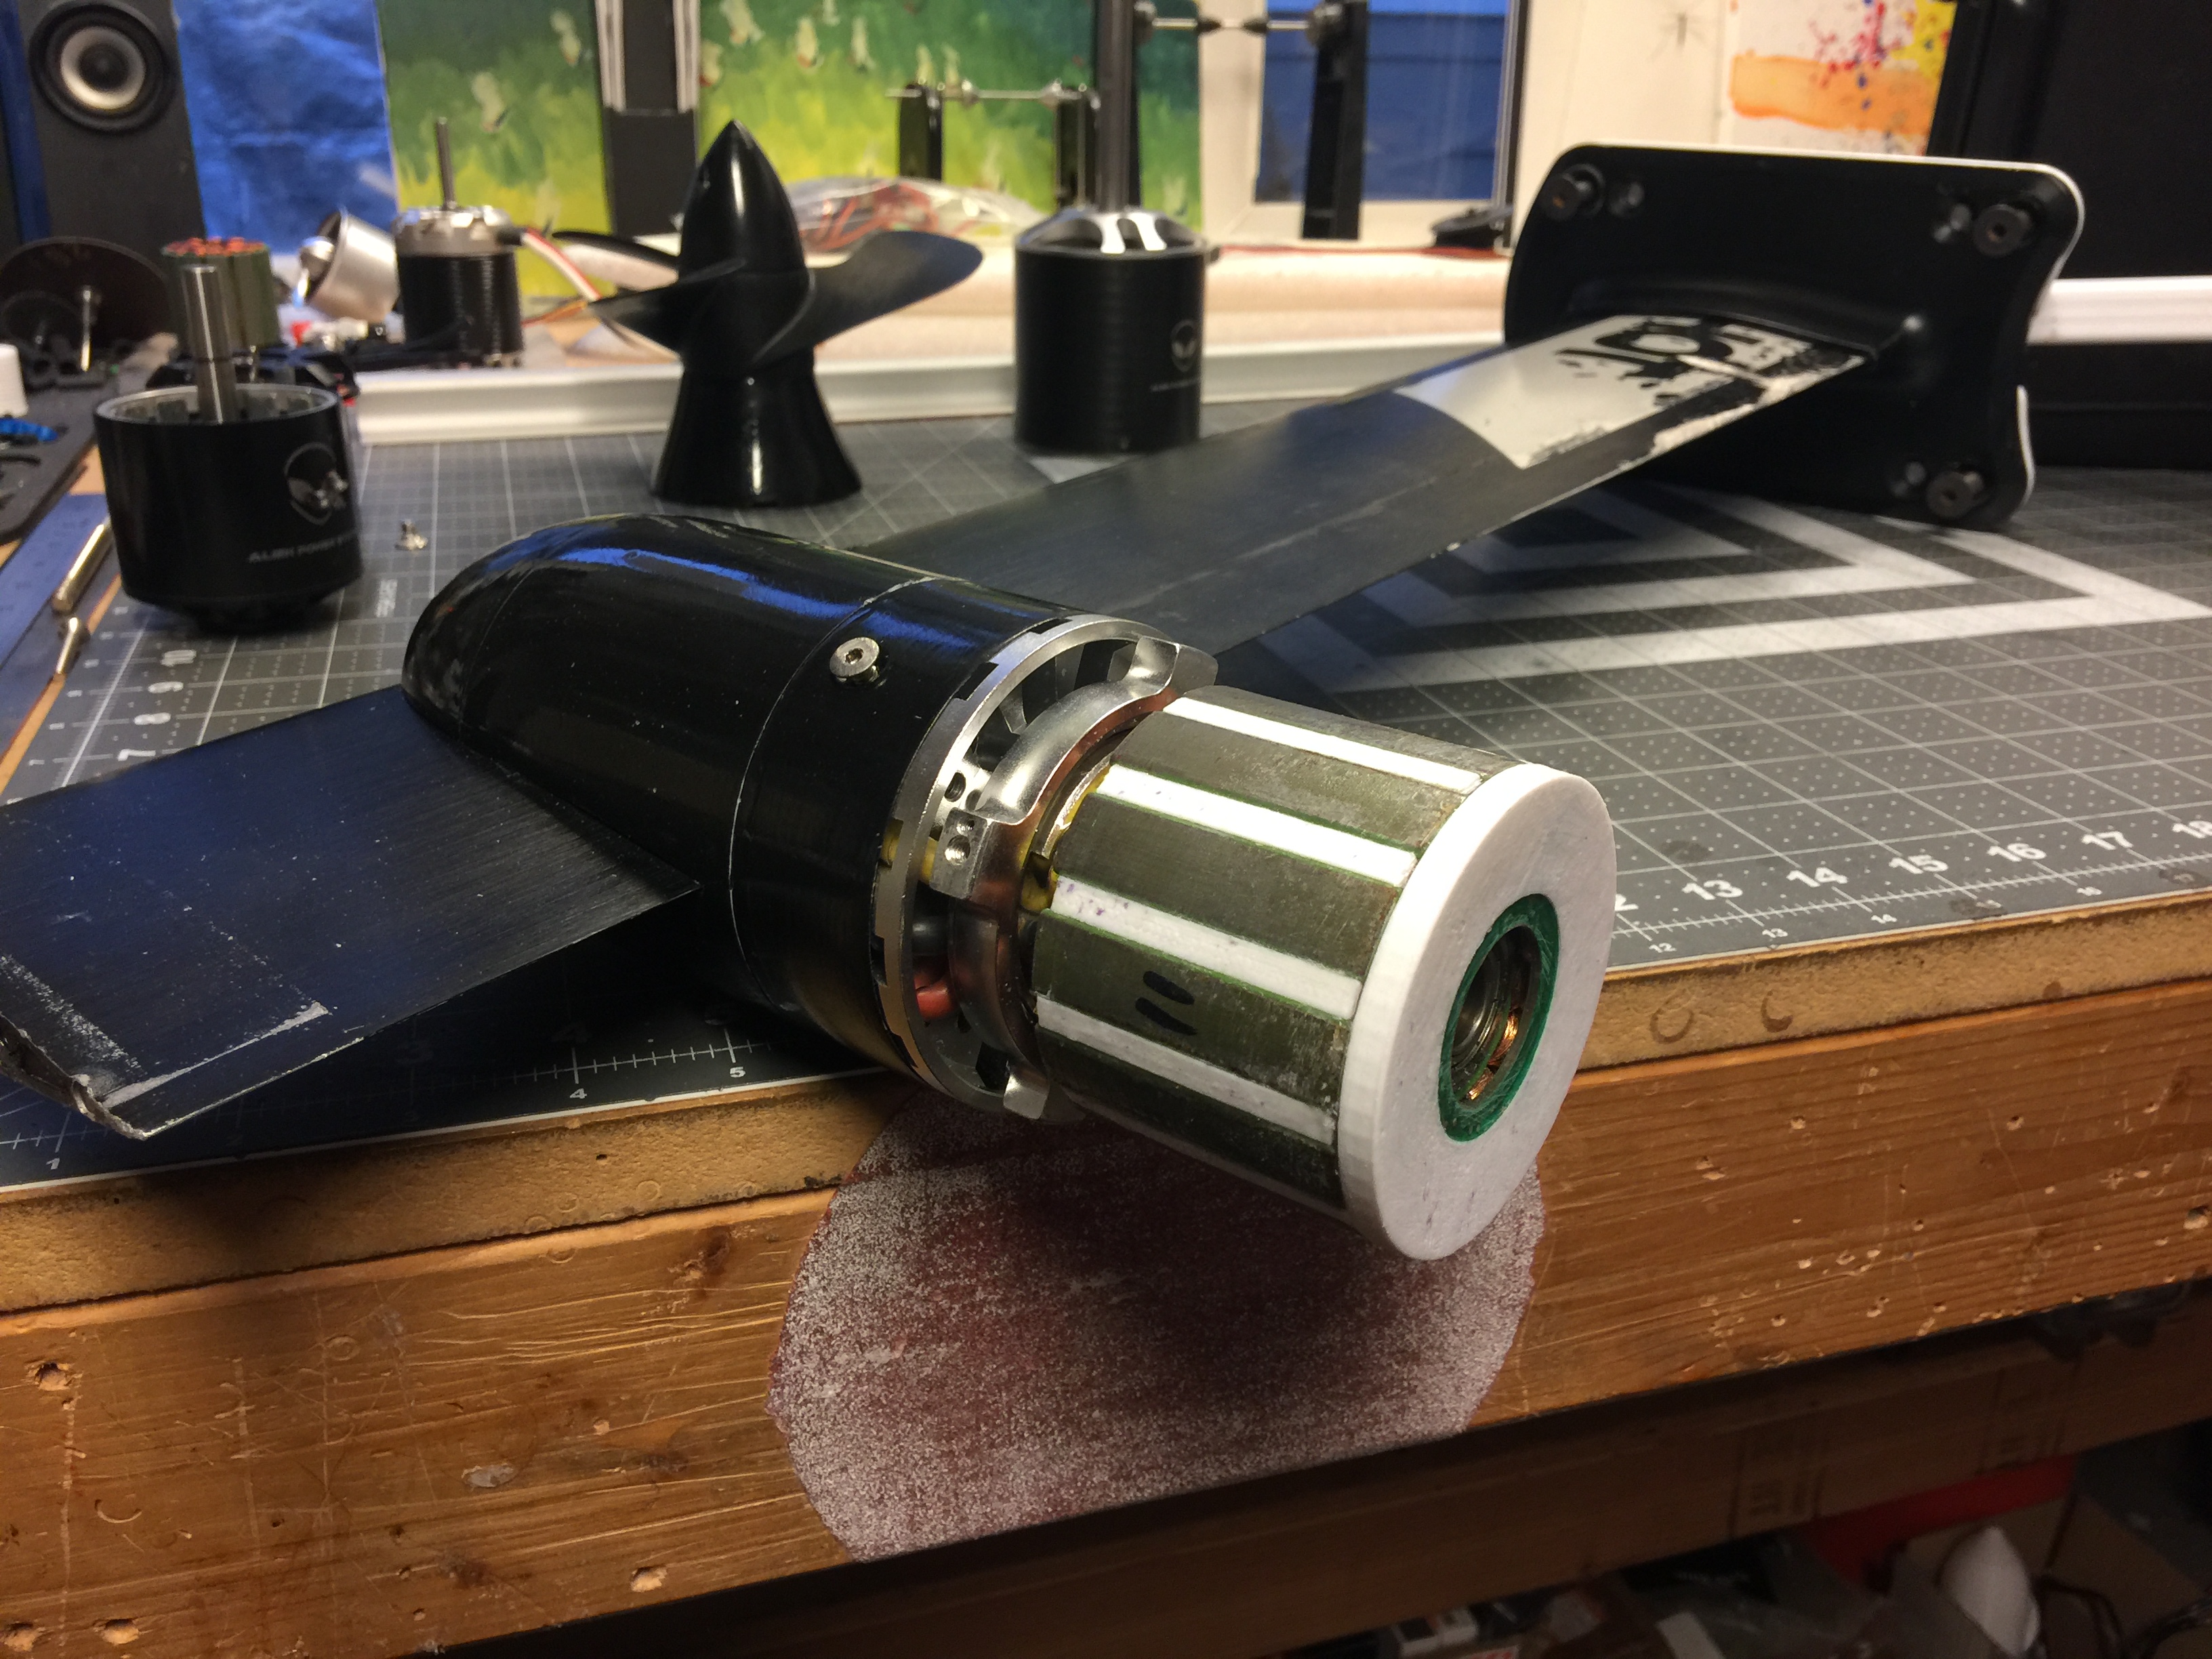
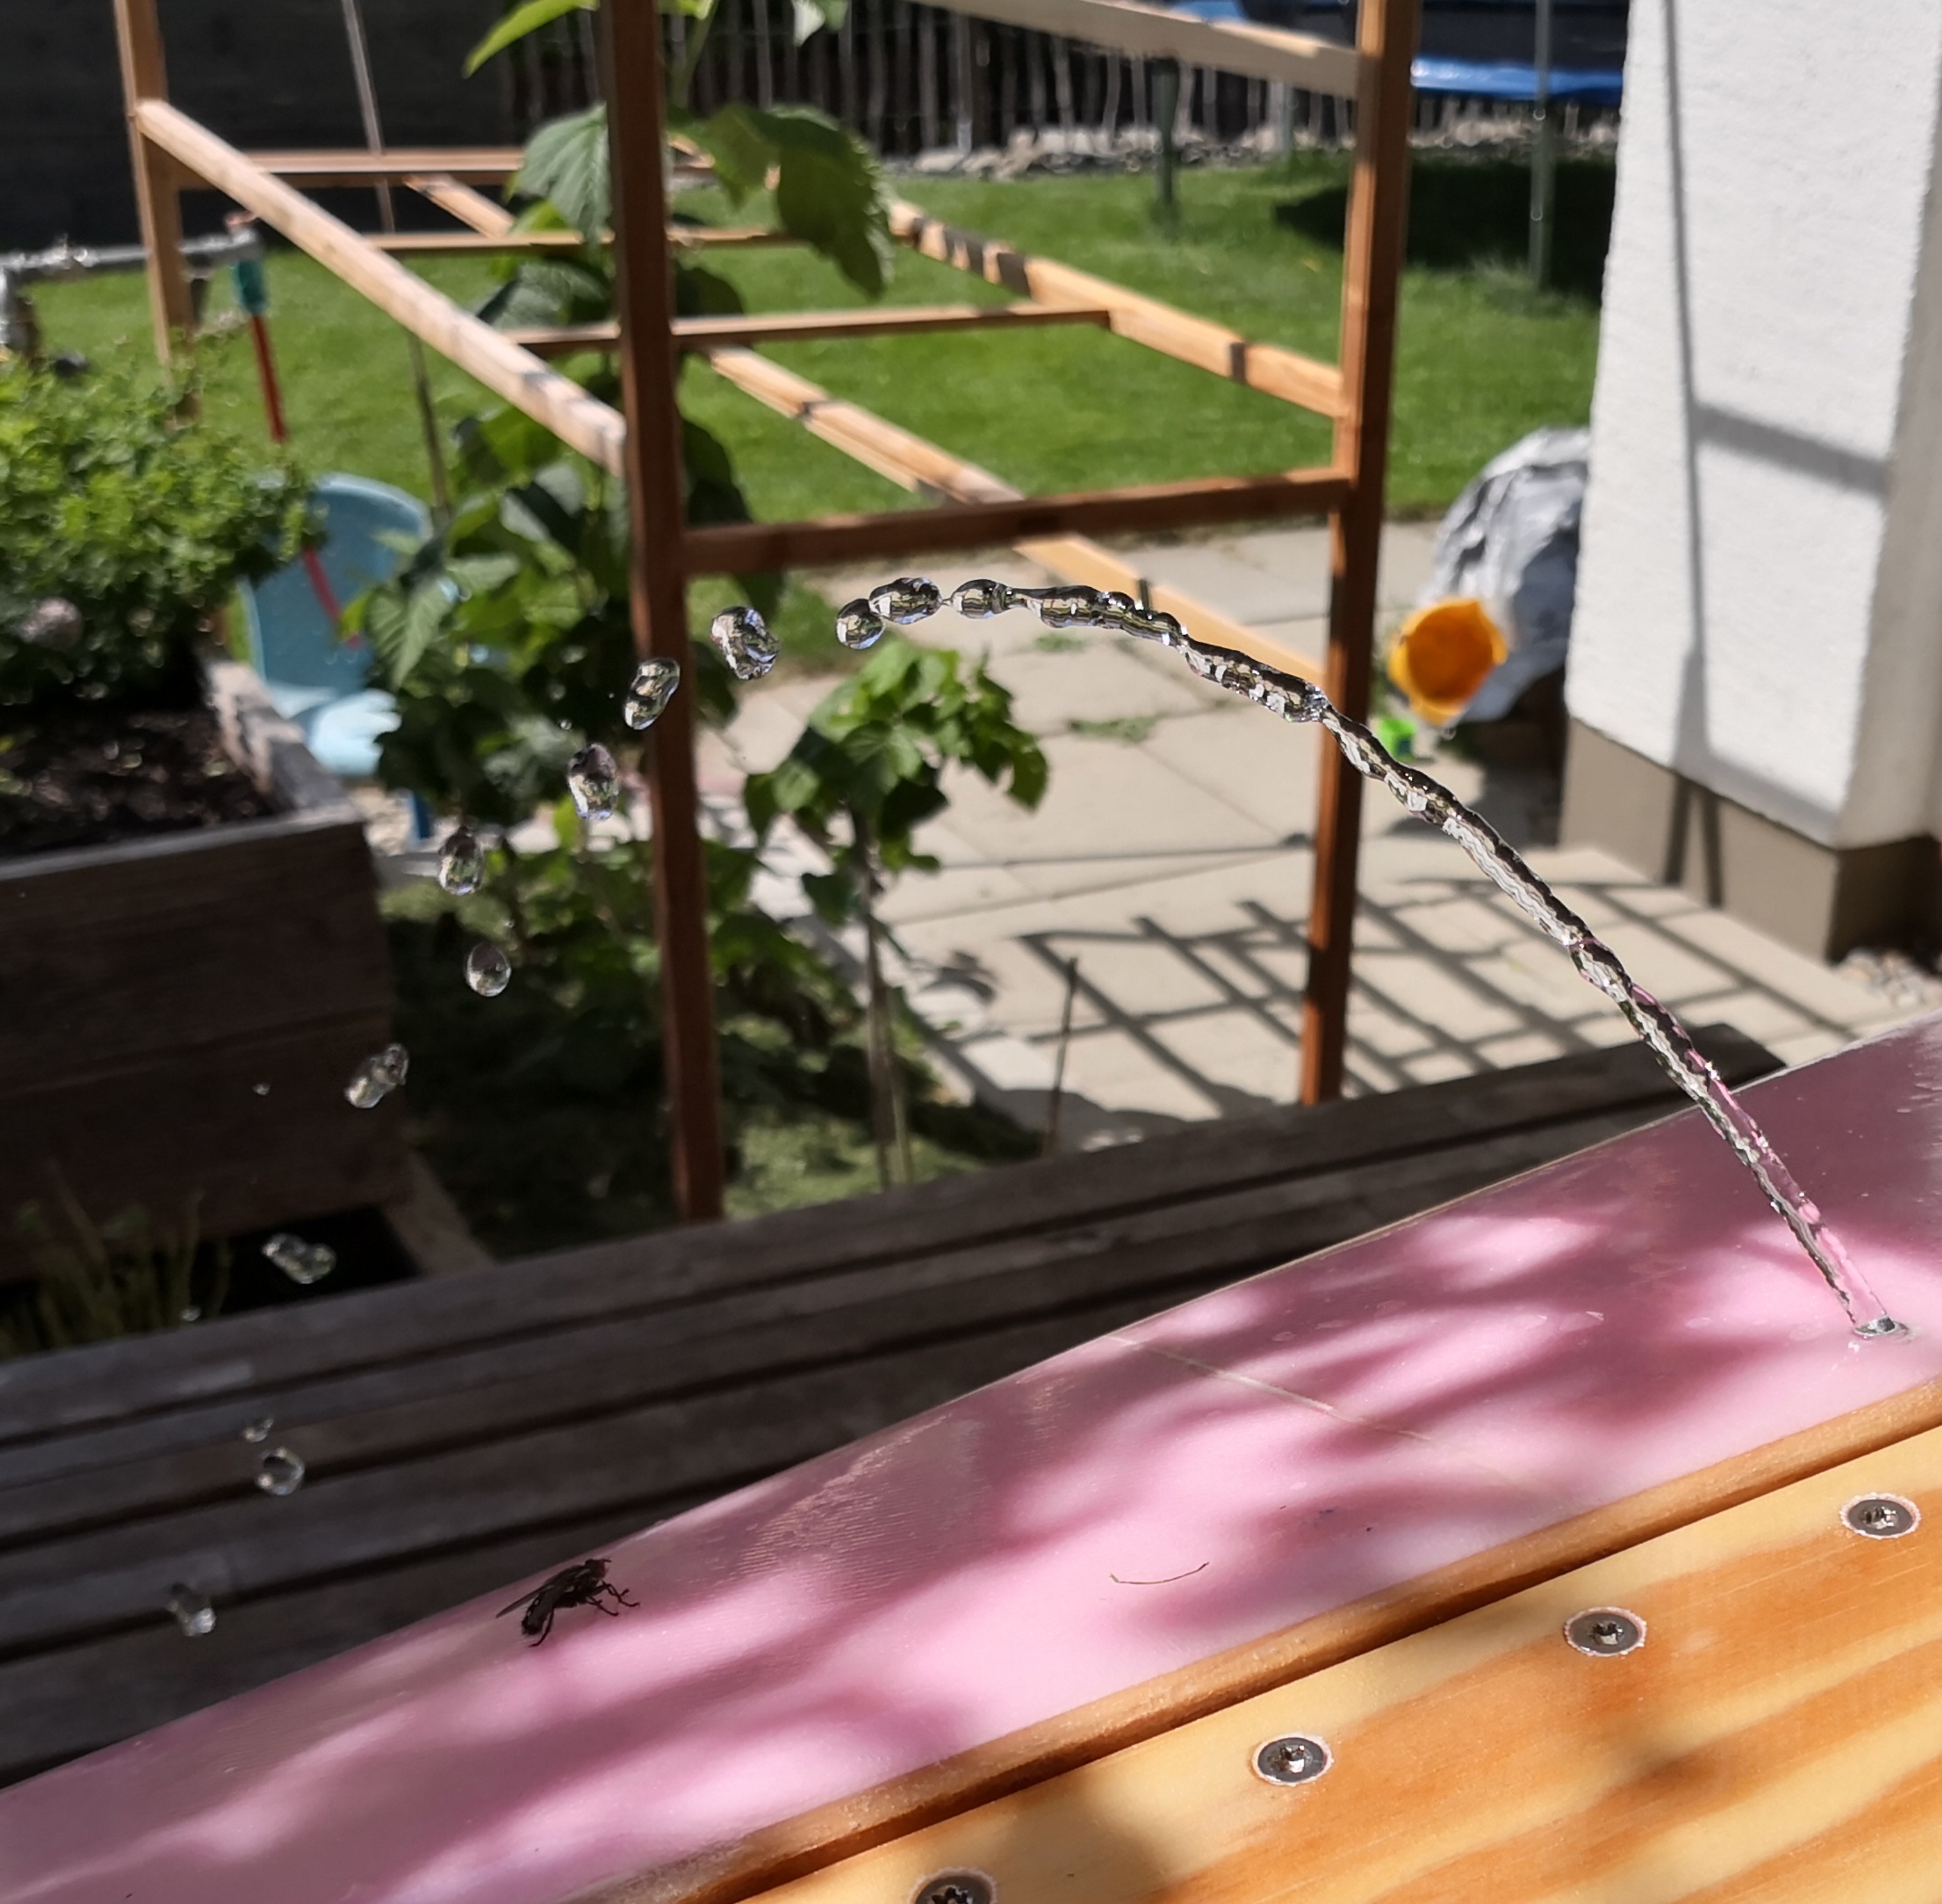
I was thinking that yesterday when doing the air / water test… it’s time to redesign one :slight_smile:
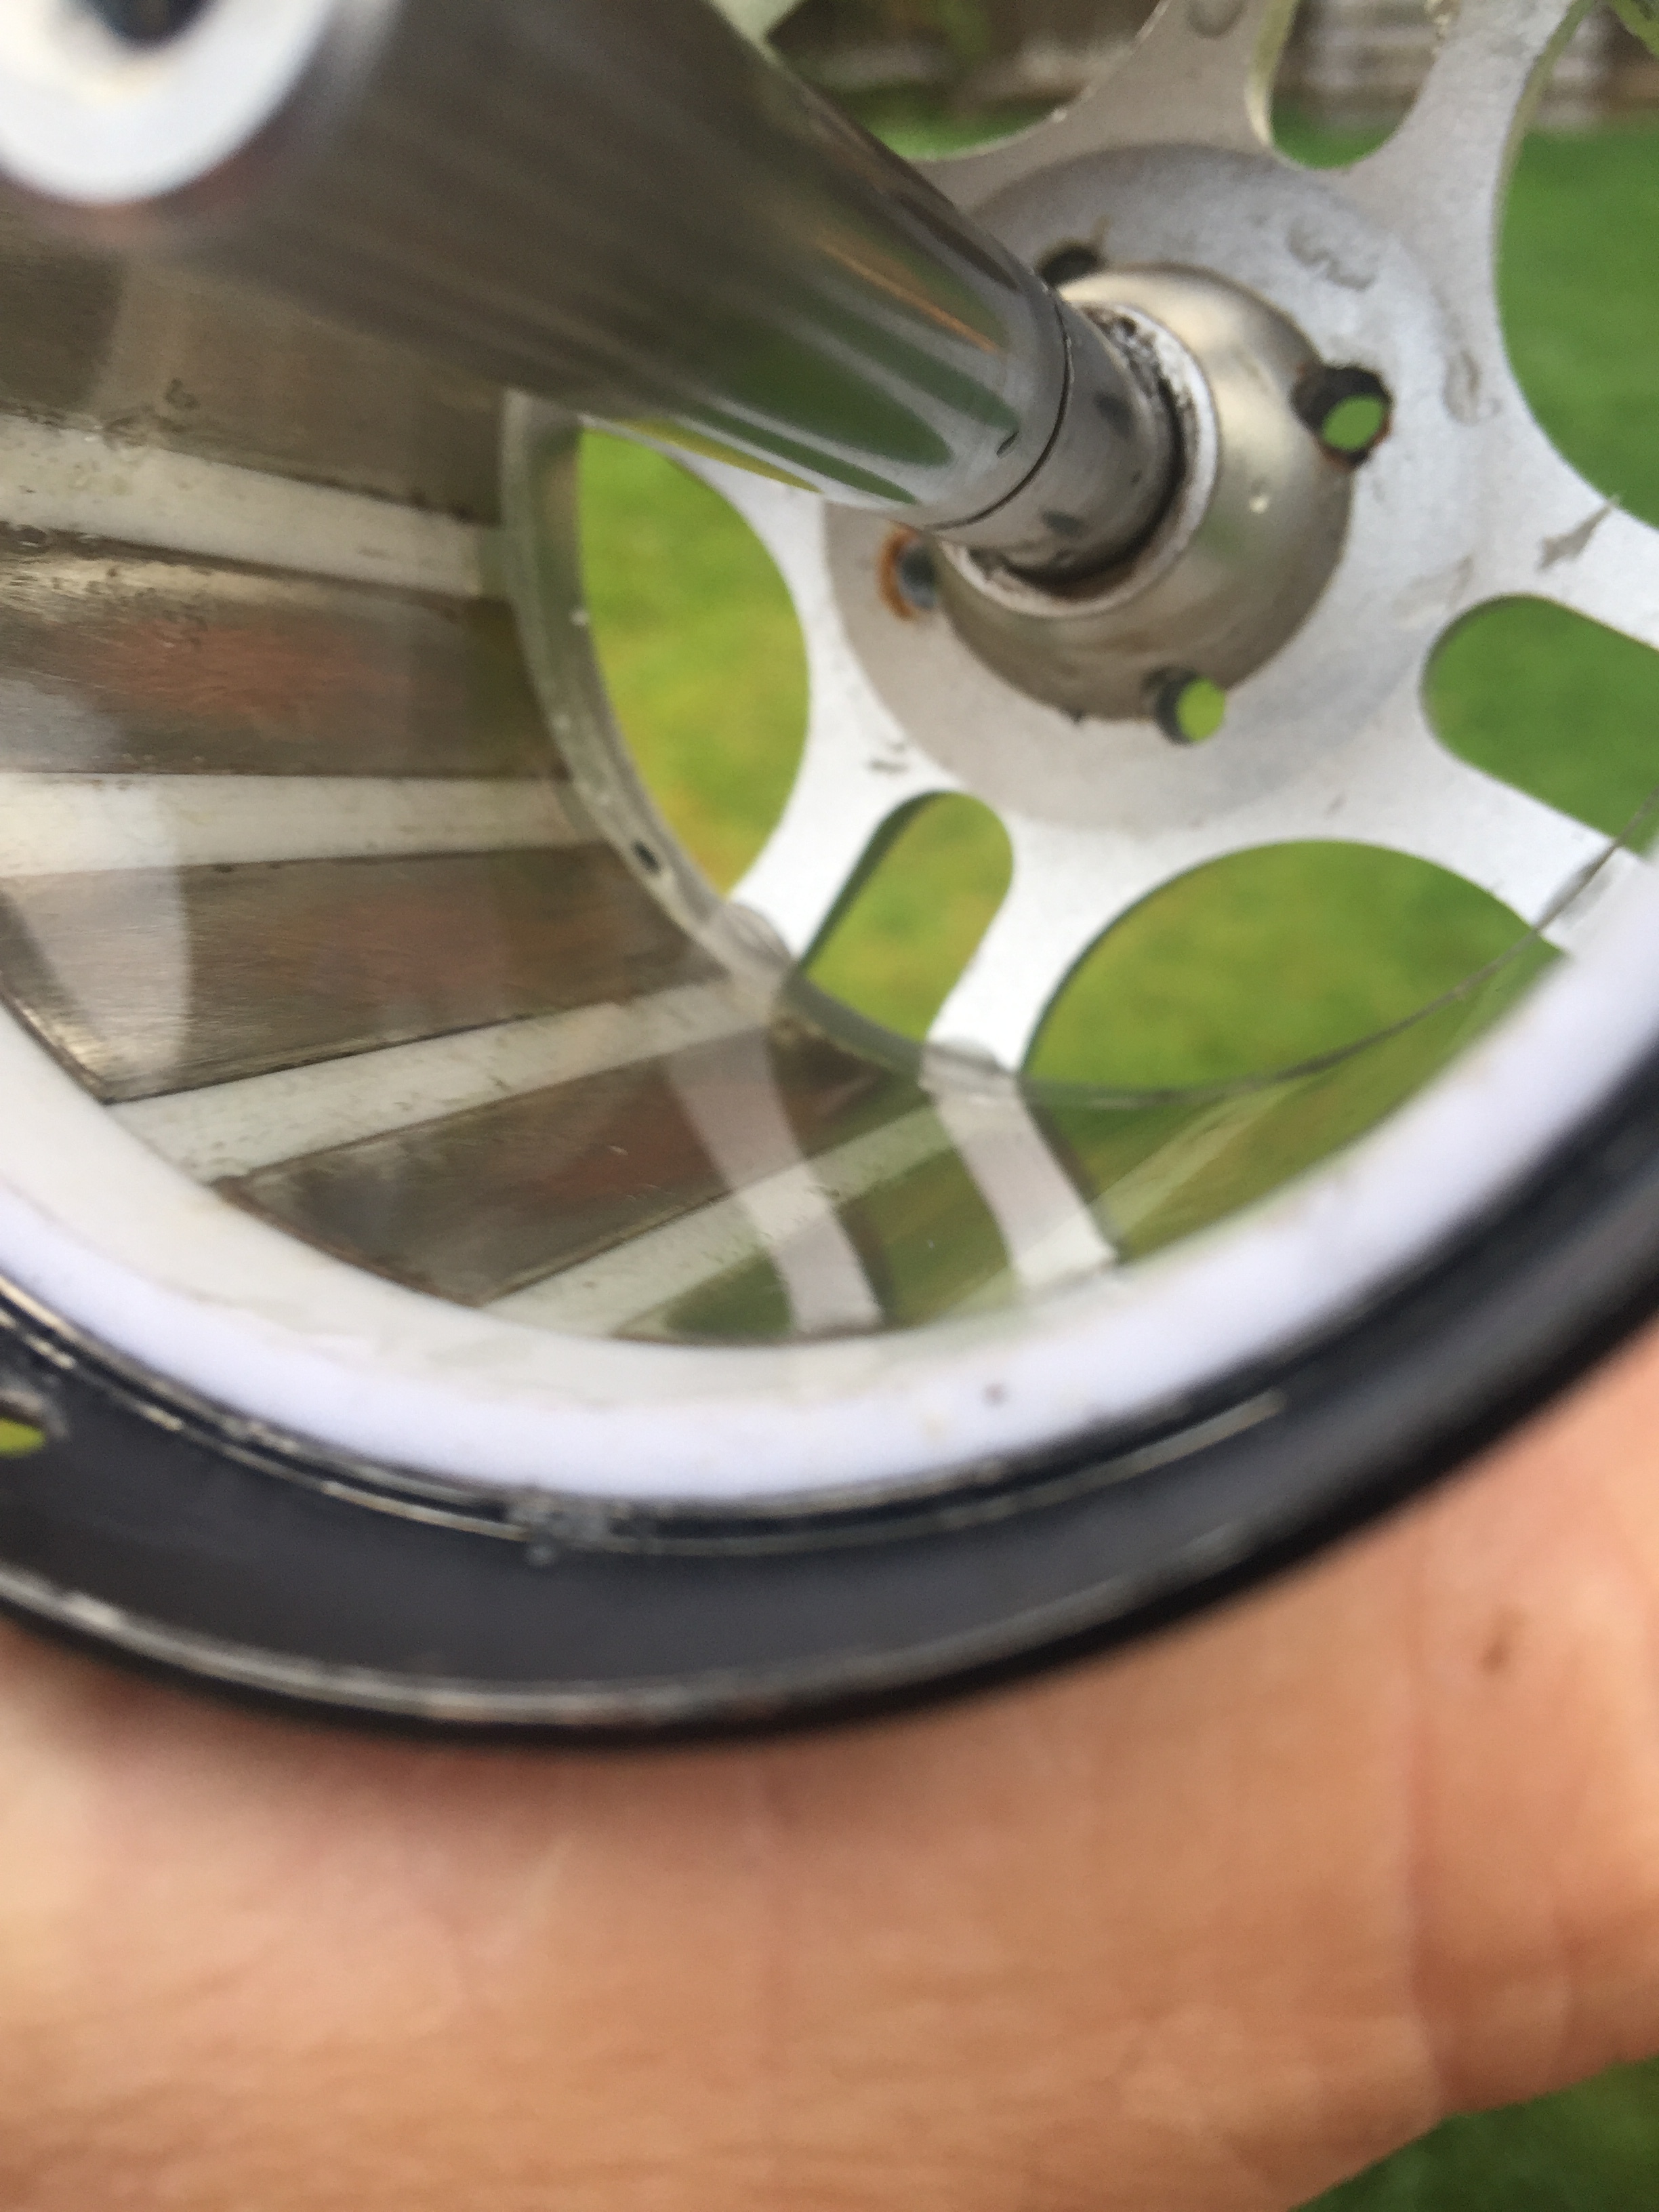
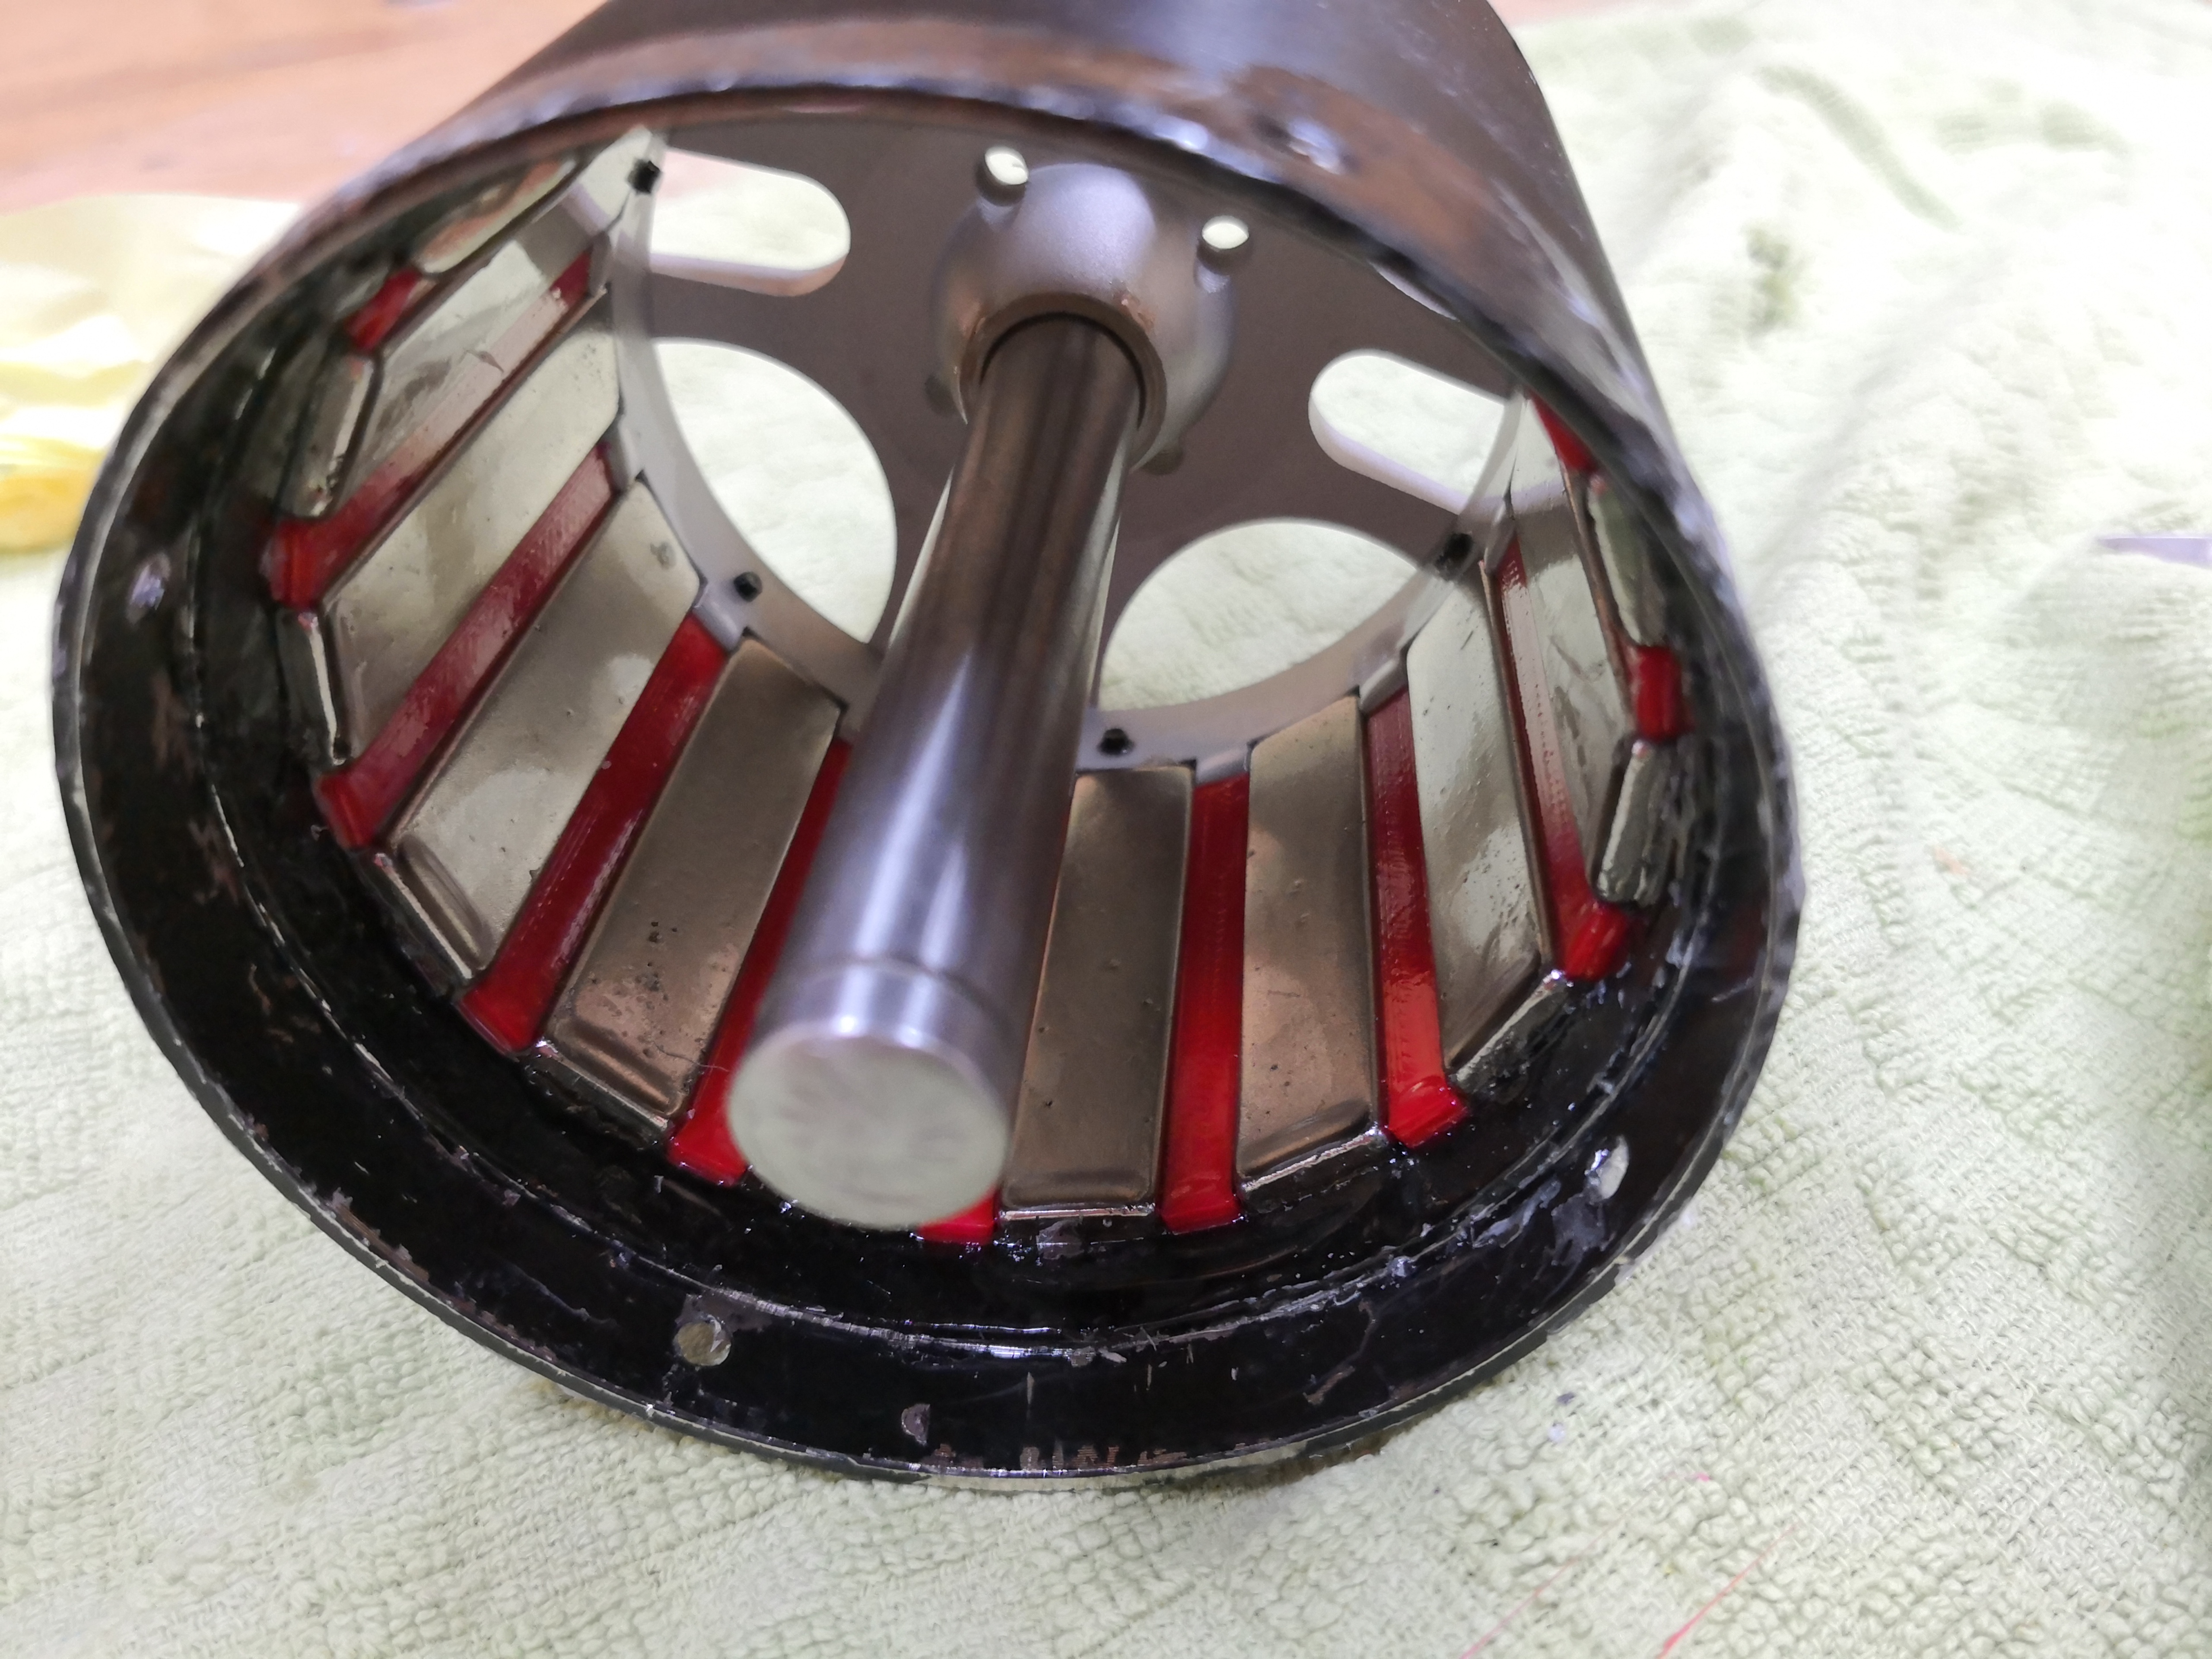
I was about to get the front piece of the rotor out to see that it’s really flush on the inside.
did you measure the power when spinning it in water?
you’re not worried about lack of water circulation?

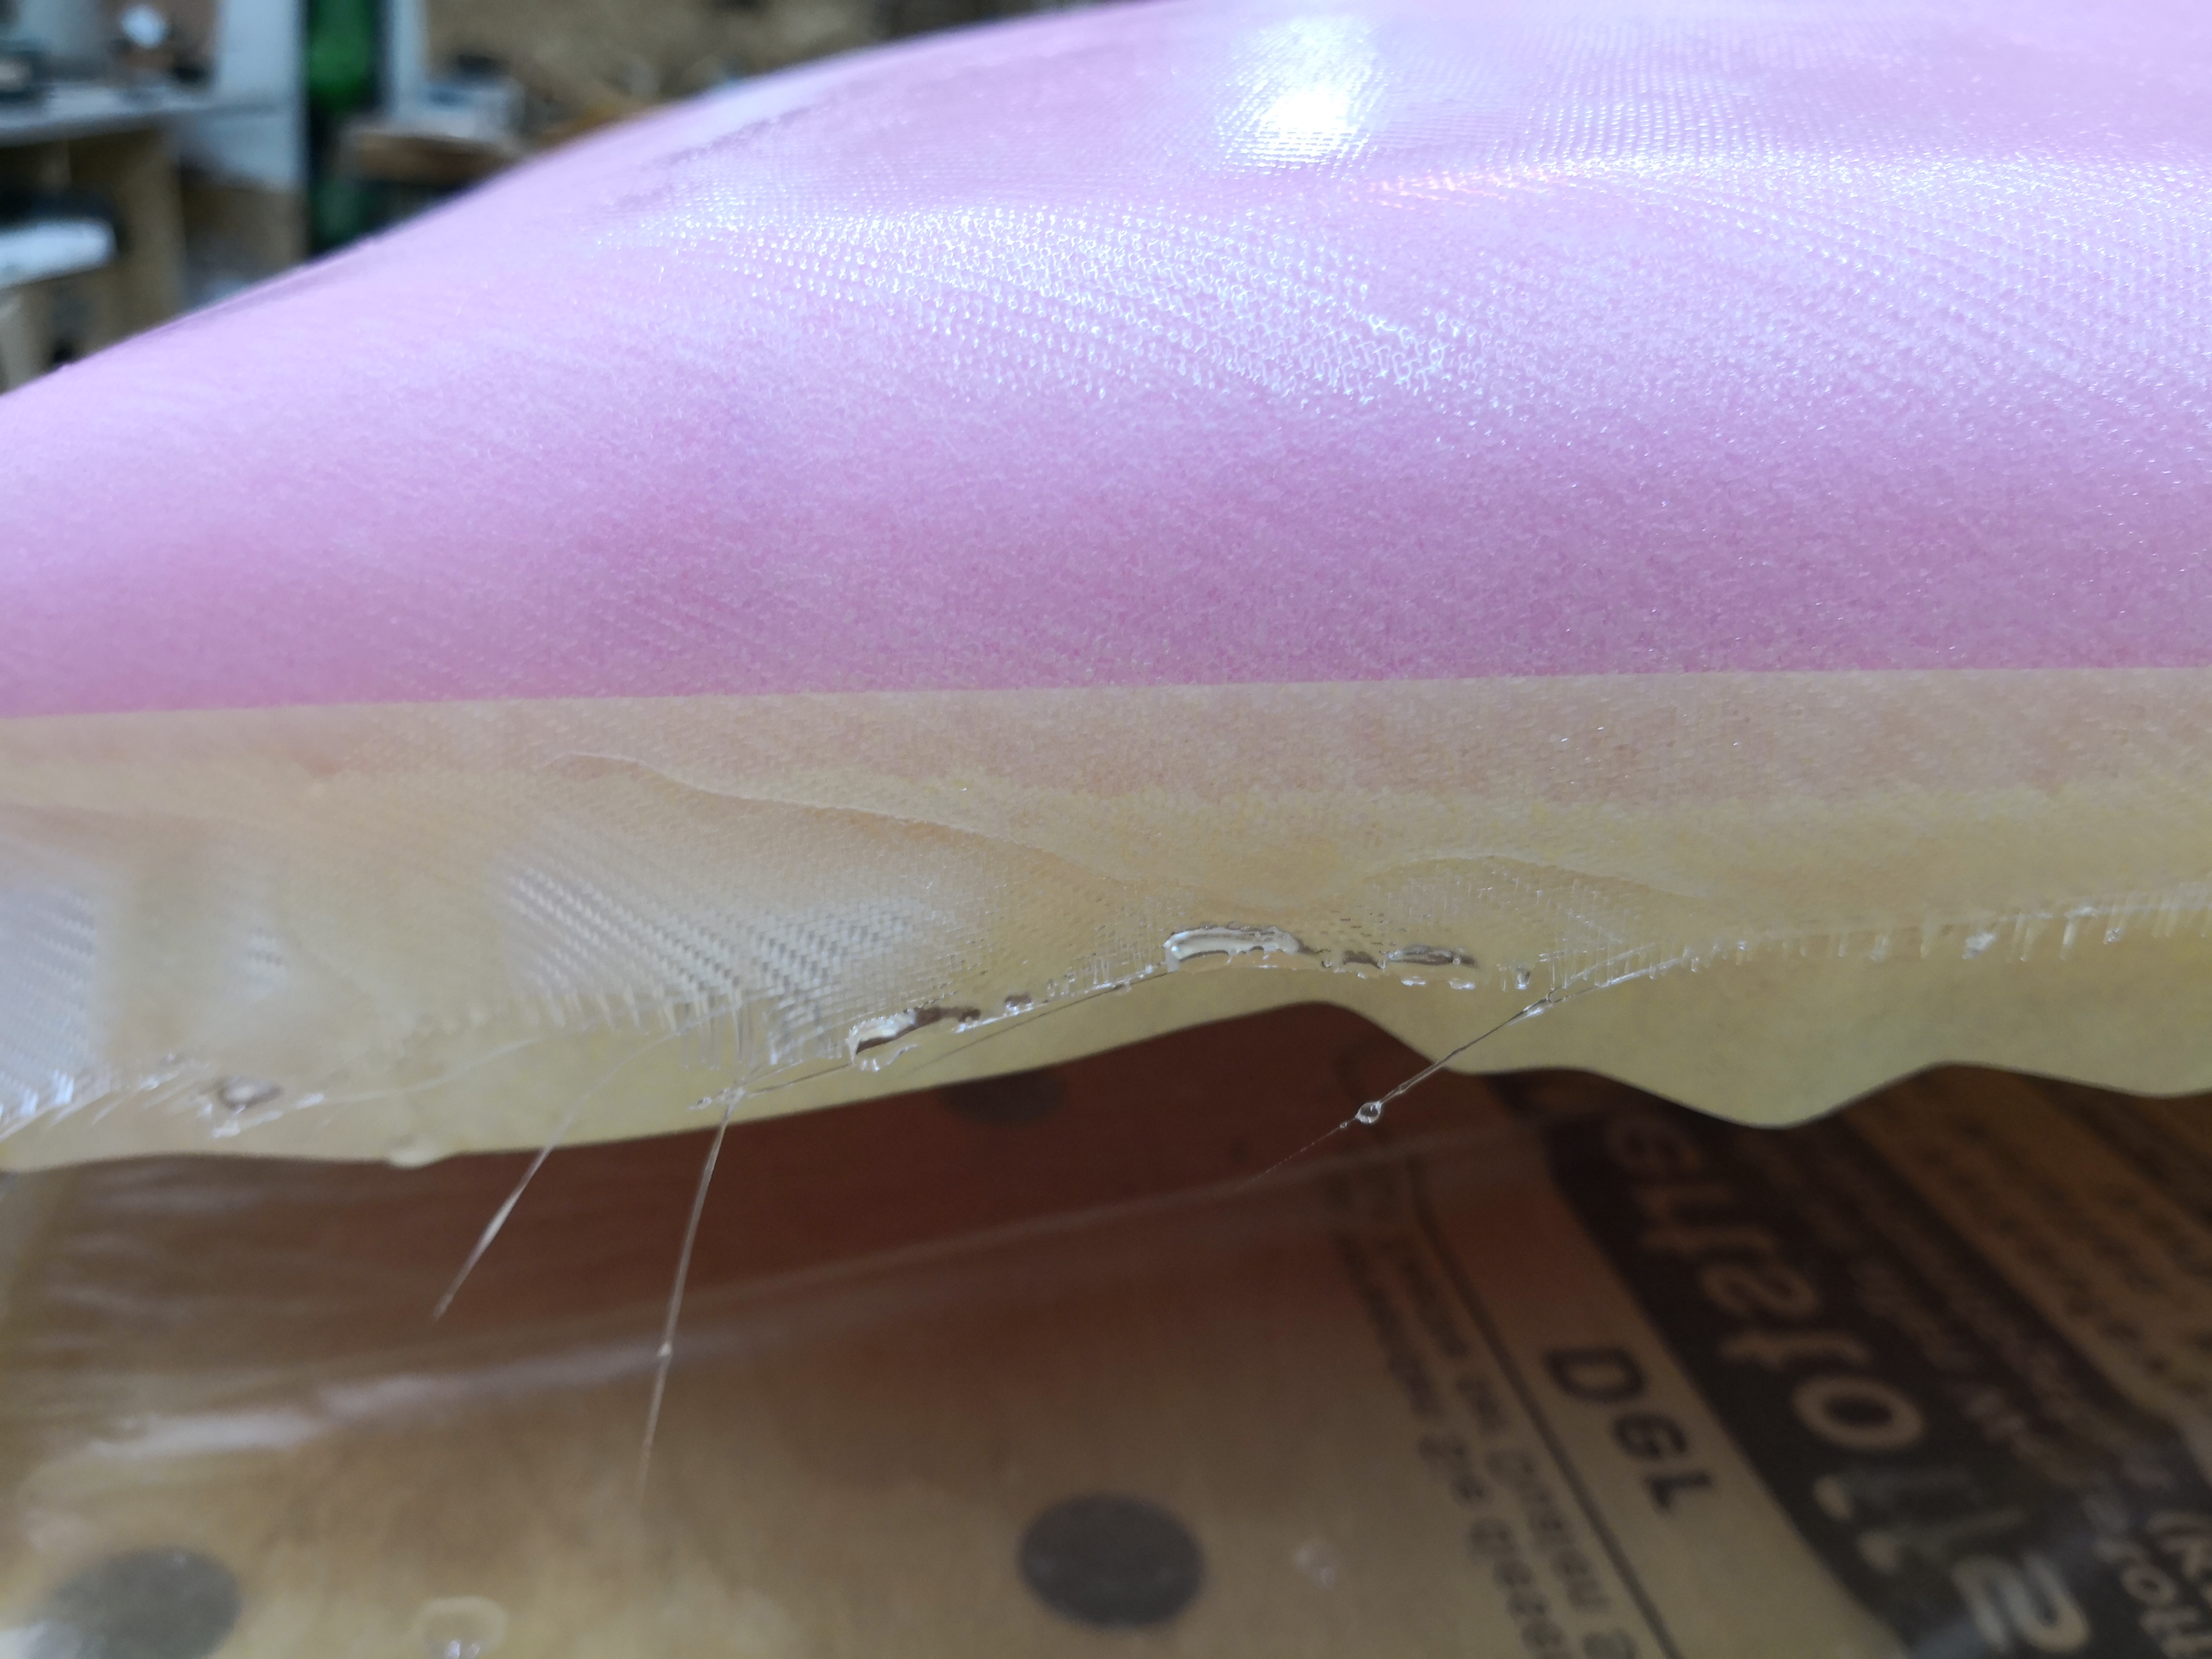
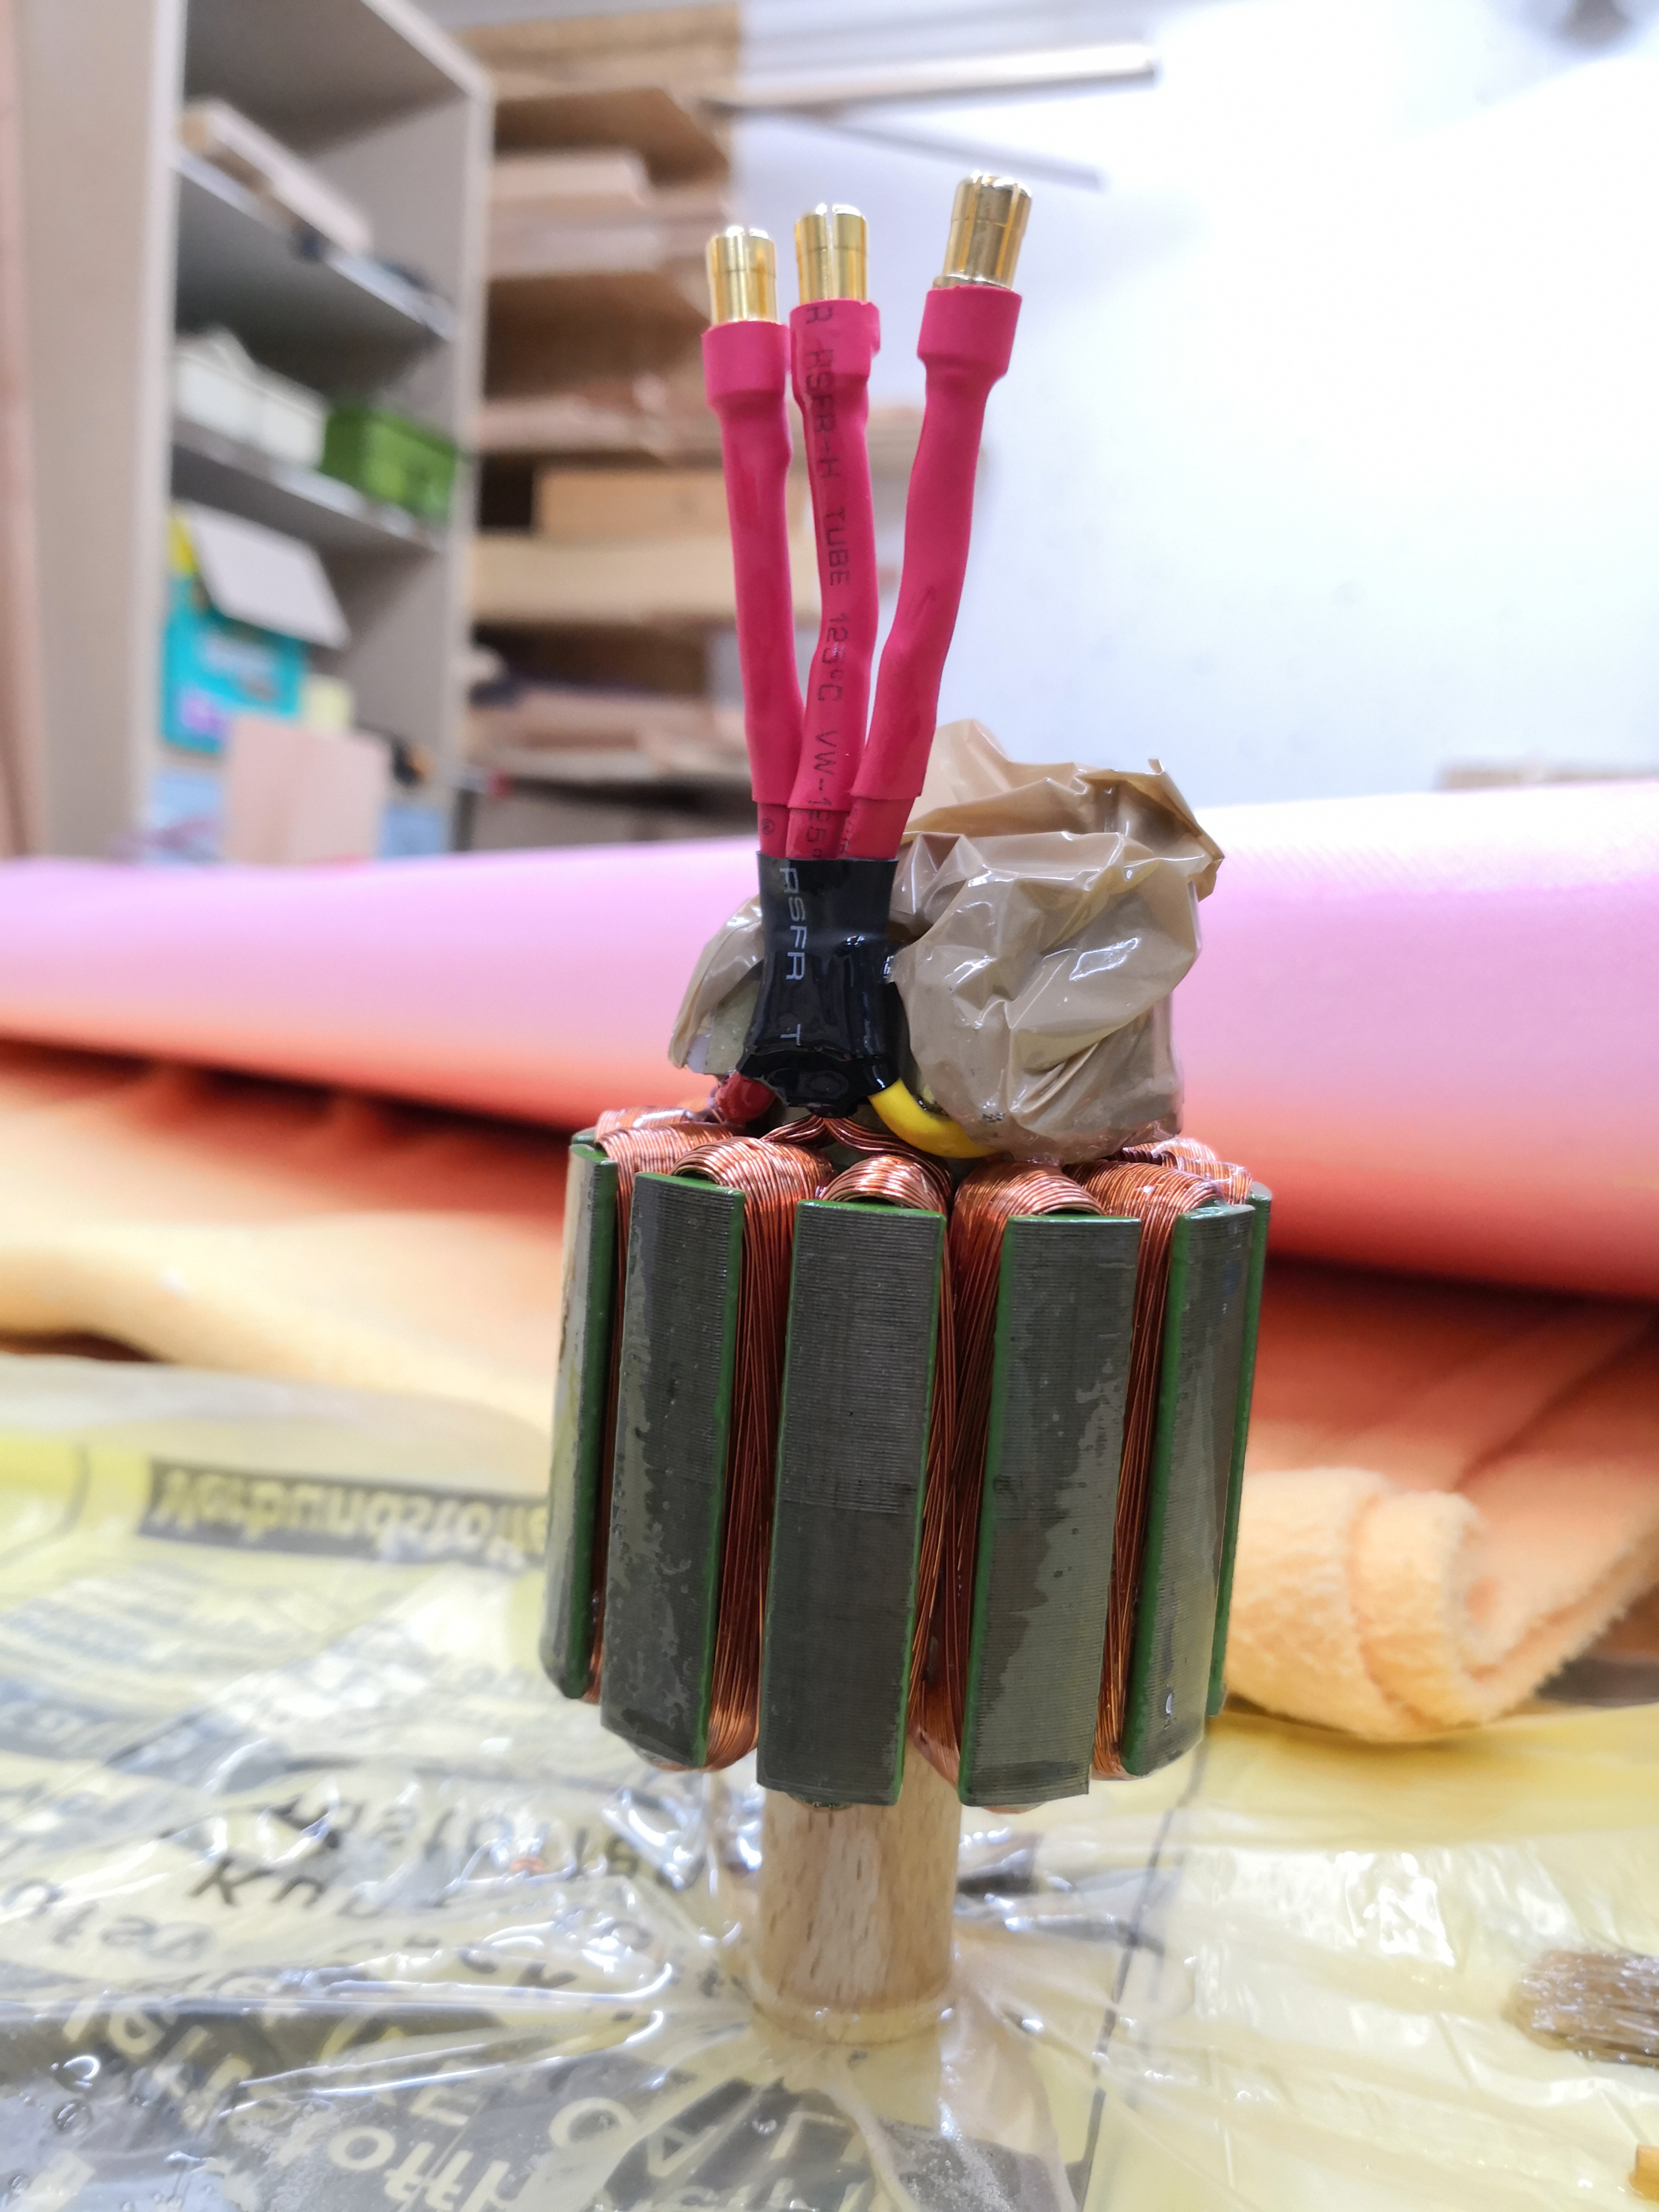
Get all surfaces as smooooth as possible. Even the stator notches can be filled without thermal worries, just leave a channel open so the wingdings get to water.
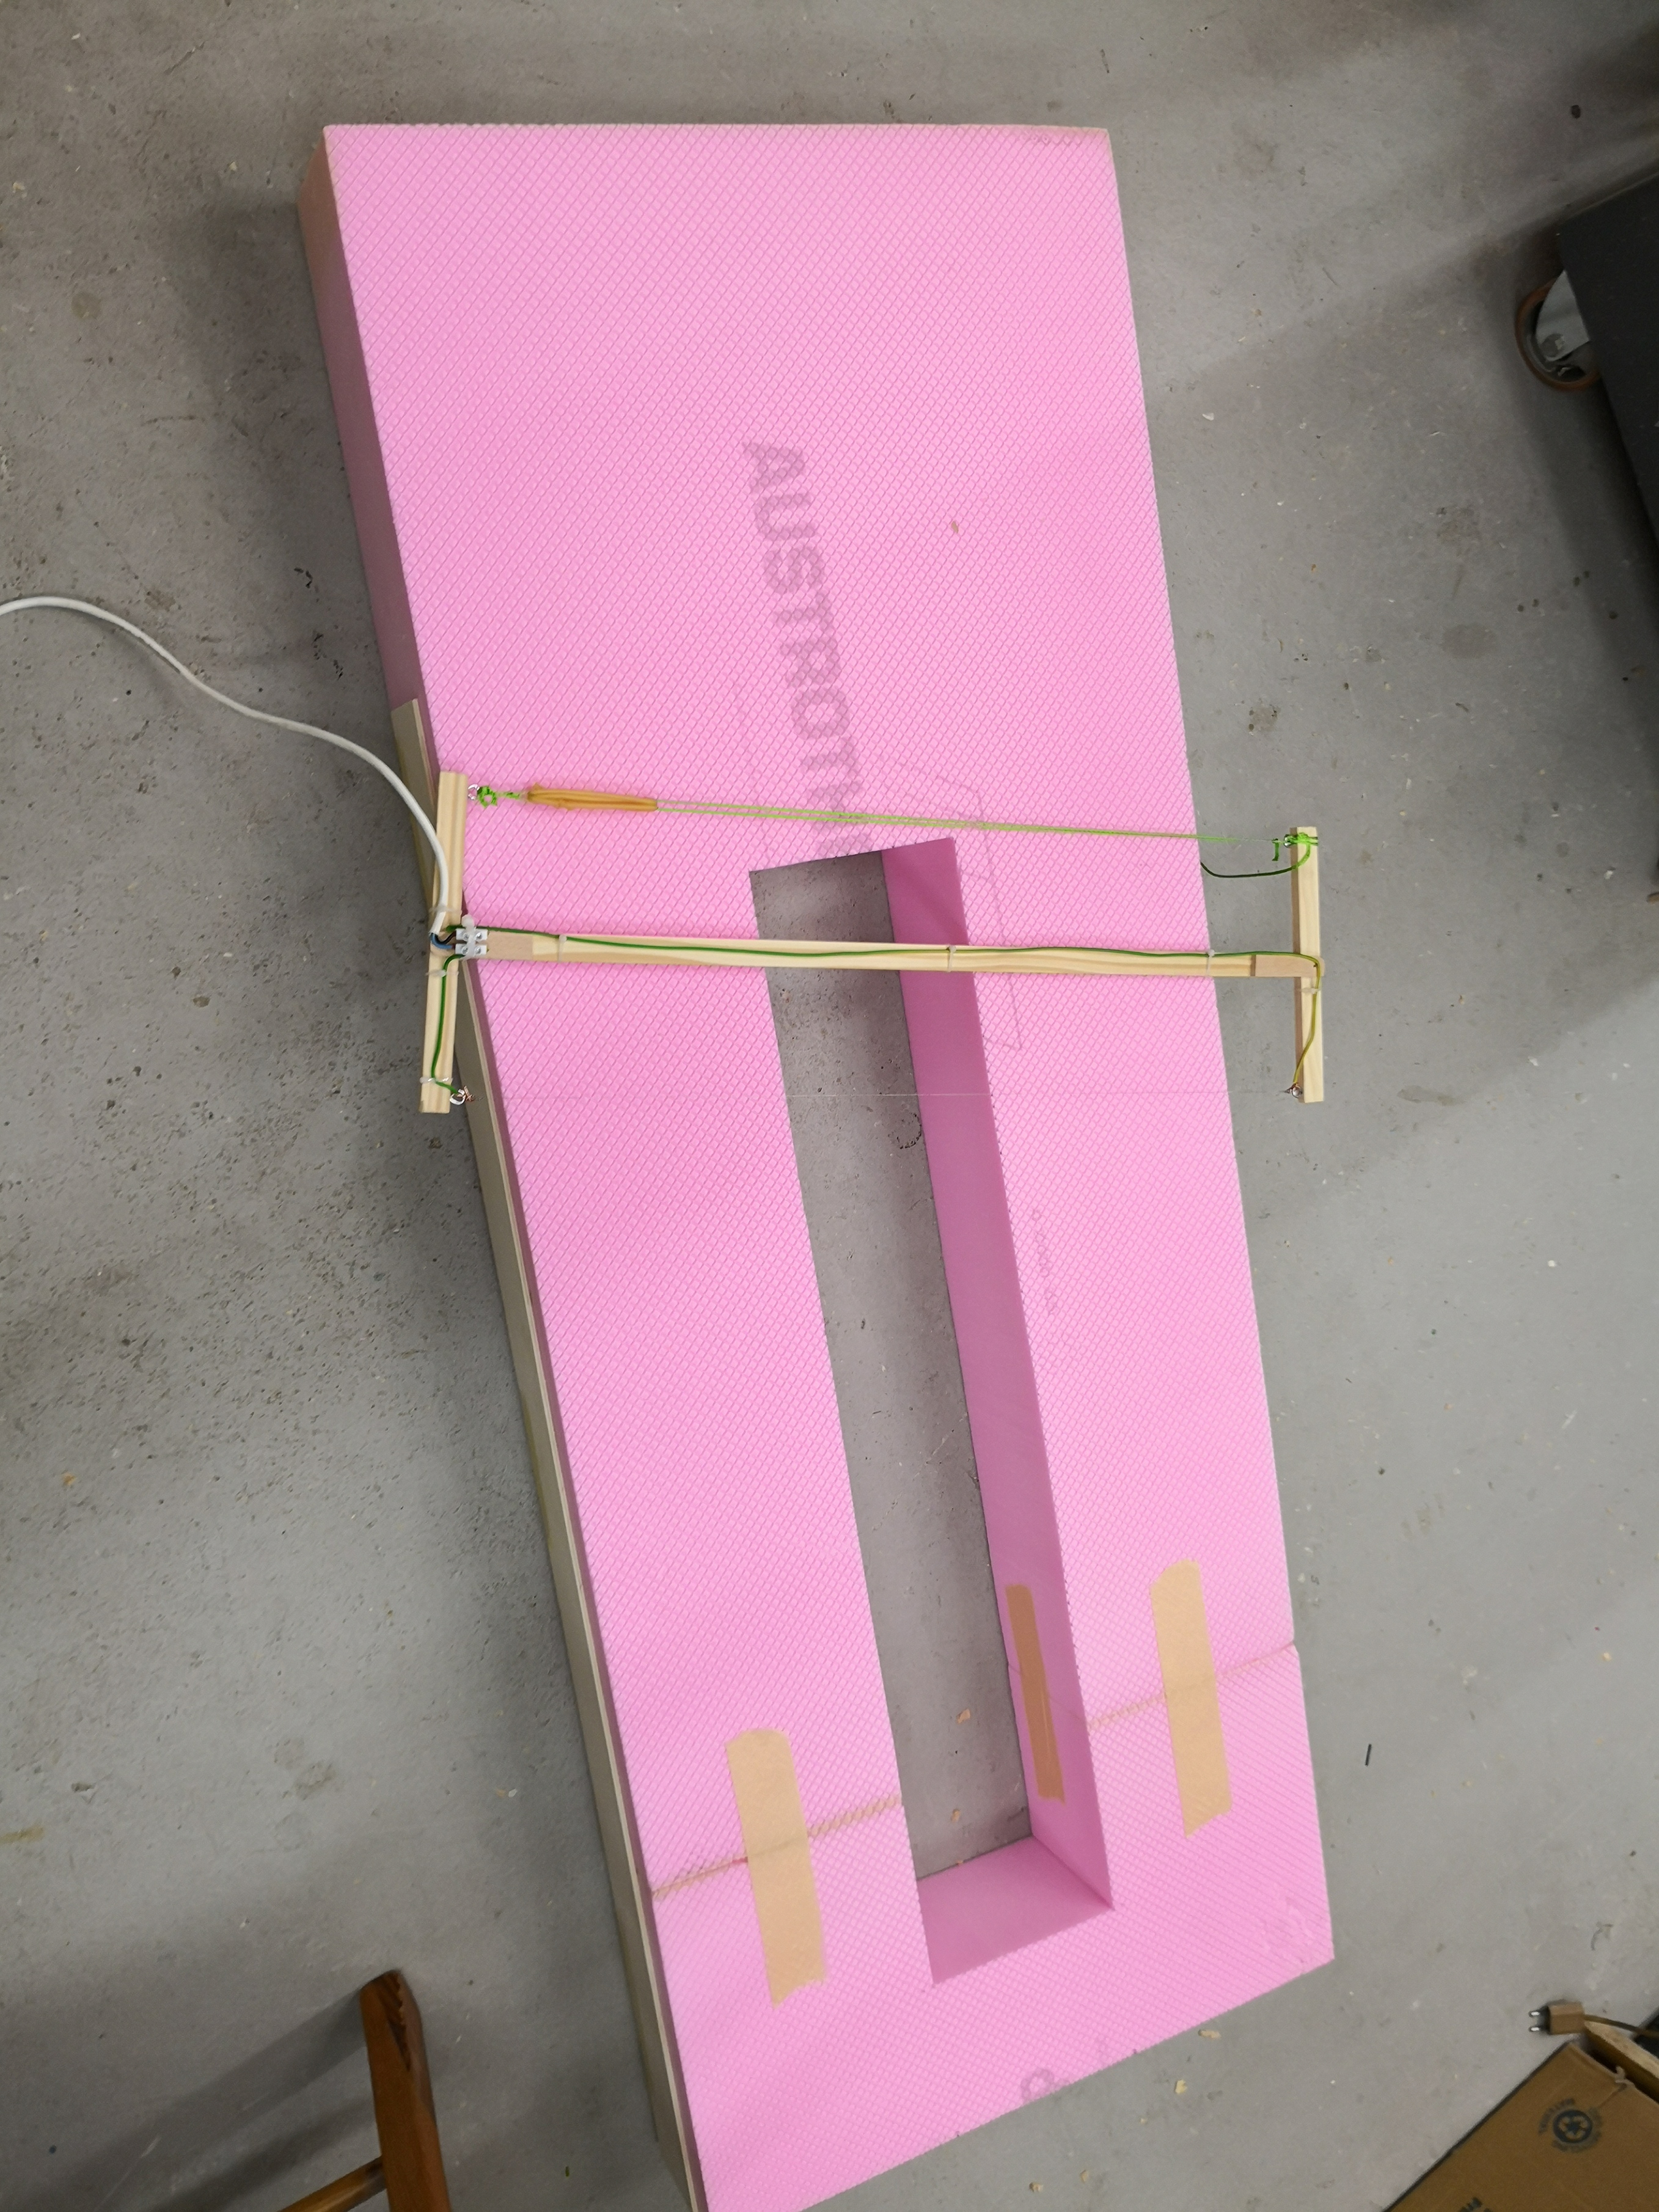
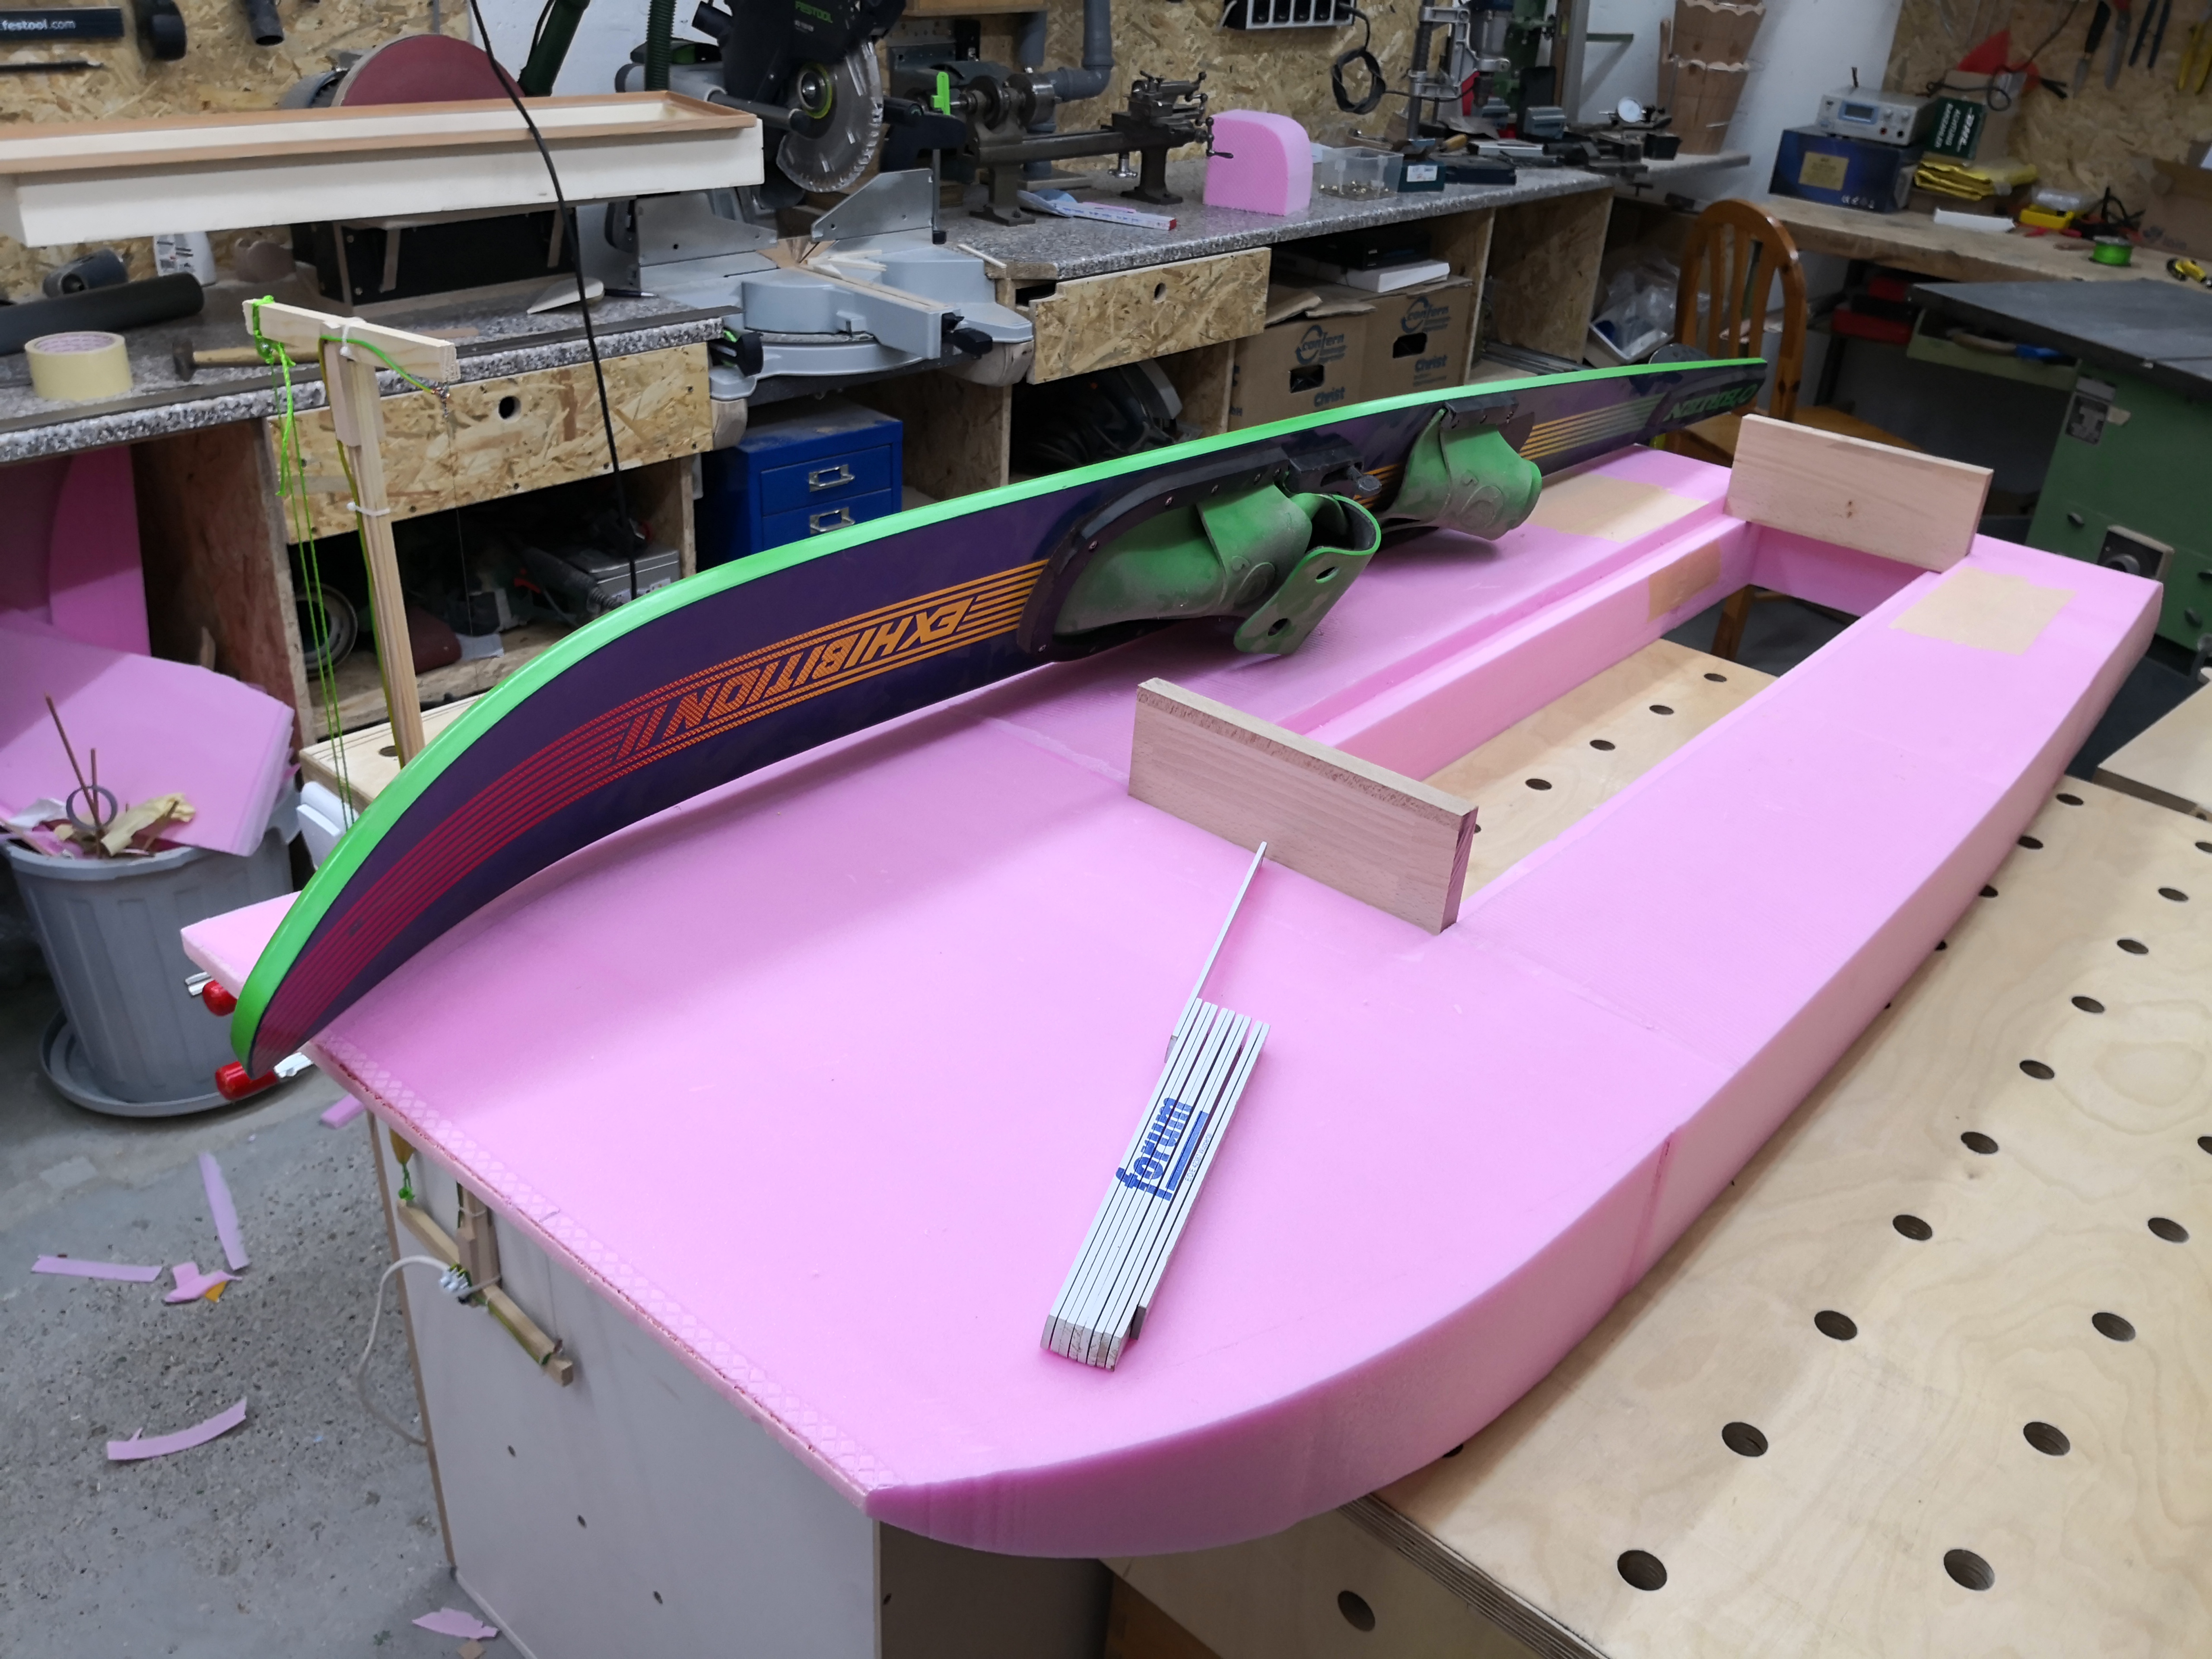
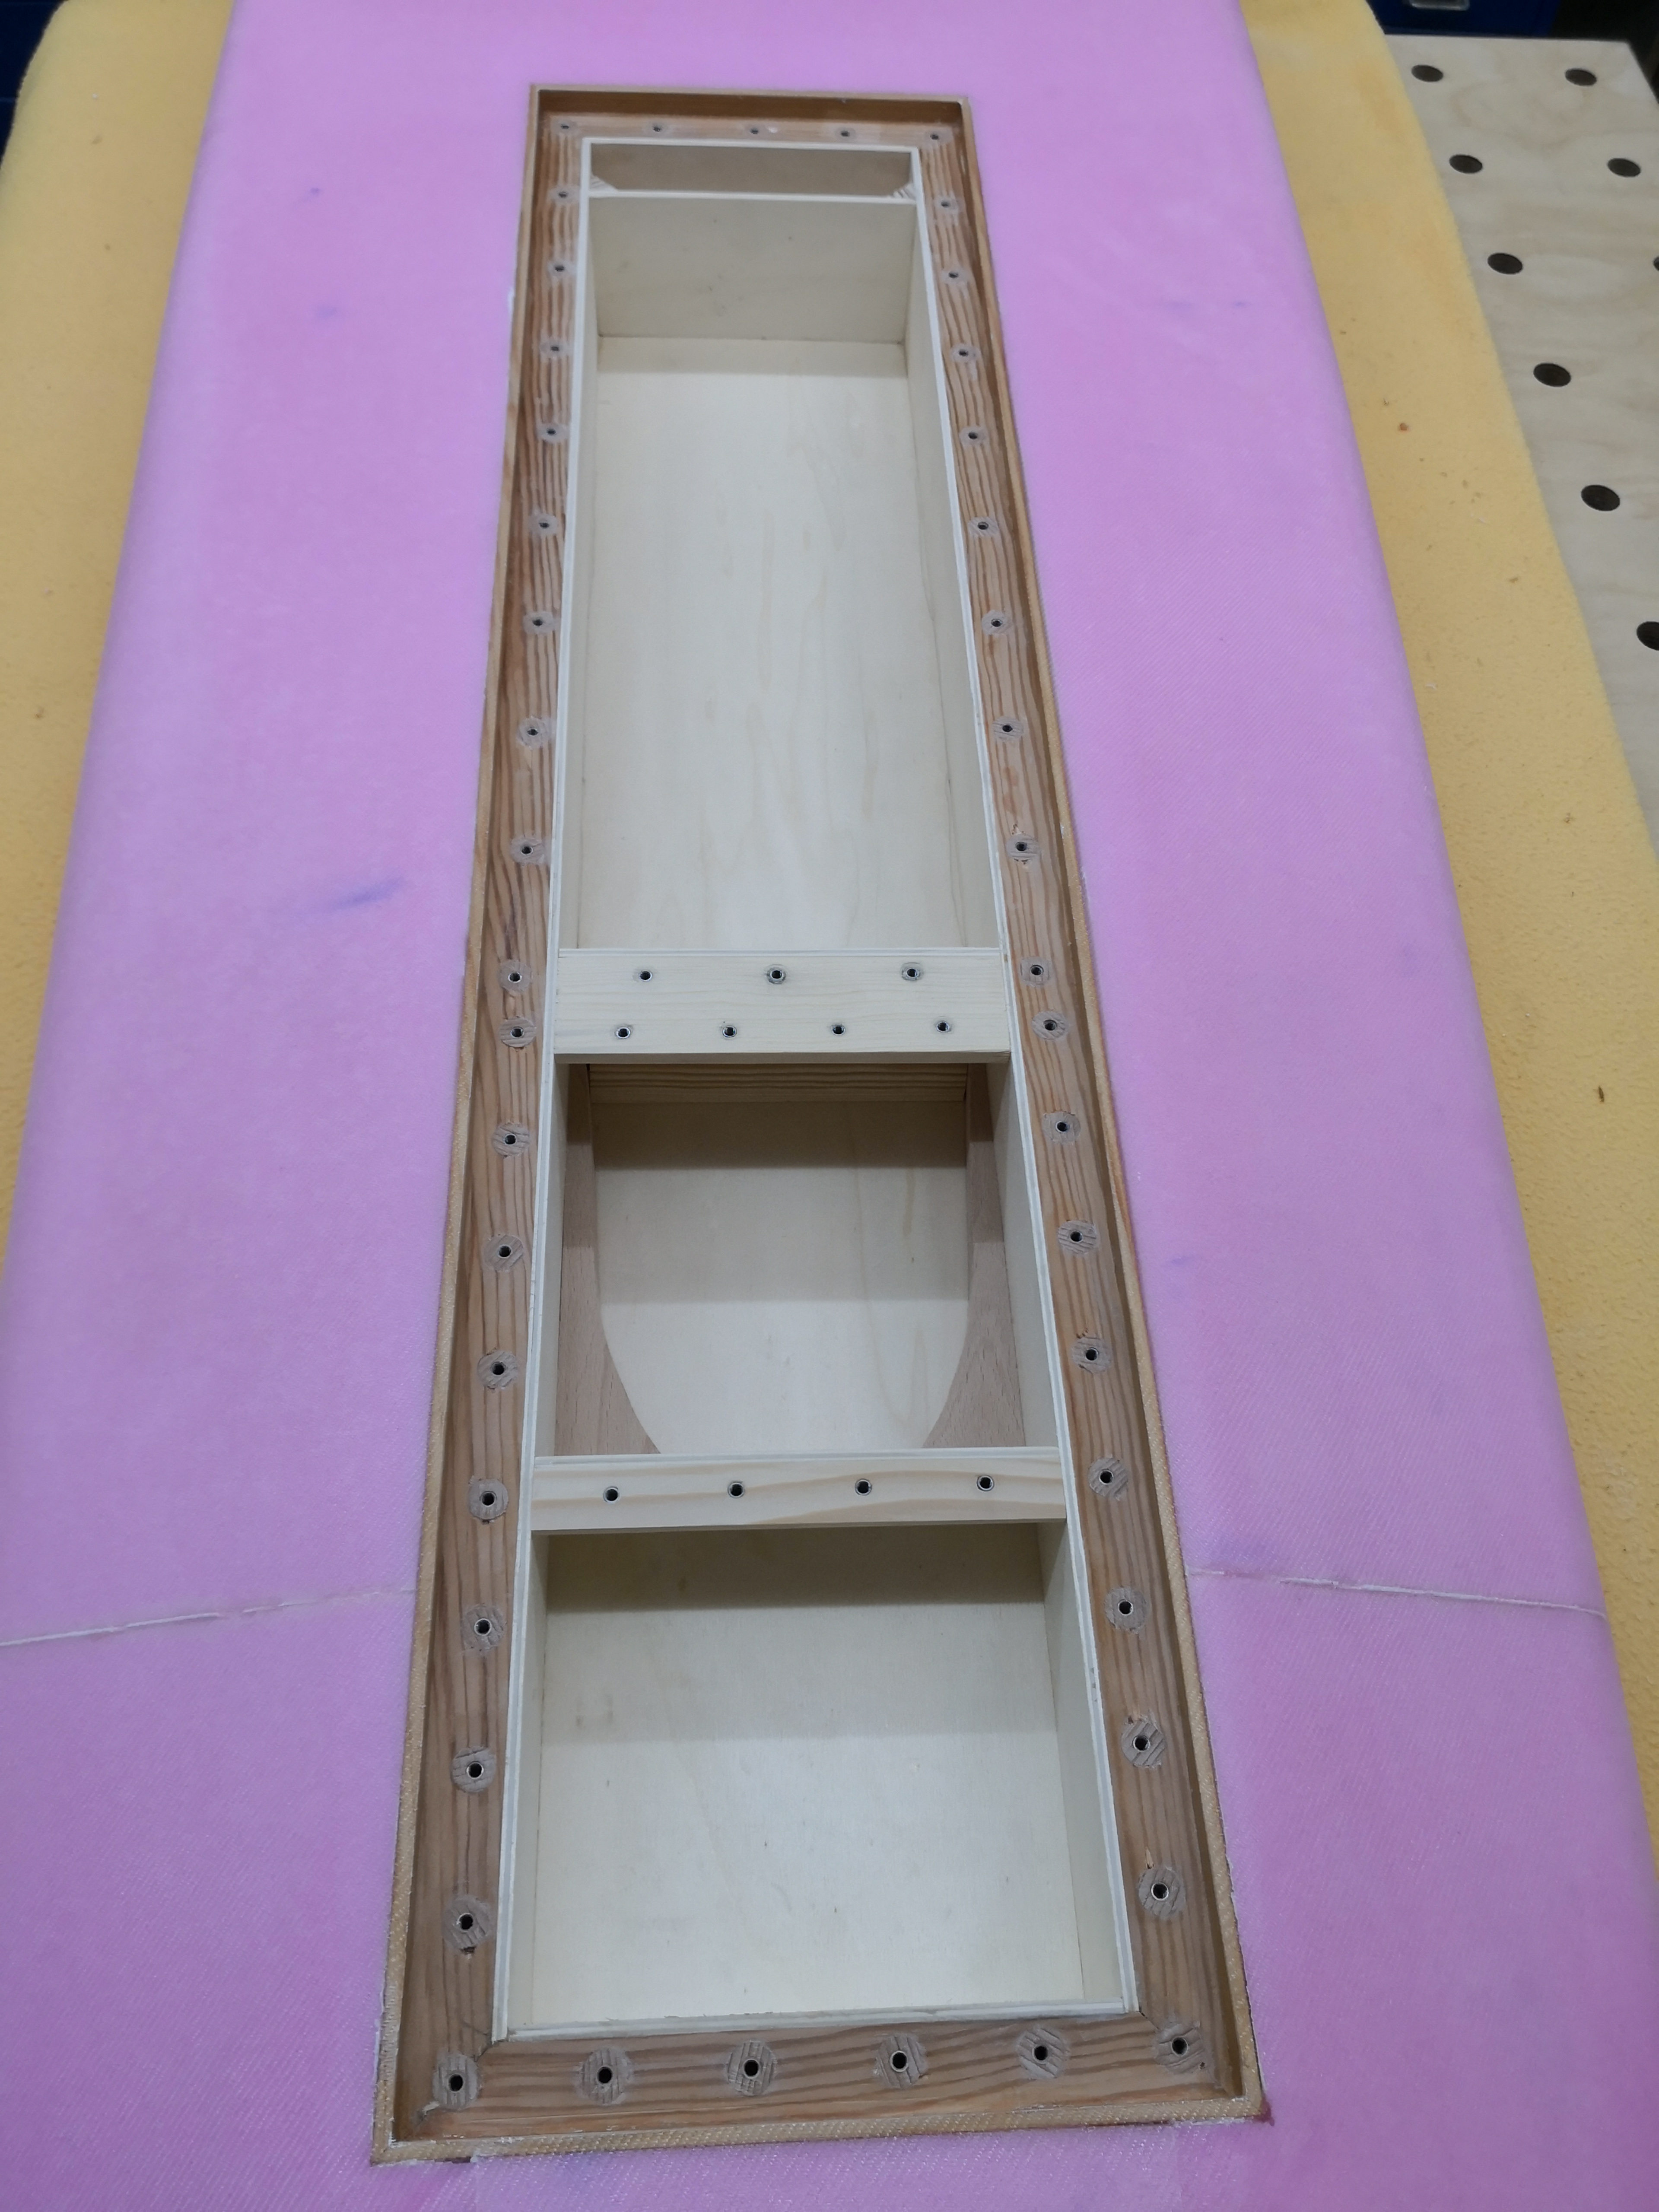
3 Likes

Spinning in Air: 162W
Spinning under Water full throttle: 825W
Spinning under Water half throttle: 250W

Test was with 44,4V only. (Battery wasnt charged up)

Stator and Magnets only covered with one coat epoxy. Nothing fancy, just KISS

There is a small gap, about 0,75mm, that should give enough waterflow. At least i hope so

so slight improvement compare to mine underwater… not sure if it’s the fit of the cap or may be some loss between my batteries and motor… :slight_smile:

Waterflow of this cheap pump is really amazing

1 Like

They say “Frischwasserpumpe” so ‘Fresh water pump’:

  • do you think that sea water will be a pb ?
  • is it a self-priming pump ?