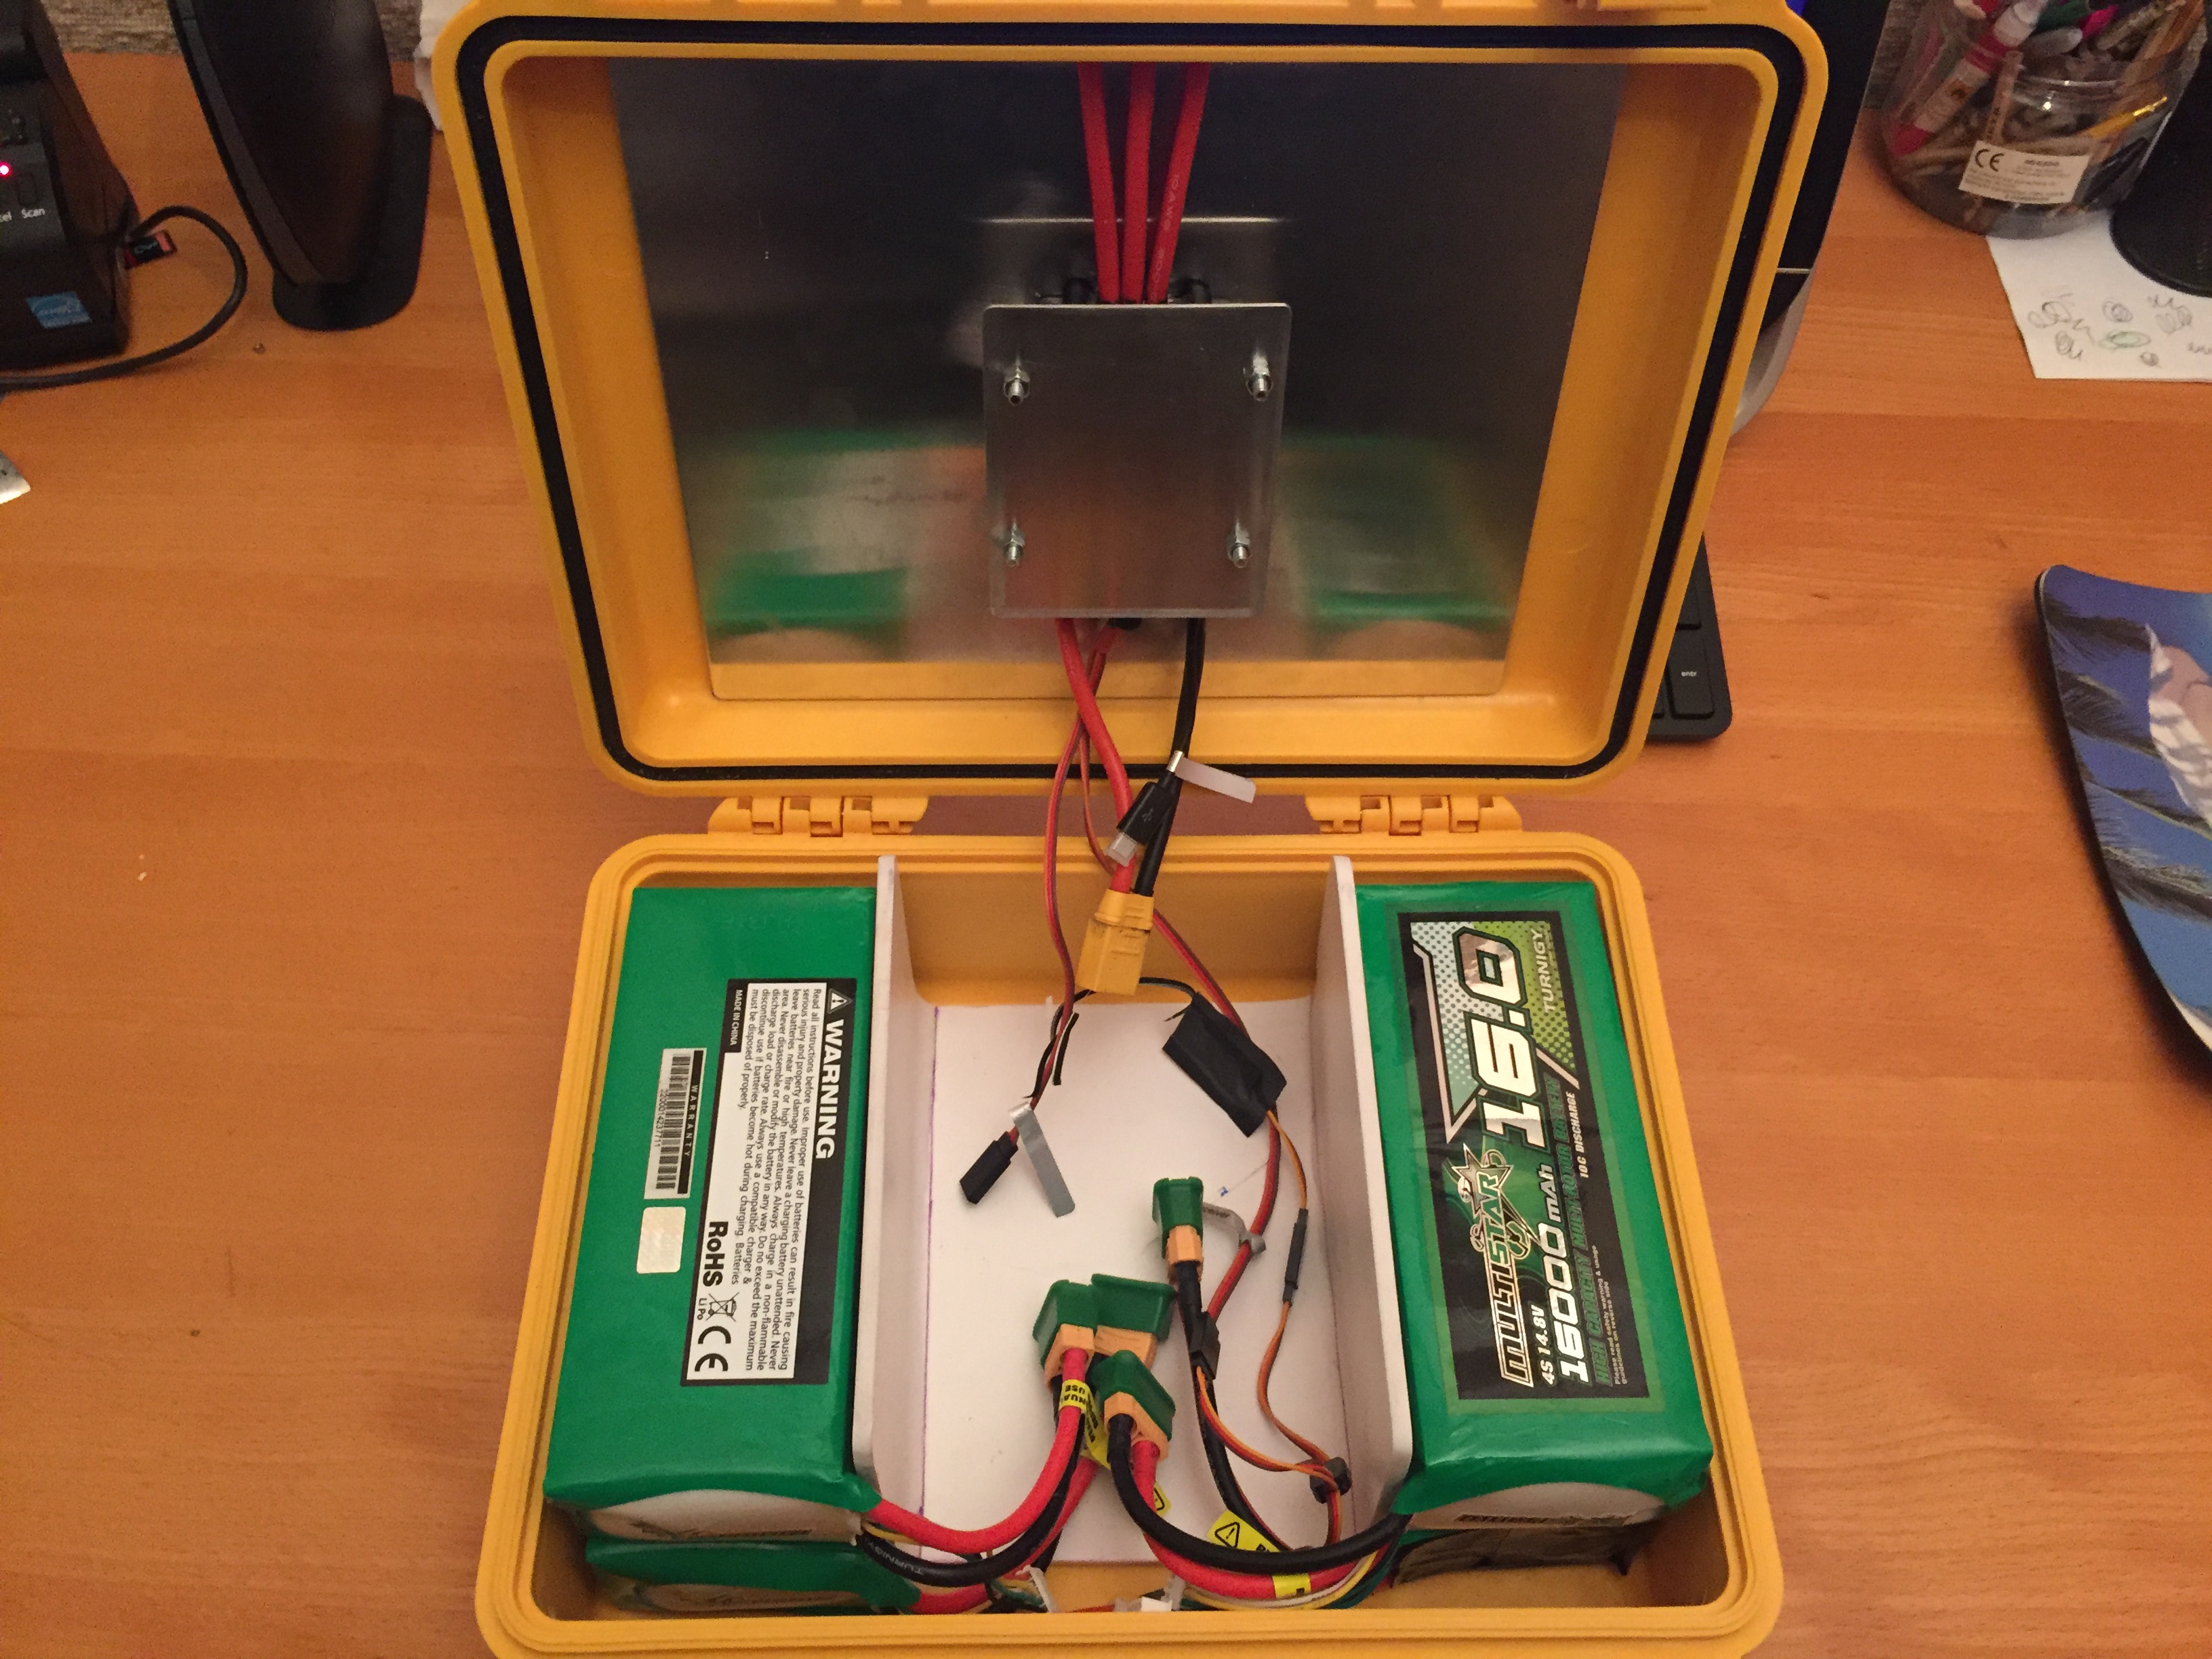
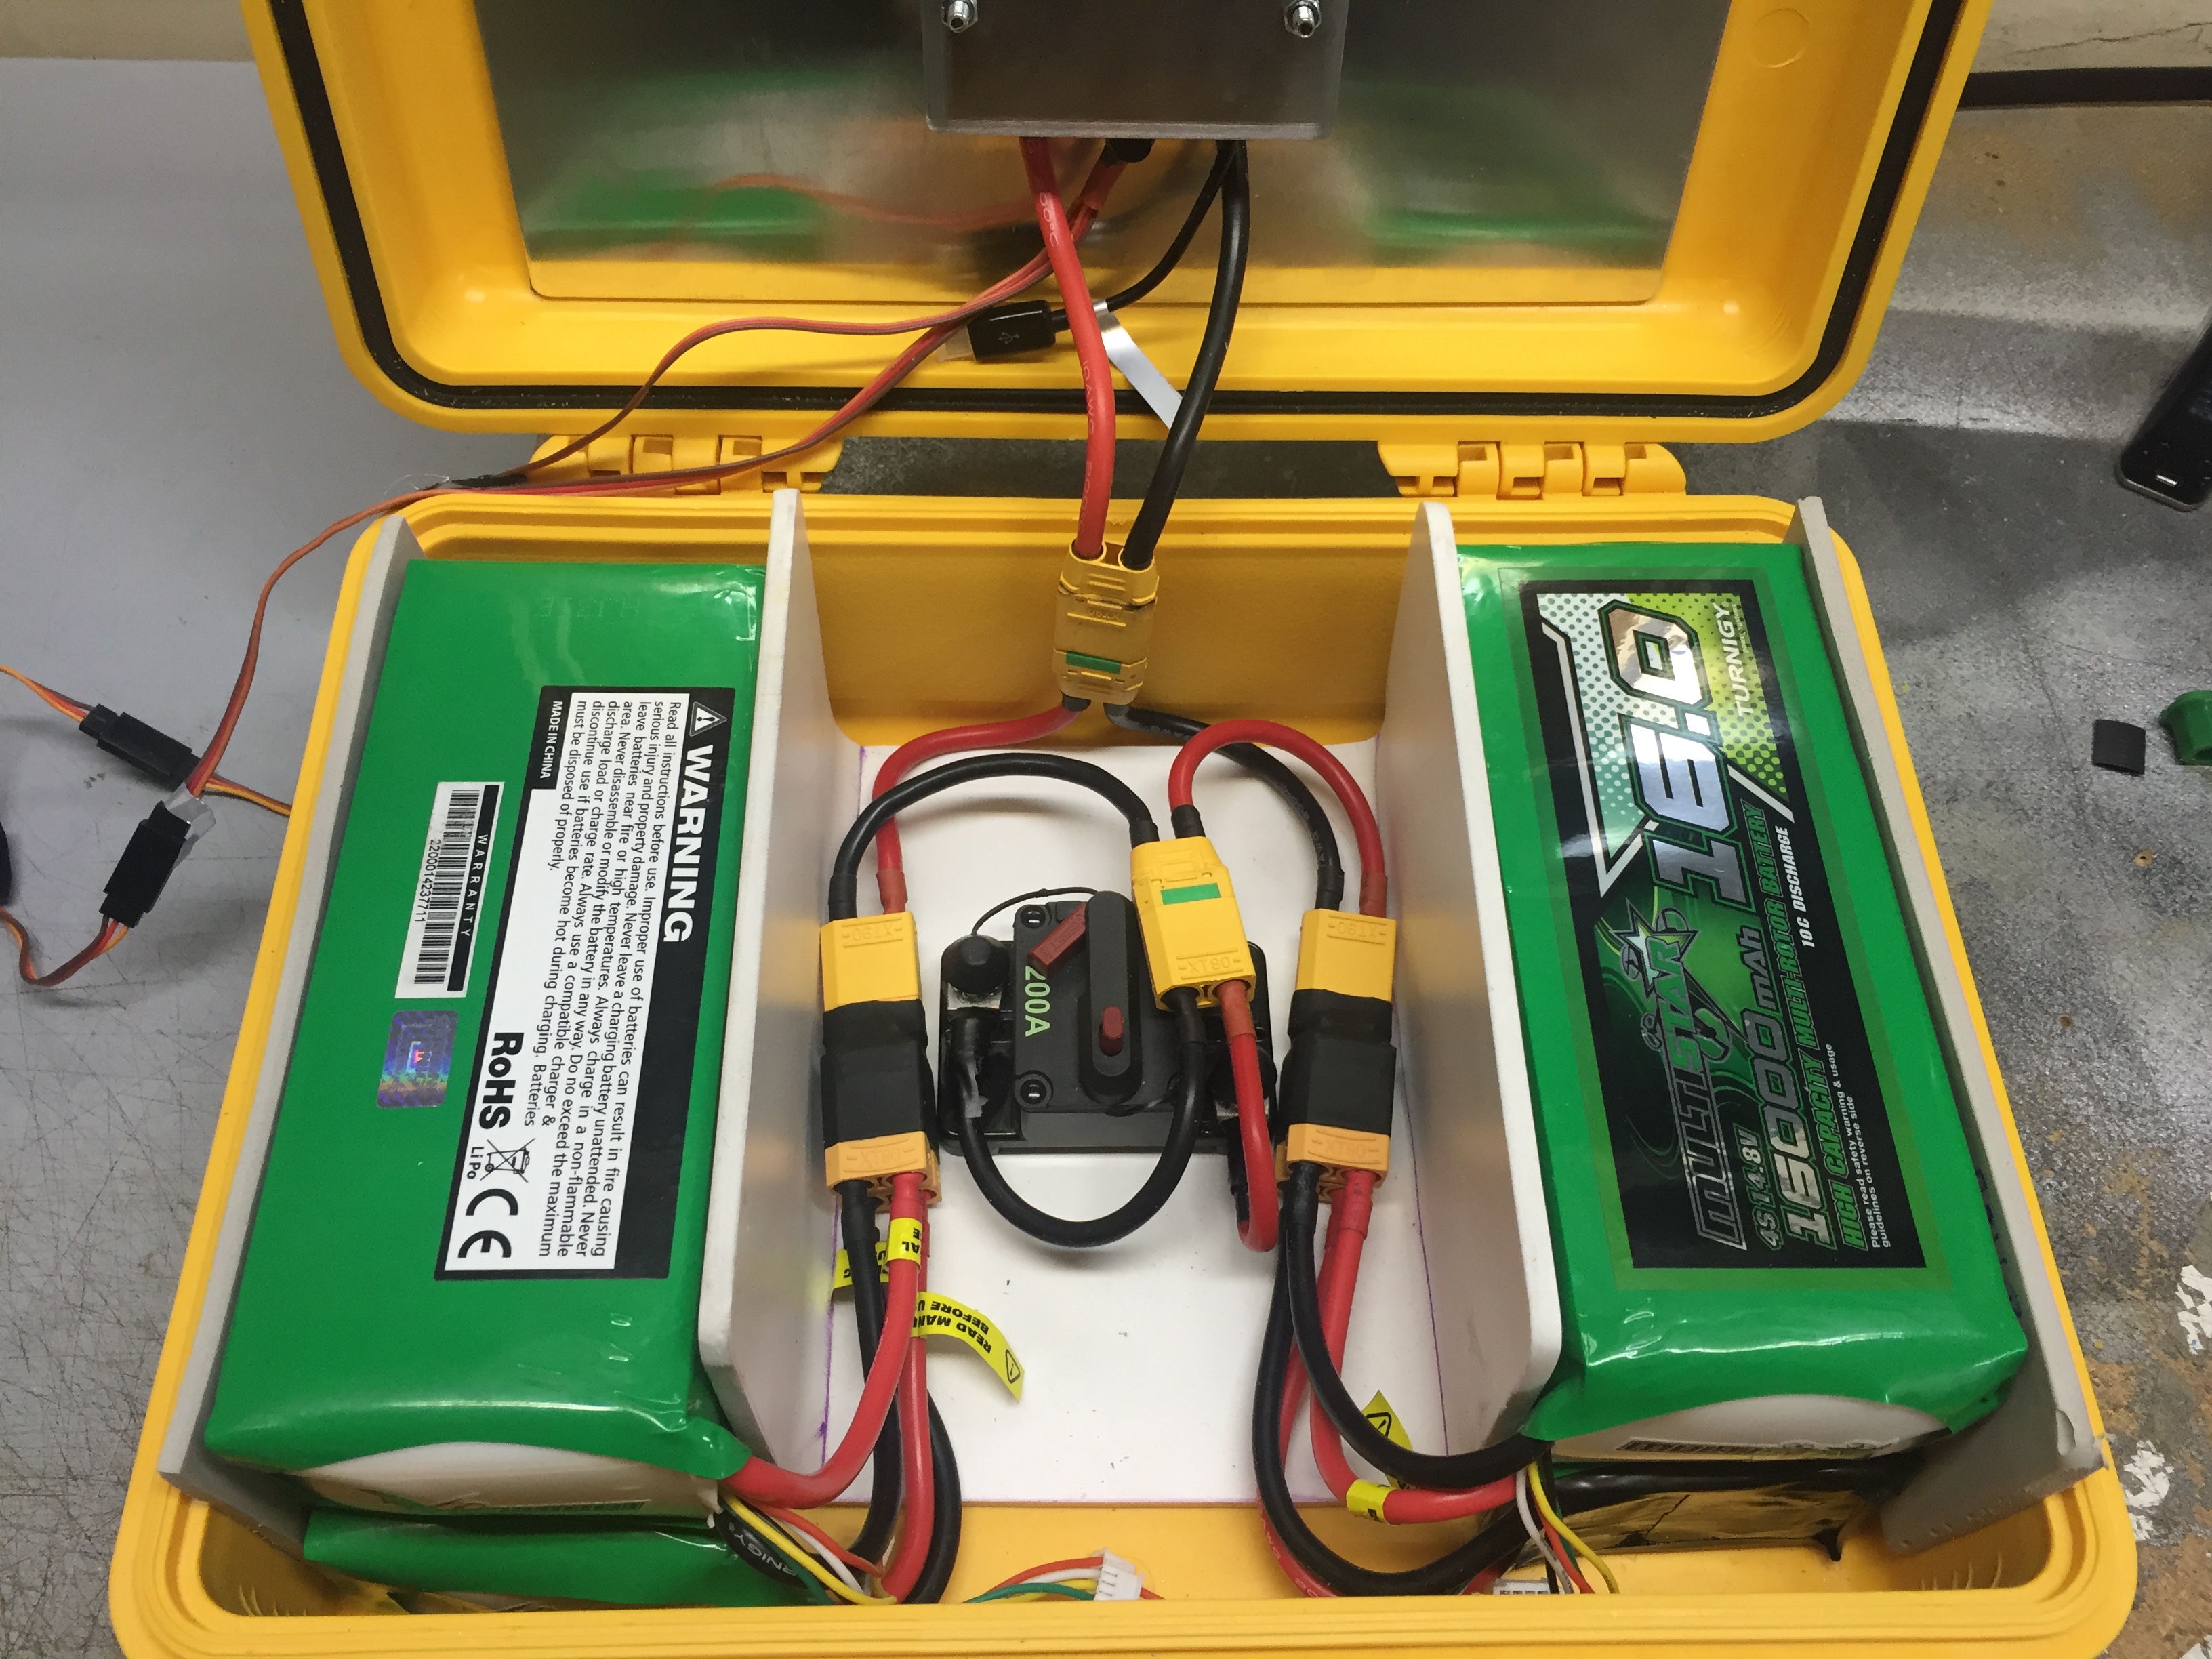
the pics show just a part of the setup , i tested with a heat sink on the hot side , 2 plates alloy 5mm 200*200 , that was supposed to be on the top of the case , and yes outside, but before i cut a hole in the case i tested and realized that the heat sink outside need to be a lot bigger and yes with the foil moving (forced airflow) it might work but when you stop, the top gets very hot and finish by heating everything, need a fan as well i guess, so the all thing will take too much place
pull 130W so i guess i needed 300w of heat dispersion on top of the case…
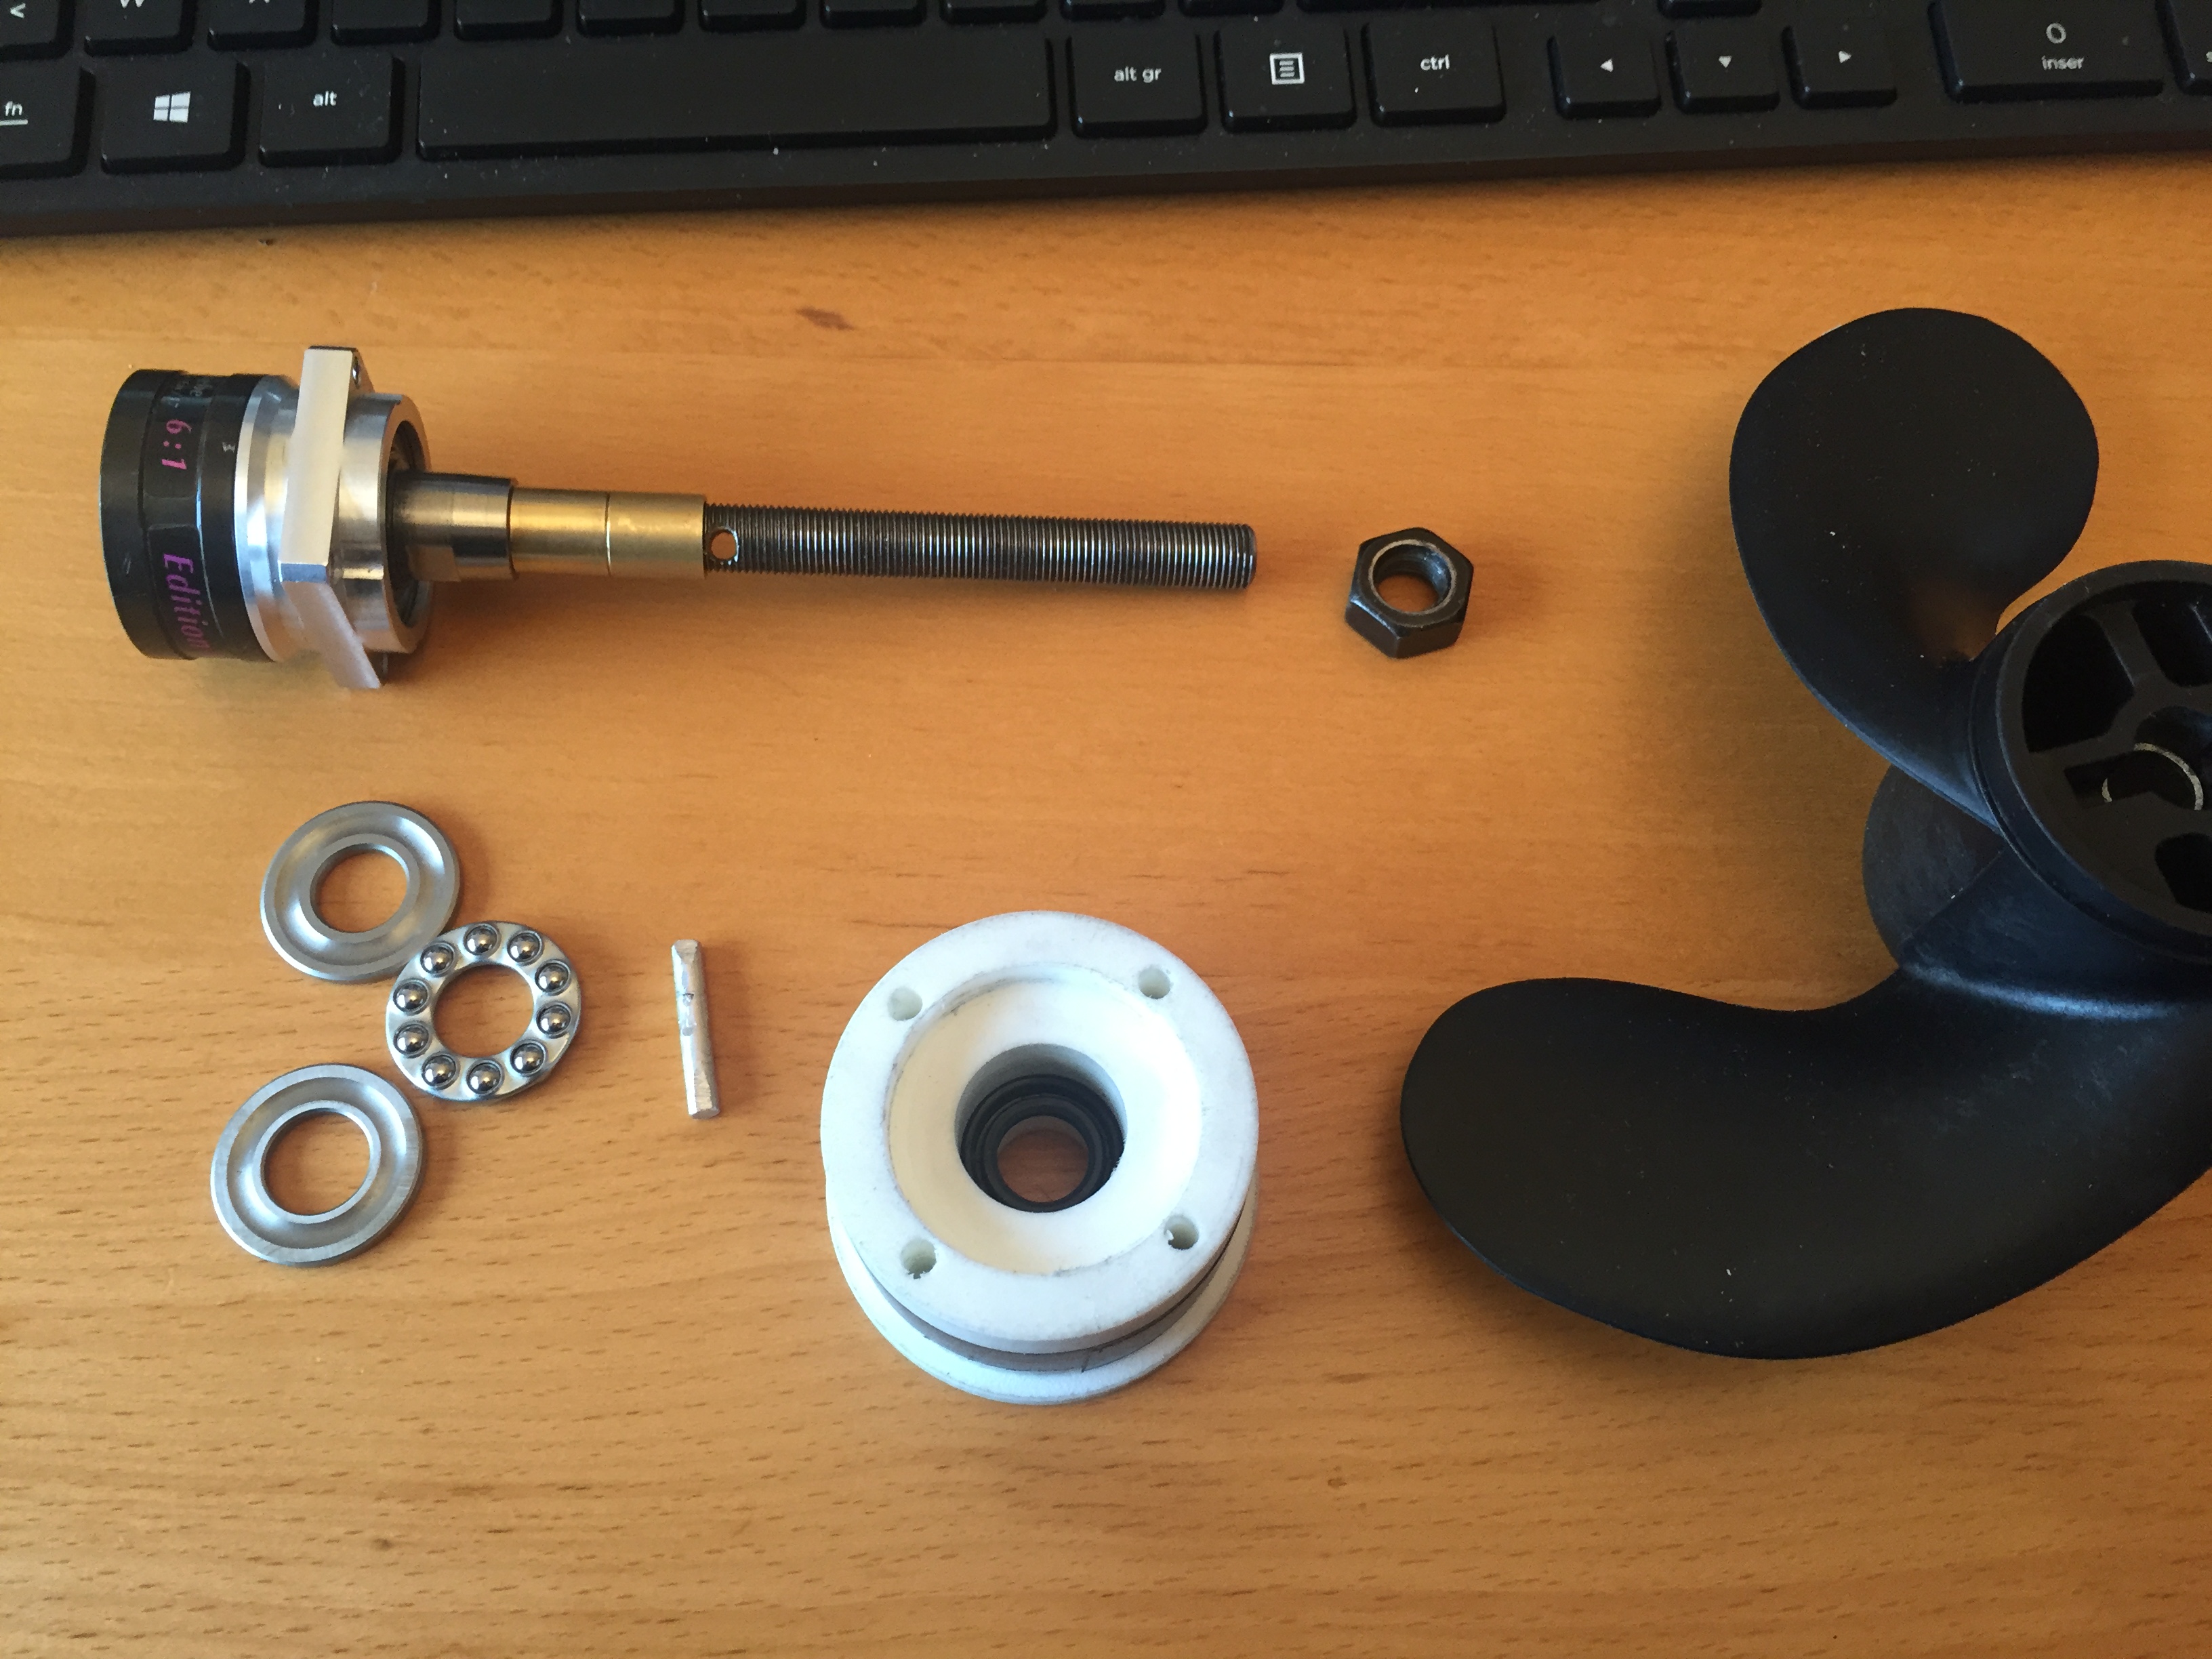
i made a couple and buy some, but it was never straight and i had some vibrations
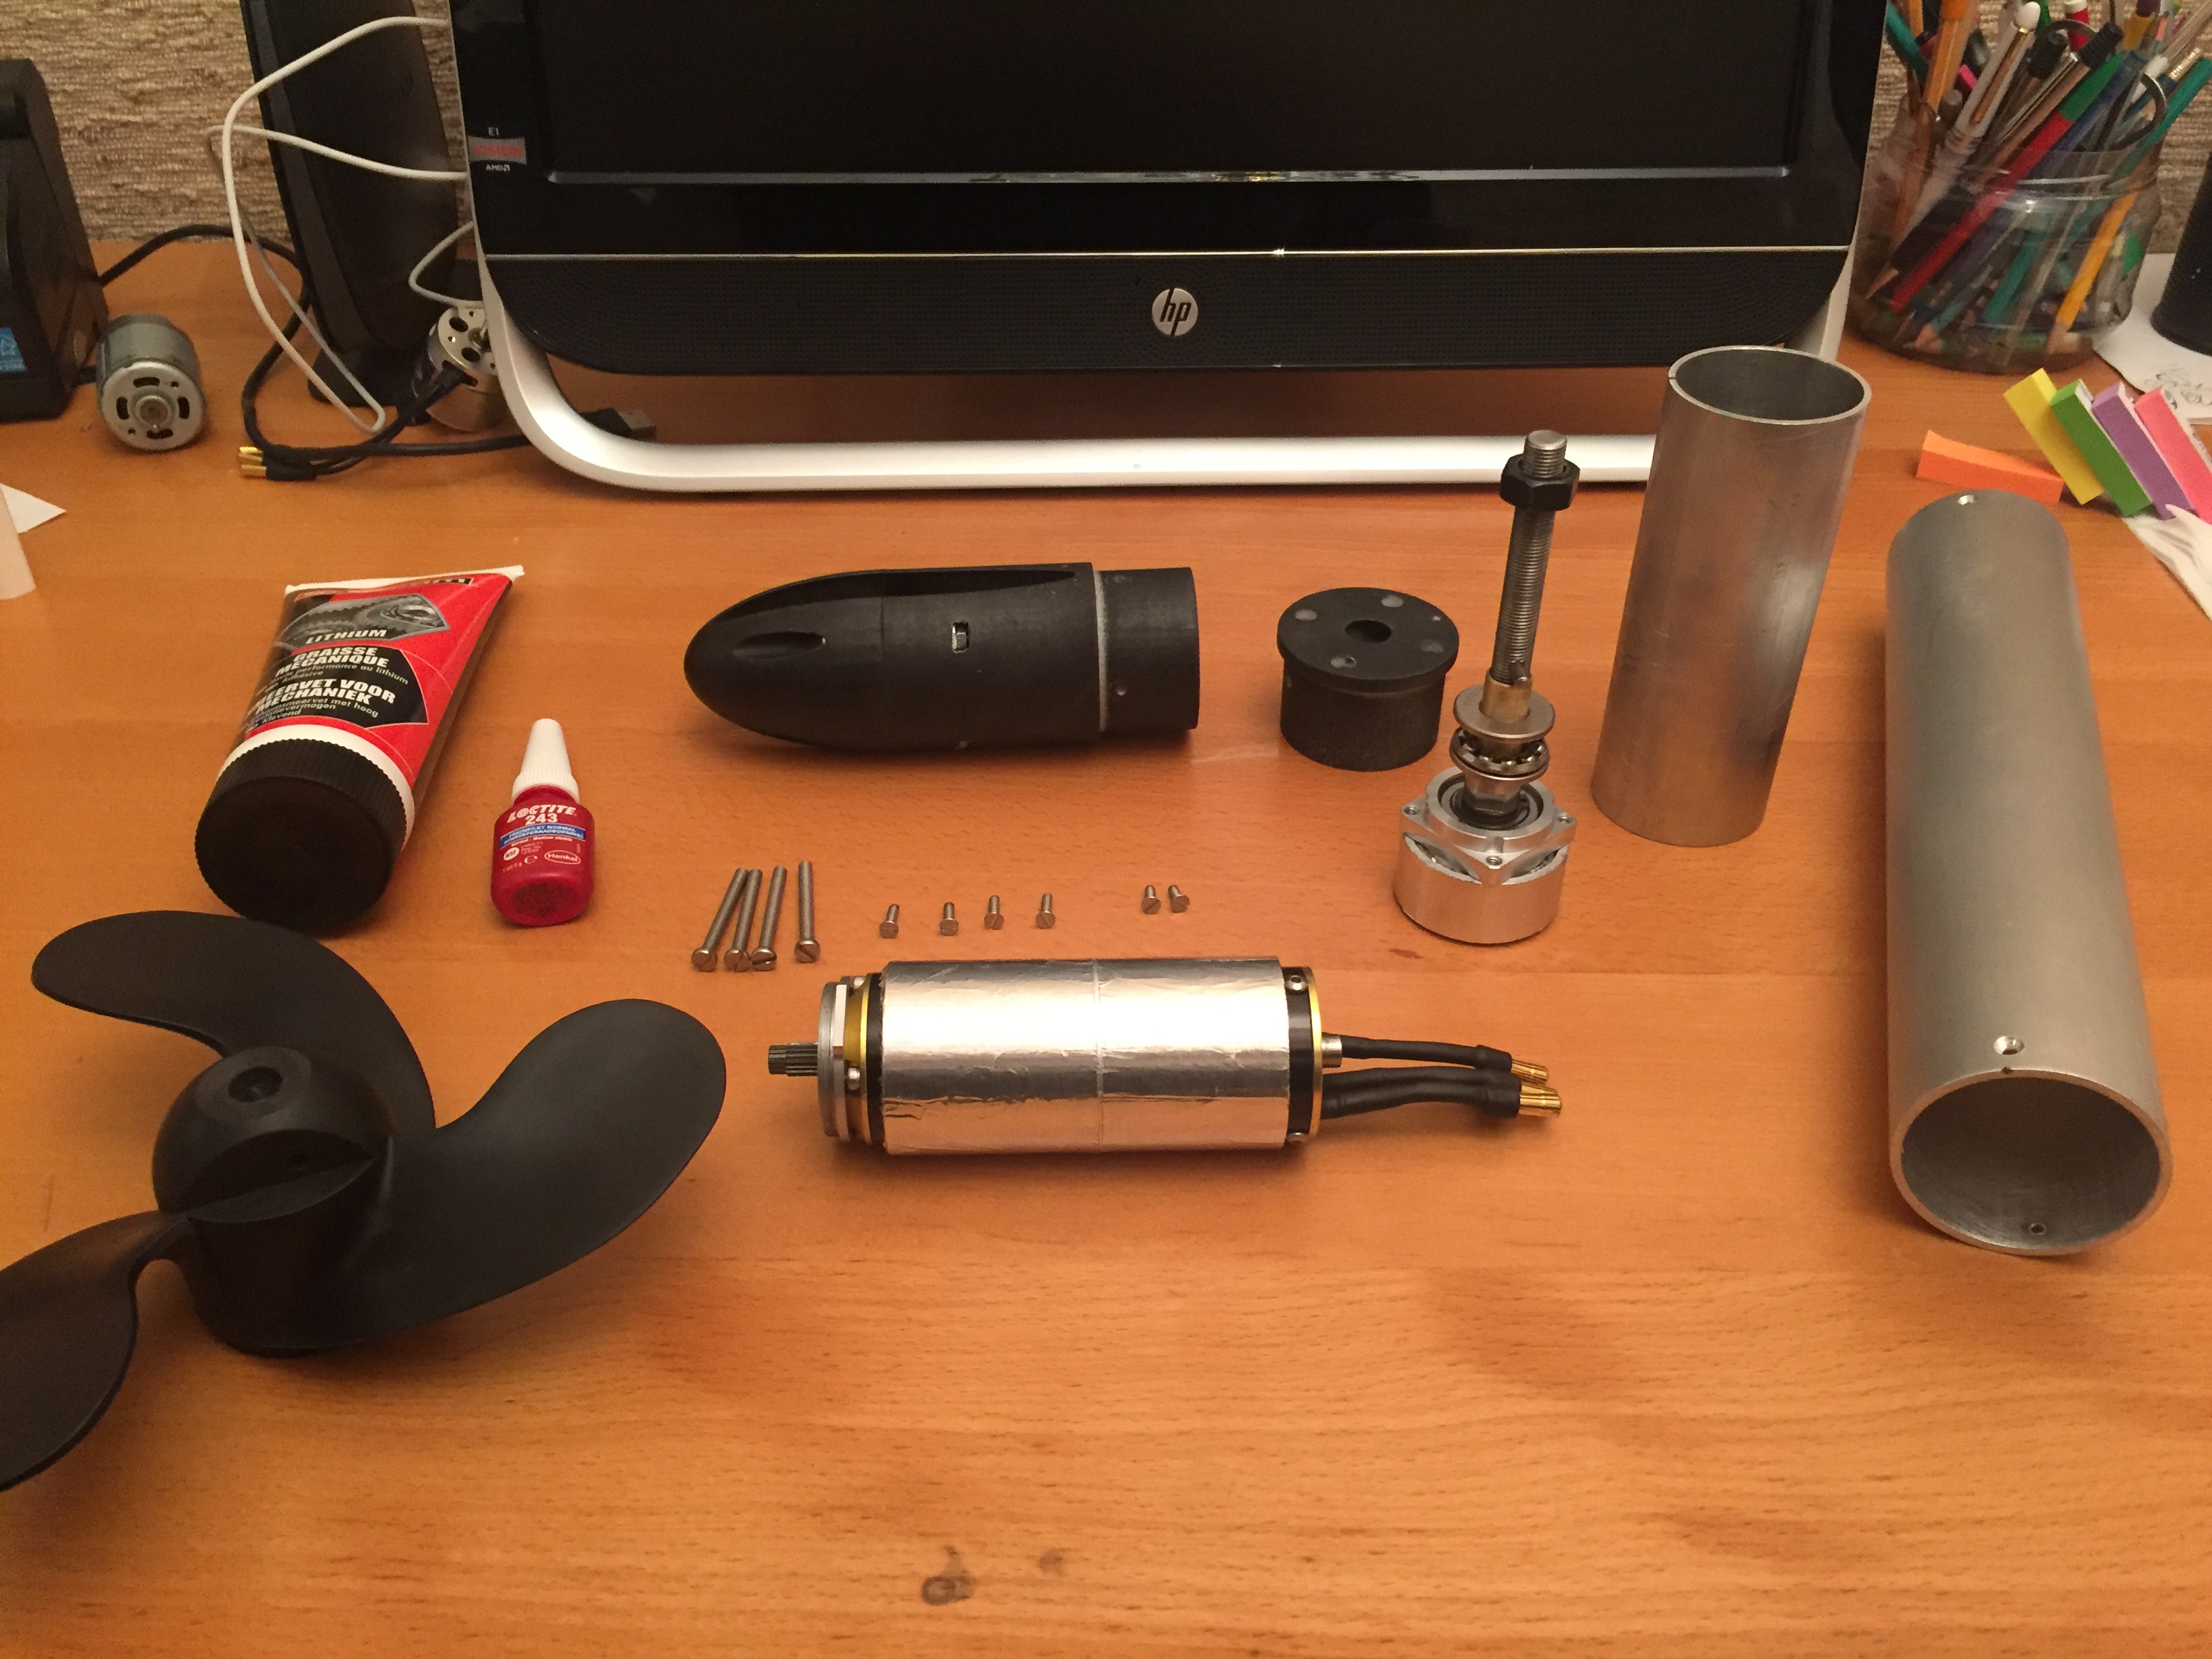
first test (in the bathtub) i just put 2 blots (contre ecrou) on the shaft between the prop , hold about 500W
in this set up i will glue with loctite bleue, i think it will be enough, just have to wait 12H before putting load on it, and you can always unsrew it by heating
you have to look for "pas fin m10x100, utilisé en luminaire, dispo chez casto mais ils sont creux et tordu la plus part du temps, et en construction sur des sites spécialisés en structures métalliques "
i got 1meter shaft for roof construction, hard steel (same steel as the screw from the gearbox , there is a number on top of the screw) , very very hard to drill , but prefecty straight
or put a screw on gearbox or a pin : i think it s titanium, don’t think you can drill that properly
Very nice & clean @Alexandre. An all-in-one-box setup worked fine for me too for short rides. Probably much better with your external heat sink. Good luck with the first test.
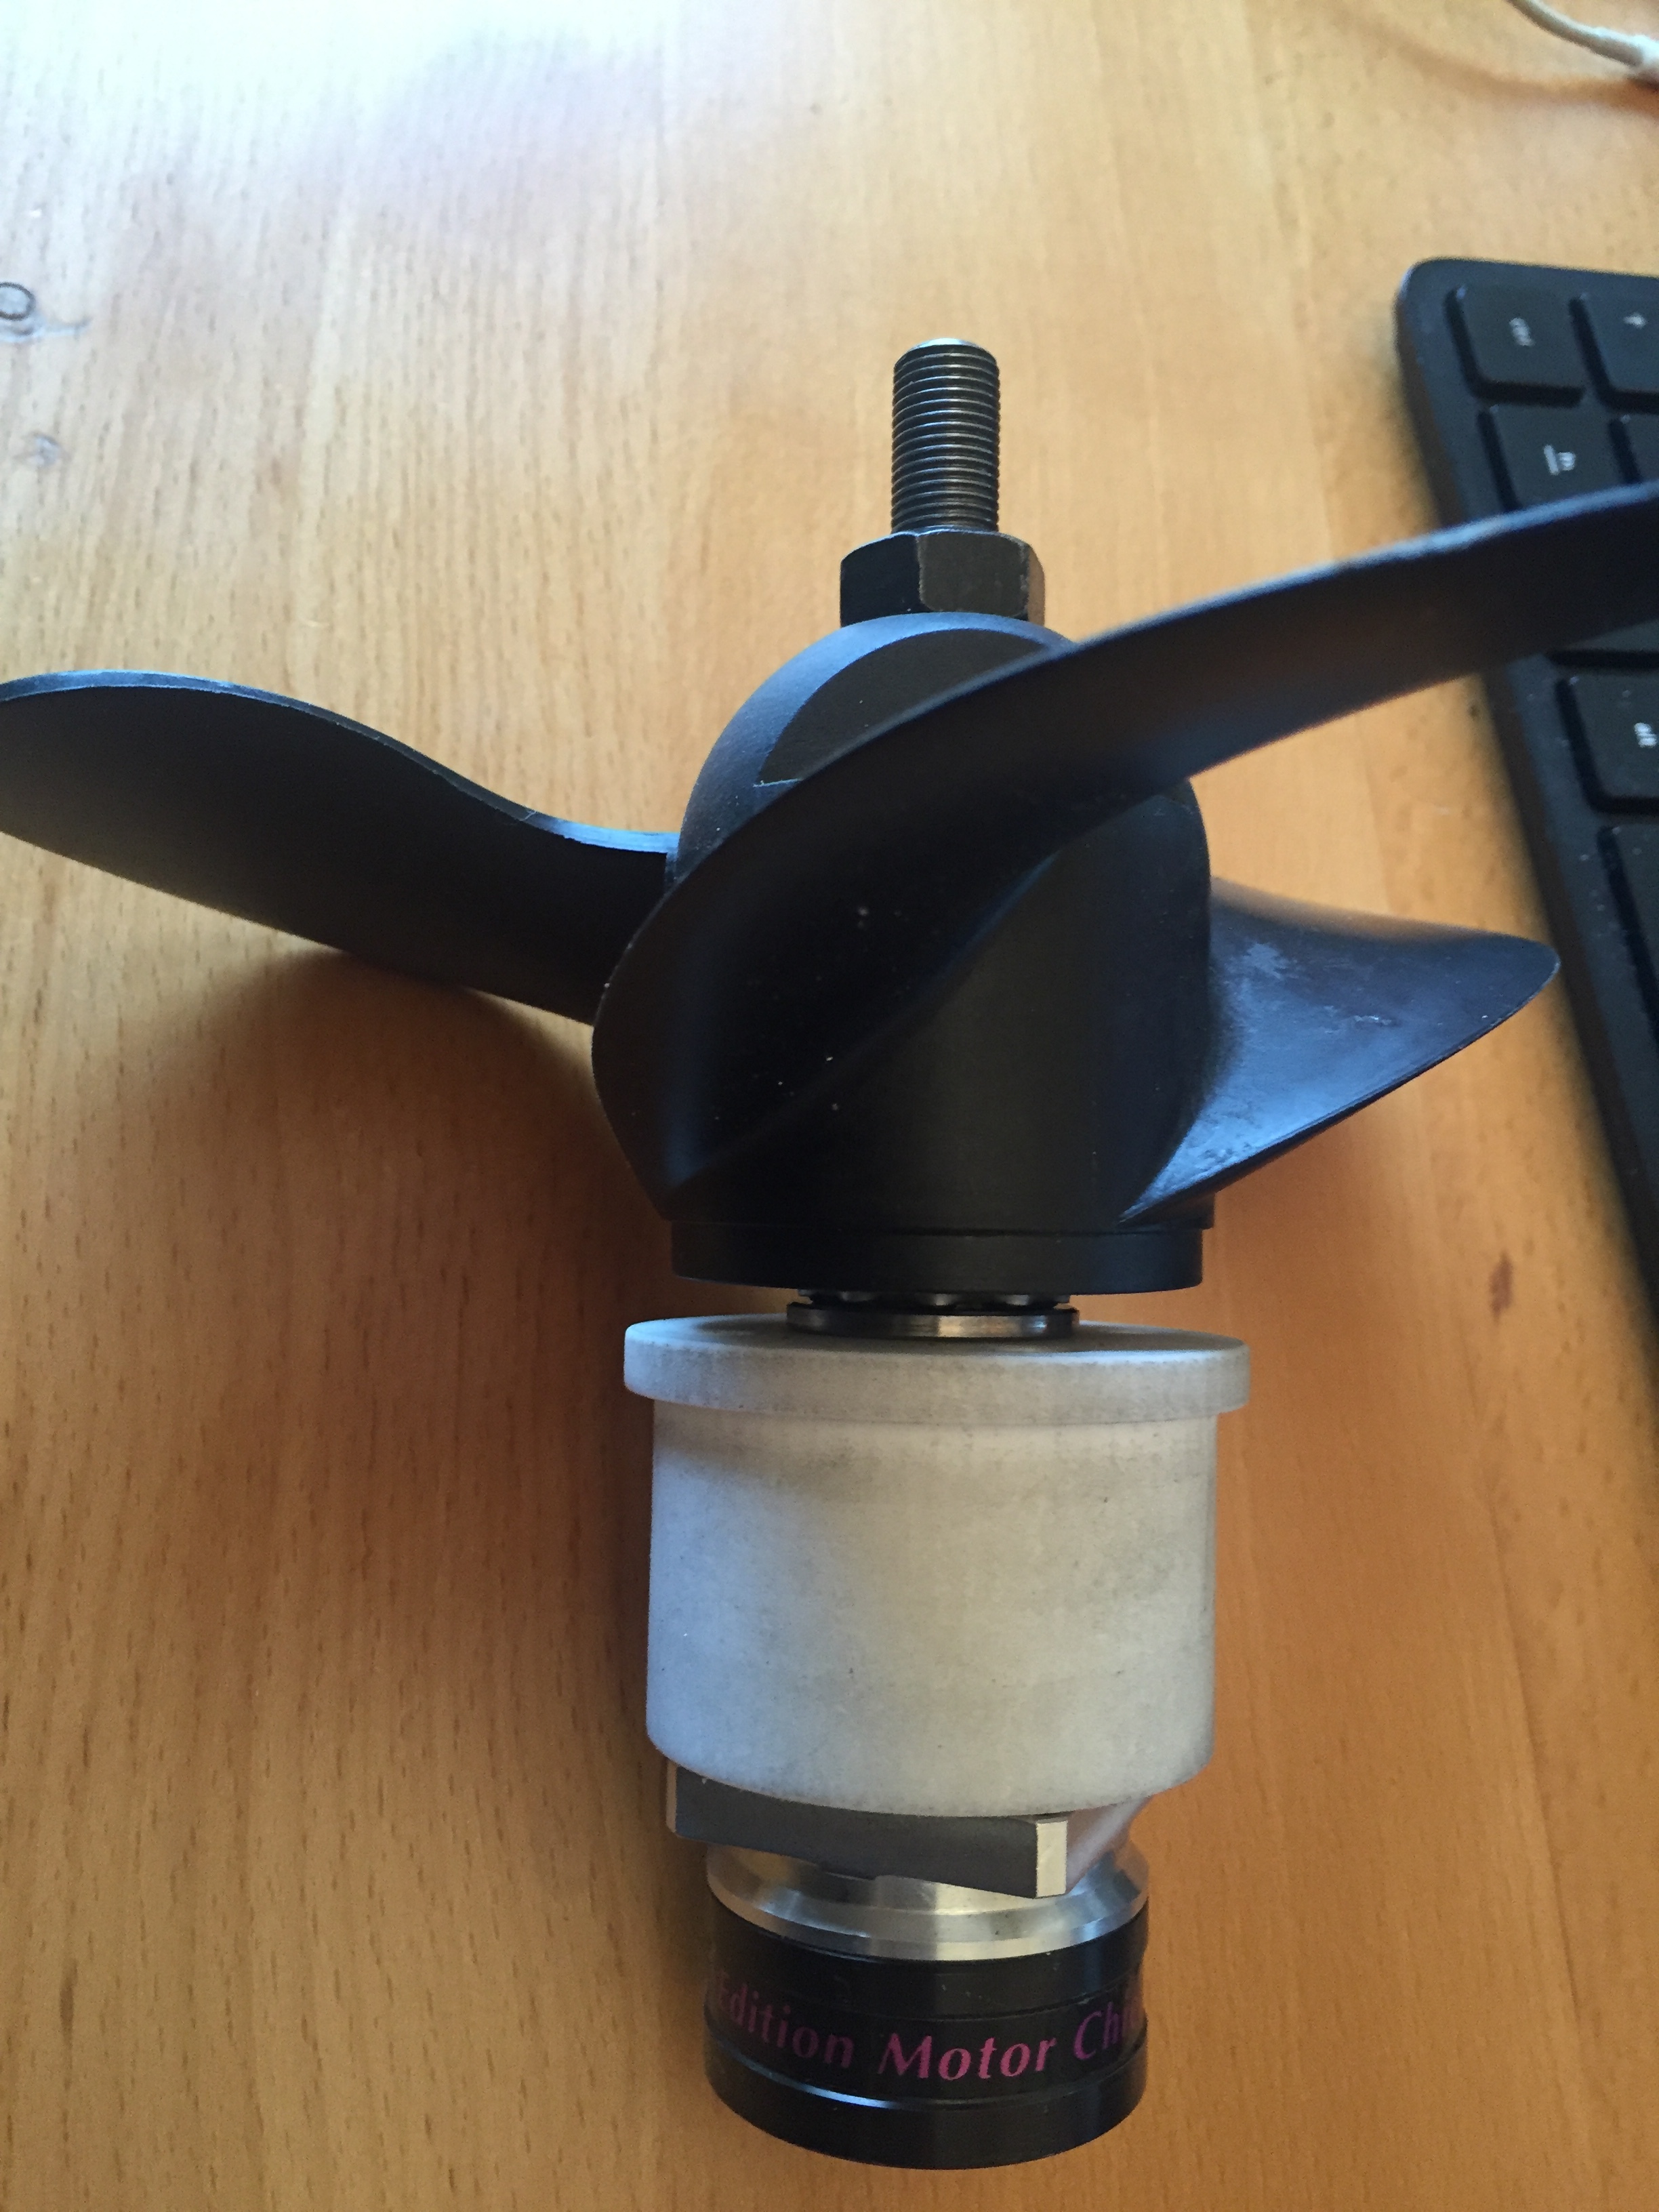
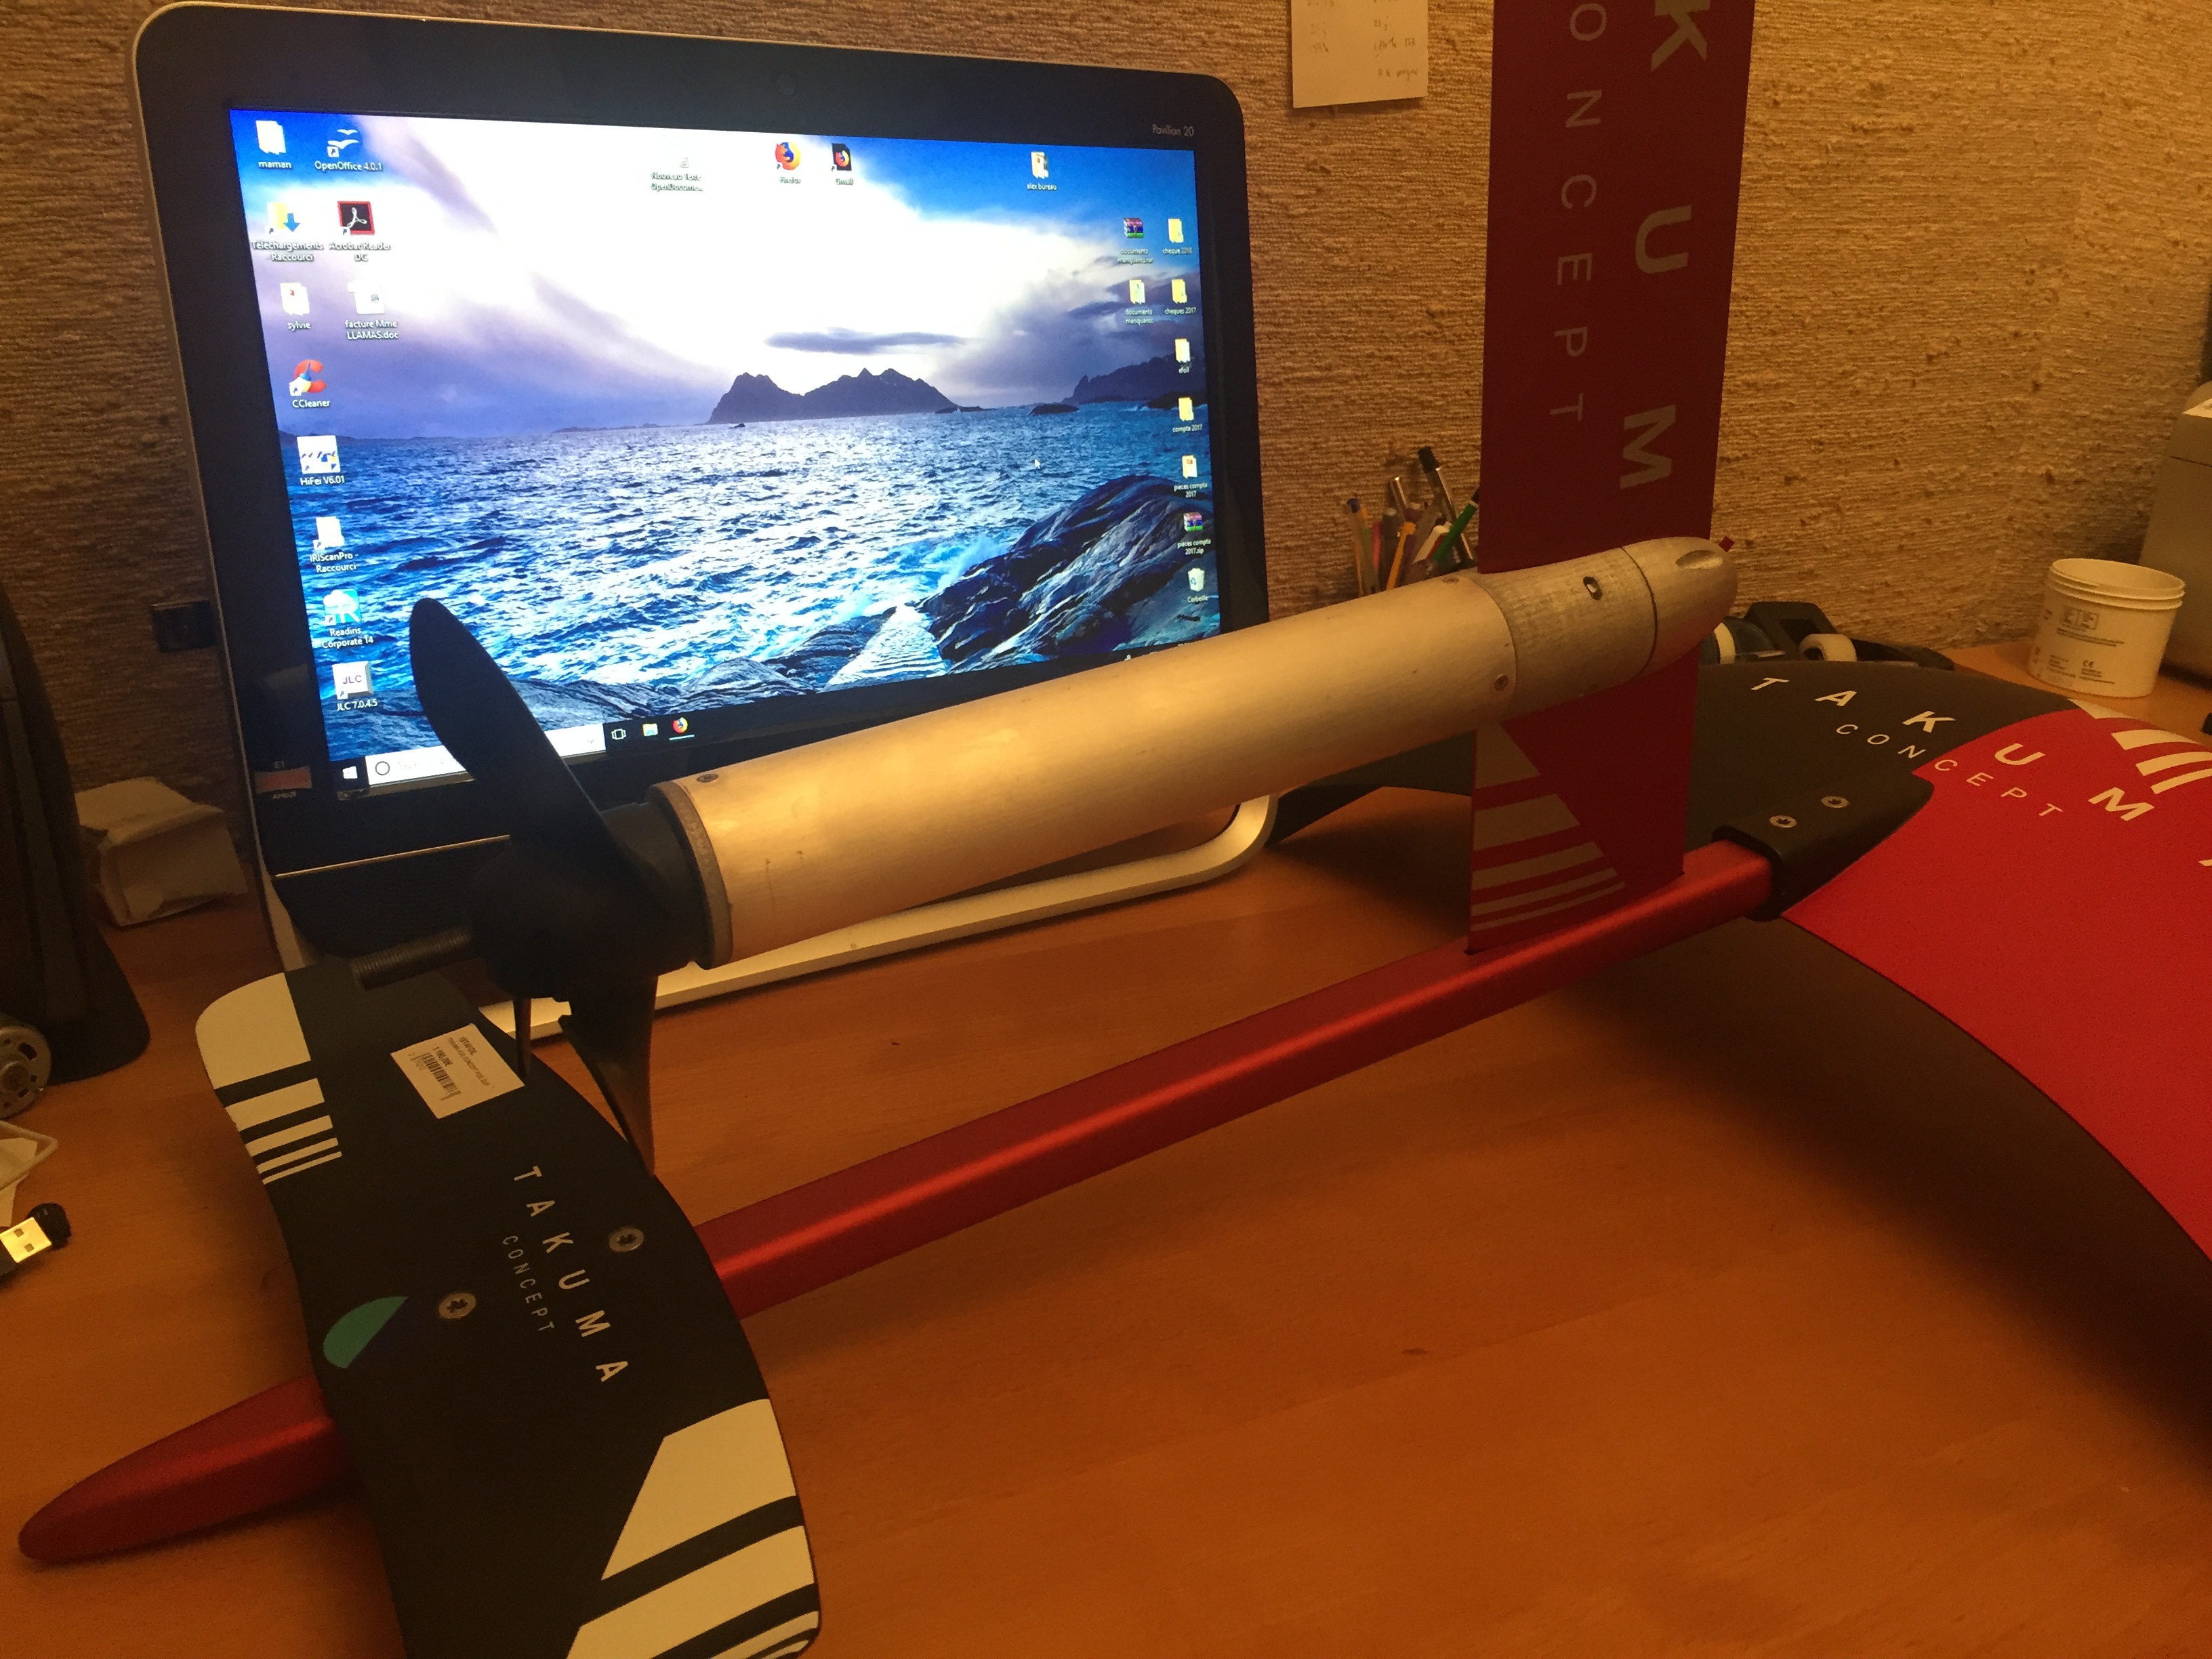
have to wait 3 weeks to get the last parts printed (sls), not perfect design but good enough for me
nice fit , try some painting silver but will be black i guess
test fit ok, finishing the shaft, drill mast, wiring… and hopefully in the water in 15 days …
55mm all the way, can be shorter by 80mm but it will wait next year…
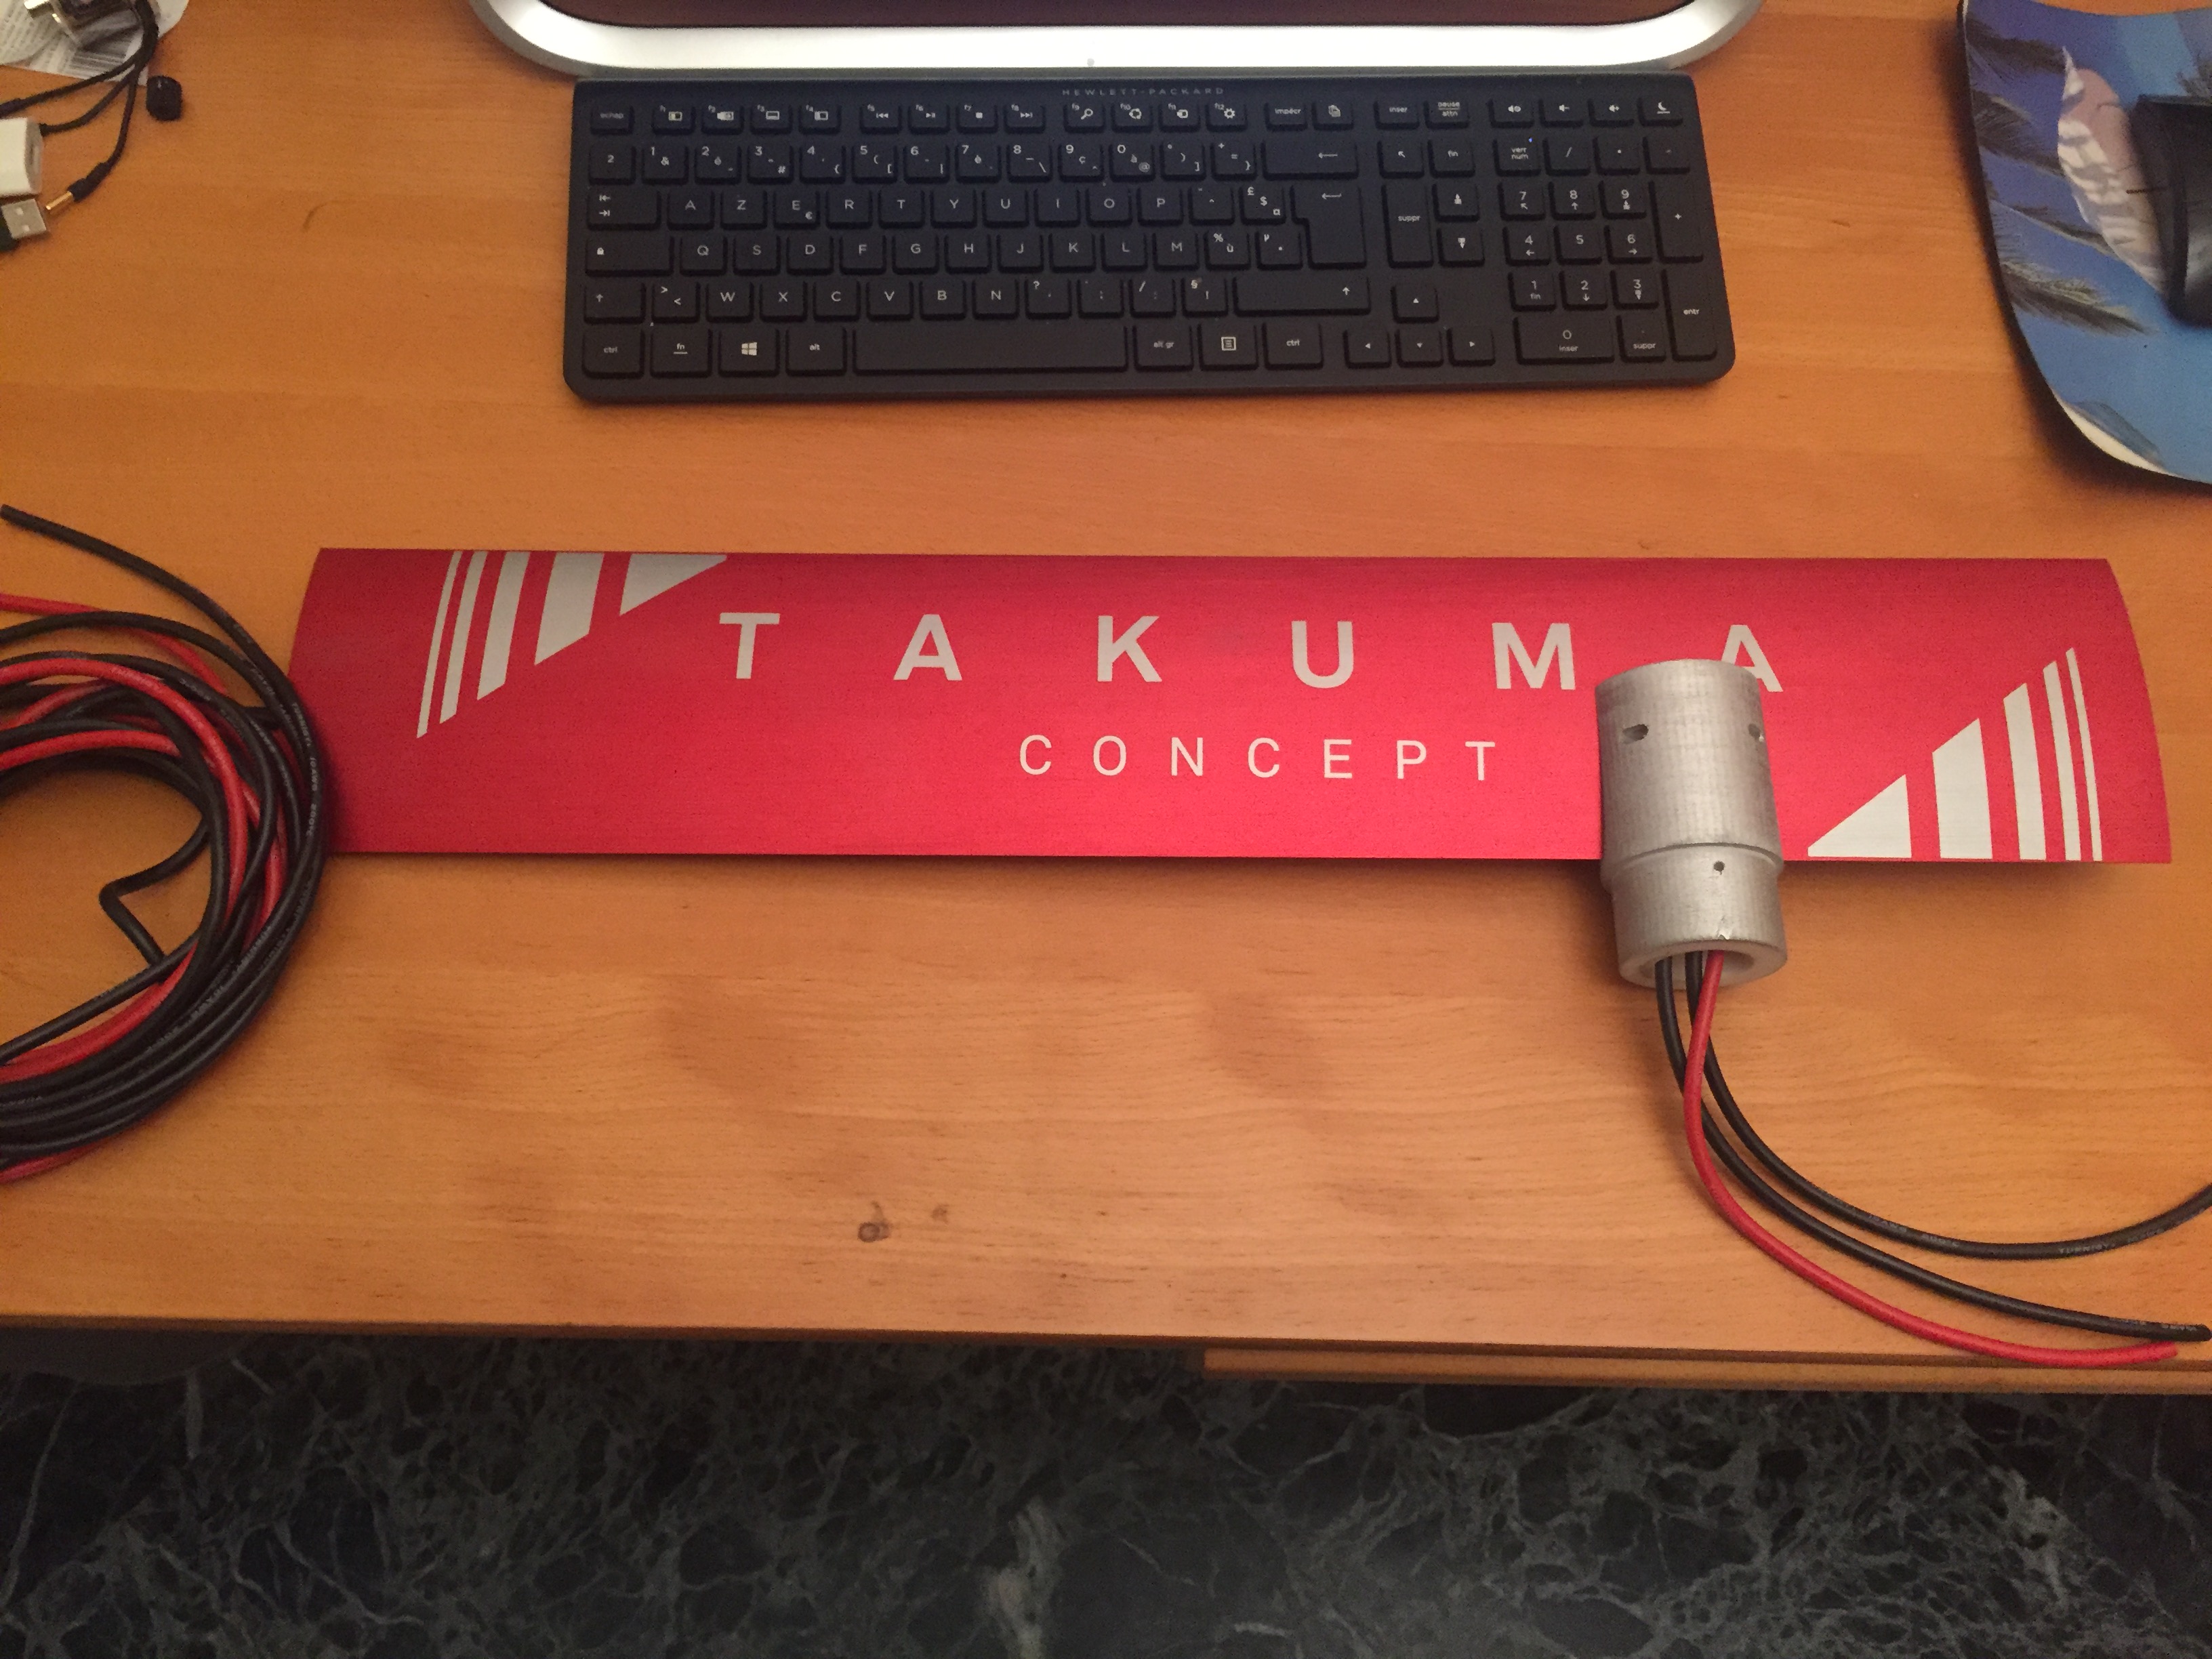
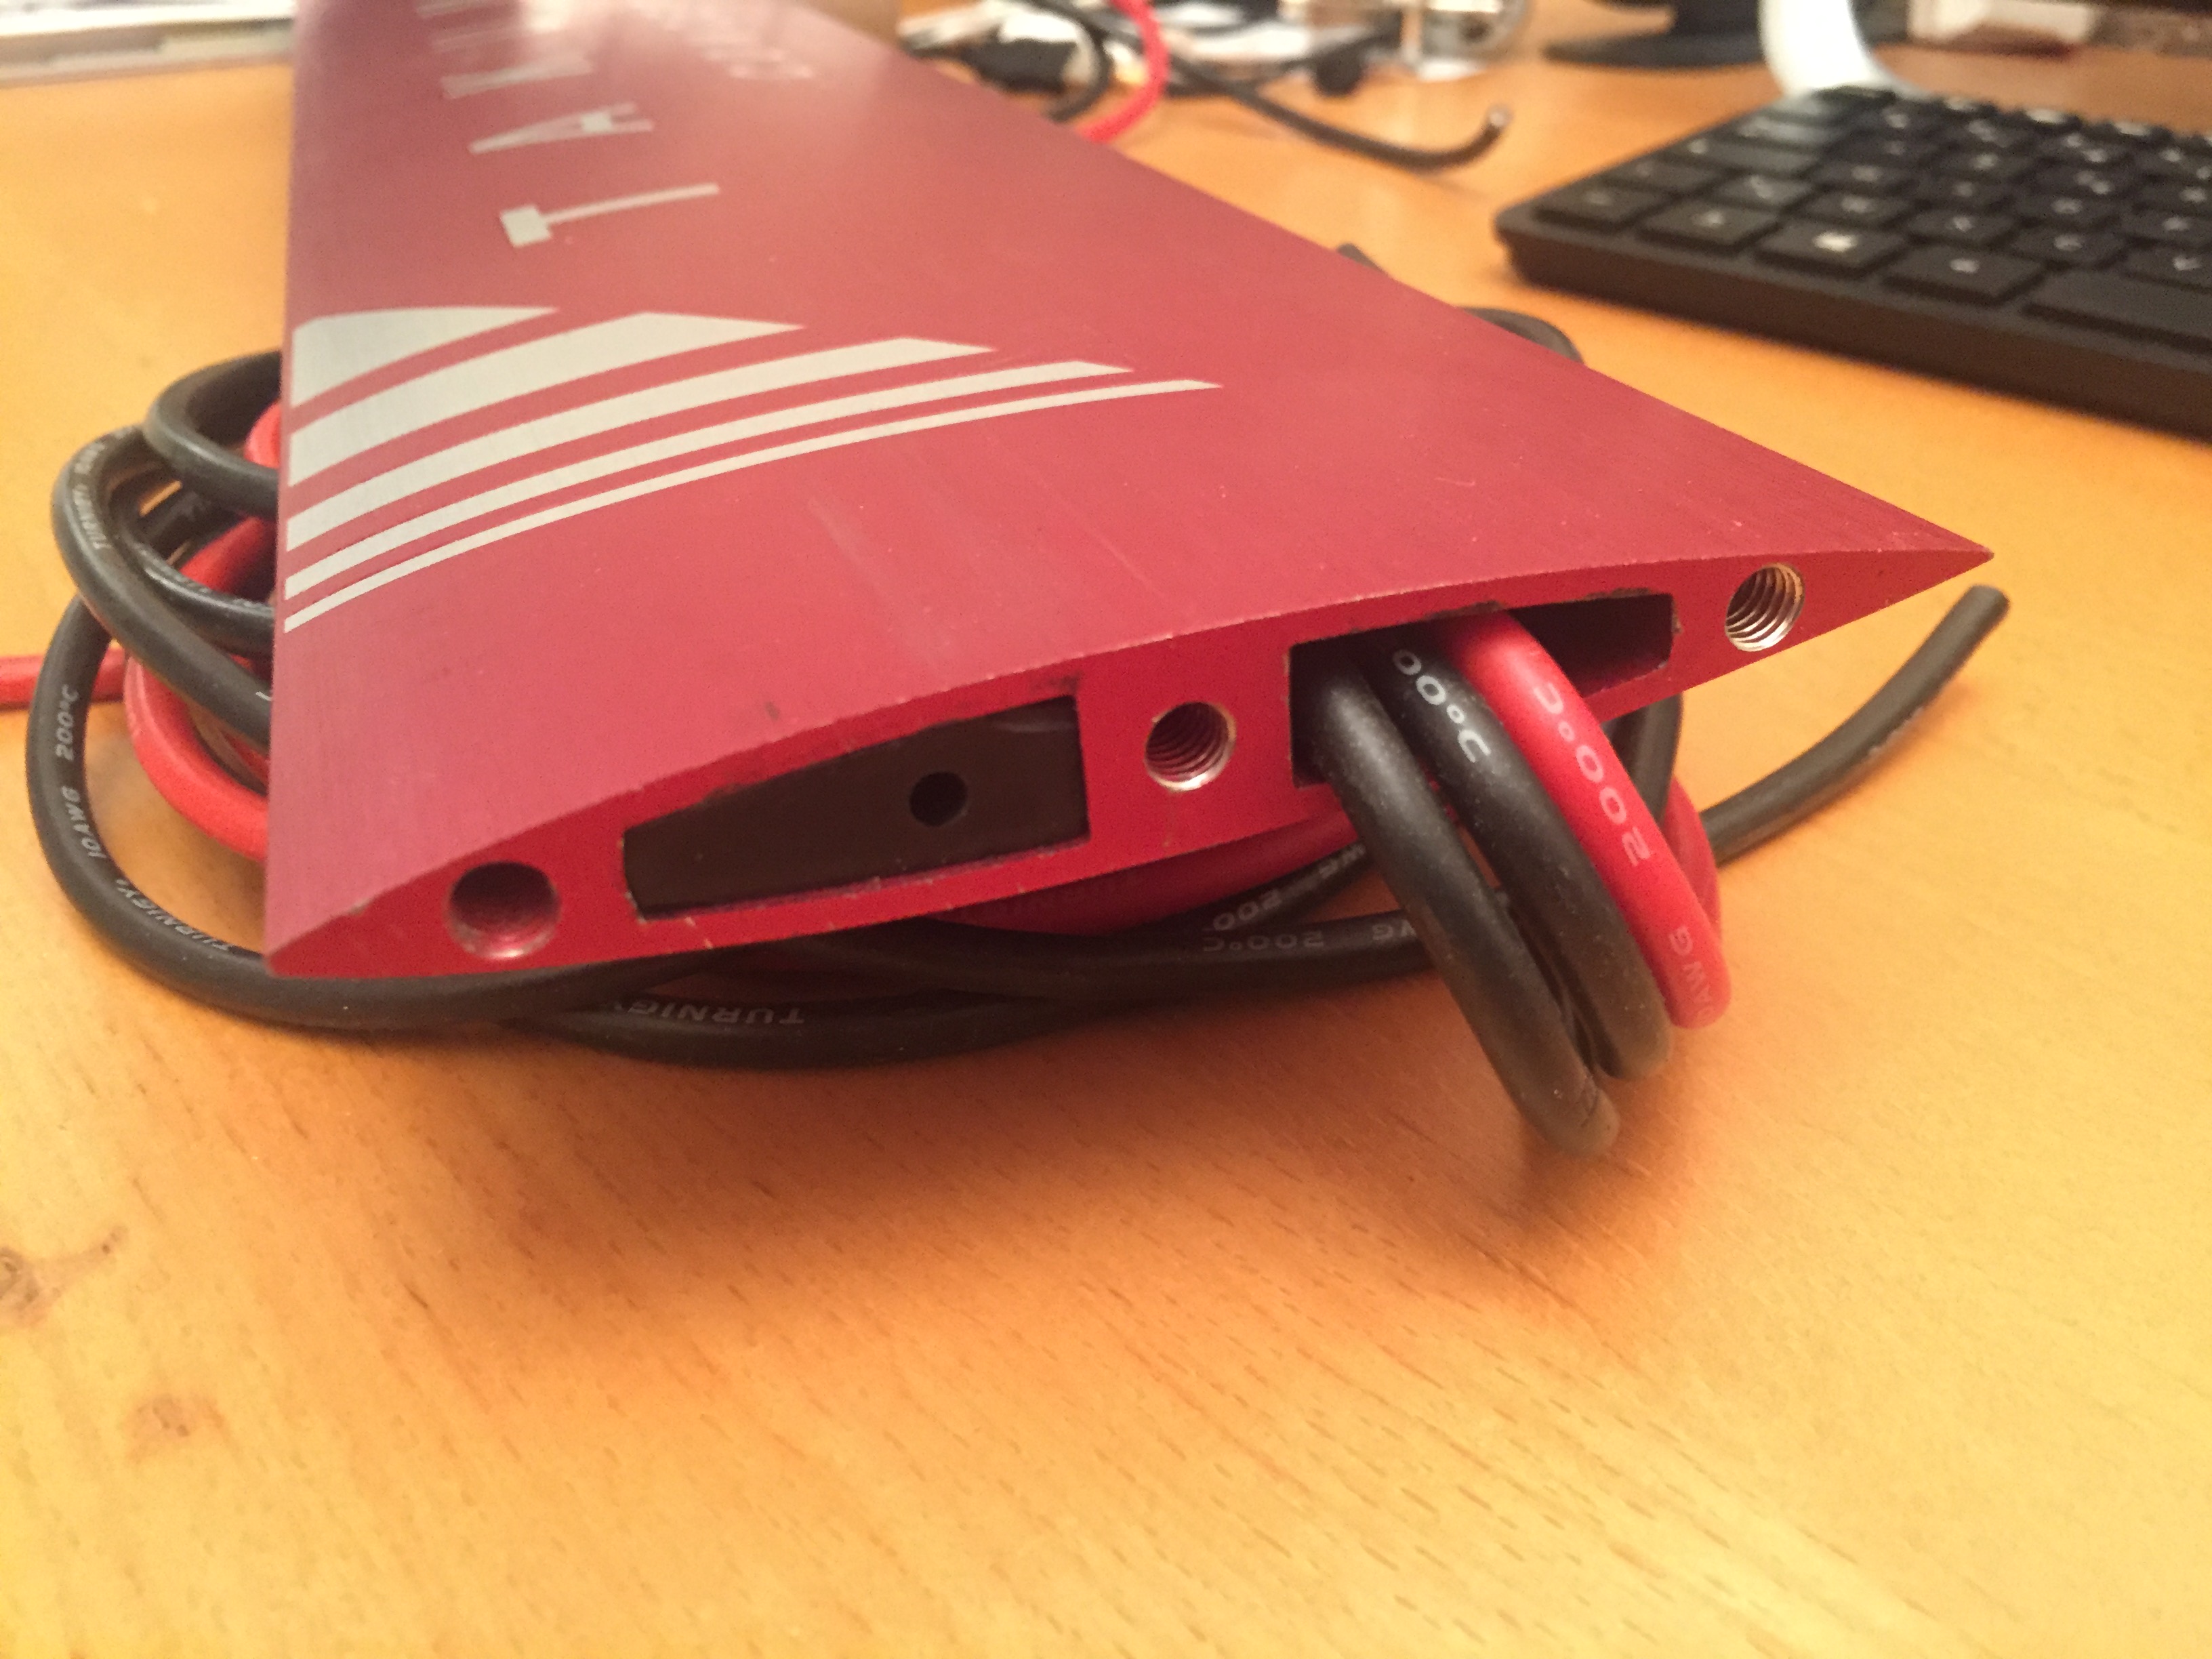
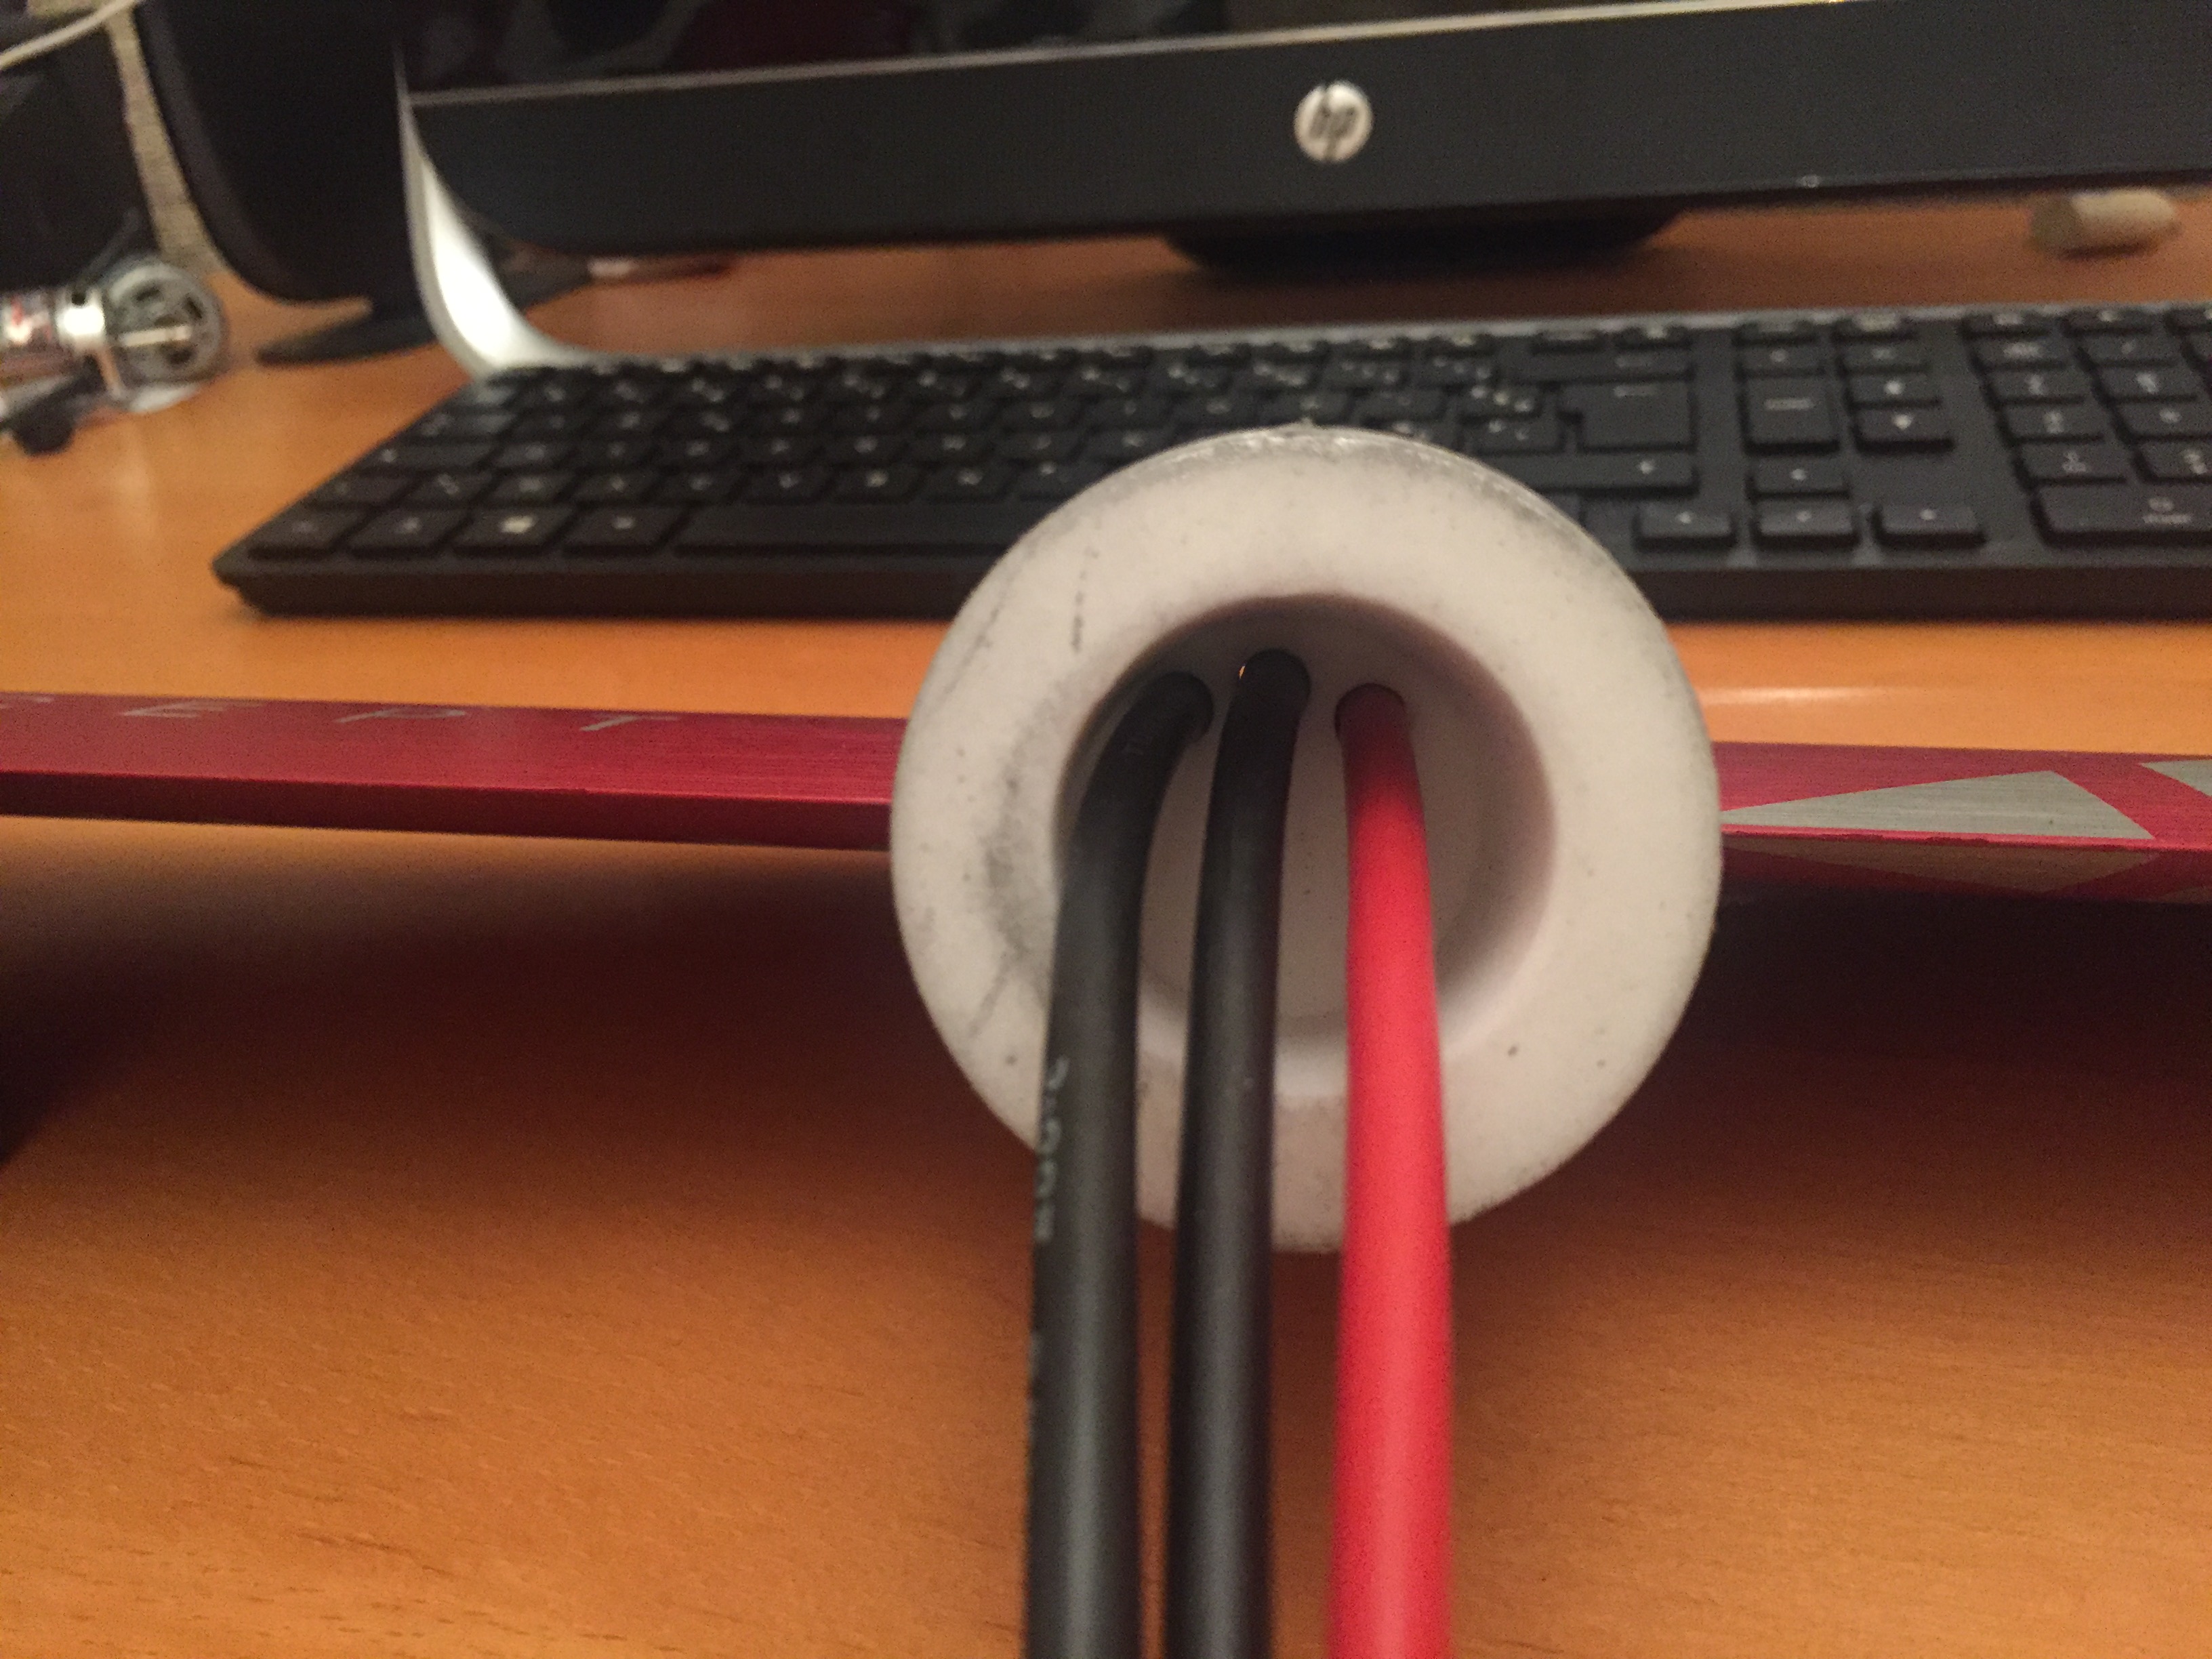
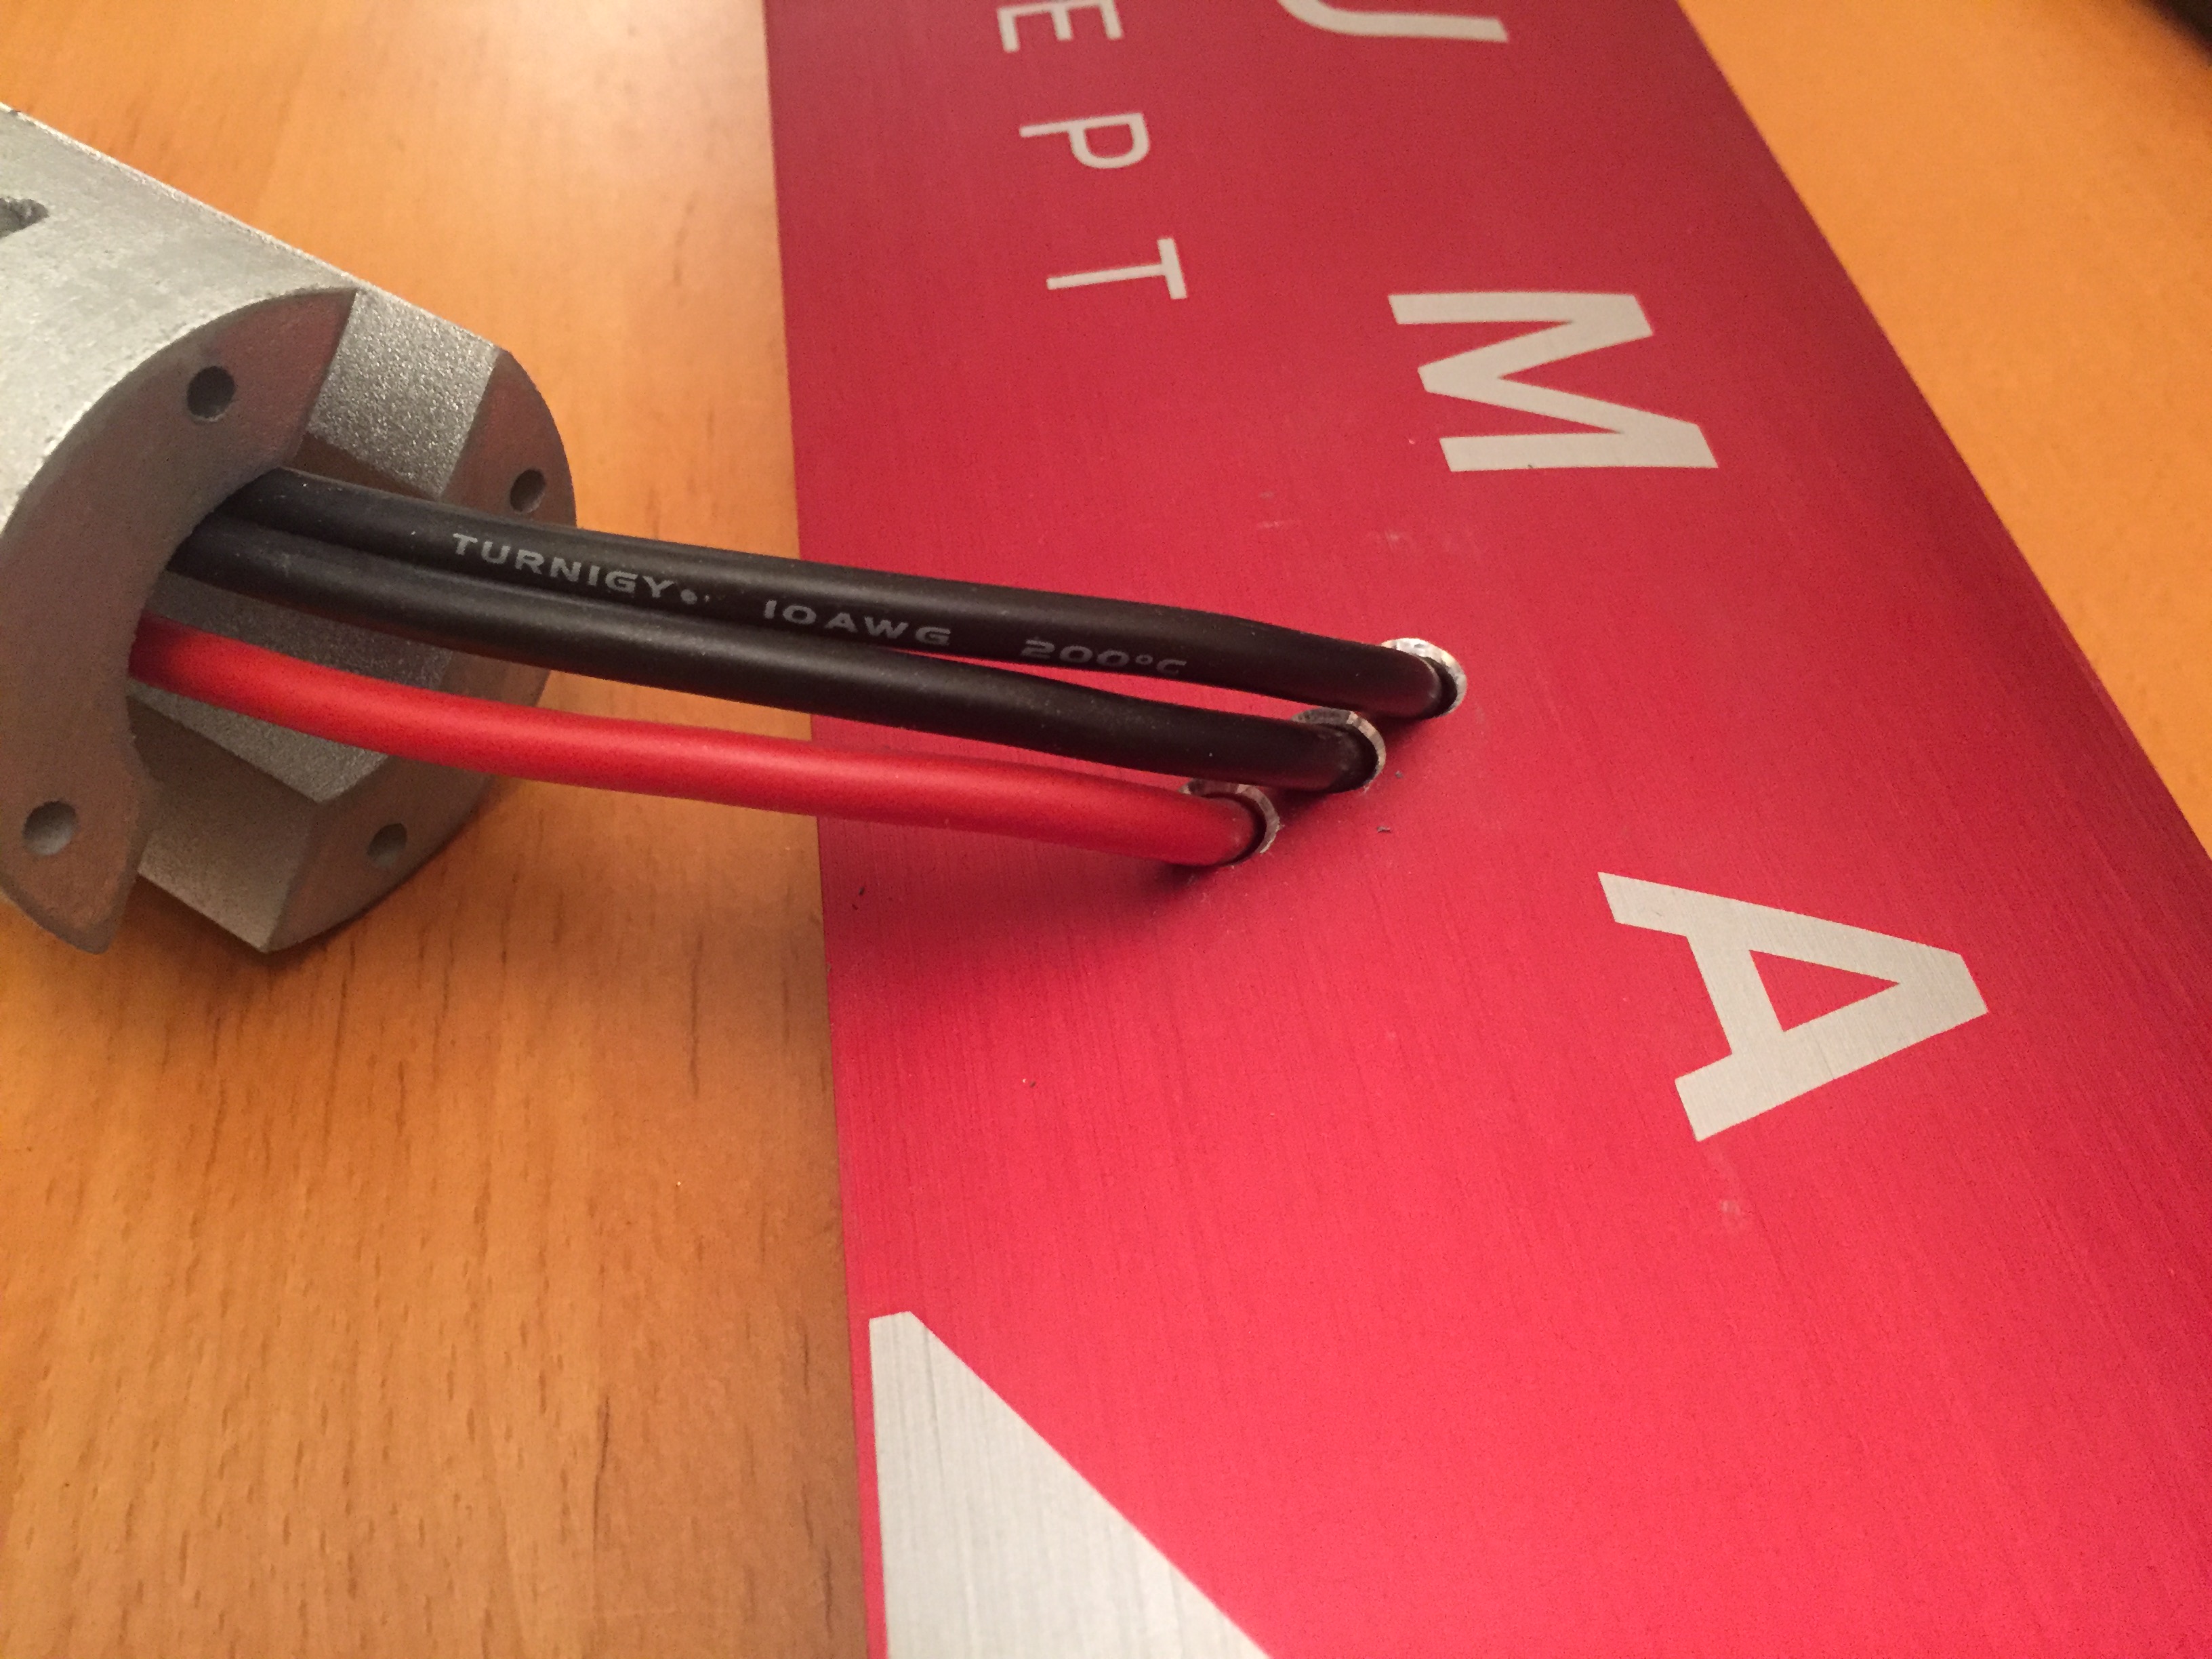
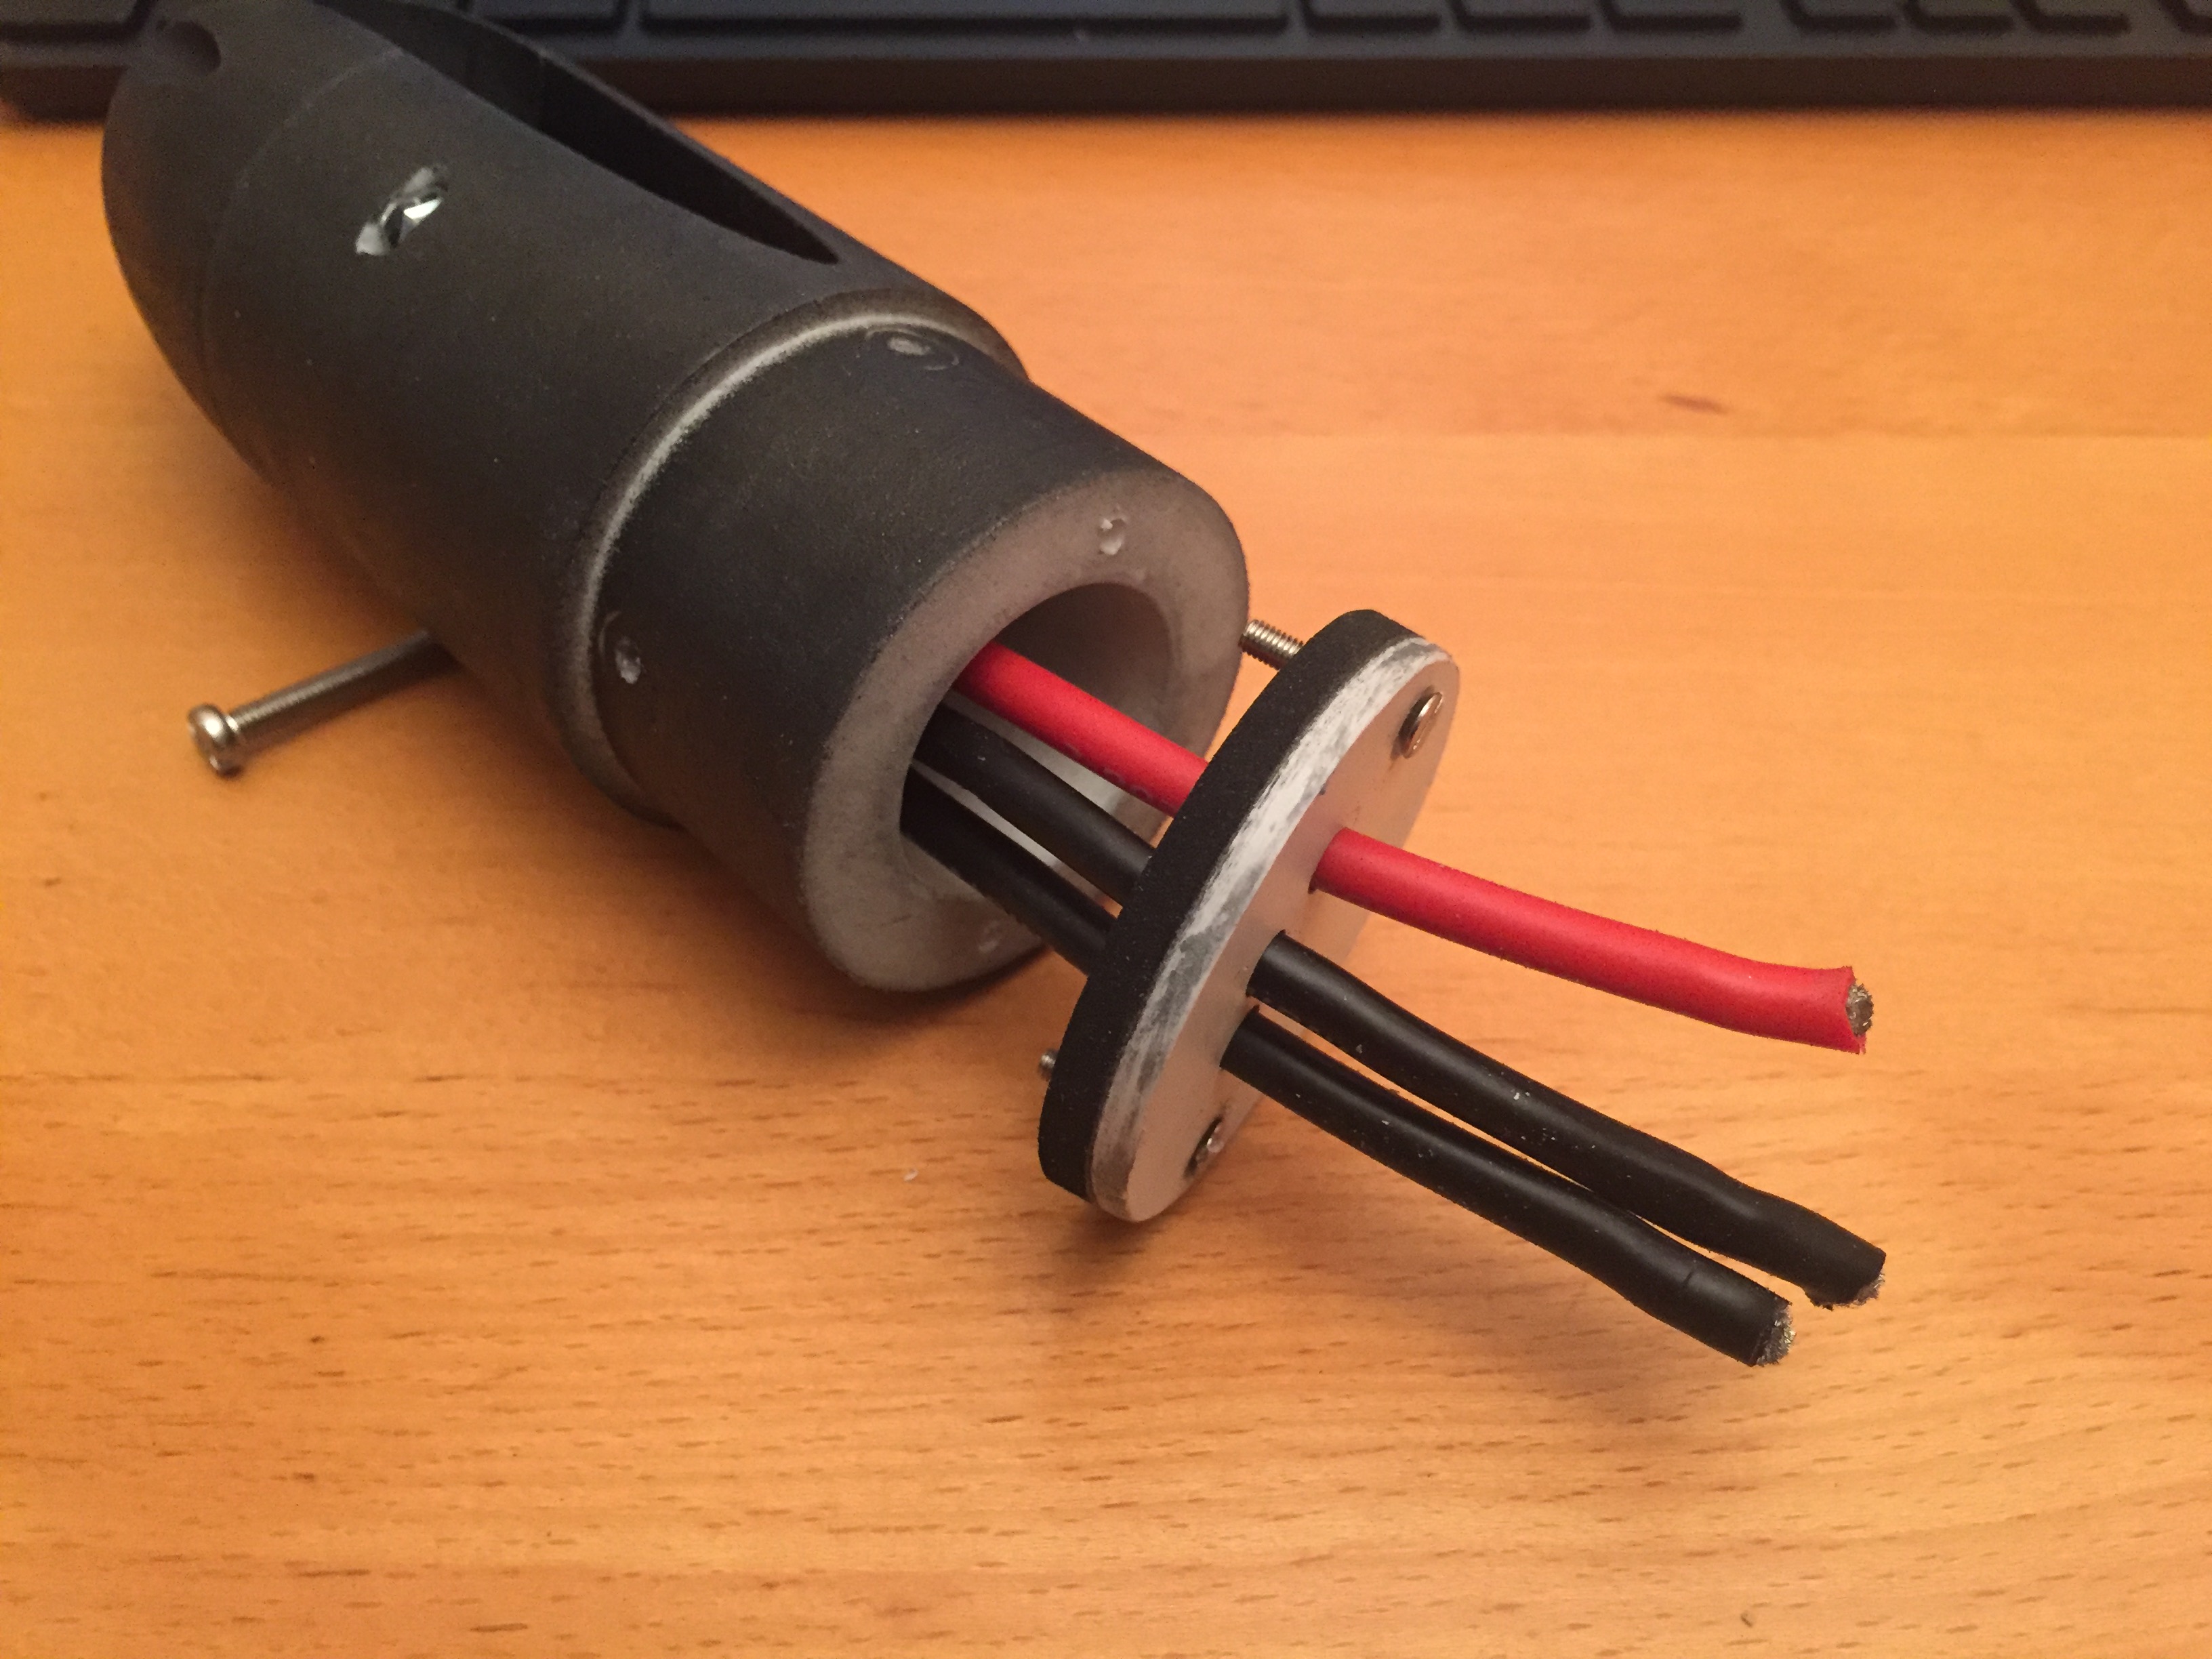
mast drill… not that hard finally, smooth edge out and inside (will cut the silicone otherwise), drill “sideway” so the wires won’t bend too much, water outlet for next year
I am going to use the exact same setup like you. I like the very sleek form factor. Your printed files are looking very good. Are you willing to share those?
Hi @Alexandre, really neat build you have there.
I’m specifically interested in two aspects:
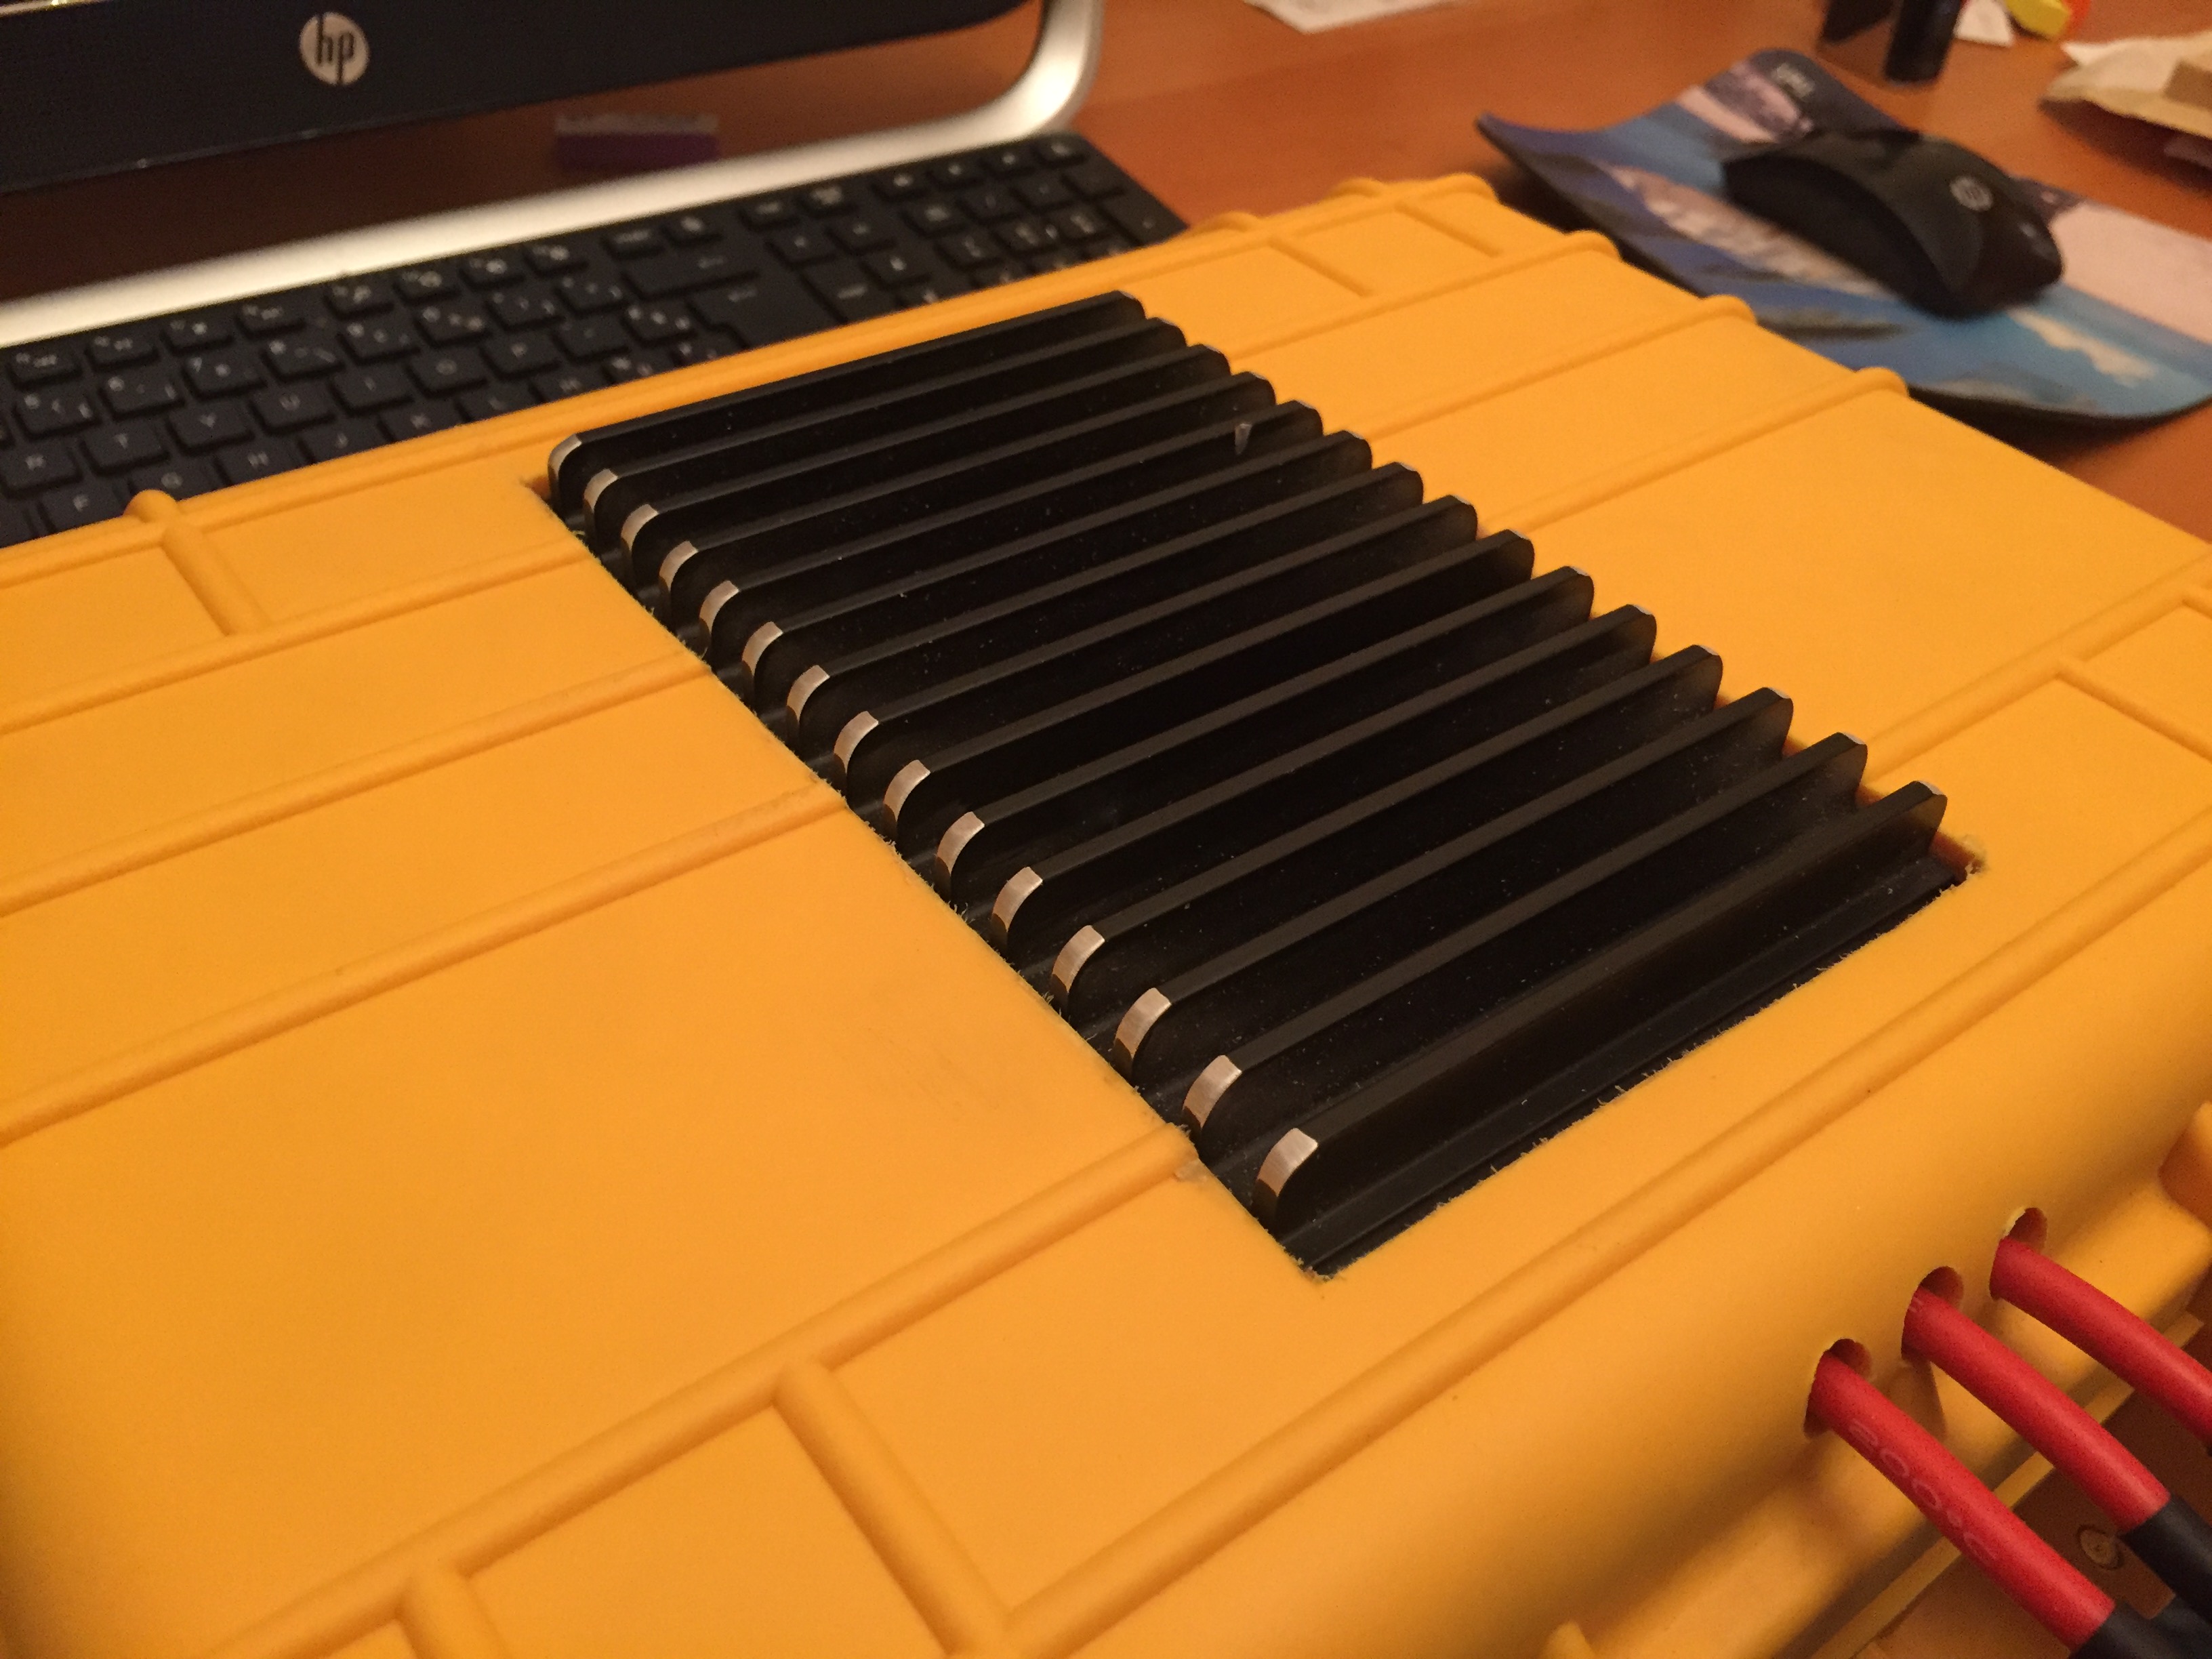
The cooling fins you installed for your batteries. Can you share the source of that? Did you already waterproofed it?
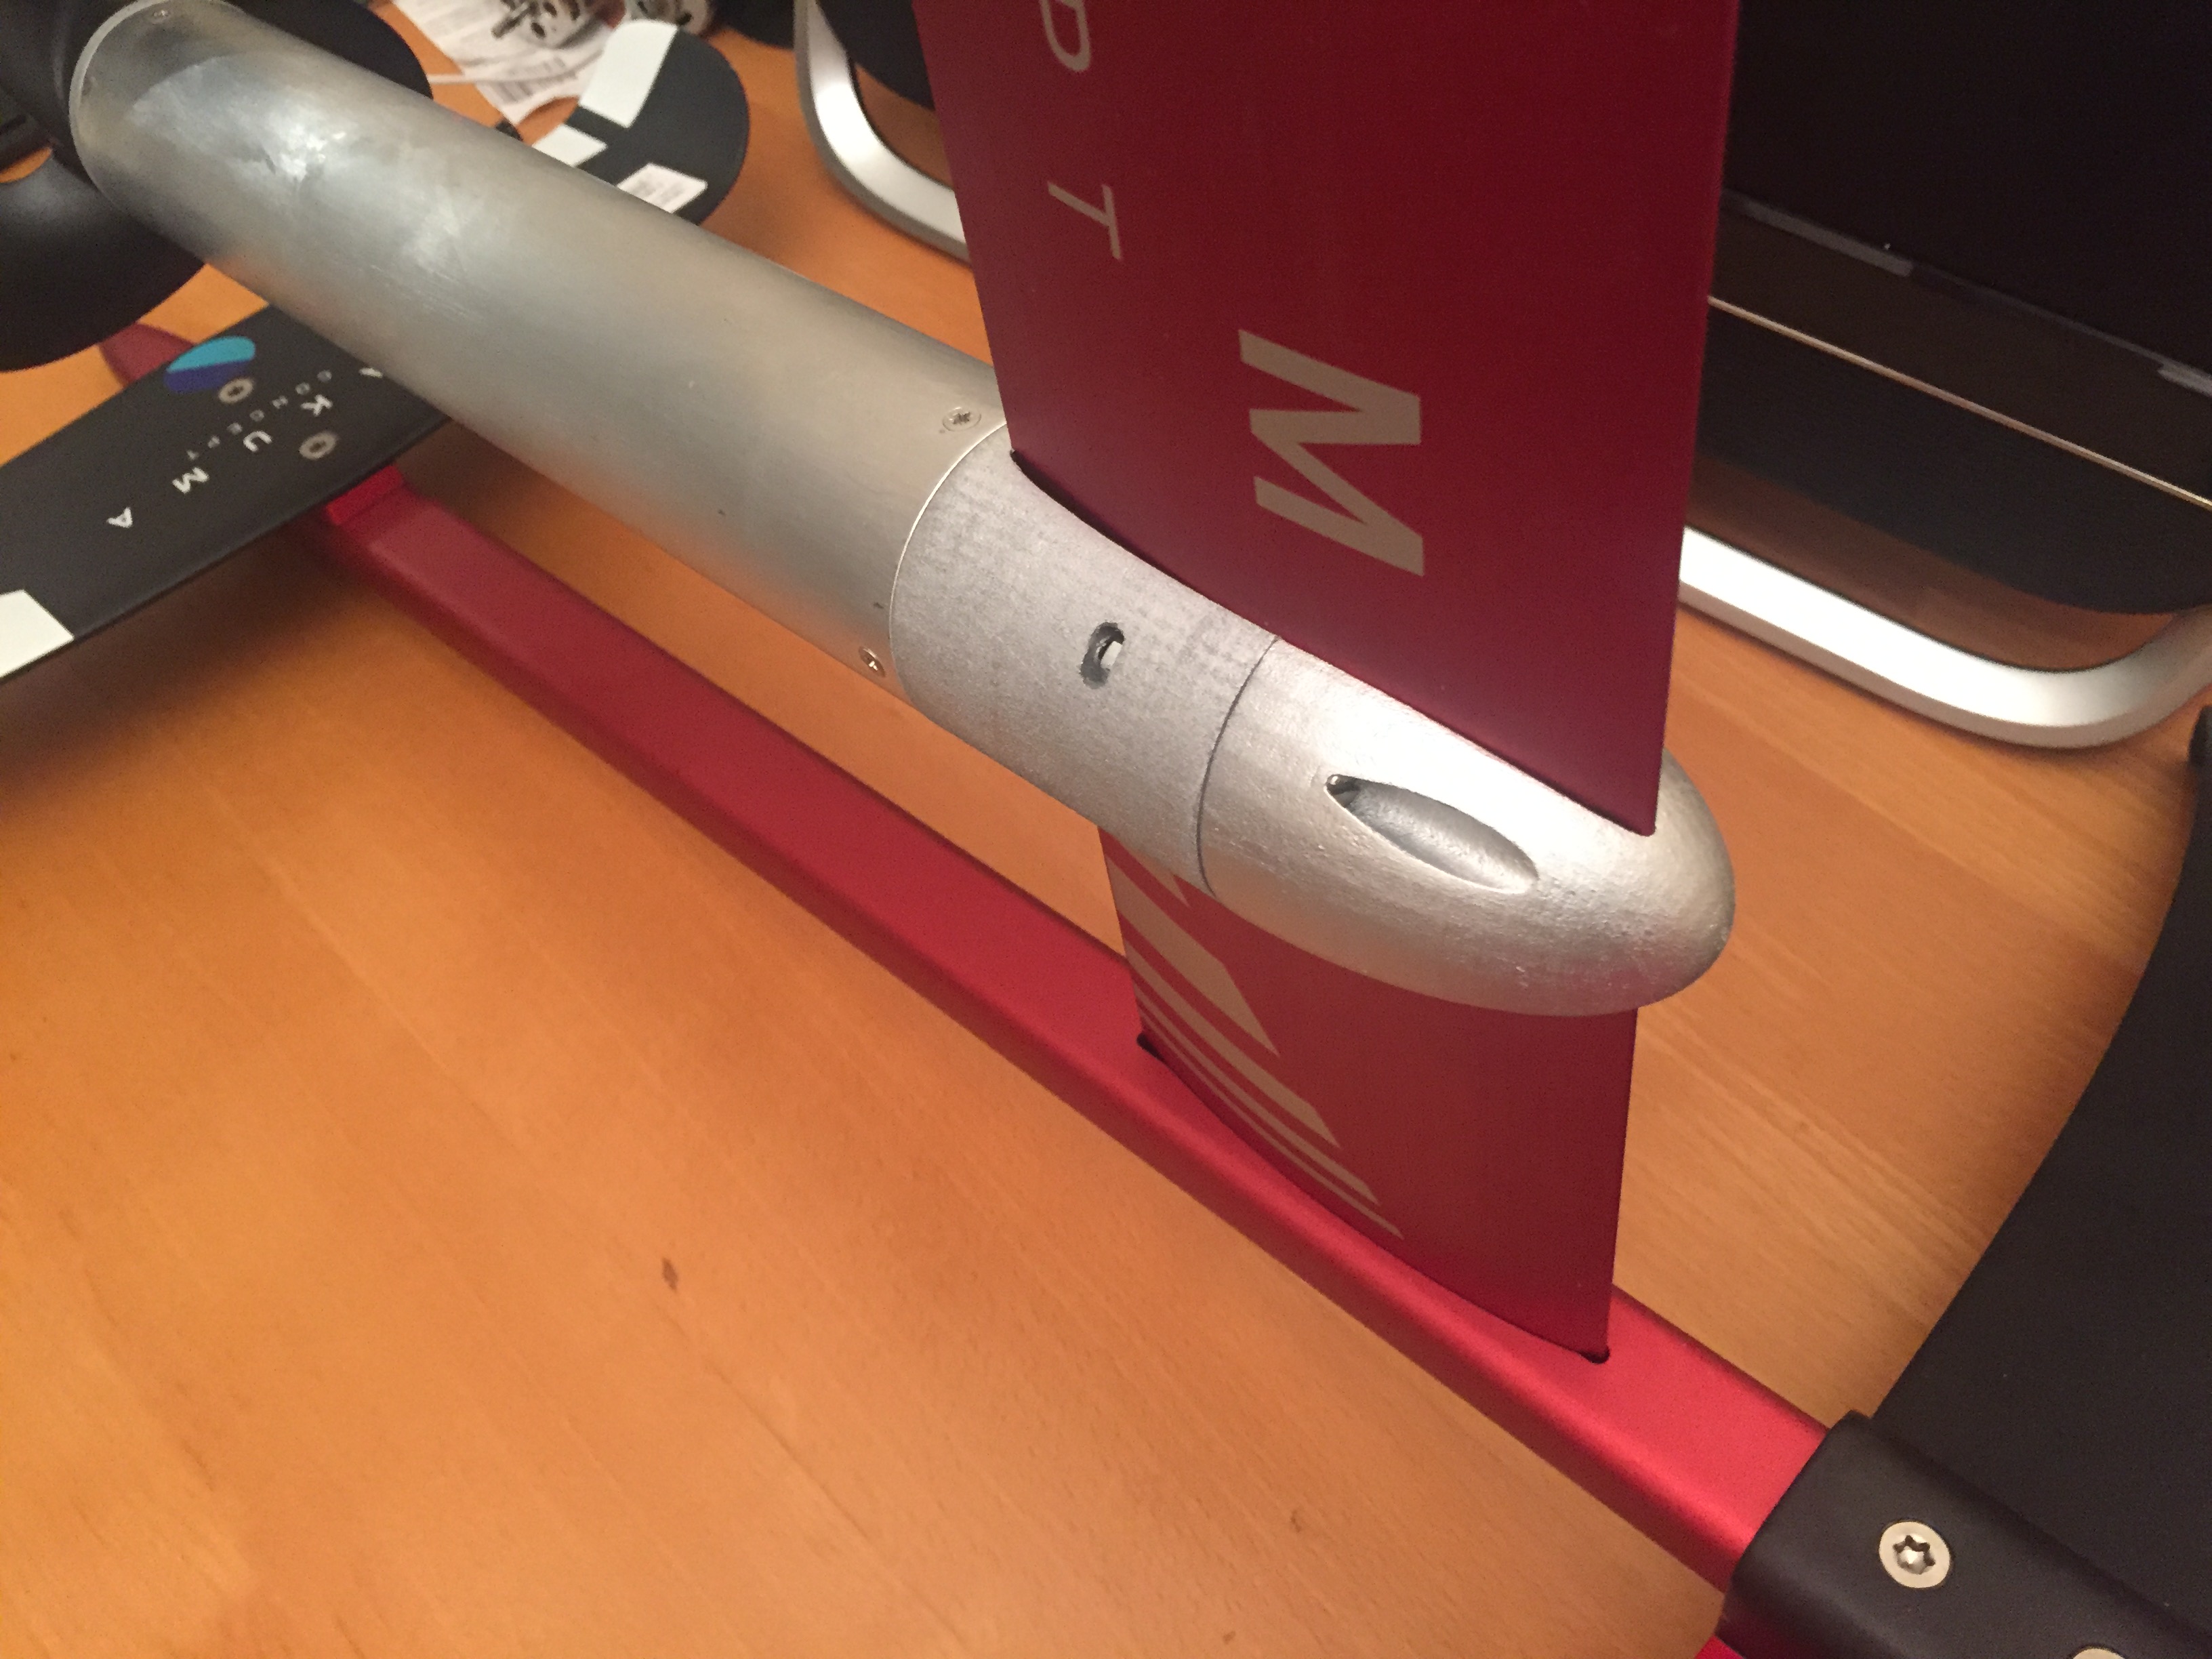
I like the way your tube connects to the back mast clamp. Specifically the fact that the tube surrounds the print (and not vice versa). Are you planning to glue the tube? Did you consider installing o-rings there as well? Also, as MAJA asked, it will be great if you share the design.
i have no printer (no prototype done), no knowlege in cad design, i just use tinkercad to do this, i will try to post the link, the design was made for sls pa12, i am not sure that PLA will be strong enough for the front mast part…
the parts were printed by sculpteo for about 200€ so i am very happy that my design worked!
-the front mast is nice , no aero test done , i just made it to look nice
-the back mast has not a perfect fit around the mast because i didn’t know how to do it , i will had a fin layer of silicone, but o-ring and a motor plug holder will be added later on
on the back for the gearbox there is not enough space to put a o-ring
the heatsink is for esc cooling, not for the battery, not tested yet, i will see if the battery get warm or not, the big aluminium plate is already sealed to the box , didn’t test underwater yet
I need your help : I just got a sup redwood , it is 243cm long , where do you think I should put the mast ? I was thinking : the middle of the mast at 65cm from the rear …
the board is 8’ so it sould be 20" (51cm) from the rear or 59cm in the middle of the mast , since the battery box will be in front, somewhere between 60-65cm ?
looking at pics from takuma or redwood foil board the middle of the us boxes are about there
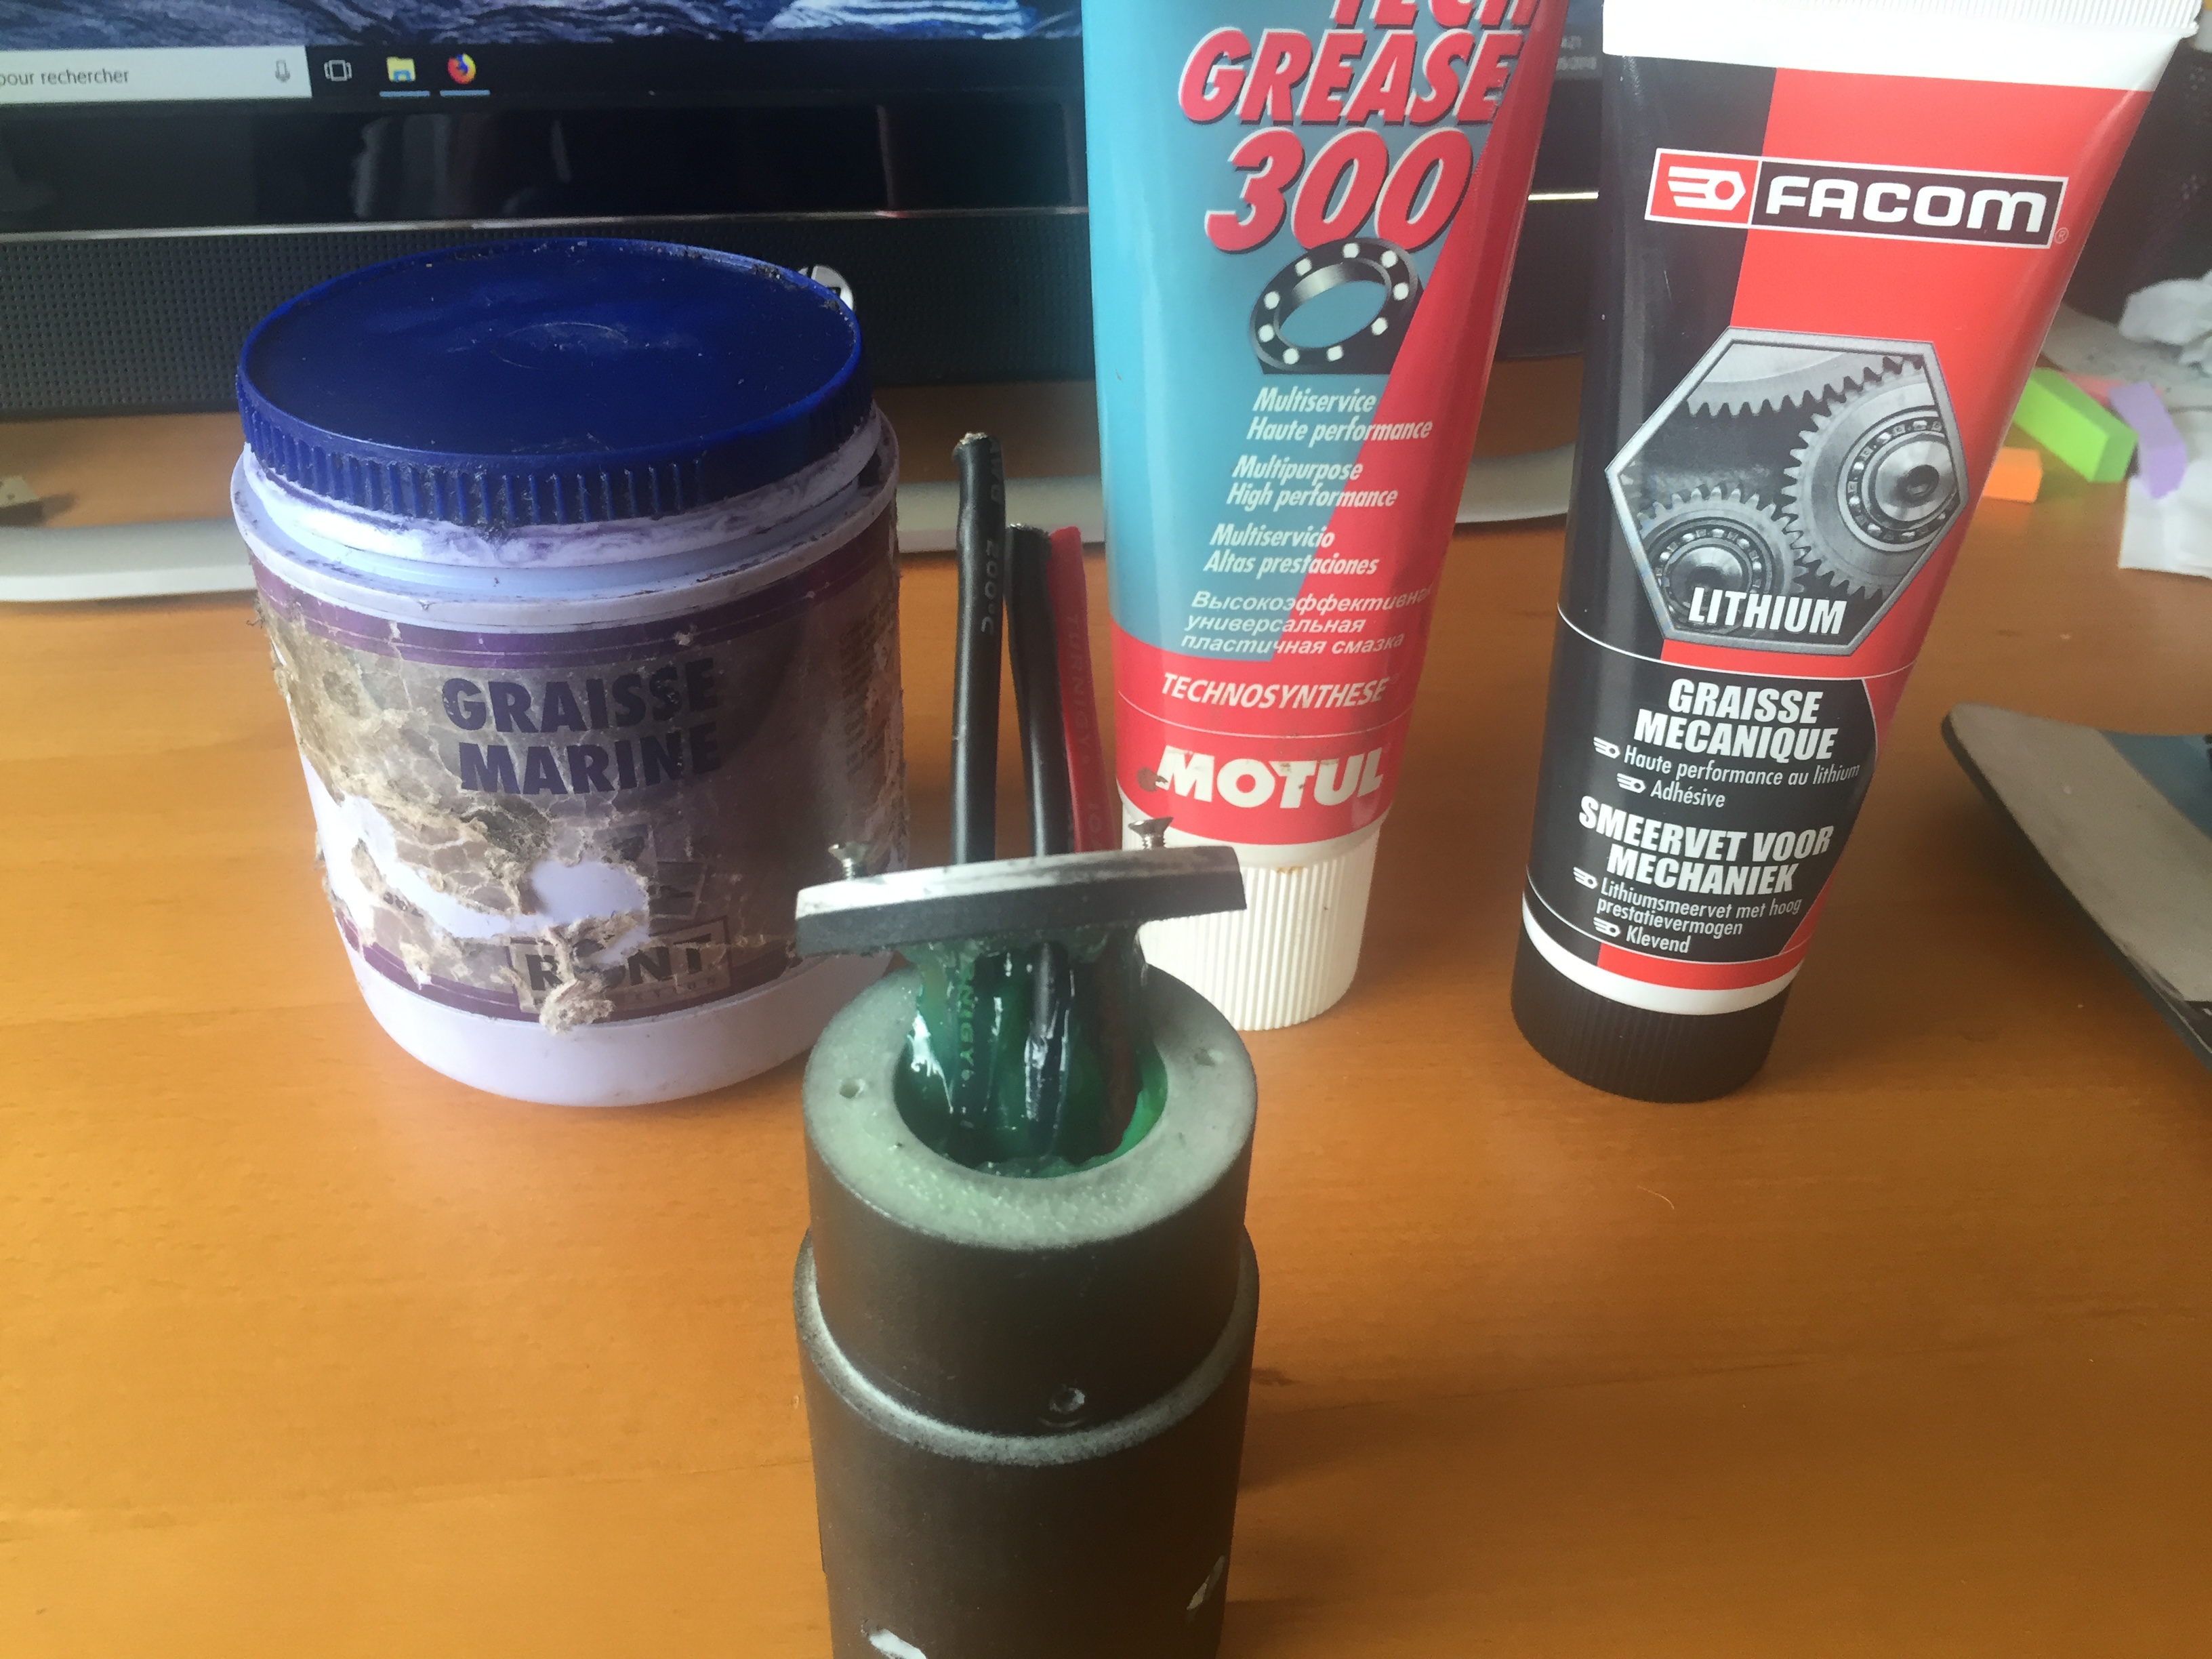
well this might be the solution, did some test today , put the tube under vaccum in water: got just one leak around one wire with the facom grease (light)