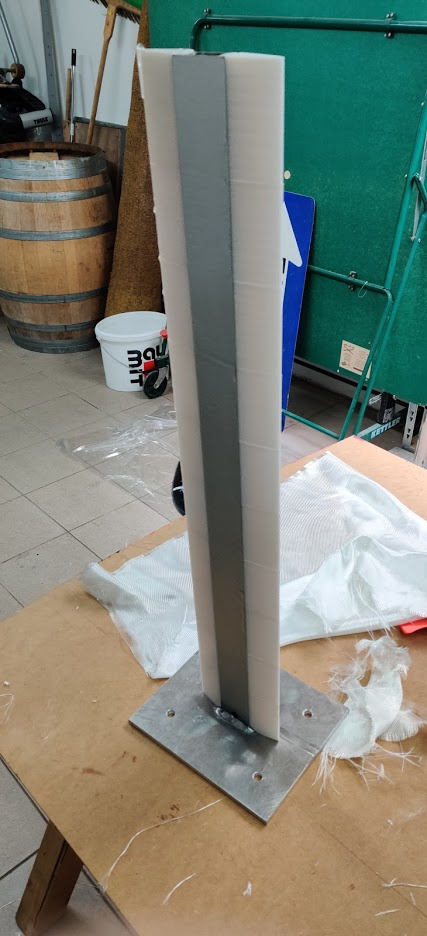
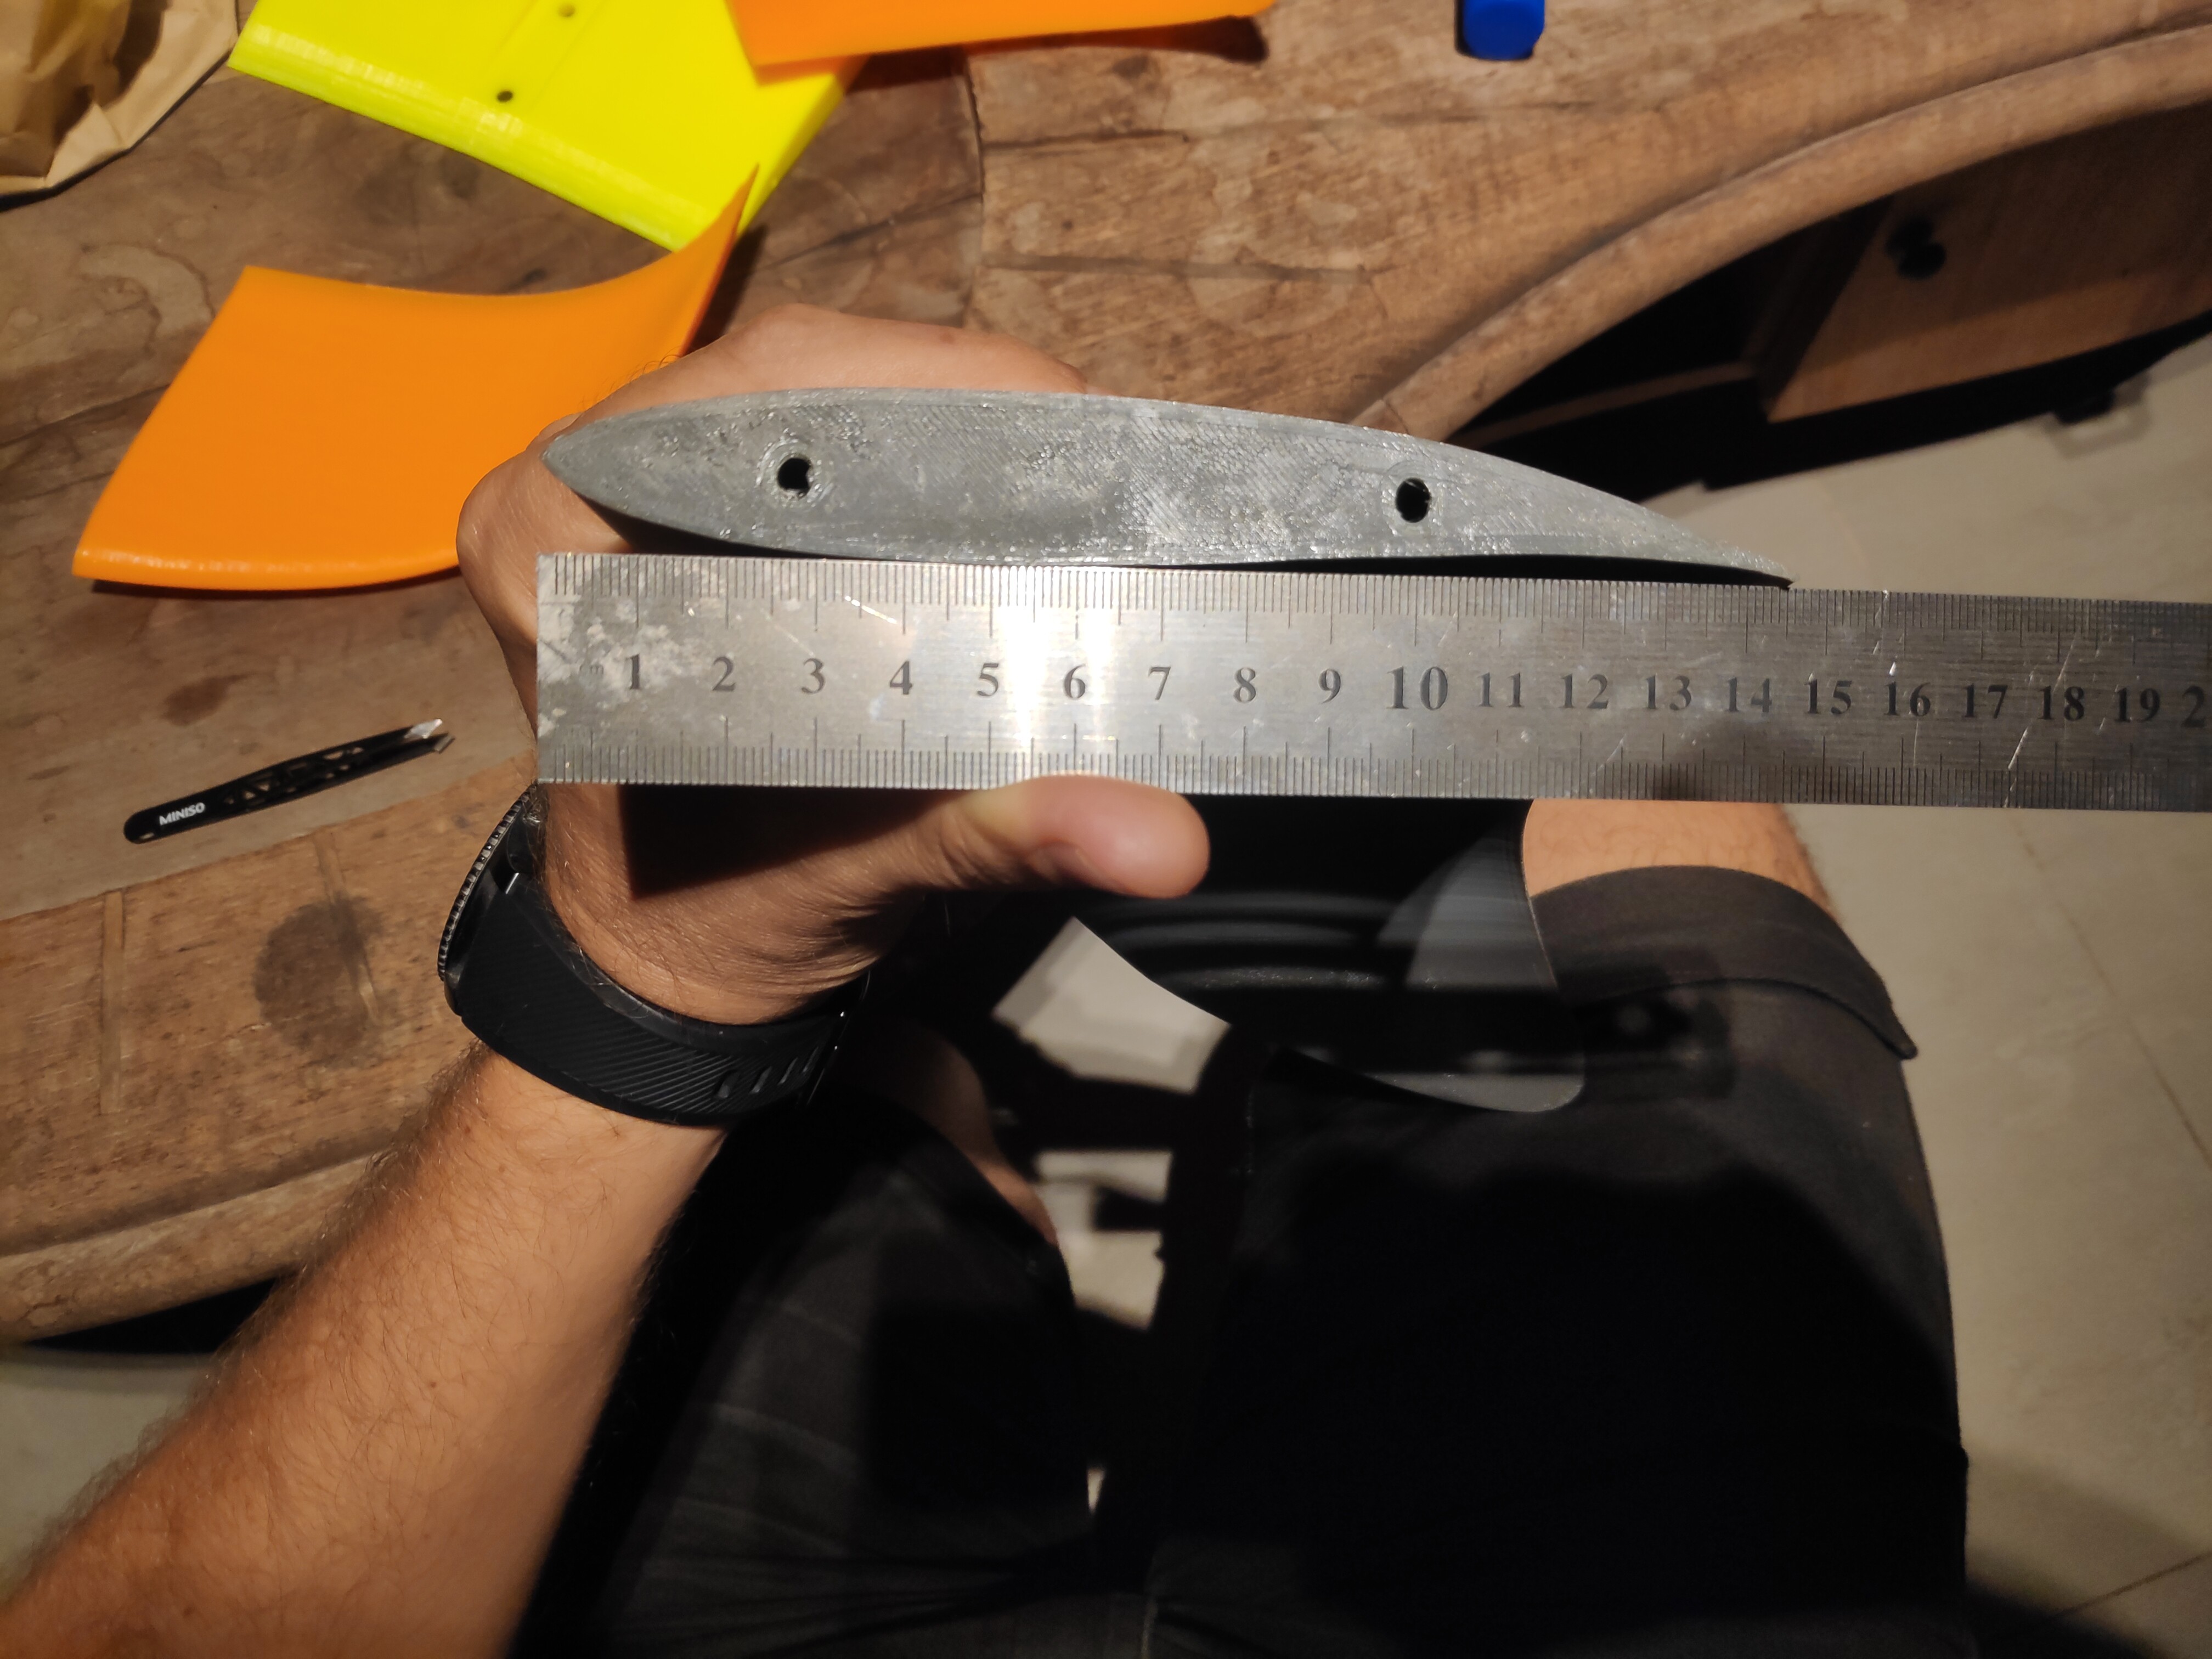
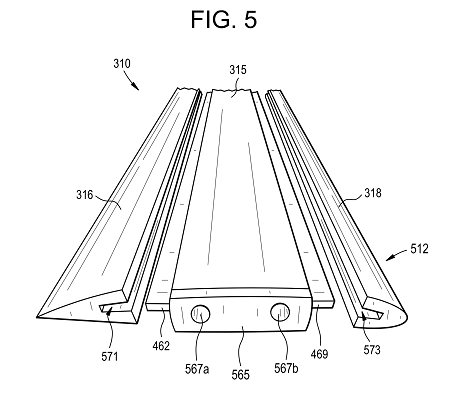
How thick is it ? The standard for efoils is in the 15mm region. If above 20mm, it will become a source of drag.
Beware that the leading edge (LE) insert and the trailing edge one (TE) are usually not identical. TE is sharper and longer, 1.5x on the Gong mast. Since you print them, it would be interesting to test both configurations though: TE = LE and TE = 1.5 x LE.
The Extrusion is about 18mm thick, I checked it beforehand and it shouldn’t be too much drag.
My first test will be with TE=LE for simplicity, I guess/hope it doesn’t make a huge difference.
I know that my setup is not the most optimized but considering its full DIY I try to do everything as good as I can/have the tools and hopefully get a decent result.
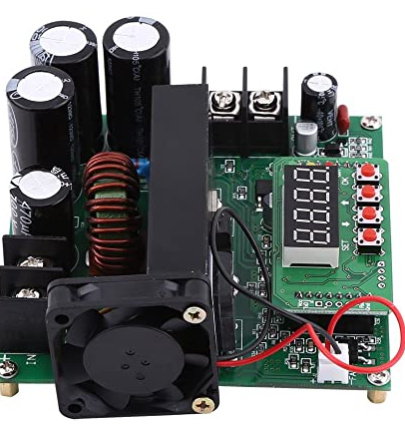
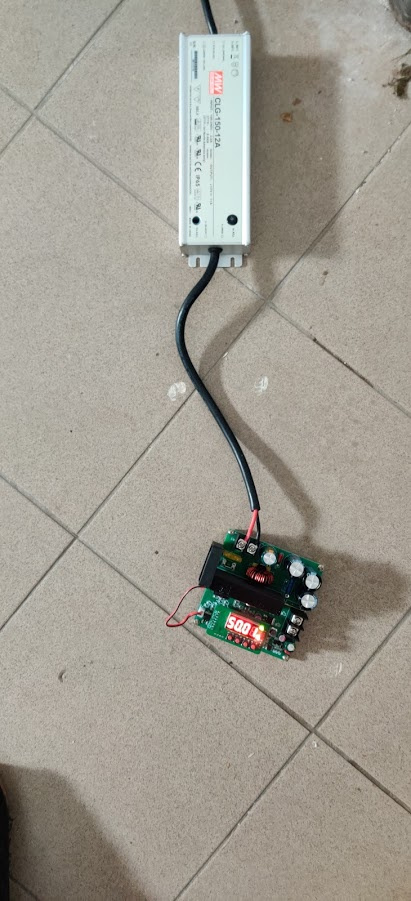
there are several chinese CC/CV 12S chargers but they get quite expensive really fast and you don’t have any control over them. I looked around amazon and found this:
and the best: its only 20€ and since you can power it with ANY power supply (<60V) this is a no brainer for me.
PS.: I checked the output Voltage with my Fluke and the calibration on this thing is quite good (<0.05V difference between voltage displayed and voltage measured with calibrated Fluke Voltemeter)
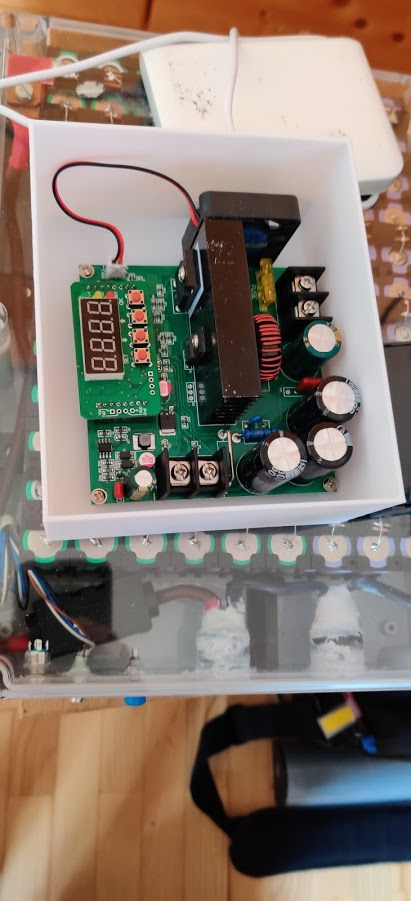
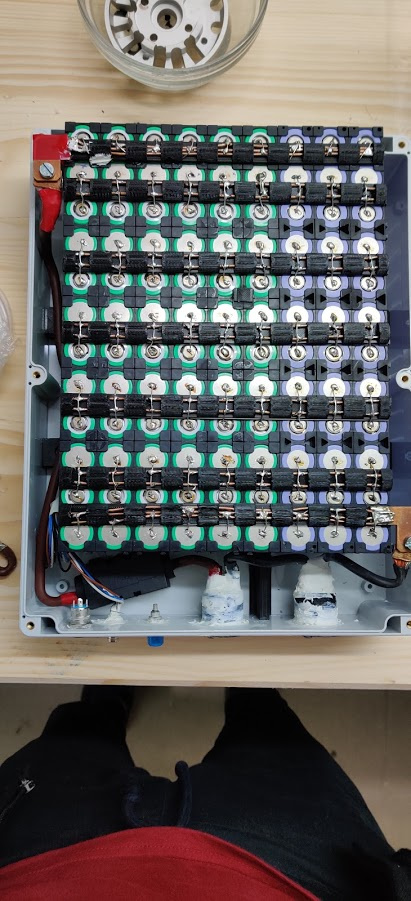
That’s a clean battery build! Two questions: can you post purchase links for your parts (box, connections, etc.) Also files for 3D. Your bus bar prints look great.
Used generic 10mm² copper wire for the main current line
As for connectors I used 2 XT90S female plugs with a 3D-printed panel mount (epoxied the panel mount and sealed everything up with Inotec Powerbond sealant, tested 30 mins in bath tub → no leaks)
Sealant:
Thanks! Yes, battery boxes are tough. Ended up making mine out of acrylic. I especially like the bus bar holders you made as I soldered up ladders. Your box is a bit too thick for my board, but I’ll incorporate some ideas into my battery 2.0.
I made other 18650 batteries before and with high quality cells there should be no drift of the individual cells. And since there I have a BMS for charging after every charge my cells should be balanced out again, so no worries there.
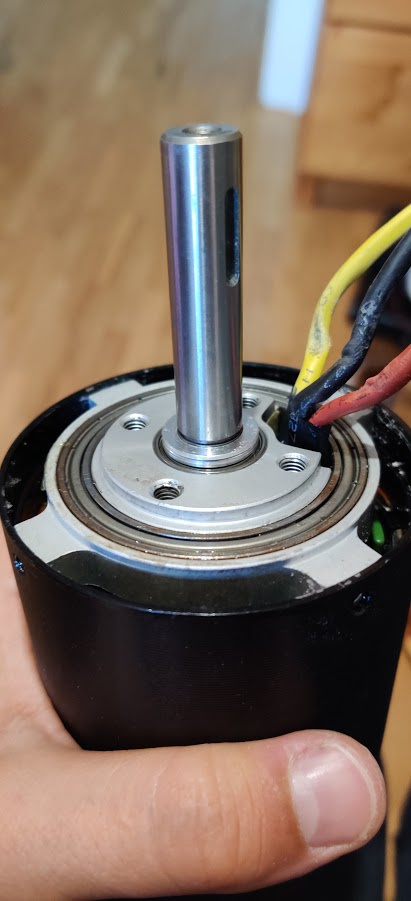
I replied in another old thread concerning my motor but i want to post it here aswell:
I forgot how the 80100 assembles together, everything looks fine but I got 2 washers and I only know where to put one of them, or do both belong here (picture) ? Anyone rememebers?
Wow! I’m going to follow this. Great work. We are working on a data-logging system with an end goal of using machine learning algorithms to tune parameters like propeller diameter and pitch. We can modulate these parameters because we can 3D print propellers quickly. This is really exciting for me because your method allows for making hydrofoils quickly. It would be incredible to have the algorithms also optimize metrics about the wing not just the propeller.
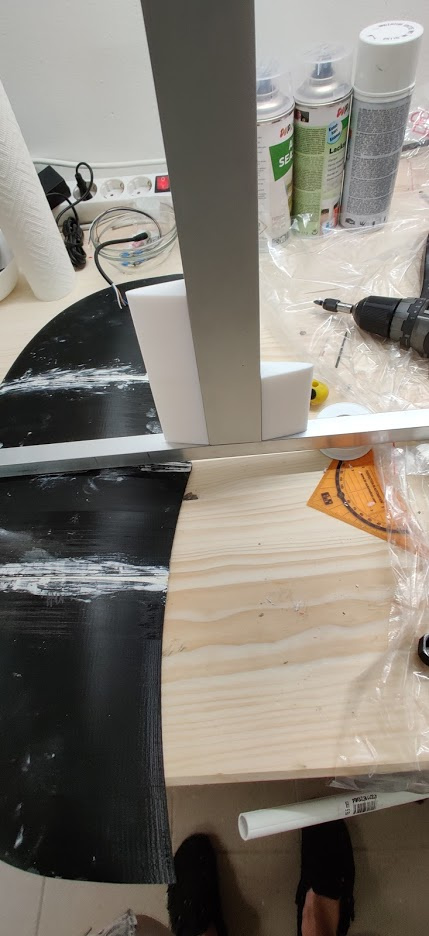
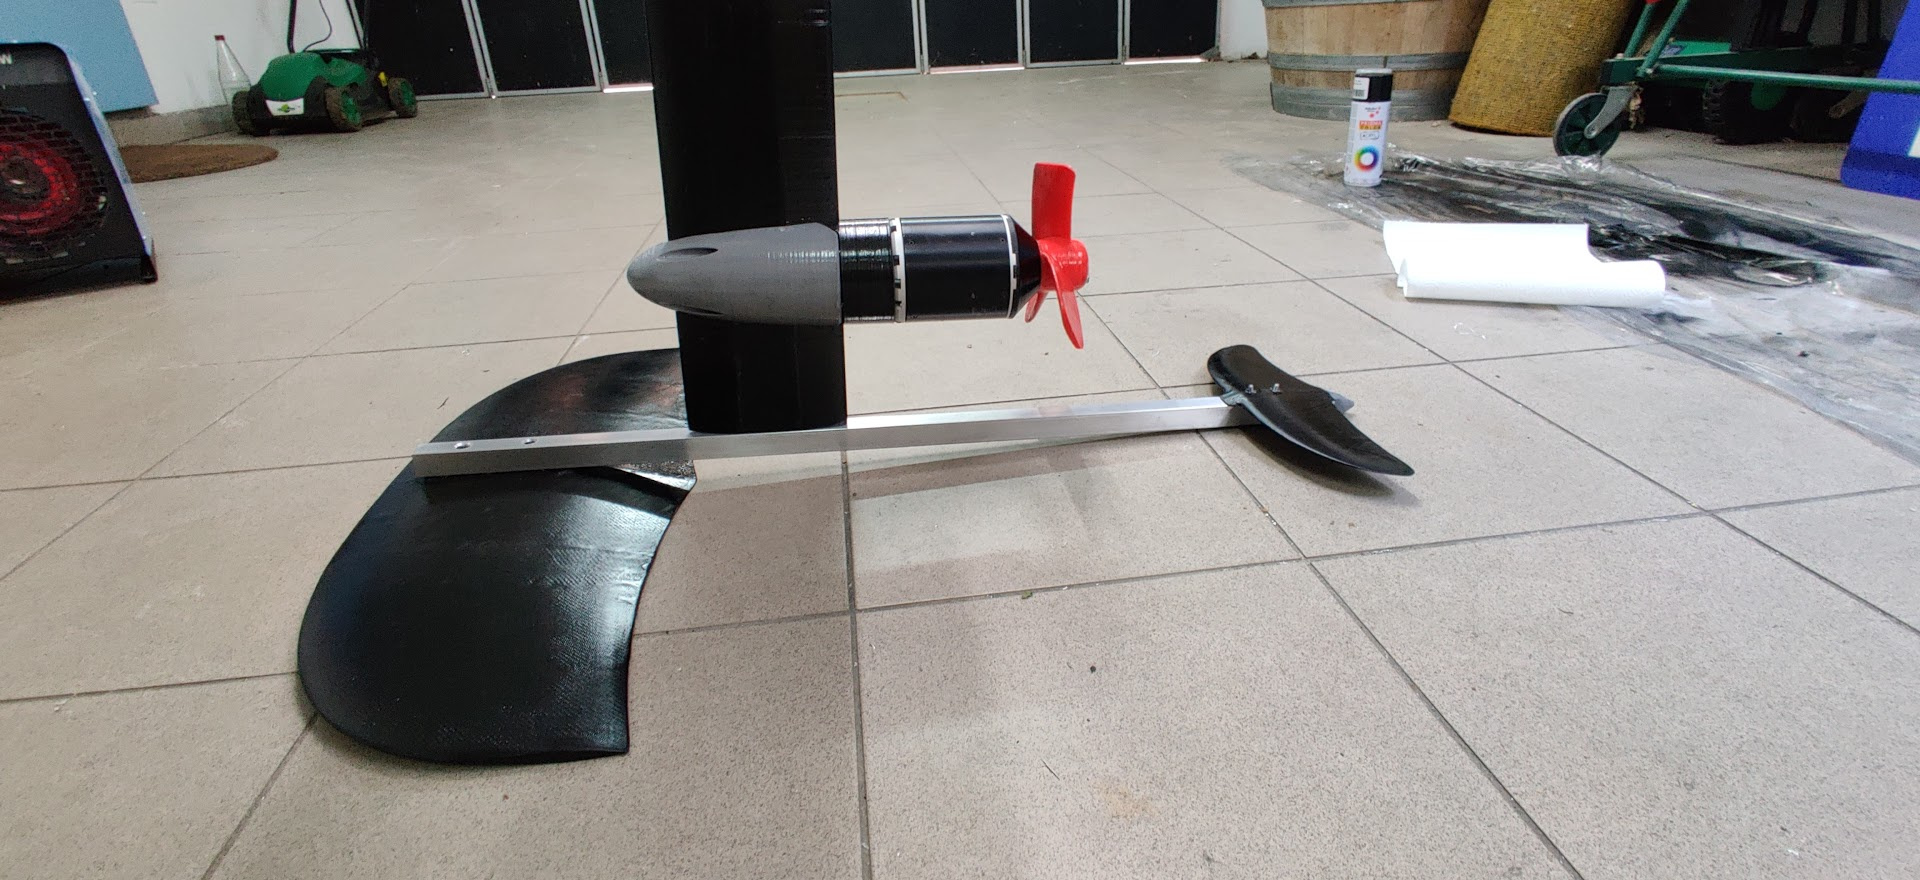
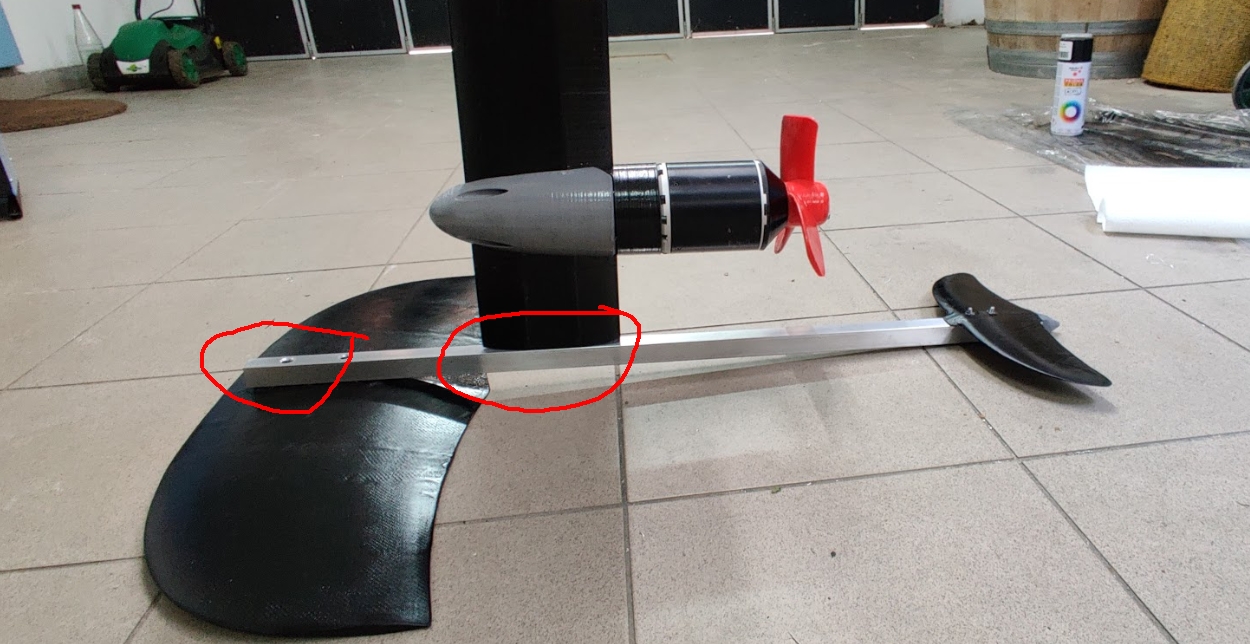
For your reference; a Gong fuselage is 30x30 solid aluminium. The 20x20 hollow profile will get you up on foil but is way to twisty to hold you stable when flying.
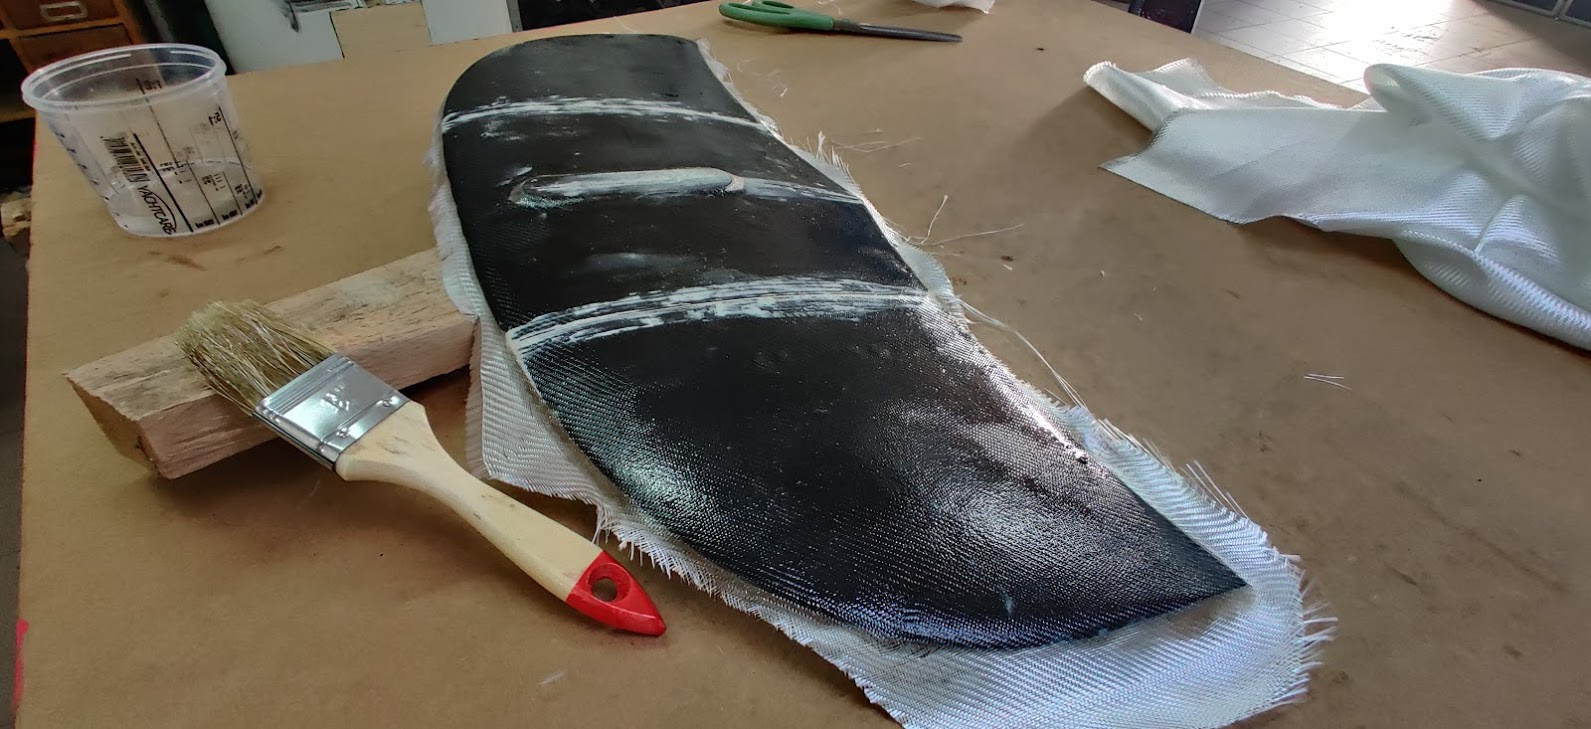
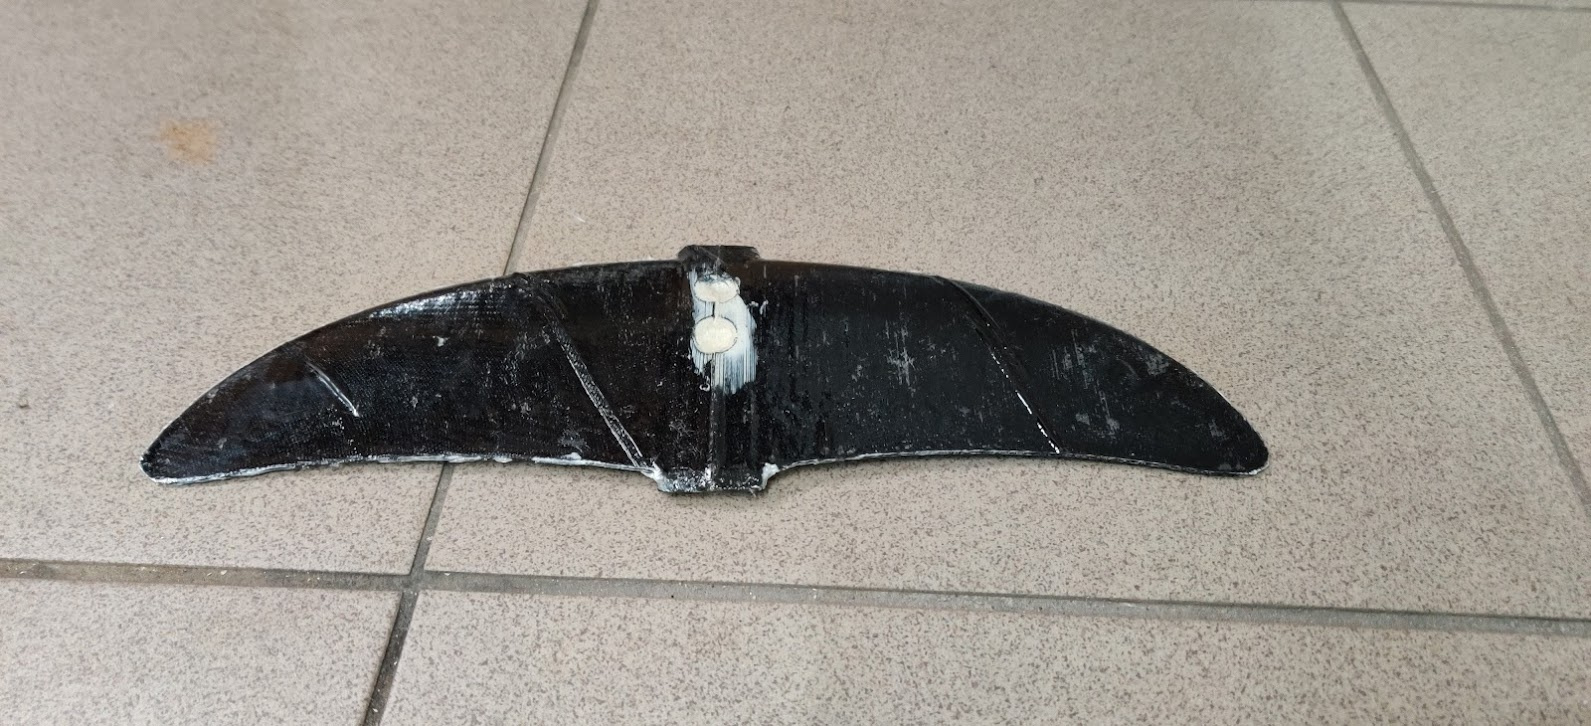
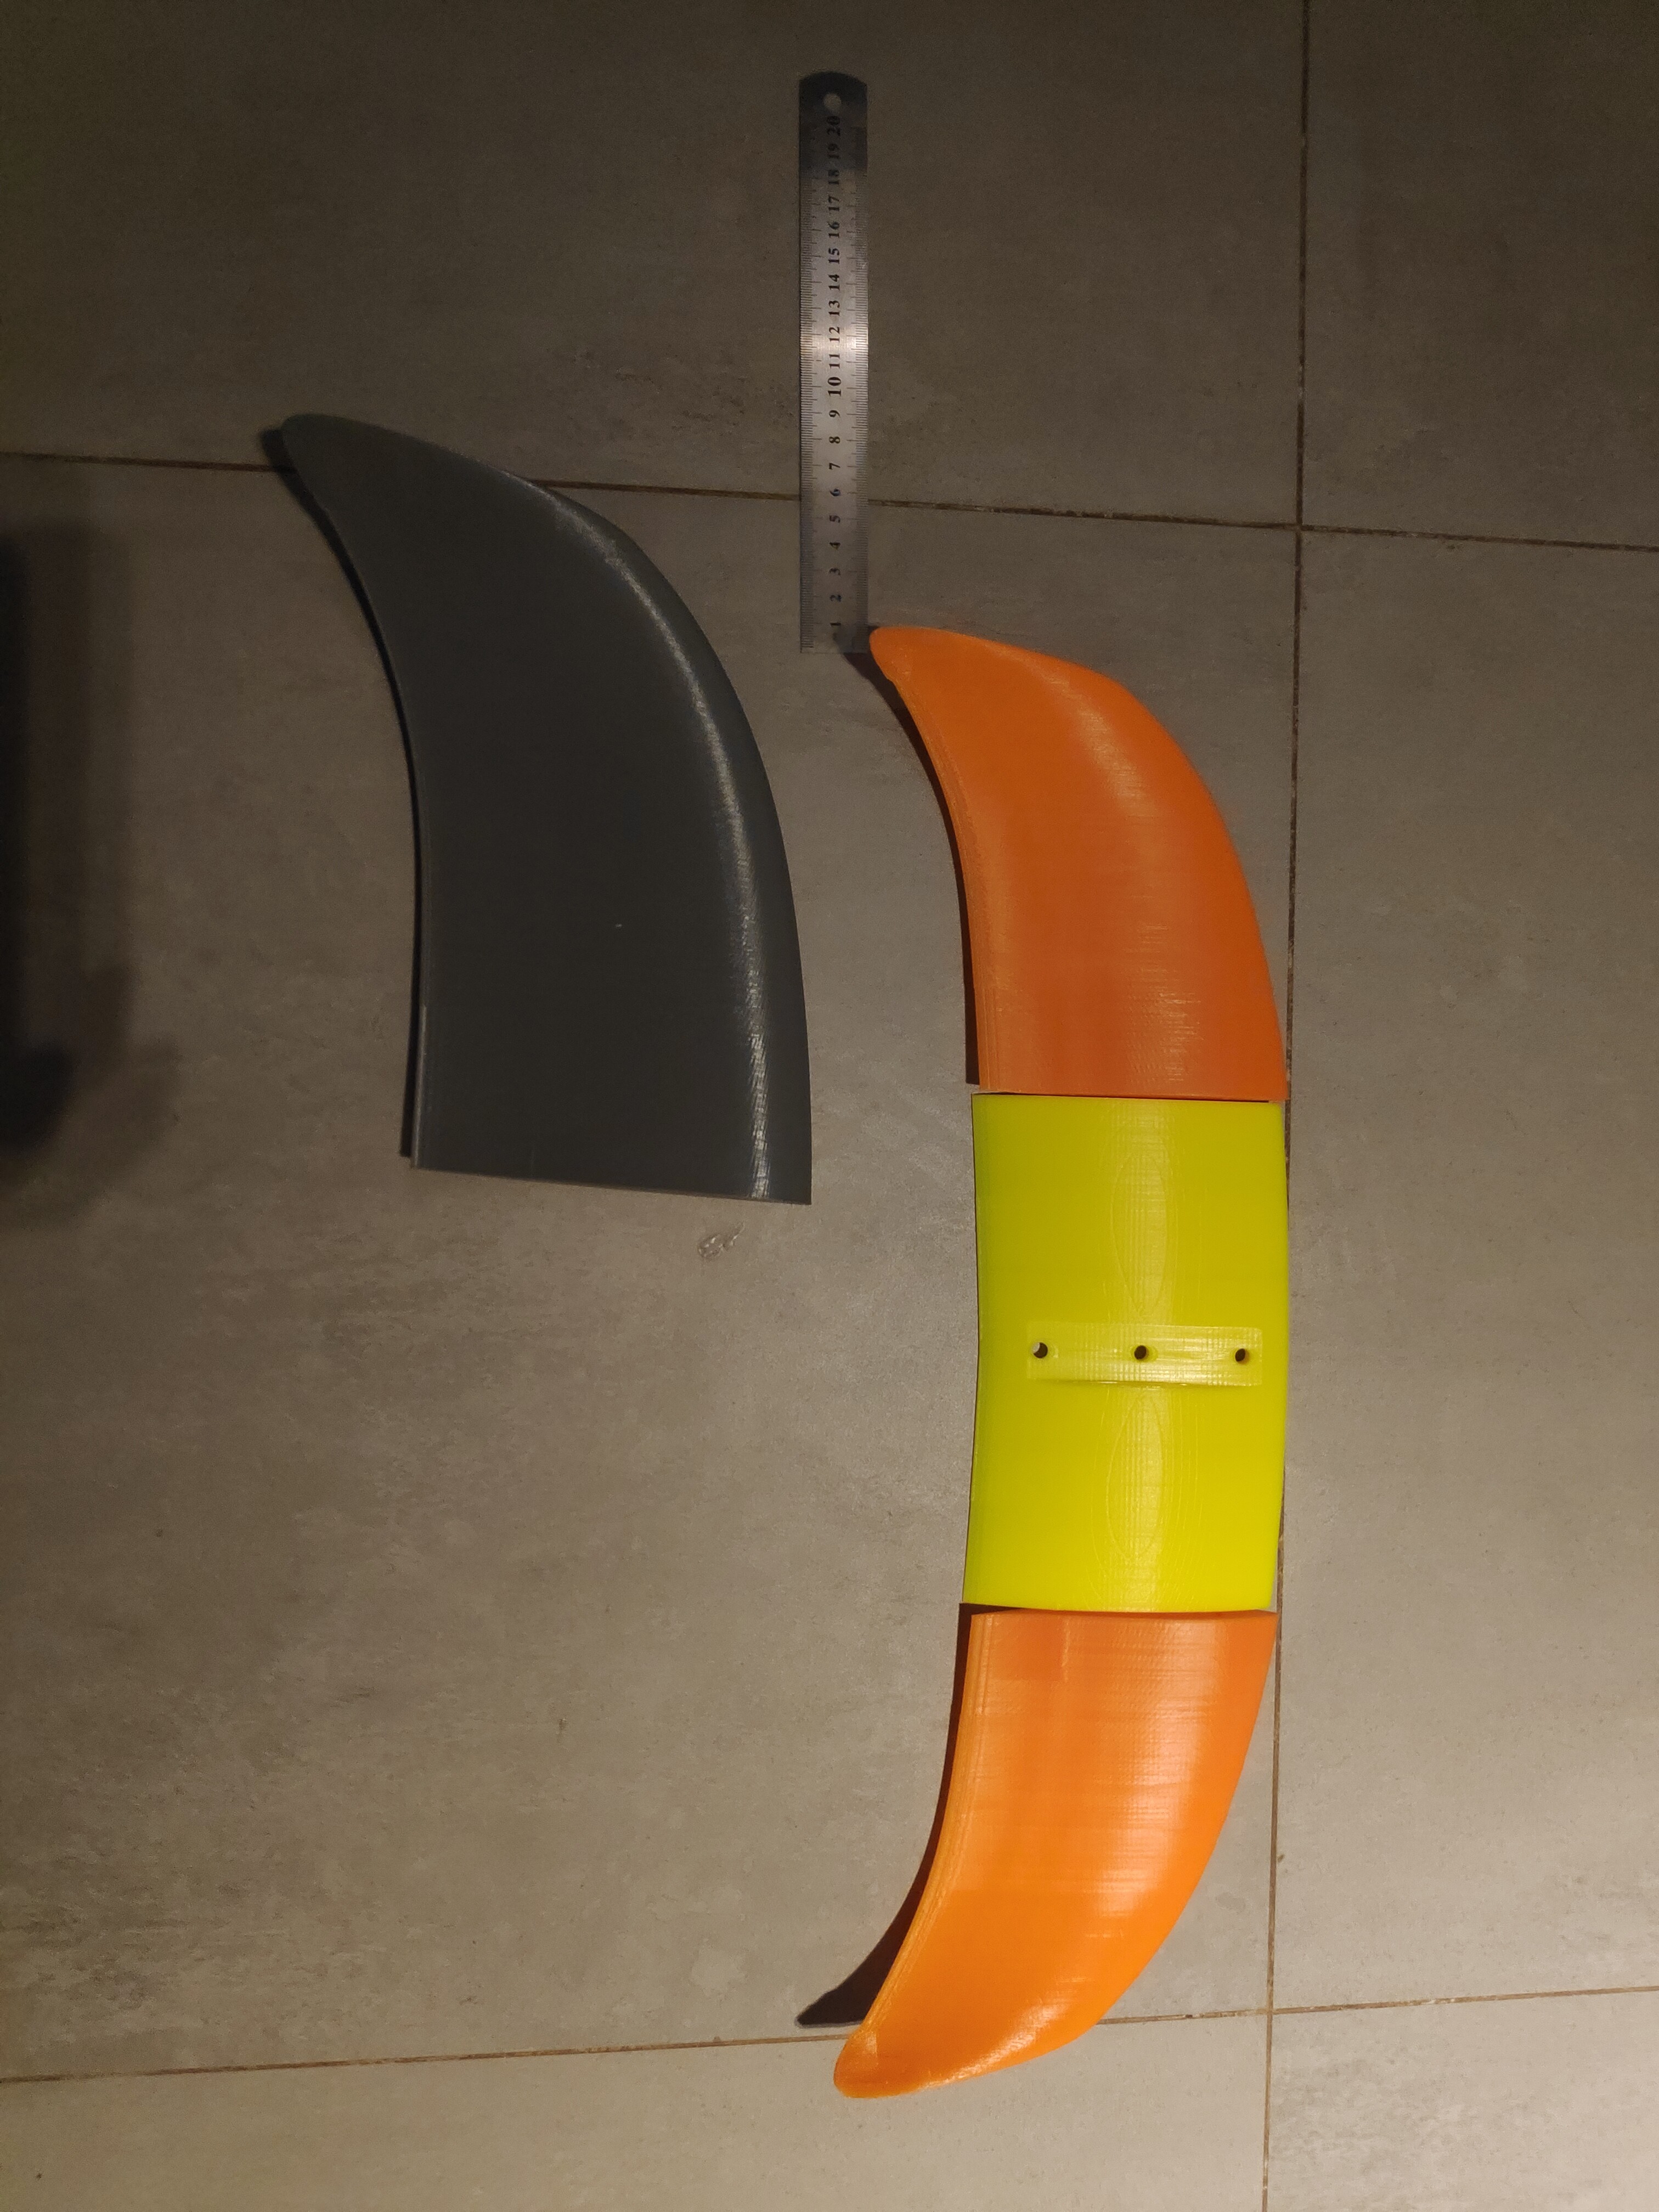
Hello @strassa I m in the process of printing my foil as well and plan to laminate with fiber glass and carbon. Did you design this foil yourself or found it online ? Did you print it full or what % infill ?
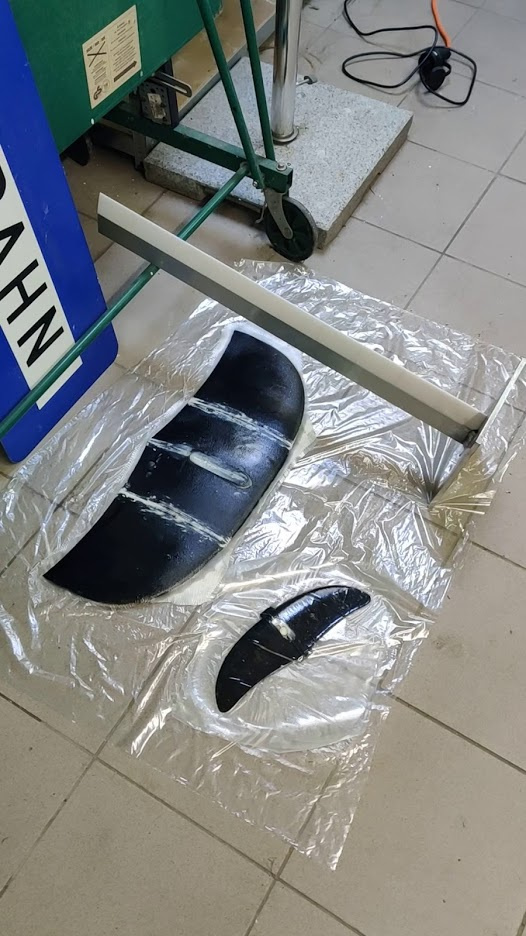
I m doing some test using this foil :
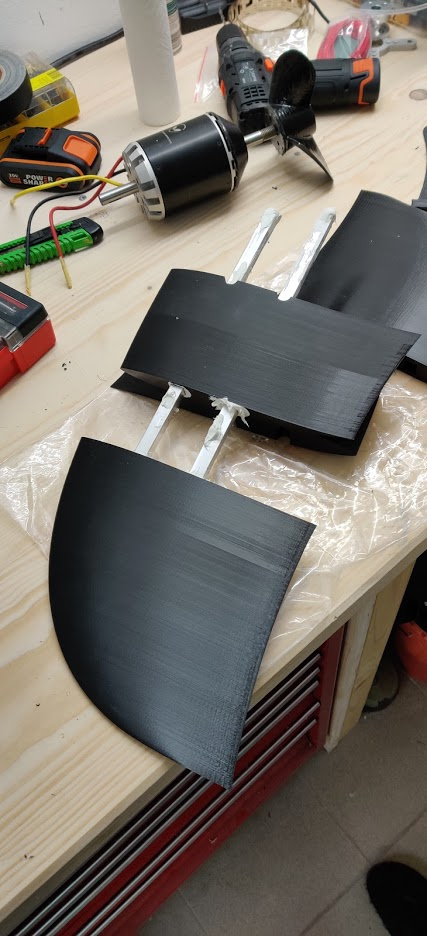
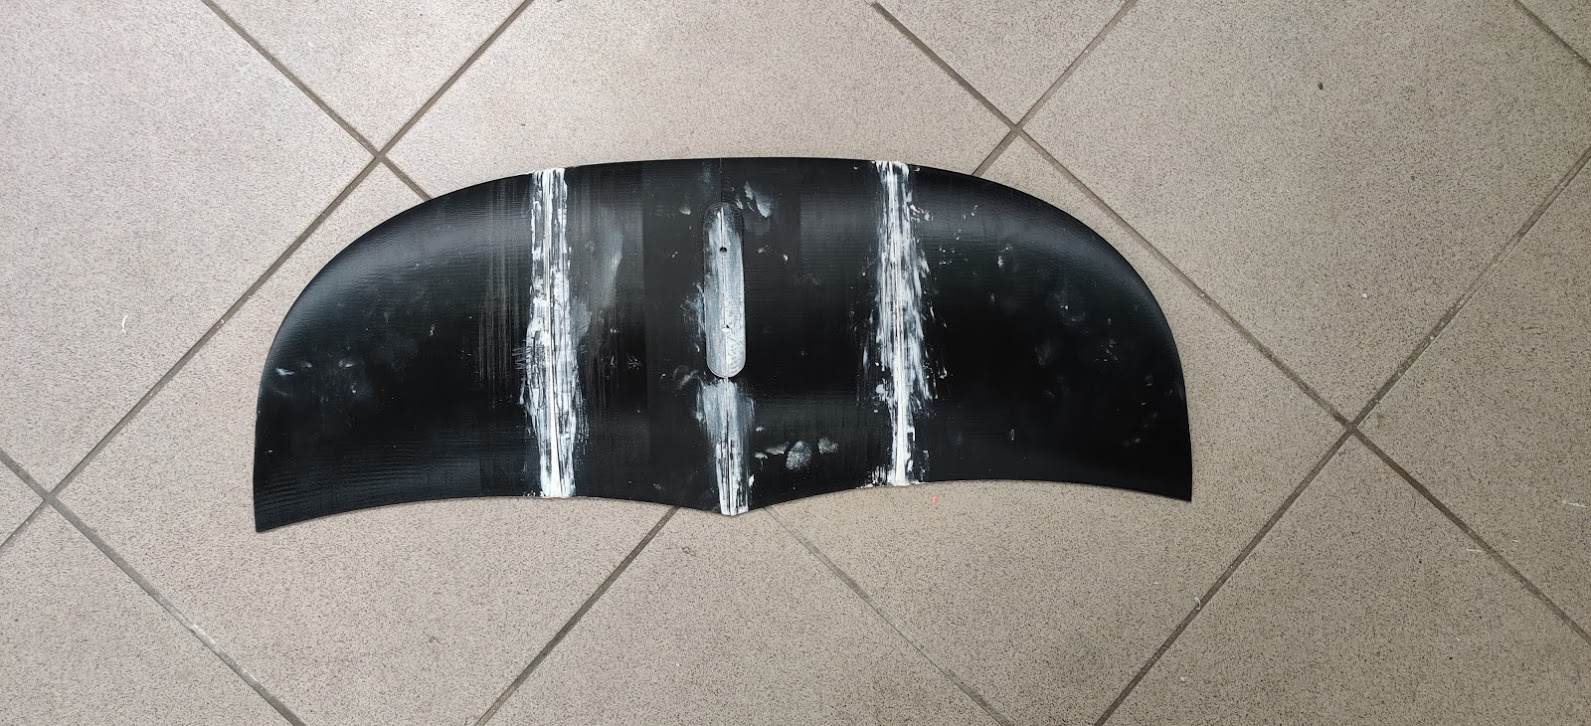
Already printed it once at 100% scale, it’s around 54cm wide close to 60 “unfolded”,
I m now printing at 150% on 2 axis (wingspan and thickness) and 120% on 1 (chord).
That will give me over 80cm of wingspan (I want to start surf/sup foiling before moving to kite and efoil in the future) so I figured bigger is better as a beginner.
Tried 15% infill on the first print and it came very sturdy, I moved to 5% infill on the bigger version and its a bit weak (I can feel it creeks when I pushing on it, I hope it won’t crush once I vacuum and fiber my wing we will see !
I have also thought of printing at 0% and fill the parts with expending foam to give them a foam core… that will probably be my next experiment.
I m pretty new to the forum but don’t see much printed foil and can’t really find successful build with that tech, I hope I m wrong and that we will be successful.
I ll make my own build thread soon once I have enough progress, hope we can share and help each other.
 but i want to post it here aswell: