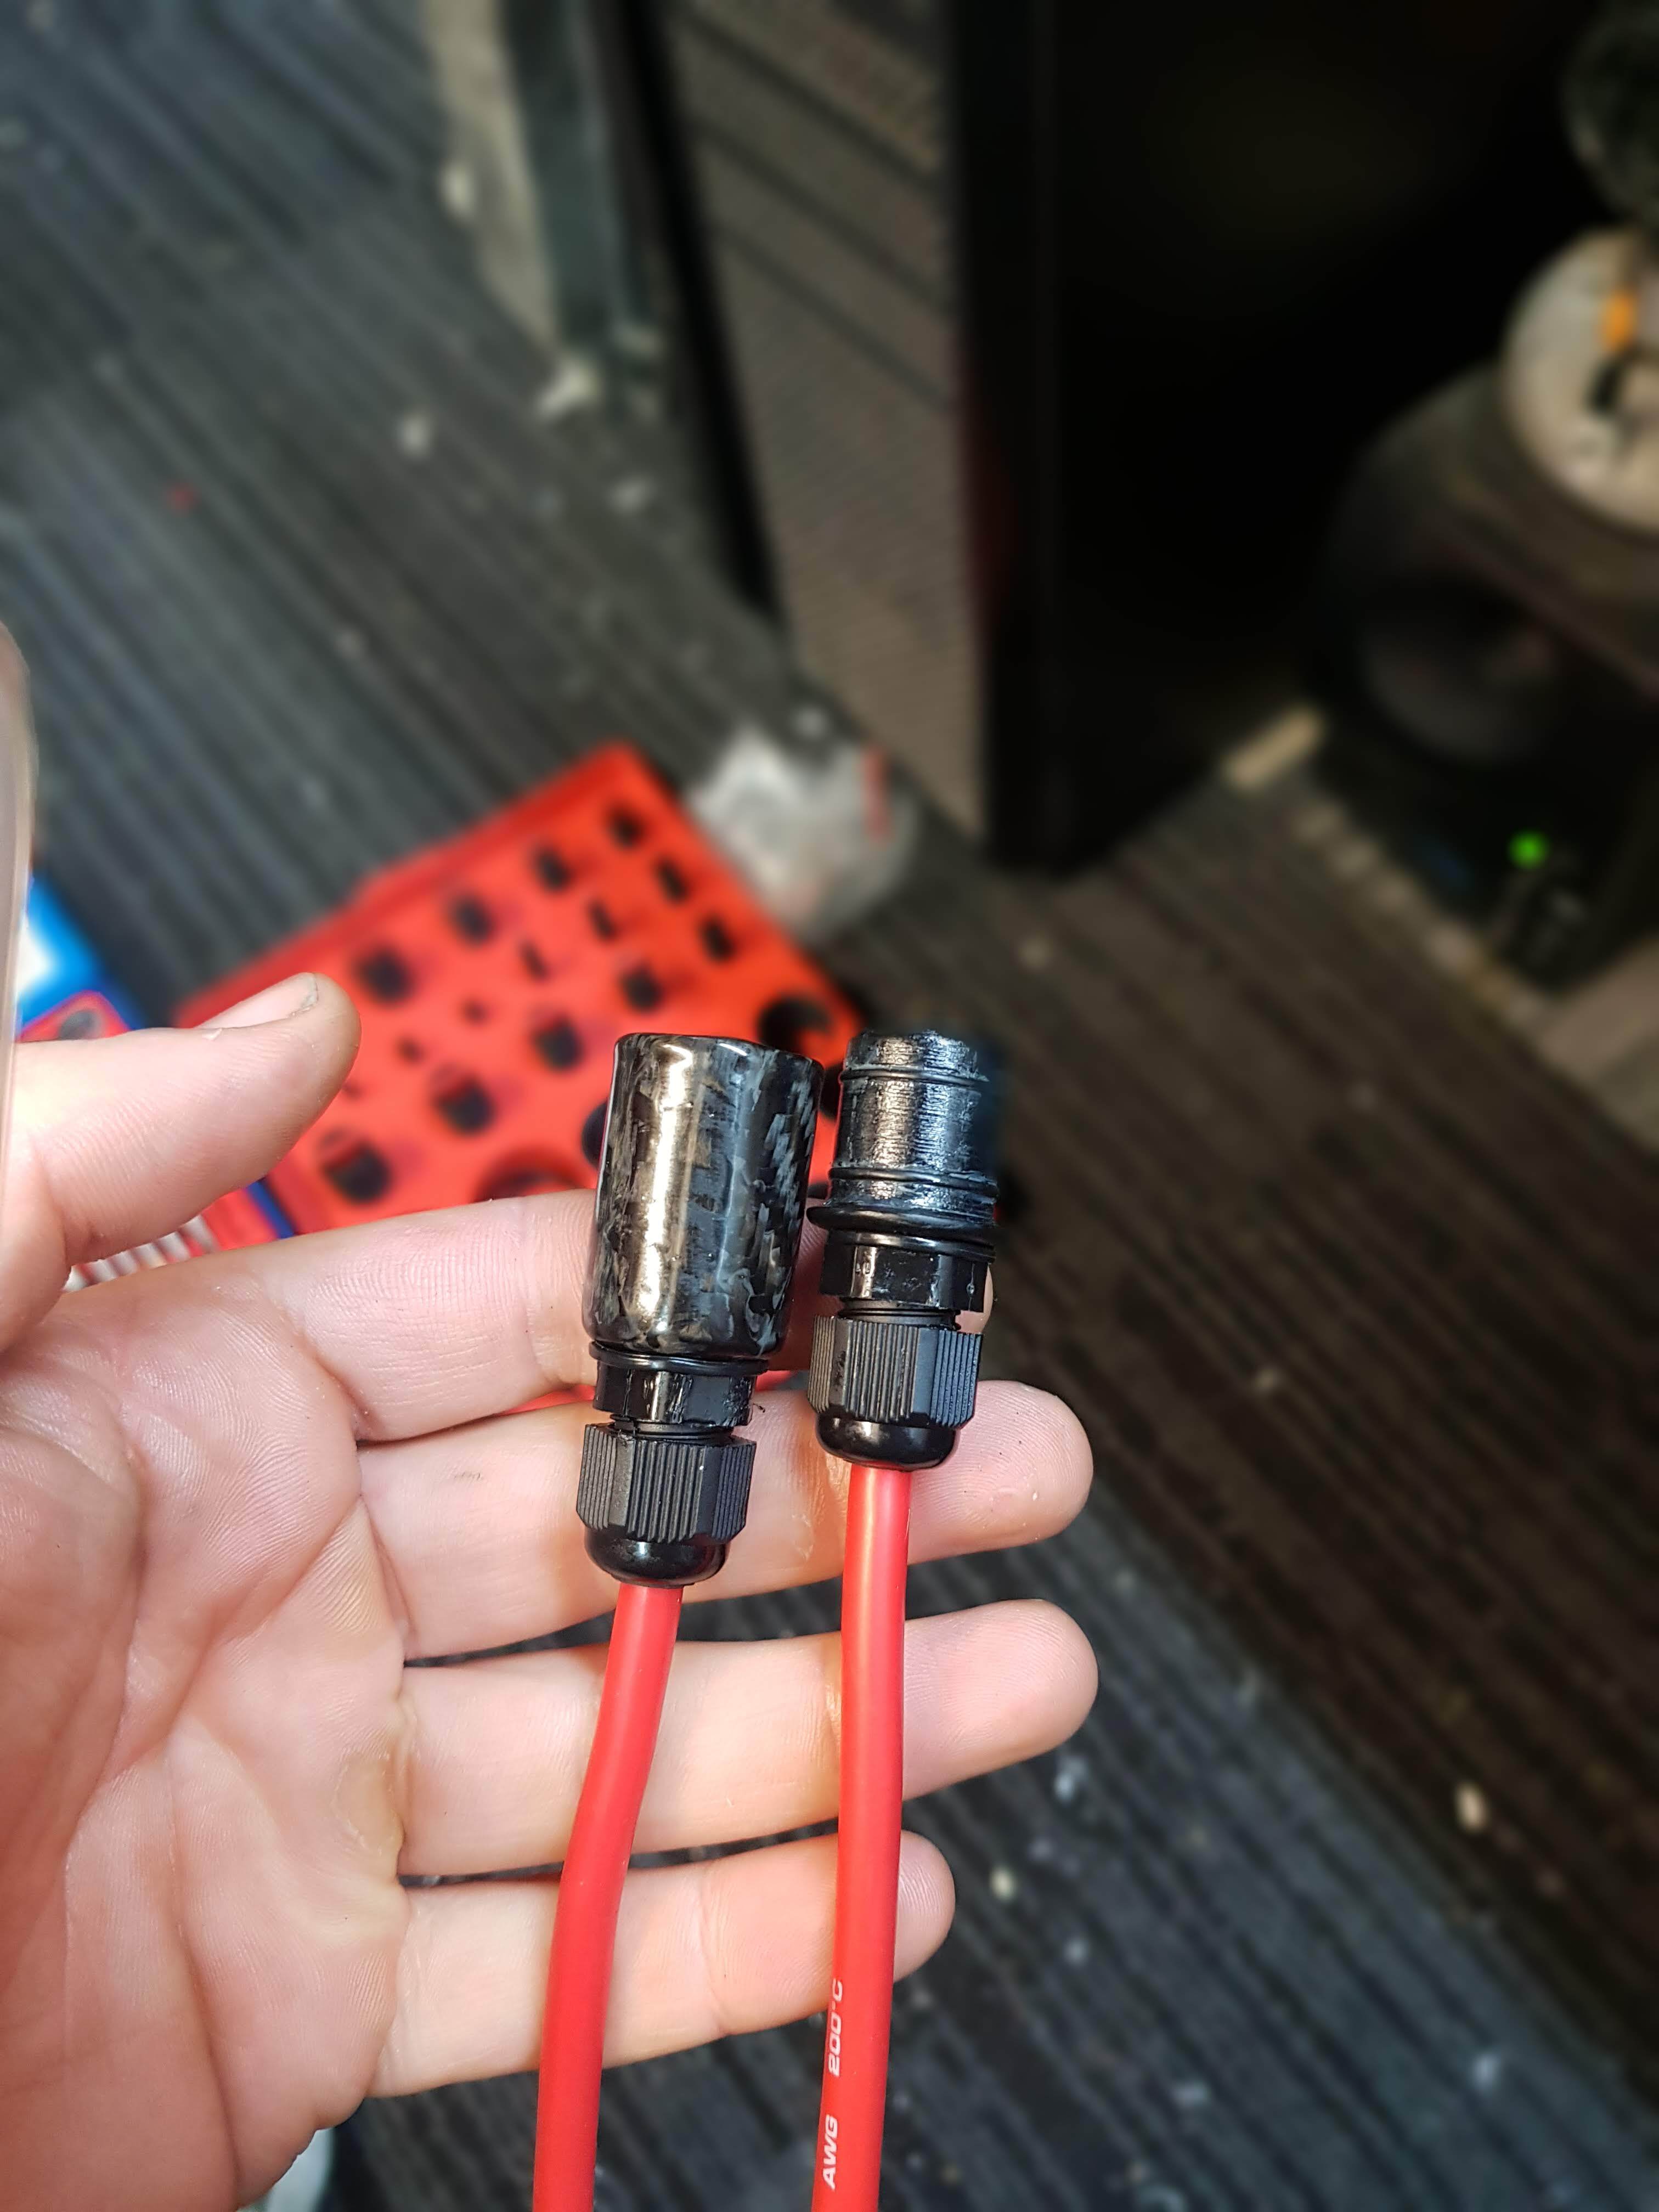
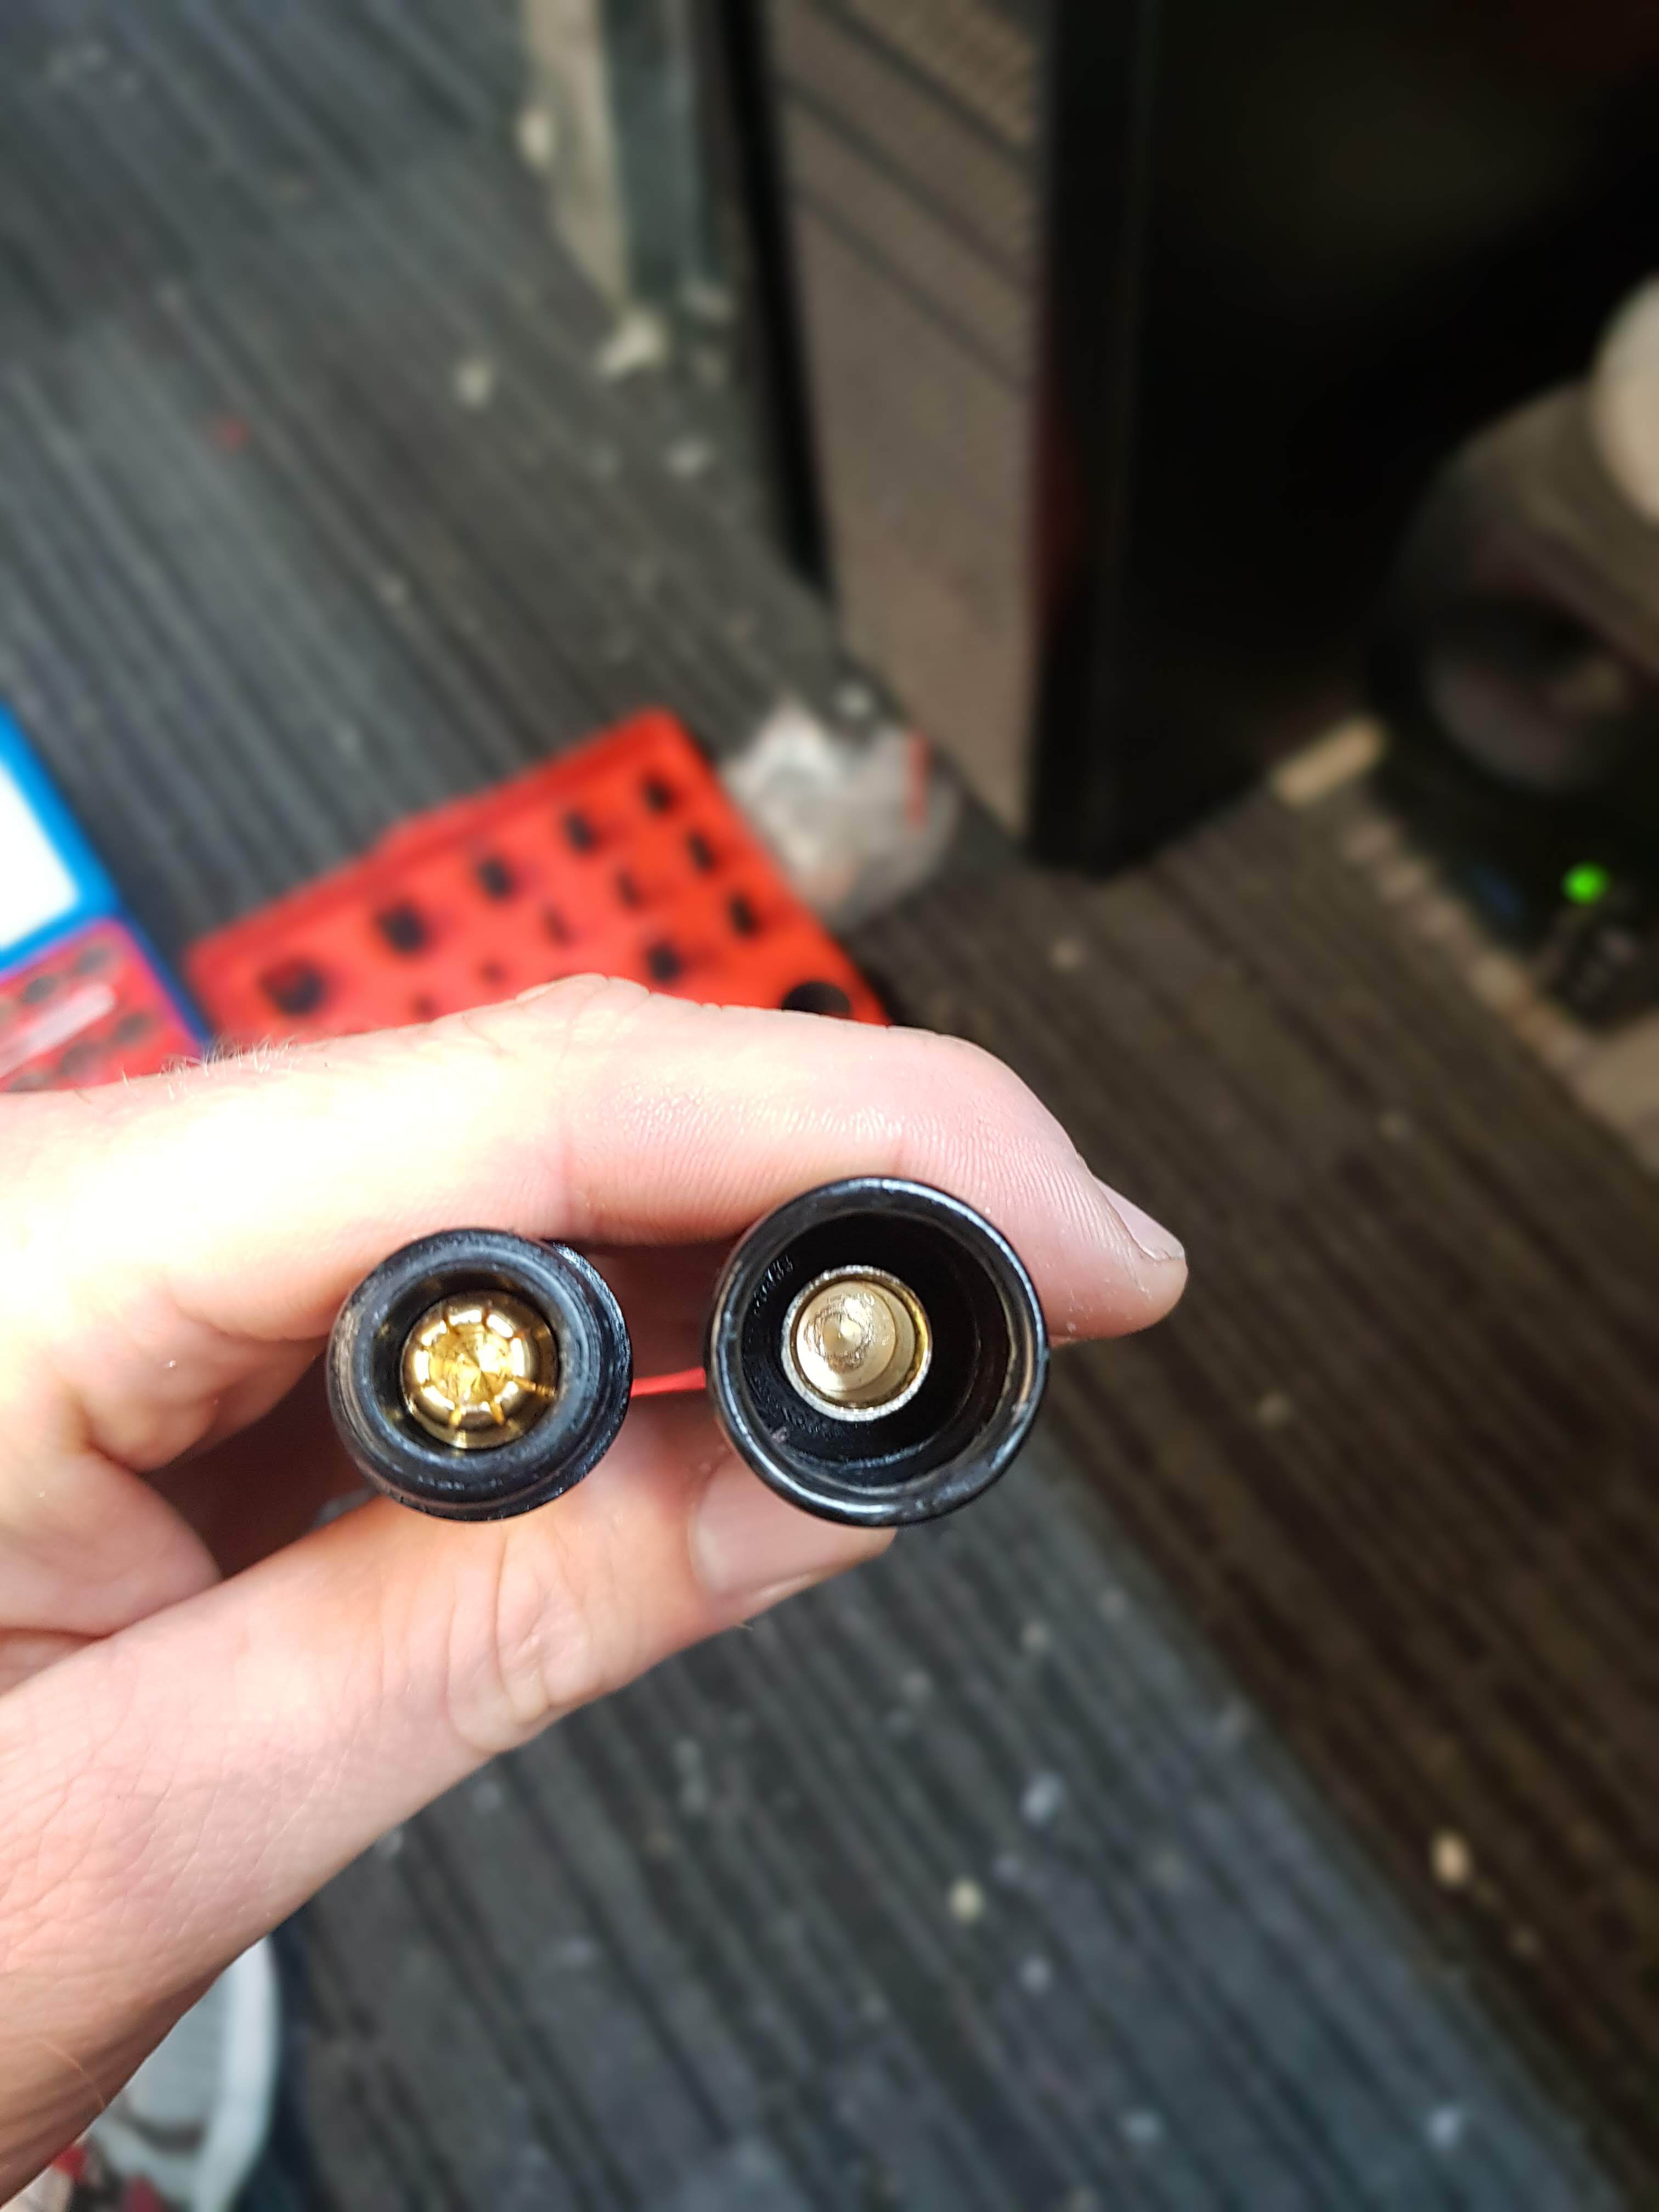
Nice, I did 8mm bullets and just ran a M5 tap through the two holes already on the connectors and use set screws then heat shrink. This has worked very well for me for all the testing up to 200A. And its ultra quick to redo wires, change connectors etc… may save you some time if you need something cheap, fast and reliable: Troubleshooting burnt off Seaking ESC - #56 by VeFoil - Electronics (ESC, remote, batteries) - FOIL.zone
Do you think that running a 14s battery pack with a 80100 APS 130kv motor will generate too much rpms? Would a 80kv motor perform better under 14s? Thanks!
With calculations the 130kv will be 7540rpm and 80kv will be 4640 rpm at 14s I dont know what it would be once loaded in the water. Someone please correct me if I’m wrong 
That would be correct! However, how would this translate performance wise? Is 7.5k rpm without load too high for an efoil? Would this damage the motor in the long run?
I guess that would depend on what prop you are going to use. You would need to match the motor rpm to the prop rpm for best efficiency I would say. I dont think it would damage the motor as long as it was running with in its specifications. I work with motors on a bigger scale at work ( 200w to 100kw plus) and they run full load almost all year round without issues
Max voltage is 18s and Max amp is 130a and 7000watt so I should be good! So basically, there wouldn’t be a big difference in performance as long as I can match the right propeller for the specific motor used? I’m still torned about choosing between the 130kv or 80kv version (would run at 13s or 14s).
I think rpm would be too high for a normal prop.
maybe possible with jetlike prop.
I tried to stay away from reading here because id want to make another one, i read some, well looks like im making another one lol


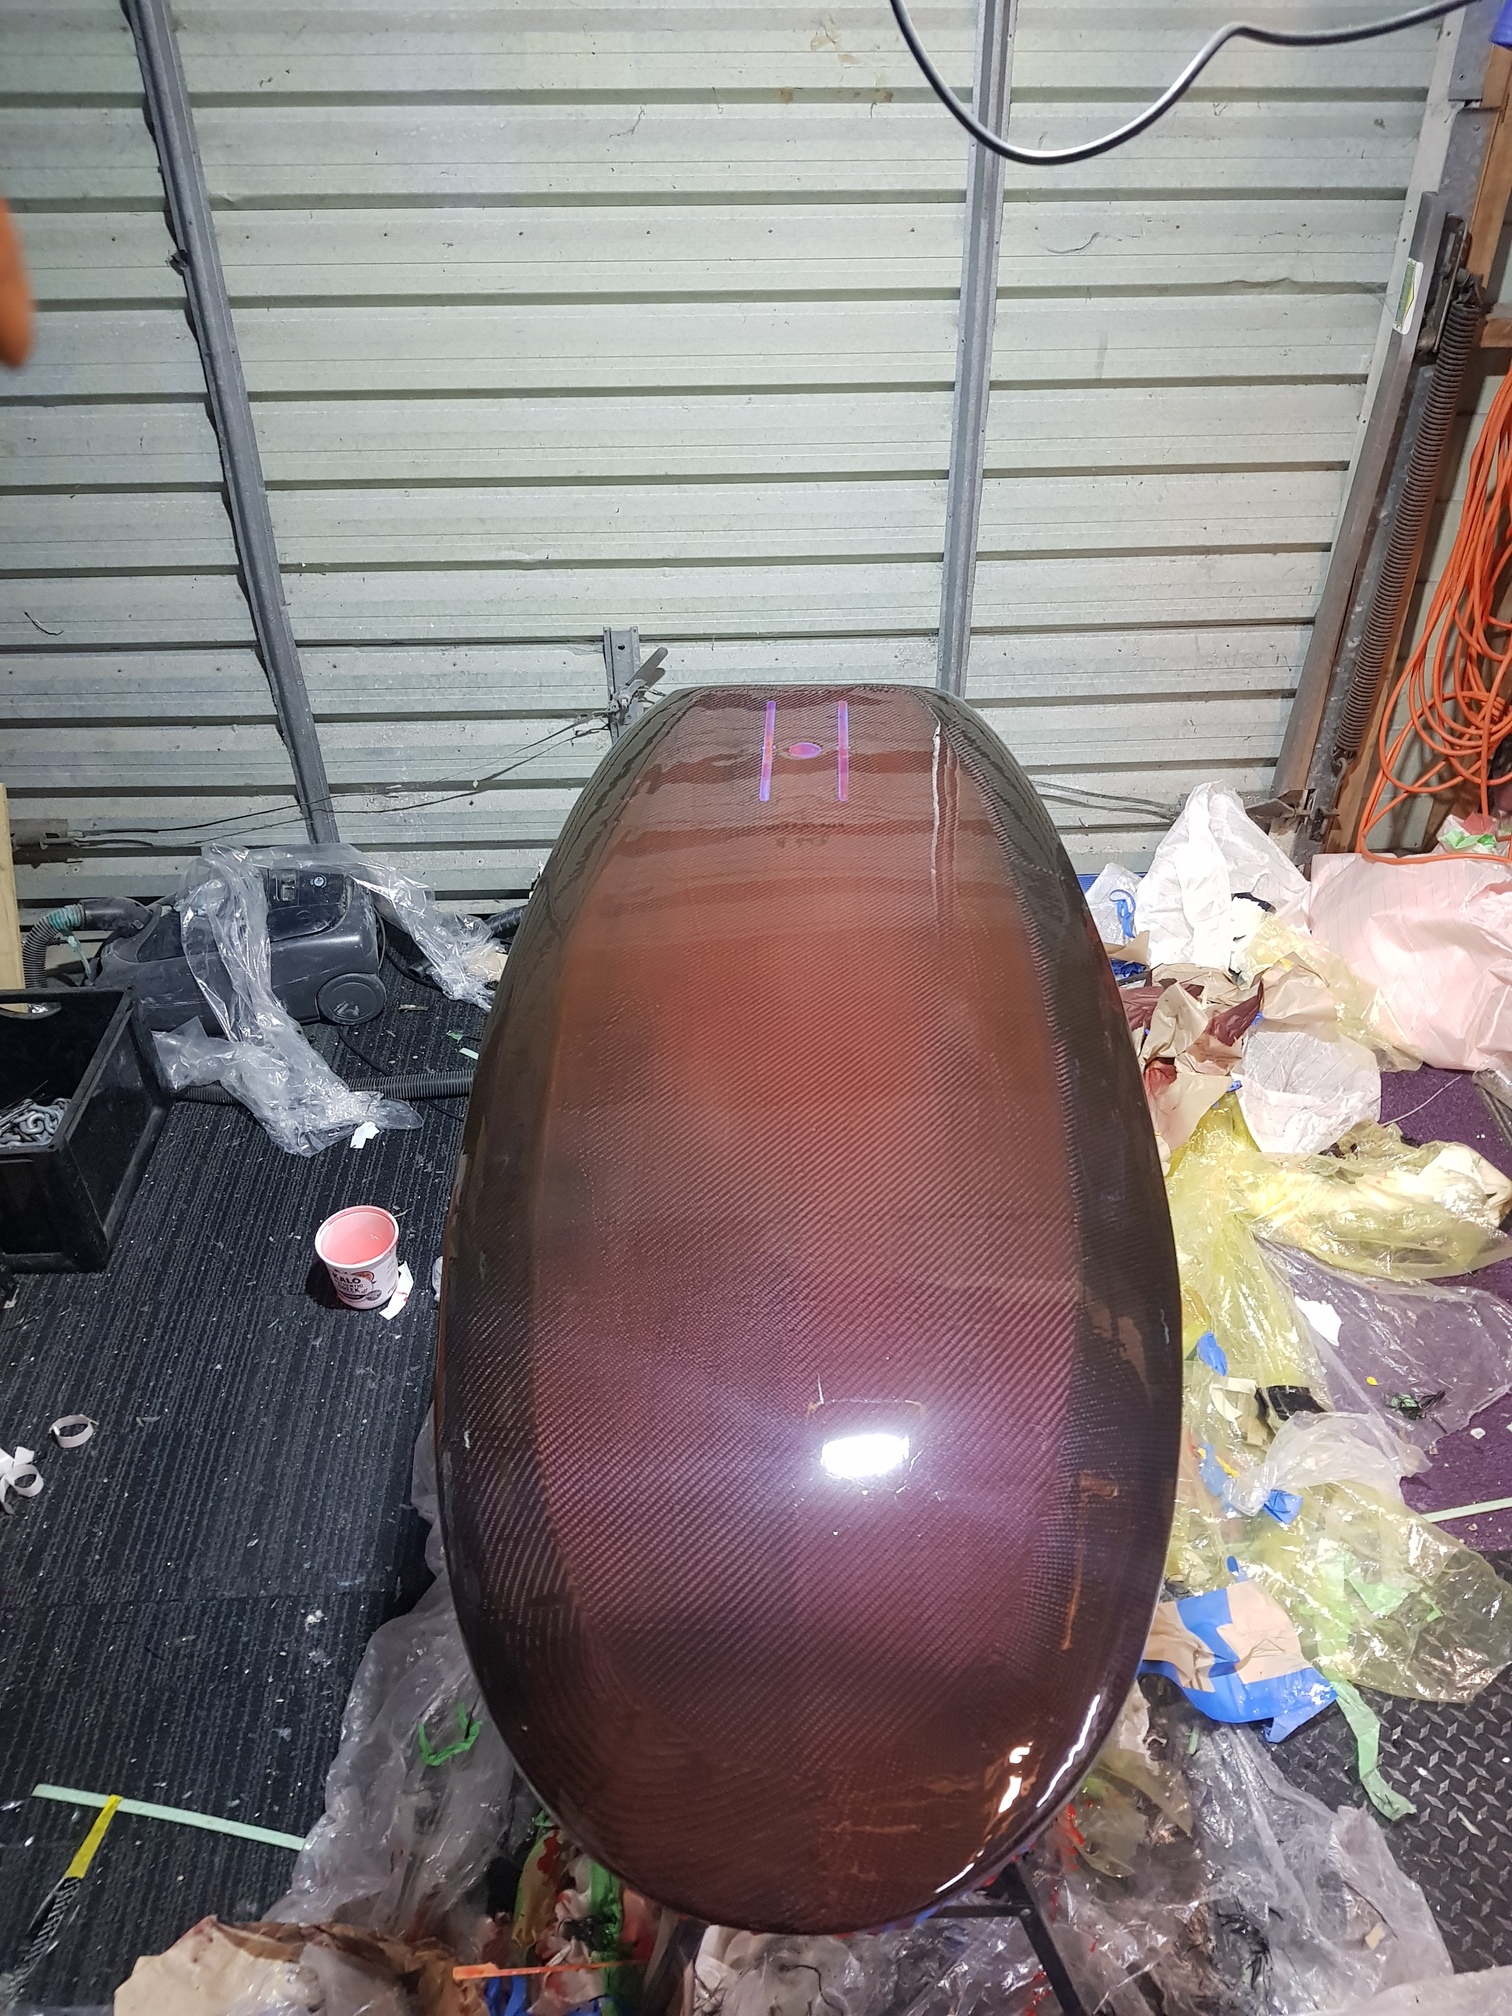
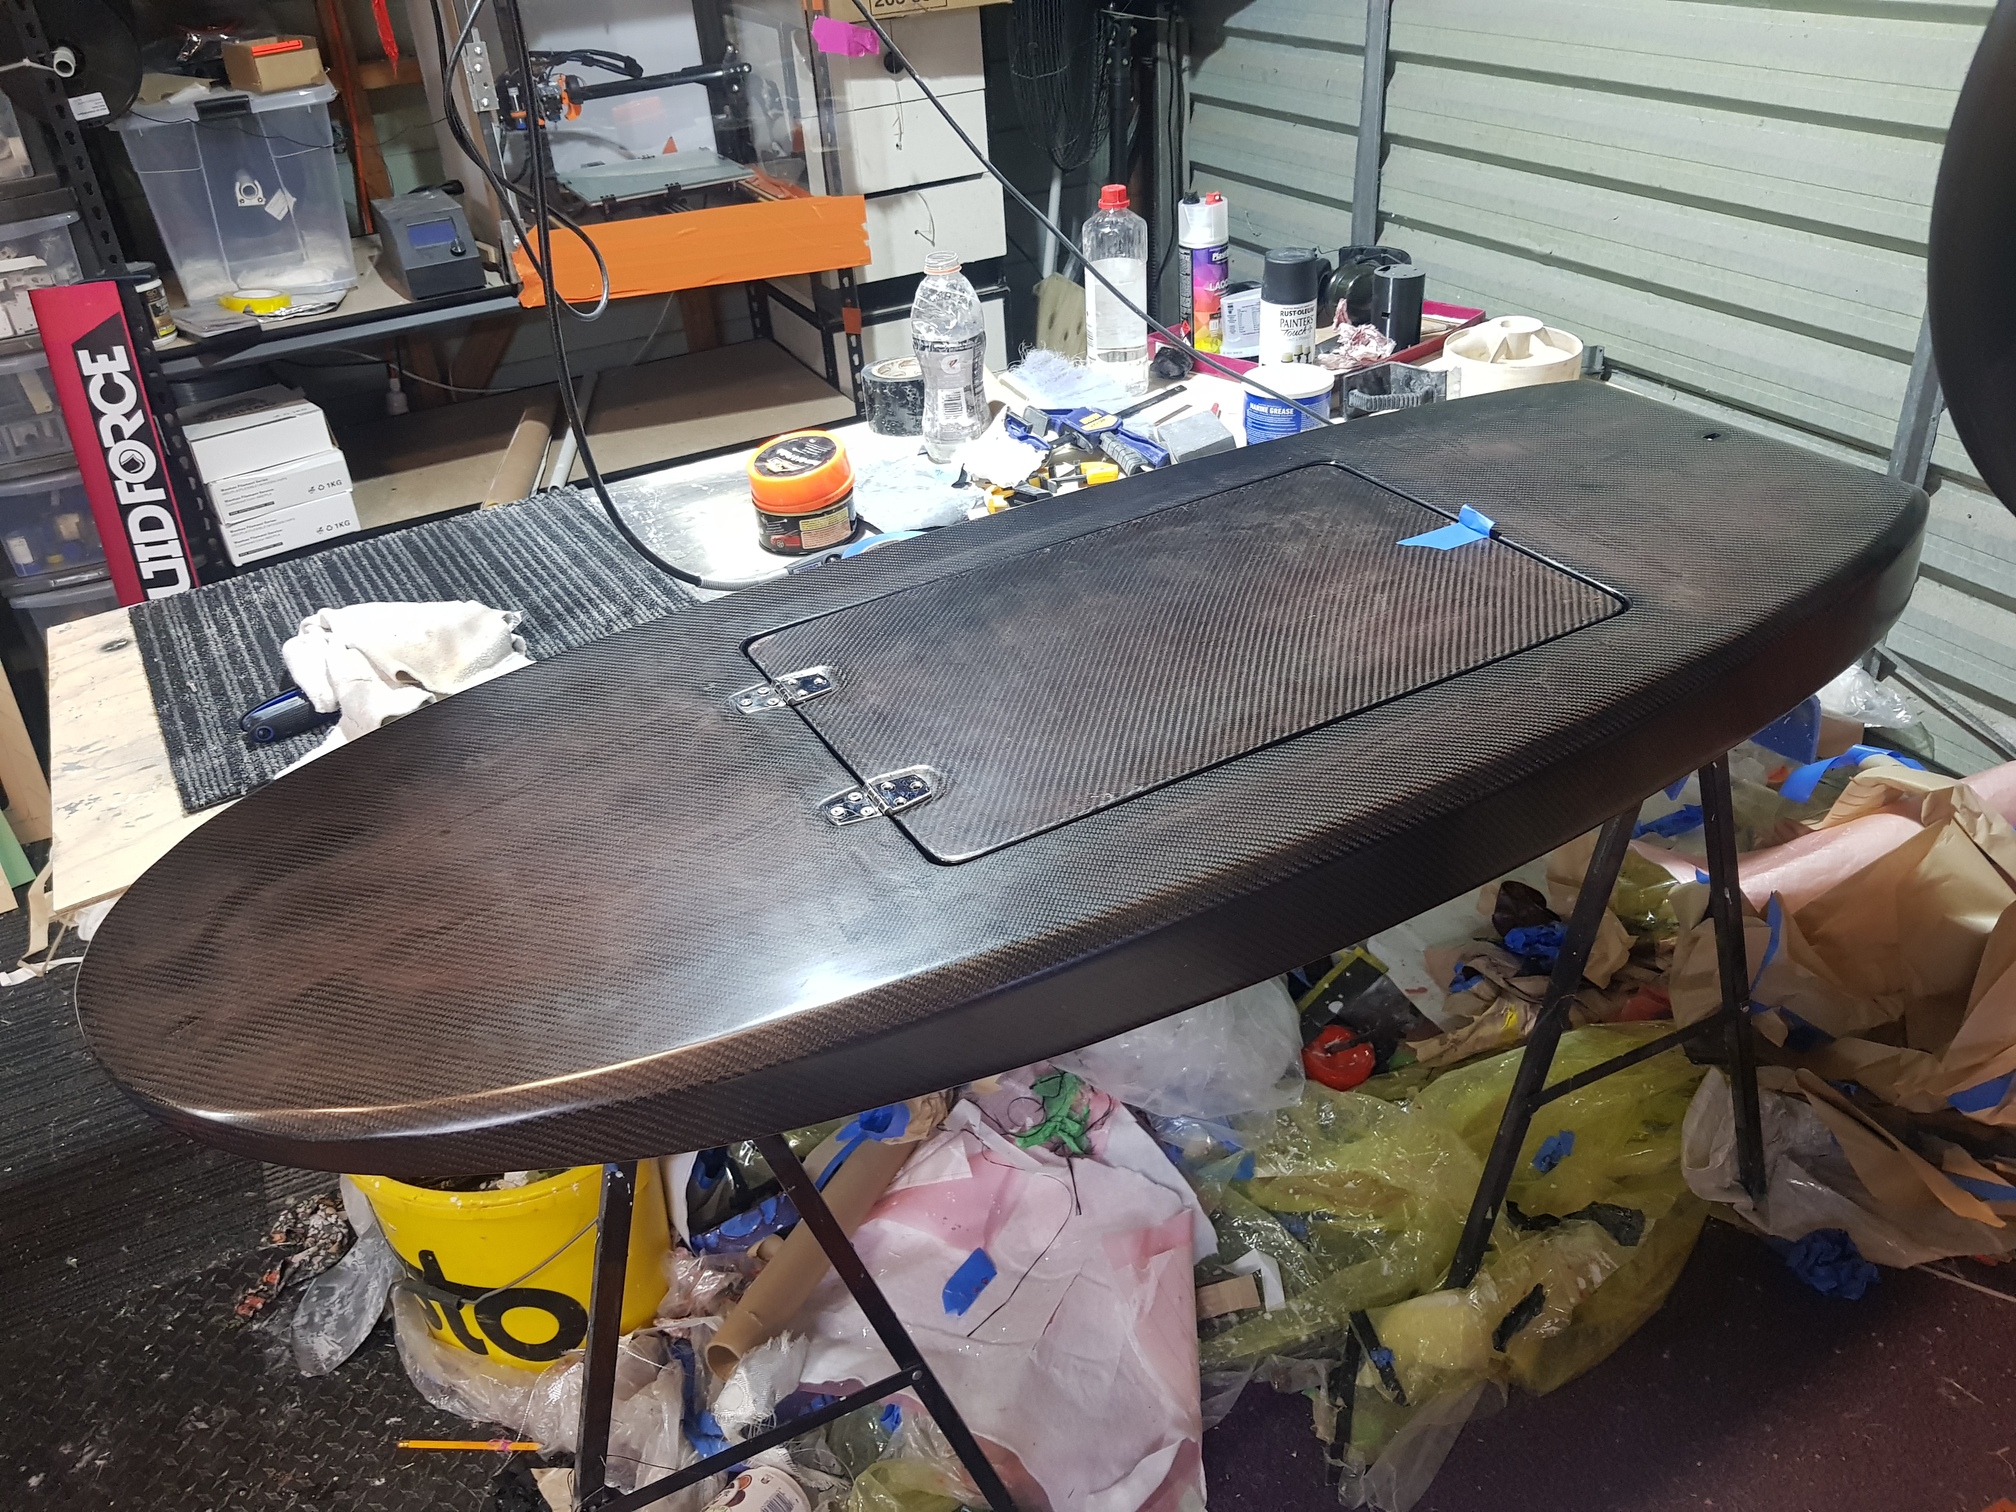

So nice! Did you use vacuum to get it this nice?
I did use a bag for this one but i reckon its more about well the blank is shaped that will mostly affect how well the finished product will be

5 Likes
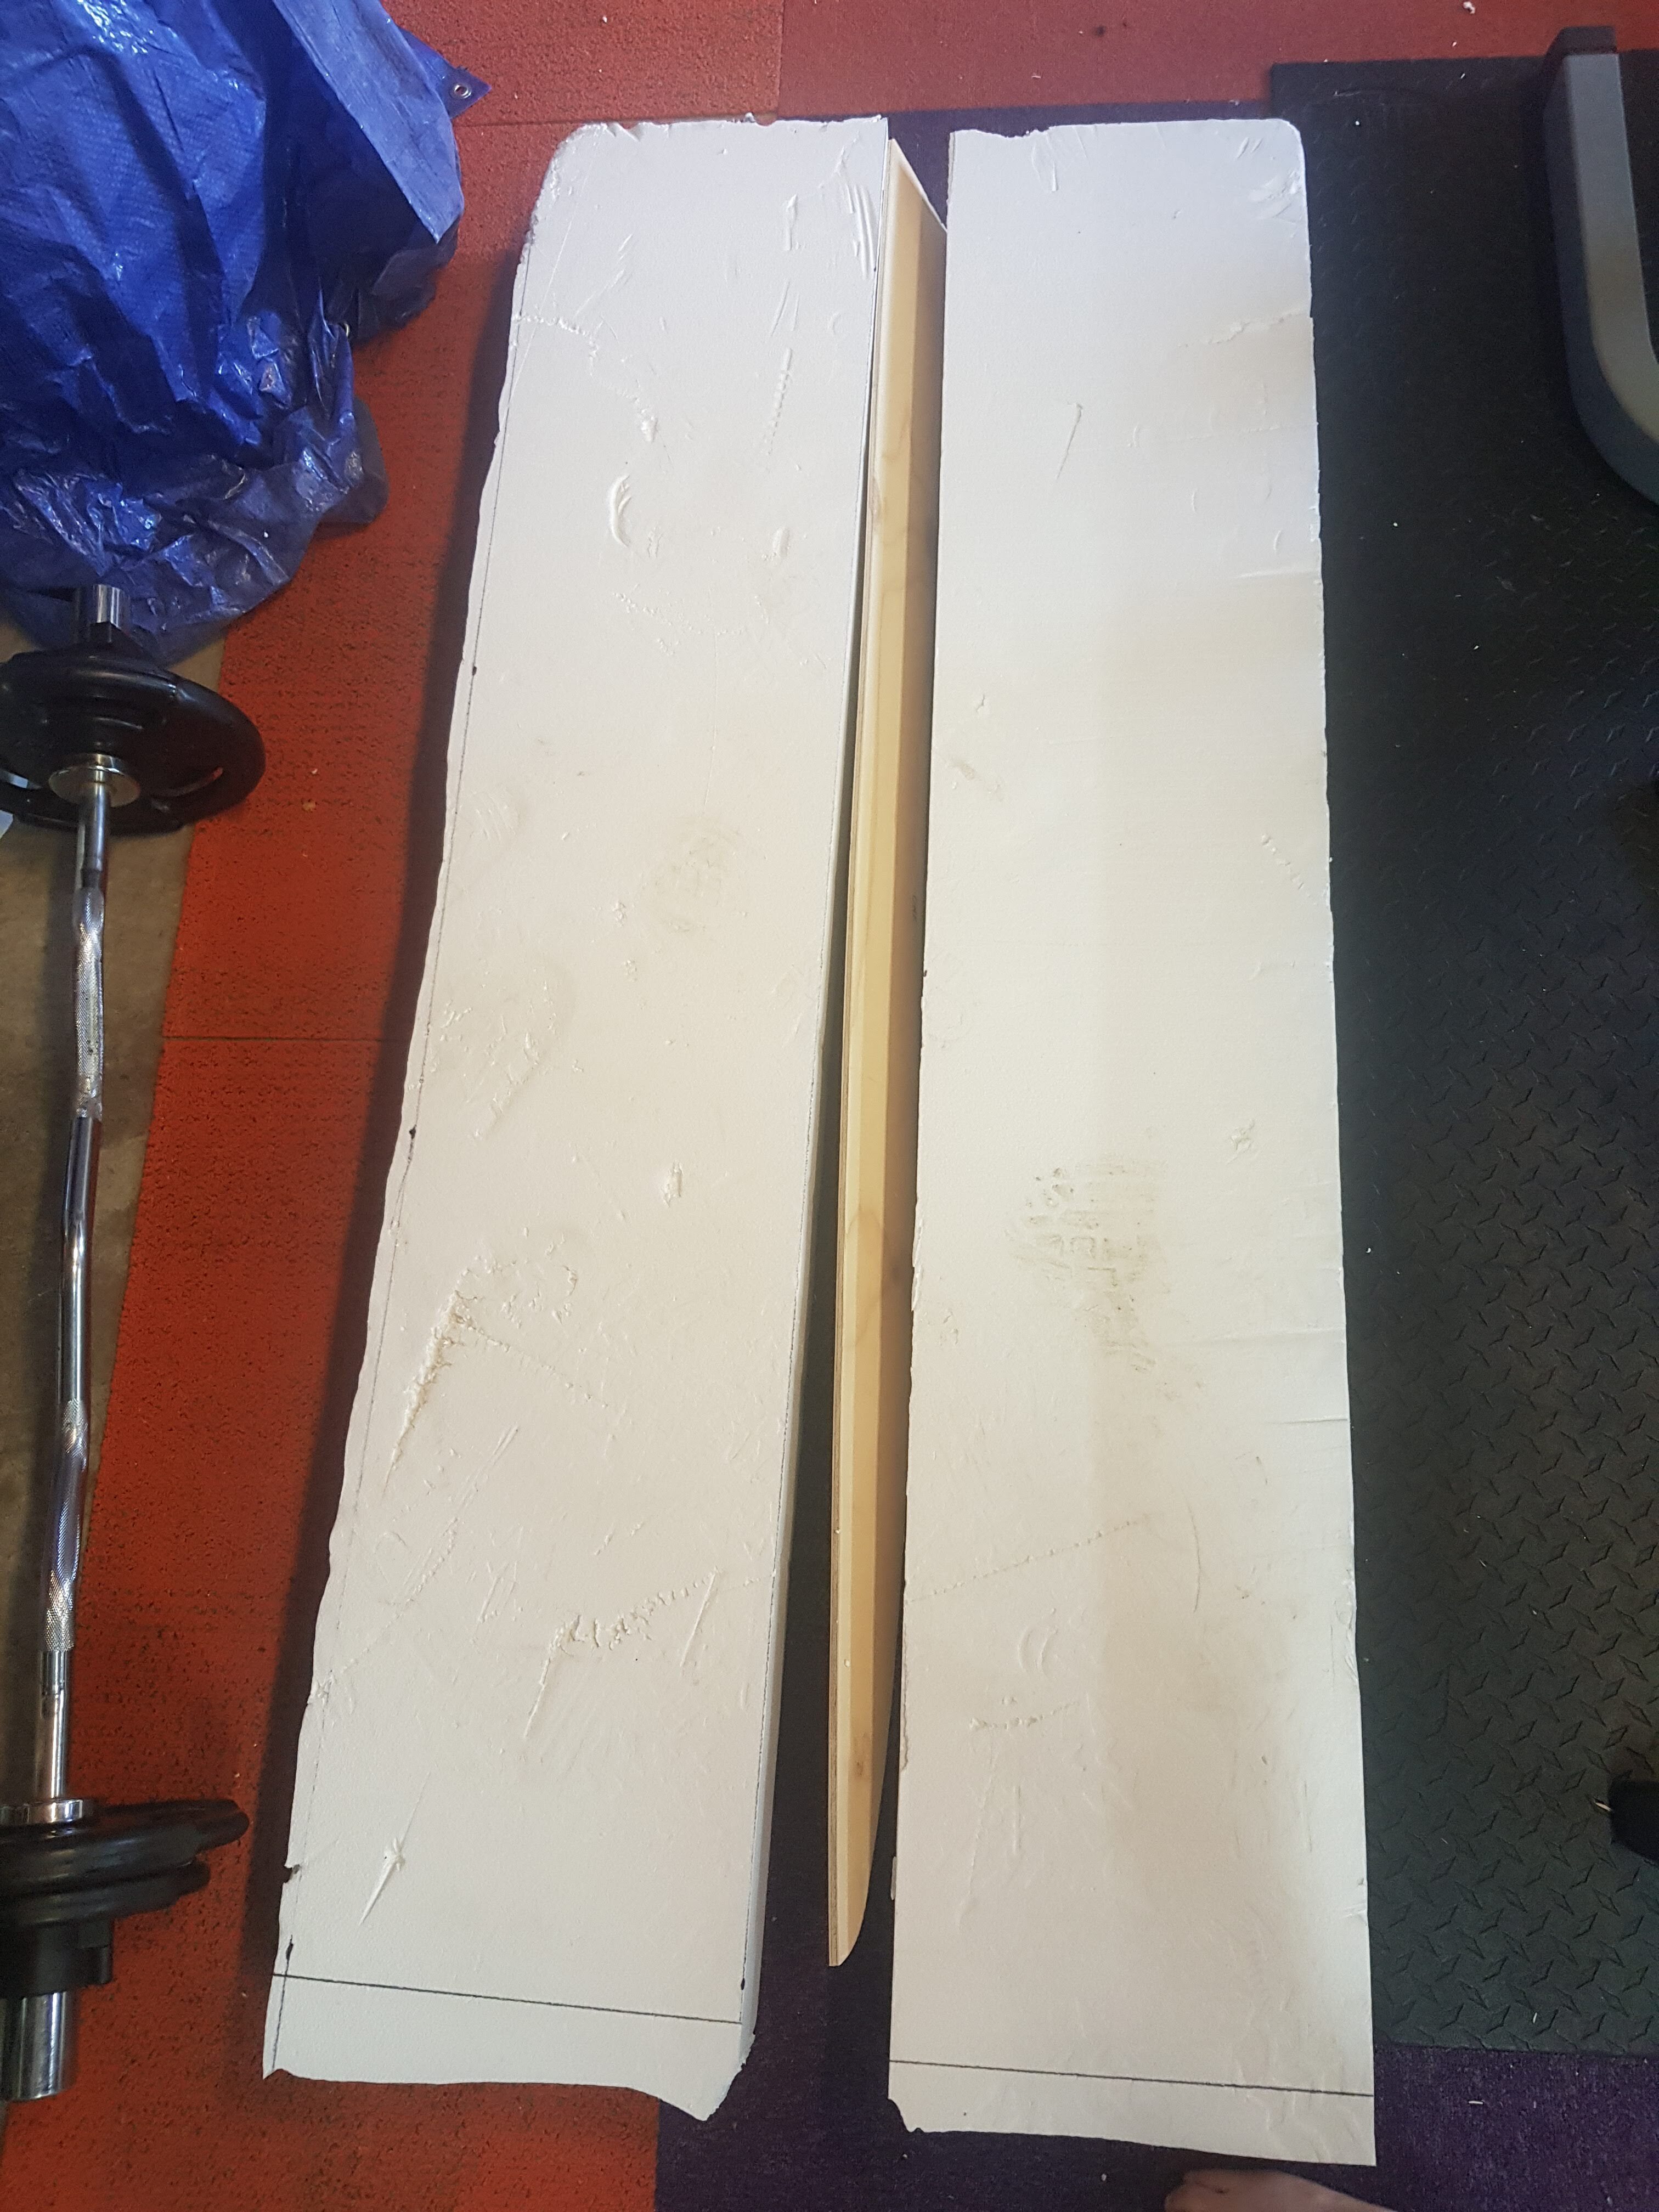
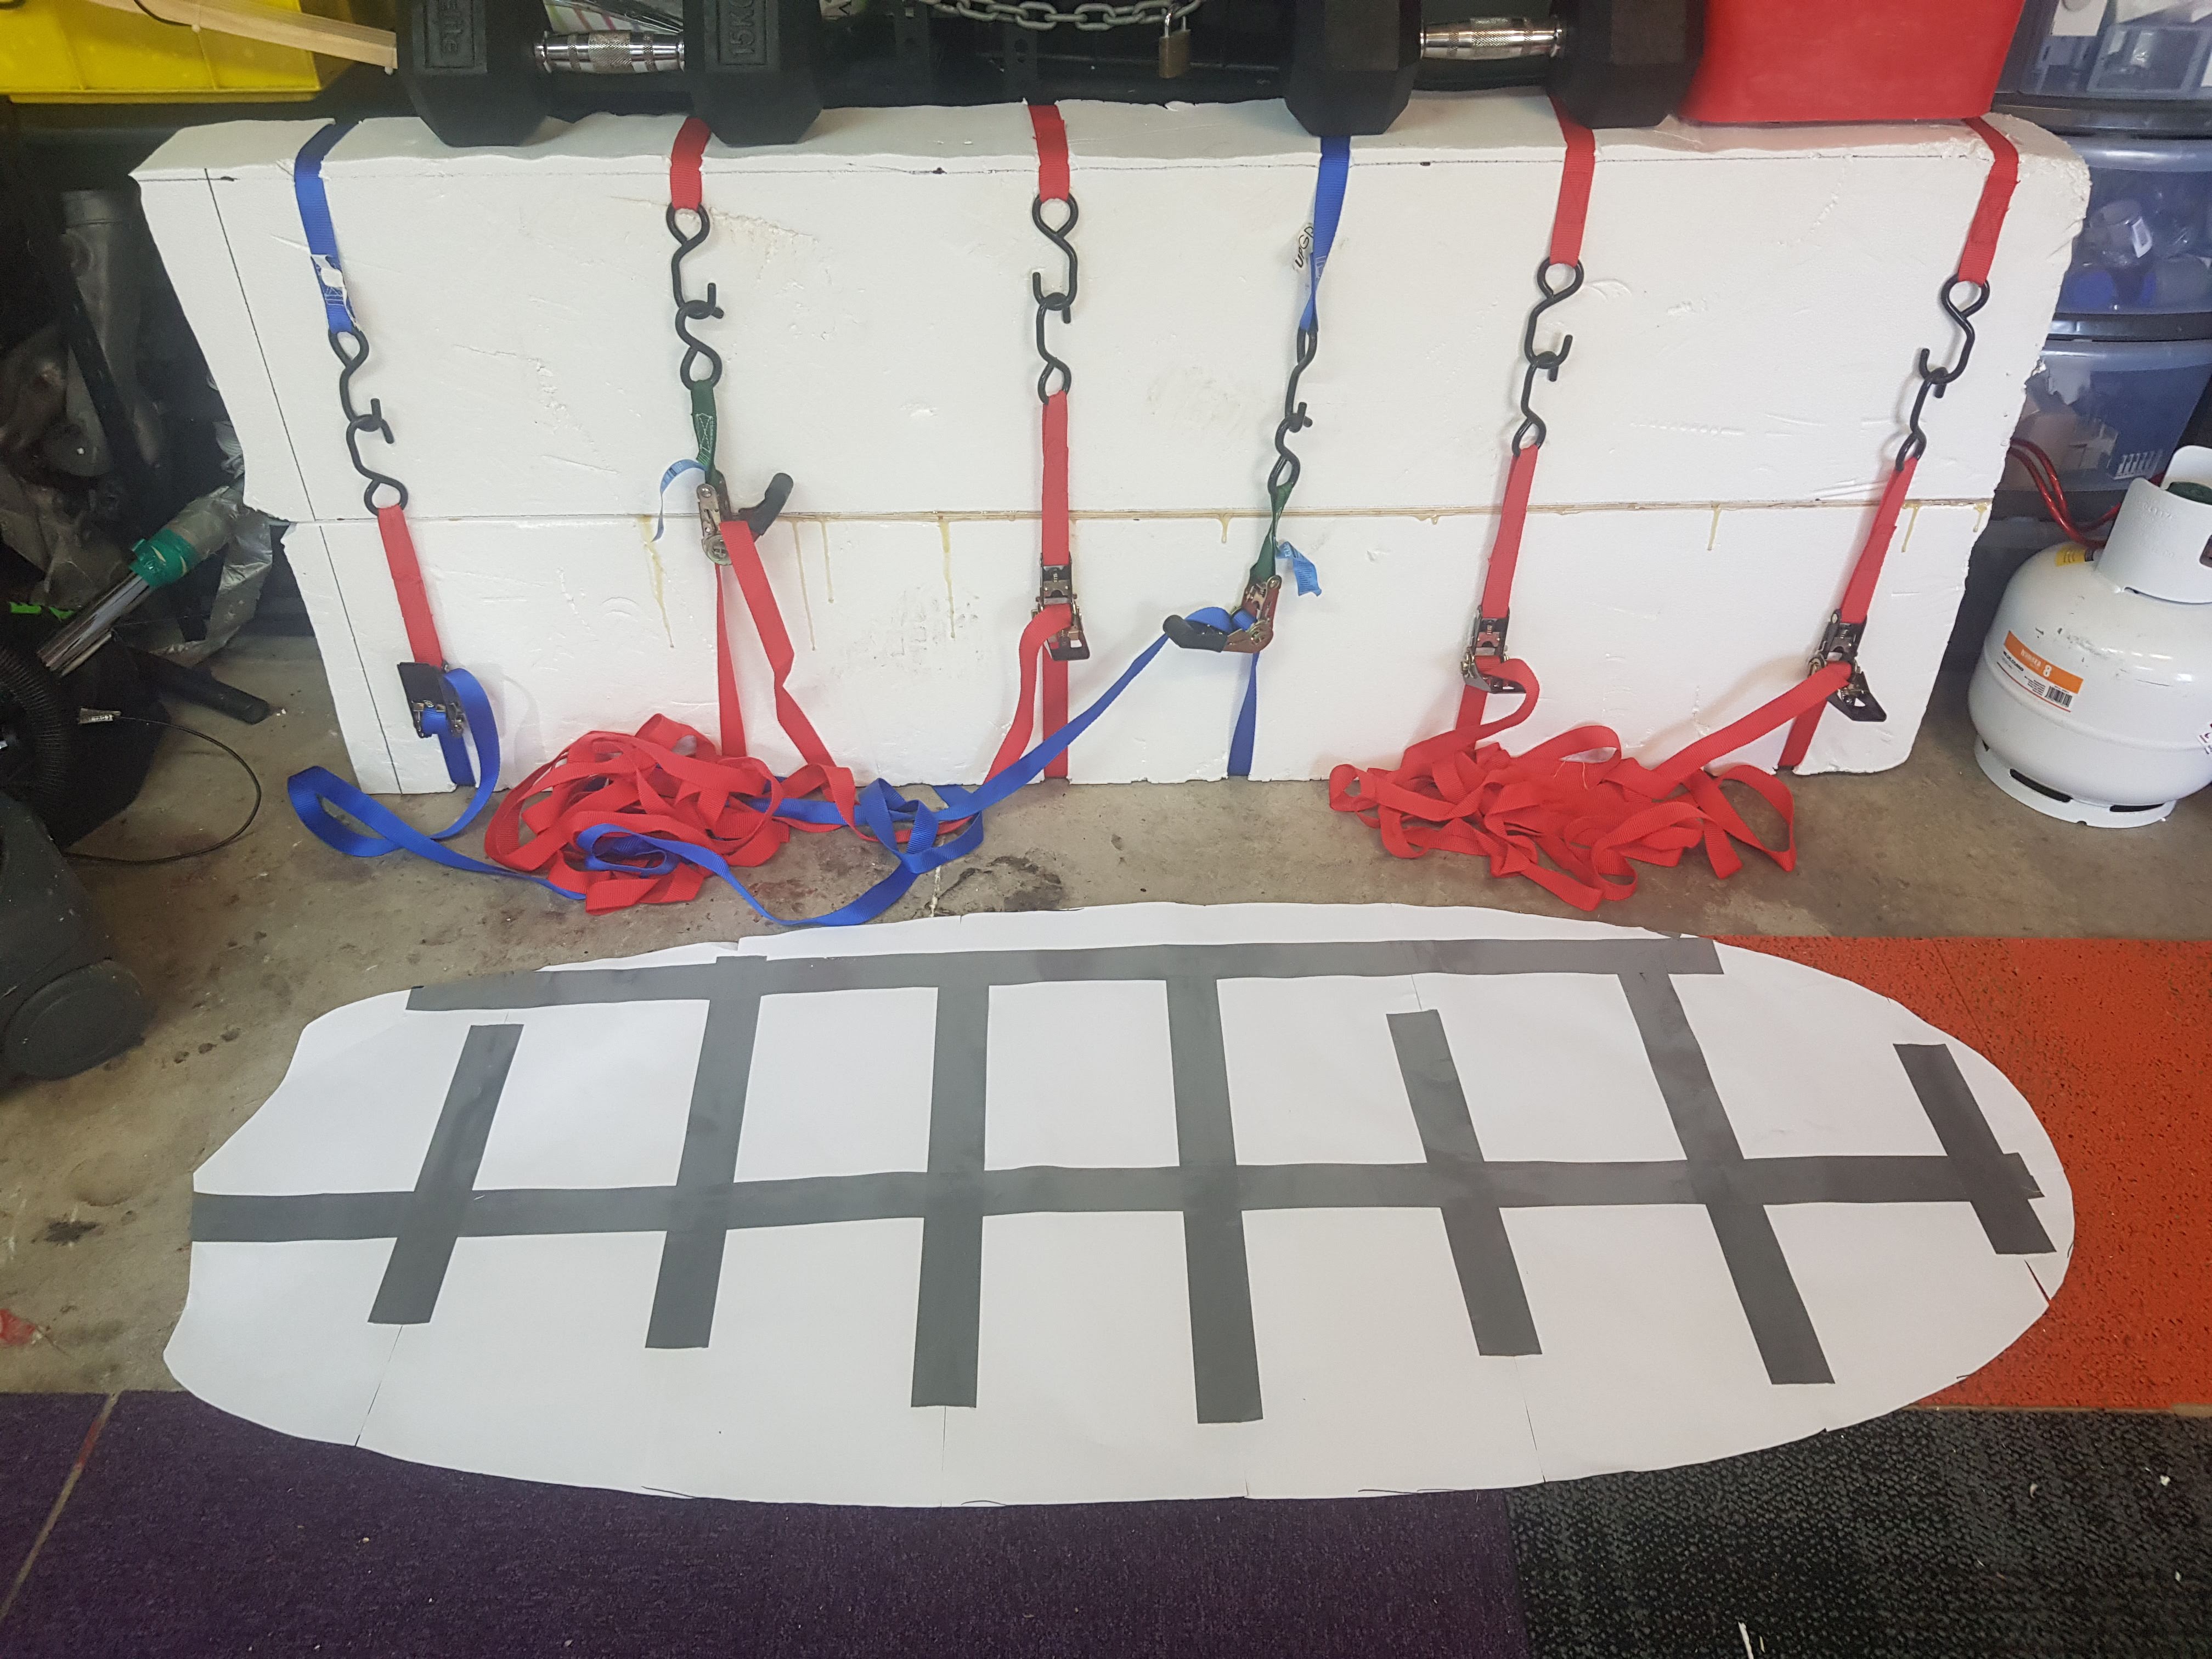
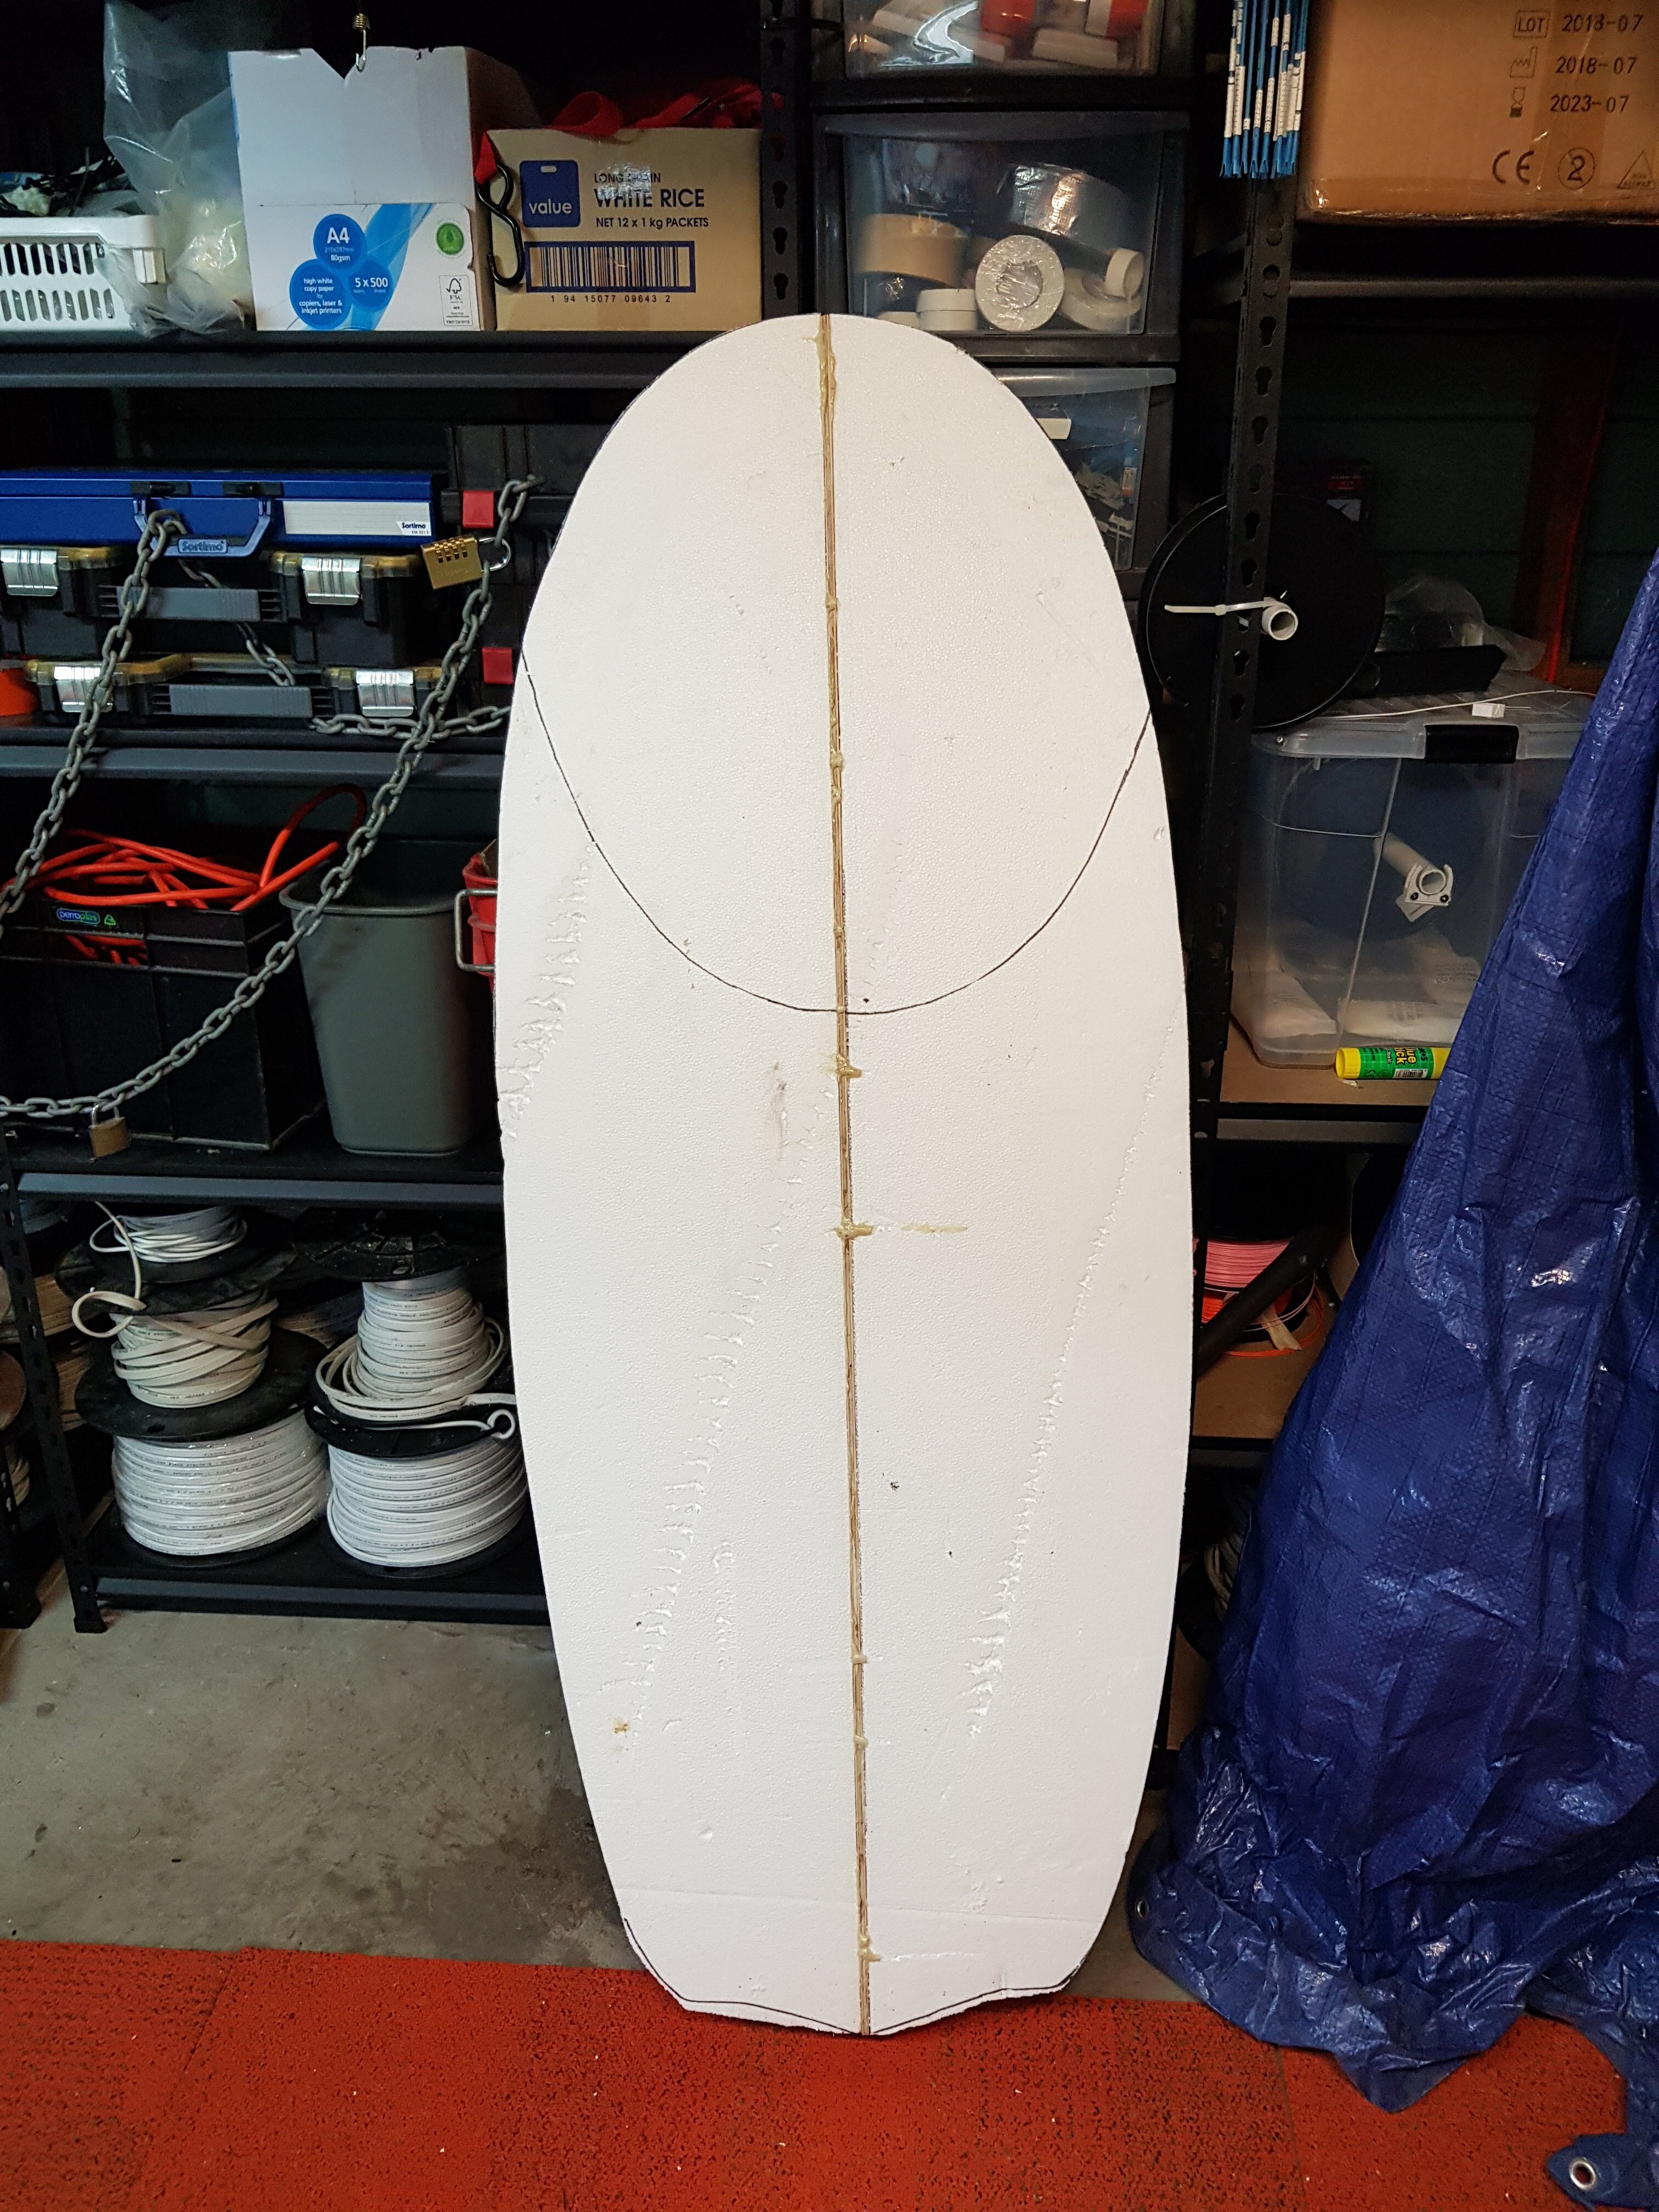
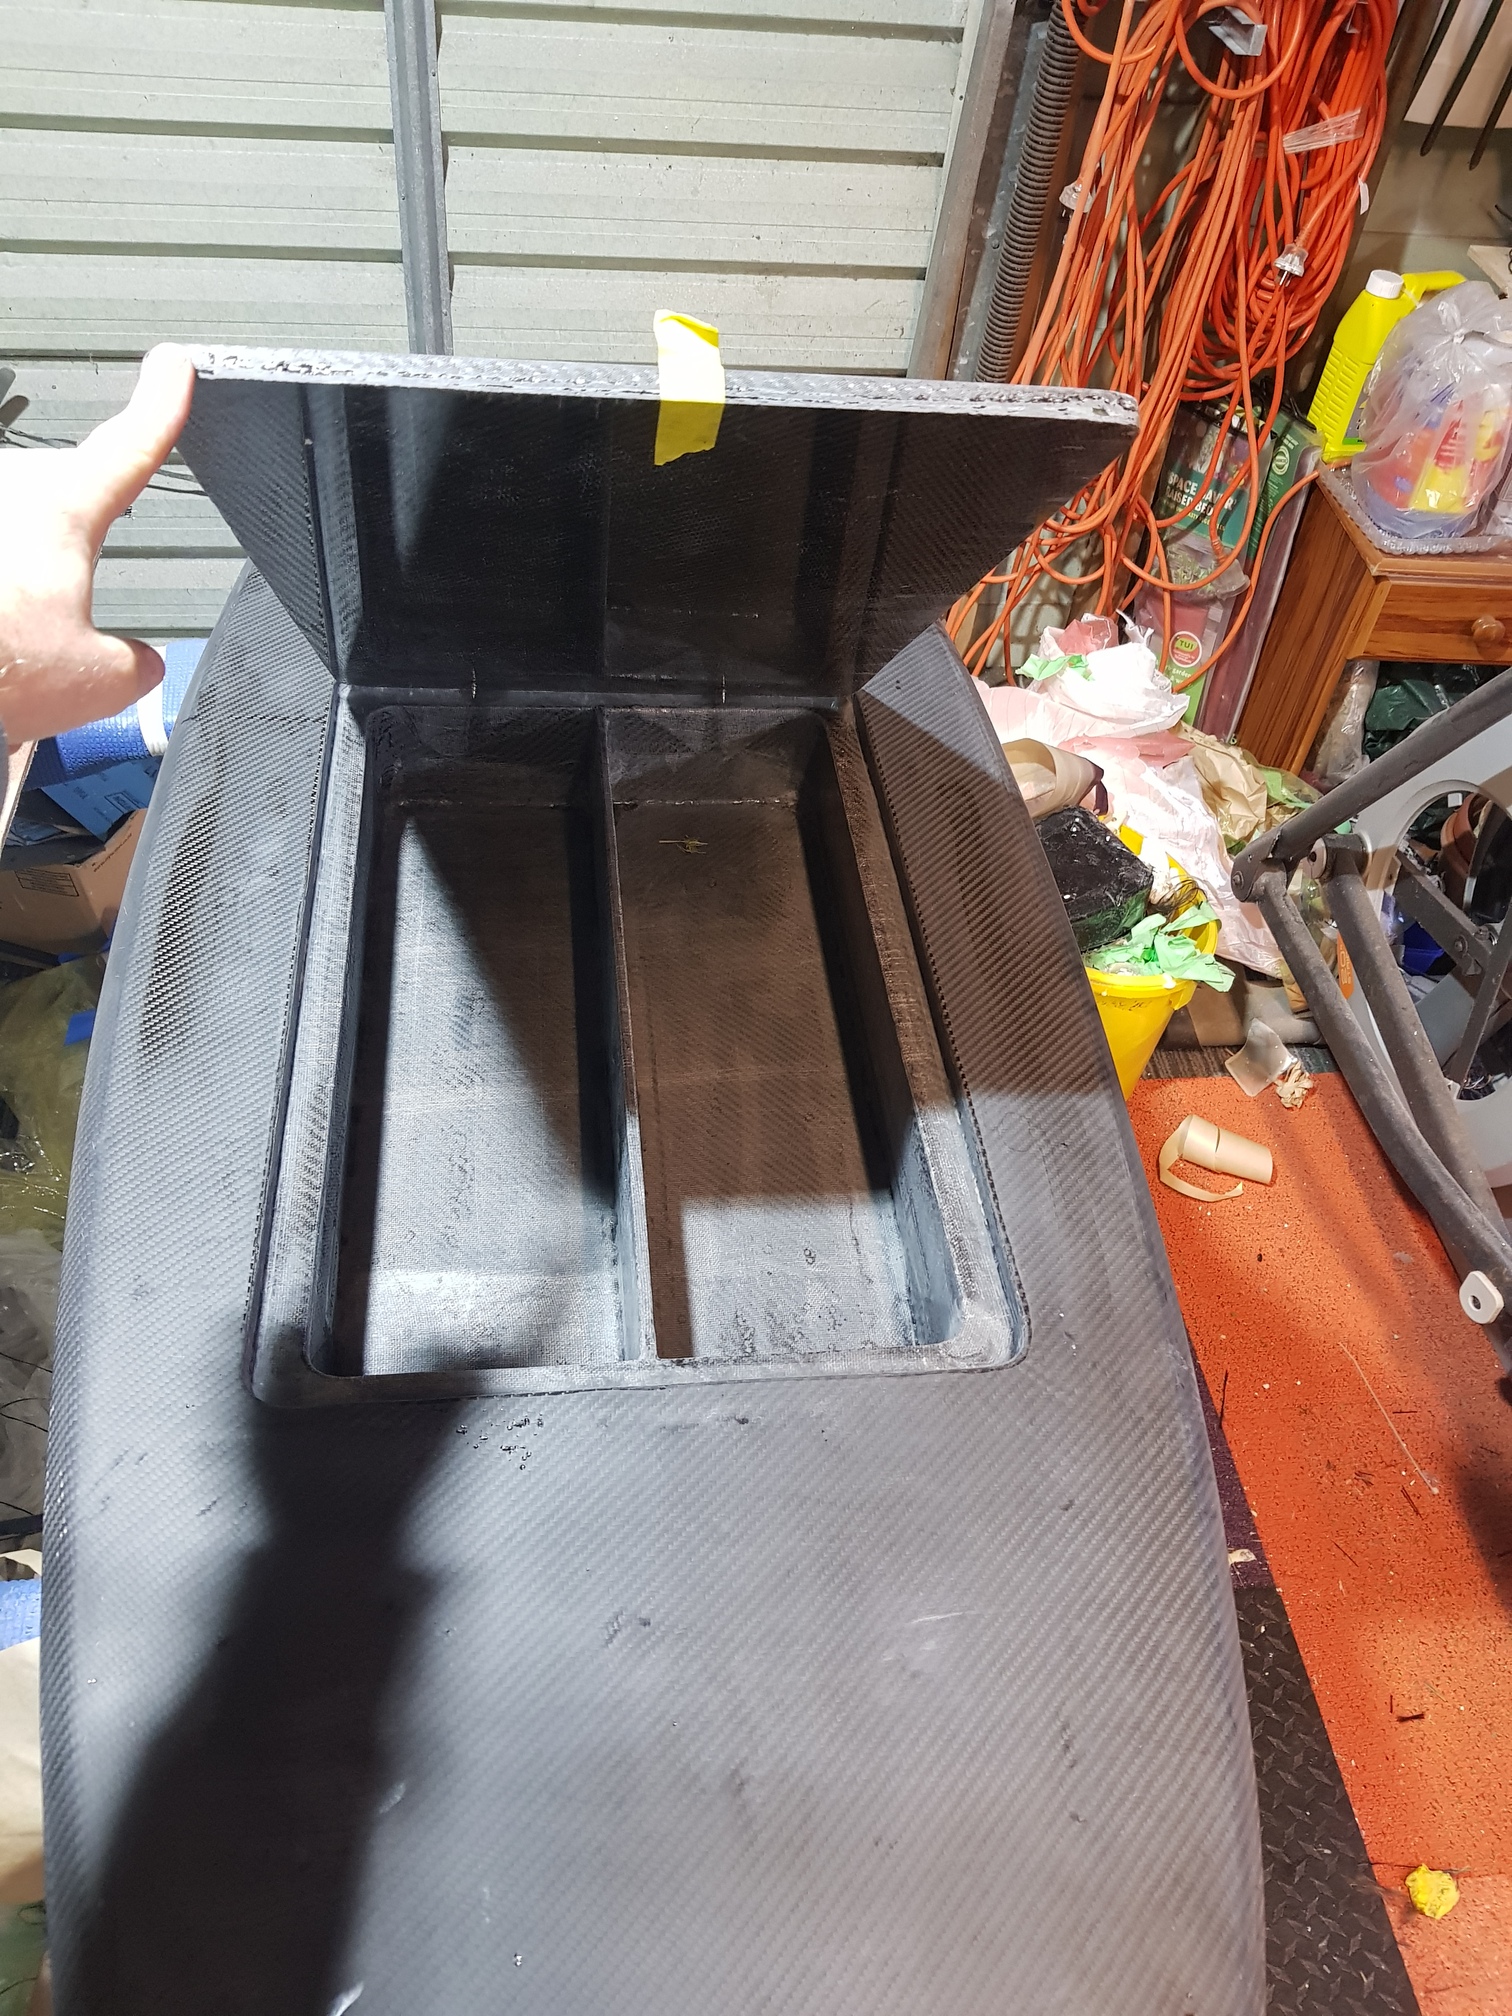
My dad and I are shaping a blank. It is for a jet board.
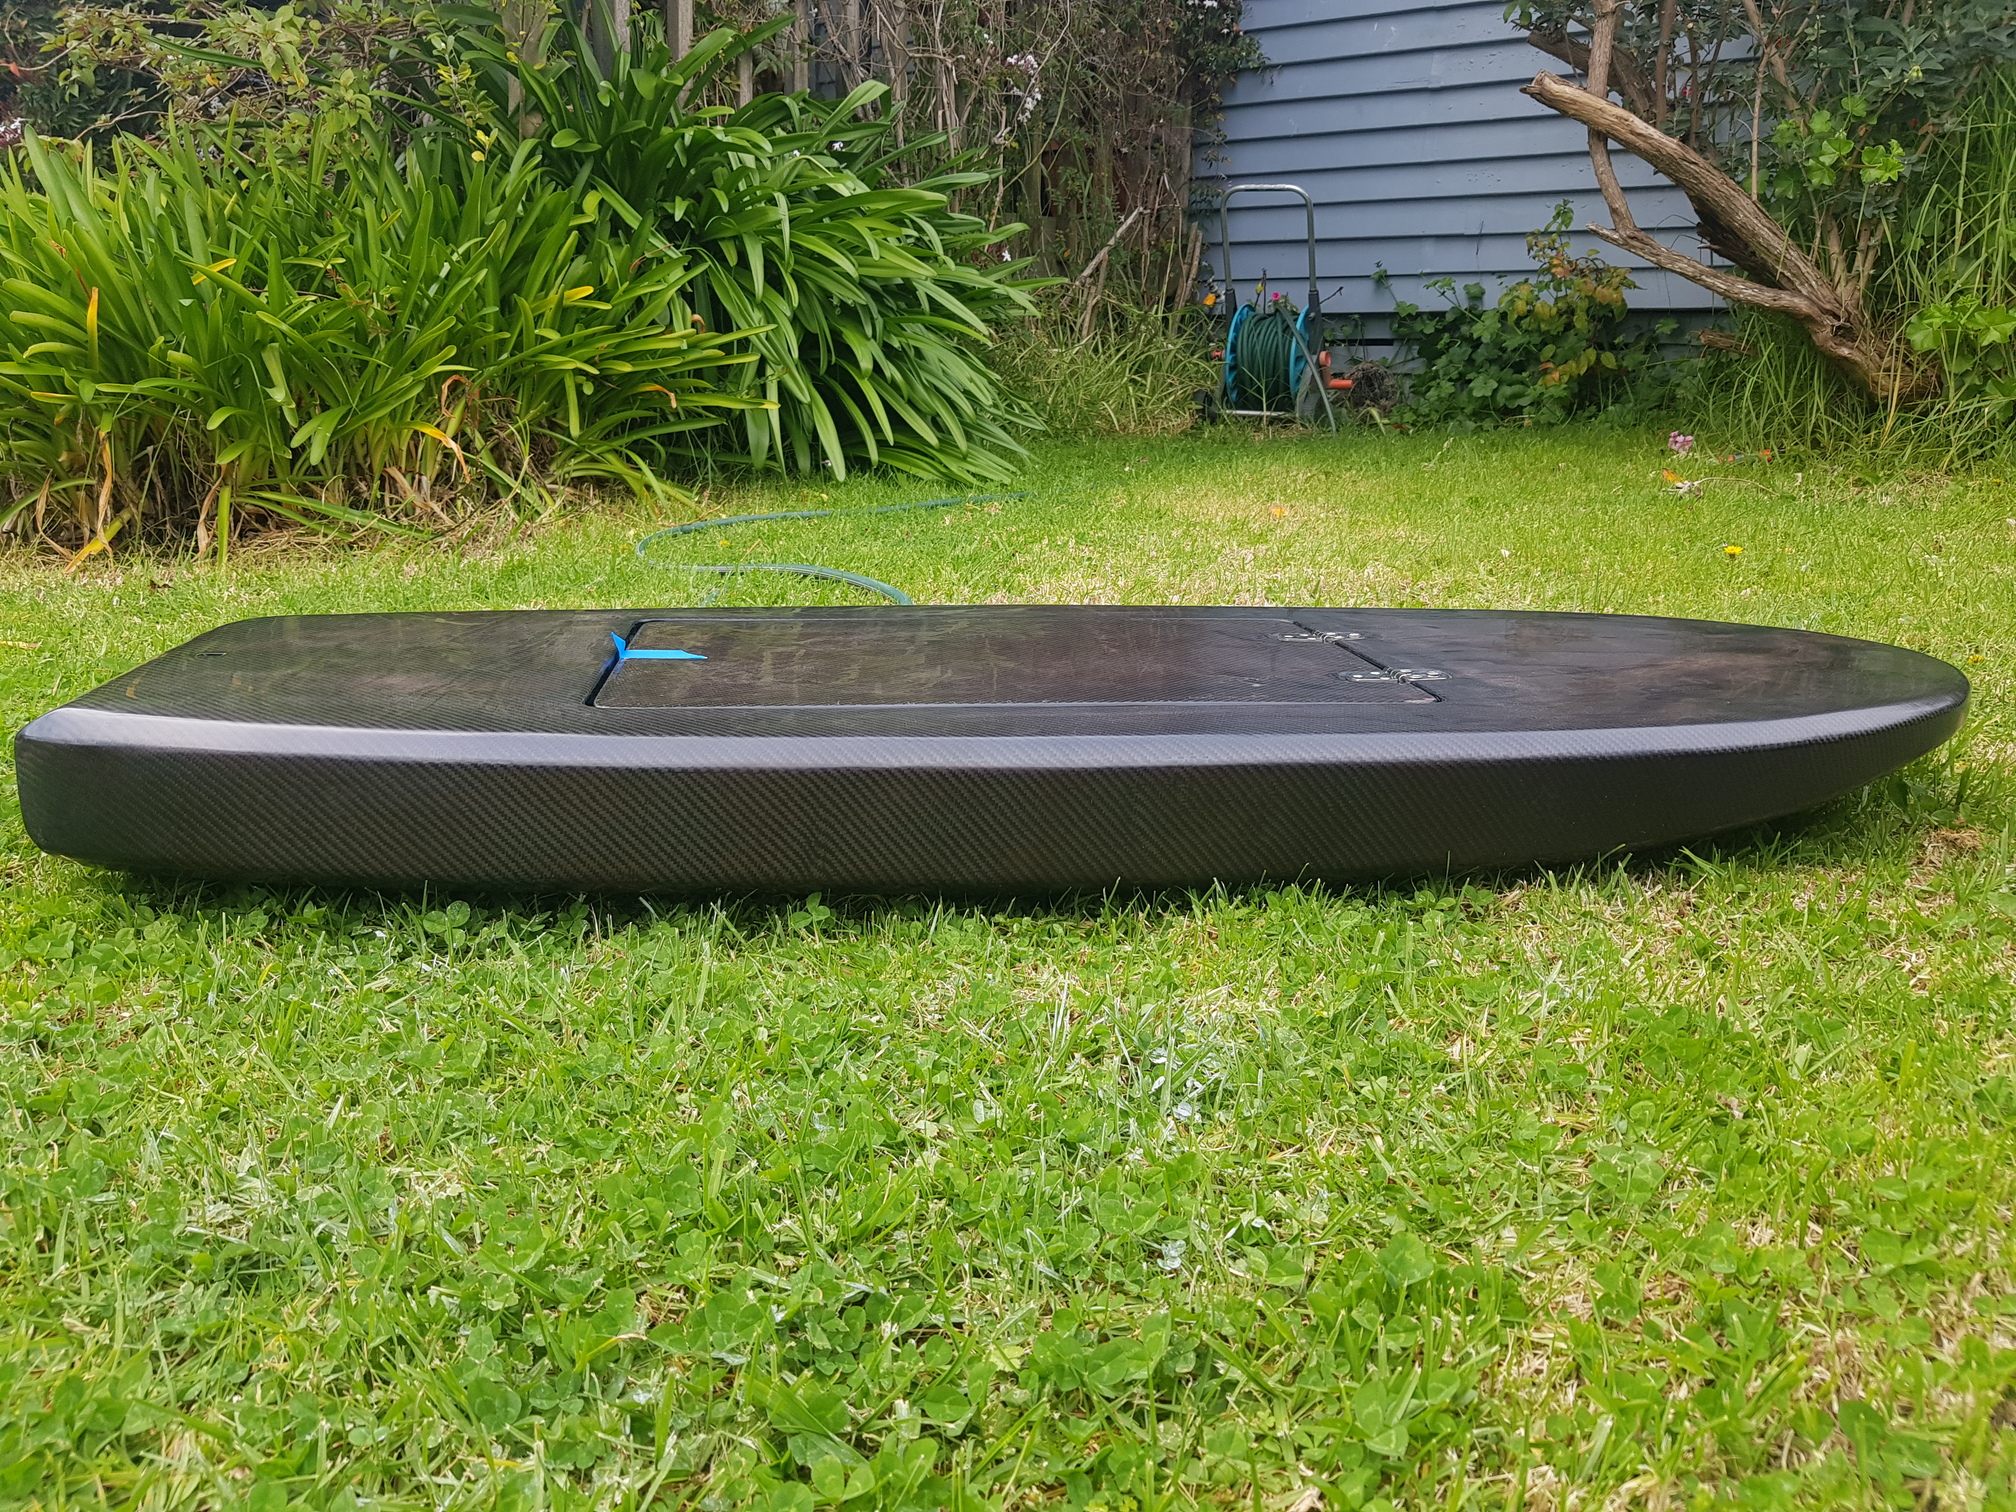
We want to have “hard” rails on it at the back of the board.
Glass does not really like sharp angles.
Any suggestions on how we can glass this nicely?
Also. We would like to use water pressure instead of using vacuum.
The plan is to use a small “kids” swimming pool filled with water on top of the board when the glass is curing. Will this work?
Also. I see that you put a stringer in the middle of the blank.
We are thinking of using a sandwich construction and not using a stringer.
So. Glass / Glass / Cork (4mm) / Glass / EPS / Glass / Cork (4mm) / Glass / Glass
Will this be strong enough?
You can glass one side of the board then tightly wrap the board in Plastic wrap (the stuff you wrap your sandwiches in) then tape that for added pressure, that should help the glass conform to the hard rails. another cheeky way is to use staples to hold the cloth in place where it gives you trouble and just epoxy them into the board. Can also put an electric blanket over it to help cure faster. That combo sounds like it will be strong similar to how wind surfboards are made except its 3mm high density foam instead of cork. I put a stringer in mine so the hatch has some support in the middle. Hope all that made sense lol
1 Like
Yes. The clingfilm /tape trick sounds doable!
Asking my mum for some of the clingfilm will not be a problem. However asking here for the bed electric blanked is definitely a no go.
My dad still had some cork, so we are going with that. I think that the final look will also be nice. It will look like a board made out of cork 
And yes. I can see how the hatch and even the foil / mast get support of the stringer.
We do not have a foil / mast, but we do have two hatches. One to access the jets / motors and one for the electrical stuff (ESC’s, Cells and RC).
Both boxes are made from 2 mm aluminium and put in place before glassing.
Thank you for your info and video. You make it look so easy!
I just replaced my latches with these Gem latches from eBay. They work great.
They look good! I dont think there is shipping to New Zealand tho