…, i am starting with 0,5mm and get slowly stronger.
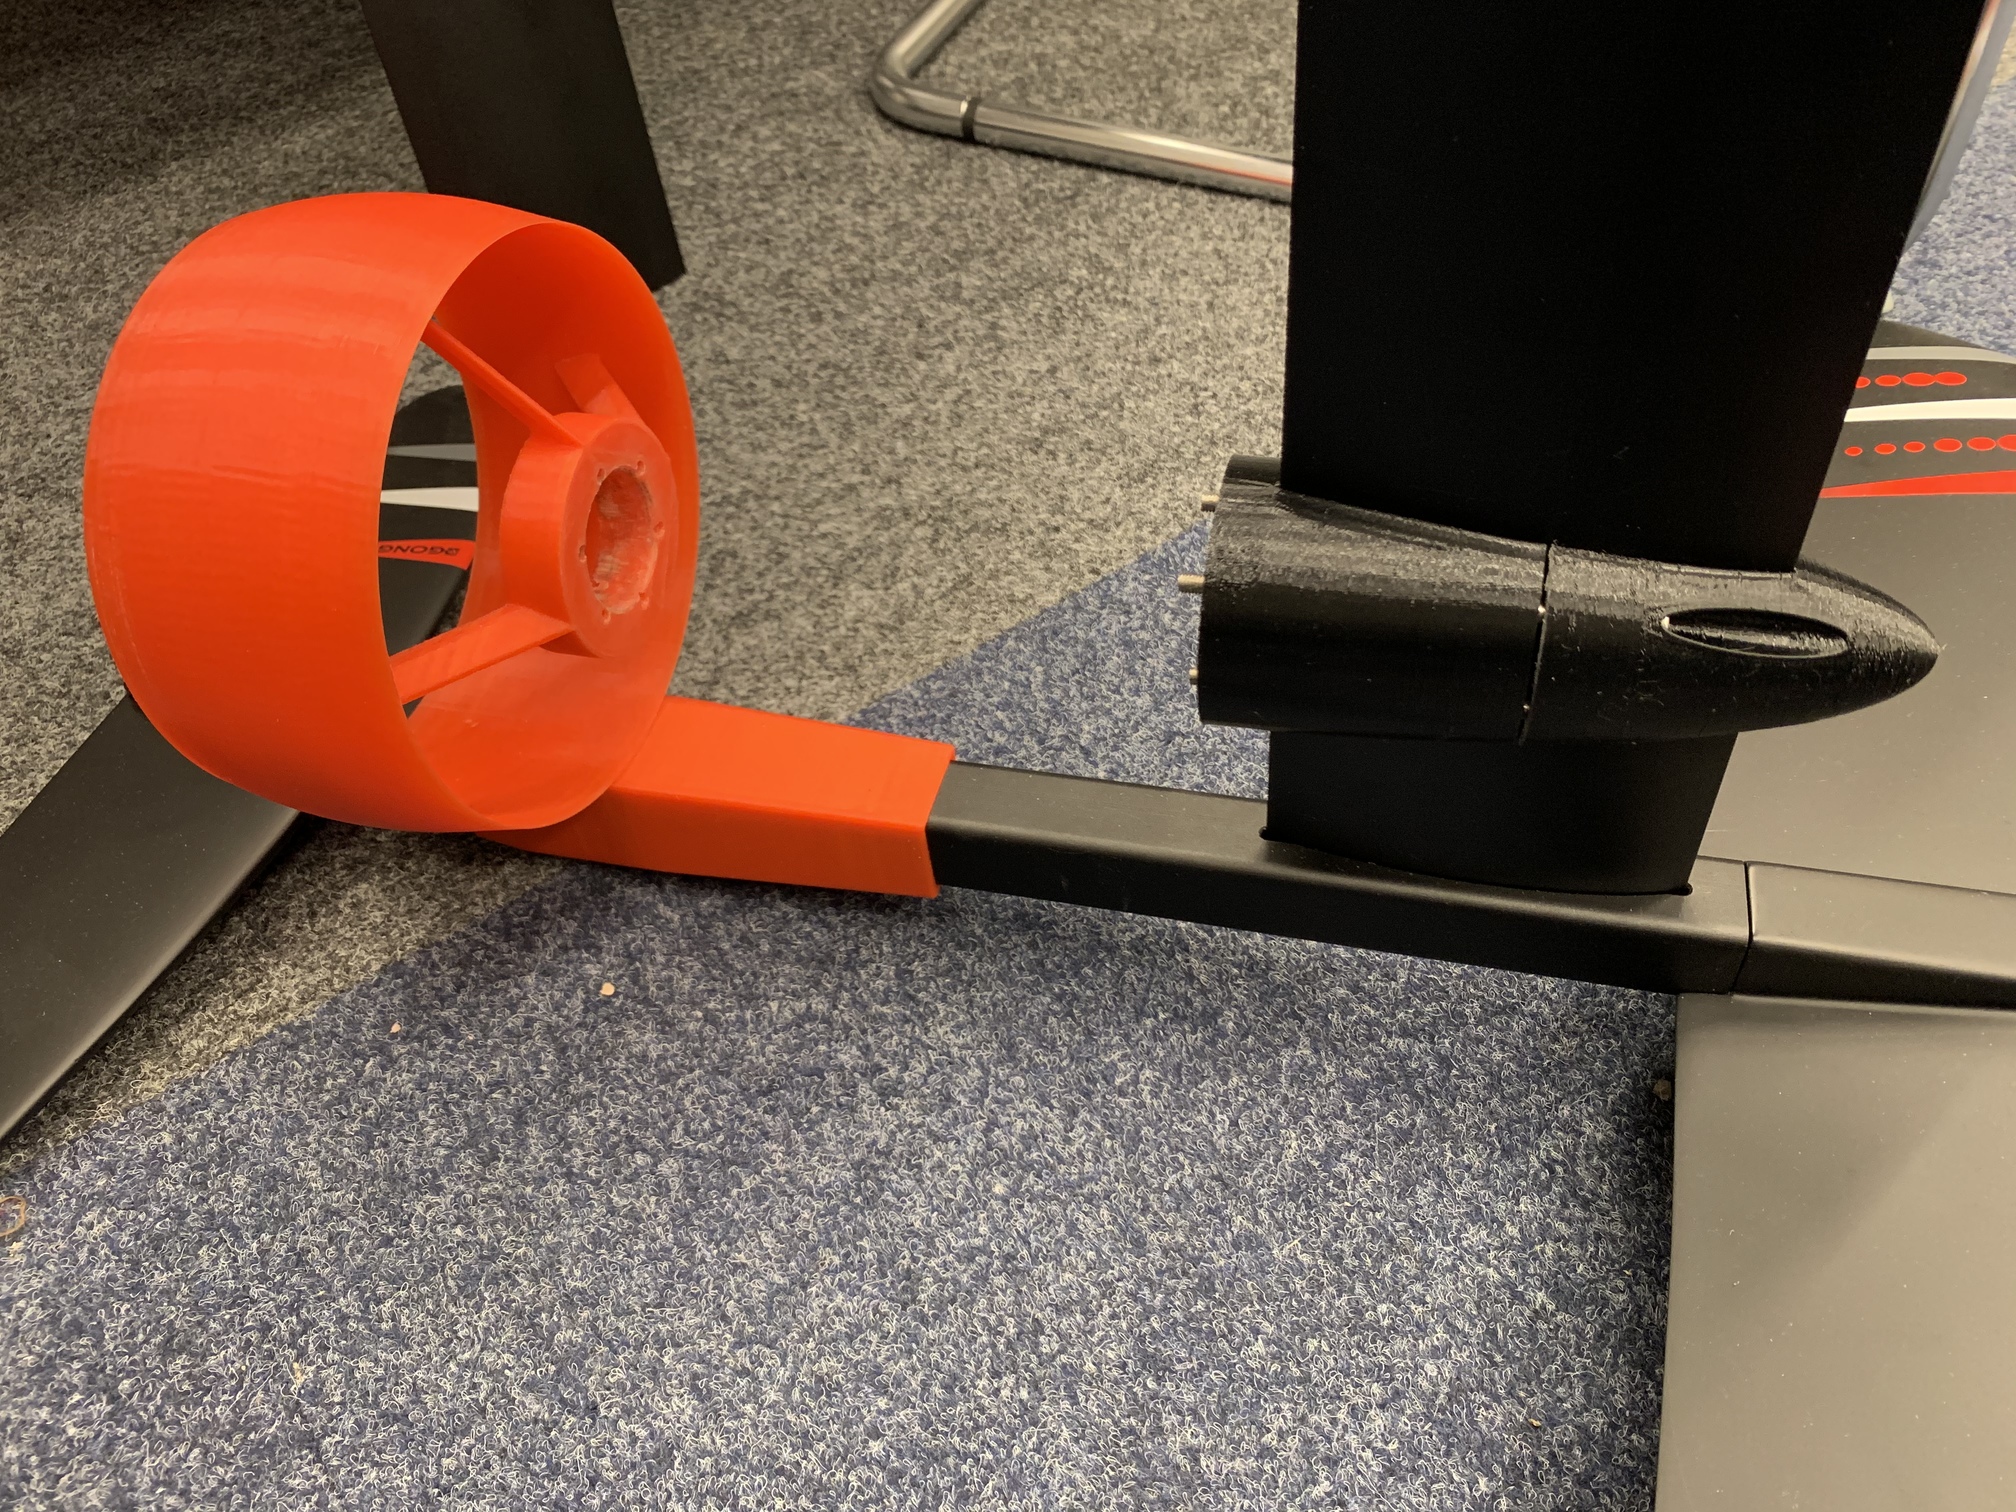
You do not need a grid at the downstream side, only upstream is important, because the propeller will repell anything which comes from the backside without danger. Only if you plan to spin the motor backwards it makes sense to have a grid at the back. Also the grid at the front side is too wide to protect the feet properly.
1 Like
At moment I print my Duct without a grid!
The grid I want only when my children riding my efoil. I am working for some details for save my children. So it should not possible to start the Motor when a magnet is mount over an Reedswitch.
The grid should me only that nobody push the hands into the Propeller from the back. You are right, the front part is not save but I hope some one not put the hands complicate from the front to the running Propeller 
2 Likes
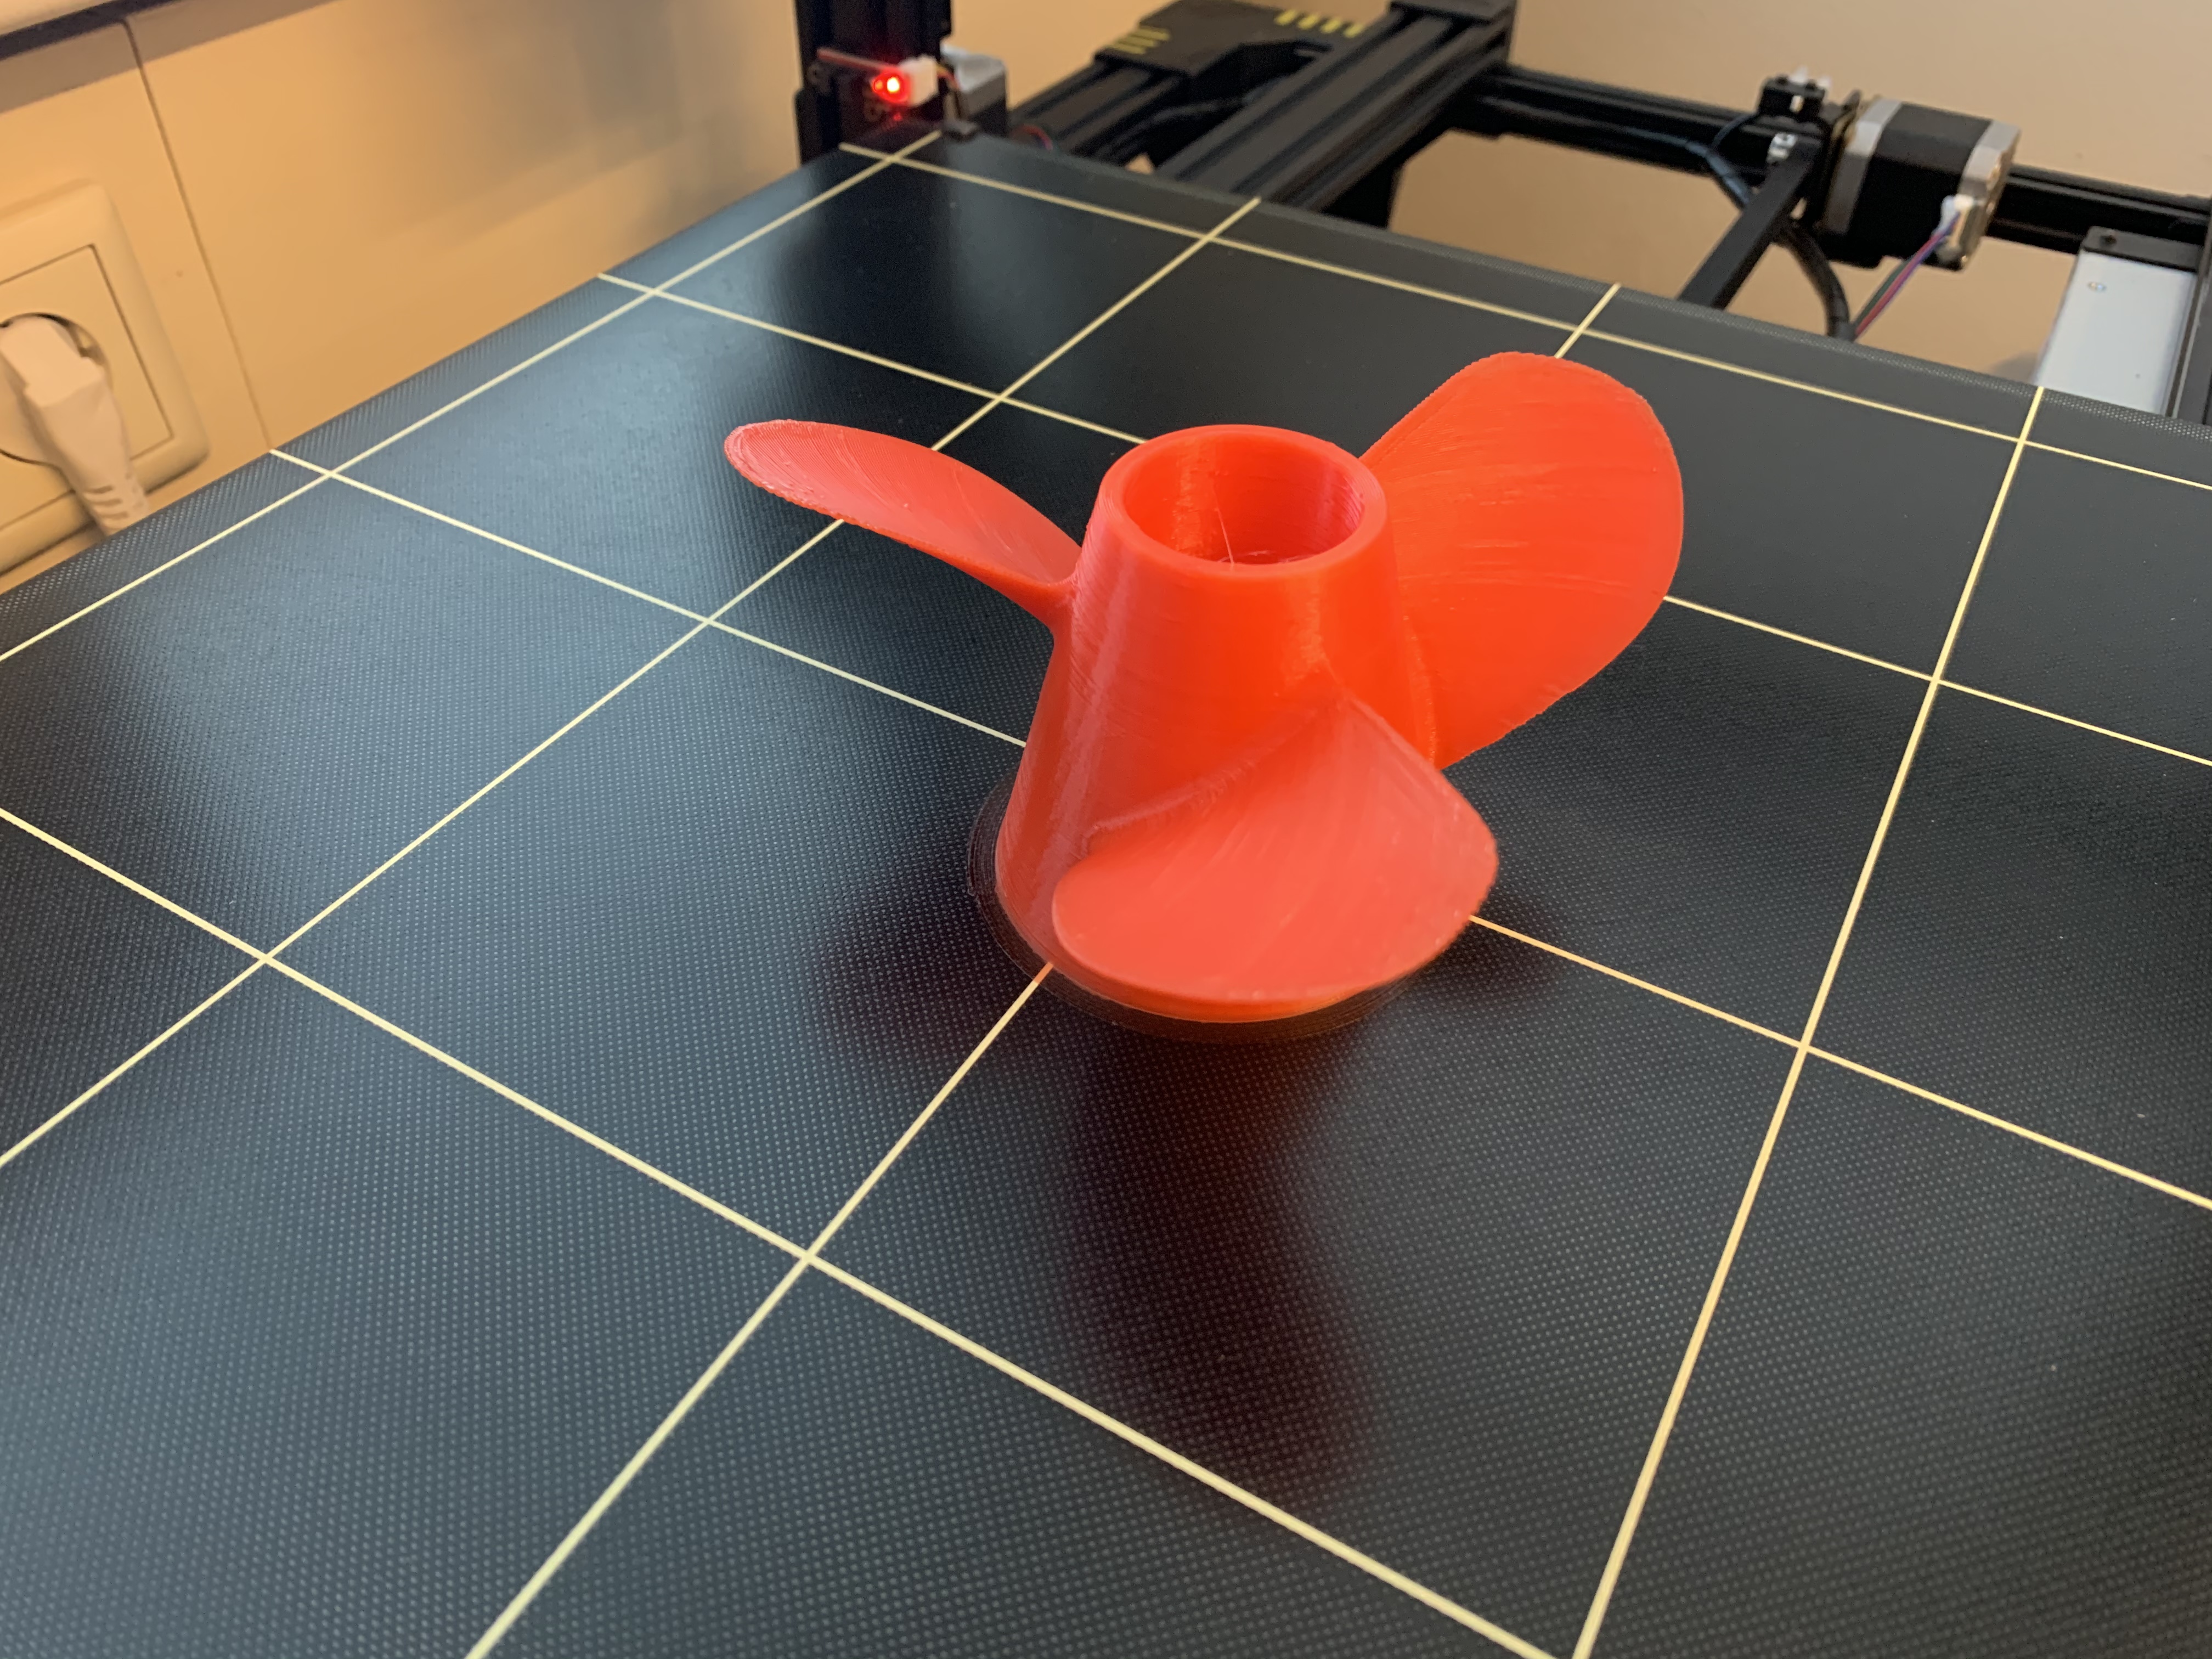
So, the next part is printed.
I calculated the Prob Online with that link.
After theme I downloaded the Cad File and import it in my Fusion 360 and made mu constructions.
The result is a nice Propeller that fit exactly on the shaft from my motor.
3 Likes
Wait, you are printing without supports and still getting that quality ?
I would 100% fail I think
Yes, but on the underside i have not so a nice surface. But absolute no problem because I can clean that with a file.
Can I ask how much did you pay for this board ?
It seems a good shape and hole looks great too !
It was a prototyp, i payed 400.- for it.
The company is a Startup, based in CZ.
The boards for selling from theme, made in Carbon costs around 800.-
I also use the Anycubic Chiron. It’s a good printer. But I made a few modifications, which improved the print image even more.
On your propeller I also see potential for quality optimization with the right settings.
Overhangs up to 65° are possible without support.
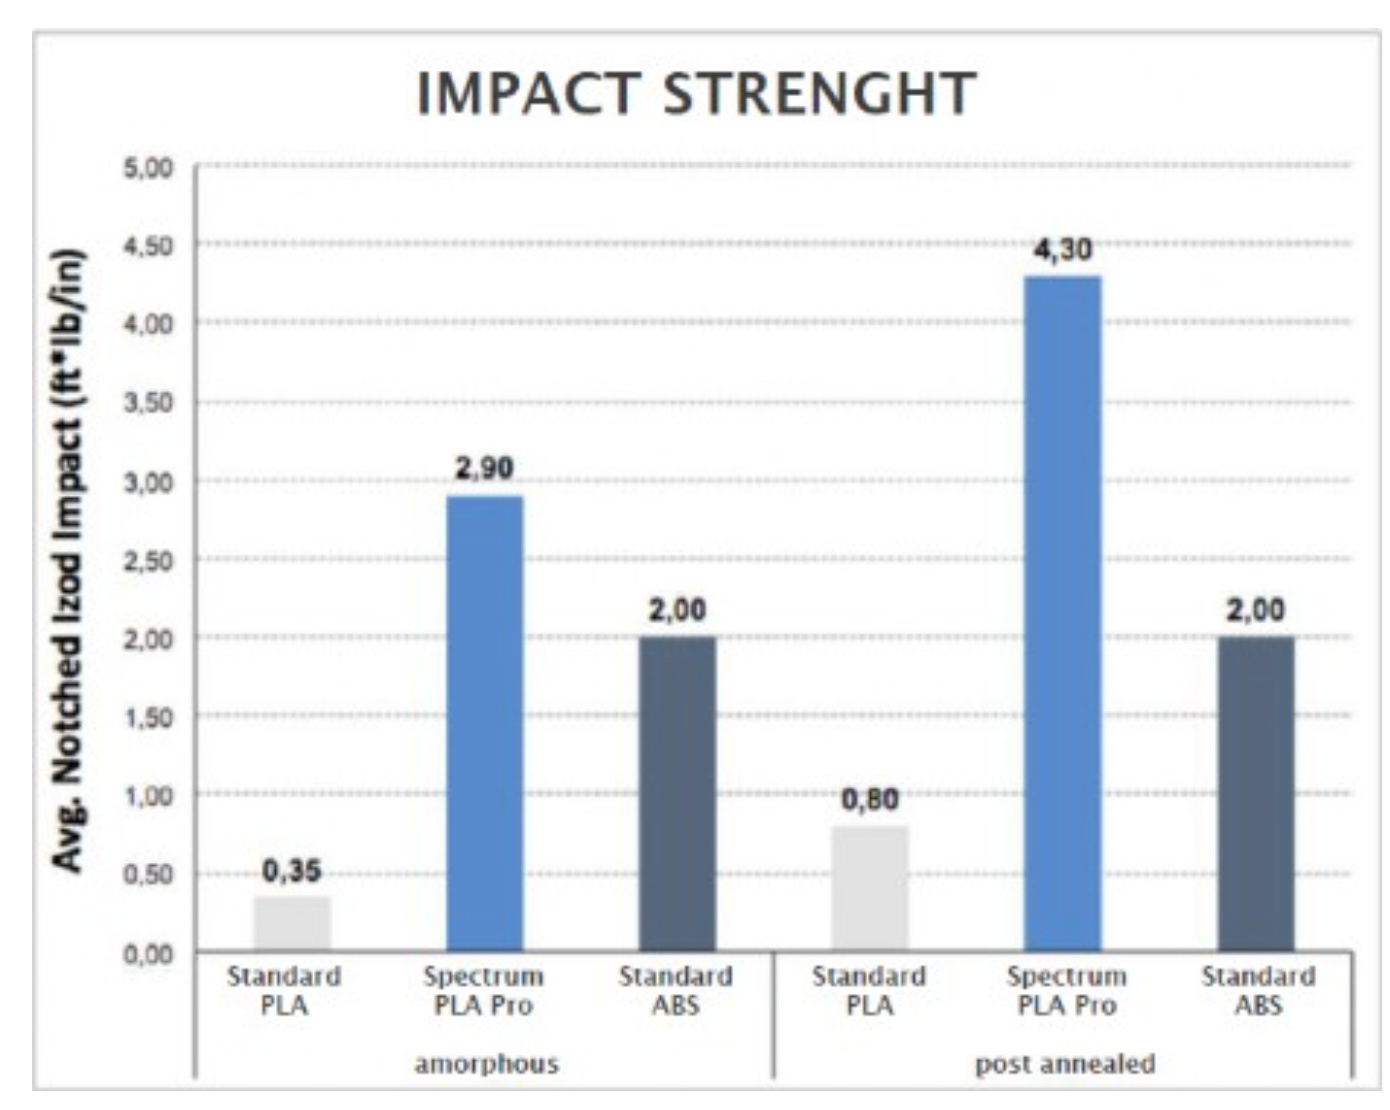
The blades look thin, I suspect they will break. I have had a good experience with my impellers with a blade thickness of 3.5mm and PLA pro.
PLA pro can be post annealed in the oven. It is then harder than ABS. And very easy to print.
2 Likes
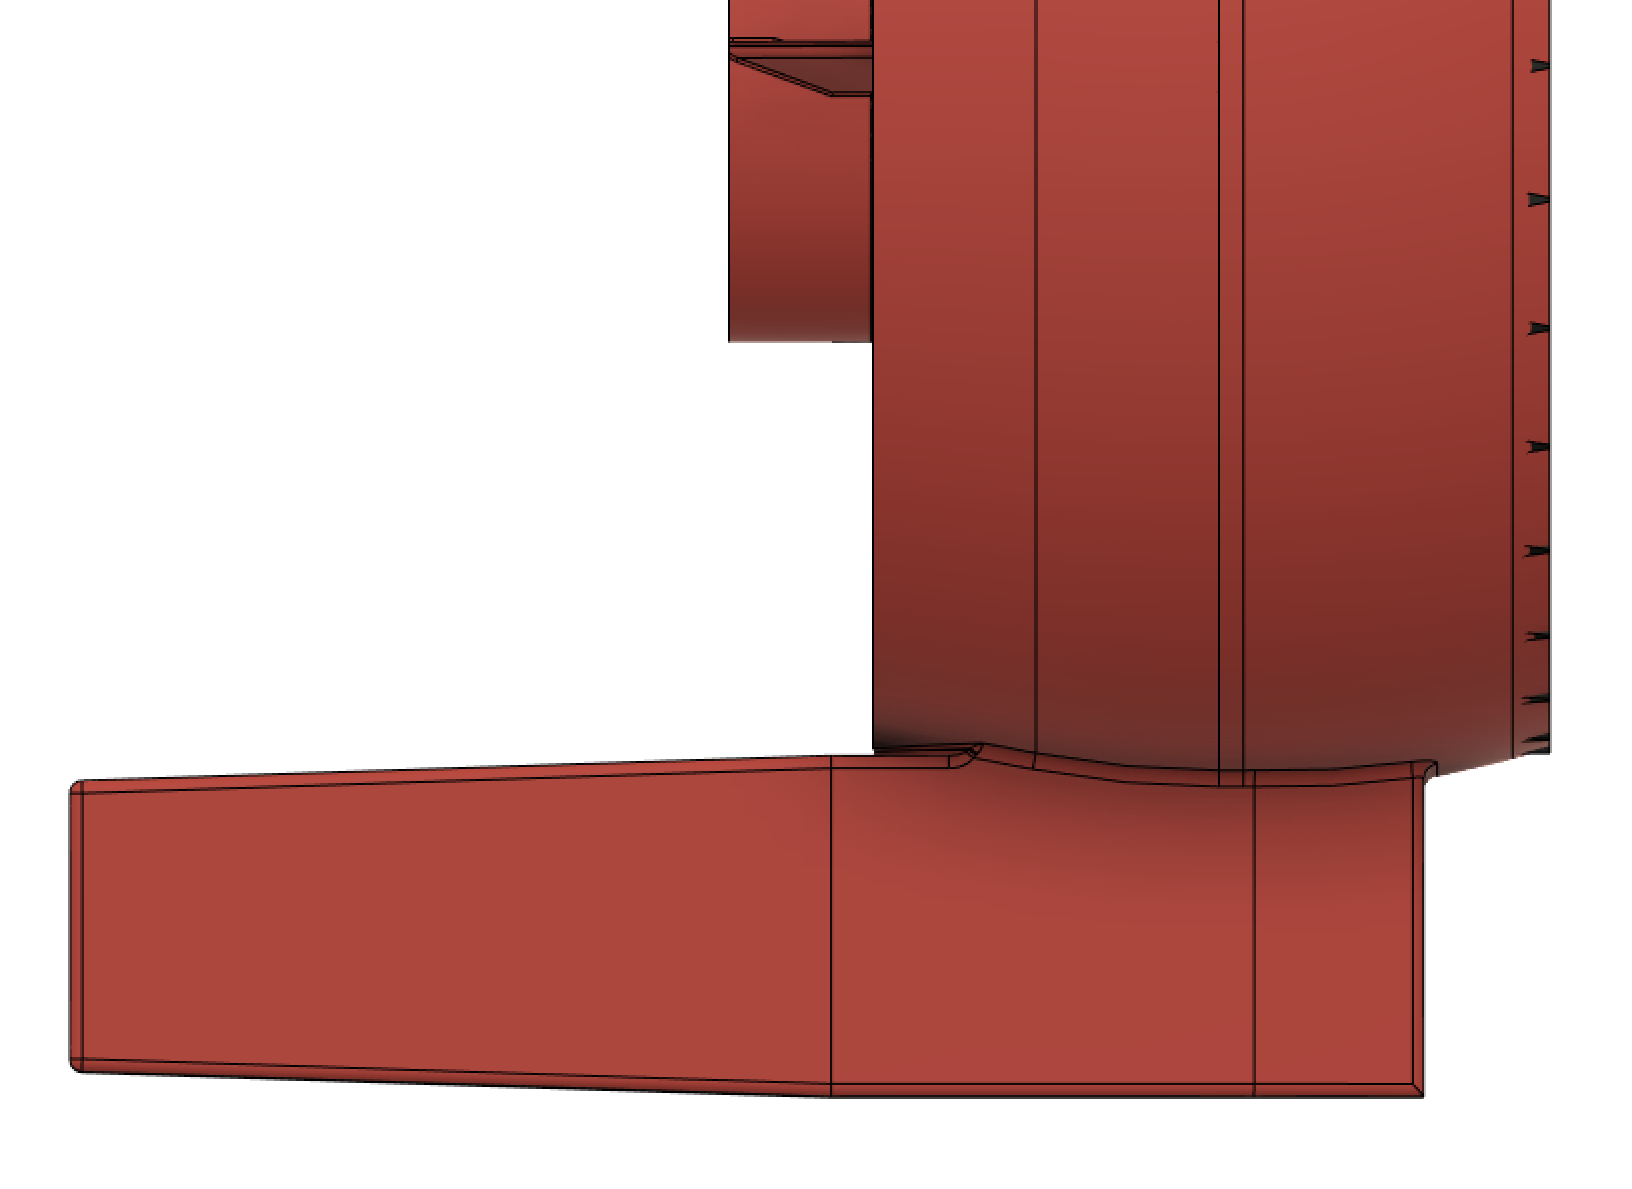
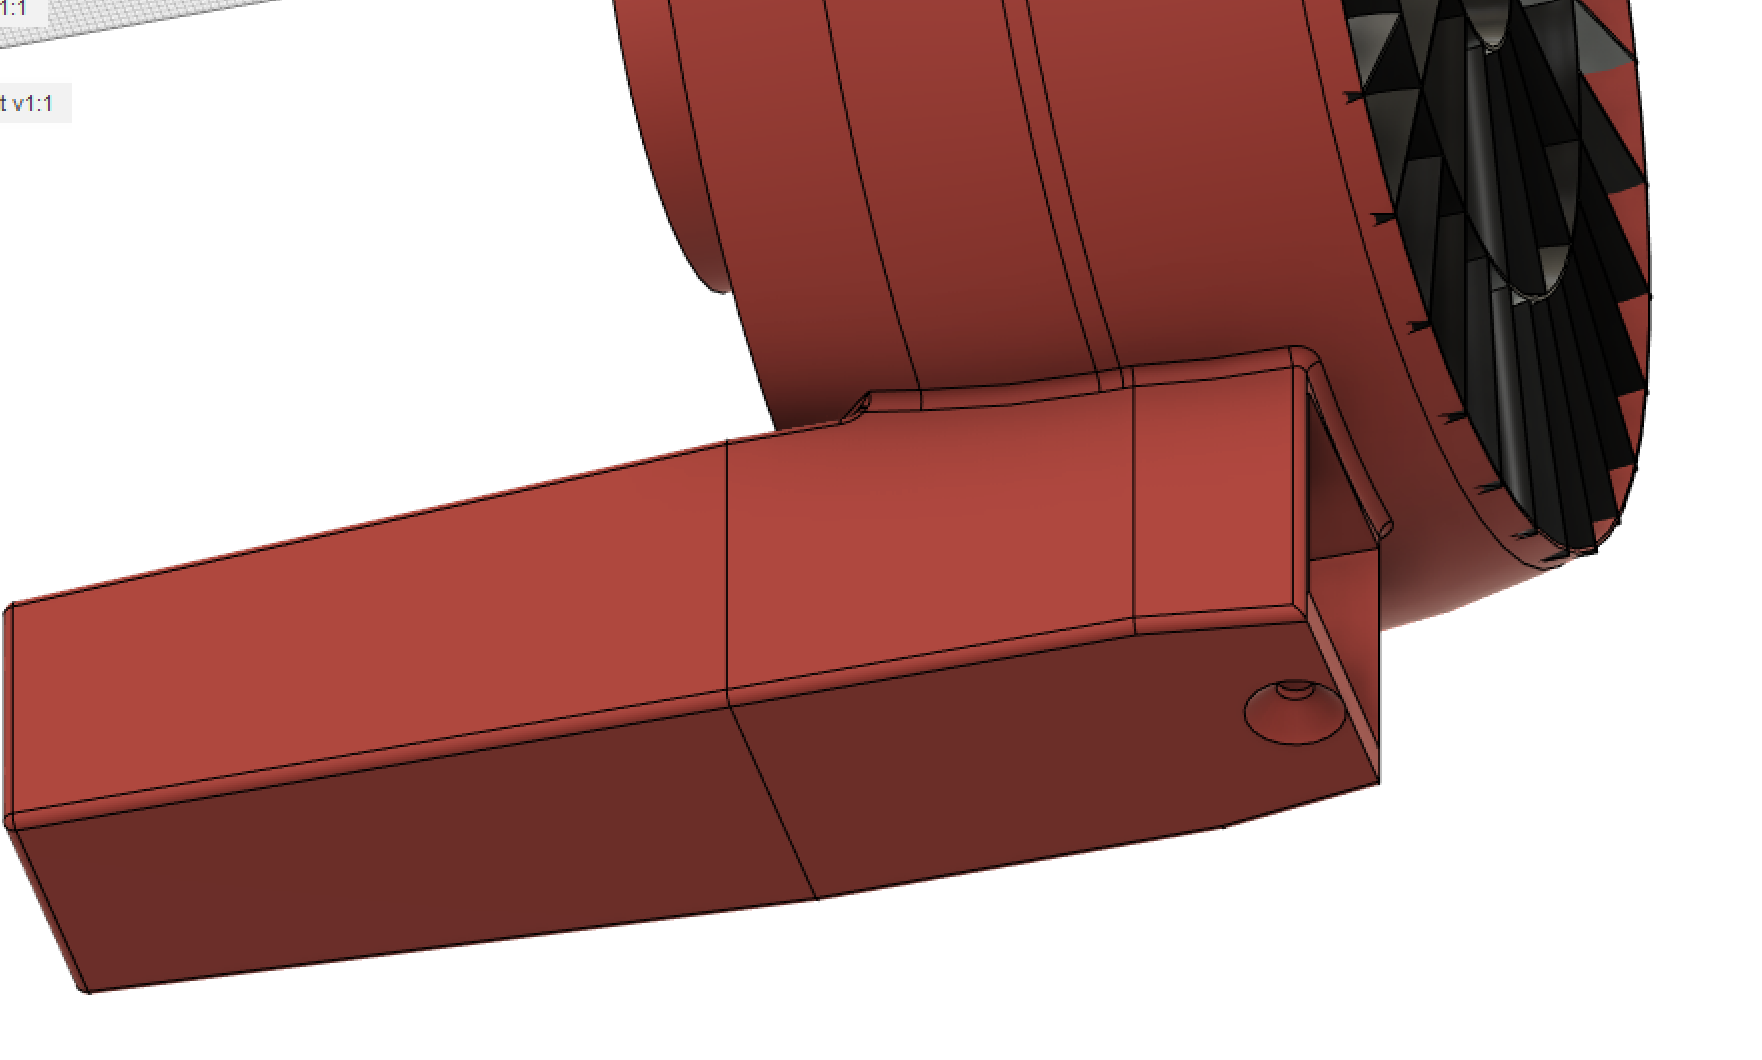
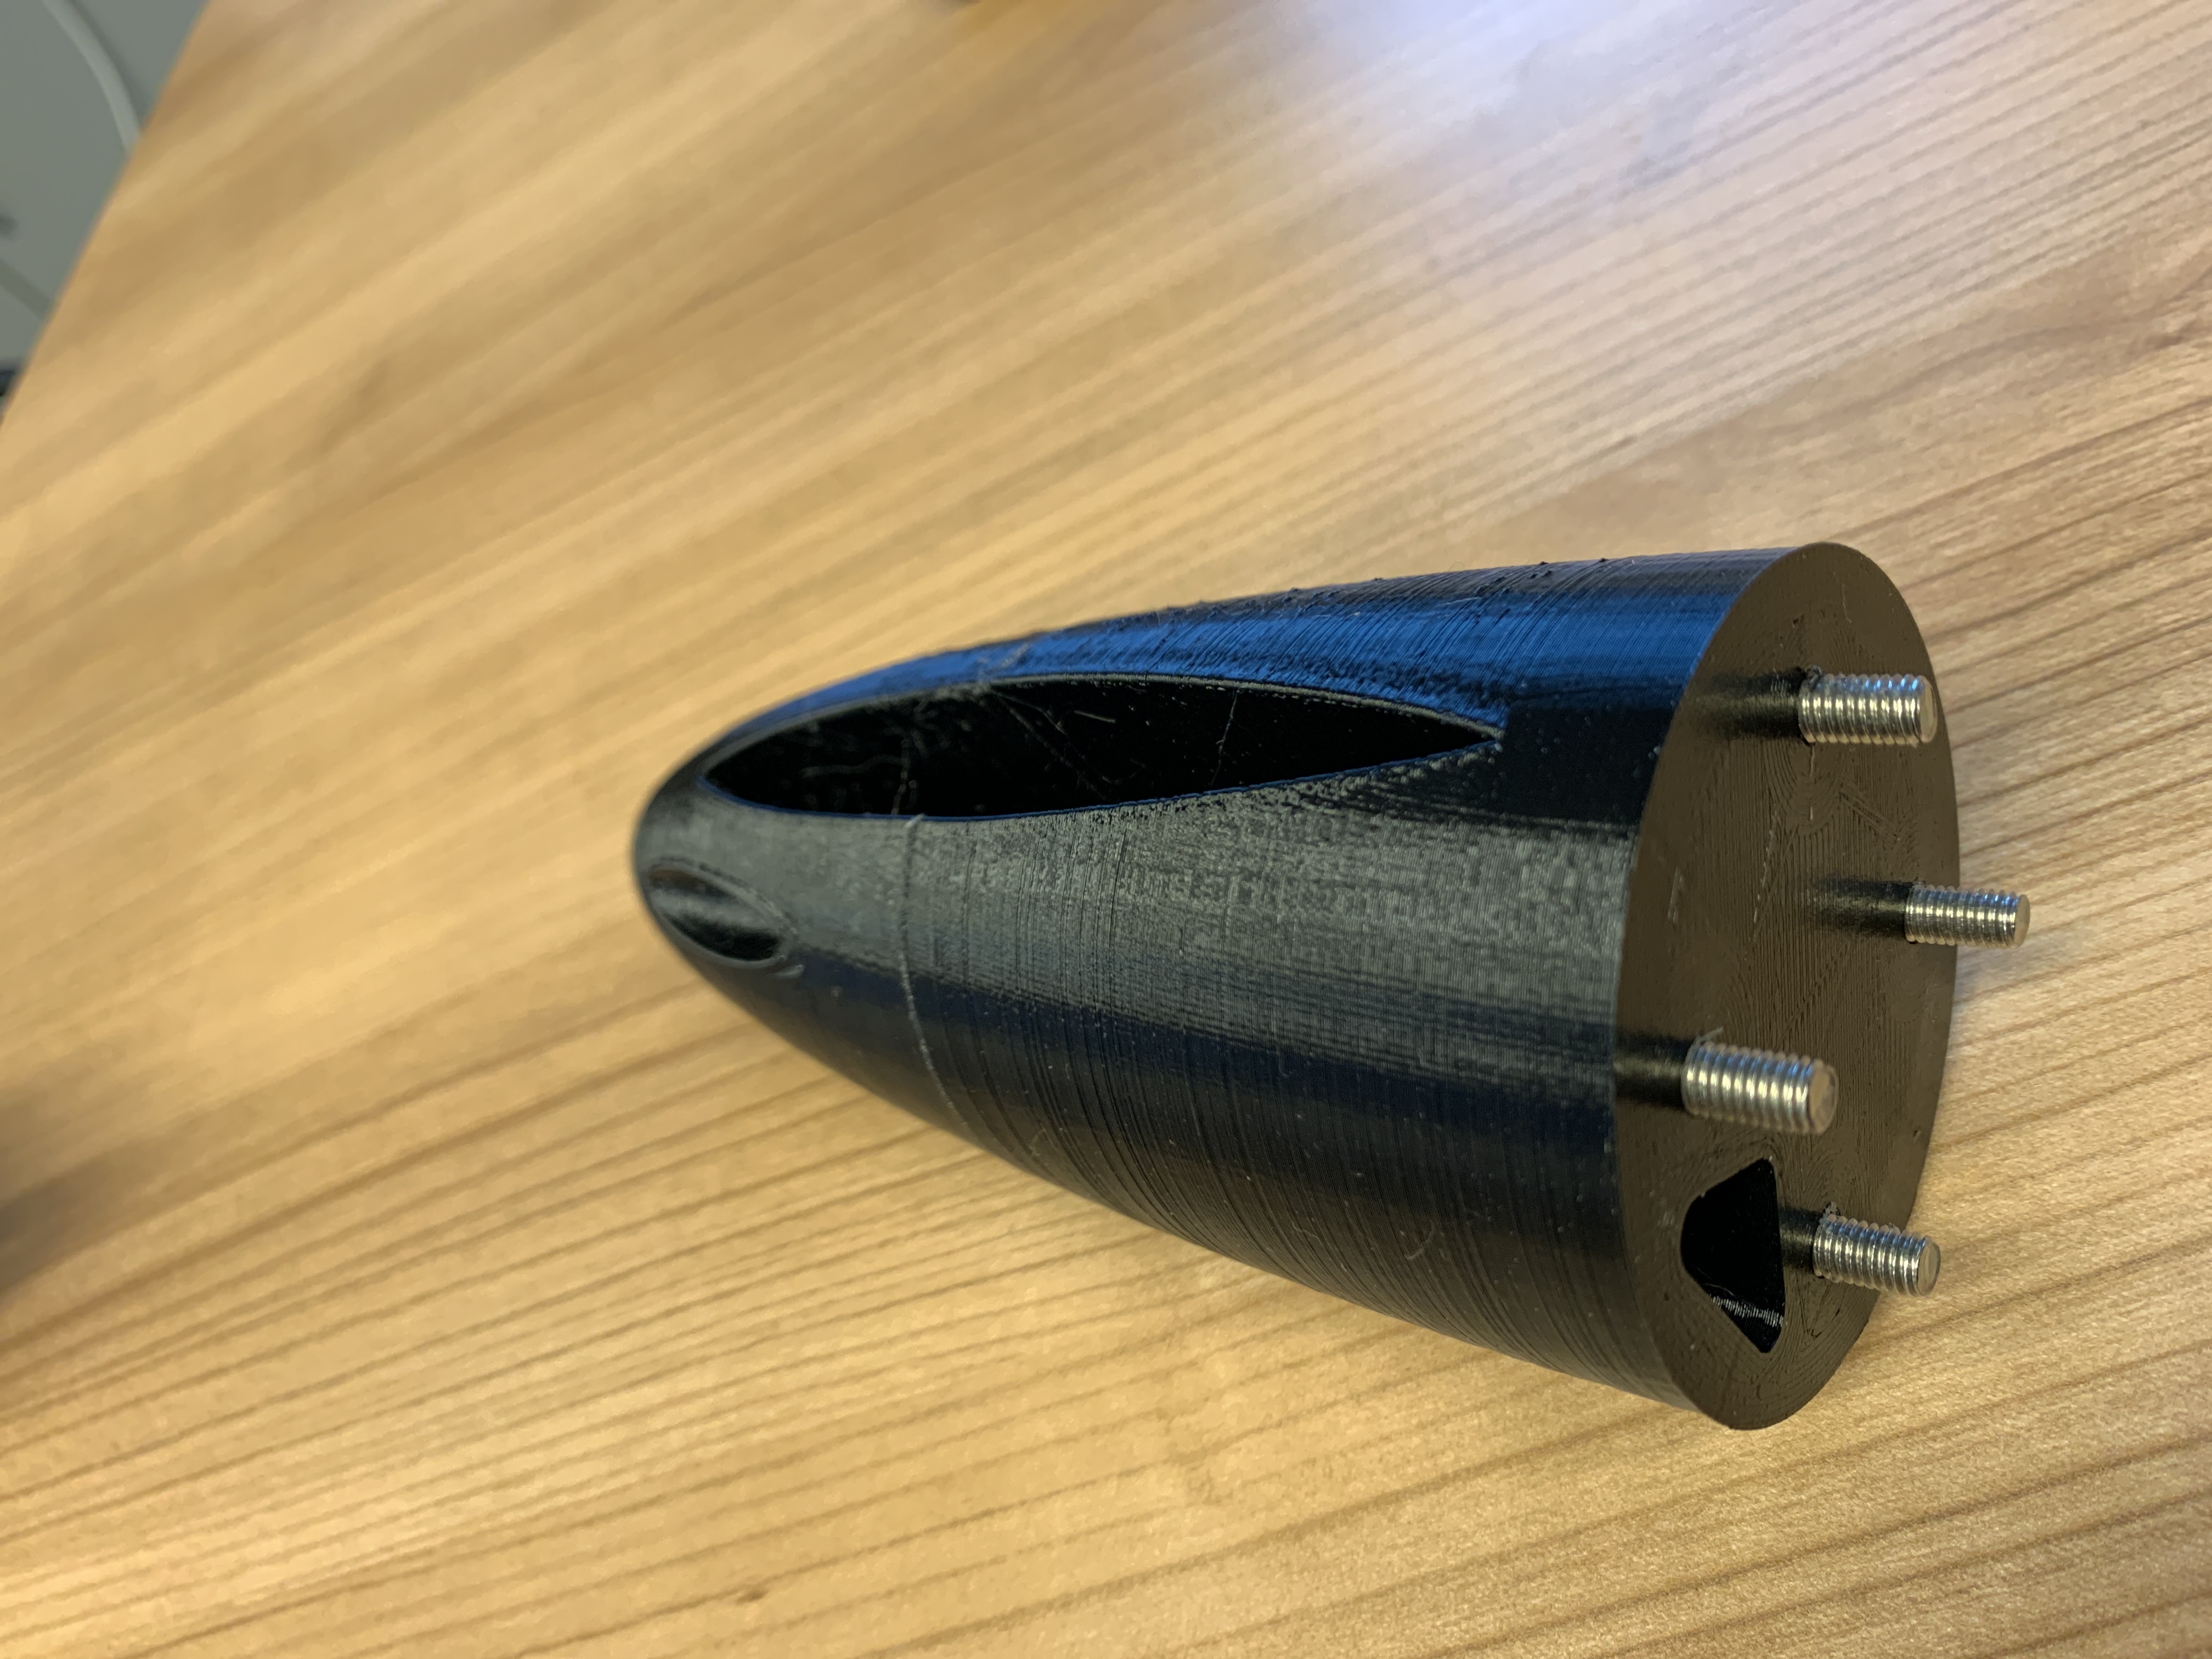
So, Mastclamp is finished printed.
I use 1,5mm wall thickness and 0% infill.
I will fill it wish Epoxy and 3mm Glas
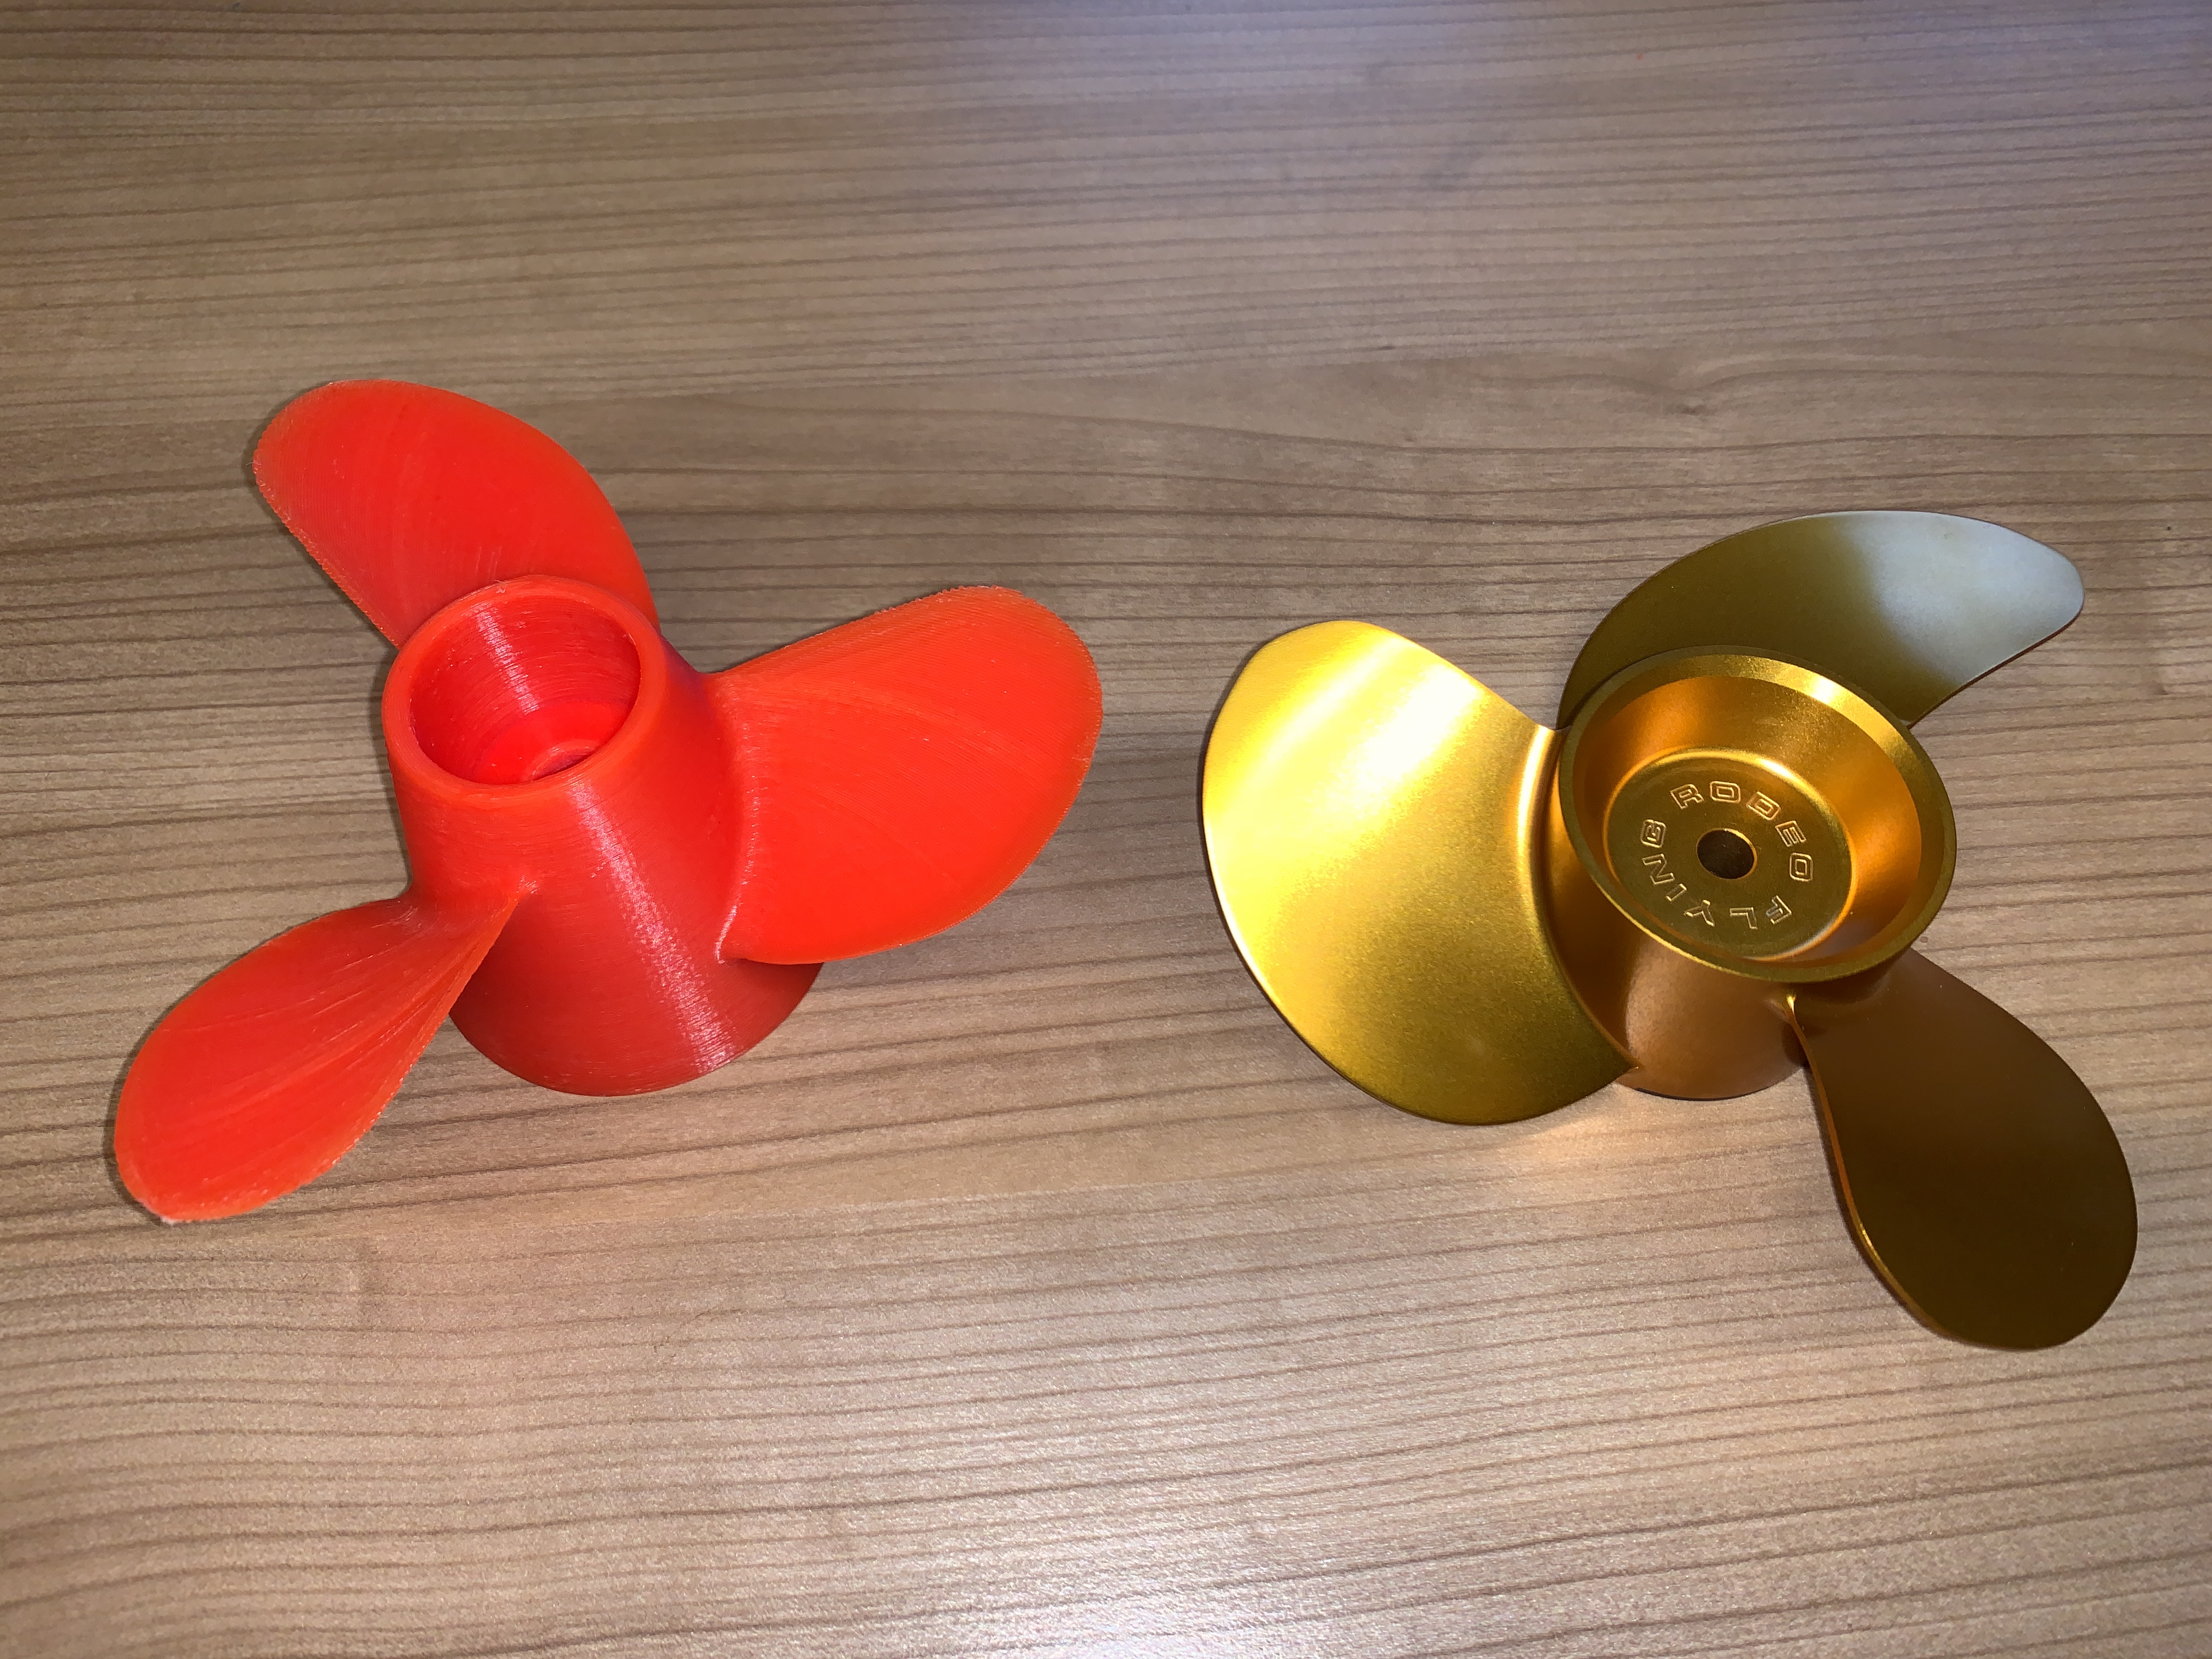
So, I use the chance and get one of the last FR Props. So, will be interesting how big ist the difference between my DIY Propeller and the FR Propeller.
6 Likes
Tip for your next prints: If you use a 0.4mm nozzle and the layer width is set to 0.4 in your slicer, the wall thickness of your part should be dividable by the layer width. (1.5mm /0.4 will result in 3 layer and some gaps between the walls. 1.6 mm / 0.4 gives four walls and no gaps.) So you get better print results and well connected layers. Wherever possible, it is best to take into account during CAD design that all walls can be divided by the layer width.
1 Like
Do they have the same diameter so that they can use the same (orange) duct ?
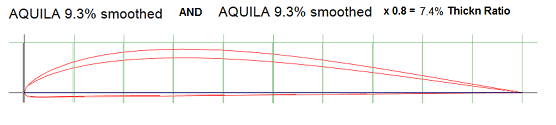
One remark: shouldn’t your duct leading edge be round and thicker that the trailing edge, the way a thin airfoil section is, here an Aquila 7.4% that seems to be well suited for a duct as it is nearly flat on the intrados:
Yes, they have the same diameter. I take care for that when I construct my prop 
No, sorry I reading wrong. The Duct is on the leading and trailing edge thin. I try it with a profile and the results was good. I will see
Next step is done…
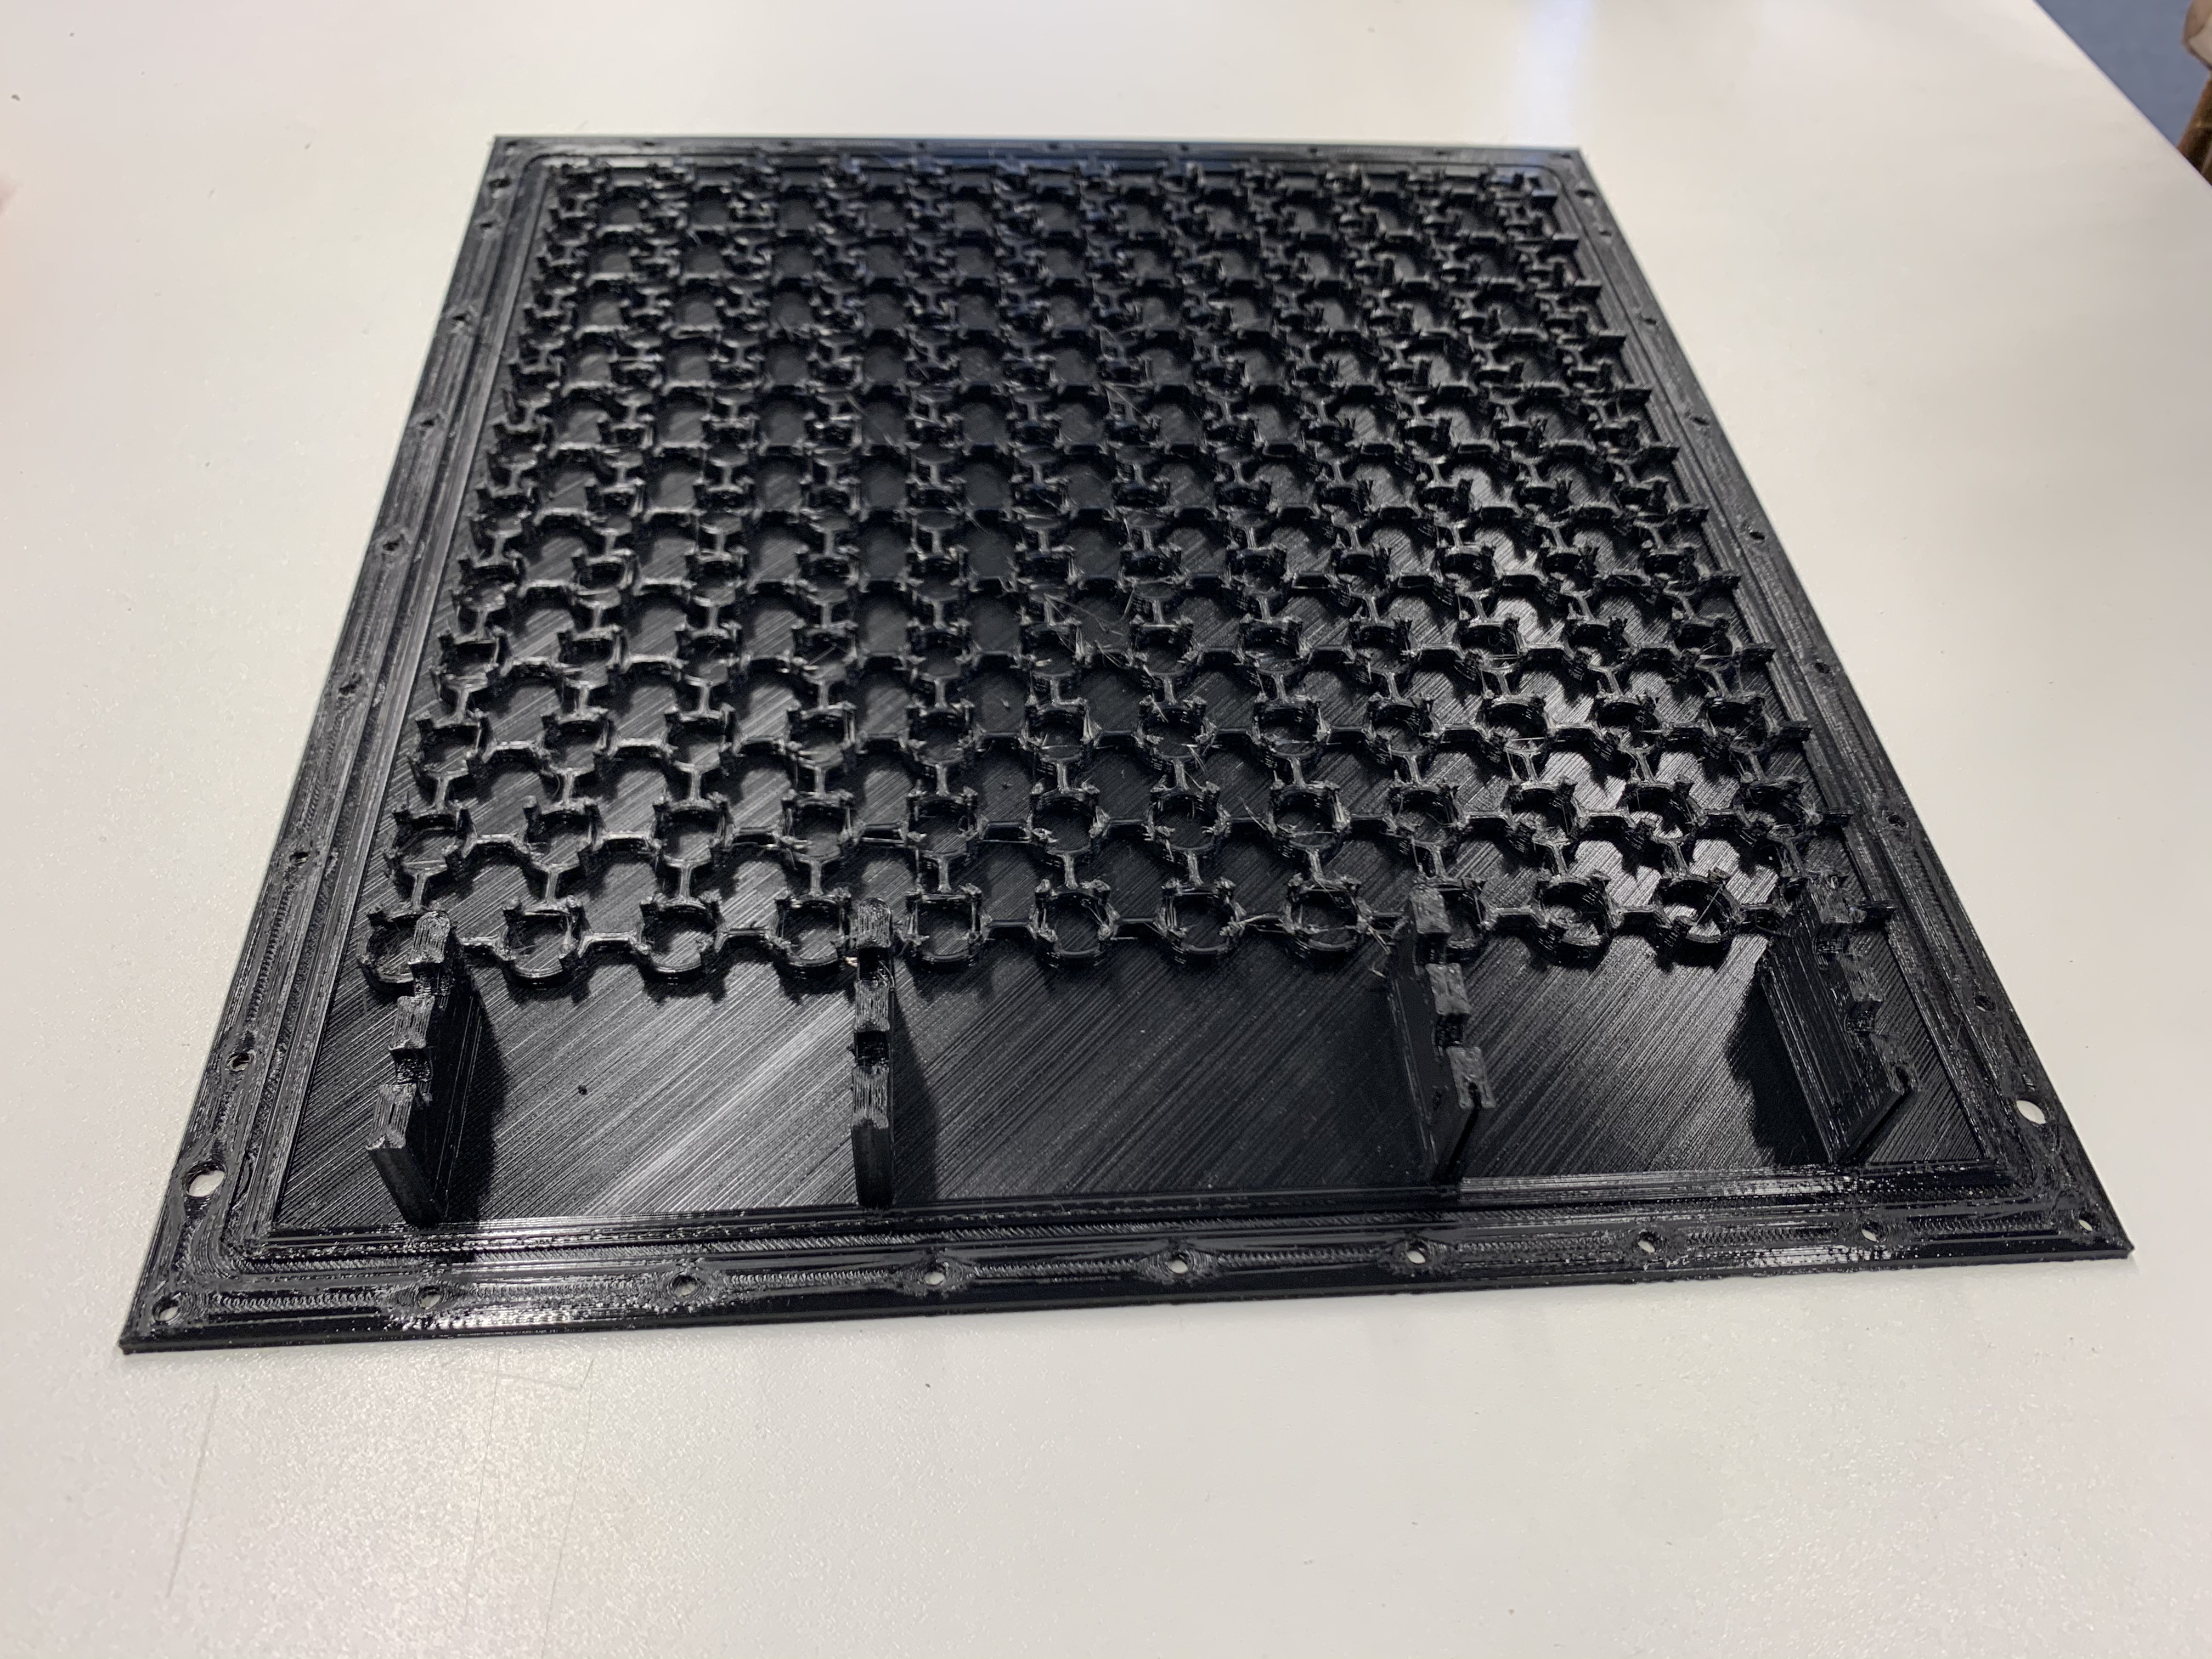
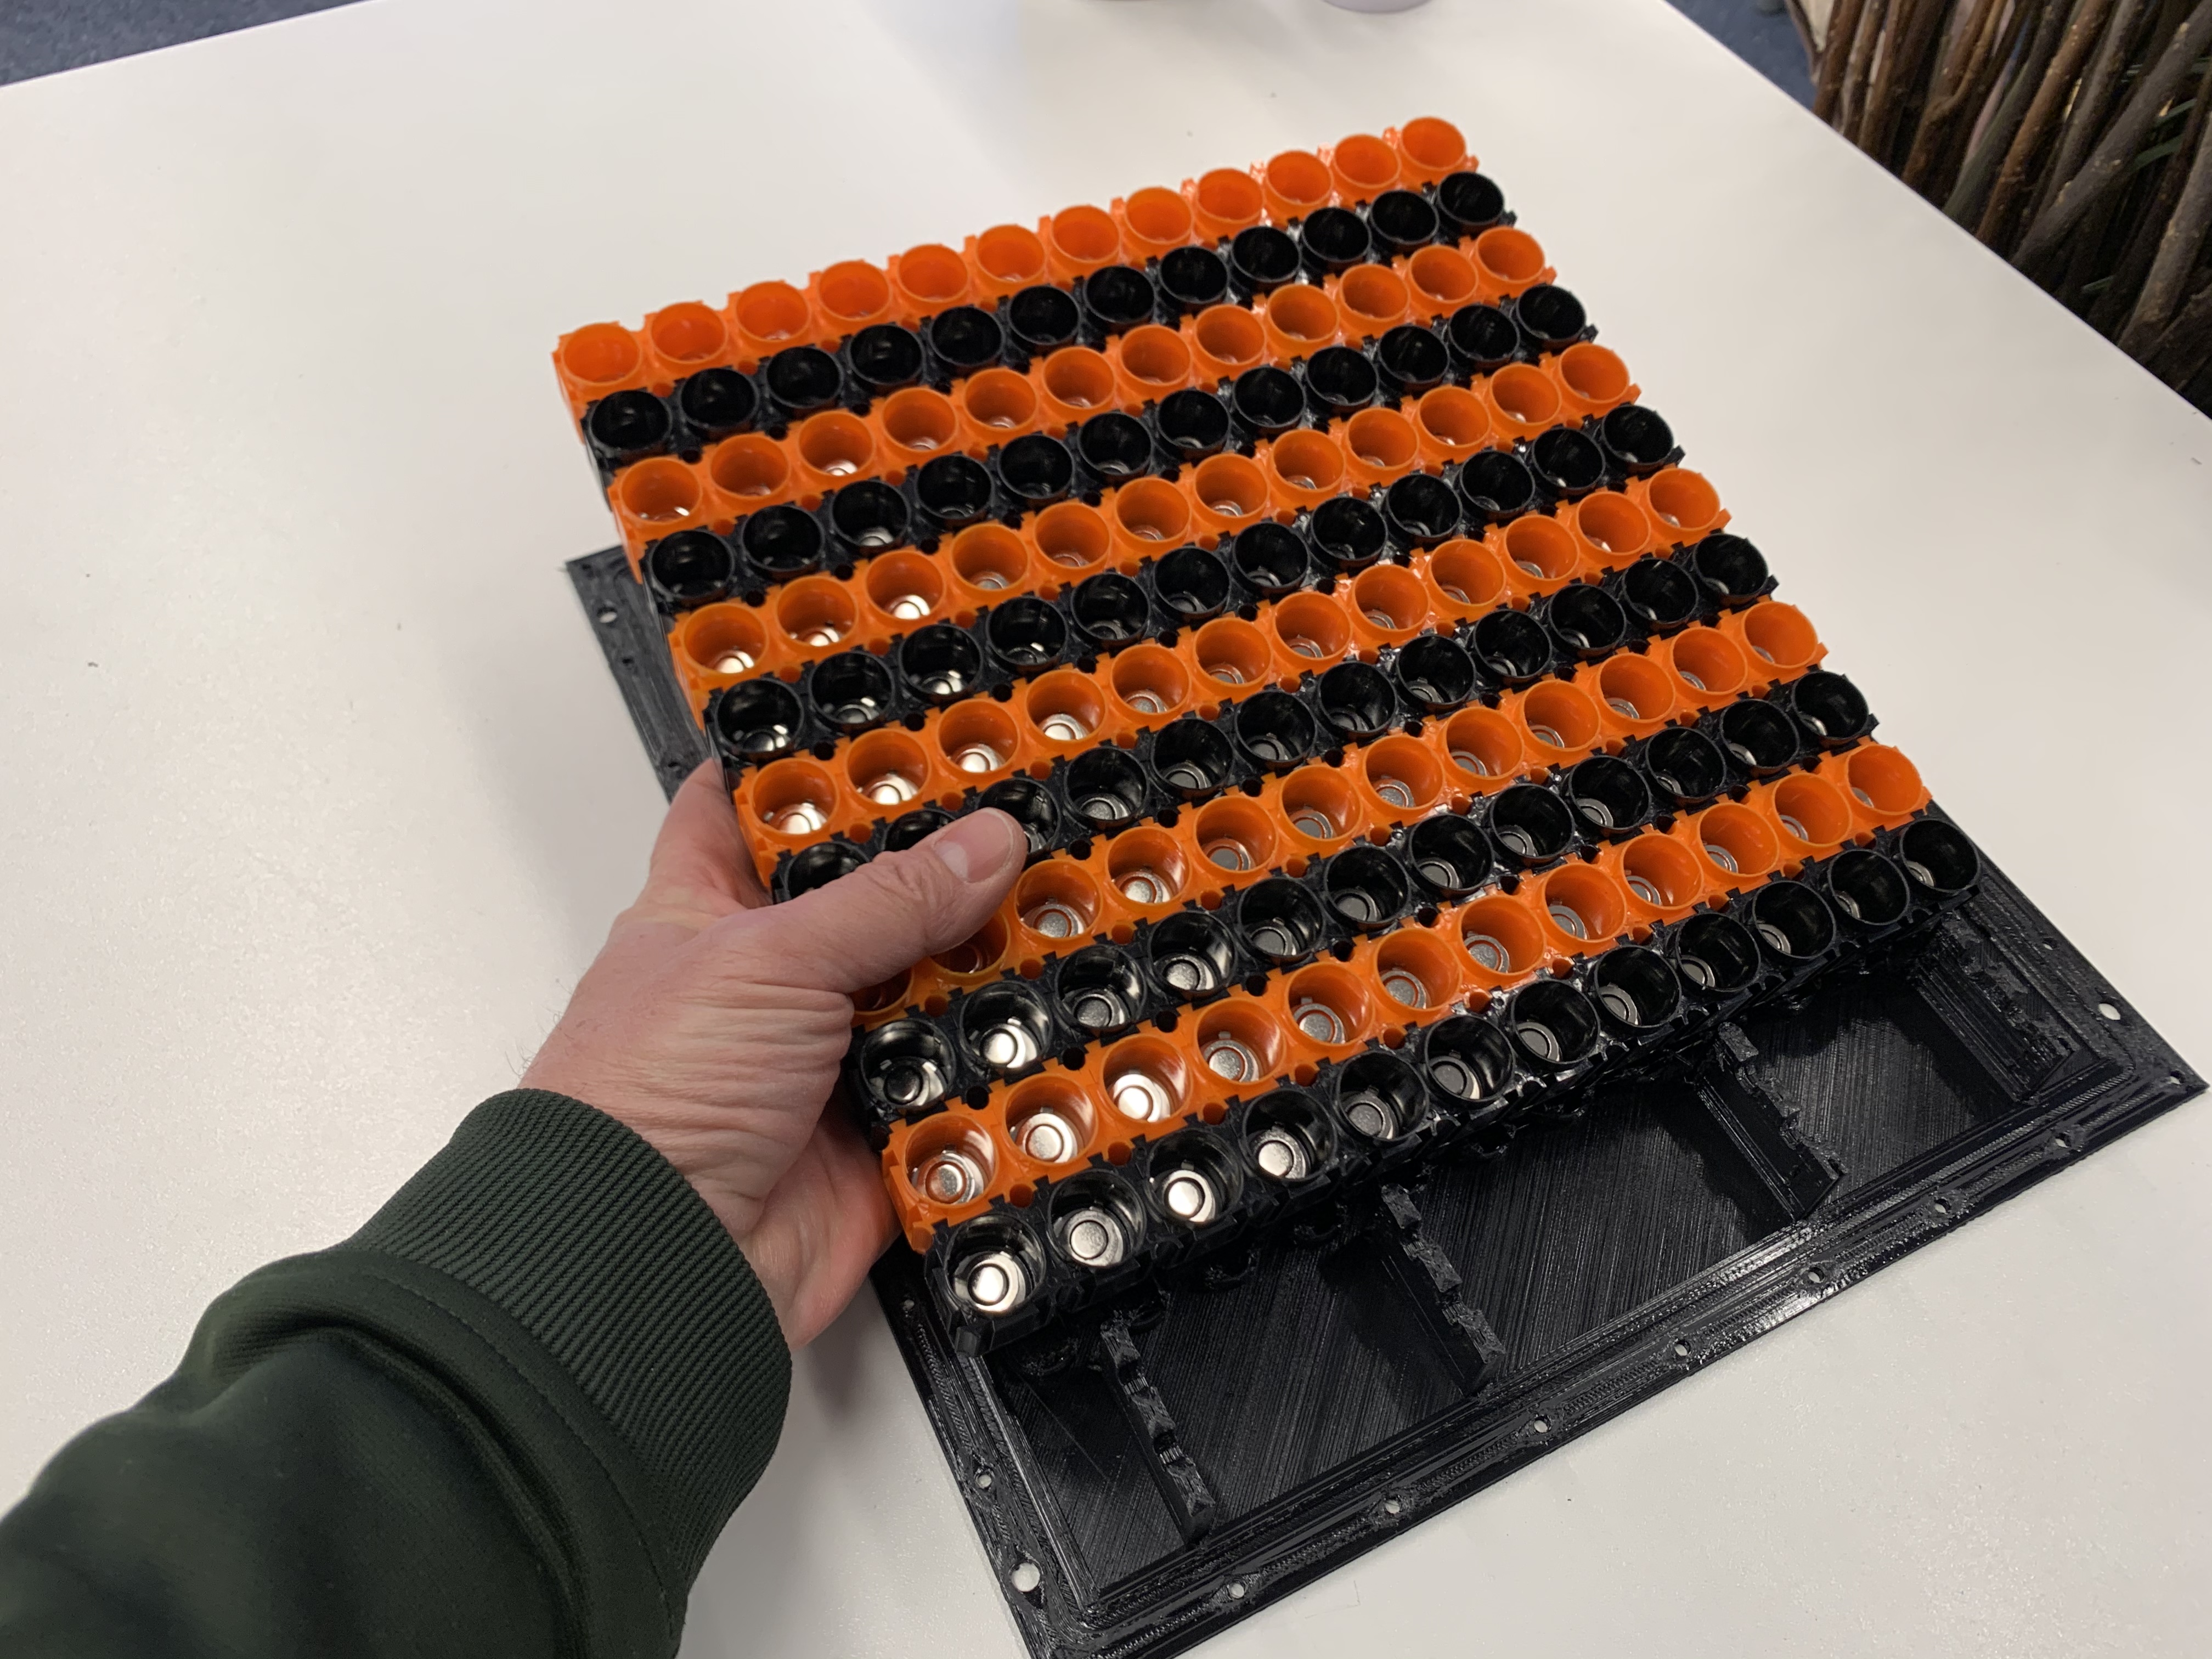
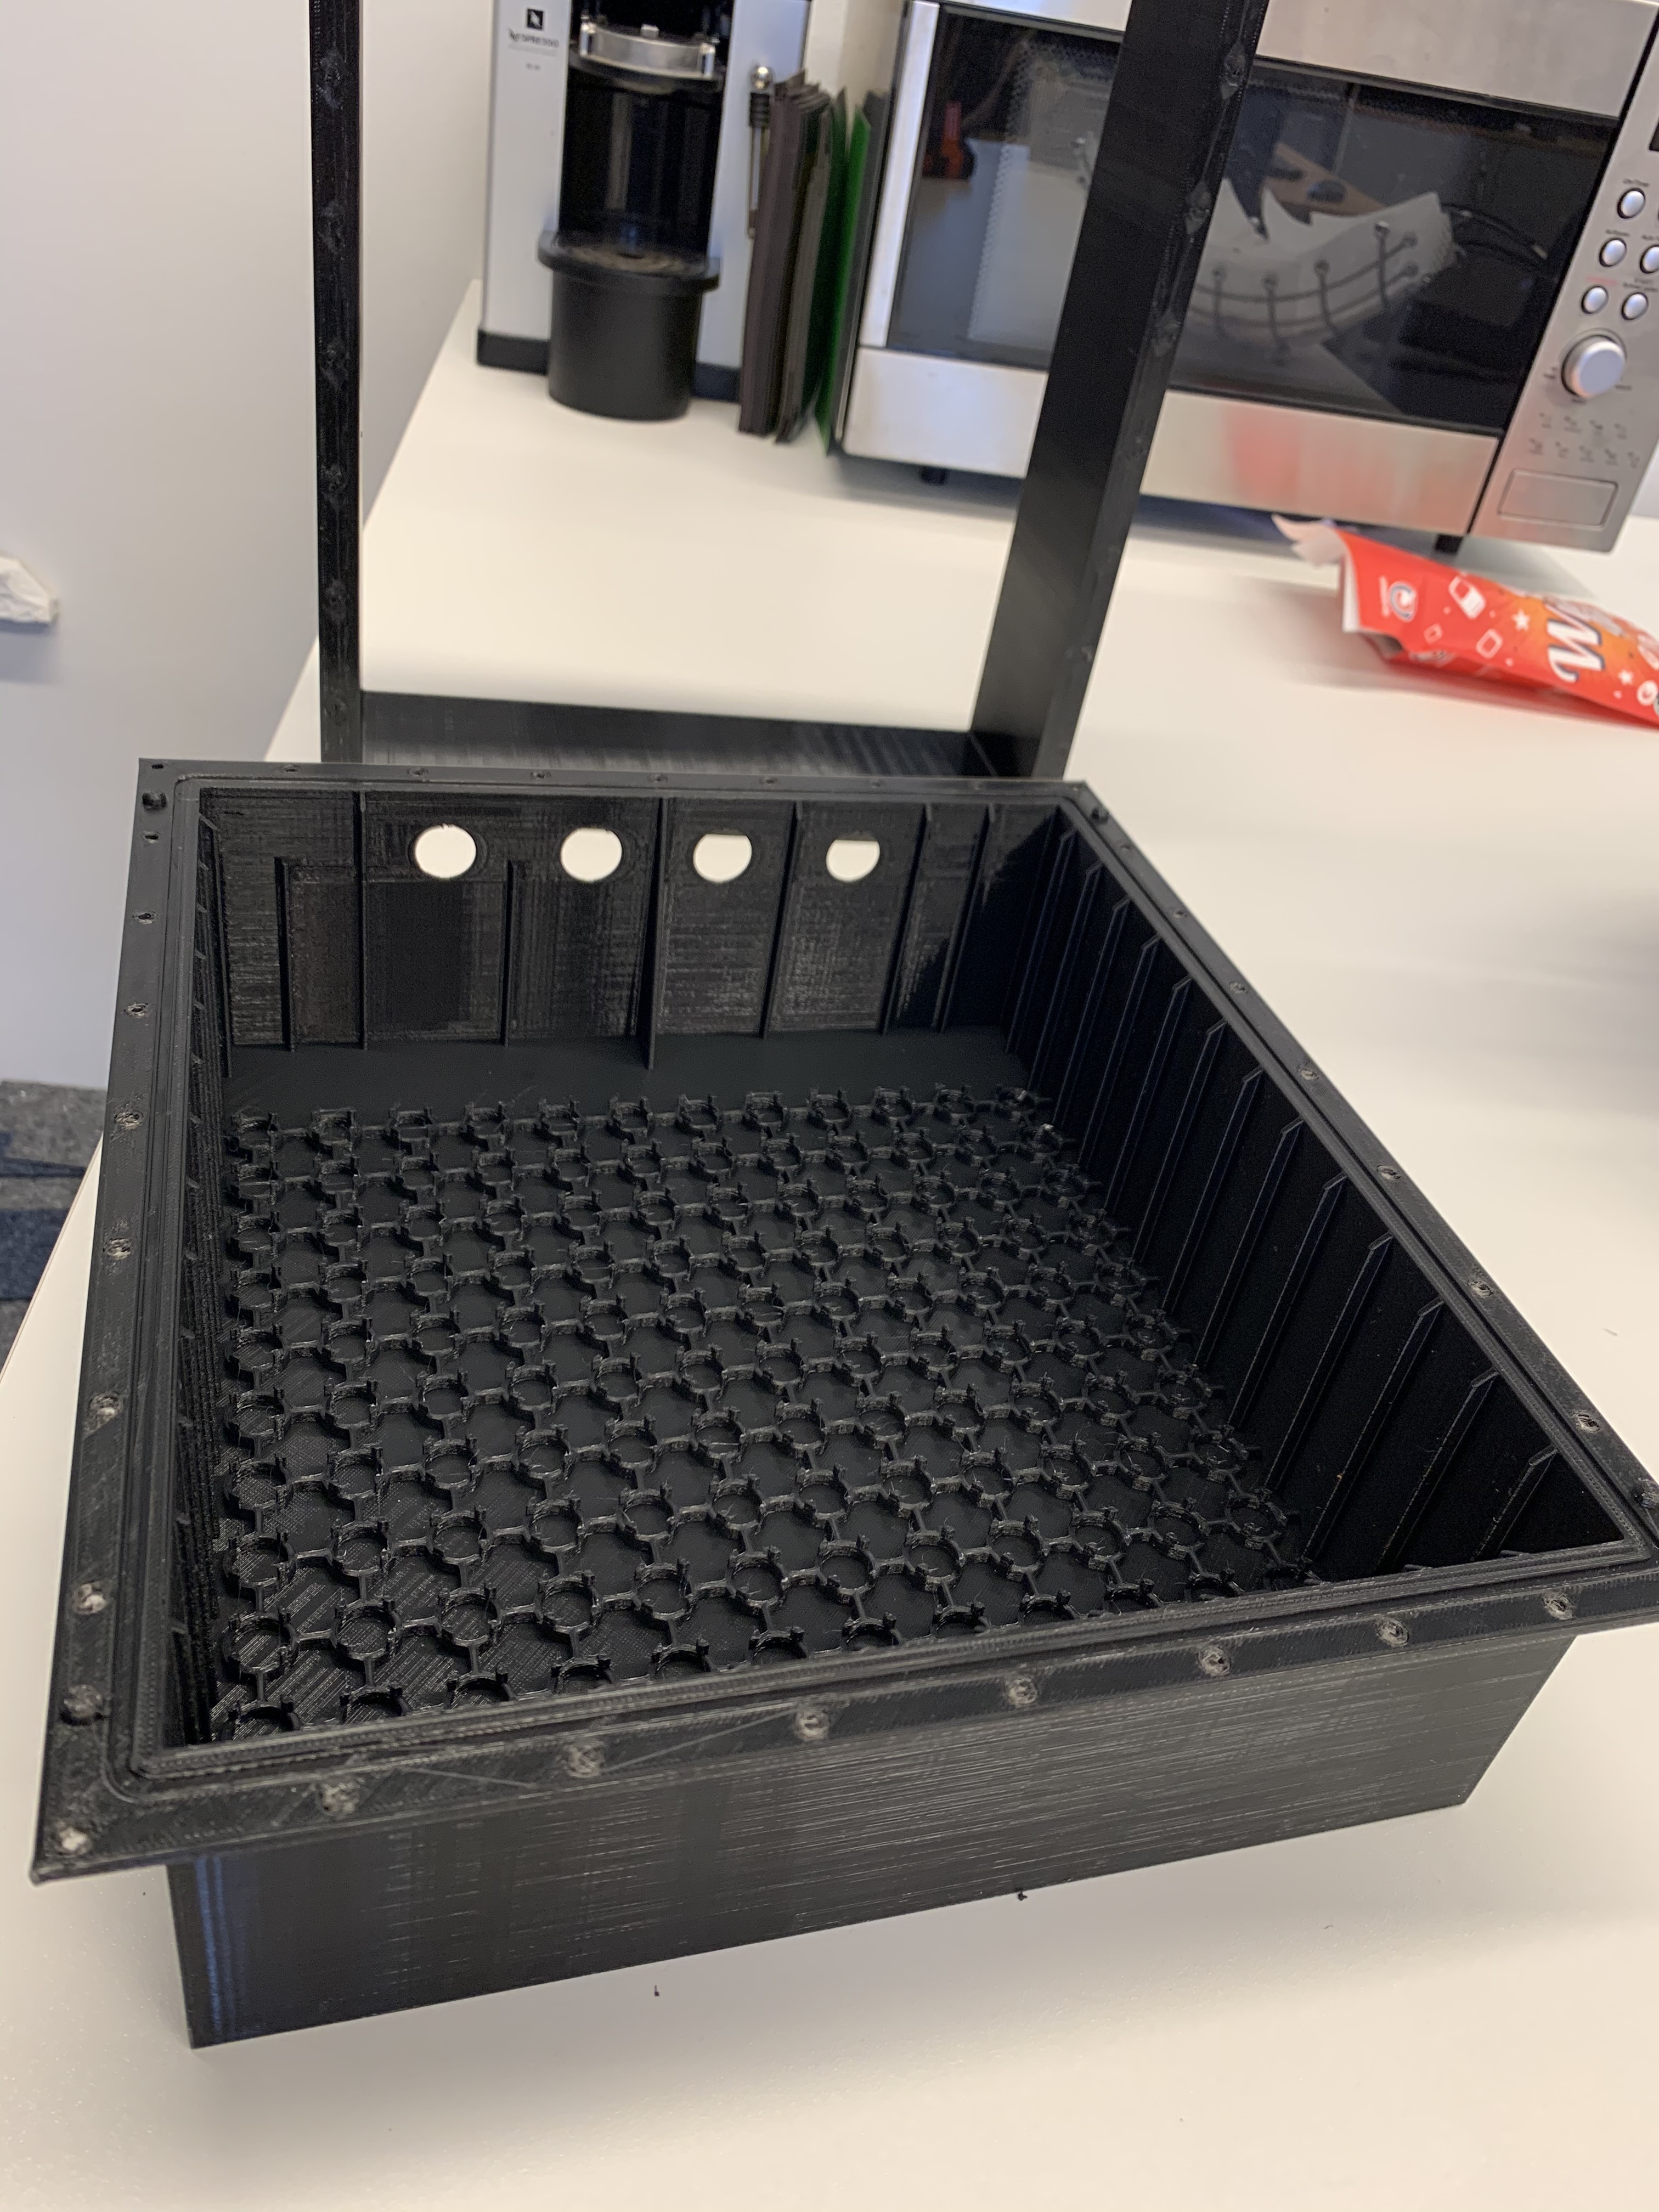
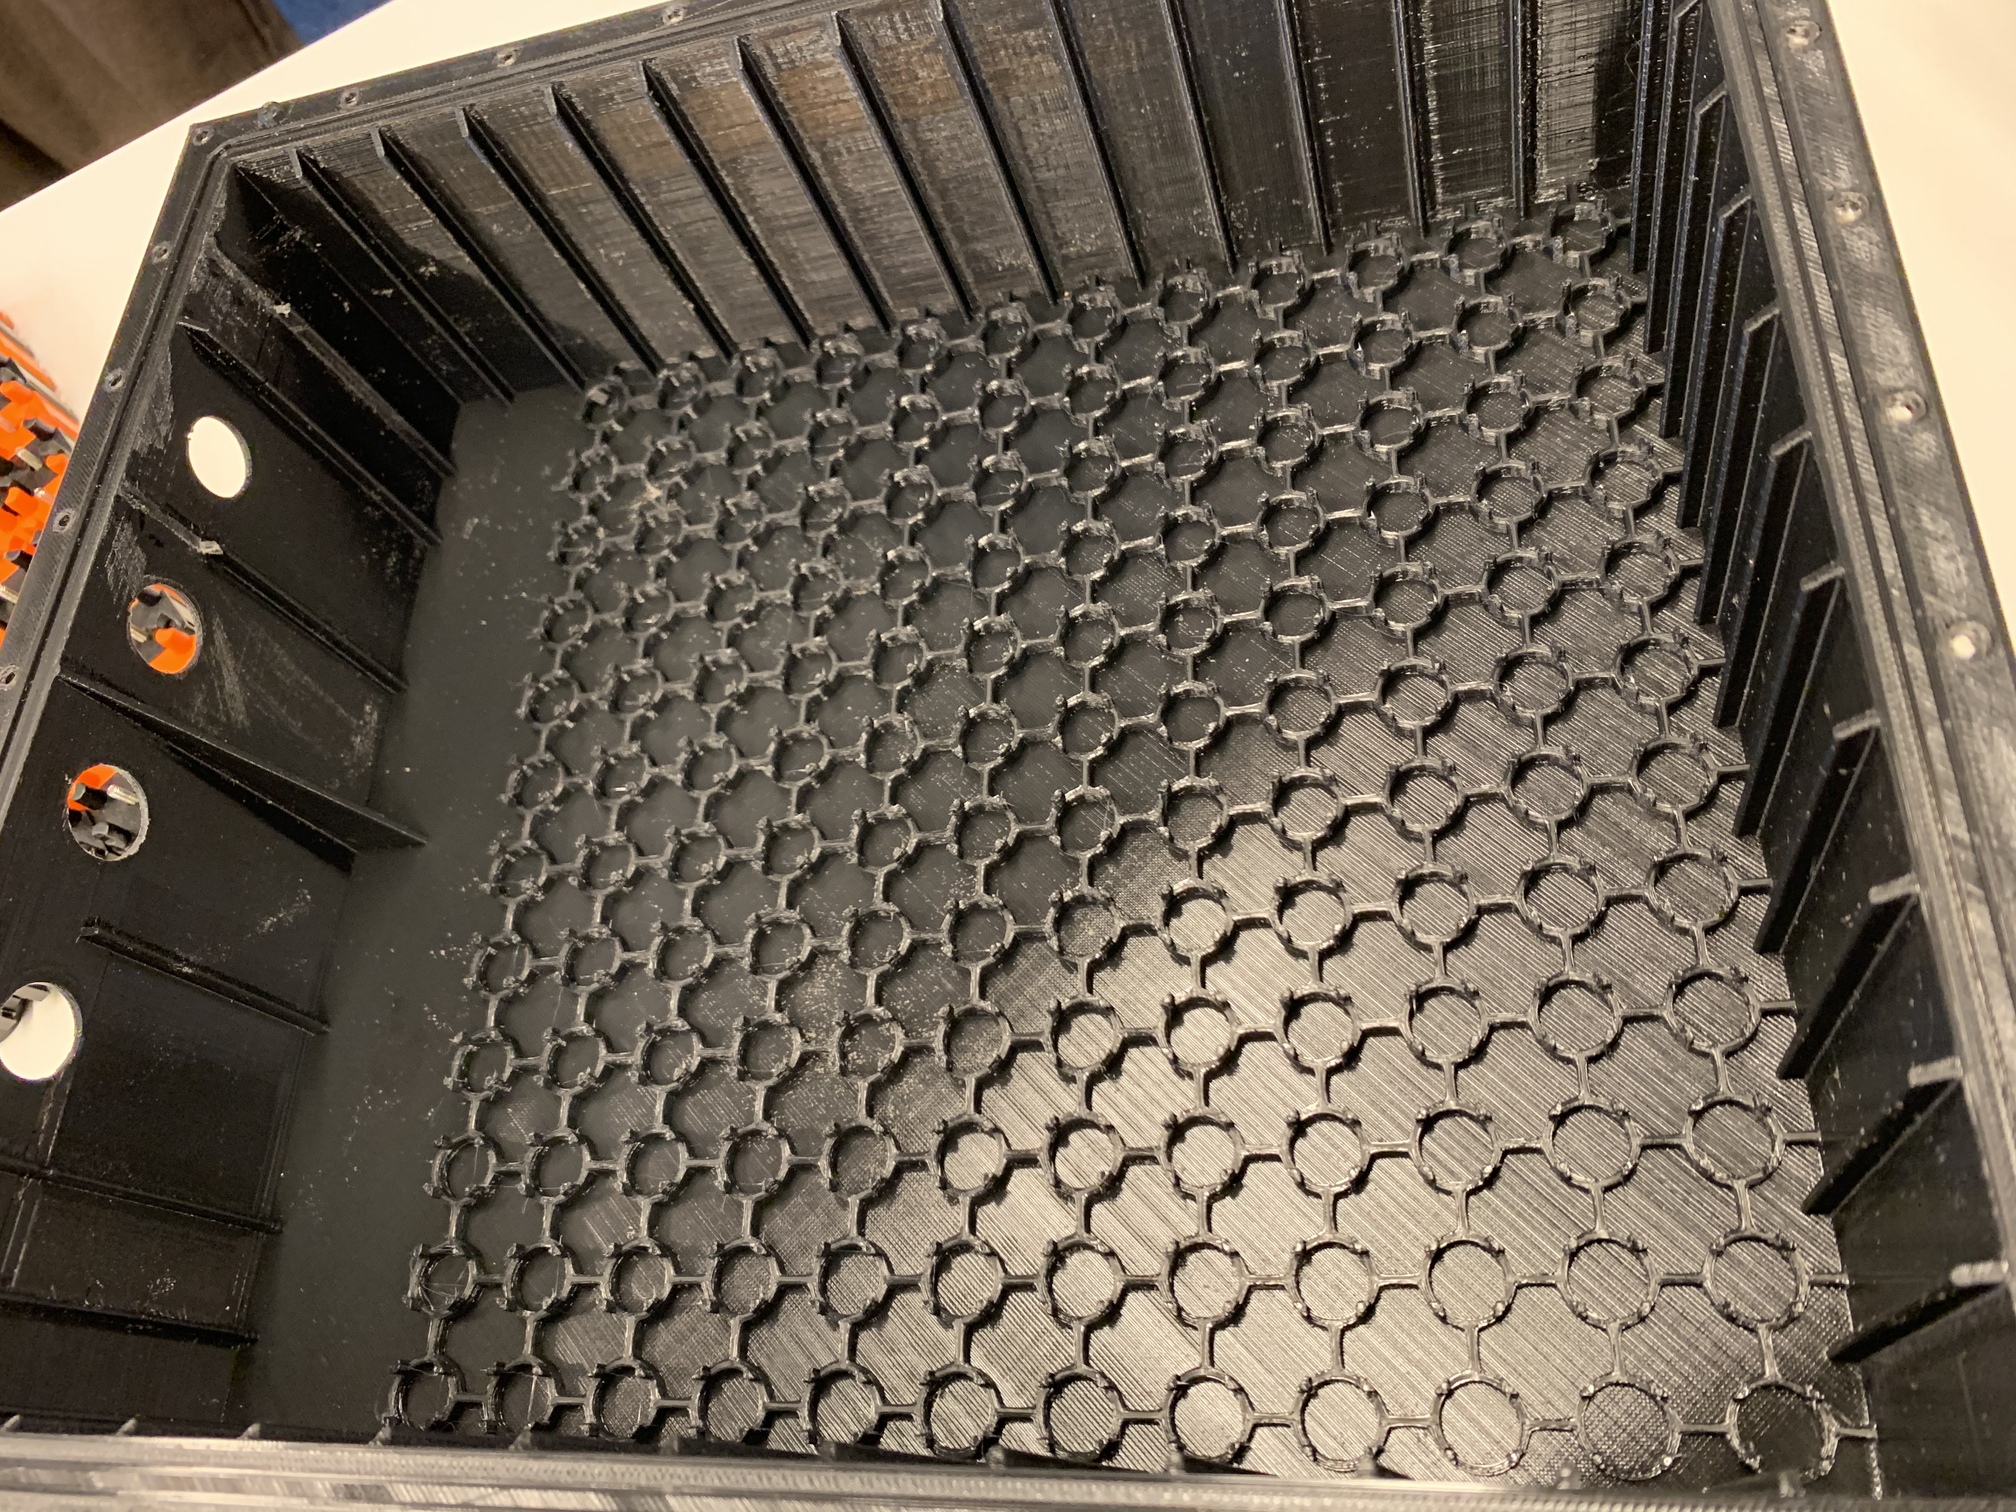
I decide to print the box for the Akkupacks.
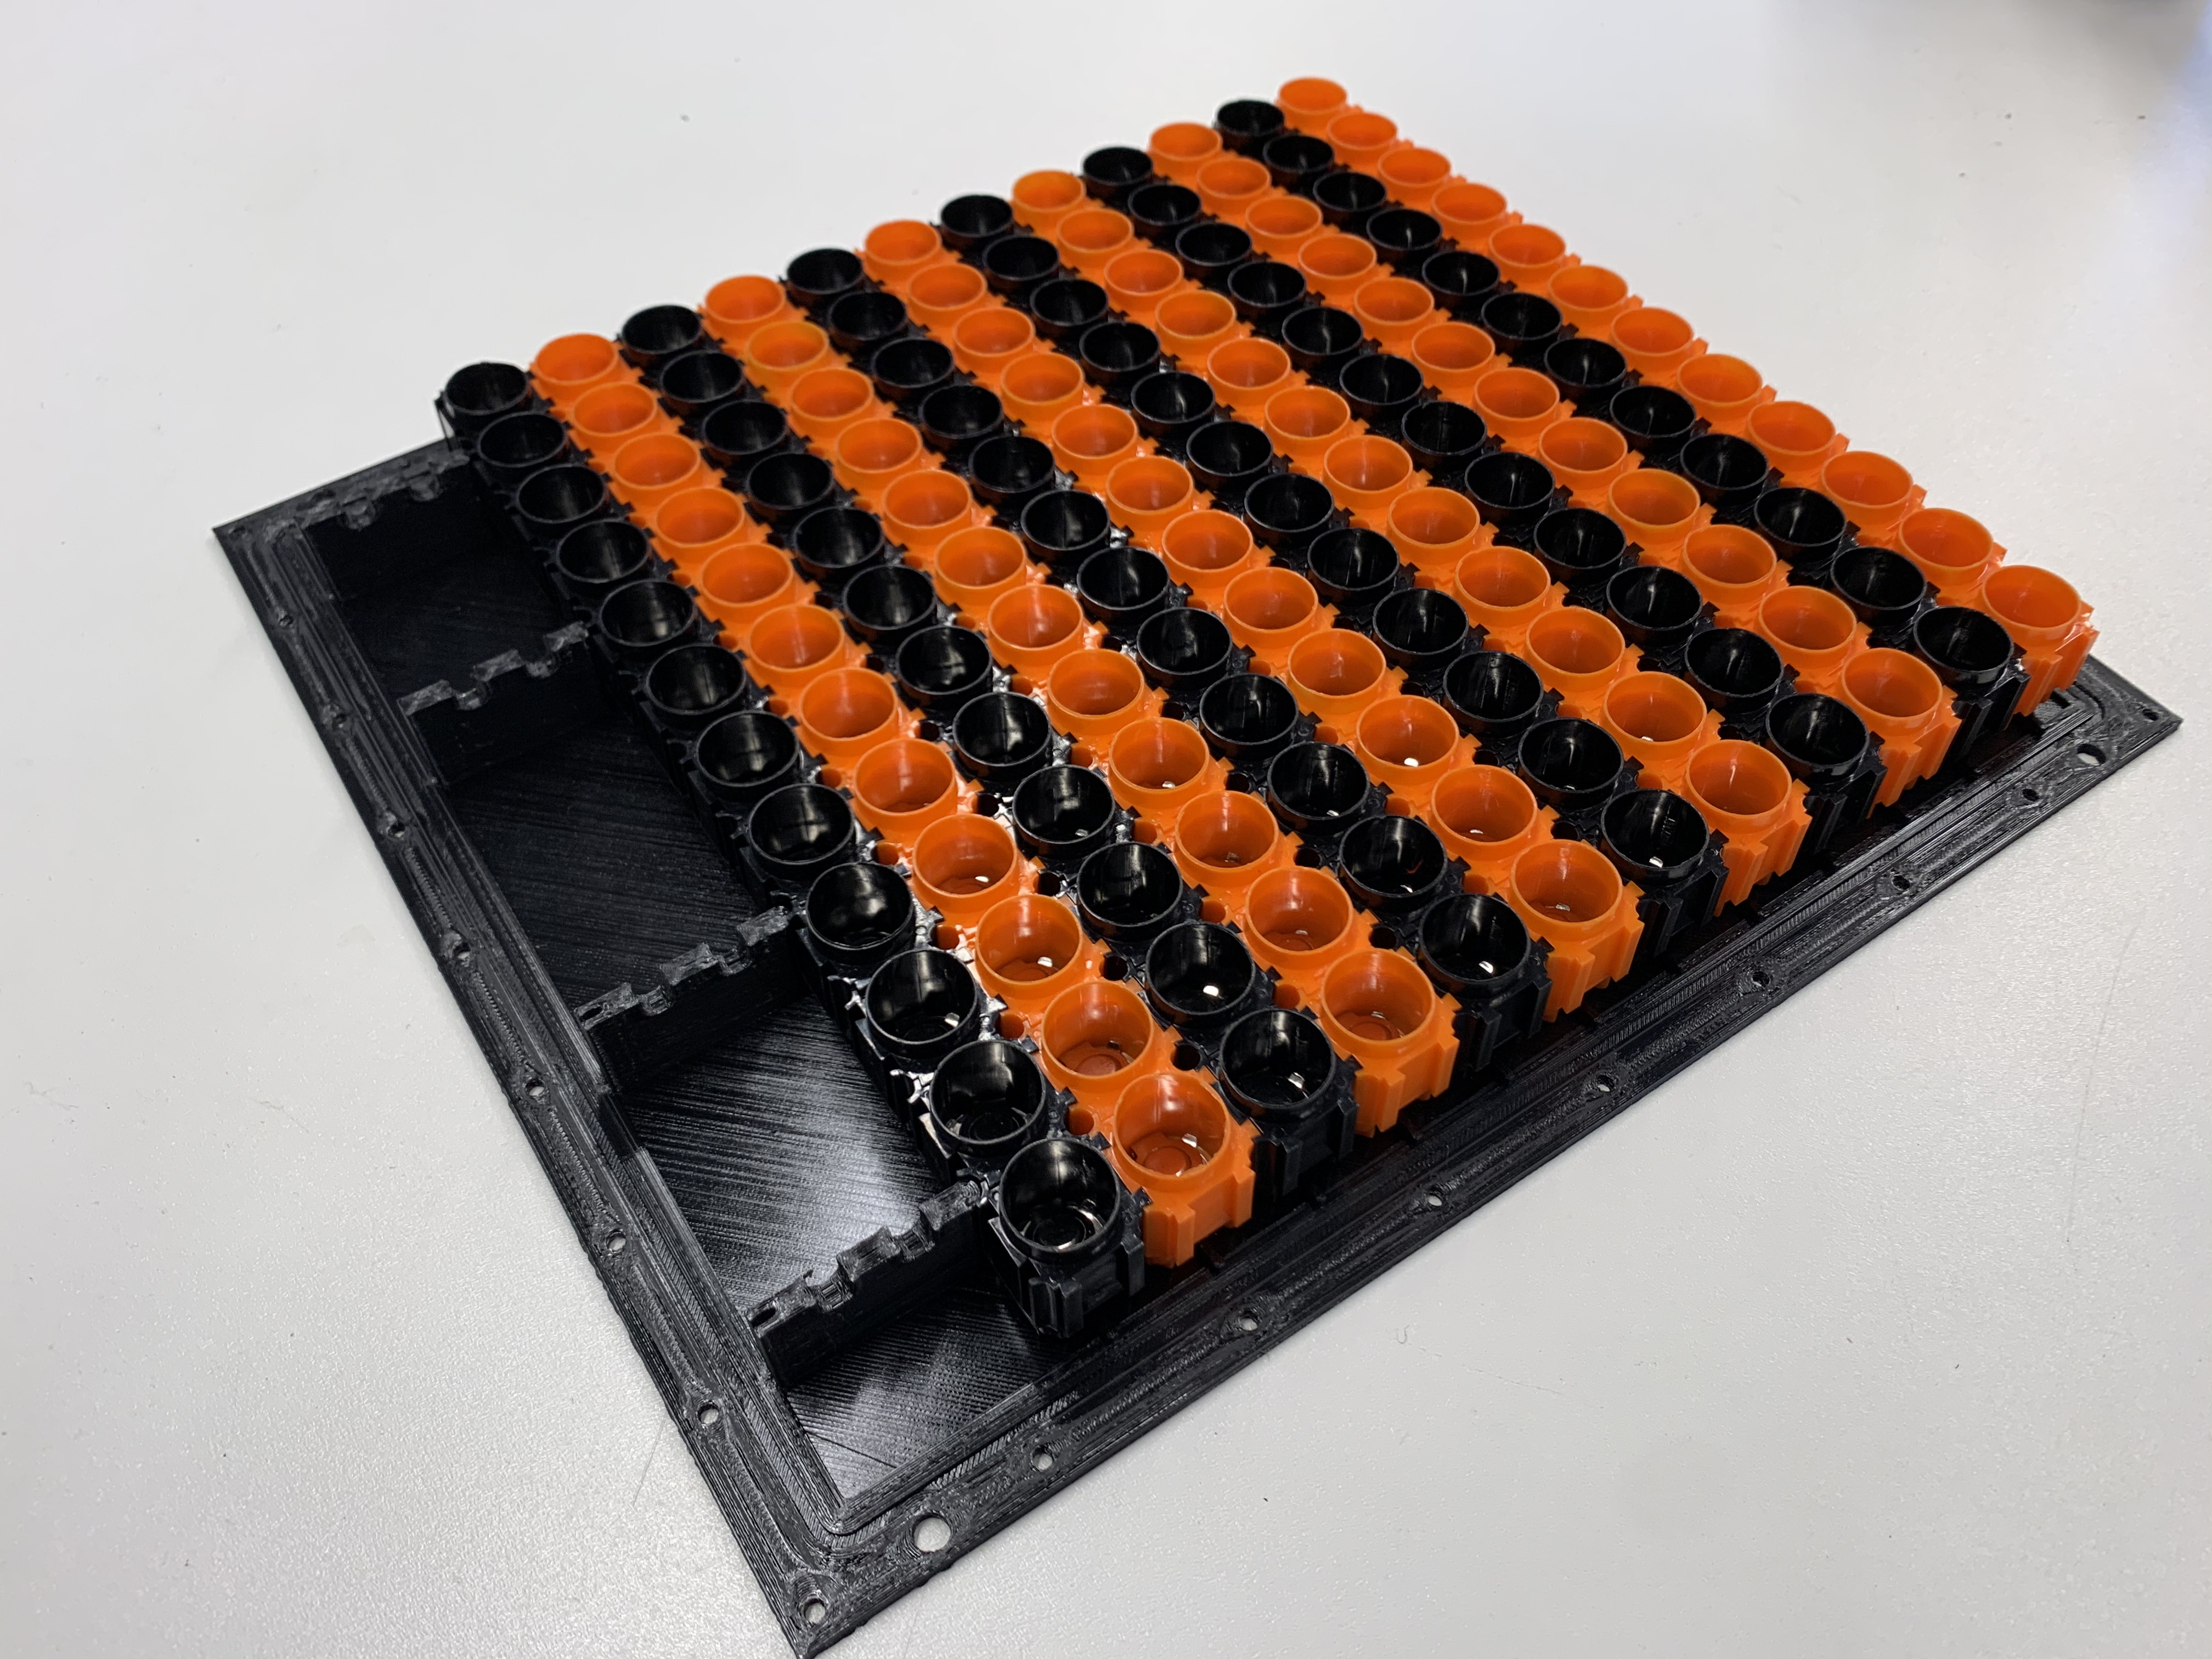
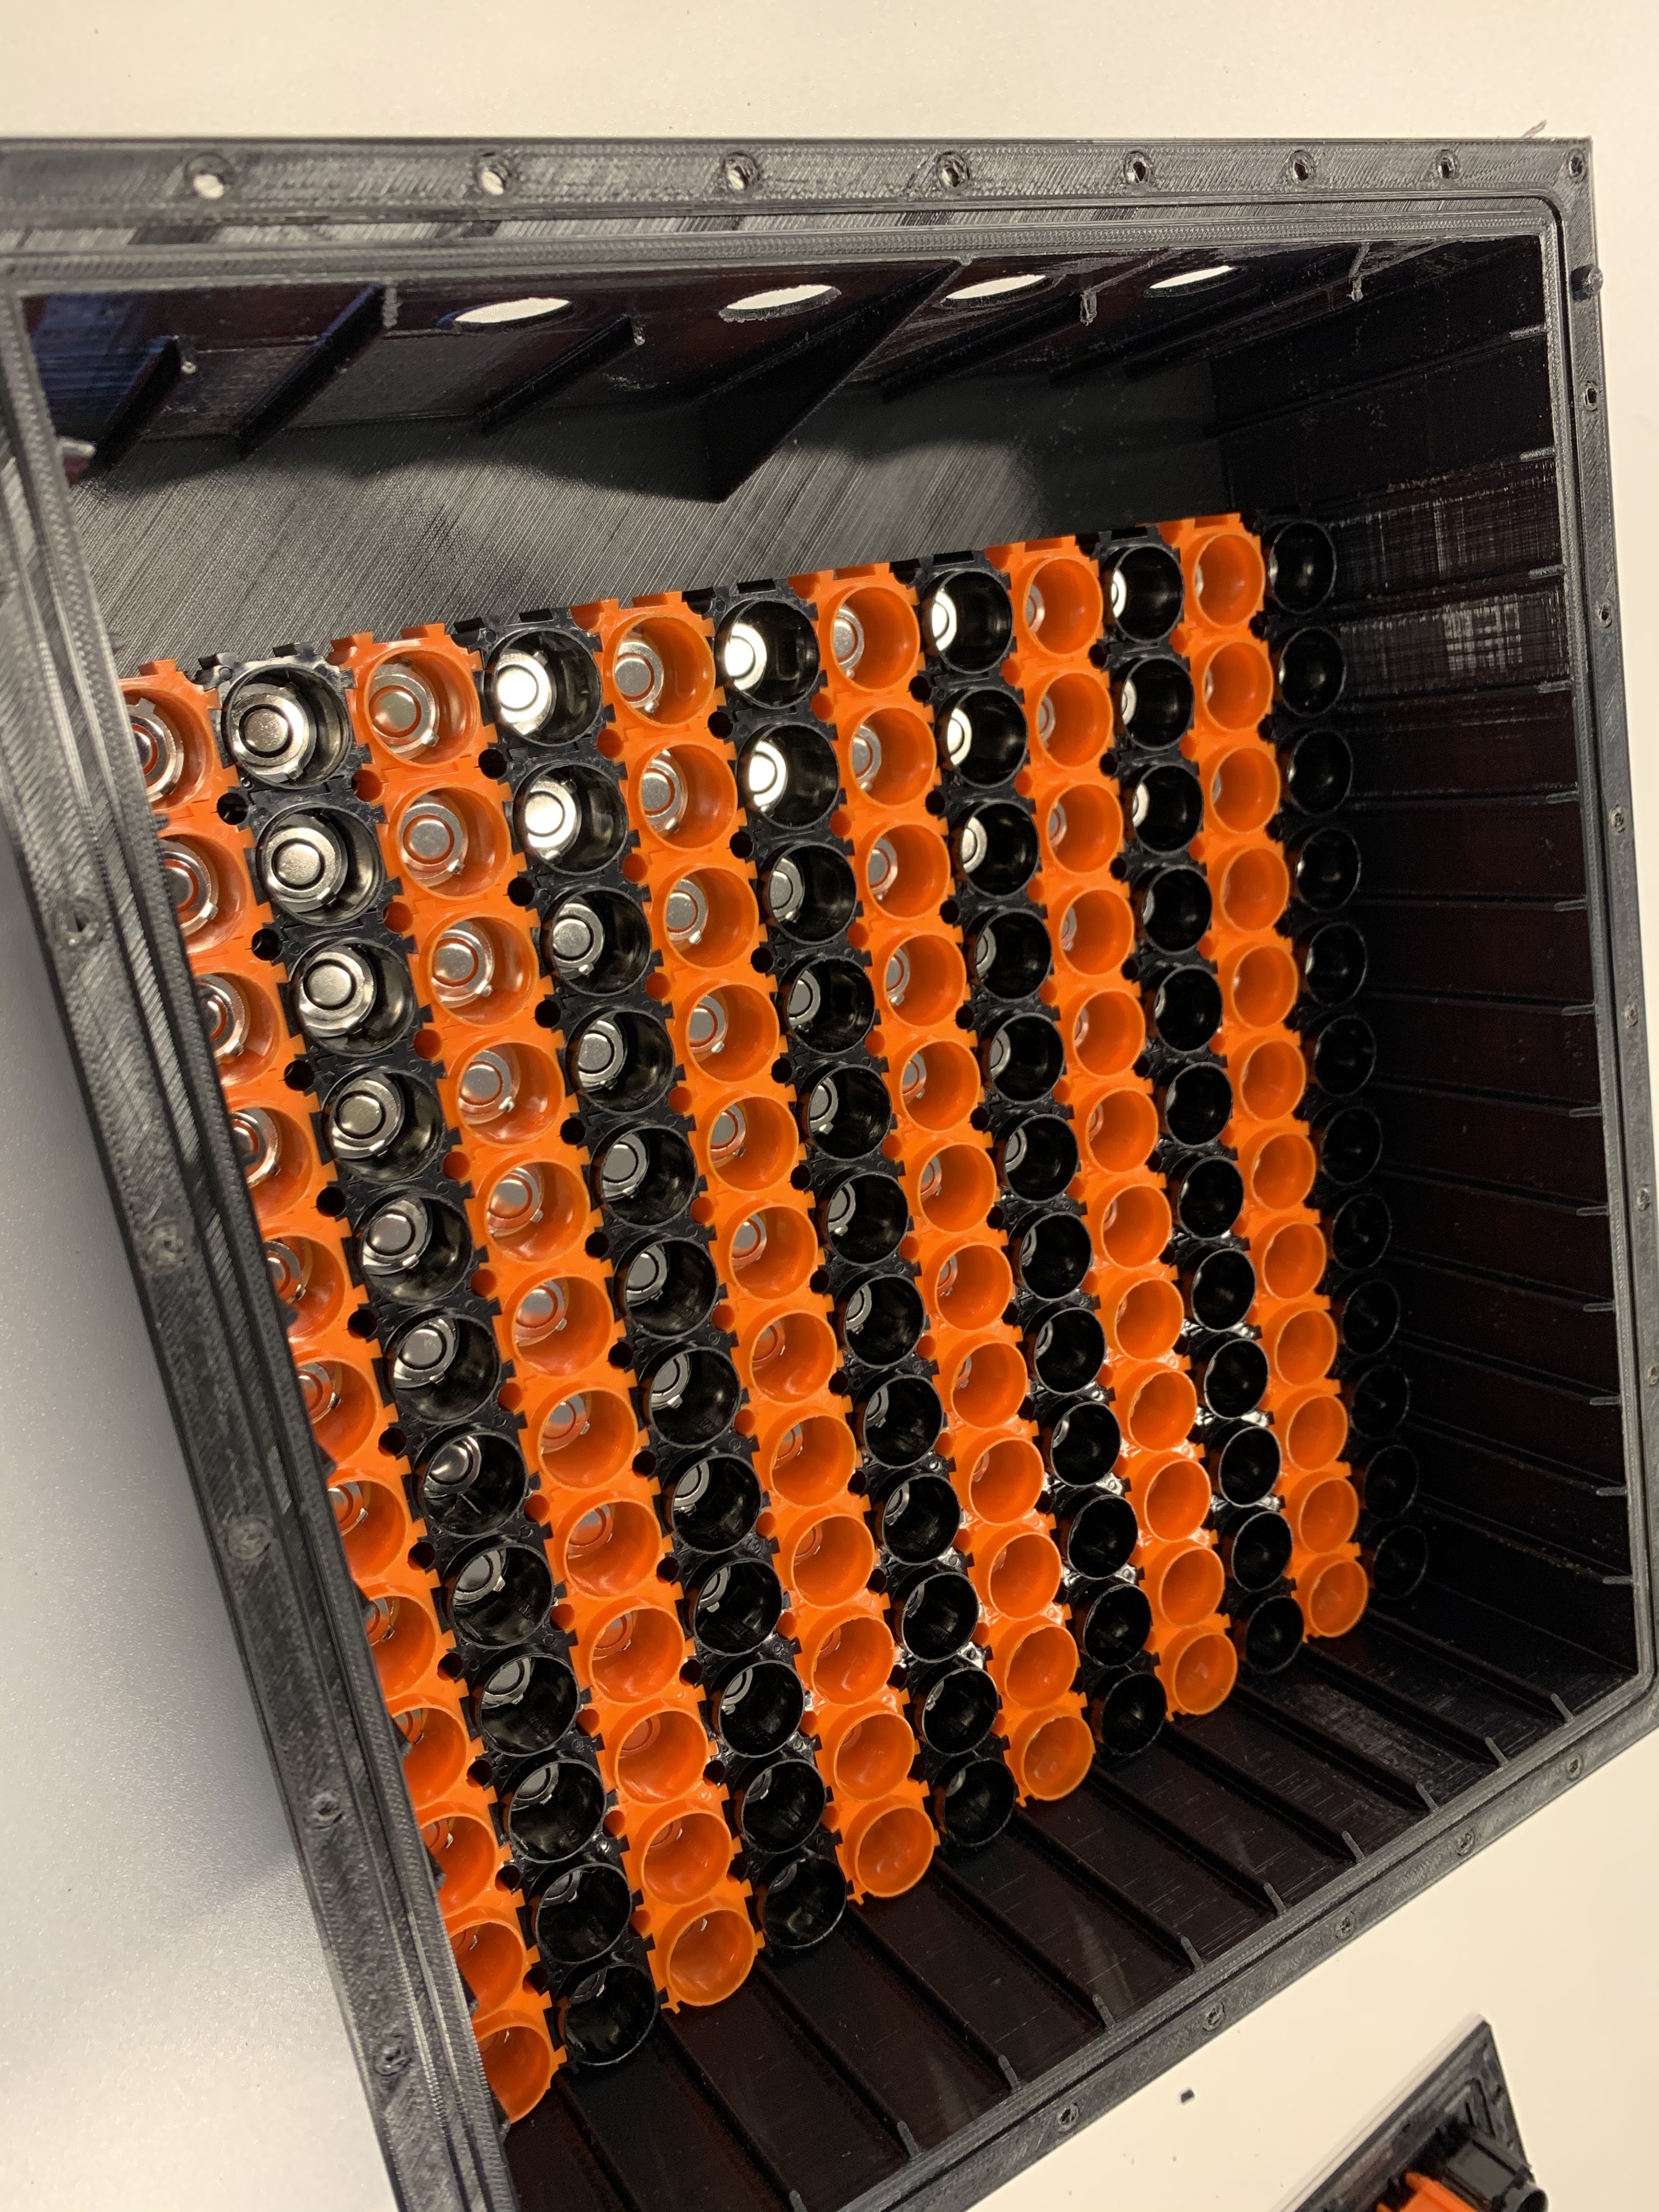
As spacer I use the Vruzend because later I can easy change from actual configuration 12a12p to perhaps 14s12p or other configurations.
On the picture you see the bottom plate from the box. The Vruzend spacers fit exactly into
I will mount it on a 2-3 mm aluminum plate.
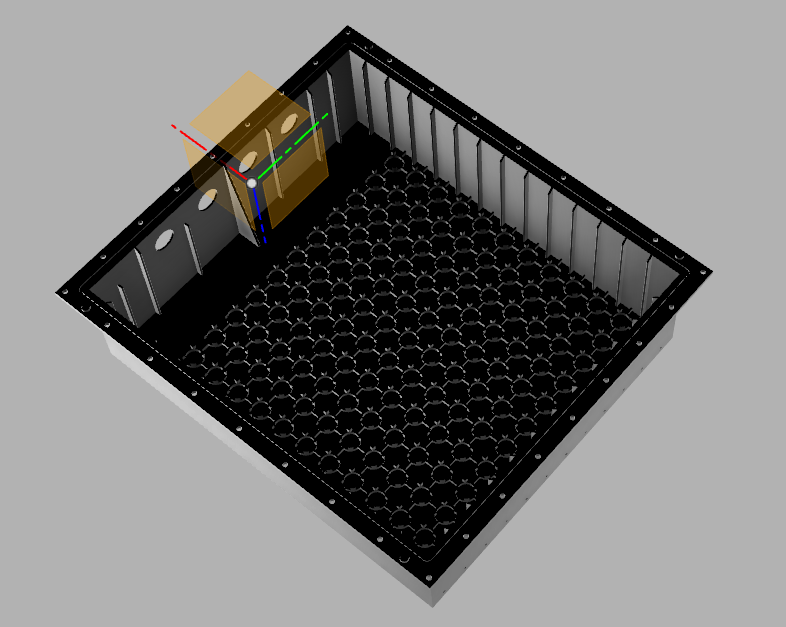
The cover from the box I want to laminate with Glas or CFK.
and here the CAD Rendering…

4 Likes
After some days printing, the cover from my Akkupack ist finished.
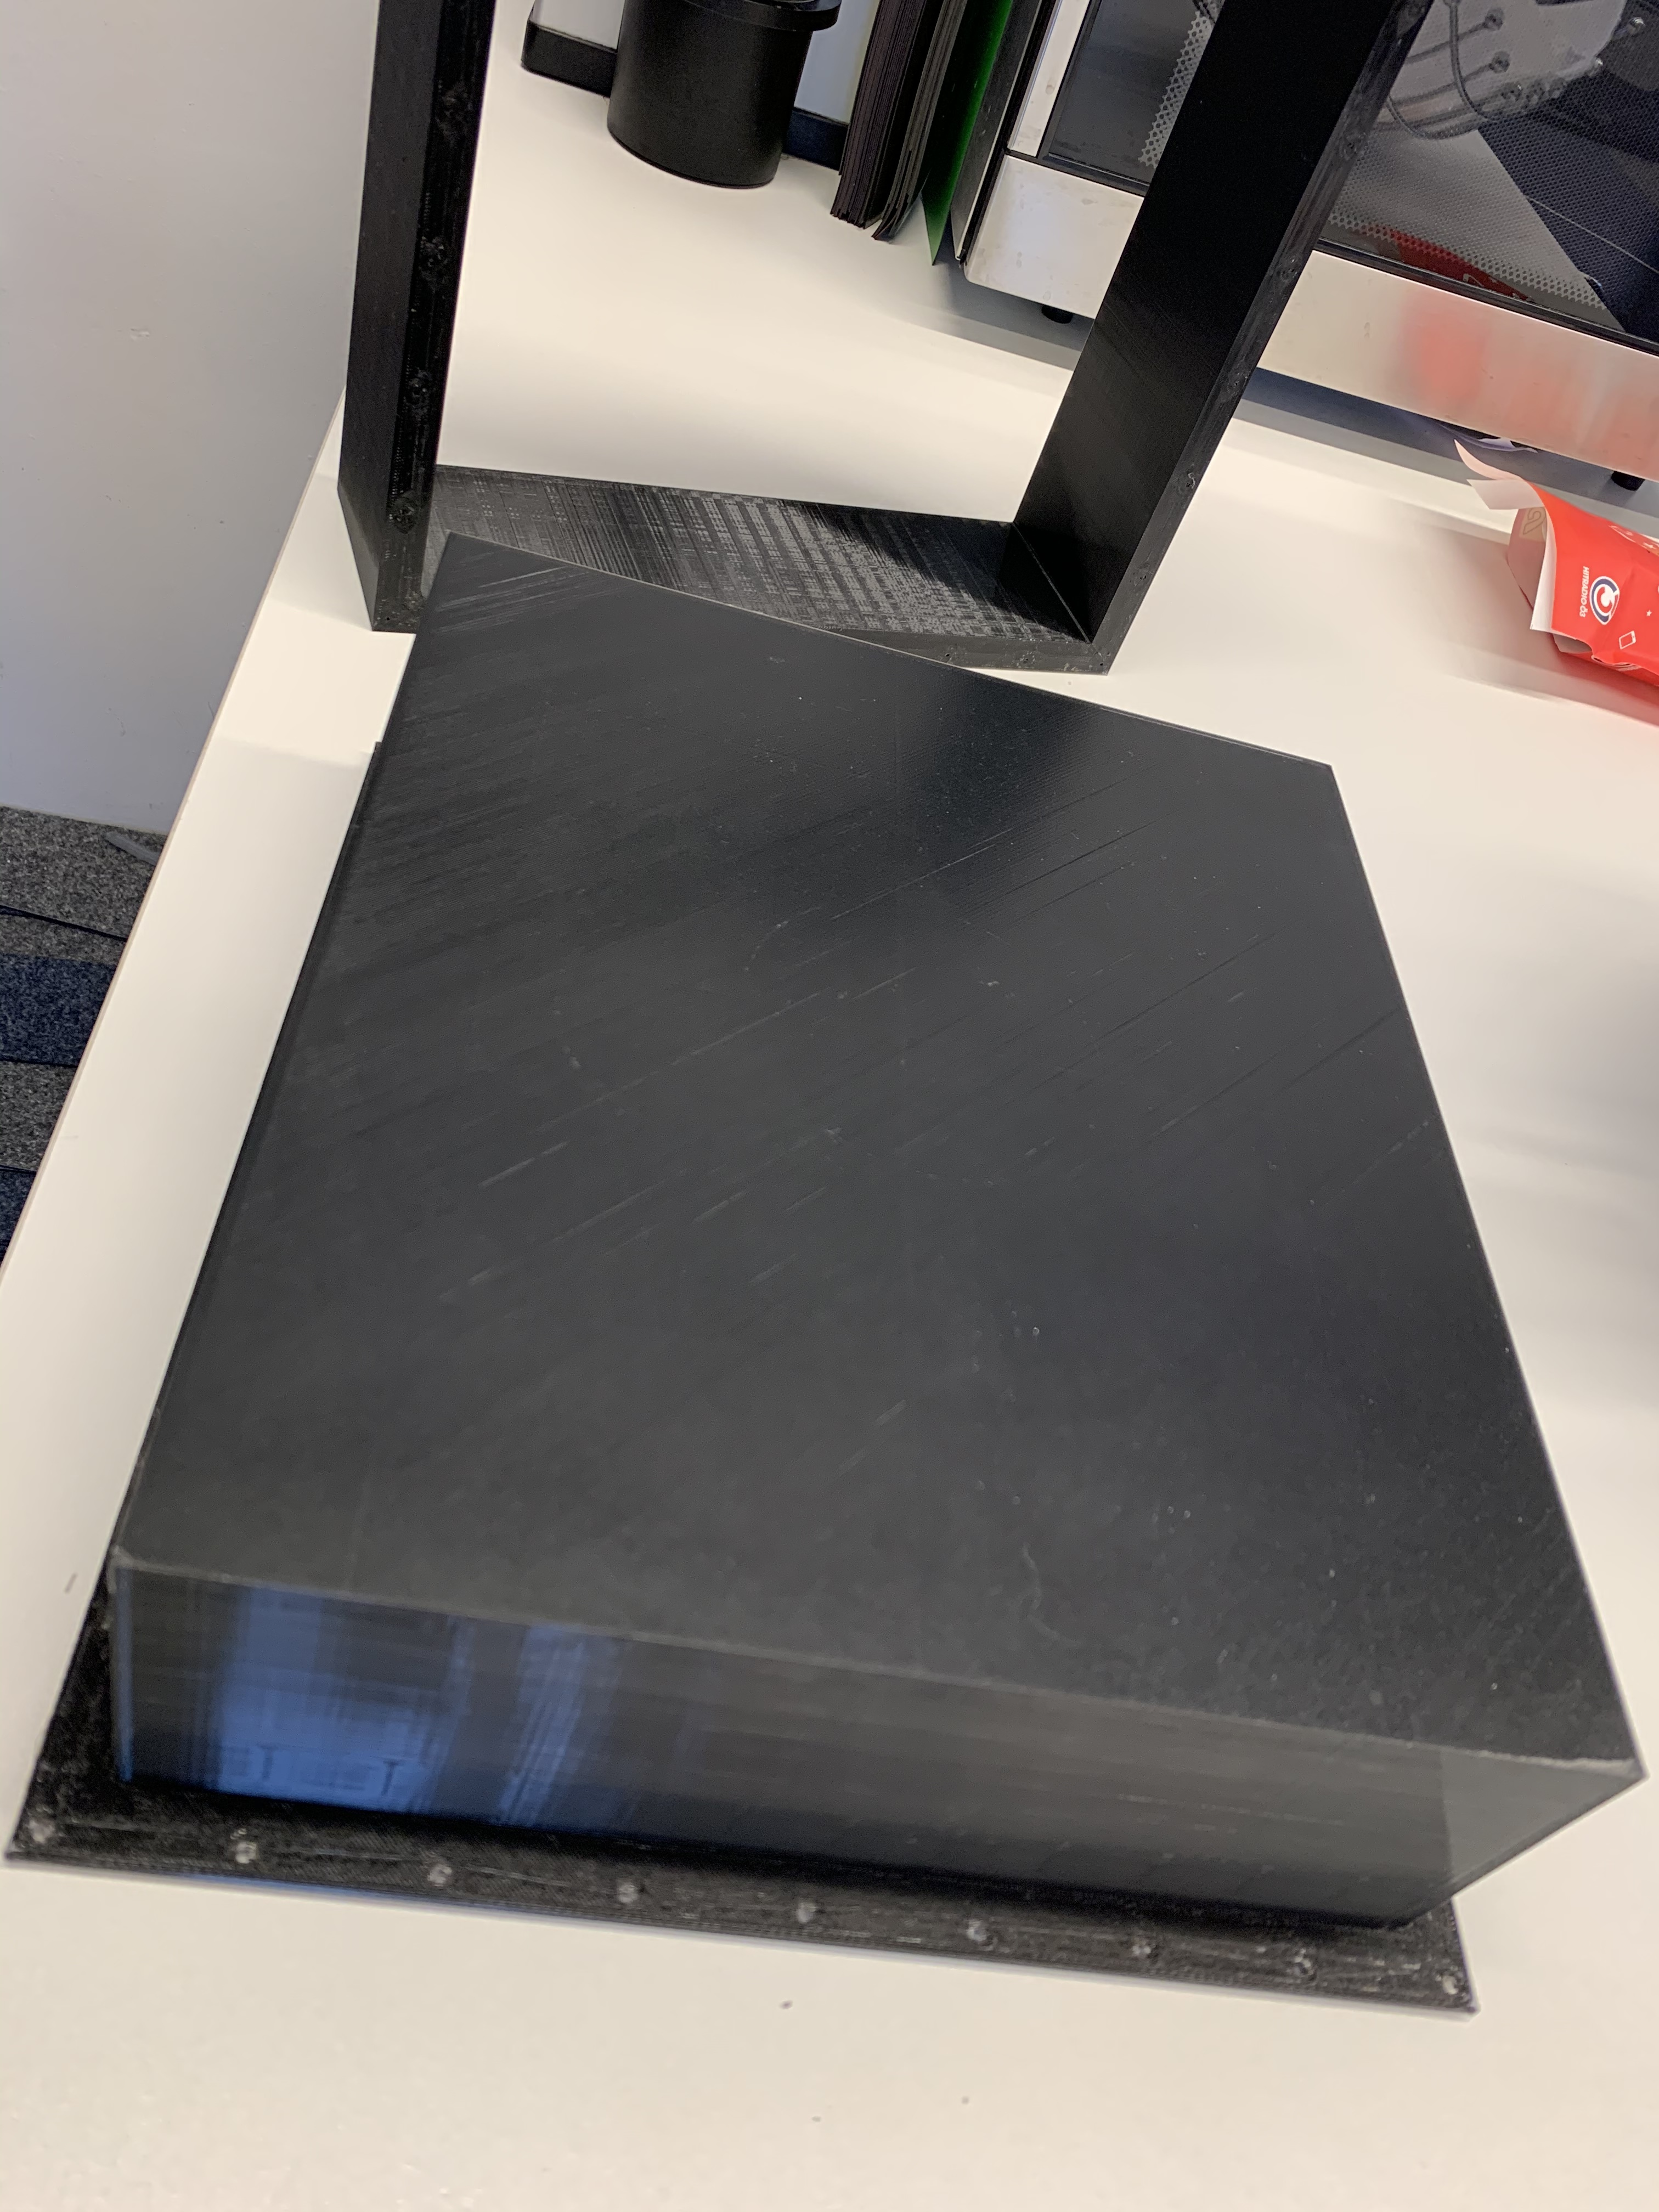
All is fitting perfect and the cover is strong. So next step is to laminate the Cover. So I can learn to laminate with CFK and Epoxy and later I can use my experience with the Mastclamp and the box for my inflatable.
5 Likes
hi, you are working hard. I like it. if you need tips on cfk laminating, which resins, cheap fabric etc. you can call me at any time. send you my phone. number. greetings from schärding oö
1 Like
Hi, thanks for your help!
I ordered now that:
https://www.amazon.de/gp/product/B00TGMHWQS/ref=ppx_yo_dt_b_asin_title_o00_s00?ie=UTF8&psc=1
https://www.amazon.de/gp/product/B015Q9FKS6/ref=ppx_yo_dt_b_asin_title_o07_s00?ie=UTF8&psc=1
https://www.amazon.de/gp/product/B019286D6A/ref=ppx_yo_dt_b_asin_title_o05_s00?ie=UTF8&psc=1
1 Like