2 years ago i saw in Youtube (while i seachring something about Kitesurfing) first time a eFoil.
I was fascinated from that and i decide, i want that too. Little bit later i was shocked about the price from such foils.
One year later i saw in TV again a efoil and looking around the internet and found this forum.
Since that moment i read a lot, i do some constructions in Fusion 360 (i want to put Akkus, ESC and motor in a Torpedo) mut i decide 1 meter can perhaps to long.
So, now i take the traditional way.
after long time reading i know in witch direction i will go…
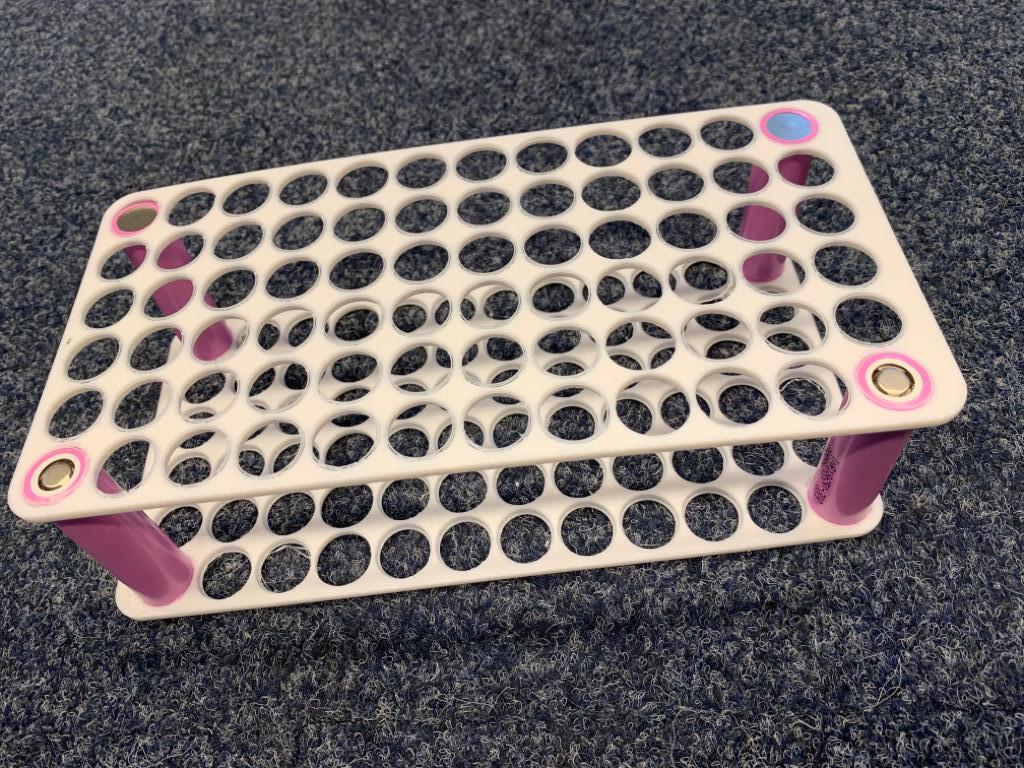
Batteries: 18650-30Q in a 2 * 6s12p configuration without a BMS
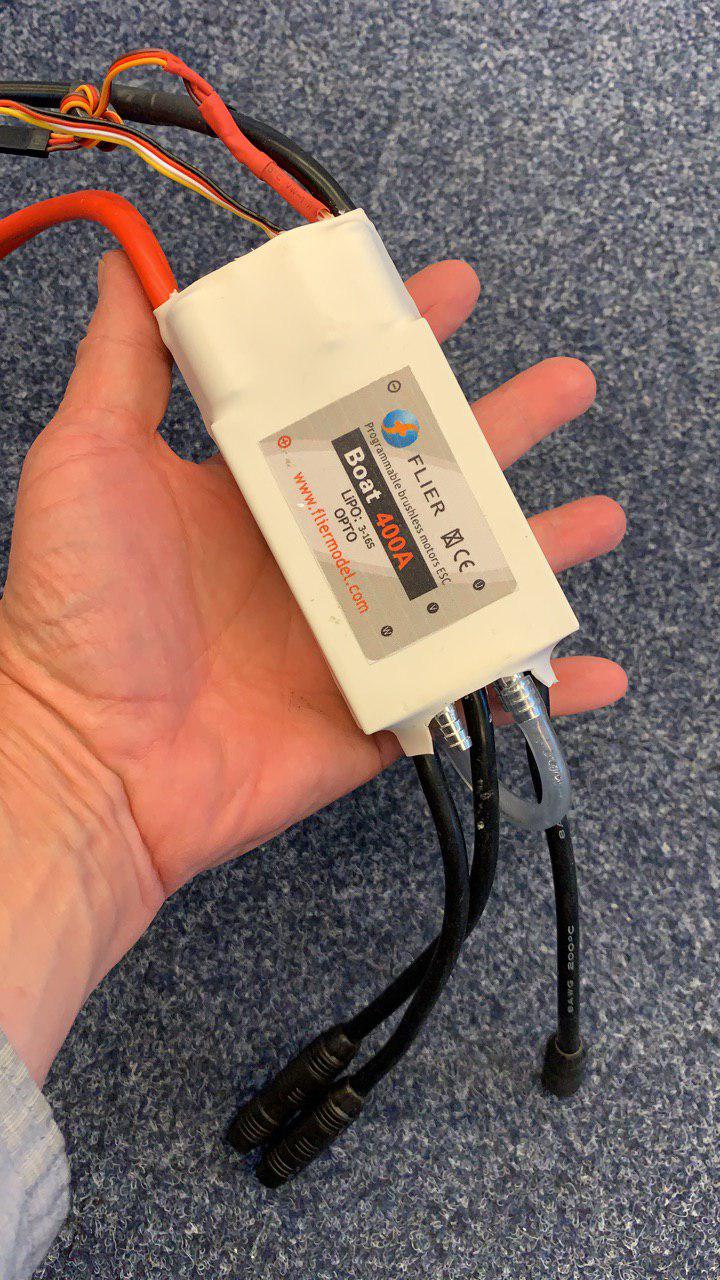
ESC: Flier Boar 400A
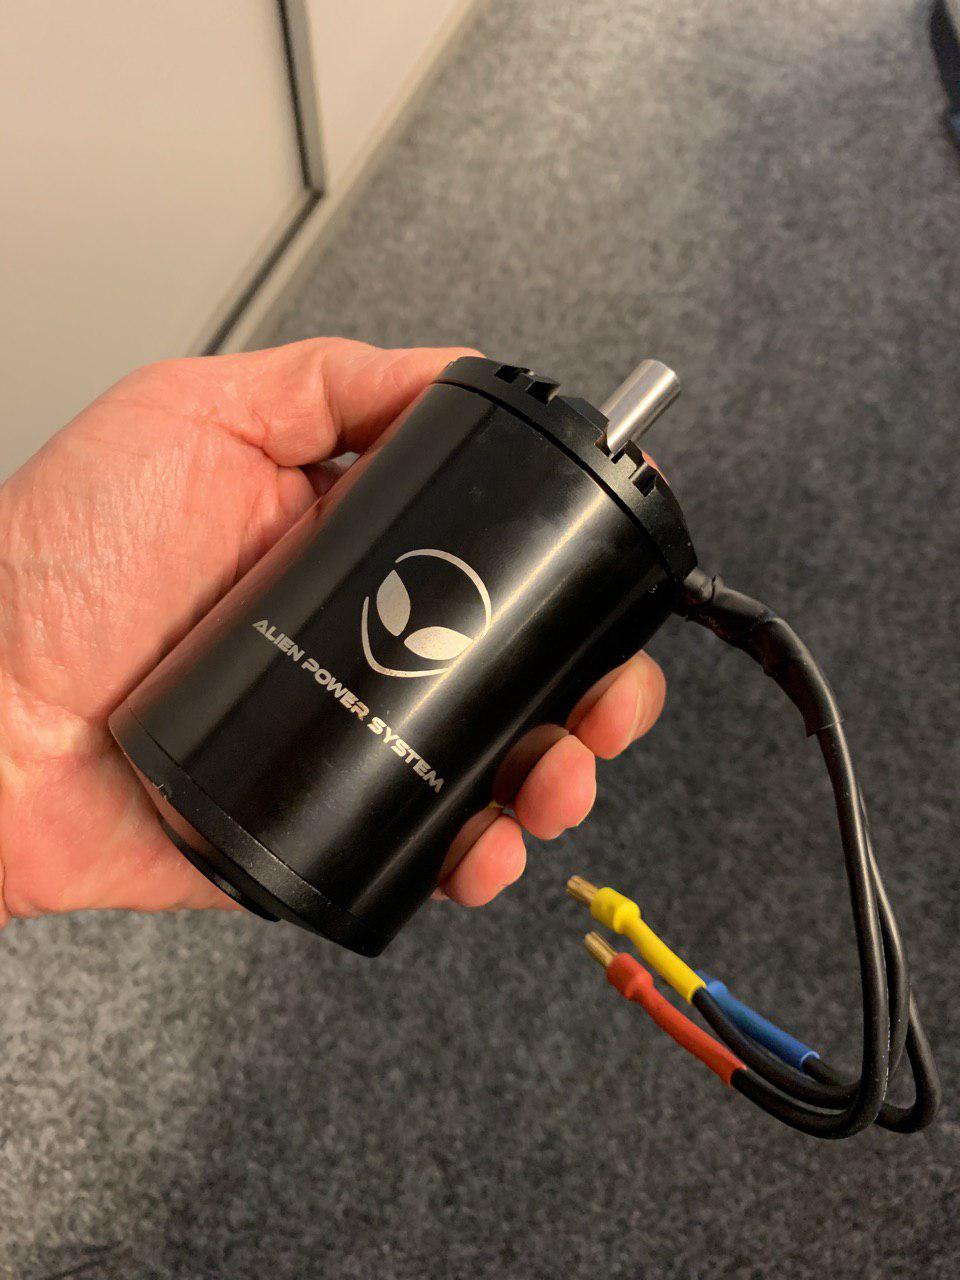
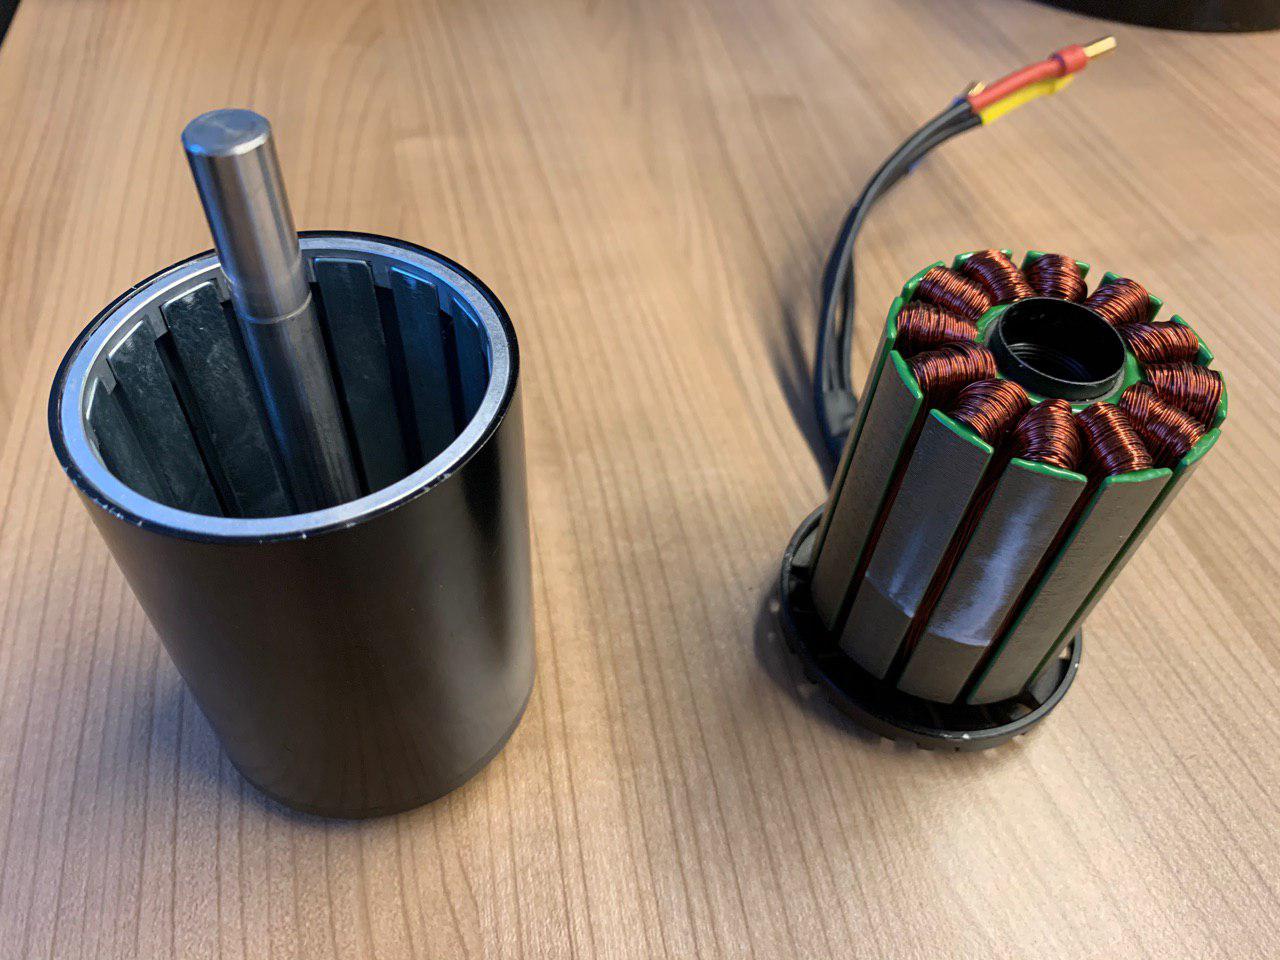
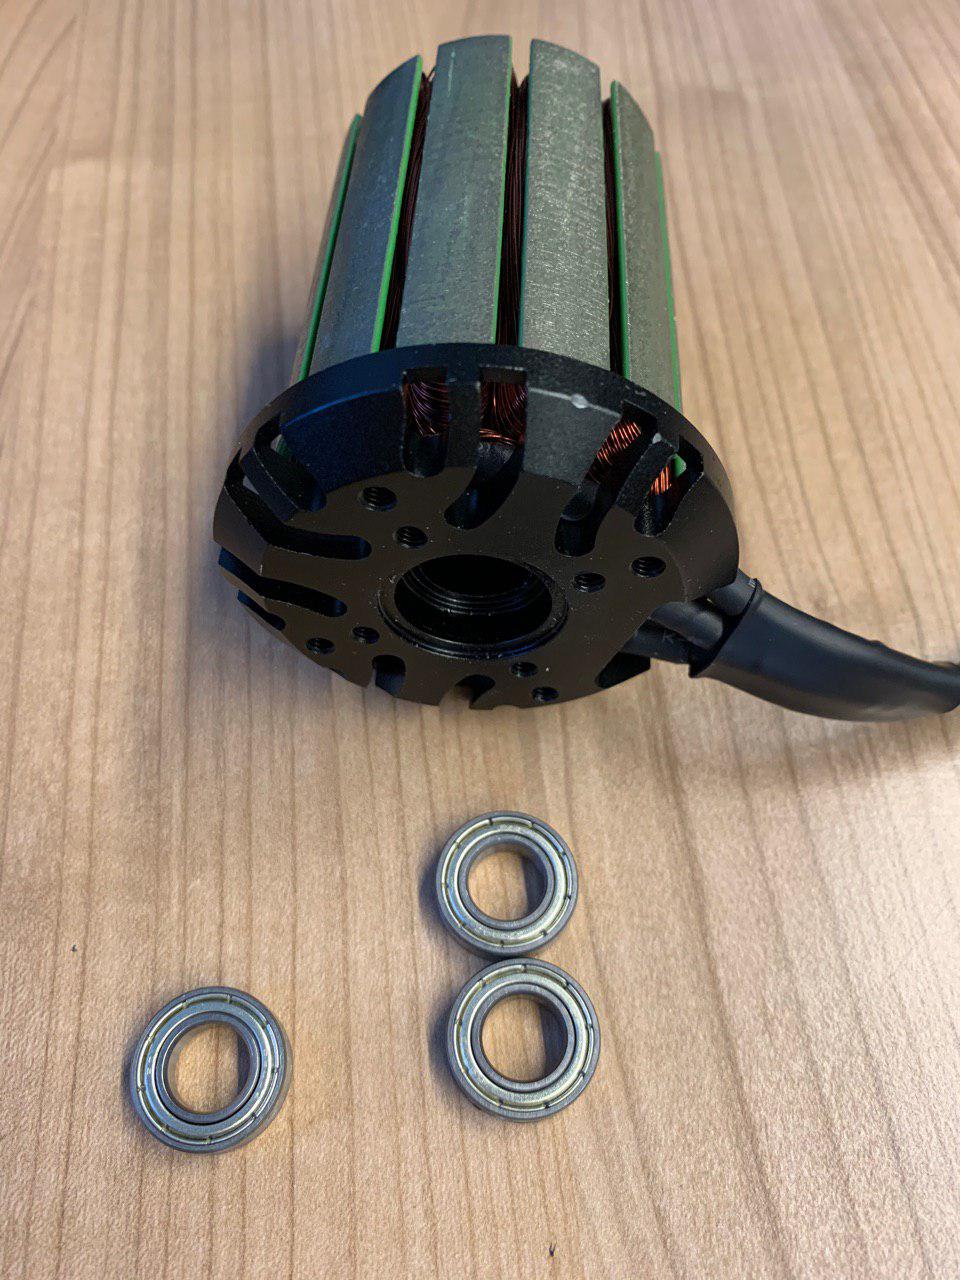
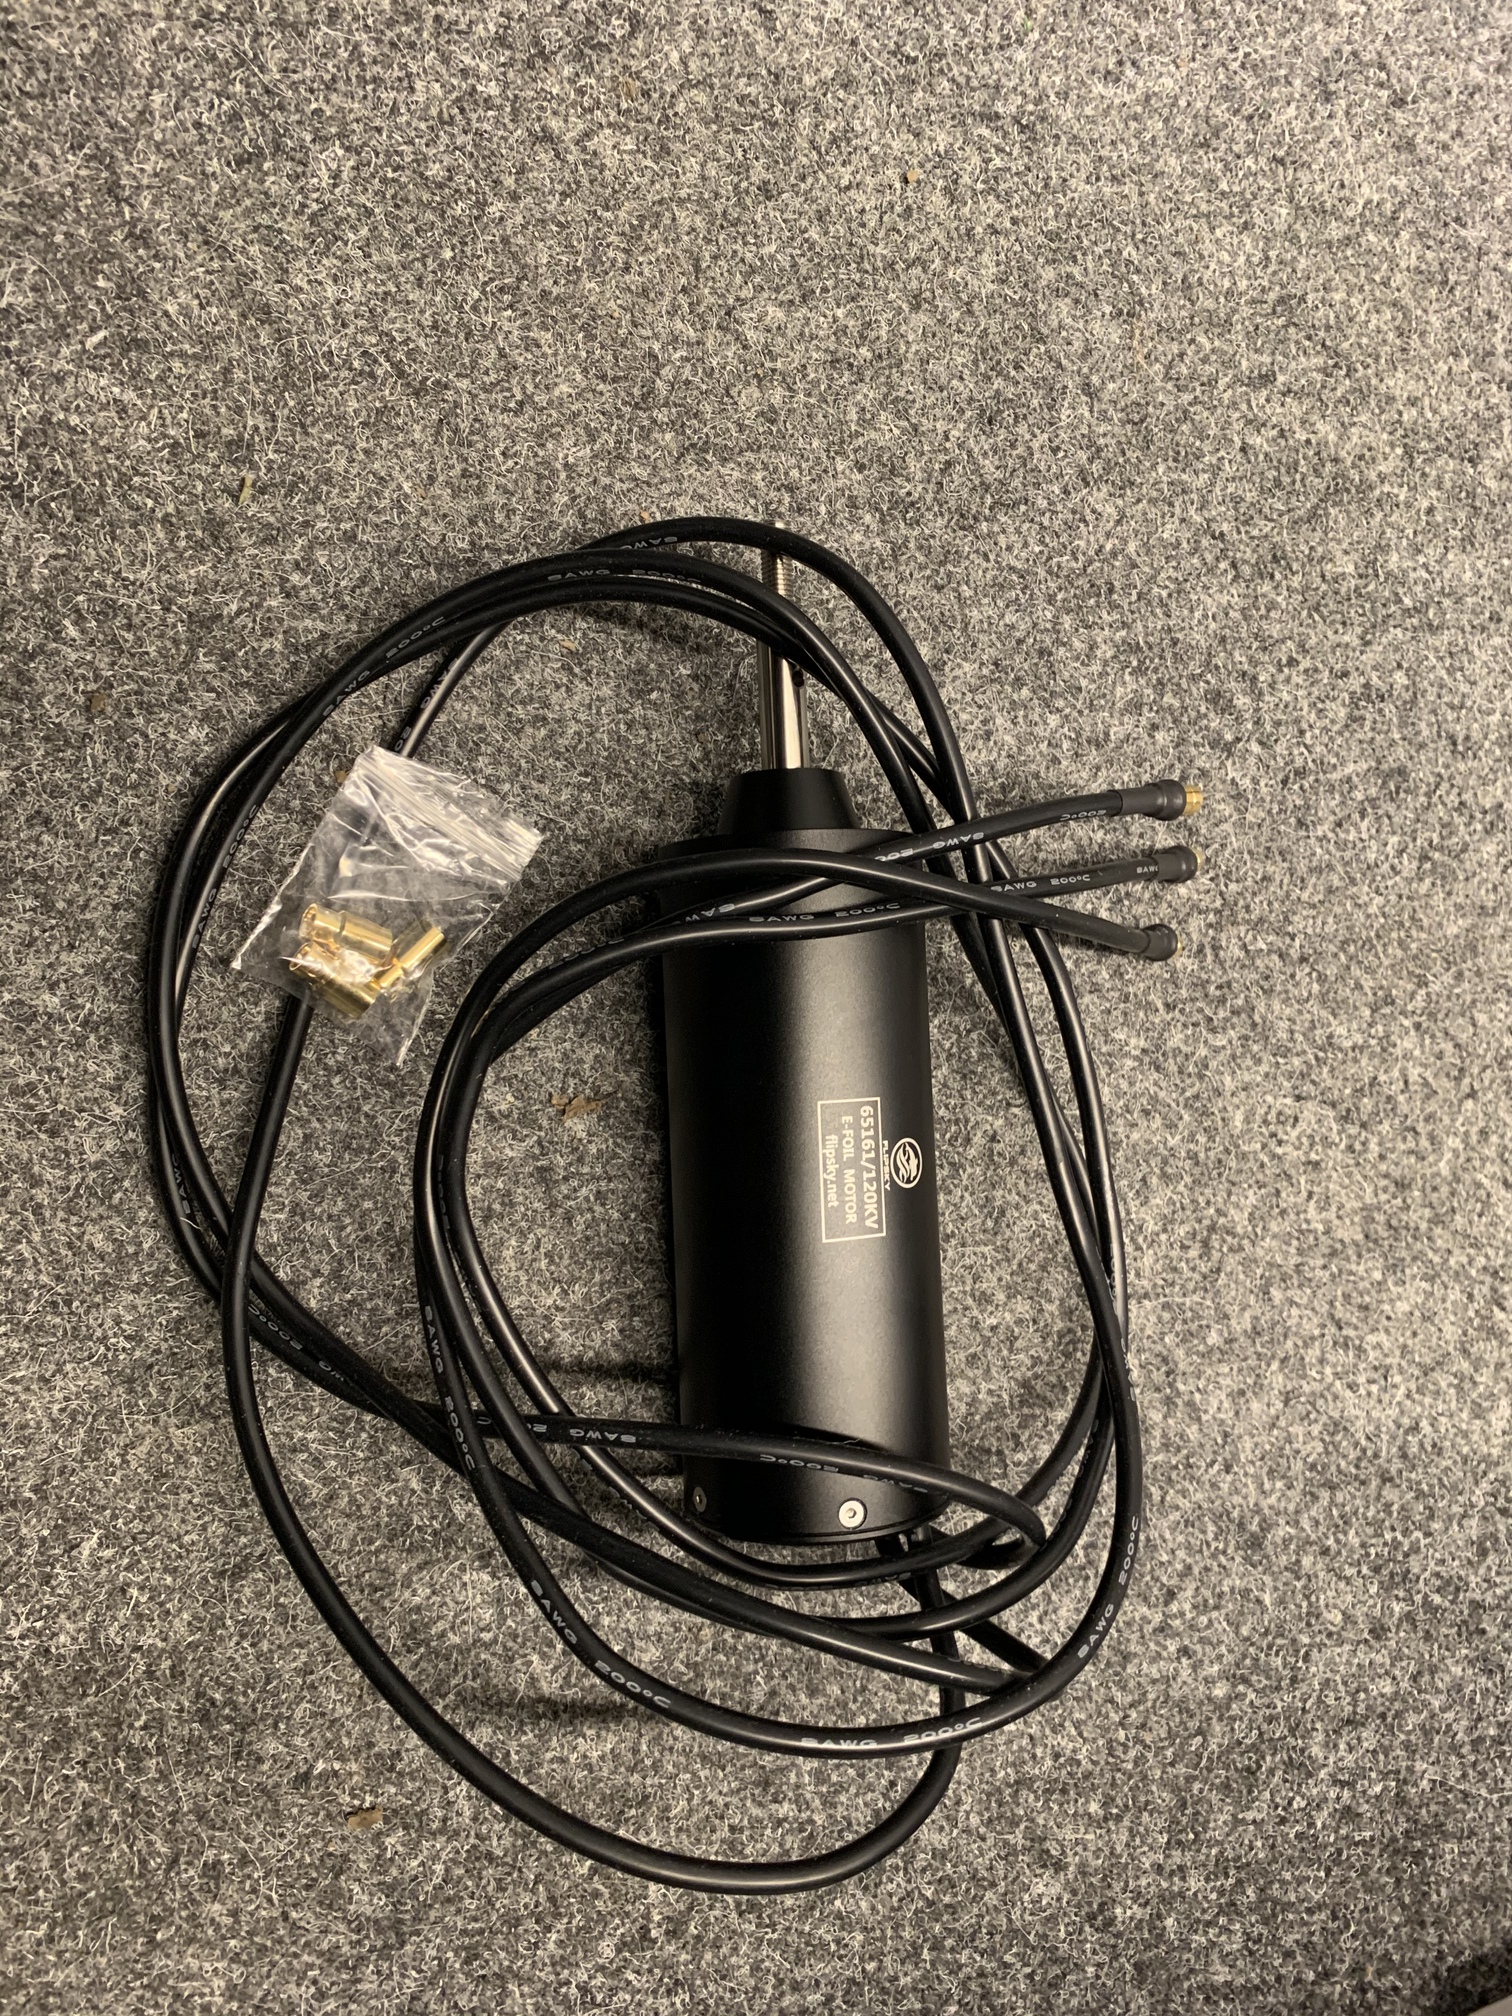
Motor: APS 63100
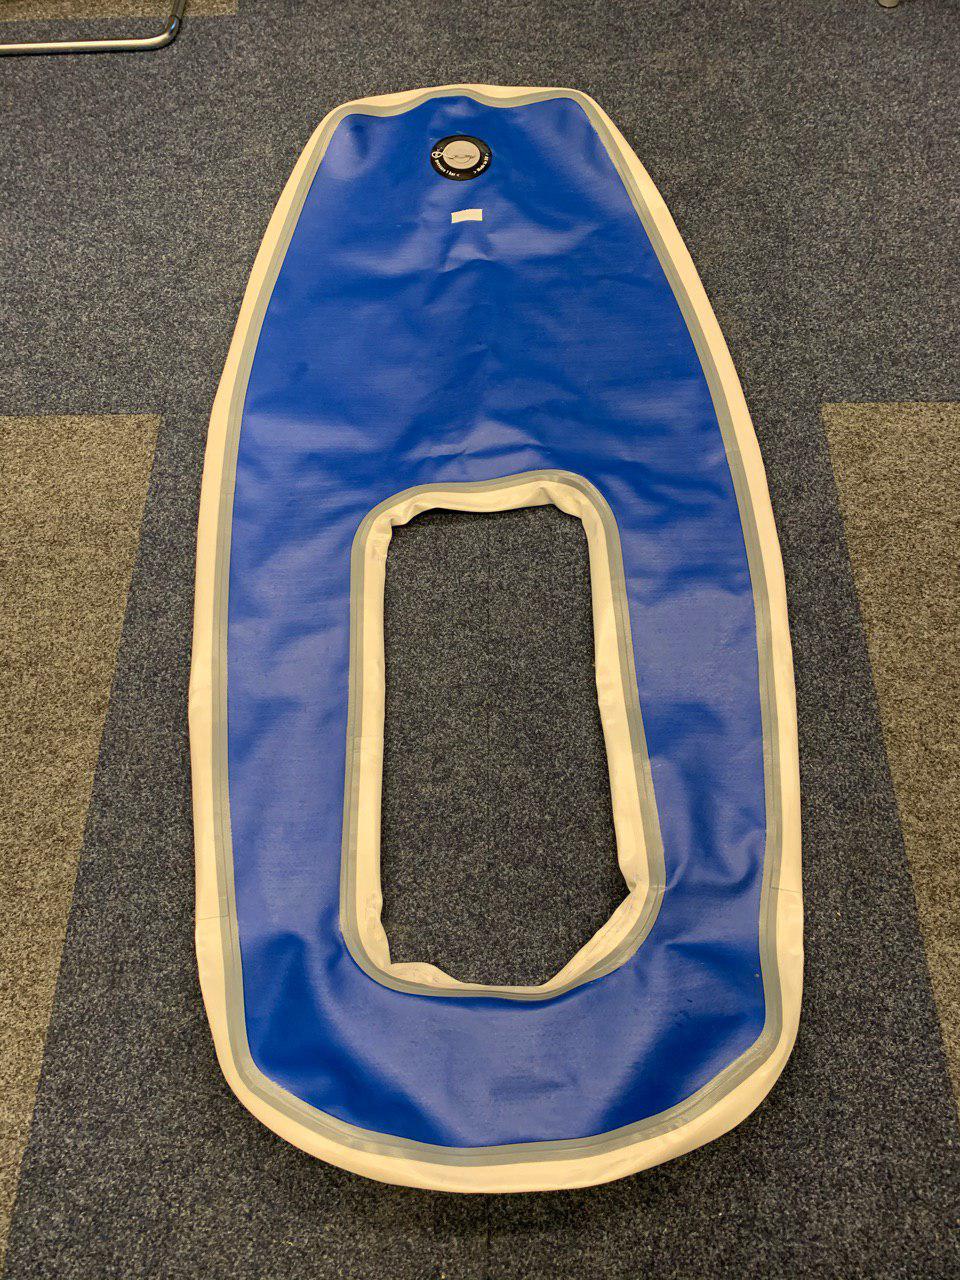
Board: I decide to buy a European inflatable Board.
Foil: RL or Gong
Hi, i found it on Facebook. Take a look to that Link: Redirecting...
It is a Startup and build Inflatable Bouard and efoils with Carbon
Mine is a not Carbon version.
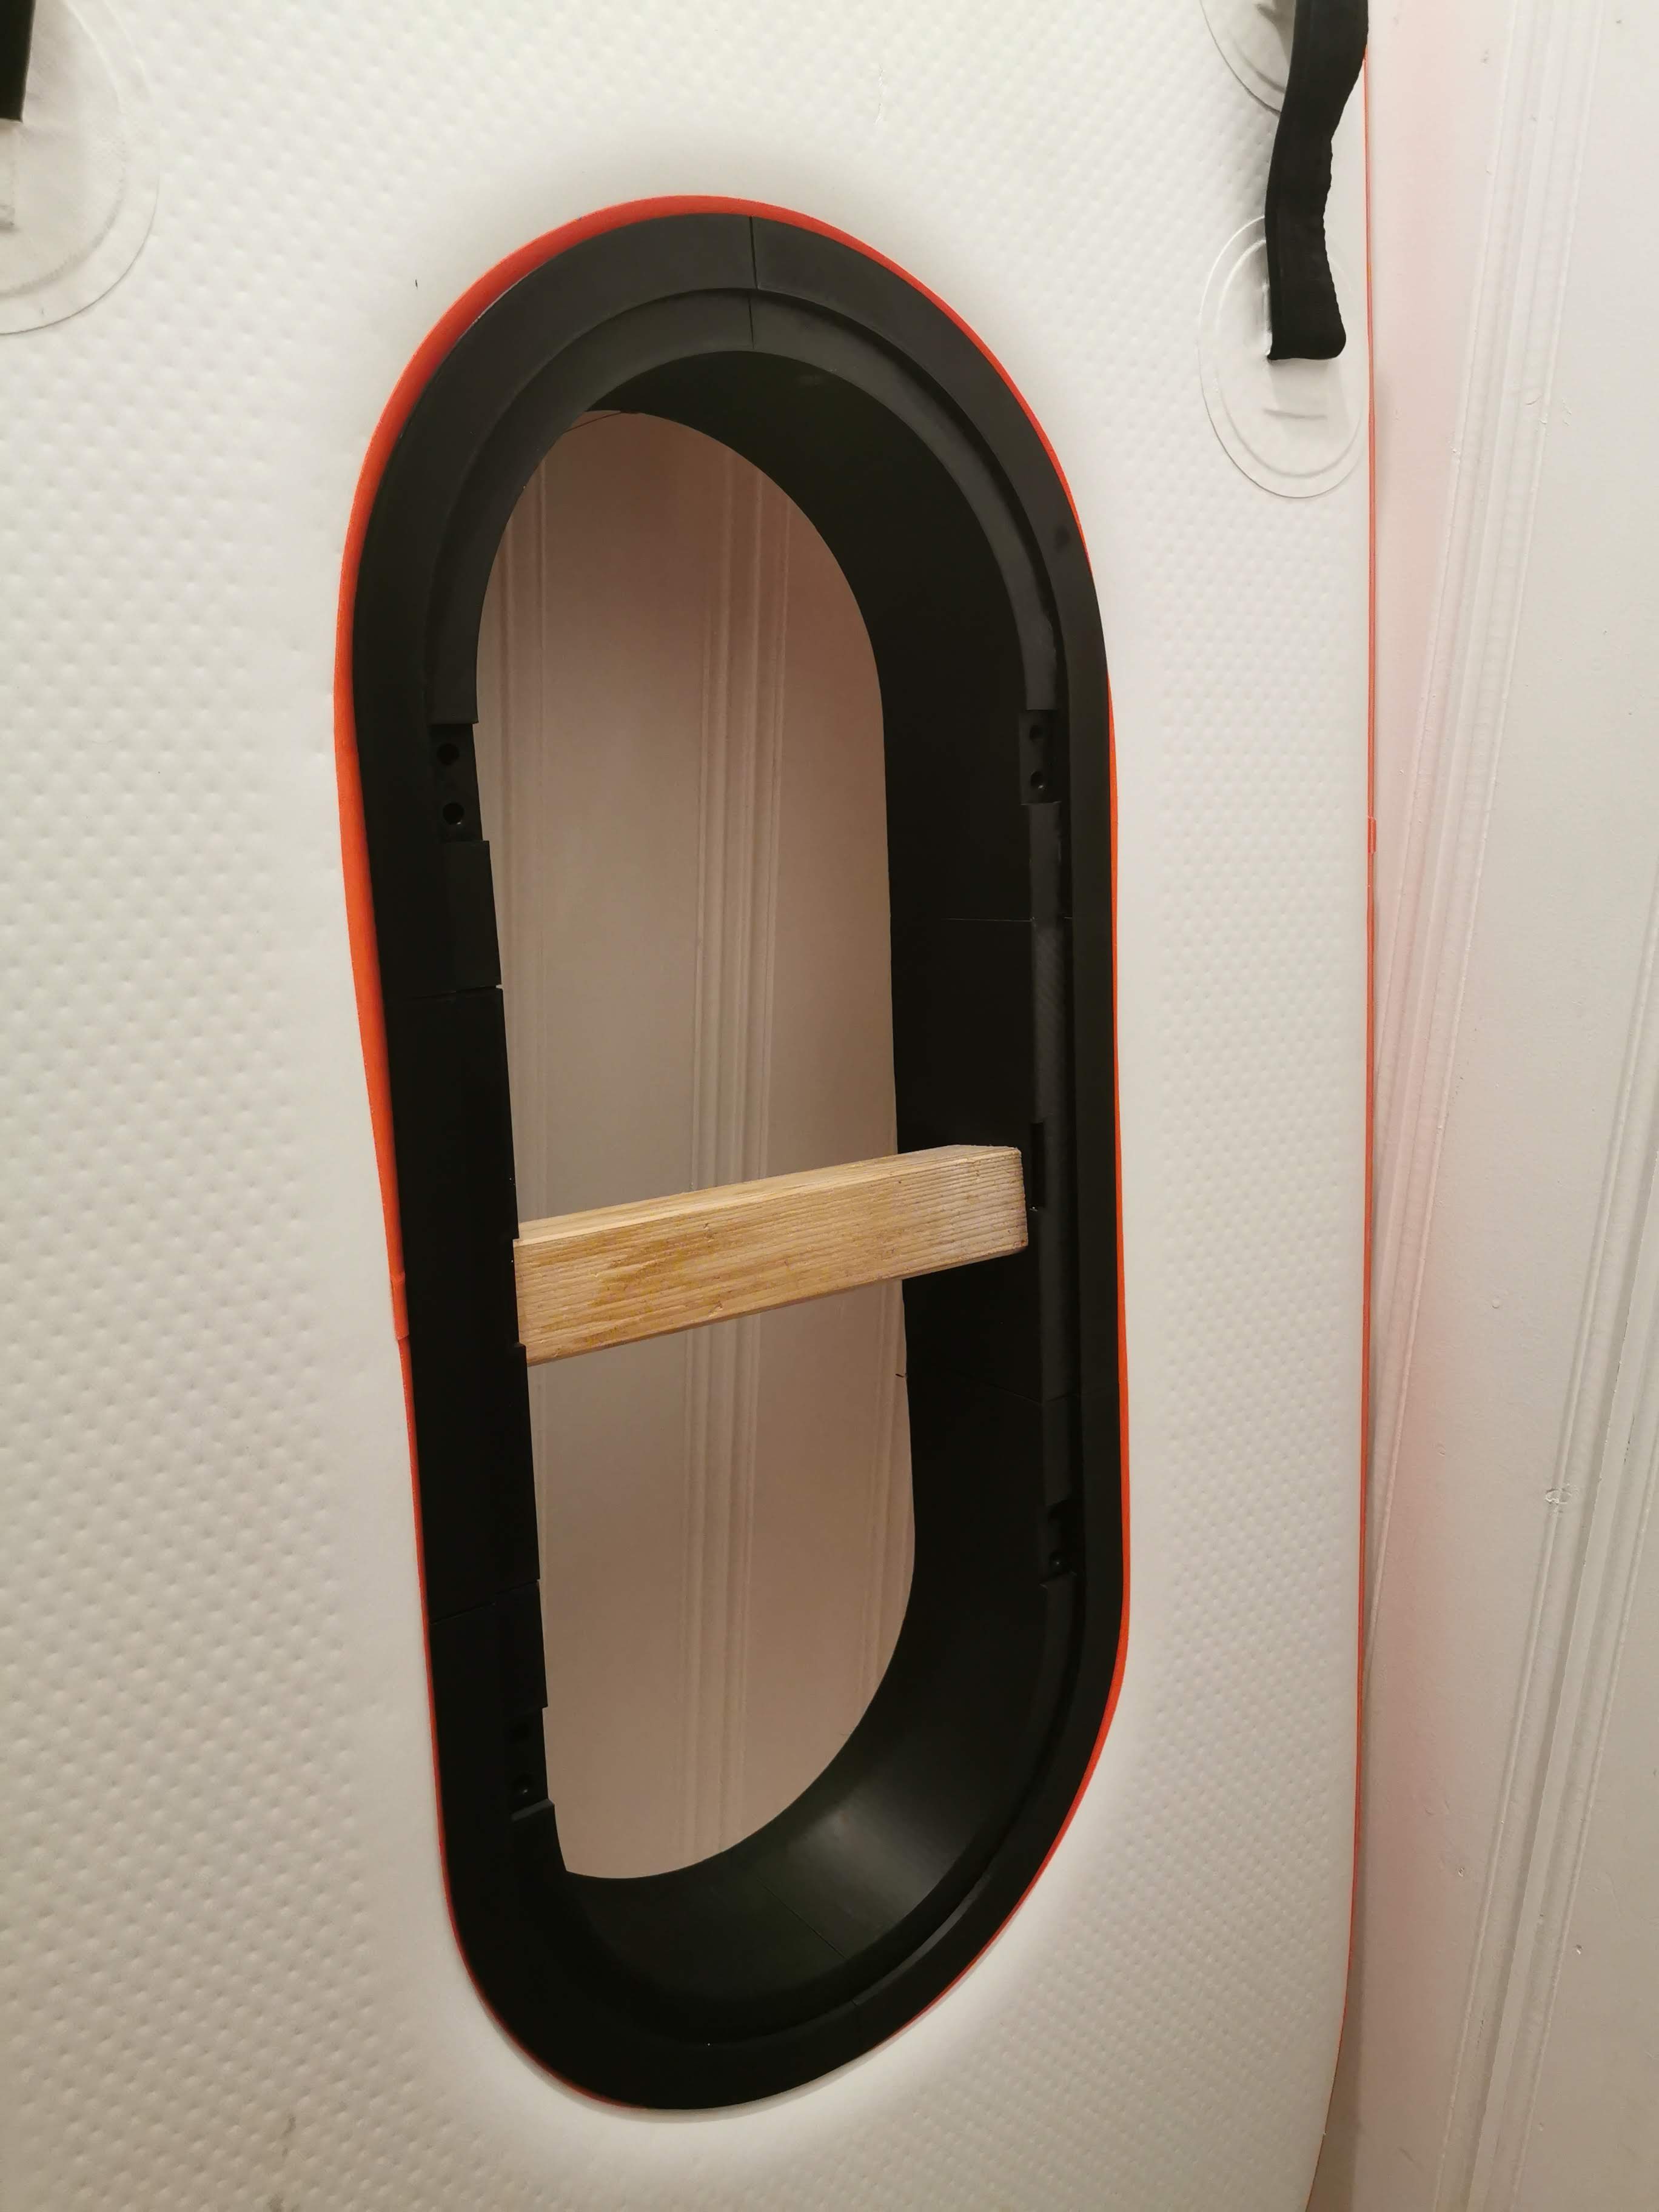
Did you build a box for you inflatable and whan, how?
Thanks. I will contact them.
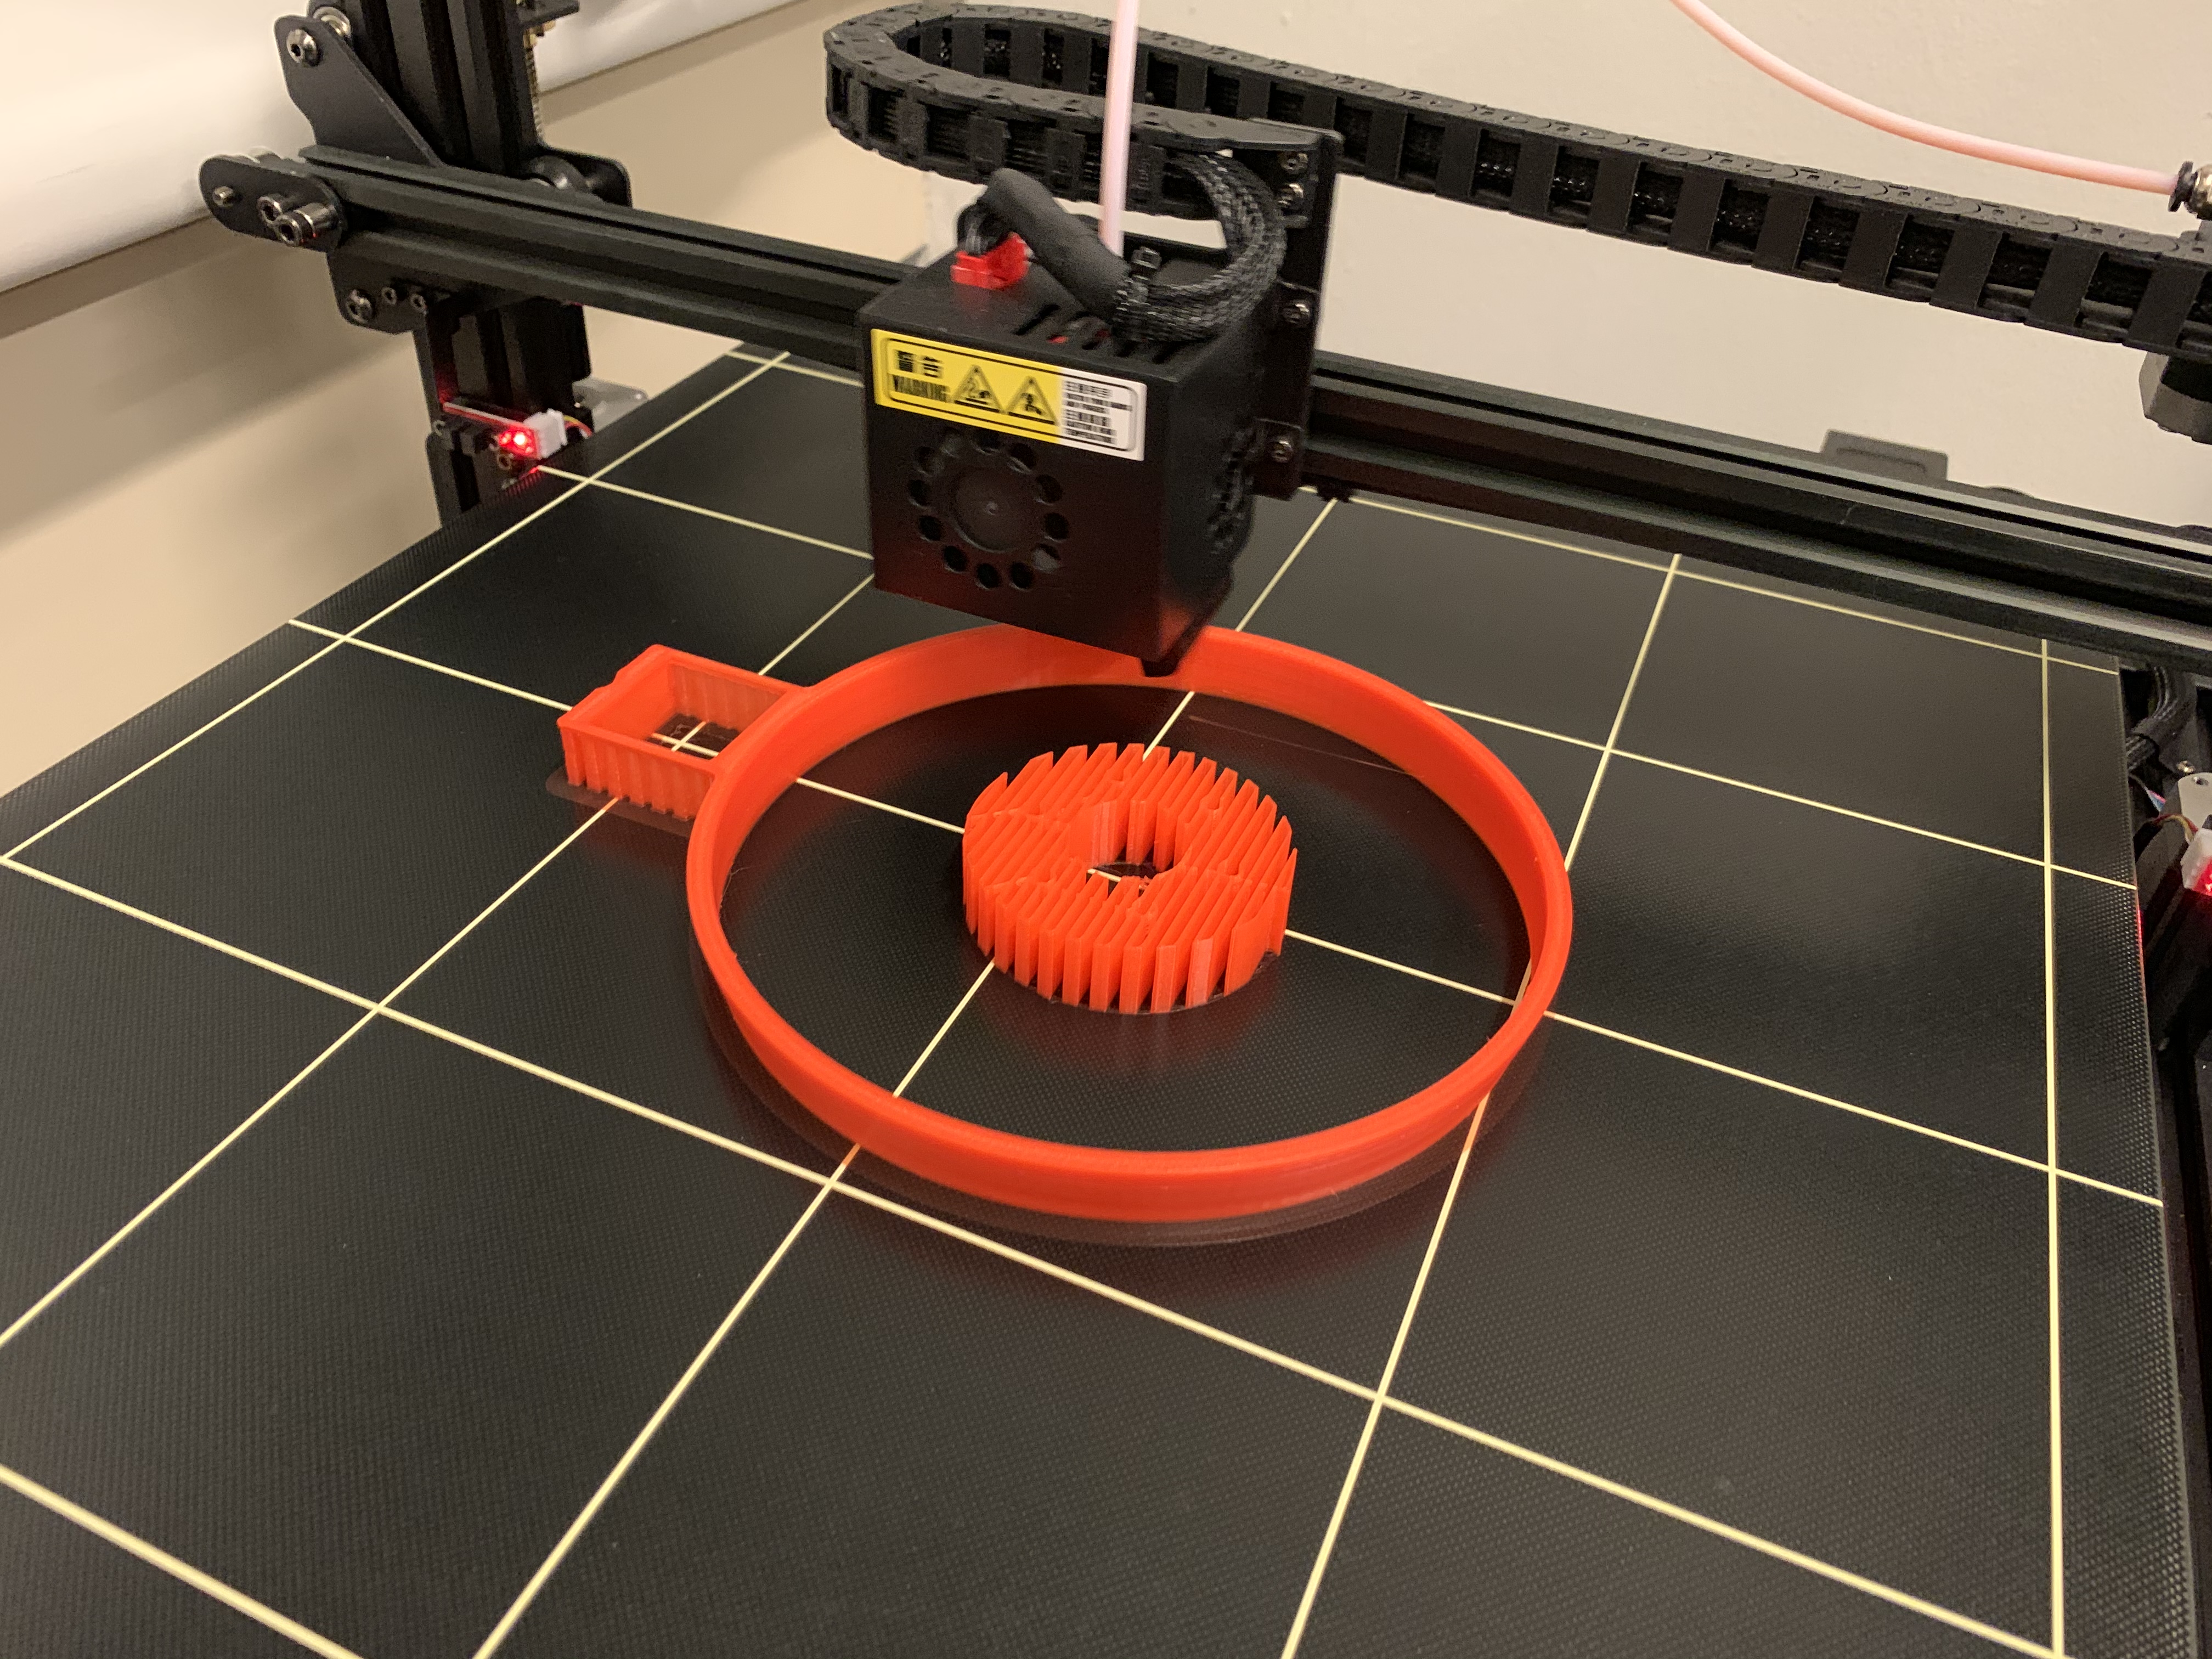
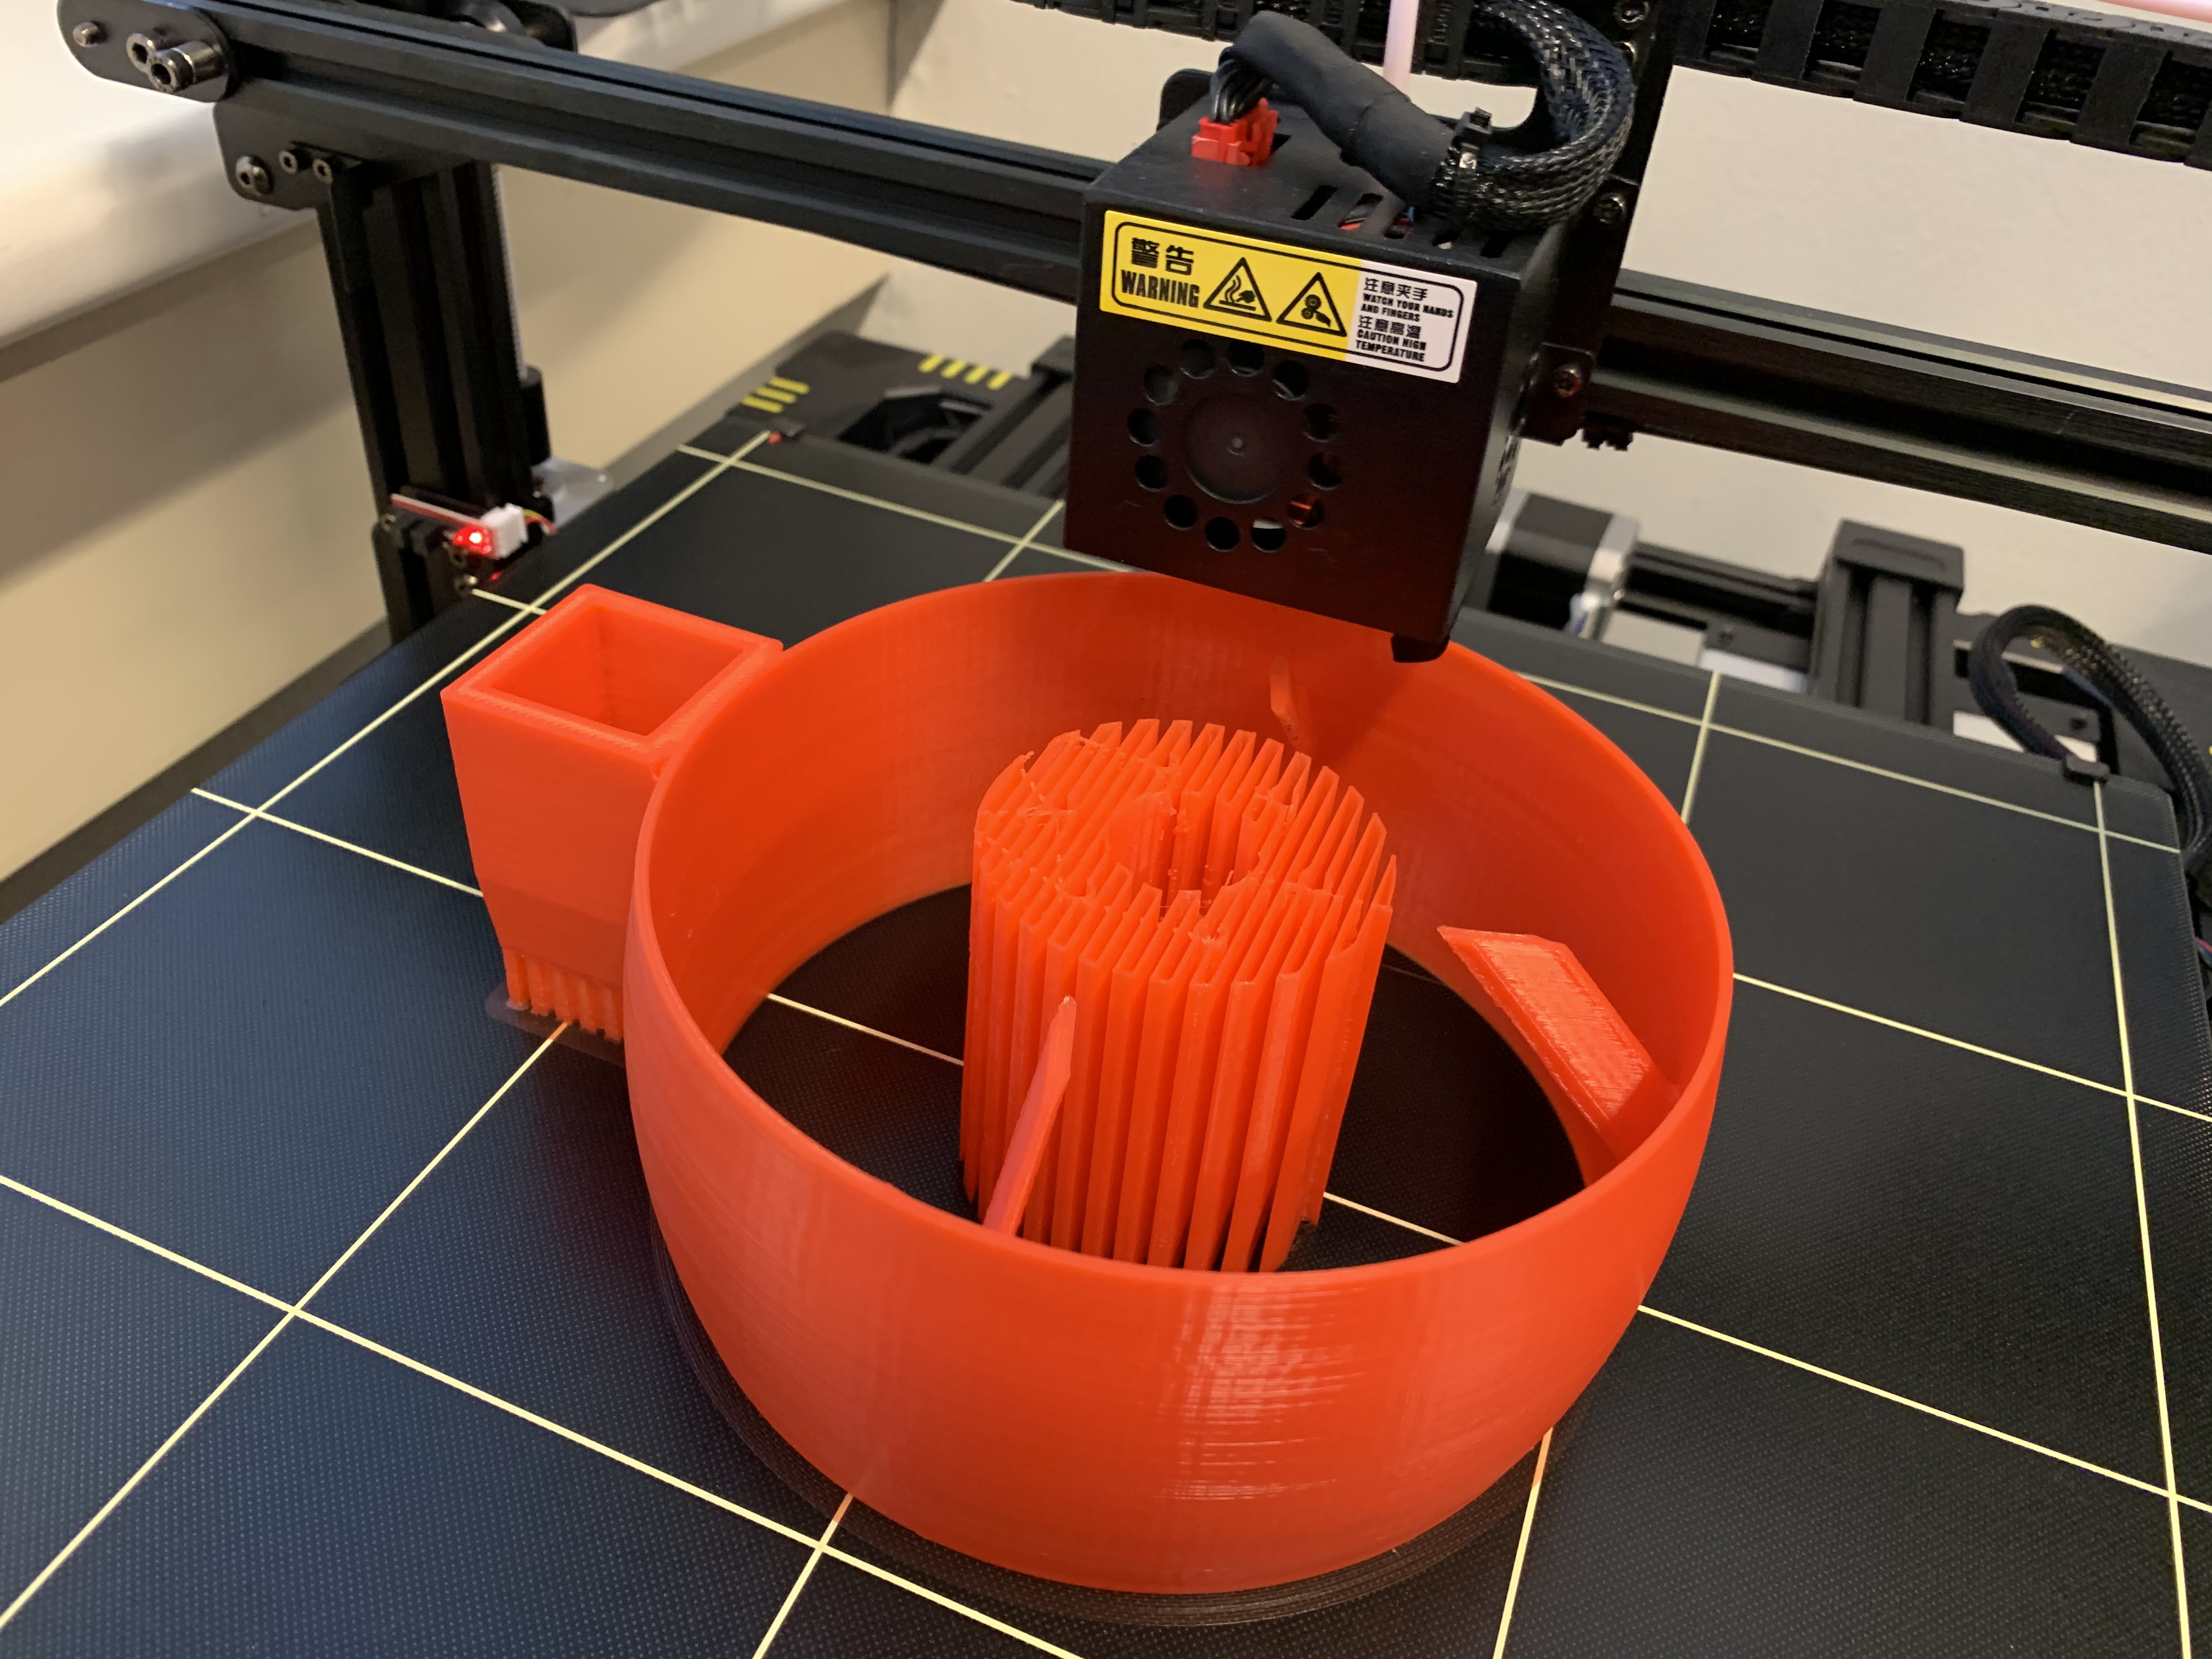
I’m preparing a post later this weekend (if all goes well) but in short, in the same way I did my mast clamp. 3D printed 6 parts with low infill and the plan is to pour polyester inside this weekend. At the bottom I’m going to use a 5mm aluminium sheet.
wow, what a great idea!
Do you think the structure is sting enough?
What do you think about epoxy inside?
First I plan to do the structure with wood and outside I use some layers with carbon and epoxy.
But now perhaps I print the parts like you with my Anycubic Chiron. Less infill and epoxy and after I make 1 or 2 layers with carbon
I’m building a box at the moment. Printed parts with low infill, glued together and then laminated with fiberglass. Bottom with alu plate 4mm. Top with carbon sandwich. Parts are printed.
I’m quite sure you don’t need any extra reinforcement. With either epoxy or polyester, the frame becomes rock solid. I’ve tested booth and my reason for using polyester is the price. Instead of just glue the parts together like @sat_be suggests, cut off the solid walls between the joints and then, when you pour resin inside you will have an almost solid part. I’ll explain more in my coming post later this weekend
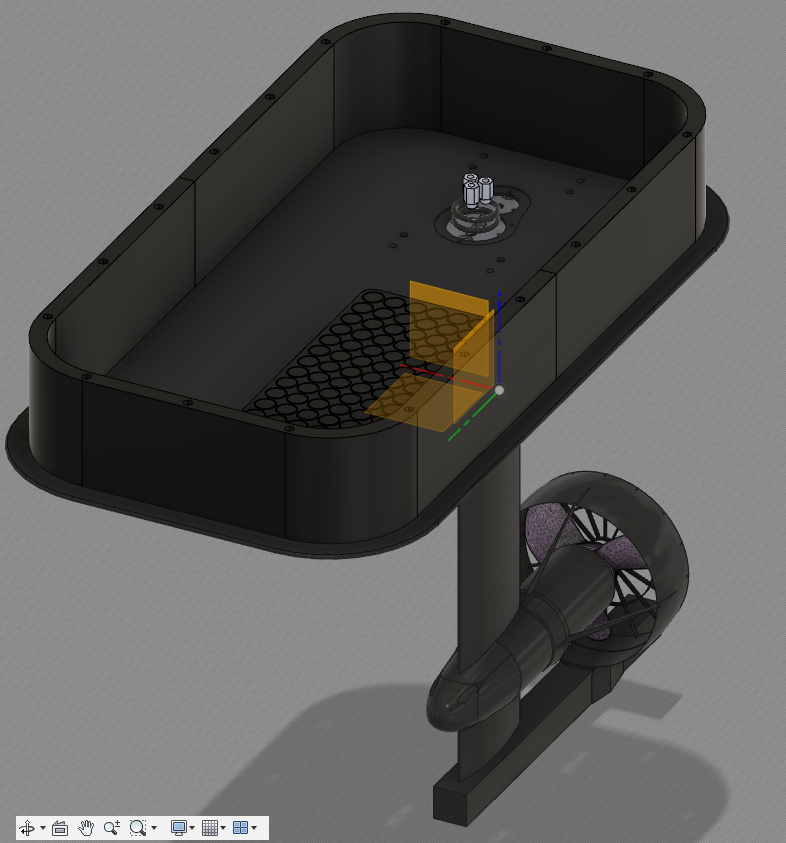
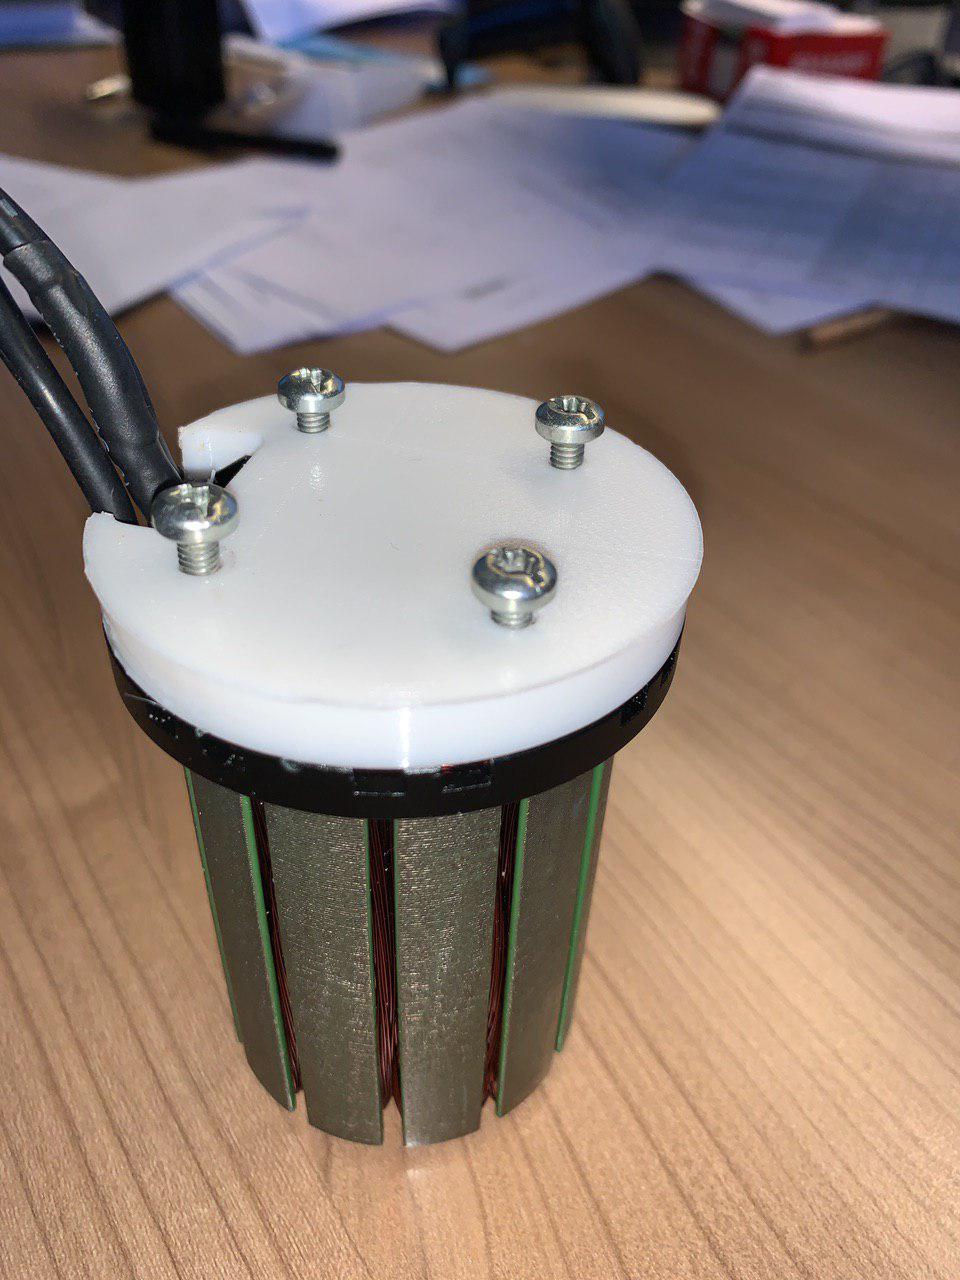
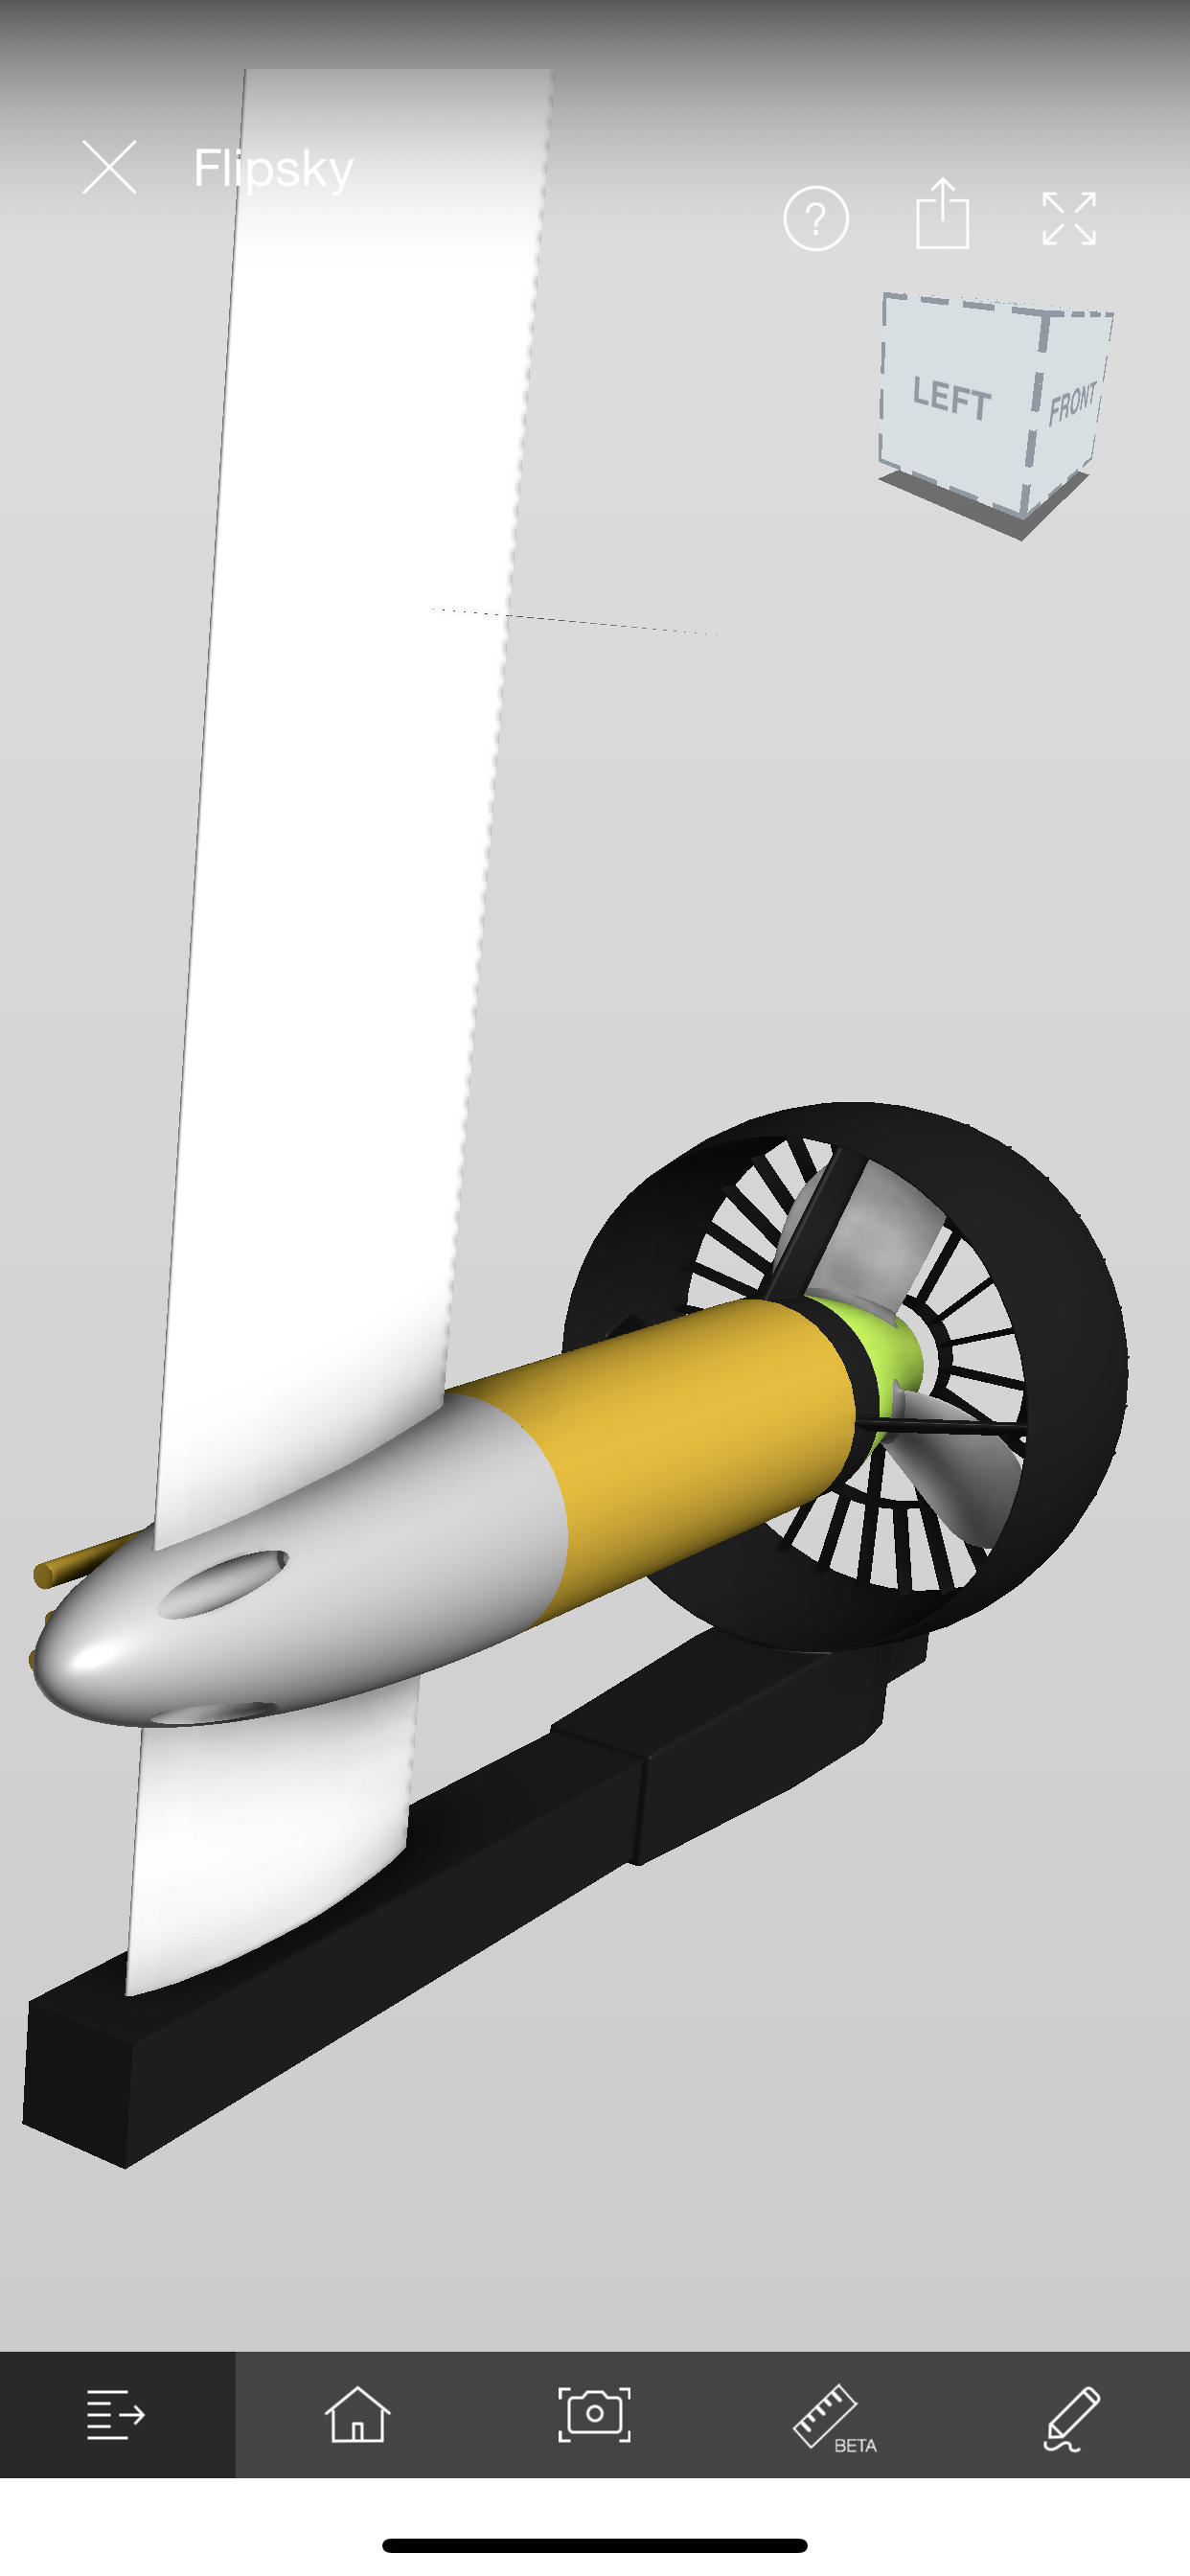
So, after around two month i continue my work in CAD and did some testprints. PEr example if my Mastclamp fits to my 63100 motor.
Here a pic of all what i do.
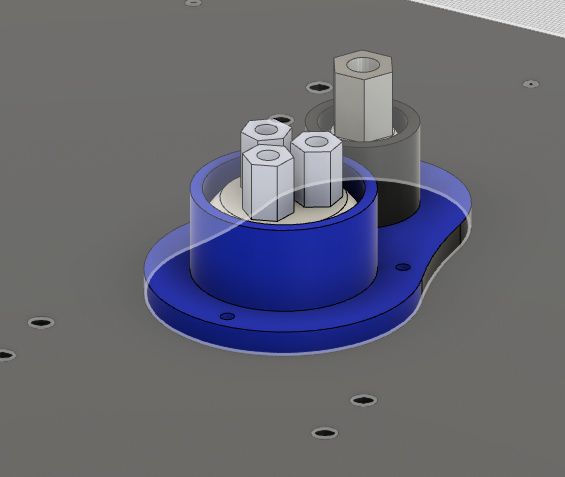
Inside my Box i have a lot of work to construckt. I will seperate it in 3 areas. (Batteries, Elextronic and on save closed box that stops when water coming inside my mastconnector)
… here my mastclamp with duct.
The duct i decide to mount on the Fuselage. After printing in 3D i will coat it with CFK. I hope it is strong enough, when not i can easy change it with a more stronger model.
Very interesting. We could imagine that the front section of this square shape could have the same section as one half NACA airfoil section to minimize drag.