You should be able to buy it here in the UK and ship it. I just got 500ml to dip the motor in 
I found some sources from the UK but with shipping it is twice as much as ACF-50, I pay 40€ for 500ml CX instead of 1L ACF for the same price.
It seems this anti corrosion formula costs more than epoxy. Do you plan to rewind the stator, or why do you do this to the environment? Why dont you experiment with varnish, uniformal coating or whatever to protect the motor permanently? Are your experiences so bad? Do you fear the effort?
I applied epoxy coating to three stators, the first one was bad, because if filled the slots between the windings, but the next two stators are perfectly protected and in use in saltwater.
I do not use any additional lubrication, only universal grease i put into the space between the bearings.
If you need a detailed description:
Of course you will find ways to simplify this process.
2 Likes
Yes, I fear the effort of vacuuming - but I do plan to epoxy rotor and stator. I want to use a water soluble PVA print inside the rotor to fill the spaces with epoxy and also slightly cover the magnet surfaces. The stator I want to cover with epoxy by hand, I am not convinced that this is significantly worse than the vacuuming technique while being much simpler.
So you are right, most parts of the motor are taken care of, but I worry about the bearings and the shaft. Maybe it would be enough to replace the shaft with TI like Mat did and use A4 stainless bearings. Are there no more parts that can corrode? What about the housing?
Maybe I’ll just use some CorrosionX HD to lubricate the bearings and cover the shaft and see how long that works. Once a year or so I am willing to take the motor apart and repeat that process.
Super interested. Tell us more. I used stainless steel 10mm rod. I can saw it by hand with a fresh blade. Naked Aluminium corrodes when in contact to salt and stainless steel and can be hard to remove.
@PowerGlider PVA is intended as support material for dual extruders so you can submerge the print in water to dissolve all supports. But you can of course just print it with a single extruder 3D printer. I plan to measure the ID of the rotor and then print a PVA cylinder with slightly smaller diameter, slide it into the rotor, seal the bottom with modeling clay, pour in the epoxy, let it dry out and then just put it in a water bath to dissolve the cylinder. Doesn’t get much simpler than this method I think.
Can you tell me why you see the need to use vacuuming on the stator? What is the problem with applying thin layers of epoxy by hand?
2 Likes
Lets separate the problems stator and rotor. For both i use different approaches. For the rotor i use centrifugal casting with epoxy resin. That lasts very good, if its made. I understand your concerns. You can use 20 minute epoxy for this i think. All you need is rubber ring, clay, tape, 3d print some small parts like the reservoir ring.
I bought my lathe from the home store for 300€ and use it for everything. Why not use such to turn the rotor for an hour? Alternatively you can mount a rotor without axle to another motor of same making, head to head with 4 M4 screws, with or without axle. So you can use one motor to drive the sole rotor of another. This is small and optimal, as you own the equipment to drive such motor anyhow. Ok, you need a second motor to drive the new rotor, maybe you have an 63XX motor which fits. As you have almost no torque, you do not even need the M4 screws, just the axle with a slightly applied set screw. 1000RPM is absolute maximum, i do not need more to get good result.
It is important, that the axle is horizontal while casting and hardening.
1 Like
Lets talk about stator protection. You have wires which must be stabilized, iron to be protected, electric plugs to isolate. I think a coating of maximum 0.1mm is enough, on the outside. How to achieve this? Its easy, spray some Plastik70 several time from different directions.
Now we covered 99.9% of the outer surfaces, through the remaining openings the water with salt will diffuse. When it dries out you can see the salt crystals growing.
Vacuum and pressure variation transport a lot more epoxy into cavities.
So there is a chance that i can use the motor for years or keep it as a functional spare part.
Motor tuning is not cheap or easy, so lets keep what is working and make the next step together with other changes.
1 Like
Ok, I think your methods are really good if you have the tools and skills.
Rotor: I don’t have a lathe and I won’t buy one any time soon as I don’t have the room and I don’t need it much. But as you primarily need hydrodynamical optimization and secondly corrosion prevention for the magnets, so nothing magic, I think the casting method without centrifugal force should be good enough. Alternatively I could maybe use a drill to turn the rotor, together with quick drying epoxy (so the drill doesn’t overheat)?
Stator: So you propose another, simpler method where you just cover the stator in Plastik70 without epoxy?
Do you think it would be a great deal if you have a ~1mm coating through brushing the epoxy on the stator by hand? I can’t imagine that this would result in much worse cooling. Also I will use a 80100 with should have less cooling issues I suppose?
I have seen a couple of different methods, all with varying pro’s and con’s.
I saw one guy 3D print castings for both the rotor and stator in water soluble filament. You then fill the castings with epoxy and once set dissolve the filament. He had over 240hrs on these motors in a salt water environment.
Some guys have painted the surfaces in plastidip. Probably slightly more losses with this method.
For mine I am thinking of filling the gaps in the rotor with marine silicone. It will be easy to put in and easier to remove than if it doesn’t work.
For the rotor I was thinking of just dipping it in corrosion X periodically. In theory the stator winding’s are all sealed. The water normally creeps in where they join to the wires. If you seal that section well with plastidip or silicone, then the stator should last for a while with a corrosion X coating.
If you add 1mm onto the stator you wont be able to assemble the motor again, because you only have 0.5mm airgap between stator and rotor.
Also (if you take the effort and epoxy the stator) I would consider to epoxy a NTC into the windings. So you can run a temp control/cutoff for the motor. E.g. the VESC has already a prepared motor temperature port, you only have to set the throttling and cut off limits, also the motor temperature is already in the “get_values” package, so you can easily log it on your phone or remote.
2 Likes
Well, default is 10kOhm and Beta 3380.
But you should be able to change that in the advanced tab of the vesc-tool.
1 Like
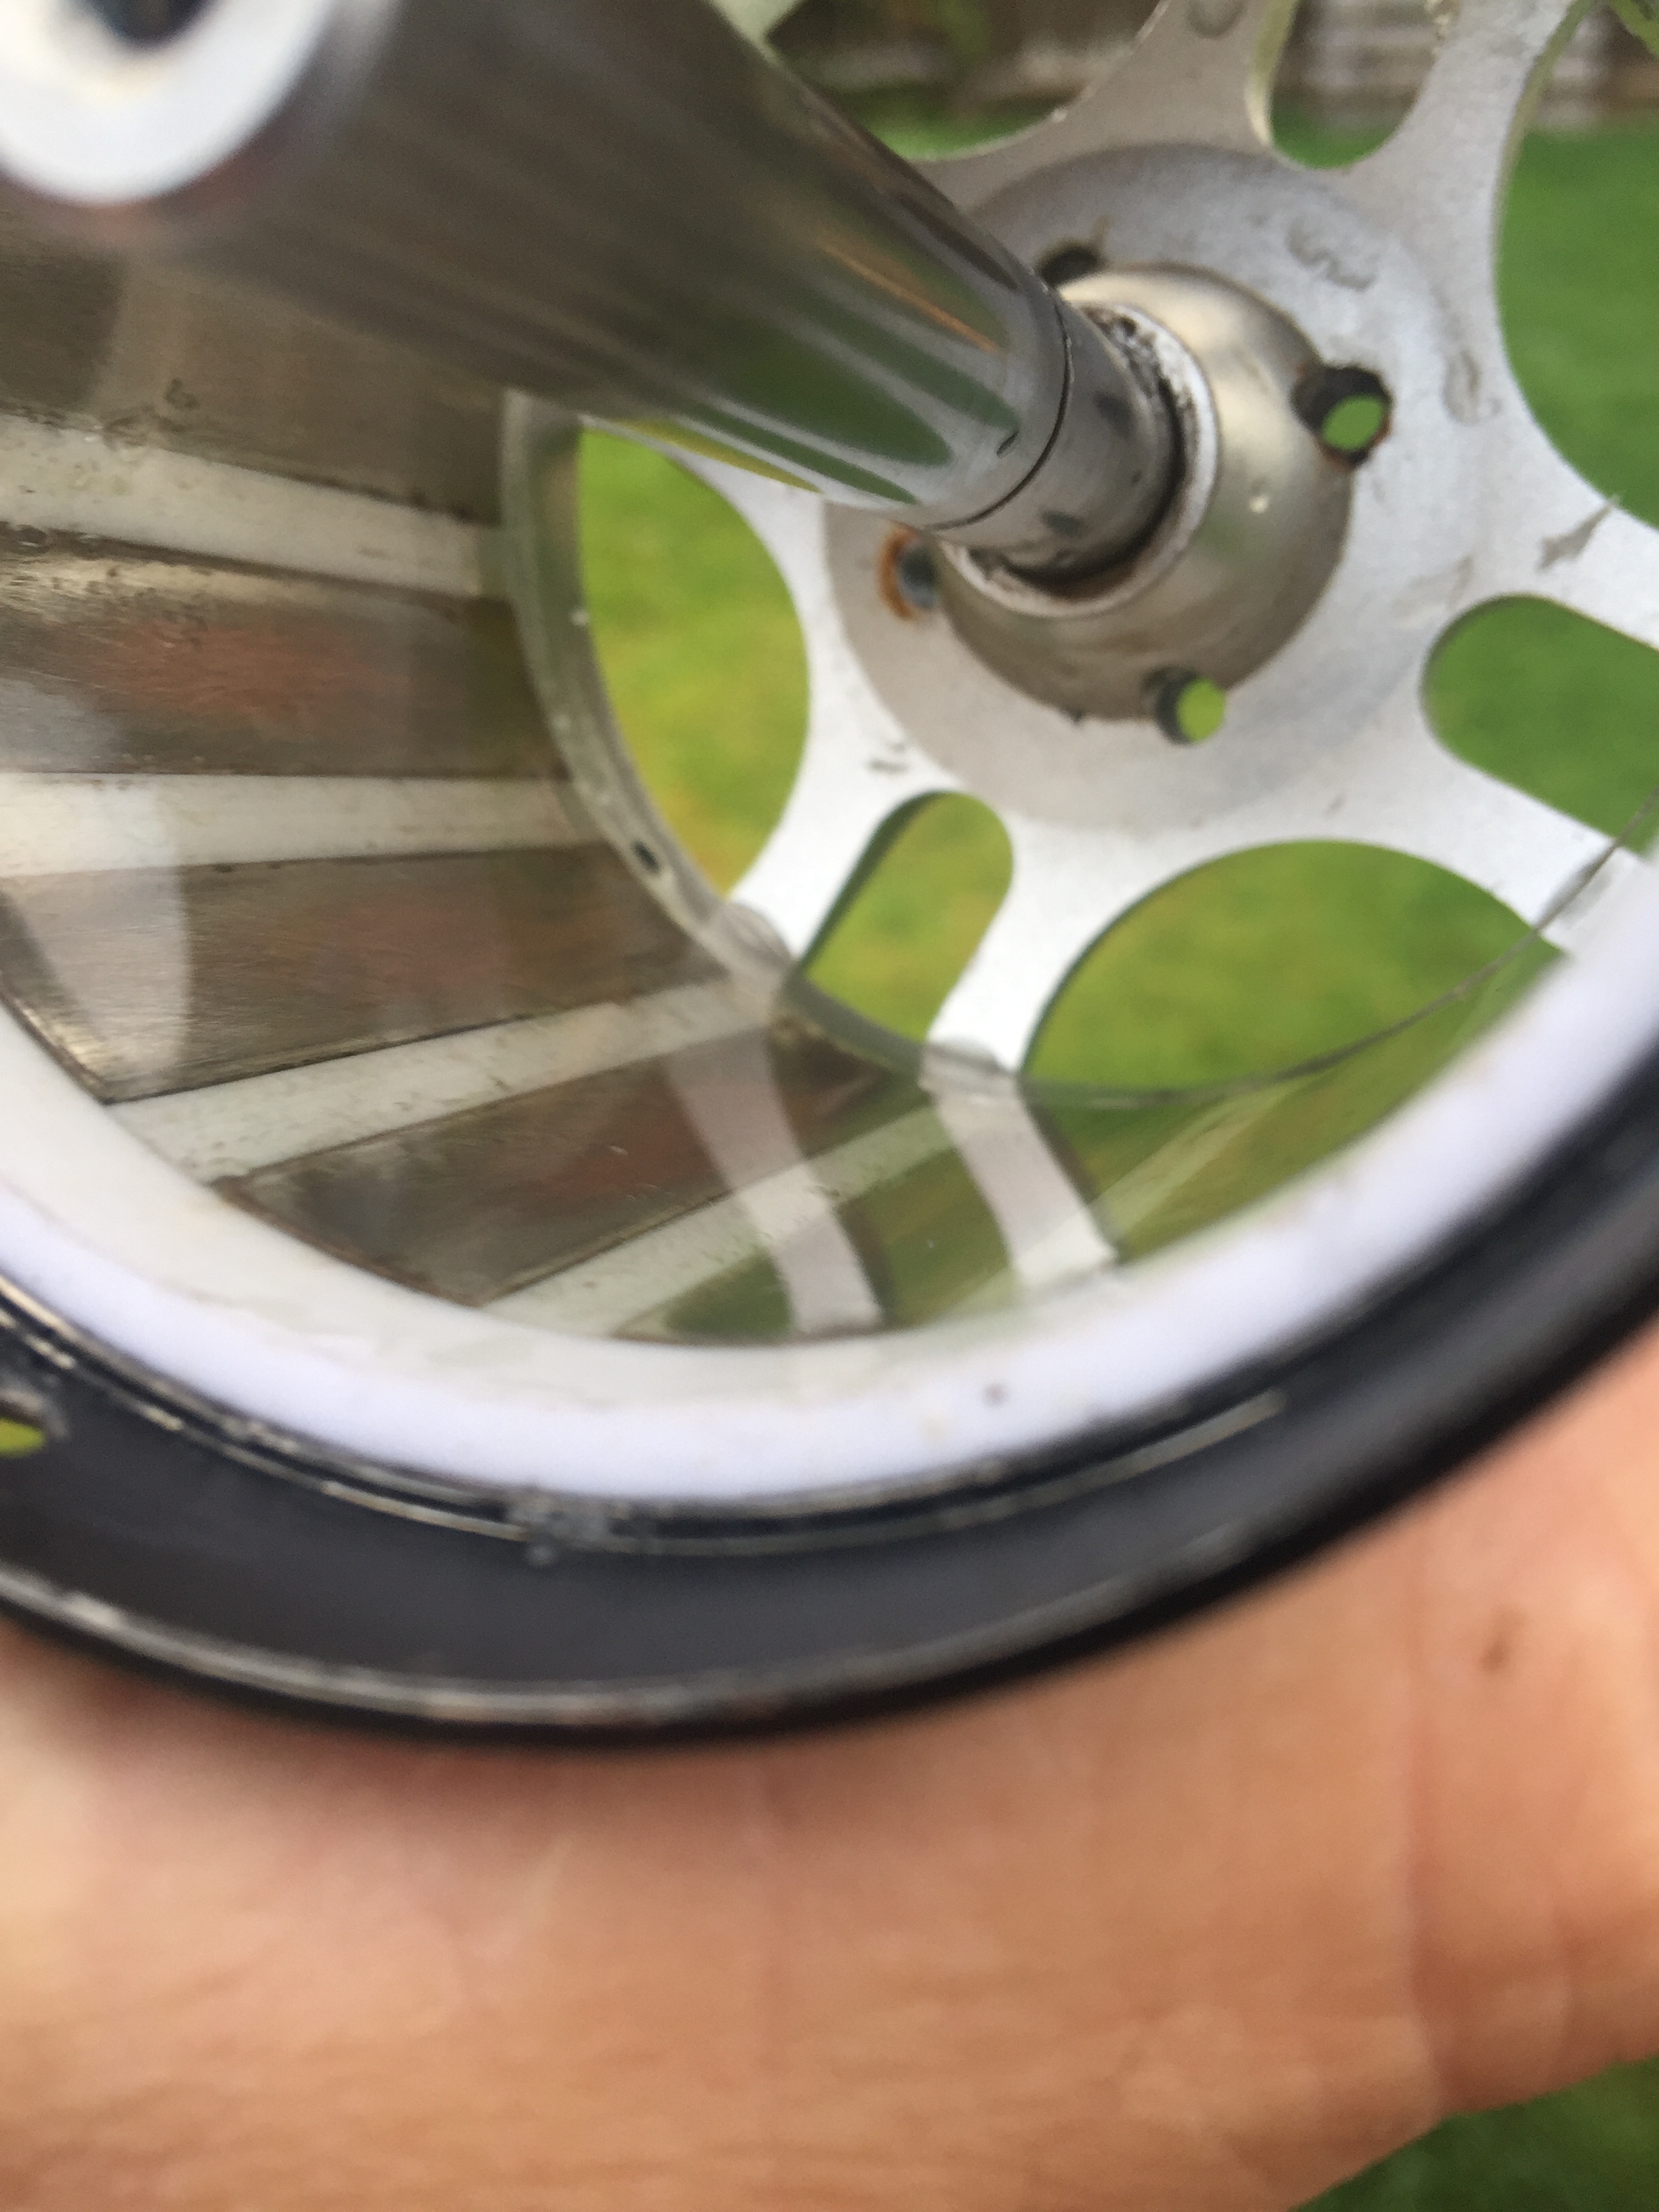
Took a minute but here the flux ring potting results!
ESC DATA for 22 and 48Vdc
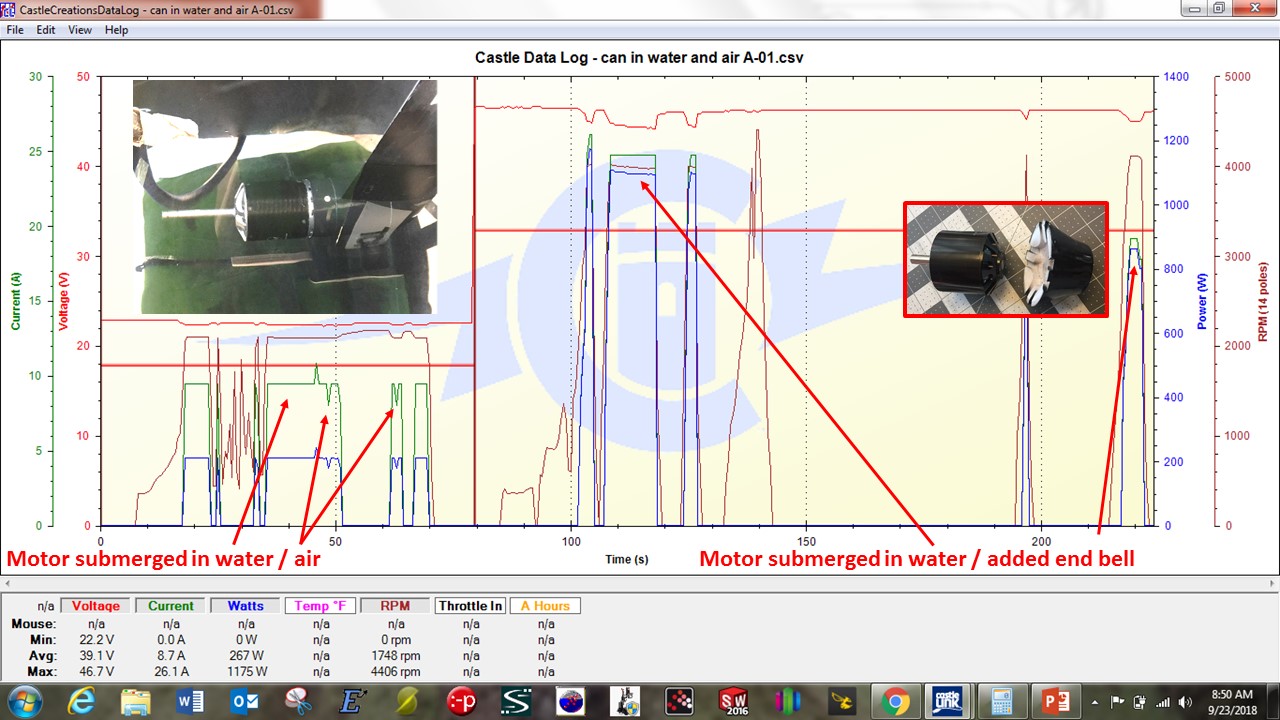
End Bell really helps again! But still the unmodified motor was consuming 2ish kW. Huge improvement … would have never thought.
Flux ring finish.
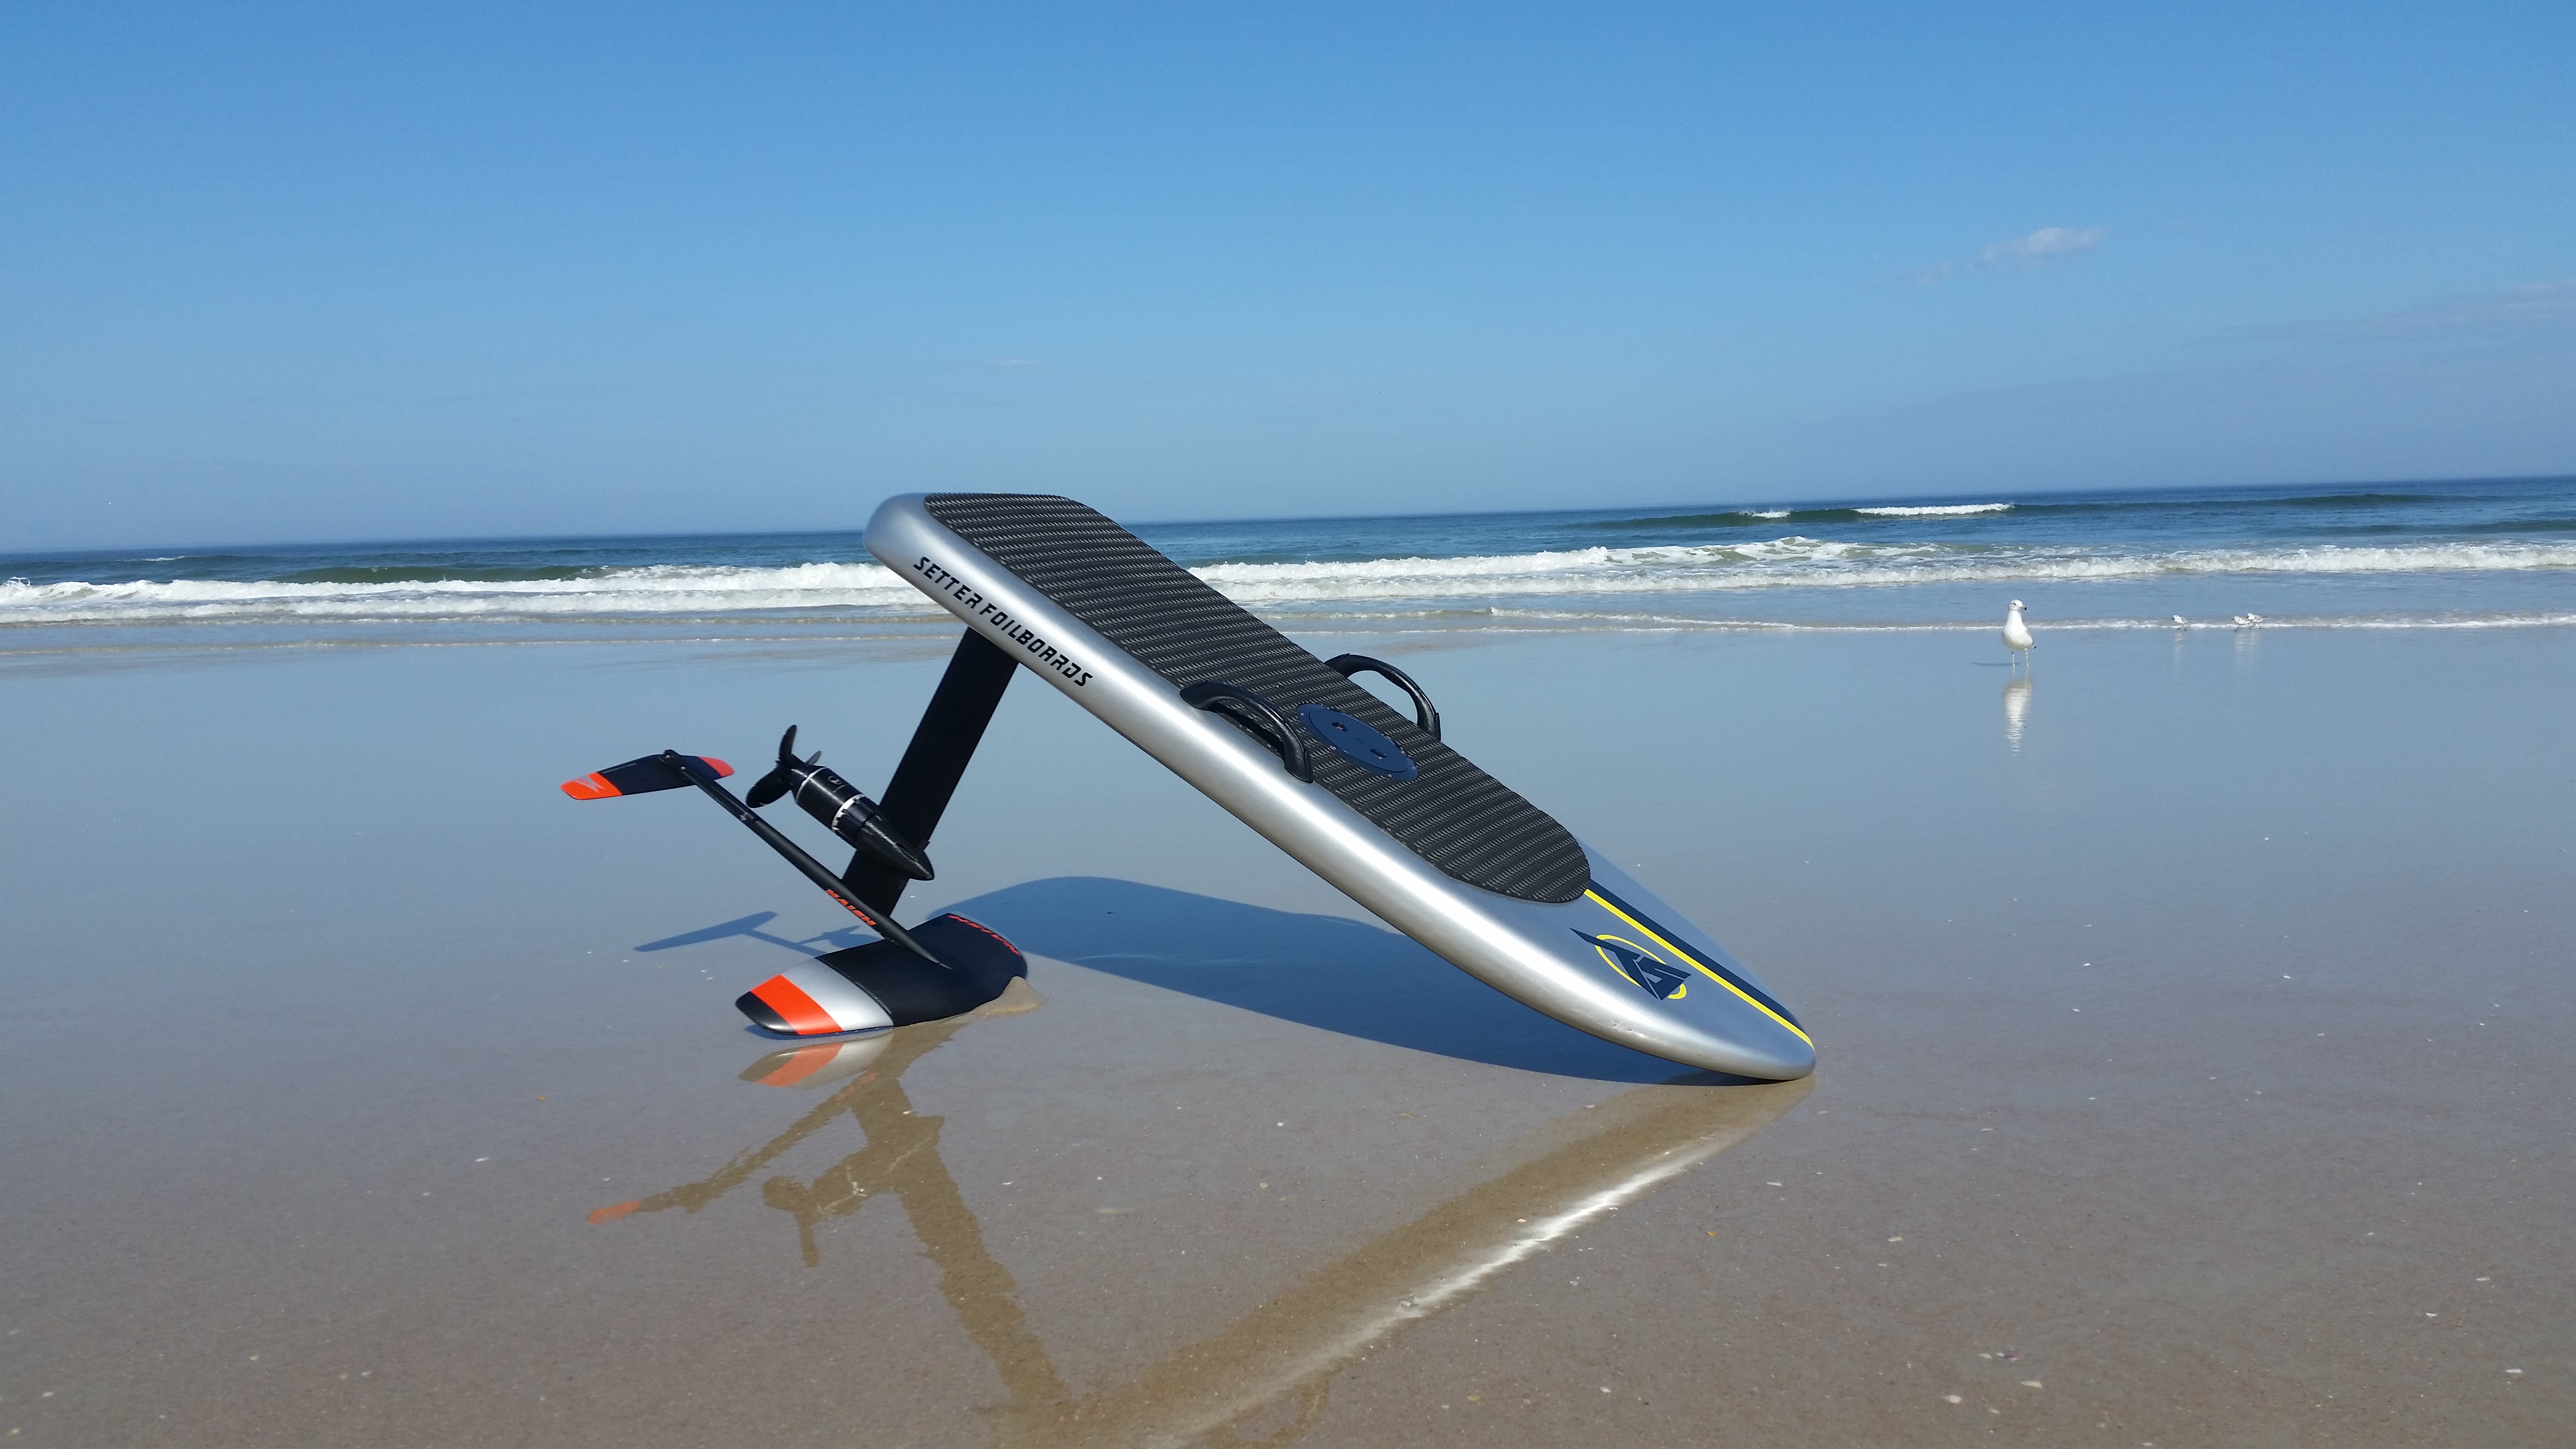
Off to the River …
5 Likes
After 1.5 hours total run time on the 80100 I had a magnet come loose. Opened up the motor and epoxied the gaps. Will test tomorrow to see how it does.

1 Like
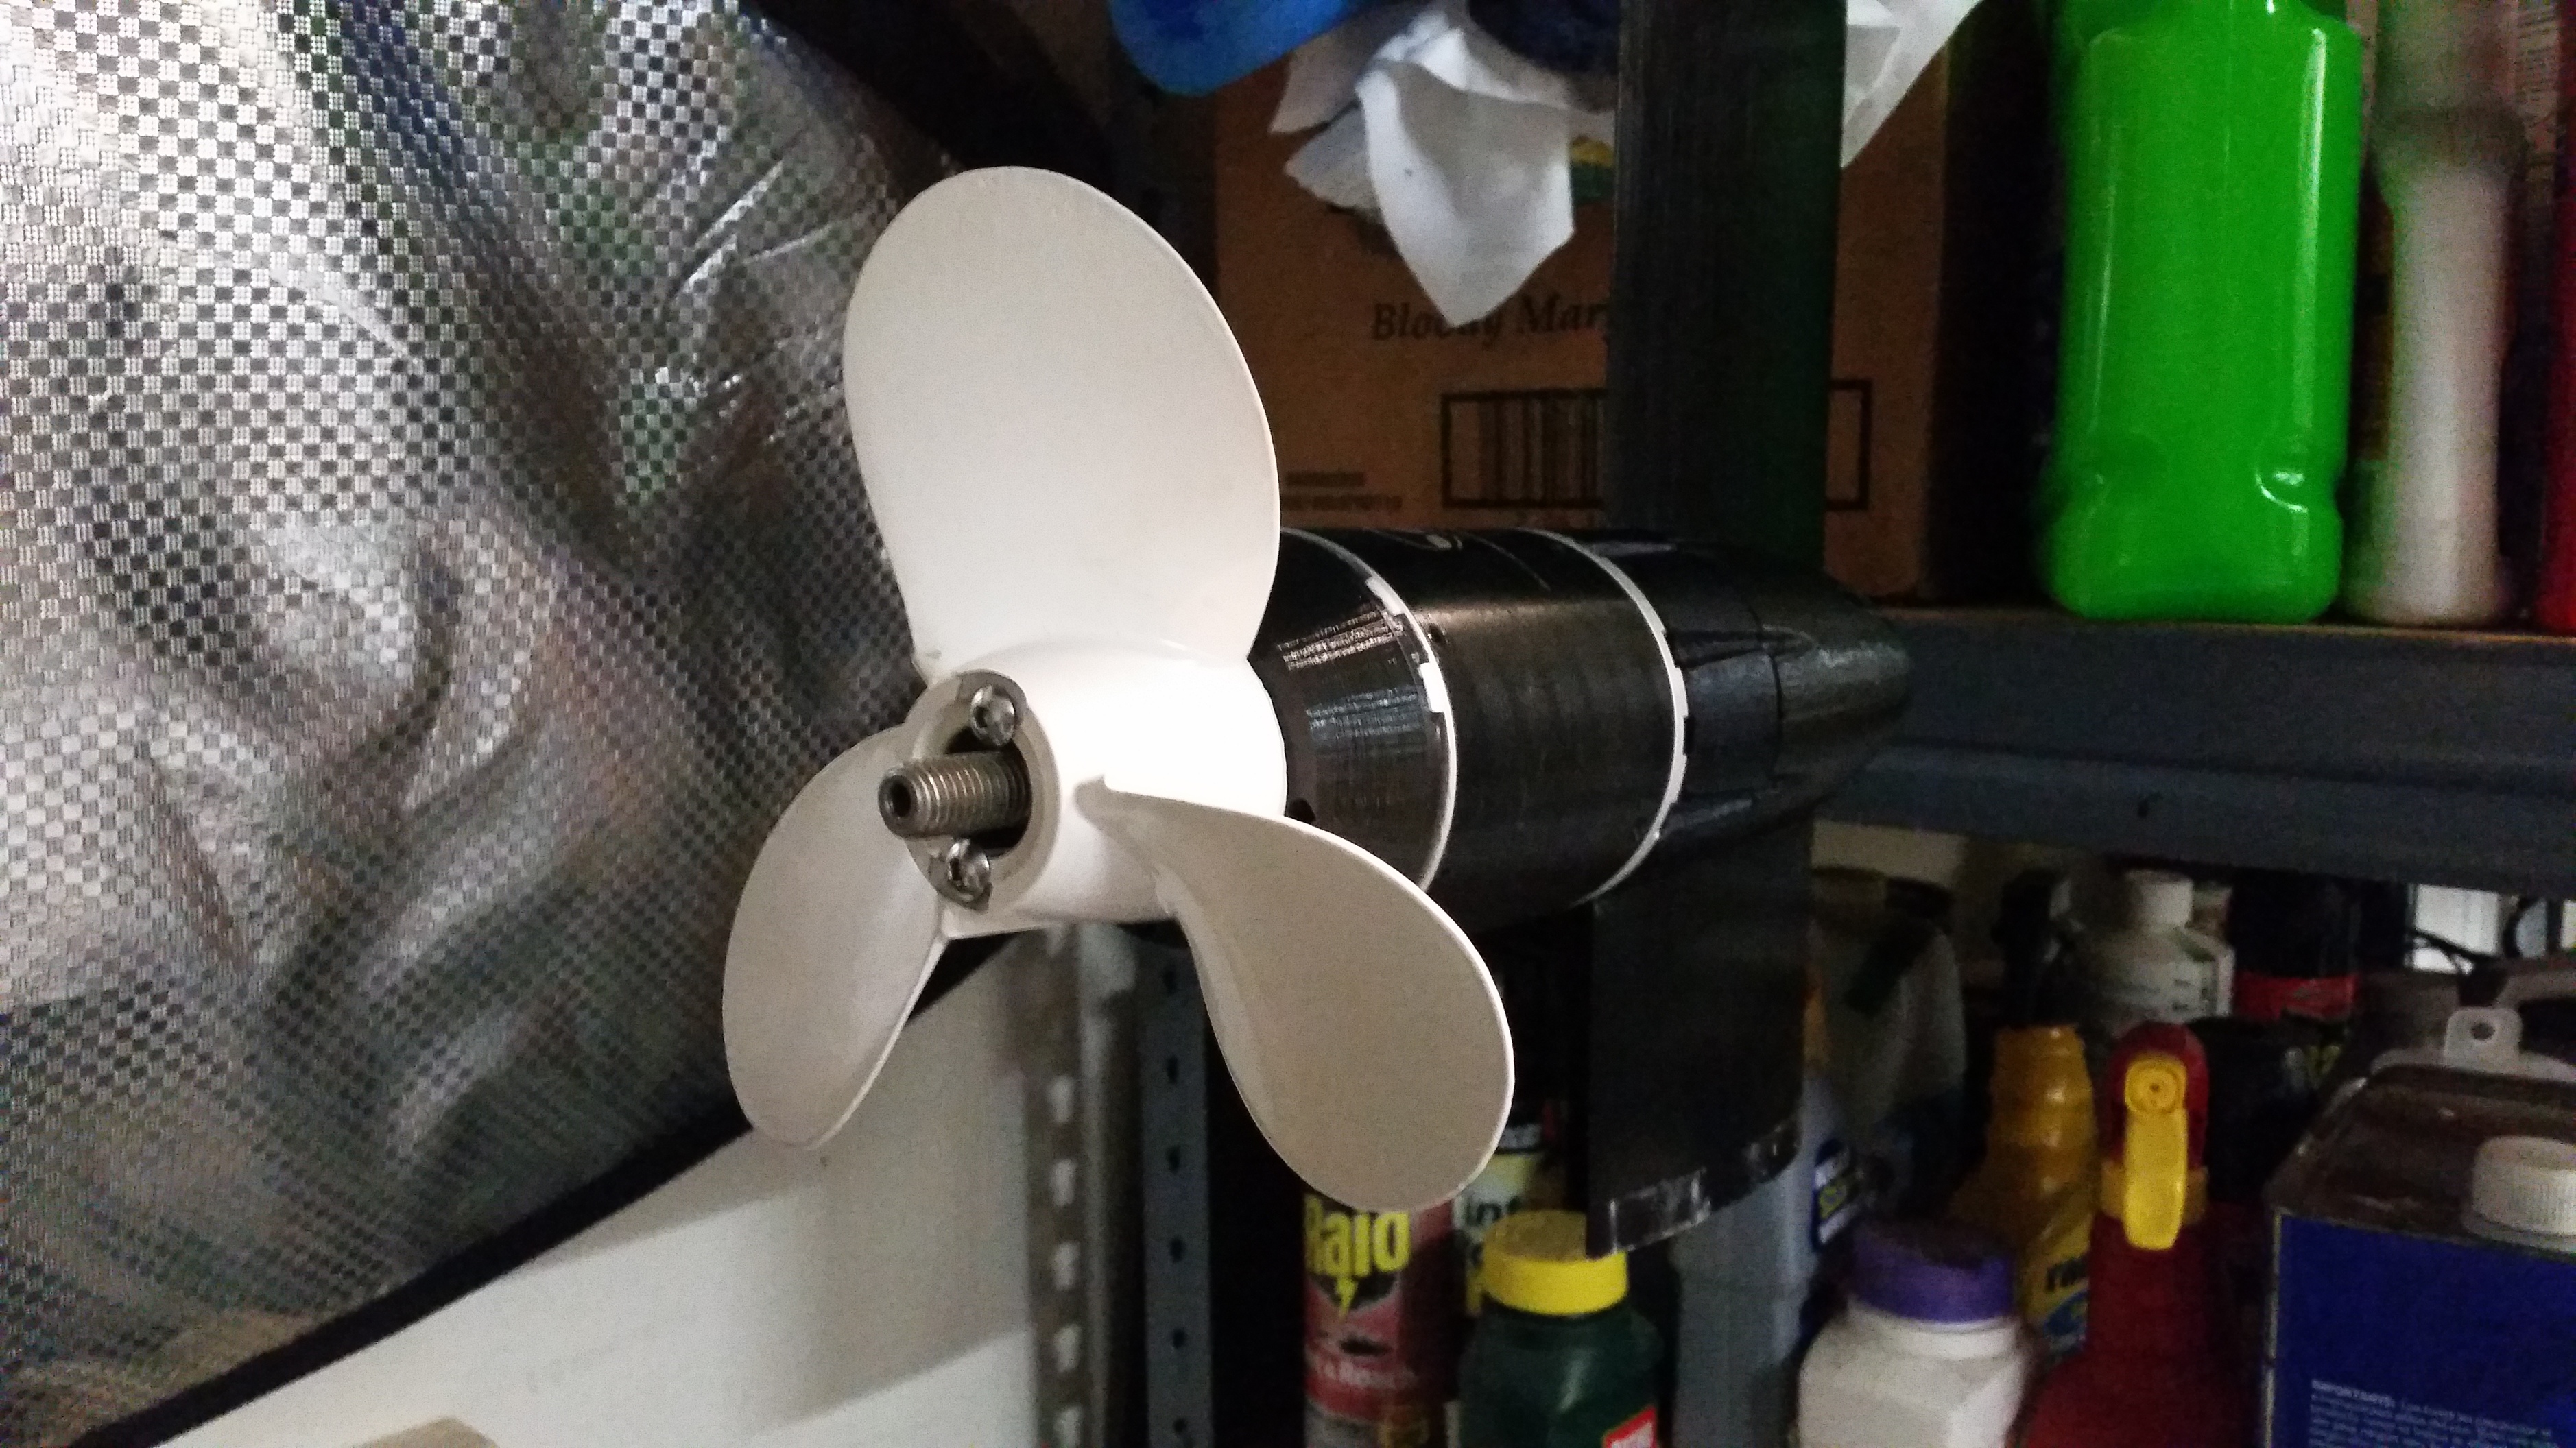
Switched up to a different prop for increased speed. Bought an alu 7 1/2 x 7 prop from link below.
Gained top speed but still cruises at same amperage. RPM dropped about 200 at cruise. Need to gps it next time out for real numbers.
2 Likes
Hi @jezza. Did you try 6384/100kv powerglider setup with some props? How did it go? Any results/measurements? What ESC have you used with it?
I haven’t yet. My new board is busy being set up so haven’t had anything to attach it to!
Thanks! Please keep us updated.
Can you share your 6384 mount? I’m bad in 3d design. I have sk3 6374 140kv to try this time. I’m sure it is the same in terms of mounting that 6384 you have