yes… just drill a hole into the base plate.
2 Likes
Hello everyone,
at the moment i started to put everything together.
It was the first time i connected the motor. And he makes a really loud noise. The brushless motors i know didnt make such a noise. It sounds that a bearing is broken or something “scratching”.
What do you say?
Sounds like there is excessive runout on the rotor causing it to hit the laminations. Otherwise maybe a bad bearing? It definitely sounds very mechanical, although it is possible that is could be caused by poor ESC commutation.
Are you giving it 12s, sounds like it’s not getting full power like you using 3s or below to test?
I tested the motor with 6s.
But to be sure i will test it with an other fresh charged pack.
Also i will try to rotate the motor manually and hear if it make this noise.
I tried this yesterday per hand and i think i heard the noise again, but i will try it today with an electric screwdriver.
Or speaks anything again to test it offline with an electric screwdriver?
It happens to me often to have a metallic tiny object (screw or else) which was on my working table and got attracted by the magnet inside the motor, thus scratching when rotating
I simply open the motor, take the foreign metal thing out of it, and that is it…
2 Likes
I redesigned the 3 blade prop to be a no drill shaft using a 8mm to 8mm coupler if anyone is interested… I still don’t have the room for a drill press in my 800 sq ft loft
Consider me interested!
I’m probably an idiot, but i’m struggling to either drill, or tap the HSS 8mm shafts I got from amazon. Whilst I can cut through them, even the cobalt bits on the drill won’t touch them.
Sounds difficult without proper tools. I spent some time watching videos on drilling hardened steel and I think it comes down to proper technique, tools, and patience.
In any case, here is the new prop which will work with a 8mm to 8mm coupler. This one to be precise. Amazon.com
You’ll use 2 x m4 socket head bolts to secure the prop through the coupler and into the shaft, as well as also 2 of the provided grub screws to secure the coupler to the shaft. Best to still file 4 flat spots onto the shaft for each of the 2 m4 and 2 grub screws.
4 Likes
You say the shaft is made from HSS? Very difficult to drill. Only a Carbide drill cut cut it. But be careful since they snap extremely easily. You need a steady setup with everything clamped down. Use a V-block to hold the shaft.
1 Like
Hi
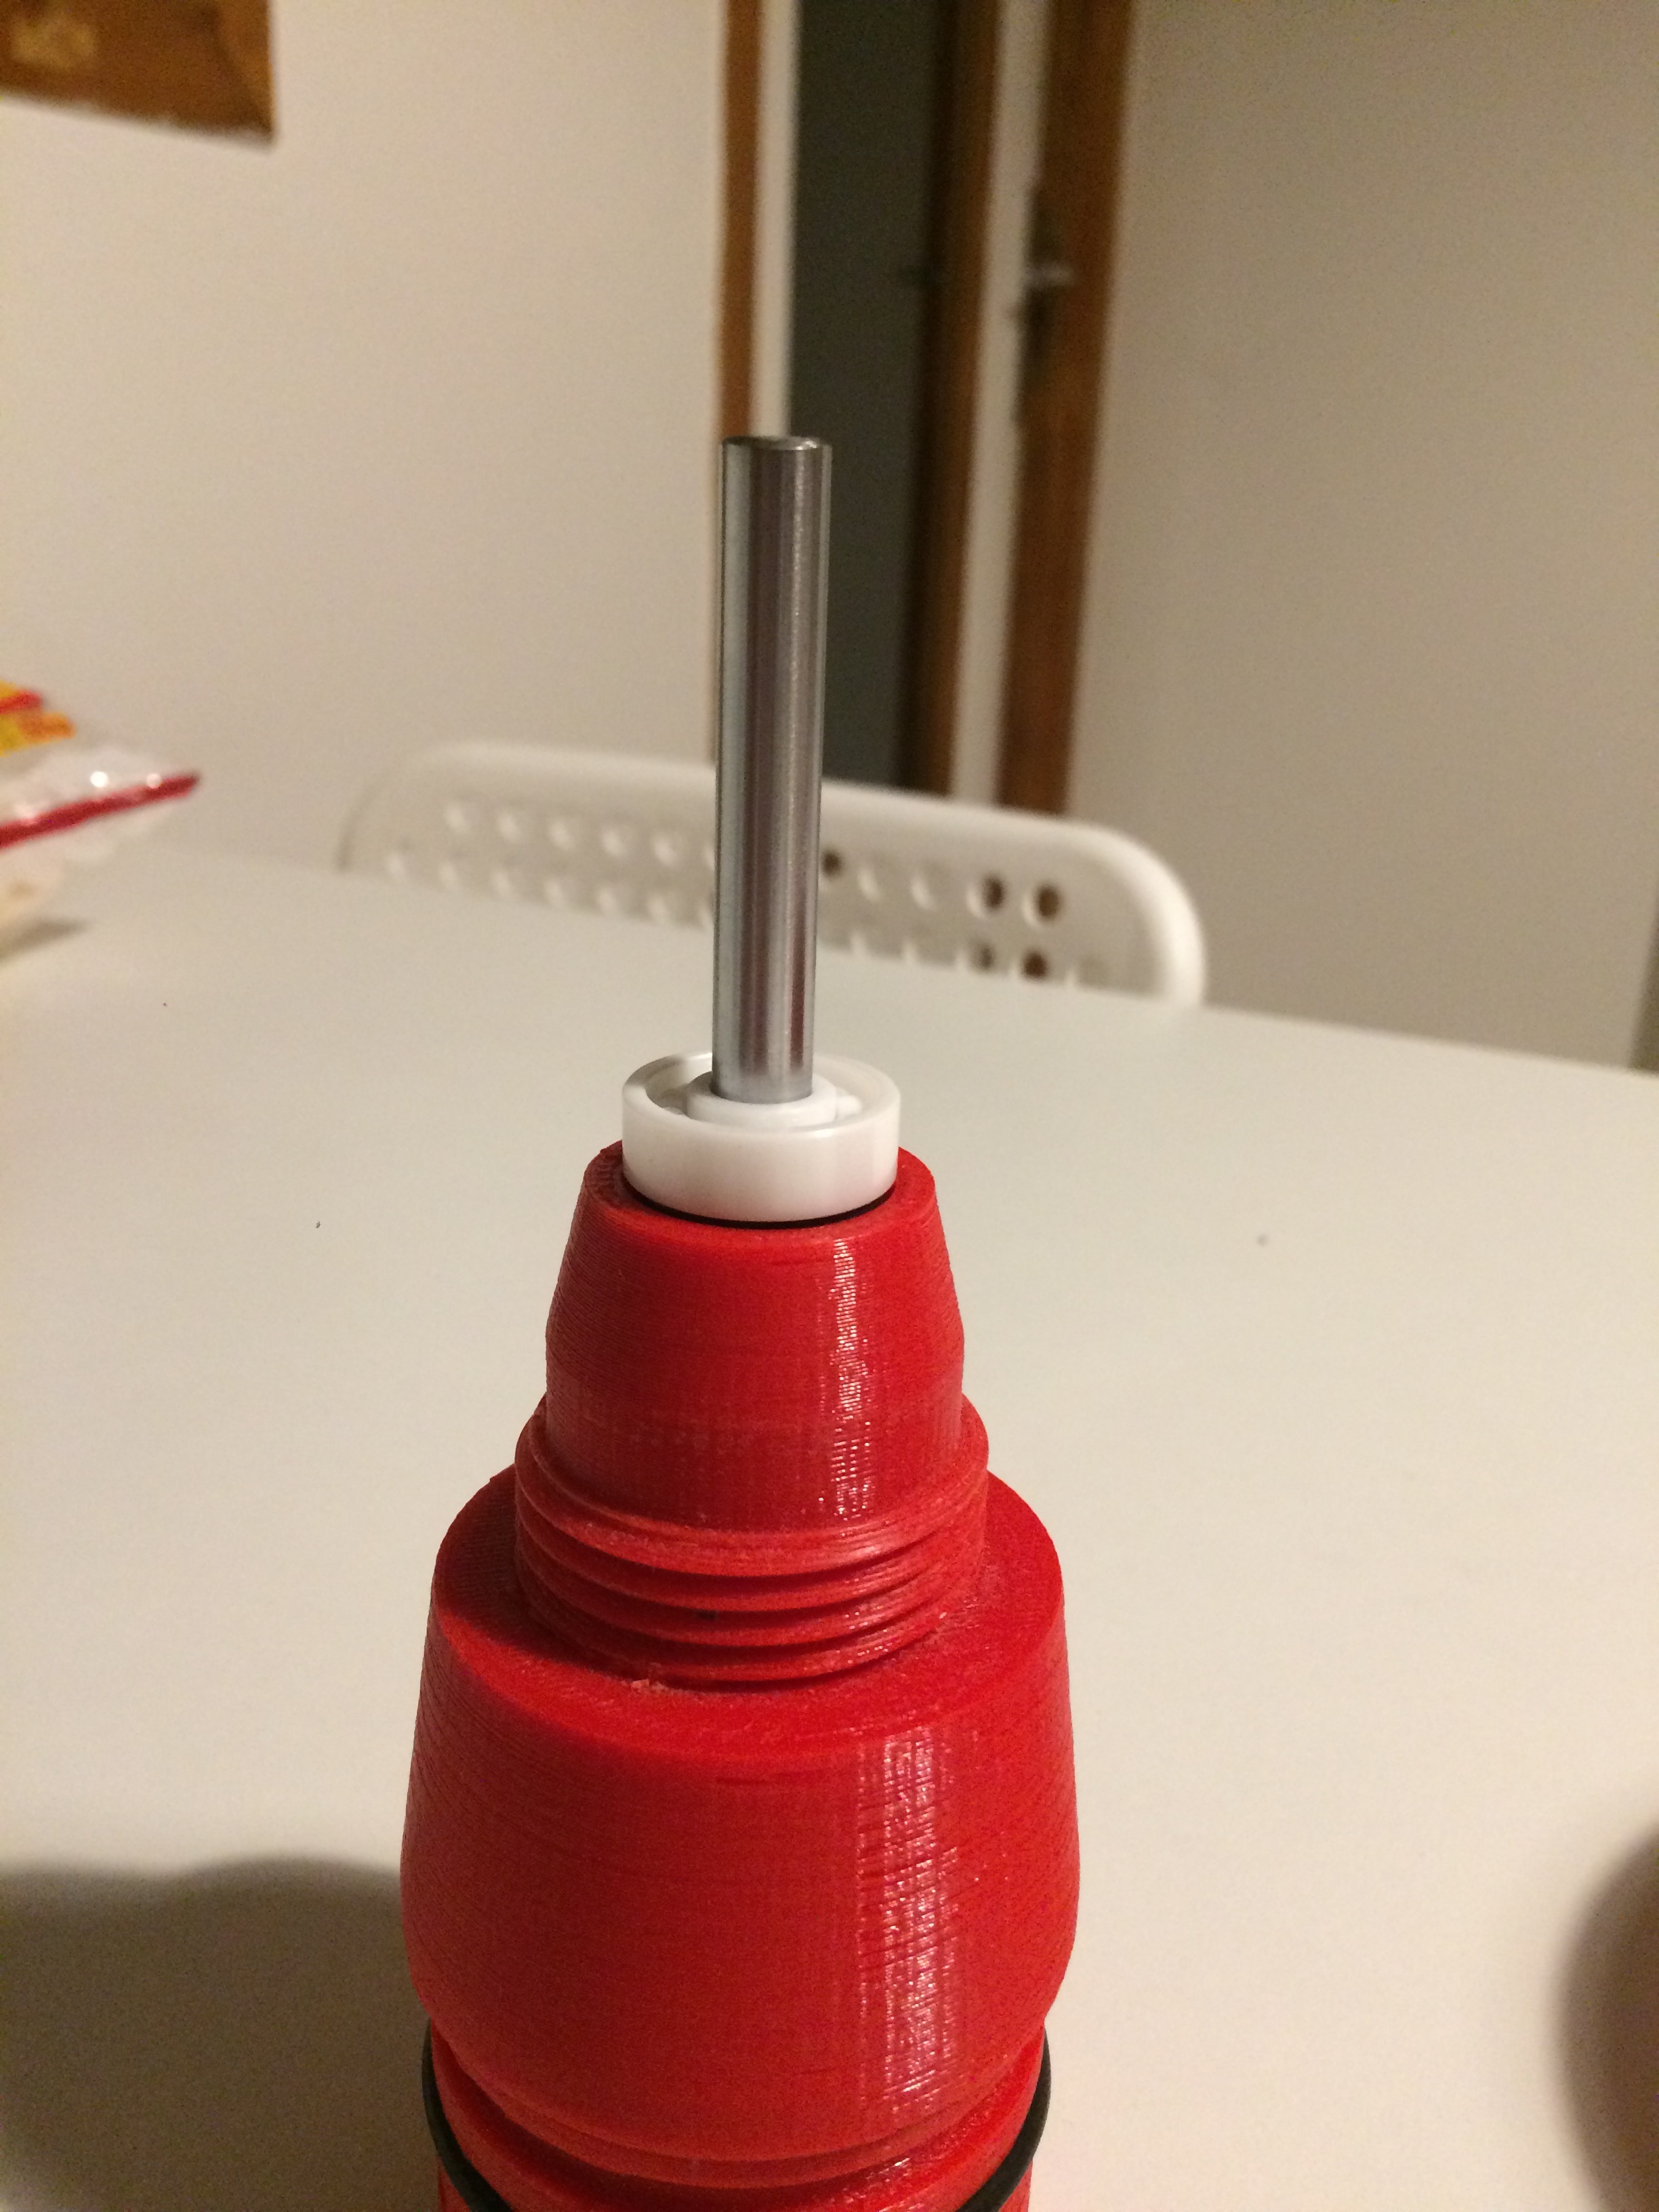
I try to assembly ever part but i havé problèm to ceramic bearing
To thé drawing 2D this part dont hère
I dont undertand where this part install
Can you help me to fix this part ?
Regards
Giloris
Hi pacificmeister
You add an céramic bearing to thé propeller and size duct is’ not ok
Do you havé modelling another duct ?
Regards
Giloris
Did you use the latest revision of the seal mount? If you used an old one, there is only a seat for the oil seal.
Yes, see rev2 above: Pacificmeister Build Info and CAD Sources - #56 by pacificmeister - Builds - FOIL.zone

It should be IN the seal mount. Looks like you printed the wrong file.
Hi crazy1
I Printed sealmount rev 2
I install double lipseal in and out sealmount
Is thé ceramic bearing install on lipseal ?
Lipseal dont hi to thé bottom and thé bearing goes !
I havé maybe size problèm to lipseal ?
Regards
Giloris
1 Like
can you post a picture of your seal mount without the oil seal or bearing?