Thanks for the cred @maxime_ecn  It will be great fun to follow this. Good luck with the build!
Hi!
I’m from Neuchâtel too! Me and 2 other friends from Neuchâtel and Bienne finished our efoil last summer and I efoiled in Serrières until october. I had to disassemble everything to make some reparation so it can be interesting for you. Give me a call: 078 908 91 70
Some news about the build.
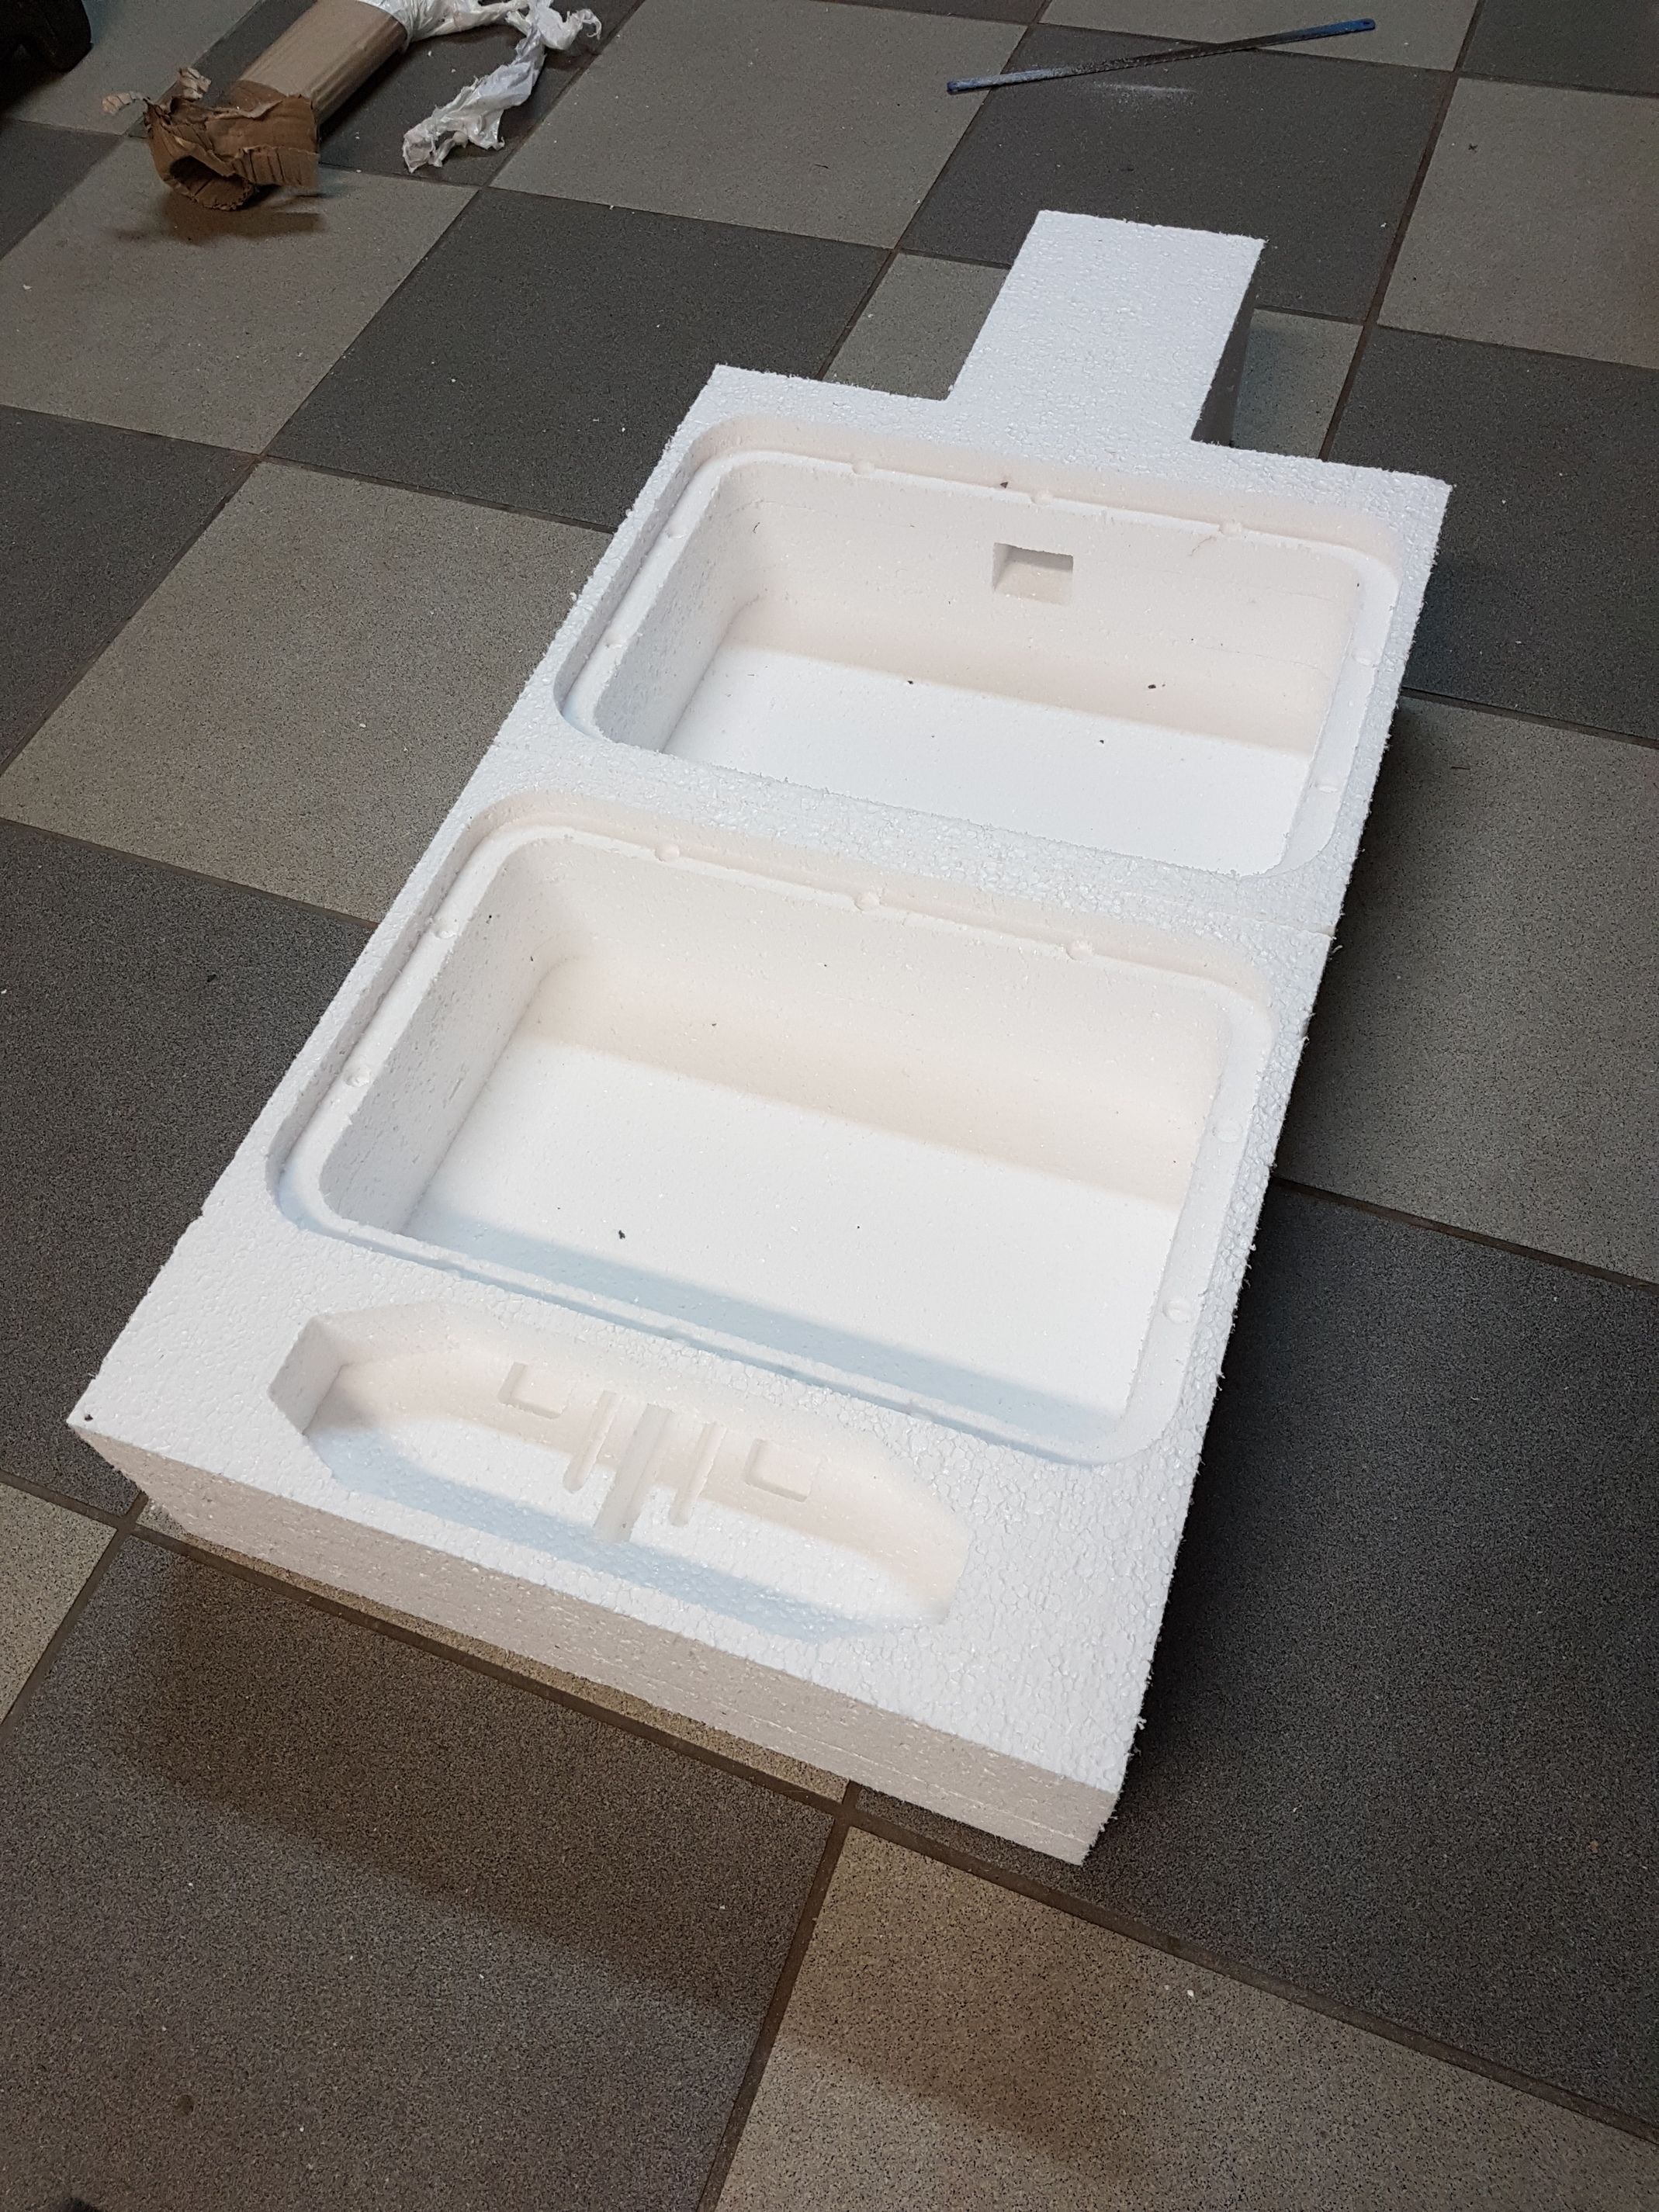
I worked on the waterproof enclosures :
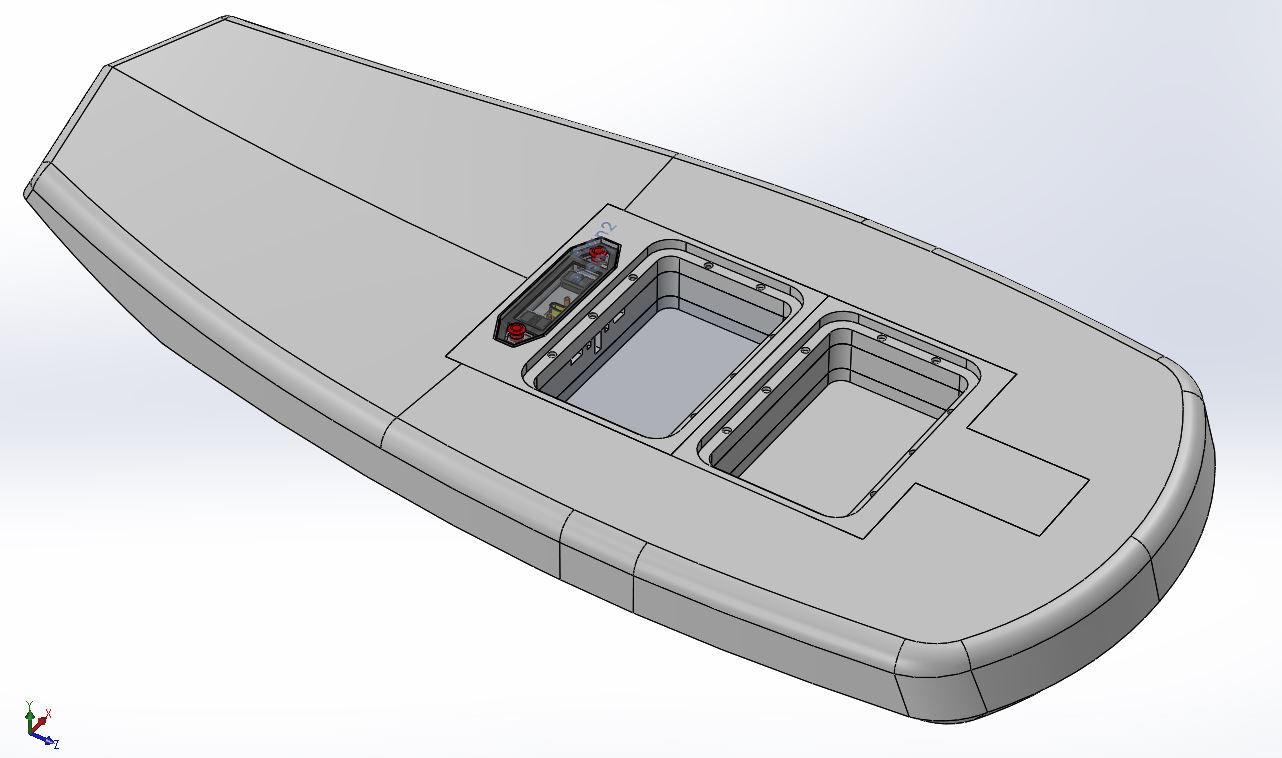
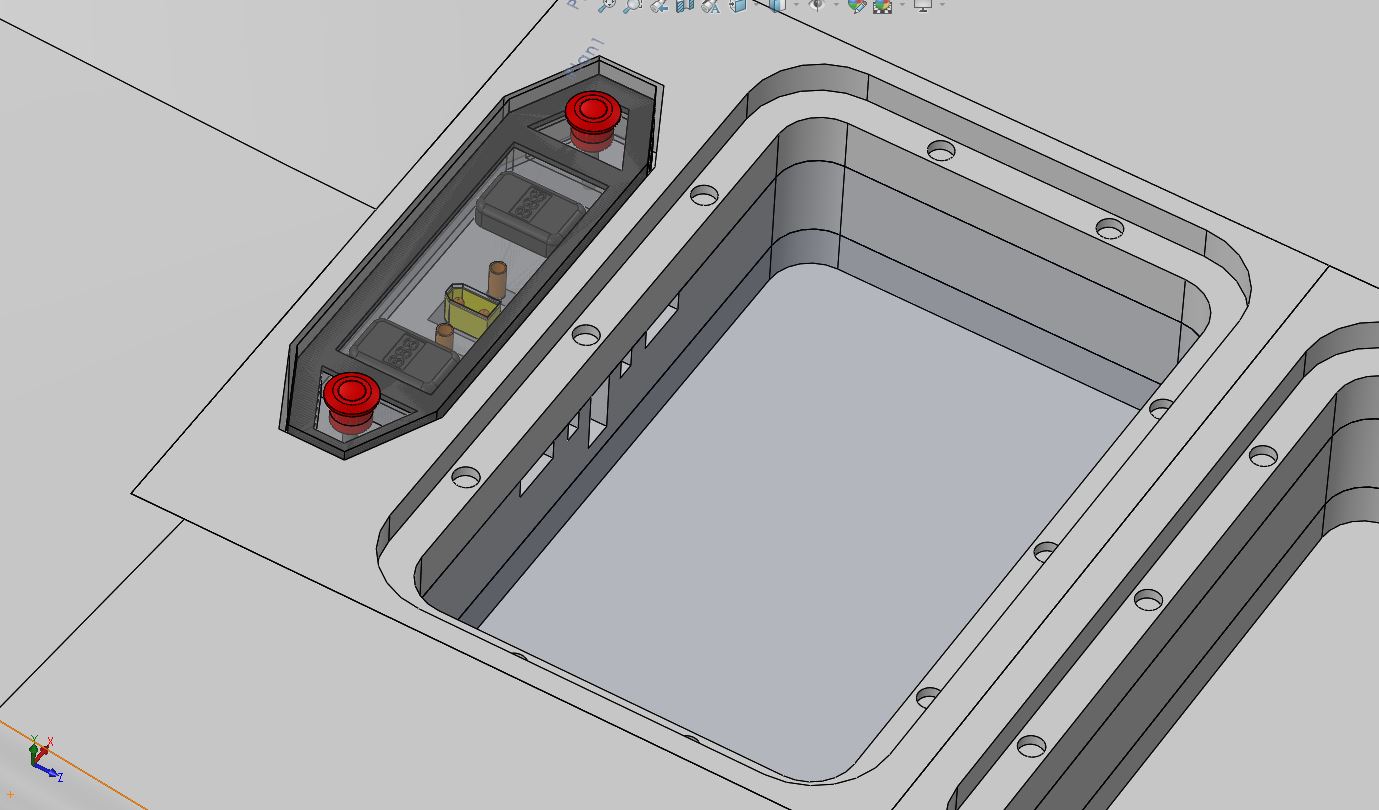
As you can see i added a smaller enclosure in the front. This enclosure with be closed thanks to 2 fast button locks :
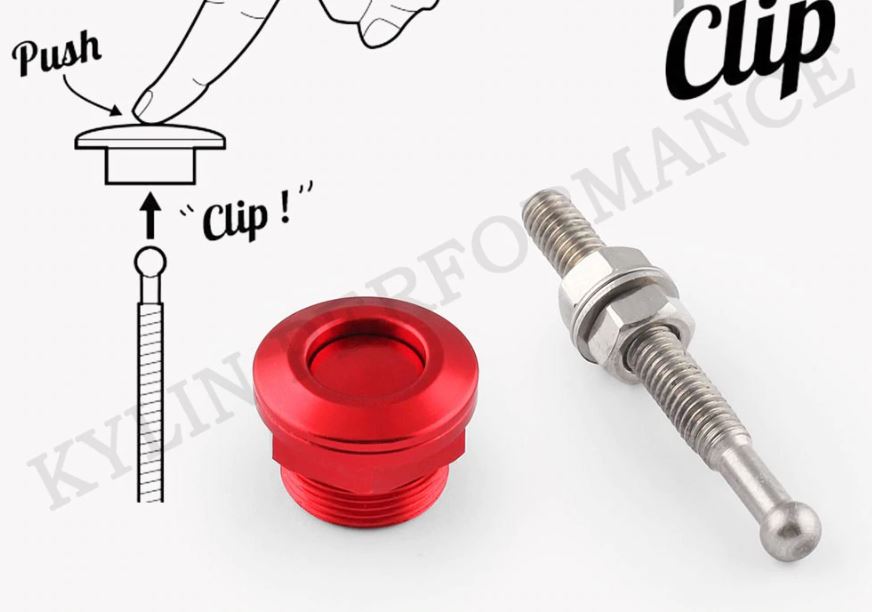
This will help me to get fast access to the charging ports, no need to take 10 screws out to charge. It will also house 2 voltage testers to check the cells voltage when riding (because i don’t want to use a BMS for discharge).
Here is the first enclosure (made with my CNC) :
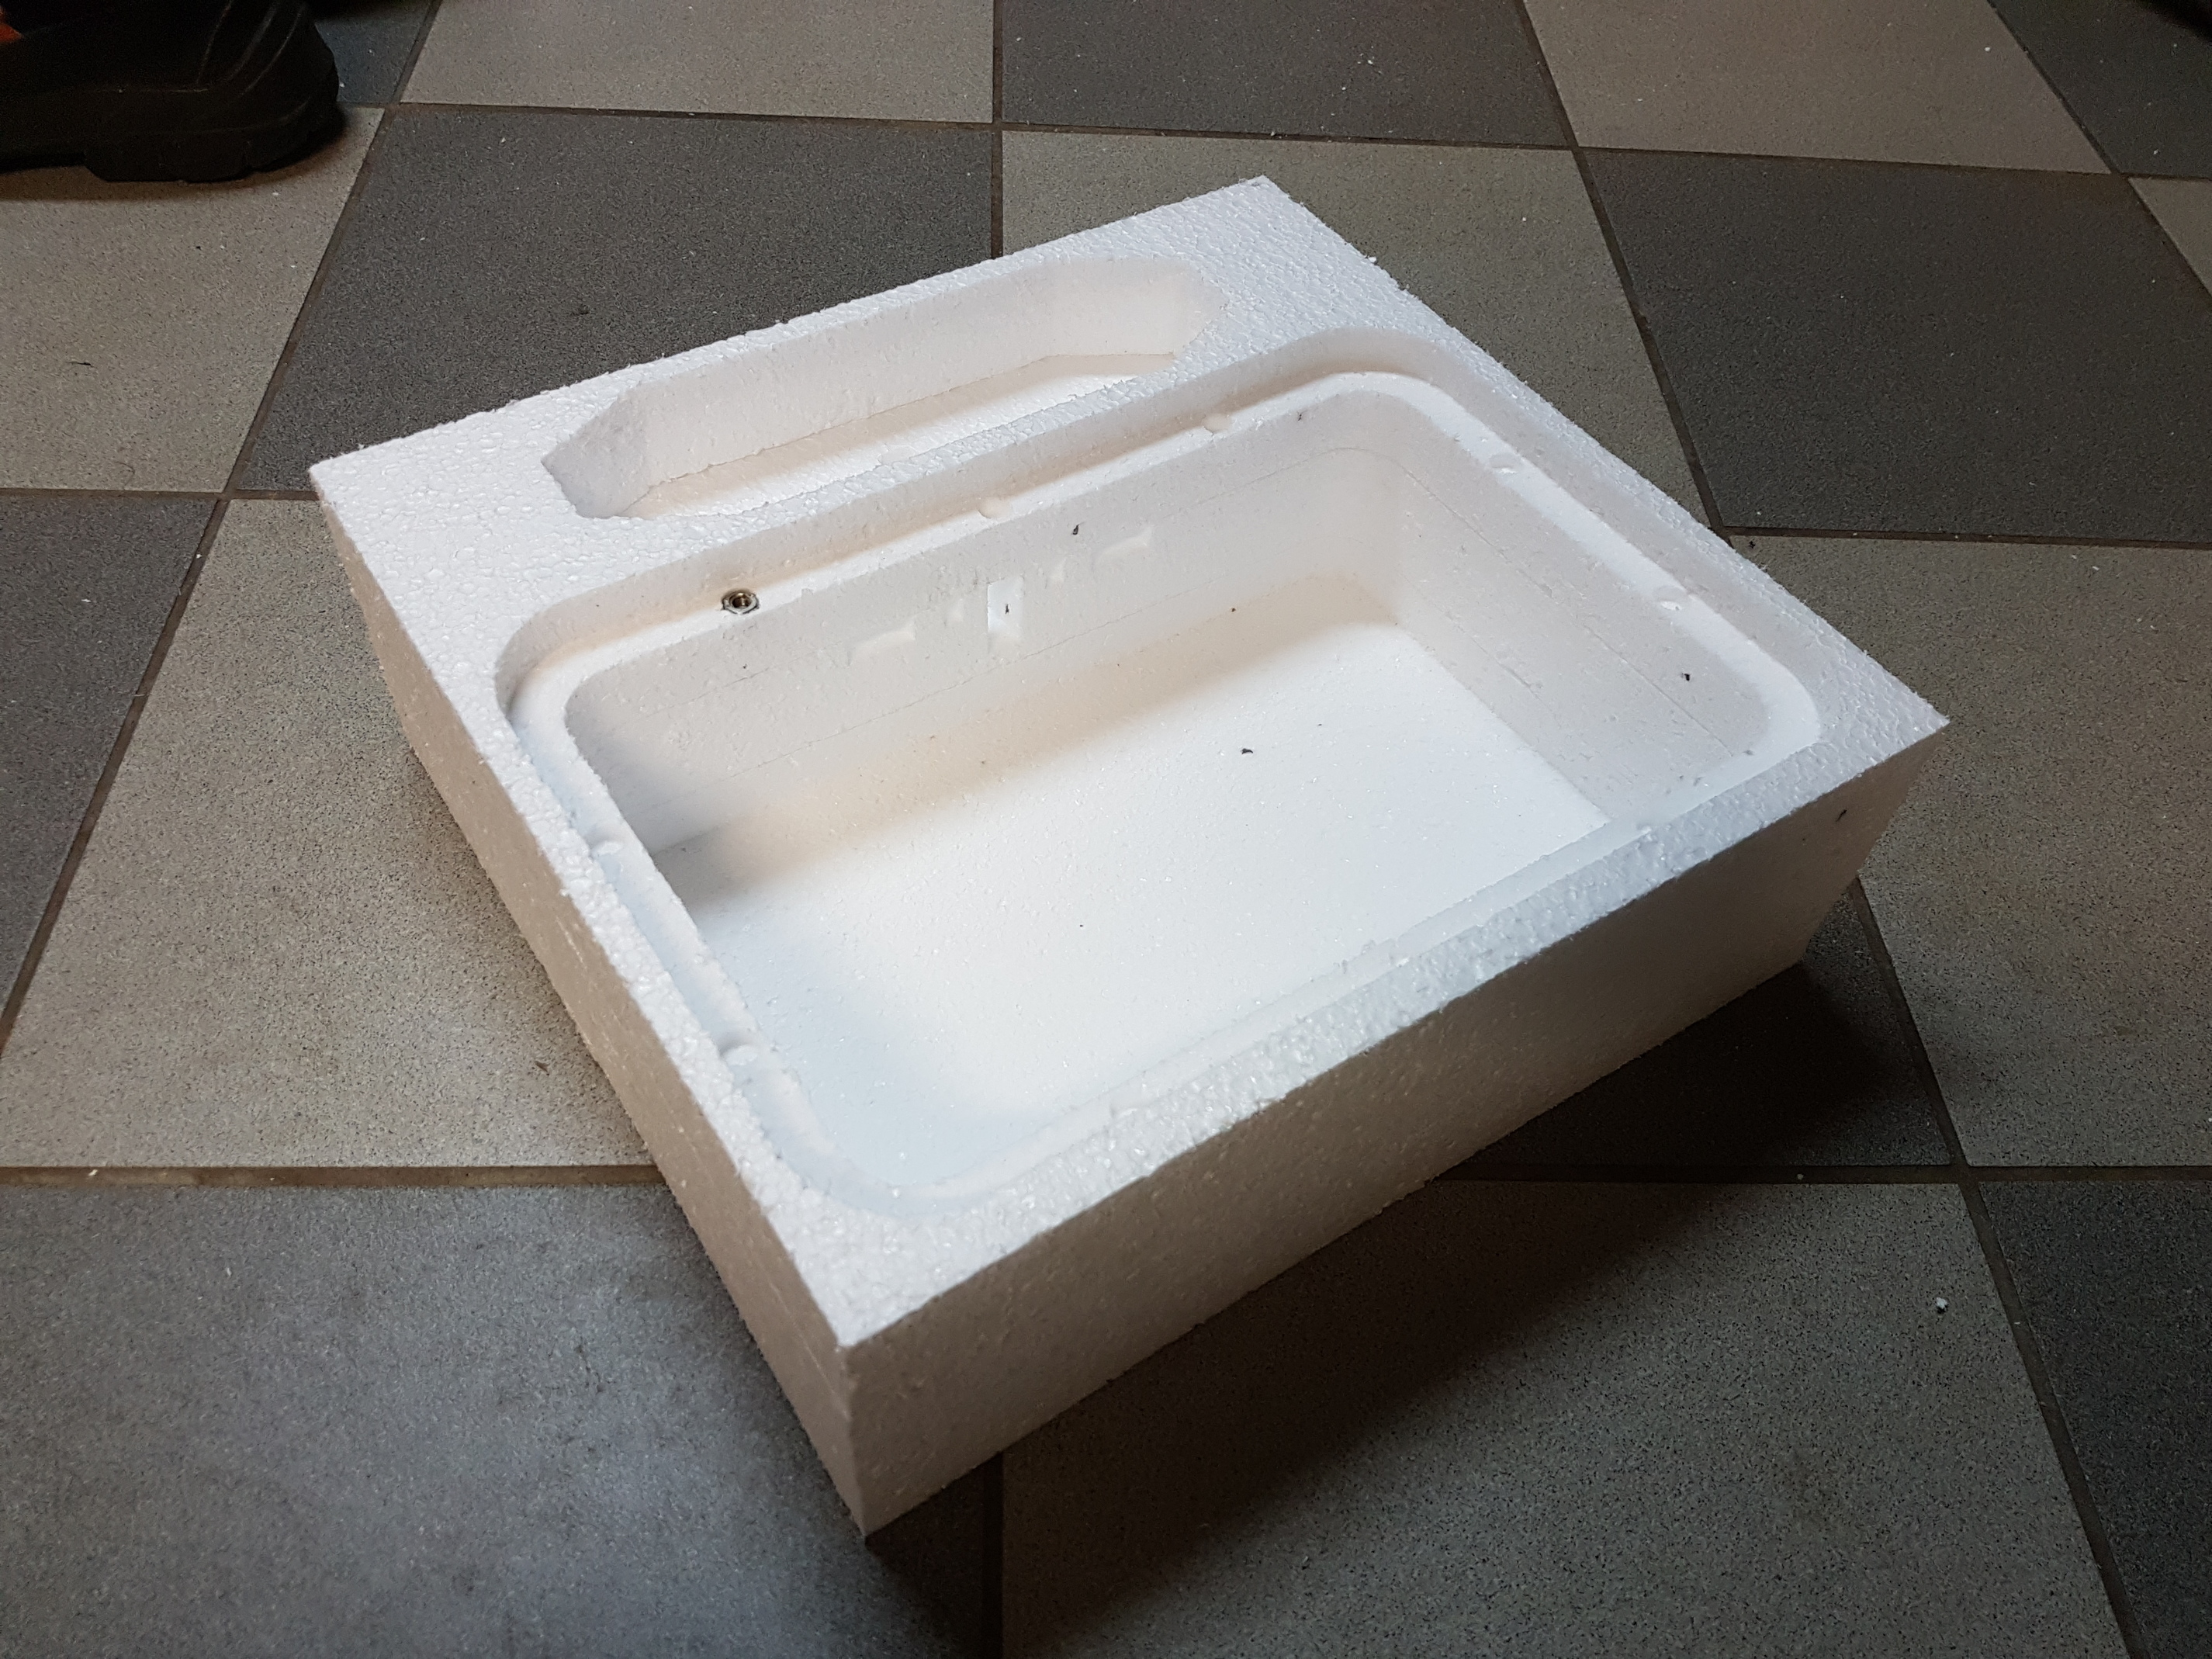

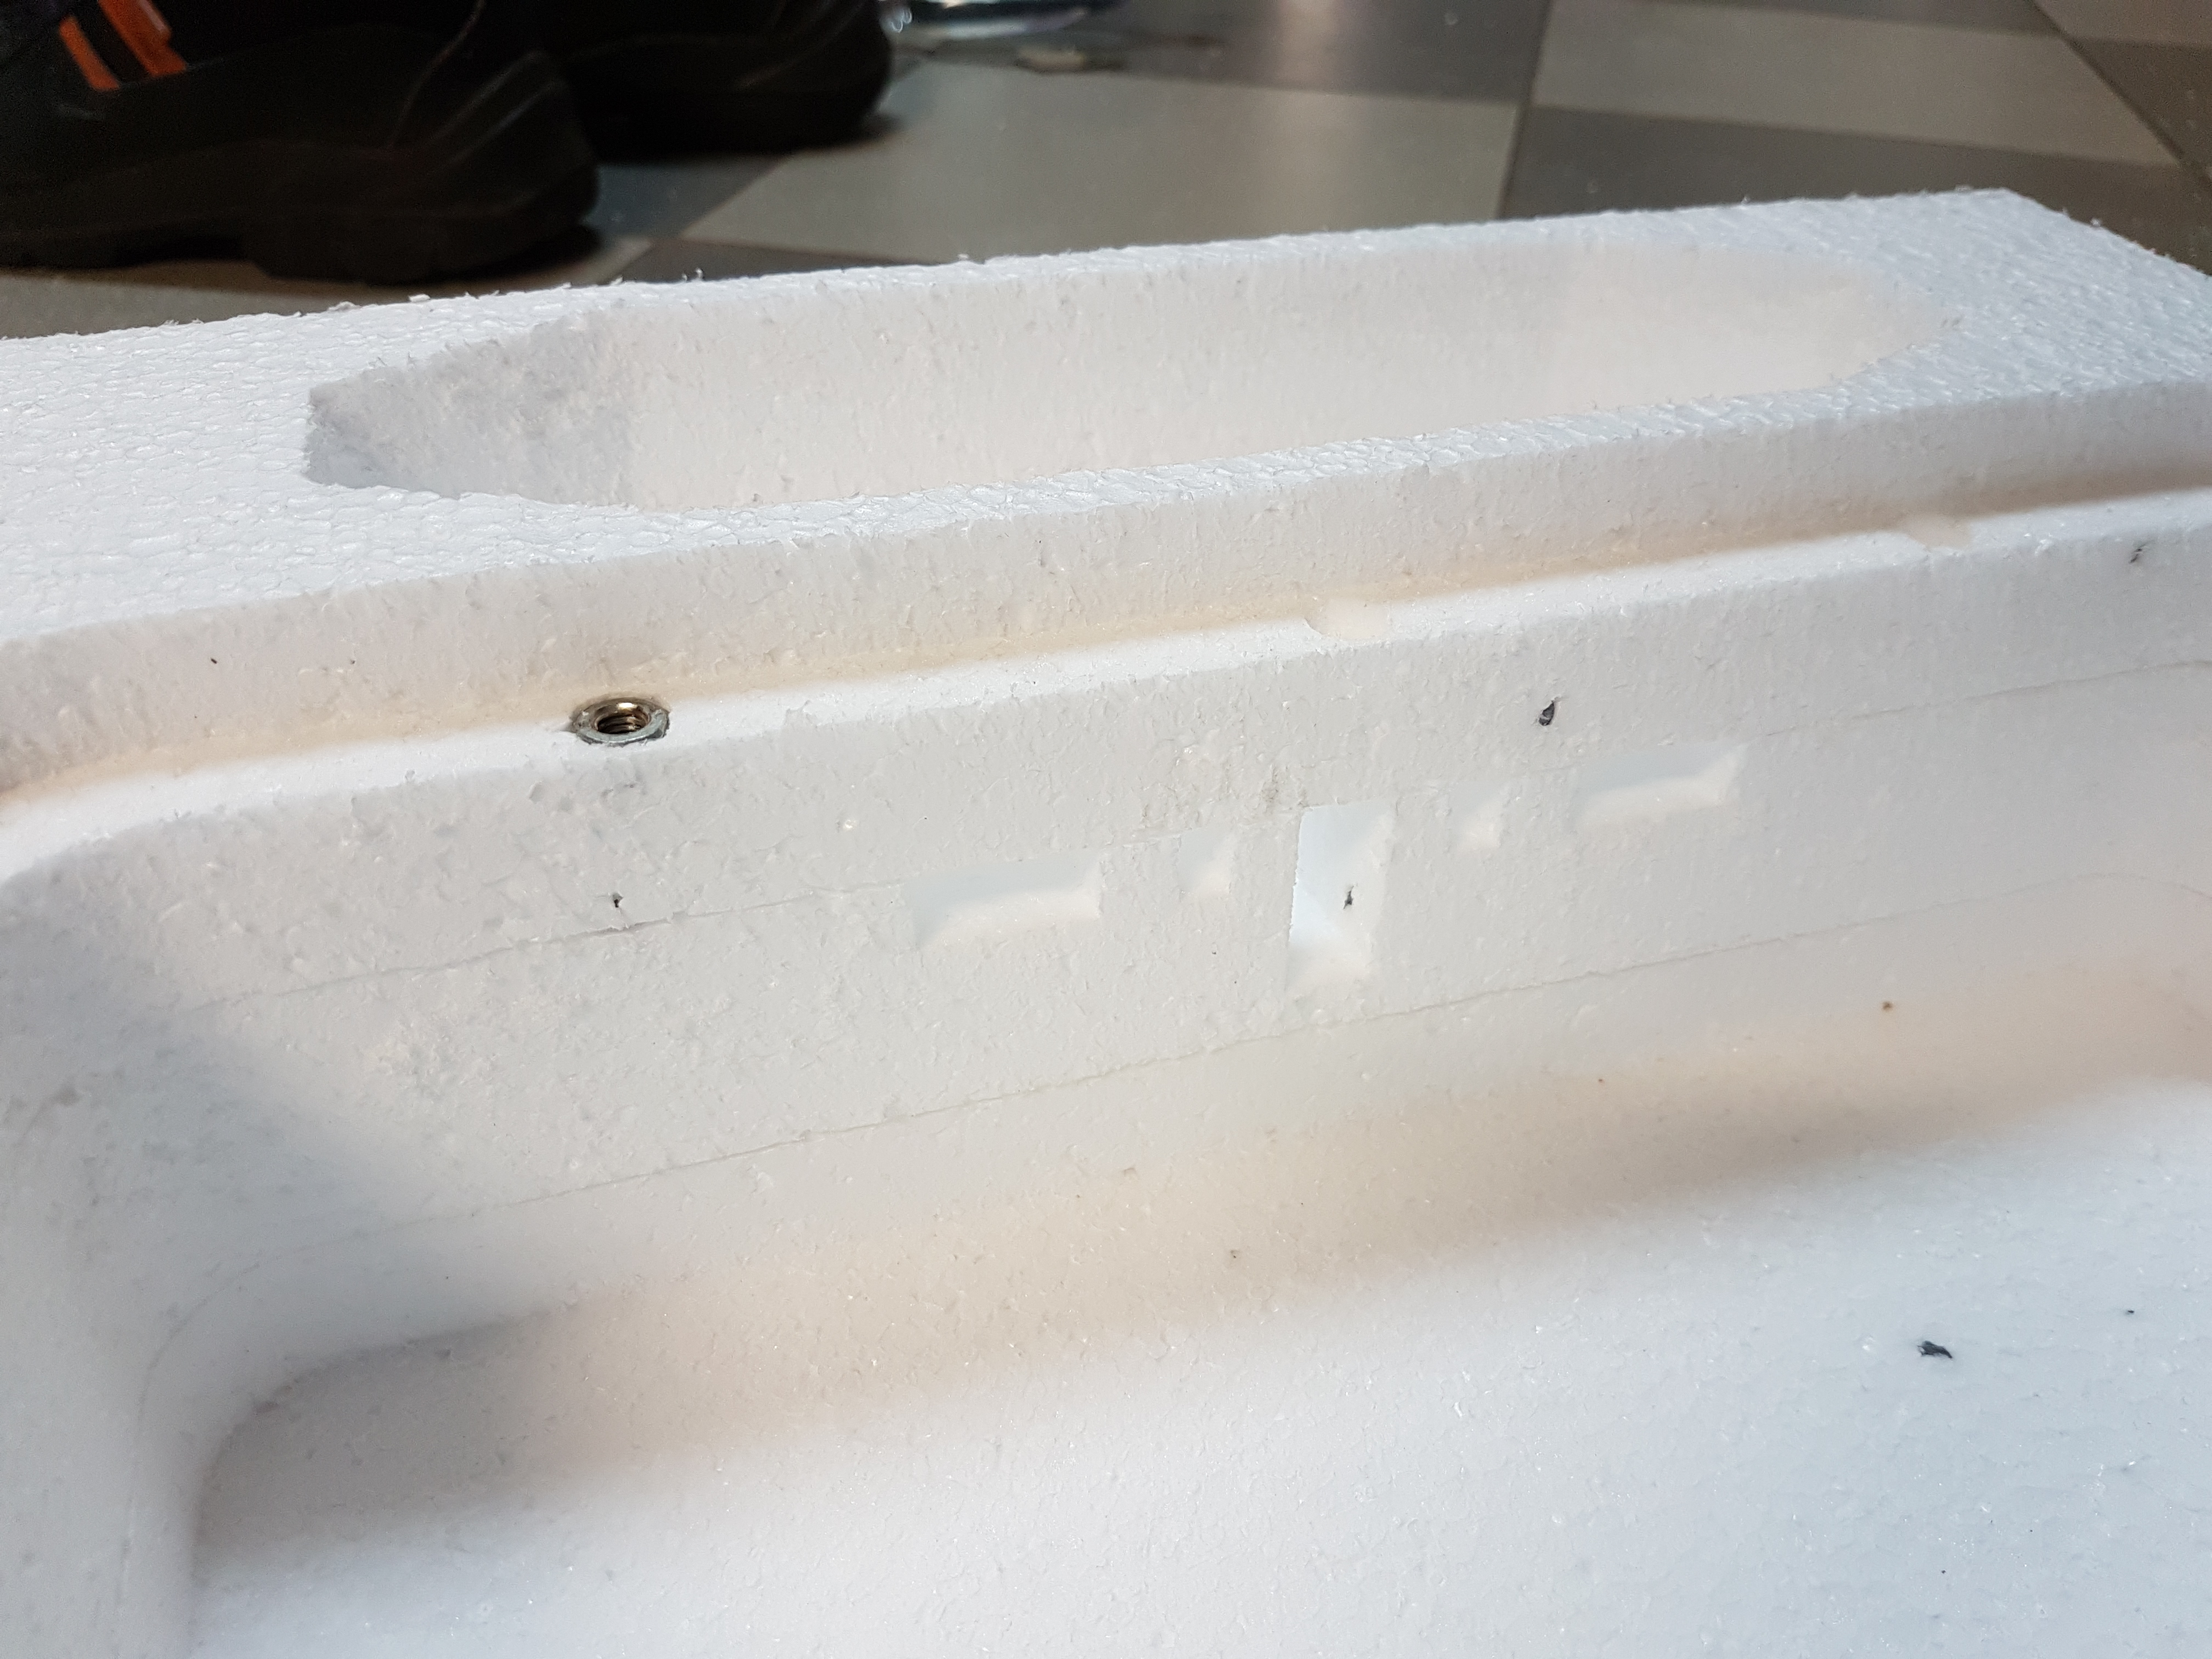
Next step is to make the 2nd enclosure and stick everything together with epoxy resin.
And to finish i need an advice : should i renforce everything with fiber before integrating the module in the board ? (like @Mat) or should i integrate it directly in the board and do the fiber work after ?
Thanks !
2 Likes
great idea with your small access hatch… do you think the fast button will be strong to keep the lid tight on the seal?
If you plan on vacuum bagging the fiber on the module (more fiber for the same weight so more rigid). it will be easier to glass it before, a bag for a full board is a pain …
Also, if your CNC can cut epoxy, you could get a much better finish by glassing it, add and extra coat of resin, and machine it back to the exact dimensions you need…
Not sure if the fast buttons will be strong enough but i want to give it a try
And i didn’t decide yet if i’m going to use vaccum bag or not. Seems like it will be mandatory to get something light and with a nice finish
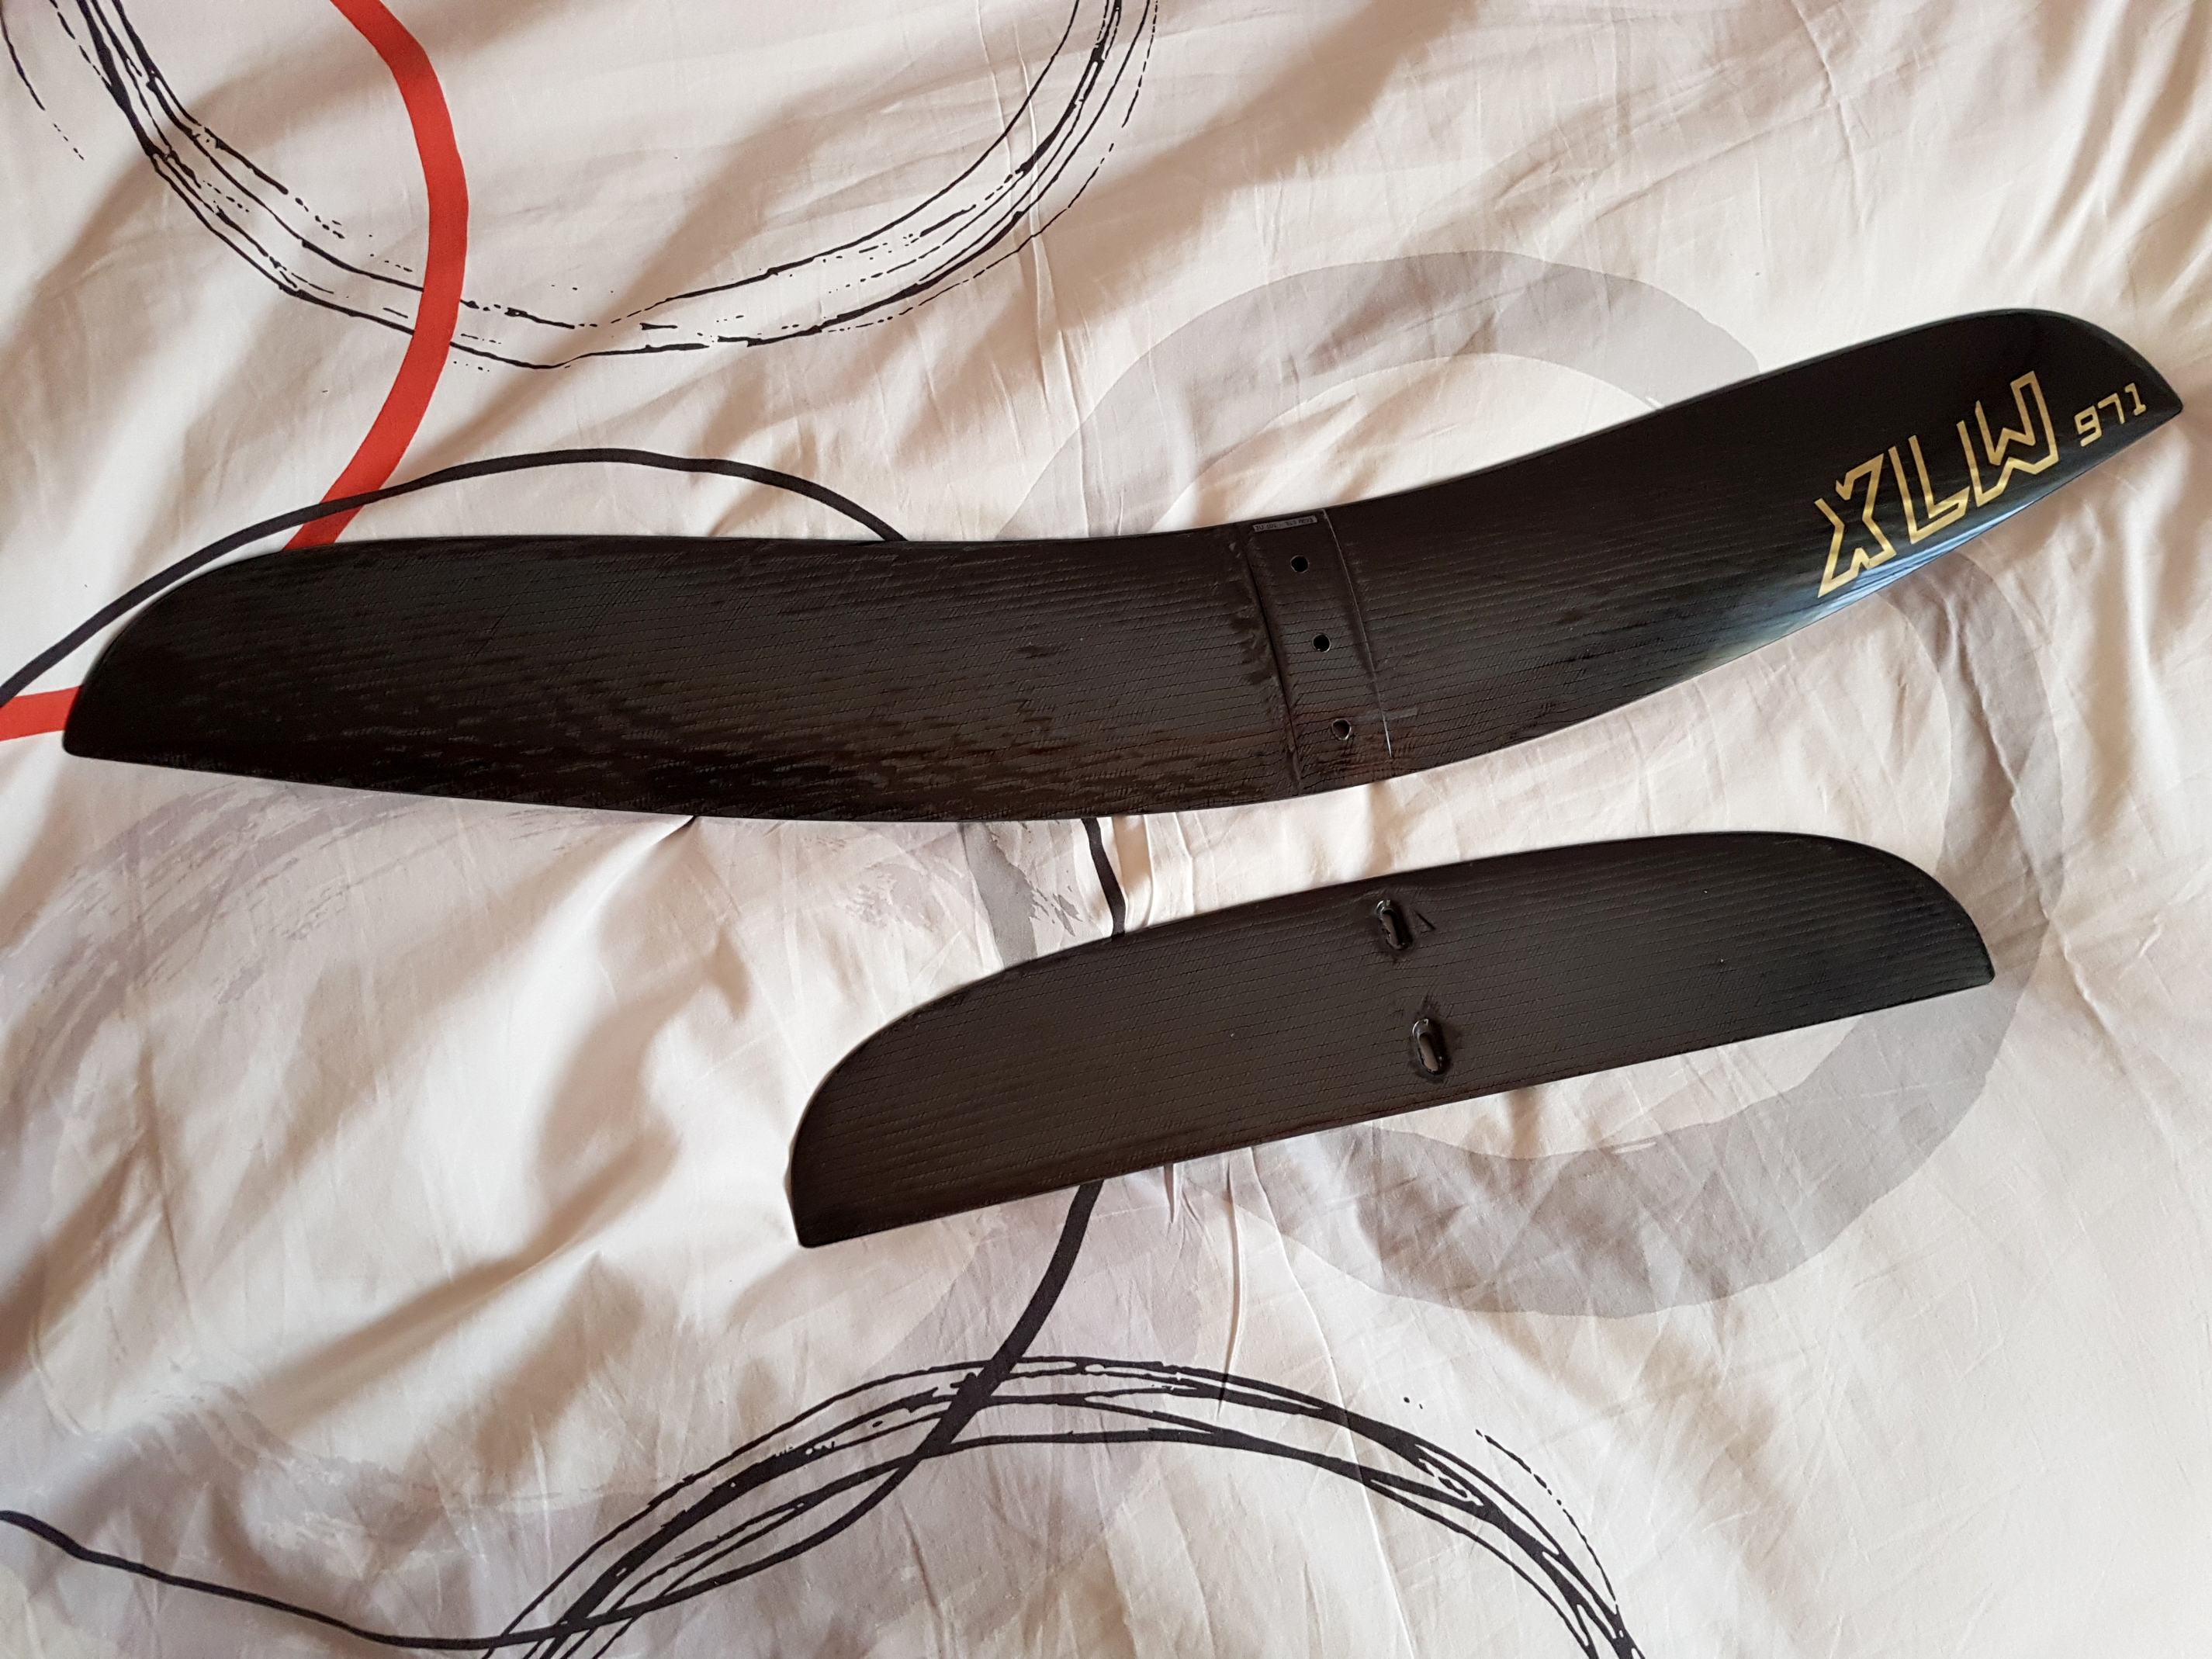
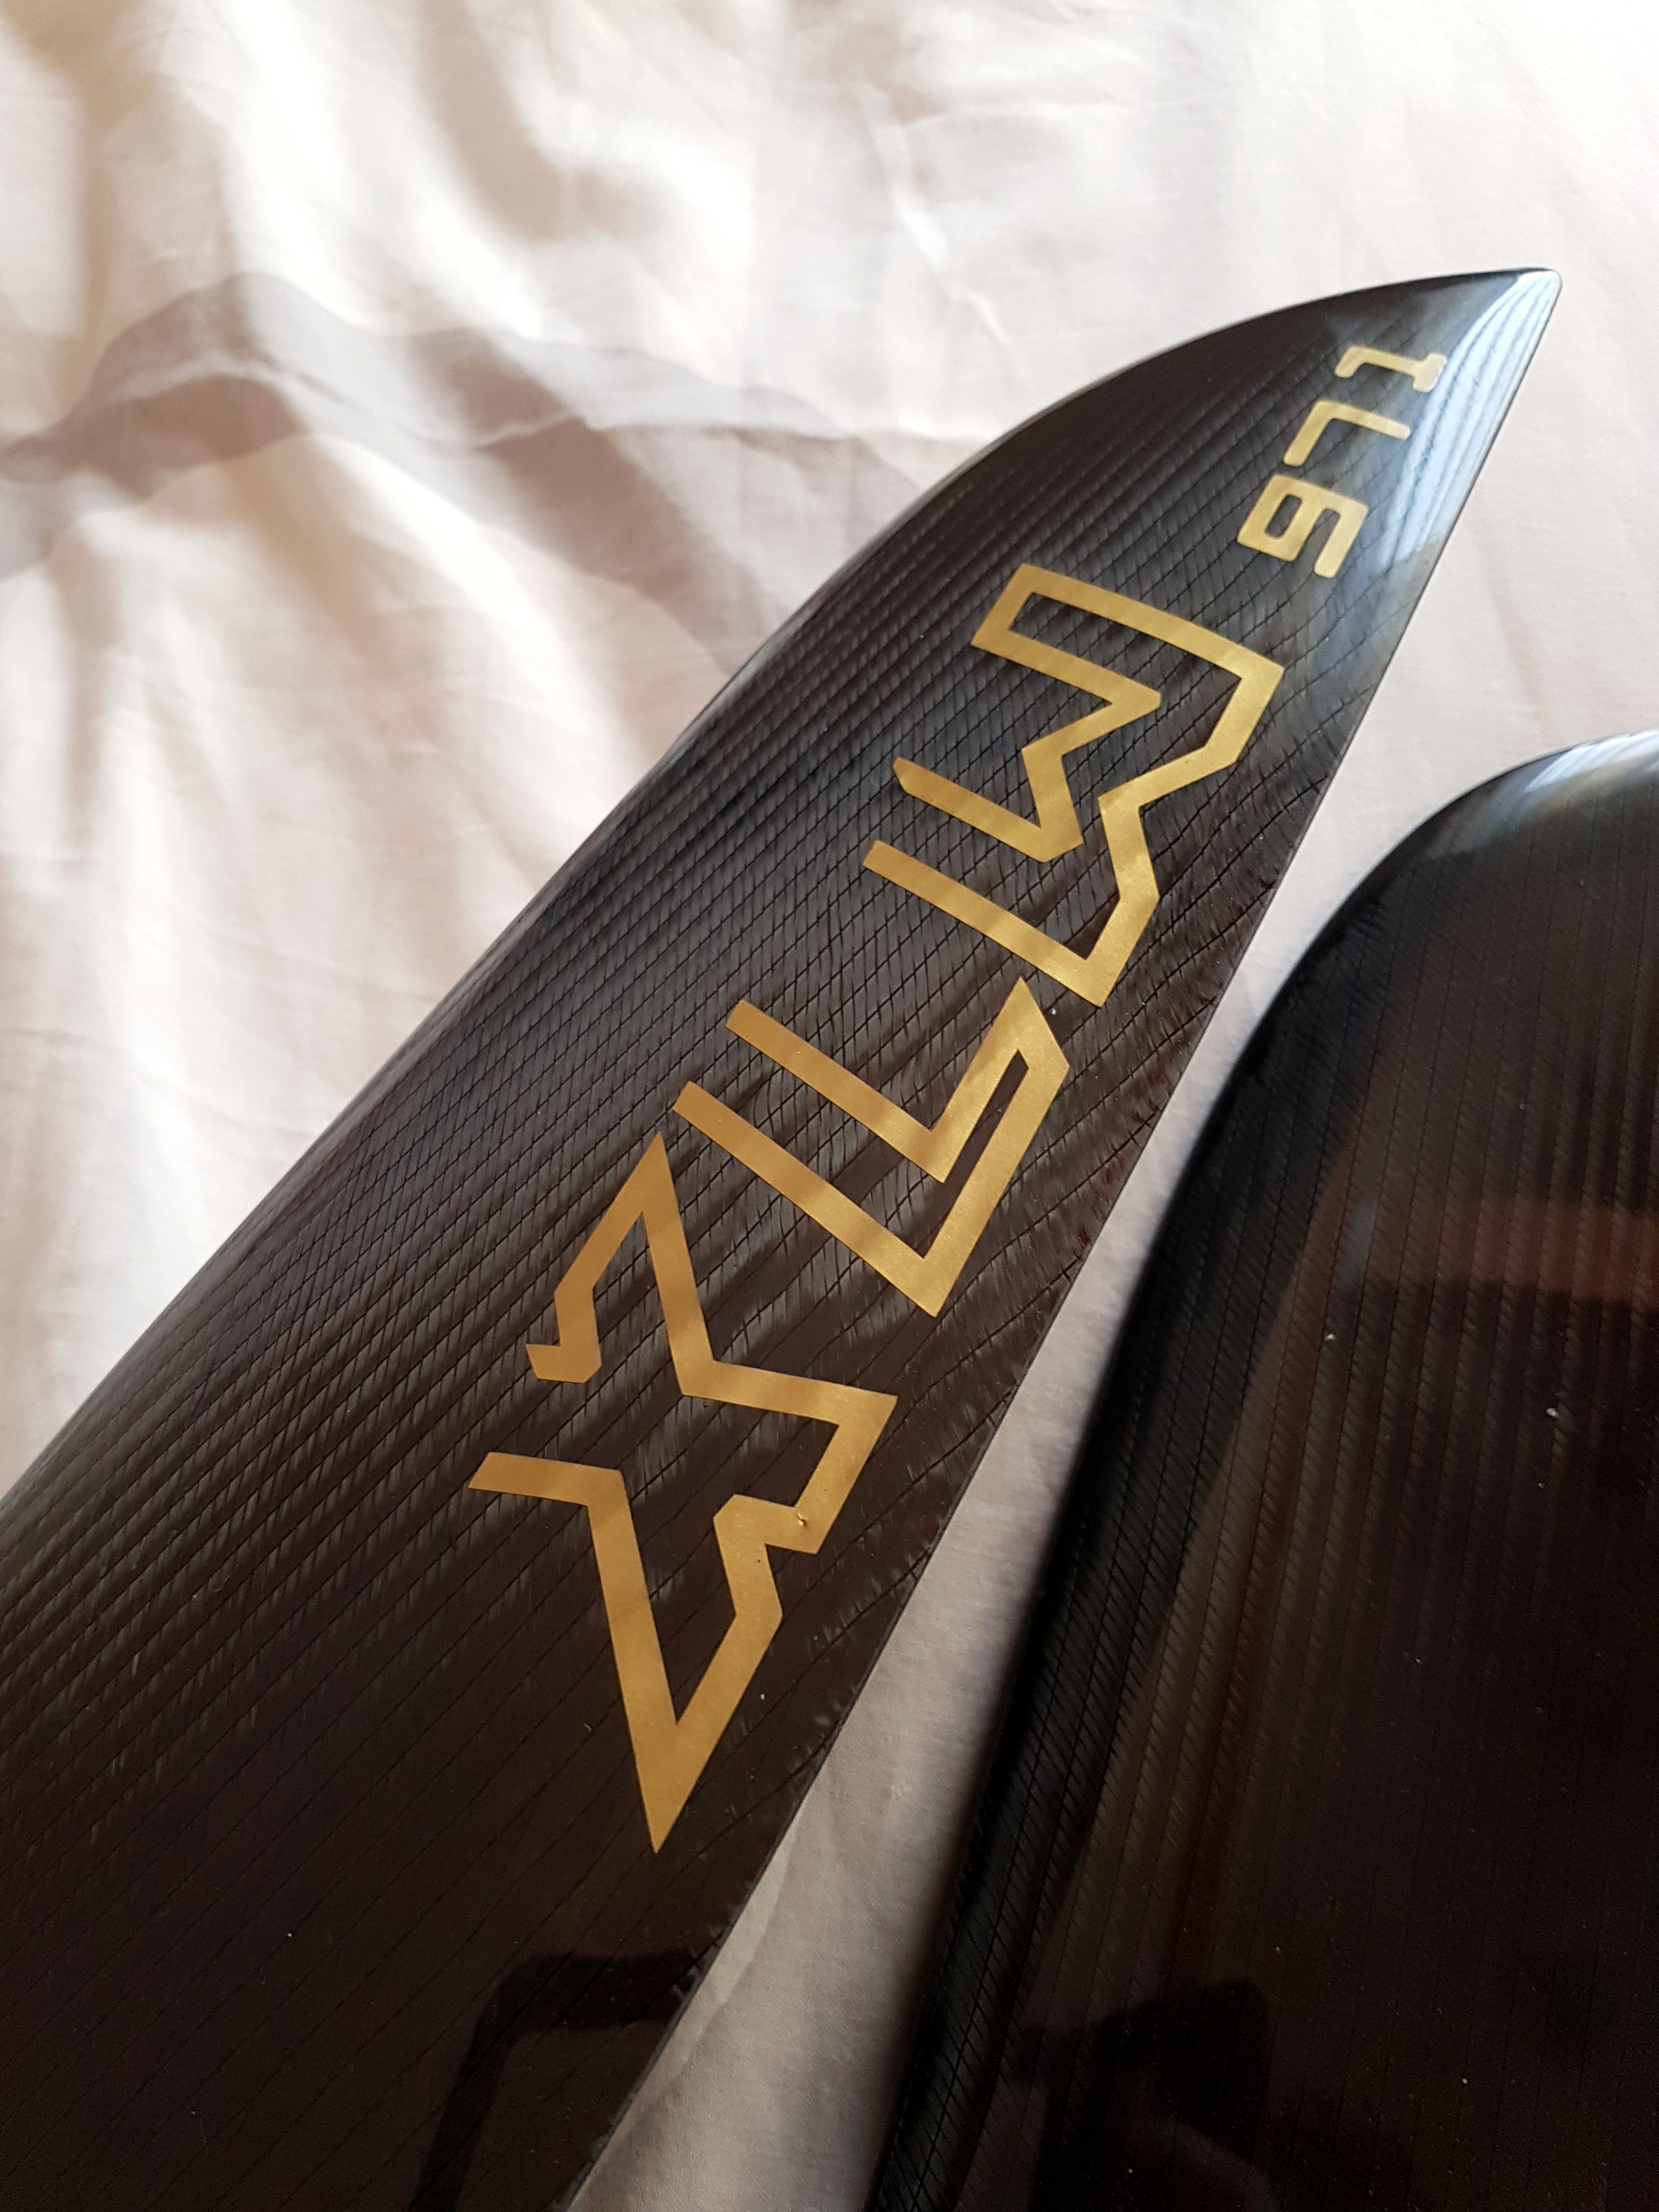
I worked on the tube today :

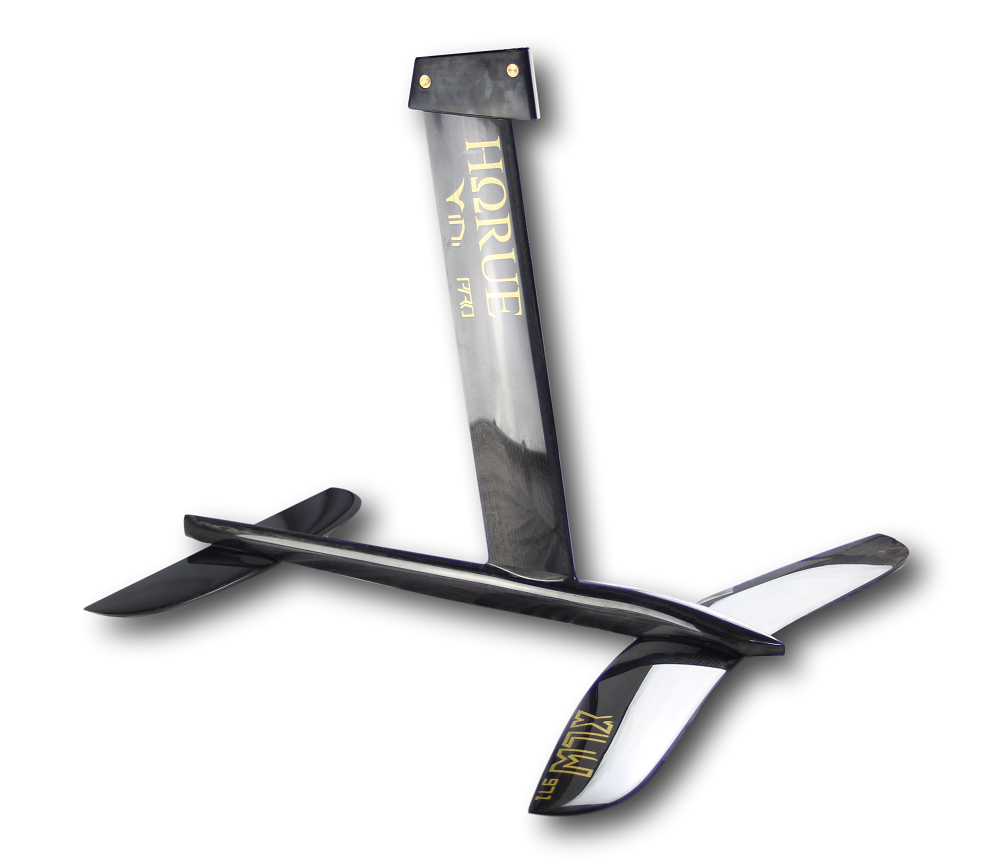
The wing fits perfectly :
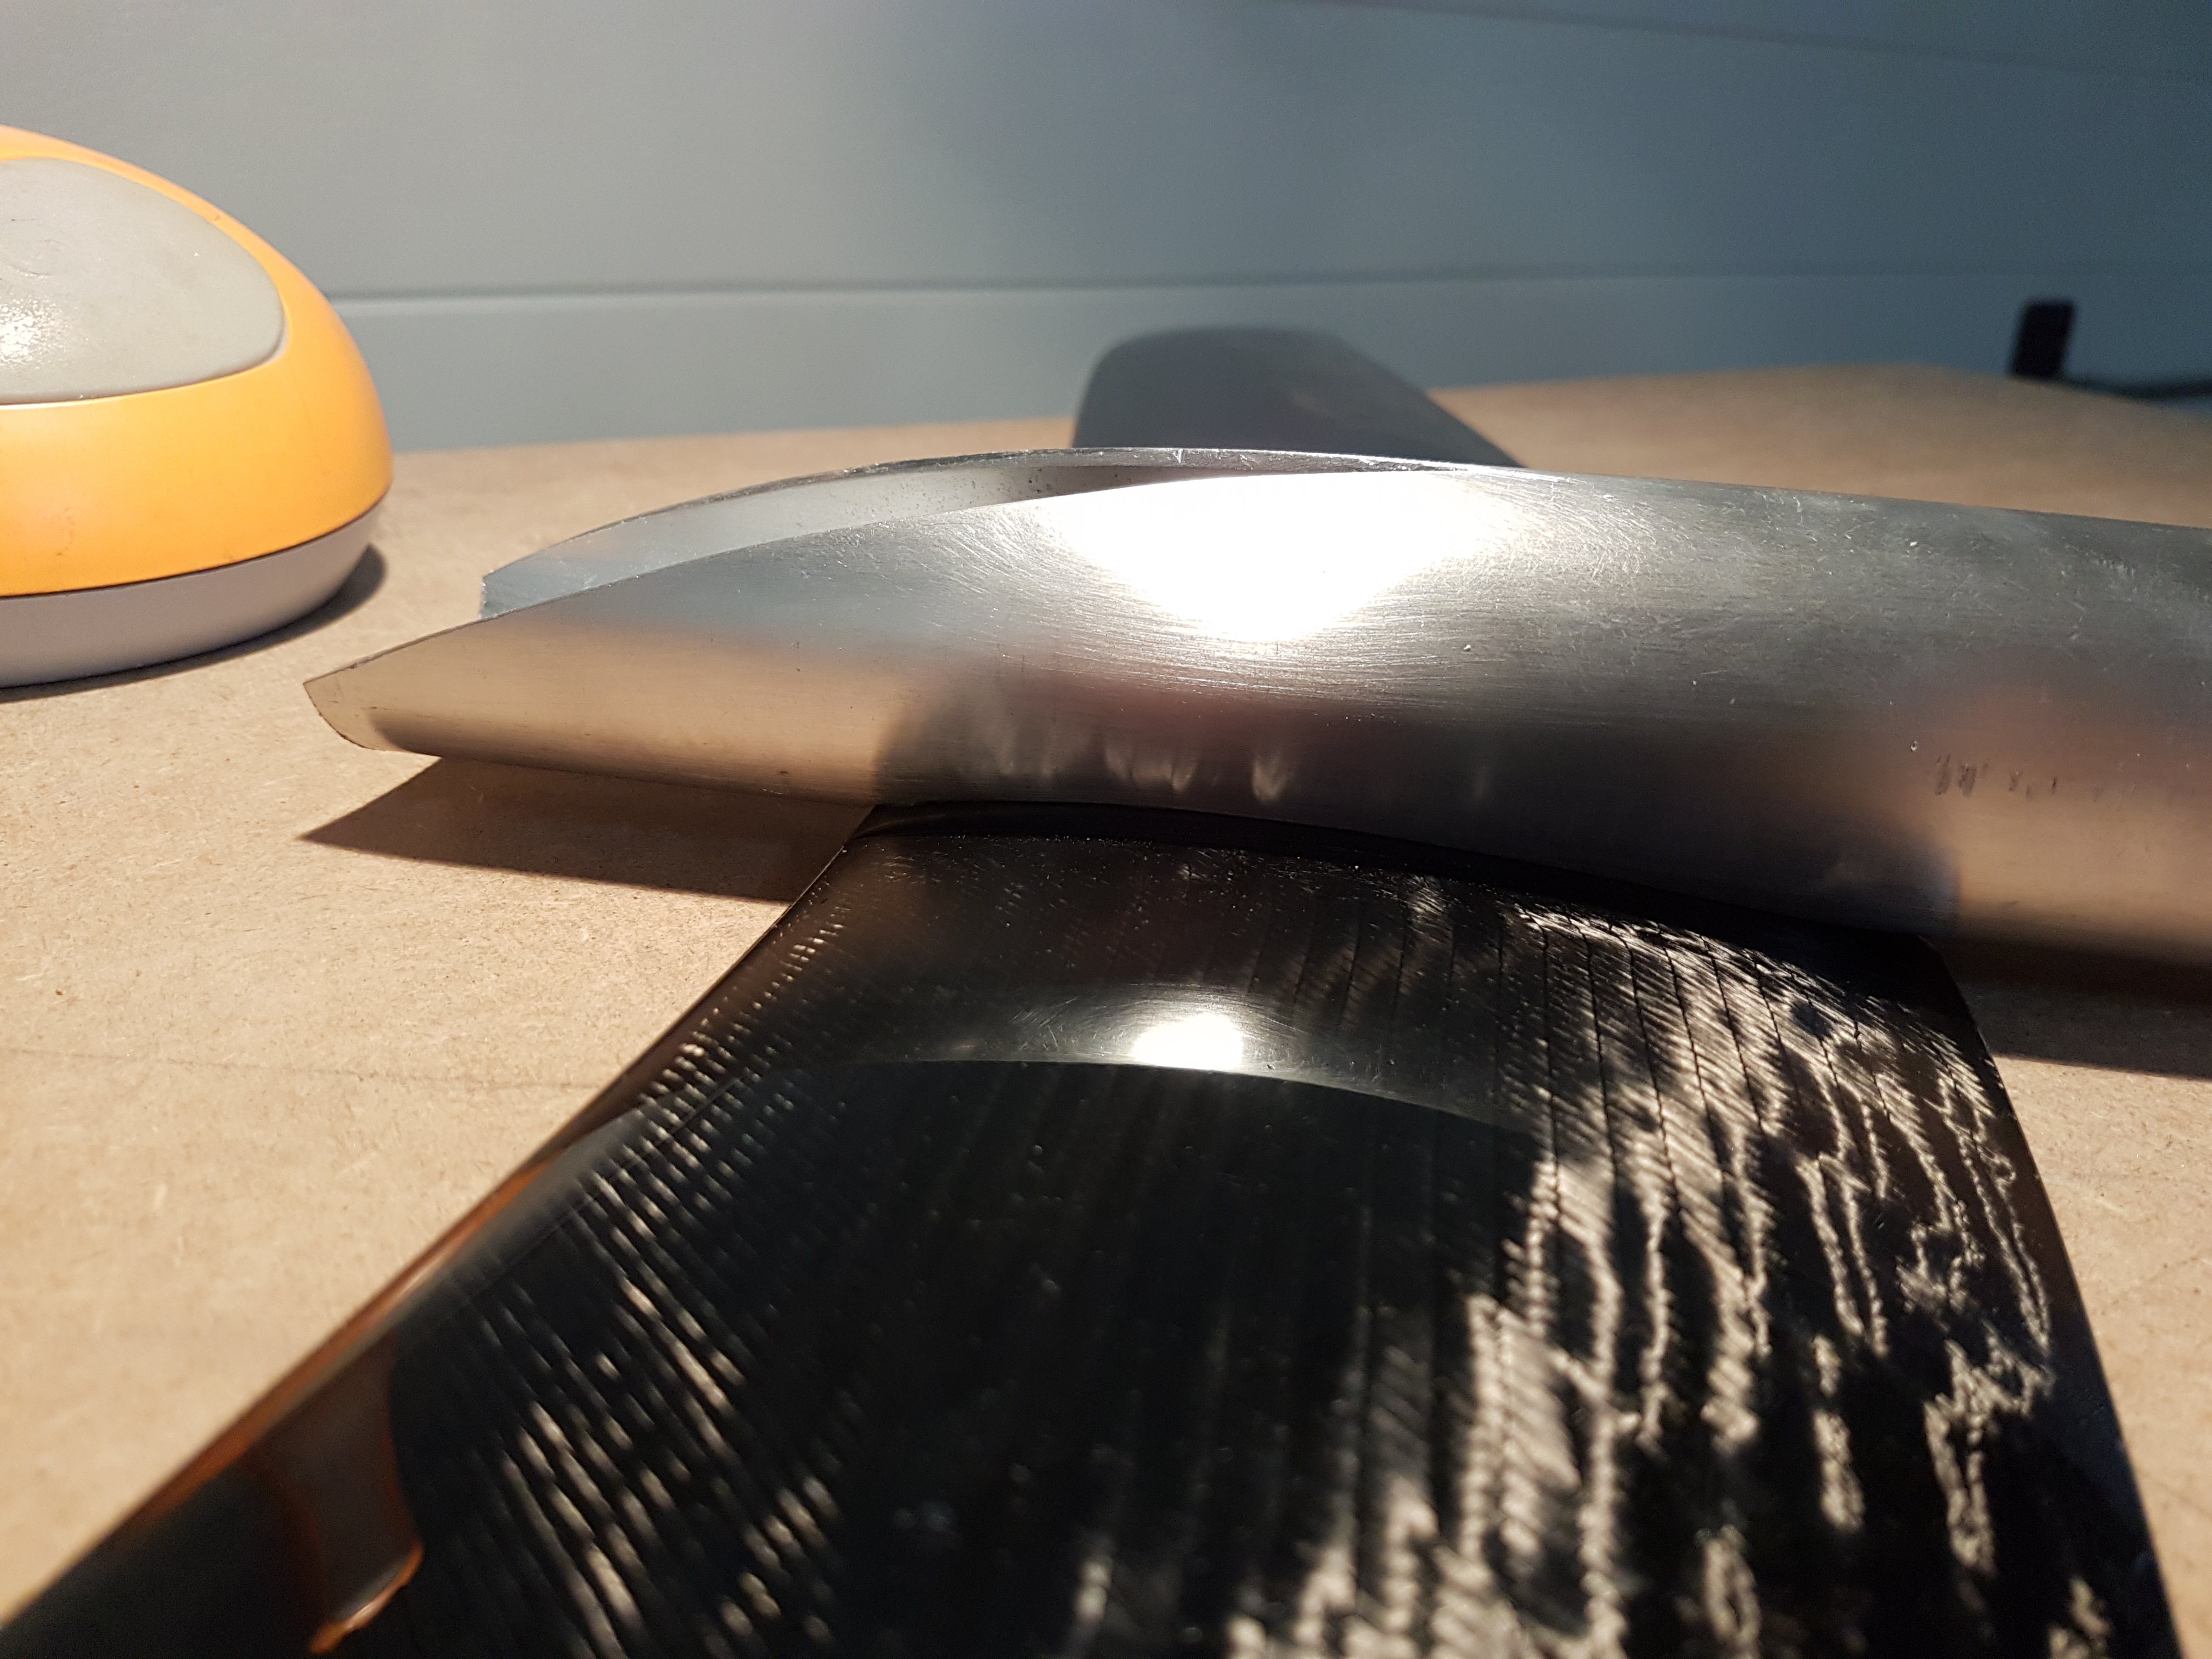
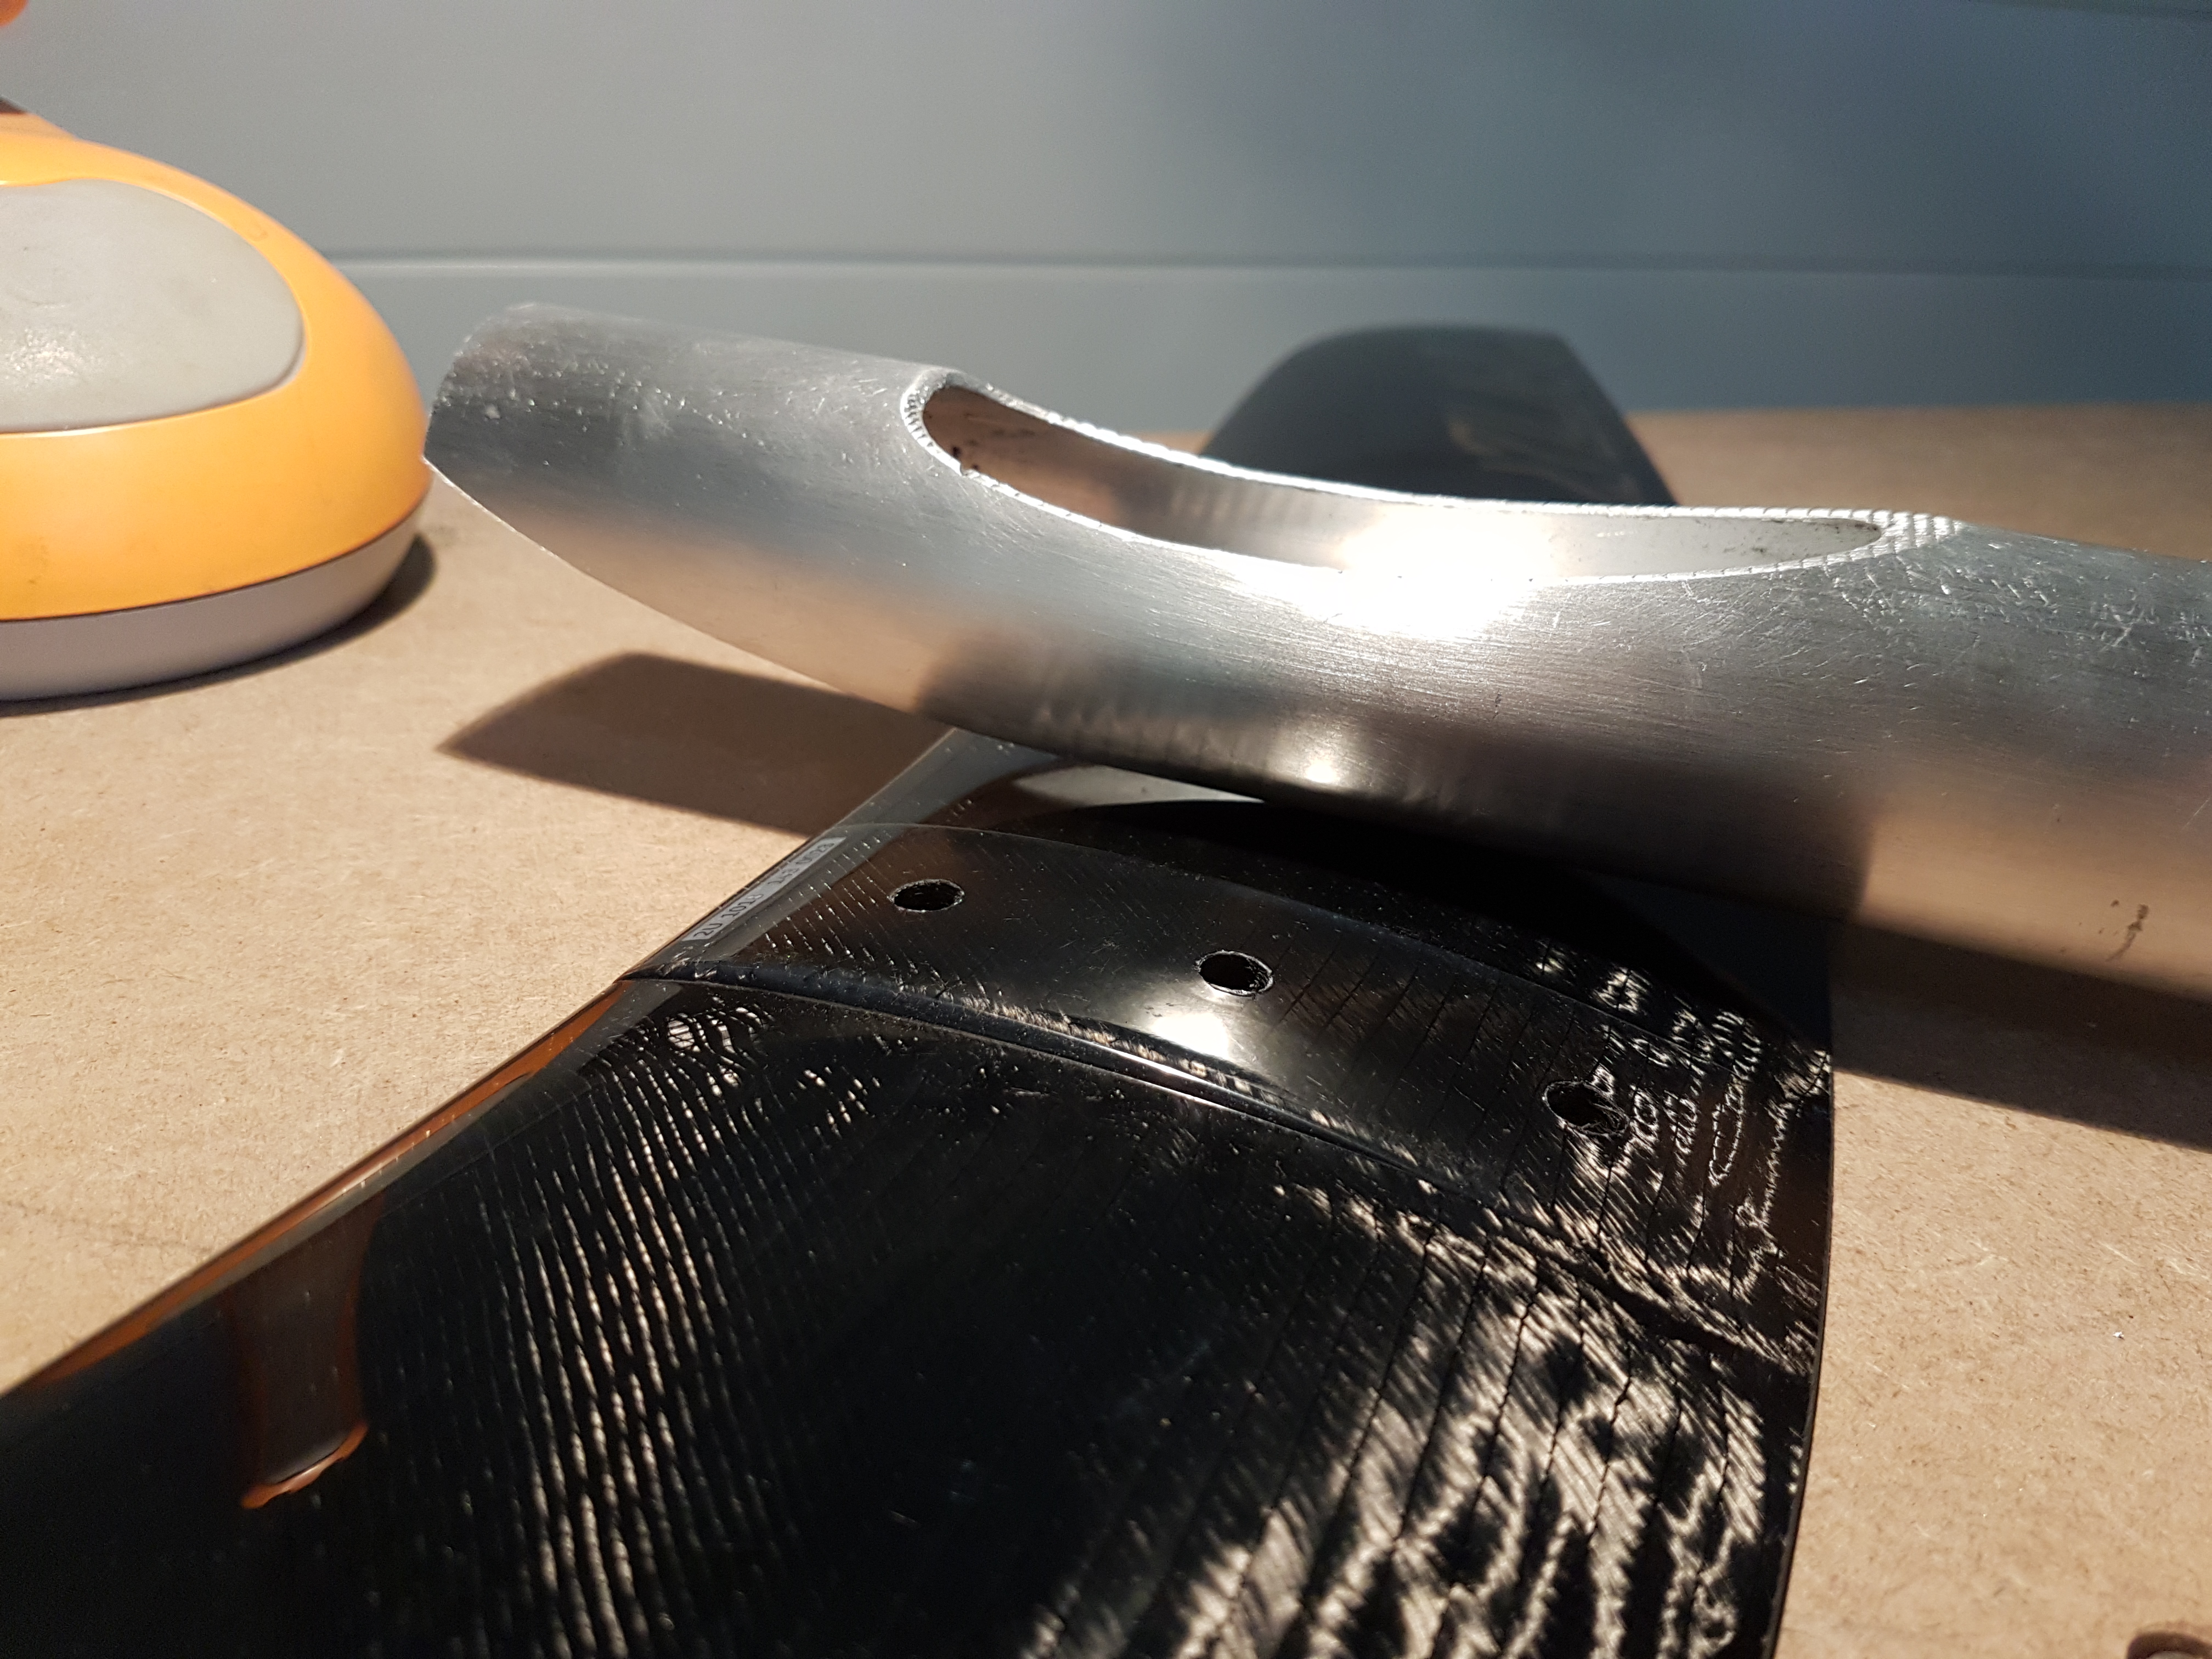
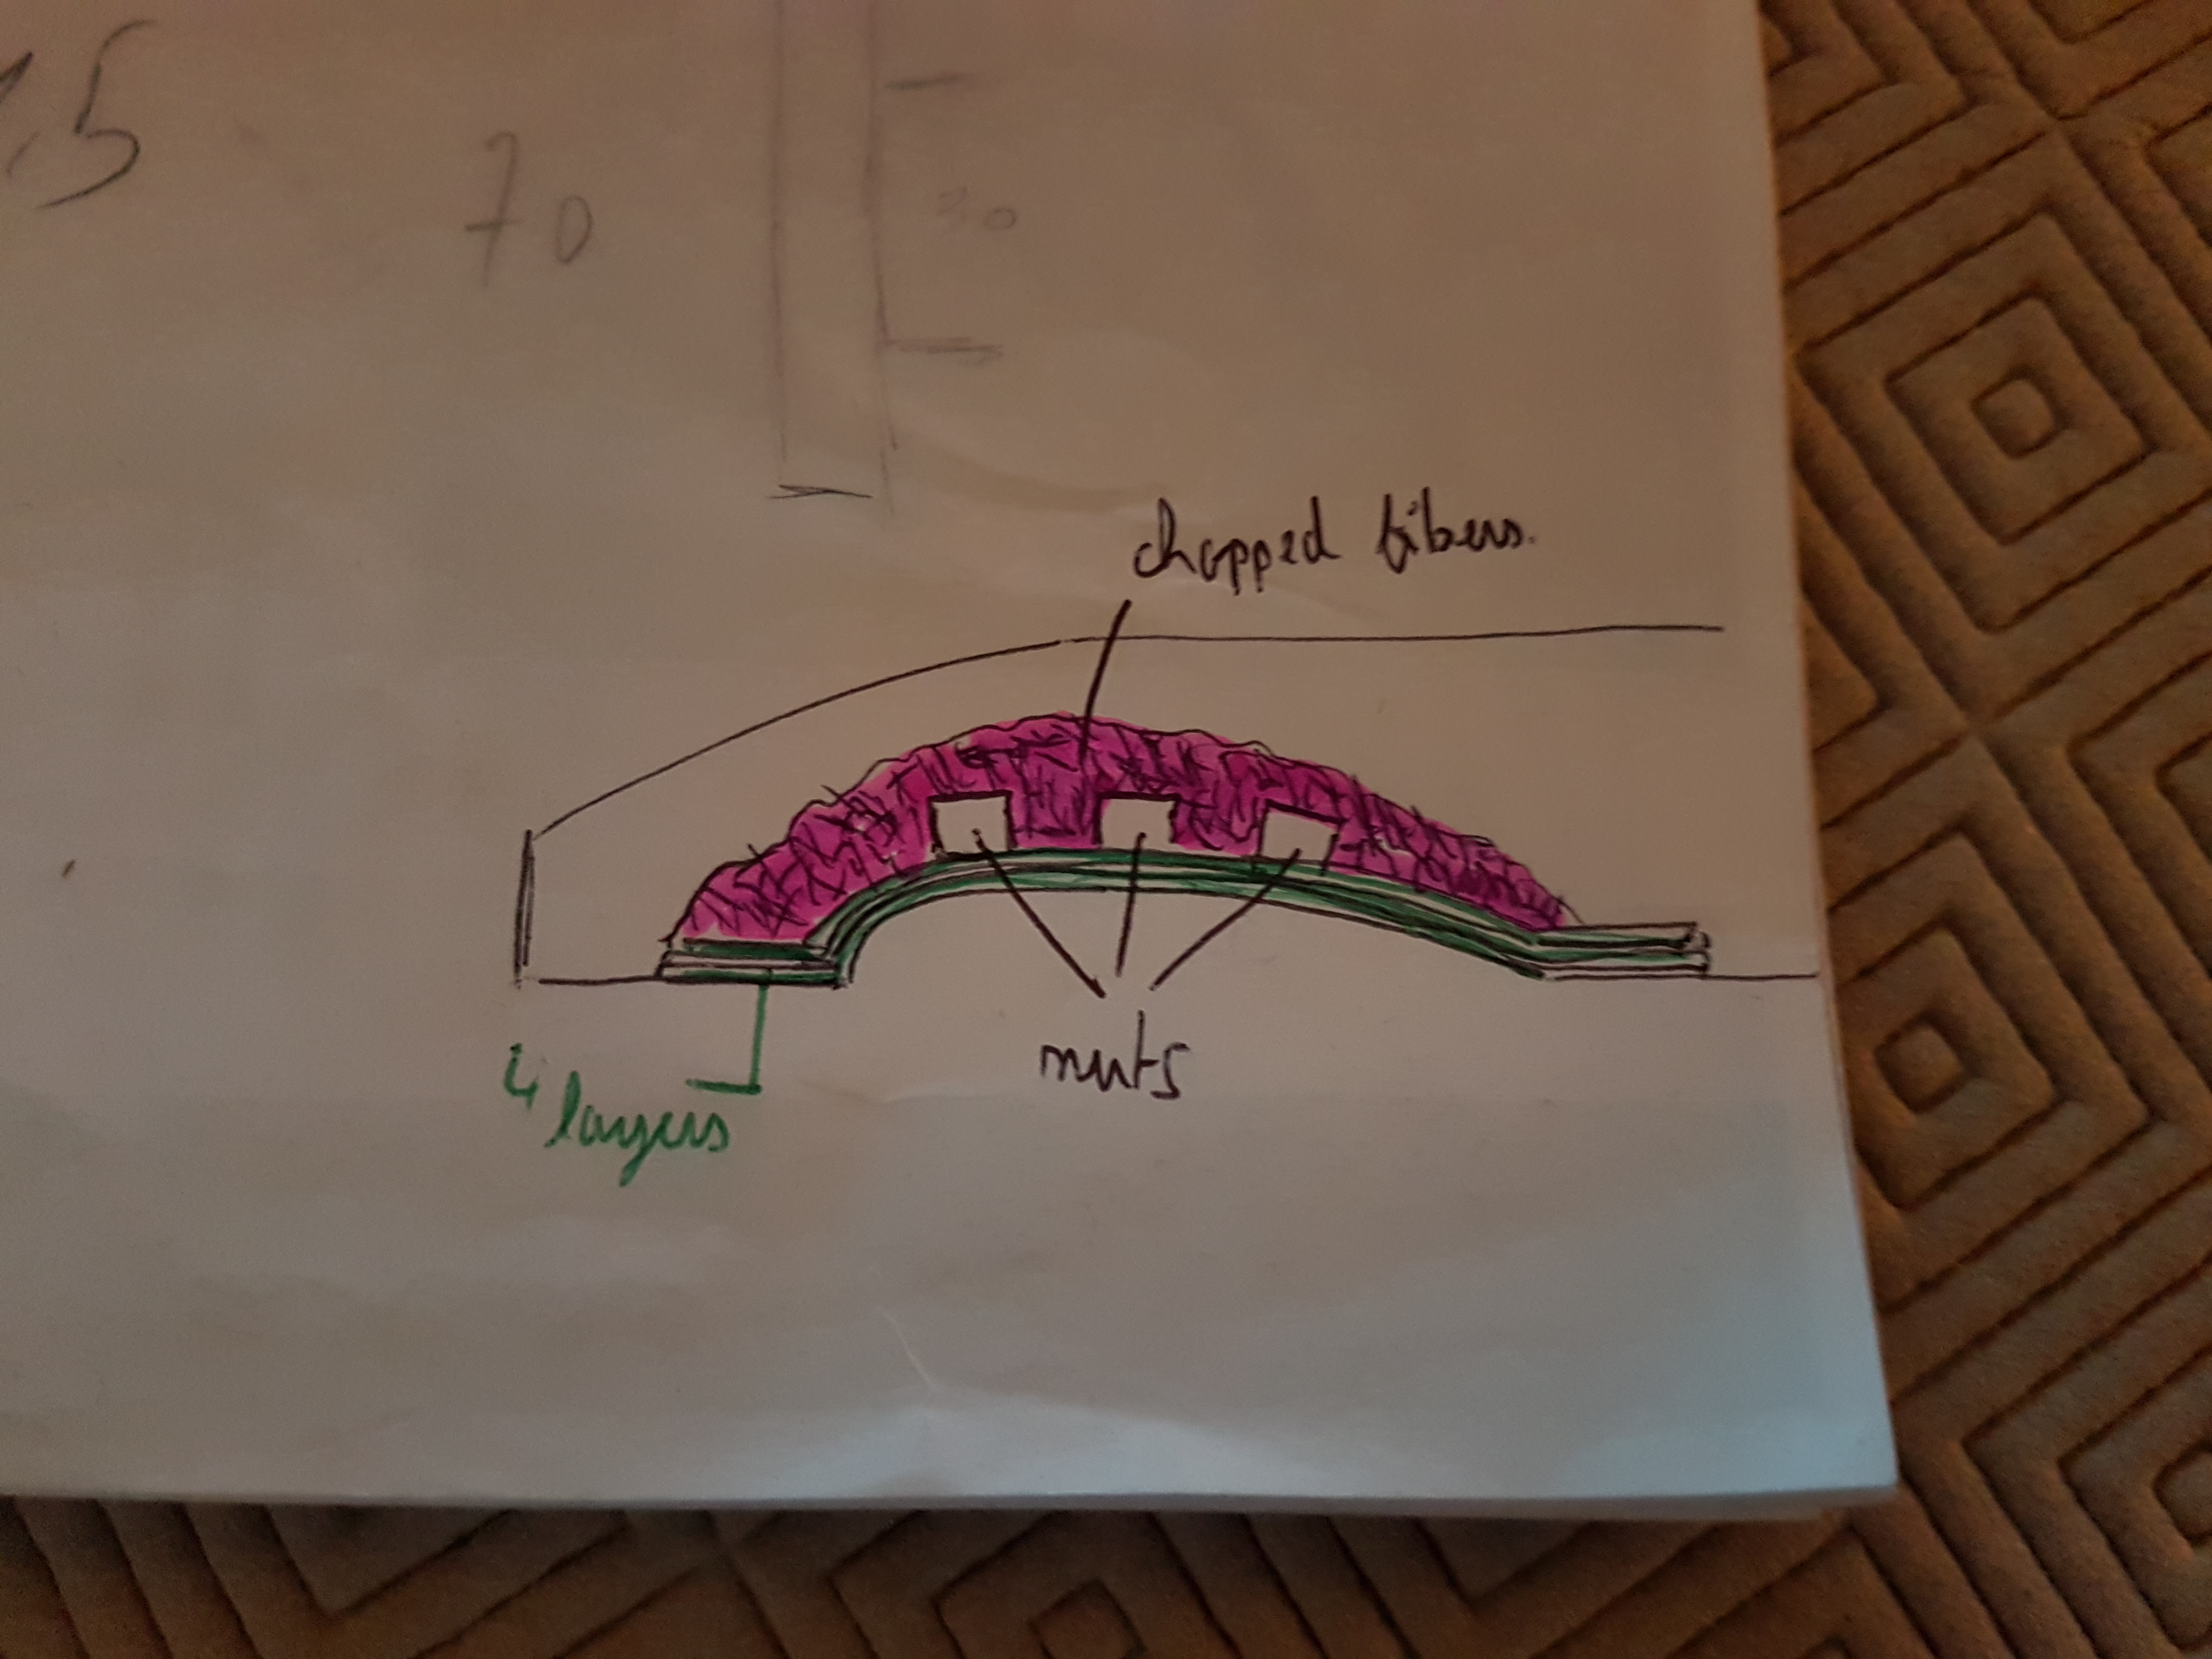
Next step is to make an “insert” in the tube to hold the wing with 3 screws. My idea is to put 4-5 stripes of carbon fiber inside the tube, let it harden, then drill the 3 holes, put 3 nuts inside and cover them by a big coat of chopped carbon fiber which will fill at least half of the volume above the wing. Like this :
Please can somebody confirm that the front wing must be horizontal ? Only the back wing needs a small angle right ?
1 Like
not use to look at a wing this shape, it looks like the wrong way 
horizontal ? better ask horue , my takuma front wing has the rear down…
you cannot use the 3 holes to find the level ?
Thanks for your answer. Haha yes the shape is strange but i believe it’s a really good wing, i hope to get a low consumption setup 
I will ask horue, but i read on their website that you can play on the rear wing incidence so i imagine that the front wing is horizontal or with small angle like you said.
Hi Max, wonderful job, this looks really promising !
what is the thickness of your aluminum tube ? Are you sure it will handle the lifting force correctly ?
thank you
Hi, thanks for your comment.
My tube is 45.1x40.7mm (45x41 in theory). 2mm thick !
I tried some simulations on Solidworks and it seems okay but not 100% sure
Maybe should i strengthen the tube with 2 layers of carbon fiber (and vaccum bagging) ?
1 Like
For heat dissipation it would be better to leave it blank aluminium
Hi I am currently working in a similar approach, with thicker tube,
“Maybe should i strengthen the tube with 2 layers of carbon fiber (and vaccum bagging) ?”
Carbon Fiber on aluminium ? We need a composite expert
not sure where, but remember seeing that you shouldn’t put carbon directly in contact with aluminum… you may be ok with enough resin in between or a layer of fiberglass to isolate…
Thanks for your answers. Well i will just give a try like this and see… in the worst case i will just bend a 16€ tube 
I worked on the propeller today. I would like to make a carbon fiber propeller so i took inspiration from flying rodeo and made this :
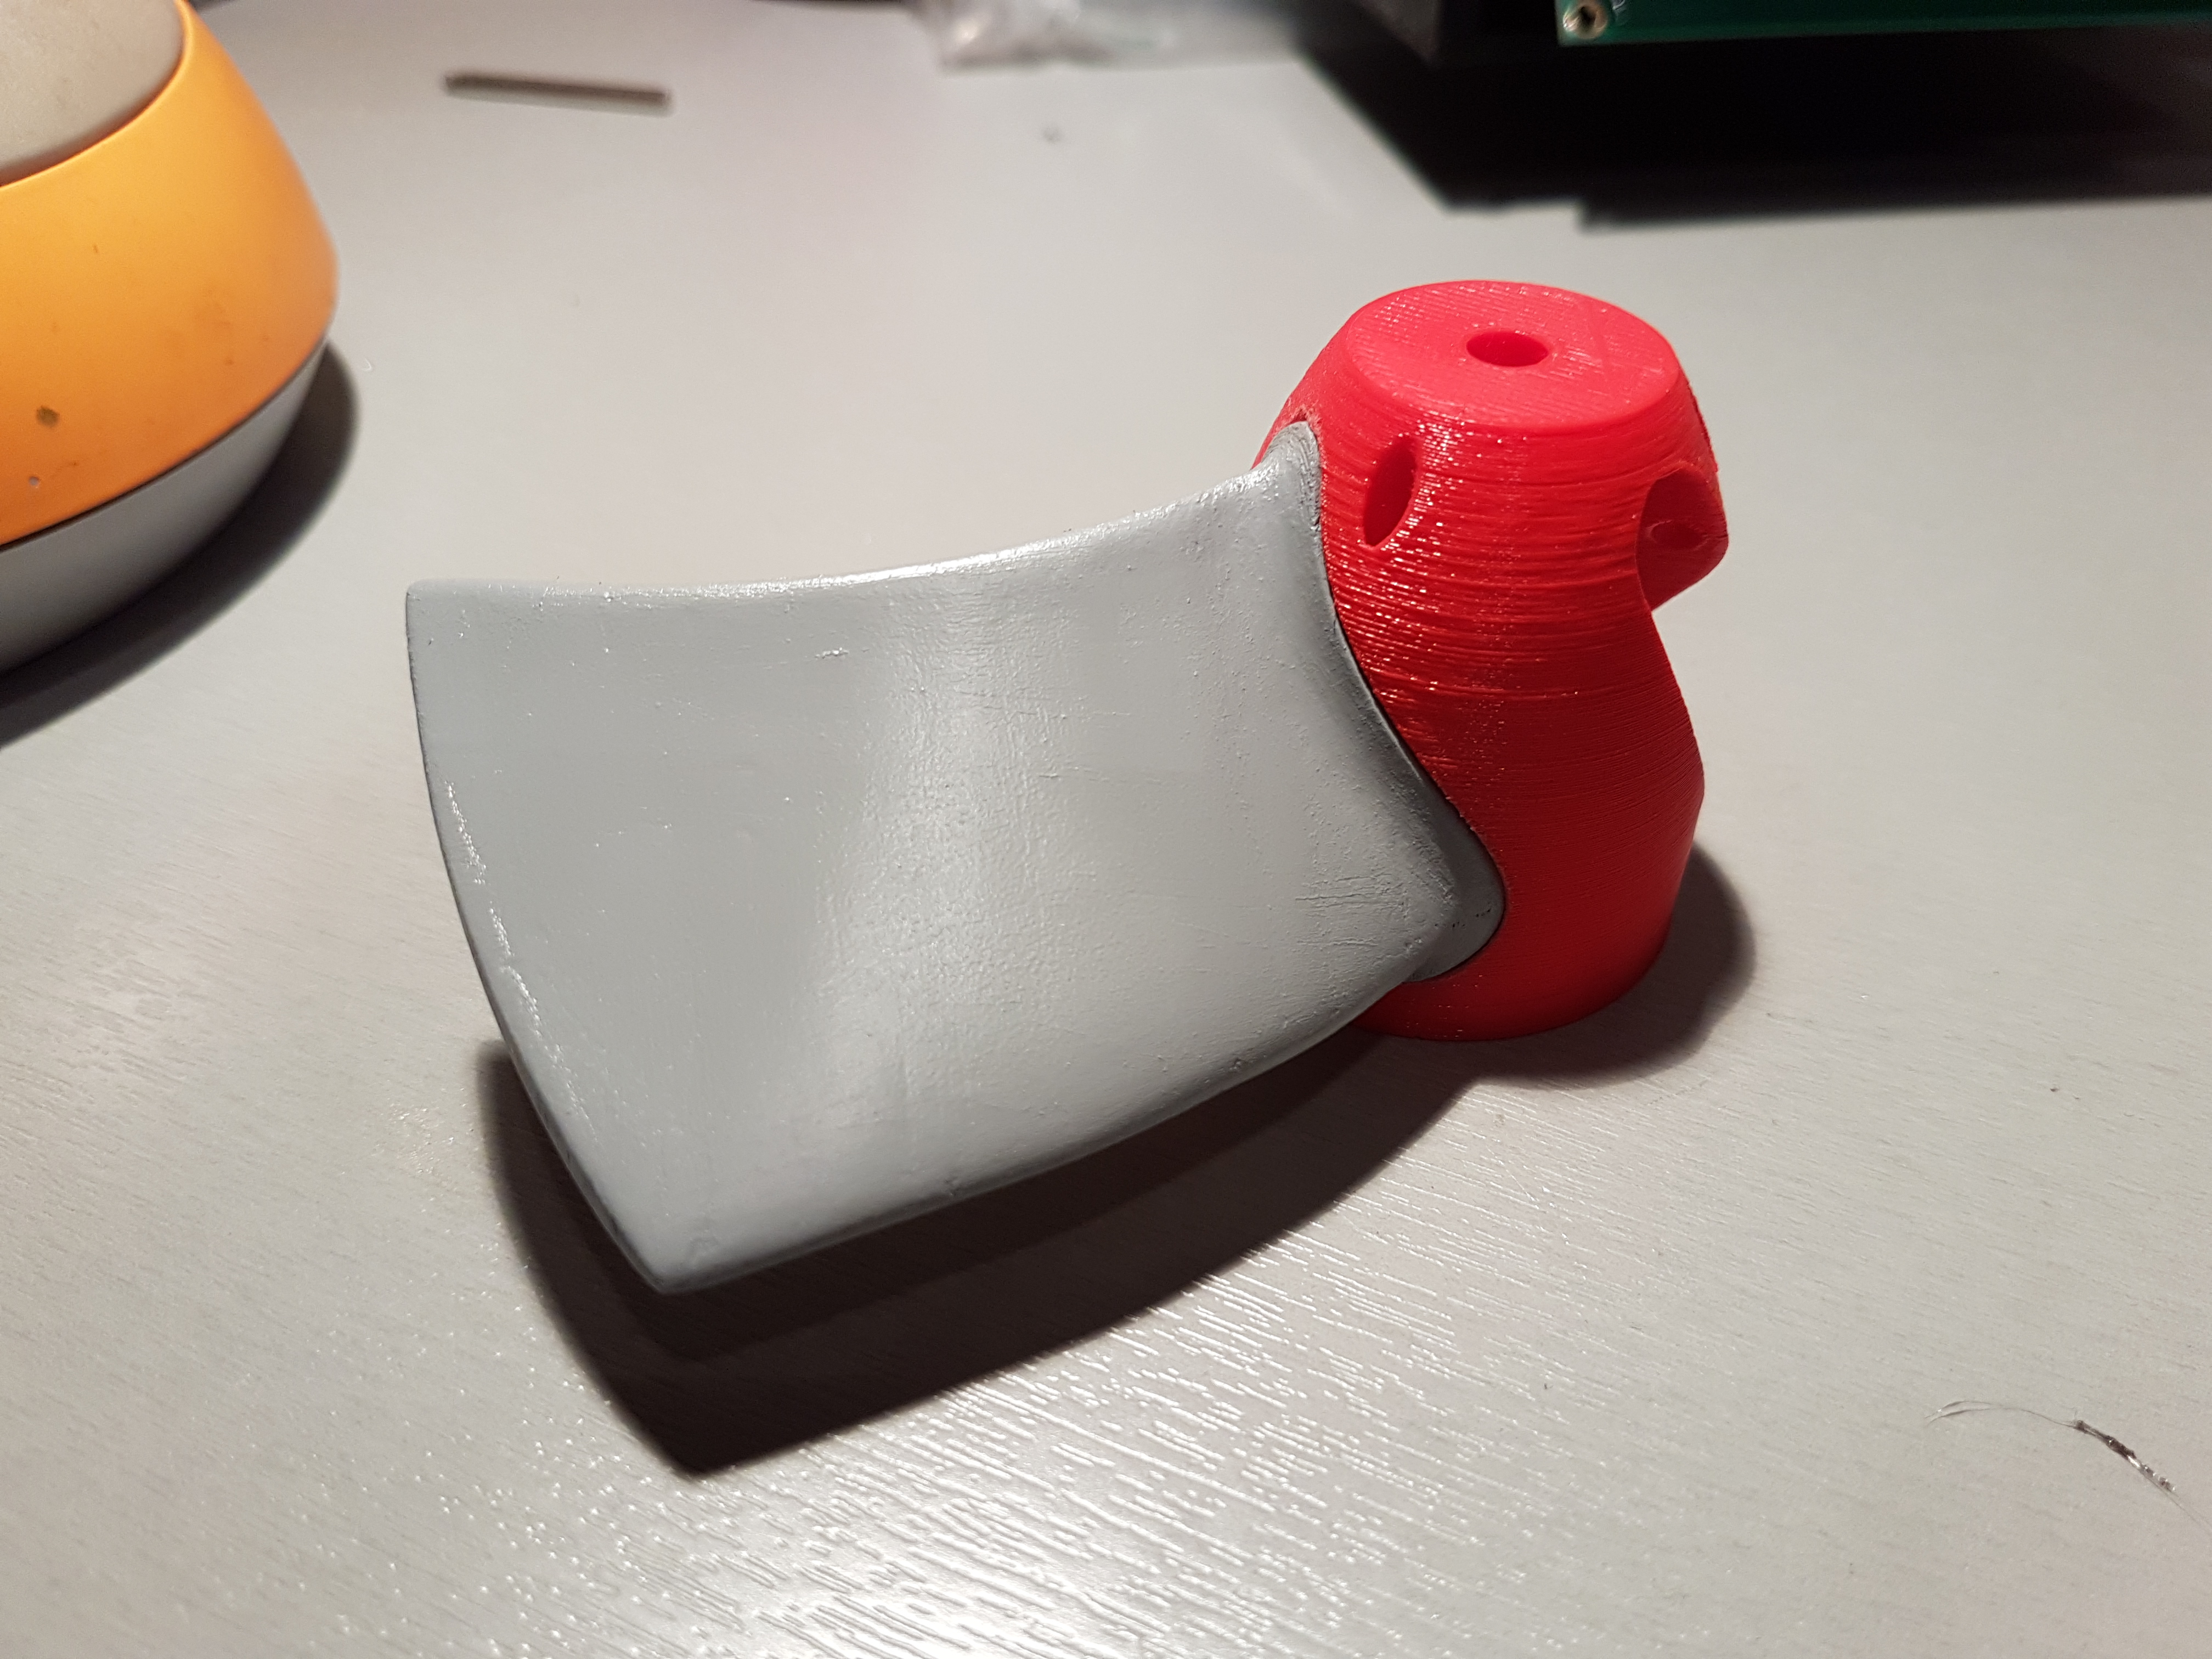

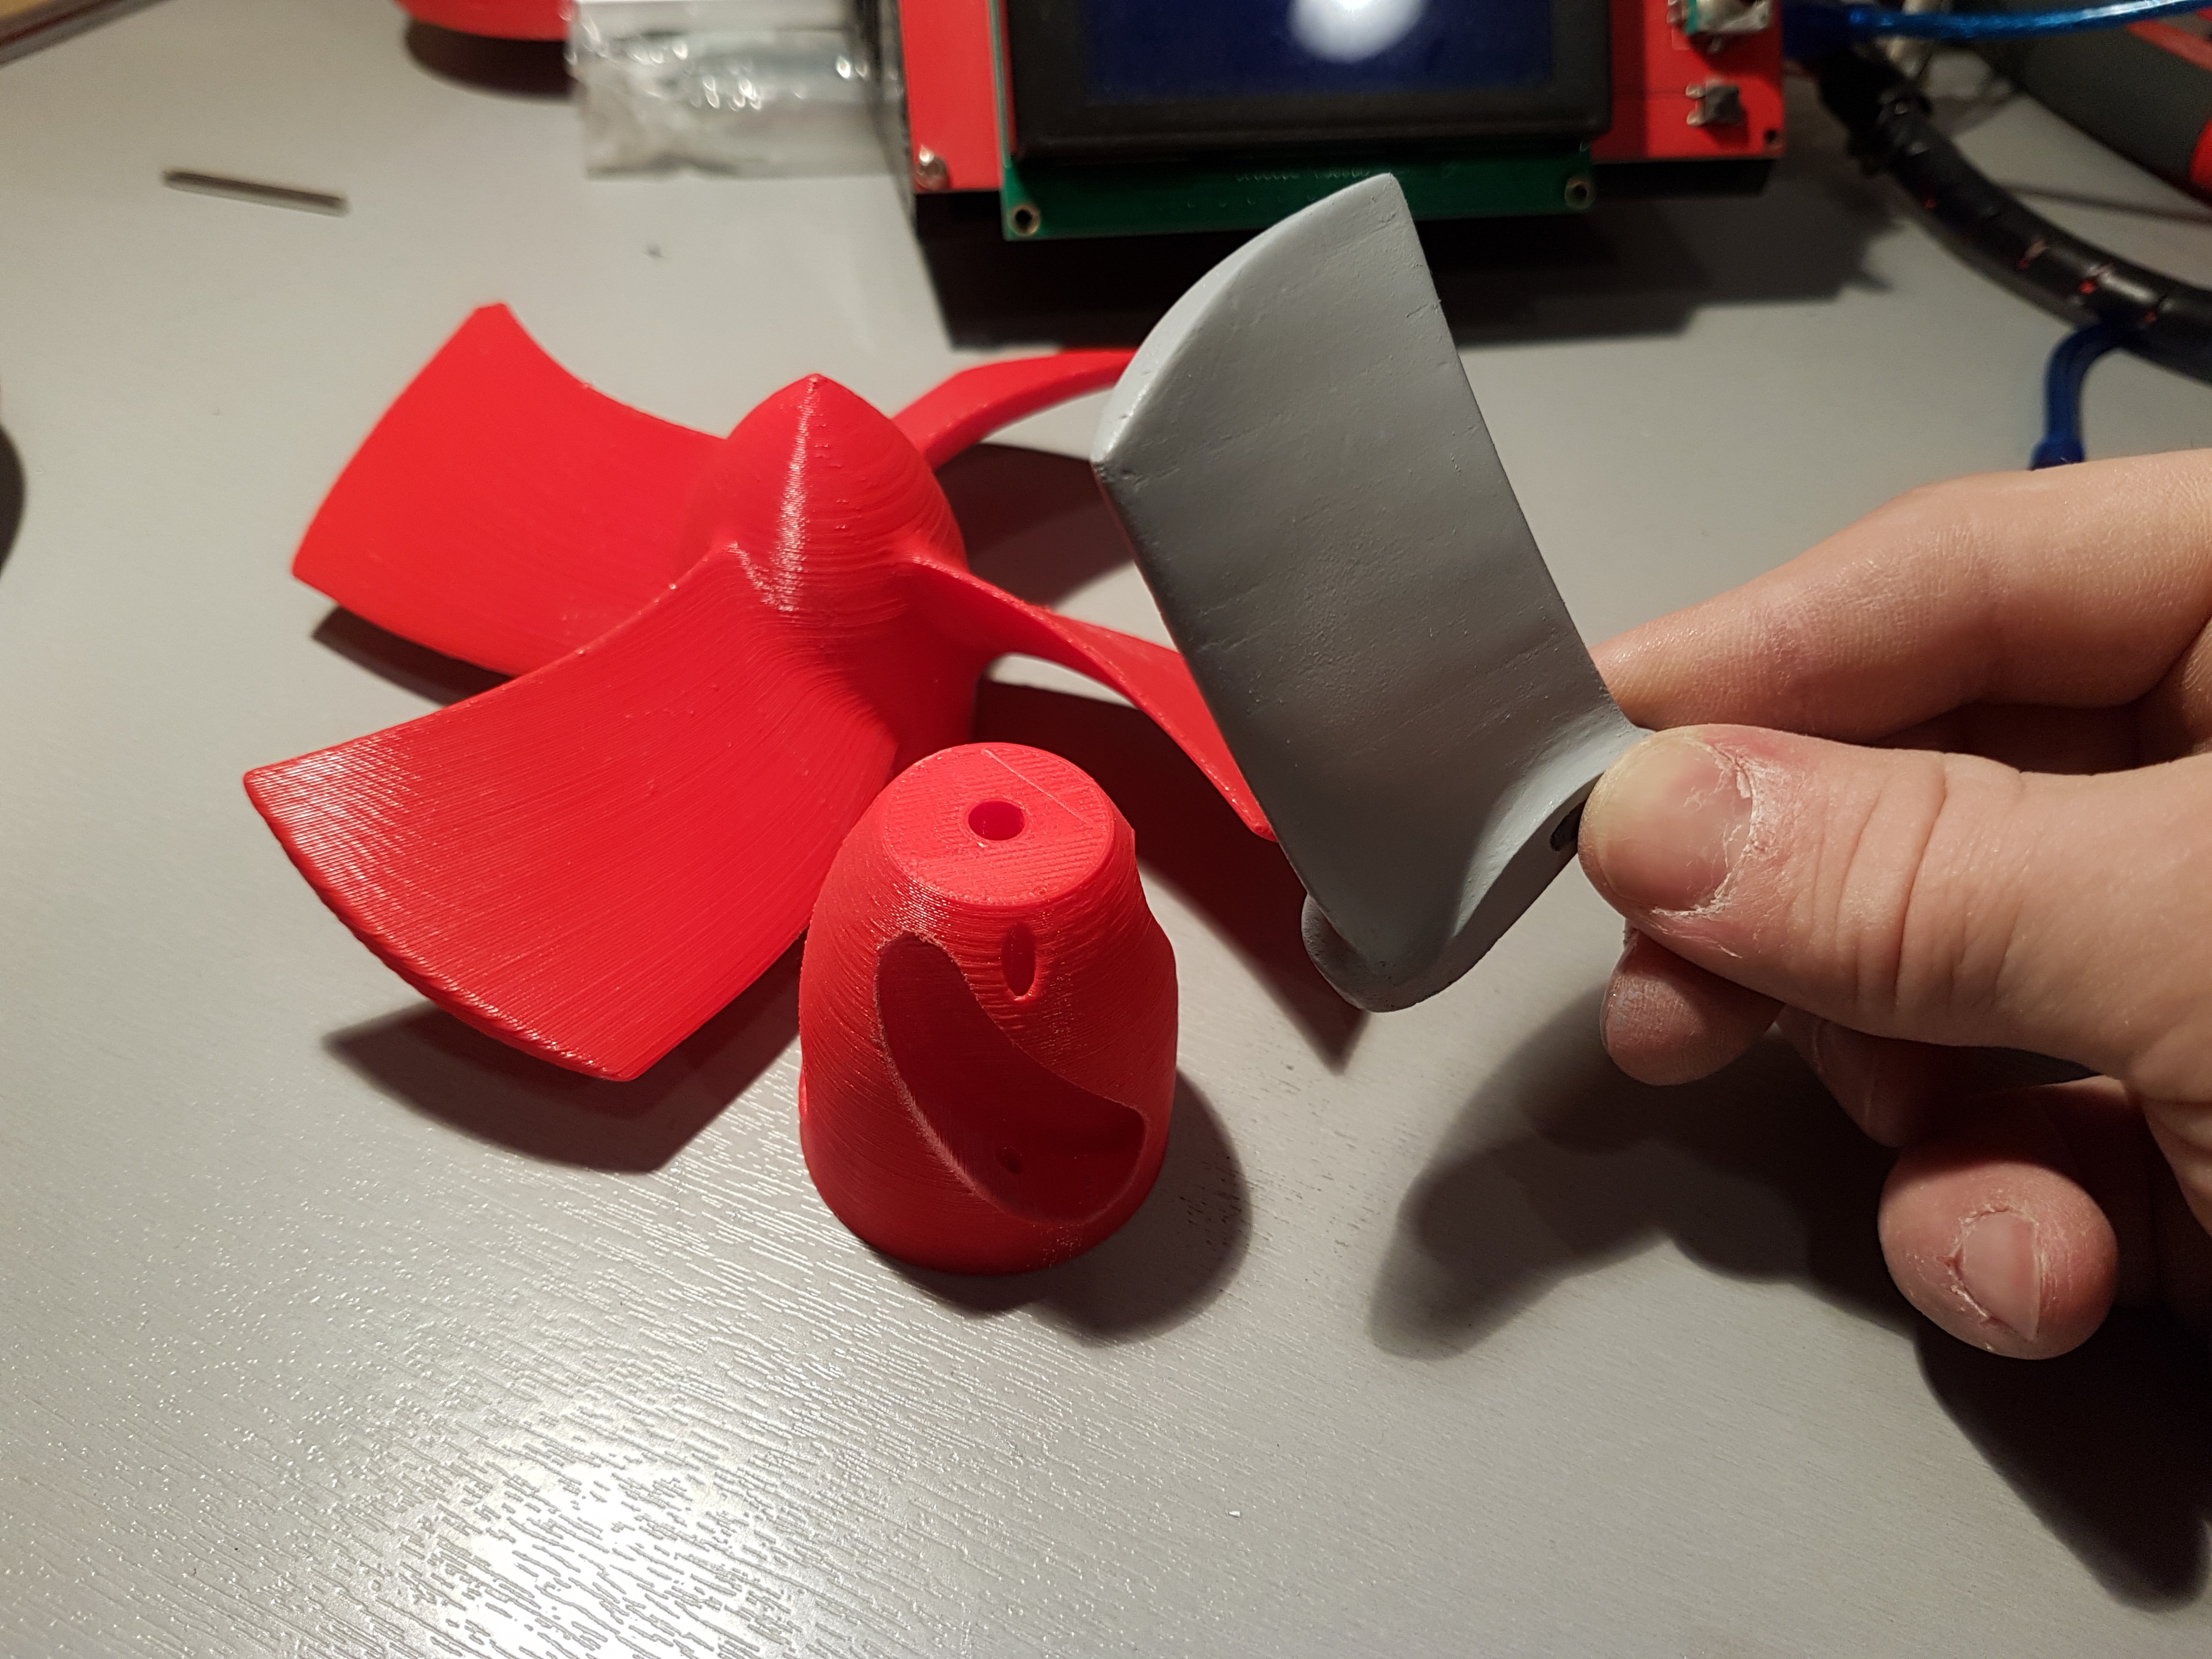
It’s the @Hiorth propeller but in a 3 blades version. I calculated the pitch and it’s 8.5" if i’m correct. I will also print a 4 slot central part so i can swap if i want.
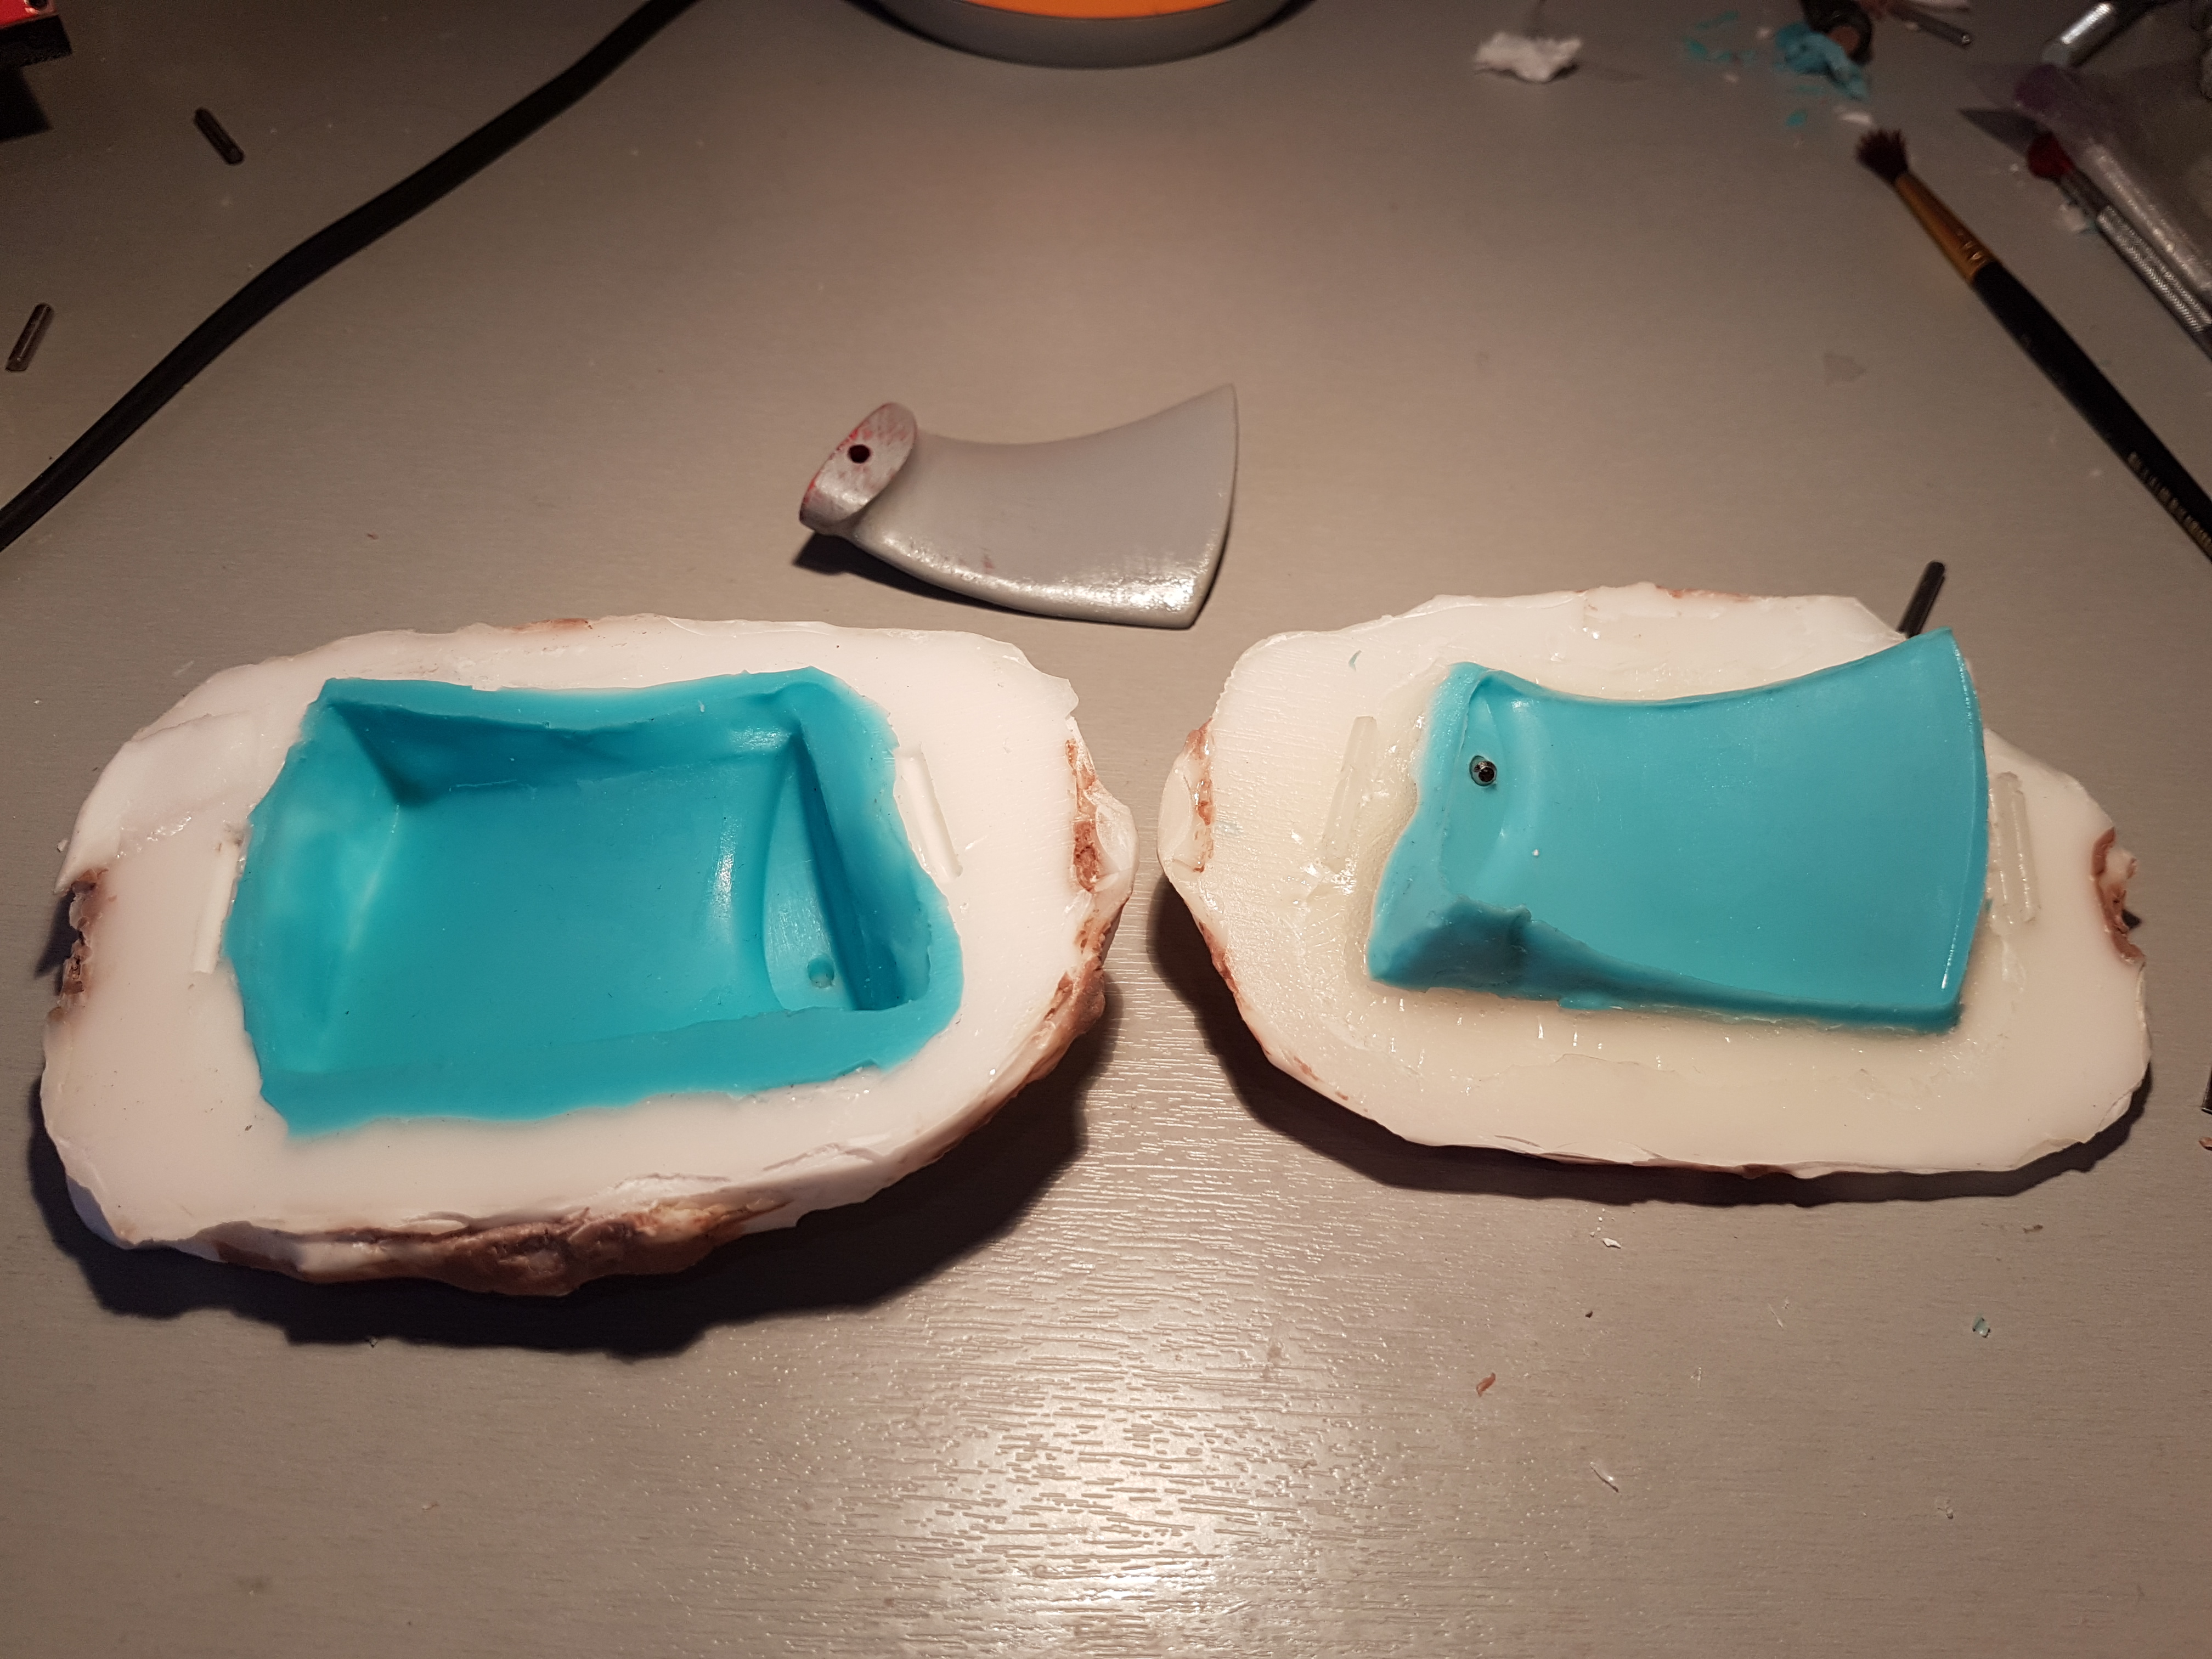
Next step is to sand and make a smooth blade surface, then i will make a mold to replicate the blade 4 times. First i will replicate them in high performance urethane resin specially made to make strong thin parts (task 9 from smooth on) so i will have 4 blades with the exact same weight which will give me a well balanced prop.
Then i will try to replicate them in carbon fiber but i don’t know if it will be easy.
7 Likes
So this is my first mold ever, it’s more complicated than expected… i need to order harder silicone, this one is maybe too soft. I will make a try with some carbon fiber soon 
4 Likes
I have searched the internet (breifly). I have not found any information advising not to use aluminium and carbon fibre together. Do you have a reference @Mat?
here are a couple discussion:
http://www.talkcomposites.com/14490/galvanic-corrosion-between-carbon-fibre-and-aluminium
1 Like