I designed a different mastclamp, which is much easier to install. Basic idea came from Enzymlefax, I just blew it up a little. The cover is just held by a clips meachanism.
6 Likes
This is where I got it. Sorry The files did not come with it. Editing. …
All good. This one should fit either of the flipsky motors. Sounds like you have a mashup of both motors above. I didnt know about the one with the wider cone.
Plus I removed the space for the extra lip seal on the outside as the motor already has two, as I found out. Still has space for the 51101 thrust washer if you choose to use it.
Flipsky65161Hub.stl
Google Drive file.
Flipsky65161Duct.stl
Google Drive file.
3 Likes
I like the approach. I want to verify I follow what you are doing. Looks like my mast.
- Are you only using the Aft channel in your mast( for wires), because I can’t see how you would have access to the fwd channel.
- Are you using threaded rod for the 4 long bolts that hold on to the motor?
- In clamp 1 photo it appears you have tunnels for 2 long bolts to hold the nose cone on, but I don’t see where they would attach. Its not clear to me what holds the long nose cone on.
- I would like to see more detail.
- In clamp 2 photo you can see the pair of upper bolts has the nut secured farther aft. Is that the side the wires go into the mast?
Can you make the model available. I would like to get a closer look at your ideas.
Looking forward to seeing the finalized product ![]() … and compatible with the Builders: how not to drill your alu or carbon mast! post: including the water inlet in the nose idea …
… and compatible with the Builders: how not to drill your alu or carbon mast! post: including the water inlet in the nose idea …

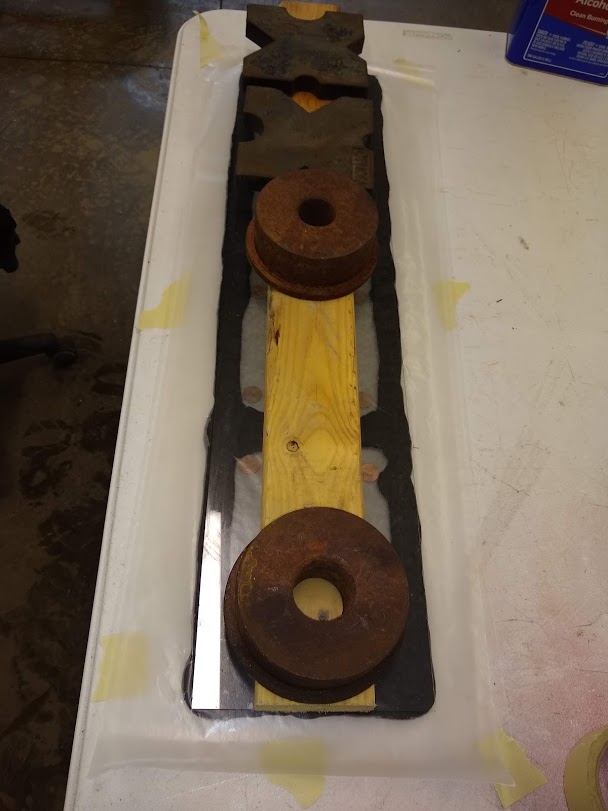
I decided I’m going to try to make a better gasket or my enclosure. My goal is to make a very soft silicone gasket that will seal with little pressure.
- I set a piece of glass on top of my enclosure cover.
- Lay wax paper on top of the glass.
- Lay pennies to be used a spacers. The gasket will be as thick as a penny.
- Lay out a thick layer of silicone where I want the gasket.
- Lay a piece of wax paper on top of the silicone.
- Lay a piece of glass on top of the wax paper.
- Add weight to the glass to squeeze out the silicone.
- Wait about 2 days for the silicone to dry.
5 Likes
If that doesnt work, you could use Sikaflex, might be better than standard silicone I’d water issues and 0 now
I did some experiments with this silicone and some others, and RTV gasket maker. This silicone is softer than the others. The black color matches my deck mat color. So it will be invisible at the seams.
Today I removed the top piece of glass and the top wax paper. So far so good.
Michion also suggested using a mold making silicone. Which I may try if this does not work. 
1 Like
I trimmed the excess, The gasket seems nearly perfect. Very soft. The silicone I used is softer than other 100% house hold silicone. Next, glue it down, I will probably use a little silicone to glue it down. Add screw holes, pressure test.

4 Likes
Pressure test of the gasket worked good. I have a tube that allows me to blow air into the electrical enclosure. I put a bubble solution on the seams. I had to tighten a couple screws to stop the leaks. I am very happy with the results.
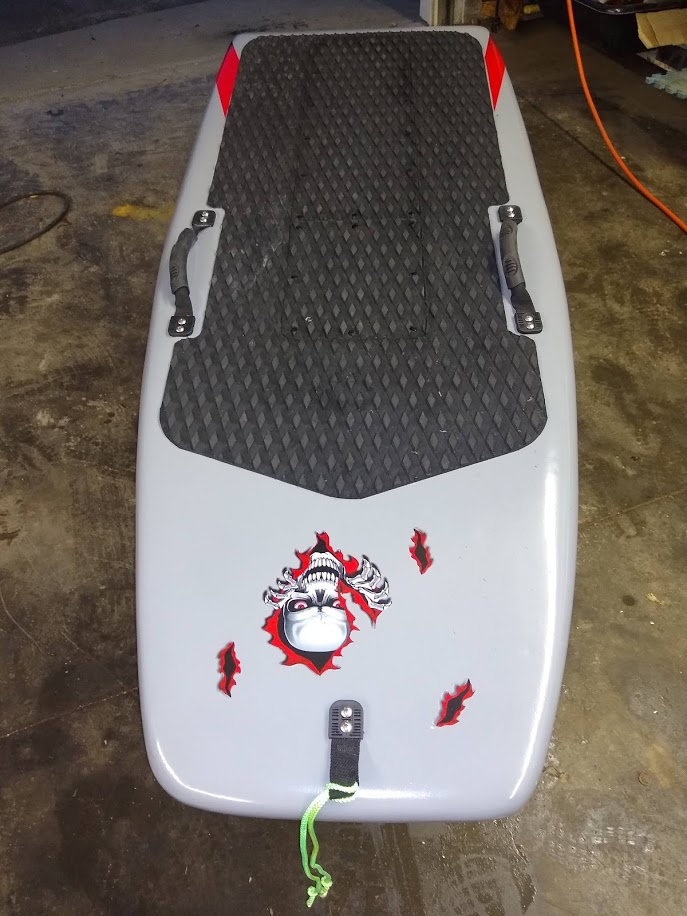
The beast only weighs 54 pounds. That is with the 14S12P 30Q battery. My last Efoil#2 weighed 69 pounds.
6 Likes
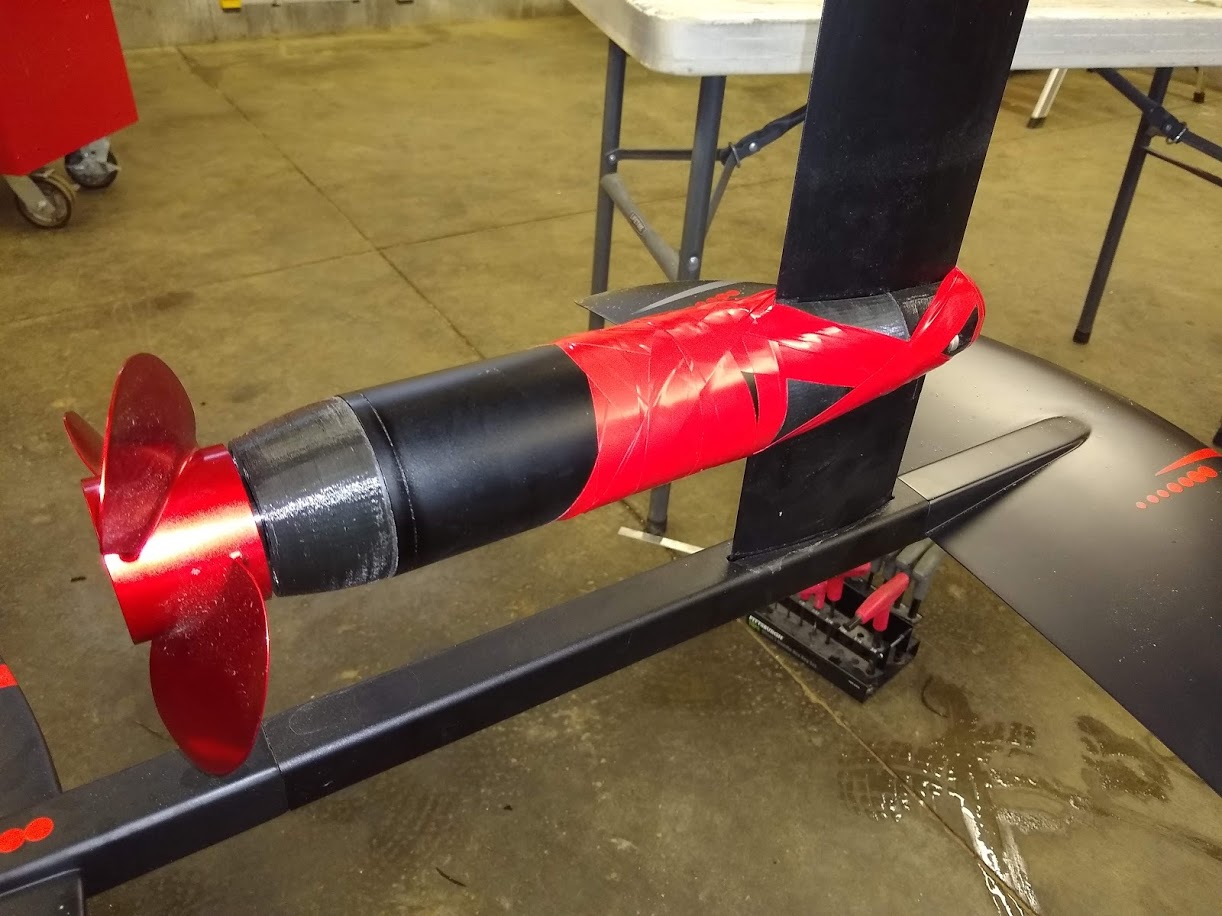
Tomorrow I am hoping to give it a water test. I do not think my mast clamp is strong enough, so I wrapped it in electric tape. Will redesign when I get some time.
2 Likes
I took it for a spin today. These are my initial observations. I just was running how ever the VESC tool set it up. I have adjusted nothing. running FOC, current mode.
-
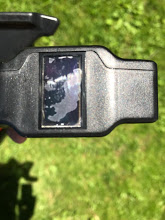
This is how the Maytech V2 screen looked within 2 minutes in the water. The display is very hard to see in bright sunlight.
-
The 65161 120KV with FR prop seems to have much less torque than my 83100 80KV out runner 7.25" yamaha prop I run on my last E-foil. The 65161 seems to slowly gradually accelerate until it is on the foil. Then when on foil it is clear than it would be way faster than I want to go. The 83100 had so much torque it would just hop out of the water. I am thinking the 65161 100KV may have been a better choice for me. I run 14S
-
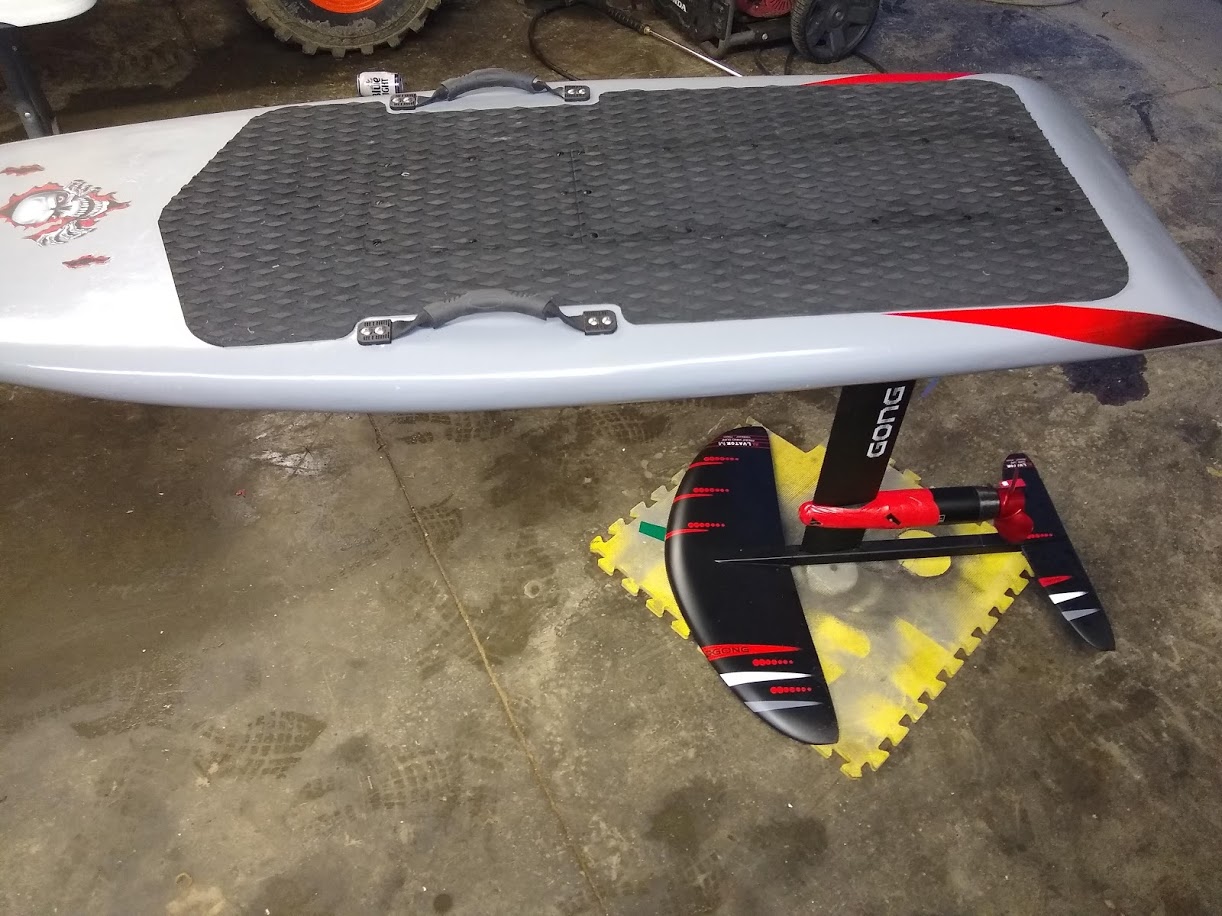
I was worried that the 65 cm gong mast might be to short. I like it, Glad I chose it.
-
I am happy with the 5 foot length. I would not go any shorter.
-
I am going to have to move my receiver or extend the antenna because I am having the same problem a lot of you guys had. The receiver goes to far under water, and I loose radio control.
-
Gasket worked perfect. Everything stayed dry.
-
I like the feel of the Gong M regular foil. Feels more like powder sking than my last foil.
1 Like
Can you tell me the ID of your hose? I want to use a small house and want to make sure I don’t go too small.
The hose i am using is 1/4" OD 5/32" ID. I have only been out 1 time. I think it was working but I really could not tell because my cooling water exits under the board. So I added a length of tubing so I can see the flow of water. I hope to see to water next time I am out. Hopefully that will be tomorrow. 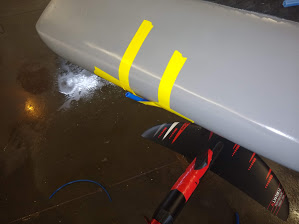
2 Likes

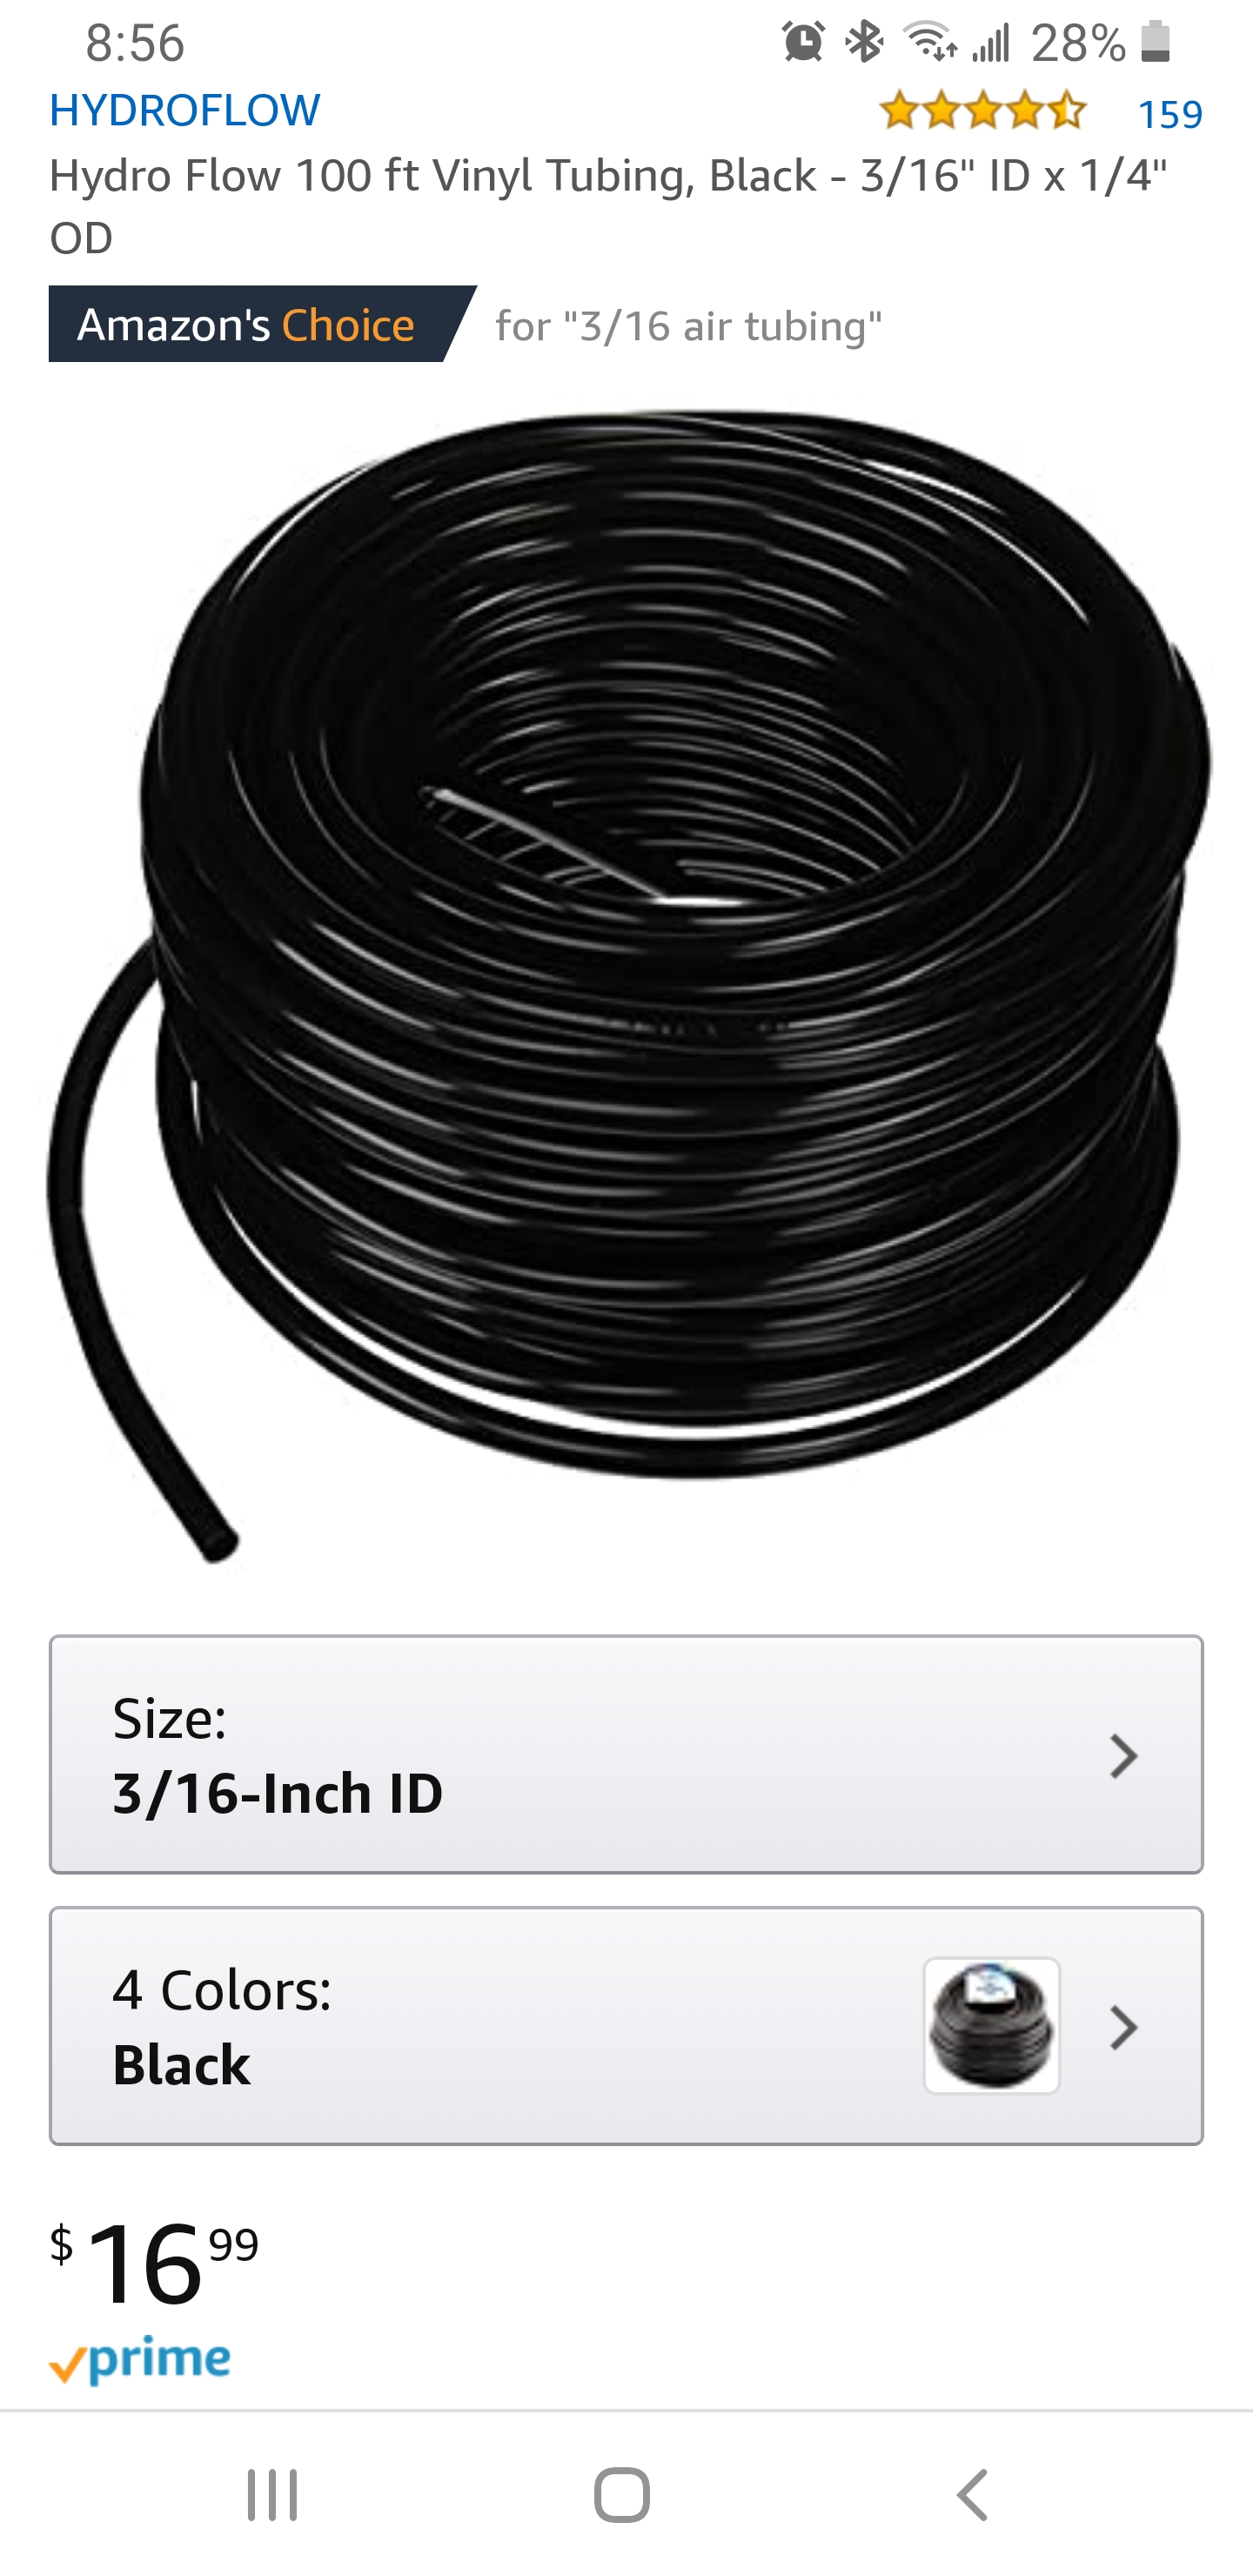
Thanks, that’s the size I want to use at least in my box. I might use bigger hose between the mast and the box.
@MAC would you be willing to share your Trampa board XML config file?
Also, were you able to get the voltage, amps, RPMs from the Trampa VESC to the Maytech remote instead of via the receiver?
Thanks
I am running the motor configuration exactly how the Wizard tool set it up. I did not even know there is something called a XML config file. The VESC worked right from the start. Tonight was the first time I looked at the parameters. I have more questions.
Yes it was easy to get the VESC information to the remote receiver.
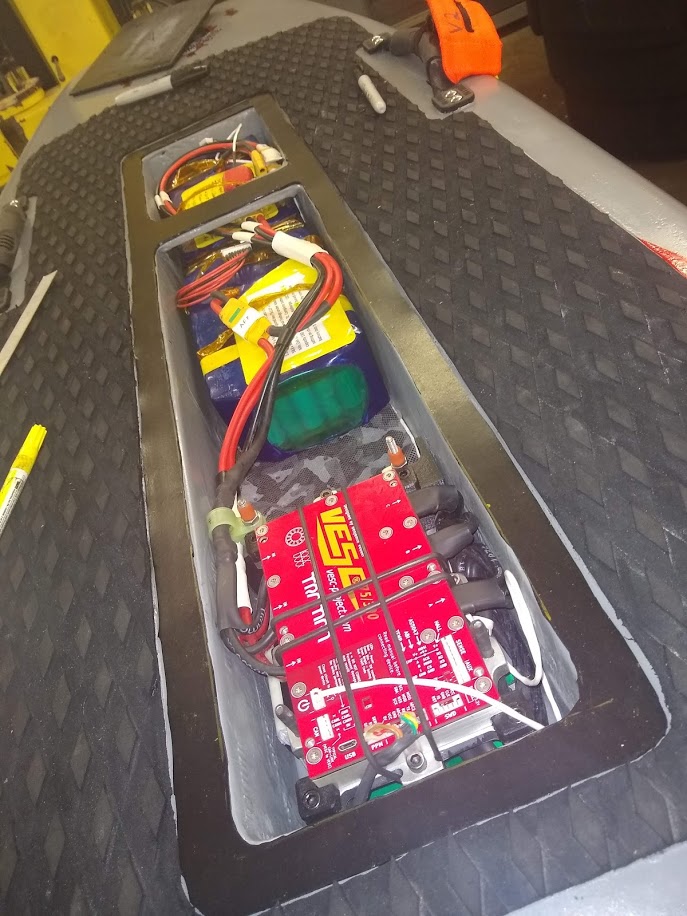
If I remember correctly. The yellow (TX) and green (RX)wires shown in the photo run down to the receiver board. They connect TX—>RX, and RX–> TX. I think I recall you have to configure the remote to use the VESC data.