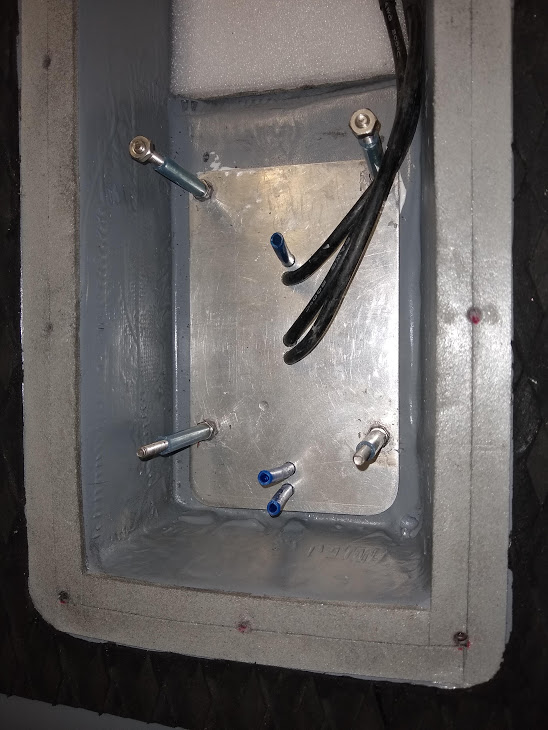
I am building this cooling plate for my VESC. The idea is this plate mounts directly over the input and output cooling tubes. Just push the quick connect fittings on. I am worried the water will not have enough pressure to circulate well. I know some people go with out a pump. I am just worrie
d.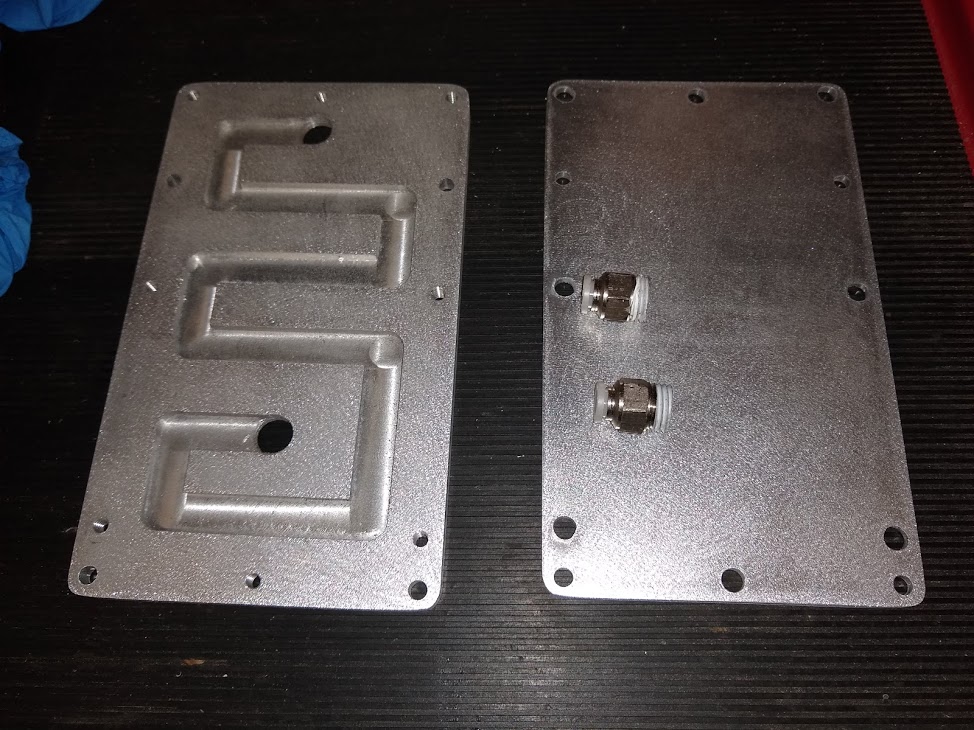
1 Like
Looks good!
That will be fine. Don’t worry. If you put the pick-up in the nose cone like I did you will have plenty of pressure. It’s shocking how much flow I have with my super small hose!
2 Likes
I was using a waterpump because I did not believe that such a small hole could give enough waterflow. Last week I tried it without my pump and the flow is almost the same. Realy happy with it because it makes my electronic box a lot easier.
2 Likes
Thank you, I have a similar set up. I was hoping someone would tell me I was worried about nothing.
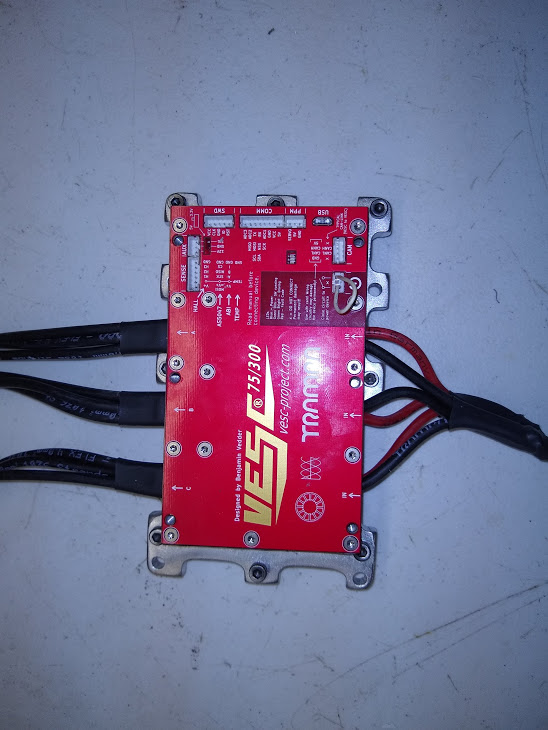
Thank you. It helps to hear that. I will believe it when I can see it. I figure the VESC 75/300 is over kill, And it has a lot of programmable protection built it, Plus I have effectively a big block of aluminum connected to it. I should be safe.
Hey MAC, if I were you, I’d buy this alu cooling block for the VESC 75/300! It is the perfect size and you won’t have to worry about it leaking. For 35$, it is so worth it. I have it on my setup and it does the job perfectly! I even run it without a waterpump and the flow is more than enough! My vesc temp never goes above 52C in warm Florida water and continuous riding (1hr+)

2 Likes
Vicdes2,
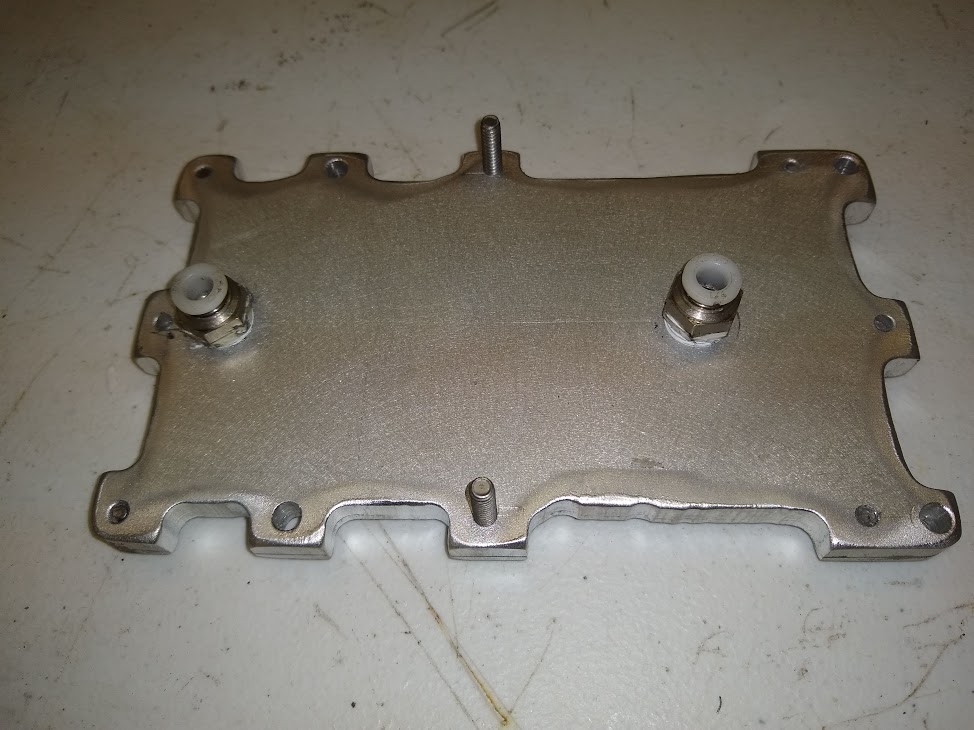
Originally I hunted for something like that on Amazon, I could not find it. I don’t know what I was doing wrong. Maybe I called it the wrong name. Armed with with what you sent, I had no problem finding it. Actually I did find a similar product on Bangood. Price cheep. I ordered it, It took over a month to arrive. I got tired of waiting so I made my own. It finally did arrive yesterday. I really like the one I built better.
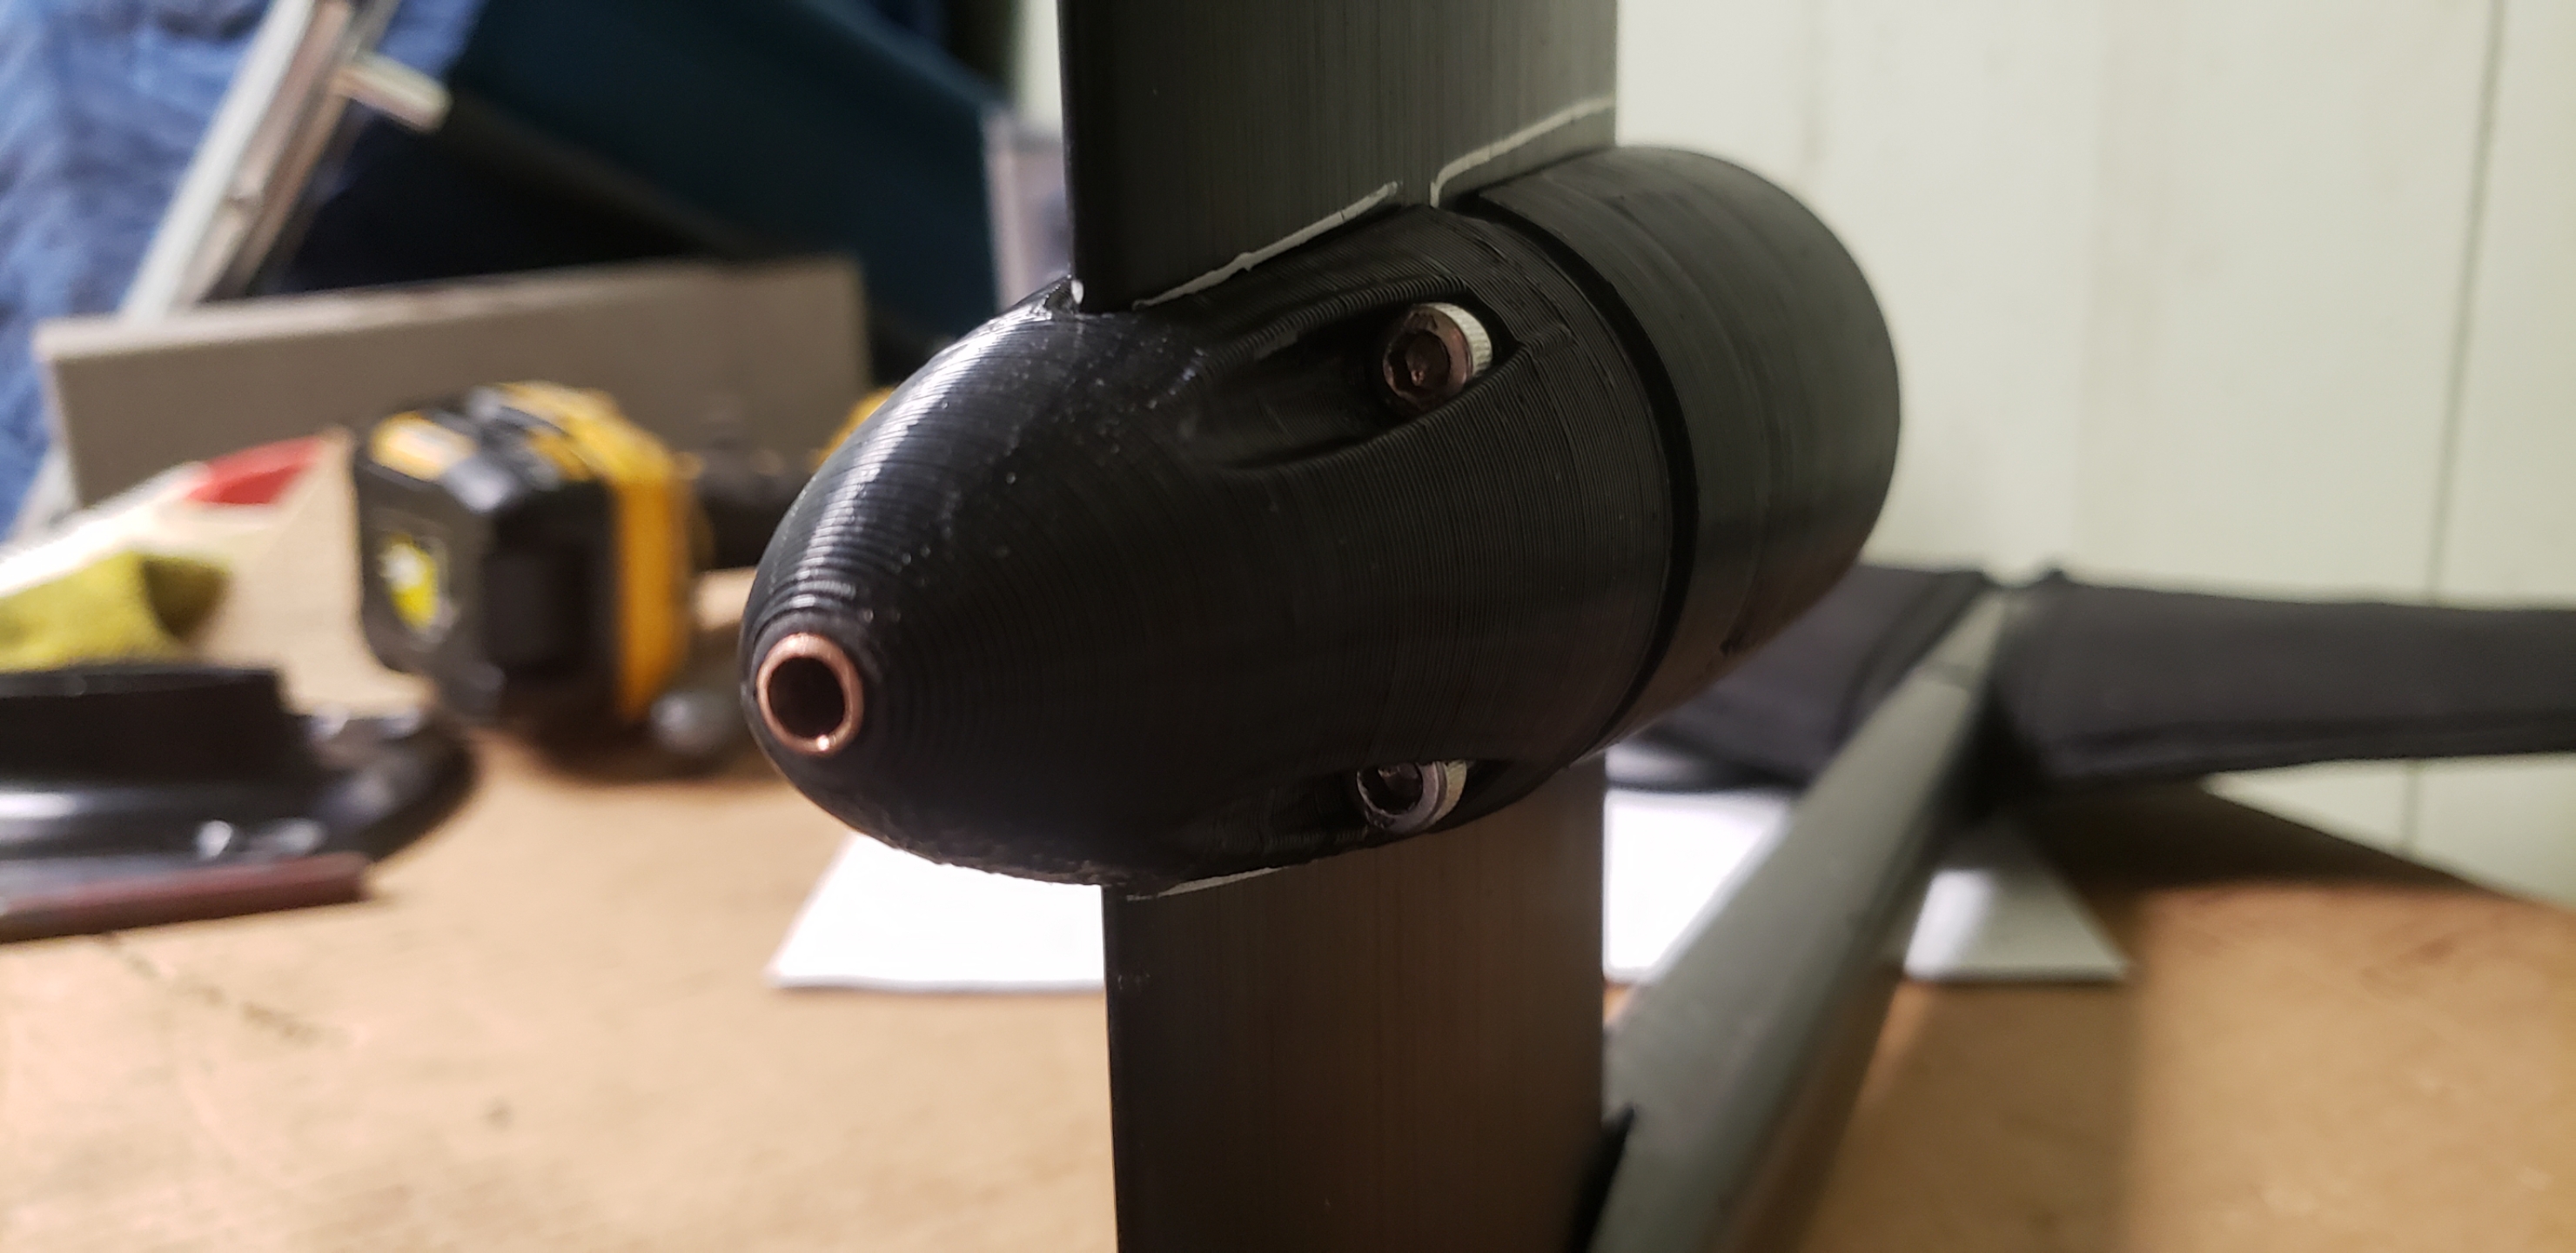
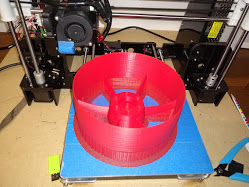
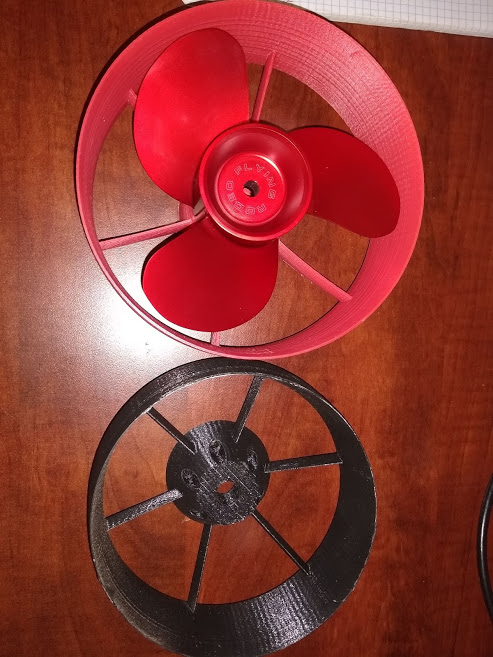
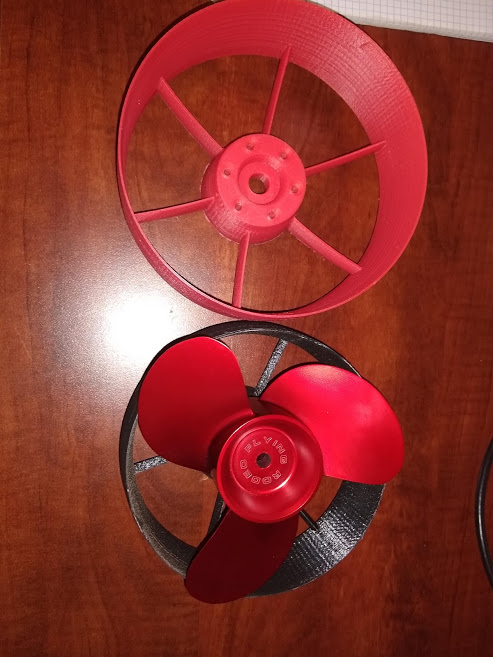
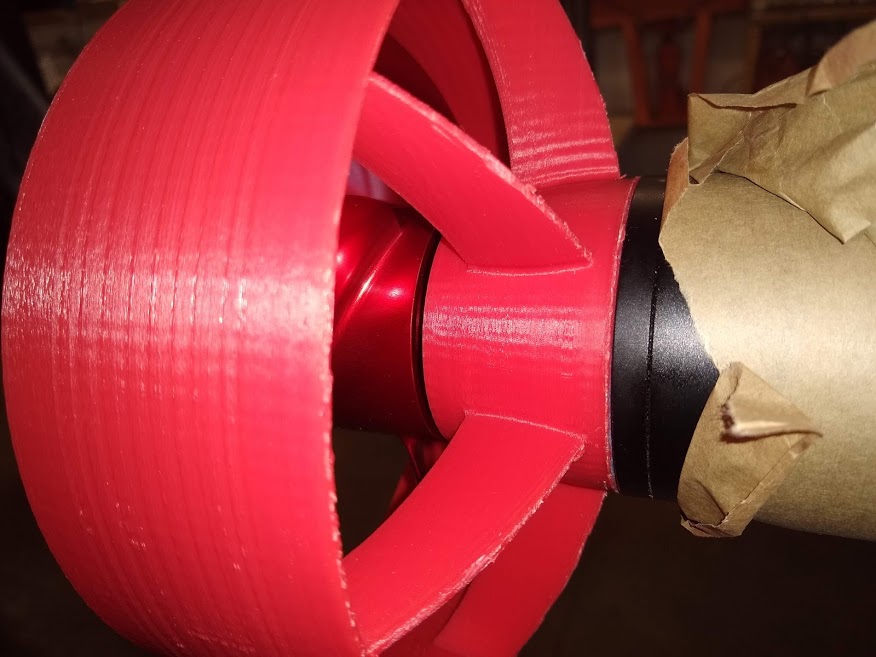
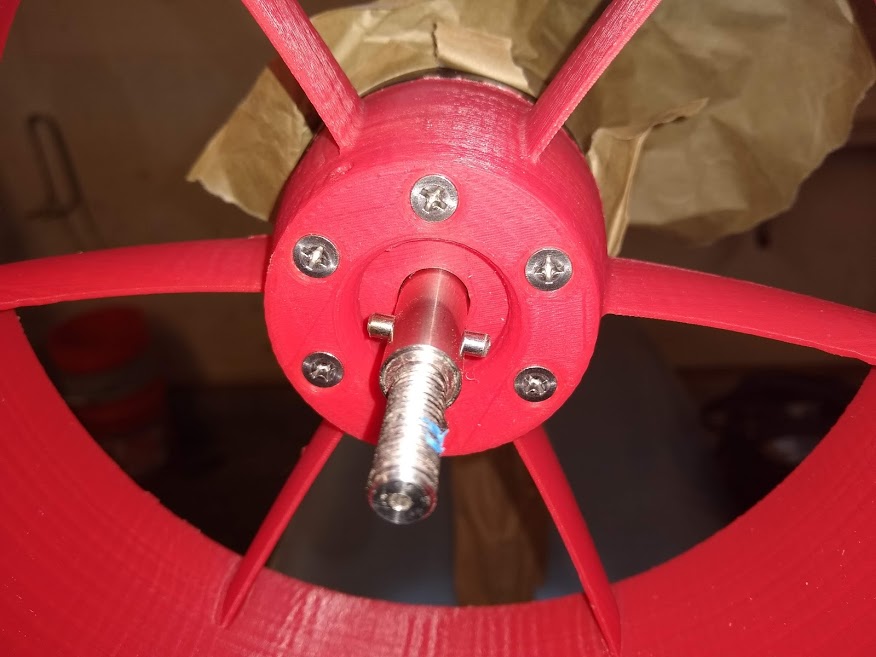
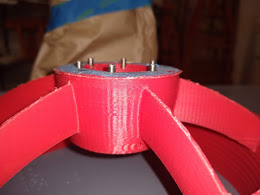
I had a few failed attempts with my cheap printer. Then after about 40 hours of printing, 100% infill. Thanks to Michion I have a prop guard.
3 Likes
hey Mac, is this guard different than what I shared for flip sky motor? does it fit without any modifications?
The hardware arrived today to bolt the duct to the motor, so tomorrow I find out if it fits correctly.
This is what I bought. They work perfect, but they look on the short side. Next size up is way too long. Mcmaster carr.

1 Like
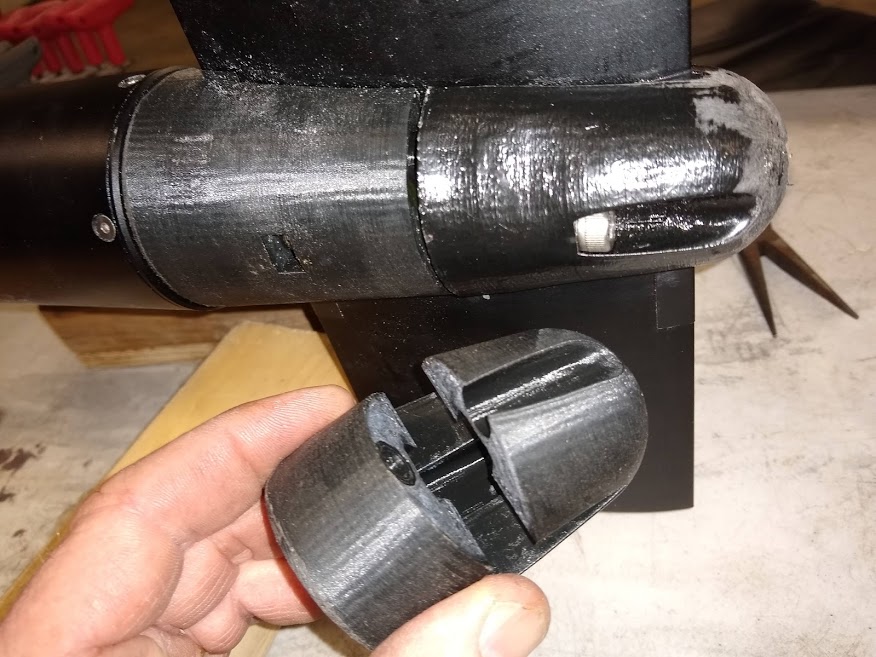
My 100% infill printed mast clamp fwd end developed a crack, So I printed a hollow one, filled it with epoxy and carbon fiber strands. It seems much stronger than the original one.
Unfortunately I am now worried that the other end of the mast clamp will fail.
That one is much more difficult to replace.
1 Like
I had the same problem with SLA printed part. That seems like a good approach.
I recently purchased 2 Flying Rodeo props , interested in that prop guard if it fits without modification in to flipsky motor
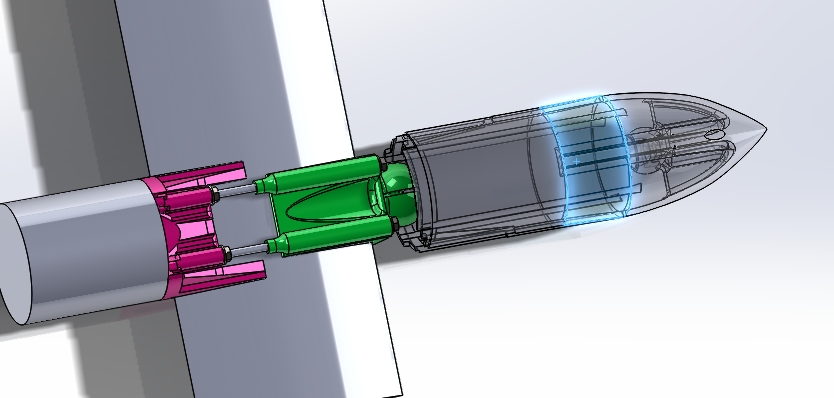
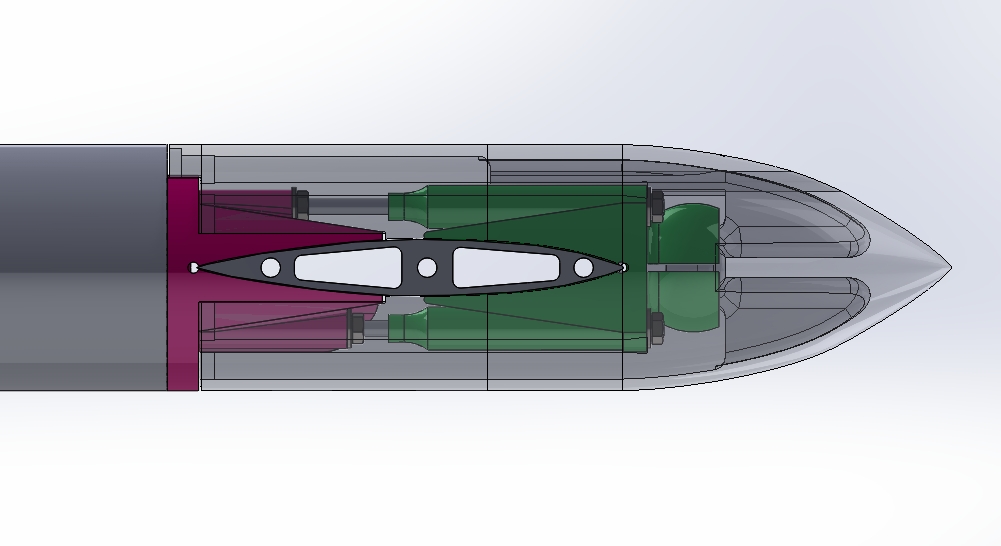
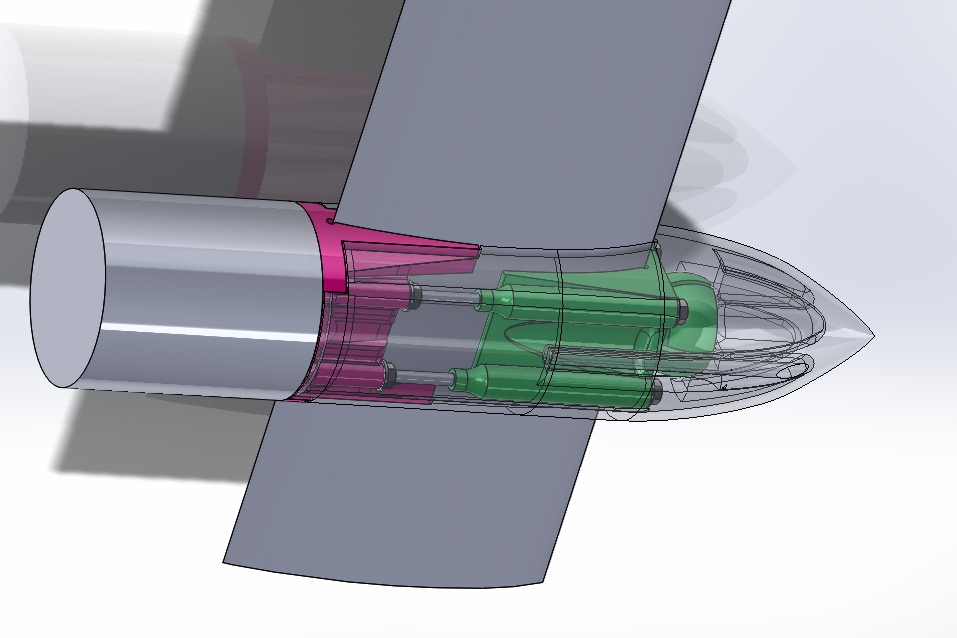
I designed a different mastclamp, which is much easier to install. Basic idea came from Enzymlefax, I just blew it up a little. The cover is just held by a clips meachanism.
6 Likes
This is where I got it. Sorry The files did not come with it. Editing. …
All good. This one should fit either of the flipsky motors. Sounds like you have a mashup of both motors above. I didnt know about the one with the wider cone.
Plus I removed the space for the extra lip seal on the outside as the motor already has two, as I found out. Still has space for the 51101 thrust washer if you choose to use it.
Flipsky65161Hub.stl
Google Drive file.
Flipsky65161Duct.stl
Google Drive file.
3 Likes
I like the approach. I want to verify I follow what you are doing. Looks like my mast.
- Are you only using the Aft channel in your mast( for wires), because I can’t see how you would have access to the fwd channel.
- Are you using threaded rod for the 4 long bolts that hold on to the motor?
- In clamp 1 photo it appears you have tunnels for 2 long bolts to hold the nose cone on, but I don’t see where they would attach. Its not clear to me what holds the long nose cone on.
- I would like to see more detail.
- In clamp 2 photo you can see the pair of upper bolts has the nut secured farther aft. Is that the side the wires go into the mast?
Can you make the model available. I would like to get a closer look at your ideas.