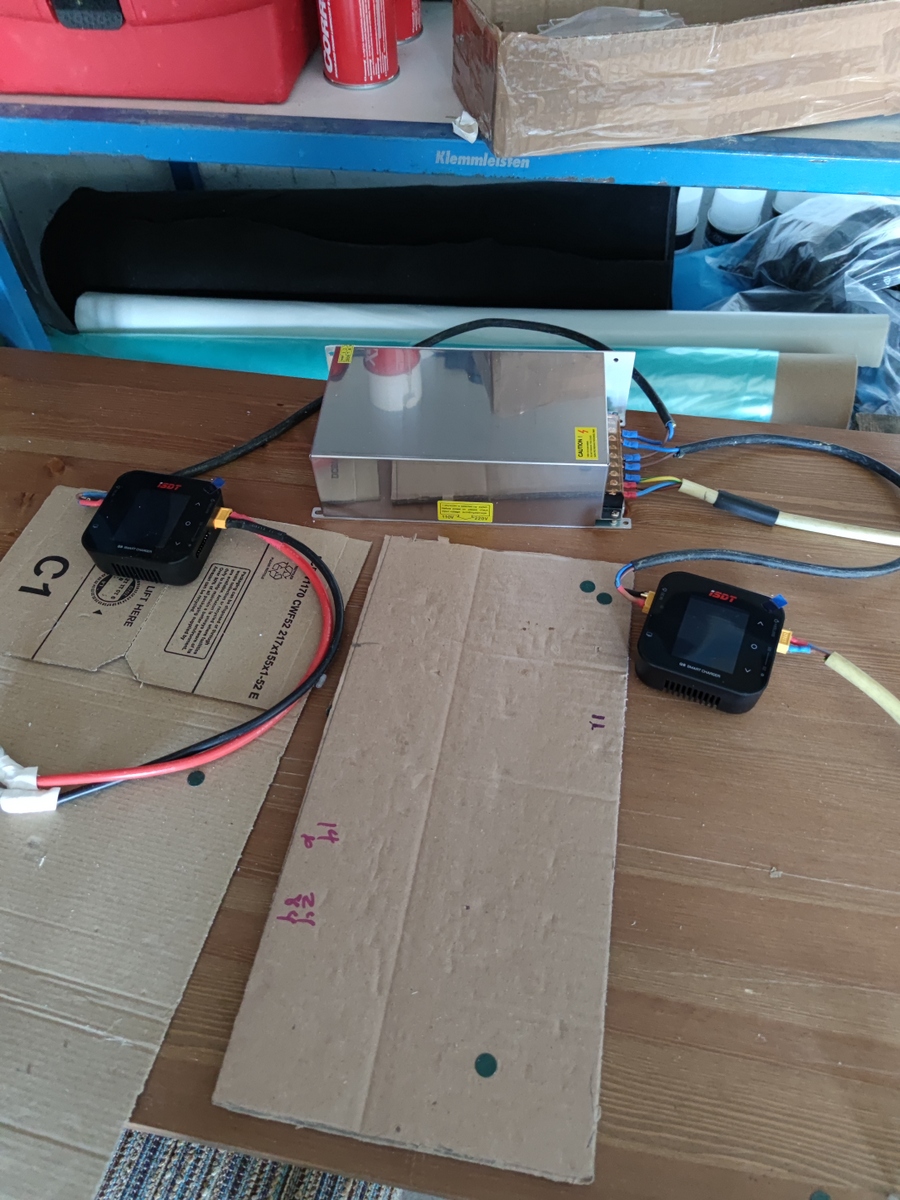
You should have bought higher voltage power supply for your charger. You will not max it out with 12v. I have 36v 1000watt supply for my isdt t8 and can charge 6s pack with 30amps. I think the q8 can only handle 34volt max. You should try a 24v power supply or if available higher
Hey Ack, Yes I was disappointed to see a max out at 10 amps my first thought was to get another power supply and put them in series. I definitely can use more power…
Im back at it. I have found a source in Austria to order EPS foam blocks for a reasonable price. This is a EPS-W 30 180x100x30cm block. I will use this for my next two boards. If there is any interest in ordering a custom size block of foam send me a message.
Ried im Innkreis, I hoping to get my first board finished up in the next couple of weeks. All the final details are very time consuming. I have bought the styropor block for my next project which will be a shorter board.
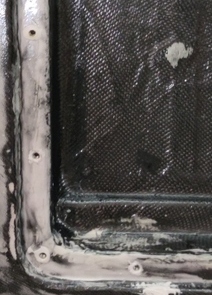
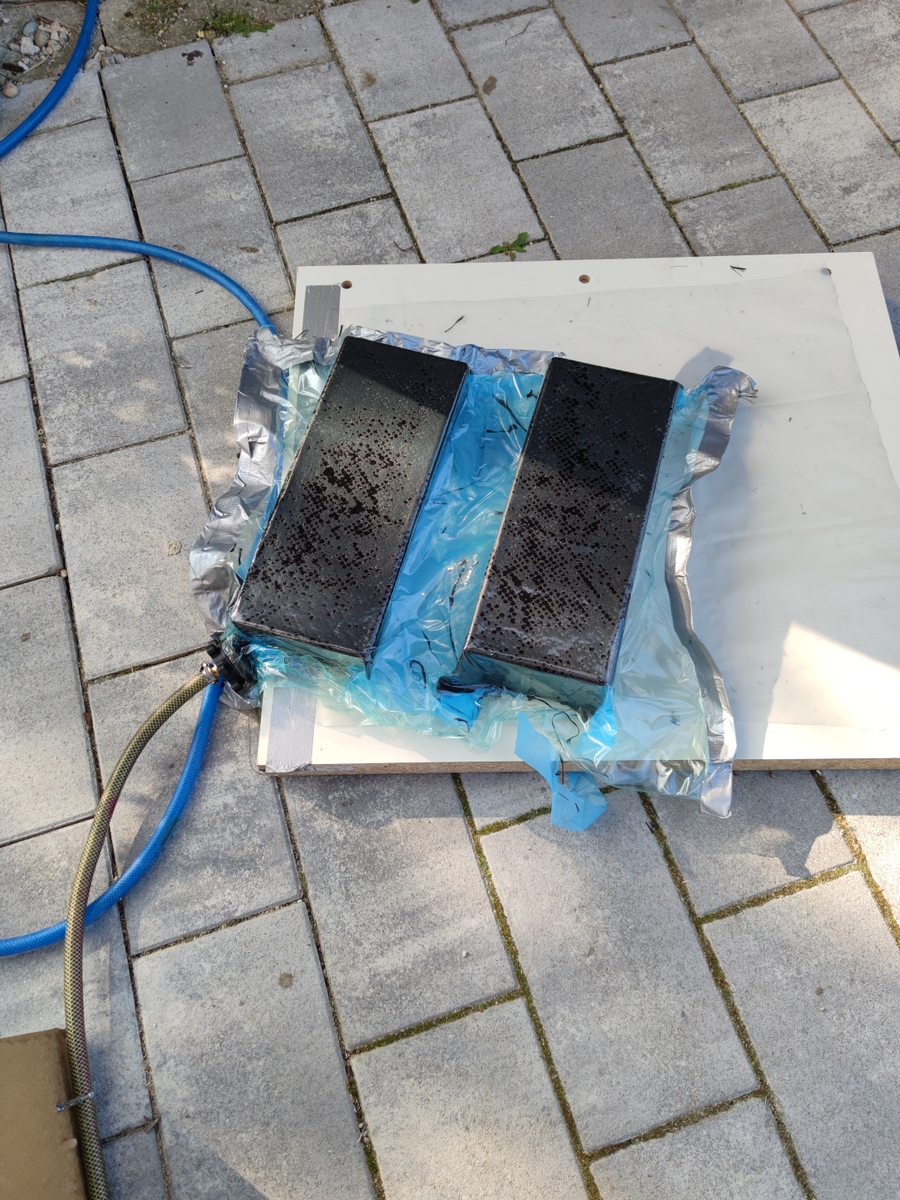
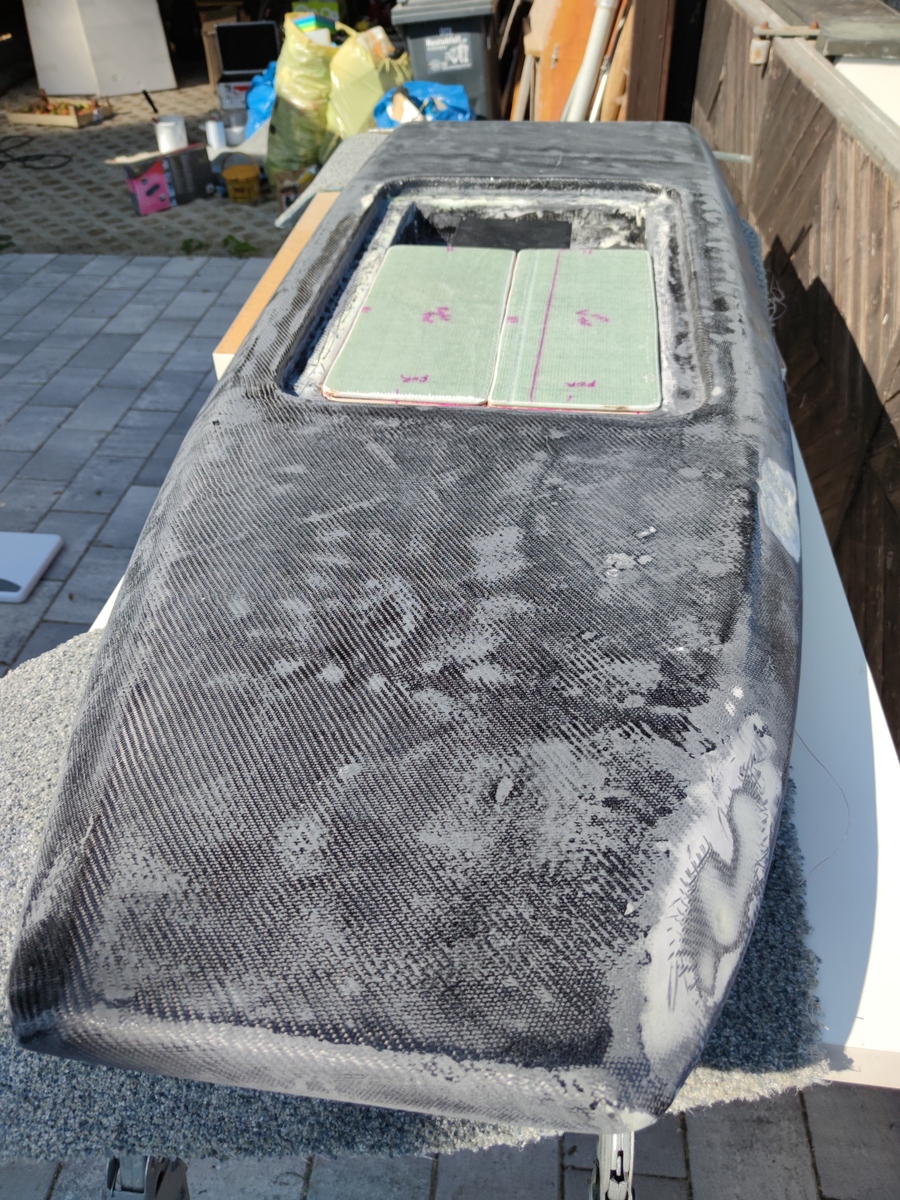
are you using a black epoxy for the box in the board?
the fiberglass itself looks to be of normal color. the finished box looks a lot like carbon.what am i missing?
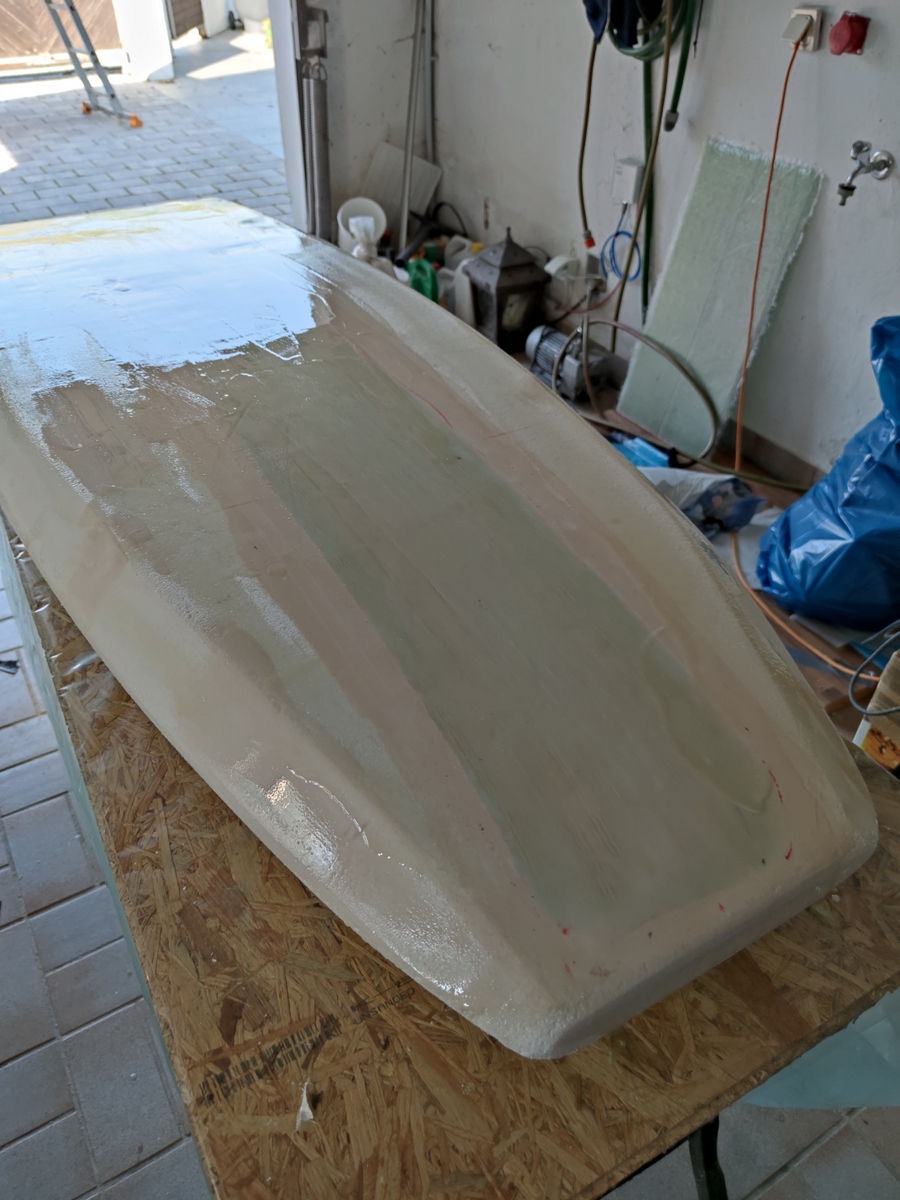
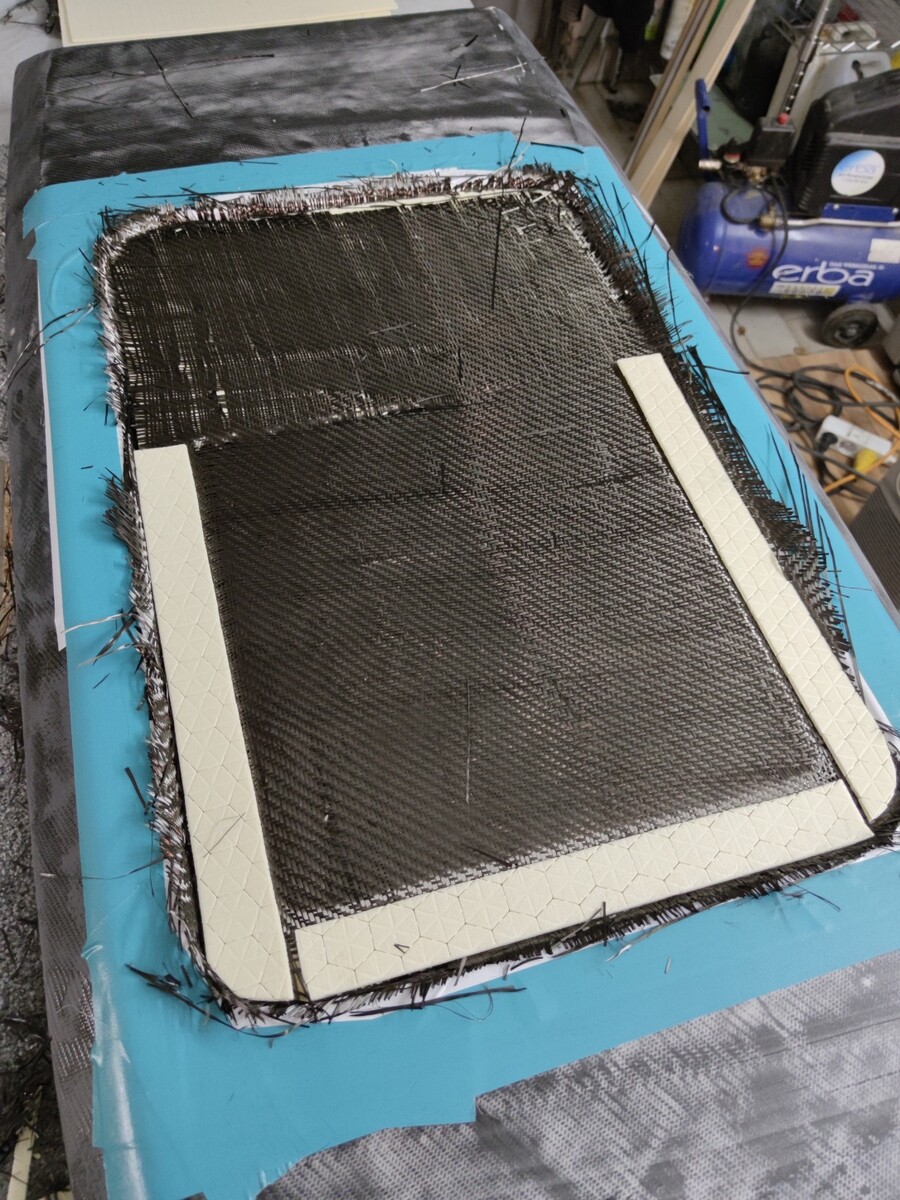
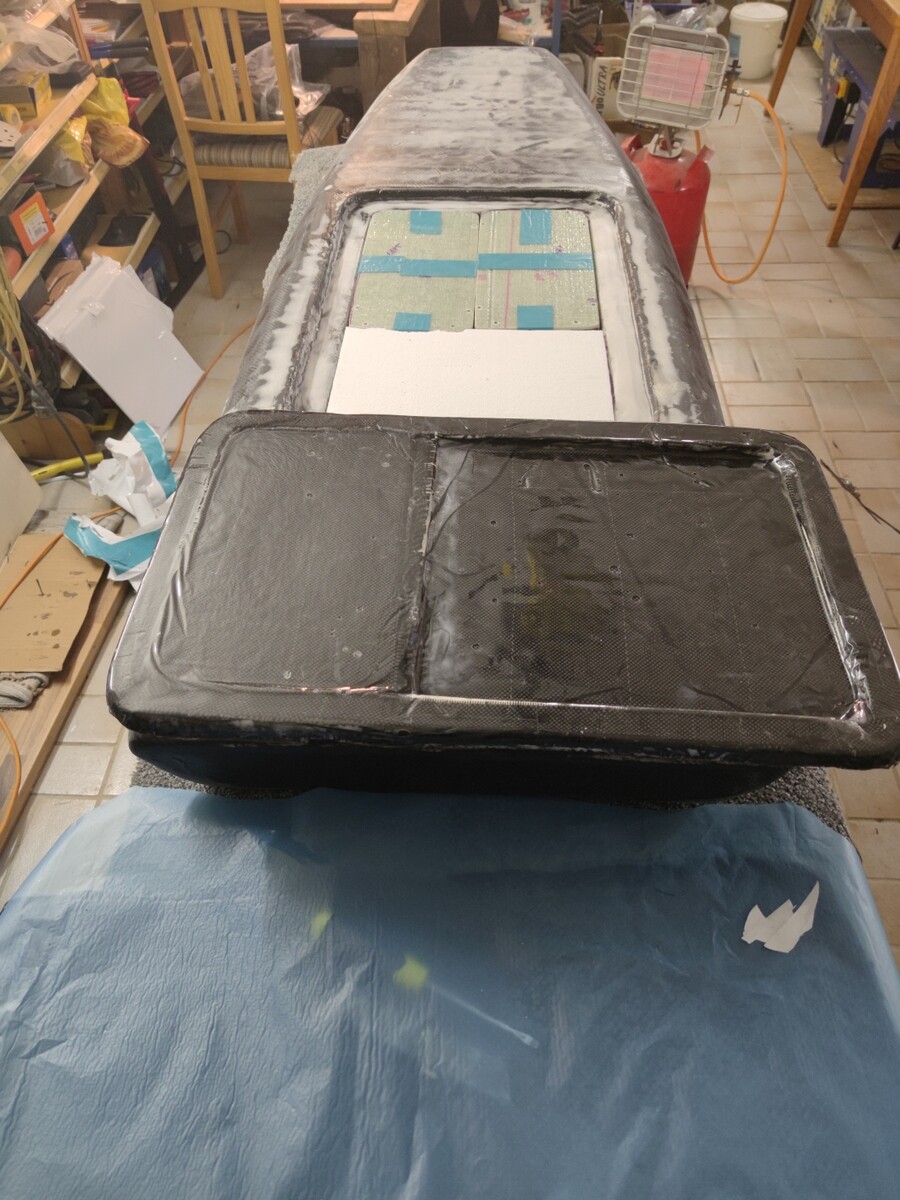
I have used a combination of one layer of 800g multi axial fiberglass for rigidity and strength and then one layer 200g carbon fiber. The bottom of the electronics box is approximately 2 cm from the bottom of the board. I have seen many people adding longitudinal aluminum stiffeners to their board. I am trying to only use the multi axial as my stiffener material. The vertical sides of the electronic box are very strong and in combination with the multi axial that runs the length of the board this board is strong. The board is 180cm long 70cm wide and the weight so far is 8.3 kg (18lbs).
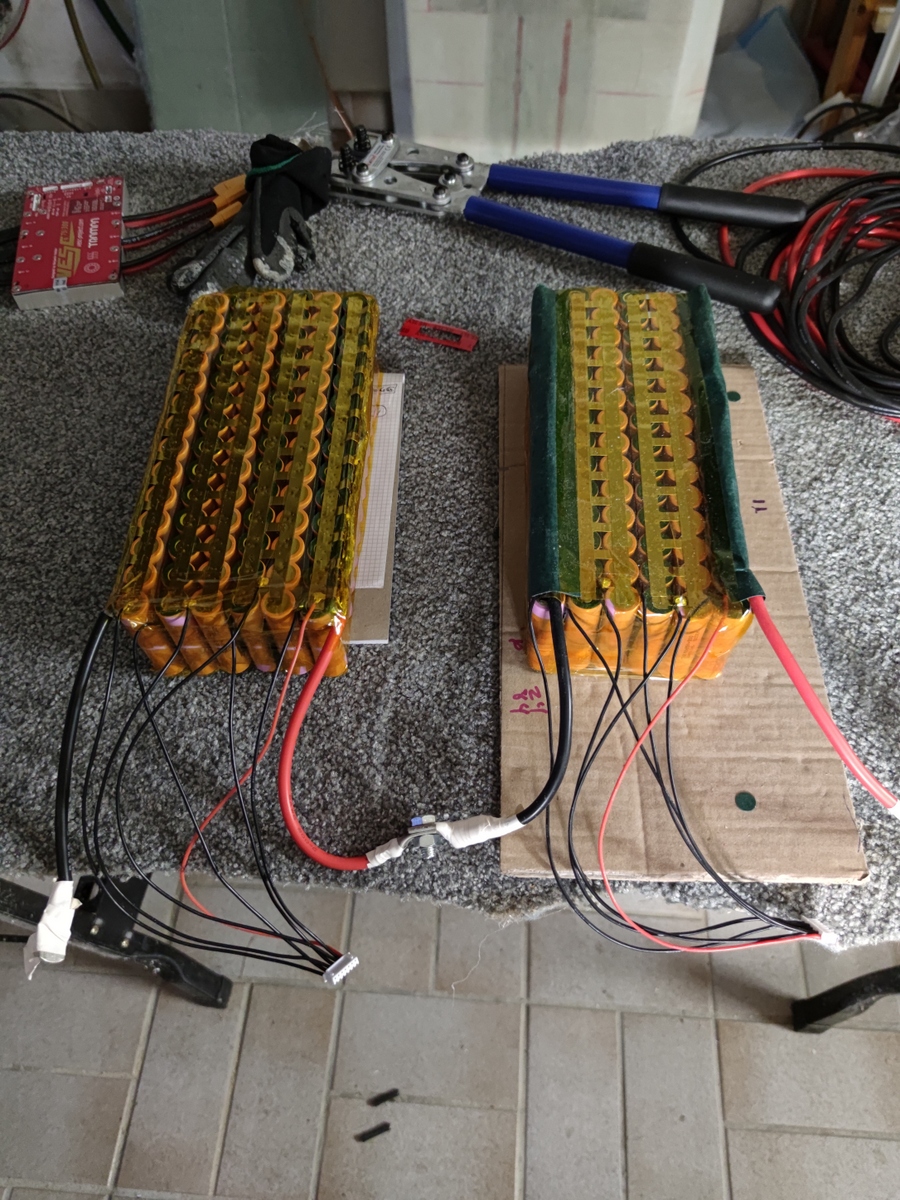
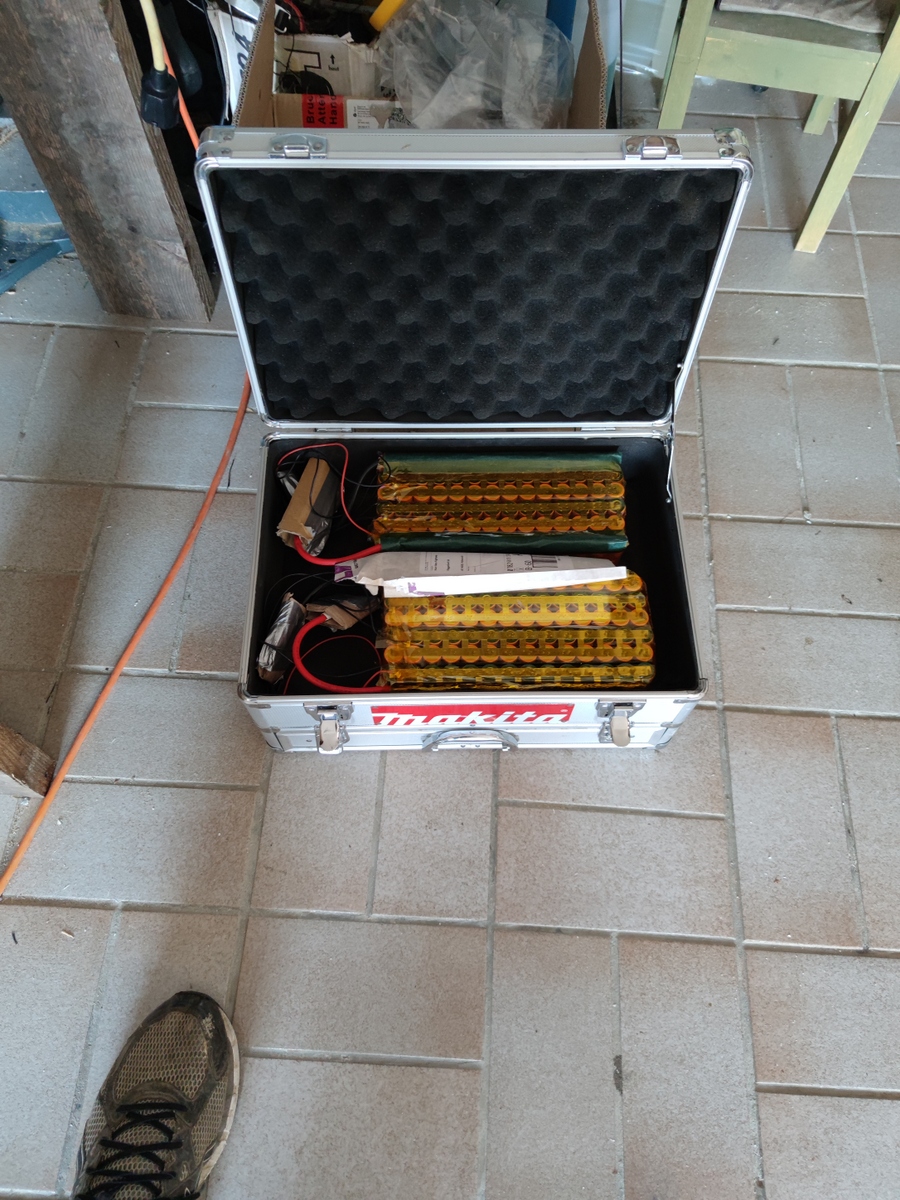
Custom made battery boxes are mostly finished. They fit in the electronic compartment nicely. The Amphenol power connectors are a very good product.
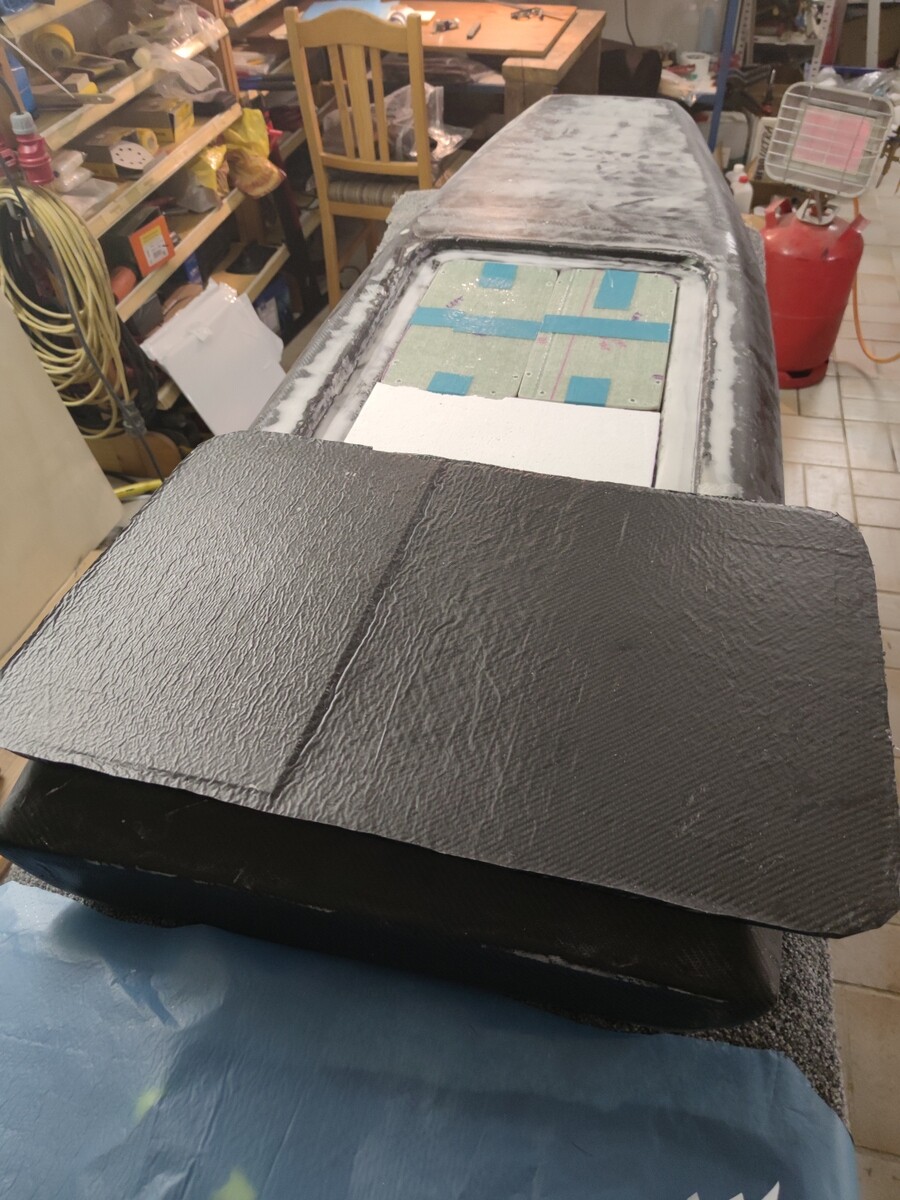
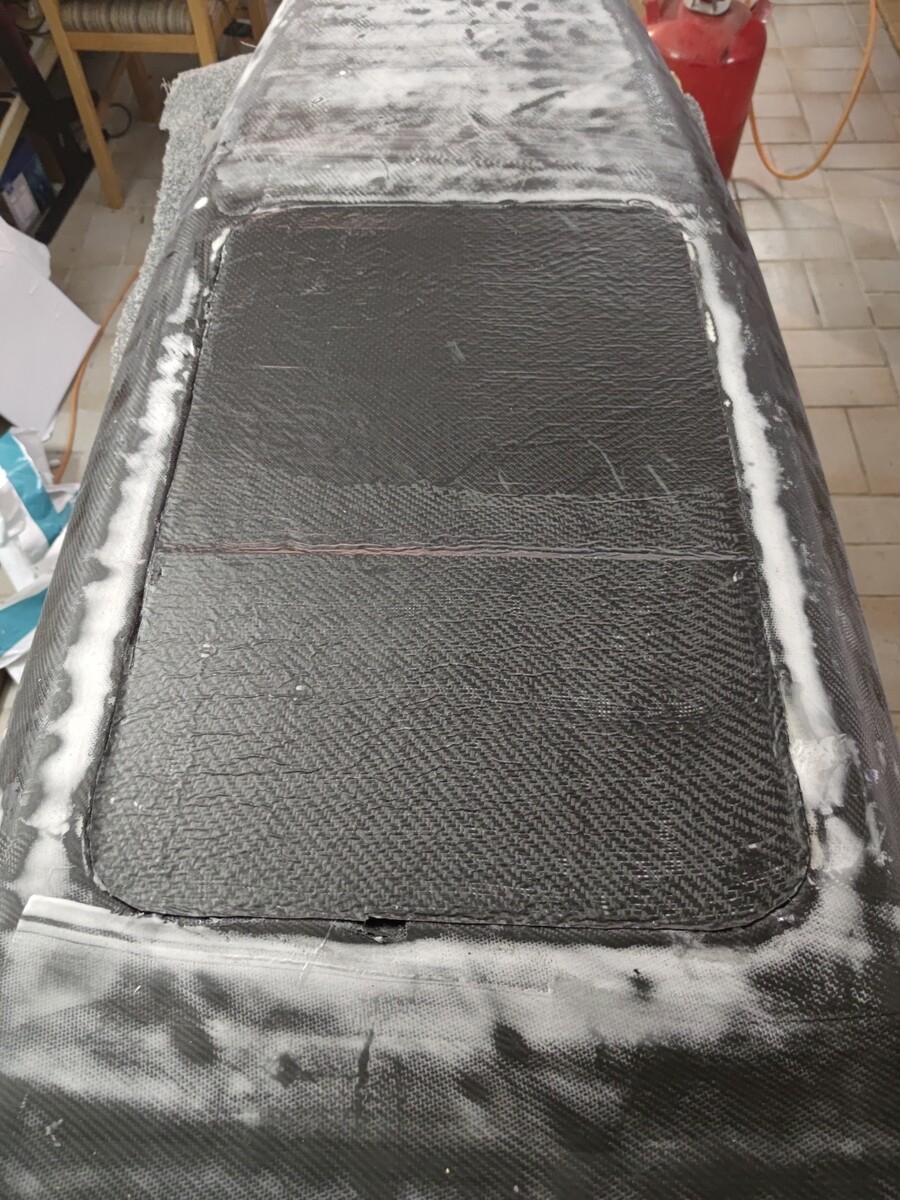
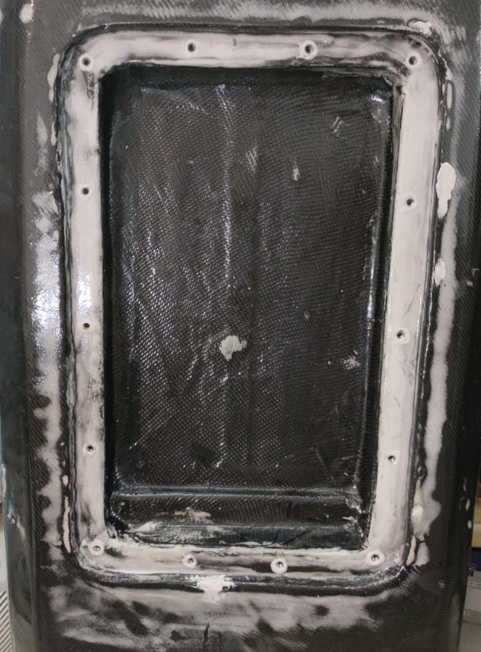
Next steps is building the hatch. I plan on using RIWI’s method here. RIWI’s third build - #6 by Riwi.
It fits very well. A lesson learned is to use something that is not stuck to the board. I had to pry the hatch out with a chisel and damaged the board a tiny bit. A piece of vinyl floating not stuck to anything would have been a easy way to pull on to pop the hatch out!
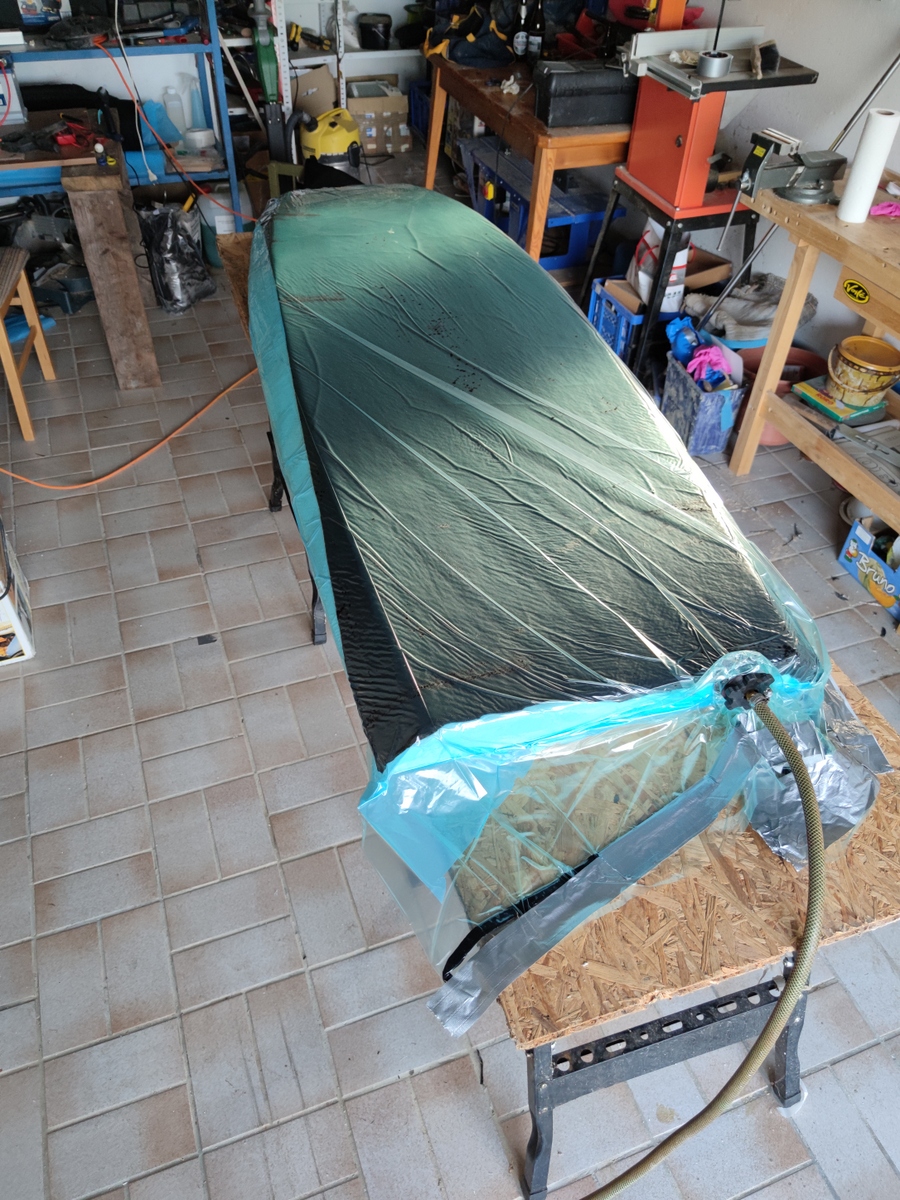
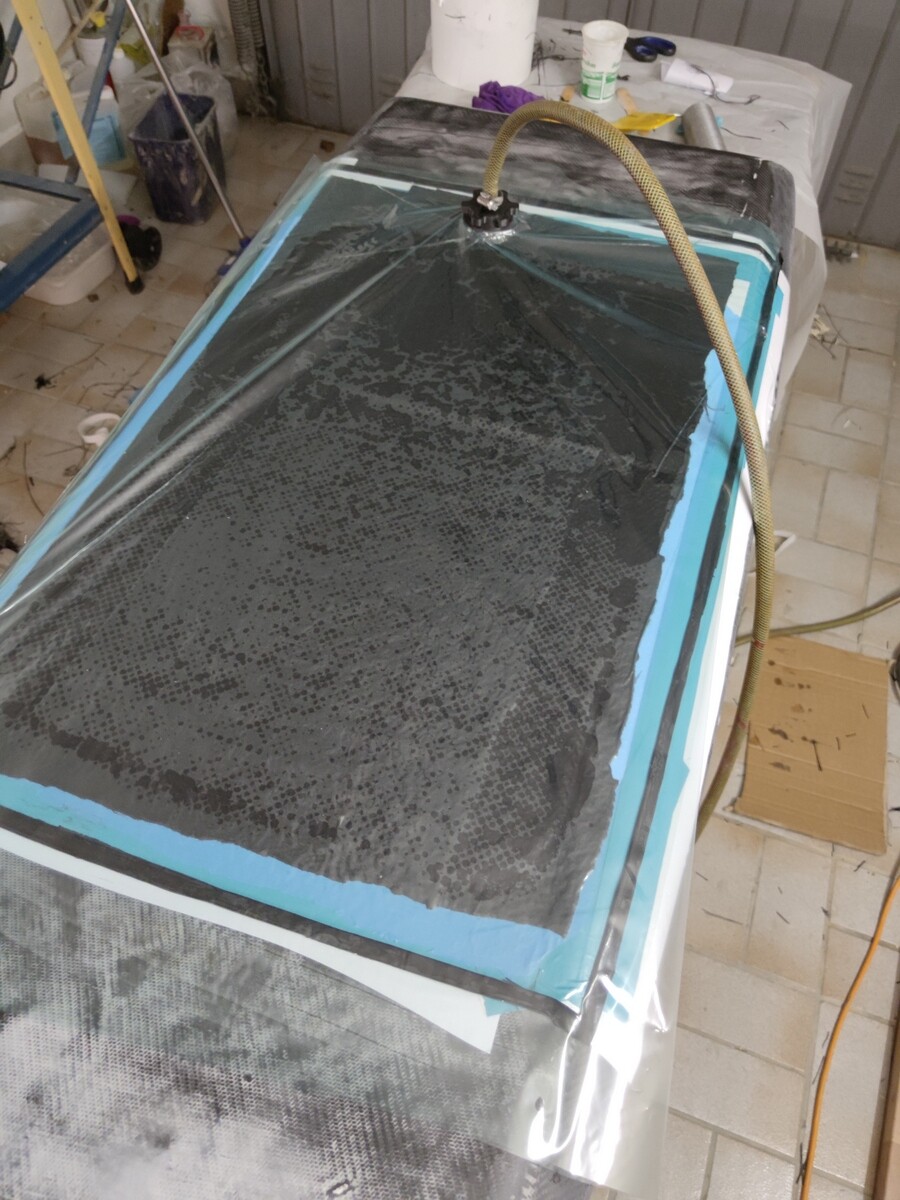
What did you use inside the box to stop the lid bending inwards when you pulled the vacuum?
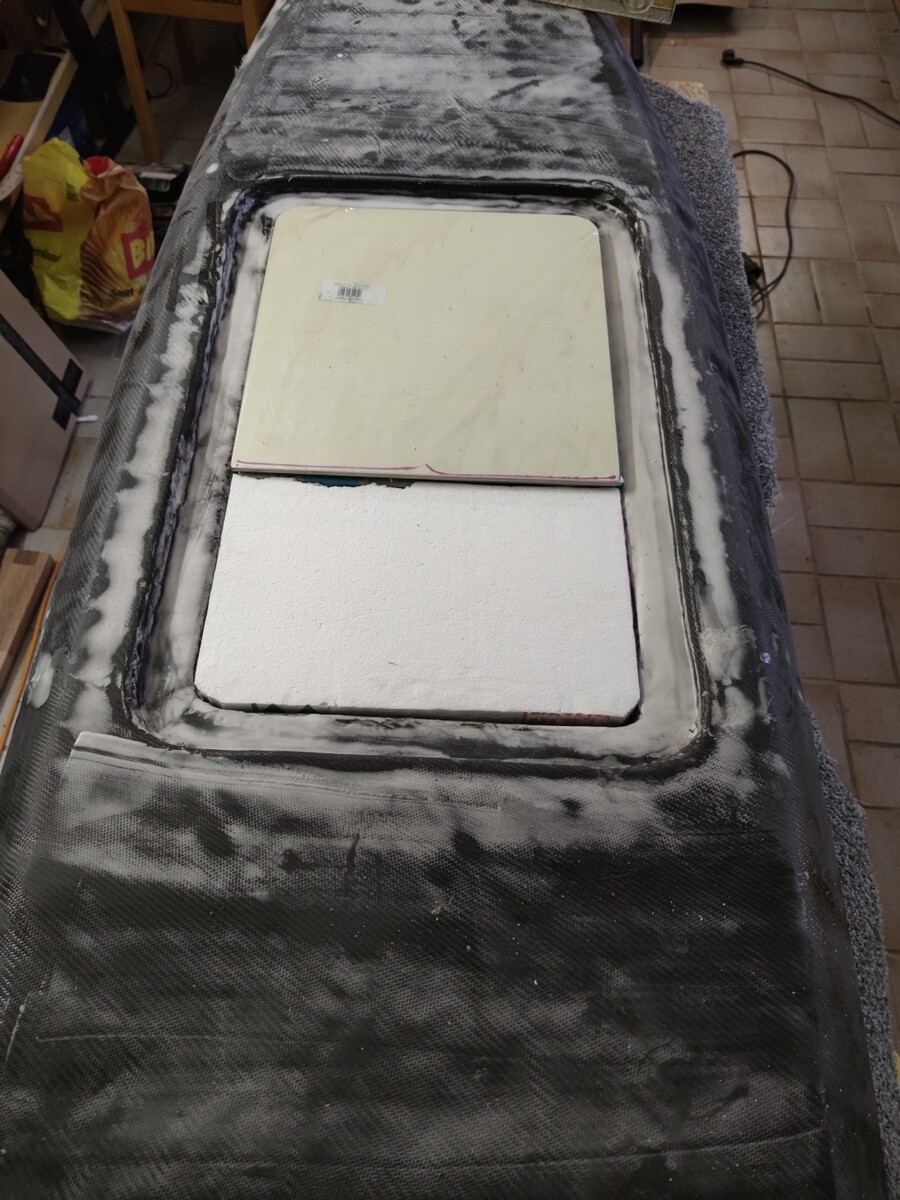
** edit… I see/read it now “EPS foam and a plywood sheet are used to provide a leveling structure to lay the glass on”
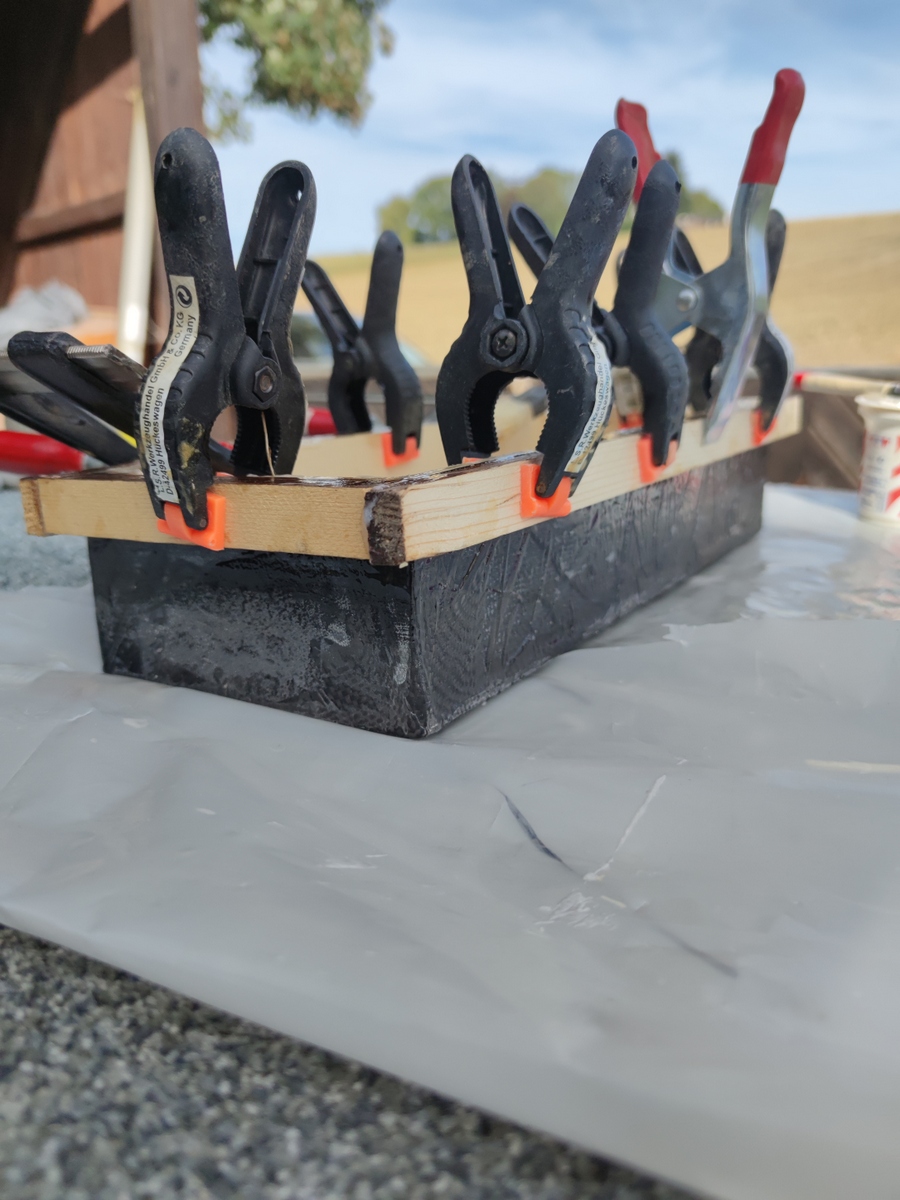
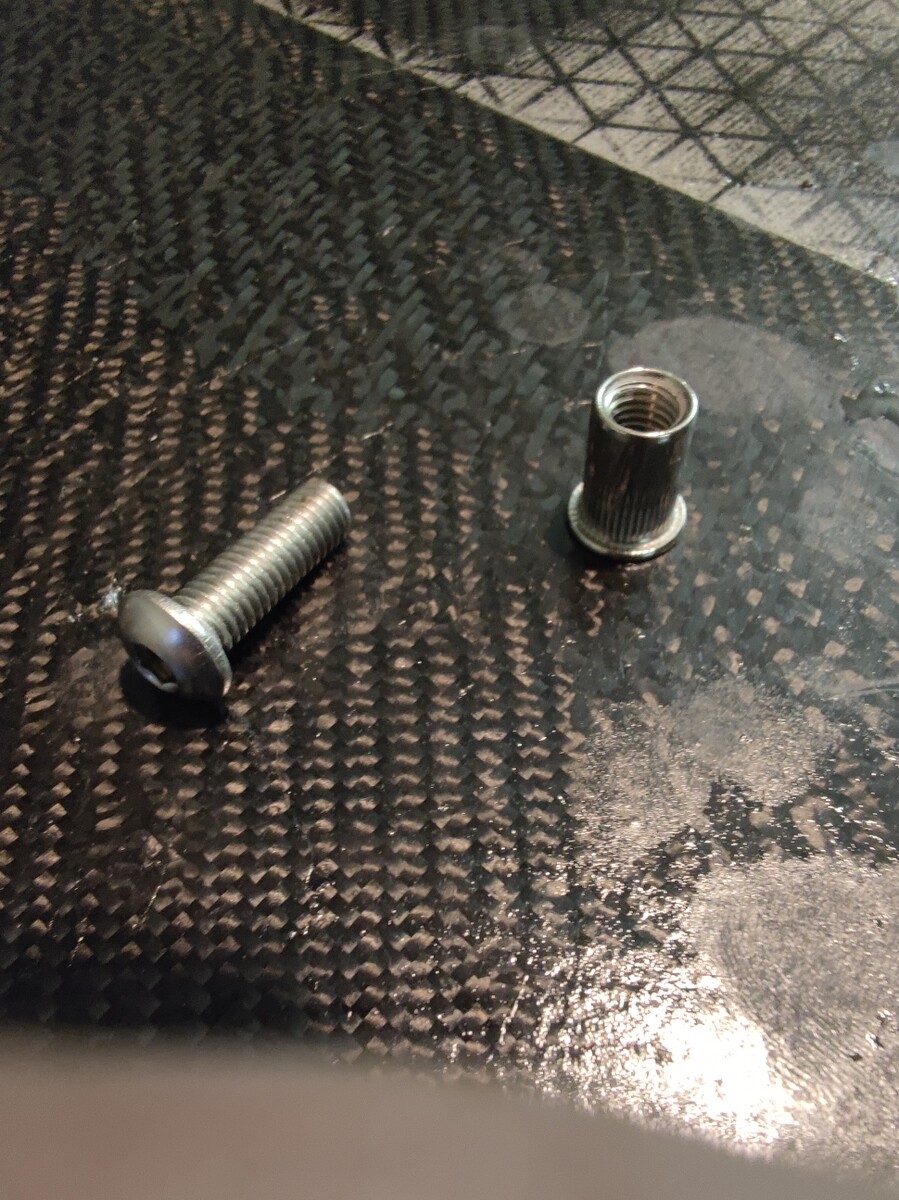
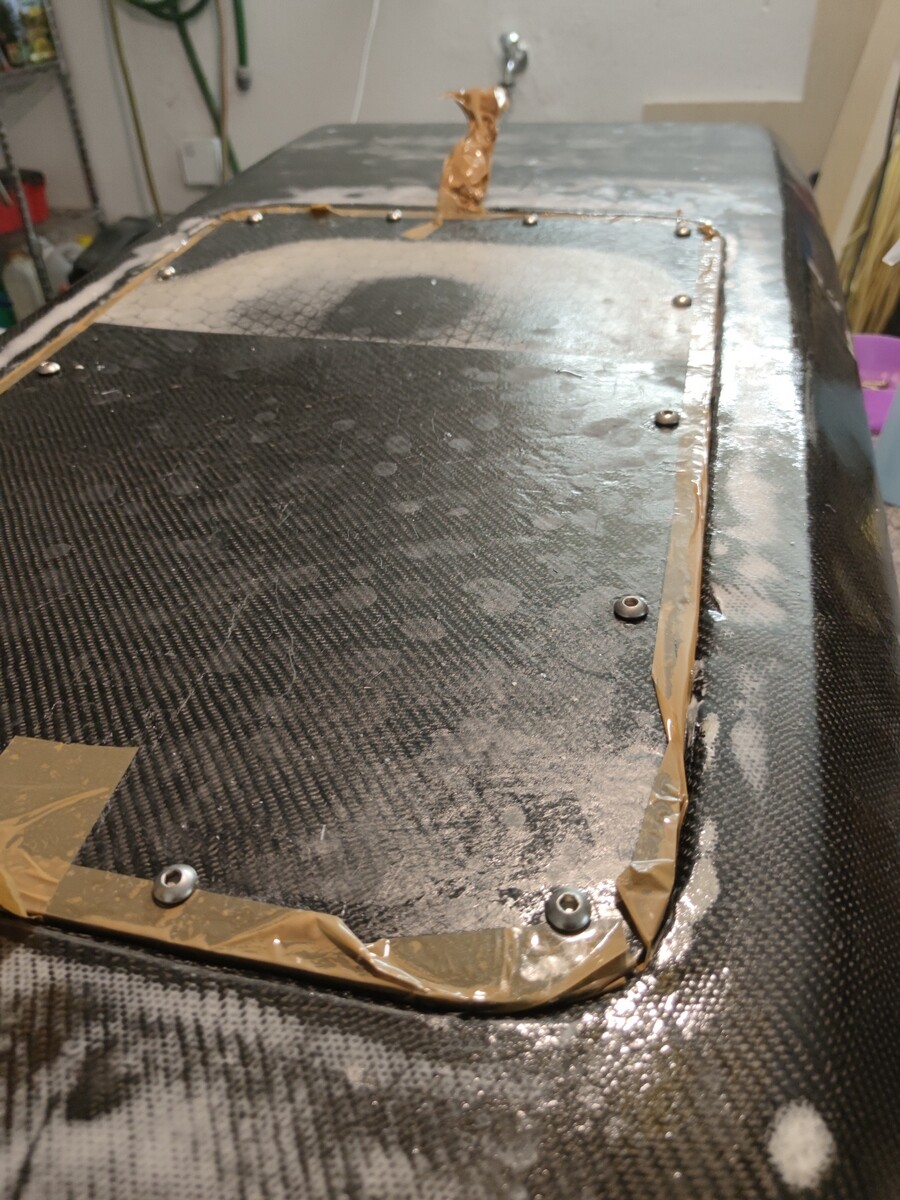
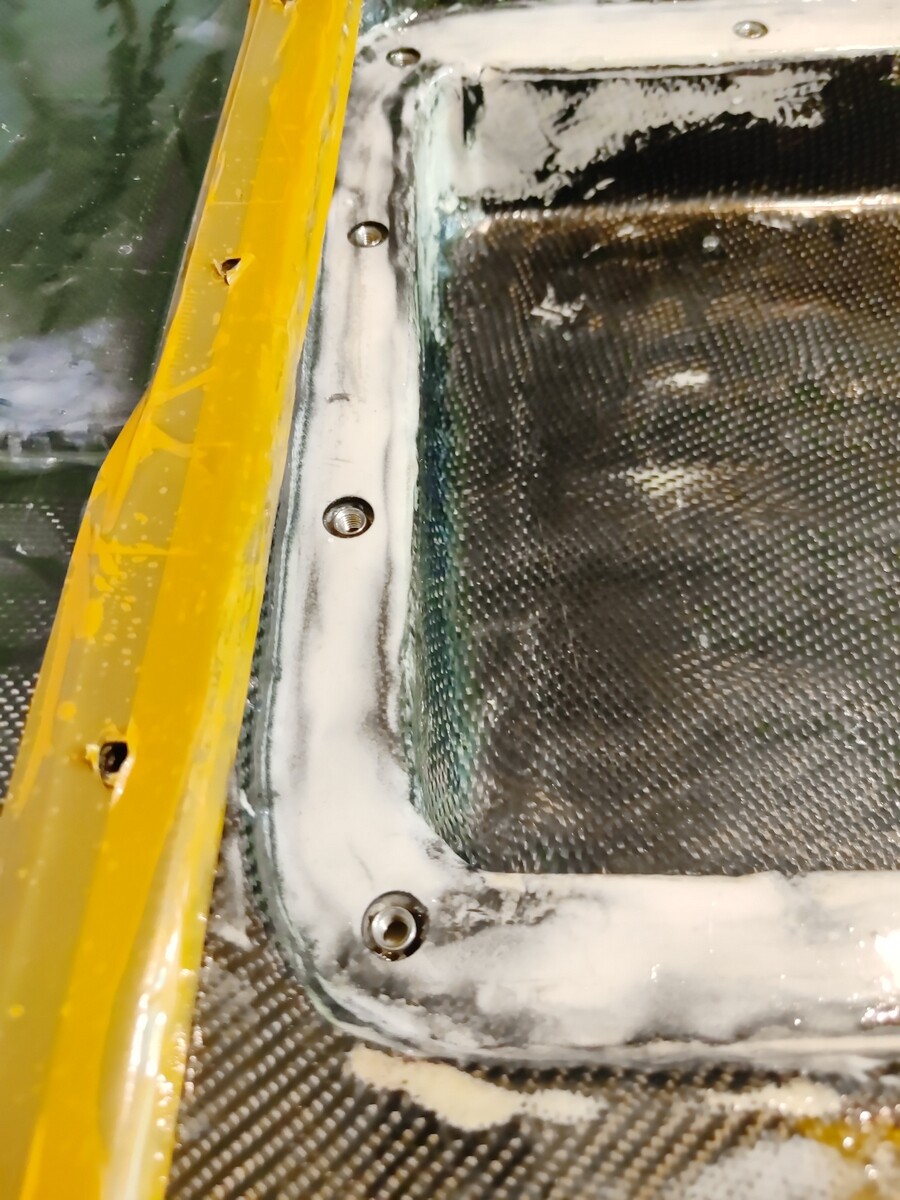
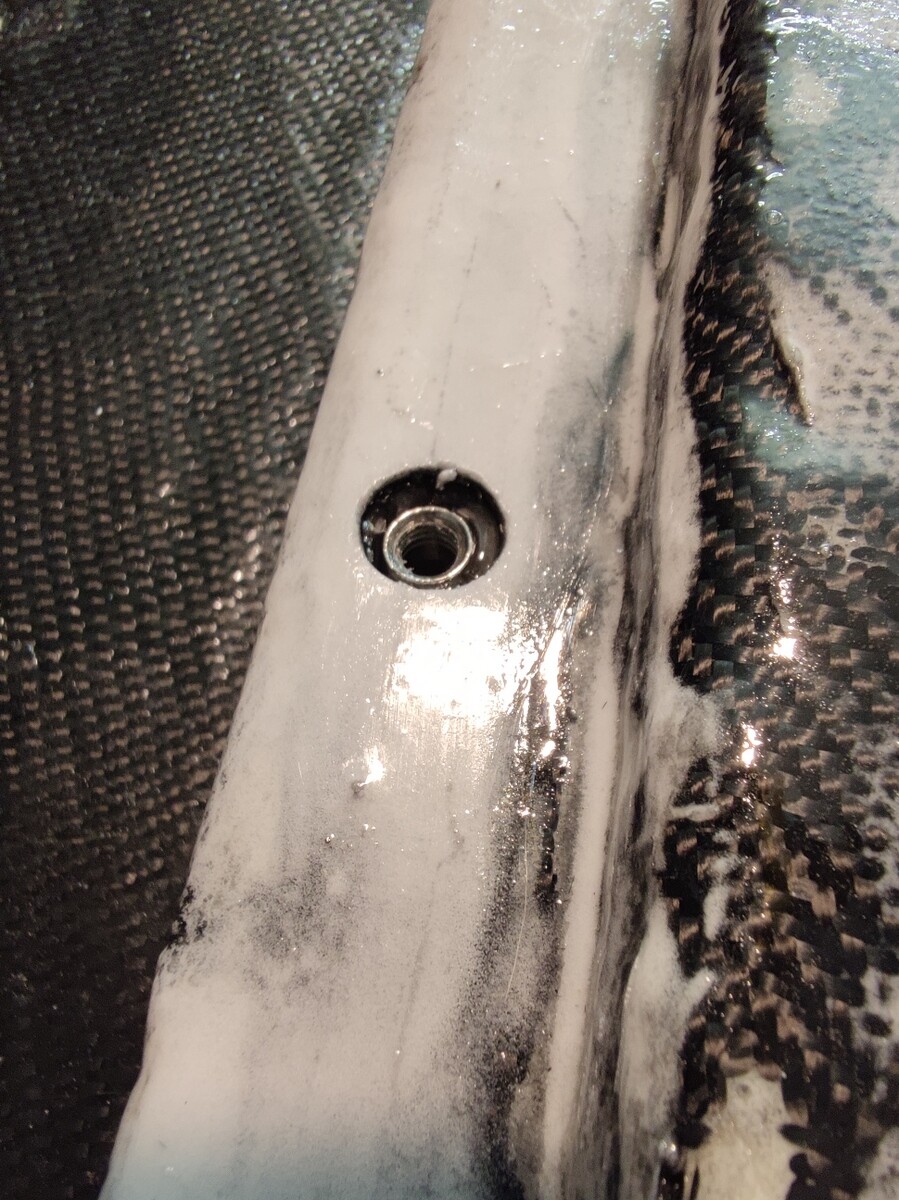
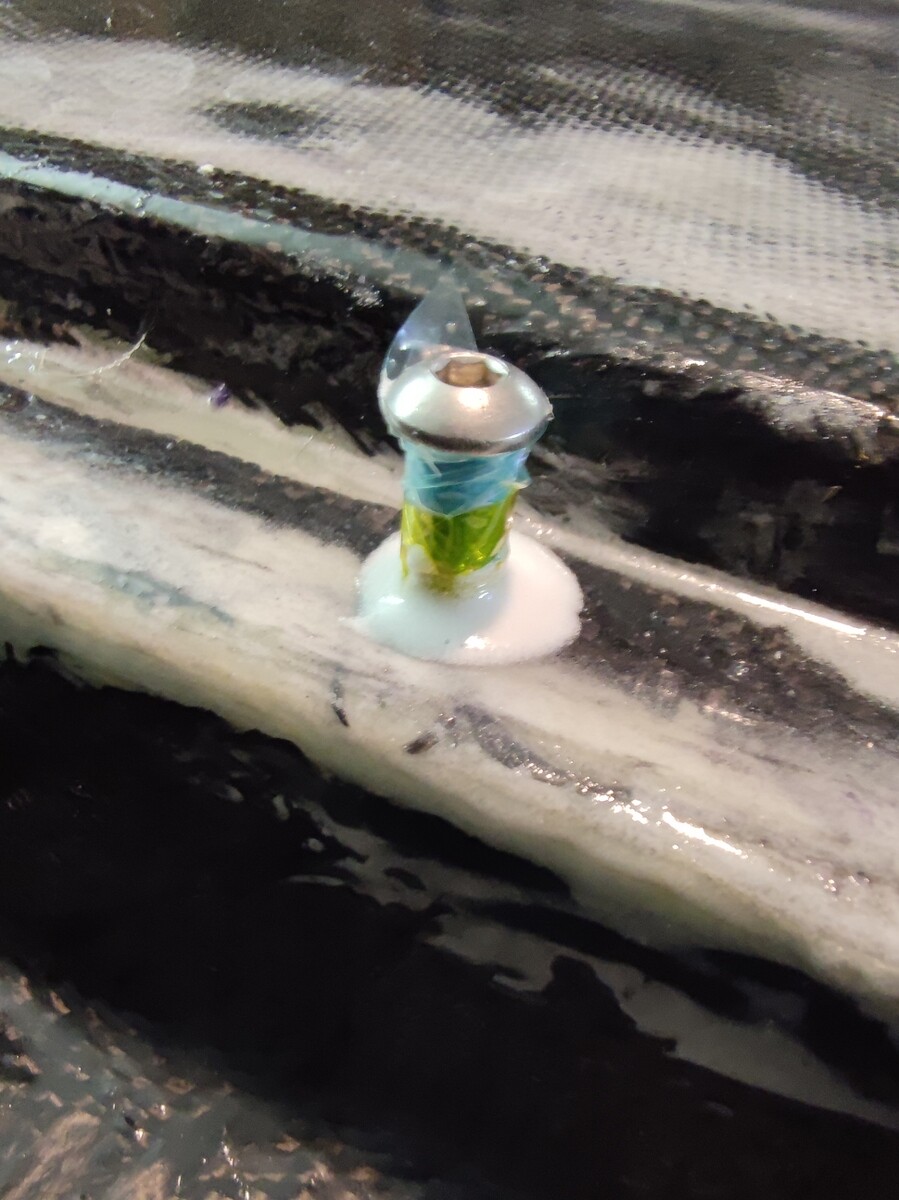
This is the stage where I set the inserts with epoxy. I was very nervous about gluing the board and hatch together. I used packing tape on the edges and on any surface that had potential of having epoxy on it.