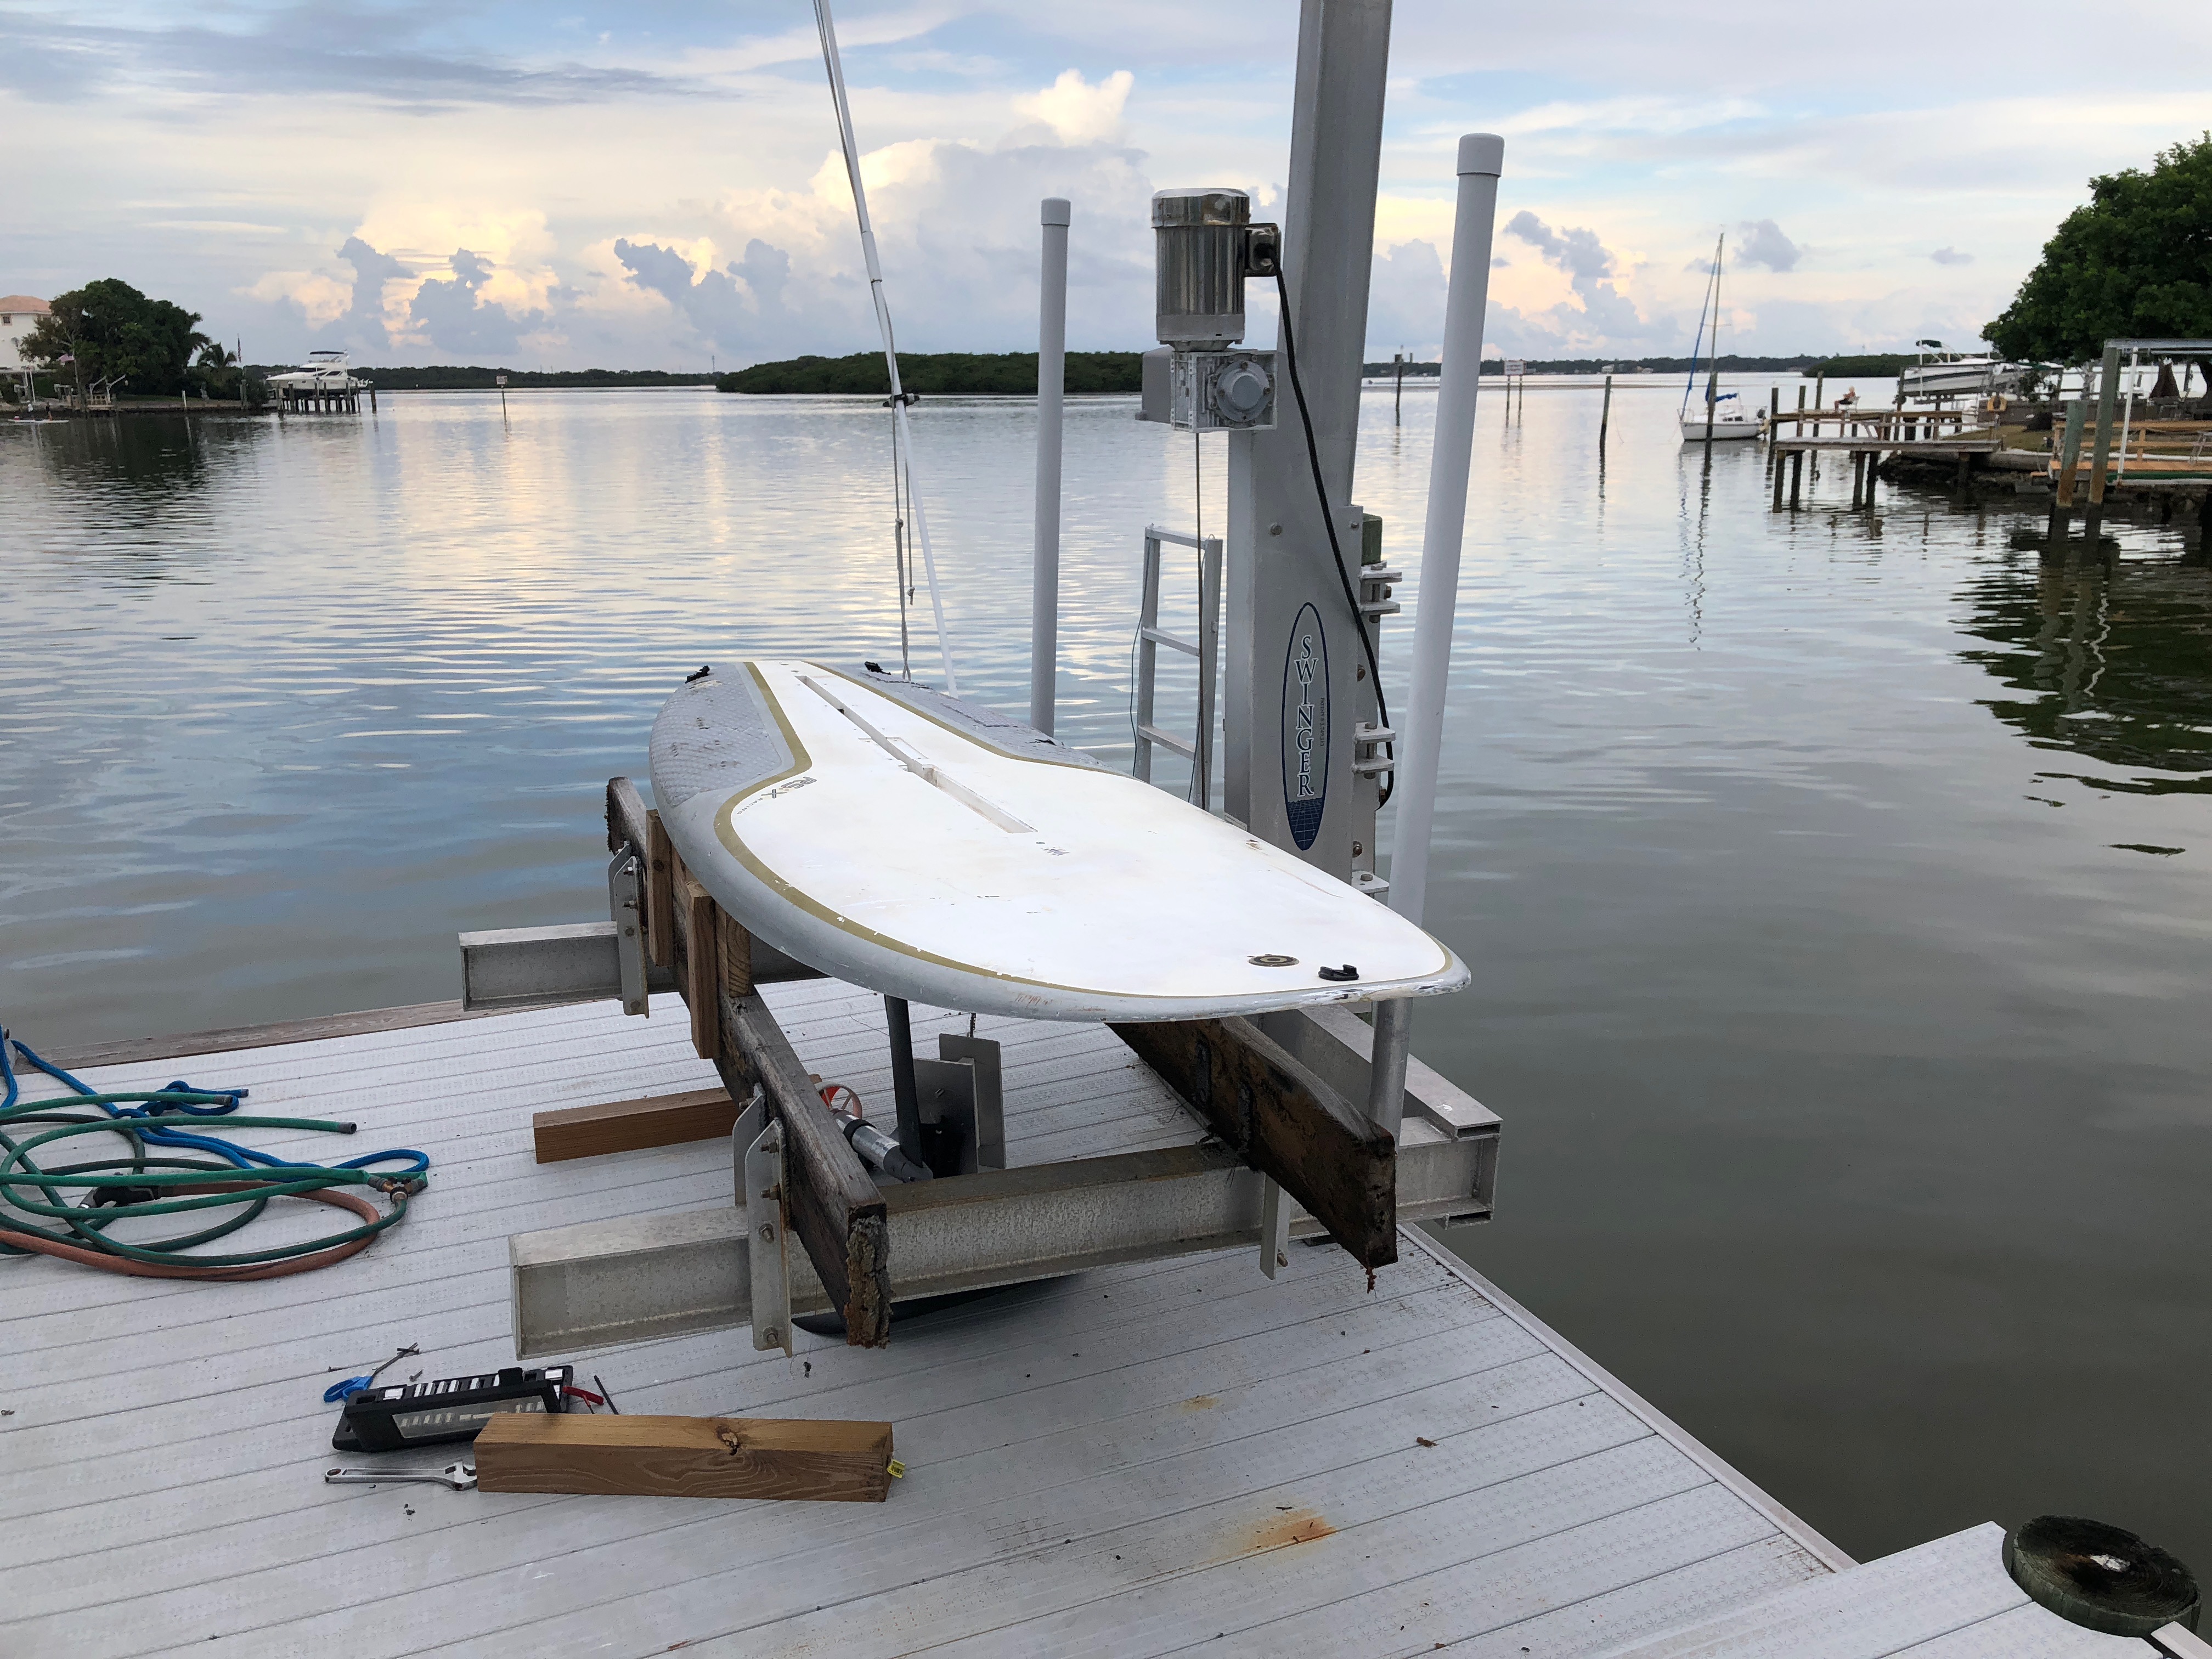
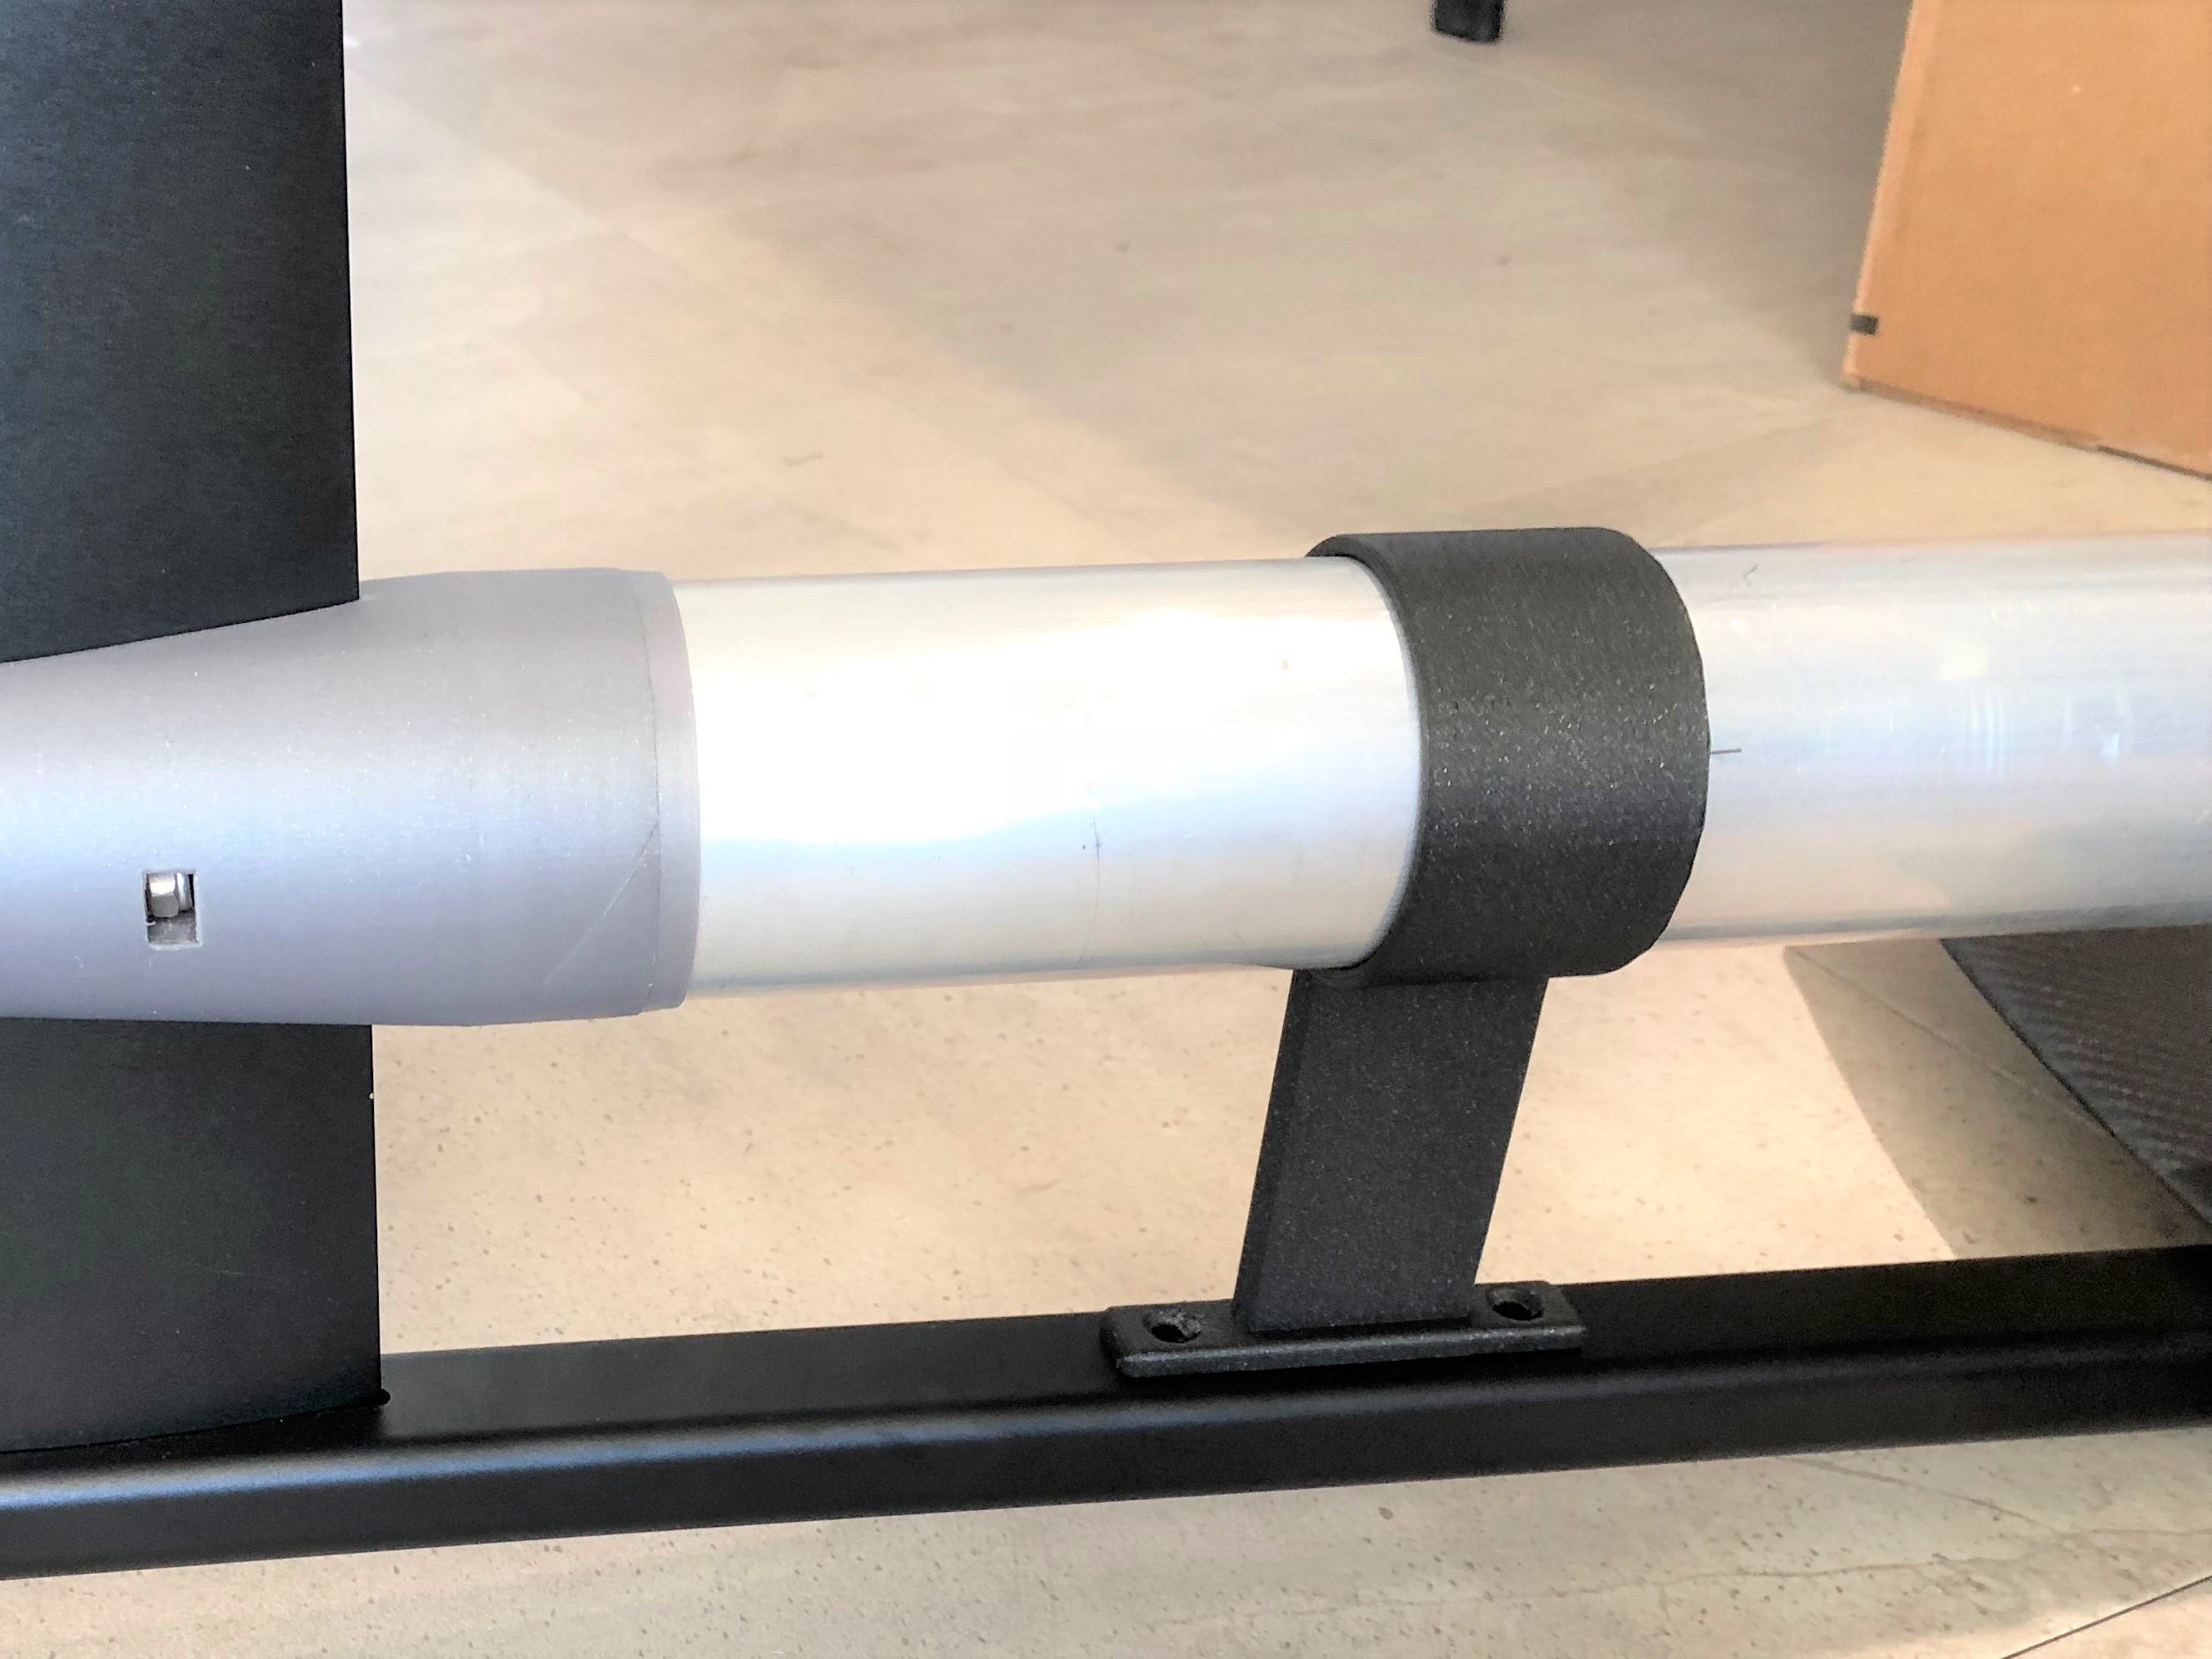
Final assembly before first run. So far these easy-to-make waterproof box connectors have performed flawlessly. I have a PWC lift that was put to good use since this puppy weighs 67 lbs before I cut the board down - exactly the same as a lift foil (30kg in riding mode).
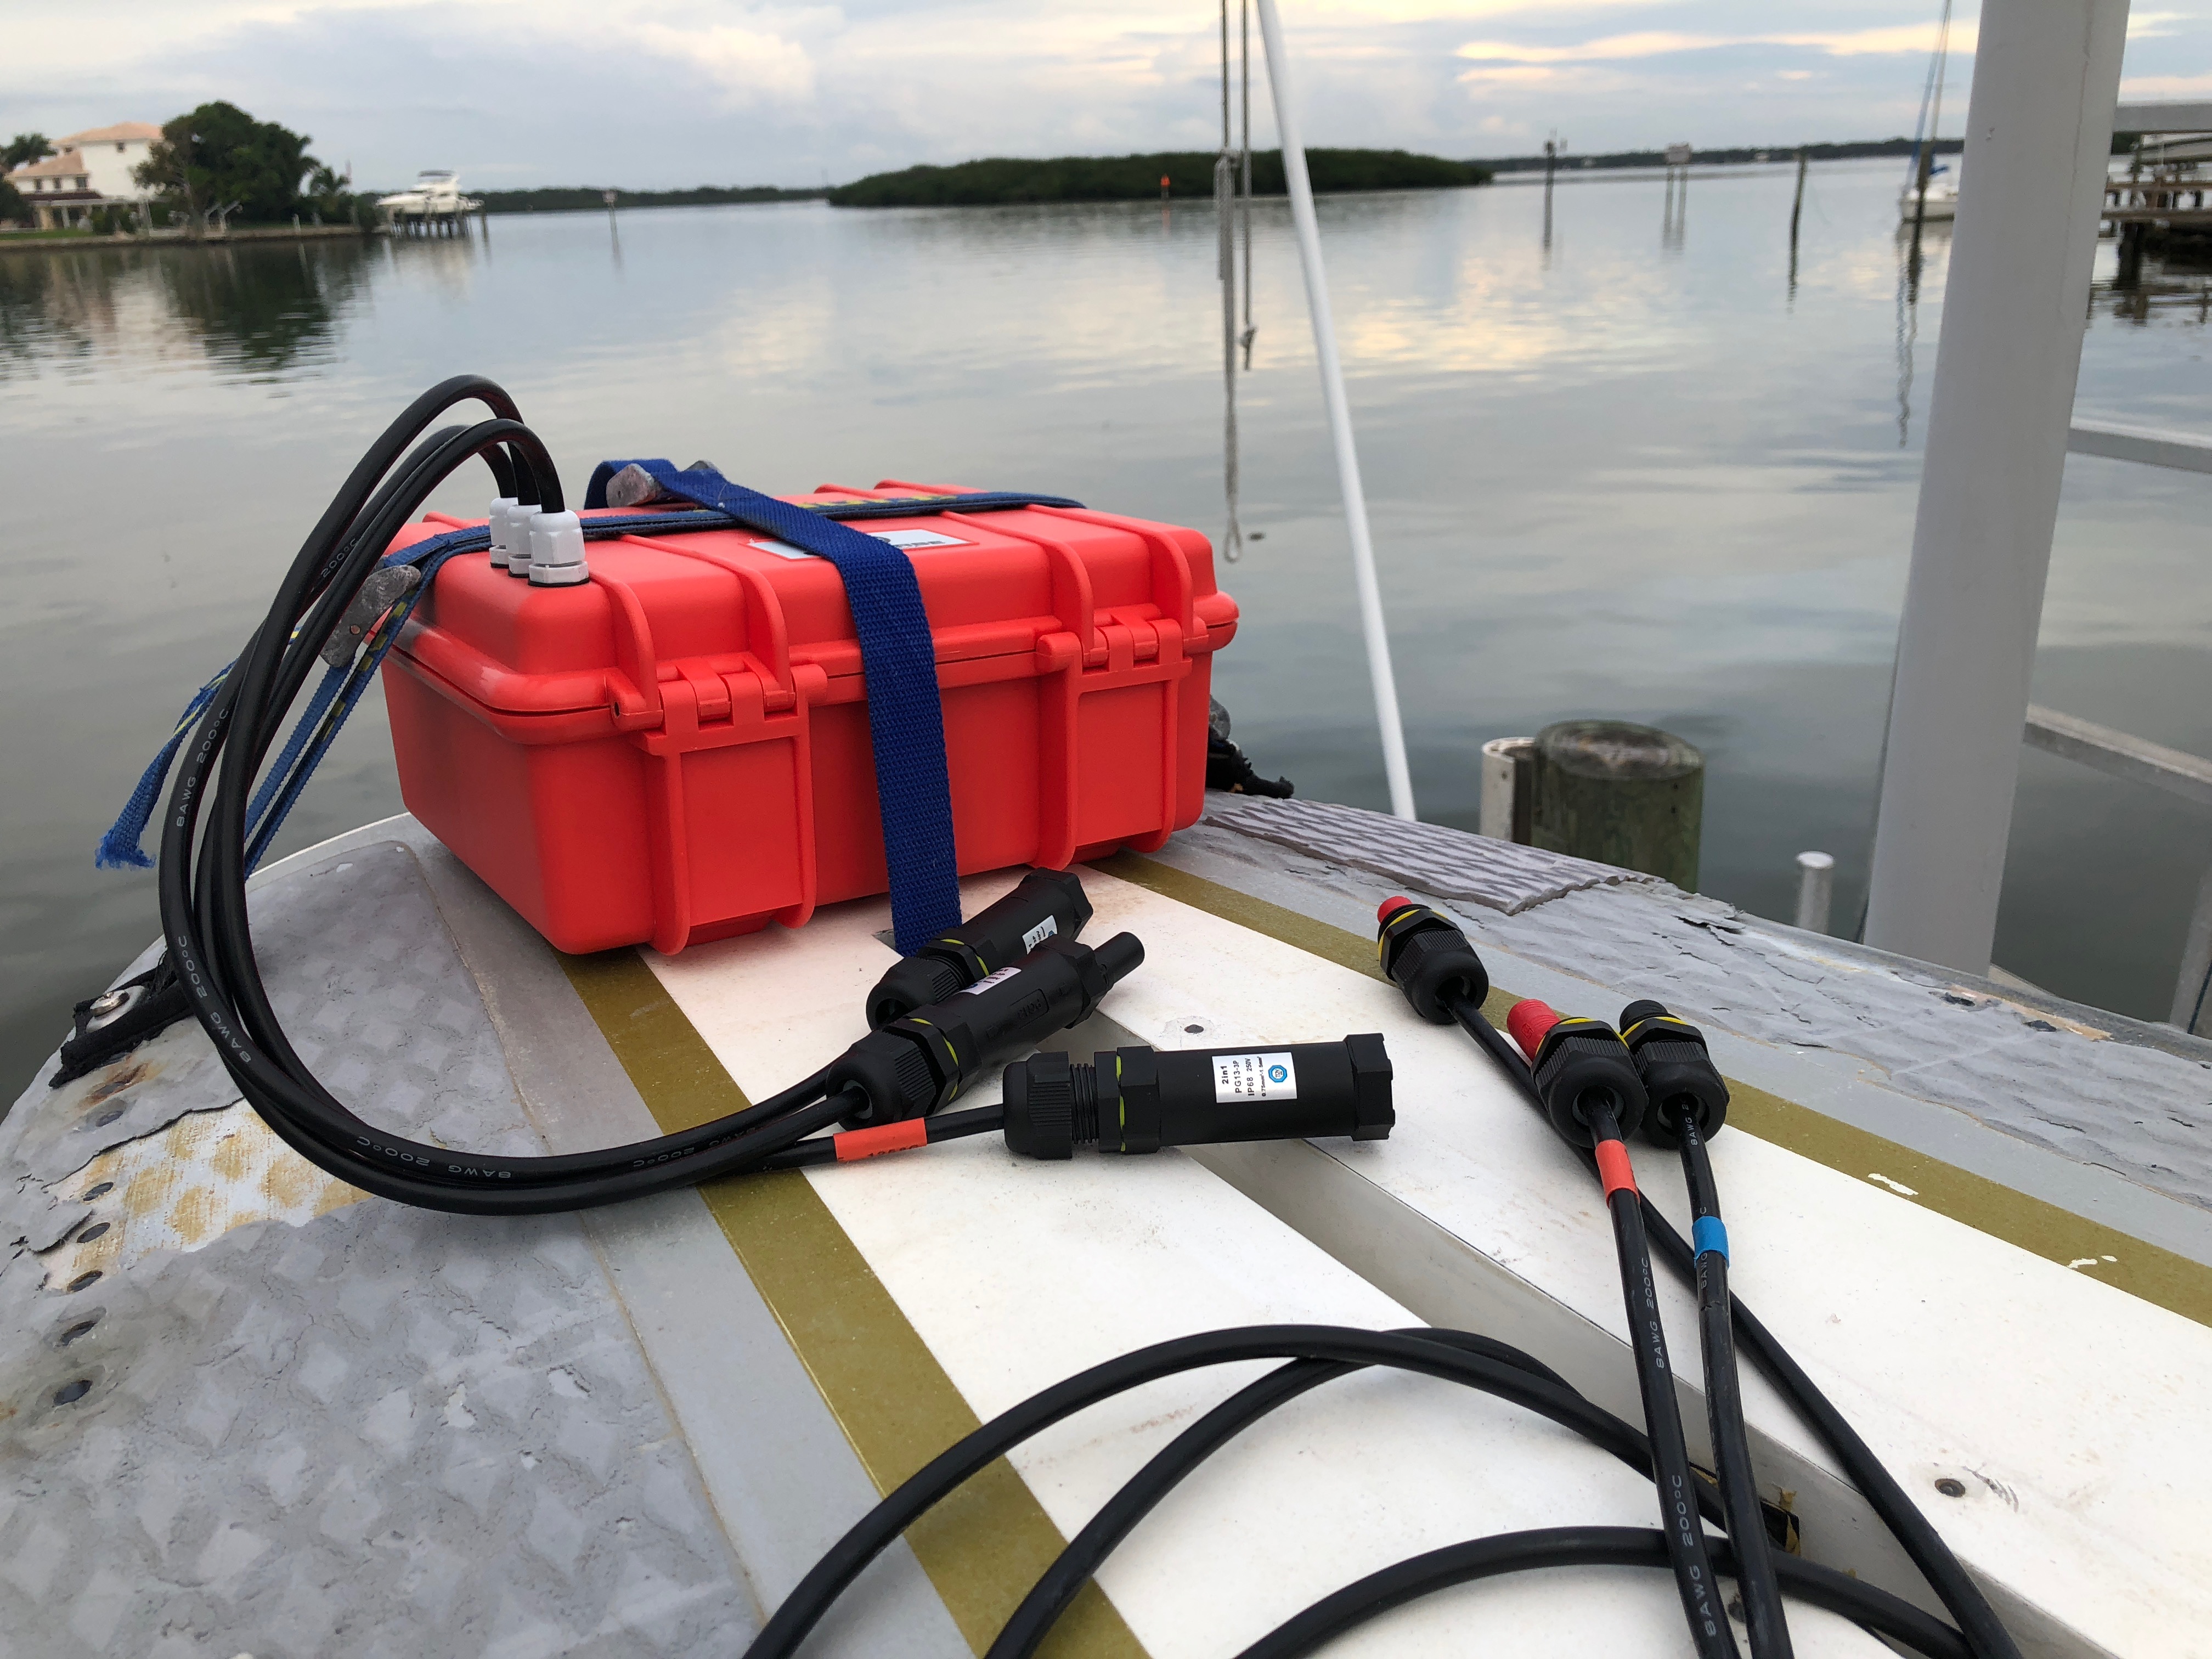
First water test was a success in that the motor ran when I pressed the remote and nothing appears to have leaked, melted or blown up. It also created a punch list of necessary fixes:
- The signal is weak. Unless I held the remote behind my back close to the box it would cut in and out.
- Water is getting pushed into the slot in my board and creating a lot of drag. It needs to be sealed.
- I need to place my weight very far forward or the board “pops a wheelie” with the bow going very high. Maybe moving the foil forward will help.
- The receiver cuts out altogether after about eight minutes and is quite hot to the touch. Starts working again after it cools off. Not sure how to address this.
- I am using the giant GT2B remote in a baggie. I have an esk8 W2 I need to swap in.
- My external box cables are about two feet too long.
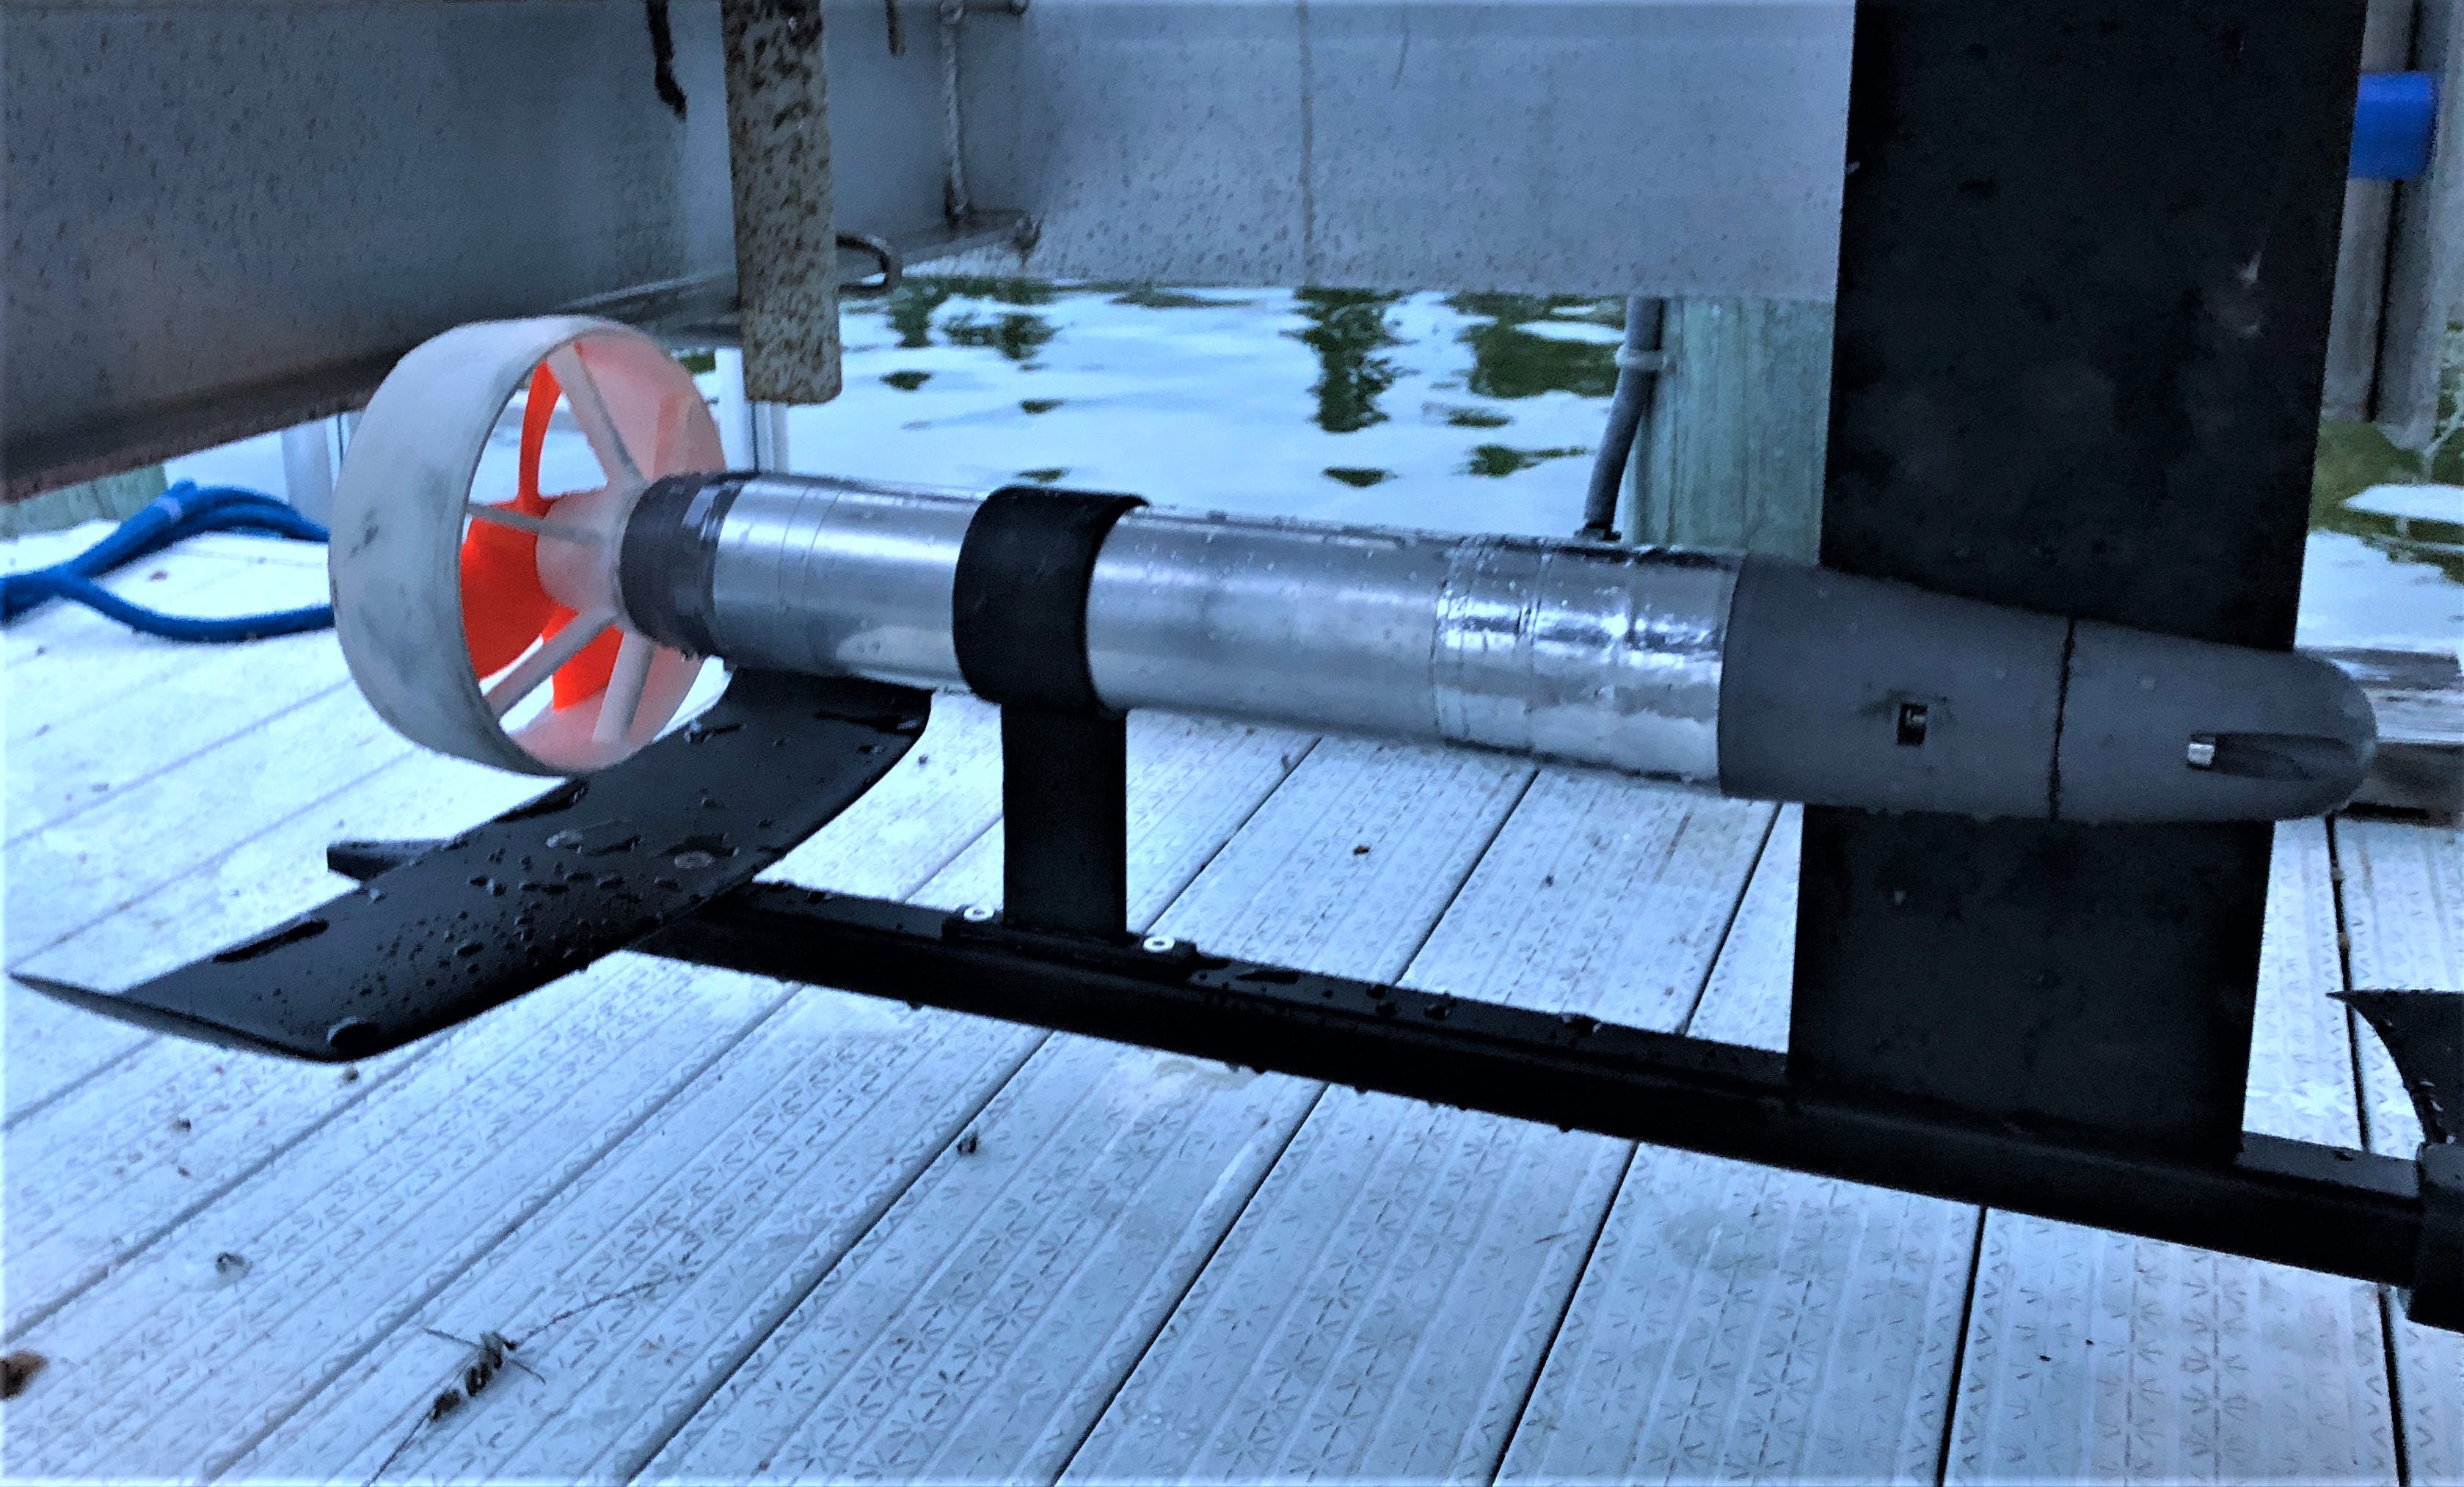
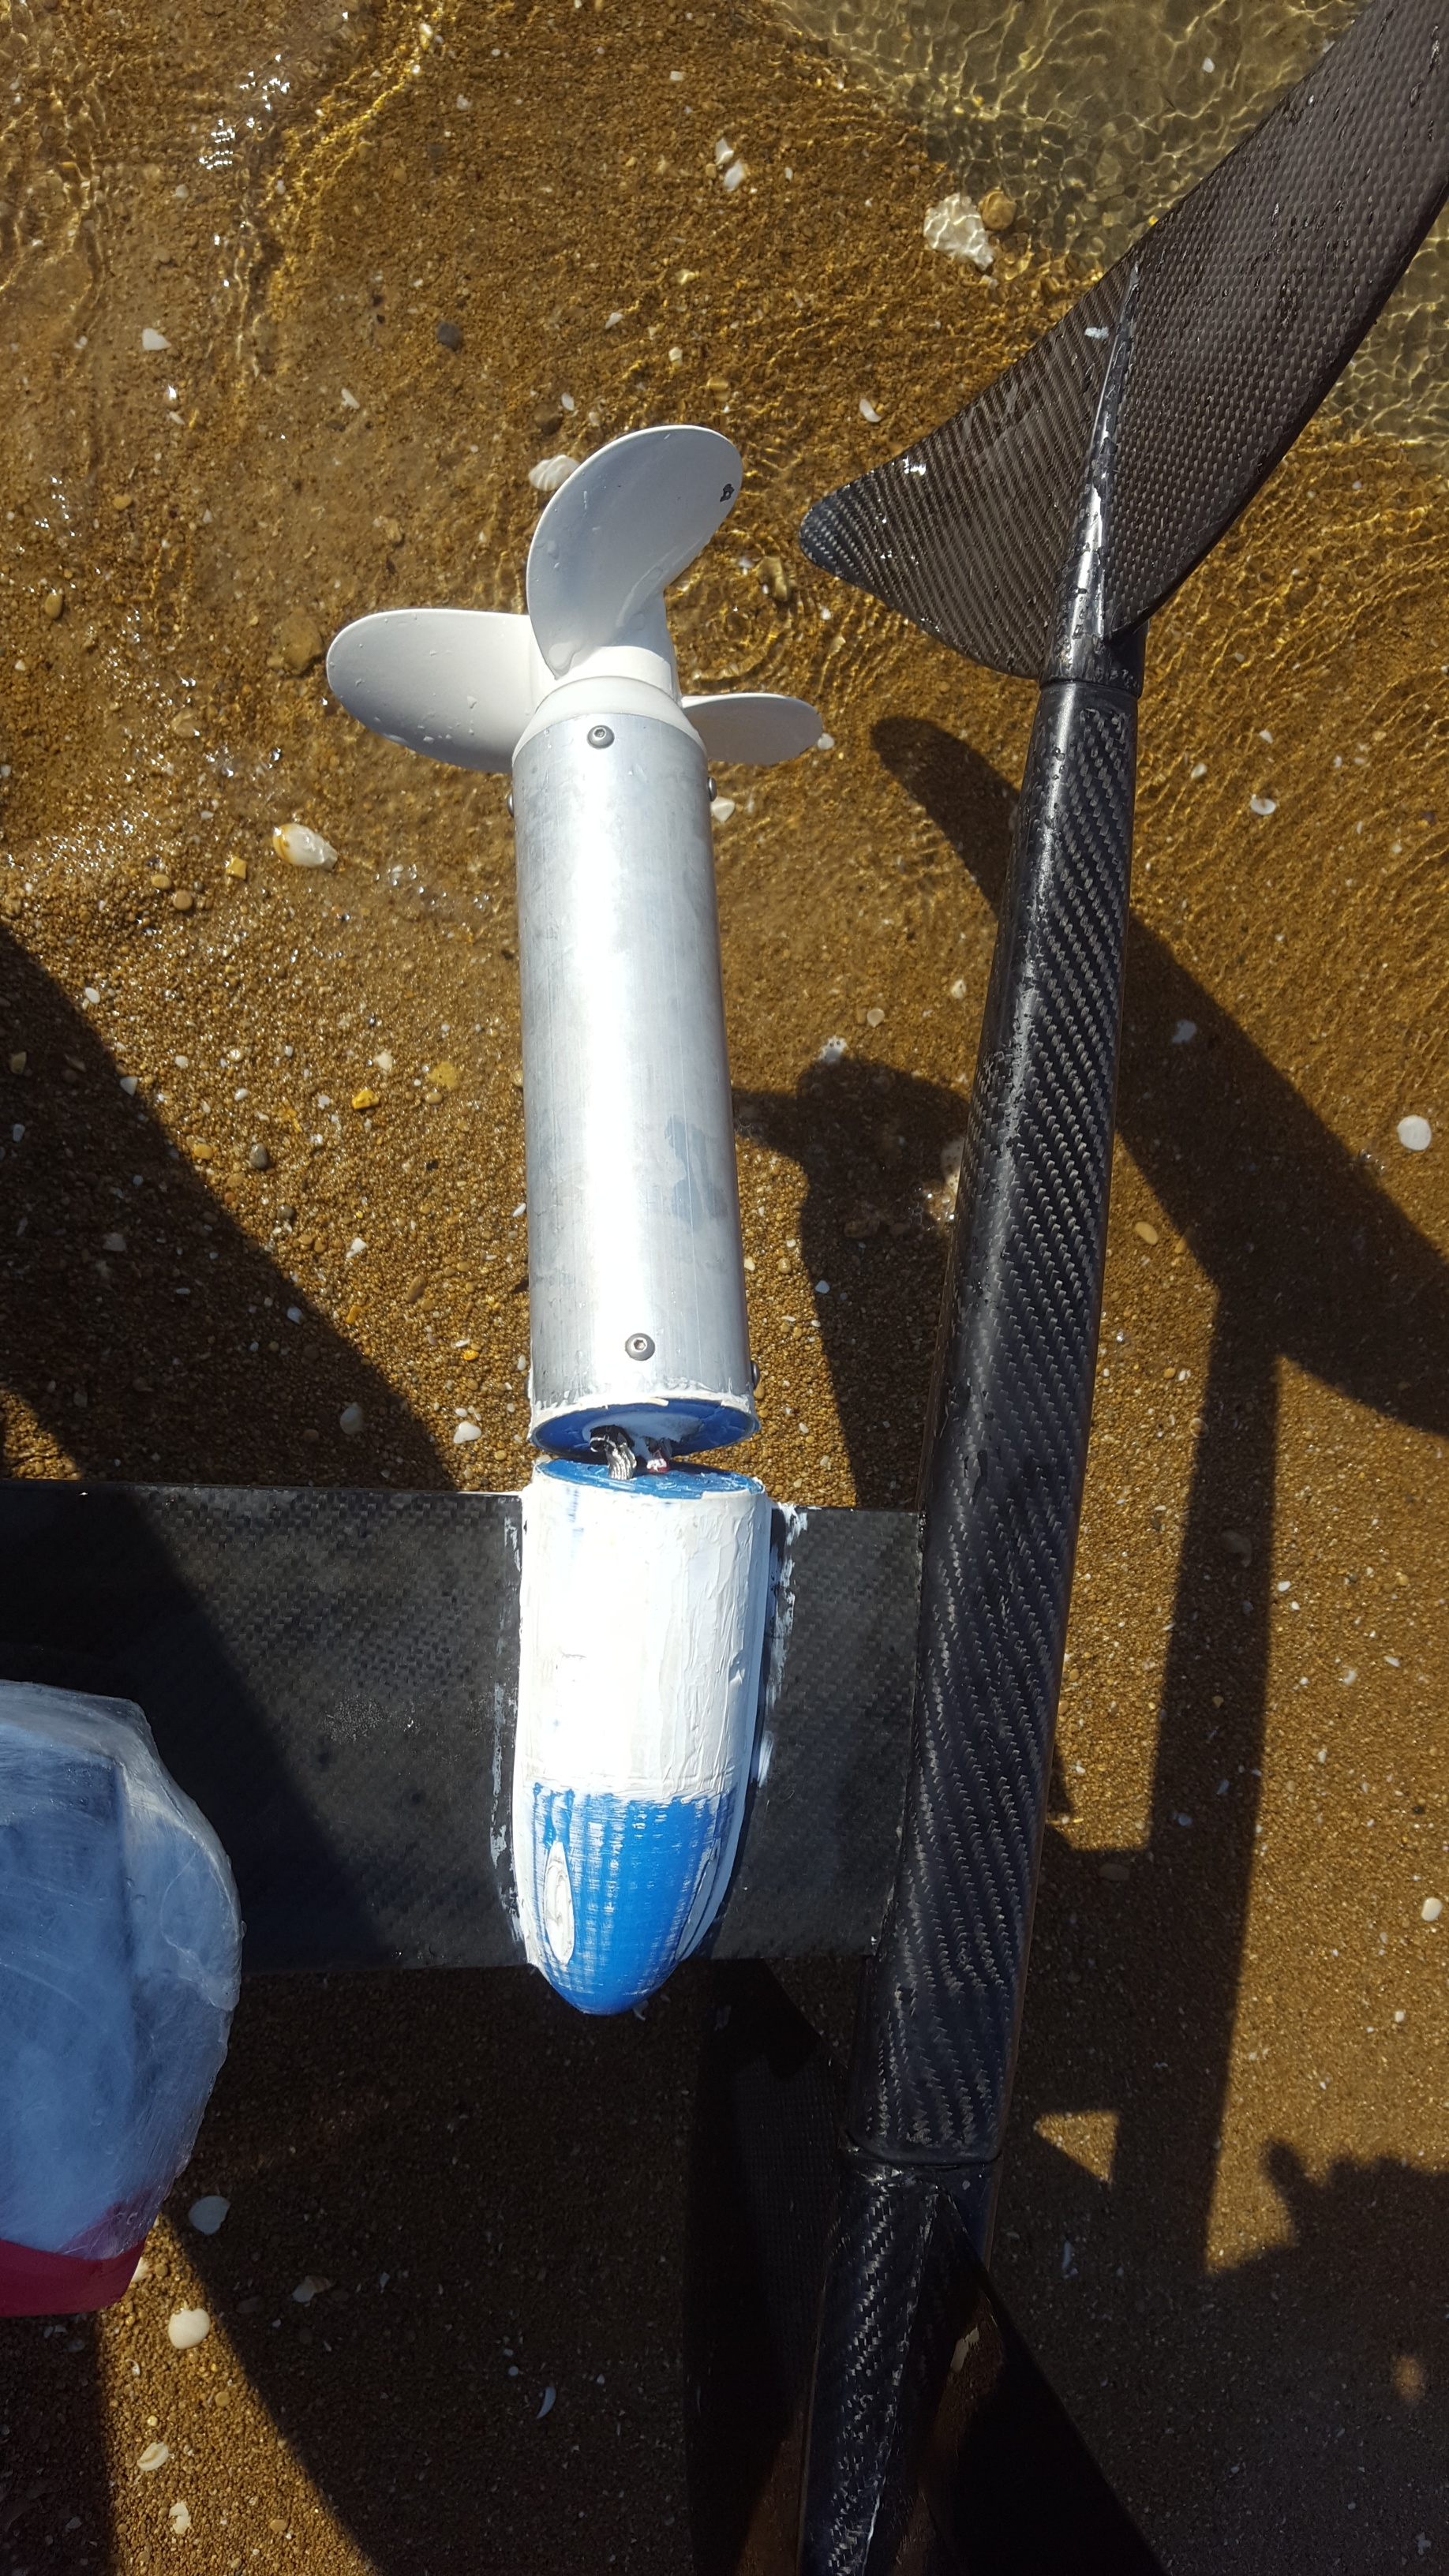
- Not sure I have enough power to actually foil. I am running 10s. Maybe need to upgrade to12s? And I wonder if my prop/duct (PacificMeister 3-blade) set-up could be more efficient.
Overall good progress today. As always suggestions, comments, feedback are most welcome!
5 Likes
Hi
If the board is popping wheelies as you said you will need to move the foil backwards
giving the board more weight to help keep the nose down .
or just move your body weight
what is your motor? 360kv or 500kv?

Interesting. I find that counter-intuitive. Wouldn’t moving the weight of the foil and drive pod (23 lbs) forward help keep the nose down?
What is the discharge rate of the batteries? You might not getting enough discharge. Lets say if your batteries ate 10c discharge rated, you get just 50 amps in best condition. While with 16000mah 10c batteries you get 160 amp. People usually use 4 of 16000mah 10c, 6s batteries to make a 12s which can provide more than enough discharge at any state of charge of the battery
Thanks Samisin…Here are my battery specs: I have four - 2 in series x 2 in parallel - so running at 37 volts.
Capacity: 5000mAh
Voltage: 5S1P / 5 Cell / 18.5v
Discharge: 40C Constant / 50C Burst
Weight: 704g (including wire, plug & case)
Dimensions: 147x51x45mm
Balance Plug: JST-XH
Discharge plug: 5.5mm Bullet-connector
Max Charge Rate©3.00
Its the thrust at the end of a 600-1000mm leaver arm that is spinning the nose of the board up
The only way to counter it is to either move the leg back making the front of the board longer , heavier
Or move your weight forward doing the same
I wiuld imagine you will need to do both
Thanks Nick
1 Like
40c shoukd be sufficent and shoukd be able to provide enough current on 5000mah battery pack. Make sure you calibrated your esc with fully charged battery.
1 Like
For me motor battery …is ok , position of the mast :ok , lift power :ok , to much drag with the tail and the battery box , tail too long , but you need some tail flat lenght to get to " planning " speed
Just try standing up with your body more in front then back off when take off ( rear foot just in front of the mast ) , it is easier to put the battery box in front , then you can pratice and find out its best place ( assuming when you to put it in the board)
Foil wings level flat to the up of the board ?
1 Like
- Use packaging tape to seal the slot. A few layers should get you through the testing phase.
- 12s would be better and would reduce the amount of current and heat, but you clearly come out the water on 10S so should be able to foil with it.
- Your weight is directly over the foil mast. That will mean it will wheelie when it pops out the water. You want the back foot over the main wing and your front foot further forward. That way you can shift your weight accordingly.
Also make sure the foil fuselage is running at a tangent to the deck of the board so that when you are us foiling you are standing in a neutral position.
1 Like
Since I saw it, I wanted to do it, and yesterday I was really sorry that I had not yet built Engine mount.
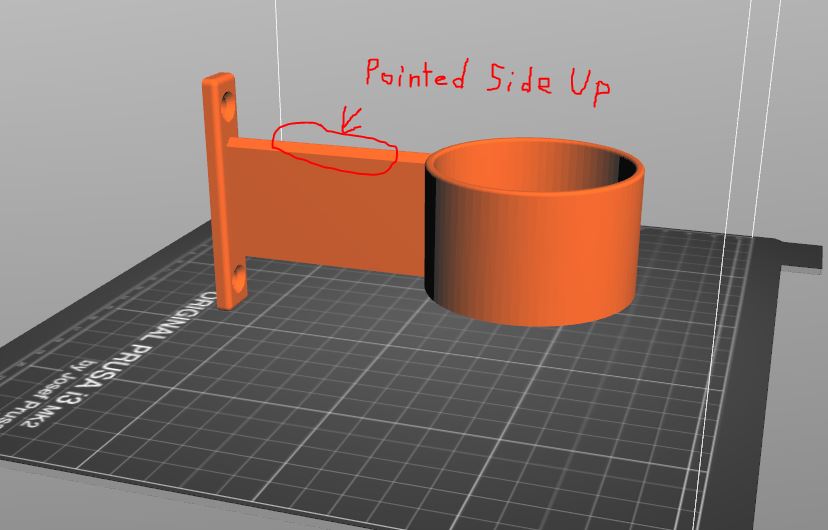
Ouch! Sorry @1113 Here is a link to the engine mount I made if that helps you. it should be printed with the flat side of the circle facing the build plate. Pointed side faces forward when mounted for streamlining.
1 Like
Thanks @Jezza @Alexandre. All good tips. My fuselage is parallel to my board. I hope to test again today.
I went for my third test ride today and there was a noticeable lack of speed/power on the water. When I ran the motor at full speed out of the water it sounded the same and the wind coming off the prop seemed similar to previous tests. Could it be that one of the three shaft connections is slipping when the prop is under load (i.e. in the water)? And can I test for this by blocking the prop and seeing if the motor still spins? Or will that create too many amps and melt stuff? Or is there another possible cause for the lack of speed? I’m guessing today it was half what it was during on-water tests the previous two days. Batteries were charged to the same level for all three tests.
Blocking the prop may rotate your motor inside the housing. There is a good chance that something is slipping somewhere, I would open the pod and take a look inside.
1 Like
This free strobe tachometer for the iPhone is worth checking out. I recorded 4,325 rpm at my prop at full speed.
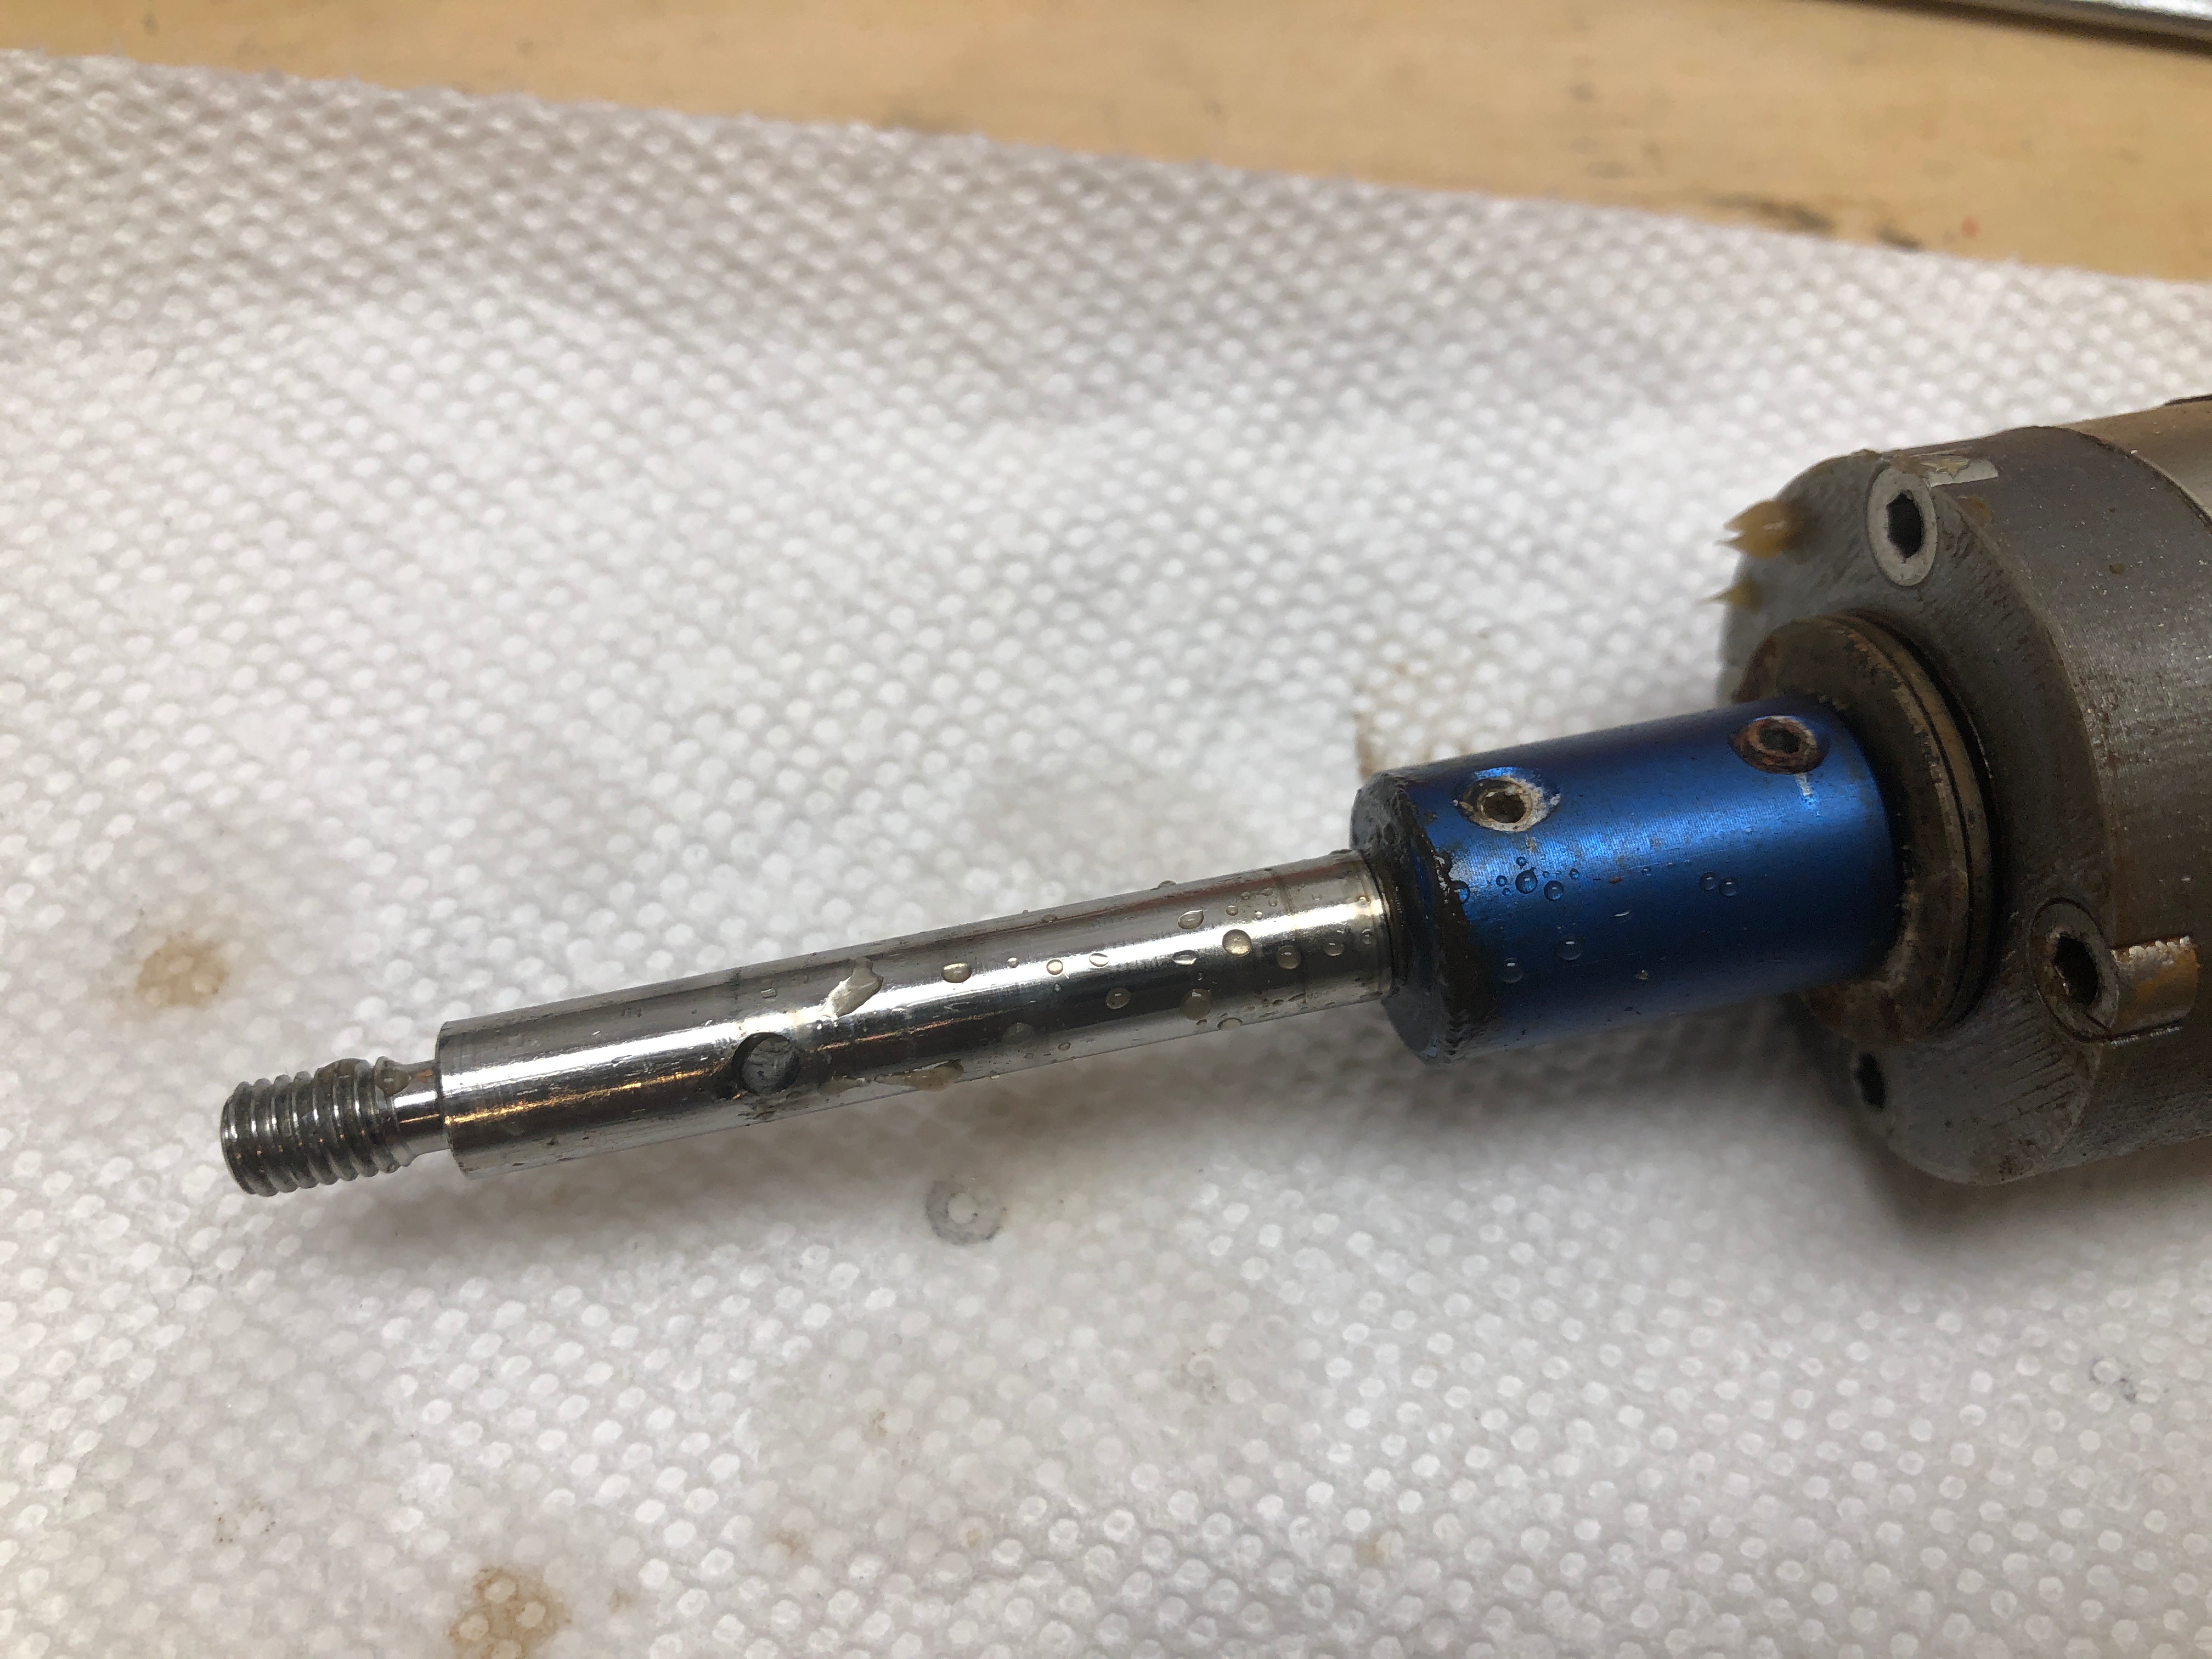
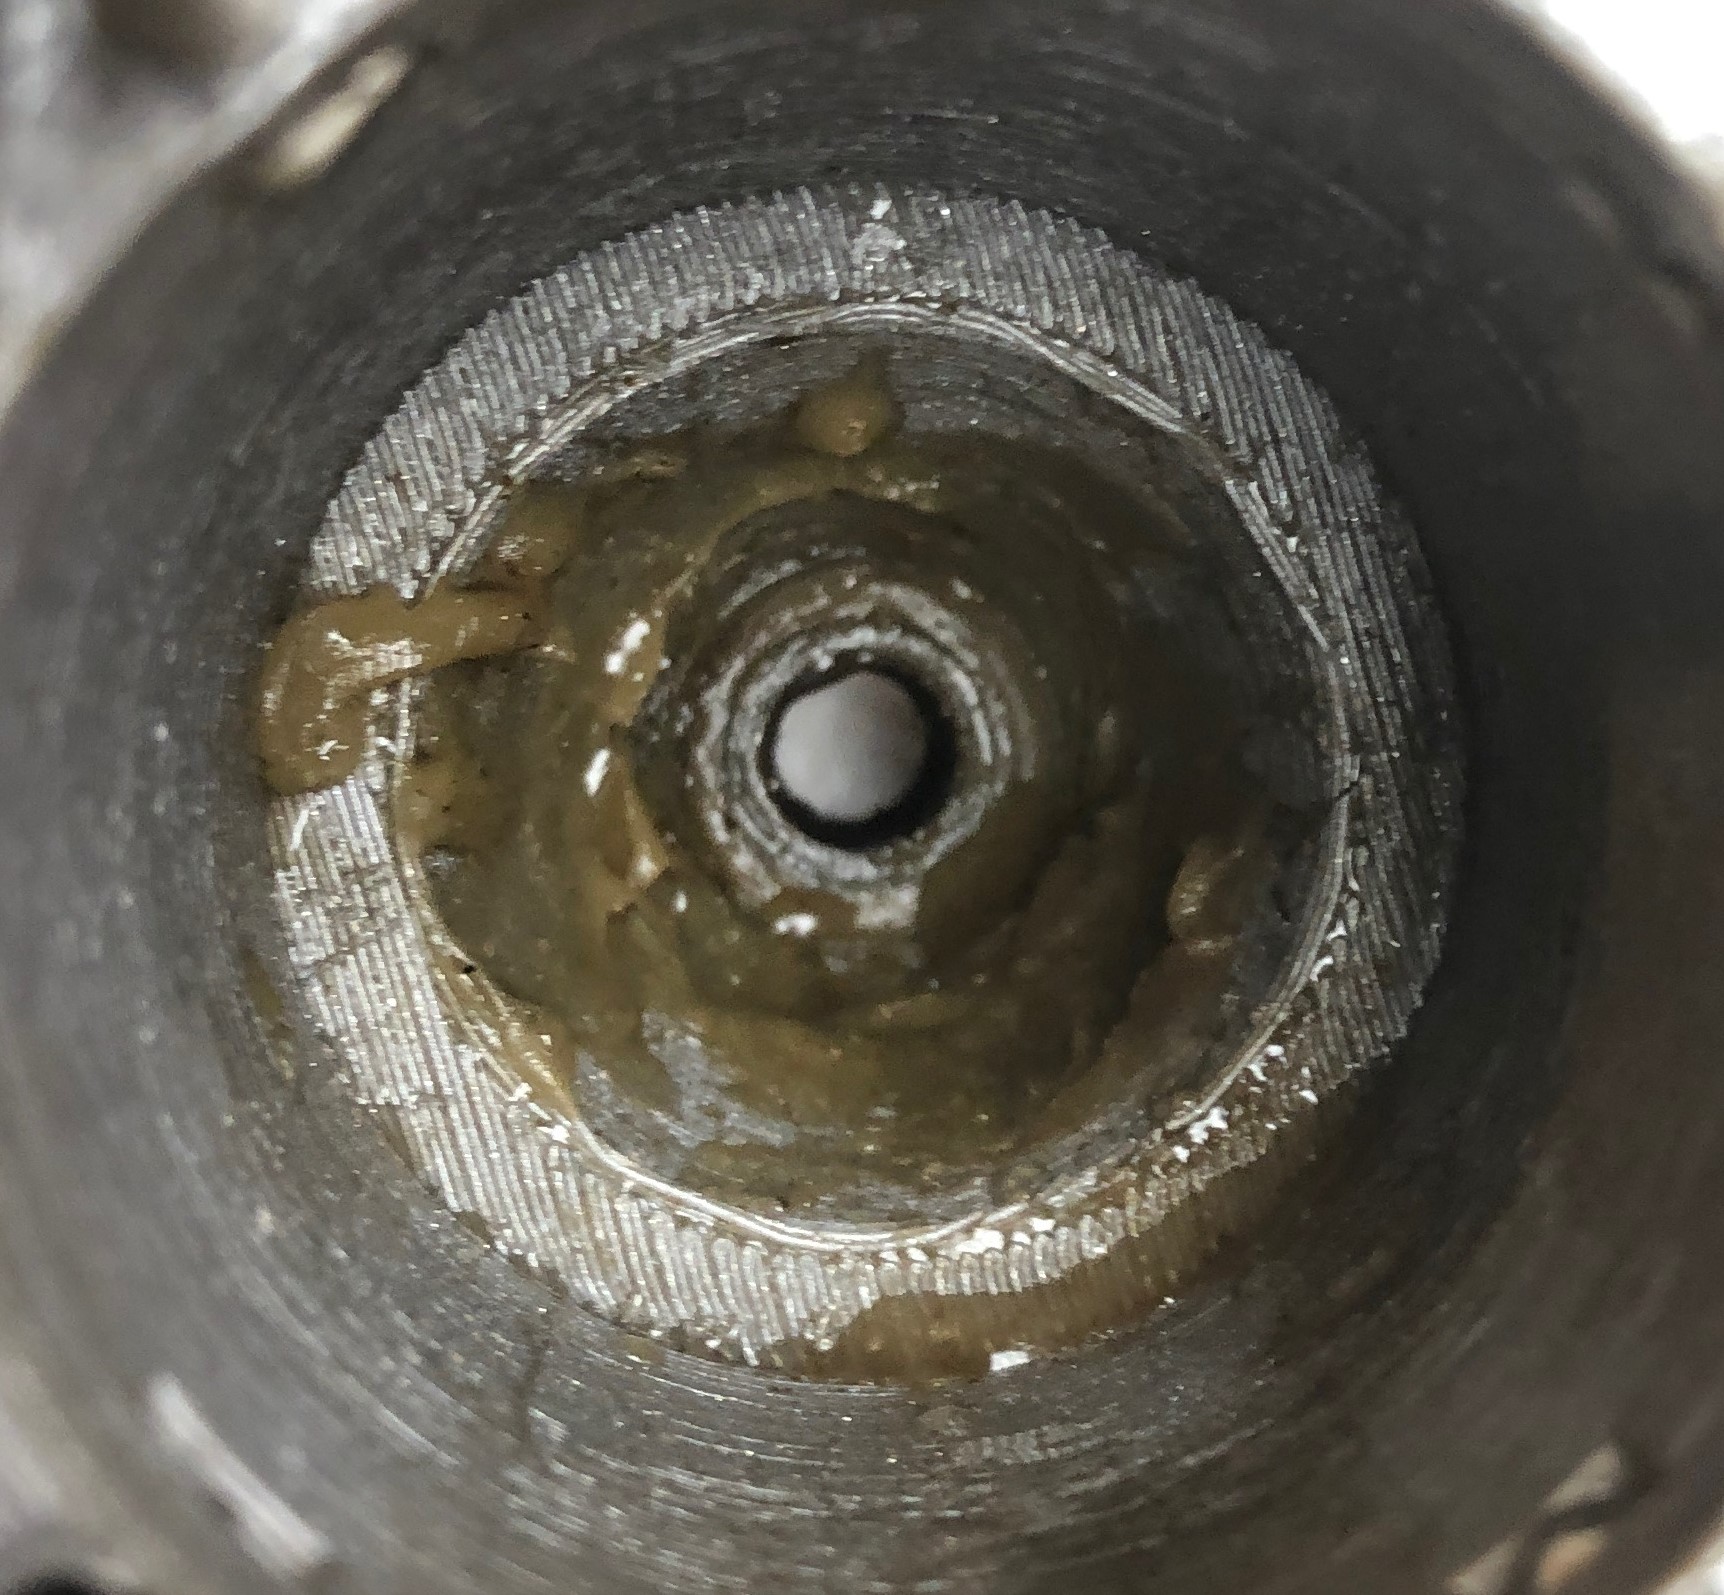
After about one hour of in-water testing my shaft seals have leaked. Maybe two tablespoons of salt water worked their way into the tube behind the motor. The motor still runs, at least for now (flushed with fresh water). I was using the standard two lip seals with grease in between format. Shaft wobble is negligible but not zero.
I wonder if heat is part of the problem? The gearbox generates a great deal of heat and since it is mostly inside the PLA-printed seal mount there is little opportunity for it to dissipate. I think this part needs to be made in aluminum with a tighter heat-displacing collar around the body of the Neugart gear. And clearly I need a better means of sealing my shaft.
Comments and suggestions always welcome!
i have two brown gaskets rated to two hundred degrees Celsius
my shaft is not really straight and there is a small elephant and still everything is sealed (11 hours engine)
the gearbox really makes a lot of heat
the seals should be placed at the correct pressure and inside the printed part (hole = 20 mm, seals = 20.15 mm)
and the printouts never come out quite accurately
the back of the unit i would recommend making a lathe or ordering from a company that has hard-working printers (SLS)
1 Like