Since I saw it, I wanted to do it, and yesterday I was really sorry that I had not yet built Engine mount.
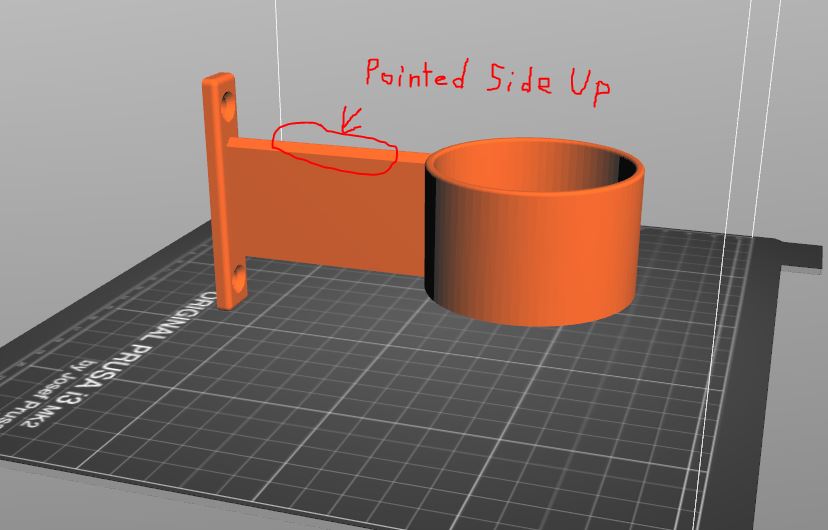
Ouch! Sorry @1113 Here is a link to the engine mount I made if that helps you. it should be printed with the flat side of the circle facing the build plate. Pointed side faces forward when mounted for streamlining.
1 Like
Thanks @Jezza @Alexandre. All good tips. My fuselage is parallel to my board. I hope to test again today.
I went for my third test ride today and there was a noticeable lack of speed/power on the water. When I ran the motor at full speed out of the water it sounded the same and the wind coming off the prop seemed similar to previous tests. Could it be that one of the three shaft connections is slipping when the prop is under load (i.e. in the water)? And can I test for this by blocking the prop and seeing if the motor still spins? Or will that create too many amps and melt stuff? Or is there another possible cause for the lack of speed? I’m guessing today it was half what it was during on-water tests the previous two days. Batteries were charged to the same level for all three tests.
Blocking the prop may rotate your motor inside the housing. There is a good chance that something is slipping somewhere, I would open the pod and take a look inside.
1 Like
This free strobe tachometer for the iPhone is worth checking out. I recorded 4,325 rpm at my prop at full speed.
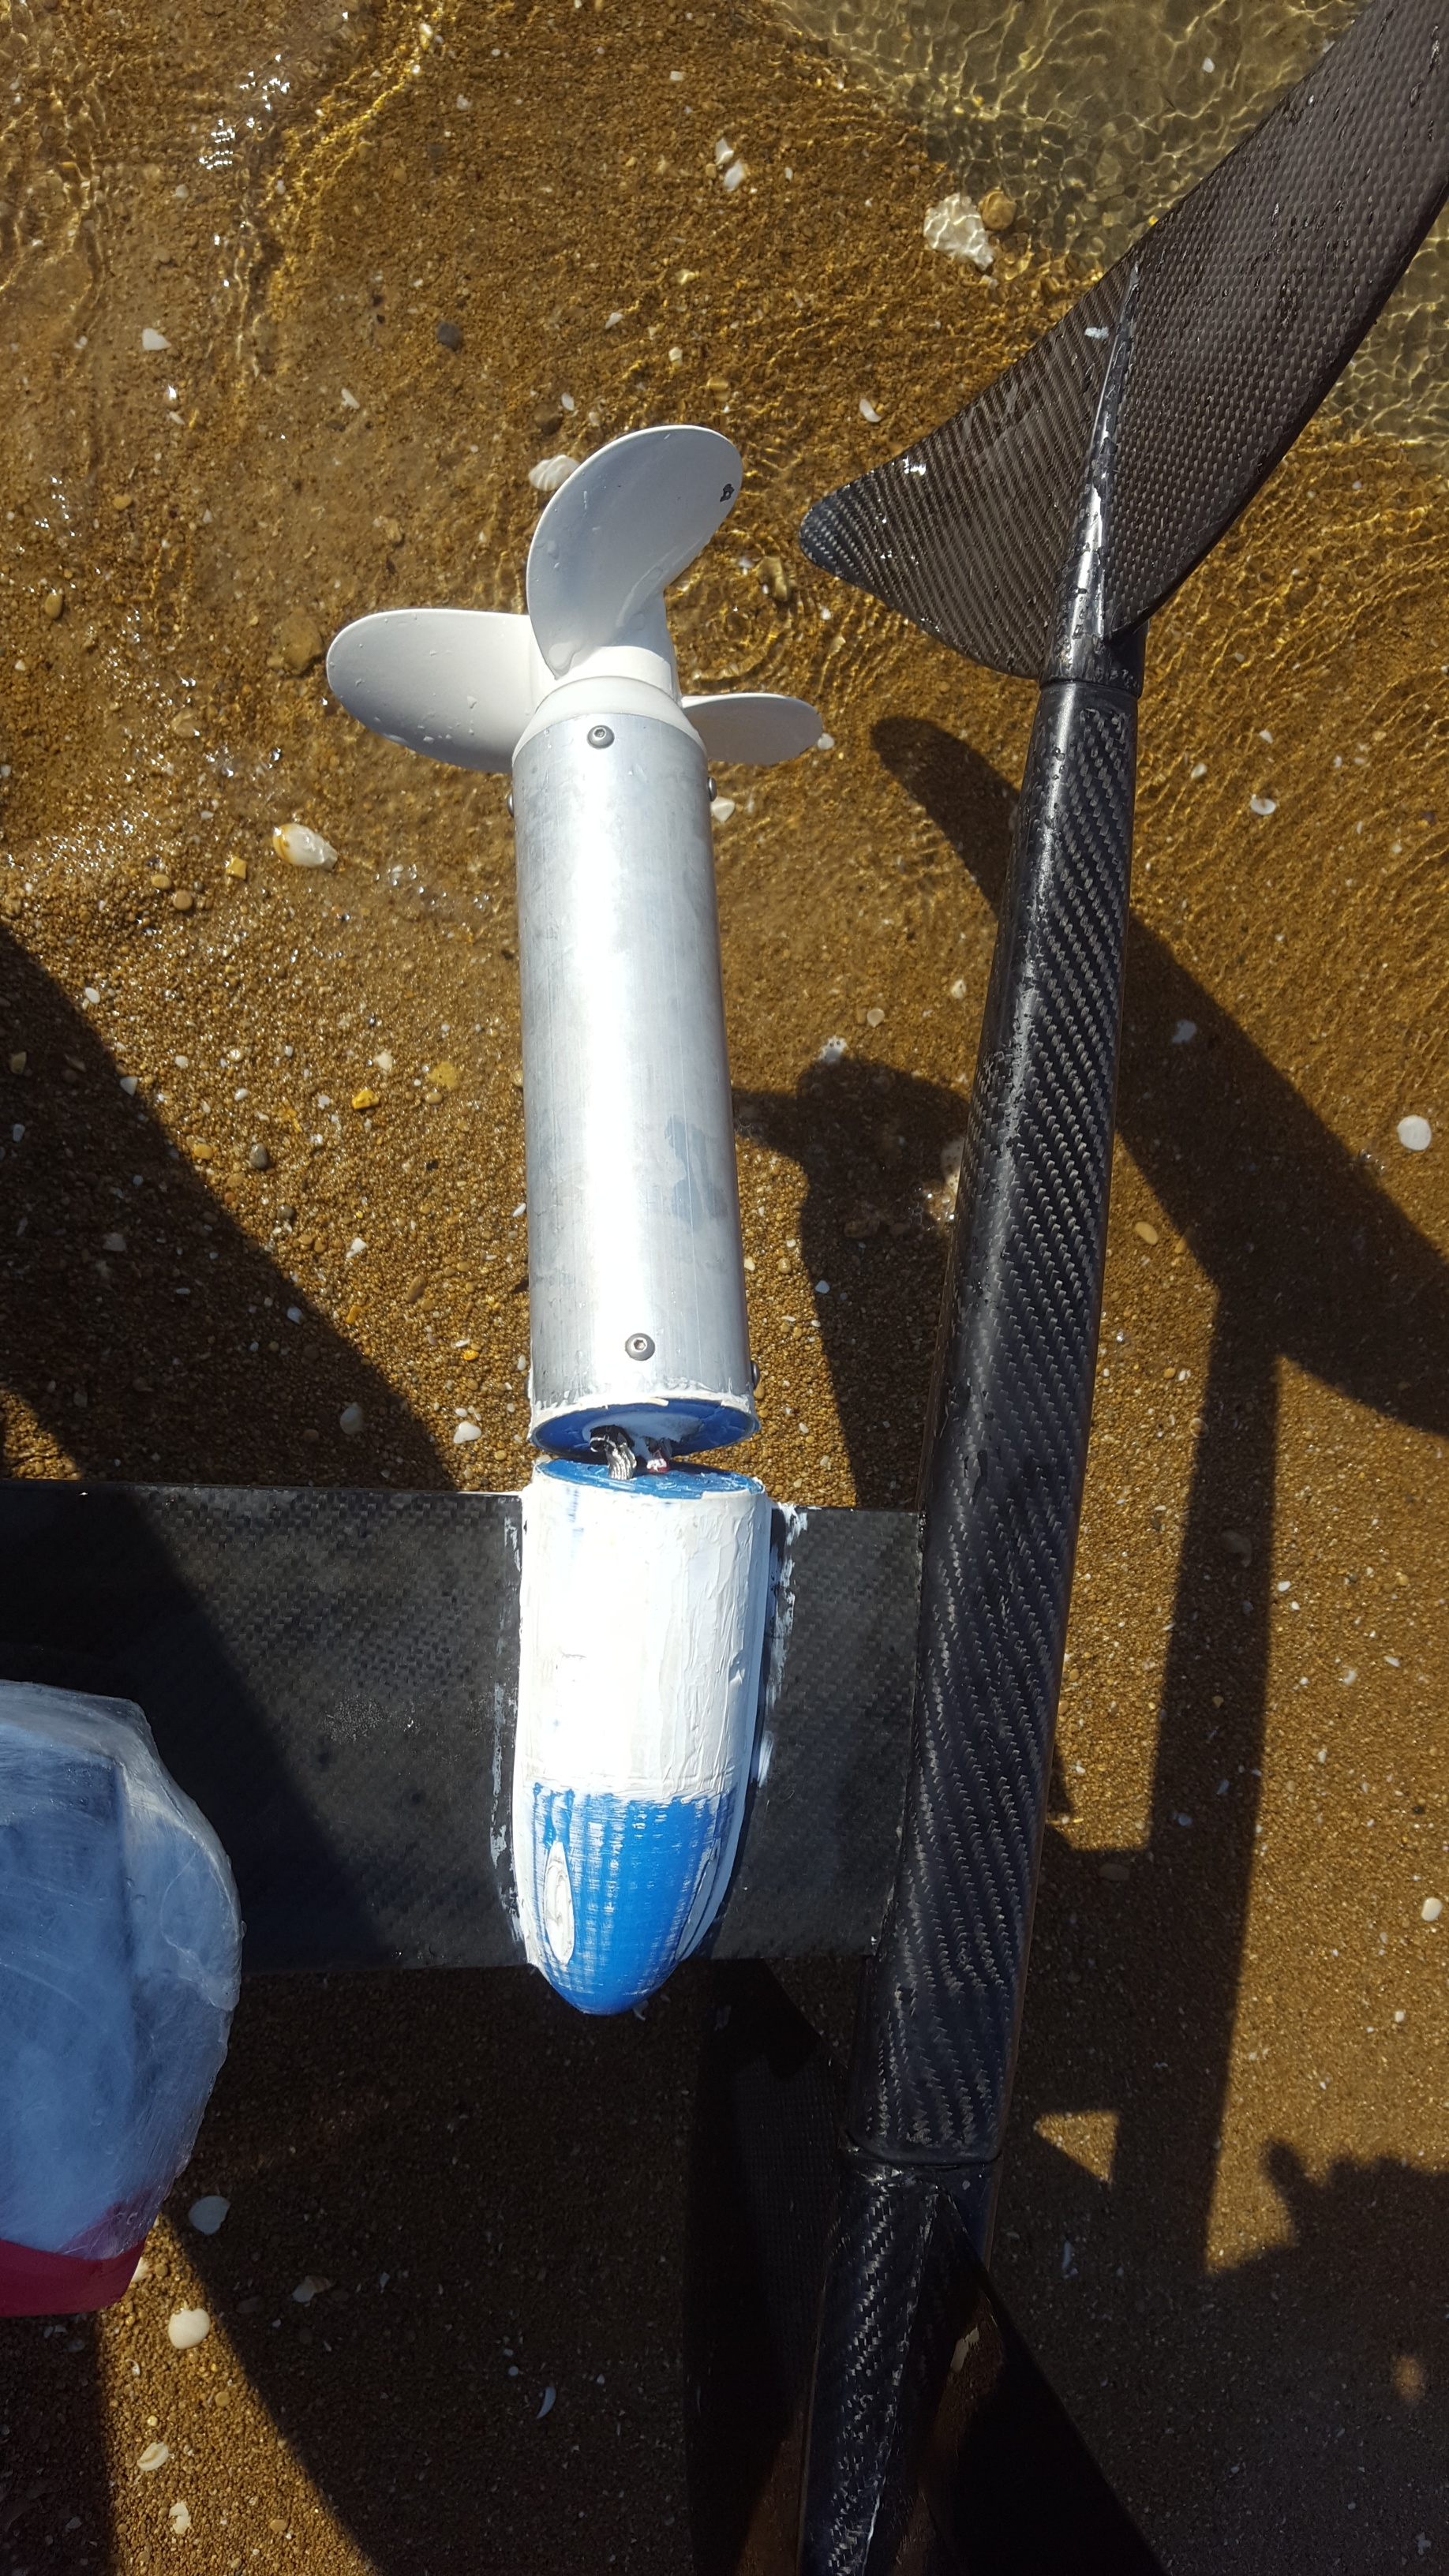
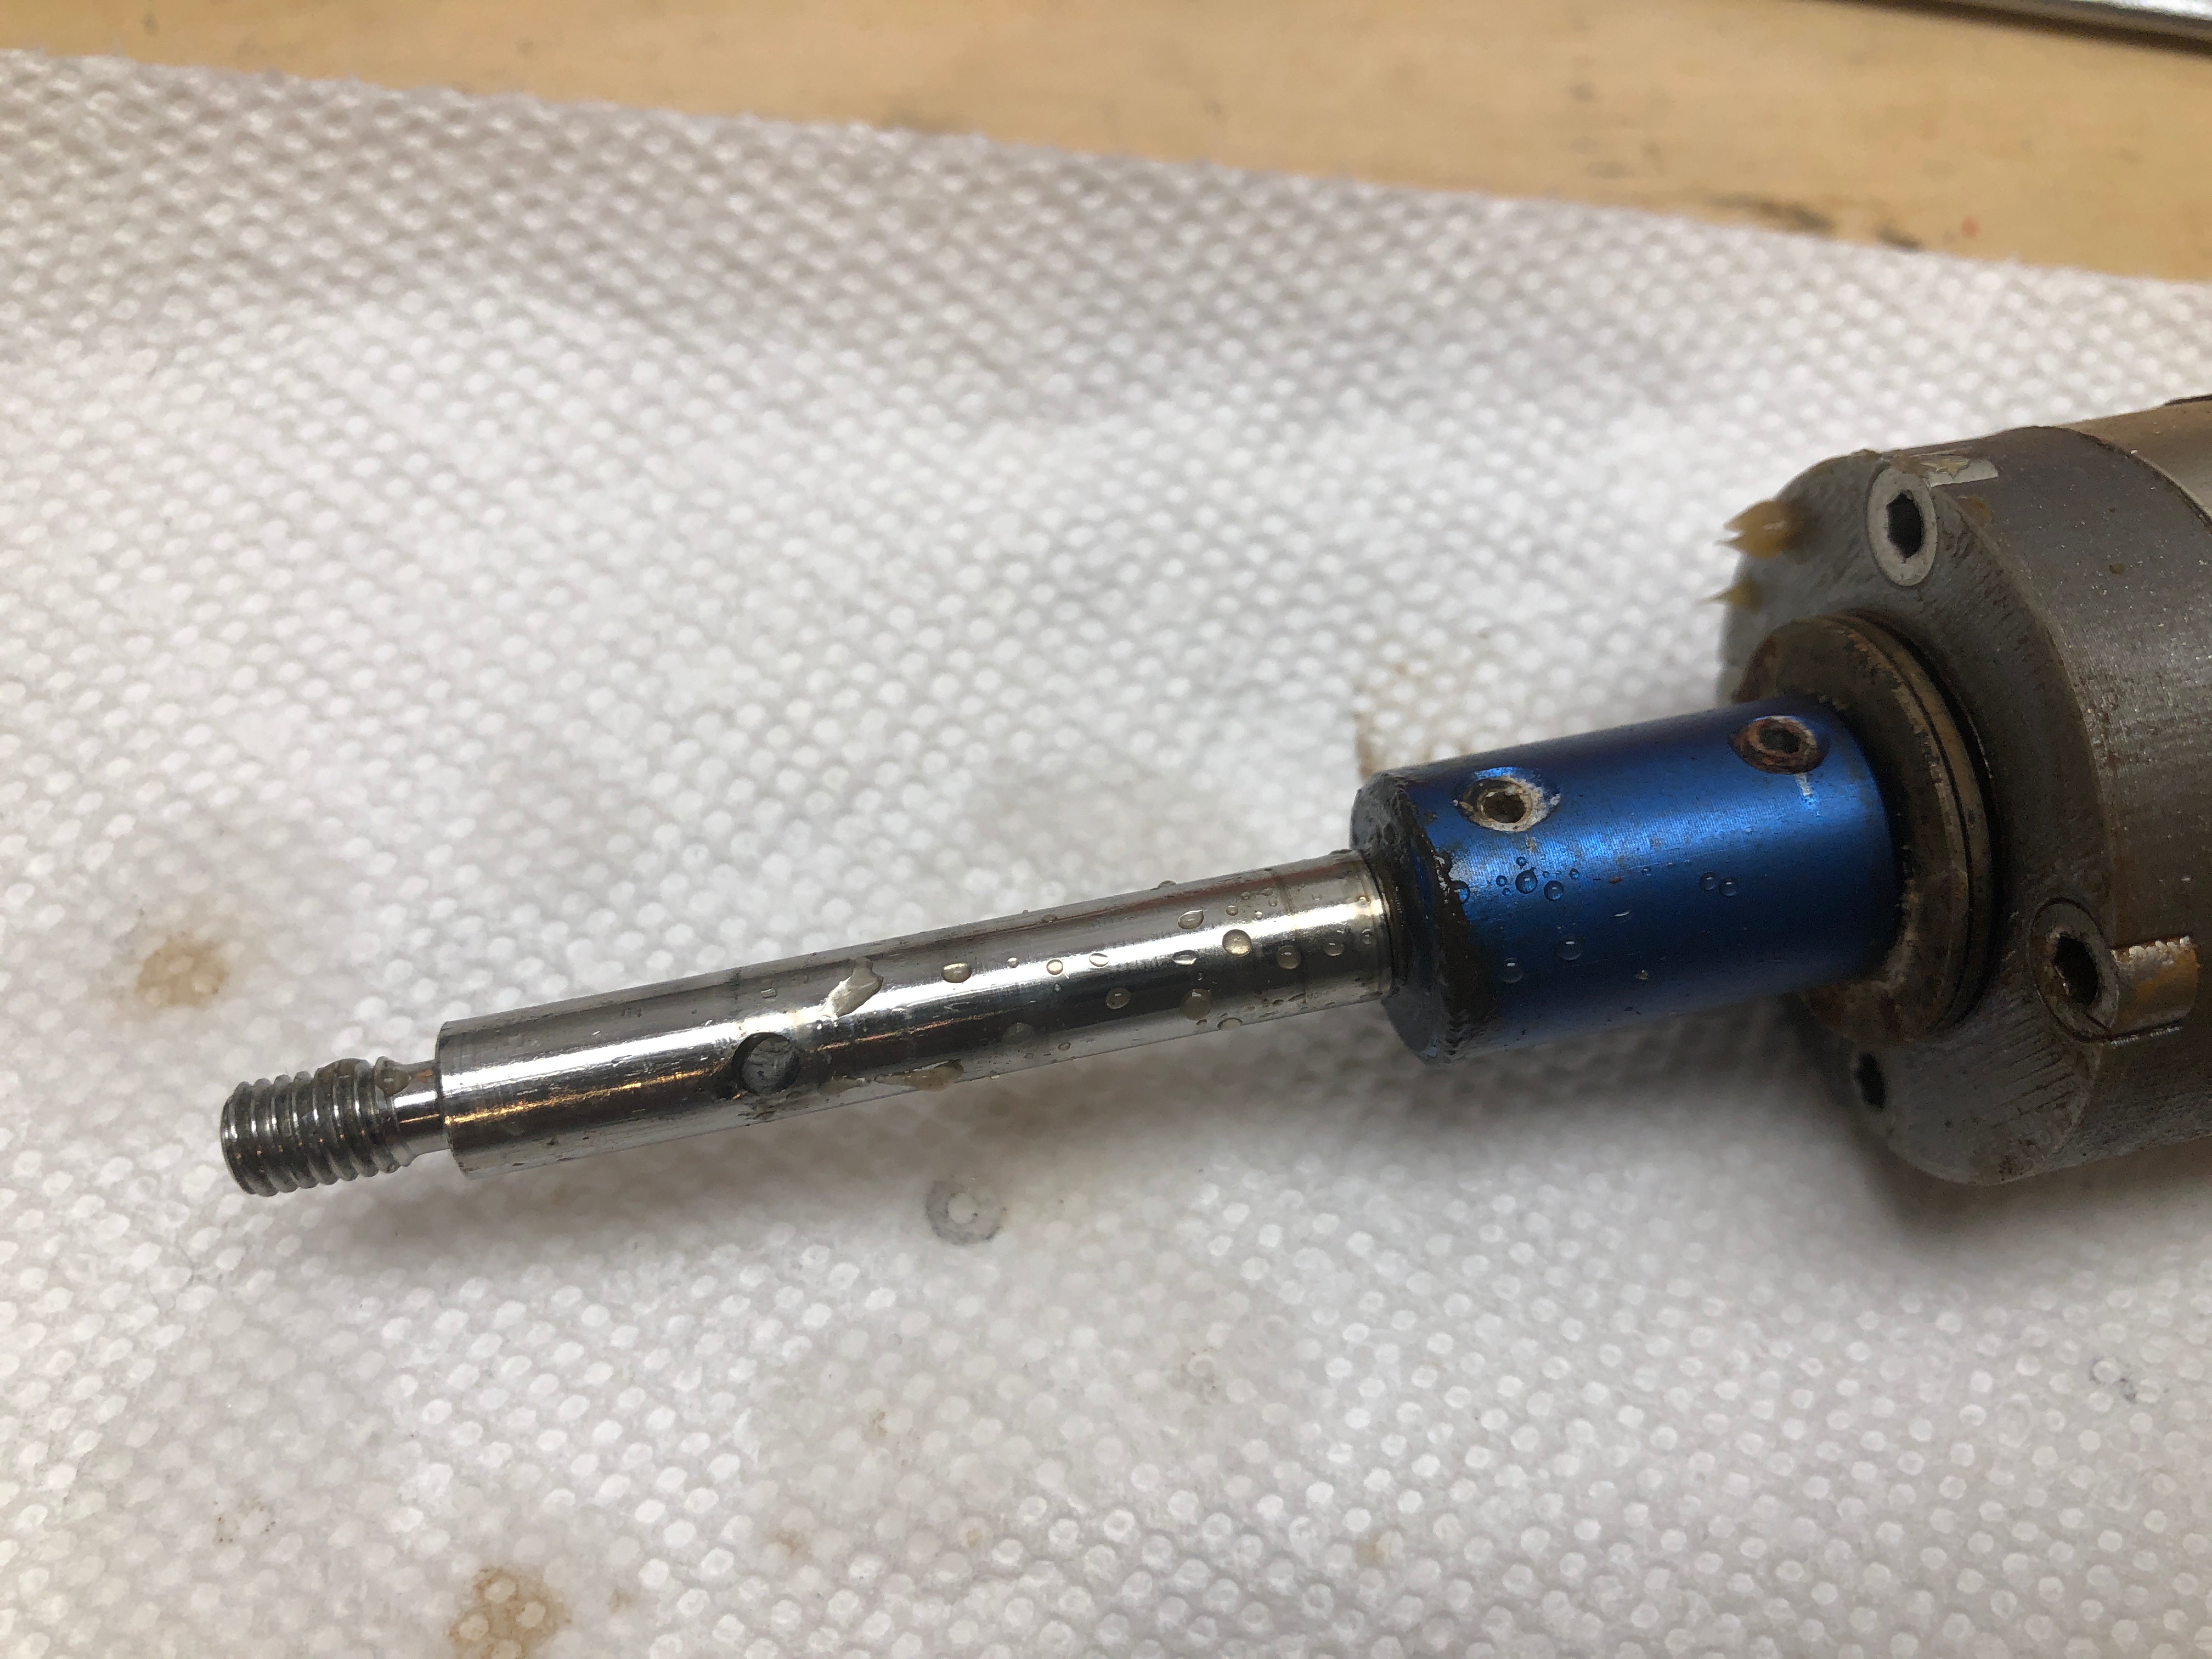
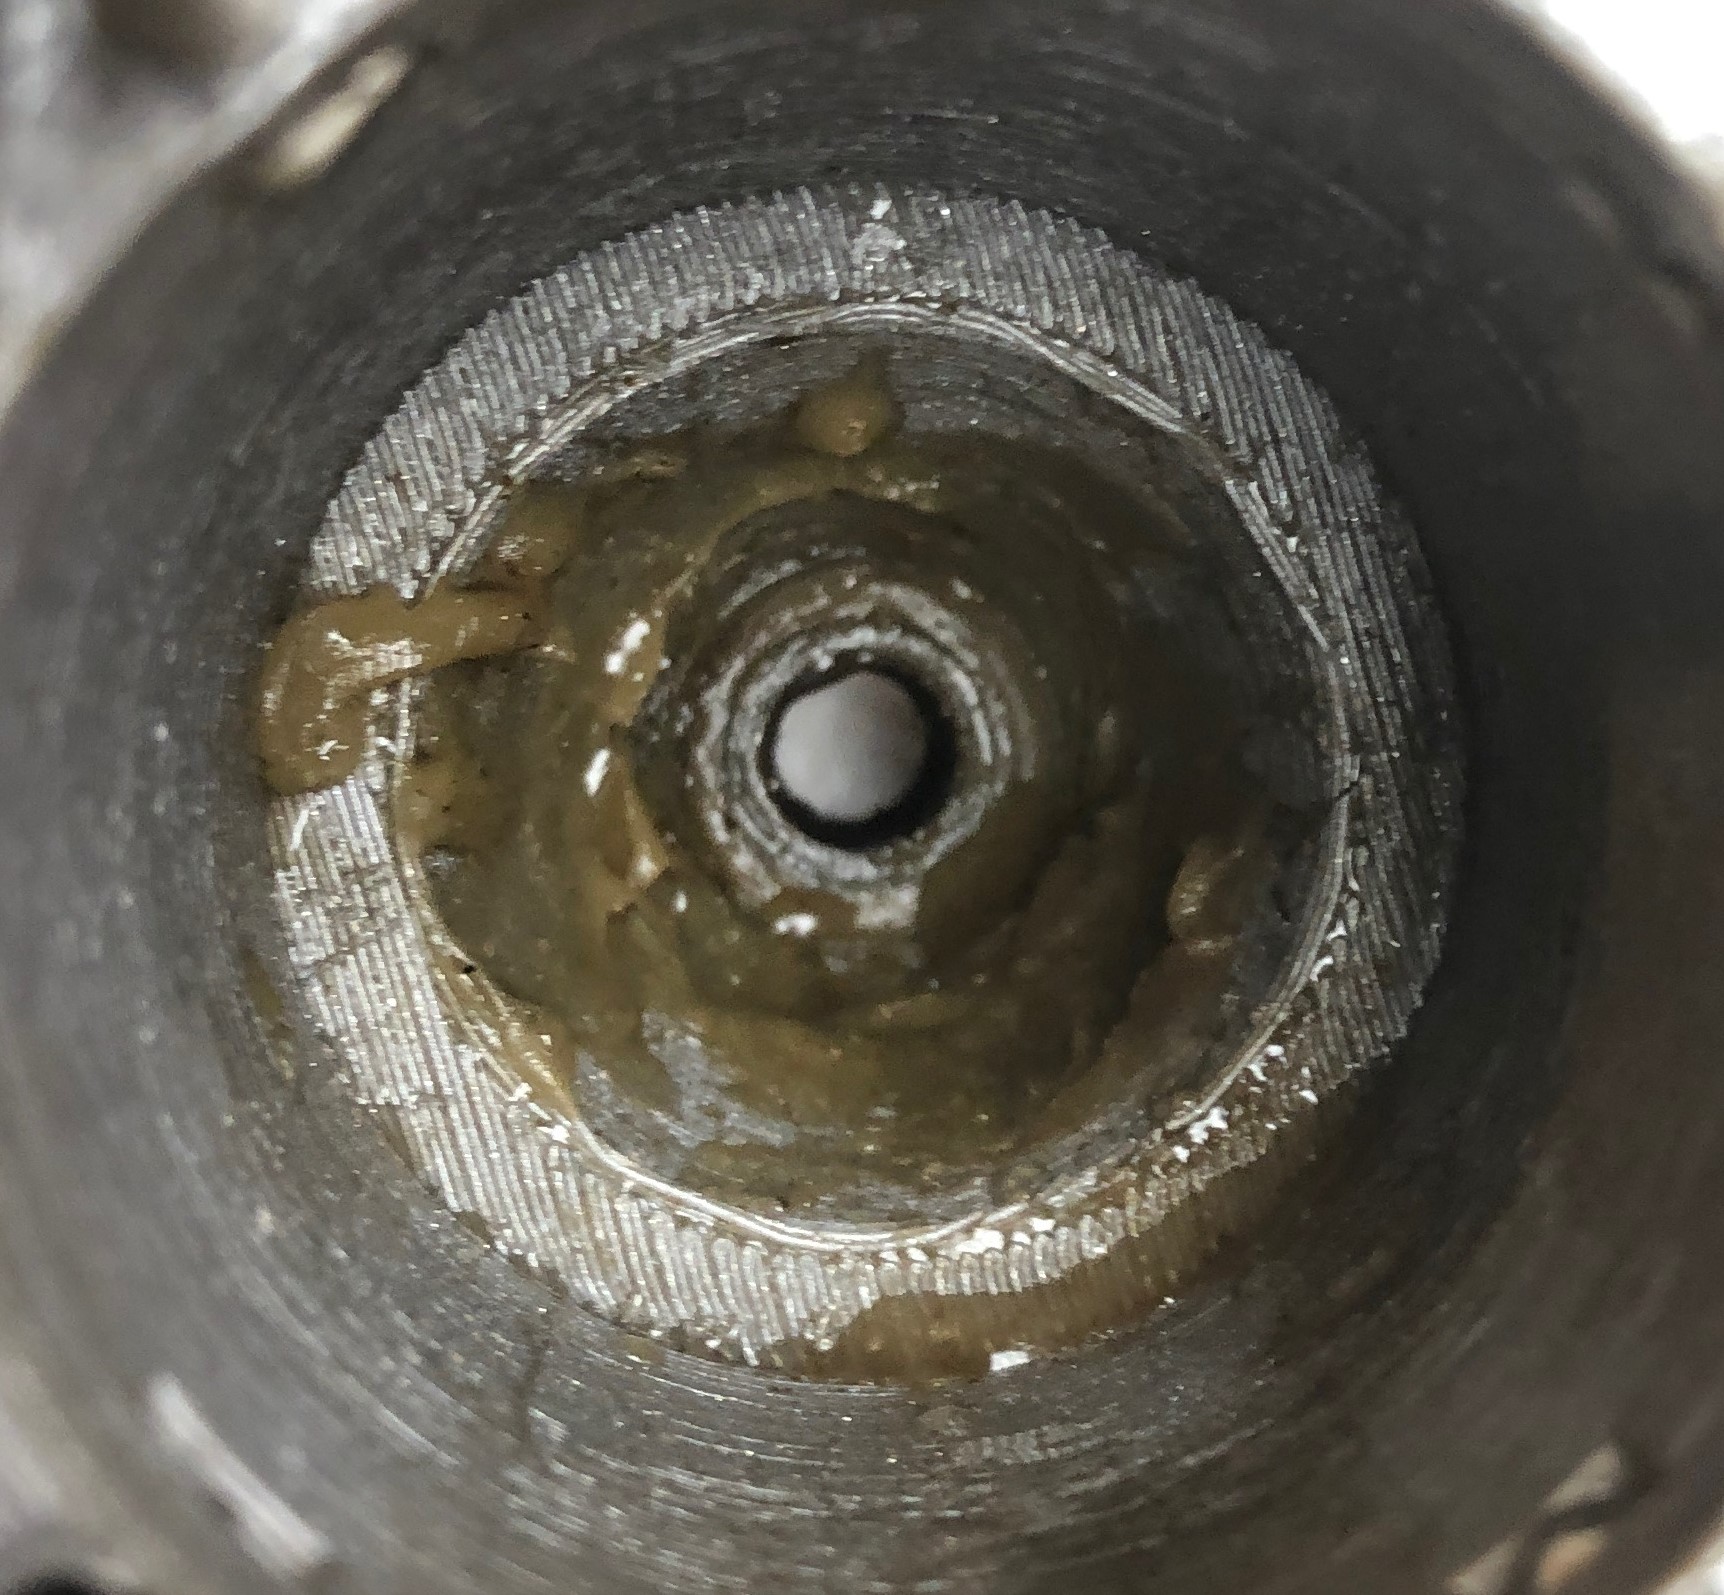
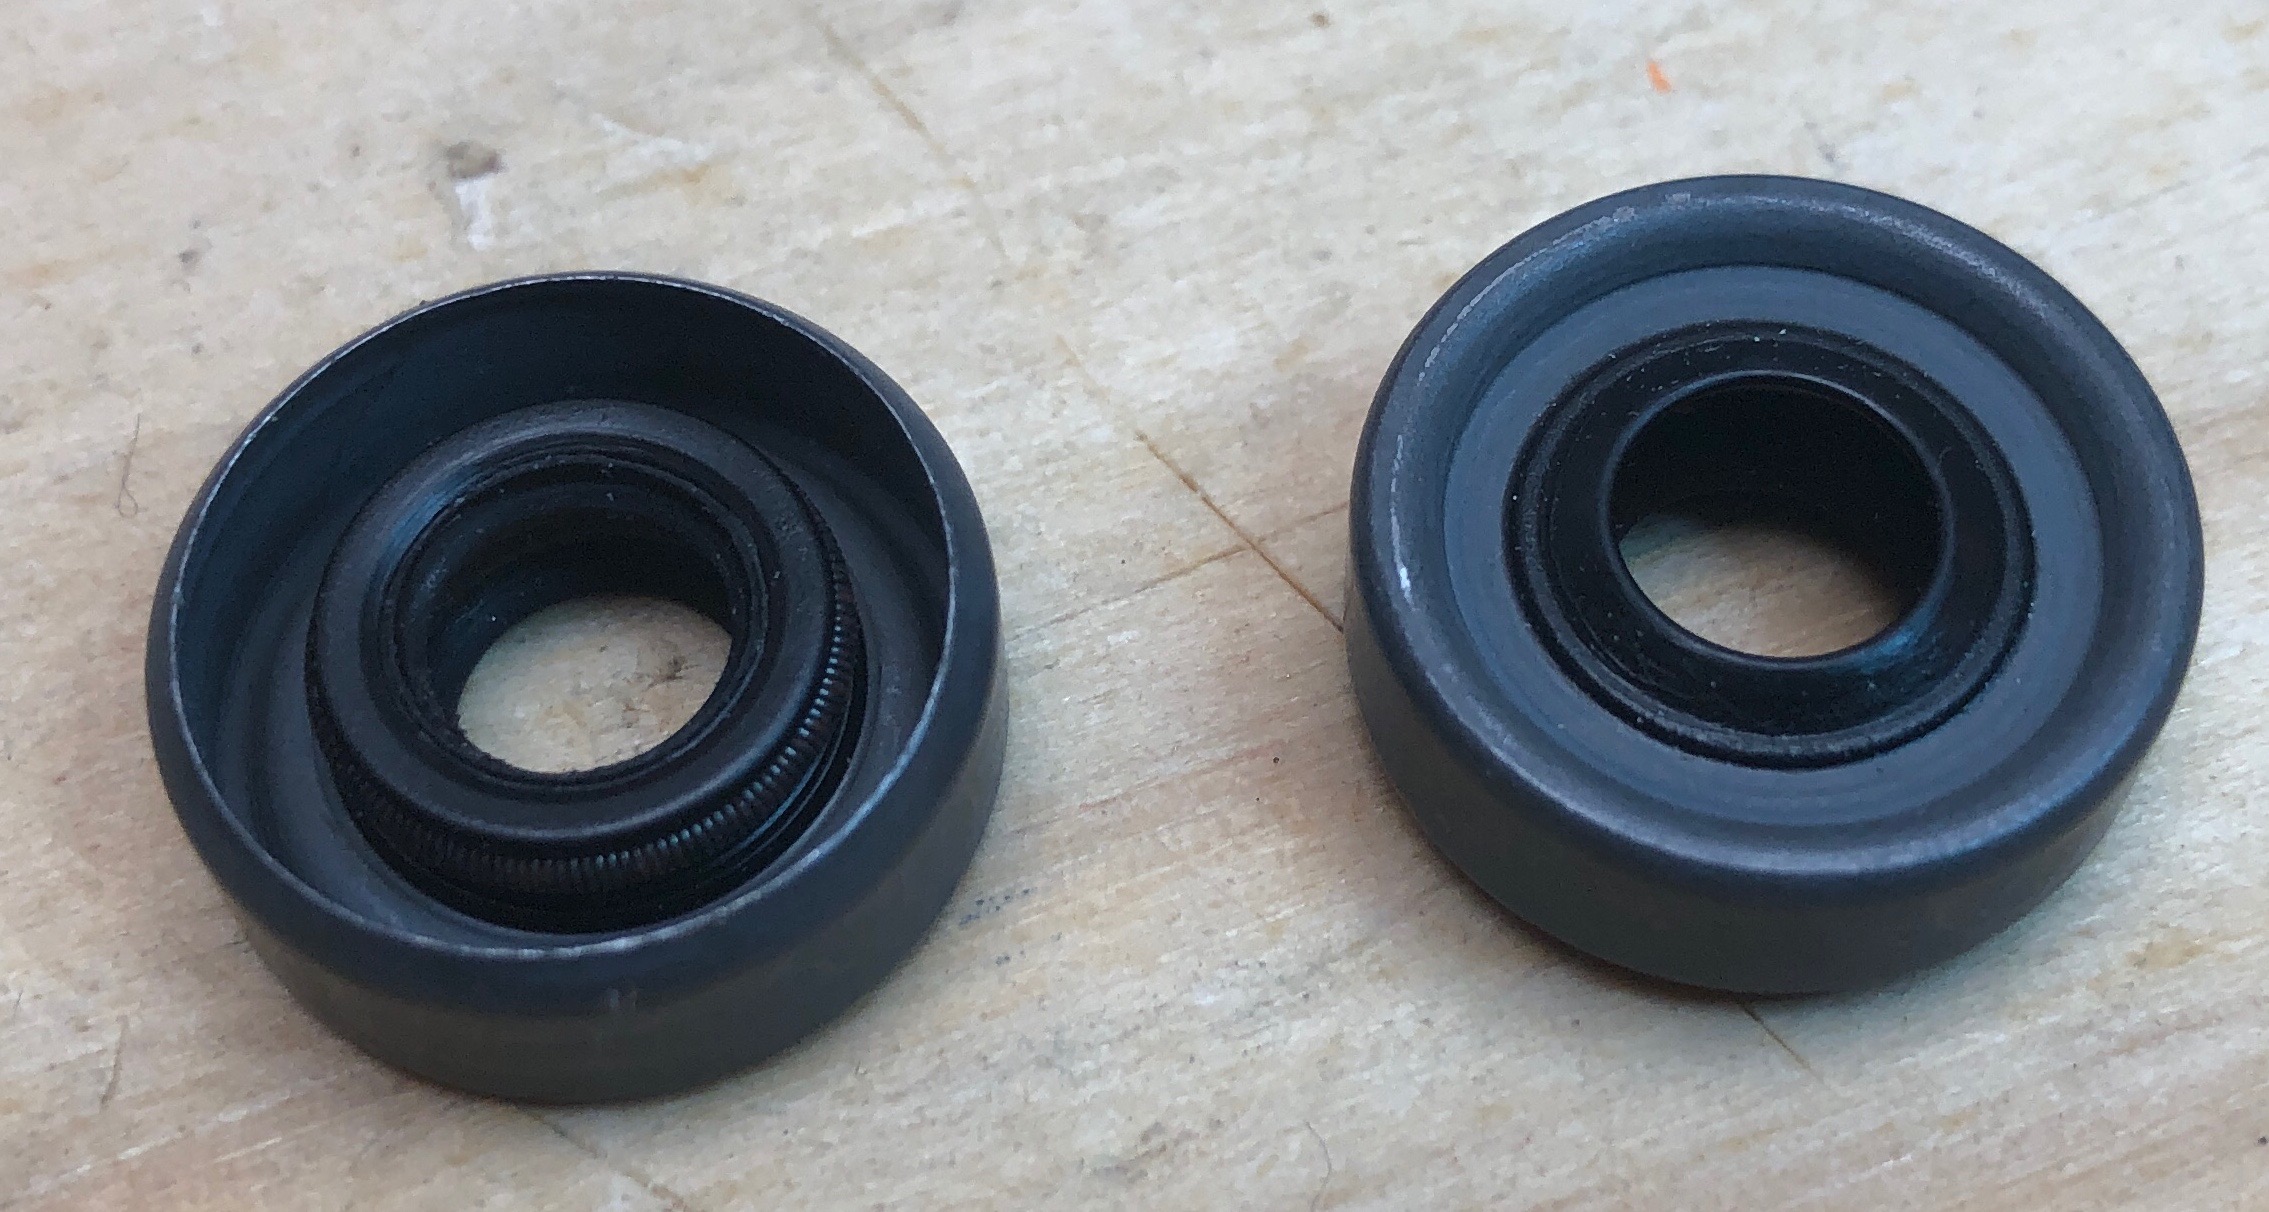
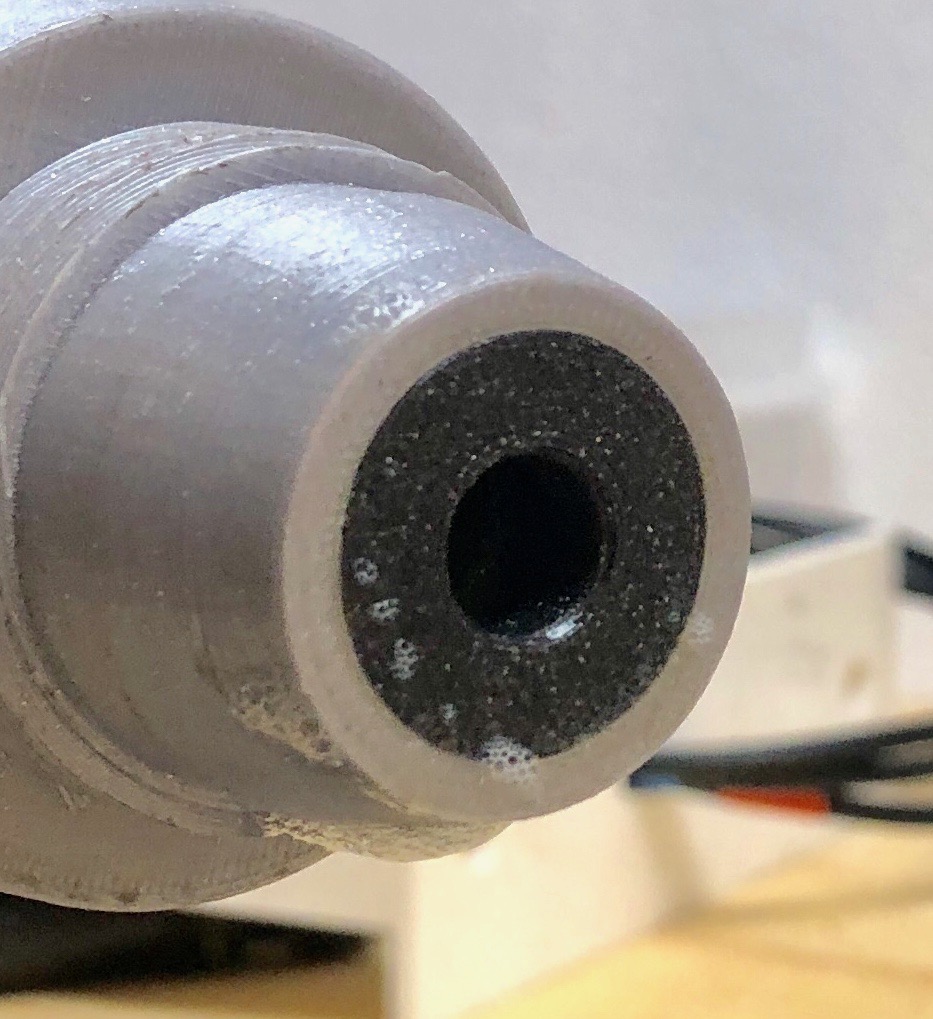
After about one hour of in-water testing my shaft seals have leaked. Maybe two tablespoons of salt water worked their way into the tube behind the motor. The motor still runs, at least for now (flushed with fresh water). I was using the standard two lip seals with grease in between format. Shaft wobble is negligible but not zero.
I wonder if heat is part of the problem? The gearbox generates a great deal of heat and since it is mostly inside the PLA-printed seal mount there is little opportunity for it to dissipate. I think this part needs to be made in aluminum with a tighter heat-displacing collar around the body of the Neugart gear. And clearly I need a better means of sealing my shaft.
Comments and suggestions always welcome!
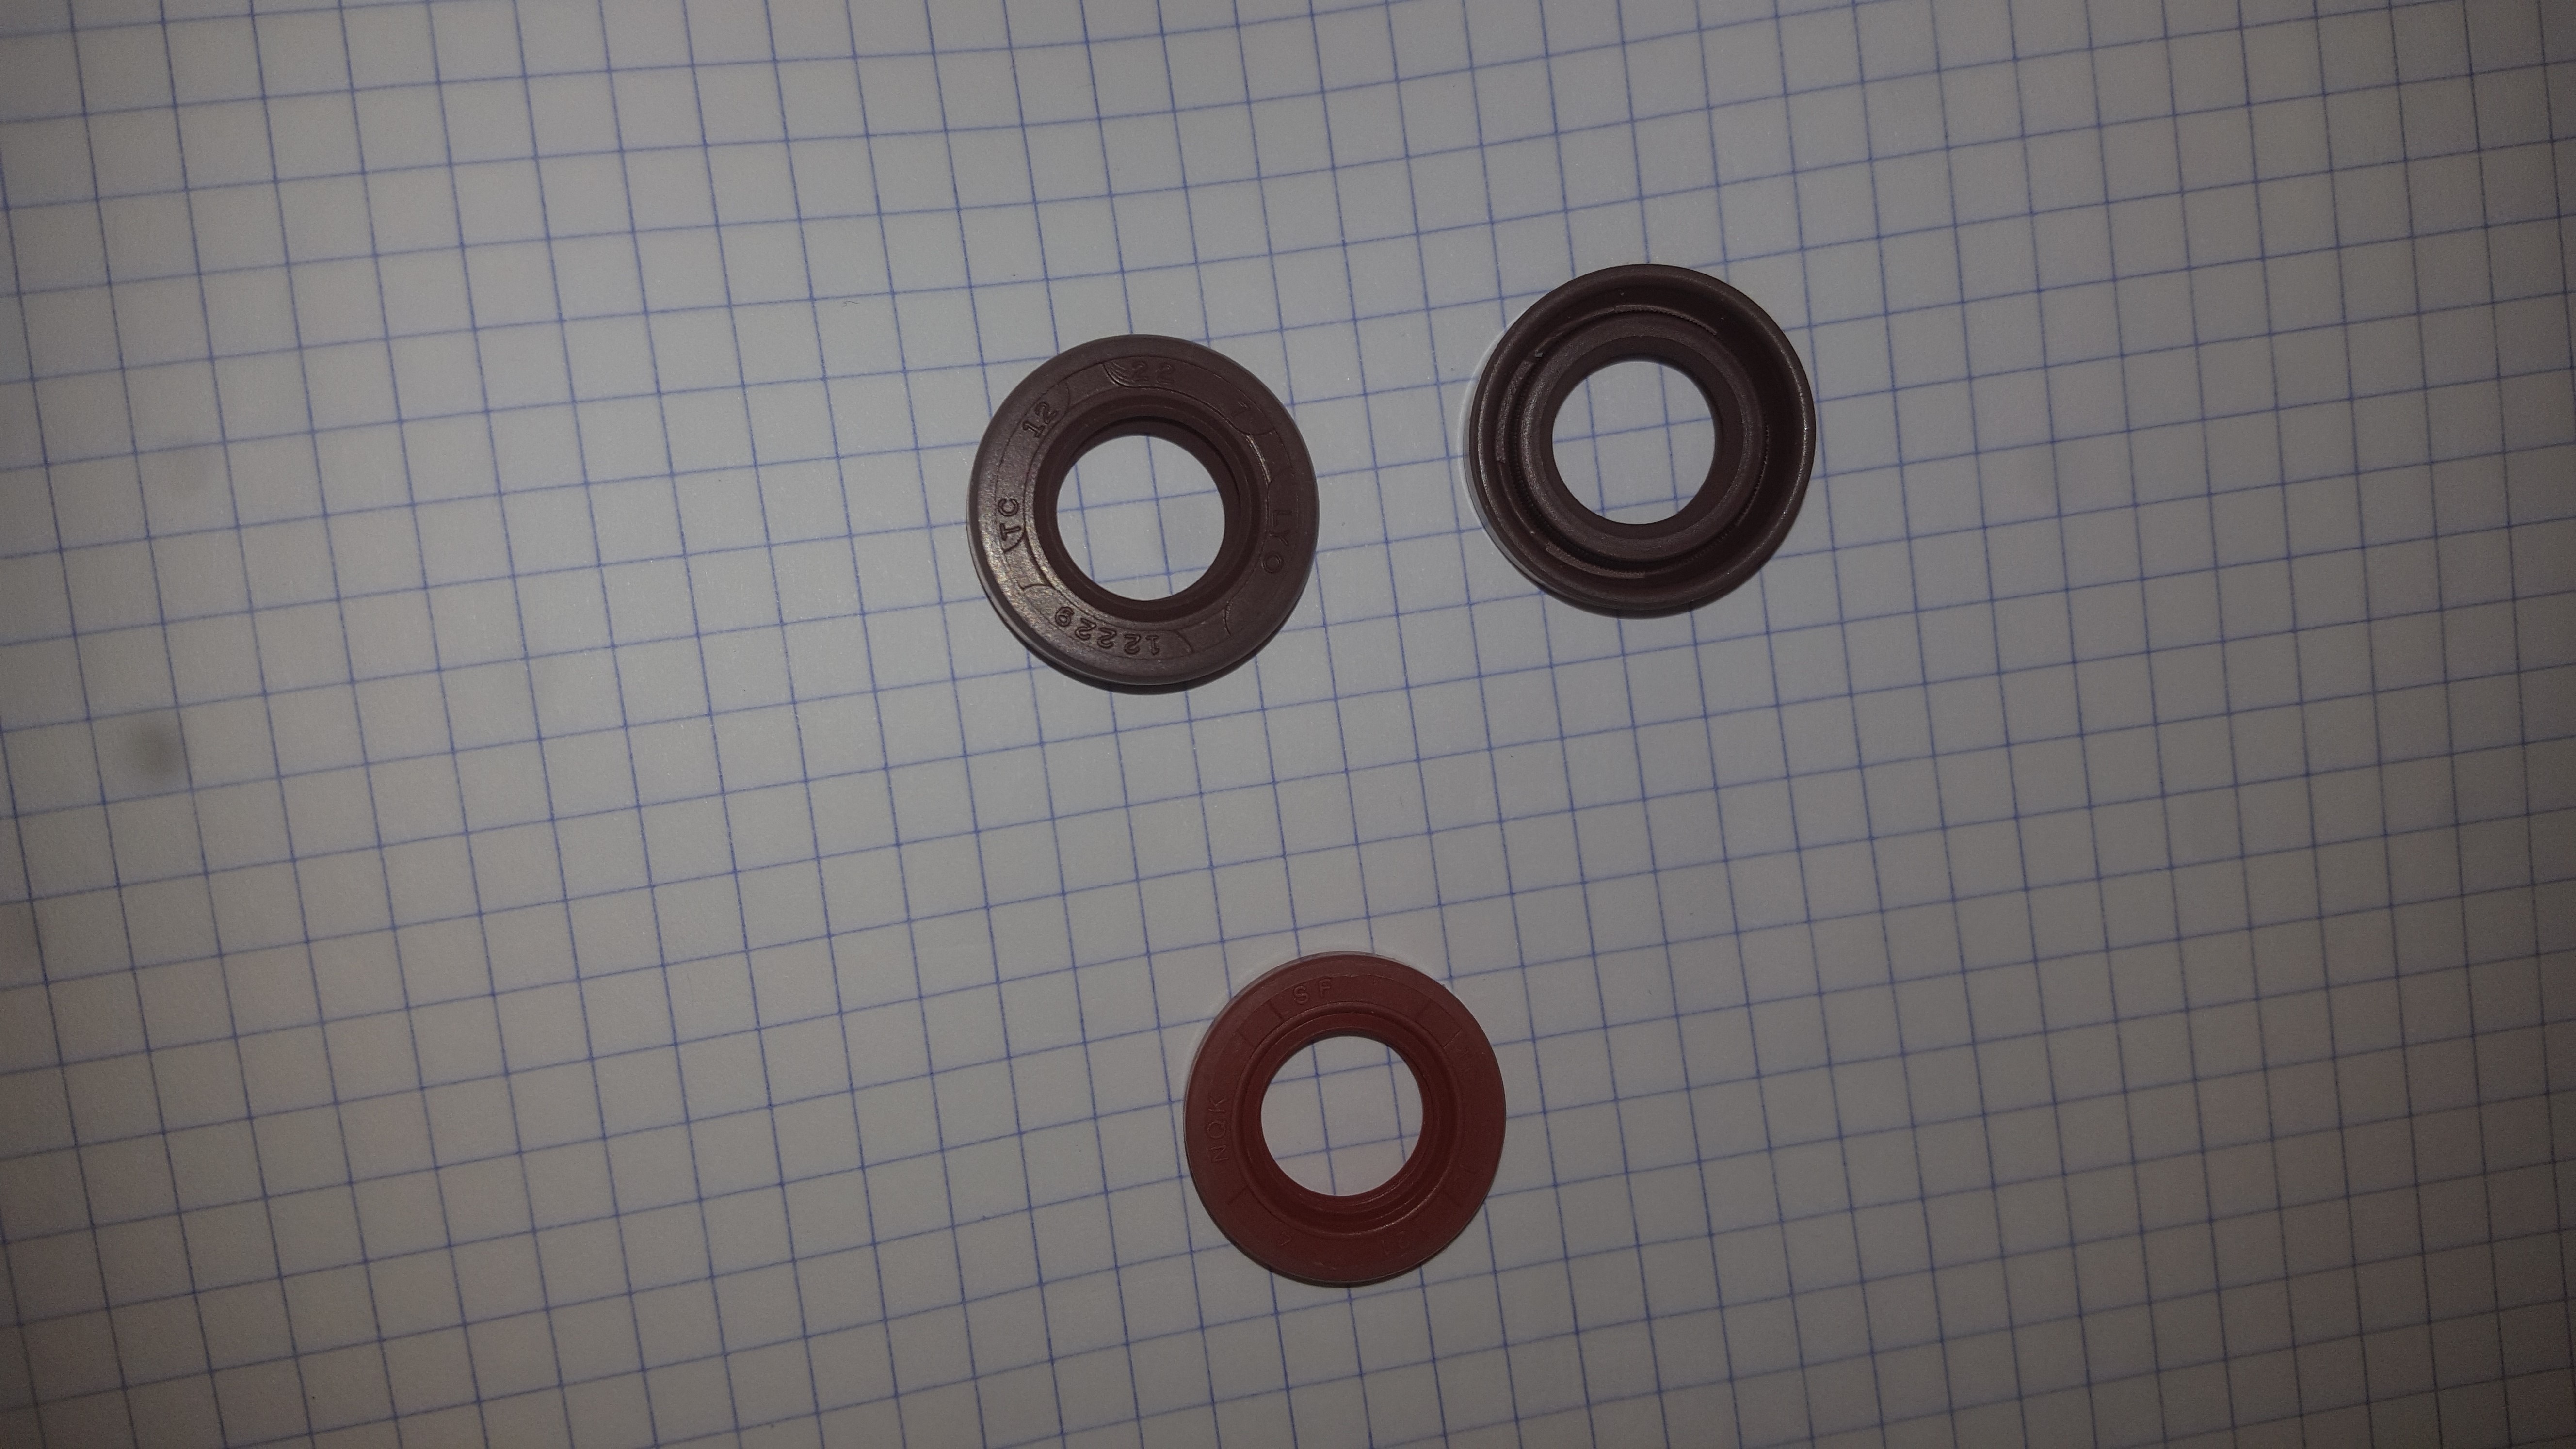
i have two brown gaskets rated to two hundred degrees Celsius
my shaft is not really straight and there is a small elephant and still everything is sealed (11 hours engine)
the gearbox really makes a lot of heat
the seals should be placed at the correct pressure and inside the printed part (hole = 20 mm, seals = 20.15 mm)
and the printouts never come out quite accurately
the back of the unit i would recommend making a lathe or ordering from a company that has hard-working printers (SLS)
1 Like
Are you sure it is not coming through the front mast clamp? Have you coated the PLA in some epoxy?
1 Like
PLA not suitable for your weather
If you leave it in the sun for half an hour the print changes shape/melts because of the heat
1 Like
the PLA has a softening point at 50/60° … perso I printed everything in PETG … point of rumbling 85/95° … of memory …
can be the internal heat of the tube happens to deform the PLA and more particularly the throat or the seal SPI comes to lodge … I would make you a return of the setting in water …
1 Like
I see no evidence of leaks into the tube from the mast clamp but I suppose it is possible that when the motor heats up the air expands inside the tube – as Manu says – and things leak that are not apparent after they have cooled back down. I have not coated any of my PLA parts.
Has anyone modified the SealMount STL so that it can be CNC’d?
I ran tests on PLA underwater with 100% infill. They all leaked! I bet that’s where its coming in.
1 Like
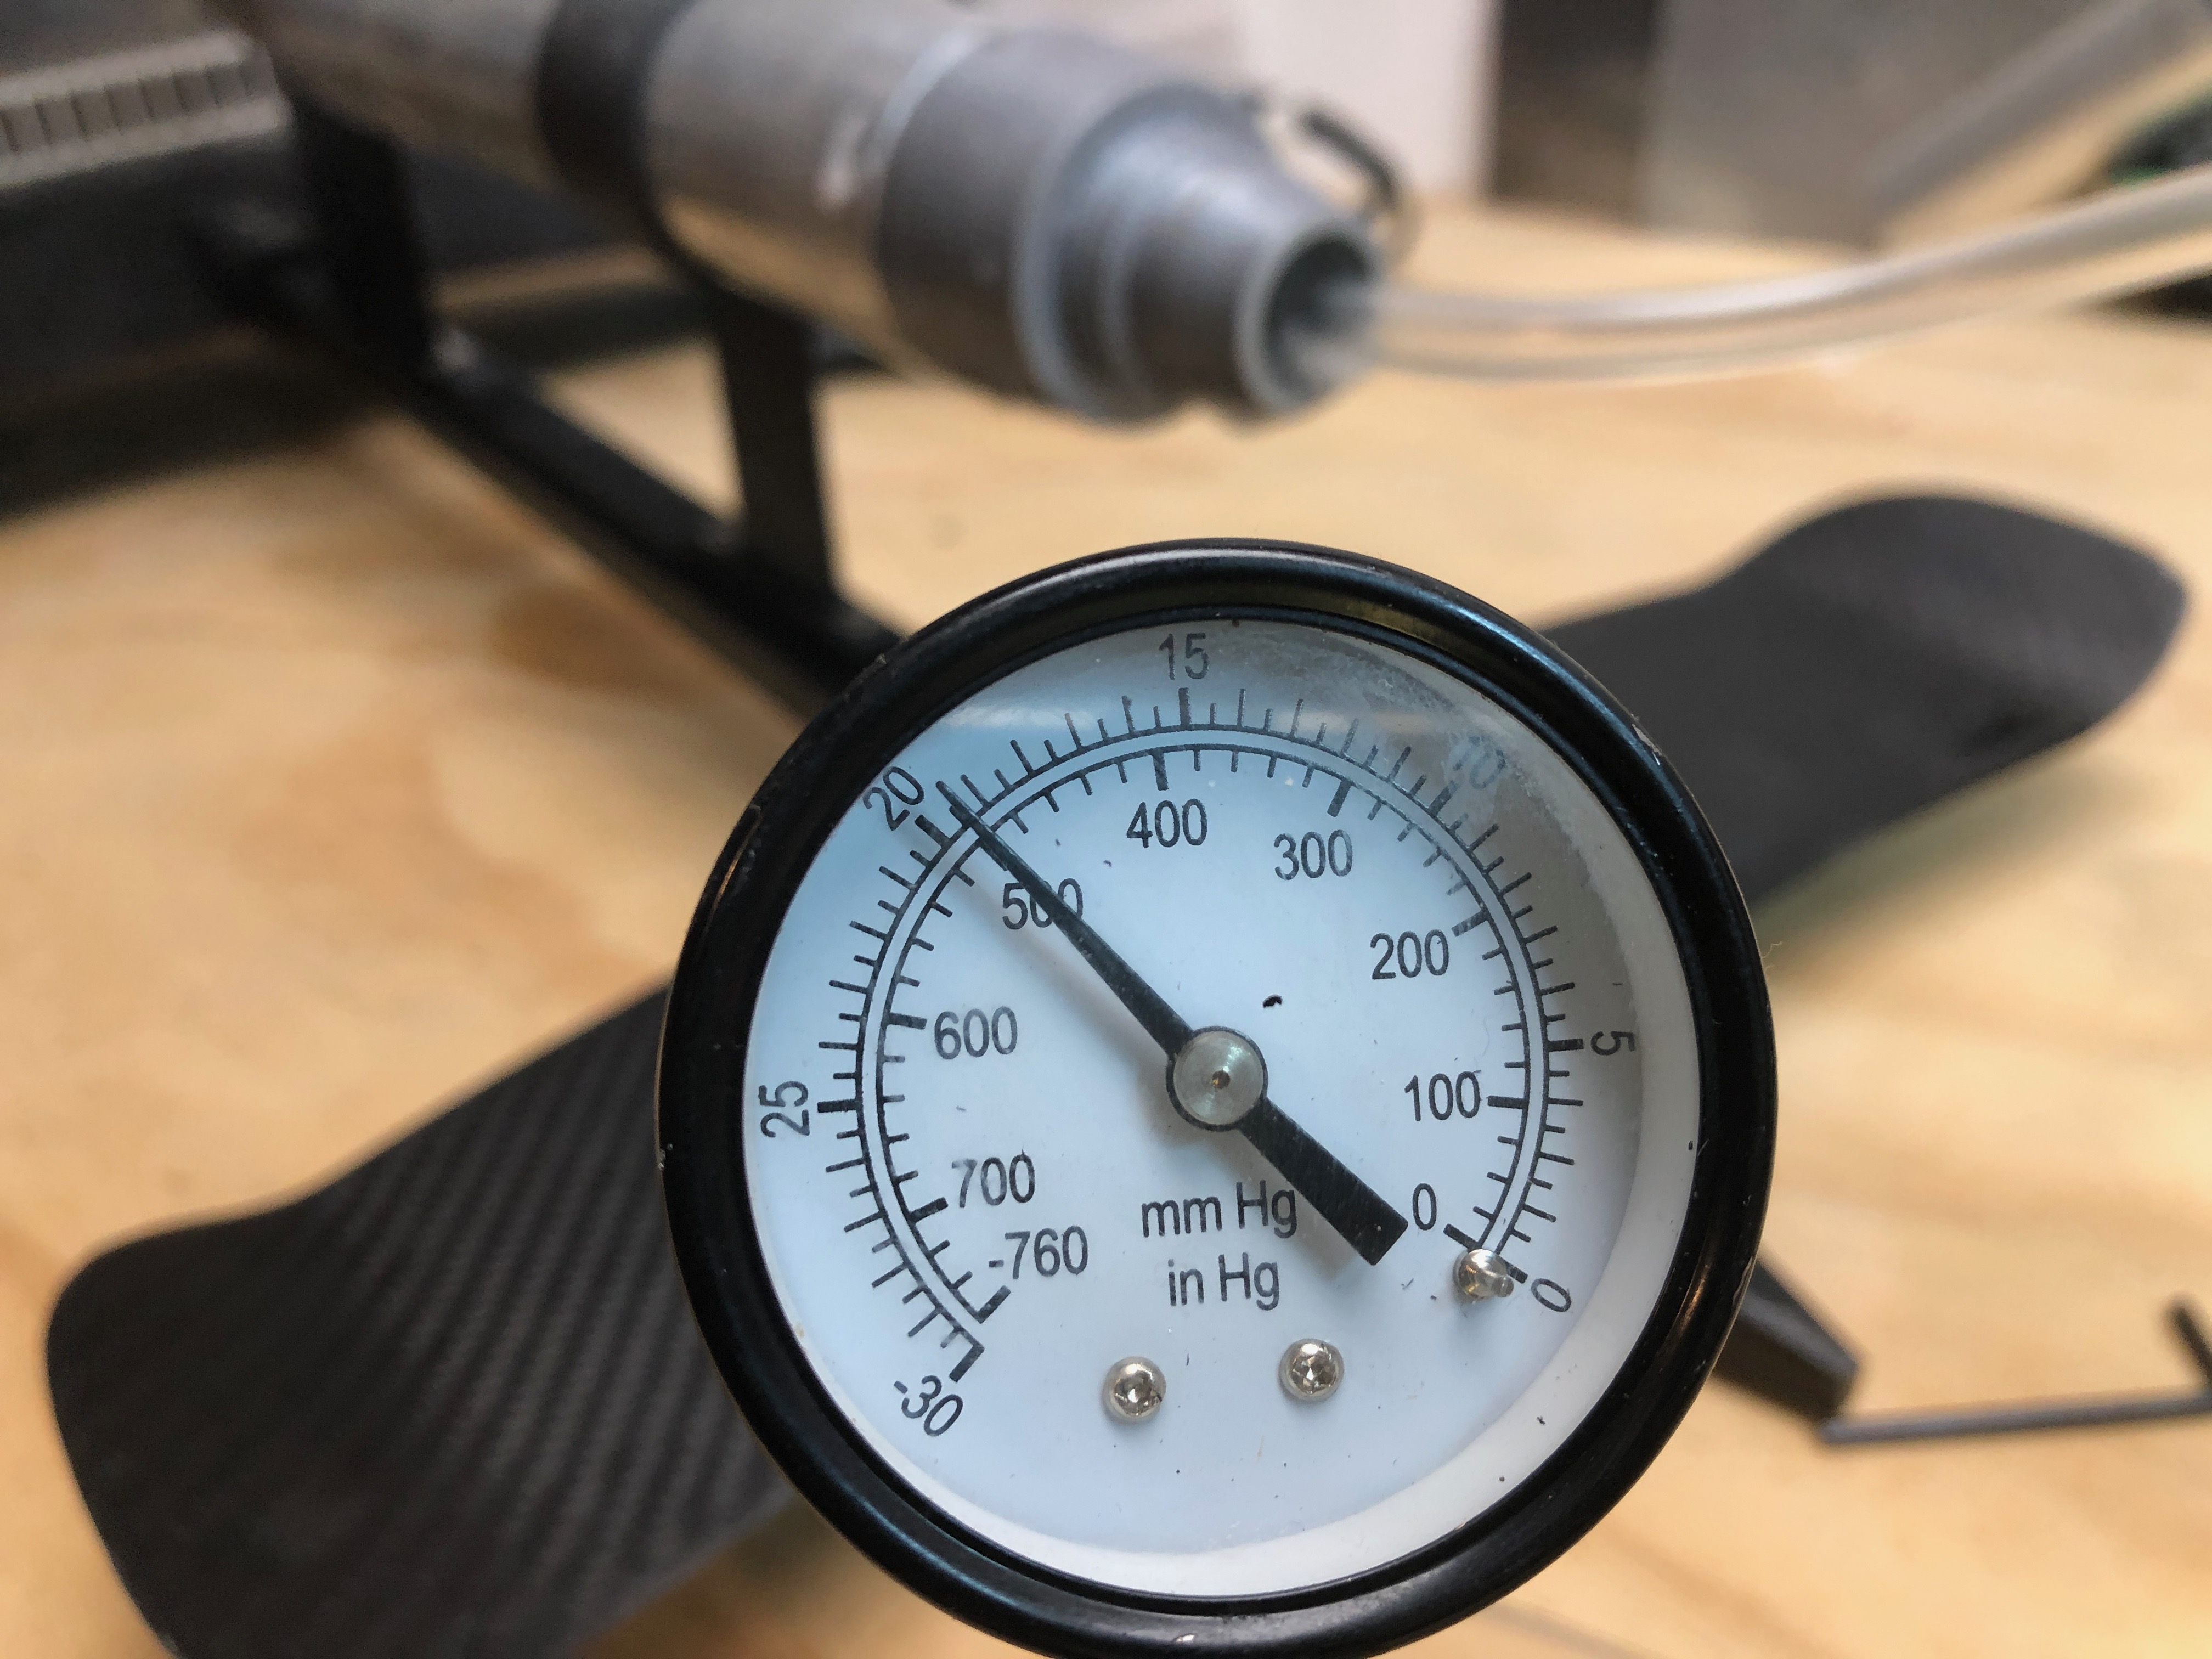
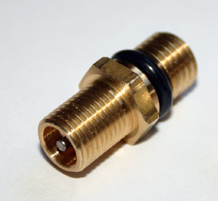
I just did a pressure test of the entire pod – rear mast clamp, tube and seal mount. I designed and printed THIS PLUG to seal the shaft hole (add a little grease to improve seal) around the tube from this vacuum pump. The pressure held steady at 500 inhg (19 mmhg / 245 psi) for several minutes with no loss. I also painted all seams with soapy water to look for bubbles and saw none. The only thing this does not test is the seal around the actual shaft so I still believe that is the likely culprit. It also does not test the other seams under heat but I expect this much pressure would have revealed any weaknesses. Finally I was surprised to note that it was impossible for me to remove the sealmount from the tube while it was under pressure. The pressure actually presses the two o-rings harder against the metal tube. So presumably any in-tube pressure due to heat would make those seals work better rather than worse.
1 Like
Seal it up, submerge it a metre underwater for and hour or 2. Then check for water.
You need to see if there is a pressure loss over at least a 30min period with the air pump.
2 Likes
Anybody installed a Schrader Valve in their tube to pressure test seal integrity?
2 Likes
@sunrise305
Hi Carl,
I just read your post about your pressure test. What I dind’t understand is if you applied a pressure below the atmospheric air pressure (partial vacuum) of an pressure higher than atmospheric air pressure. The link to the vacuum pump shows a pump designed to suction and the pressure gauge in your pic looks like that. But because you applied soapy water to the seams an were looking for bubbles you had overpressure in mind?
There is a mismatch of units in your post. The pressure gauge in your pic shows 19.5 inches Hg or 490 mm Hg (9.3 psi) below the atmospheric pressure.