My parts are all aluminium and so I threaded all place where screws went.
You should be able to drill in and then thread the hole if you printed with 100% infill.
I print in 100% and I pierce after …
the top actually is the aluminum with tapping
I did nothing to seal them. From what I have read here on this forum it is not necessary to do so as long as you are printing solid and your walls are not too thin. Some builders have coated their PLA parts to be sure. See this post for options.
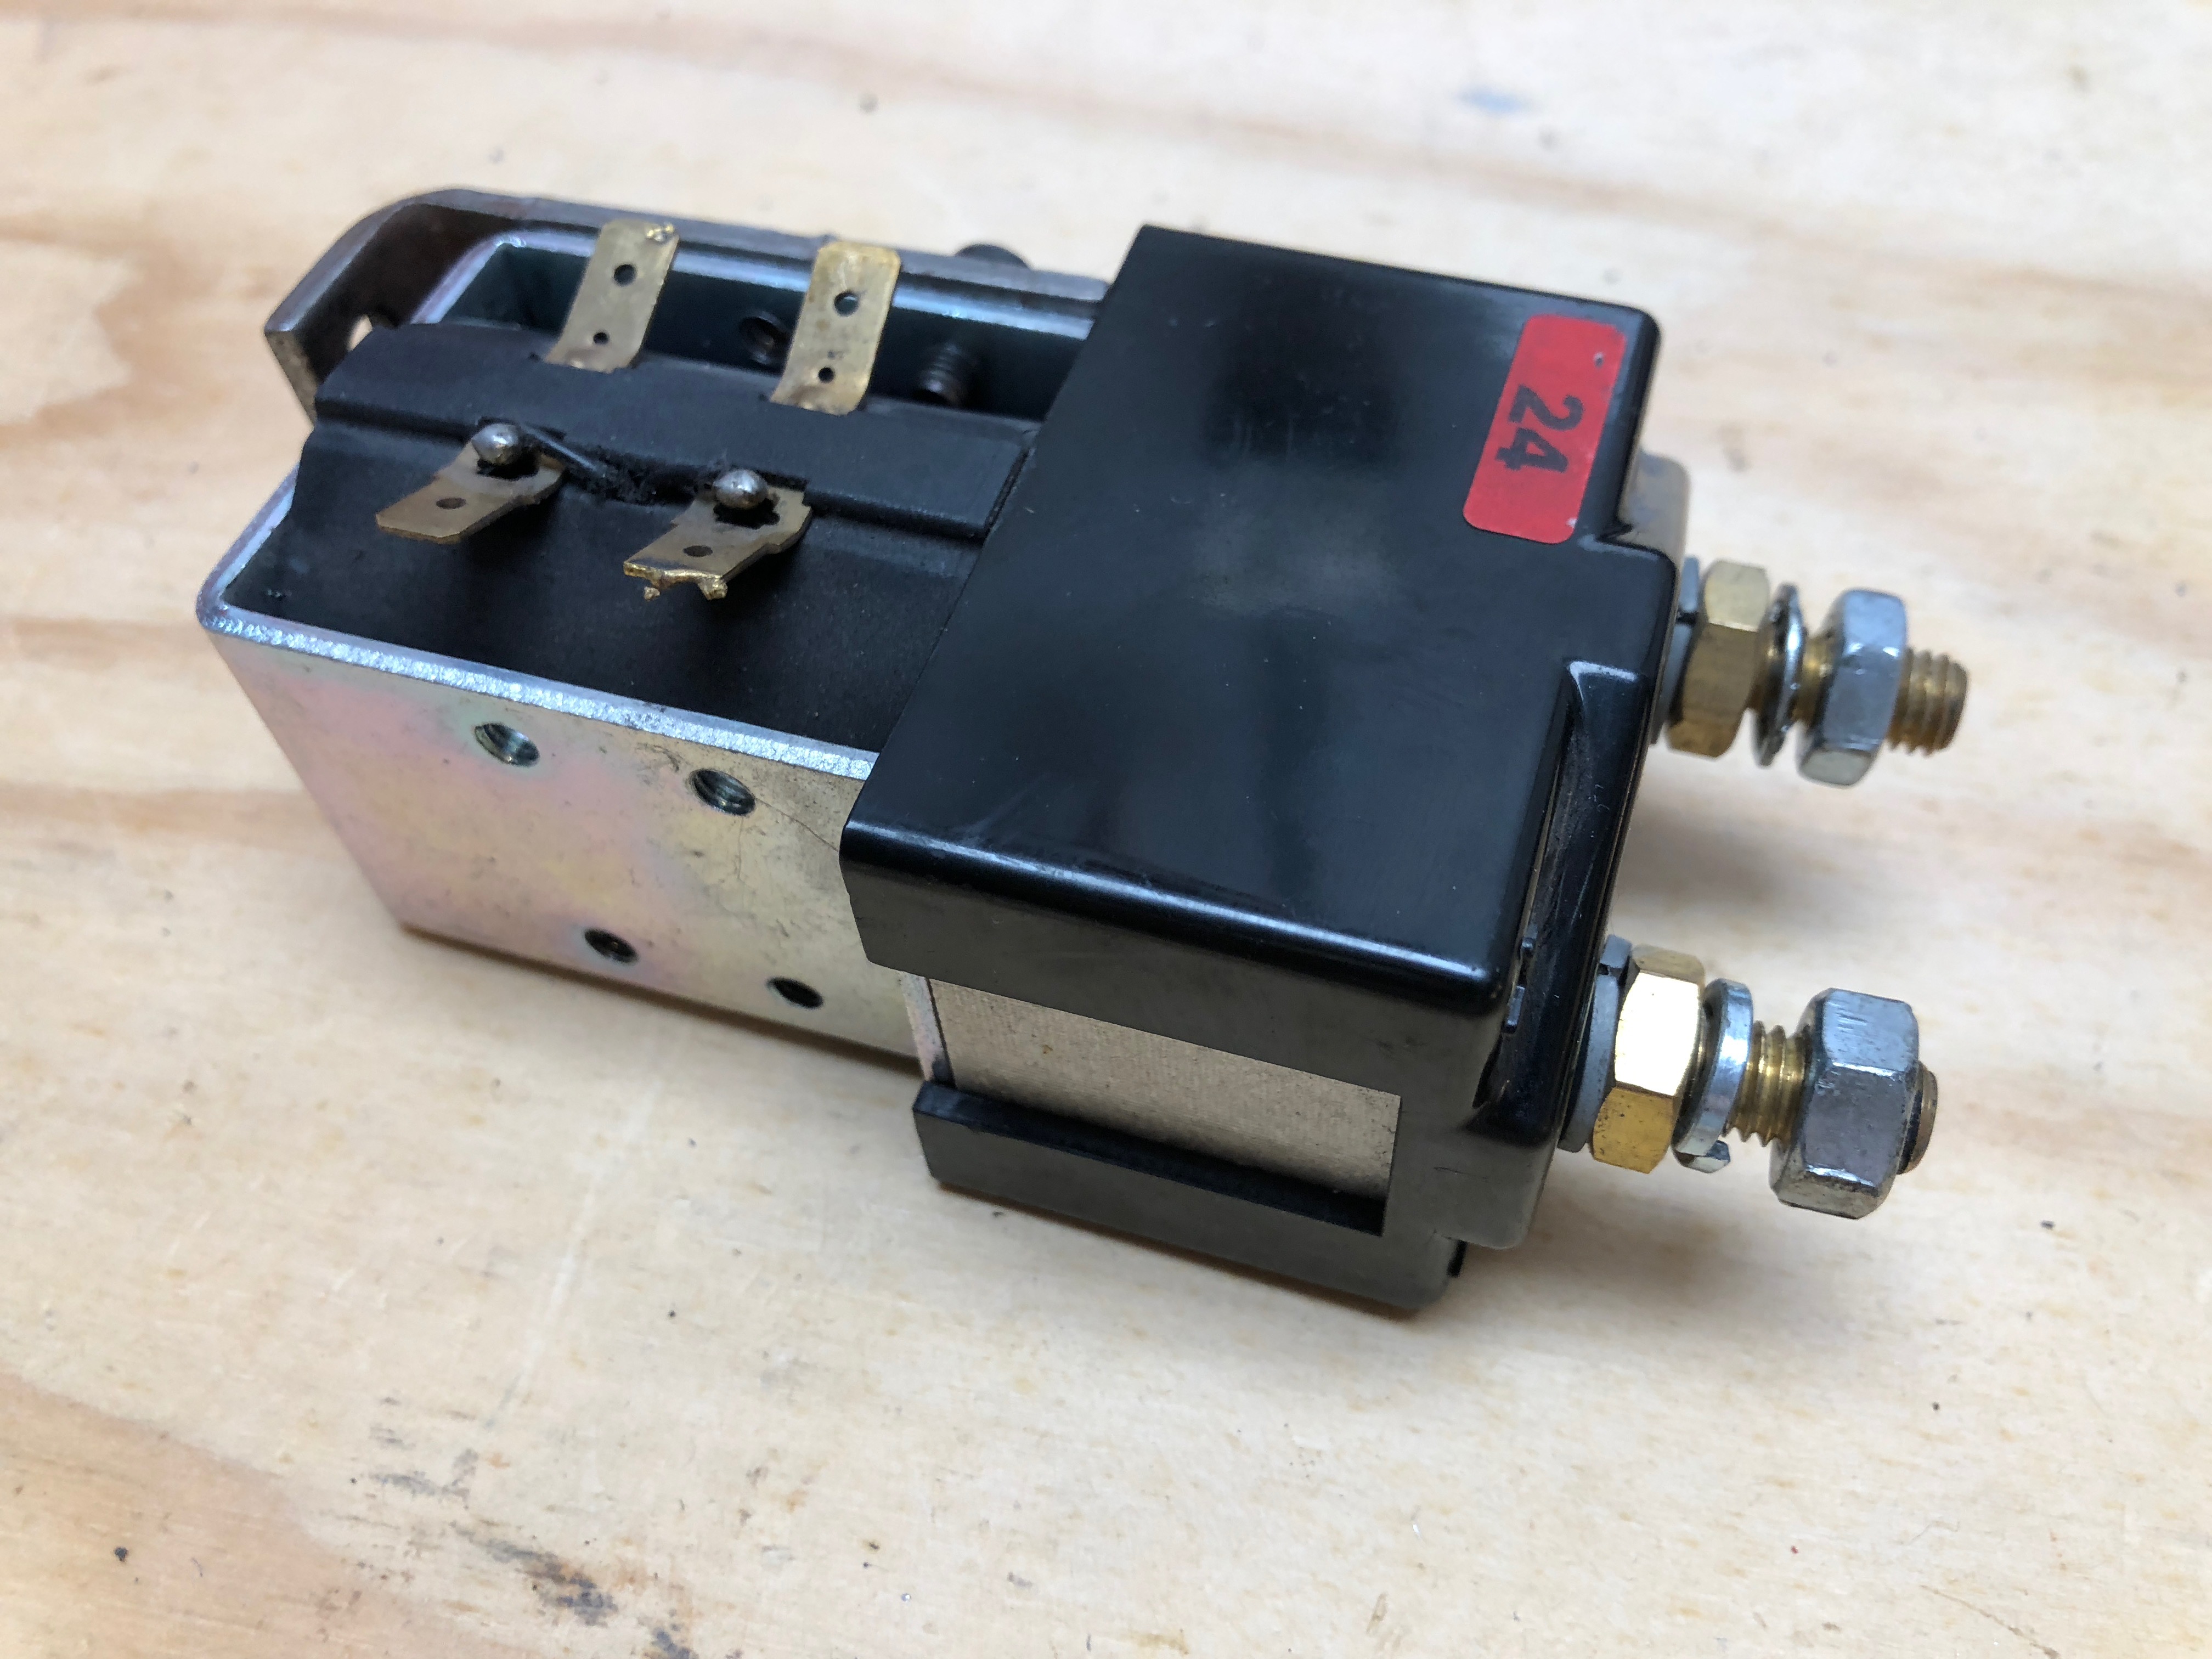
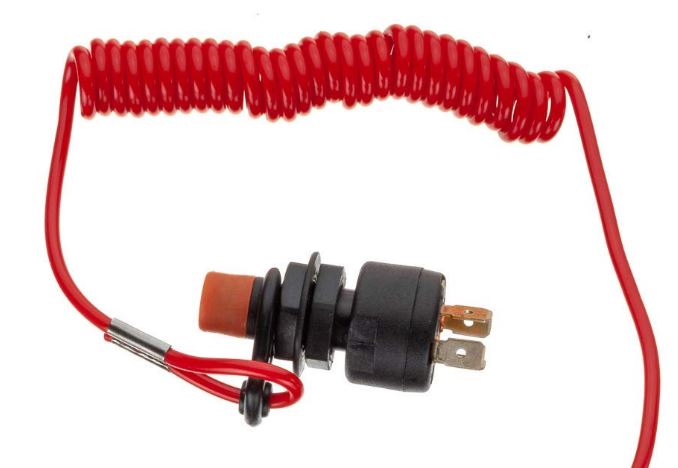
My efoil is ready for water testing. All that I am missing is some form of kill switch. I bought a fork lift relay and tether but have done nothing with it. It is quite bulky and I’m not sure how to manage the spark I assume it will cause. (Can I place a resistor between the two terminals to eliminate the spark?). I do have a 150 amp fuse on the neg side of the battery-to-esc input. Suggestions encouraged!
1 Like
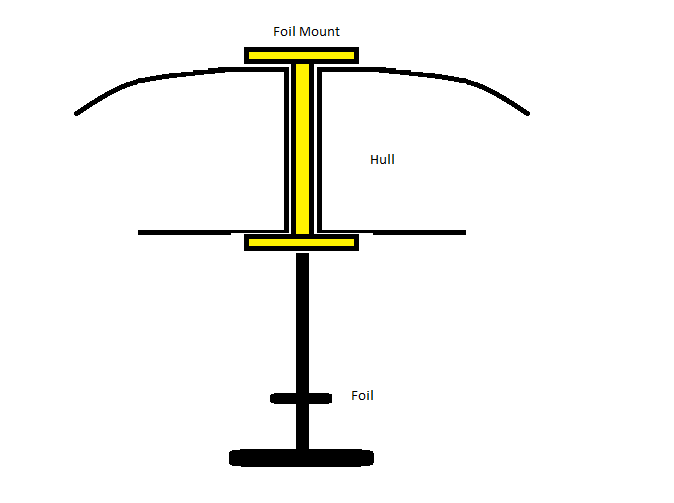
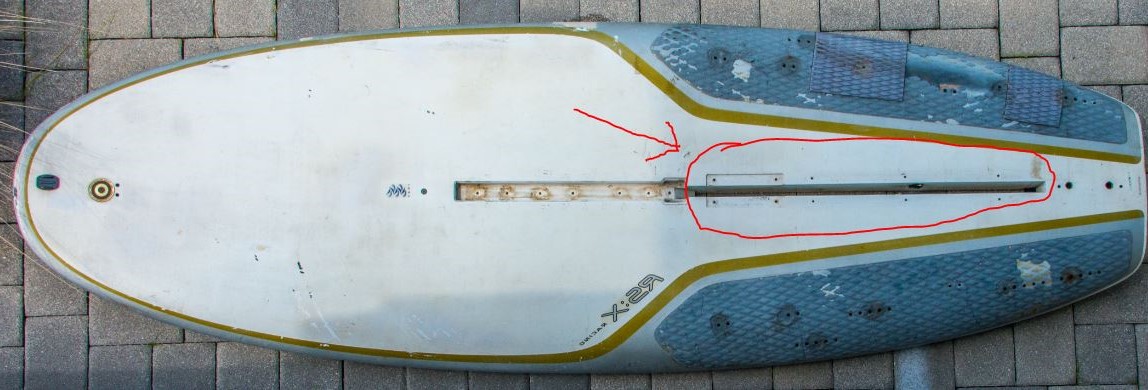
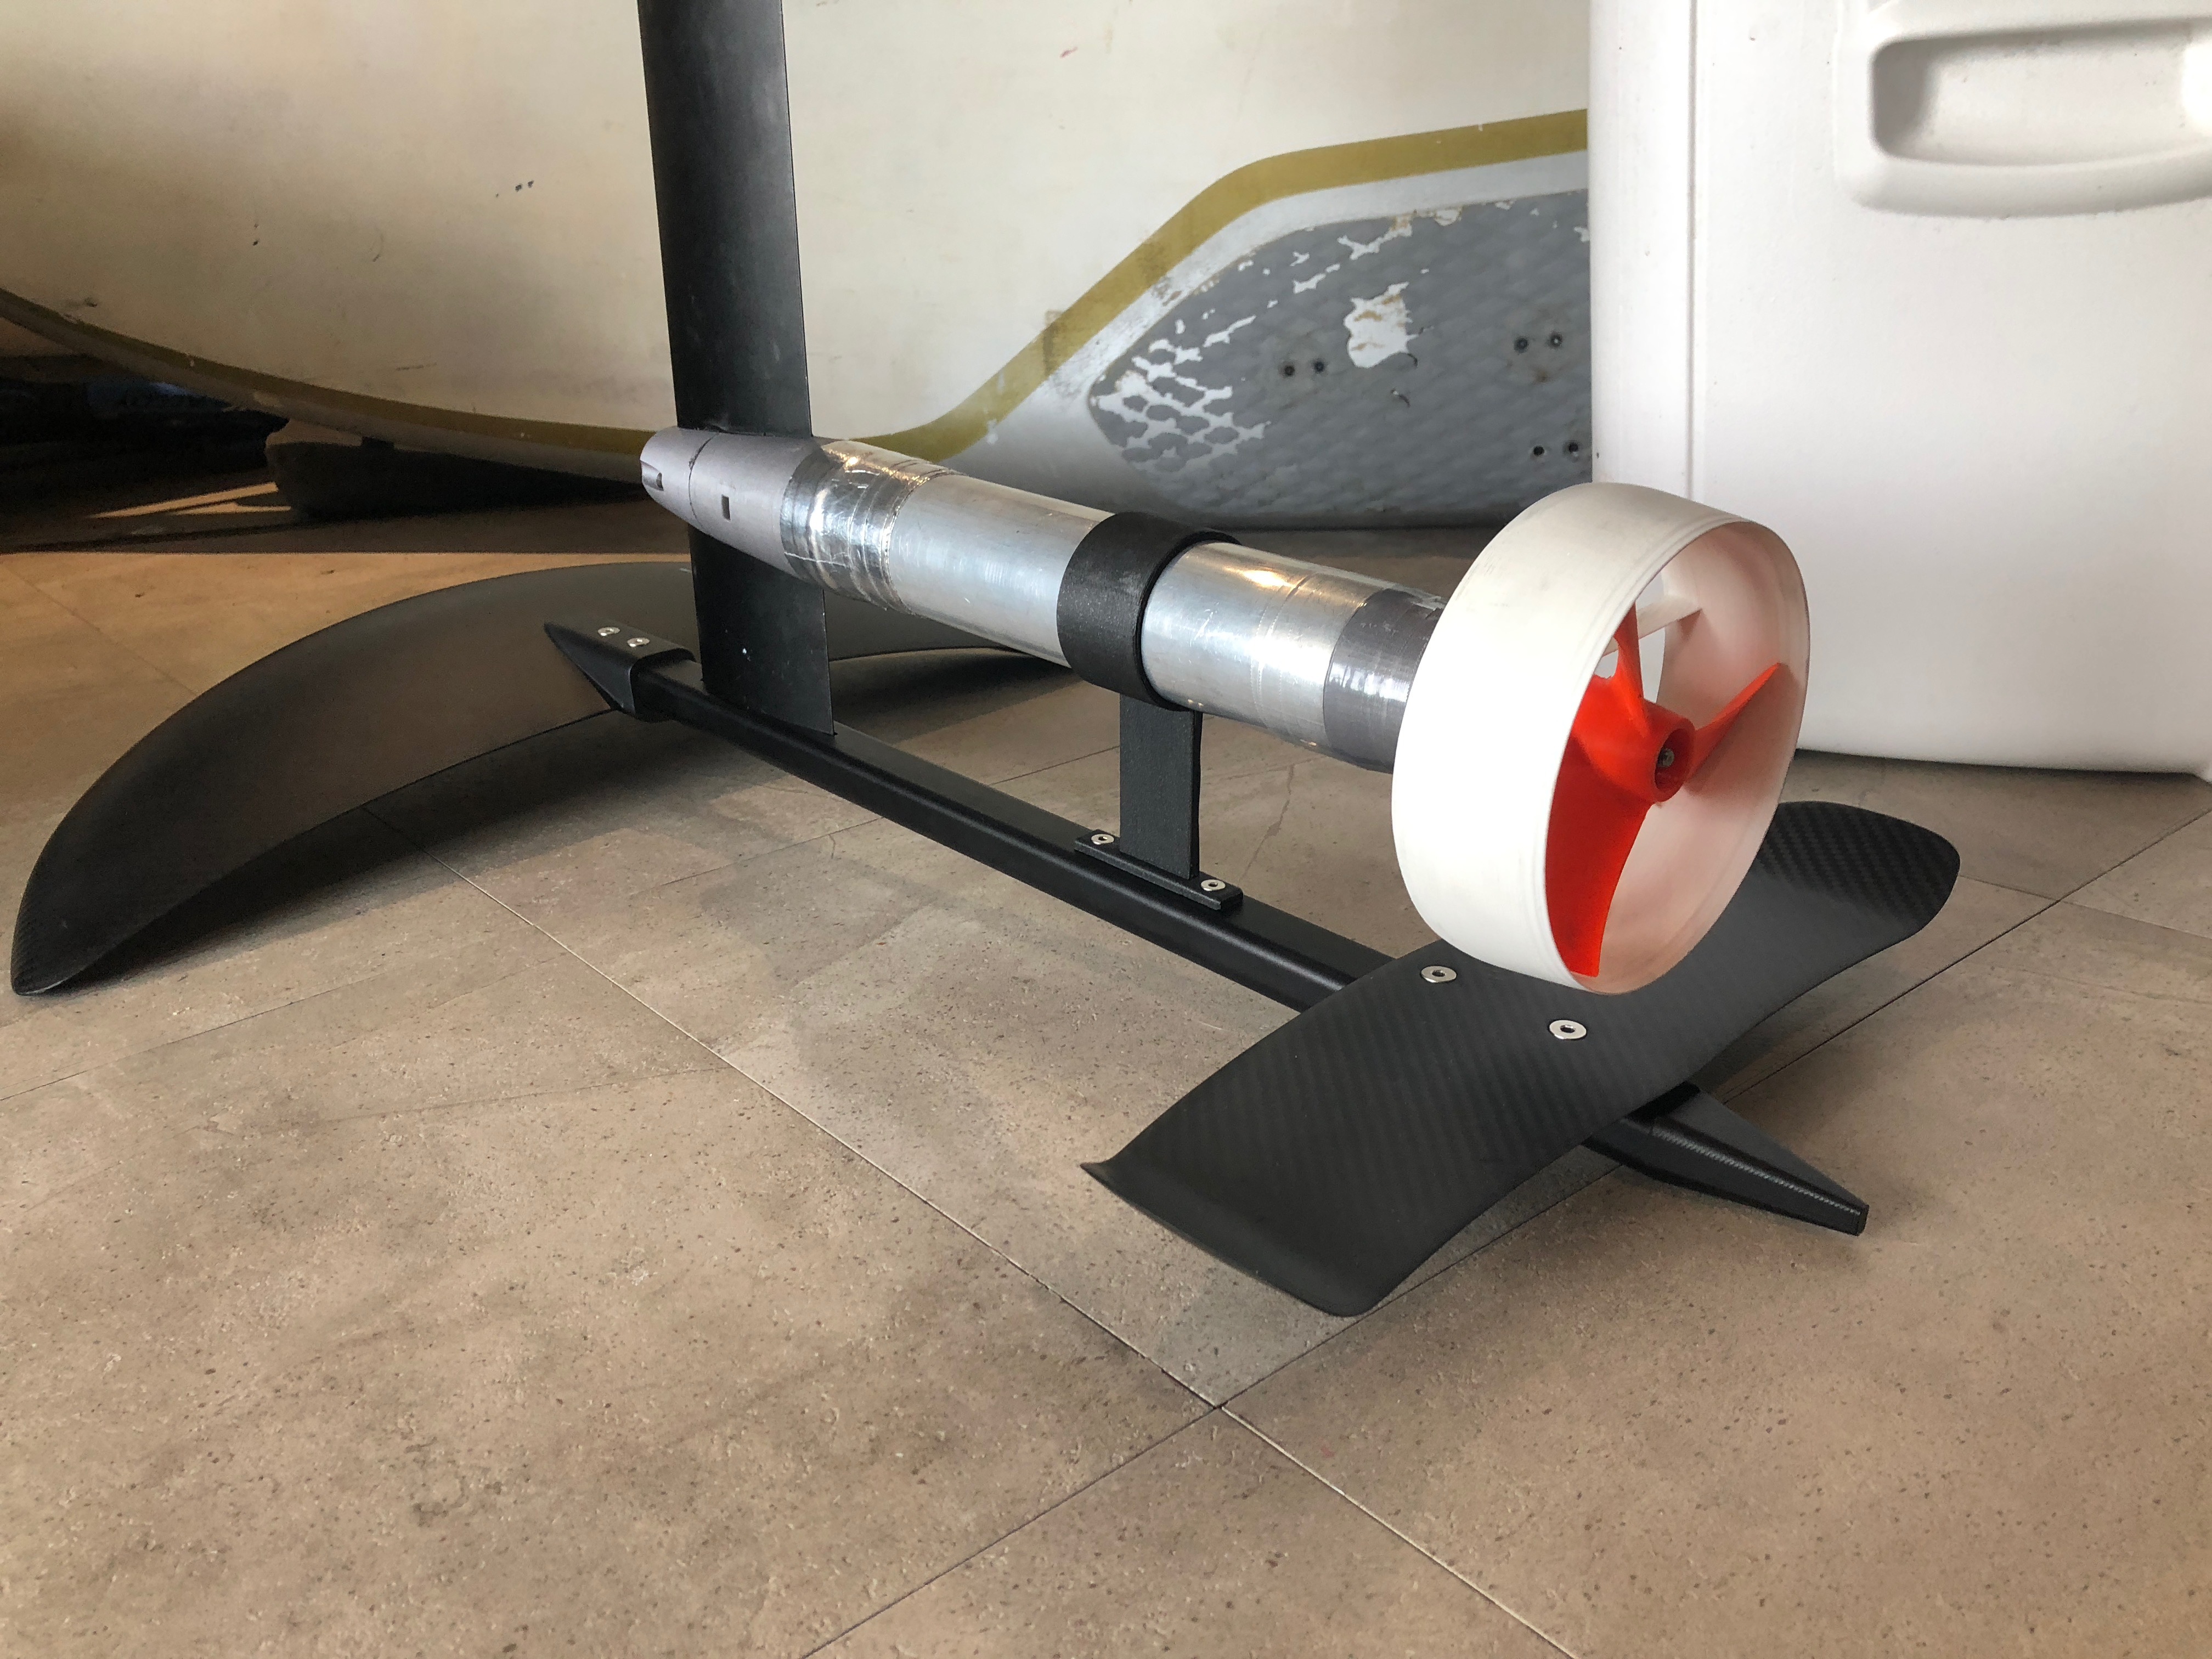
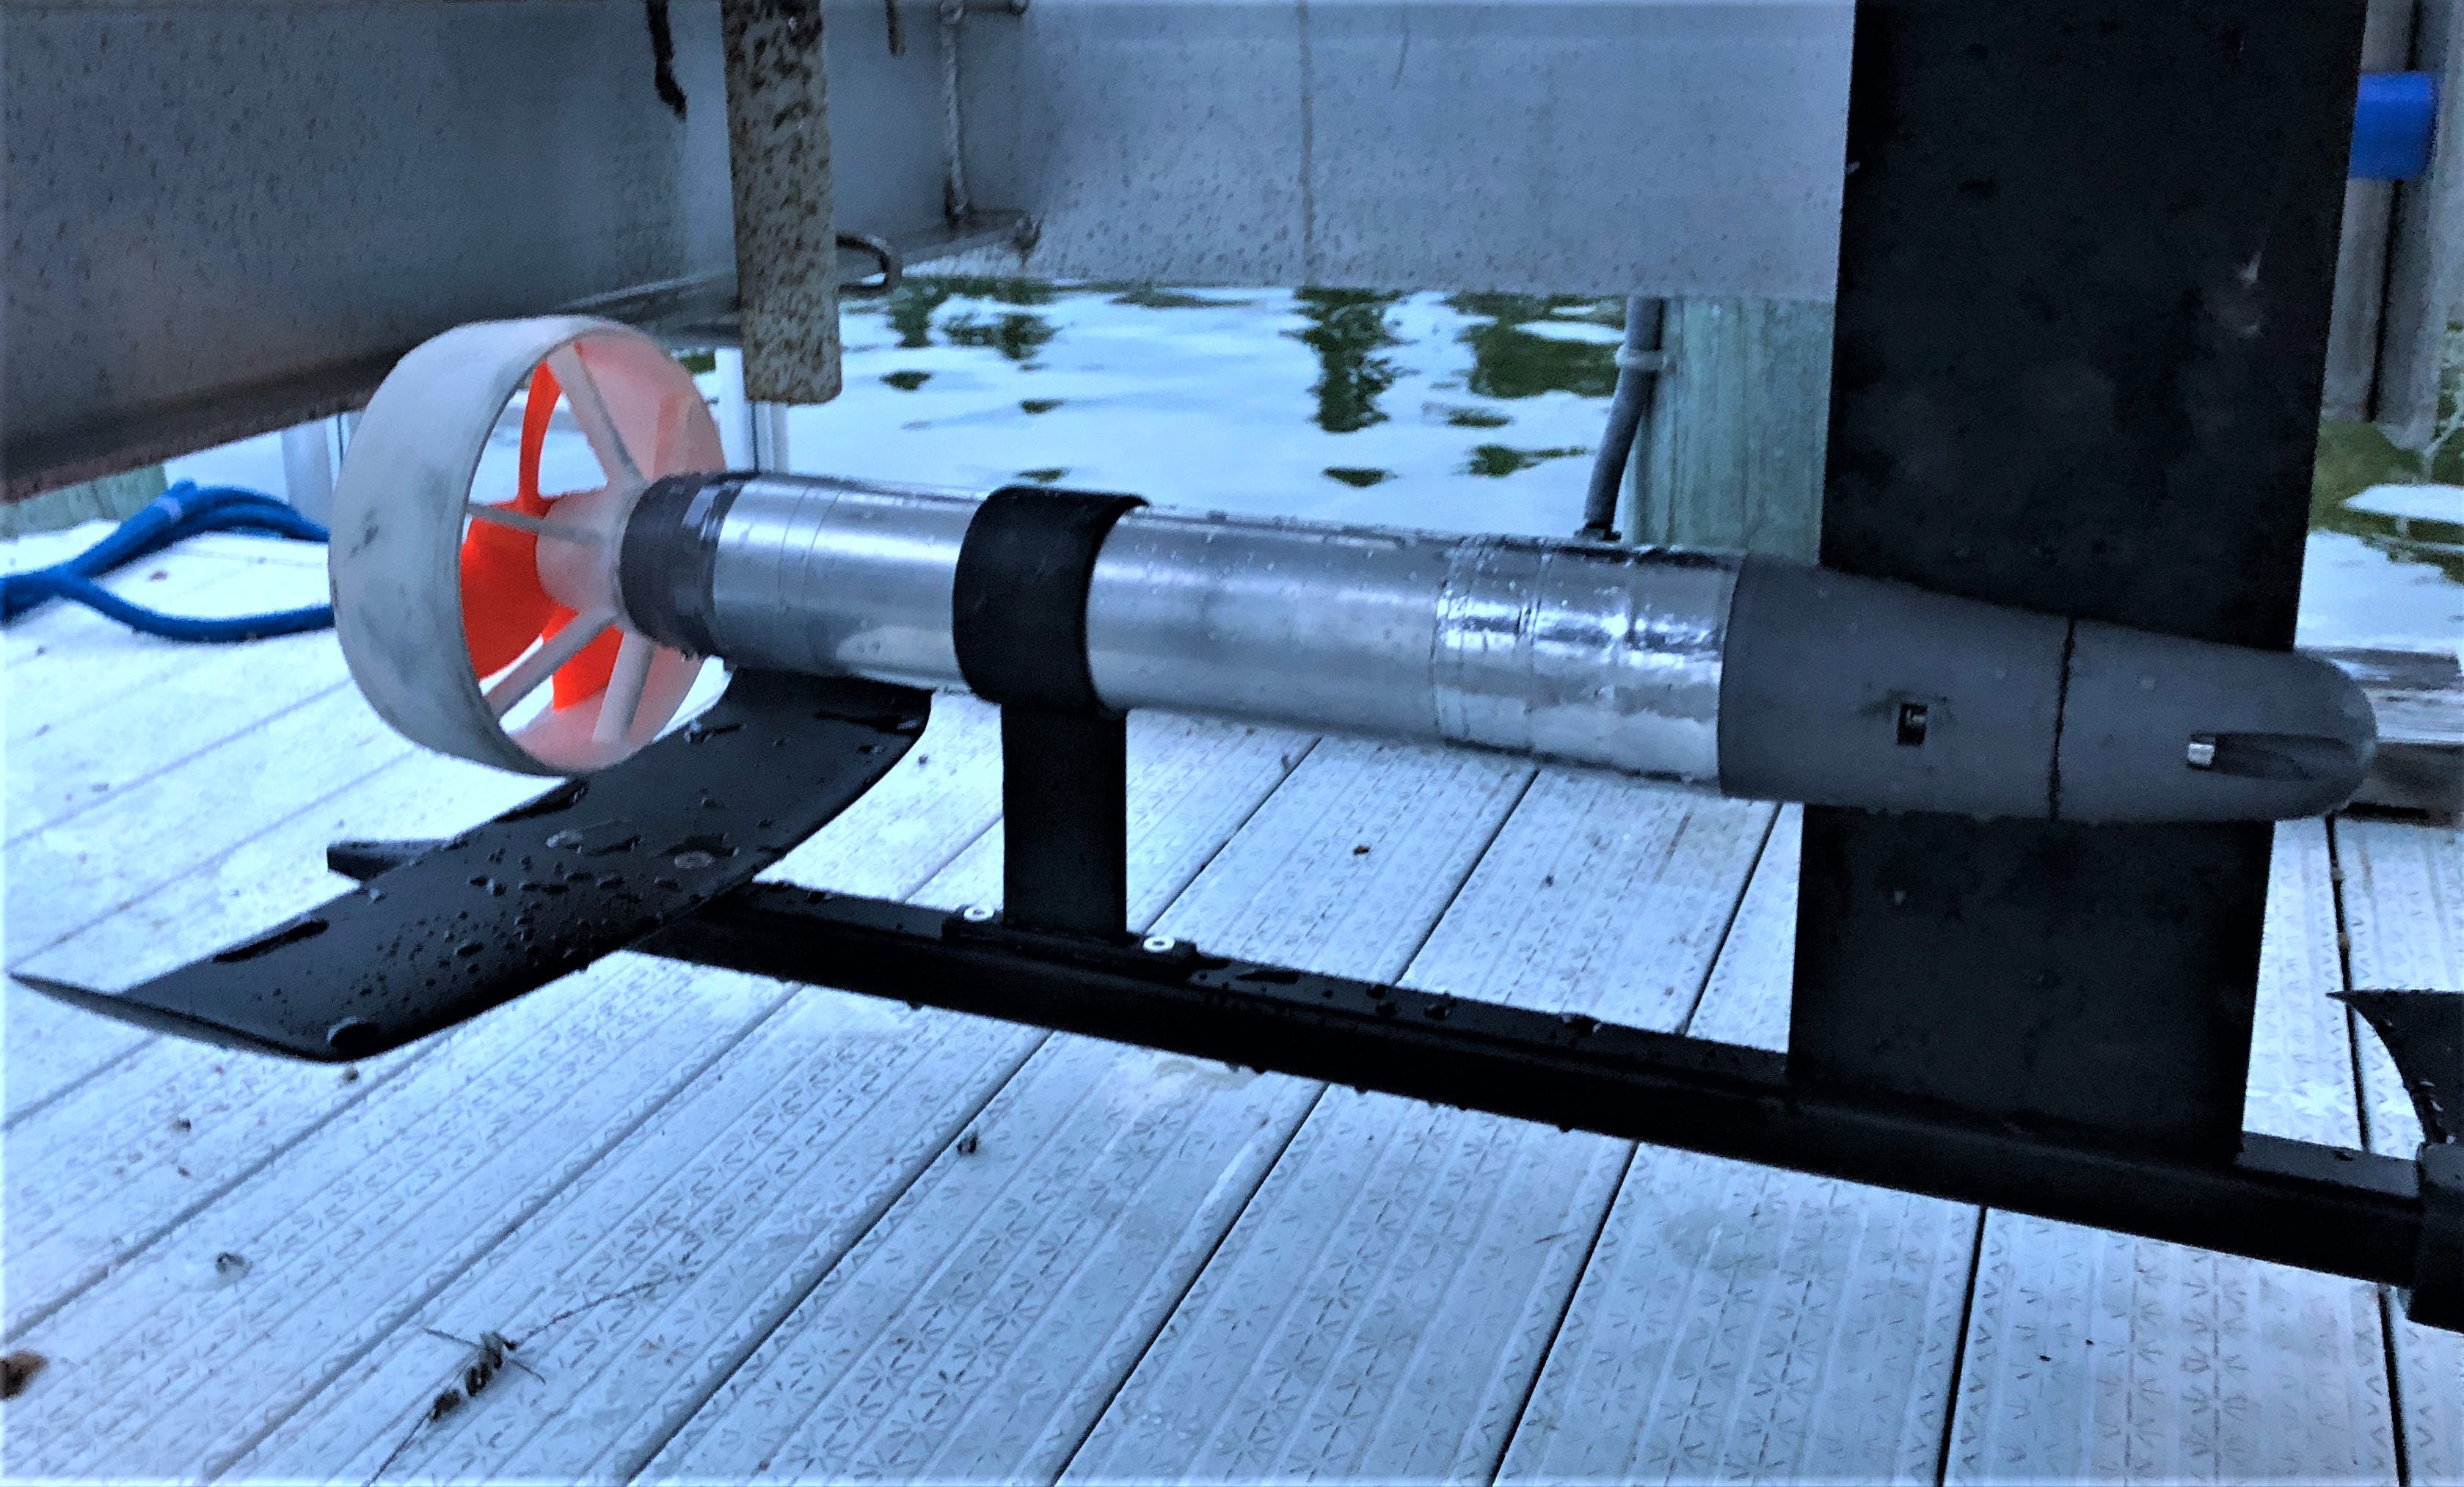
My efoil weighs in at a whopping 67 lbs (30 kilos). That breaks down to 23.4 lbs for the foil, drive pod and foil mount; 10.8 lbs for the electronics box; and 32.6 lbs for the board. Add me at 180 lbs and the take-off weight is 247 lbs (112 kilos). Note my board (NeilPryde RSX) has intentionally been left uncut so that I can do my initial testing and easily paddle home if something fails. Eventually it will likely shed 15 lbs. I have also taken advantage of a thru-hull slot in the board – once the housing for the fold-down dagger board – to create a simple bolt-on mount for the foil. No fiberglass work required. It can easily be slid forward or aft to find just the right balance point.
3 Likes
How do you crimp these things? What tool did you use?
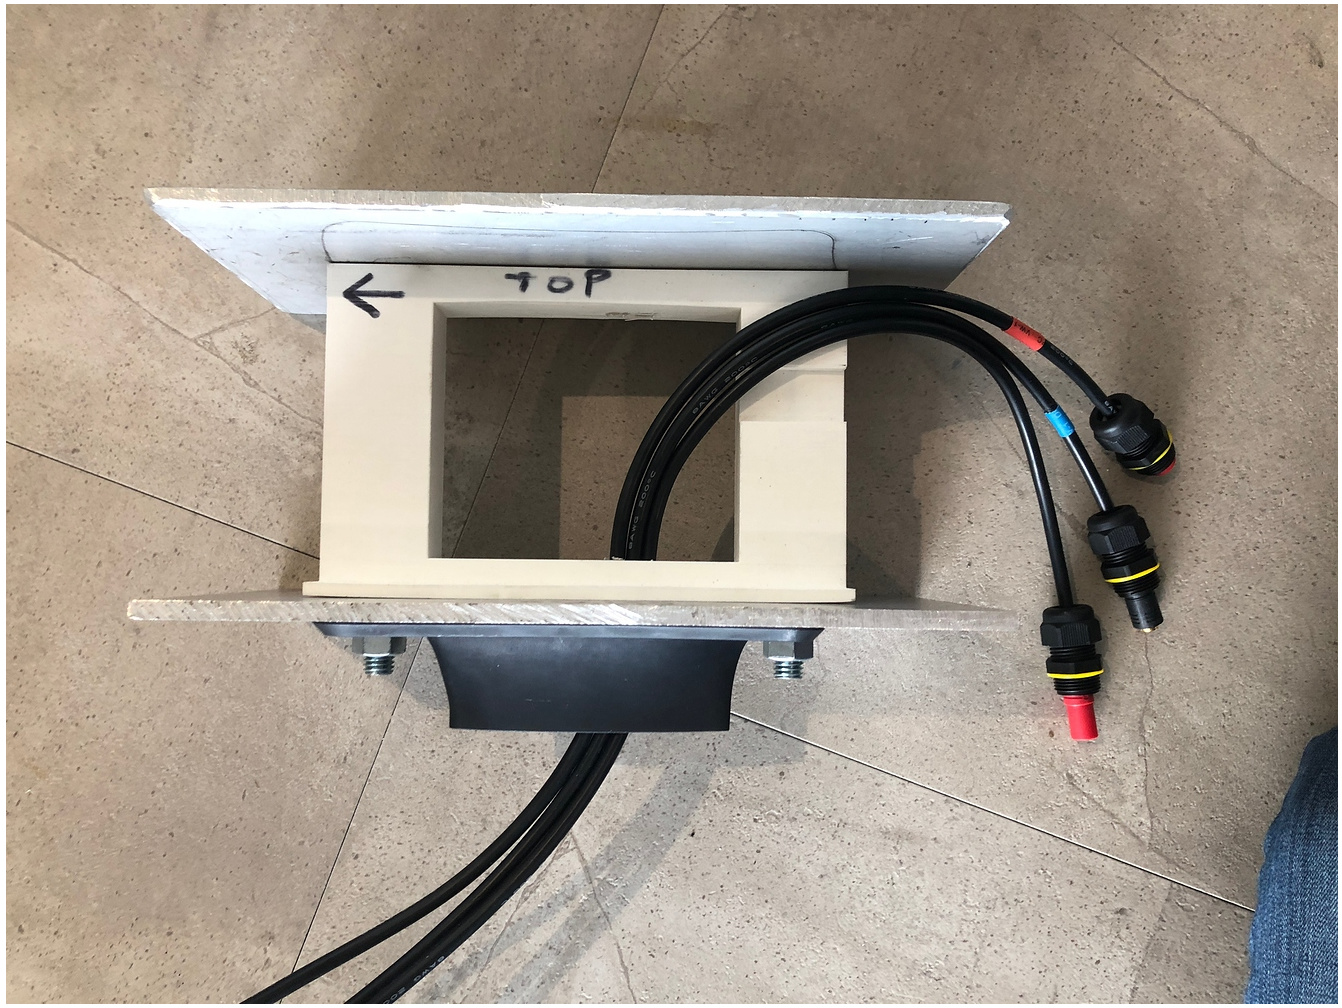
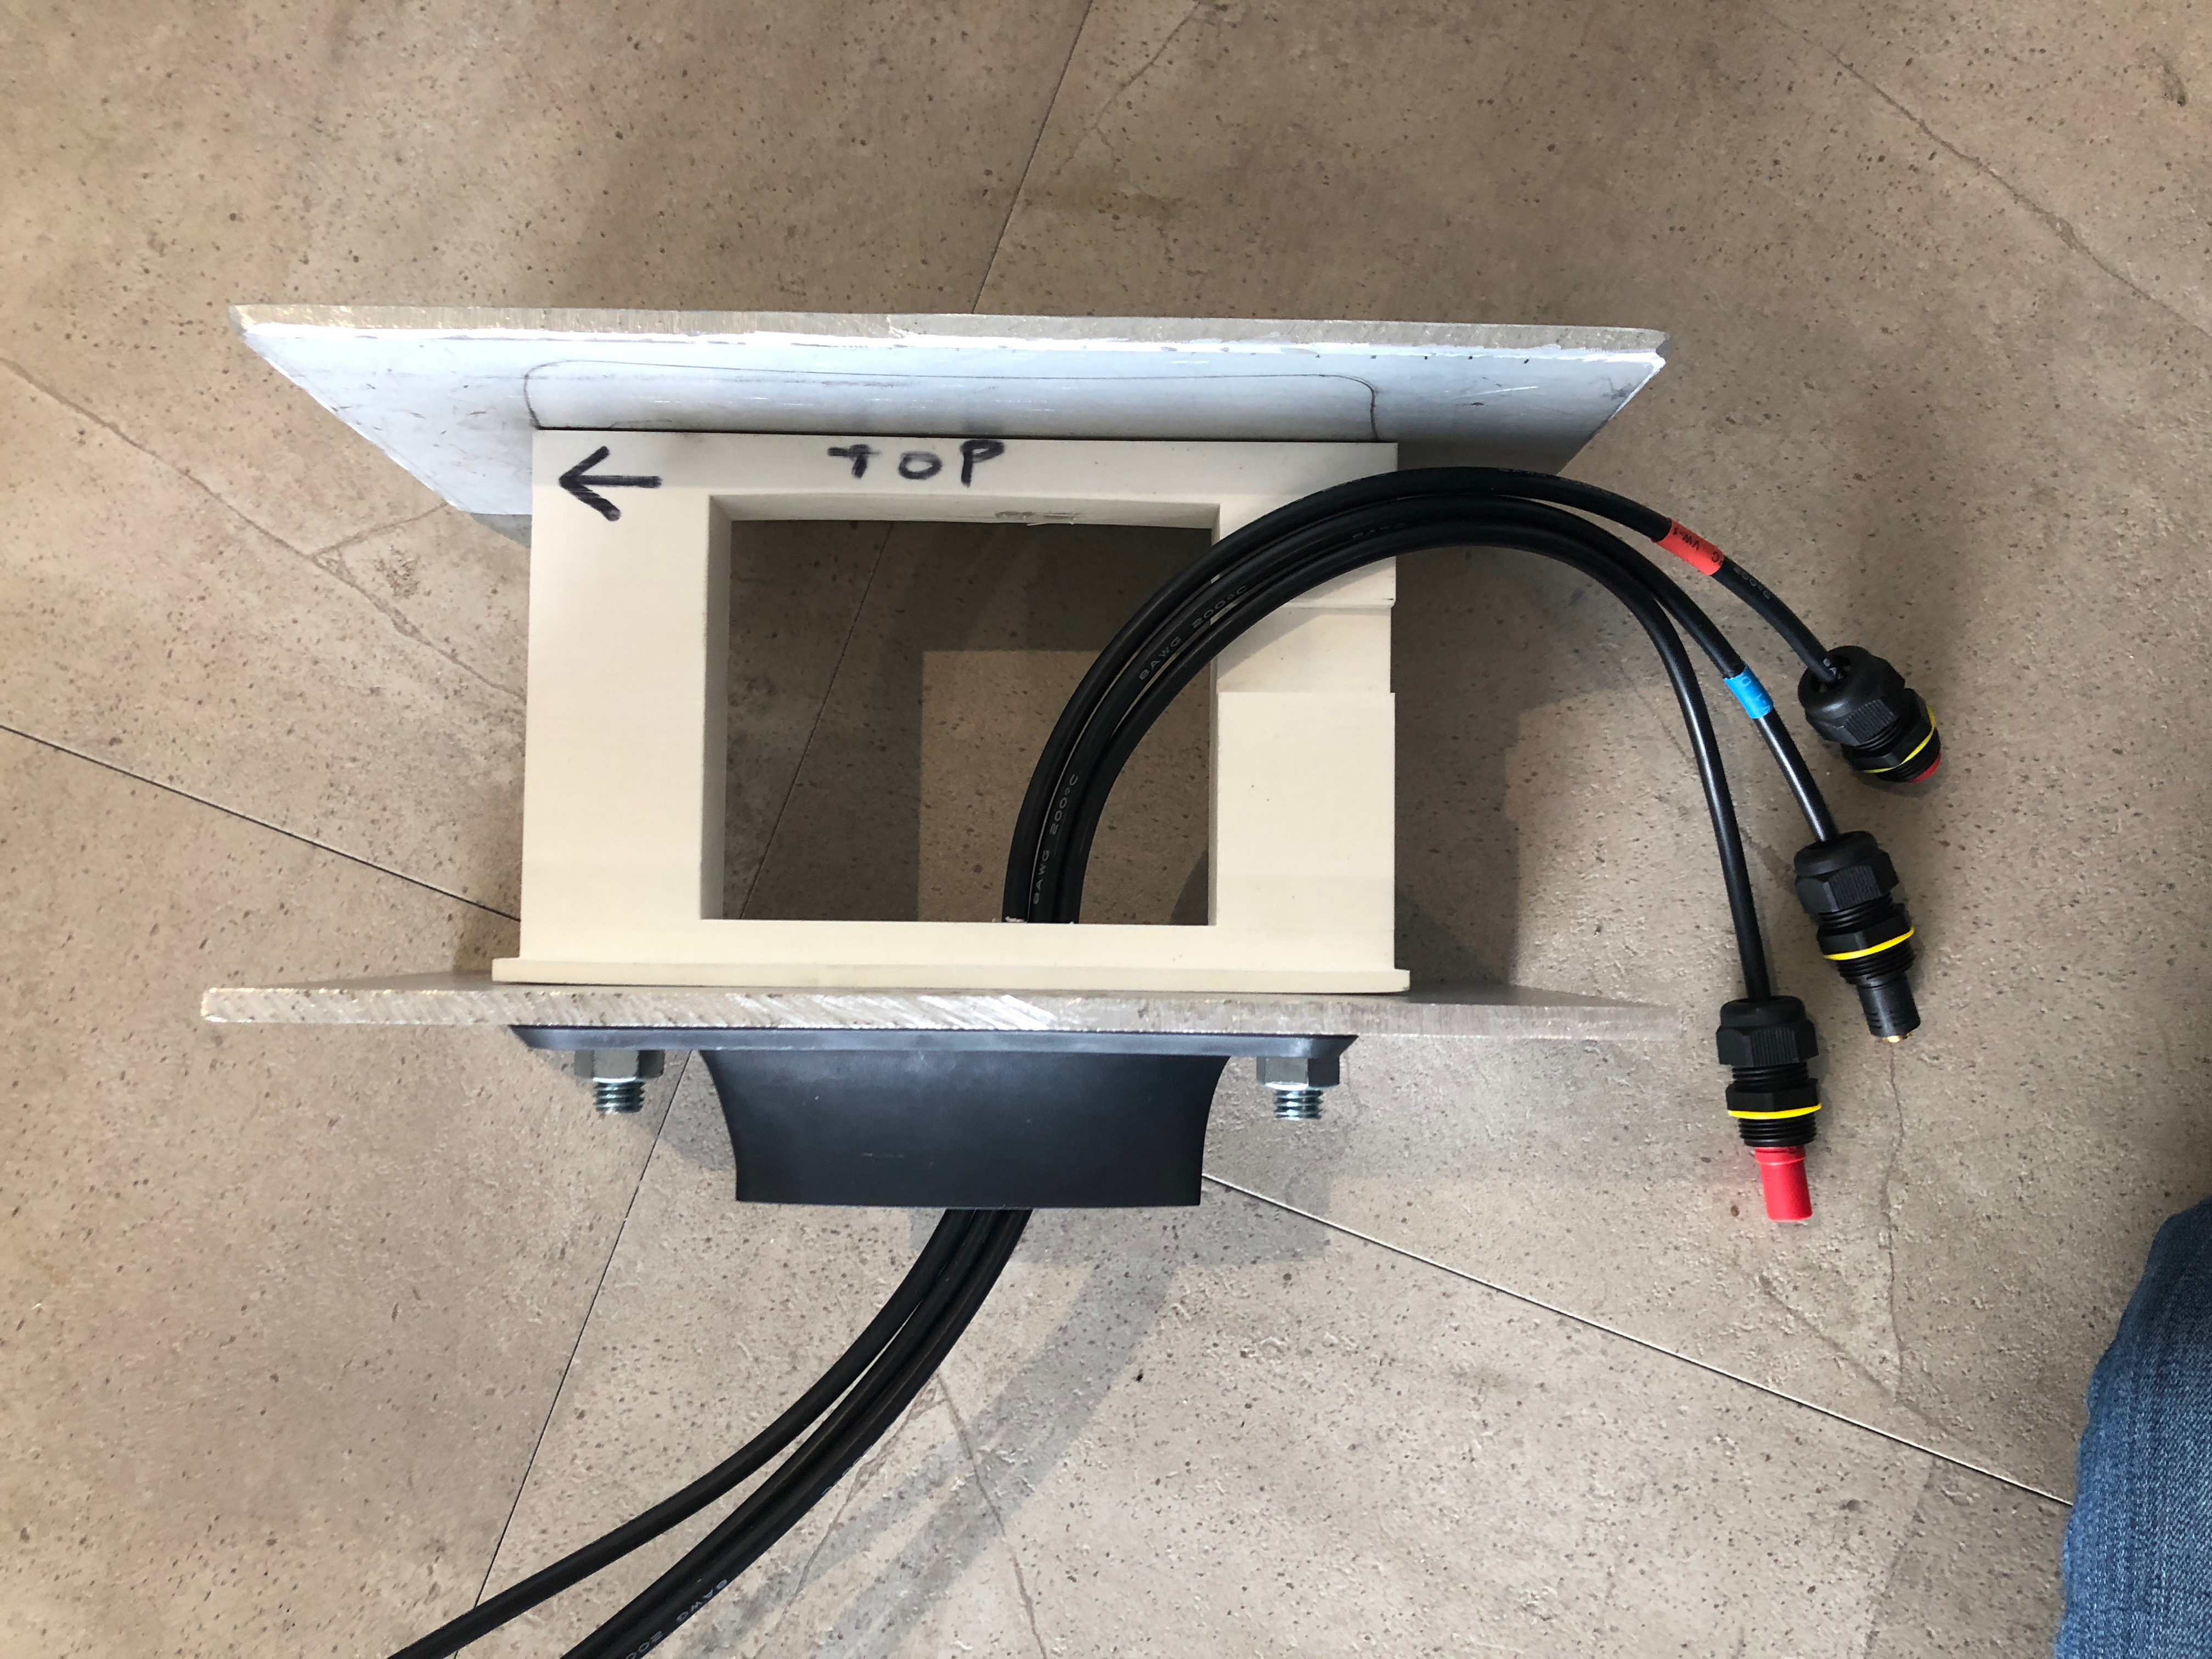
Yup!  Top and bottom plates are 1/8" aluminum with a PLA-printed spacer in between to keep the bolts aligned.
I used a standard crimping like THIS on wires 10 gauge or smaller. On my 8 gauge wires I used this heavier crimp tool recommended by PacificMeister. But many of the connectors are simply thoroughly soldered. On the larger soldered connections I pre-heated them with a small blowtorch before soldering. We’ll see if they hold up.
2 Likes
I would try to get hold of some fiber reinforced foam plates (made for marine enviroment). Or just use marine plywood (perhaps with fiberglass on top/bottom). That would make your setup a lot lighter
1 Like
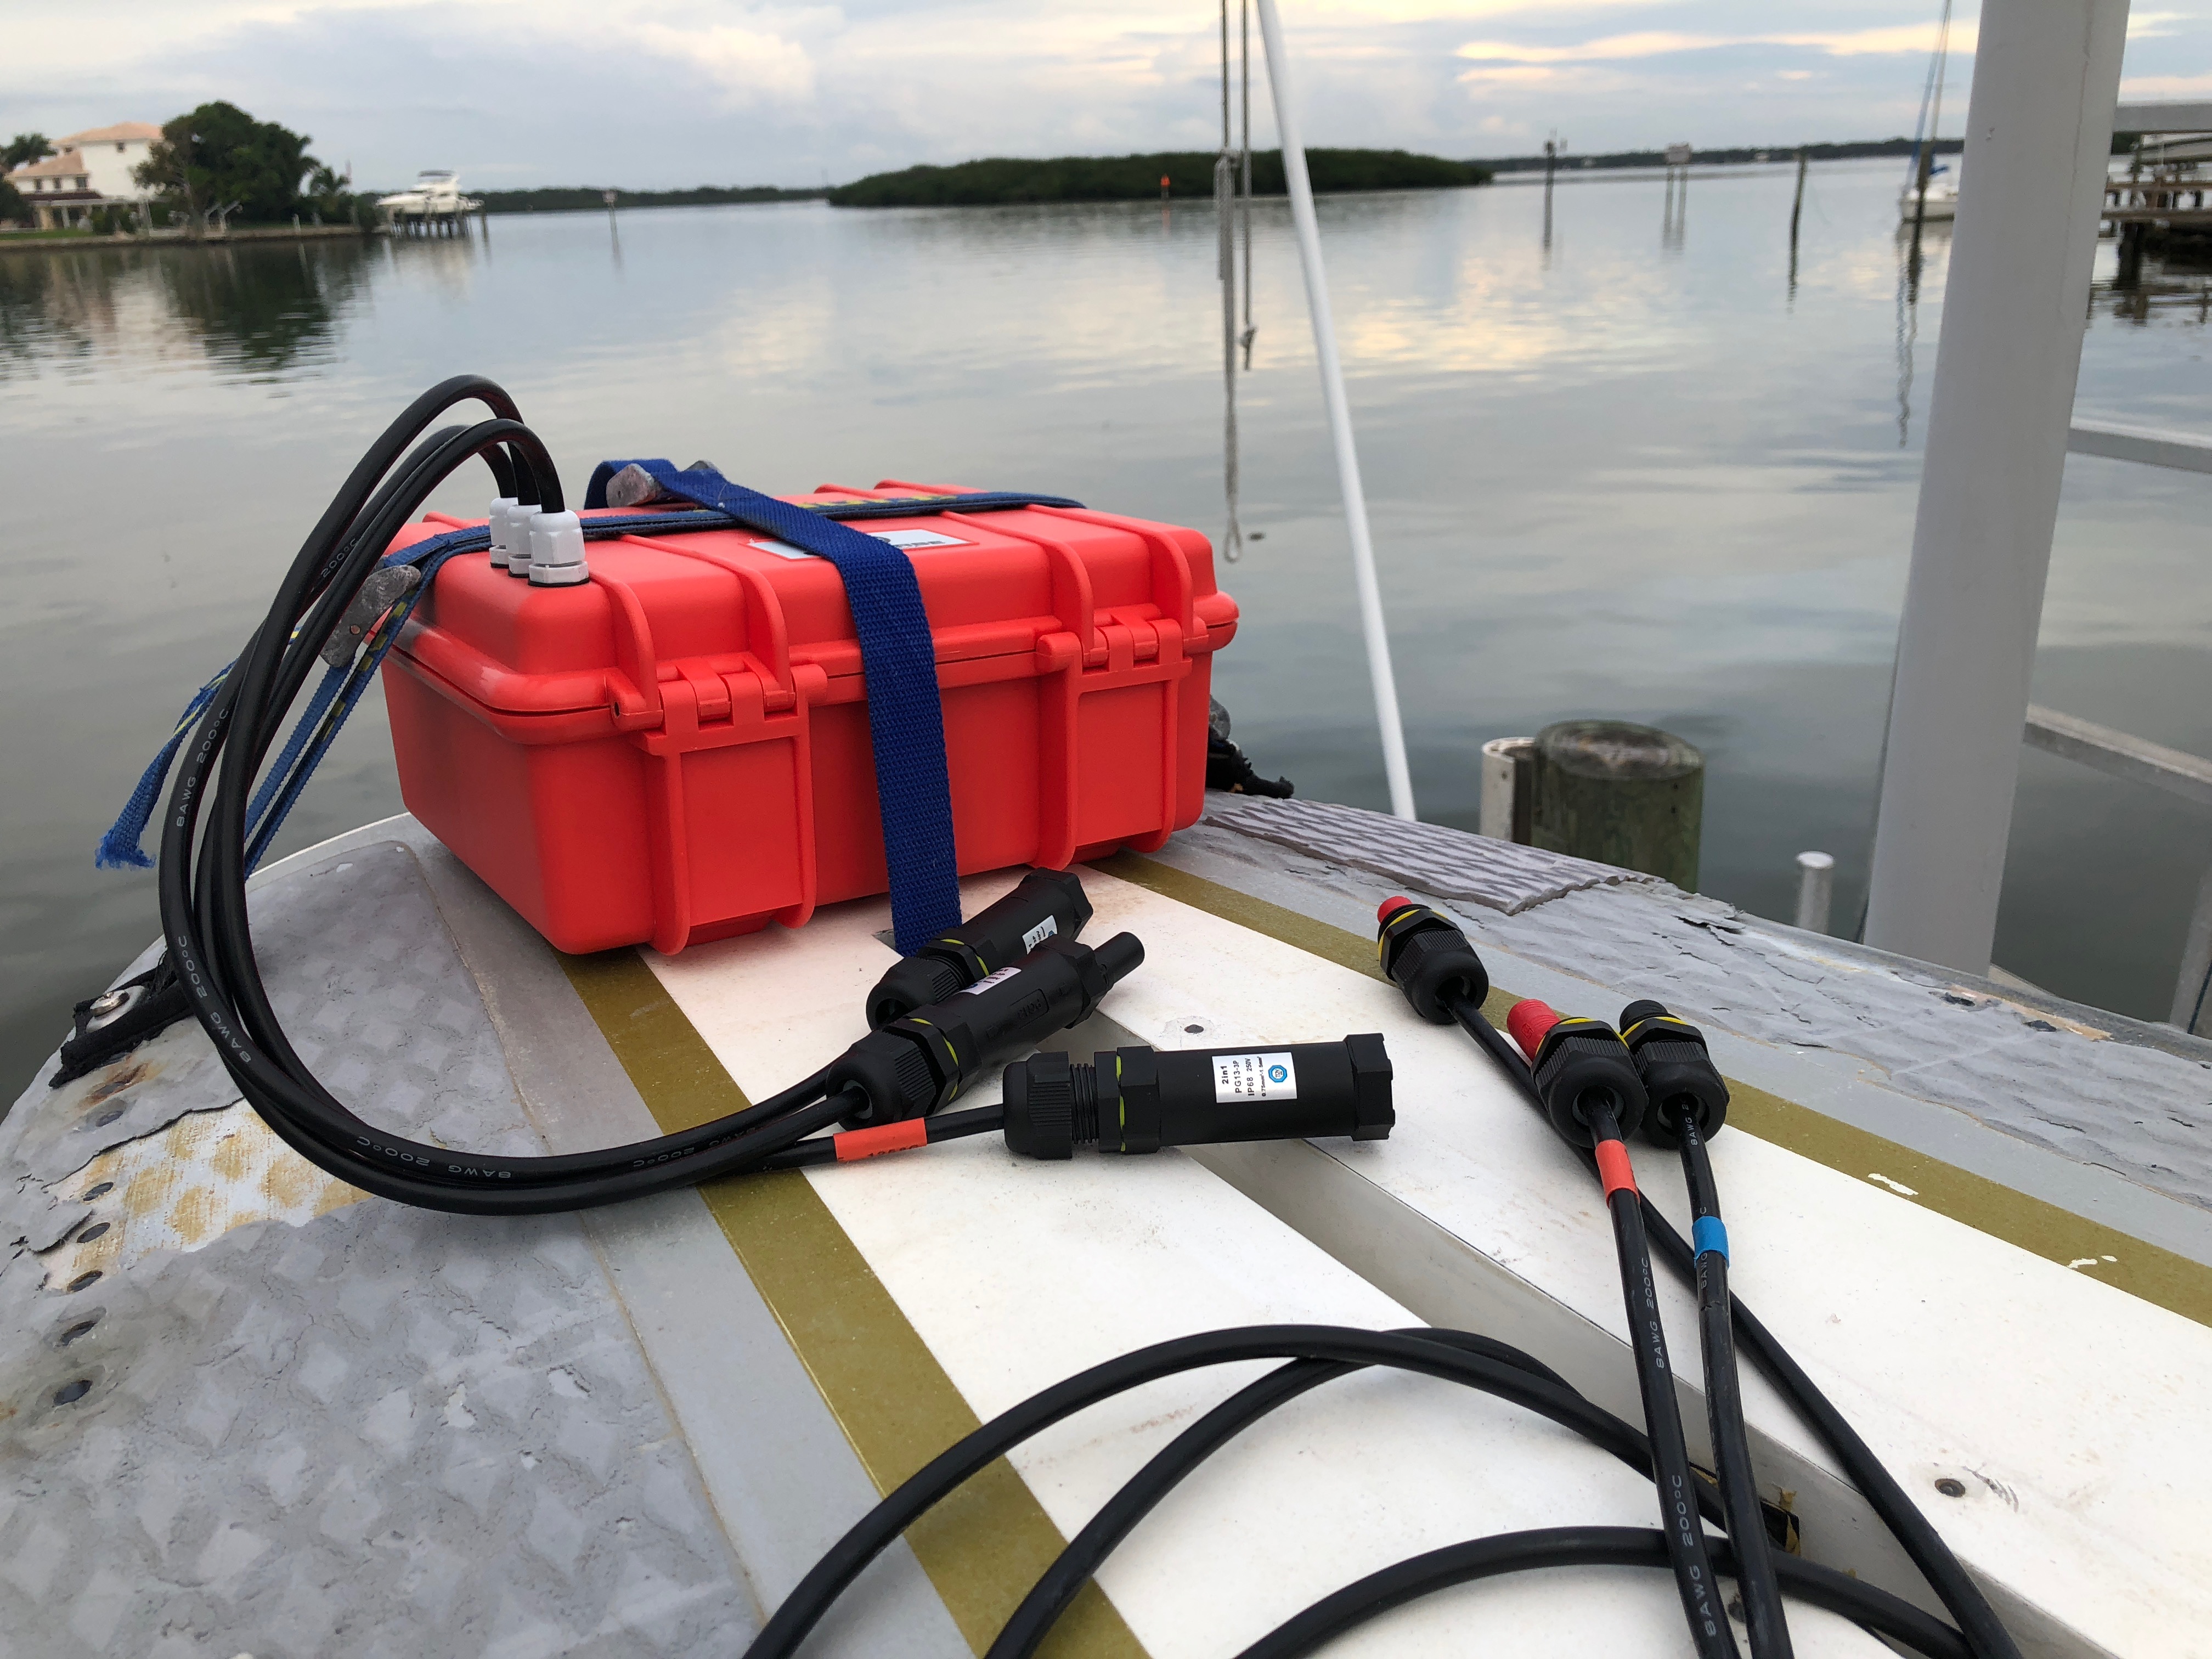
Final assembly before first run. So far these easy-to-make waterproof box connectors have performed flawlessly. I have a PWC lift that was put to good use since this puppy weighs 67 lbs before I cut the board down - exactly the same as a lift foil (30kg in riding mode).
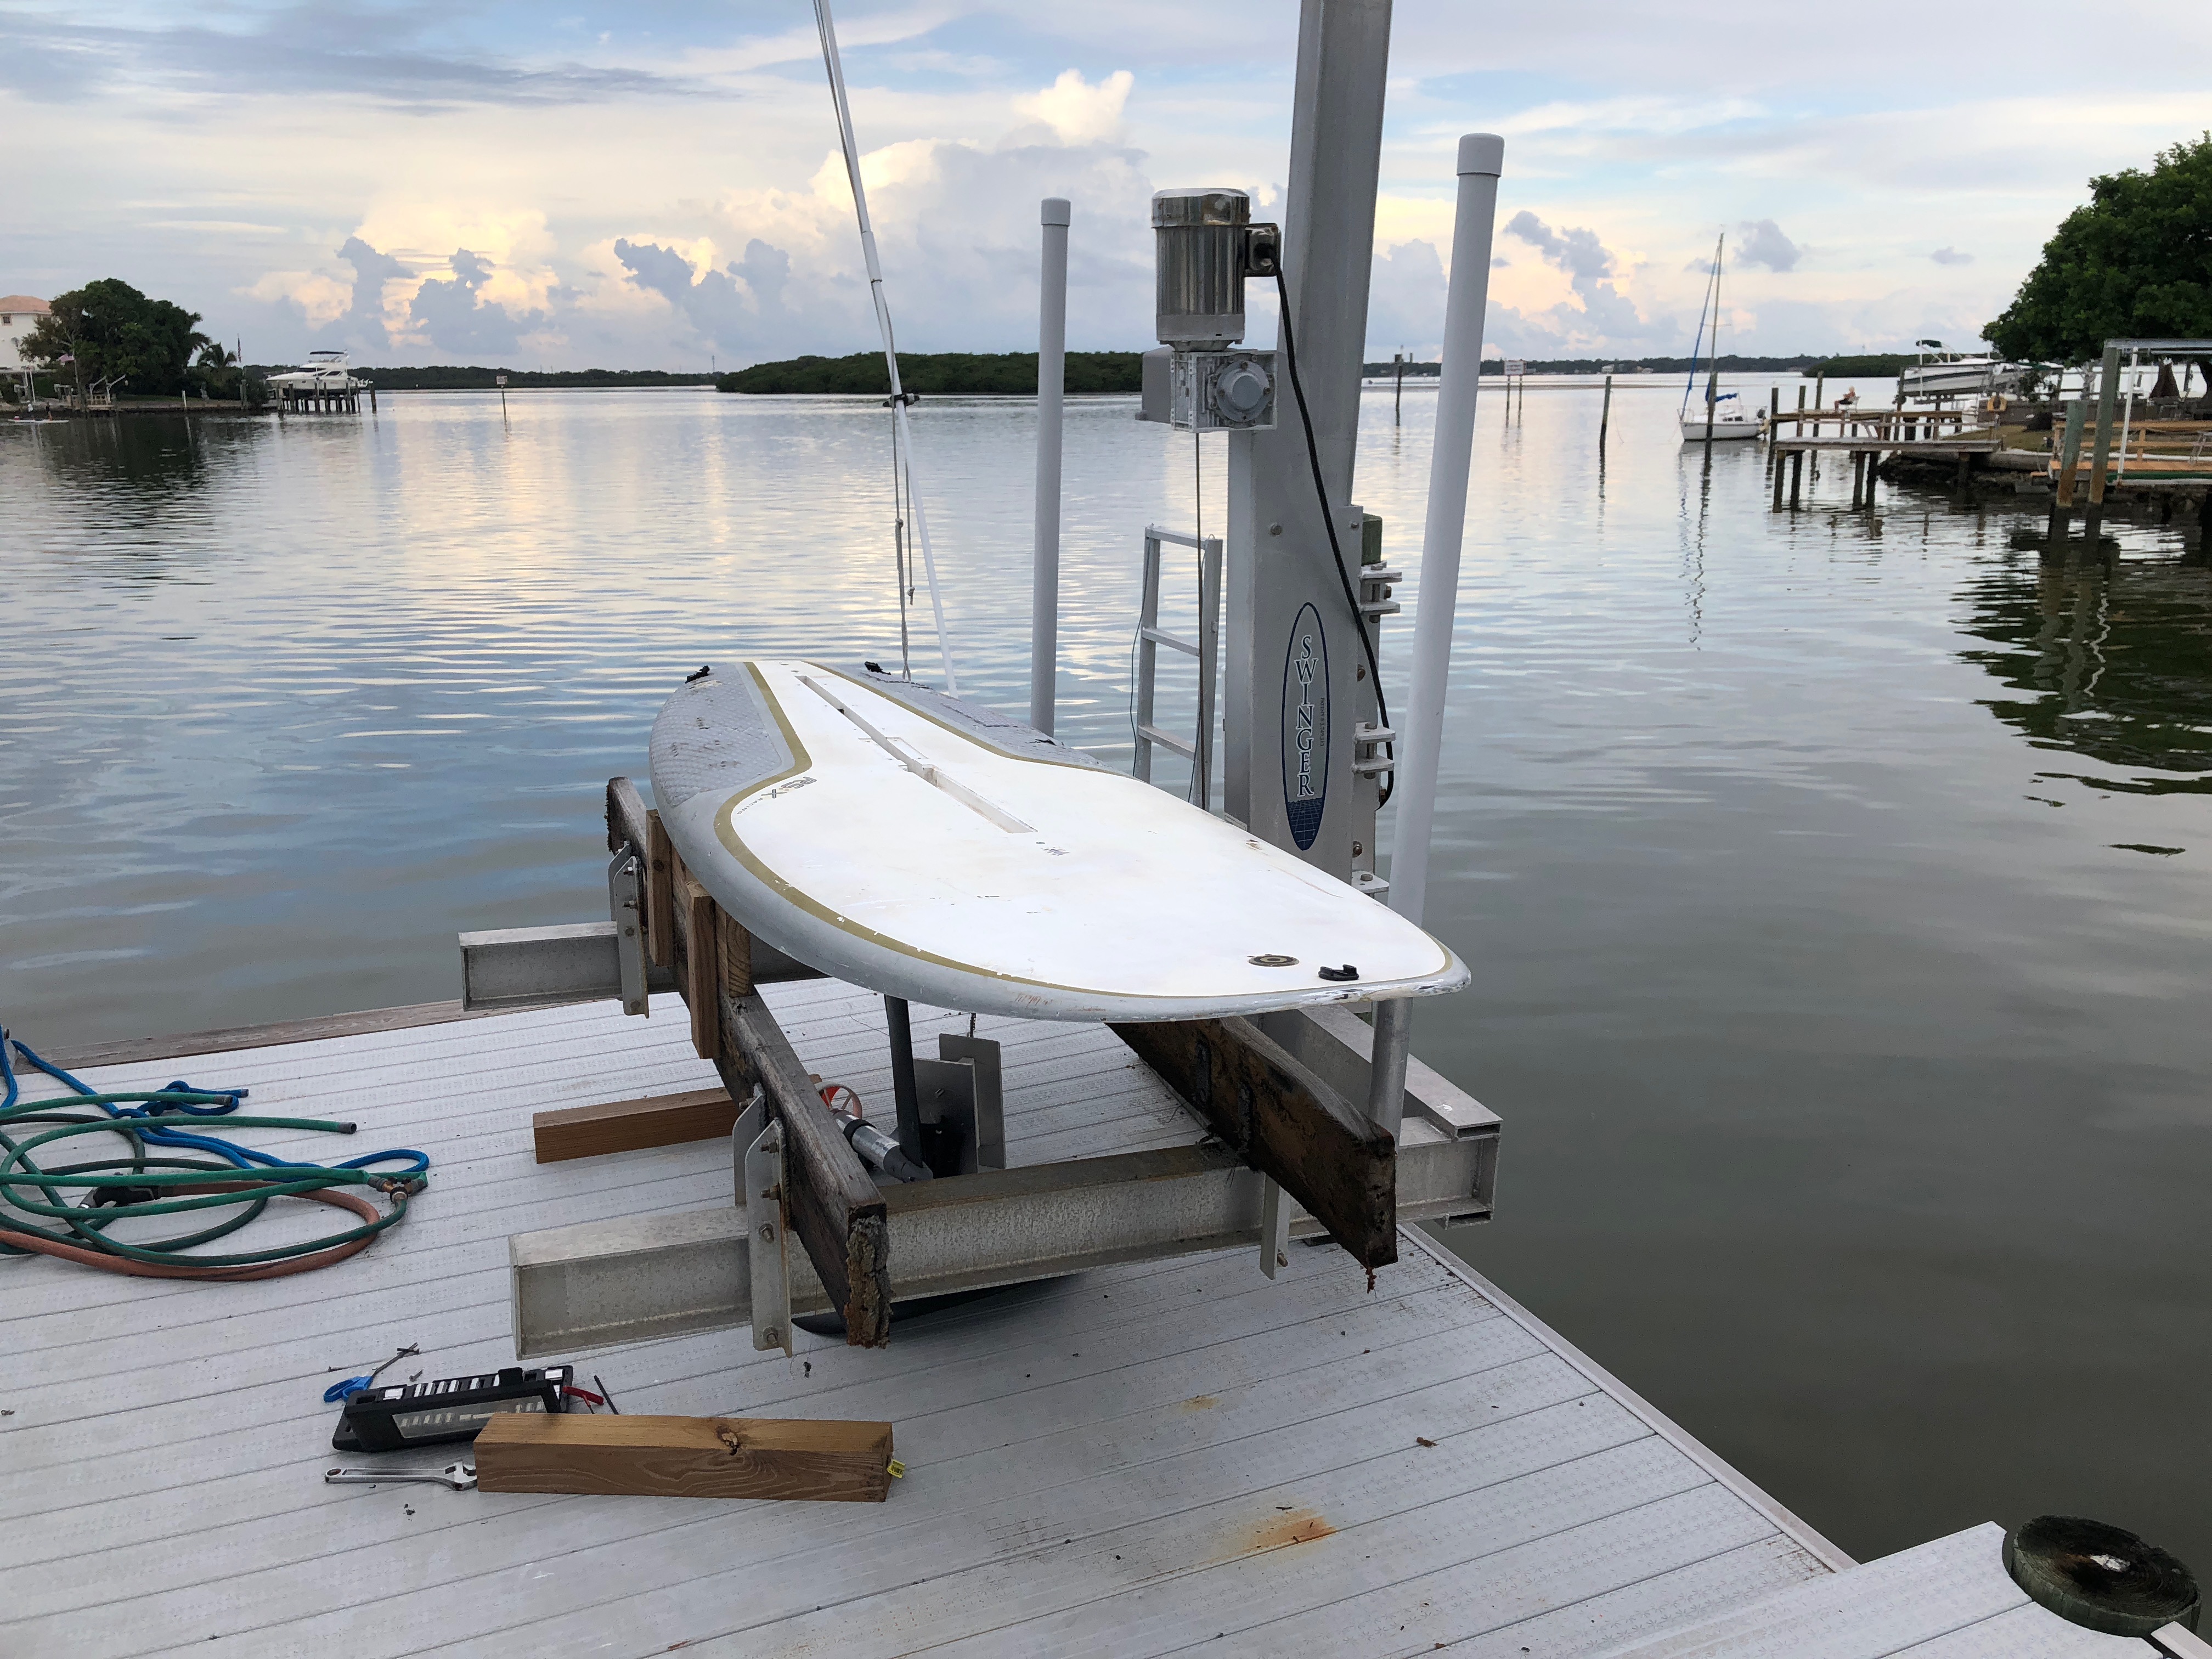
First water test was a success in that the motor ran when I pressed the remote and nothing appears to have leaked, melted or blown up. It also created a punch list of necessary fixes:
- The signal is weak. Unless I held the remote behind my back close to the box it would cut in and out.
- Water is getting pushed into the slot in my board and creating a lot of drag. It needs to be sealed.
- I need to place my weight very far forward or the board “pops a wheelie” with the bow going very high. Maybe moving the foil forward will help.
- The receiver cuts out altogether after about eight minutes and is quite hot to the touch. Starts working again after it cools off. Not sure how to address this.
- I am using the giant GT2B remote in a baggie. I have an esk8 W2 I need to swap in.
- My external box cables are about two feet too long.
- Not sure I have enough power to actually foil. I am running 10s. Maybe need to upgrade to12s? And I wonder if my prop/duct (PacificMeister 3-blade) set-up could be more efficient.
Overall good progress today. As always suggestions, comments, feedback are most welcome!
5 Likes
Hi
If the board is popping wheelies as you said you will need to move the foil backwards
giving the board more weight to help keep the nose down .
or just move your body weight
what is your motor? 360kv or 500kv?

Interesting. I find that counter-intuitive. Wouldn’t moving the weight of the foil and drive pod (23 lbs) forward help keep the nose down?
What is the discharge rate of the batteries? You might not getting enough discharge. Lets say if your batteries ate 10c discharge rated, you get just 50 amps in best condition. While with 16000mah 10c batteries you get 160 amp. People usually use 4 of 16000mah 10c, 6s batteries to make a 12s which can provide more than enough discharge at any state of charge of the battery
Thanks Samisin…Here are my battery specs: I have four - 2 in series x 2 in parallel - so running at 37 volts.
Capacity: 5000mAh
Voltage: 5S1P / 5 Cell / 18.5v
Discharge: 40C Constant / 50C Burst
Weight: 704g (including wire, plug & case)
Dimensions: 147x51x45mm
Balance Plug: JST-XH
Discharge plug: 5.5mm Bullet-connector
Max Charge Rate©3.00
Its the thrust at the end of a 600-1000mm leaver arm that is spinning the nose of the board up
The only way to counter it is to either move the leg back making the front of the board longer , heavier
Or move your weight forward doing the same
I wiuld imagine you will need to do both
Thanks Nick
1 Like