Welcome for your first post. Trading companies like Maytech or Flipsky rely on manufacturers who do not even know their motor efficiency curve.
So some forum members have already started doing this prop matching process empirically (trial and error) with their data loggers (Vesc Tool for people having a VESC compatible ESC or Eagle Tree data logger, …). You can play on two parameters prop diameter and/or prop pitch.
some builders have only decreased the diameter. @virus last 2019/07 lathed down his Maytech prop from 140 to 120mm to match his Maytech 100kv inrunner motor. Some other builders have done it too with their Solas prop.
some other builders printing their own prop have the possibility to play with both diam AND pitch: @V_S if I remember correctly 3D printed a full set of propellers modifying a parameter at a time for his 80100 outrunner motor,
last but not least, inspired by his e-paramotor background, @funboards.at is writing a procedure to find the ideal prop matching a given [battery(volt) / motor (rpm=kv x volt)] combo for his 120kv motor.
The wing is important and its surface varies according to rider’s weight to ensure a target take-off speed. We are just at the beginning of it but the prop matching quest has shown in a recent post that heavier riders (80+ kg or 160+lbs) prefer a lower pitch for an earlier take-off, probably at the expense of the max speed (lower pitch = more start kick = lower max speed), here 5.5" pitch prop rather a 6" pitch one to match a 100 or 120kv inrunner motor.
@funboards.at show a very good job on his topic. He’s perfectly right and his paramotor experience help a lot.
I never practice foil myself, but like I will have a lot of time and environement for it, in a next future, I’m looking this Efoil DIY with big interest .
I’m surprise by the lack of information given by the motor manufacturers and even more by the companies which are buying a stock of them, put their logo on it and put it for sale twice the original pricing.
I totally agree with the do and try concept for amateur like we are, but not with a “professional” seller.
All the parameters are linked together, upgrading one will probably degrade another one or more, and the perfect Efoil will necessary be a compromise of all the parameters to obtain the personnal objectives (riding style, top speed, lift force, range …)
Very impatient to read the next posts here and in the other topics.
As I try to build my first geared Efoil I tried to record and show log , work on efficiency and all , yes we are missing all lot of information about motor , but as a diy built first of all I guess we are happy if we can foil and that the all thing does not take fire
After we try to learn foiling , managing to use a not so waterproof remote … falling again and again
So numbers and efficiency are important but not more than a working set up and fun
Torque weight pitch speed … there is no best setup I think just one that fit yours needs
The DIY level is quite high on these projects/forum, and I think (for the topics i had read here) there is more technical and good ideas tested here than the solutions plug and play offered on the market.
Stay away from the “Maytech plug and play” system. It’s very over priced, terrible prop, and wrong motor shaft. The more research you do before you start, the more likely you will have a functional build the first time.
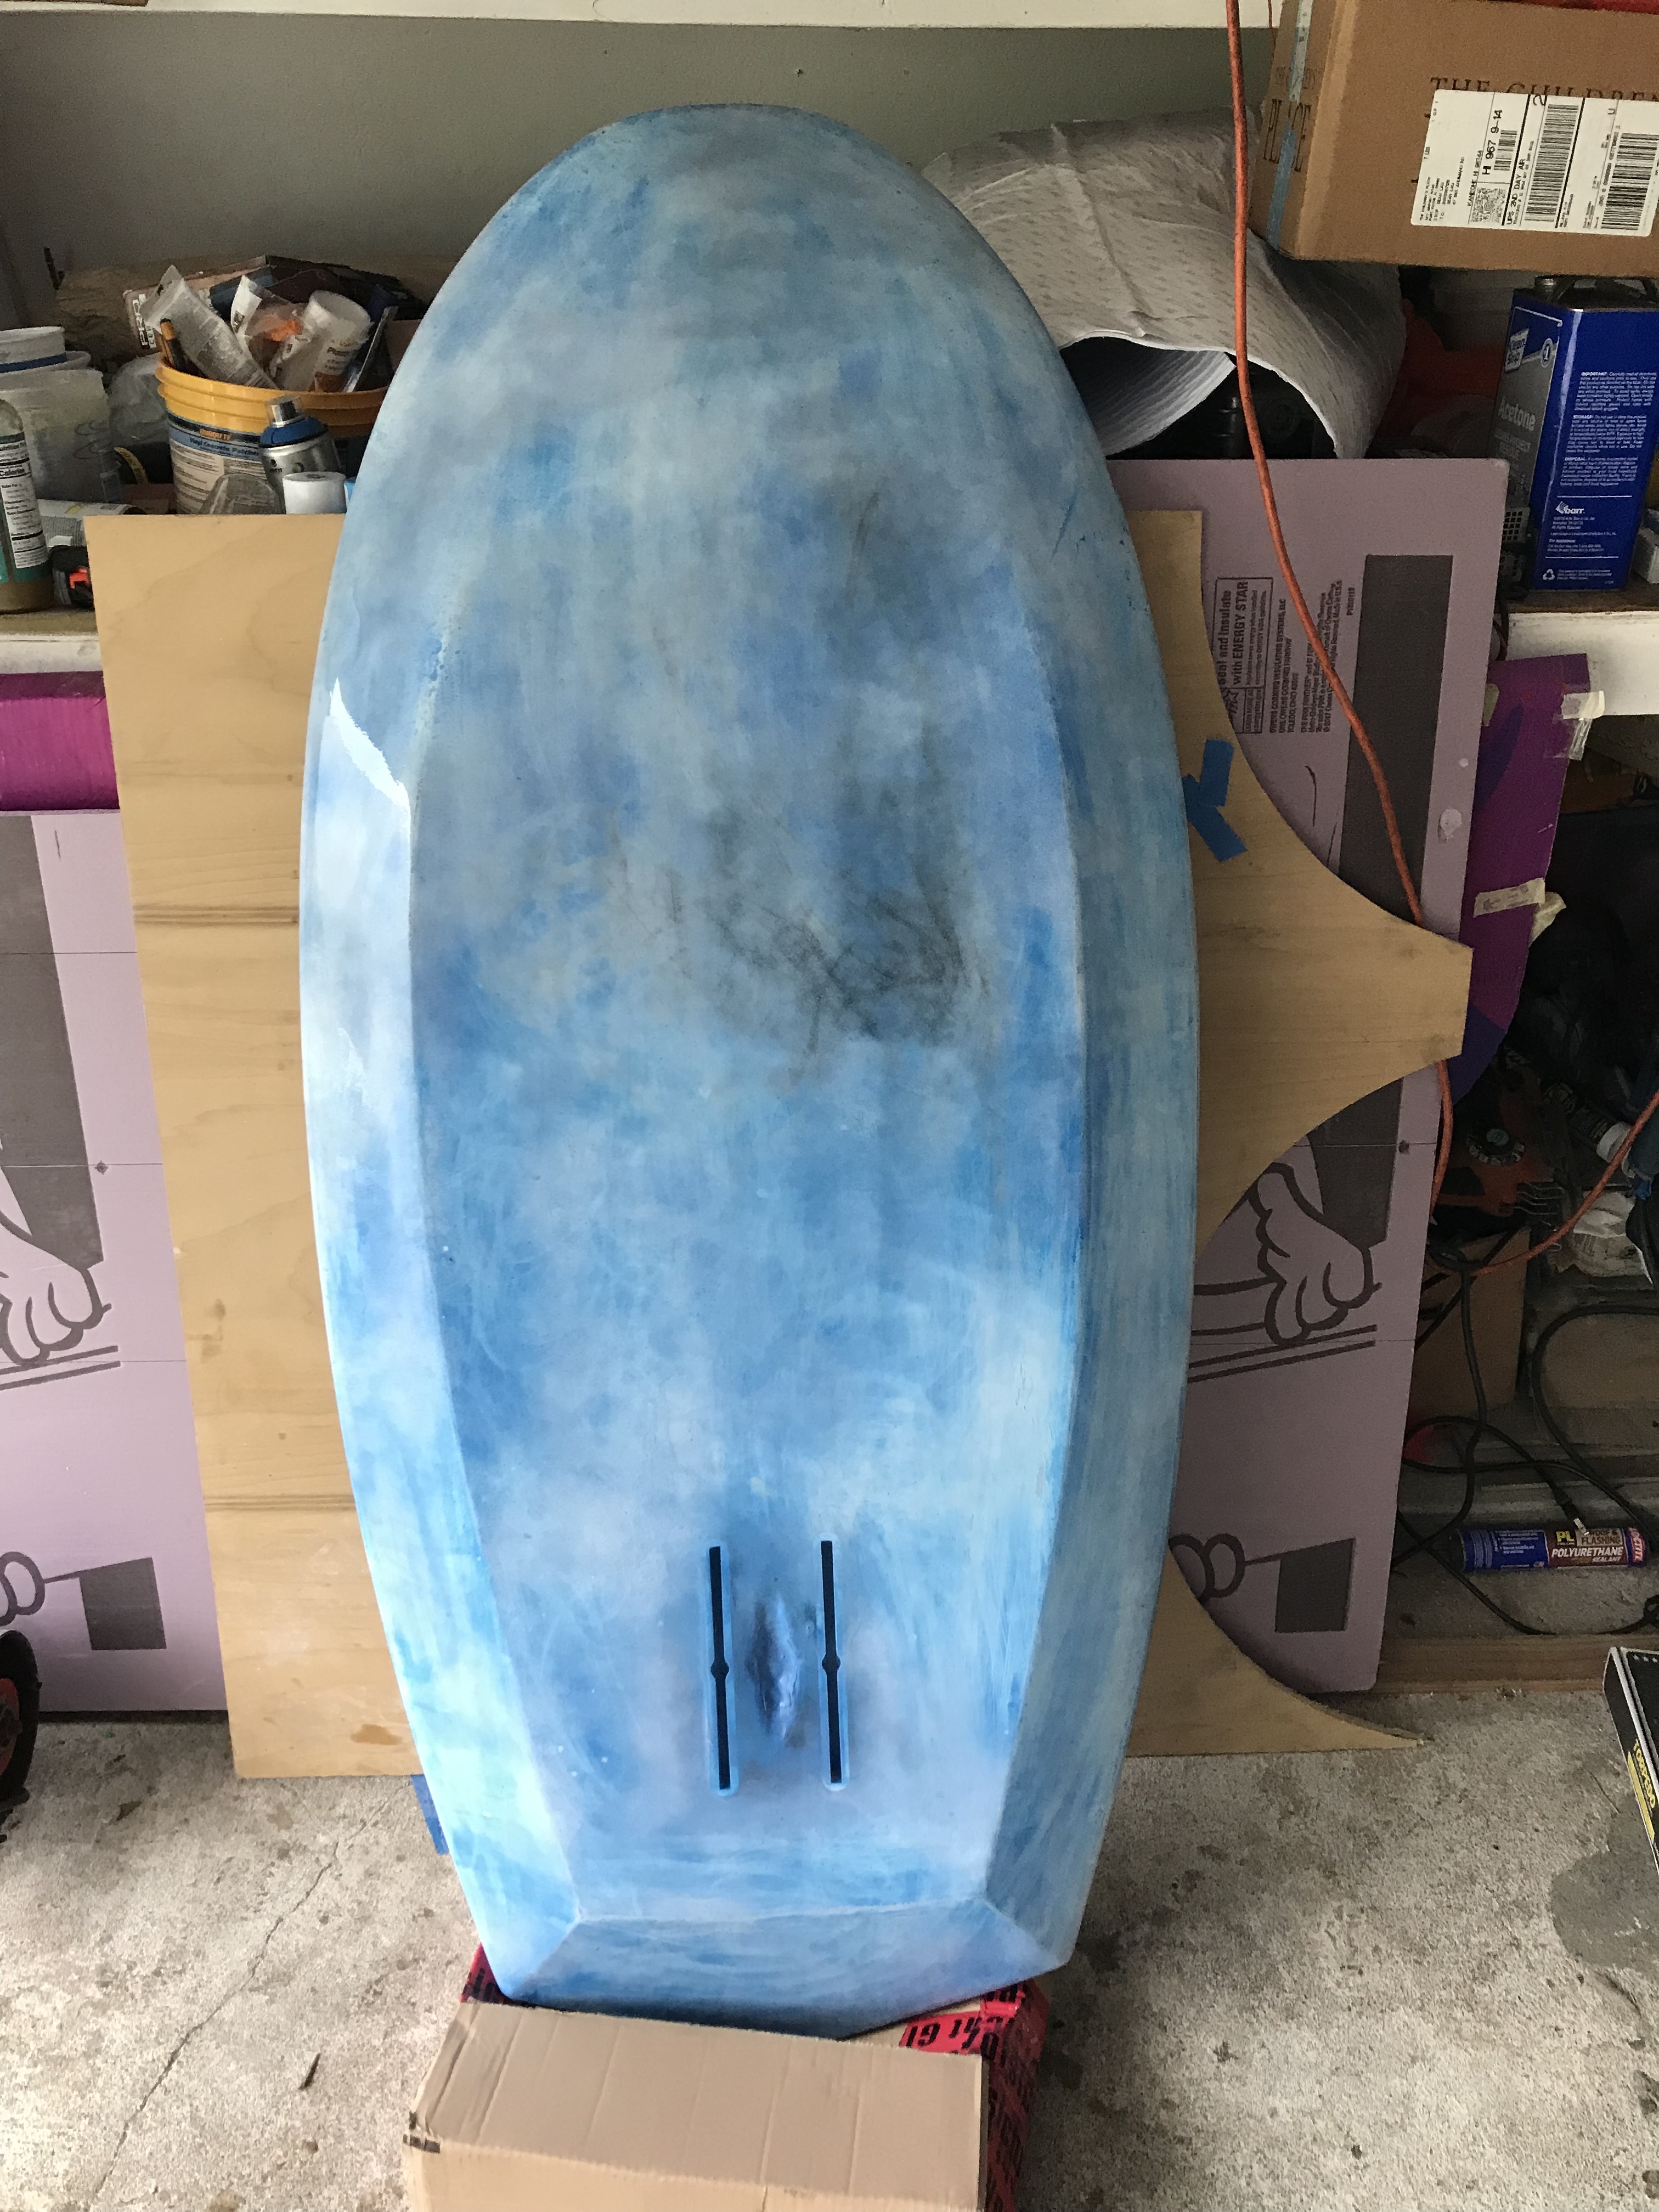
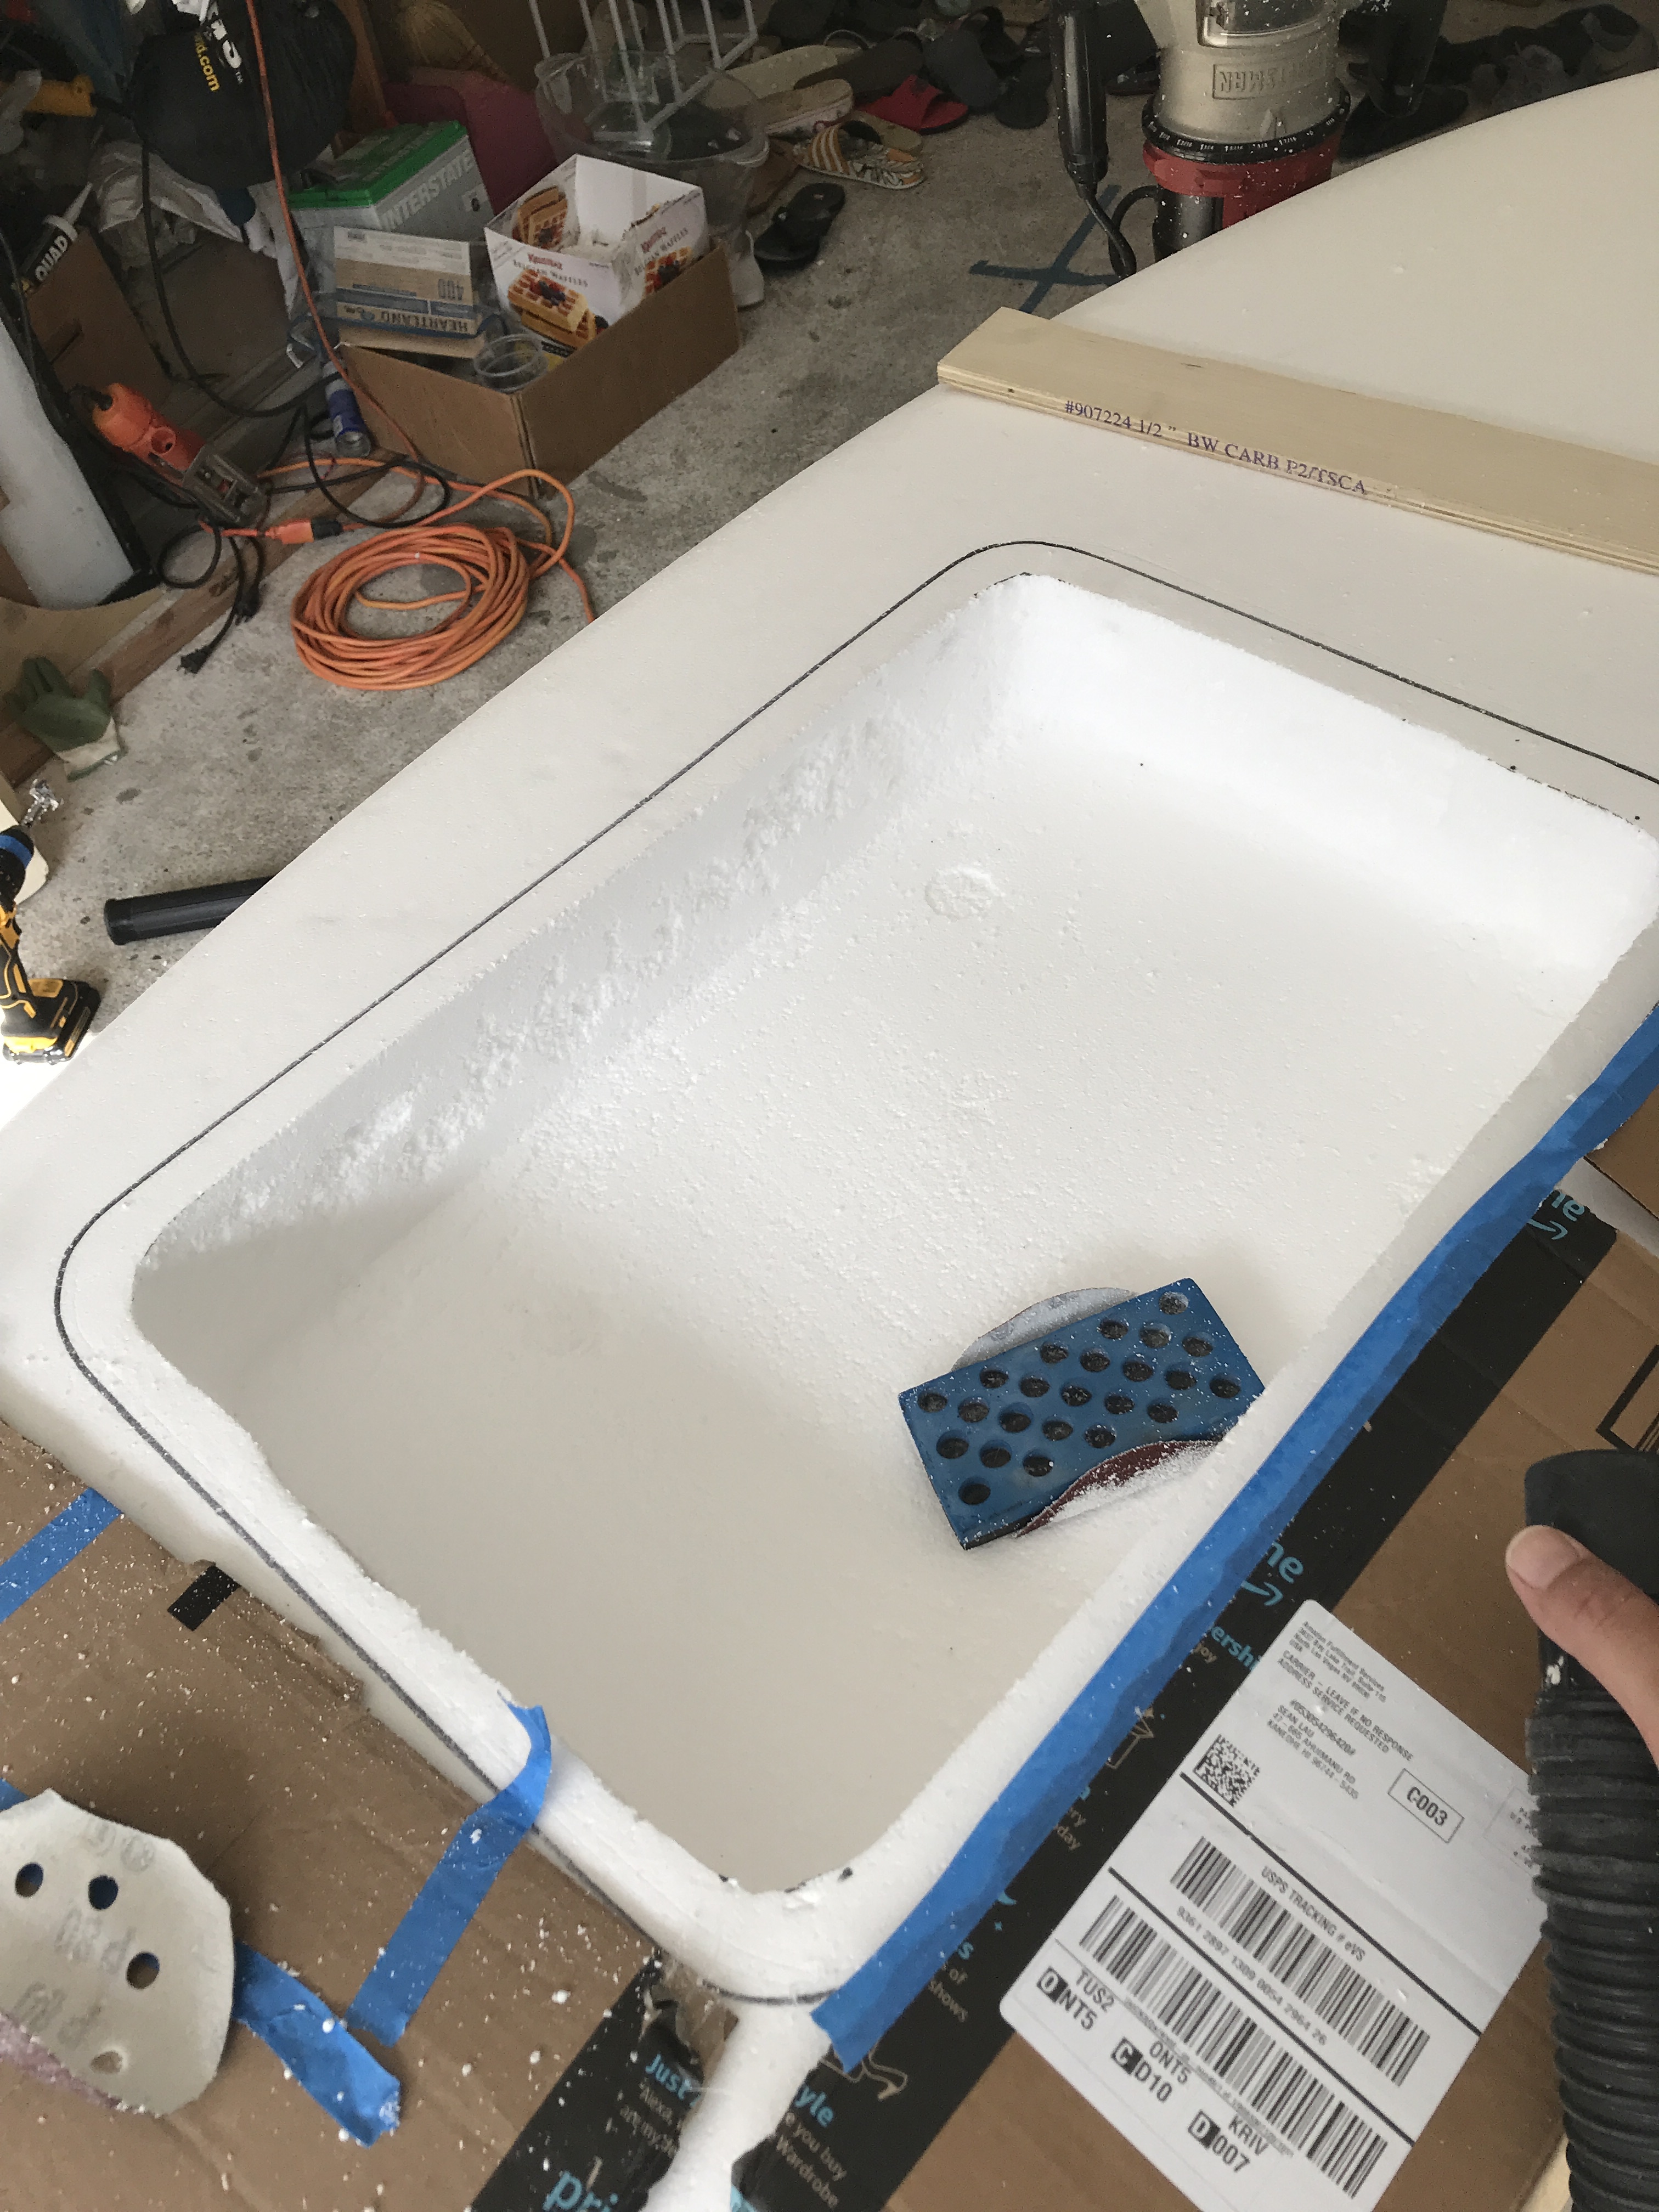
Hey Everyone!!! I’ve been working with Flightjunkie to build our Efoils. I just completed my build.
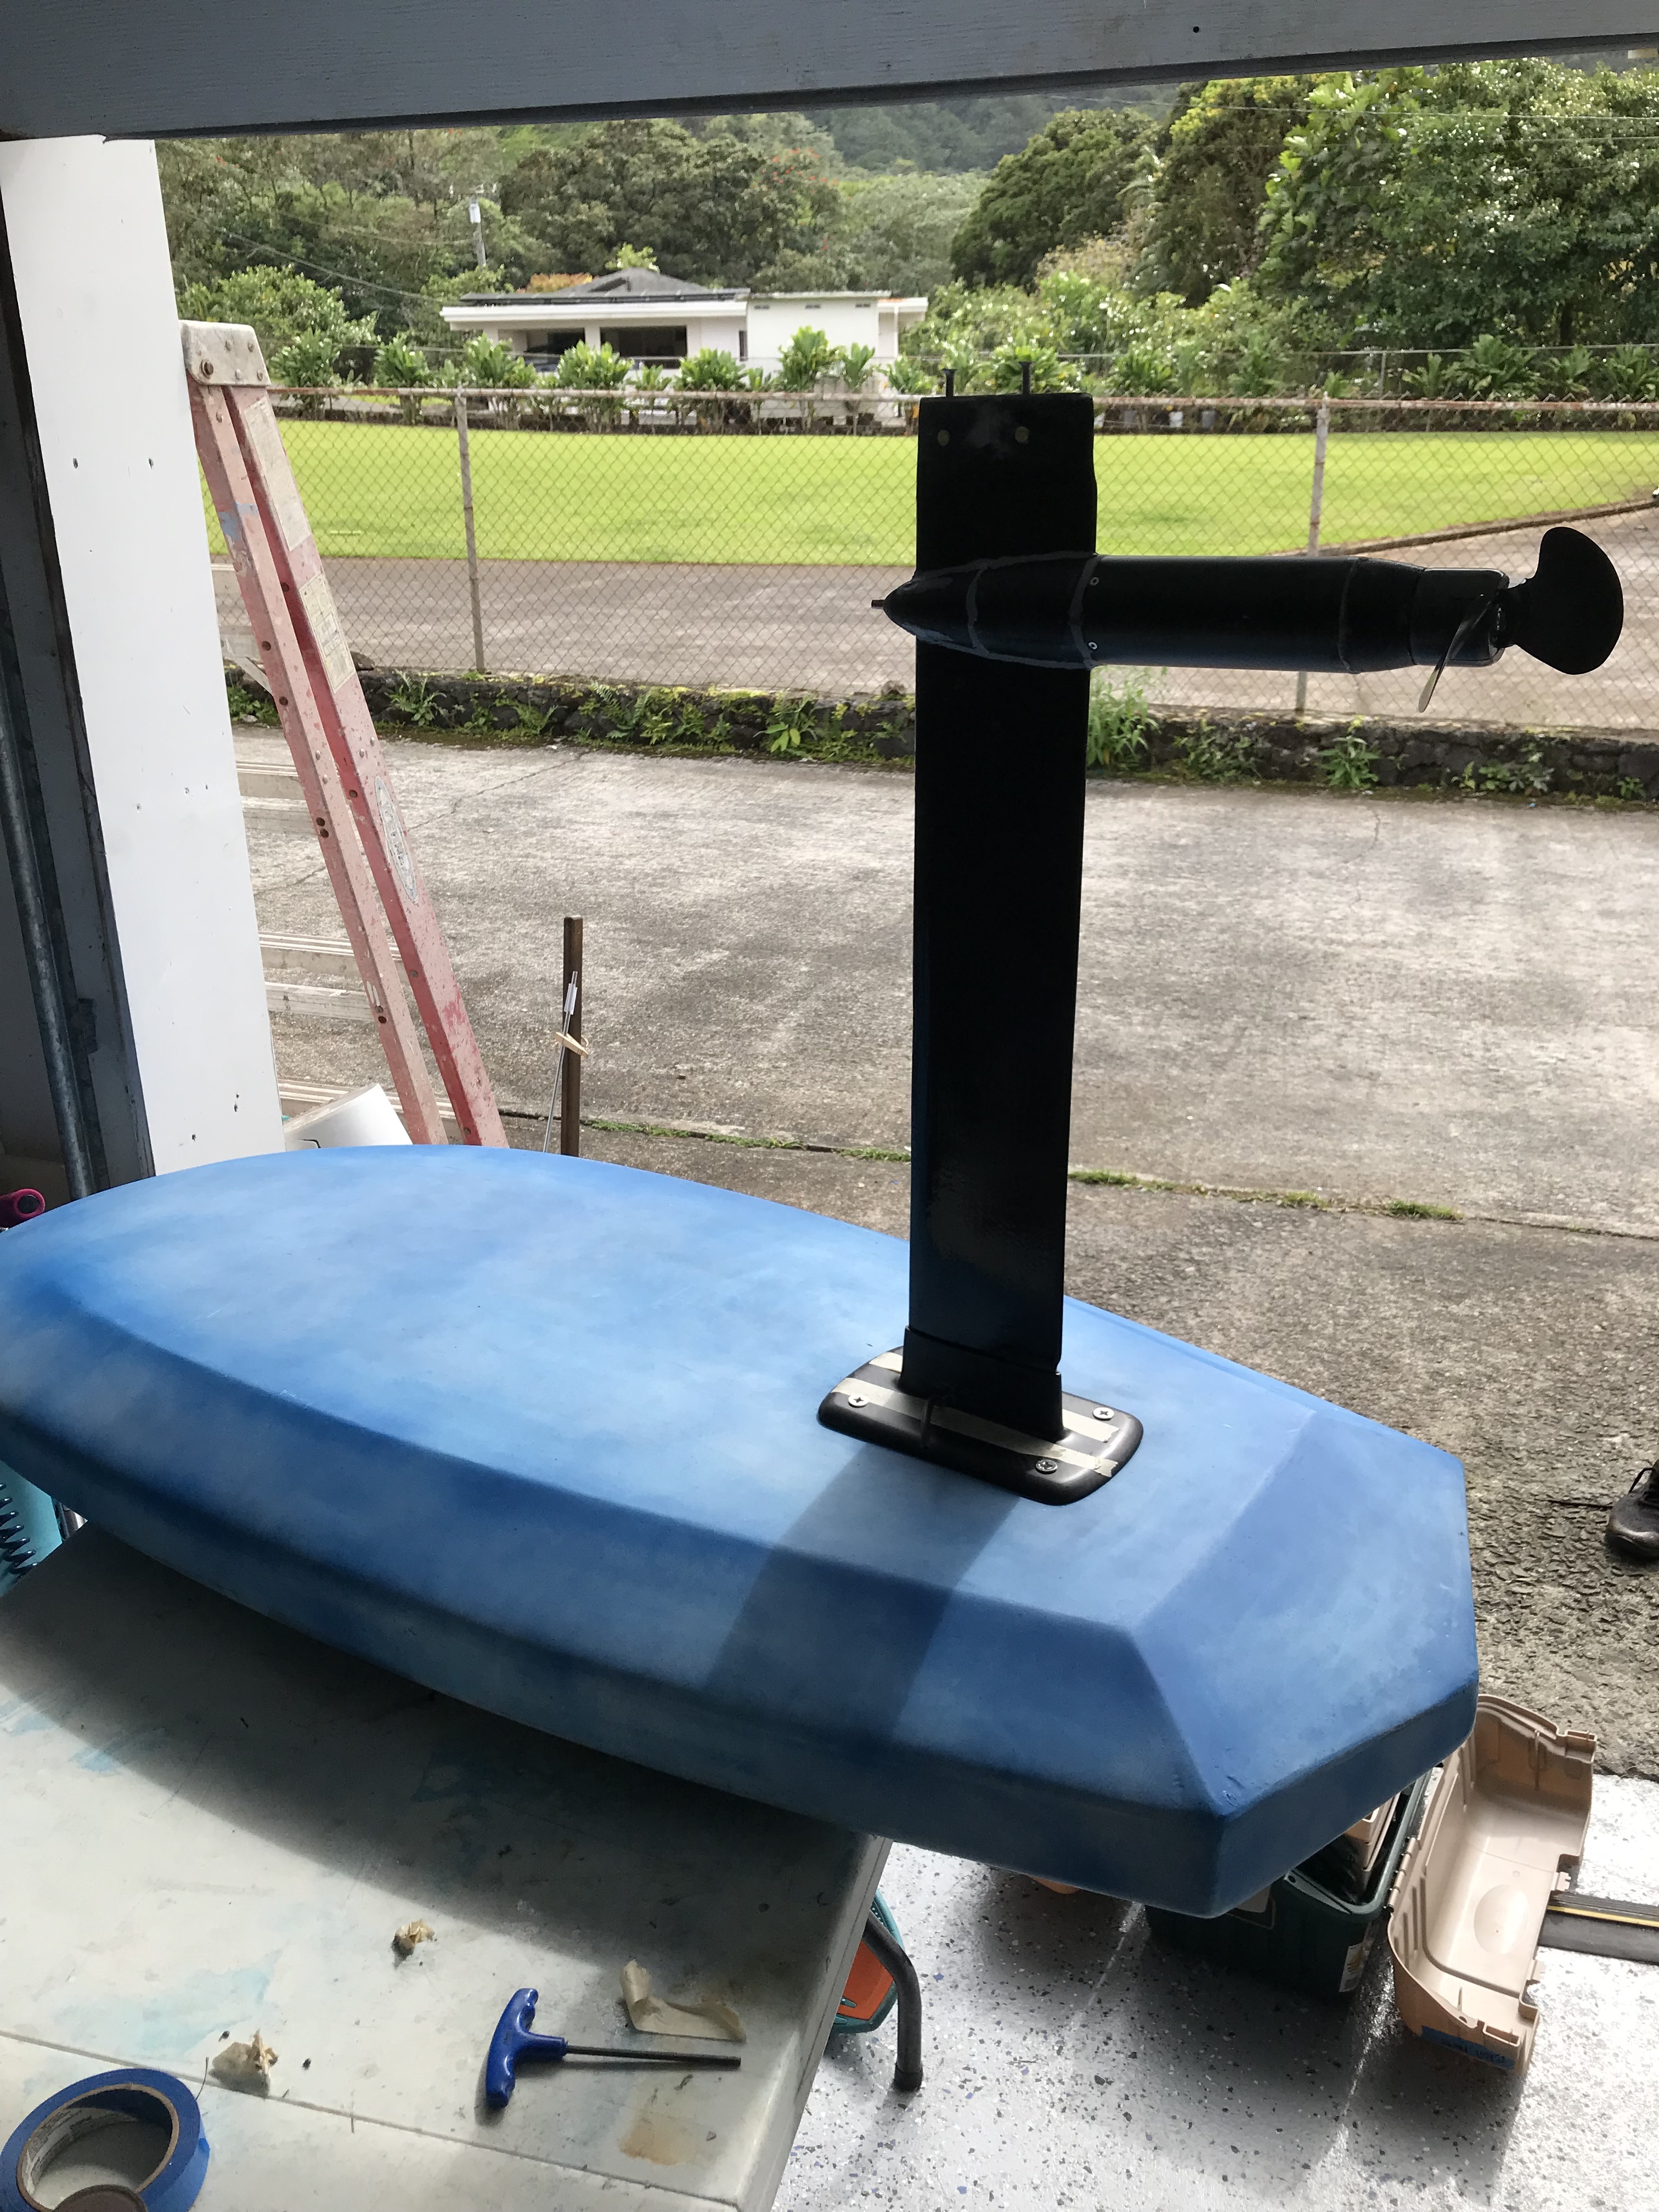
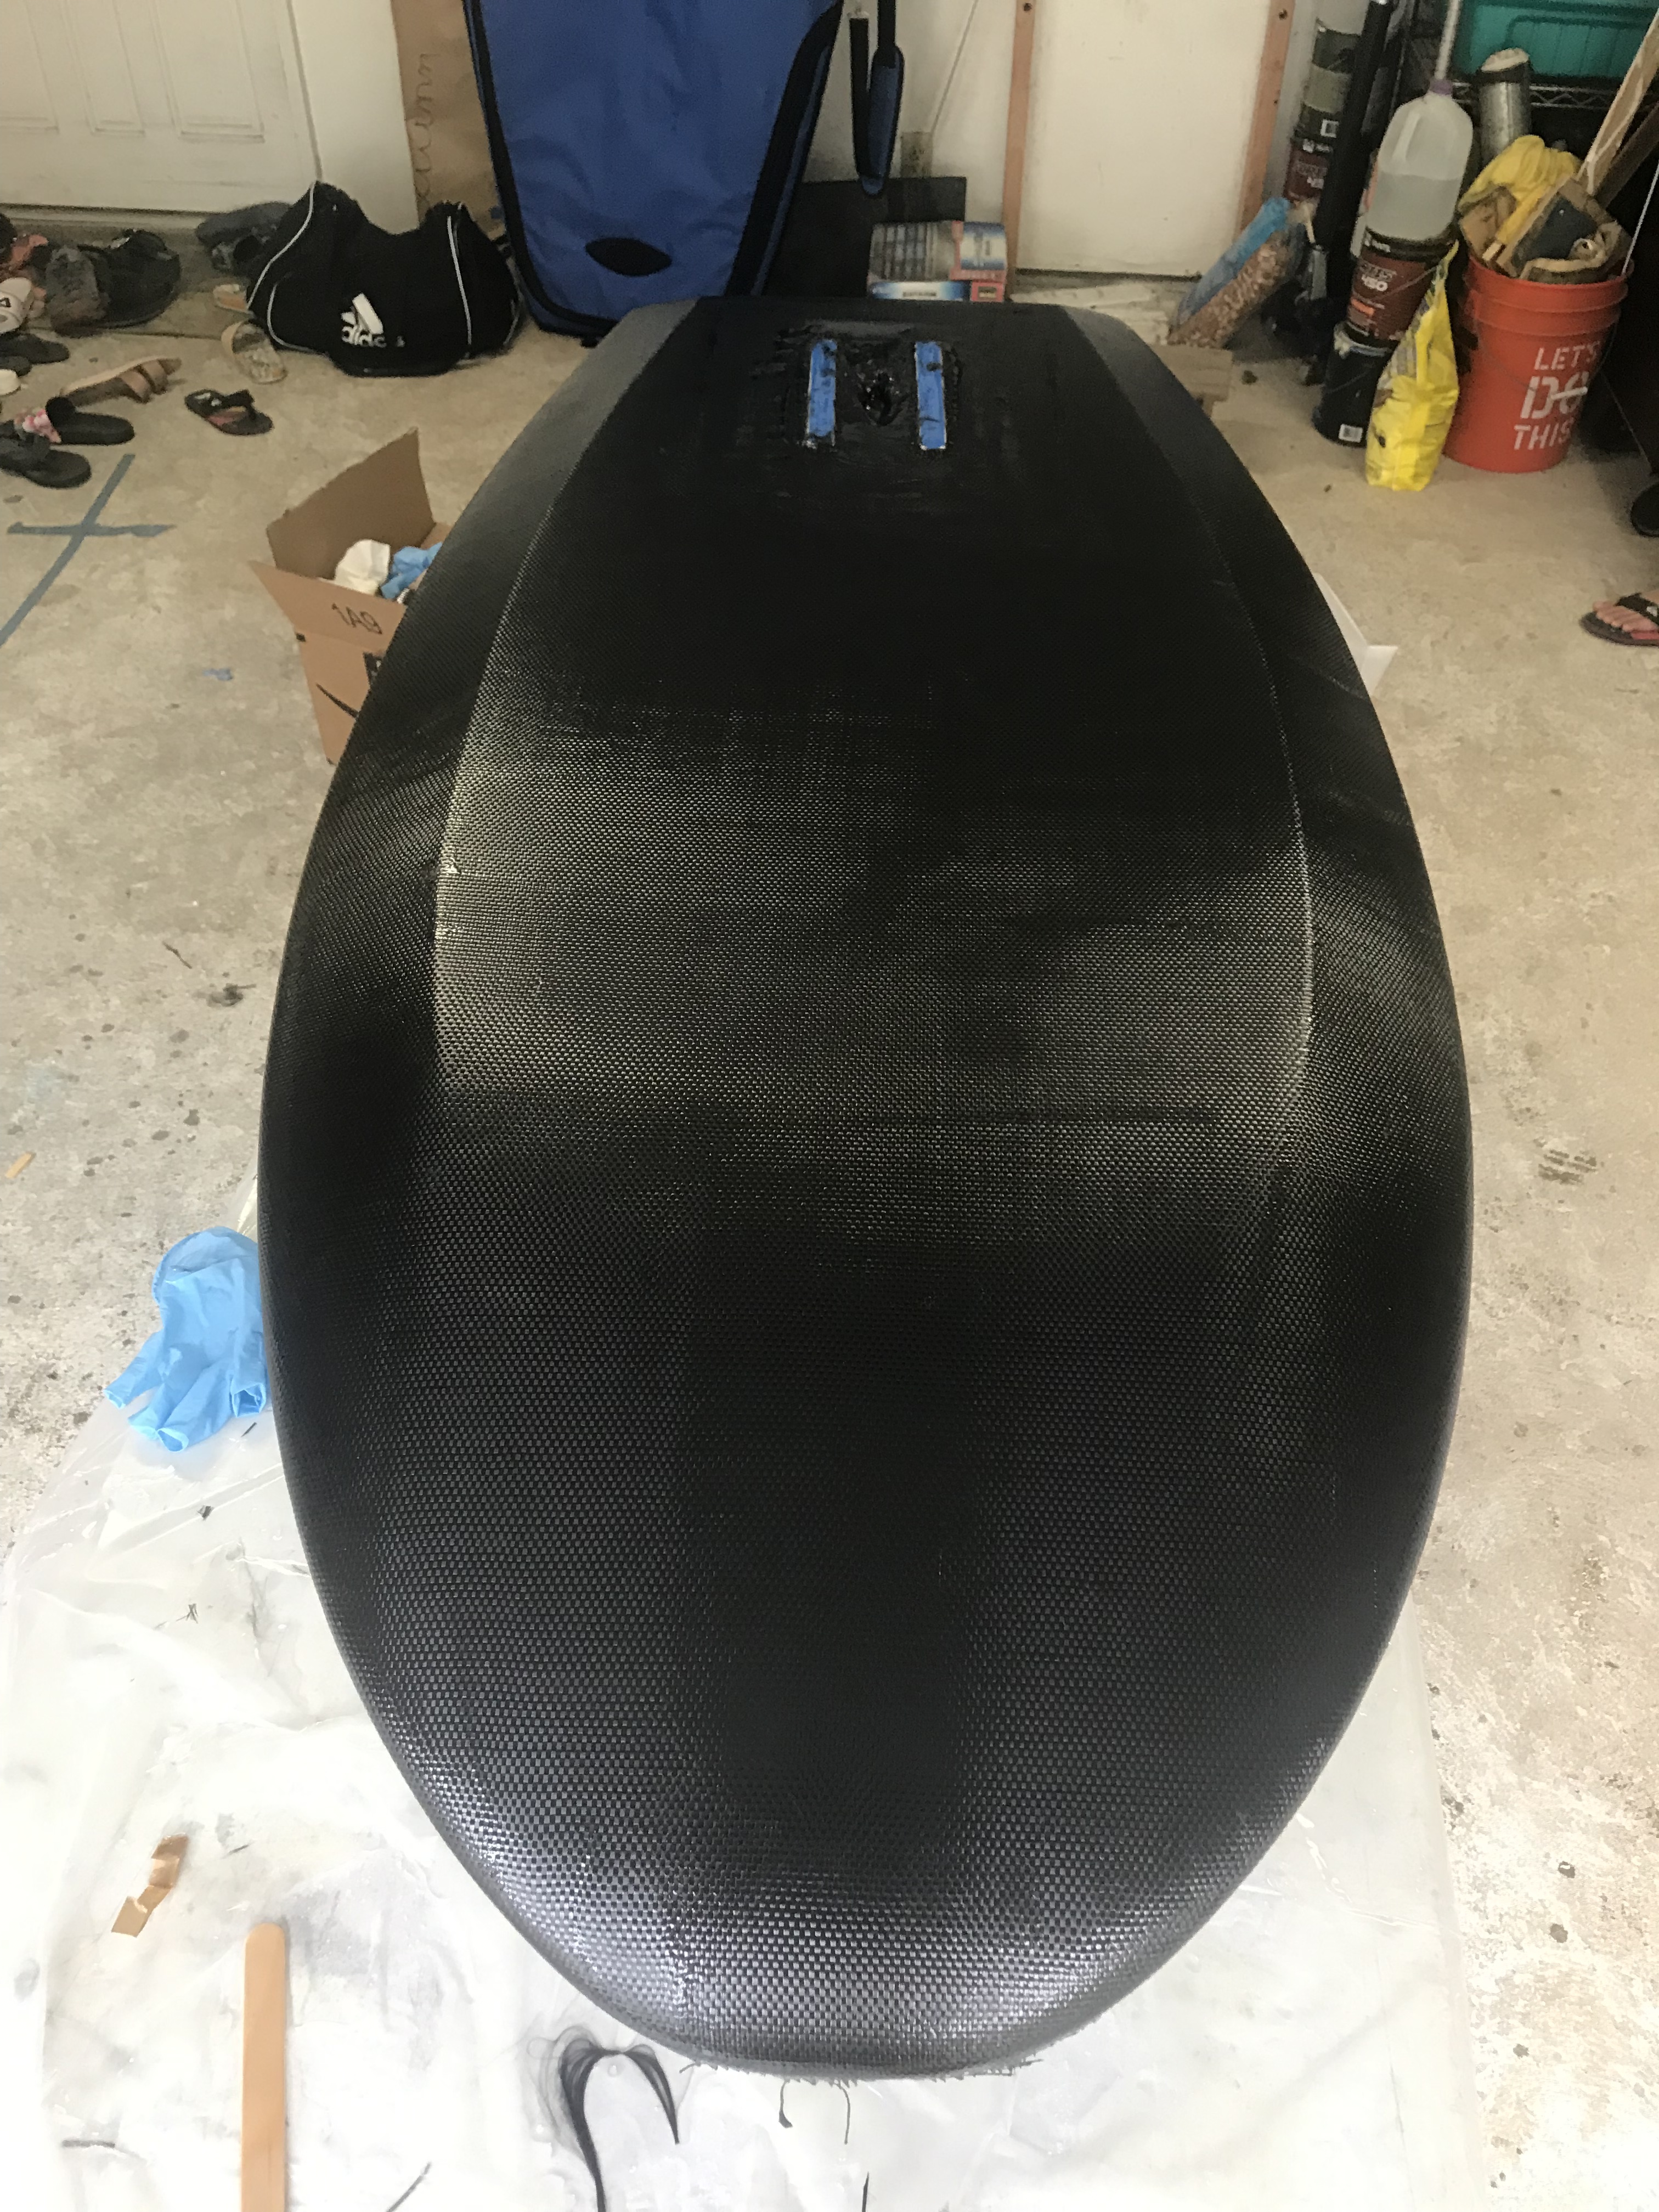
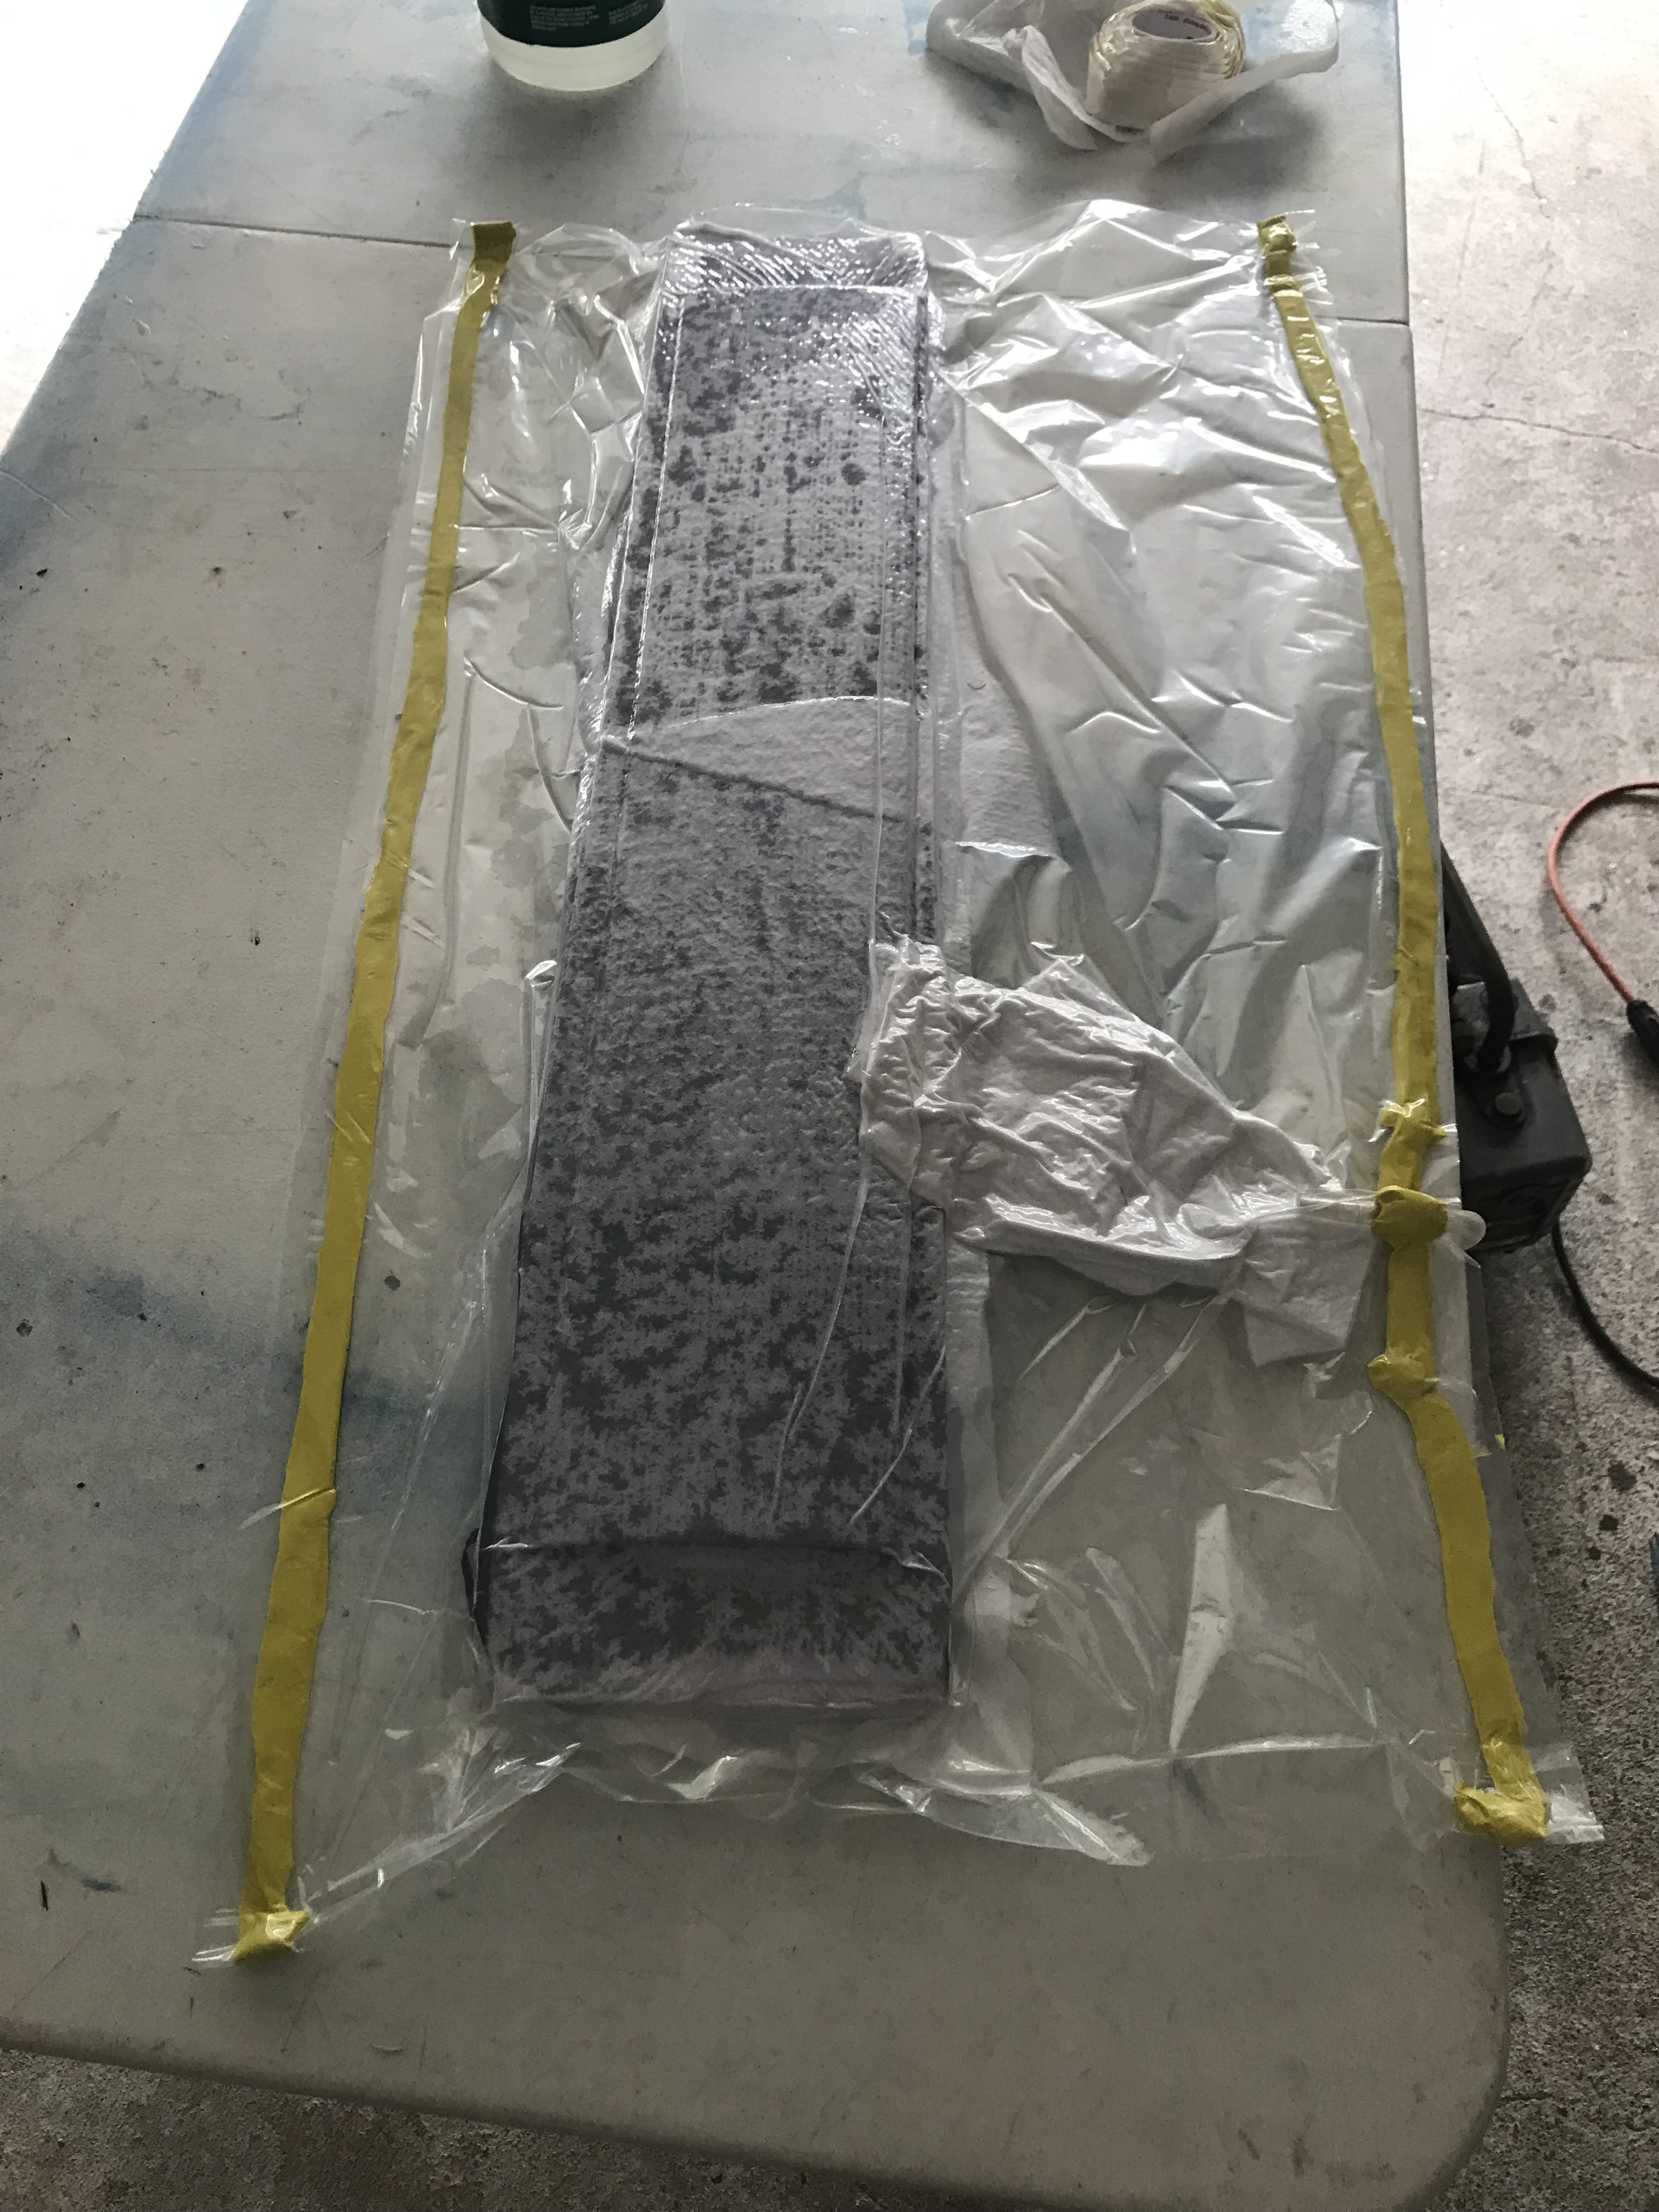
Board is Hand Shaped eps foam, carbon/epoxy.
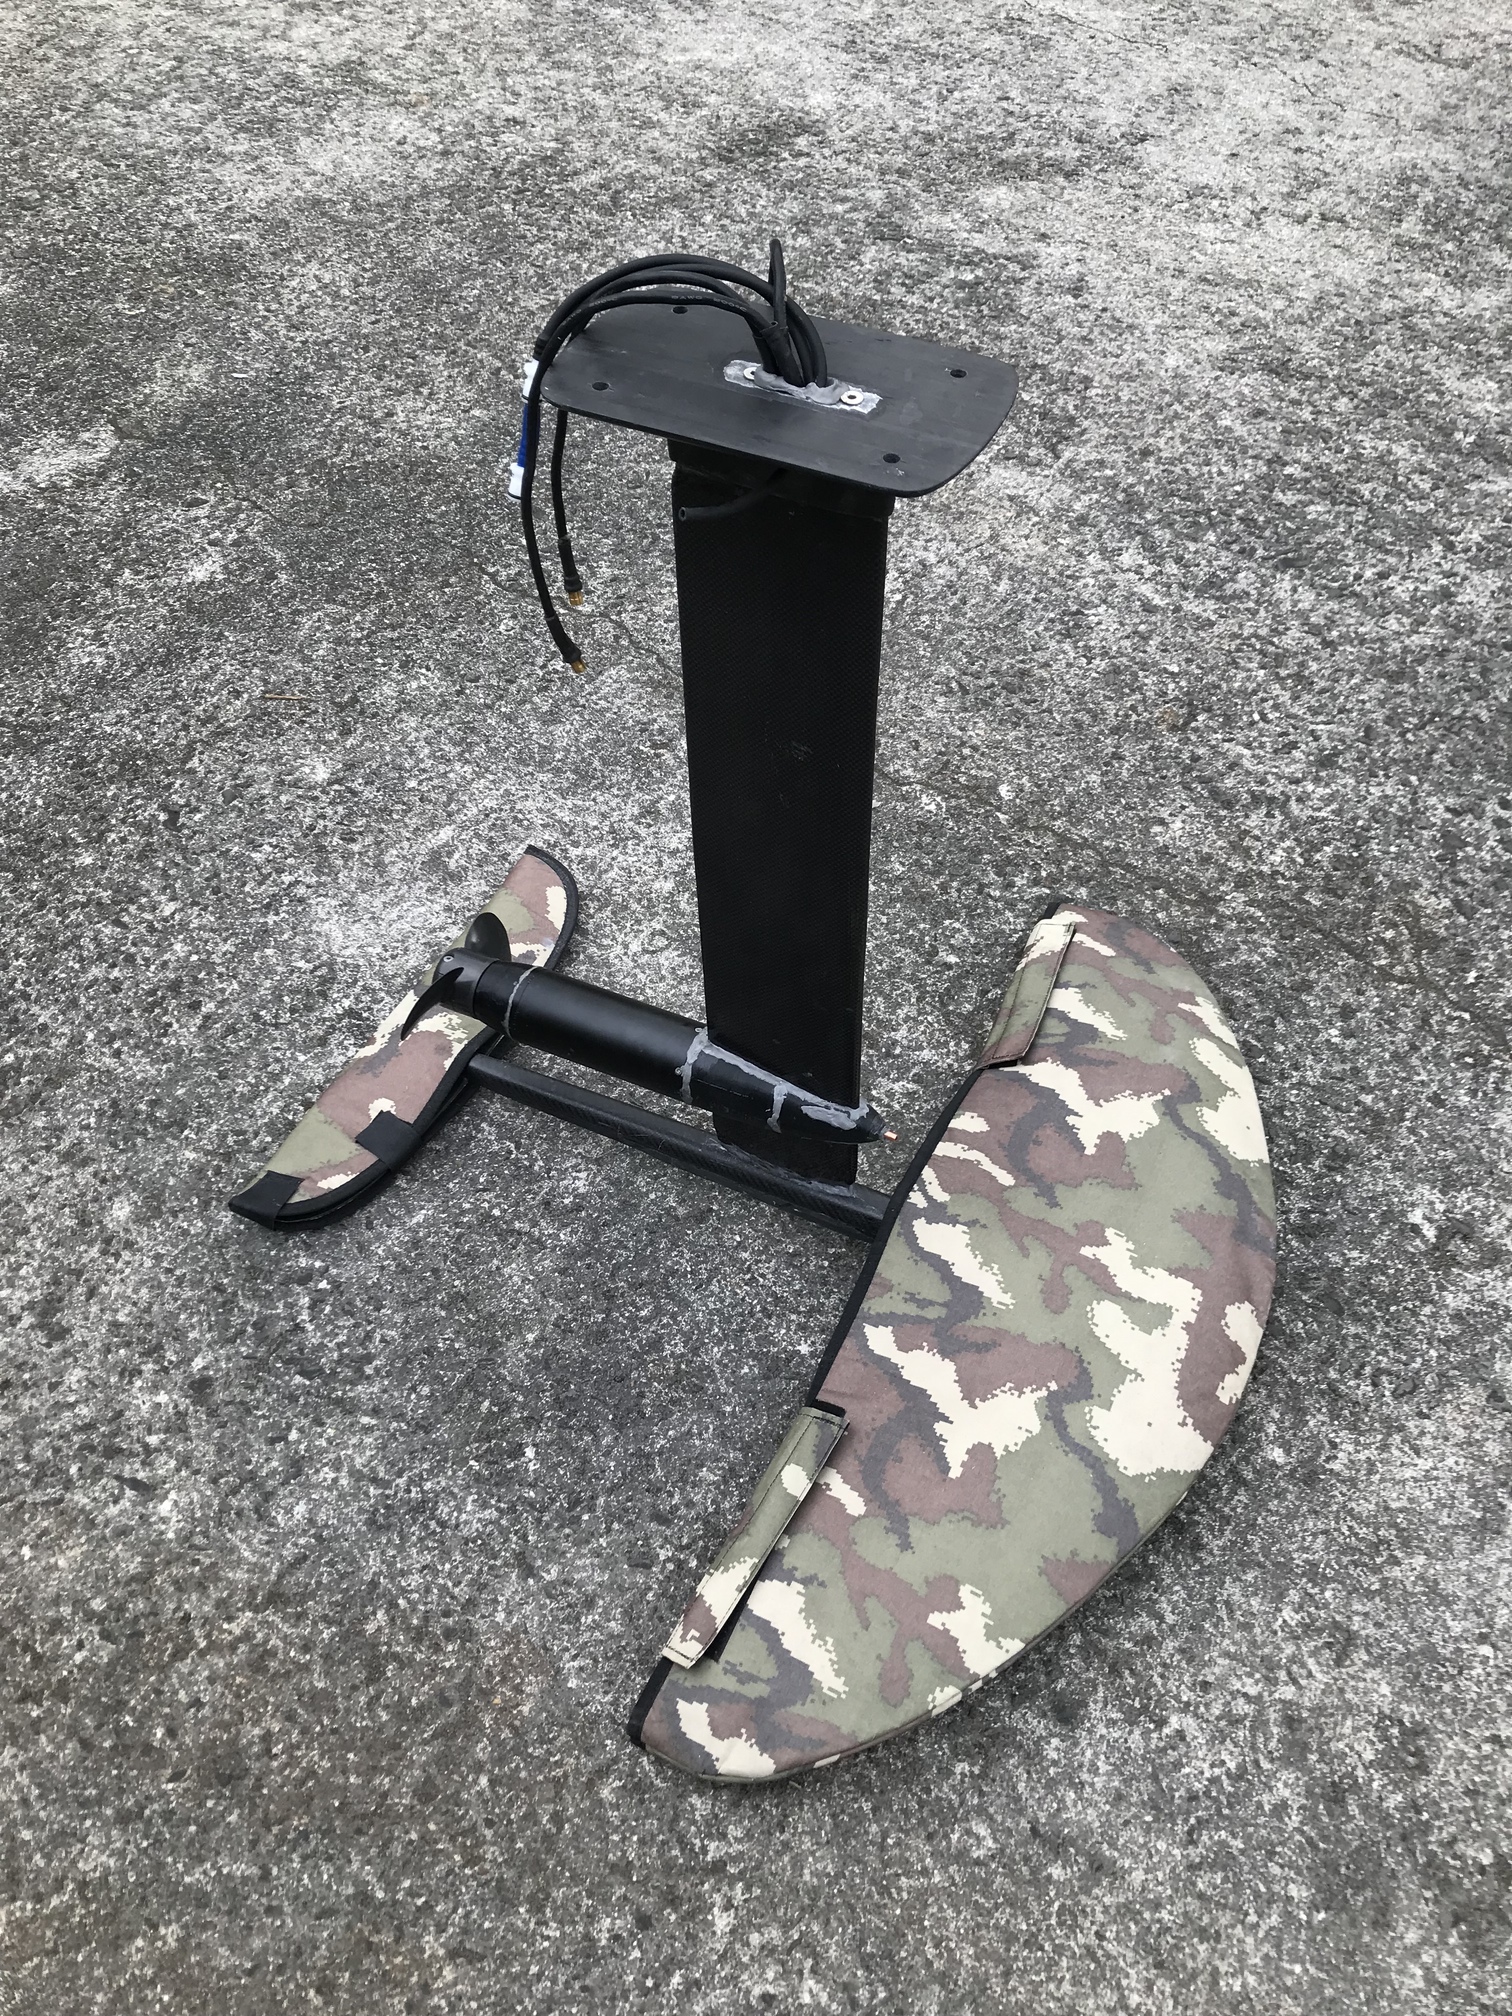
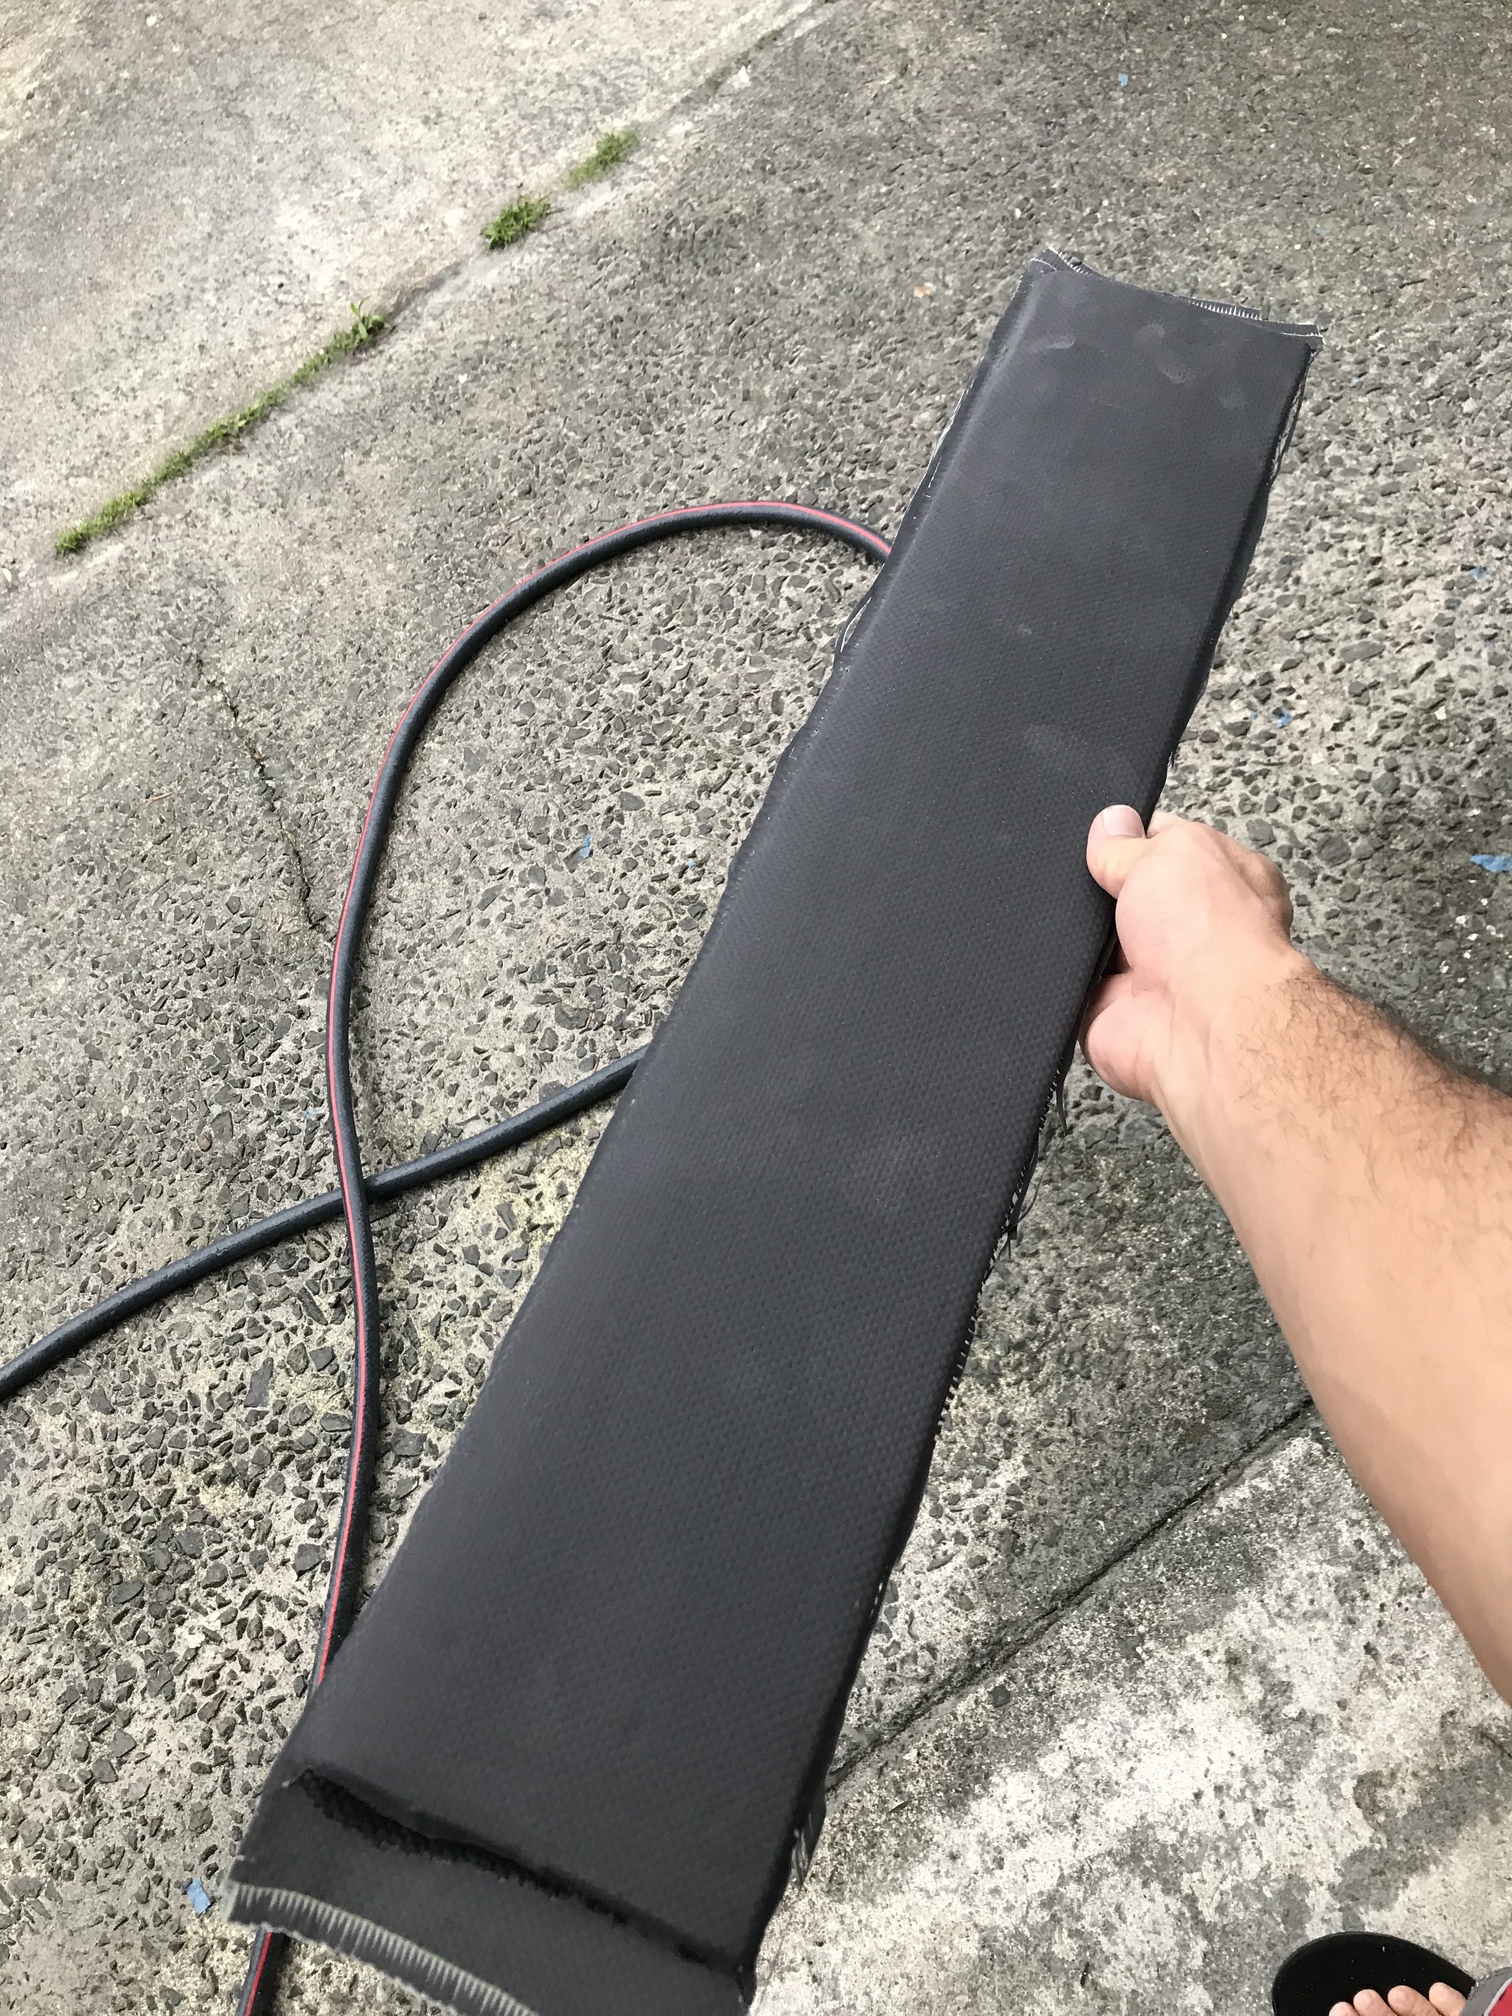
Mast was Handmade with all Carbon fiber (I hope it works well!!!)
Motor is the Flipsky 65151, ESC Fliers 400A, Maytech Remote.
Wing is a Chinese wing at the moment. Thinking about 3D printing one.
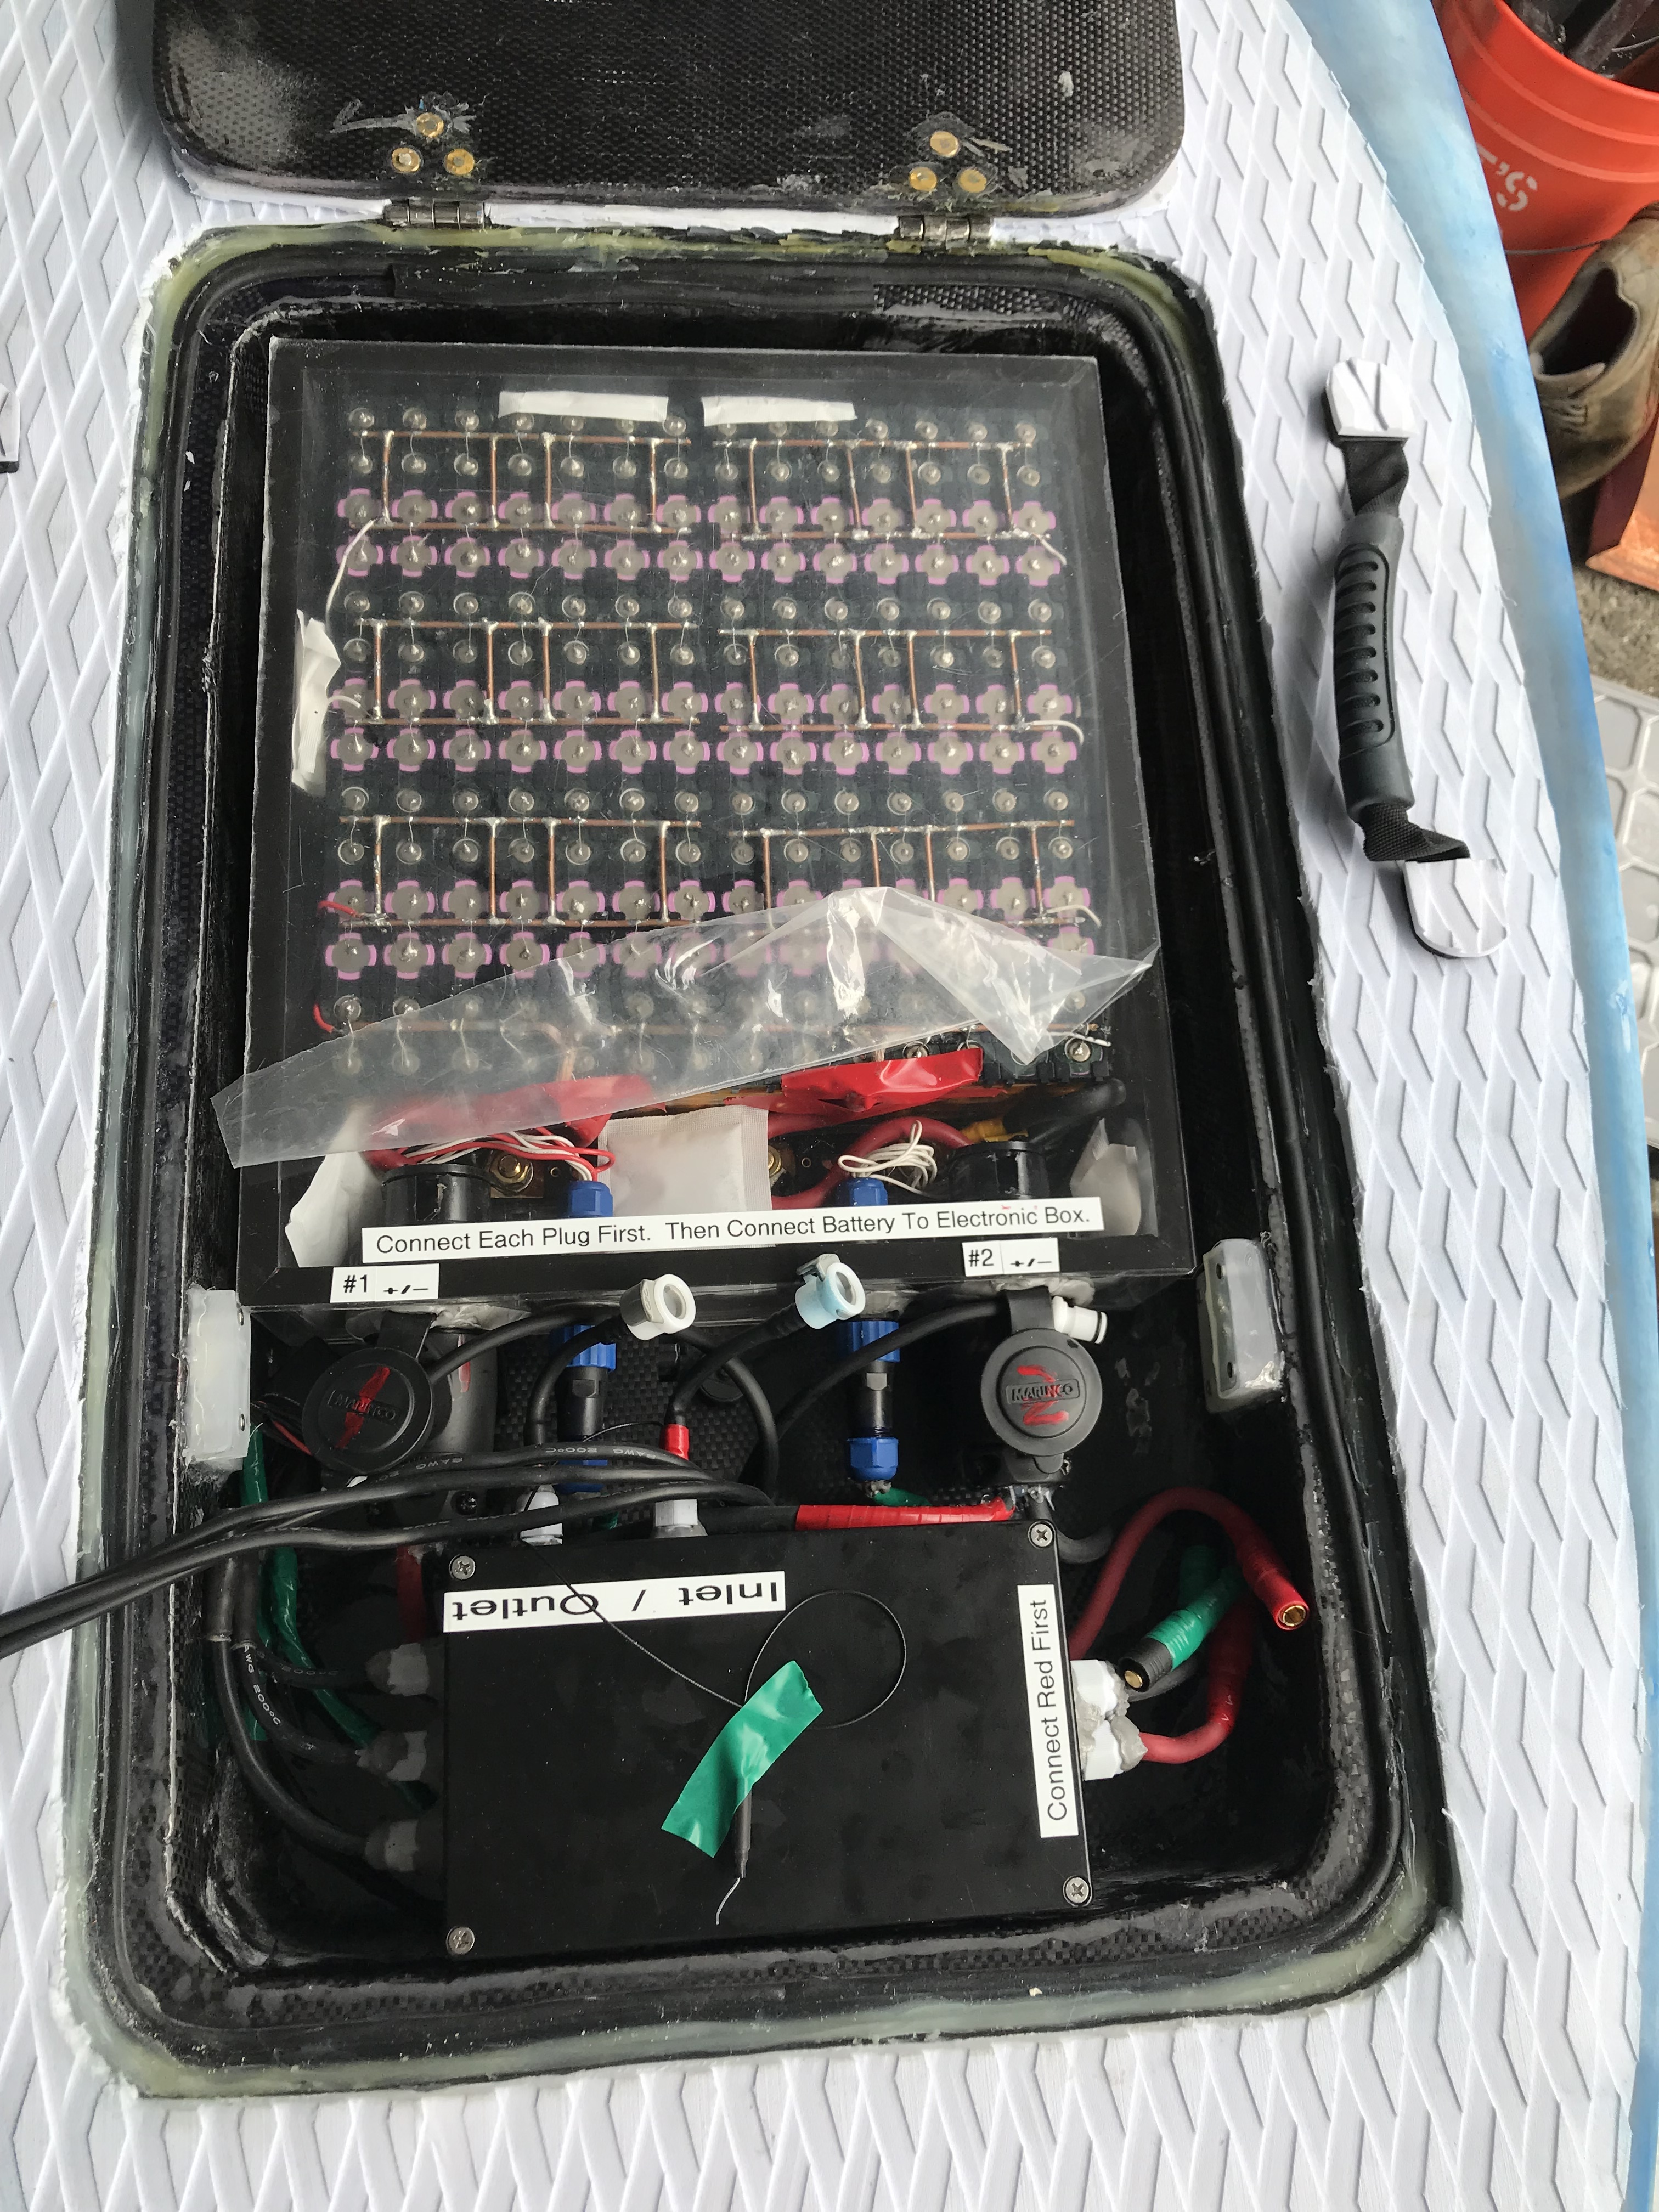
Battery pack is the same as Flightjunkie 14s14p.
That board looks really awesome! Would you mind sharing some more pictures from the build process? Did you use standard foil mount boxes and how did you secure them to the board and make sure they don’t break out?
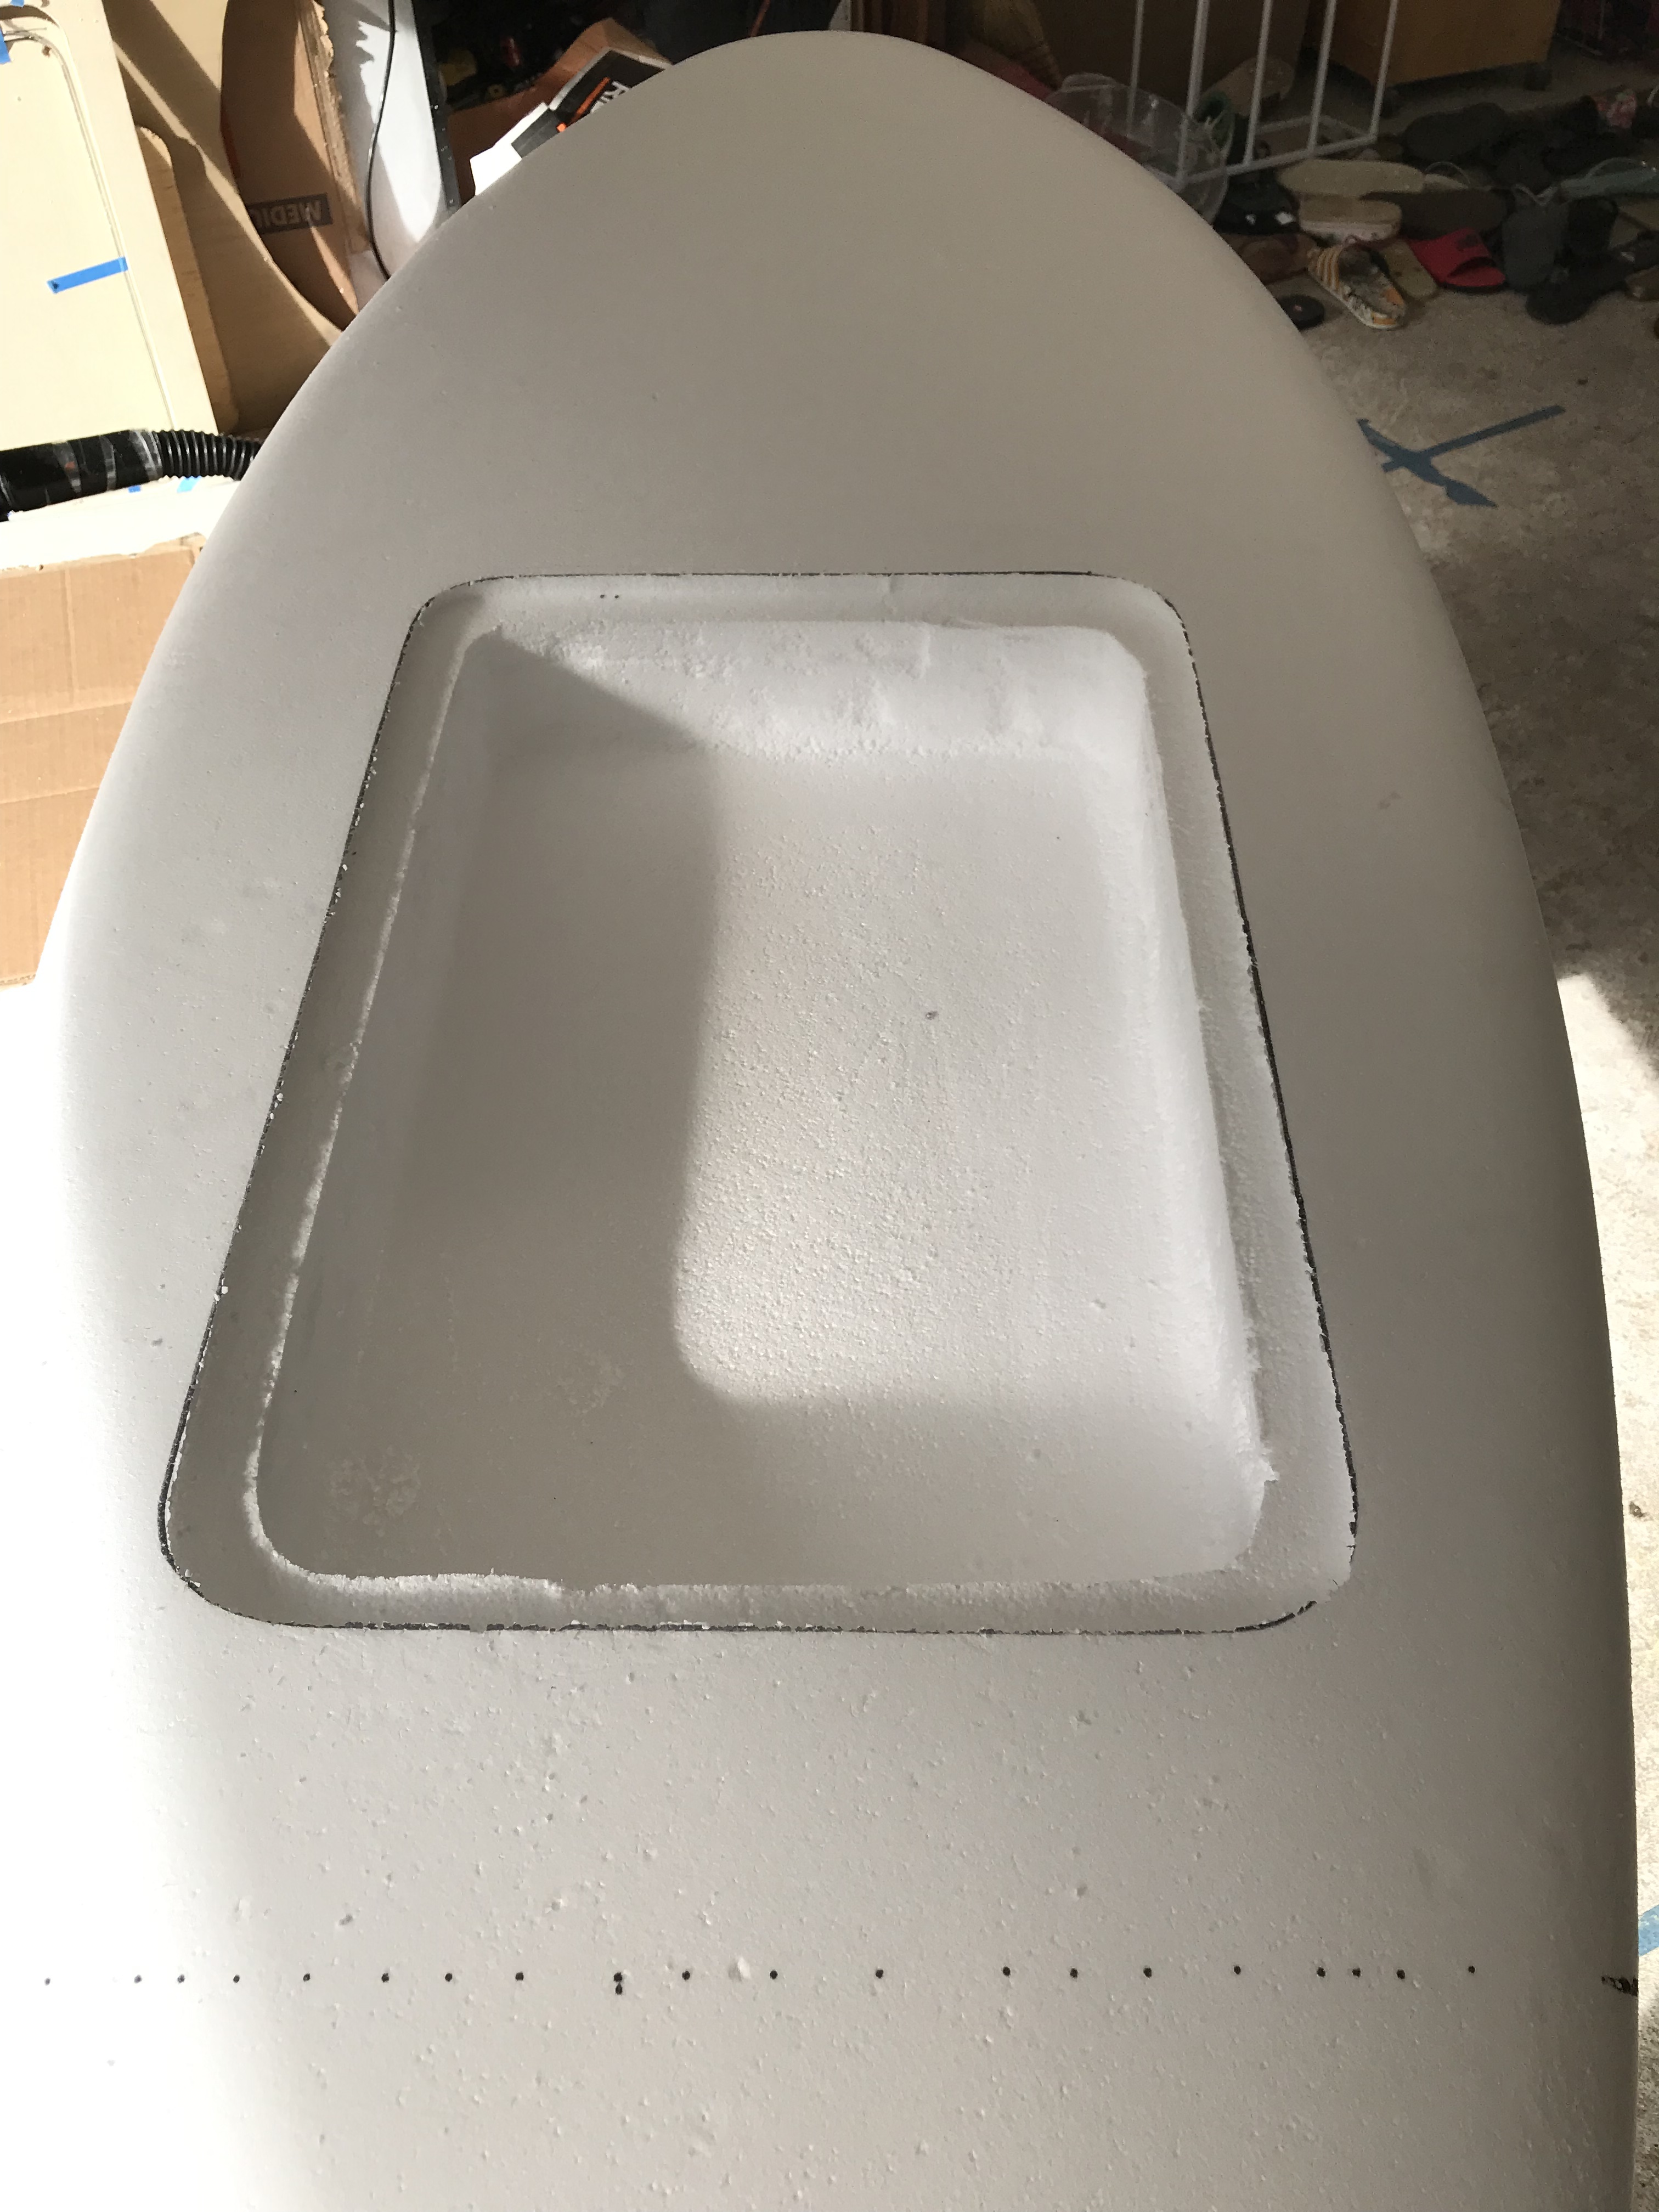
In Post 80 above I have some dimensions of the board. I’ll have to go measure the hatch and posted on that later. If I were to build another board, I would make it slightly longer though. As you can see in the above picture. I don’t have much extra space.
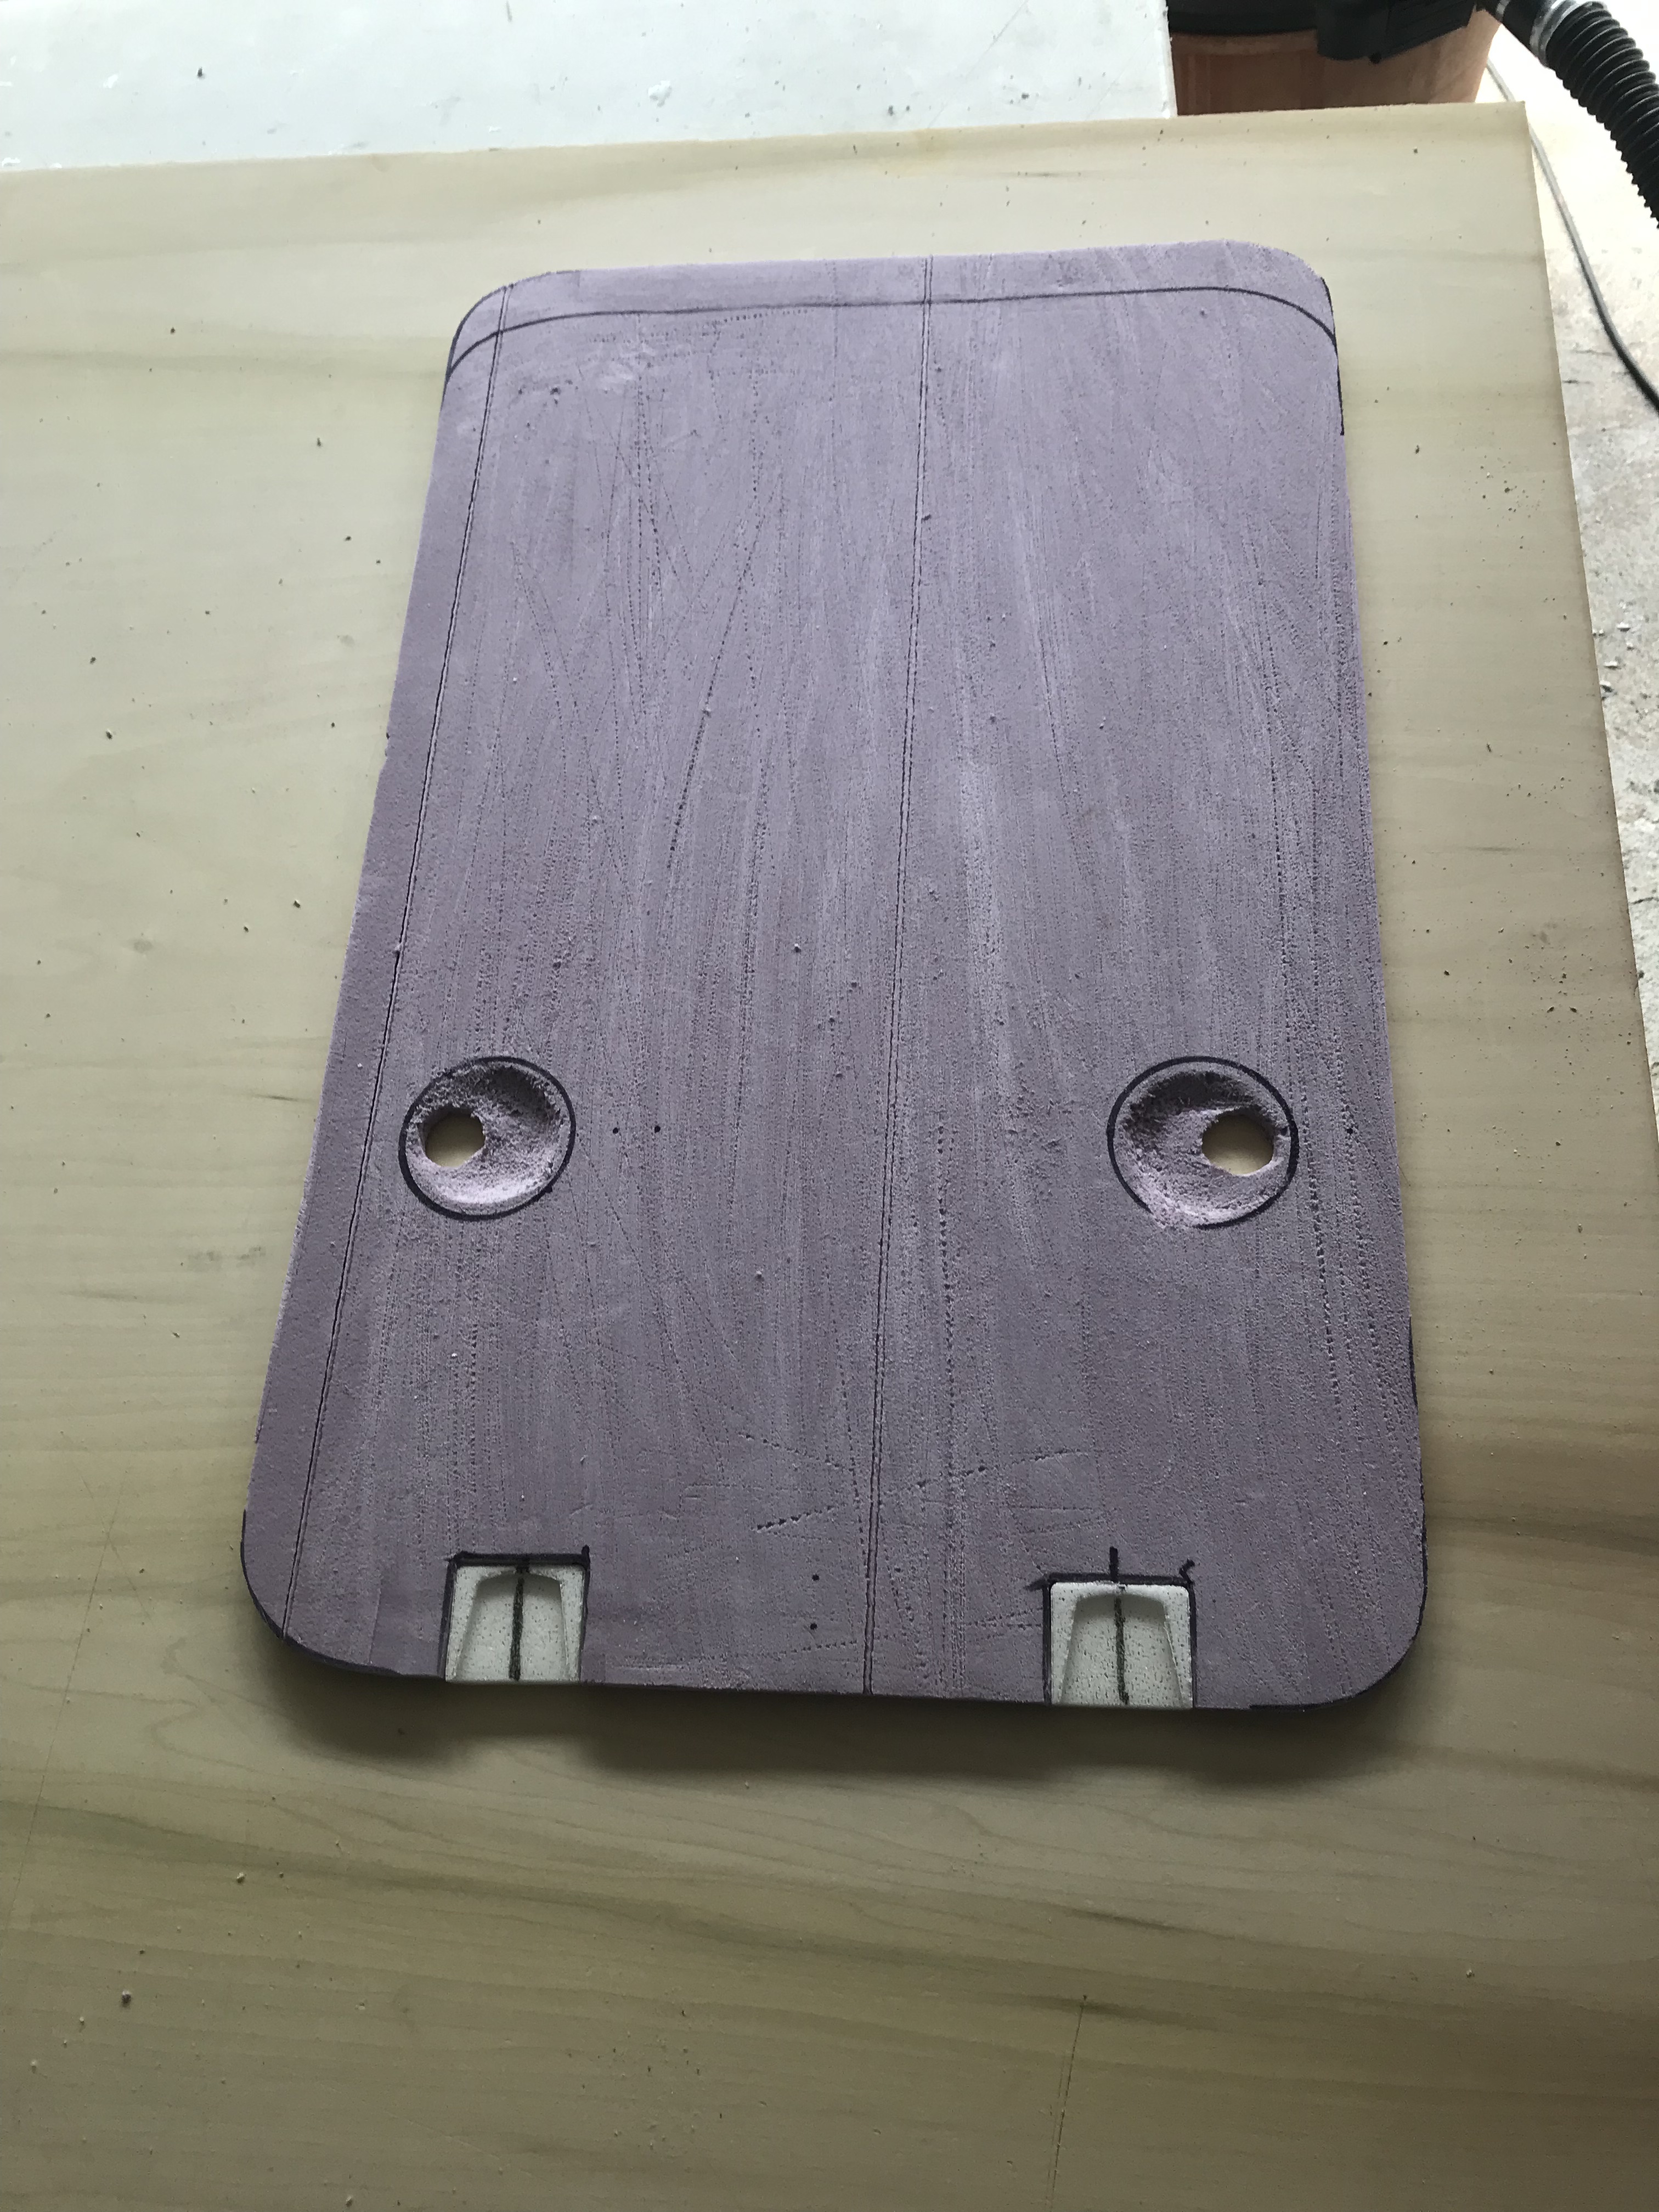
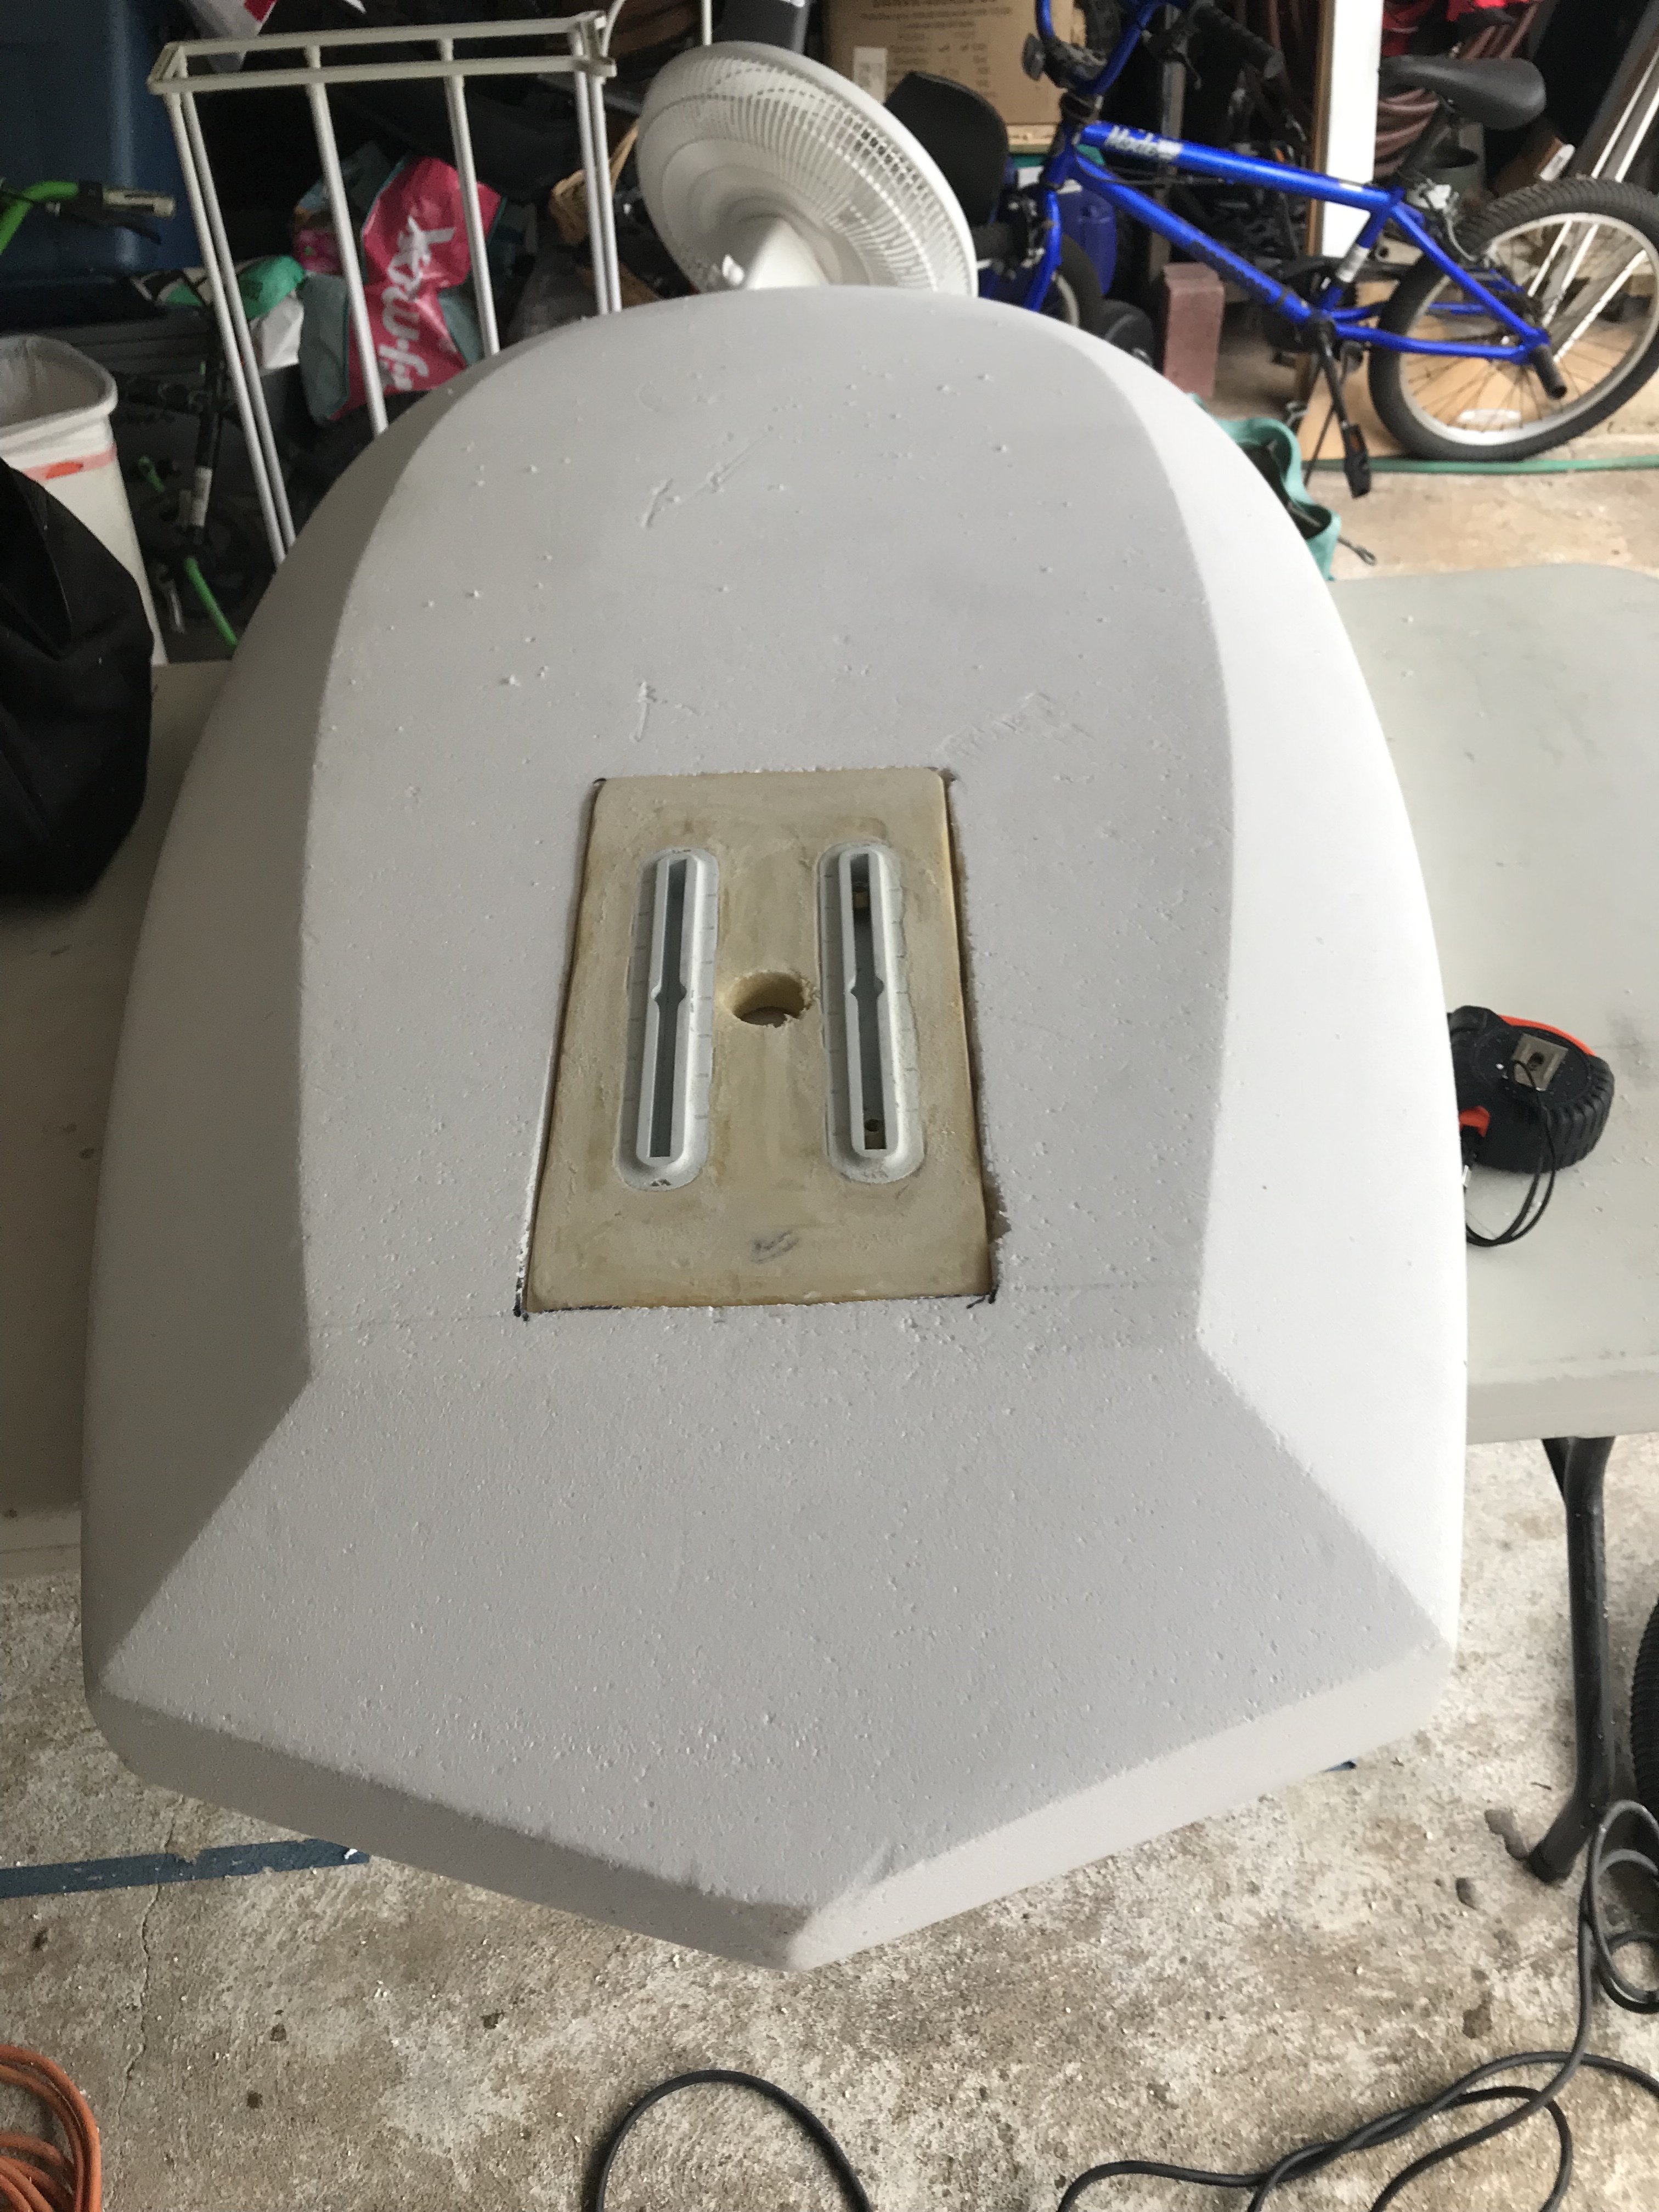
To make the track mount I used 6lb high density pour foam with future tracks. I’m sure other types fin tracks would work also.
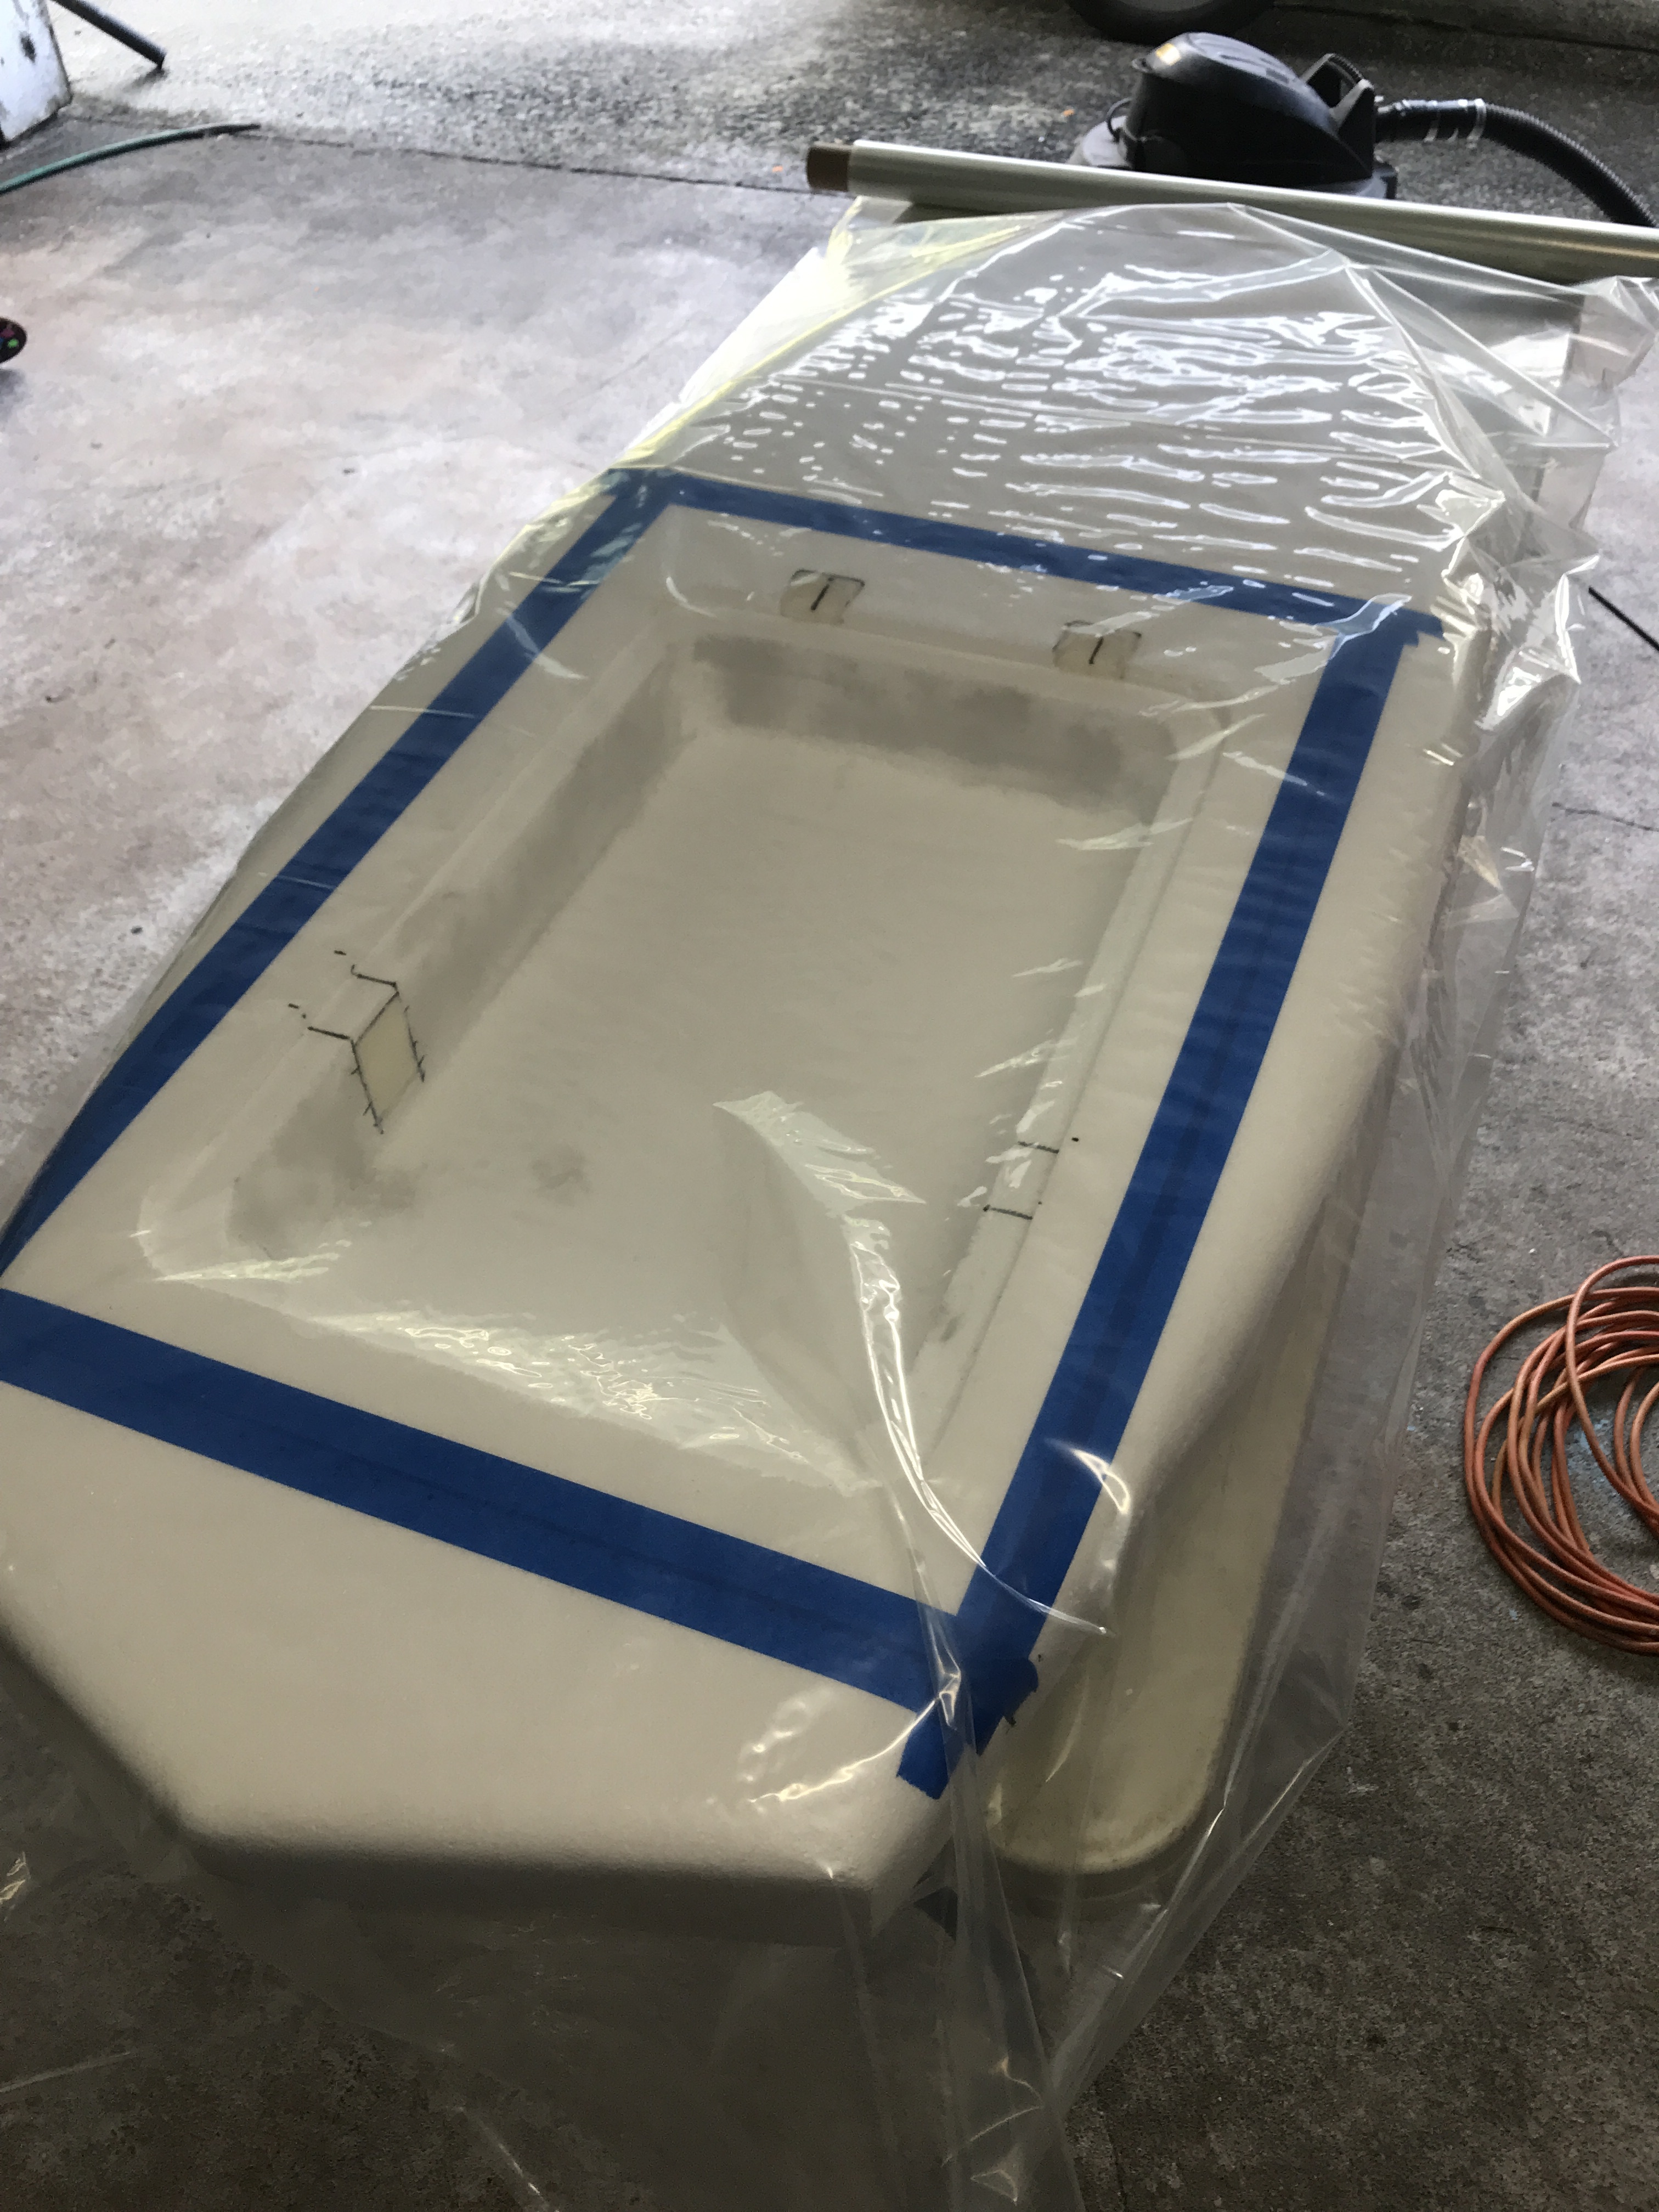
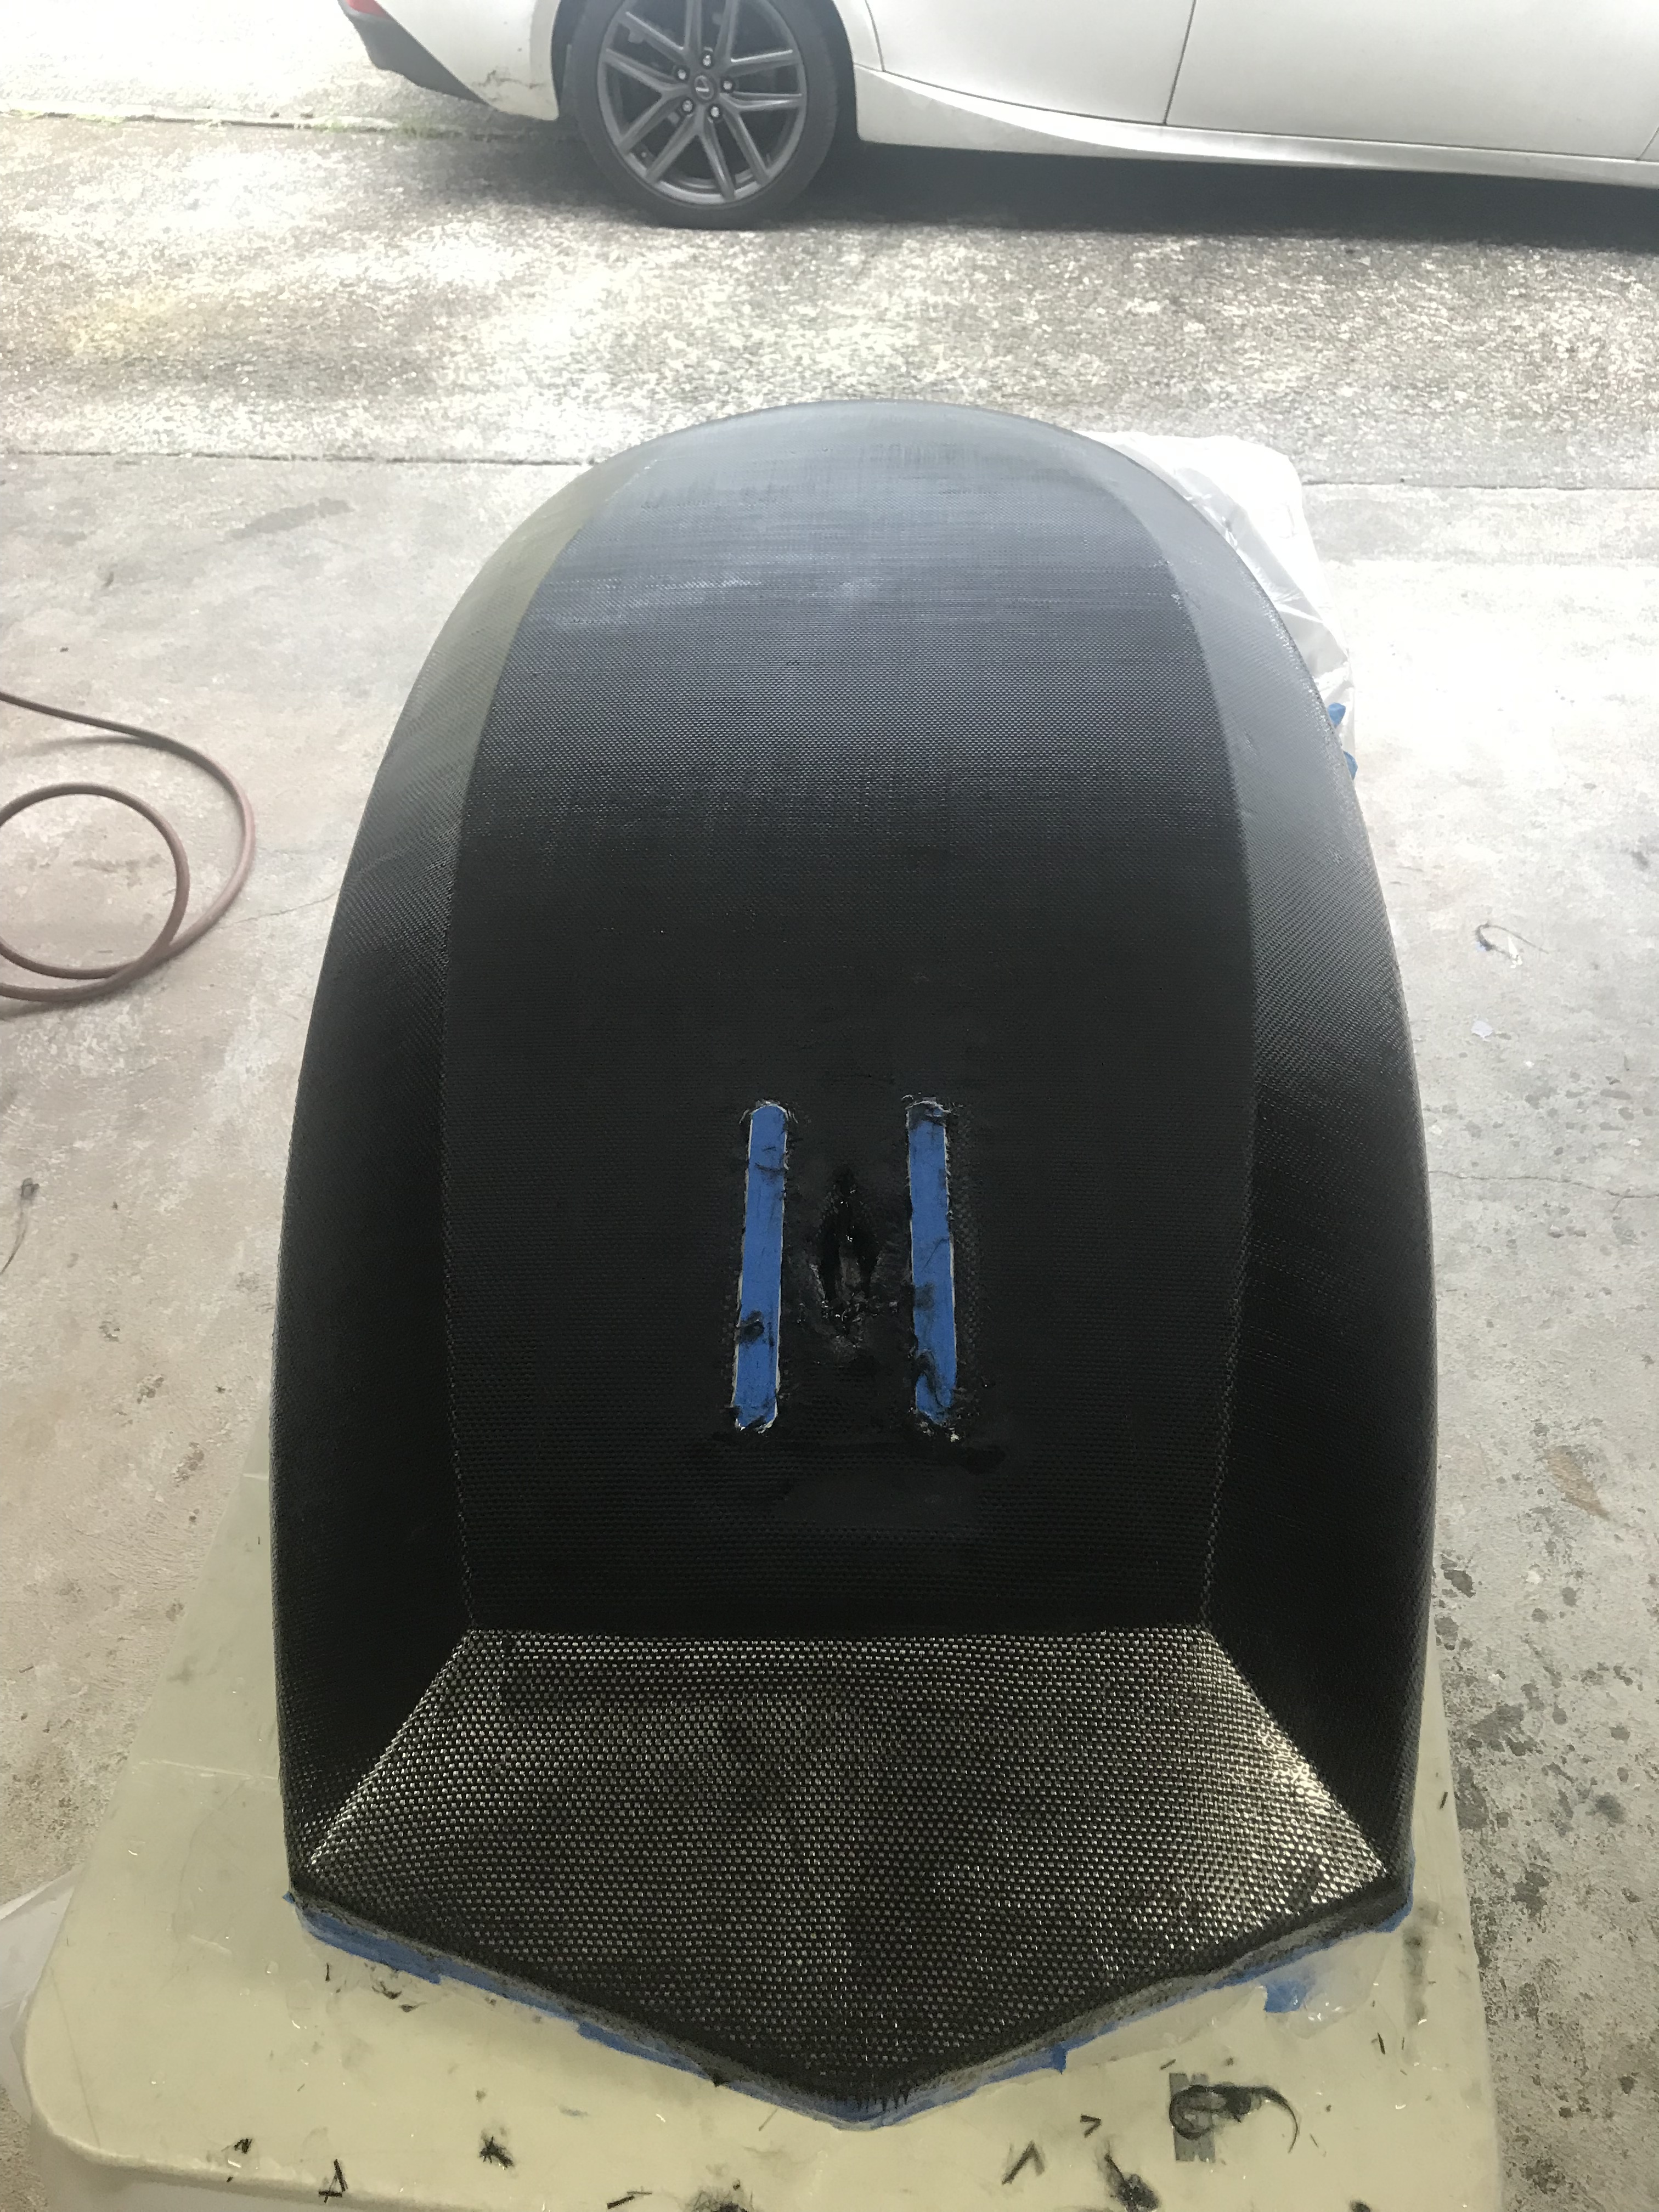
To Install the track mount. I used some epoxy to secure it into place. I think I used 3-4 extra layers of carbon fiber over that area when I glasses it. I hope it will be strong enough.
I posted the measurements a while back showing how you just have to drill the small hole where the threaded part of the shaft goes through out a bit larger. The main shaft hole is the correct size, and the pin spacing is correct.
You also have to drill the hole the nut sits in out bigger to make room for the nut. And you need a low profile, thin type “Jam Nut”.
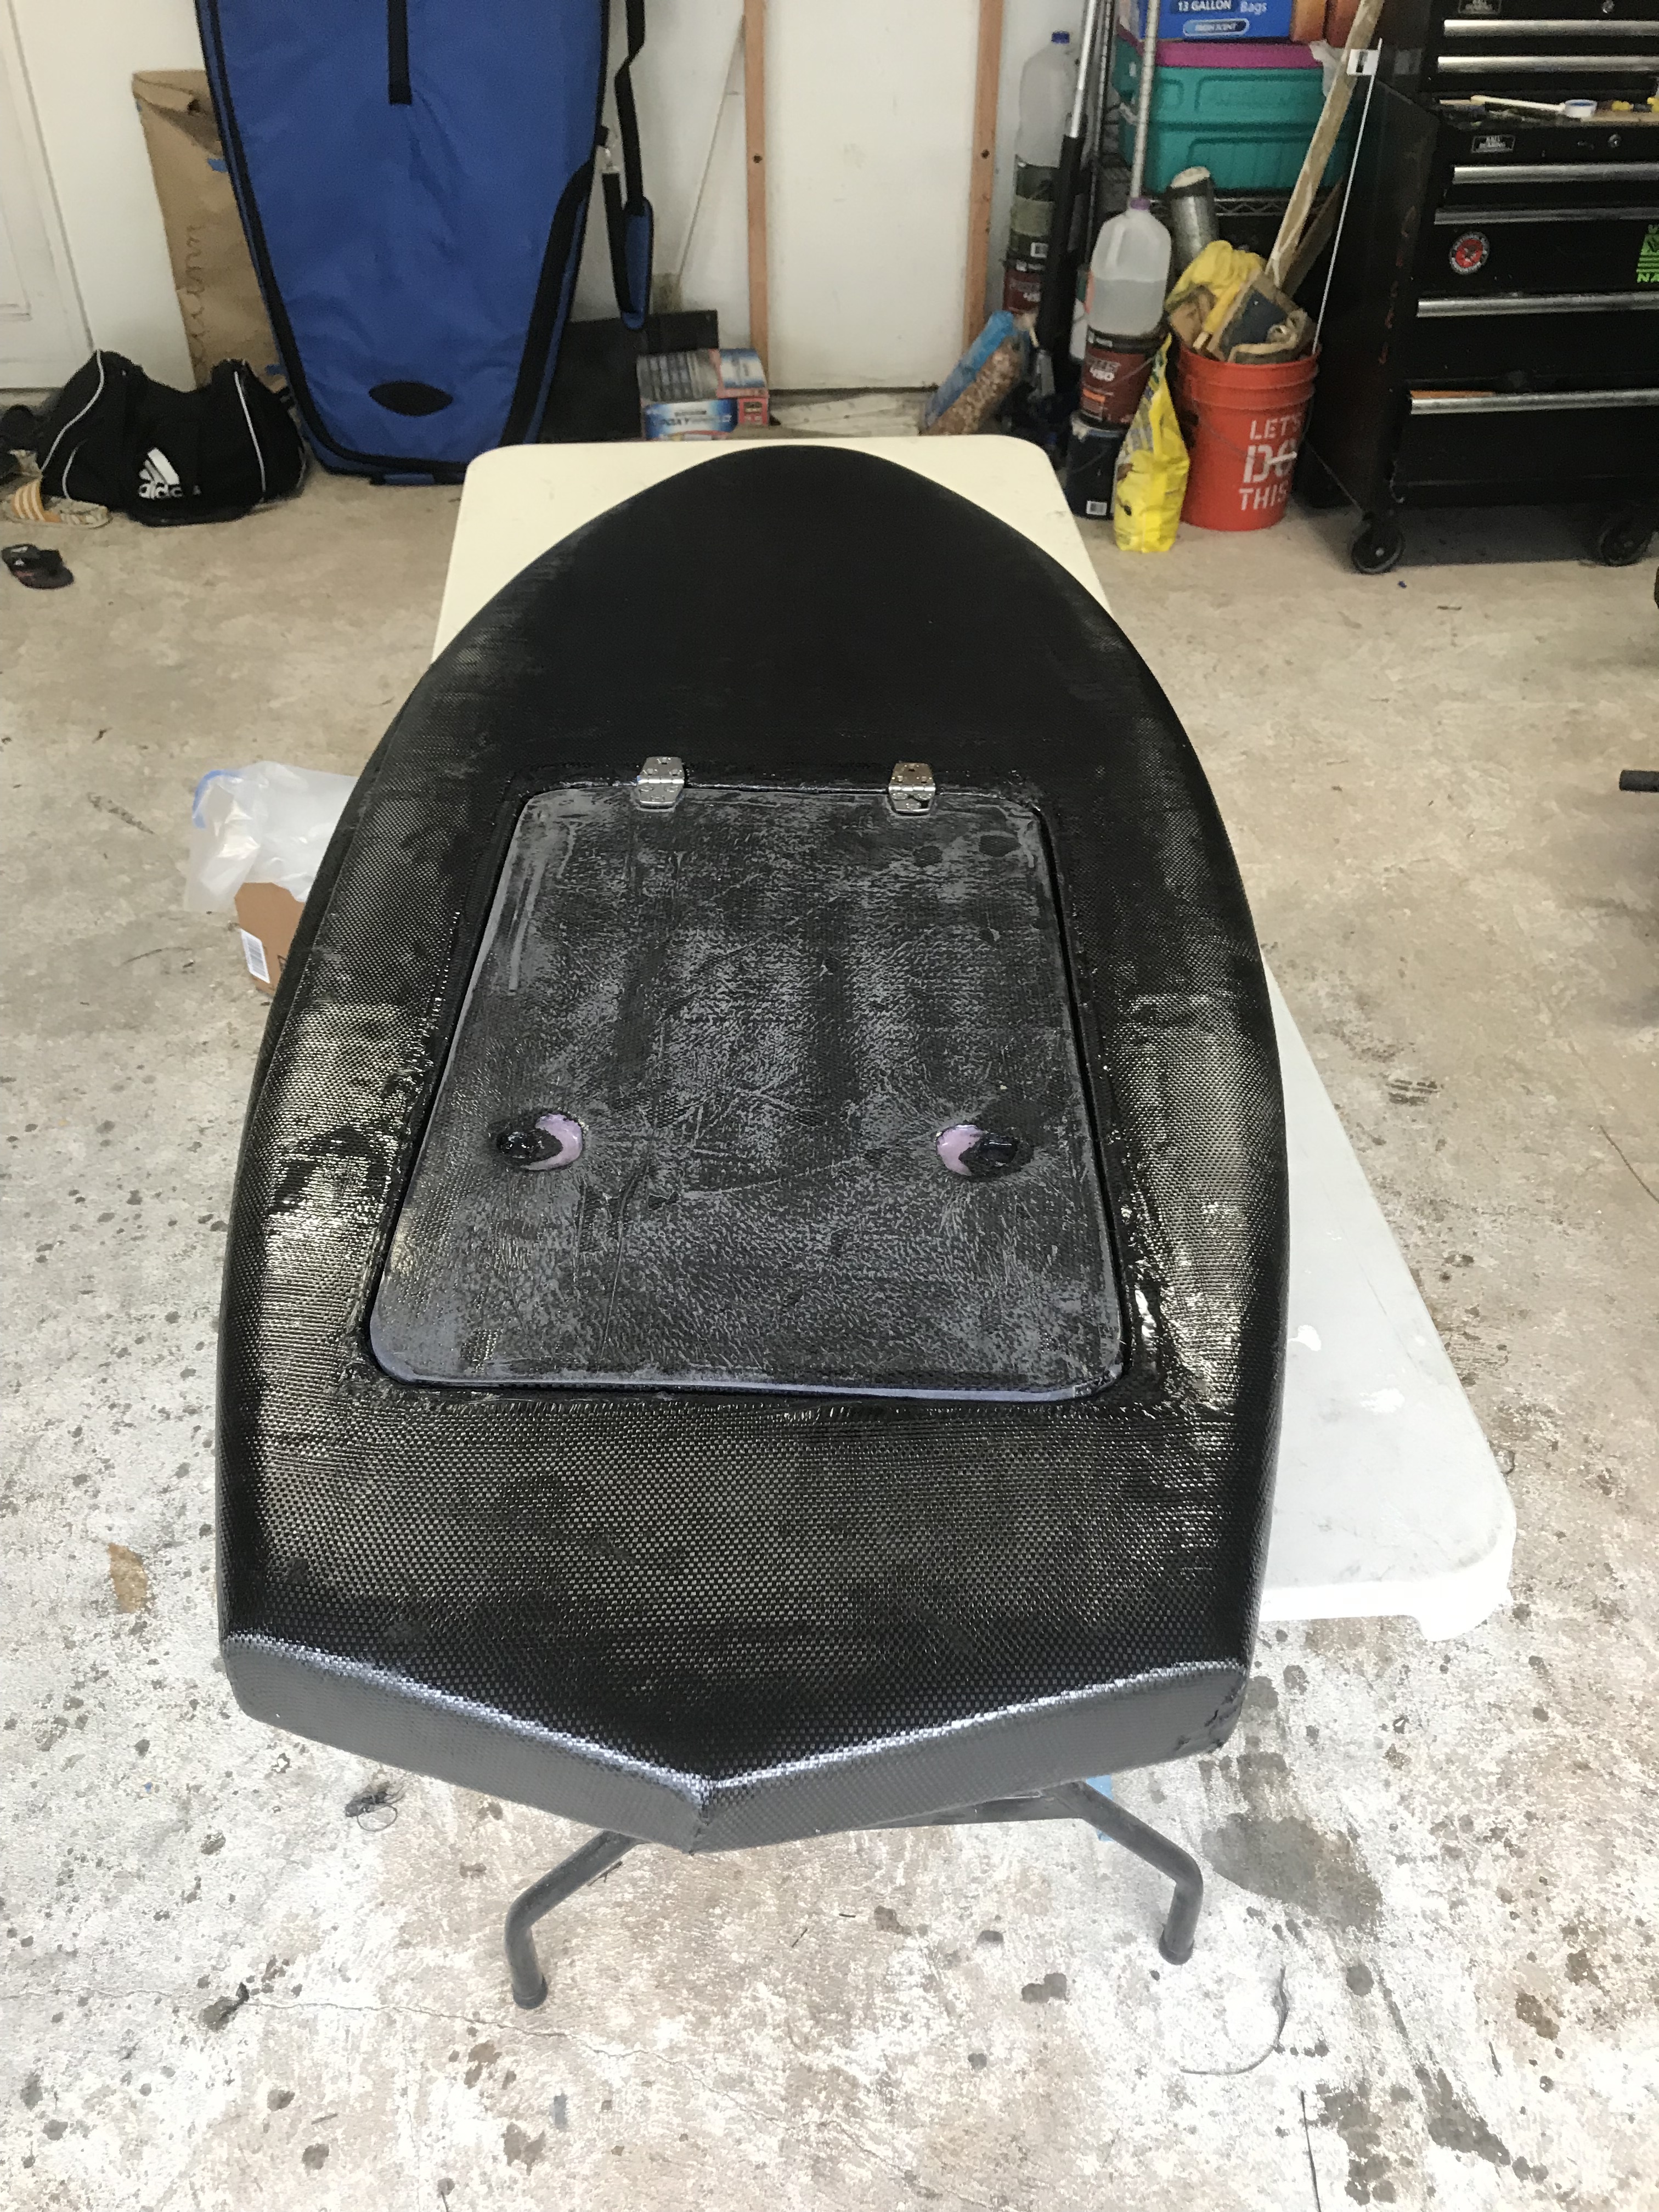
I finally tested it yesterday and the hatch was not waterproof. I will be making changes and changing the seals around the lid to attempt to make it water tight.
Prop Mounting to the Flipsky Motor. I drilled out the center hud to allow the motor shaft to fit. Then milled the front of the hub, only enough to allow a thin nut. This was important to allow the blades to fold properly. Go slow milling out the front. It will cut into where the prop screw go through.
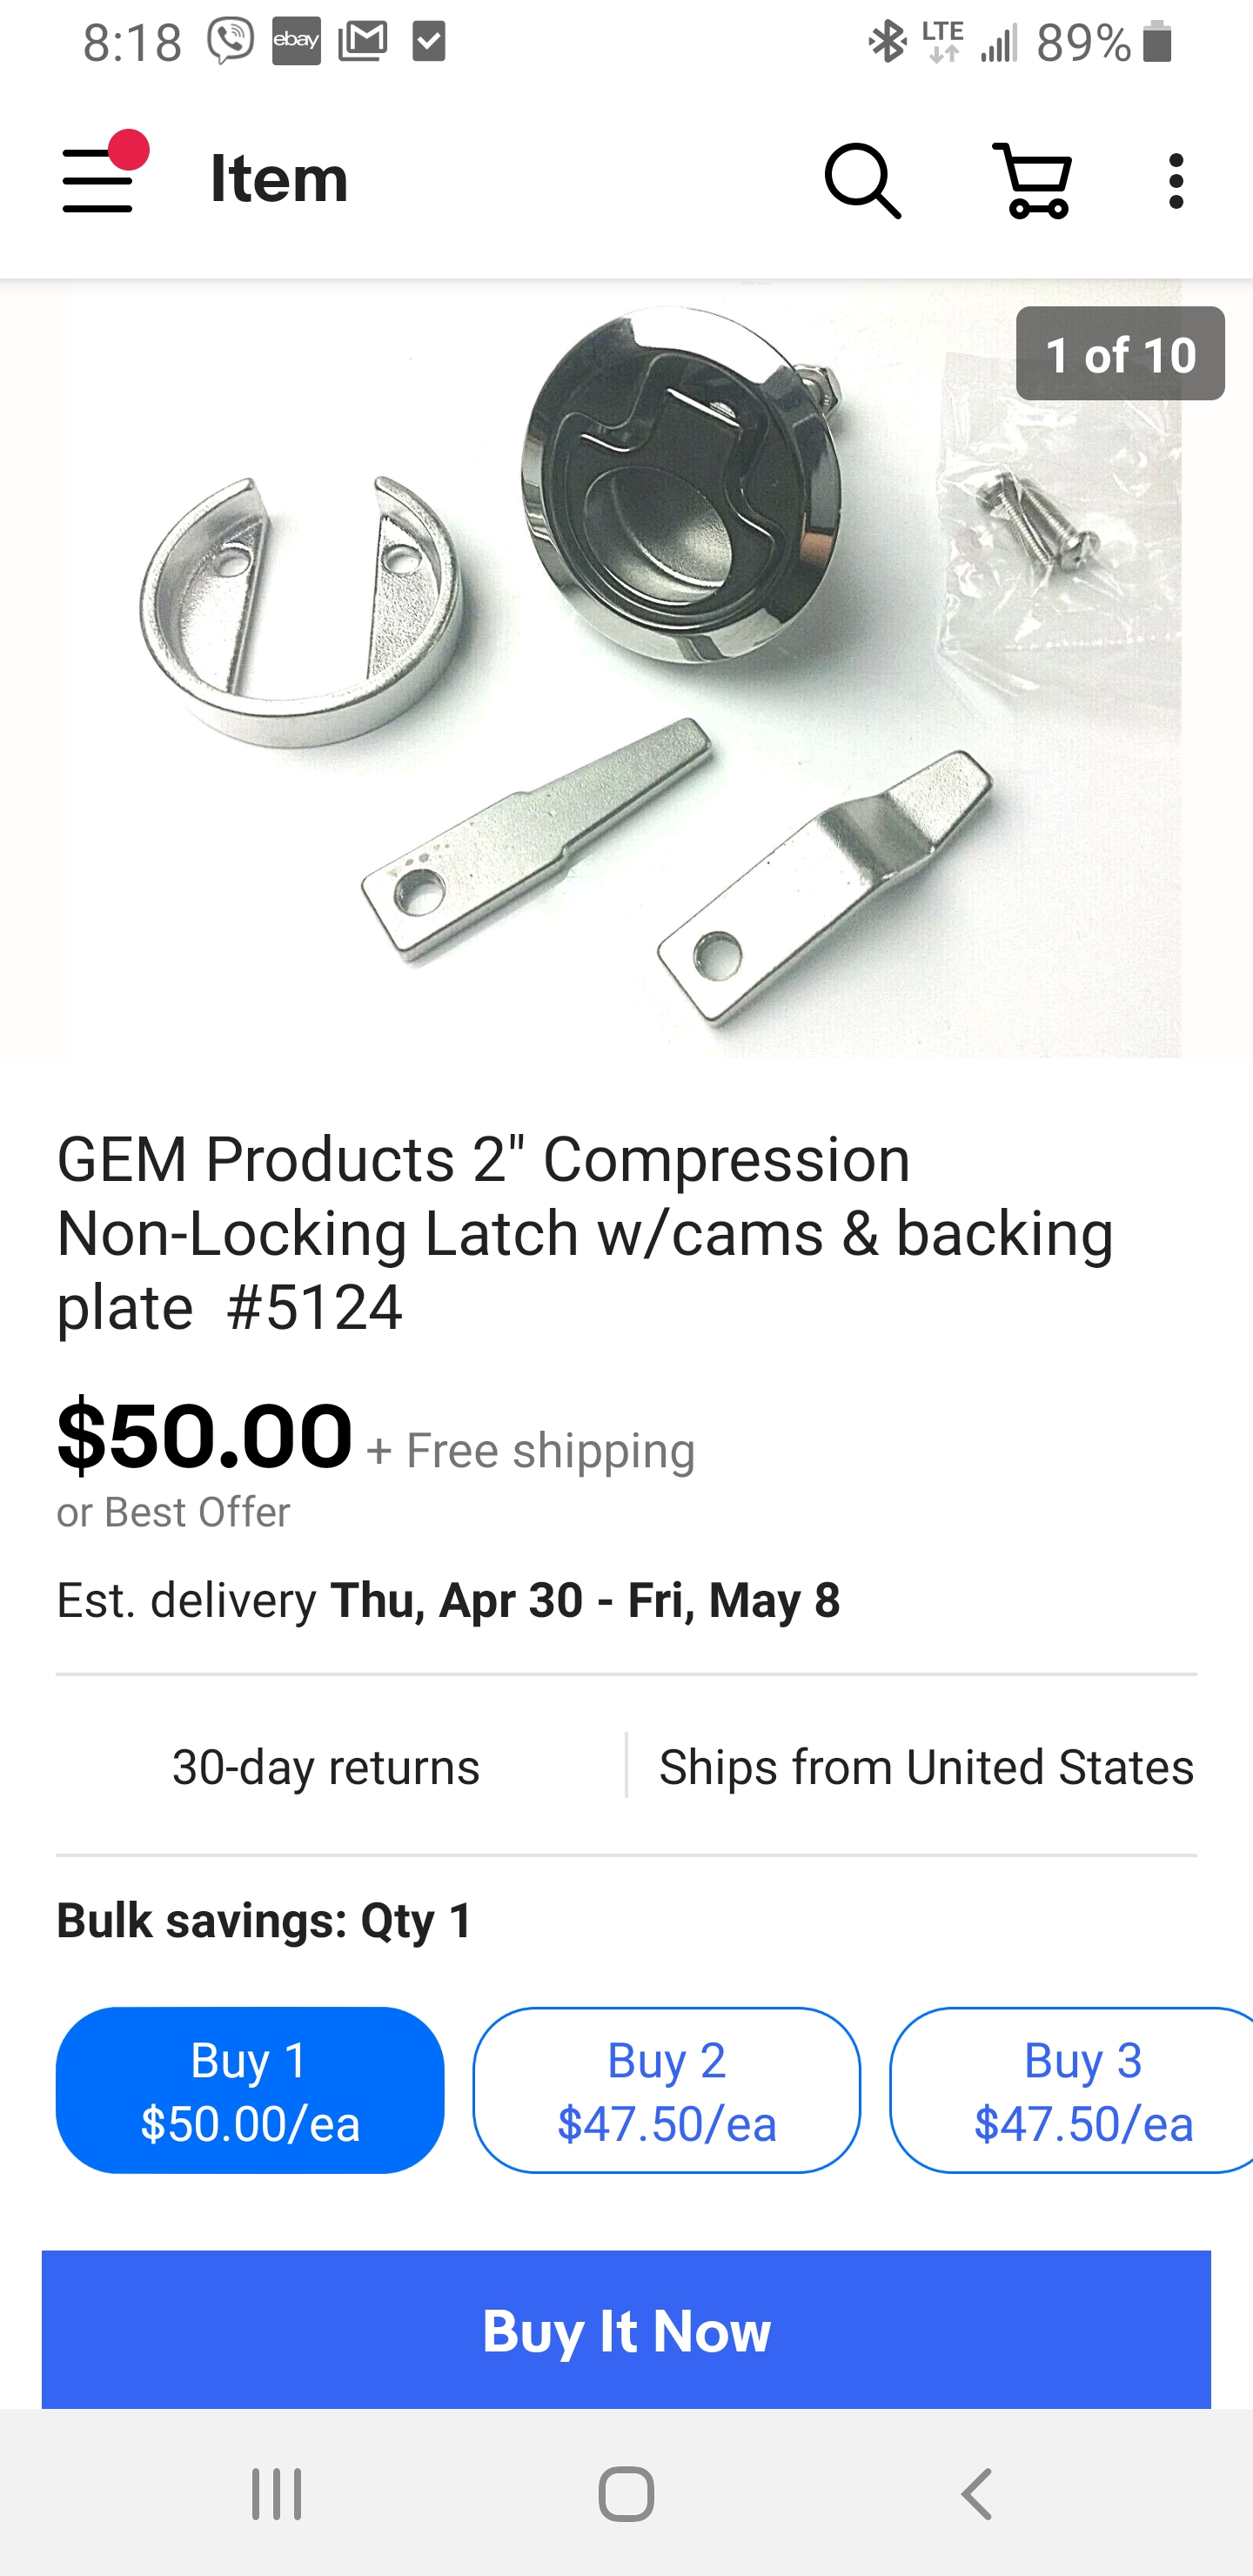
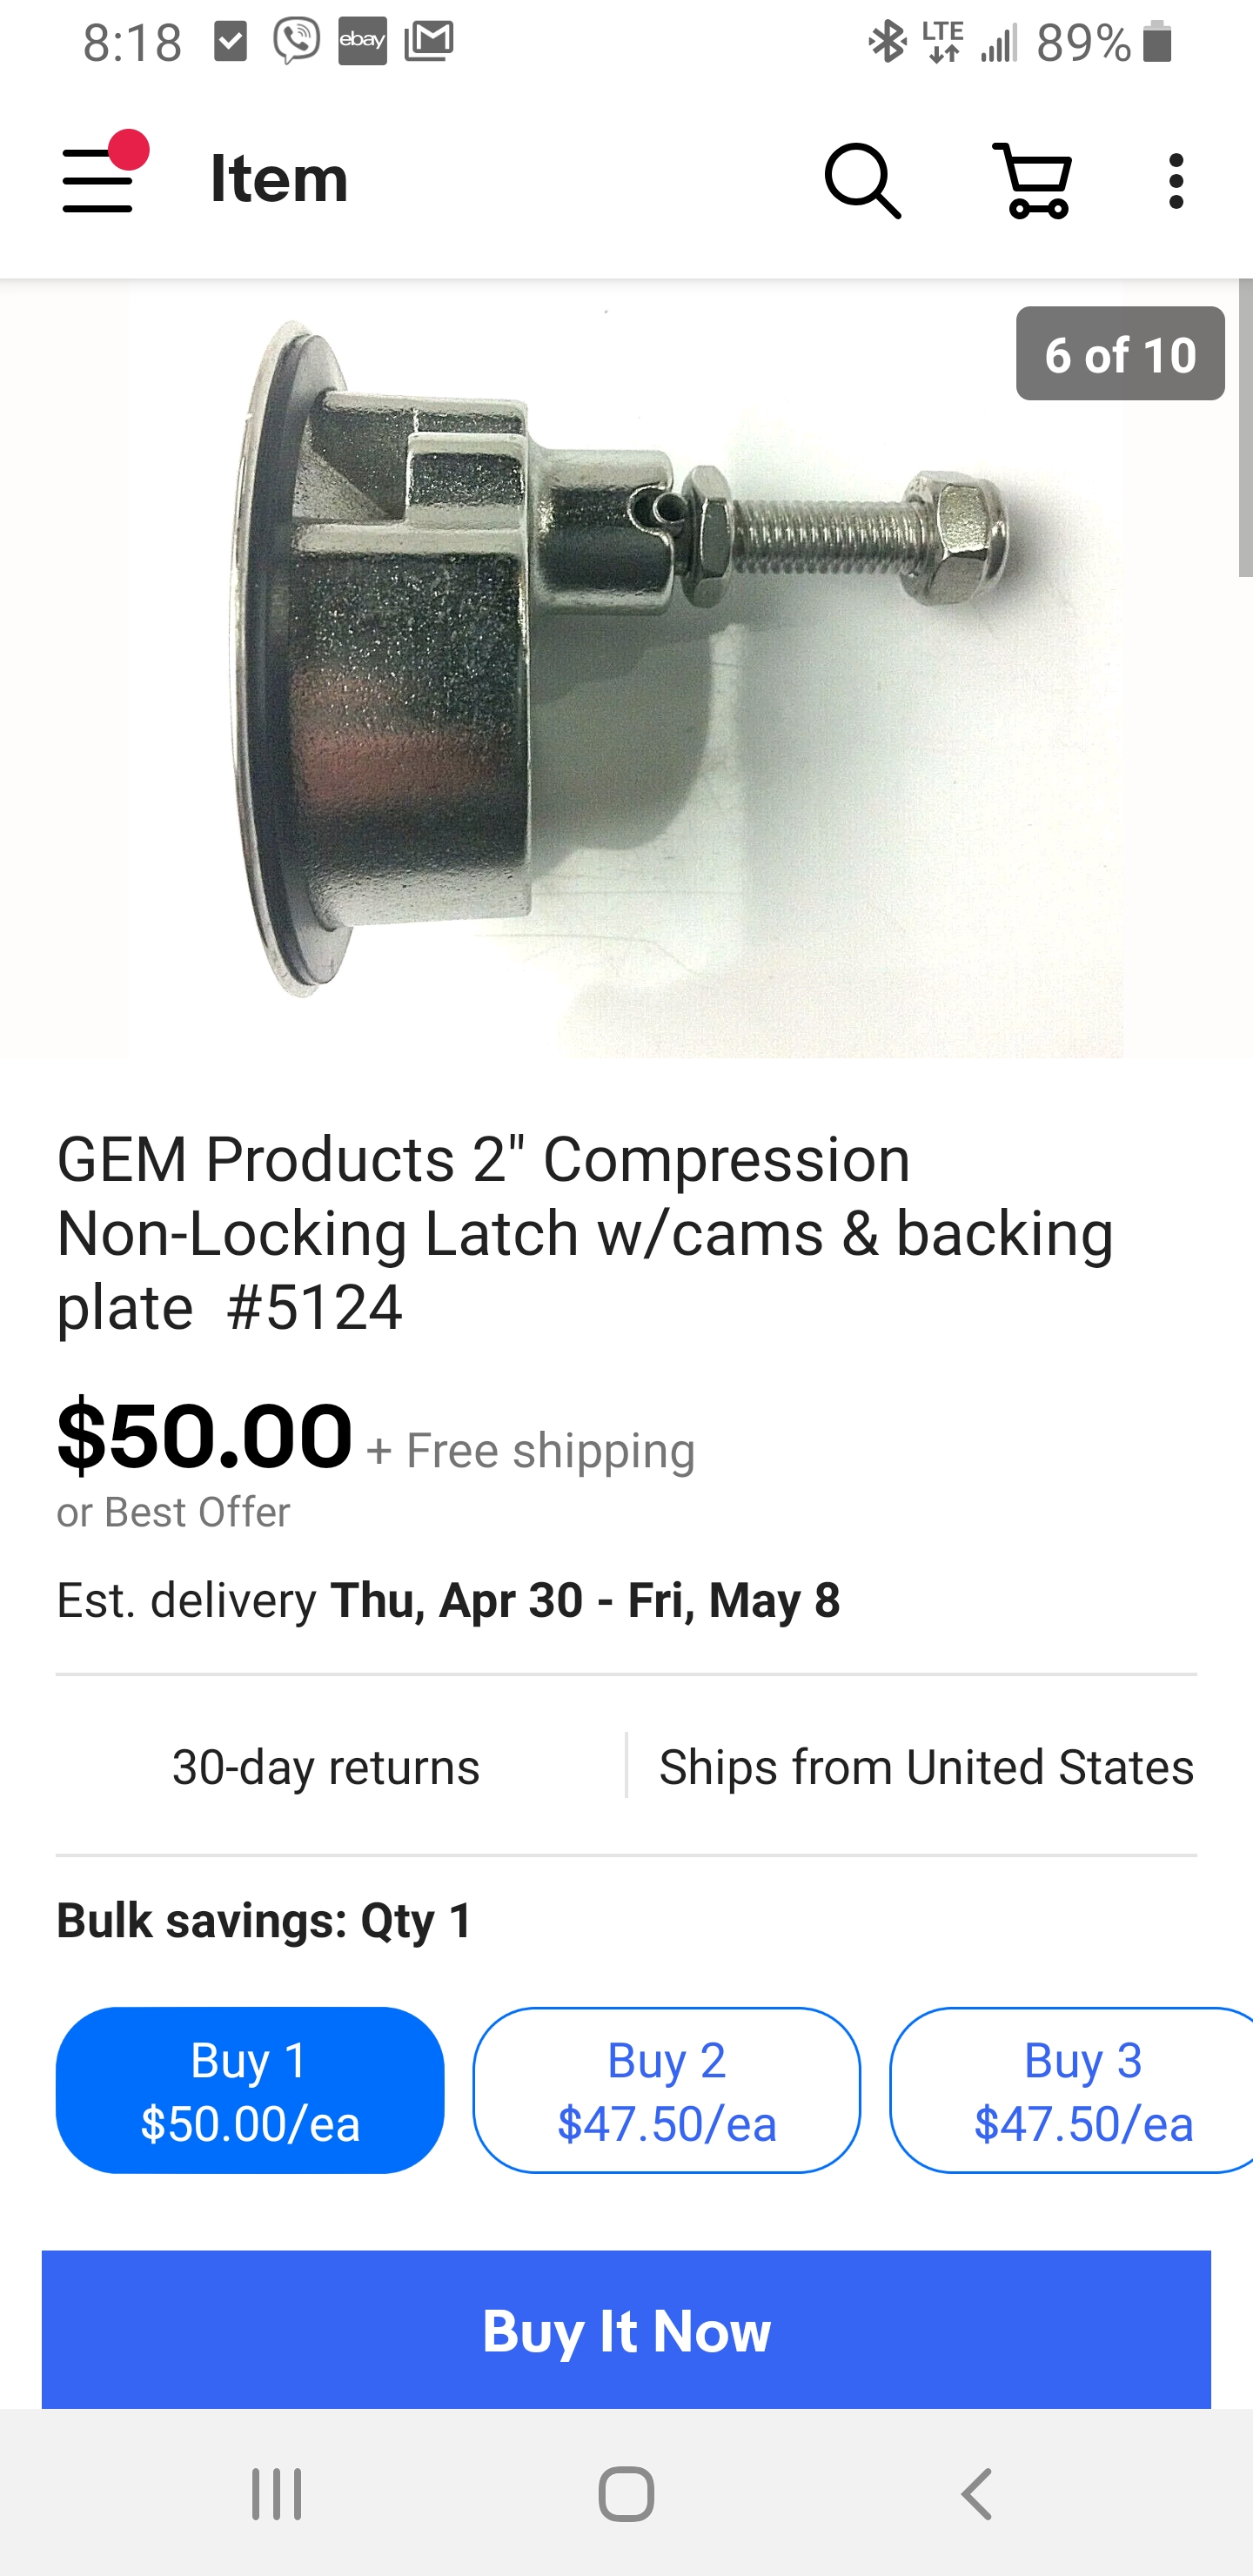
The latches that Lift uses are the gold standard. But they are $50usd each. Made by Gemlux. The 2" hole size is what Lift uses.
Most latches are not 100% waterproof out of the box. But, on most of them you can modify them to keep water from coming down the shaft by adding an o-ring, grease, silicone grease, or some combination of these steps.
Do not buy the cheaper latches from gemlux. They do not compress with as much closing force.
 .
.