I apologize but I’m definitely far from ordered, so I missed to upload the mod that caused the most of the bouncing, which was a set status repeted and done few times, it was unnecessary and now things run more smoothly and steady. I commented a little more some part, just for clarity. I’m afraid to not be able to do more, untill next week.
I’ve a new woodworm is eating my brain lately… nice and rugged IP67 alluminum box! What will be with the receiver sealed inside?? Would the radio signal ever filter in? do you think I should start to slam my head into a brickwall?.
Thank you for the code! I will check it out asap, but I also got a lot of real work in the way at the moment. So far I am happy with the code you uploaded previously. Everything seemed to work just fine.
The aluminium housing sounds quite bad to be honest. You can get RF24 chips with external antennas though.
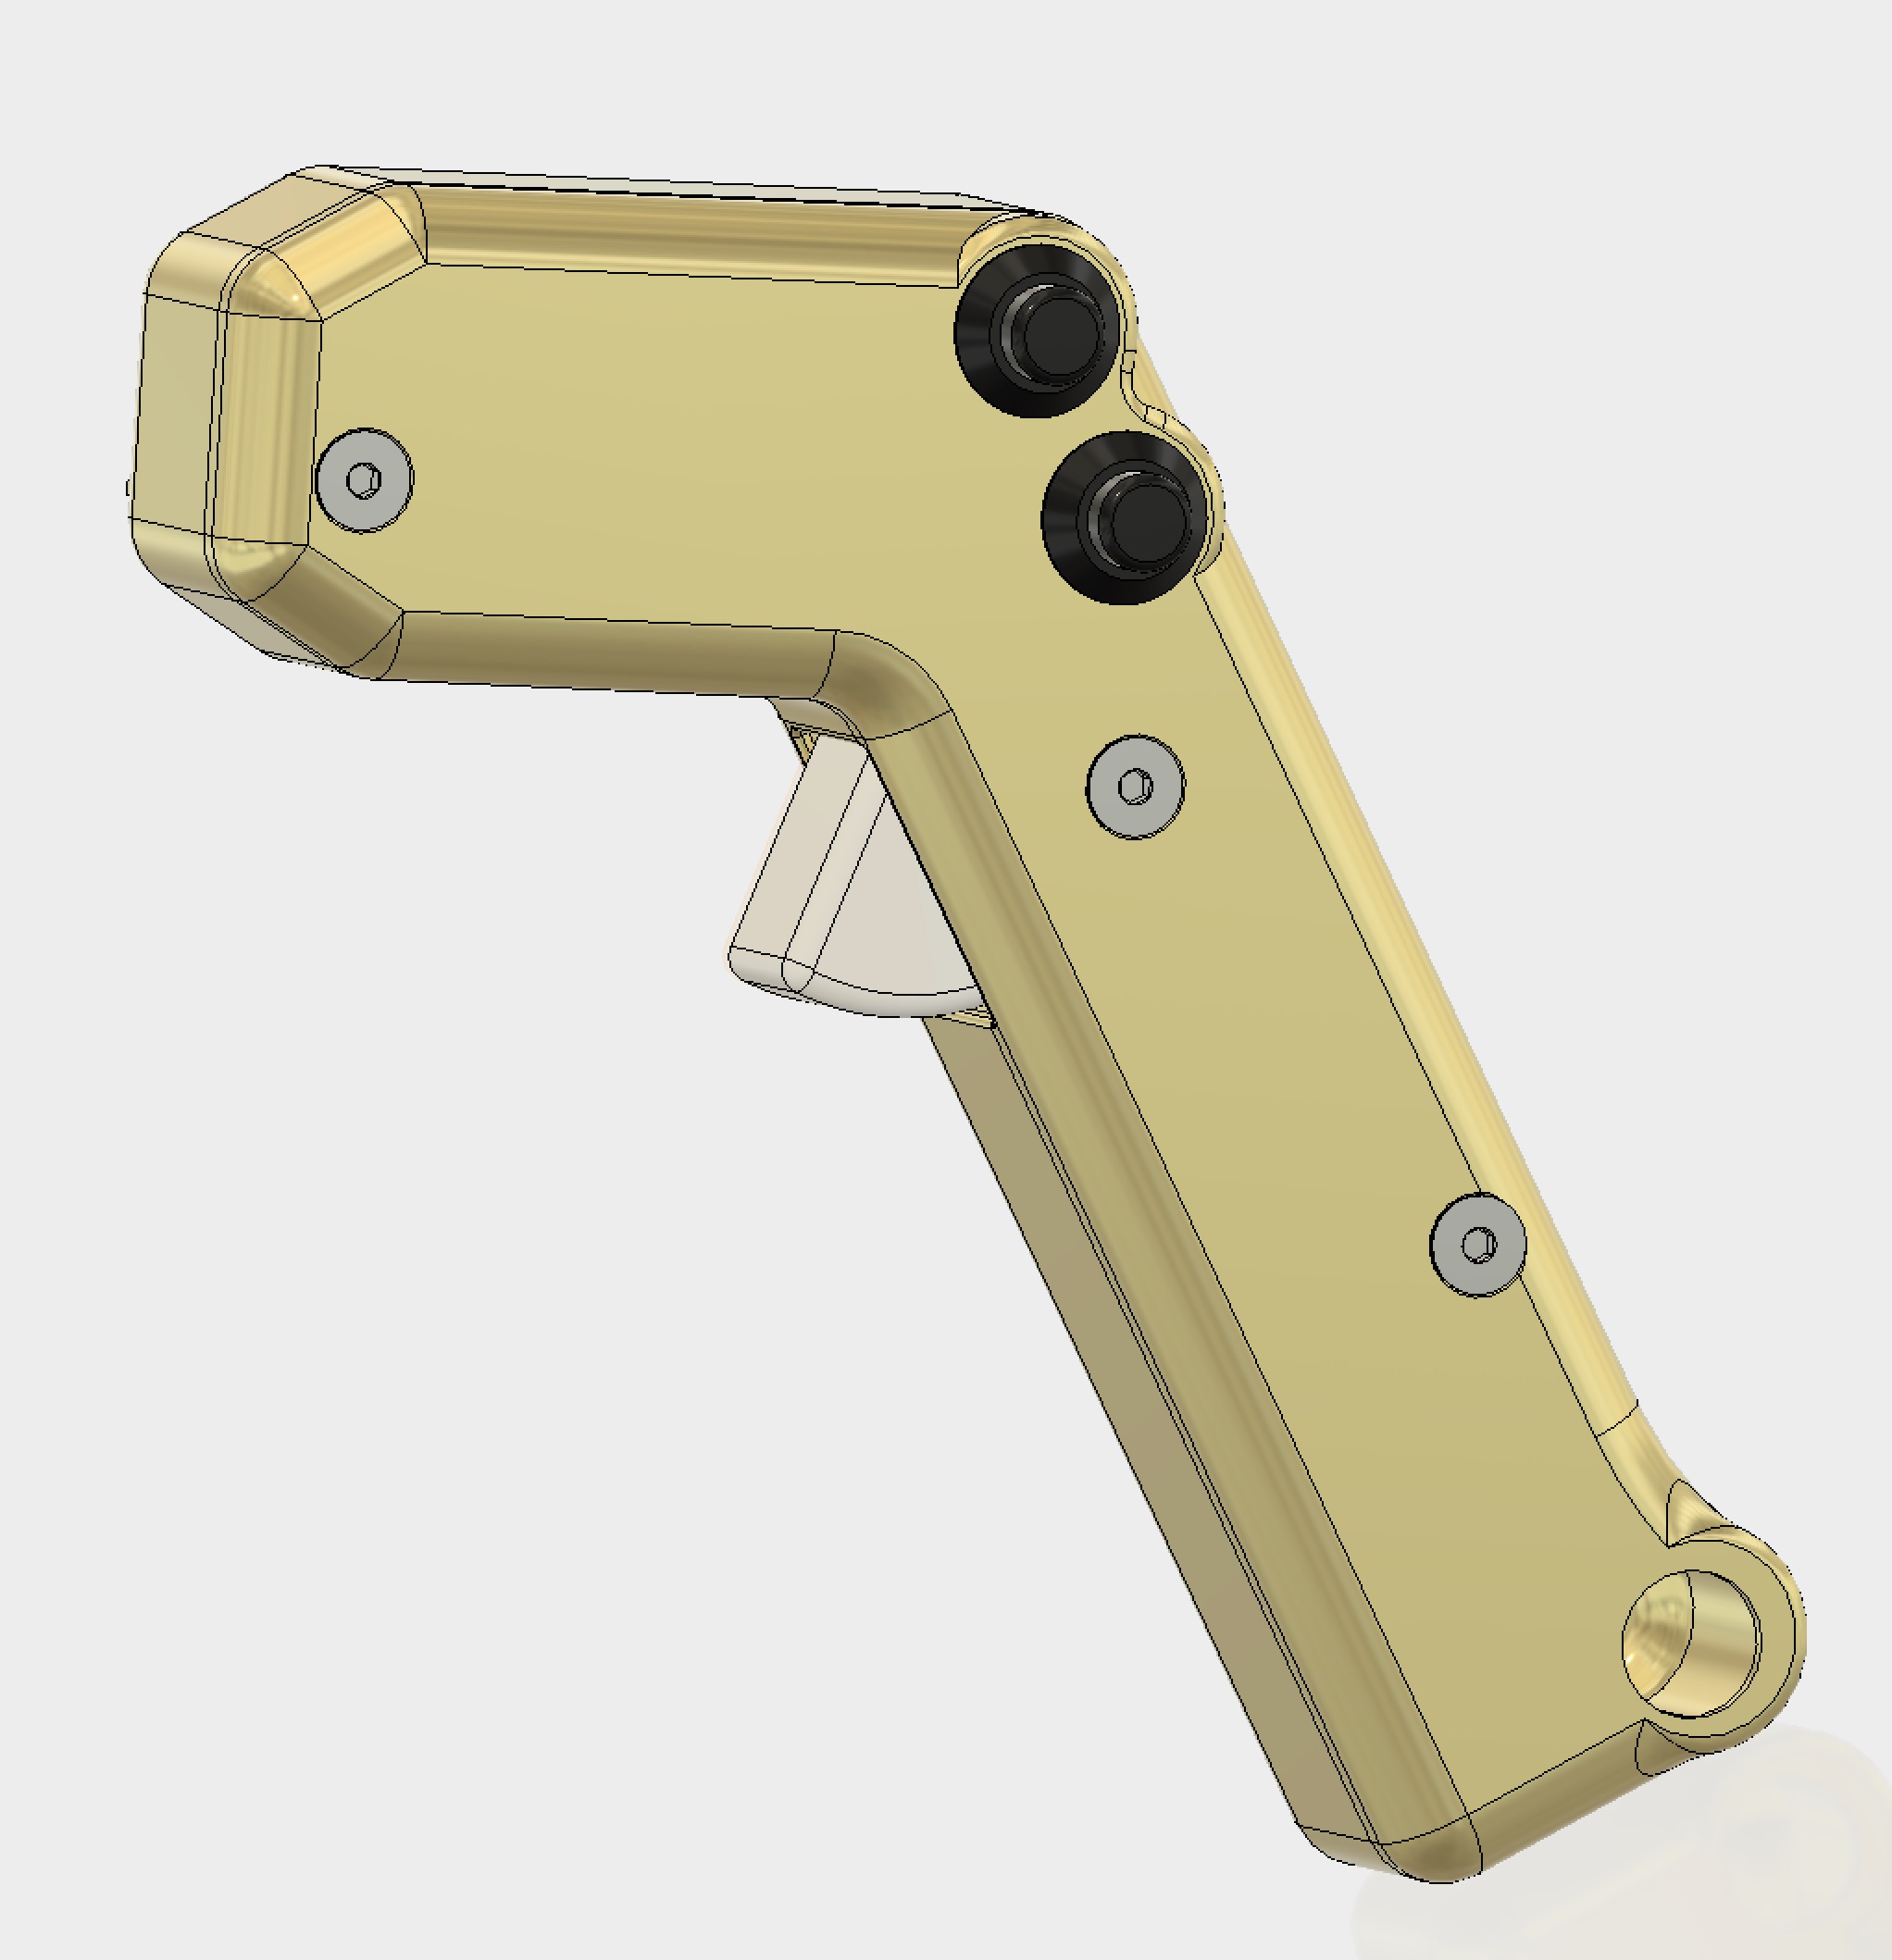
Now that the hardware is done, I can start working on the remote design and printing prototypes.
I redesigned my waterproof remote adding a double trigger for reverse as well. The reverse can be turned on/of with most ESCs along with most along with the power range for reverse. I know a few riders want the reverse to back their board up to them, and so they can also use this with their electric skateboards.
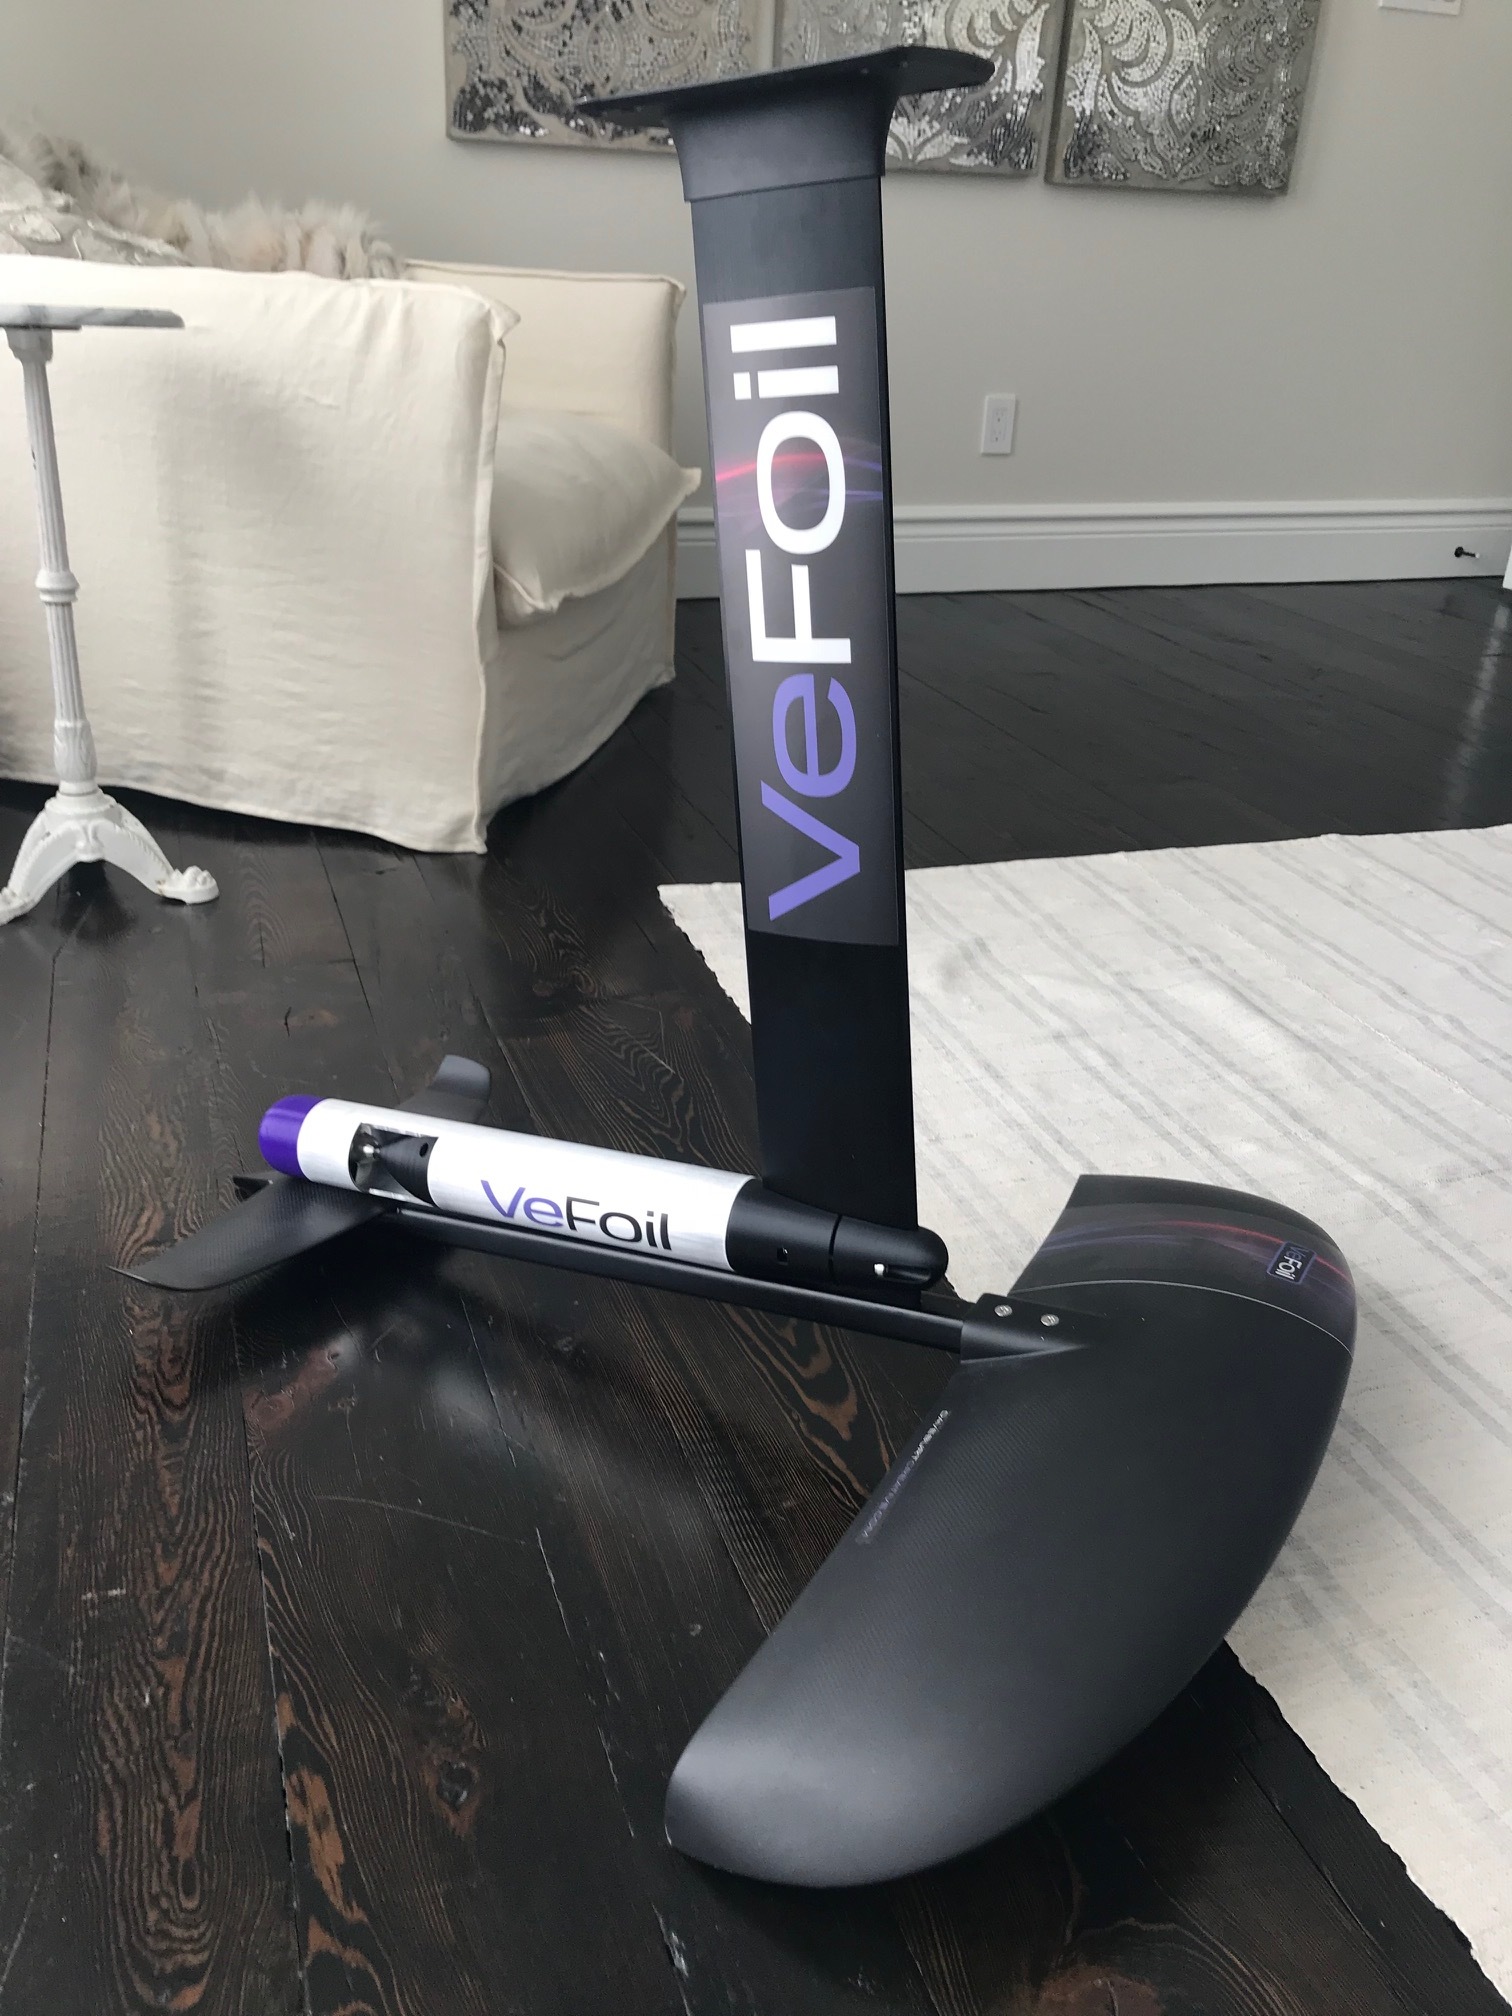
This remote will be available in a couple months for those who don’t want to build a waterproof remote.
@VeFoil what communications does this remote use? I.e does it come with a receiver, or can we connect it to our custom receiver setups?
My preference would be to use your remote and assuming it uses Bluetooth, connect it to my custom receiver. Would need to know the communication protocol/format of the remote for that.
Hi @pacificmeister
Do you help me to configure my hk-GT2B , on Use Channel receiver,
St trim, th trim , and st d/r and st position (rev or nor)
Do you use ch3 Channel on throttle ?
Regards
Giloris
I don’t think I had to configure anything on the GT2B. I use the trigger channel only, not sure what channel number that is. Just plug in and try them all. I configured the Seaking ESC to forward-only (no reverse) mode via the beep codes.
Hi
do you remote the red cable from the ESC connector to connect it to the receiver
if I leave it the engine and the esc heat up and the axis turns hard and makes noise and if I remove the cable I can not run the engine anymore. on your video the axis turns quickly and it does not have the area to heat
Regards
Giloris
Channel 2. Leave al the dialer on GT2B on remote in neutral position (you use the upper one only, for the throttle). If you set “forward only” on the ESC the reverse switch is useless. Anyway, plug it and try. I don’t understand what you mean with “axis turn hard”?
@MaxMaker do you know the reason behind 31sec transmission and 31sec no? It’s a stupid error I made, using “int” to store the variable “time”, so when the millis counter reached 32000 it stopped! Calling the AutoAck as “false”, like you did, solved the transmission but the eliminated the “failed connection” feature, the Green or Yellow LED. No big deal but… I wanted it, badly!! Now I stored the time using “long” instead, and it work!!! Updated on Arduino web. I tried with the receiver with additional antenna module, it works even into that sealed aluminum box and (on land) still works fine at some meters of distance.
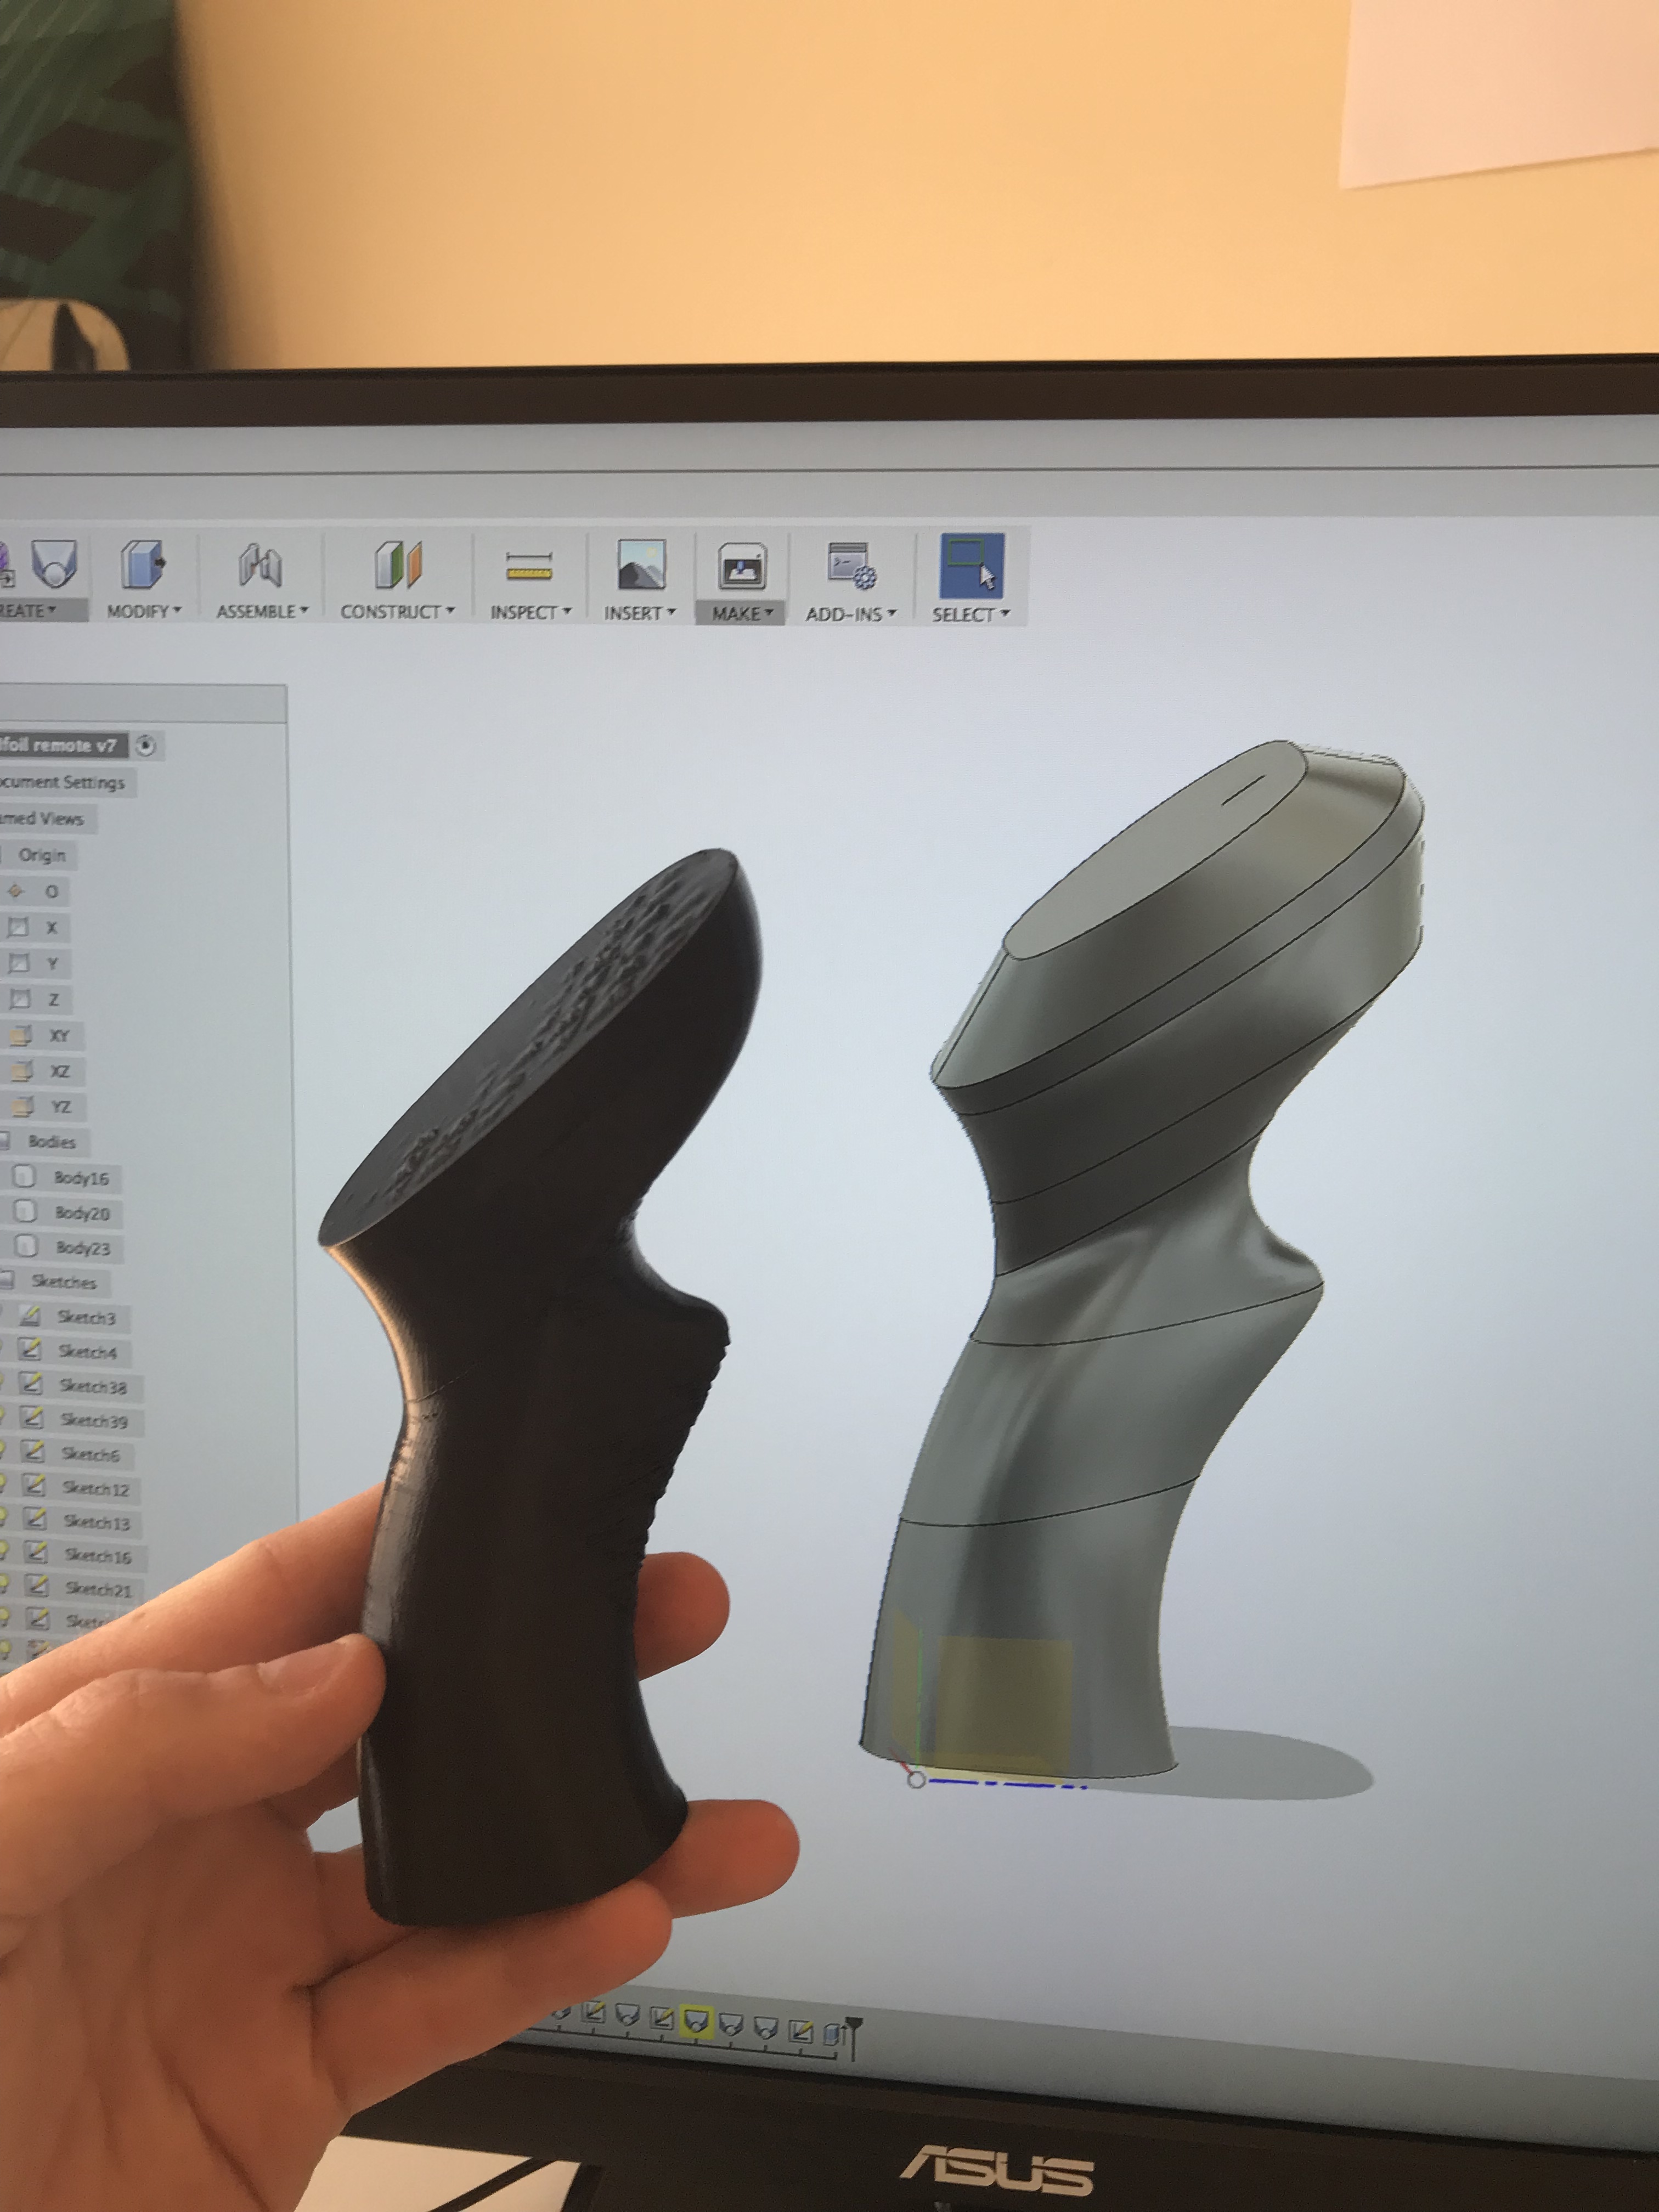
The mess now is to design a printable waterproof case, not too bulky but with room for all the electronics, battery, trigger, hall sensor and reed bulb. I filed a couple of failures, so far…
Hi mauro
Thank you for your Help. I try solution yesterday evening. I bad read notice , to synchronise throttle and esc . I use Channel 2 , remote trigger off and esc power on , Before remote trigger is on . Now it s ok
Regards
Giloris
Hi @Alexander Thanks for all the great info! I’m studying it. This is a great solution.
I’m wondering why you added a 3.3V regulator to your cct? Isn’t there already a voltage regulator at 3.3V on the PRO Mini?
I know the Nano has a 3.3V regulator but for good and steady NRF24 transceiving, you could use one of those $1 NRF24 power module… Caps (smd ceramics) and voltage regulator are there, you don’t need anything else.
Today I ordered the AD623 op-amplifier and a triac to get a readable signal out of the hall current sensor, I’m curious to see how the game change when you can get and use real time power (current) data to dial in a throttle ramp!
Hello, been following the efoil builders forum for about a year now, im getting all my pieces together and loving all the projects i see going on.
Im in the process of building a remote, will be happy to share all the files.
This was an afternoon spent on fusion 360, it feels great in hand and plenty of room for electronics. Would be great to have some feedback or any suggestions.
I still need to work on where all the electronics go but shouldnt be too long.
My board is made of insulation foam, and 3d printing wing, mast l, remote etc. I am attempting to have a complete and fully functional setup for less than $1000. Will add more pics soon.