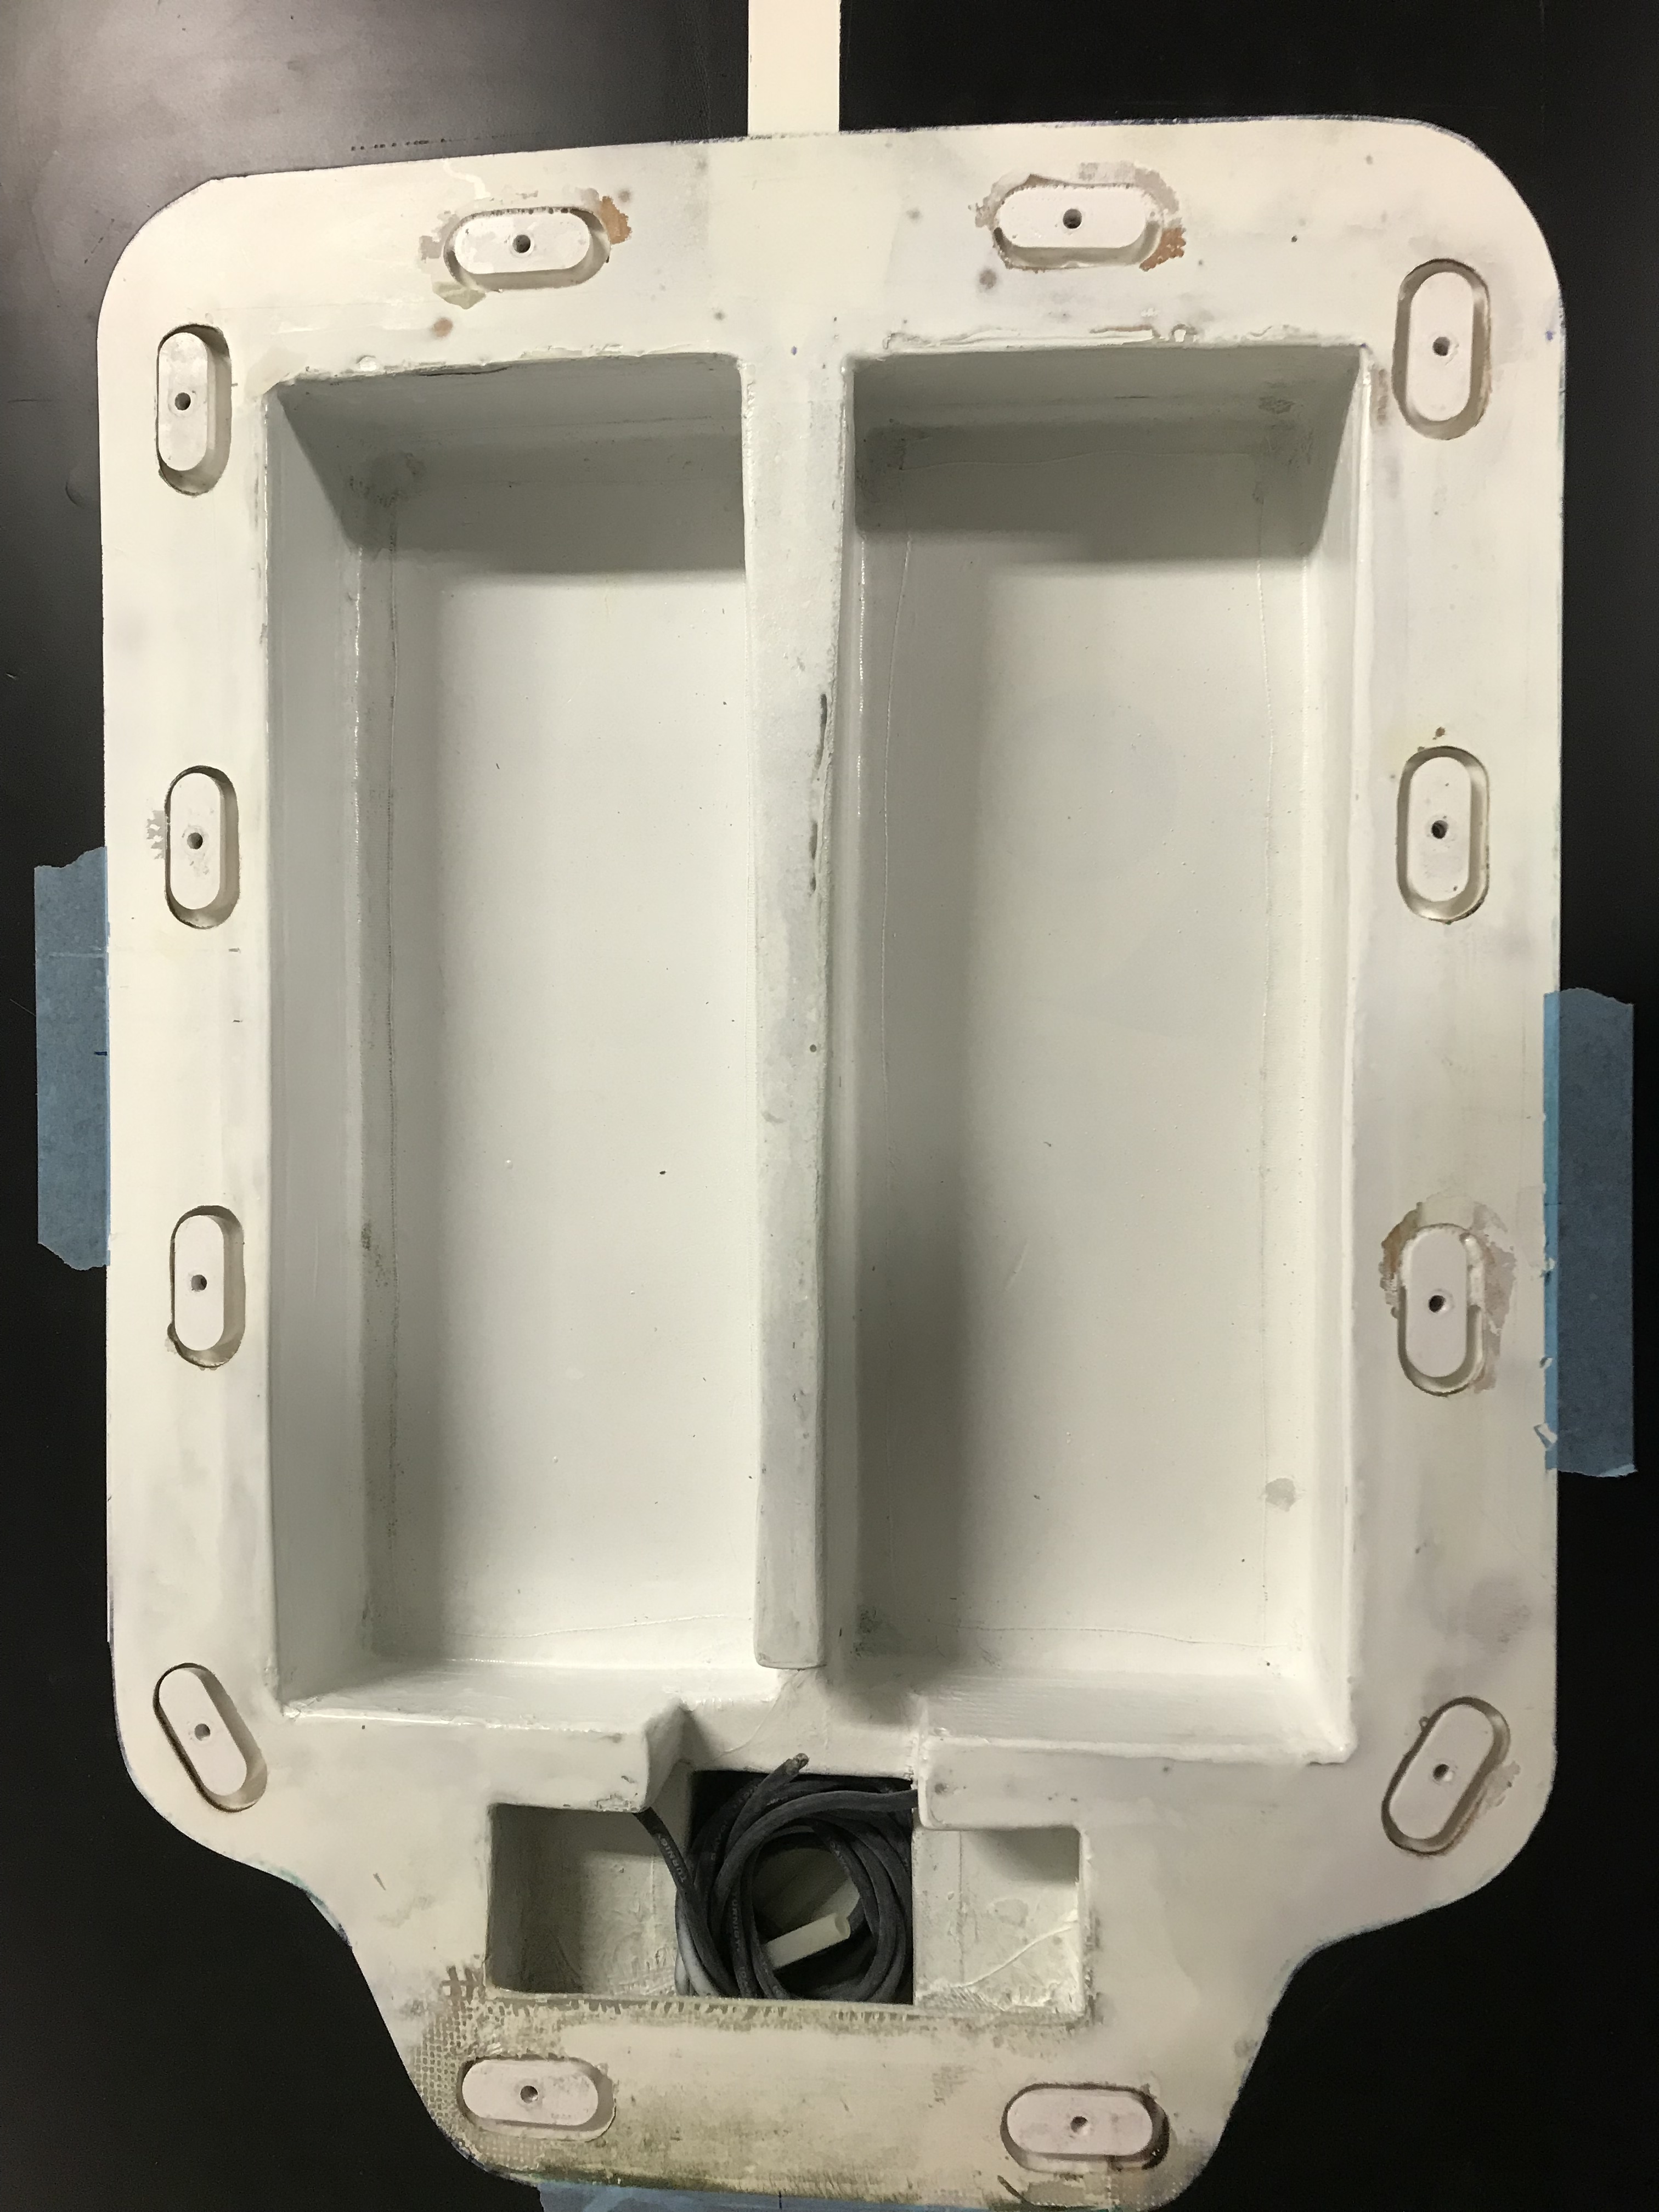
A lid is good to keep your electronics safe. But it is also a pain since you have to turn on the board before you close the lid.
I invested in a small 433mhz remote which I connected to my anti spark circuit. I can now connect everything and close the lid and not activate the board before it’s in the water.
The 433mhz receiver runs on 3-24v, I used a very old power bank that makes 5V out of 1,5V.
The receiver has a relay that is normally open. I bought it on AliExpress.
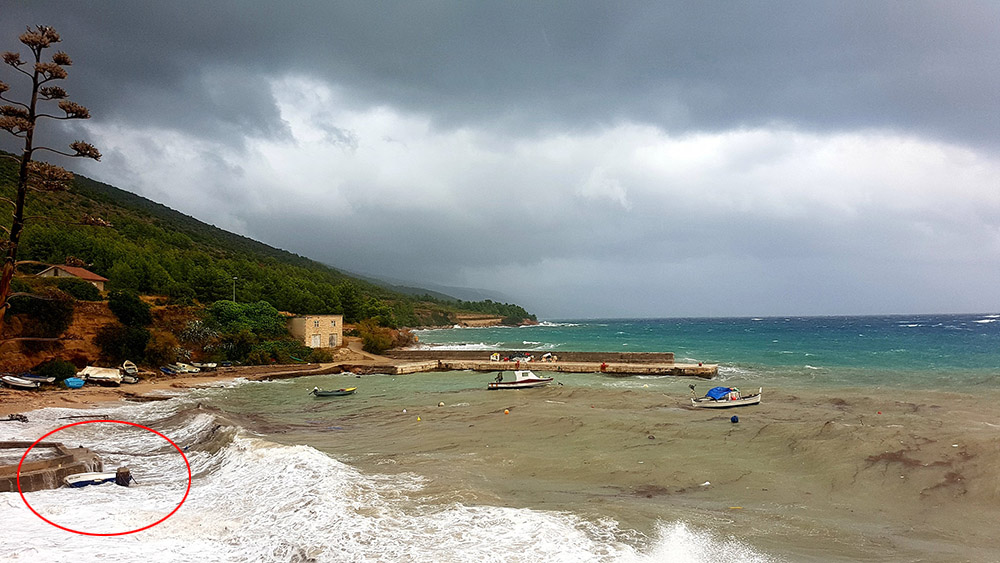
My buddy did make “music box” (or whats the name) electronics, amplifier, separate battery and all that bullcrap in a big old portable beach refridgerator. For sealing he used that rubber that goes around the car door, trunk. Storm did kinda break his boat, was hitting the beach for maybe half an hour/hour filled with water. Electronics were dry inside, speakers ofc broken from the outside. He is a mechanic so he had that rubber for free probably, not sure whats the pricing on it. Just an idea if some1 has any material bellow the table and willing to try.
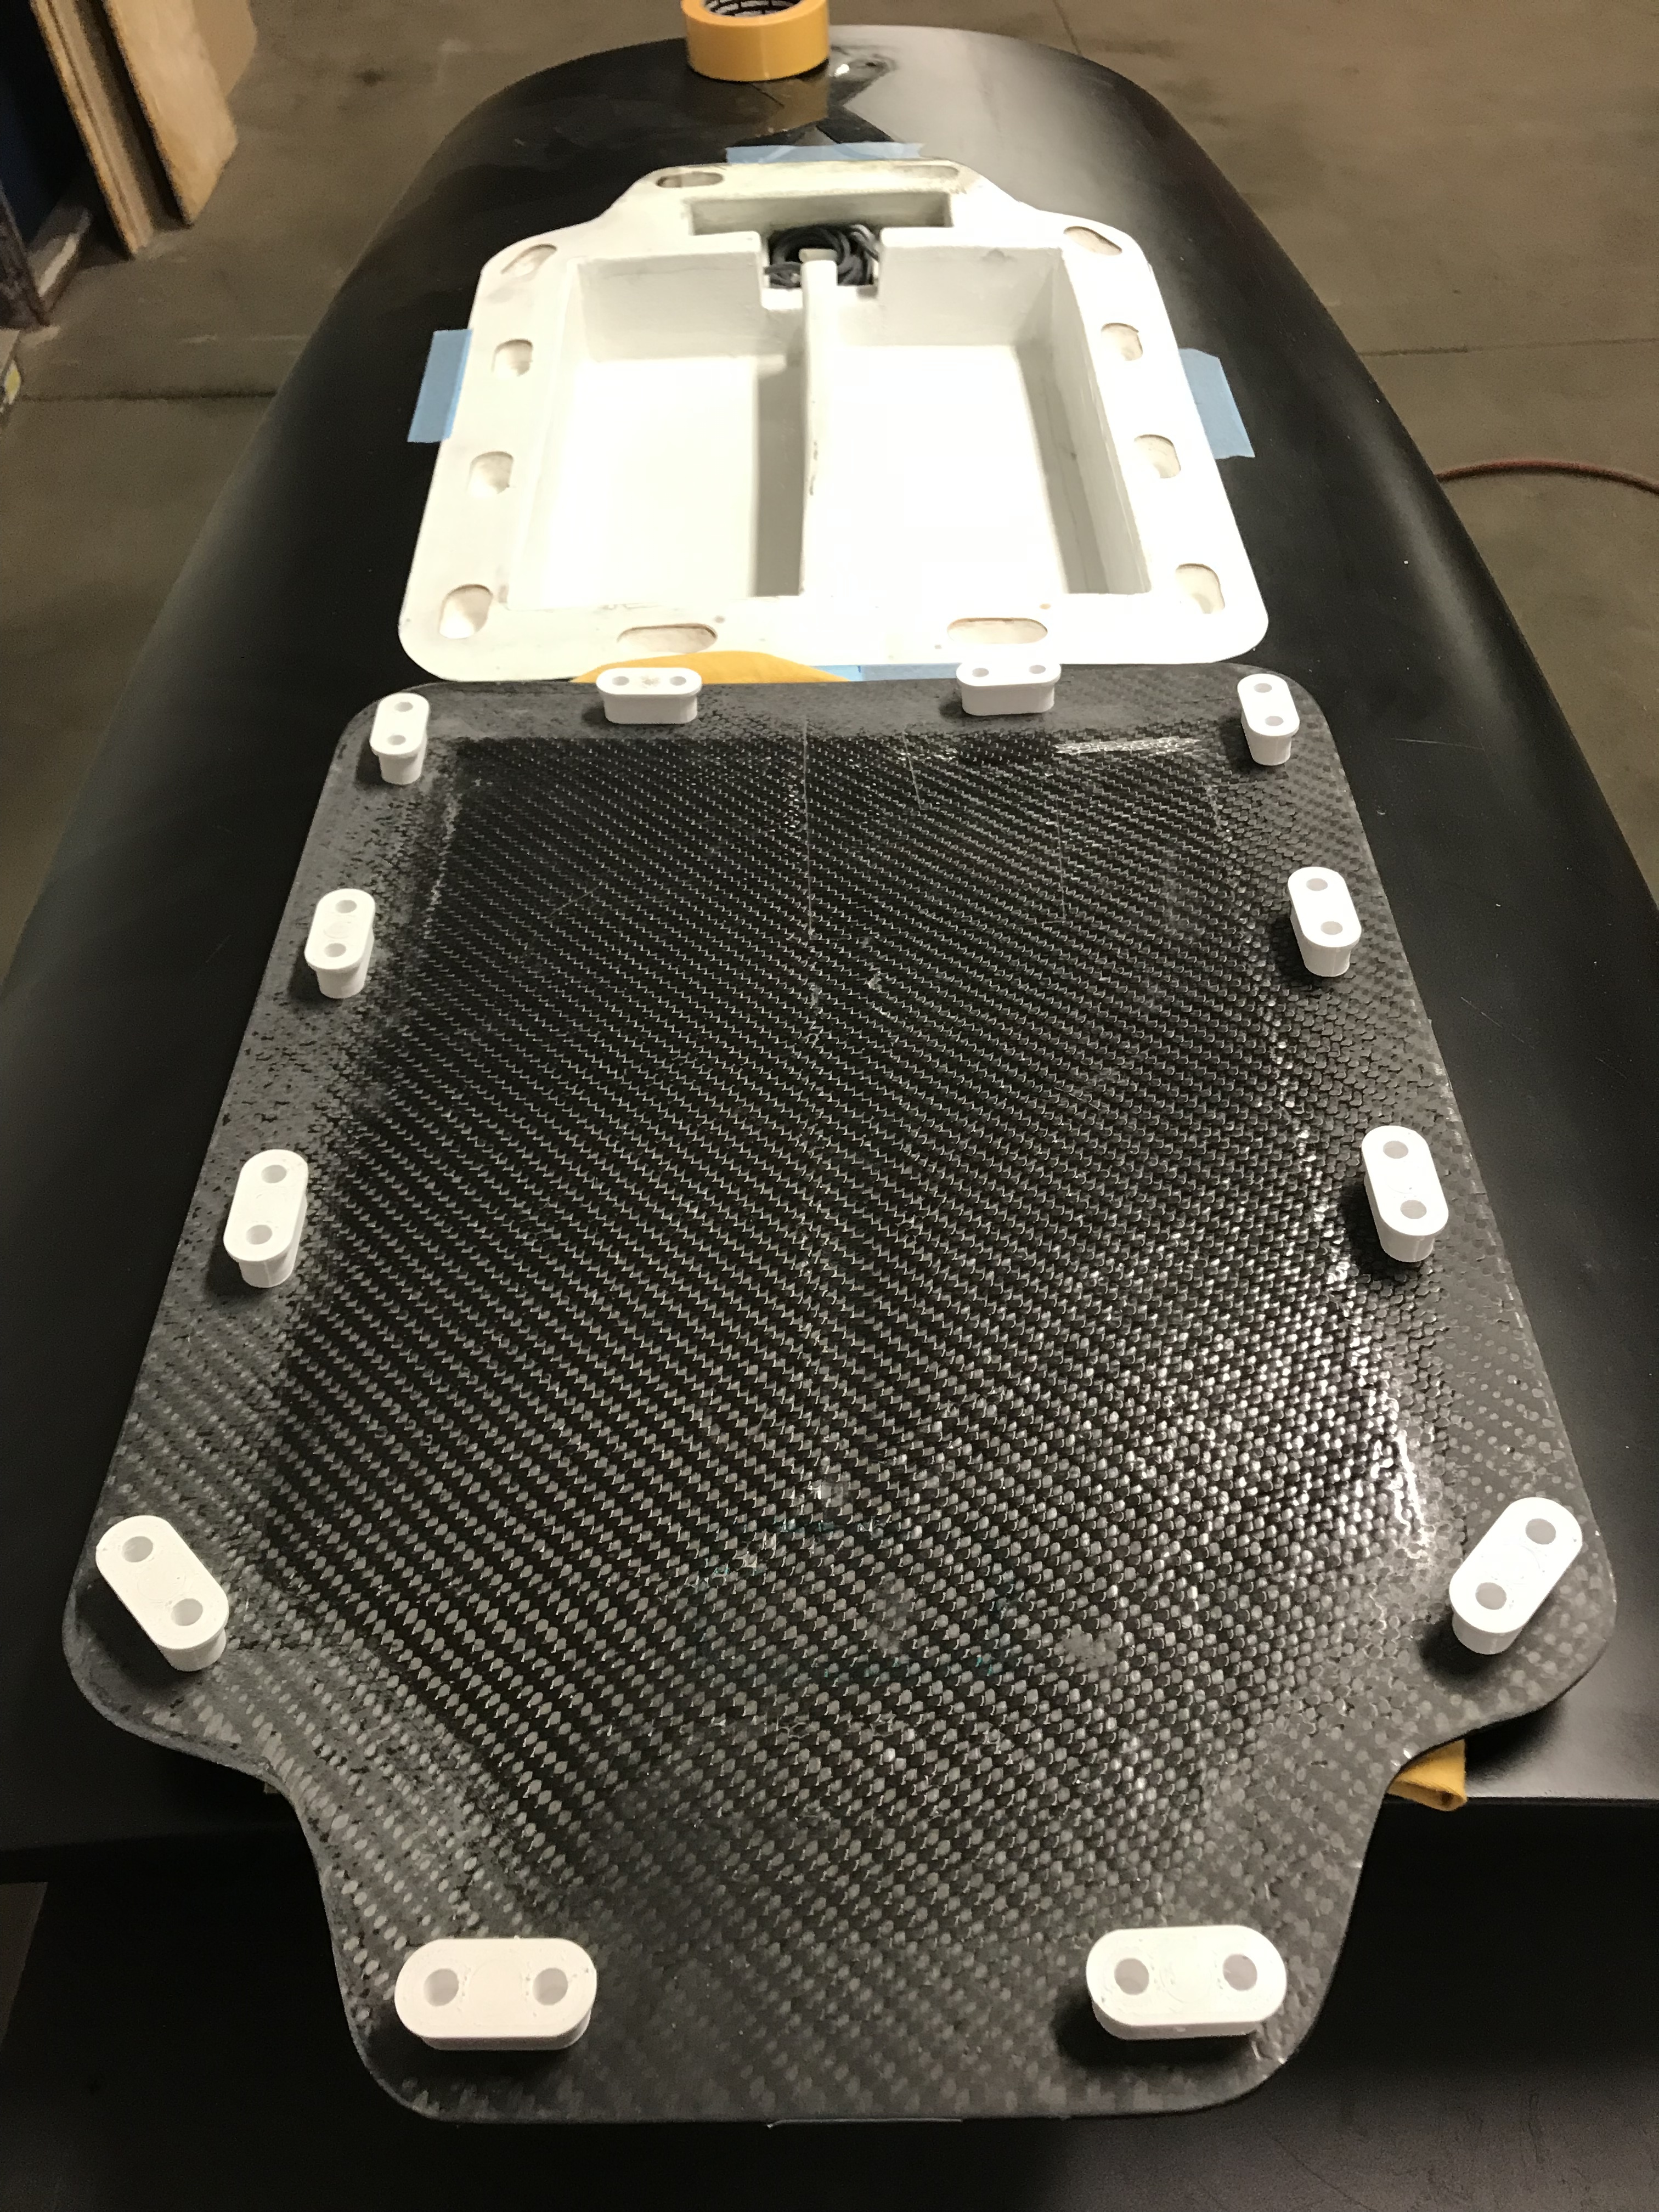
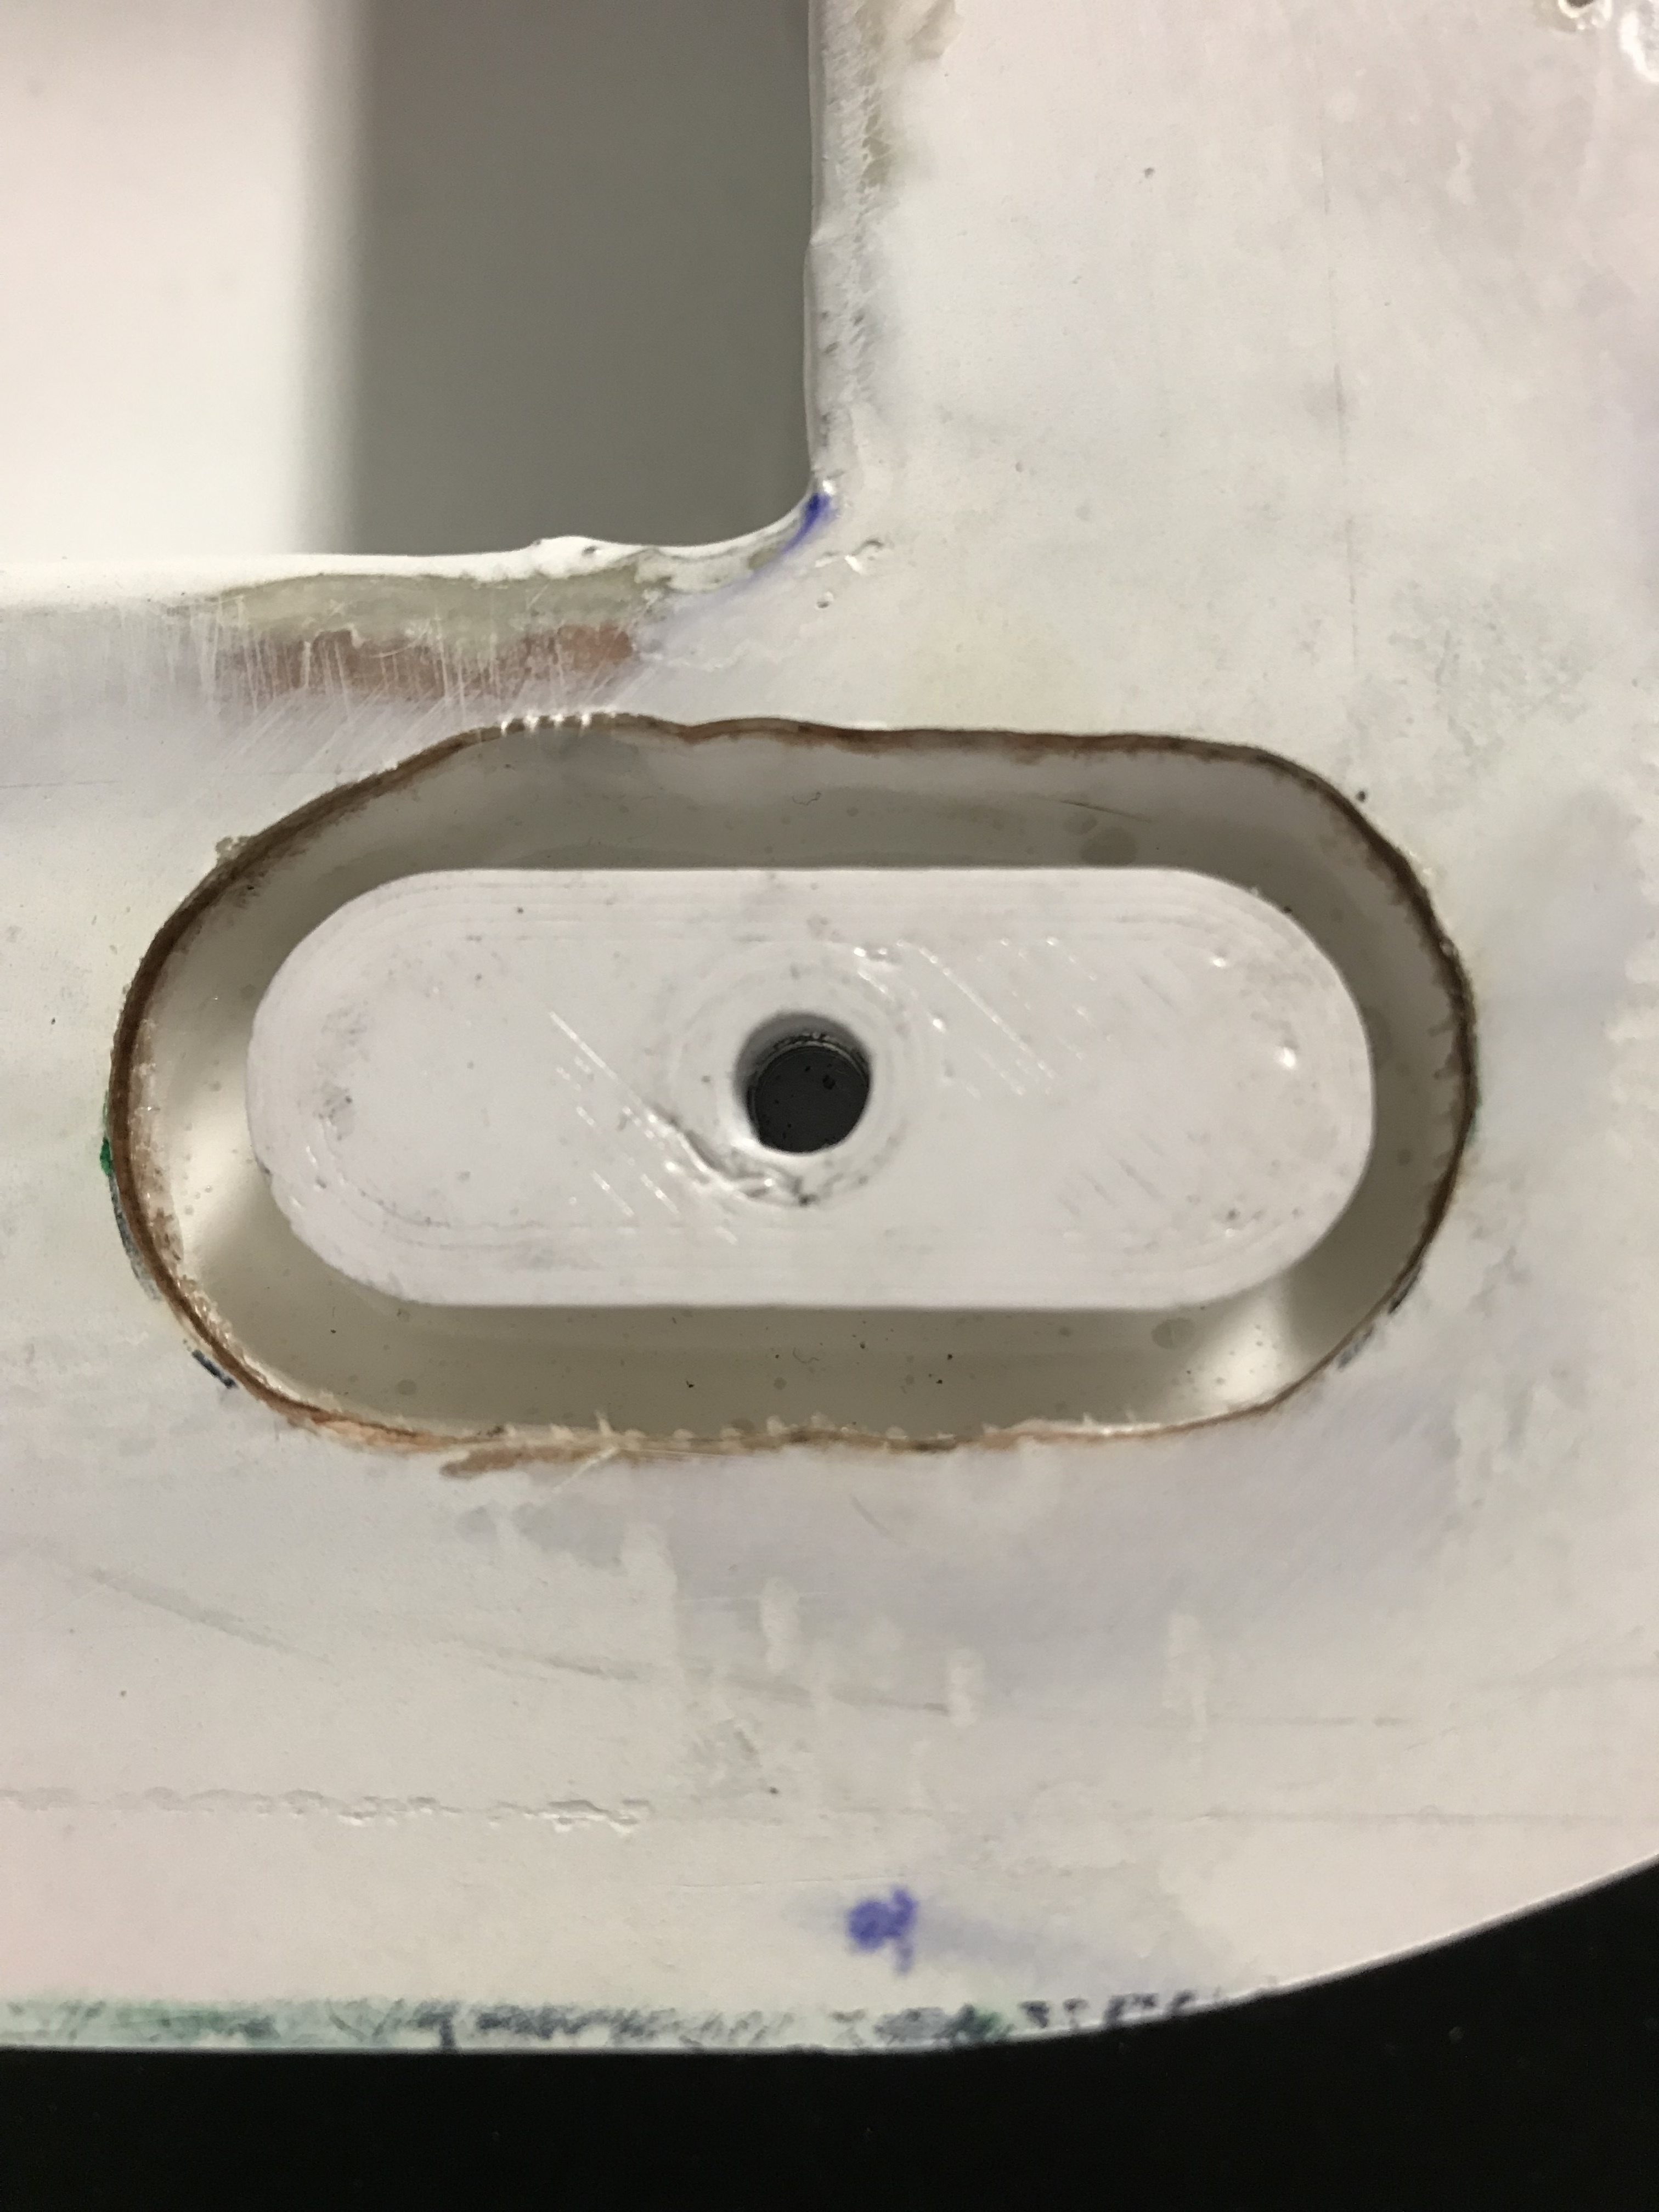
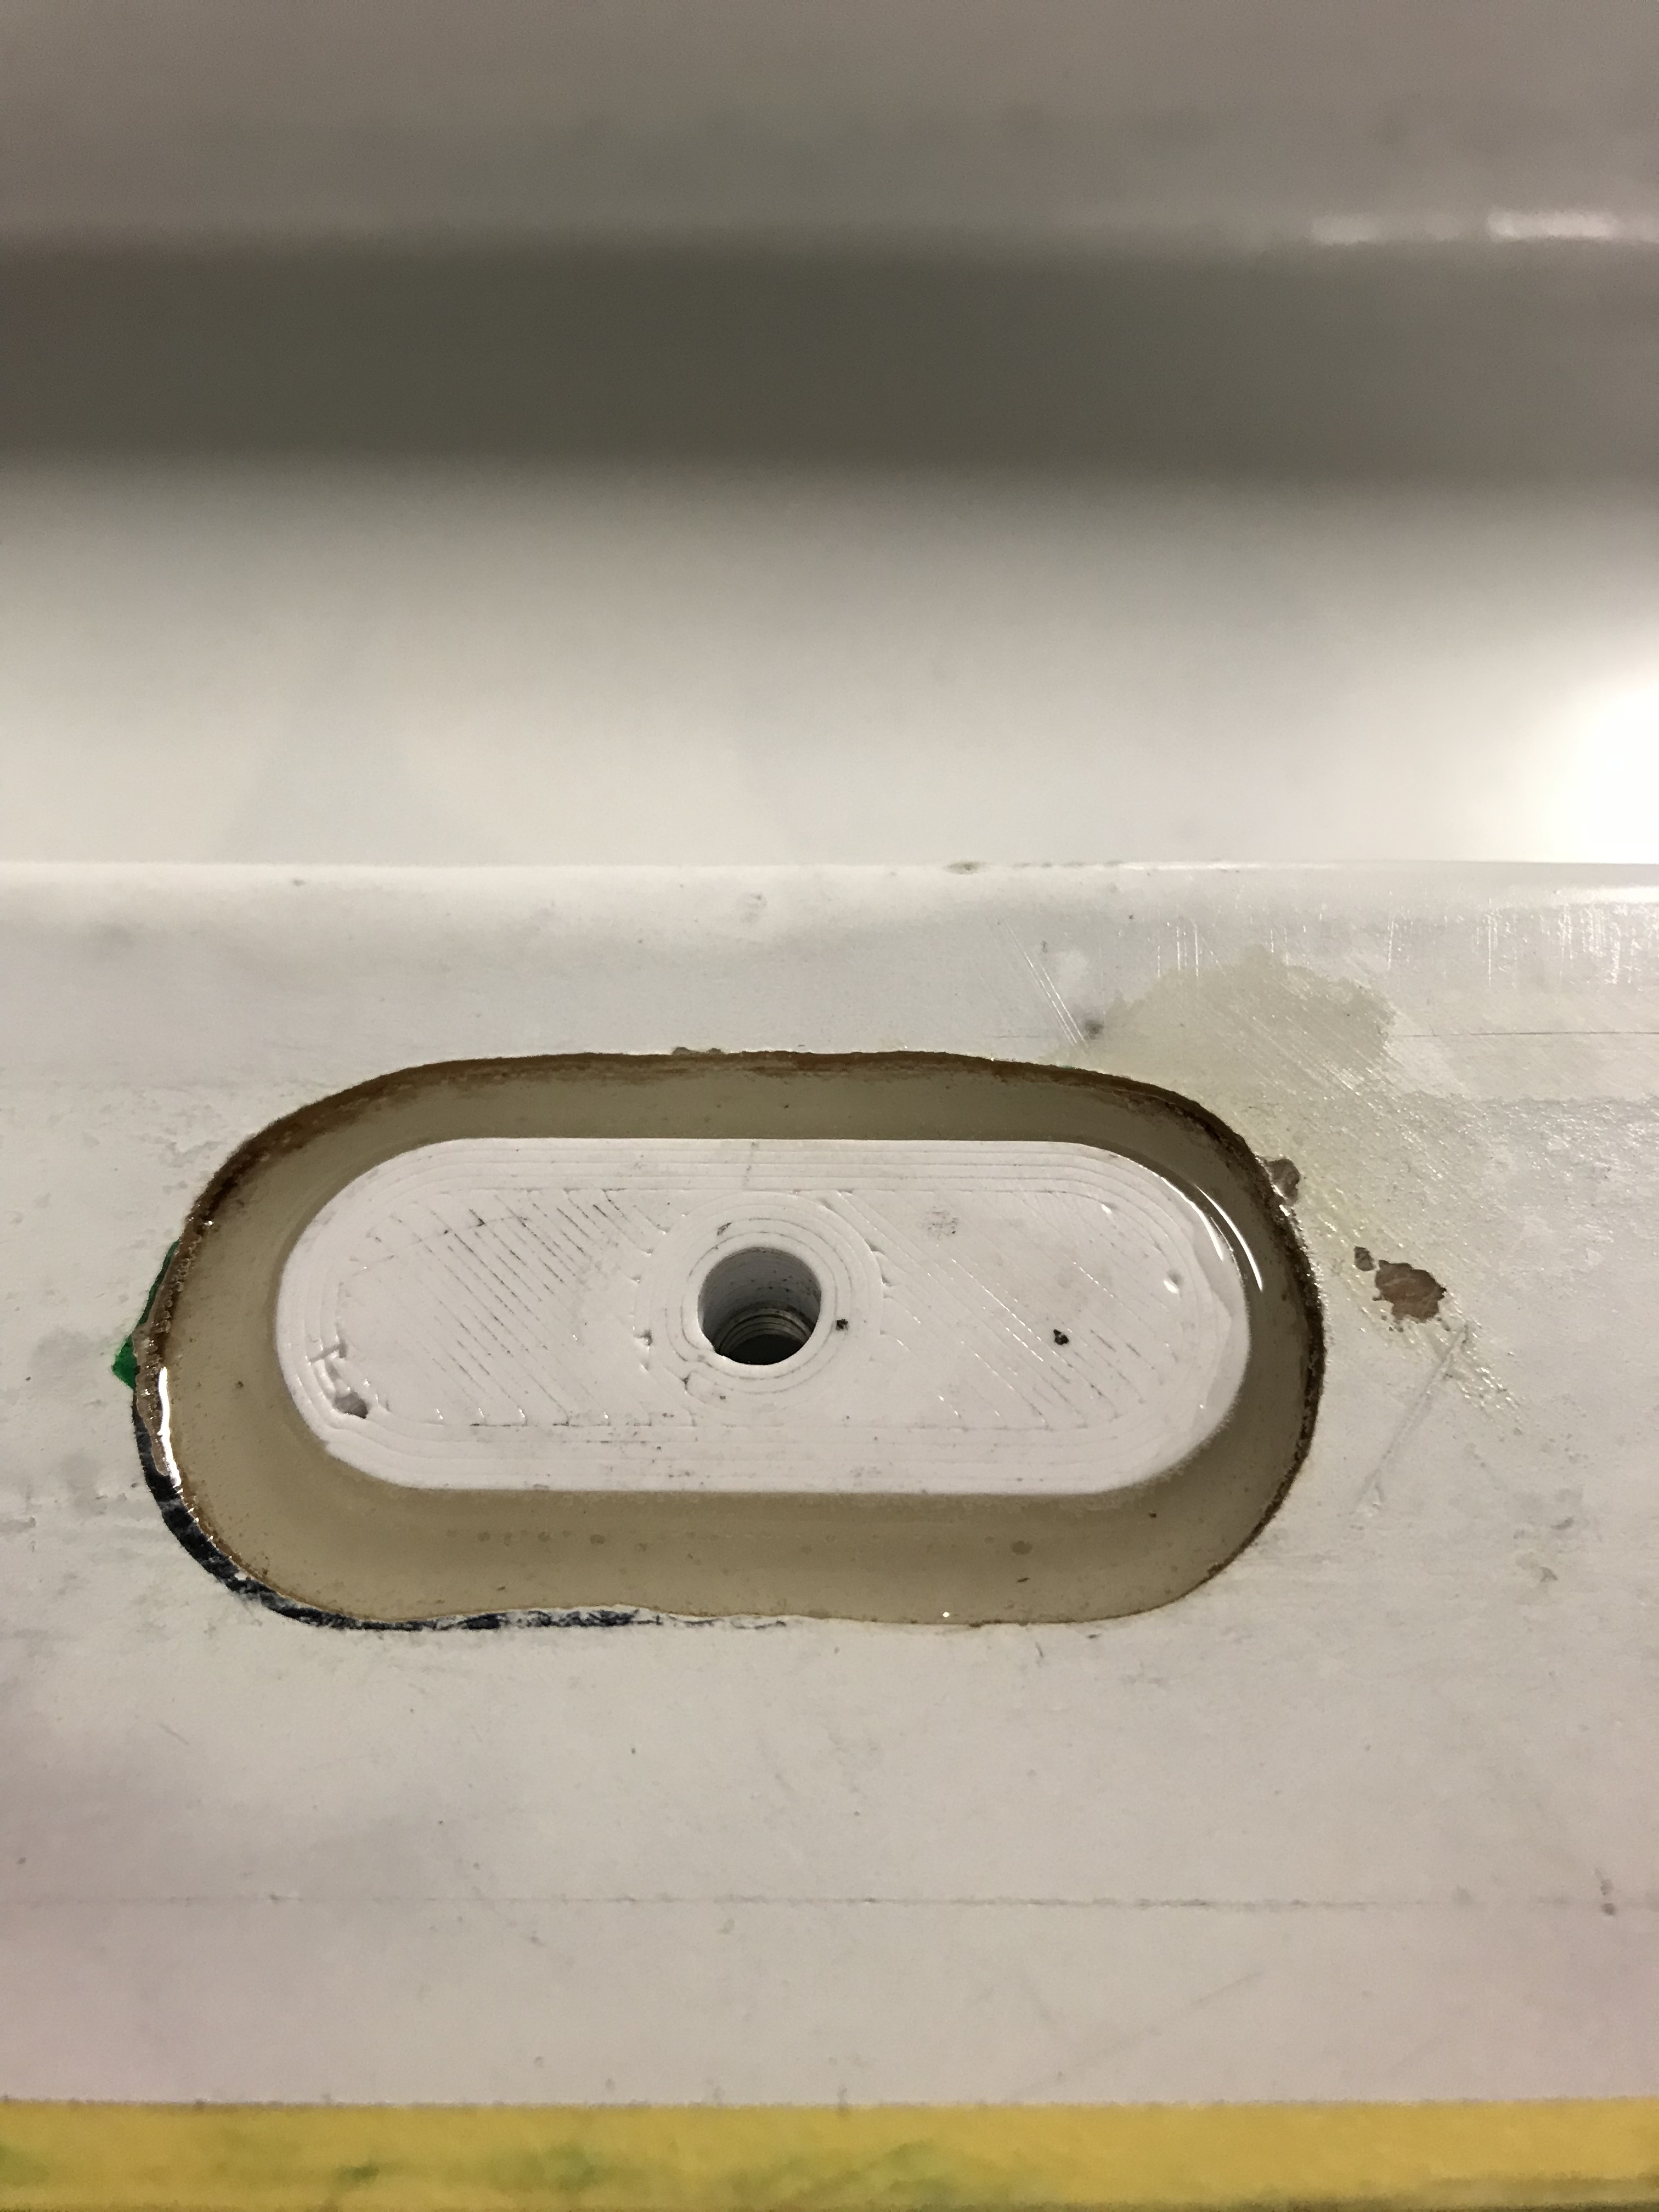
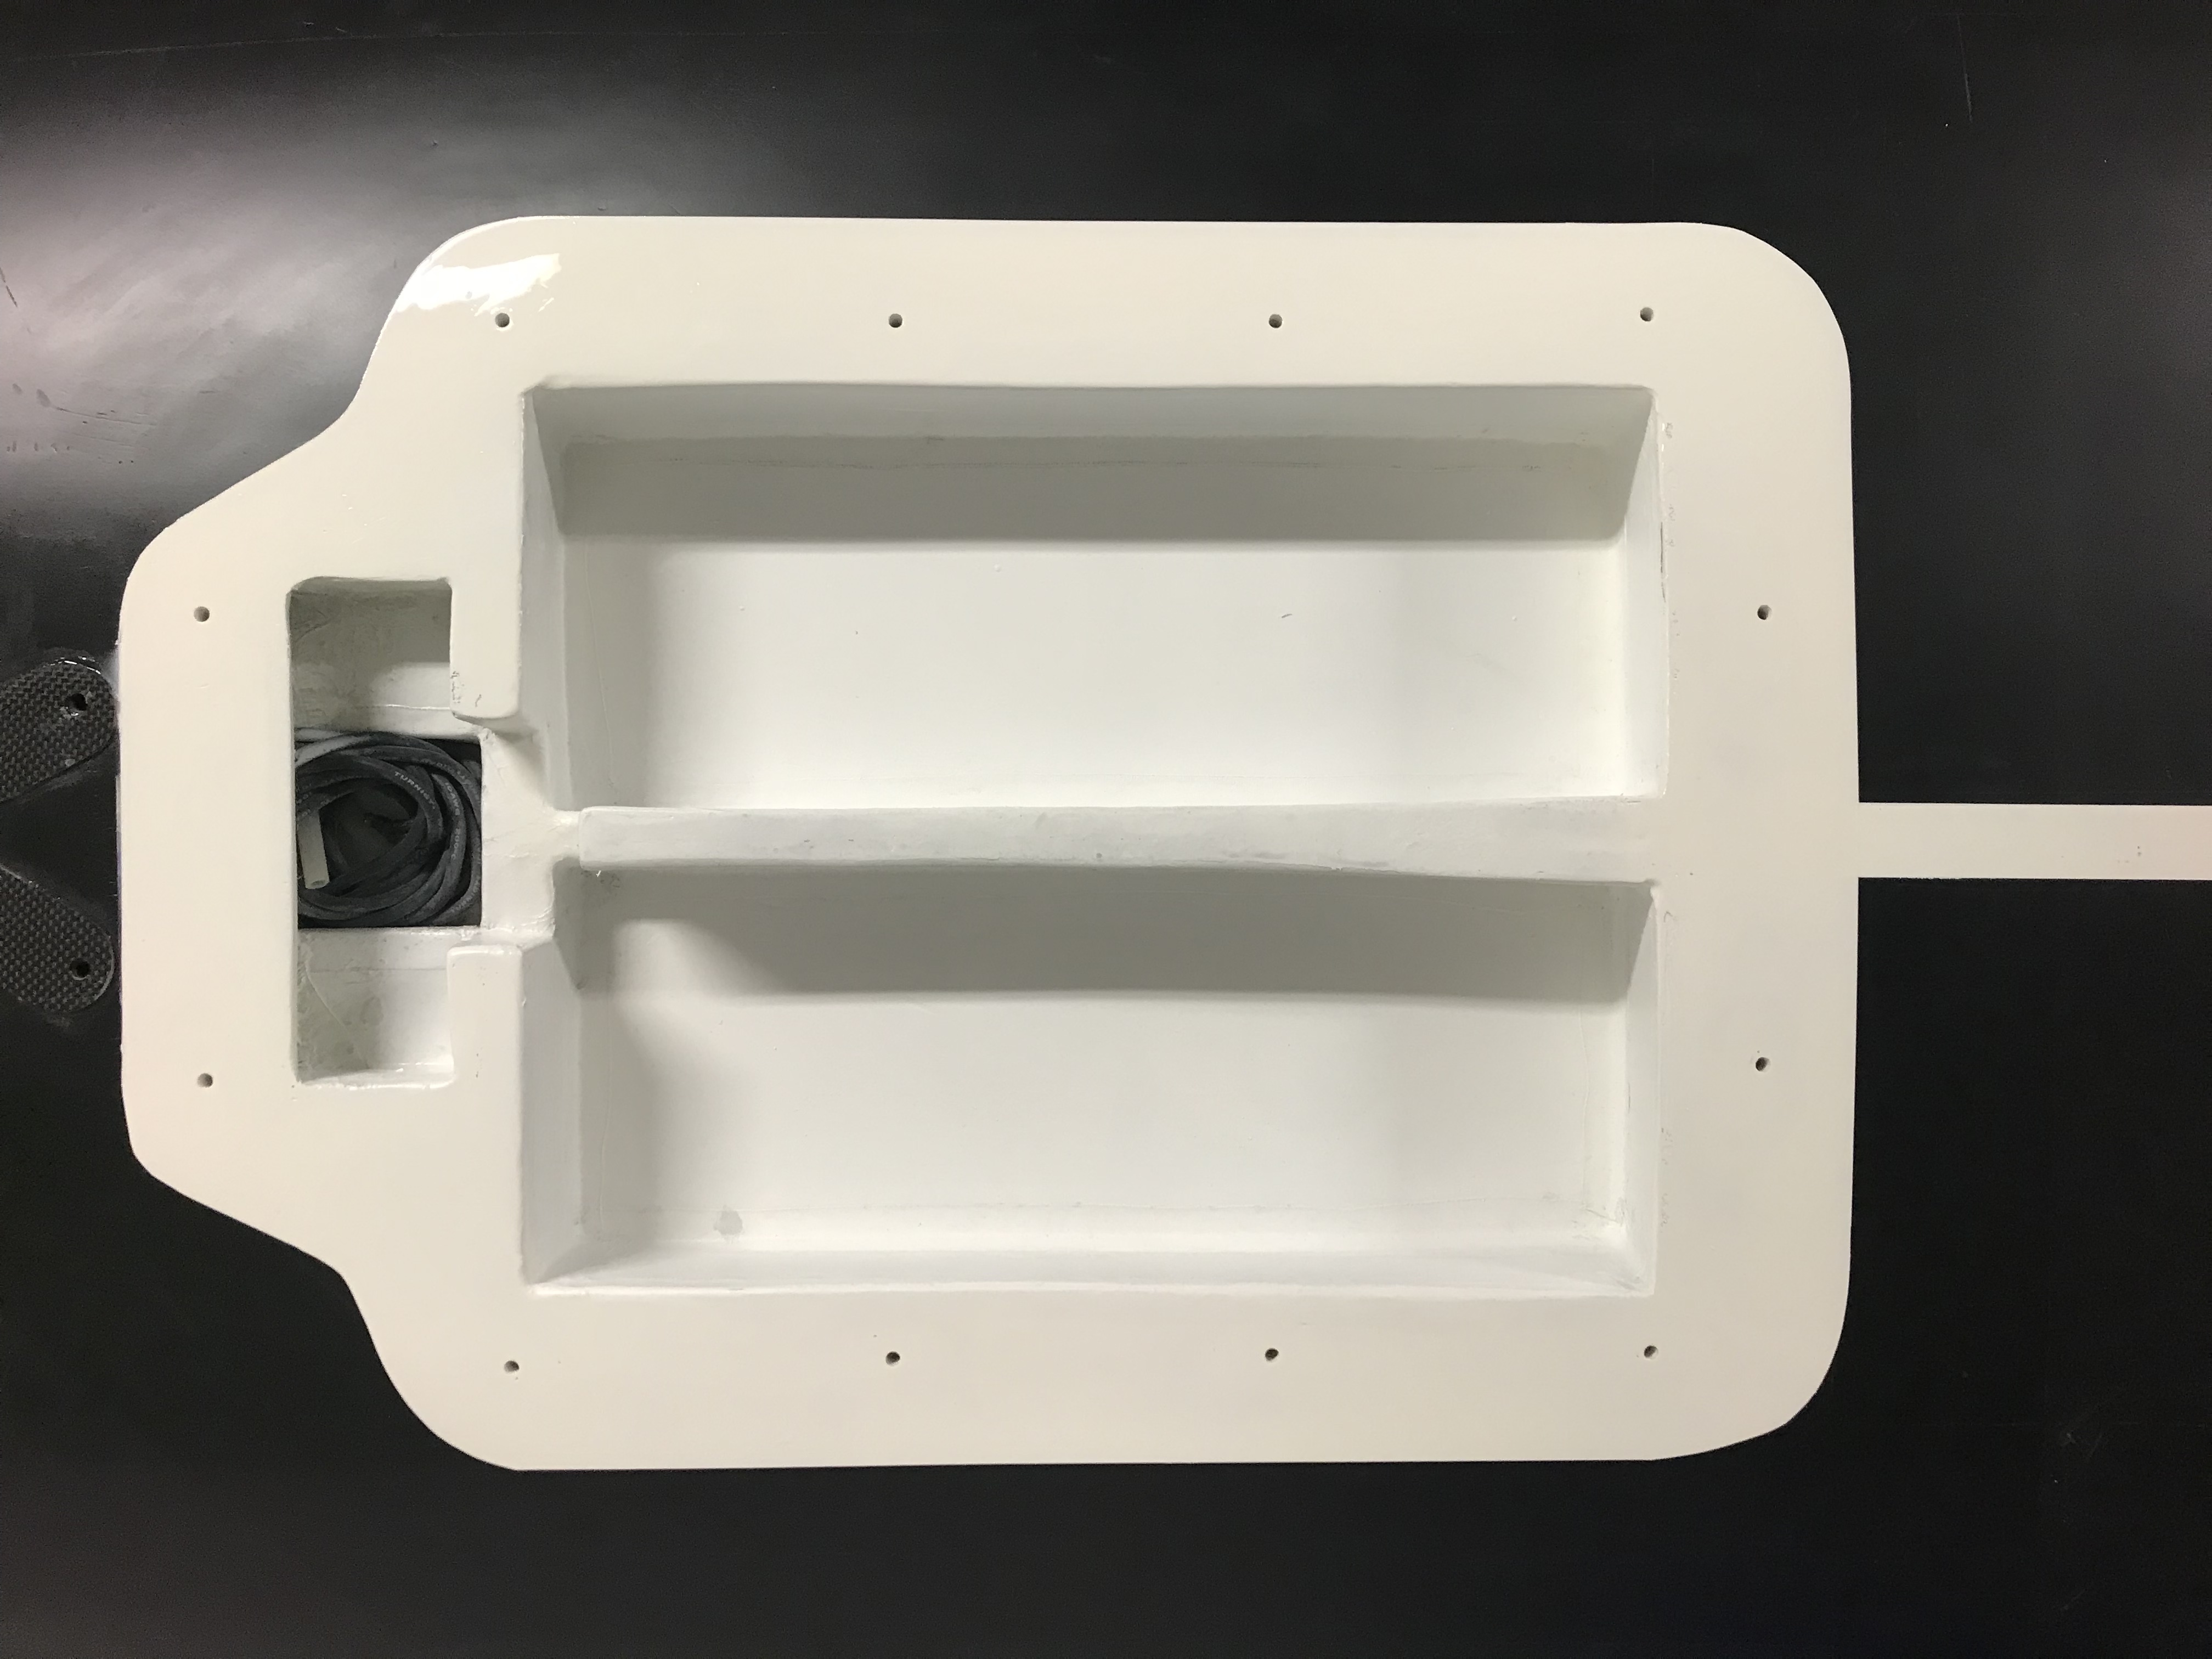
How does your lid with the soft core take the pressure of the fixing screws? I plan to build a cfk board with either a 5mm foam or honey comb core core and 2x 600g cfk. I’m thinking about putting some 5mm carbon board pieces instead of the core where I plan to fix the board. Like this the screws can be tightened without compressing the core.
Hi Riwi,
the 433 remote looks so easy. Please make a link list and a wiring Diagramm. I realy want to copy it. There is no spark and no other problem? Great, that will solve my problem
The relay pulls down an input of an arduino nano. When A is pressed, the arduino switches on a relay that connects the ESC to the battery in series with a 500ohm 5W resistor for 5 seconds. This is to charge the ESC capacitors=anti spark. After that 5s, a second relay switches on a 100A contactor (ZJW100A) which is in the path between the battery plus and the ESC. At the same time, relay one (anti spark) is switched off again. Consumption of the contactor coil is 10W(12V/0.9A). I only have a test setup with arduino, relays and contactor but I haven‘t tested it with the ESC as I‘m waiting for the 500ohm resistor and the dc-dc converter. It seems to work and the 433MHz remote even works if I put the receiver in an aluminium box. I‘ll try to draw a plan on how to connect. You also need 60V to 12V or 12V/5V dc-dc converter for the arduino and the contactor (12V version).
Uhhh, that looks too difficult for me. I am not an Electronic pro…
Is there an easier way with the remote? I think, I have to tape my Electronic Box, if it is not really waterproof. So I need a starting procedere with an external remote when the Board is ready in water
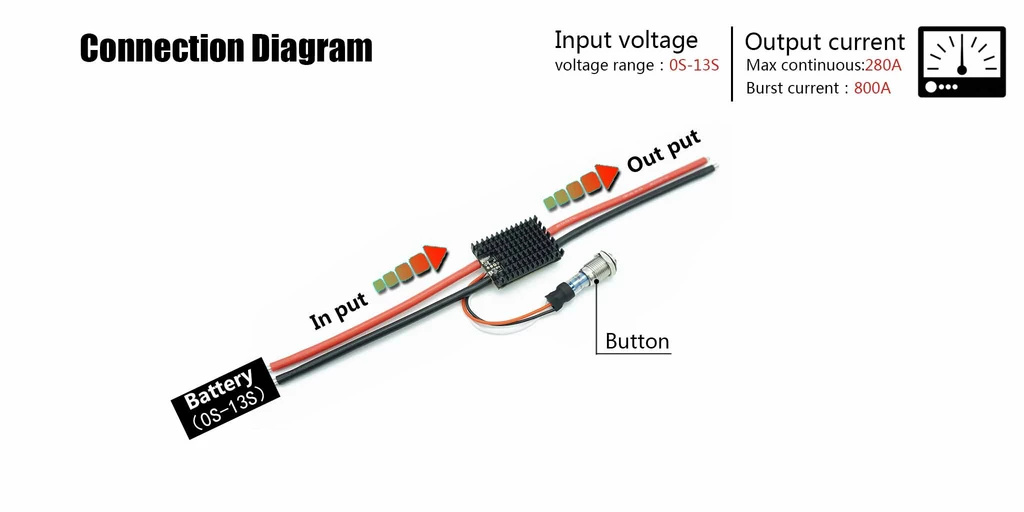
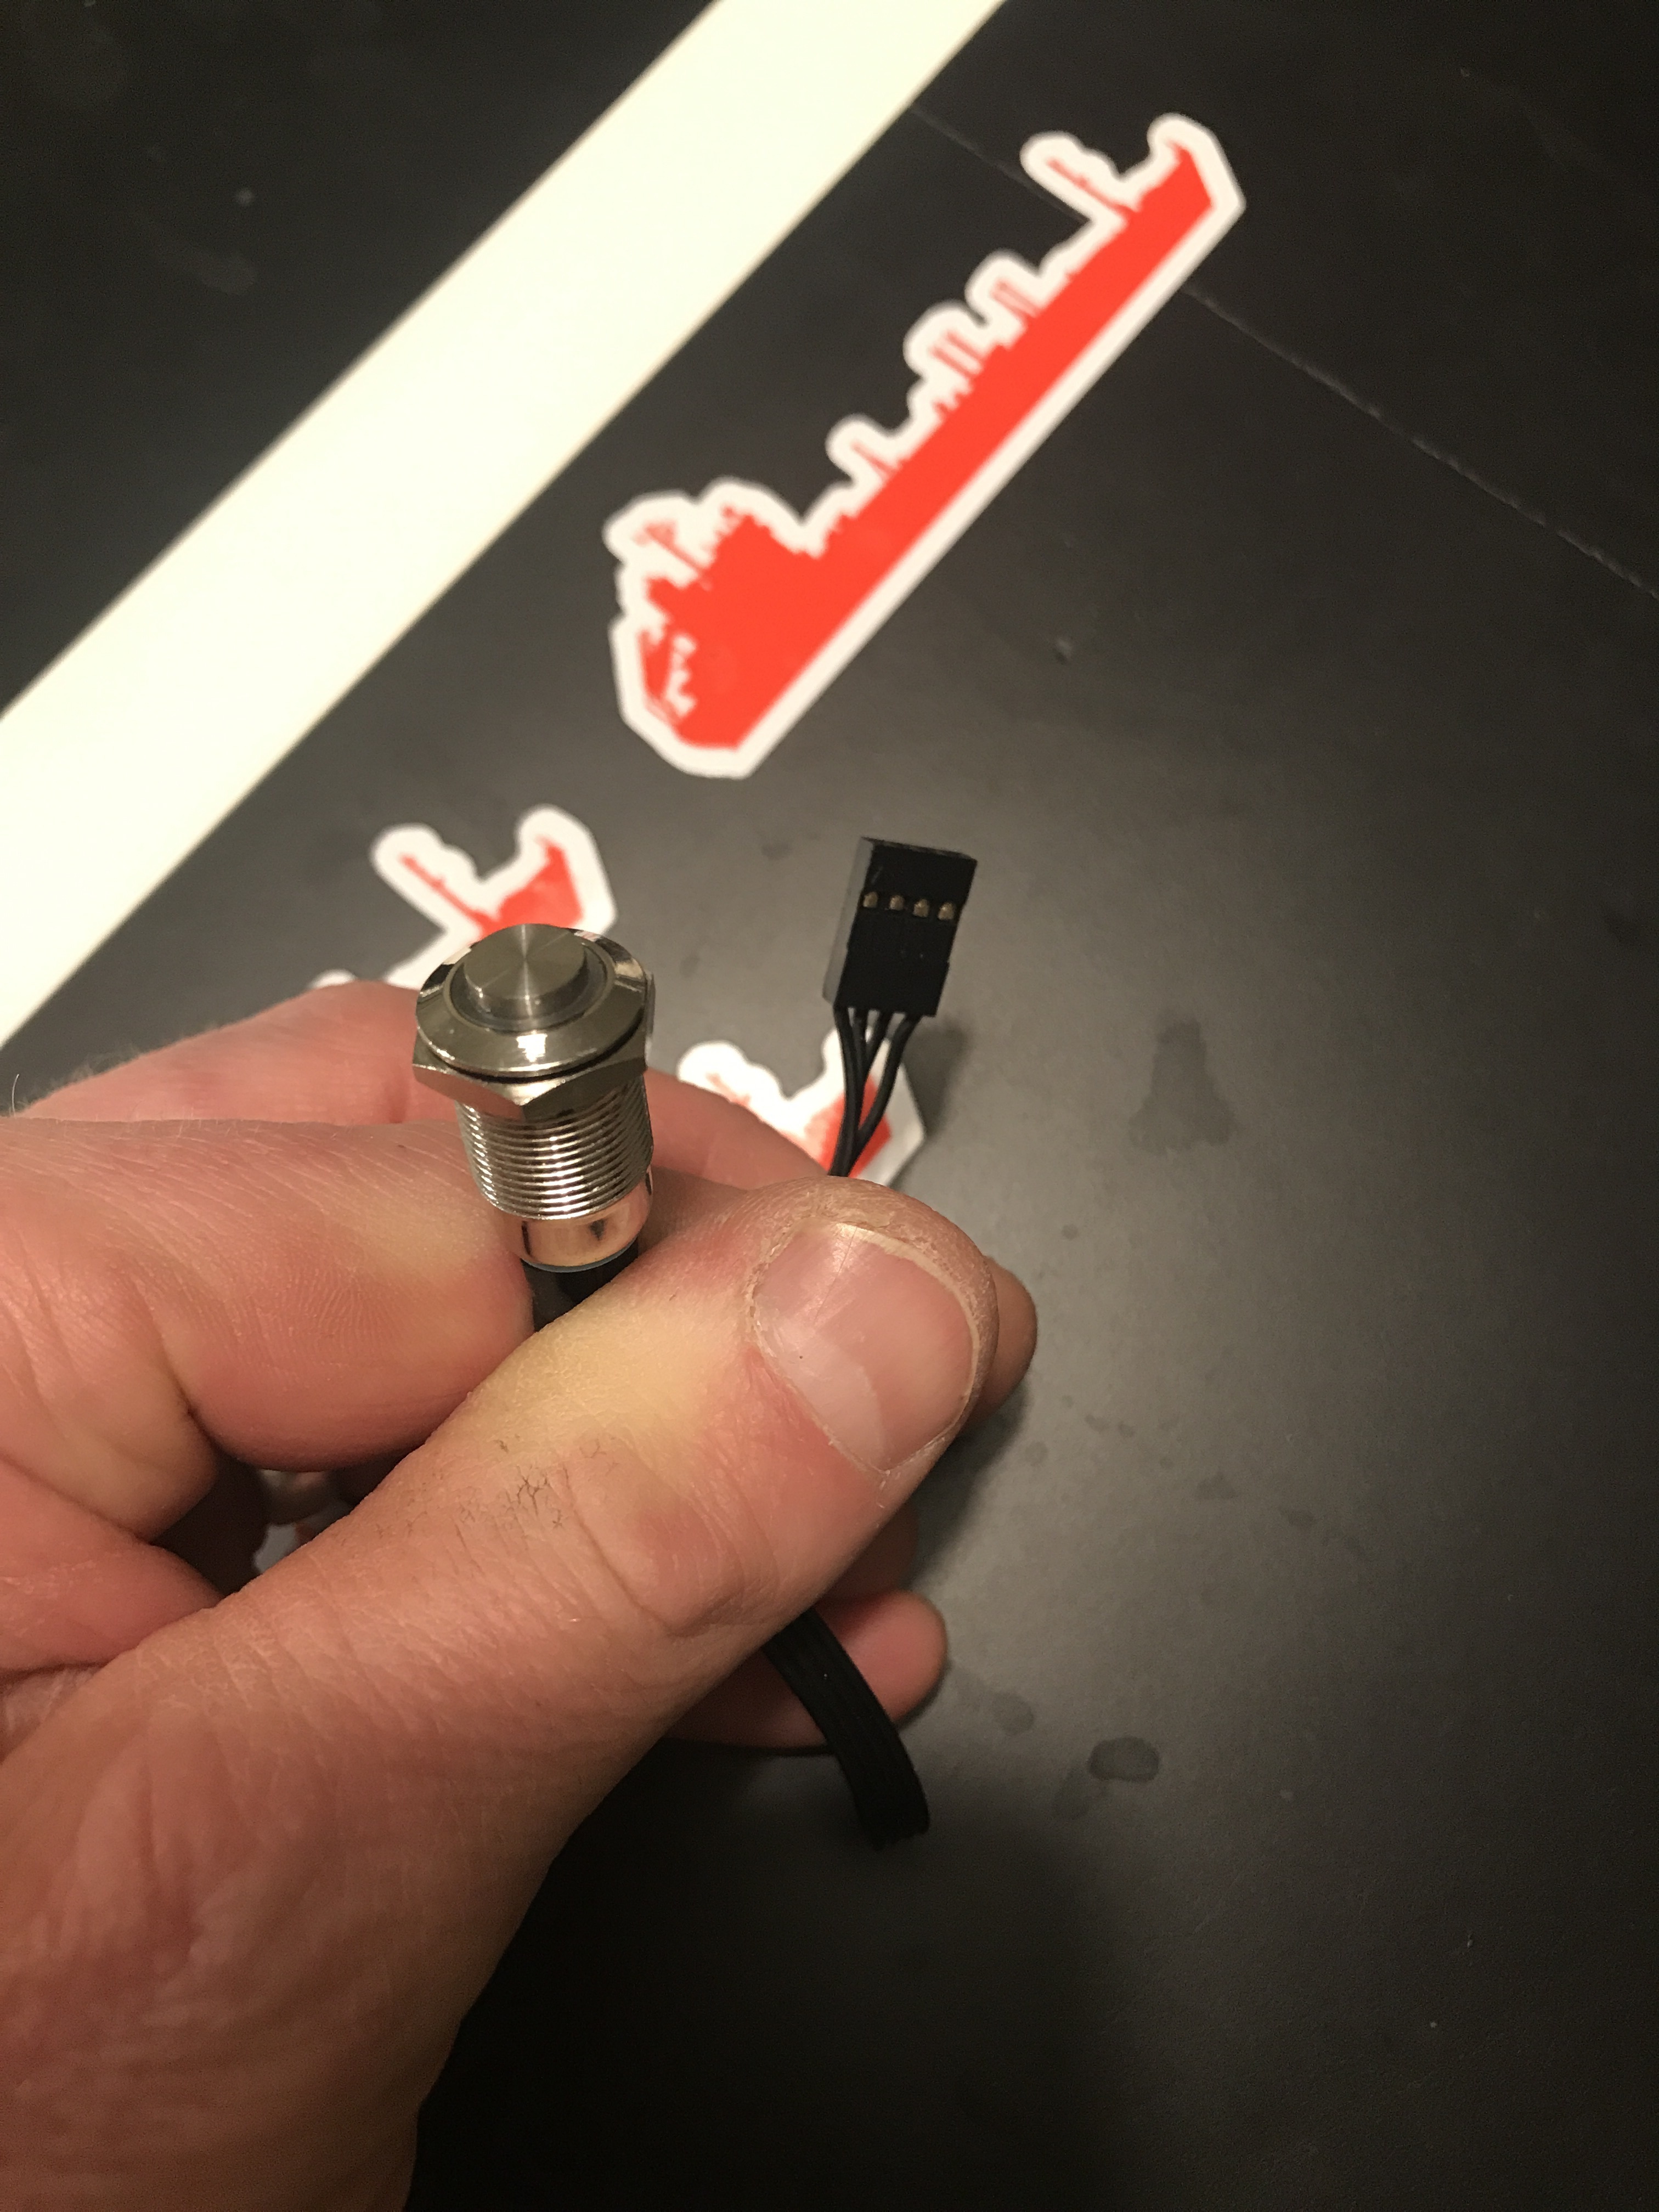
yes, the easier way is as described above by riwi, use a remote like in my link and a fet electonic anti spark switch. Instead of the included button, you use the relay on the receiver to switch on the anti spark switch.
no this one:https://flipsky.net/products/antispark-switch-pro-280a
but it is controversial, if FETs in parallel do not switch at the same time, they can burn. If that happens the “switch” stays on.
There is a diagramme in the link insted of using the button, you connect the relay output of th 433 MHz receiver. If you press the A button on the remote, the relay closes and the antispark switch is on, if you press “B”, the relay switches the Antispark off again.
connection on the receiver relay: com, on
The receiver also needs a power supply-5V and GND.

 Still tryna’ figure out how that water cooling system works