IMHO, Ketos is a quality kitefoil maker but makes the worst candidates to become a efoil.
1- Not sure whether Ketos manufacture hollow masts. You should enquire first.
2- If they do, their KFbox head is so compact/optimised/perfect that if you remove the necessary material to let the 3+1 cables in, you will fragilise it in addition to the higher strain for a efoil board… double penalty.
If I had a Ketos foil, I would try to find a brand new or second hand alu mast, for ex Gong 65cm cost 59€ on their site + 30€ plate.
First you have to check that your Ketos fuselage screw spacing is compatible with the screw spacing of this mast,
If you think about enlarging your Ketos fuselage screw spacing, not sure it will resist as Ketos use a EPS foam core wrapped with carbon.
So the only solution left would be buying a alu foil.
I don’t know if it will blow up, i hope not, but the lead wires a significantly smaller than the 8AWG i’m using everywhere else. and looking at the deformations on the 3d printed support I have it mounted on, it’s heating up a bit during the sessions. But so far so good.
I tried other monitoring solutions (HTRC 200A not readable and no memory, and a 350A TK15 that blew up … probably because of the the few drop of water that i put on when opening the hatch while in the water ) , but no other recording…
+1, alu mast won’t be very expensive compare to the rest of the build (and the motor attachment made for liquid force was already modified for Slingshot), so keep your good foil for kite
I was thinking naively not to mak a hole but to cut with dremel on one side of the mast to insert Cable + water tube then stratify with resin and carbon. At kfbox level I was targeting to pullout Cable & so just before the kfbox as in fact it is not really useful to go straight except for esthetic and some friction
That, is my first plan, I have différents front foils winds, so going on gong or something else is annoying
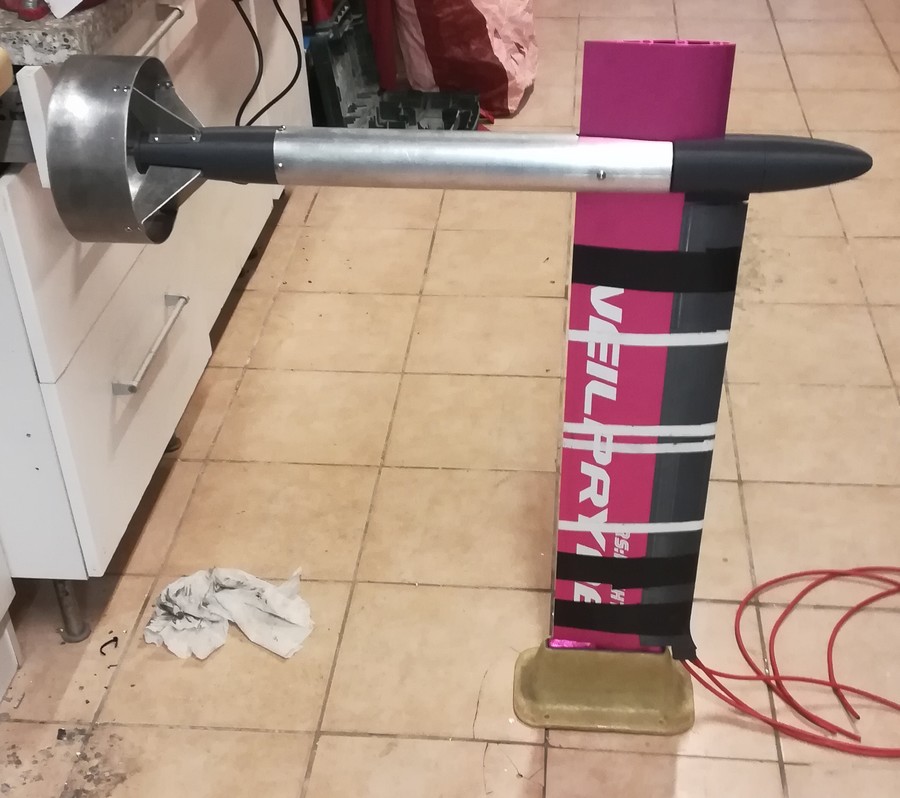
Second, plan looking and reading other dyi project was to add at least for proto an extra shield at mast as picture, it simplifies a lot don’t U think so! Saving my mast…
I am 120% with you. Building a efoil will cost you a minimum of 1000-1300€ (2/3 for the battery). If you can make a foil versatile enough without damaging its integrity, it is a huge saving and satisfaction.Then there is the aesthetic aspect that comes into consideration.
What is nice is that you already have a set of front wings. Which front wing sizes do you have ? Easy or 1200 ? Free Ride ? Wave ?
Looking at the picture, you obviously know @Gobbla 's work (from Lyon) who has done an awsome work.
I’m waiting my products but I still need to supply a couple of stuff.
Electronics for monitoring. I have seen somewhere , maybe Mat’s post or maybe somewhere else some particular component : To check Battery, To Buzz when Hot , To records (For sure by Mat)… But checking all files and docs from Mat’s I couldn’t find what you have used for your build. Could you share again with some basic explanation.
I google on AliExpress, some Lipo balance sensor, lipo alarms buzzer But I couldn’t find my happyness.
Second point is about connection for 8AWG cable. I’m looking for a way to easyli connect cables together. Best appraoch to be able to disconnect it easily as well and waterproof of course.
Some people are using ““Domino”” connector under "Plastic, some use directly Soldering + thermal plastic., Other use Clamp tool kit with a kind of Gear in between to do the clamp. Have you any feedback on this.
If you have any feedback or advice I’m all listening !
Benj
PLA might not last very long exposed to the sun…
for all my parts I made them in ASA, it’s supposed to be better to use outdoor.
I did one prop in PLA but covered in carbon fiber and it was ok, the second prop I printed was ASA used as is.
I know Its here somewhere but I can remember where.
Do you have this data.
Watts used at full speed out of water with no prop.
Watts used at full speed in water with no prop.
I trying to under stand how much power is used to cool the motor this way.
I’m not sure where it was… I’ll have to check.
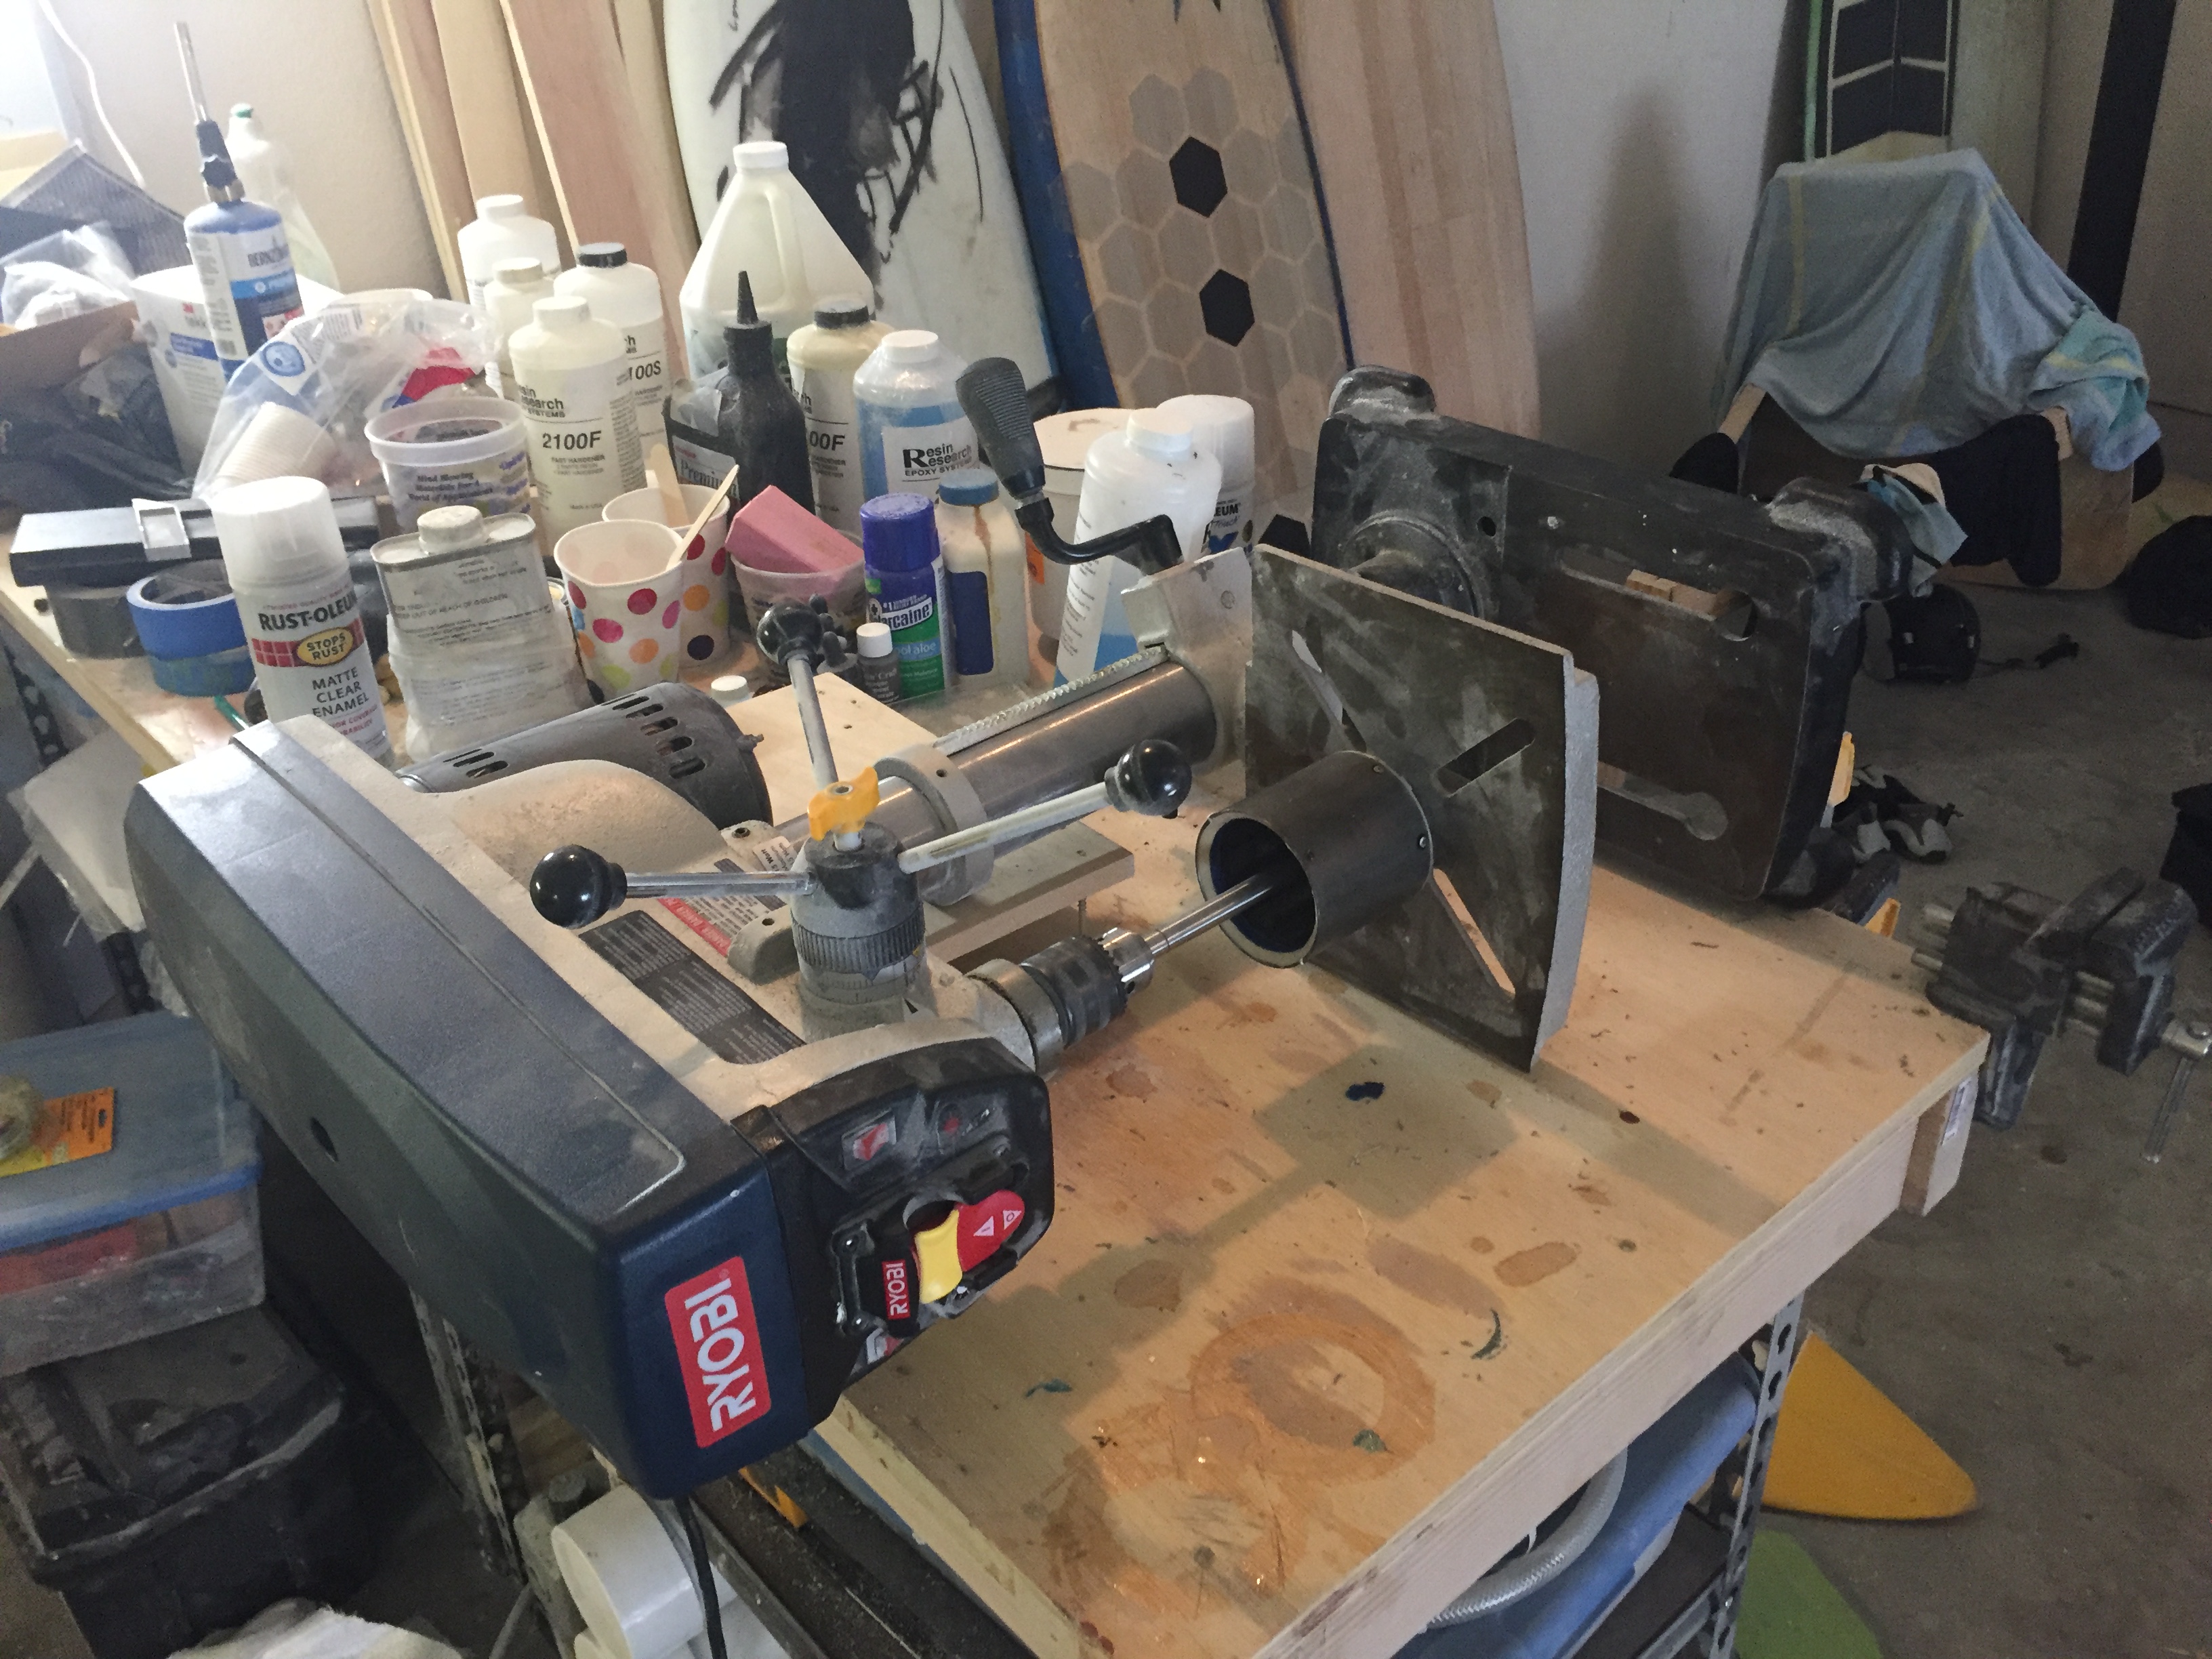
In air, I should be able to do the tests in a couple days, I’m in the middle of servicing the motor pod, a bit of rust to deal with
Has anyone tried 3D printing prop with a carbon fibre filament?
It might solve the blade throwing problem. Other than the filament you just need to change the printer nozzle from brass to a hardened metal one.
Depending on the way the prop is printed, i.e. with a high perimeter shell count, the fibre strands should be in the right direction to provide excellent tensile strength?
Hi
Check on google / youtube. I have seen a guy making comparison with different propeller for his boat engine.
With 3D printing and different filament, basic one, wood model, abs, etc… I don’t remember all details, but some filament were quite good in mecanical constraints and some other just boulshit like PLA.
In order to provide the outrunner threads (80100, 63100, …) with objective facts, could you post some picts of the parts that rusted to find out whether 316 SS (A4) would have been more appropriate (or not) ?
it’s the magnets as usual all the rest is perfectly ok… i’ve been too lazy to spin the rotor to put a layer of epoxy… once it’s cleaned up, i think i’ll do it this time…
I used fast epoxy, with some accelerator in it, and it mostly hardened before the drill press go too hot …
I lightly sanded the inside, install the shaft back and insert the stator… to get it badly stuck … too much epoxy
long story short, with no way to machine the inside to the right diameter, after a couple try sanding the inside, i ended up reaching the magnets… removed the epoxy and went back to spray coating…
but on the way i had to get the stator unstuck… and that helped:
Would it be bad that the magnets will have a thin layer of rust?
I followed your steps and it is all working well. I now have a aluminium prop 7,1/4 X 5. I believe one of those cheap banggood props. Would that work well? Or is a 3d printed better more efficiënt?
I’m afraid the rust won’t stop at a thin layer, instead it will eat through the magnets…
you prop will work for sure…i didn’t check the 5 inch pitch, but the 3d printed was more efficient than the solas with 6in pitch…
There is a small gap between stator and rotor. If we use epoxy and wait untill it gets thick and add a small layer with a brush to the magnets. Keep brushing till it gets hard. If it is too thick somewhere it will file away when spinning the motor. I will try that I think.
You or someone else wrote something to make the diameter smaller of the propeller. Is there a trick for this without a lathe? Just cutting of the blades?
 ) , but no other recording…