@Southernkiwico
Just been using the printer as out of the box with no modifications, except for using a 0.6mm nozzle for decreasing print time,.
just using the standard setting provided in CURA software for the I3 series.
had good experience with the printer for around 3 years.
1 Like
Hows your print quality with the 0.6mm? My print times are currently huge right now!
0.6mm nozzle and 0.2mm layers givew fast print and acceptable quality. Just sand a little
3 Likes
I use a Vellemann K8200, here are my modifications:
- 8mm rod for z-axis, precision coupling direct to the stepper, stepper sits at top, z-axis hanging directly on the bearings of the stepper, no other bearing is used. Eliminated the z-wobble almost.
- GT2 belts with 25 teeth. y-axis has a tensioner in the middle. Eliminated some artefacts from the stiffer 5mm belts, reduced ringing a little bit.
- used a better hobbed wheel for the original extruder.
- Titan Aero hotend with extruder. Original extruder has wearing issues, in the end the filament was not moving any more, because hot filament works its path upwards into the ptfe heat break, causing the ptfe to widen. In the end it is so wide, the filament stucks heavily ending in underextrusion and stop of function. Titan Aero is all metal, needs only 0.5mm retract, no oosing, very well defined extrusion, very precise.
- Swapped the A4489 stepper drivers to TMC2208 with coolers. This change was a hammer. There is no ringing, no noise, no vibrations, very clear surfaces. It is running so smooth, i can see the very small z-wobble again. And it was super easy, no firmware update needed, just swap und run it. Ok, i had to swap 2 phase wires at each motor because direction was inverted, took 5 minutes.
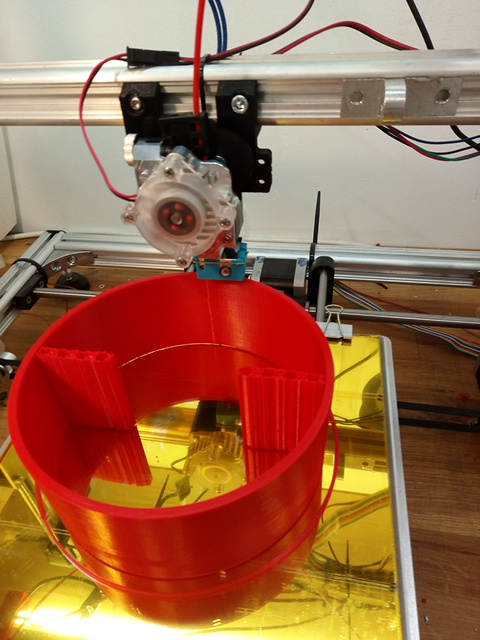
Just switched material from PLA to PETG from renkforce. Very nice material, i print with 250°C/65°C. On the capton it sticks so hard, i damaged the capton foil.
So i decided to print on the glass directly. This was not sticking so well, warping happened also due to extreme geometry (prop) so i sanded the glass. First test showed it was working. Than i printed a fixture and after removing, oh my gosh:
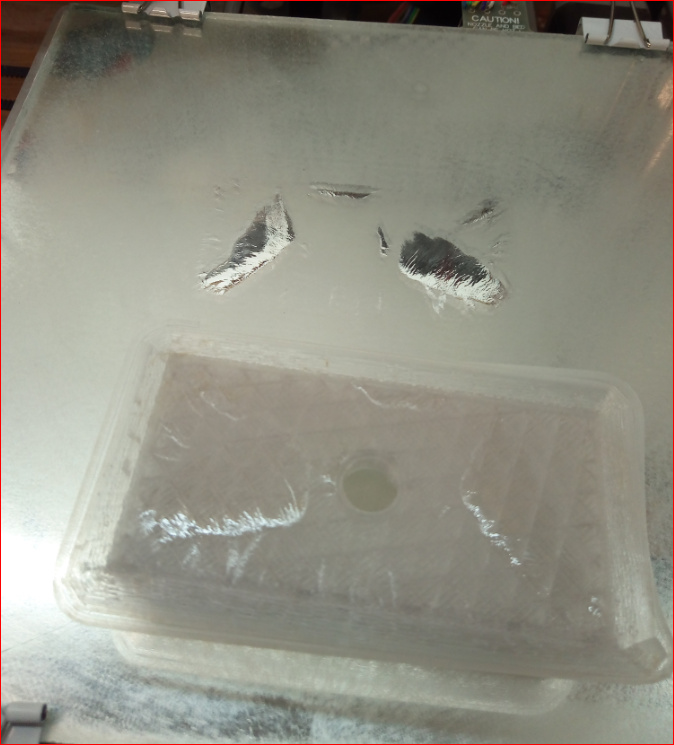
The glass broke! Had to go for new mirror tiles and cut a new mirror bed.
1 Like
The mirror does not resist the temperature difference I have experienced it Three times, so I decided to take a safety glass that resists a temperature of 200° but which on the other hand costs more expensive
If looking for that : try to order online glass for fireplace …
I only found heat resistant glass with 4 or 5 mm thickness. My mirror has 3mm. Maybe i give it a try, good ideas, thank you both.
Ceramic glass for fireplaces or stoves is very expensive. 450€ or USD/sqm that is 50€ or USD /sqfoot. If it is the way to go to print without stress … 
I ordered 700x150mm for 40€ for my fireplace
I printed on 6,99€ IKEA mirrors for 2 years only broke one(i broke it while removing a print).
8 kg printed so far (PLA, PETG)
Same here, use it for 3 years with 3dlac. I mainl print asa and abs, it sticks hard when it’s hot, as soon as it cooles down, it releases itself.
I paid 14,4€ for 20x20cm oven glas. There are also other sources dedicated to 3DP, search borosilikat glas. Maybe i should make a better insulation for my heated bed, so i get higher temperatures, so i do not need a rough surface to make it stick when printing complex geometries.
It happened again, with so sold Borosilkate glas. It is astonishing, that some plastic printing can disturb the glas structure in such way. Meanwhile i had a “conventional” broken mirror, almost split into half. I have set the bed temp to 80°C by an external powersupply, forget all the previous descriptions, a laptop powersupply with 19V will service with 60% more power, no problem to reach the desired temperature any more. The FET on the board is very well dimensioned, so lets use it.
Hi Powerglider,
i can recommend to use a glue stick and to print the first layer in the right distance to the print bed - if it’s to near it sticks like a devil 
Mike
Is it a tempered safety glass or a normal glass?
The safety tempering resists temperatures of 200° normally as well as sudden temperature variations
I bought it here Amazon.de
I thought borosilikat glass is temperature independent, maybe this glass was a fake.
I will now use https://www.ebay.de/itm/Grundpreis-360-m-Kaminglas-Ofenglas-feuerfestes-Glas-Kaminscheibe-auf-Maß/263295249882?ssPageName=STRK%3AMEBIDX%3AIT&var=562305755198&_trksid=p2060353.m2749.l2649
Its 1mm thicker so i have to adjust calibration, but ok.
I also chose this direct printing on glass to have it stick very good, so it does not warp. If i need to make it less sticky by choosing a bad bed adhesion in the first layer its very contraproductive.
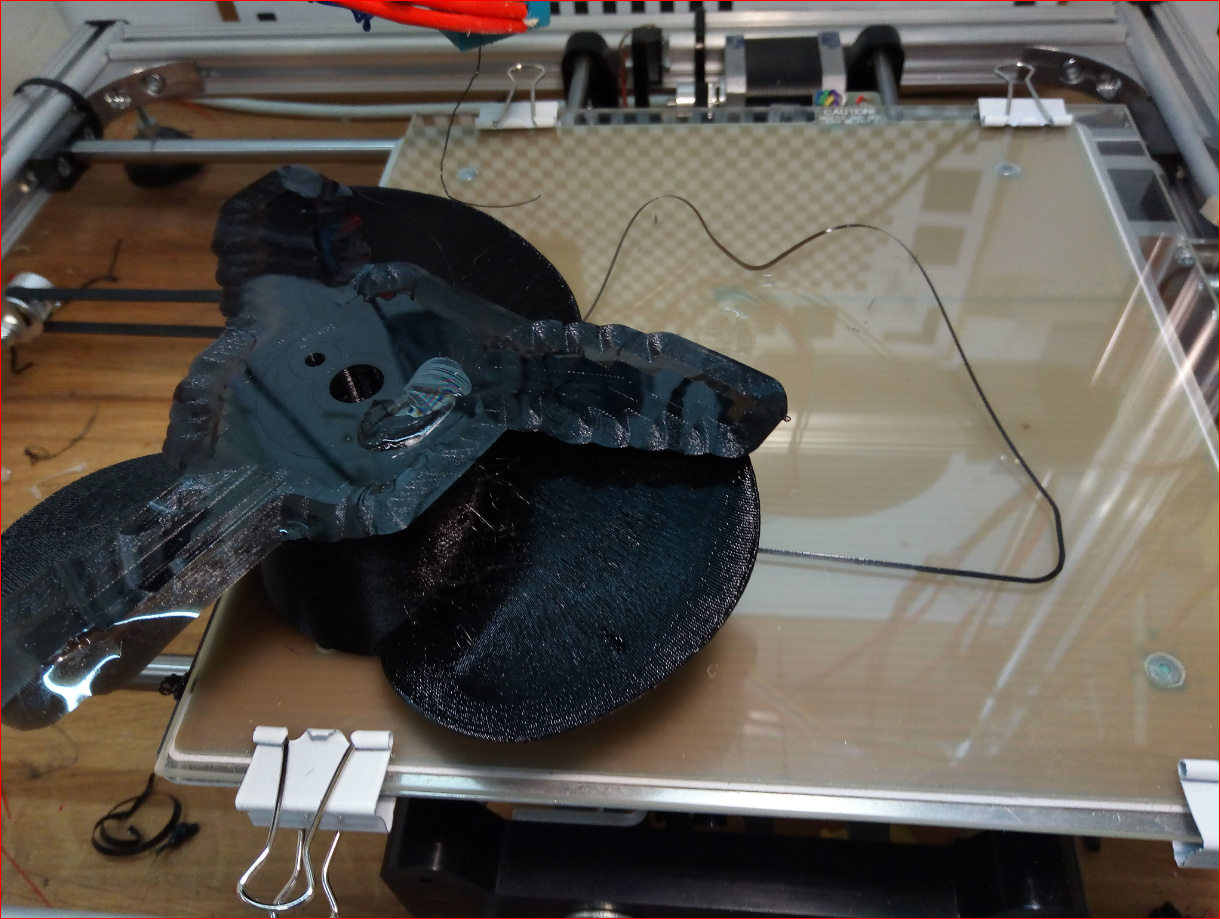
This Ovenglass broke as well after the second print. The first print did not stick so hard. So it seams to be a mechanical issue, not thermal.
Edit: The good thing is: This PETG sticks so good, it breaks the glass it is printed on. This also means the layer adhesion is excellent. My parts are huge and 100% perimeters, so they get partly shiny, they are heavy duty. If you do not experienced glass break with petg it is possible that your parts are not that stiff in themself?
Then I bought a custom size tempered safety glass at 50 euros and it was not flat so it was impossible to calibrate the CR10s… I bring it back on 6 for expertise and exchange.
Maybe try a magnetic bed. They have good adhesion and its super easy to release prints.