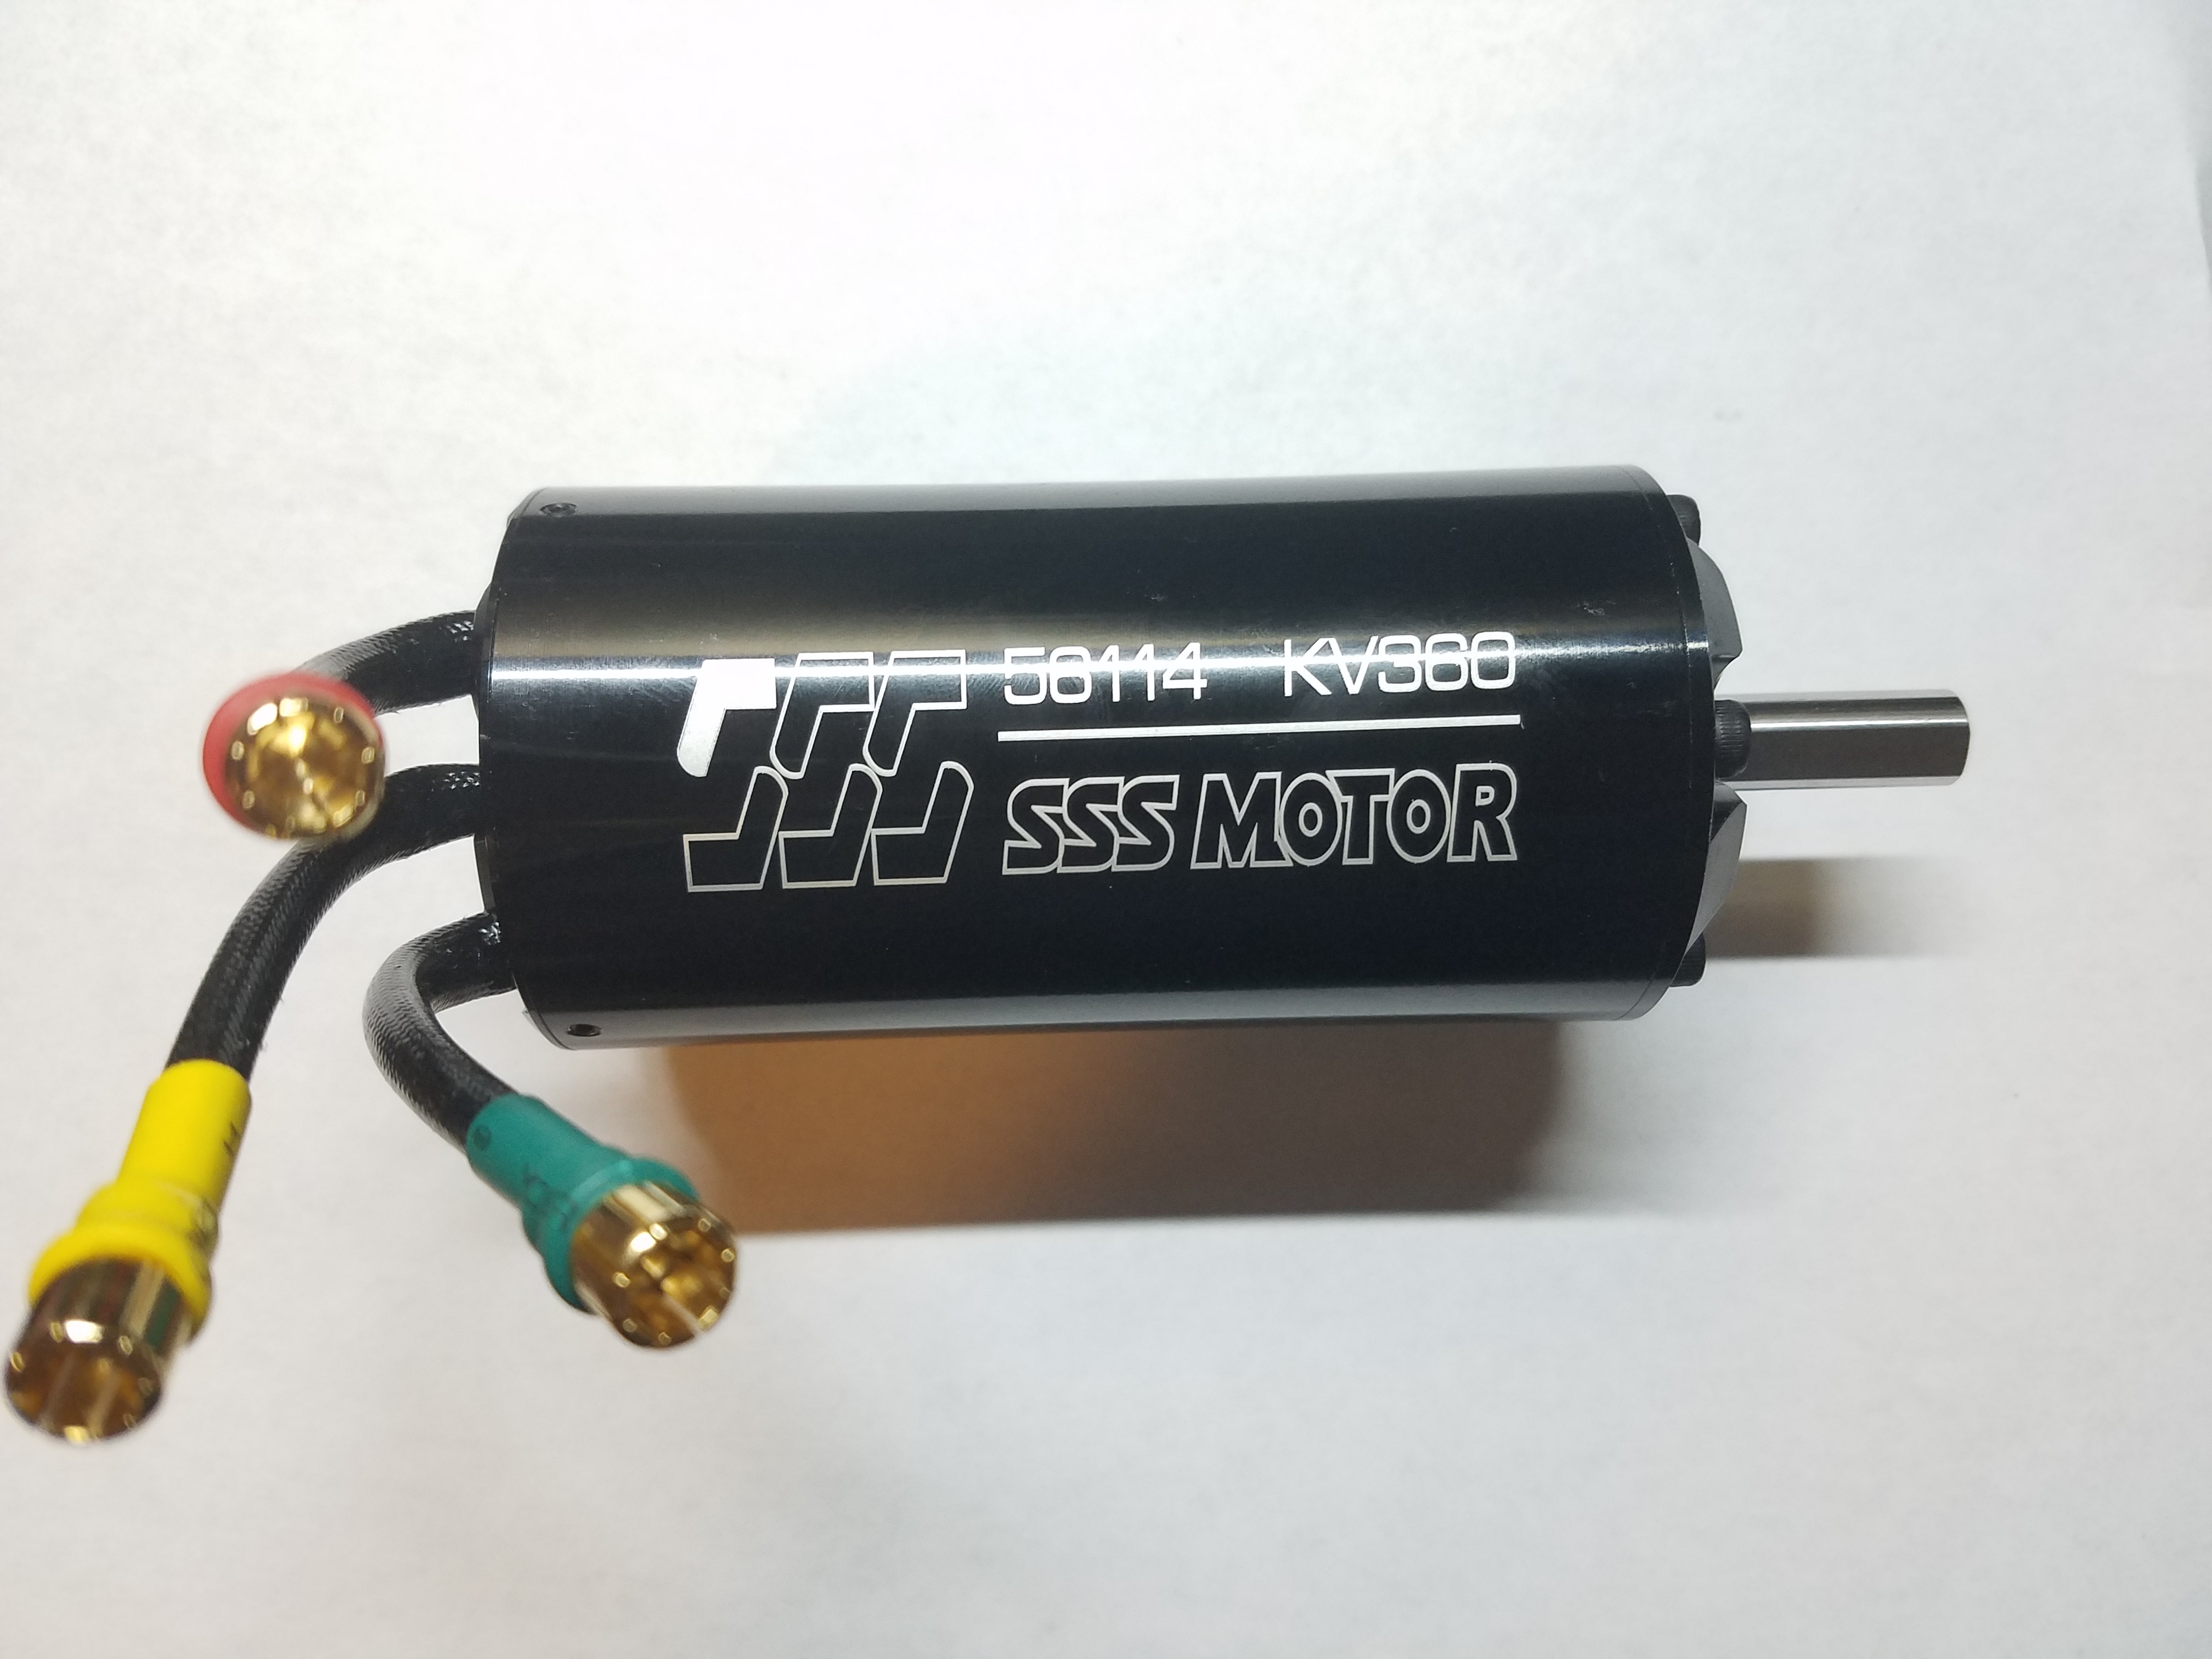
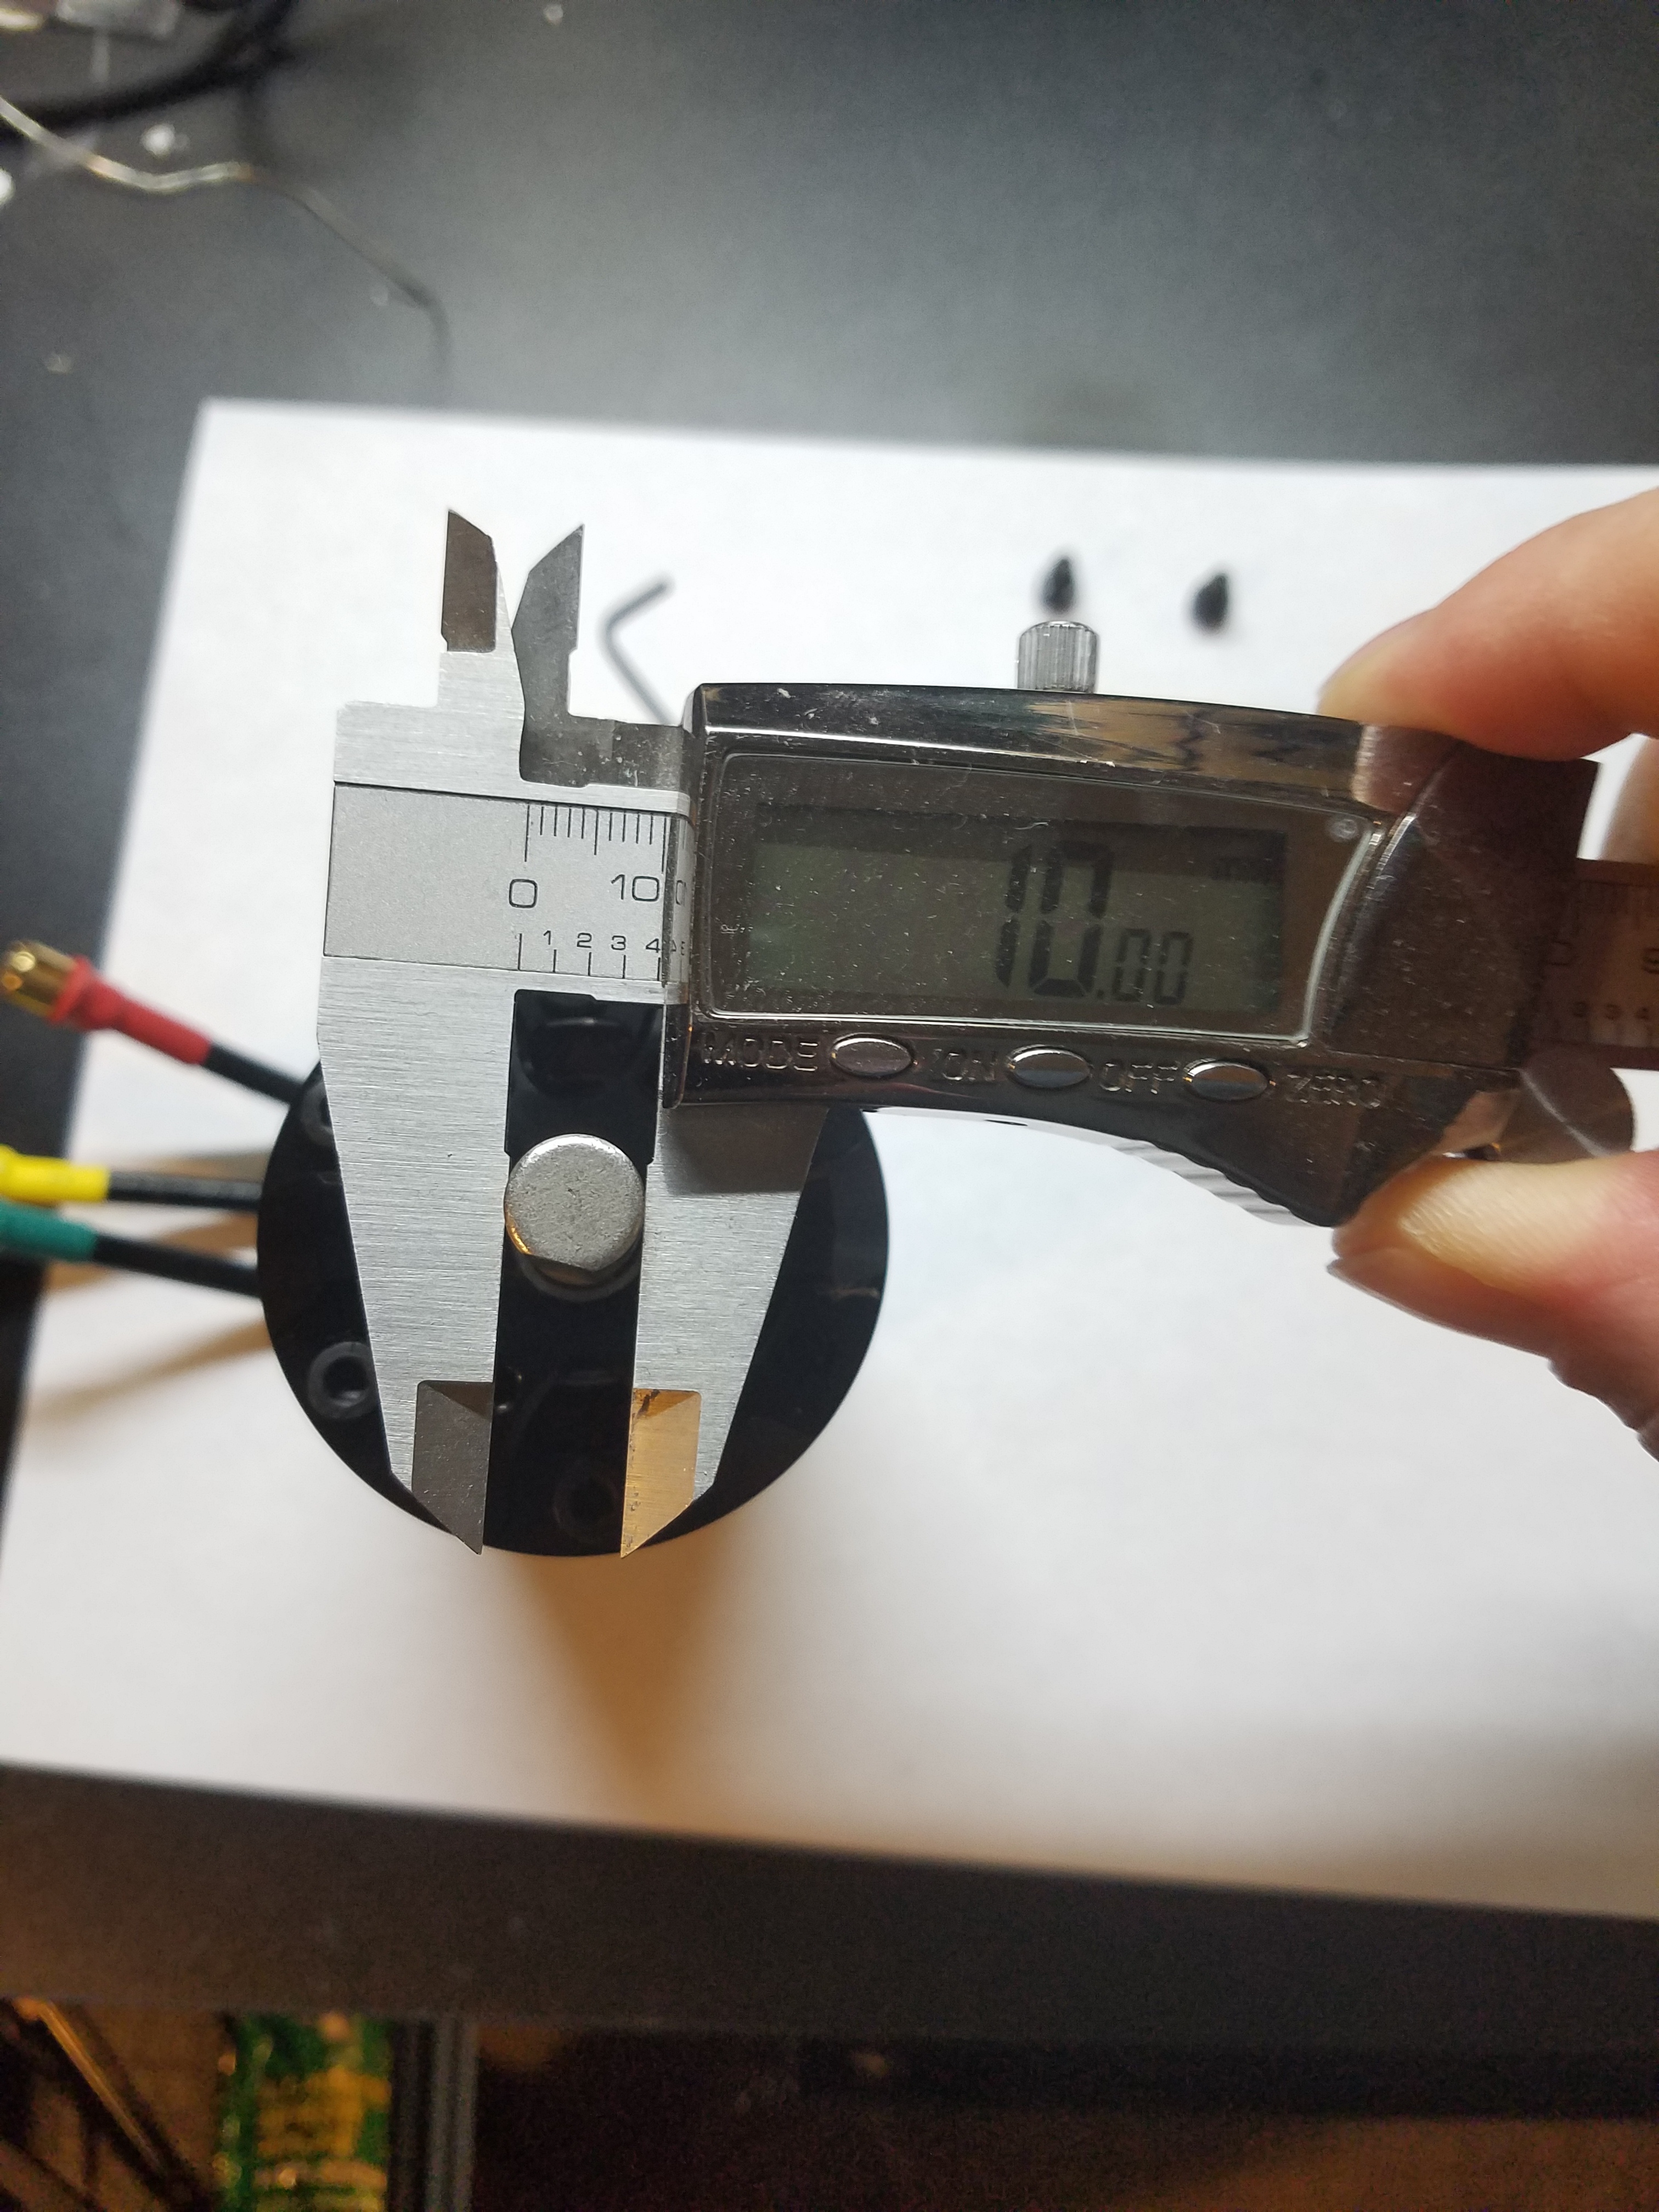
Note: The shaft diameter is 10mm. Unlike the KV500 which can come in both 8mm and 10mm. So, I will need to machine this down to 8mm to fit my gearbox planet gear.
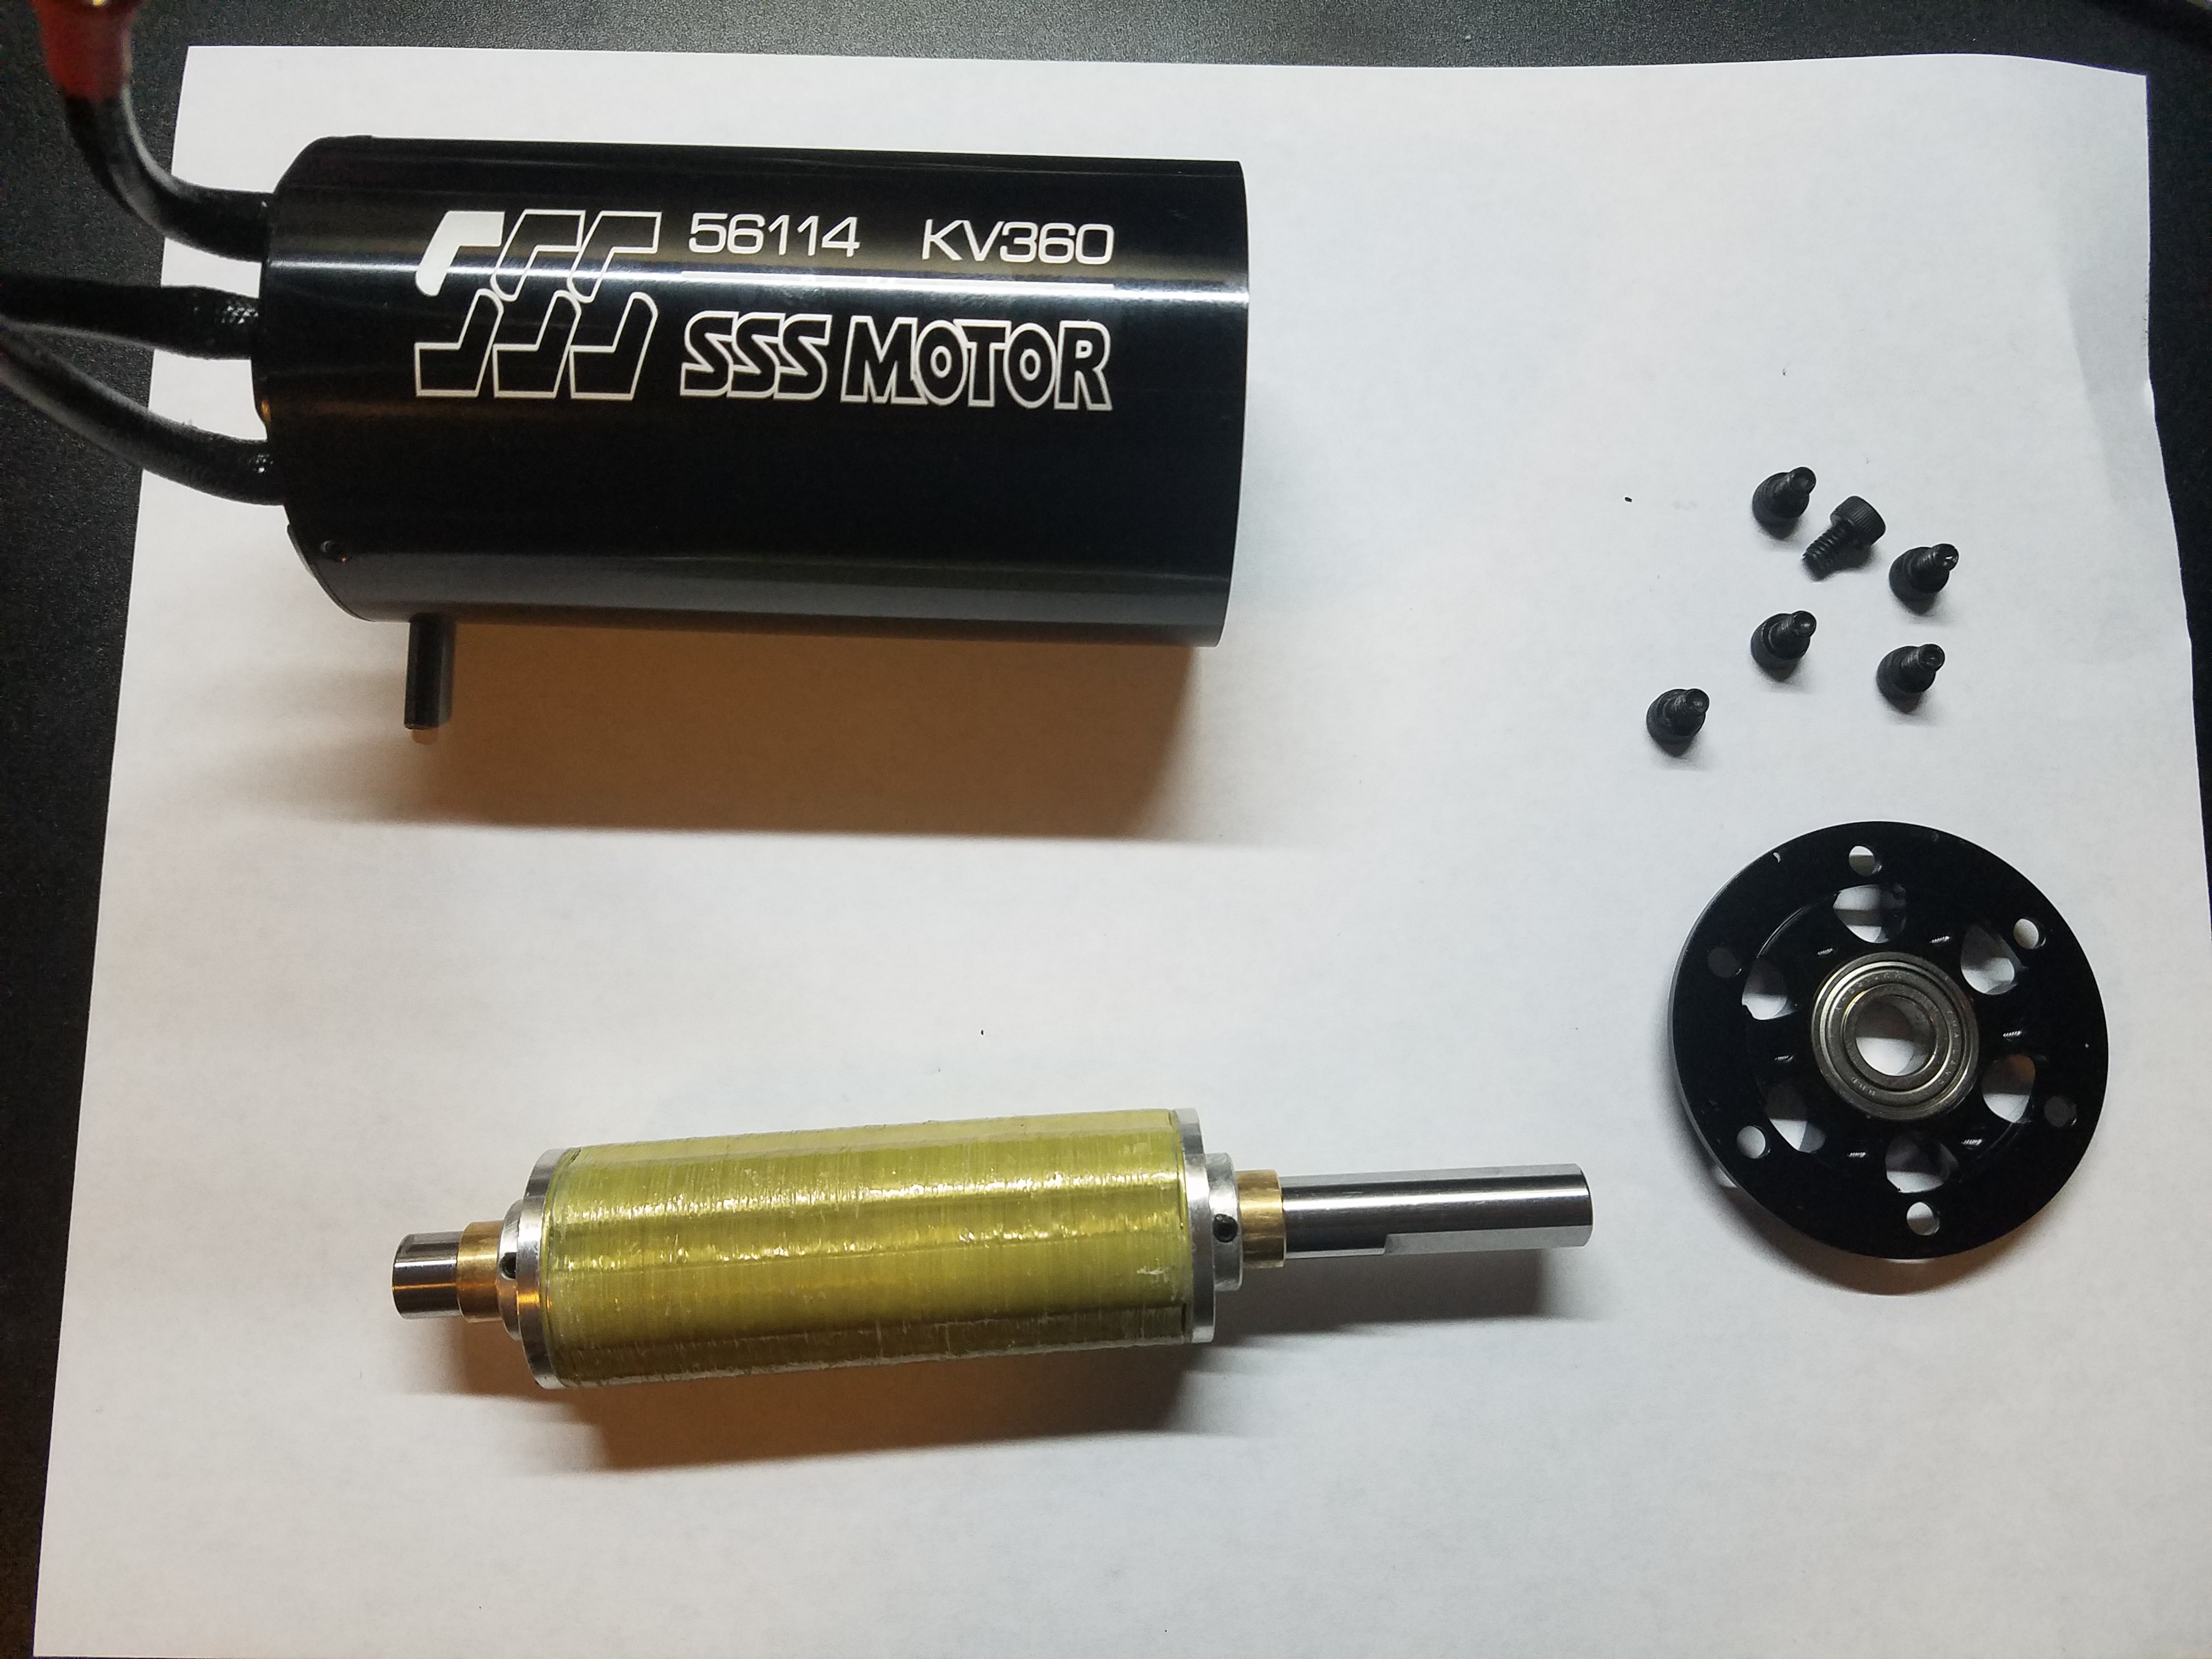
There are 3 set screws that hold the back, and I removed those with a 1.5mm wrench. I tried to get the back plate off, but it was stuck. I even tried to pull it off with some pliers and it didn’t budge. I didn’t want to damage the rear housing, so I’m leaving it as that.
Thanks for doing this, it’s useful to see what’s inside without buying the motor.
Are you planning on doing any tests to see if the listed power matches the actual output power?
I’m starting this project soon and will probably be using a similar motor. Where did you get yours and how long did it take to ship?
What gear reduction are you using?
I was planning on doing the electrical measurements on the motor, but i’m not sure how to measure the output power yet. Also, I need to get a speed controller for it.
I bought my motor from ebay and it took a little over 3 weeks to get it.
My plan is to use a 4:1 gear reduction with a US based grearbox company.
Nice thanks for the breakdown. I have the same motor and will be using it with a 4:1 gearbox also. I am midway through my build. Unfortunately I’m still waiting on the gearbox.
I’m another one using the SSS KV360 56114 motor and 4:1 gearbox. Work getting in the way of progressing the build, but should be done in a few more weeks…
I’ve the same, 5:1gearbox, I reduced the shaft to 8mm with a late and I couldn’t remove the back cap as well. but then another issue: cables are made in coated copper, like windings, no way to solder the main cable there! I have to find a solution
This is not difficult using a lathe. Just pay attention when clamping the magnets. Don’t force, reduce de diameter in small steps, if you know what I mean.
I machined mine. Note that the shaft is hardened steel and quite tough to cut – i needed to hook up a centering support to prevent flex. Covering the magnets with blue painters tape protected them from filings…
I just tried the aspirin method. I think it has some effect. The aspirin is foaming and fuming while you apply solder and aspirin at the same time. I think i should separate the single strands and treat them one by another before gathering them again after tinning and cleaning. There must be better chemical methods used in industry. I cannot imagine people sitting there and cleaning strands from polyimid coating mechanically.
Apparently you can also use a butane torch and then dip the wire in metholated spirits straight afterwards. You just need to blow the flame out if the meths catches alight.
I cut my wires and then used flux and a hot soldering iron, but I have no ides of how good the connection is on the inside of the wires…
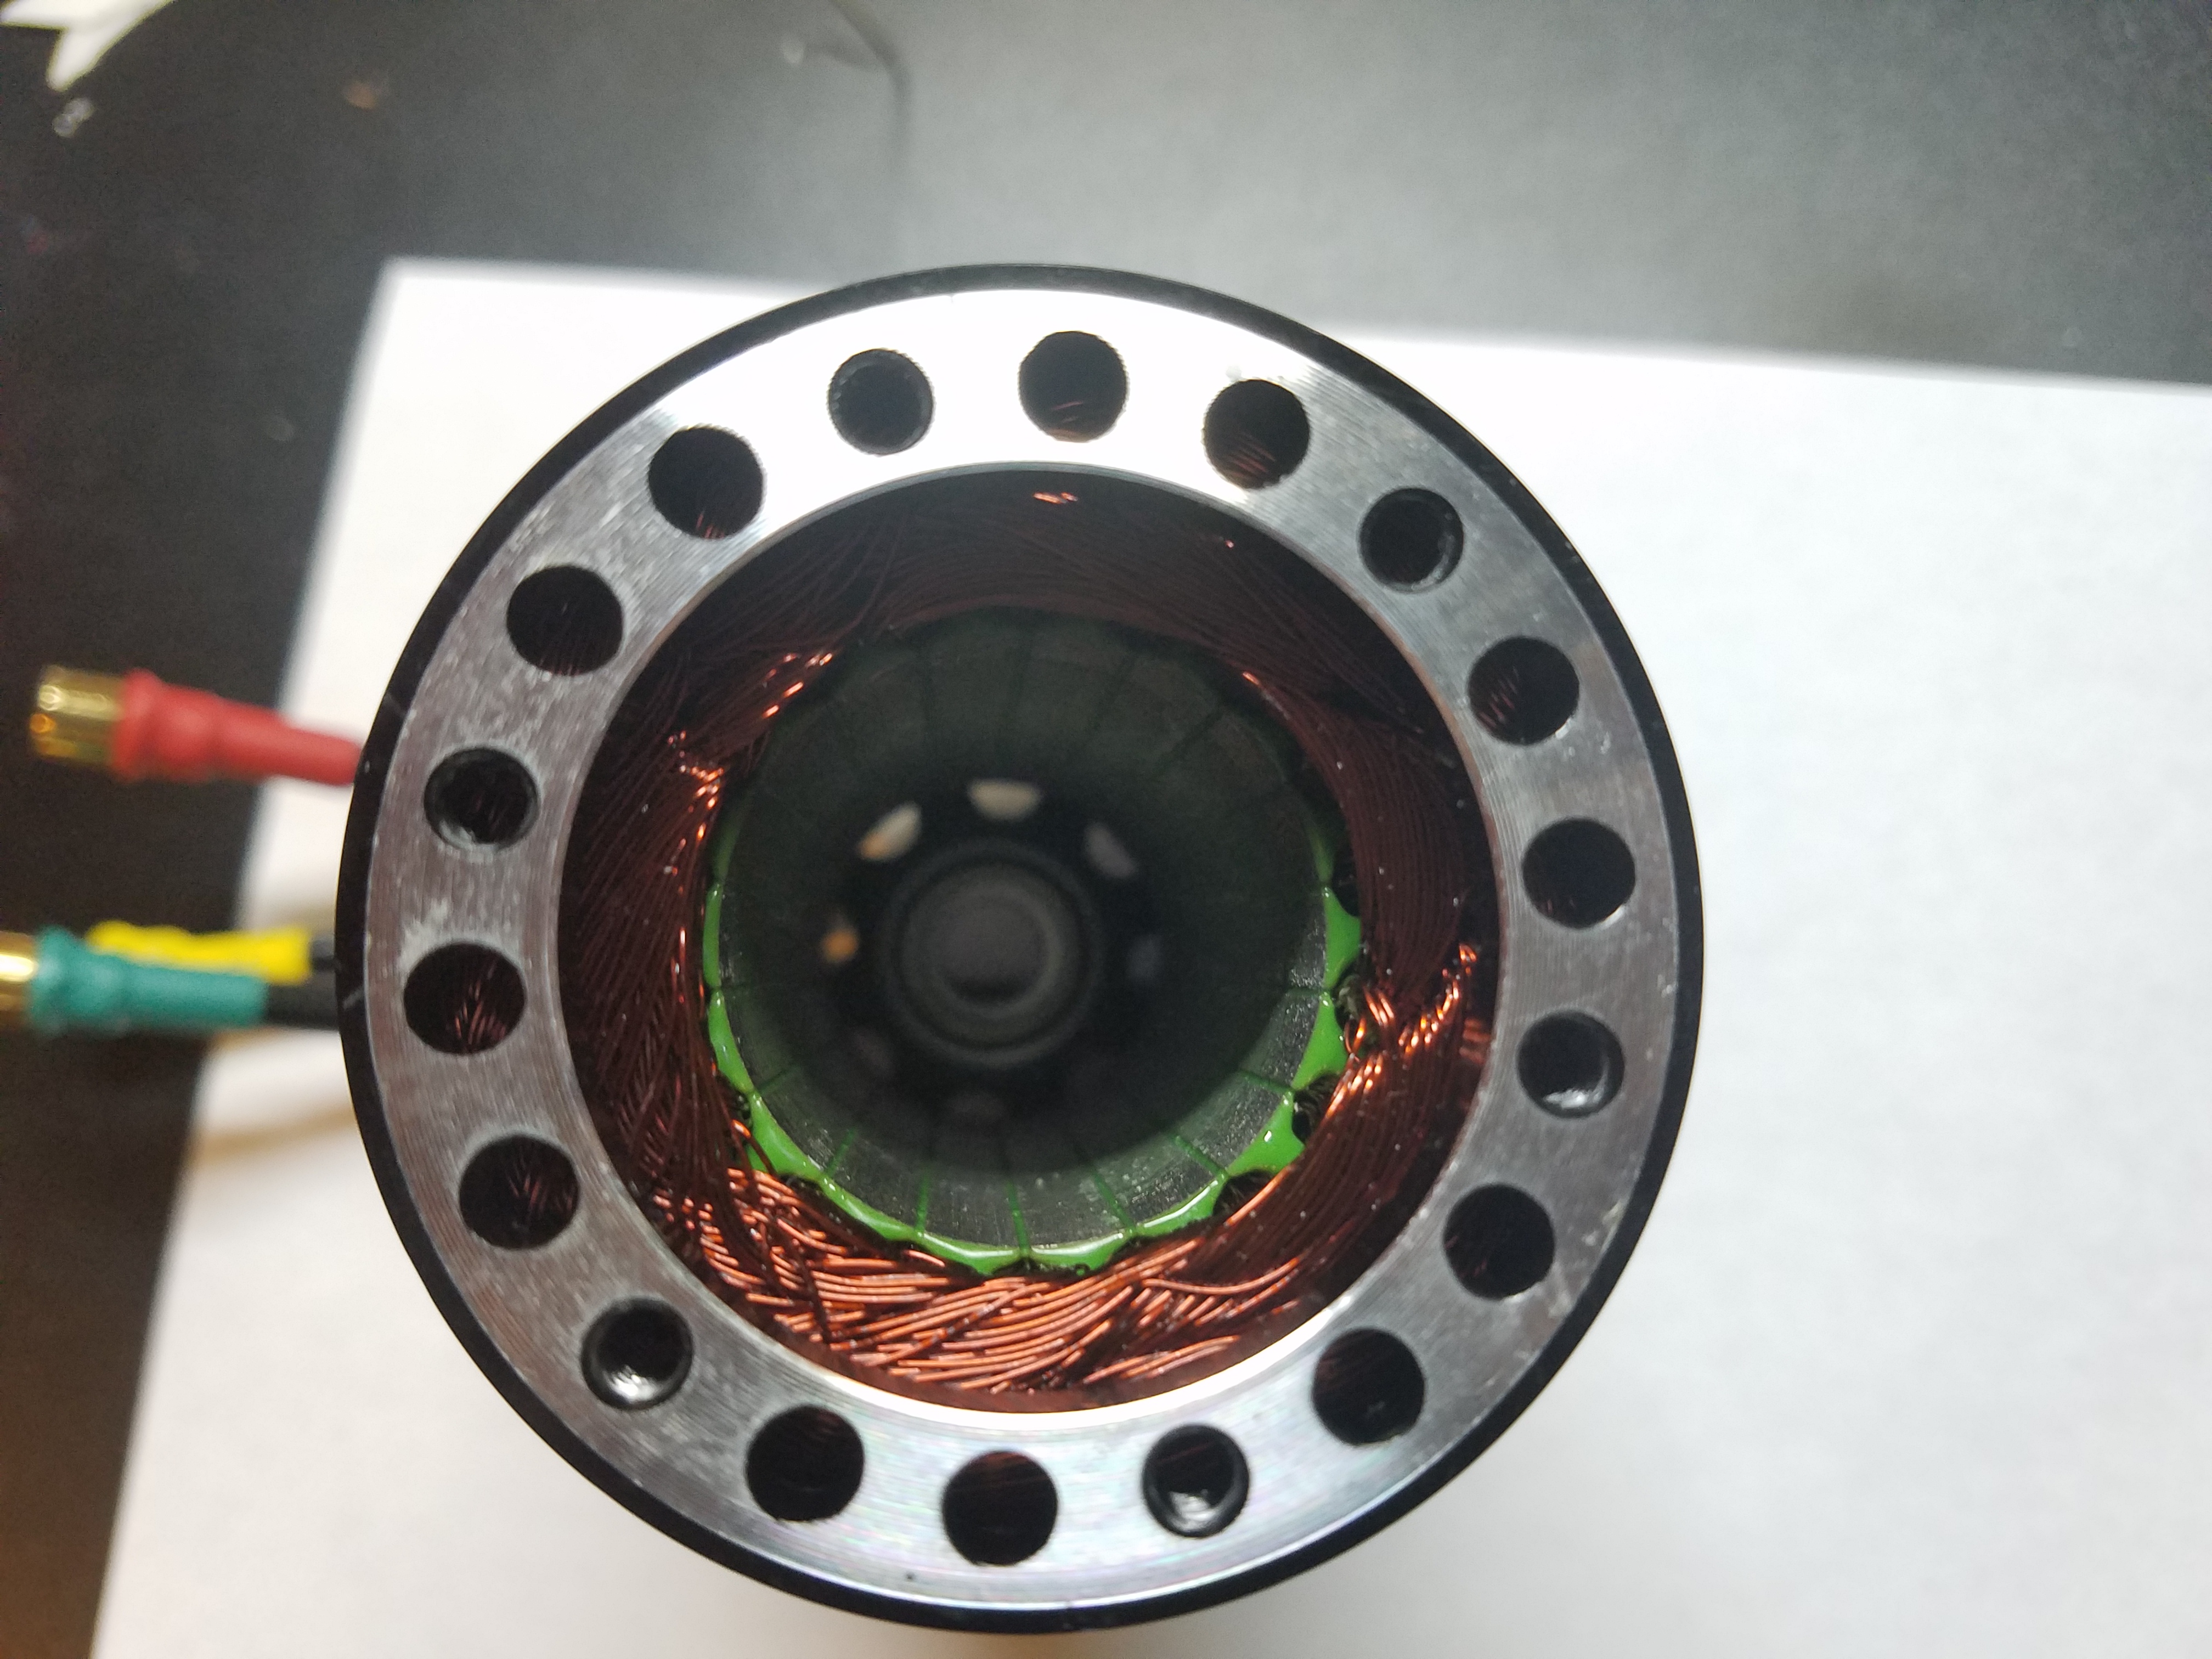
do you have the dimension of the bearings? I assume it will be 22mm outer diameter? Do you know how long the brass distance tubes are? I am thinking of adding a thrust bearing inside the motor.