Just different tests. I didn’t try that 2 blade yet. Both 4 and 3 work fine. Didn’t feel much difference. Need to start recording data to make better decisions :). There is a good post about prop parameters here somewhere and the effect of blade count.
Ye i have read the post but all very complicated to me ref the motor speeds and torque, prop pitch and diameters. Cheers for the info looking to do some test in a couple months, still building at mo.
Thanks! that was my inclination too – it’s the last part I need 
I have a metal lathe so was planning to turn down the motor shaft to fit the gearbox directly.
Cool. Curious how you do that with the lathe. I was thinking about powering up the motor and holding a file to the shaft until it’s at 8mm. Worried that it won’t be 100% centered, especially since it has that keyed shaft and my file will bounce around… so I need some rigid setup to hold my tool steady.
I had two ideas: disassemble the motor so I can hold the shaft in the chuck with spindle steady rest at the other end (after carefully covering the magnets) or hold the body of the SSS motor in the chuck to center it and lock the lathe spindle. Then fire up the SSS motor and use the lathe tool to machine the normal manner. BTW I saw a post from someone in SF that offered his garage machine shop services shortly after you created this forum…
Thinking out loud … I wonder if you made a little wooden jig to hold the spinning SSS motor firmly and used little grinder (e.g. Dremel) to machine the bulk of the shaft, using the file, held tight against the jig for the final finish.
Final idea: could the gearbox pinch clamp be machined out to 10mm without compromising it?
Edit: @pacificmeister I realize you live in LA … sorry I was thinking SF given one of your videos…
It was a pretty easy job to pull out the rotor and turn it down. Maybe you could find a friendly local machine shop to do it for you.
4 Likes
What if ESC and batteries were inside the aluminium mast ? This could help also in stability during foiling by having the center of gravity lower and in the center (?)
There is not much room in the skinny masts we use unless you change the mast shape and widen it. Or you could put everything below in the motor pod. Like a modular strap-on system that you can quickly mount on any kite foil board when there is no wind. Or any SUP/surf foil. I would love something like that. You won’t fit a lot of batteries in there but for short rides this may work. @virus has experimented with it, see here: https://youtu.be/FV1Qgv2K9wI. Let’s explore this some more!
i’m also working on a “all in one” removable solution…
testing most likely this weekend.
it would be very convenient, but it brings a lot of issues:
remote able to go through 3ft of water at least
less battery capacity
which kind of forces you to use a less powerfull motor
and if you want to keep the length reasonable, direct drive is kind of a must
with a few advantages:
wires are much shorter so you can go down in gage.
watercooling don’t need to go up the mast so no need for a pump (you don’t have space for it anyway)
results soon!
1 Like
Maybe something like a dual scubajet
Good evening
Congratulations for your project
I am new on the forum and I embark on the adventure for the construction of an electric hydrofoil
I recovered the STL files and started 3D printing.
I have a question about the tightness of the motor cables that must go up in the foil
how did you do so that the water does not get inside?
Thank you in advance for your help.
Giloris
Welcome @giloris. There is water inside my mast and around the cables and I am not worried about that. The old LF masts were always filling up, bottom and top connections are not watertight. The critical cable seal is in the mast mount, the 3 holes where the cables go into the tube. I fill the cavity up with plenty of silicon there which I can also remove quickly if I need to do maintenance. I explored a pod-plug option too, posted here somewhere, and I have read several other ideas on how to seal cables. But I am ok with my silicon right now, simple and works. Lots to read up on if you are new  Good luck with your build!
Thanks a lot for the clarifications.
The configuration you tried working well?
On my side I will try to embed in the surf the electric elements and then put a watertight hatch
Could you give me the dimensions of your surf?
What length did you put on the tube or the motor?
Have a good day
Giloris
Yes, It’s board size
Don’t have detailed measurements but it’s the one @RIDEHYDROFOILS offered here: Boards for eFoil - Foils & Boards - FOIL.zone. I am sure you will find more details online about this board. I like the size, works well for me.
thanks for these informations
I will continue my project and post the progress on the forum. could you tell me the length of the tube of 60mm where is the motor and the reducer?
Thank you and good day
Giloris
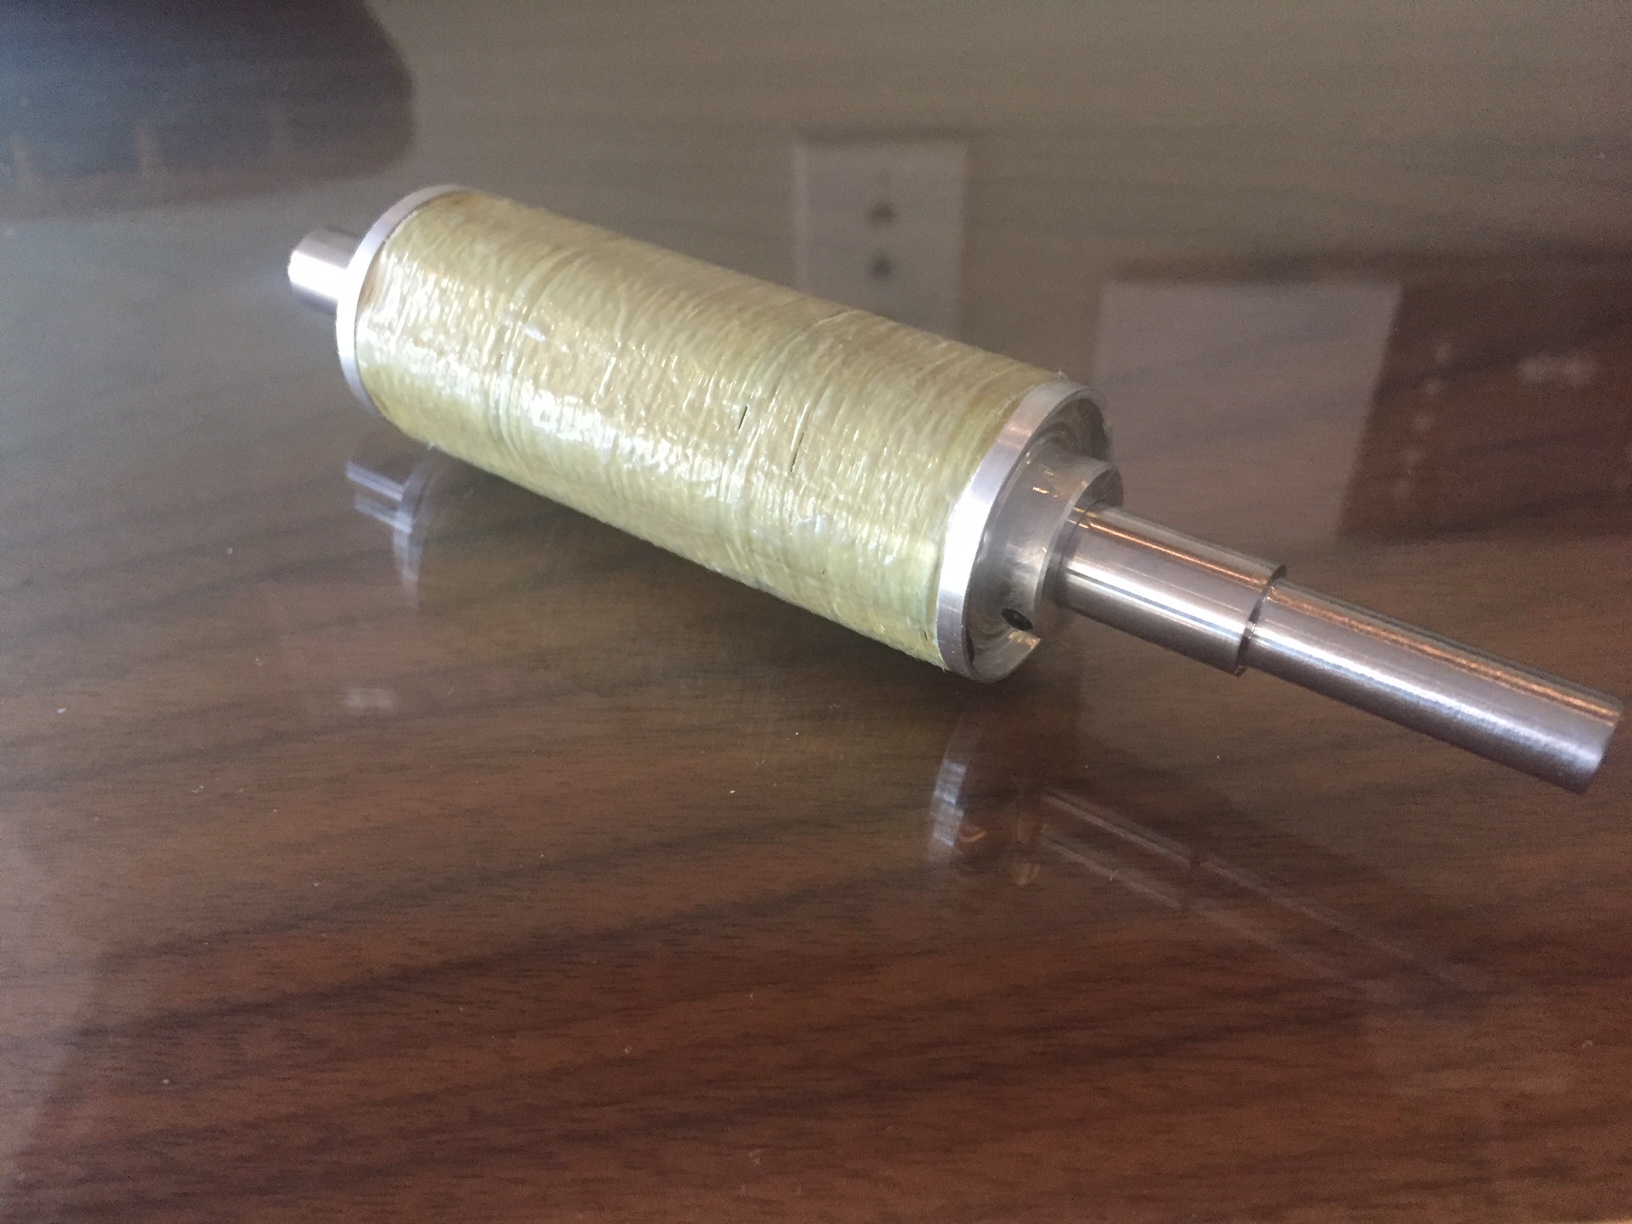
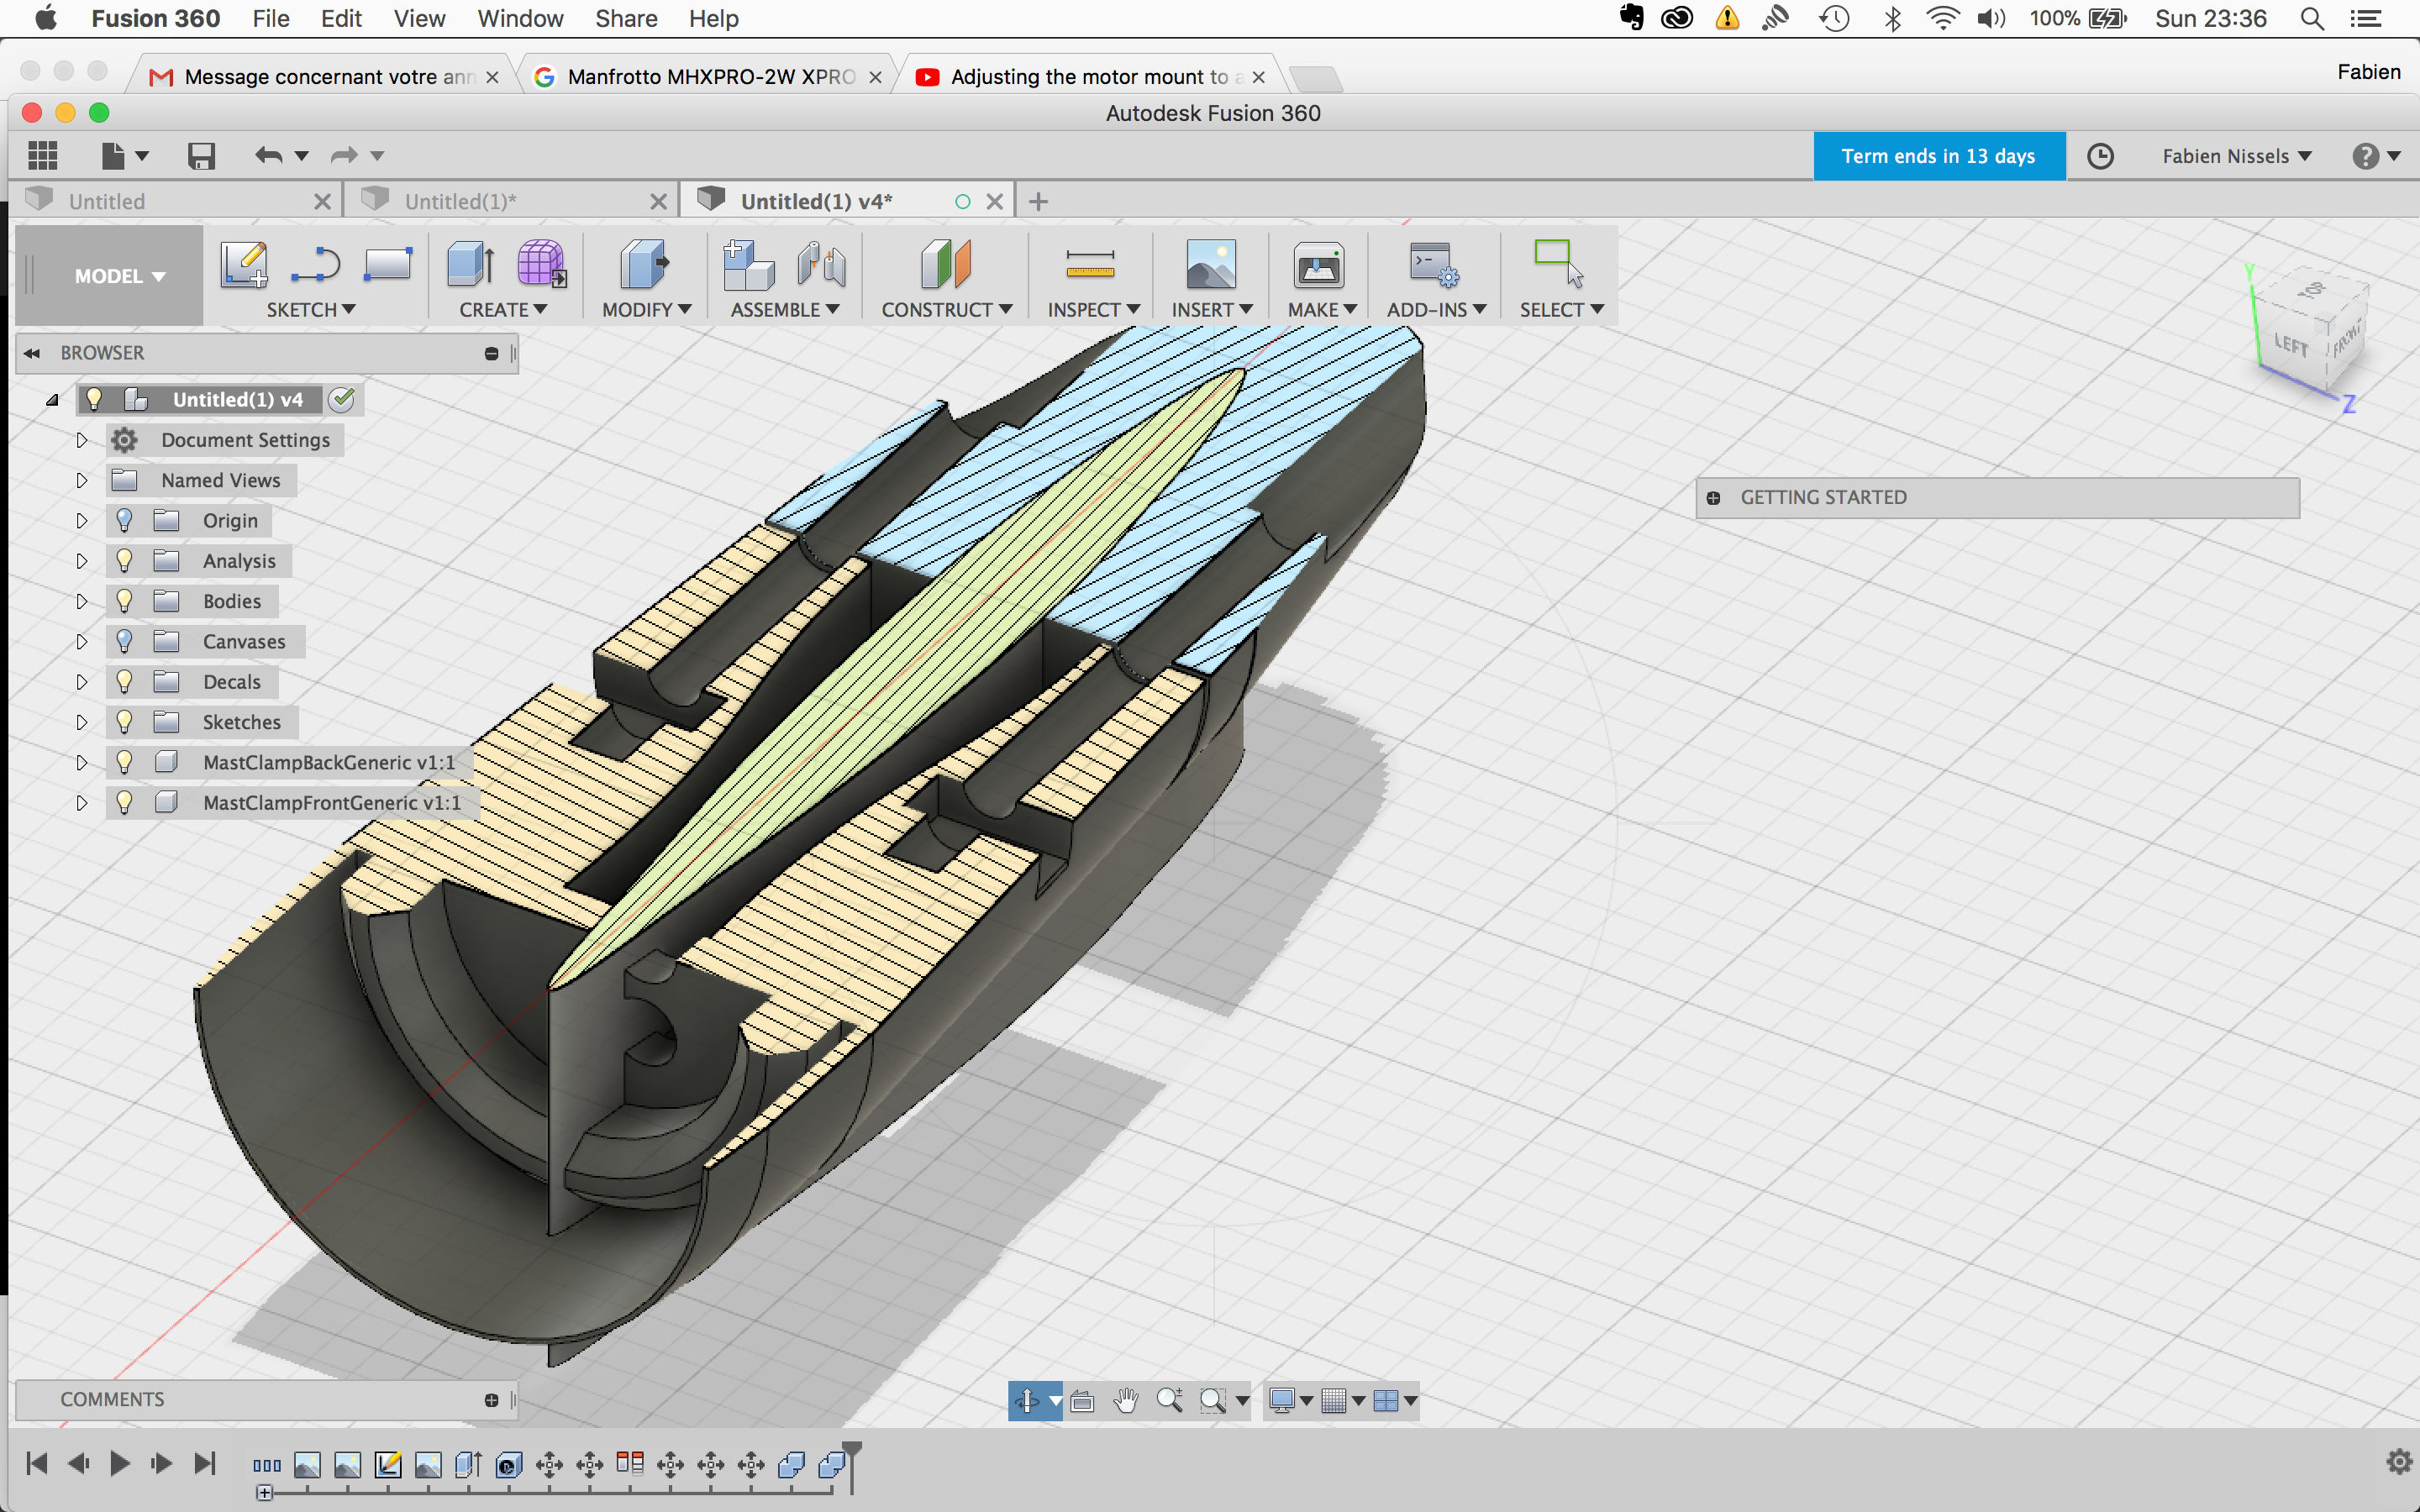
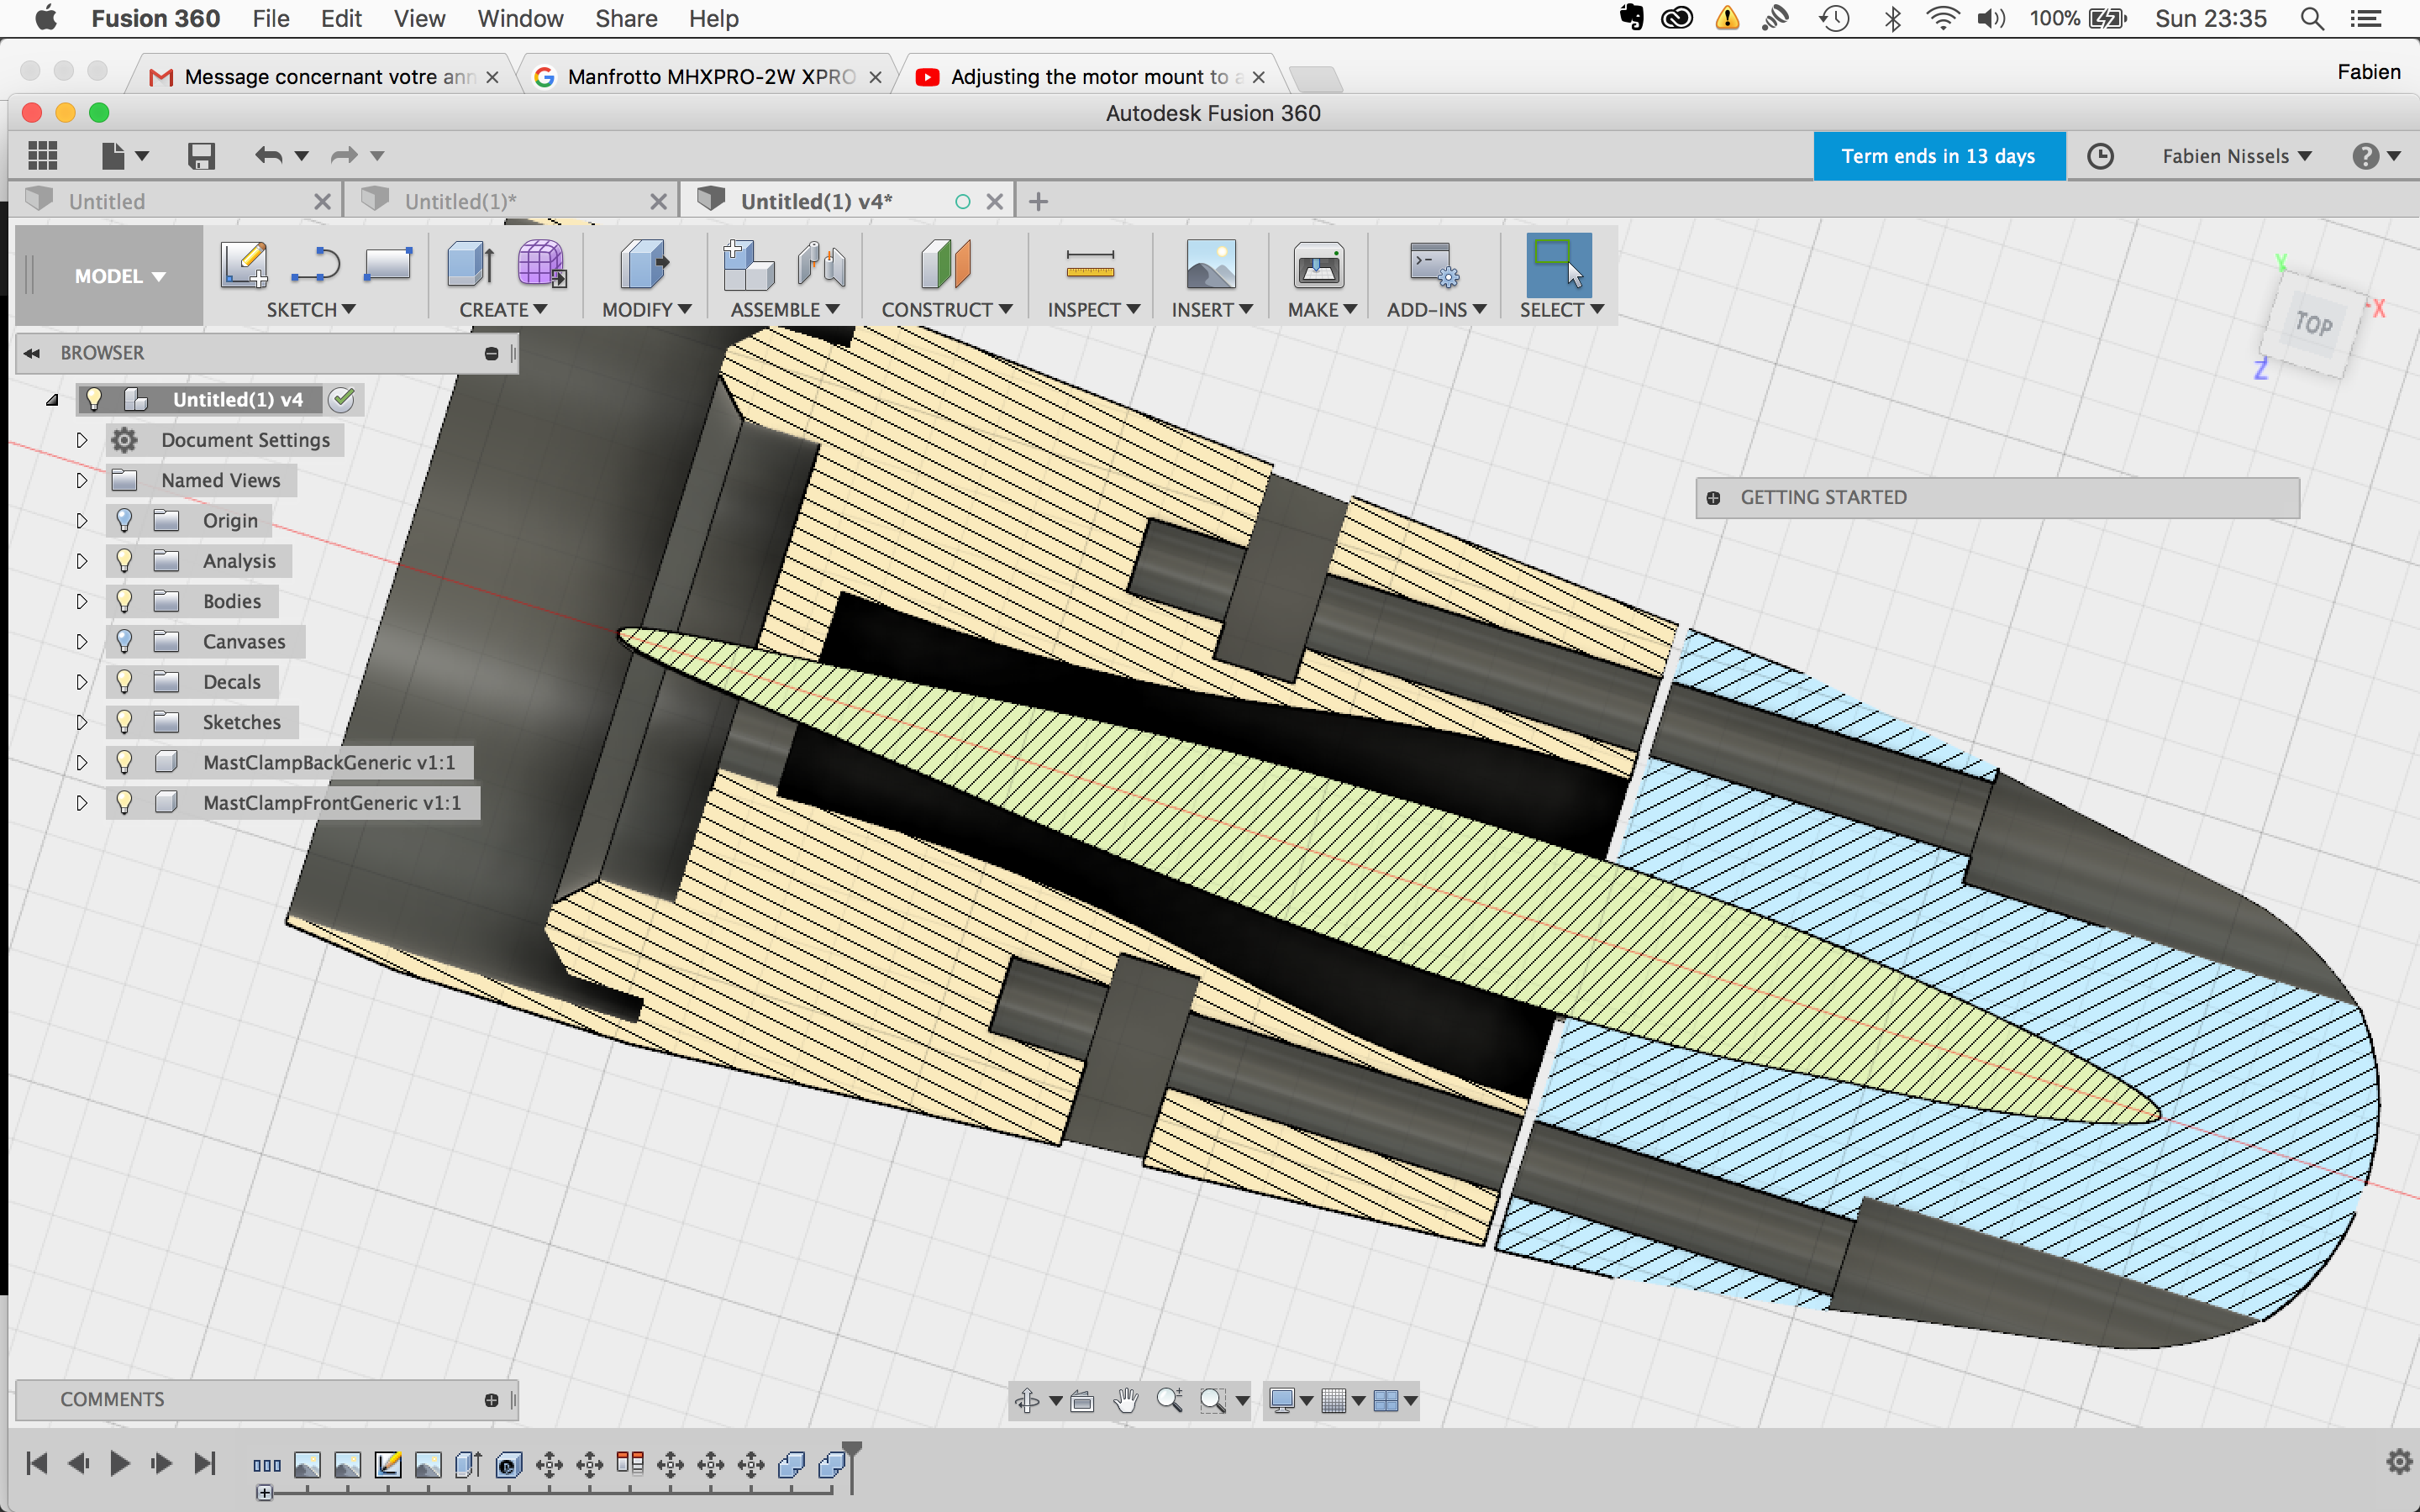
@pacificmeister I’m using the new Rocket Foil V2 from Liquid Force, which is 130 mm long. I tried adapting the CAD file for the clamp system and it looks like my foil is quite long as you can see on the image (I haven’t moved anything, just modified the sketch to my new dimensions). Will it make any problem like that?
@Fabien_n
Yes if you print it like you show in your picture, you wont be able to put the alloy tube to the mast mount. Because the mast destroy the mounting ring.
@pacificmeister
at the moment i am waiting for the coupler of the neugart. in the mean time i tried to put everything else together and there i recogniced that there is a problem with the ThustBearingMount.stl
The
Thrust Needle Roller Bearing 10x24x4 Thrust Bearings from your part list has 24mm outer diameter but the in the thustbearingmount.stl it has only 22,6 or i dont now the measurement in the file but i printed it and the neddle bearing didnt fit and so i measured it.
Also the diameter from the outer side of the thustbearingmount.stl didnt fit to the neugart.
Neugart has on this site 26mm and the 3d part has 24,6mm.
I am wrong or do the file have wrong measurements?
greets
OVER