I have drawn a quick schematic for @giloris and @MaxMaker, for switching a battery relay with an arduino. I assume you will use a similar relay to the one discussed in the topic “I think I found the right battery relays - Electronics (ESC, remote, batteries) - FOIL.zone”. I’m only a mechanical engineer and have only simulated this schematic with generous assumptions. I did not build and test this as I currently don’t have such a relay. I assume it will work as I have left huge margins and the simulation went alright, but use it at your own risk. The components should be available from pretty much any electronics distributor, I searched tme.eu to find the components in the schematic. I assume you will use a 5V Arduino. I have not checked if it will work with a lower voltage microcontroller. It could easily be adopted to be switched with a reed contact and a magnet.
@pacificmeister, can you tell use something about the current with your setup. which prop you’re using? how much is the max. amp (board on the water), avg. amp (during the ride). thanks a lot, beacause i’m still try to find some waterproof connector for the high current.
For the motor phases I tried many types of plugs and connectors and they all had issues. Either too bulky or they got hot and my solders came loose. I since bought a big crimper and don’t use plugs anymore, works reliable. On the battery side I use these ones, they also have anti spark integrated. I like them a lot: Amass AS150 Male and Female Anti Spark Connector Plug Set for Battery, ESC, and Charge Lead Amazon.com
pacificmeister, For the wires that connect to the motor are you using a dry crimp link instead of solder straight to the motor wires?
Hi pacificmeister
Do you mean , you dont use motor connector on sss 56104 (bullet connect ors) , you cut it ?
Regards
Giloris
Cut only if you need/want to save space in the motor tube, see difficulties discussed above with removing the isolation from the copper wires. Easiest unsolder the motor connectors and crimp to wire.
Here my crimping machine, i love this device: IWISS Wire Terminal Crimping Tool 6-50mm² Cable Lug Crimper Cu/Al Terminal Ratchet Electrician Plier (AWG10-1/10) Amazon.com
Here the copper crimp tubes: 8 GA AWG Copper Crimp Butt Connectors Battery Wire Cable Install Bay 25 Pieces Amazon.com
To save space in the motor pod I cut these copper tubes in half. Still plenty of length and strength.
I use the same crimps to connect to esc. Solid.
Hi pacificmeister
Thanks for these details .
I have a question to fix tube on fuse foil .
If I fix tube only on the mast the
Weight is too important and piece is Broken
Havé you this’problem ?
How do you fix rear tube to the foil fuse ?
Regards
Giloris
Sorry, not clear to me where/what the problem is. Maybe you can post a photo.
Hi pacificmeister
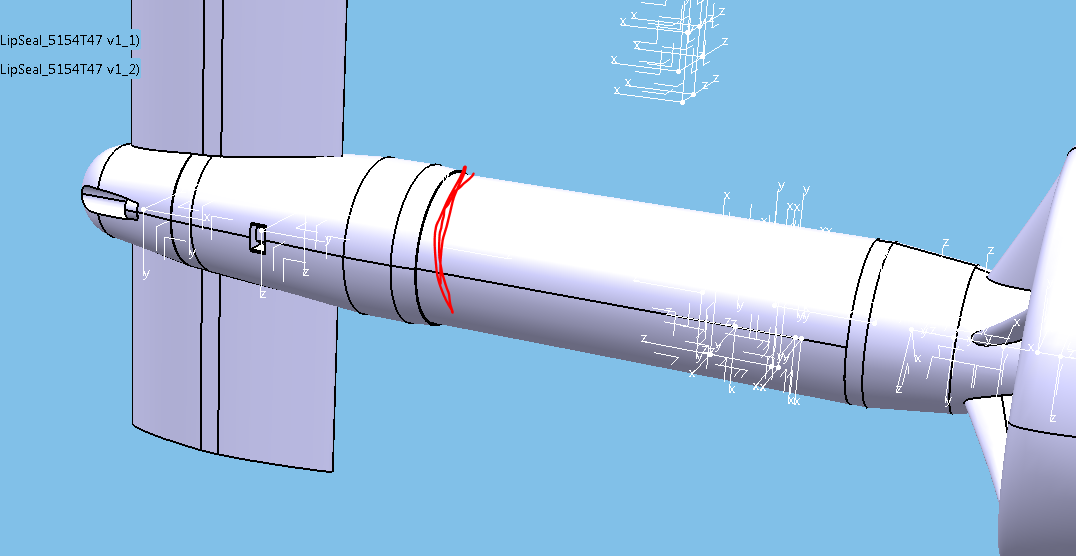
I find that the motor, the reducer, the tube and the different parts are heavy and are fixed only to the mat of the foil, I find that it is not enough. I thought to add a piece in 3 d to support the rear part of the fixed tube on the fuselage
have you encountered this problem or is your attachment to the mat sufficient?
Regards
Giloris
I think he answered it here:
Has anyone tried those ones ? Said to be watertight. Haven’t tried myself.
What is everyone using to glue the Aluminium tube to the PLA back mast fitting. Can i use the epoxy i use to do my board or will it melt the PLA?
I used this: Loctite Epoxy Plastic Bonder 0.85-Fluid Ounce Syringe (1363118 ) https://www.amazon.com/dp/B0044FBB8C/ref=cm_sw_r_cp_api_UePHAbT9PGQ09. Good bond between the plastic and the aluminum. My mast mount is printed in ASA but I assume it works with PLA too. Best do a test on scraps before.
PLA is very reistant to chemicals. You won’t hurt that stuff with household chemicals. I don’t think even acetone does something to it. Epoxy is also very safe to use with most materials including styrofoam. Epoxy doesn’t melt by the way. It only gets a bit softer with temperature until it starts to burn.
@pacificmeister: did you get the solder on motor cables failed due to the heat? I’m asking because after all the effort in removing the enamel and solder a proper junction, I tested the motor-gearbox inside of its tube and it settled so good that it never came out again!
Please, let me know before the first sea-trial, if it’s risky I will pull the motor out somewhat, even if I’m afraid to have to break something. Heat conducing grease made the motor stick to the tube.
Hi @MaB, I never had issues in the pod with my solders. The solder came off at the banana plugs in the ESC box. In a way I was glad that happened, acted like a thermal fuse. Else other things might have fried next. I think it was due to a local heat up at the plugs which were not rated for this current. The small (think 5mm) plugs had the advantage that I could fiddle the cables WITH plugs through my waterproof cable glands, therefore easily take off the mast and disassemble things. I could even pull the cables through the mast with these plugs. But the plugs were too small. So with bigger appropriately sized plugs disassembling would not be possible anymore, therefore I decided switch to crimps. It’s a quick dremmel job I f I need to take it apart. Not perfect but works.
Thank you! Good to hear that. Wise of tour experience with thin awg12 ESC I chose an AWG8 ESC and same size mast wires with xt150 plugs, they should resist.
Hope the same for the silicone seal where cable goes into the pod… I could not seal both sides so I truly wish the water side silicon mess I applied would do.
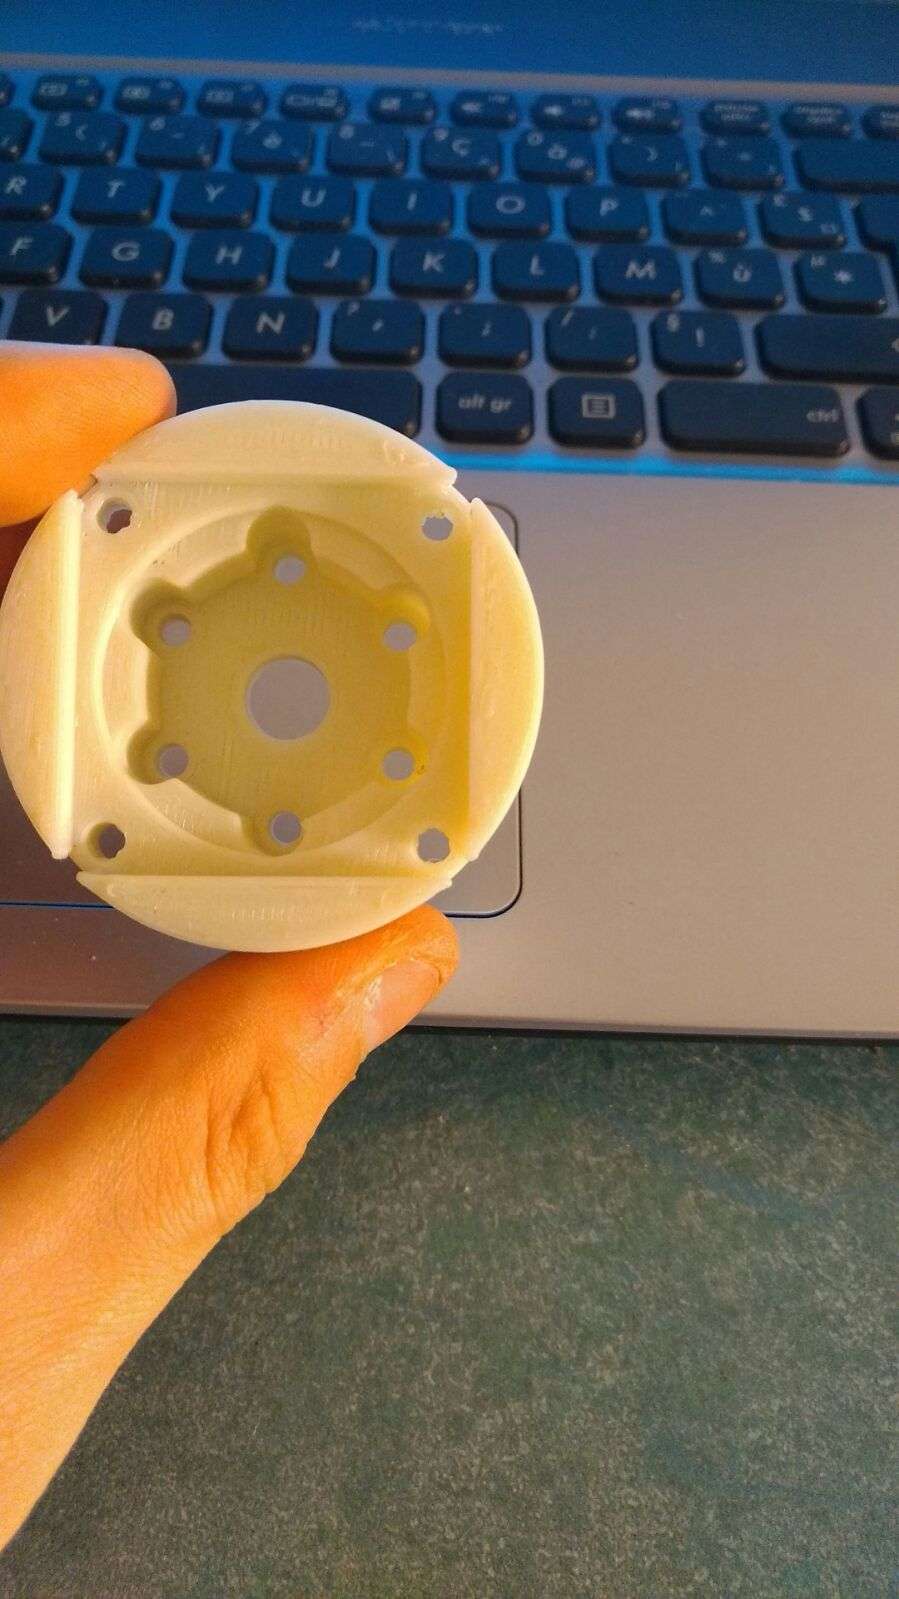
Hello, see the first pieces.

A big thank you to pacificmeister. I would like to be able to modify the pieces. With Fusion 360, I can not do it. Is it normal ? If no, how do you change the pieces given by paciicmeister.
Thank you for your help.
Cristophe
You need to open the .f3d file not the step or iges.
Thanks MaxMaker,
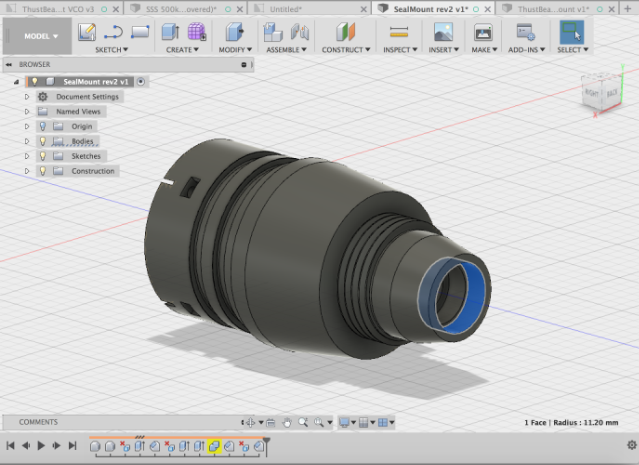
For example, I would like to change the diameter of the sealmount (see picture)
I would like to change from 22,40mm to 22mm H7. Because I try to make this in alu (au4g).
I am a newbie in fusion ; so, not easy for me but I try