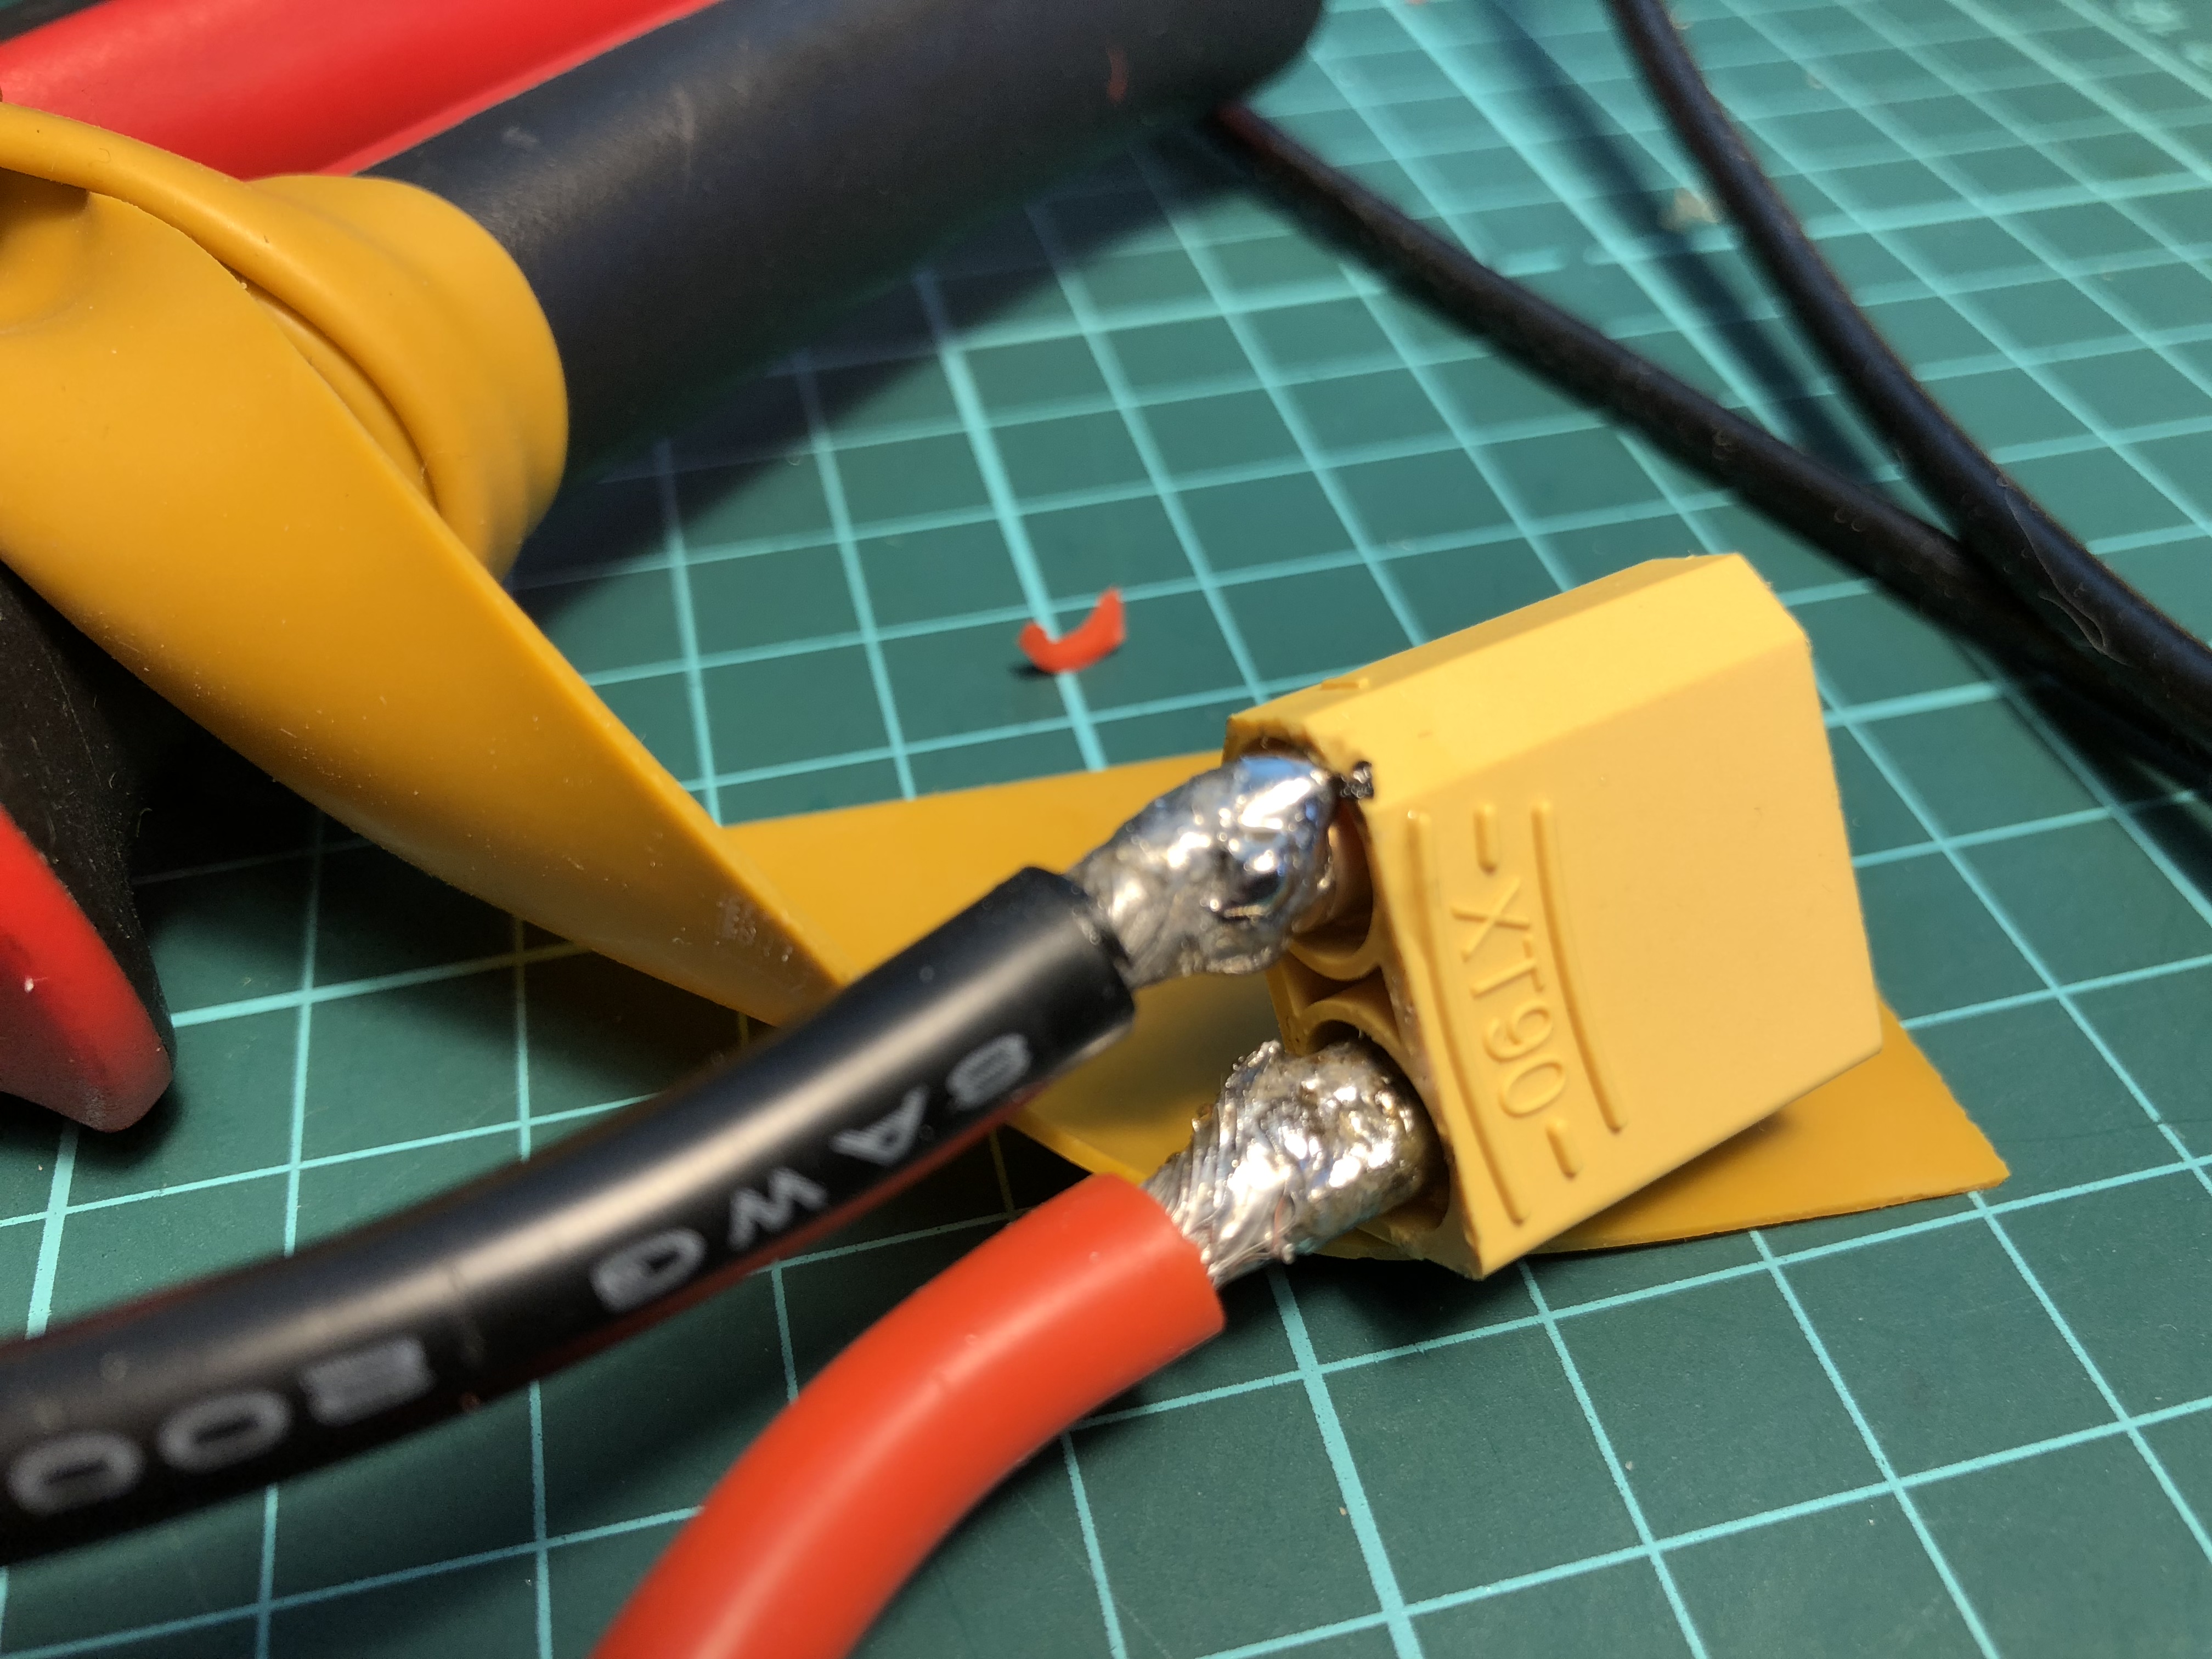
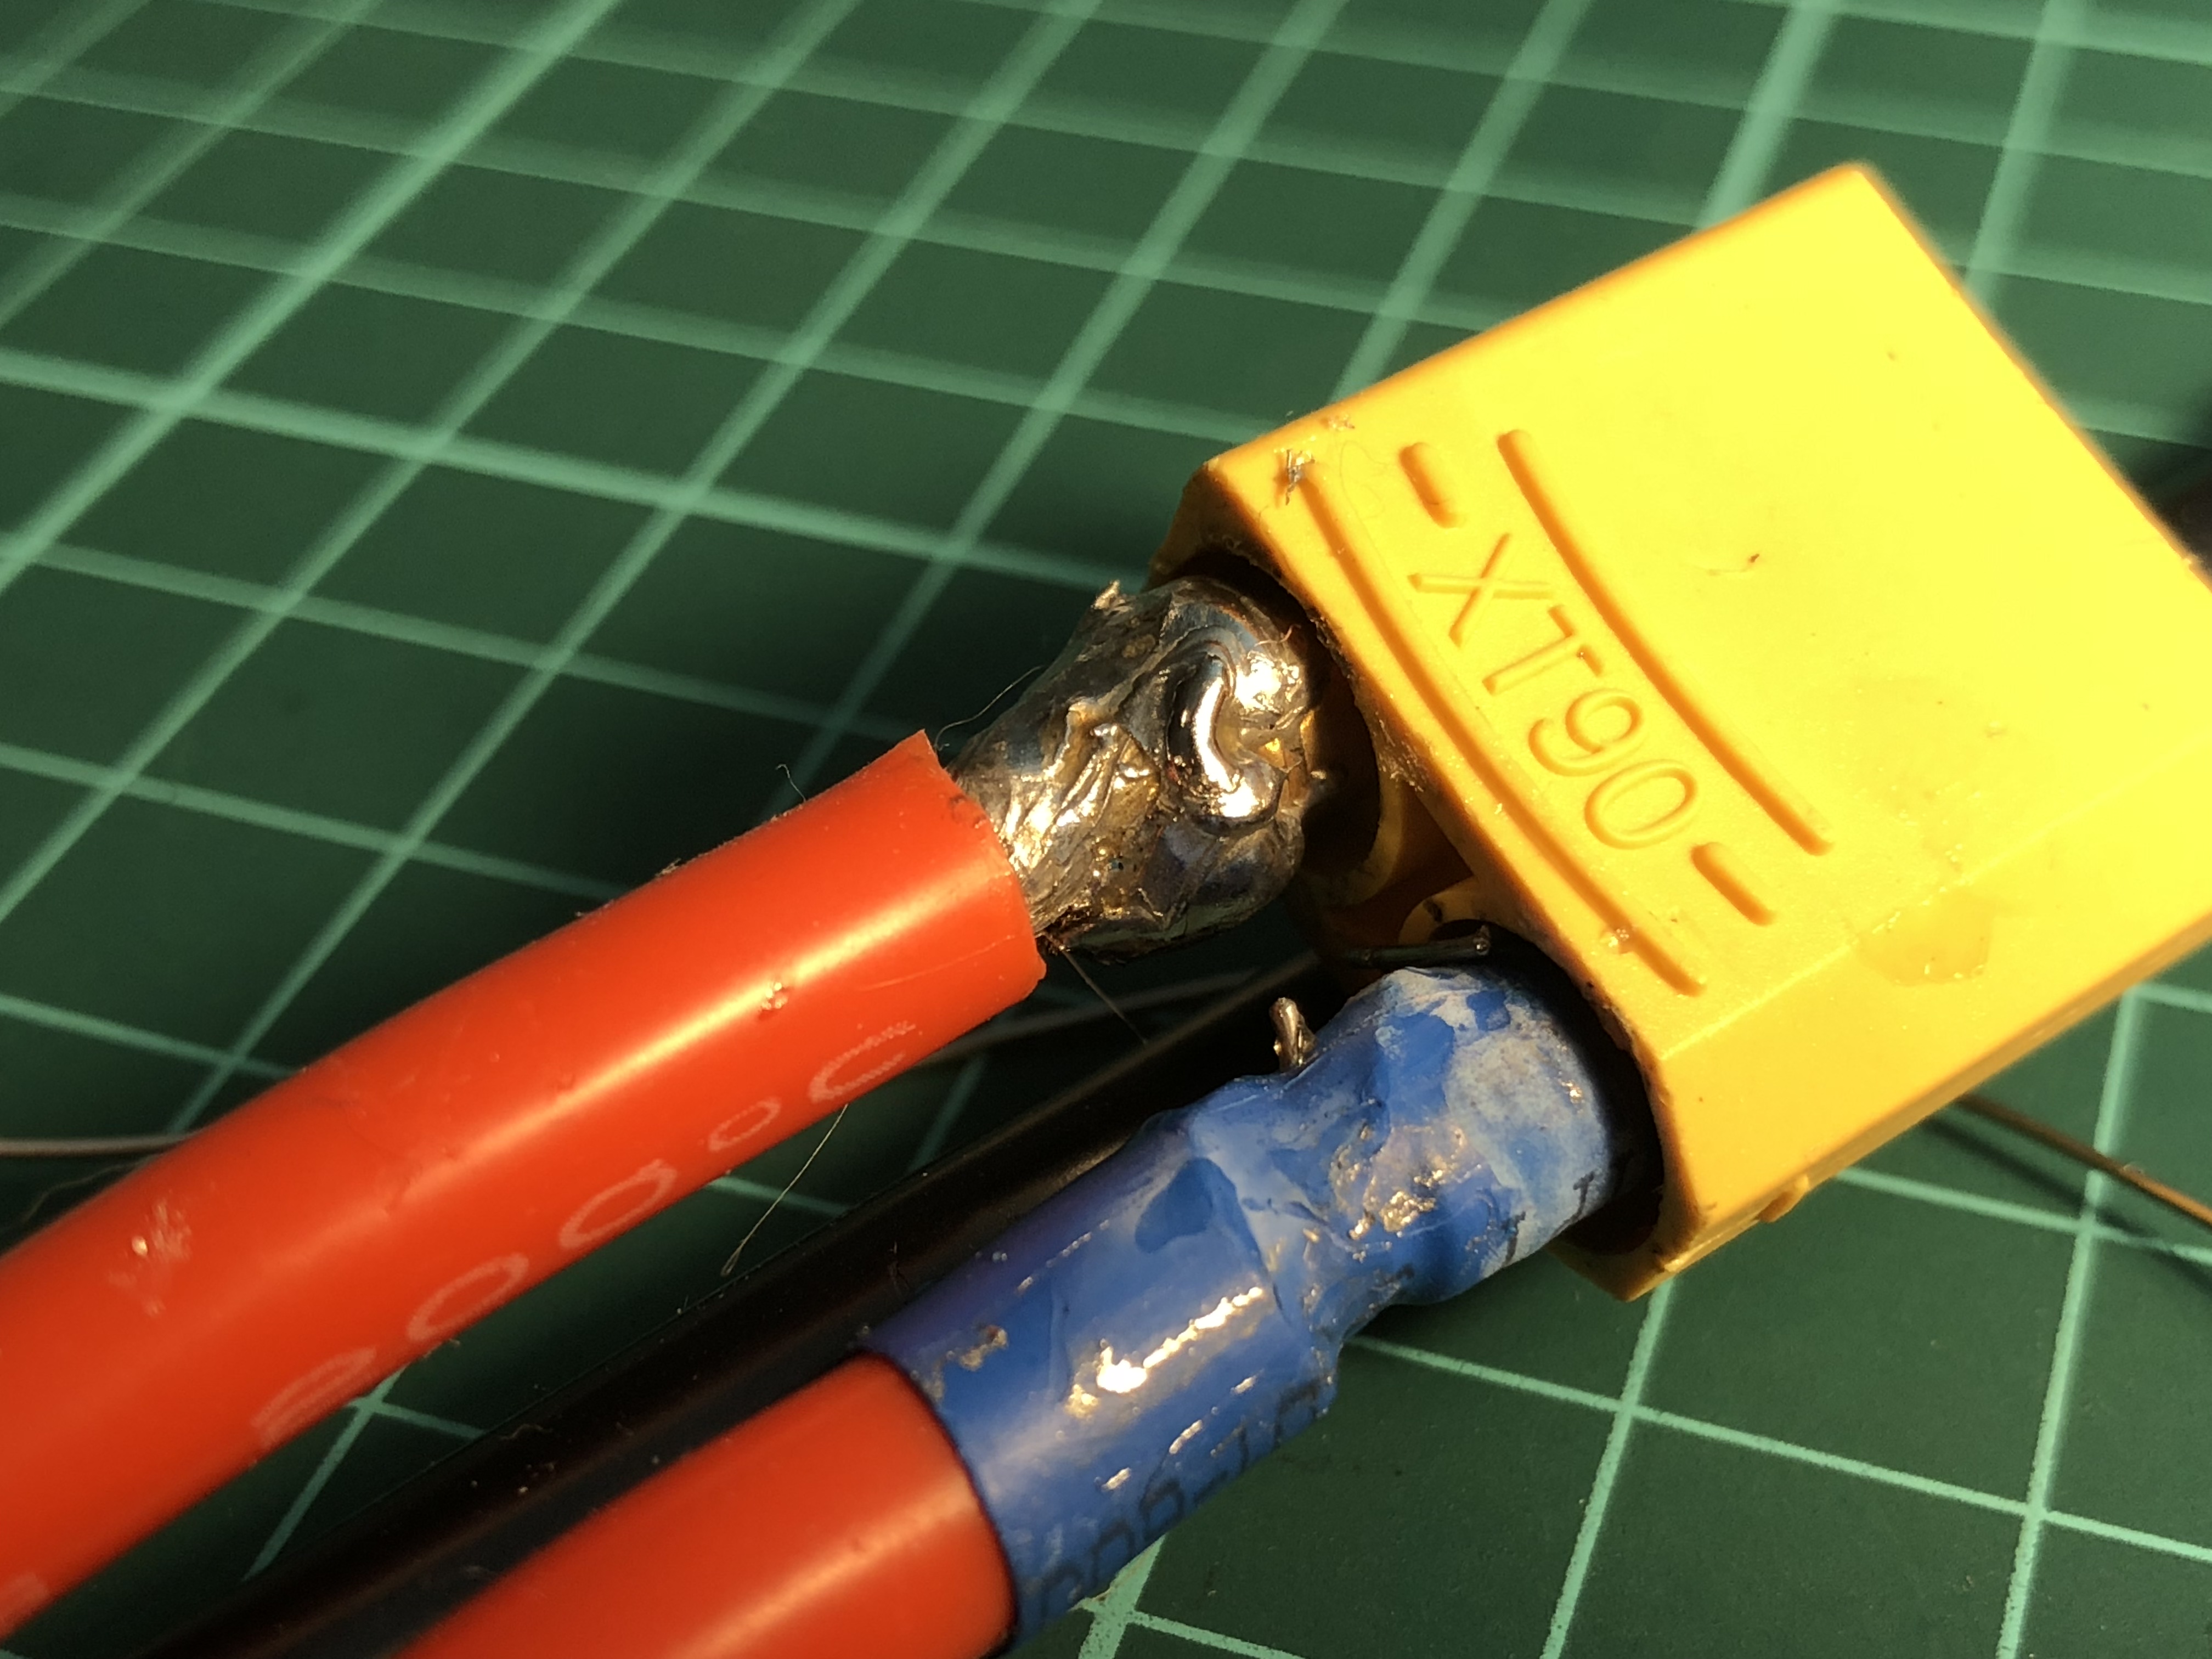
I could not get the AWG 8 cables fit completley into the XT 90 plugs. They don’t touch the bottom. So they are only in contact on the cylindrical surfaces. Thats why I tried to overlap the solder onto the outside of the plug. Each plug will get a maximum of (EDIT) 100A. 60A constant probably.
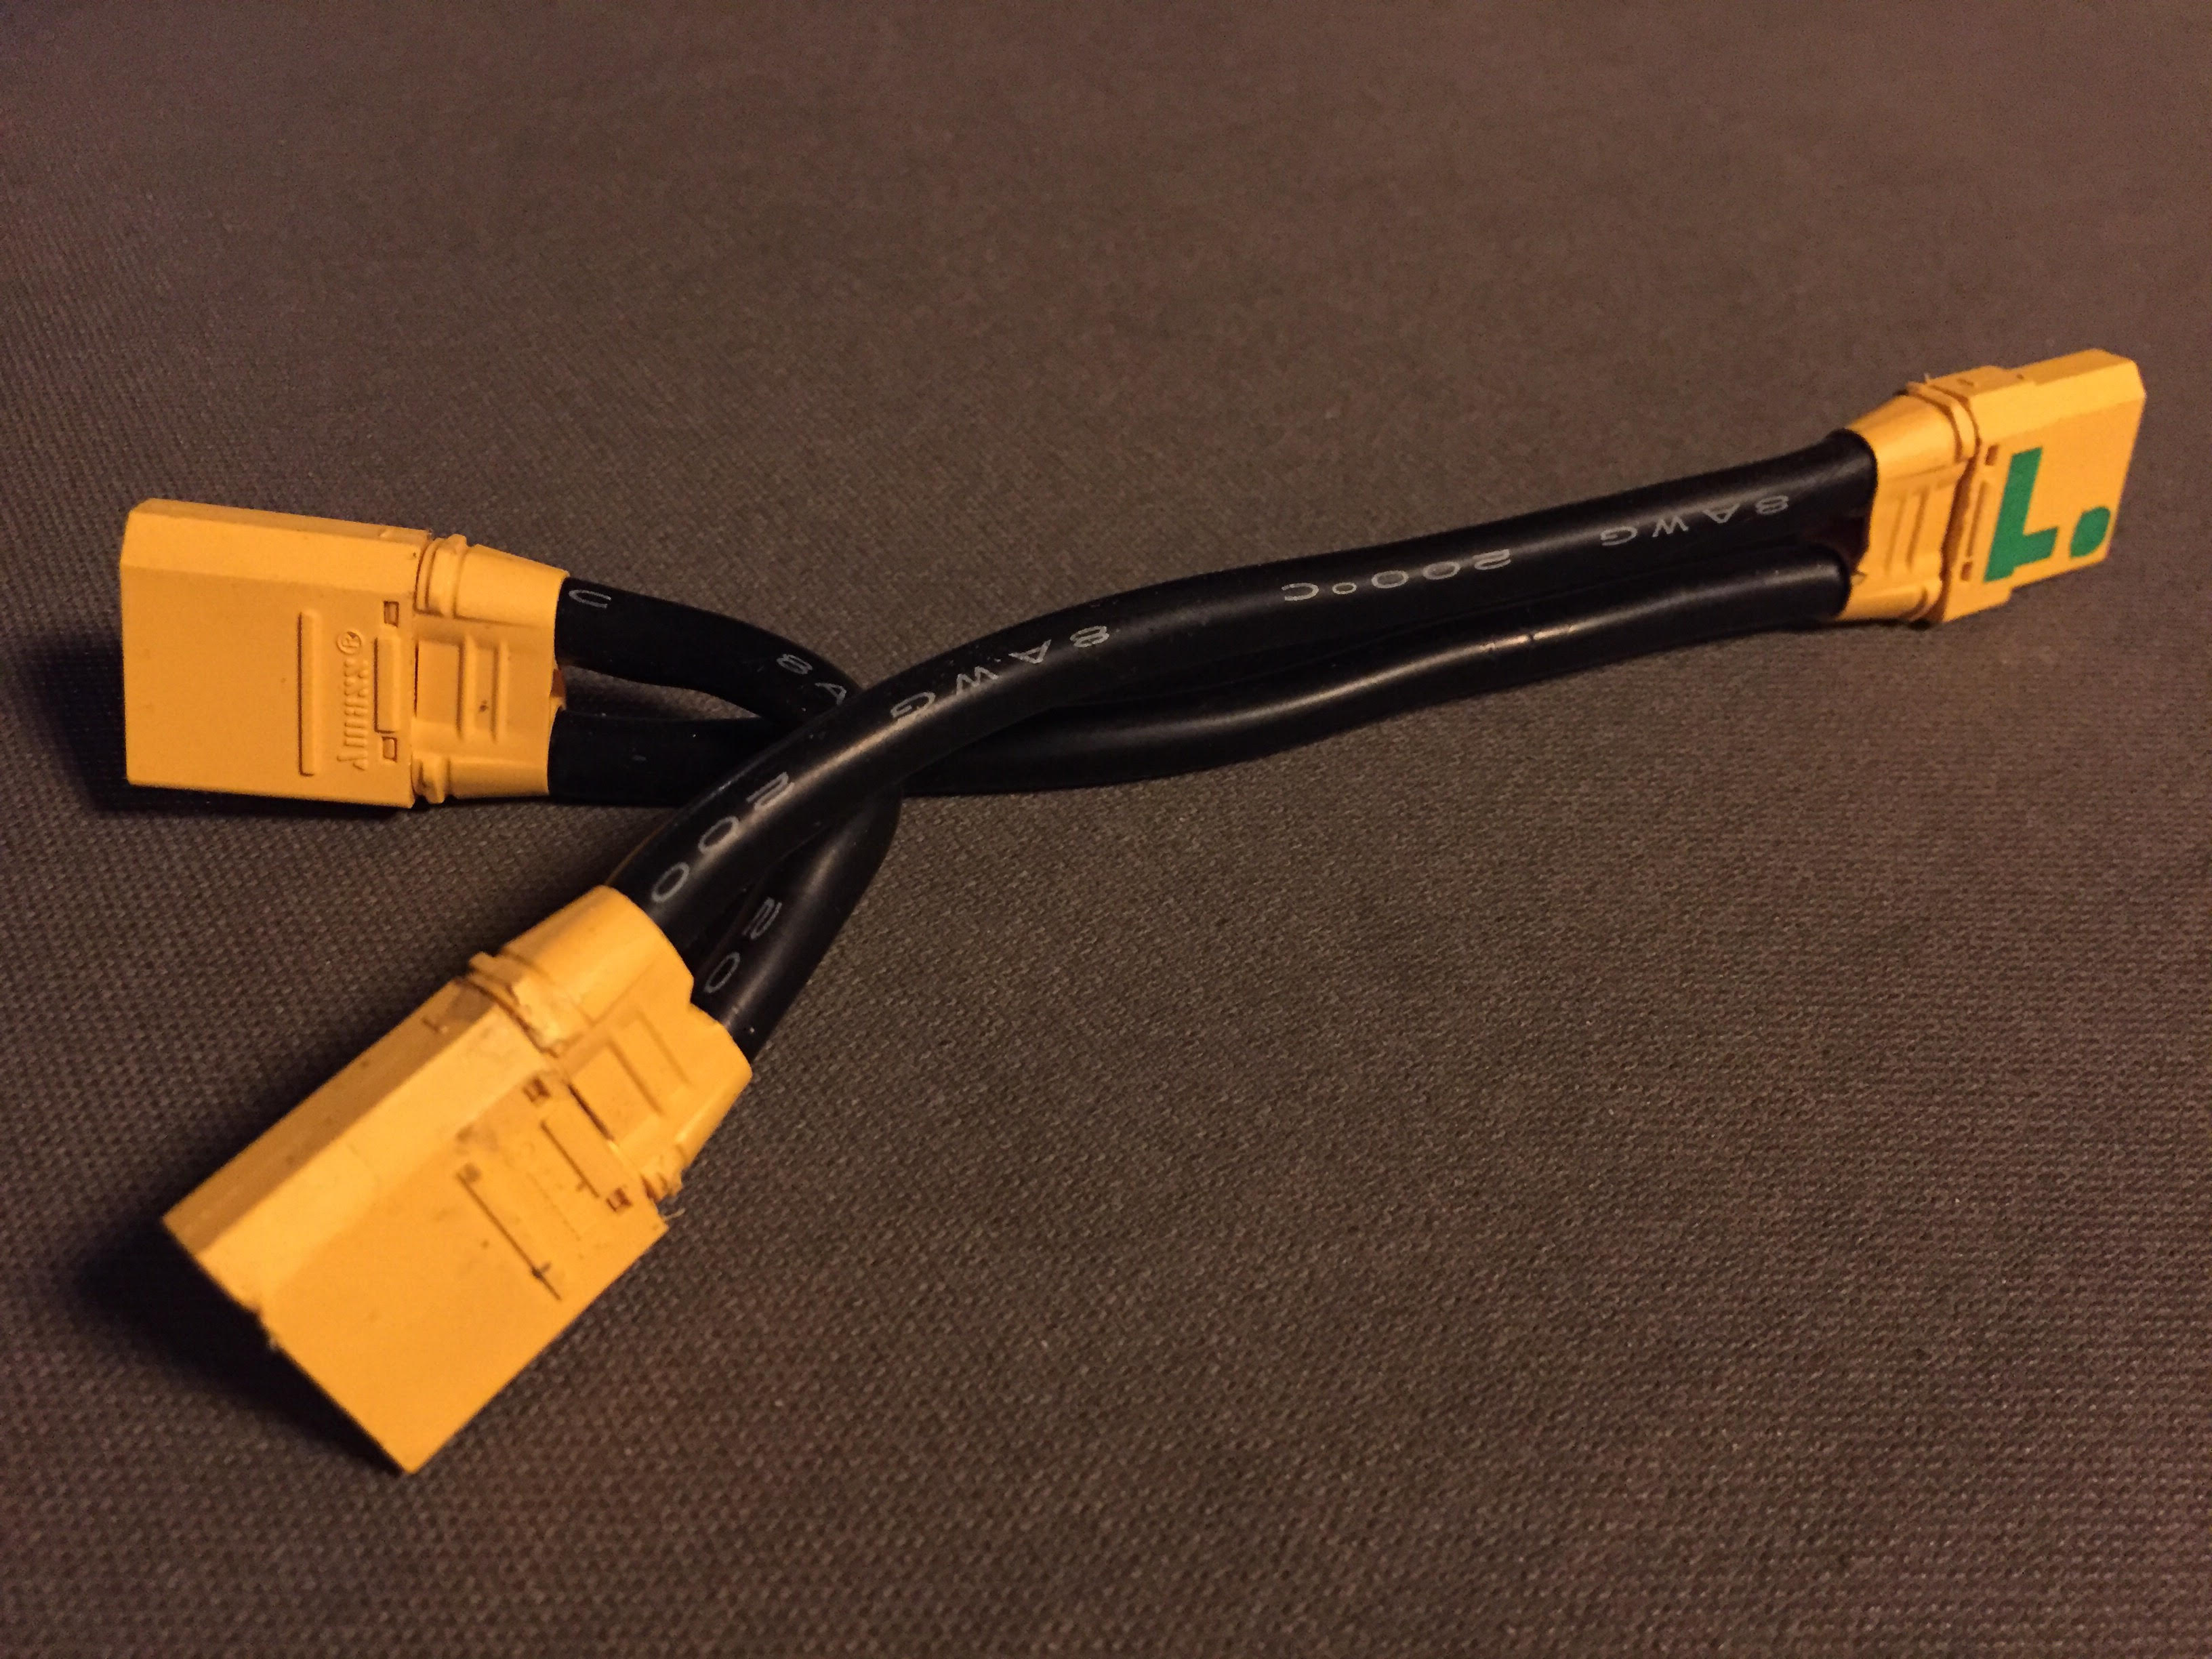
Sorry. I meant half of what I wrote. Max 100A and most likely 60A max. My batteries came with XT90s and I did not want to resolder them. After that, everything is with XT 150s.
I was dealing with the exact same problem yesterday evening…
I think the most important is to tin you wire first and make sure that tinning is good.
It’s quite easy to tin only the outside of those wires and leave the core inside without any solder and that’s what is most likely to cause issues…
to check if your tinning is good, validate you process on spare parts, remember how much tin you need to make the tinning of the exposed part right and get some solder to migrate up the wire a bit. That migration up will remove the stress point that would otherwise be at the end of the insulation.
After being tinned, your wire will be too big to fit in the XT90 cups, but pre-tin the cup pretty full, and heat both pressing the wire until it melt and get mostly in the cup.
That process seems to work well, but if there’s any experts, please let me know if i’m wrong
The first XT90 I soldered… I had to give up, bring the mess to my colleague at work who solder 8hr per day since…forever, get him fix my half way soldering effortless, (so frustrating!) and let him teach me how to do it.
After that… it’s been easier (make me sweat though!) Do not over-tin the wires and resist the temptation to fill that XT90 cap of tin before to slide the coupler, keep the AWG8 wire compact and nake only the minimum to fill the XT90 (that way the copper stays more compact).
Then… it’s just matter of melting a drop of fresh solder to transmit the heat effectively, wait for the cable to slide into the connector and refine the look with some other tin. Despite 60/40 lead solder it’s better and easier to use (to me), in this case I used nasty lead free from RS, more “pasty” and takes longer to become solid. Fumes should be avoided, are 10 times more toxic than the good’ol lead was! Beware not to deform the XT90 plug with the heat, like I did… the second time I coupled male/female to avoid the pin to move, in case the plastic overheats.
I gave up on XT90 and other little connectors a while ago. I found these AS150 connectors and put them on all my batteries, charging cables and battery box connectors. I love these plugs. Easy to solder with thick 8awg calbles and the plastic caps thread on nicely. They also include anti spark which is nice. Well worth the battery plug resoldering trouble.
I have to say, after soldering about 20 connections this weekend, it got much easier. The key for me was to apply heat for a long time to heat up the entire joint. Good that the cables were silicone, so they don’t melt.
Wondering if this has happened to any one else. About 4 months ago I made several solder connections using cheap # 8 CCA wire I bought on Amazon. I did not know CCA stands for copper clad aluminum. Today under less than a few hundred watts the wire started to spark. Under closer examination all the CCA wires had turned to dust near the solder connections. I believe the flux I used (and made no attempt to clean off) dissolved the wire.
Hi Pacificmeister…do you use an anti-spark cct? I notice only some mention it. Is it necessary if you have anti spark connectors? I know they don’t protect the esc but how necessary is it?
thanks!
I have anti sparks in all my plugs now. Didn’t have them early on and in don’t think you will damage anything just the plugs will suffer from the sparks.
ok thanks. I guess we just need it in the plugs. I just saw that the seaking 130 has it built in.
I’ve read that others are adding an extra cct(vedder anti-spark). but i guess that’s not needed
The wiring for the seaking is not clear. The manual is pretty bad for the receiver side.