Hi @MantaRay. I assume you plan to run the out runner dry in a sealed pod. I would use much thicker aluminum for the mounting plate to transfer the heat out. 1.5mm sounds thin. Also make the cable gab as small as possible, you need max outside wall attachment surface to transfer heat out. What do the other parts look like and how are you going to make that piece? Good luck!
Yep, the c80100 80 kv dry in the PLA pod. I was debating on printing that mounting wall (1.5 cm thick btw, not 1.5 mm) just as PLA with the rest of the piece, but adding a aluminum wall to the print is a good idea too. Another user mentioned that the motor doesnt run too hot, but do you suggest at least having some type of heat transfer for it?
I would suggest at least sme active cooling for your motor within the tube. I have been running a smaller 6374 type outrunner enclosed before and the heat transfer via the mounting flange was not enough. I had polished this flange and screwed it to a 8mm thick aluminium plate with a thin layer of thermal paste. On the other side I had cooling channels and direct waterflow over the aluminium plate. With the plate staying apparently at about water temoerature my thermistors on the motor windings reached 75C fairly quick anyway. Mayby your motor is more efficient and you need less power than me. I would assume no more than 85% efficiency for thermal estimations with an outrunner. I used 1kW of Input power during my tests back then, the 150W of heat will go somewhere and probably weaken your PLA if you don‘t provide another sufficient path.
I would suggest to at least provide some airflow and transfer fins, but you have to decide with your own estimated losses. I just want to give you an example datapoint to help your design.
2 Likes
Would you not be best getting the 80mm internal water cooled version and use pump to aid cooling ? I feel the motor will melt the pla with only heat transfer out the back plate
1 Like
I burned a SK3 6374 outrunner in less than 30s in an enclosed PLA case. I just wanted to test power before spending more time on cooling, that didn’t work out well. Your motor is a lot bigger and will probably generate less heat but I am still skeptical that it will be happy in a PLA. I am afraid that adding an aluminum mount plate inside the PLA case won’t do much good either, you want to have it connected to some bigger aluminum that gets cooled by water, either the tube or the mast (like torqueedo does it). Active cooling as suggested would be even better if the motor supports it.
3 Likes
We are using the same 80100 motor but in 50 kv. Our plan is an aluminum mount plate welded to an aluminum tube that covers the motor. Play front and rear to finish and seal the pod. We expect this will provide adequate cooling as we are expecting 40a max and less than 25a cruise.
2 Likes
My initial design was to run a SK3 mounted to an aluminium mount plate. The mount plate would be around 20mm thick, have two grooves for o-ring seals and would fit tightly inside an aluminium tube, allowing heat transfer from windings to mount plate to tube to water.
Then mount the aluminium tube via PLA printed mast clamps.
Your APS motor would be well suited for that as the shaft is long enough to accommodate a seal.
I don’t think that a pure PLA housing is going to work.
2 Likes
Thanks guys for your input. I’m gonna make the mounting plate aluminum, with the fuselage out of aluminum as well, then find a way to connect the fuselage to the printed mast pieces. It seems I under estimated how hot these motors run, last thing I would want to do is melt my entire propulsion unit. It’s nice to get some experienced help! Back to solidworks I go 
1 Like
Maybe it is better to flip the design, so the mounting plate for the motor is near the seal and the prop. Of course you need to run the wires somewhere. Otherwise you might need a coupling and additional bearings for the seal, because the distance from mounting plate to the seal gets too large.
1 Like
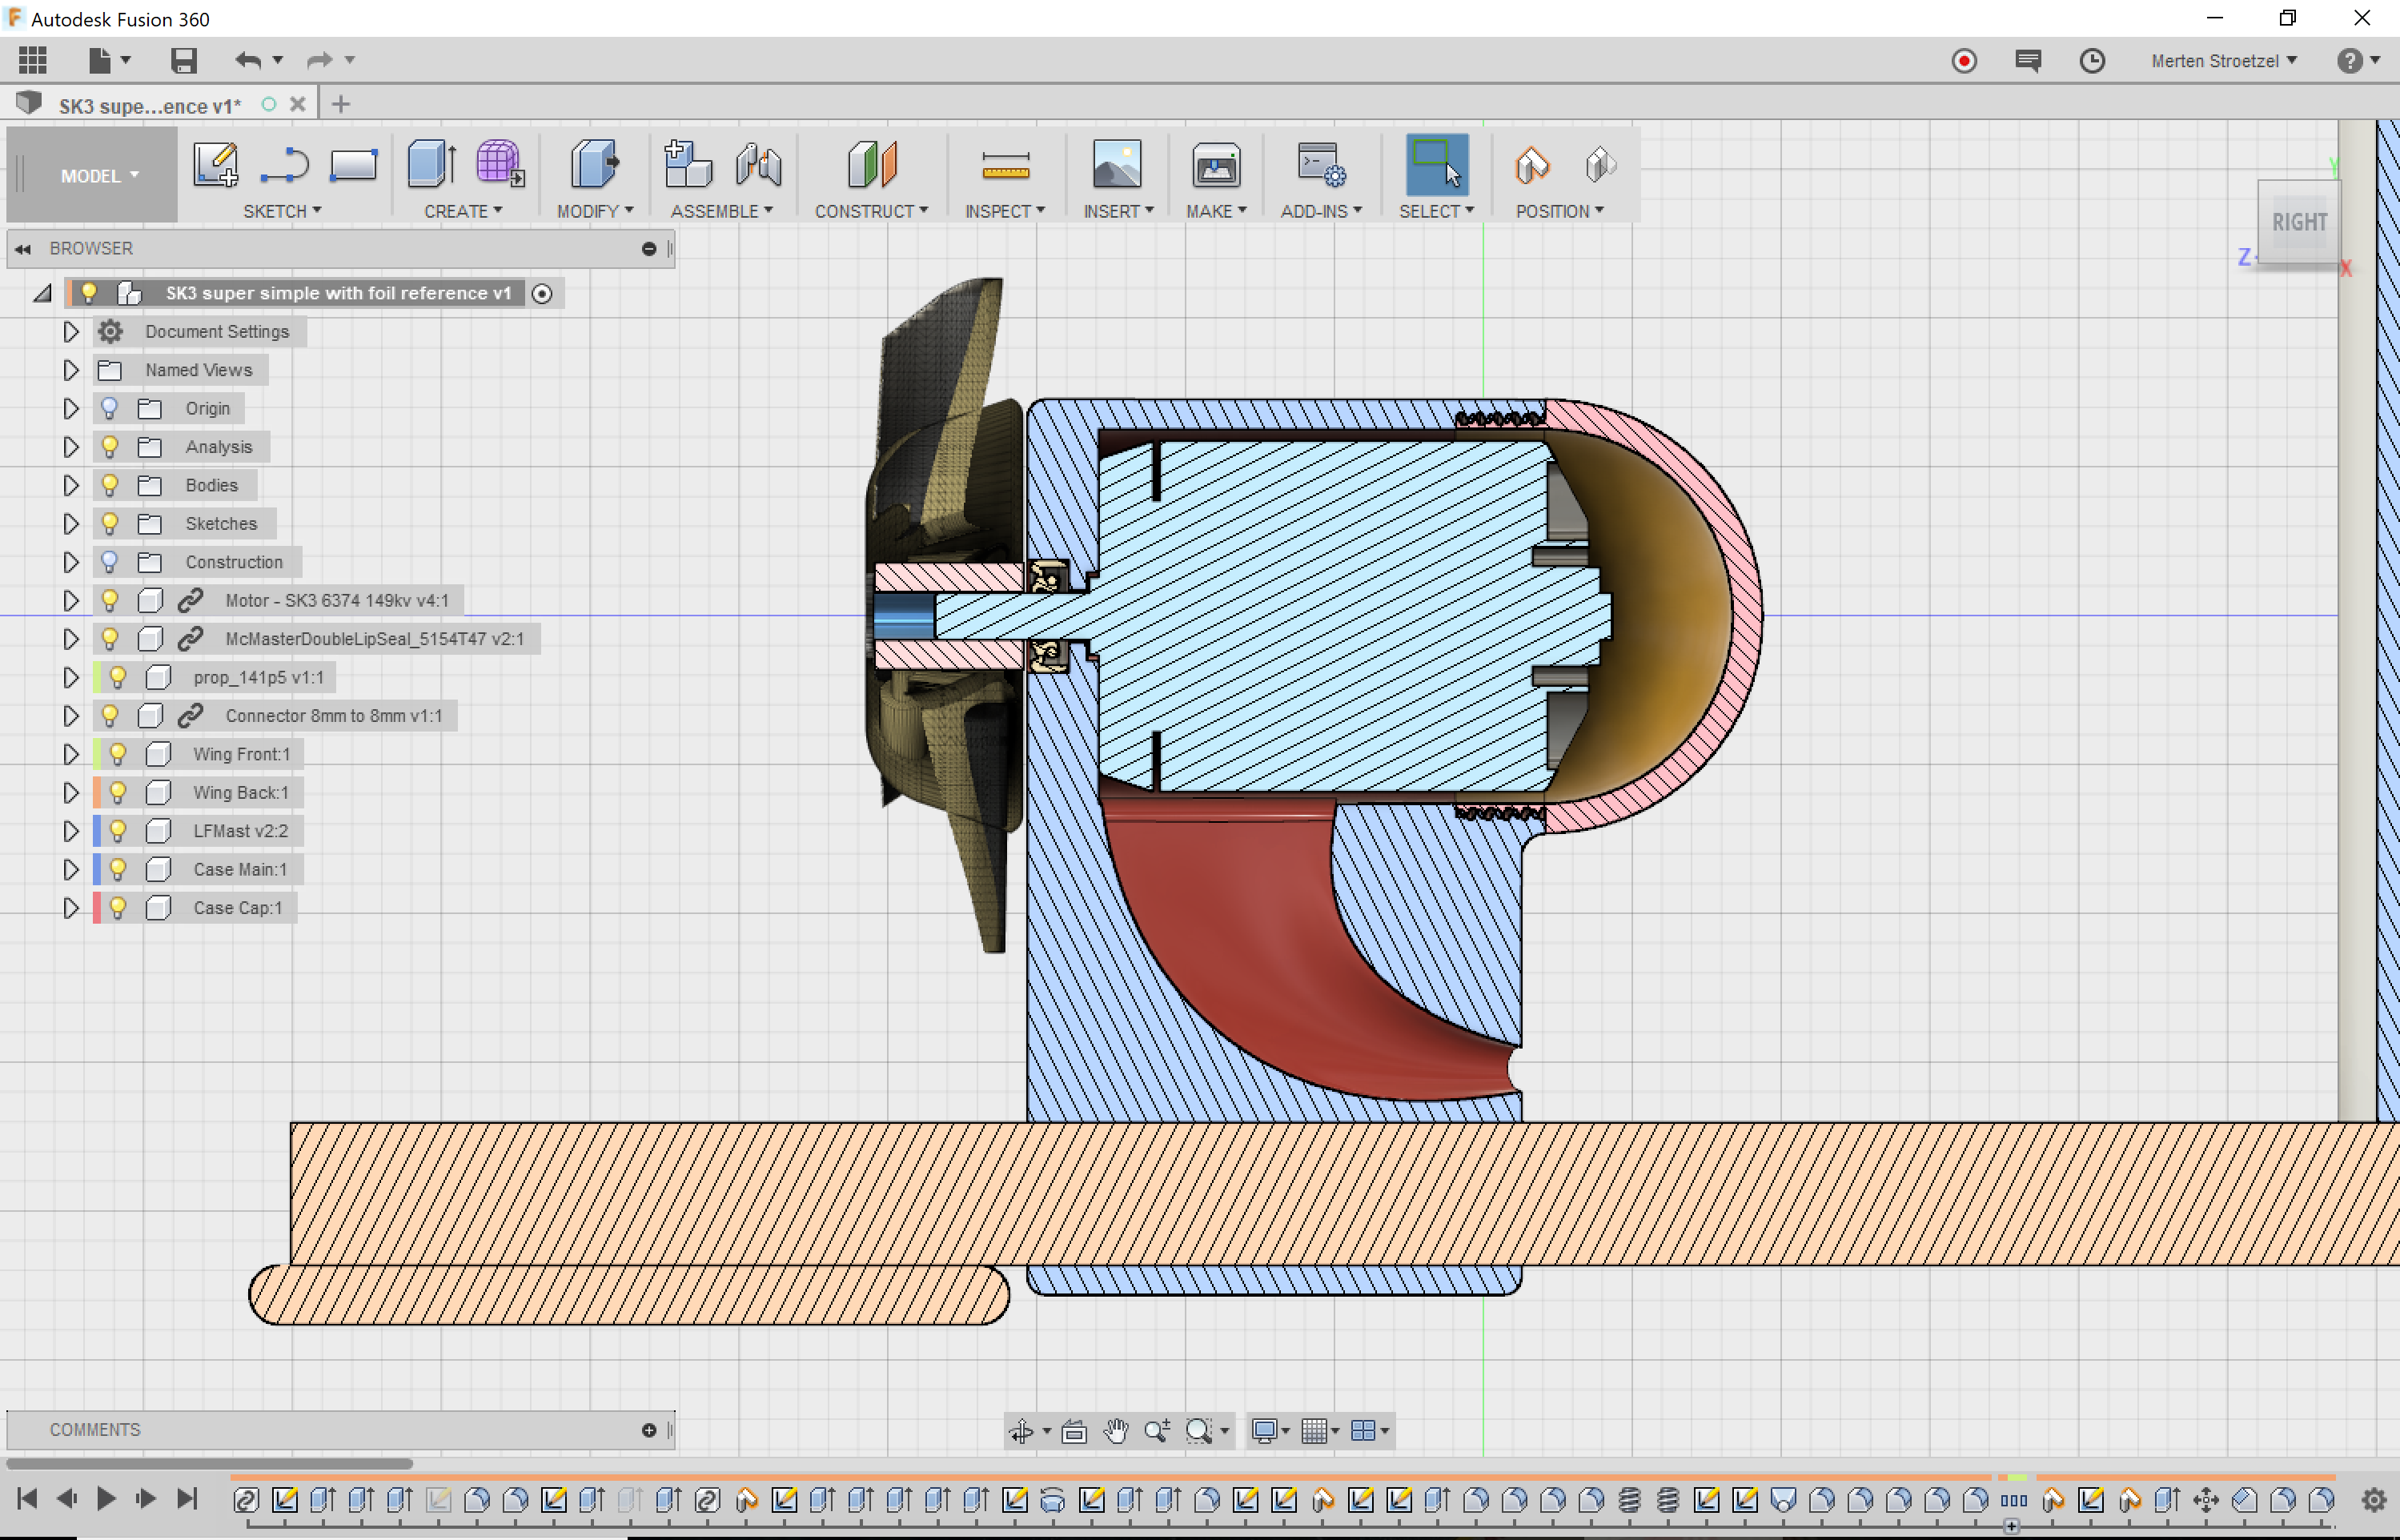
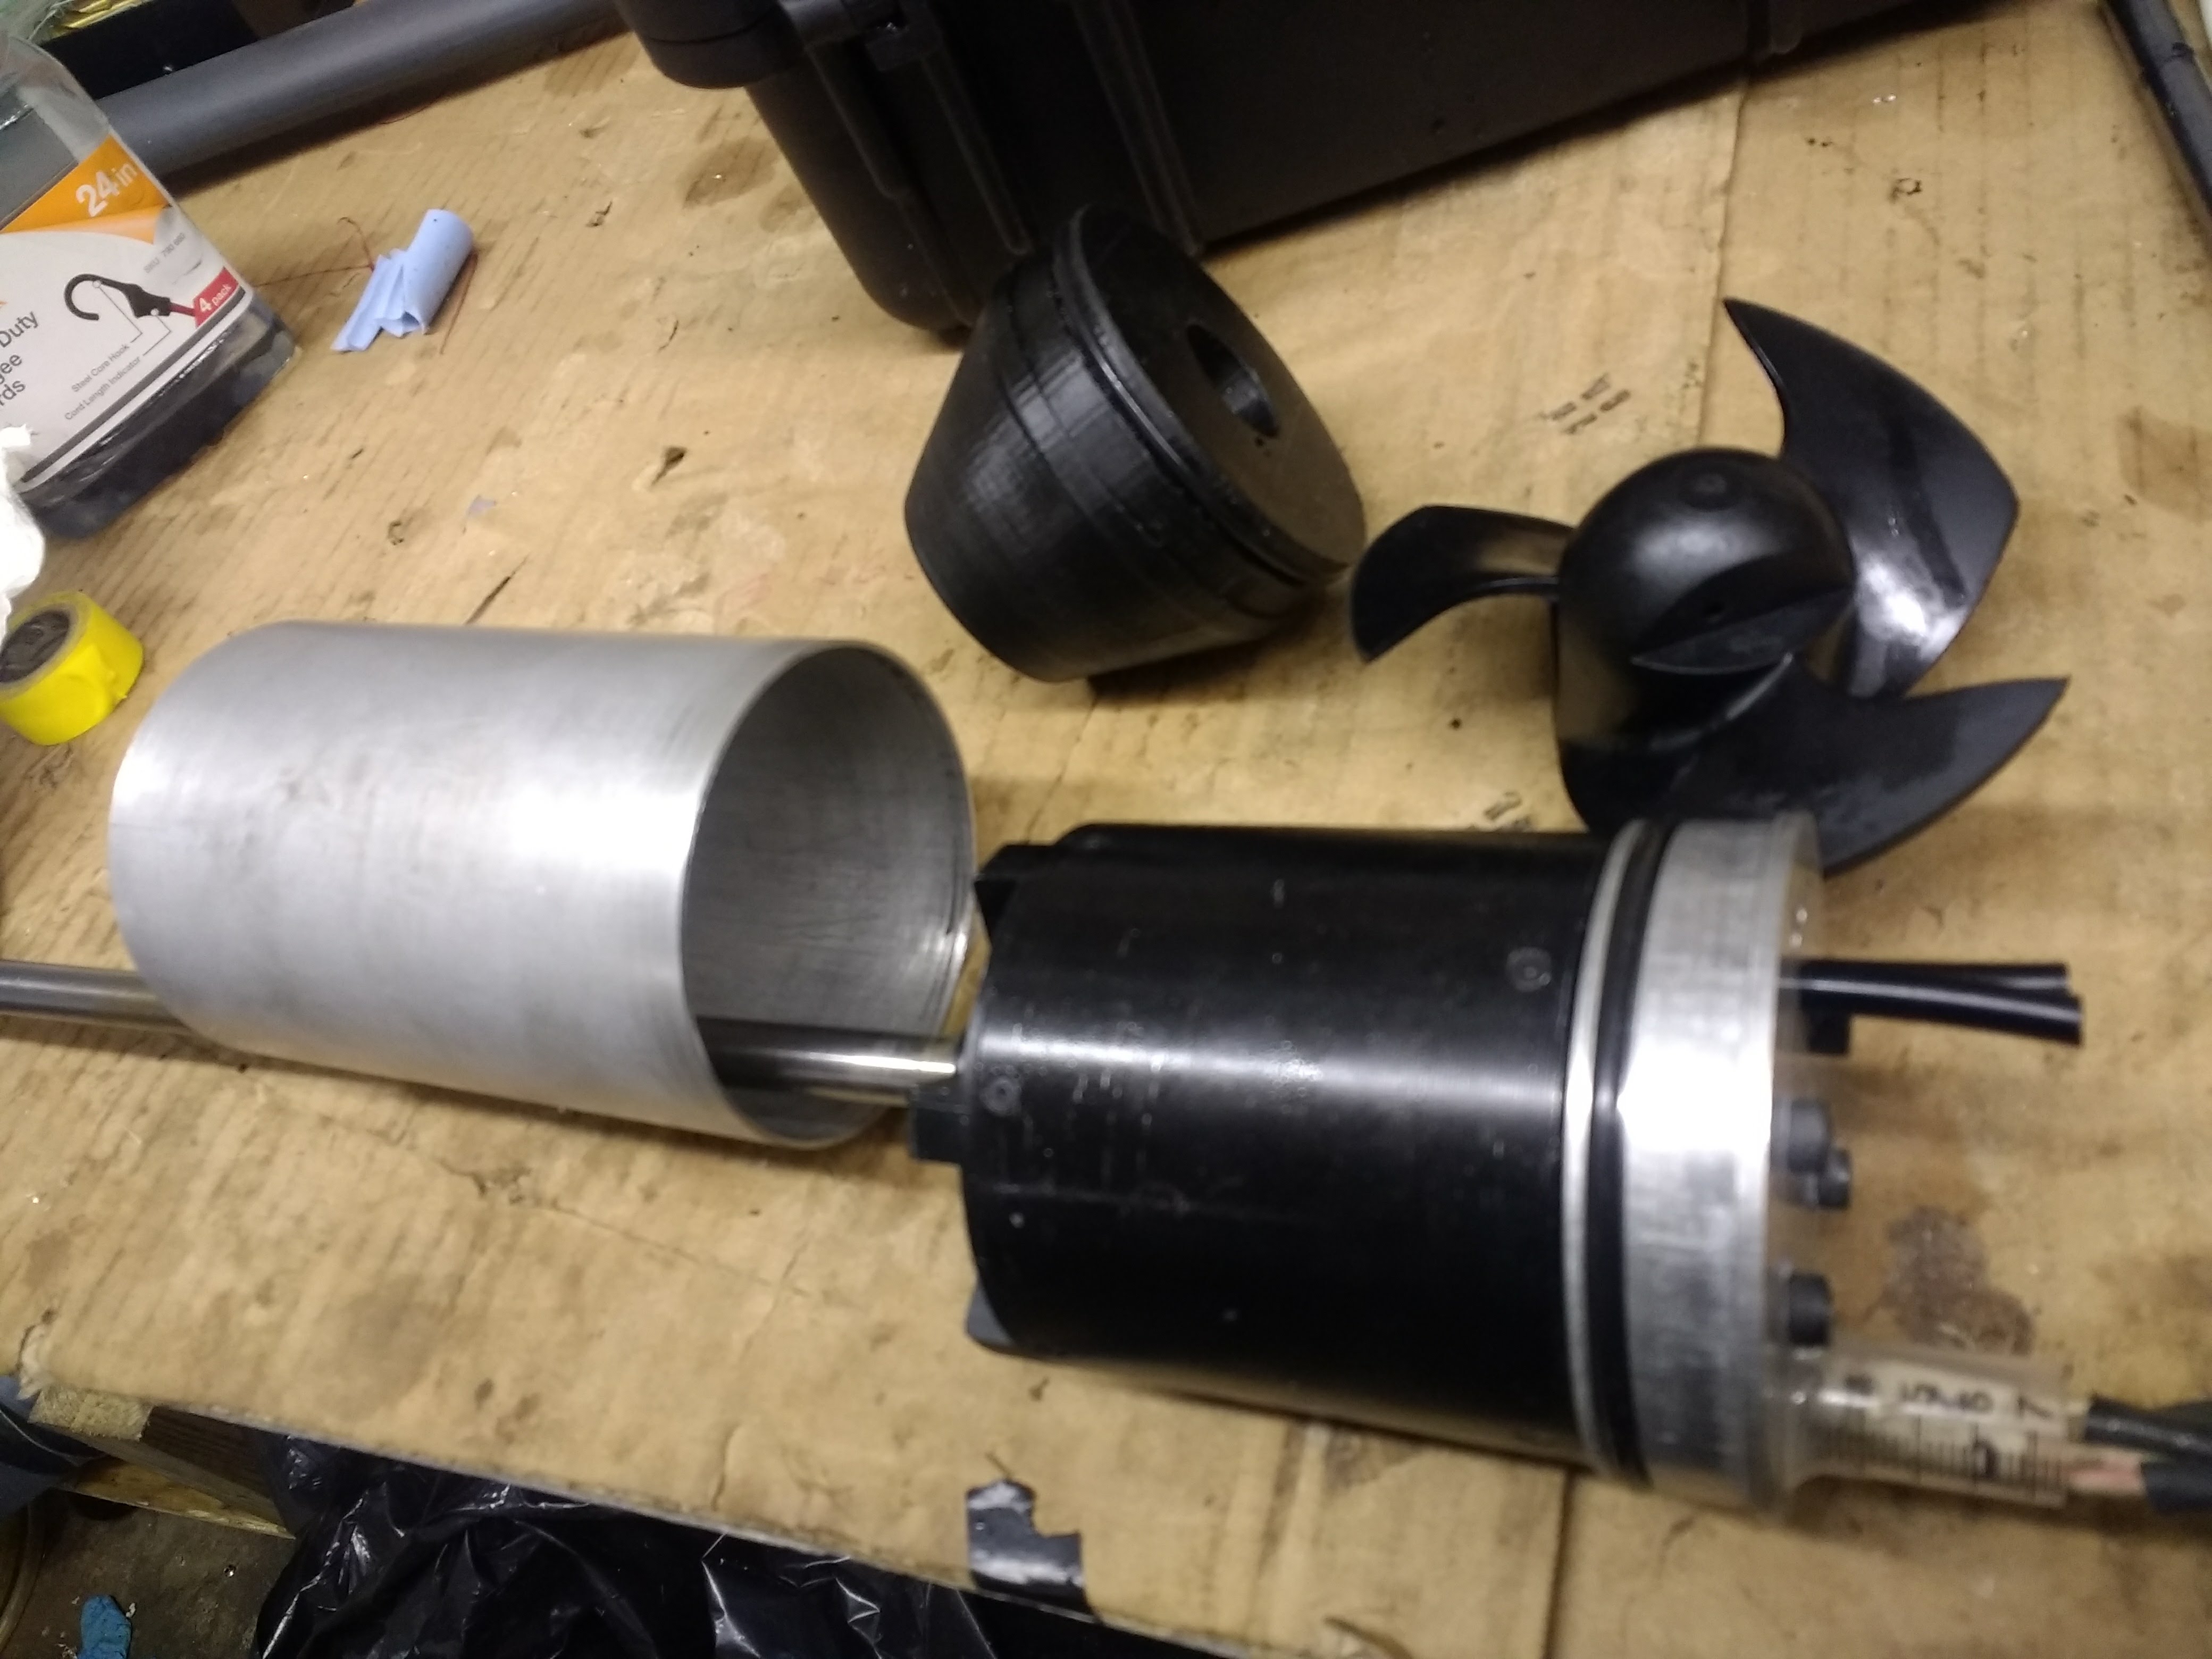
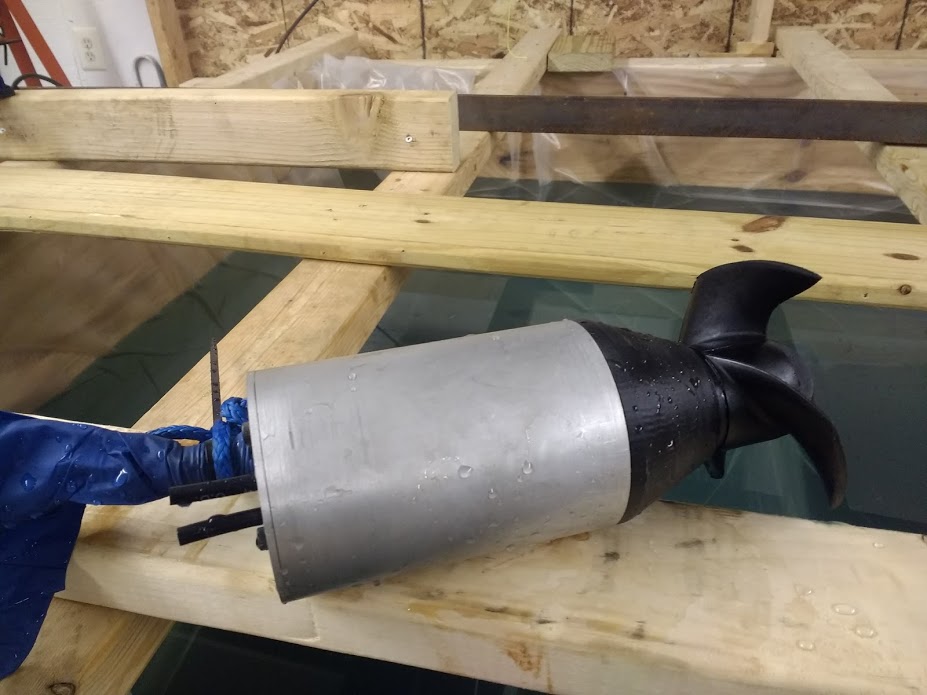
For inspiration let me share that outrunner design. You might have seen some of that in a video before. I tested it last September with a PLA case as mentioned above and it burned down the SK3 motor immediately. Like you suggest @PowerGlider, I have the outrunner mounting plate towards the back. Cable routing challenges lead me to this fuselage-attached design instead of the previous mast-mounted ones. It was very solid. For the test I just taped the cables to the fuselage and fed them through the existing hole in my mast. I still like the simplicity of this design, it’s only 2 printed parts (shell and threaded lid) plus the prop. It was watertight during my short test. Problem was the cooling, so it will need a re-design with parts that can be made in aluminum. Tempted to pick this up again some time… right now I am working on a belt drive though, need to stay focused 
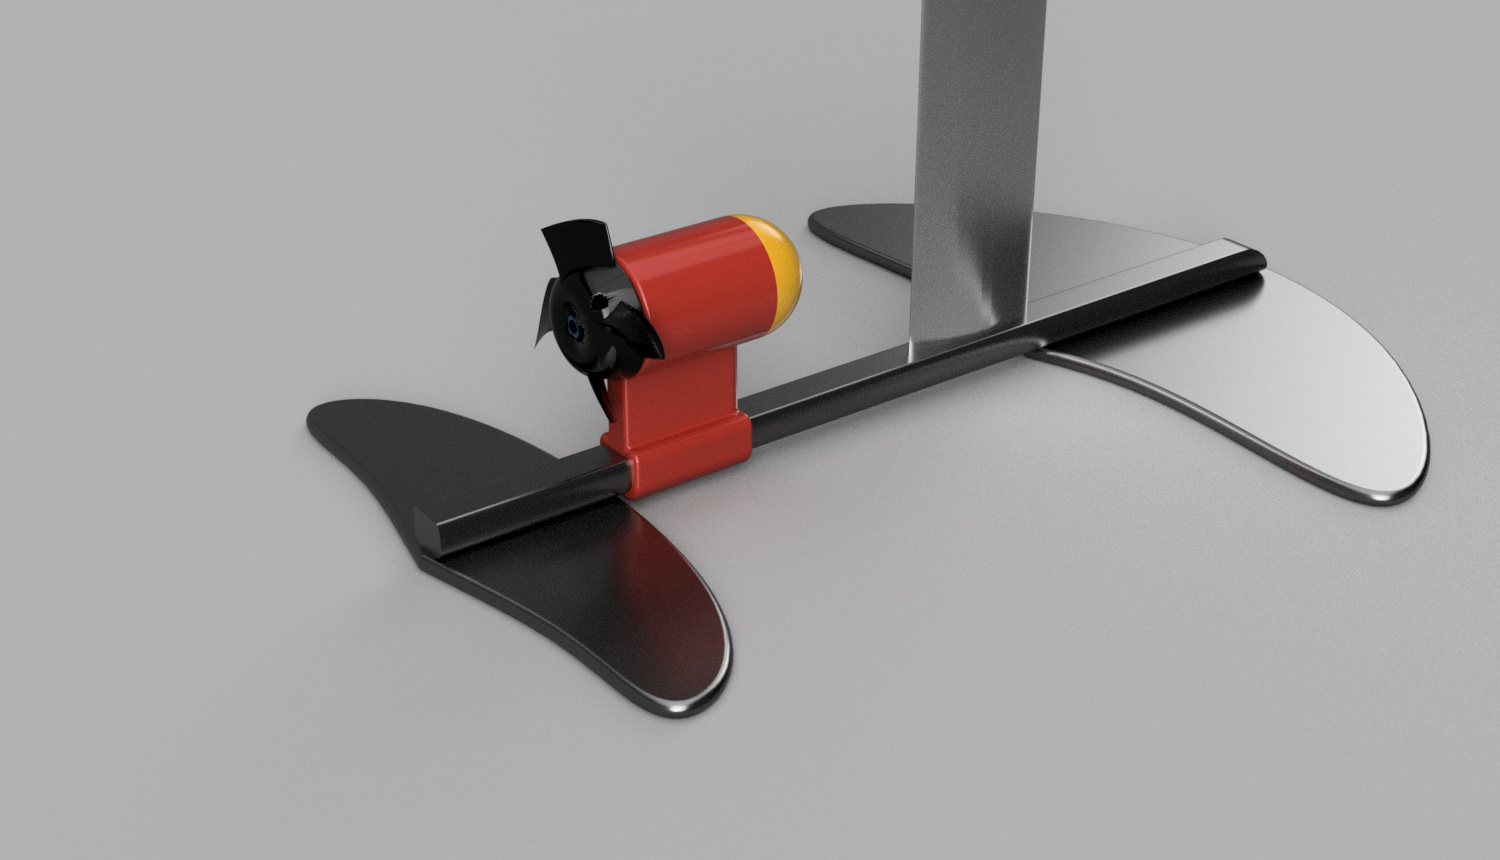
4 Likes
I went back to the drawing board, replaced the fuselage and mounting wall with aluminum. The holes seen in the printed pieces are just temporary place holders (there is no room to screw on any nuts and bolts!) until I figure out a way to connect the fuselage and mast/shaft pieces together.
Looks a lot like what I am trying. I have not modeled the parts forward of the motor yet. I black aft motor cap has 2 seals back to back, and 1 bearing.
Hi @pacificmeister. Thanks for sharing the info about the SK3. I’ve also purchased this one SK3 6374, 149Kv. Can you please reply to this questions below:
- What was your SK3 KV - also 149 or higher?
- Is it 12S setup?
- Do you have any feeling about amps in full throttle?
- In those 30sec of running, did you feel enough power to take off?
out of curiosity, how are you connecting your aluminum fuselage to your printed pieces? It looks like just adhesive?
Hi @Antonbit
1 - yes, same 149kv version
2 - yes
3 - Unfortunately I wasn’t able to log or read anything.
4 - It felt quite powerful but died before I picked up enough speed. Hard to say. Could work with the right prop, wing, board and a not too heavy rider.
At this point it is just a very tight fit, no adhesive. I had to press the parts together with probably 80 pounds of force. I can’t pull them apart. I will probably eventually secure the ends with a few tapered screws.
I can get it apart by applying compressed air to the oil fill screw that is built into the black printed part. That cause the ends to pop off.
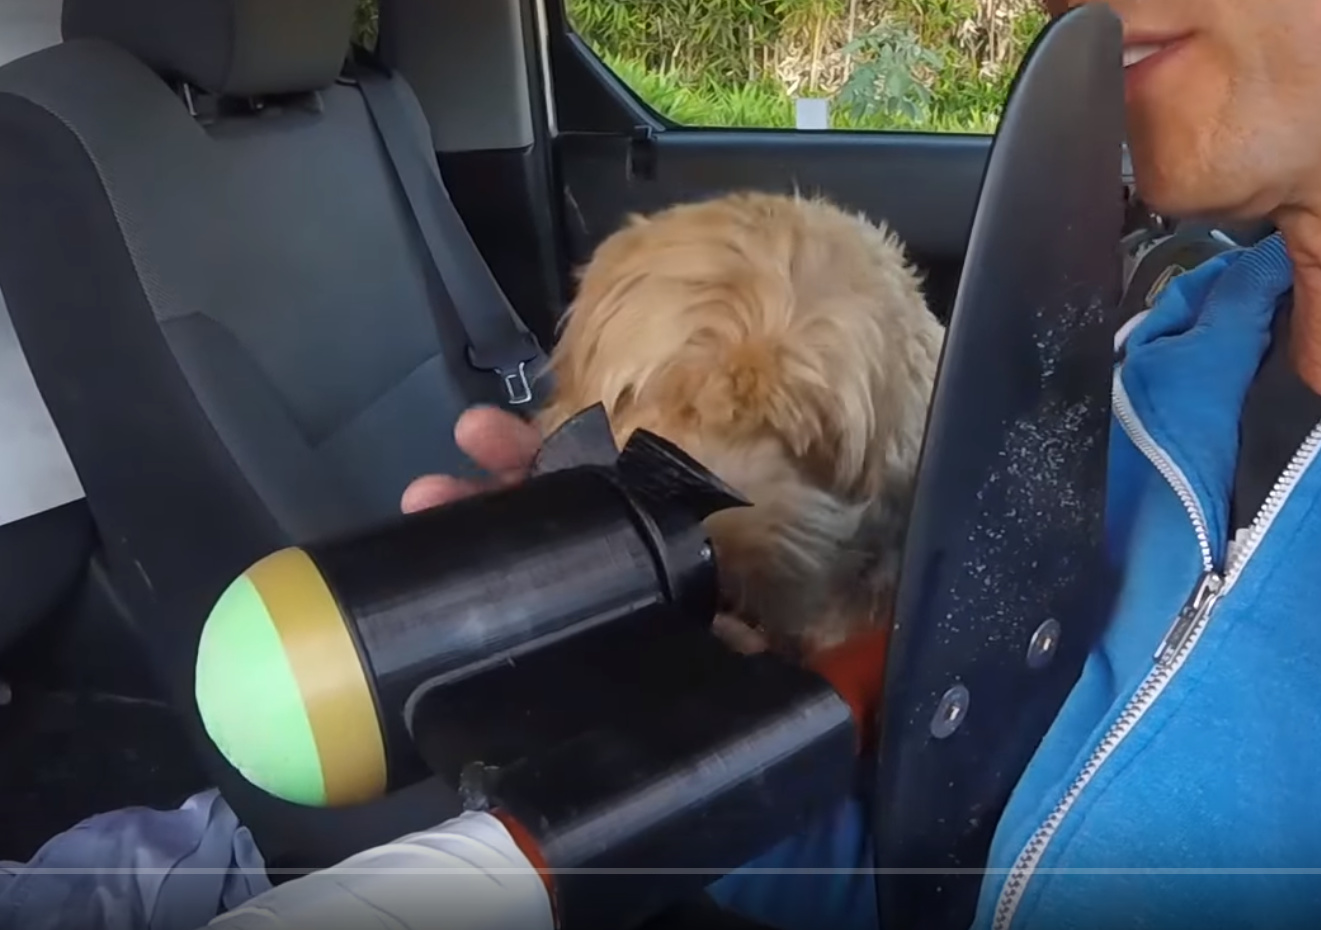
I took it out of the water tank today. No leaks!!!
1 Like
If you can apply compressed air, then you can use a slightly modified radiator testing gauge to determine the sealing.
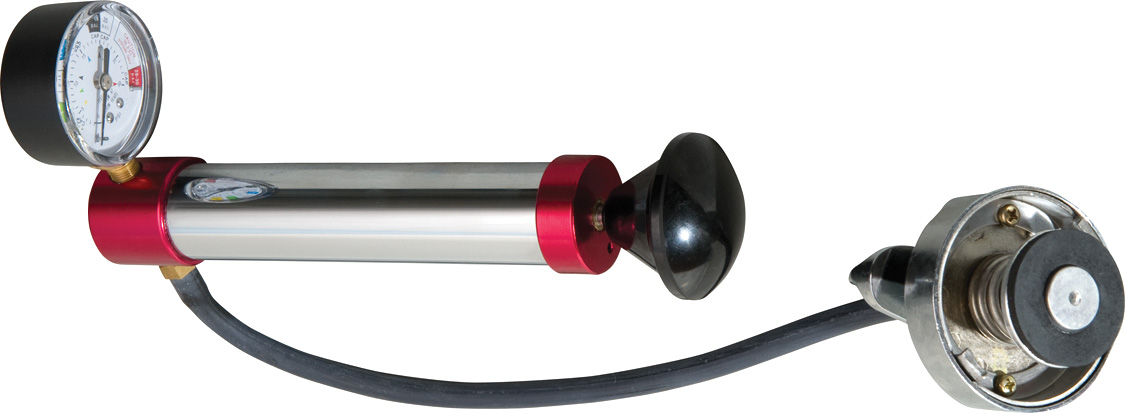
Then what would I do with that giant test tank I built?
4 Likes